Homemade Light & Fluffy Glazed Vanilla Doughnuts (Made from Scratch!)
This post may contain affiliate links, please visit our privacy policy for details.
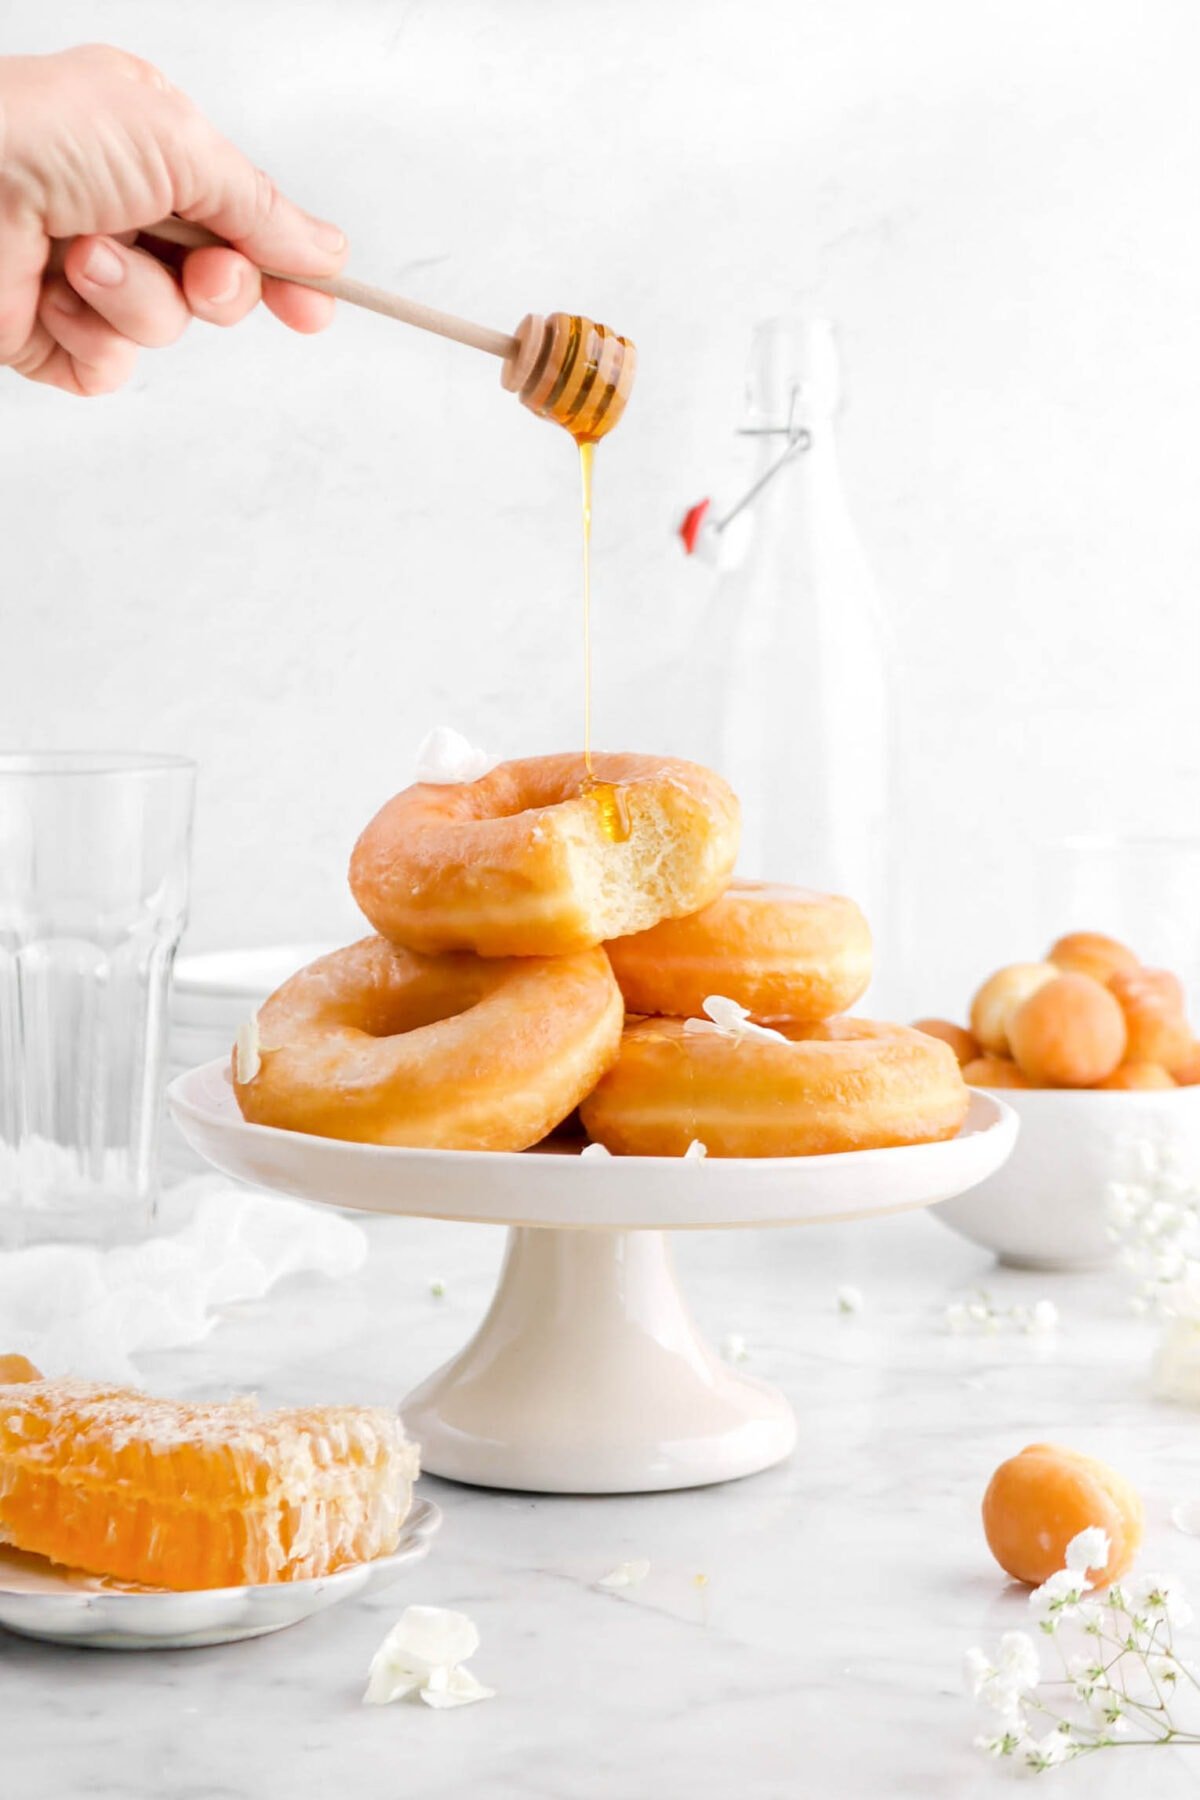
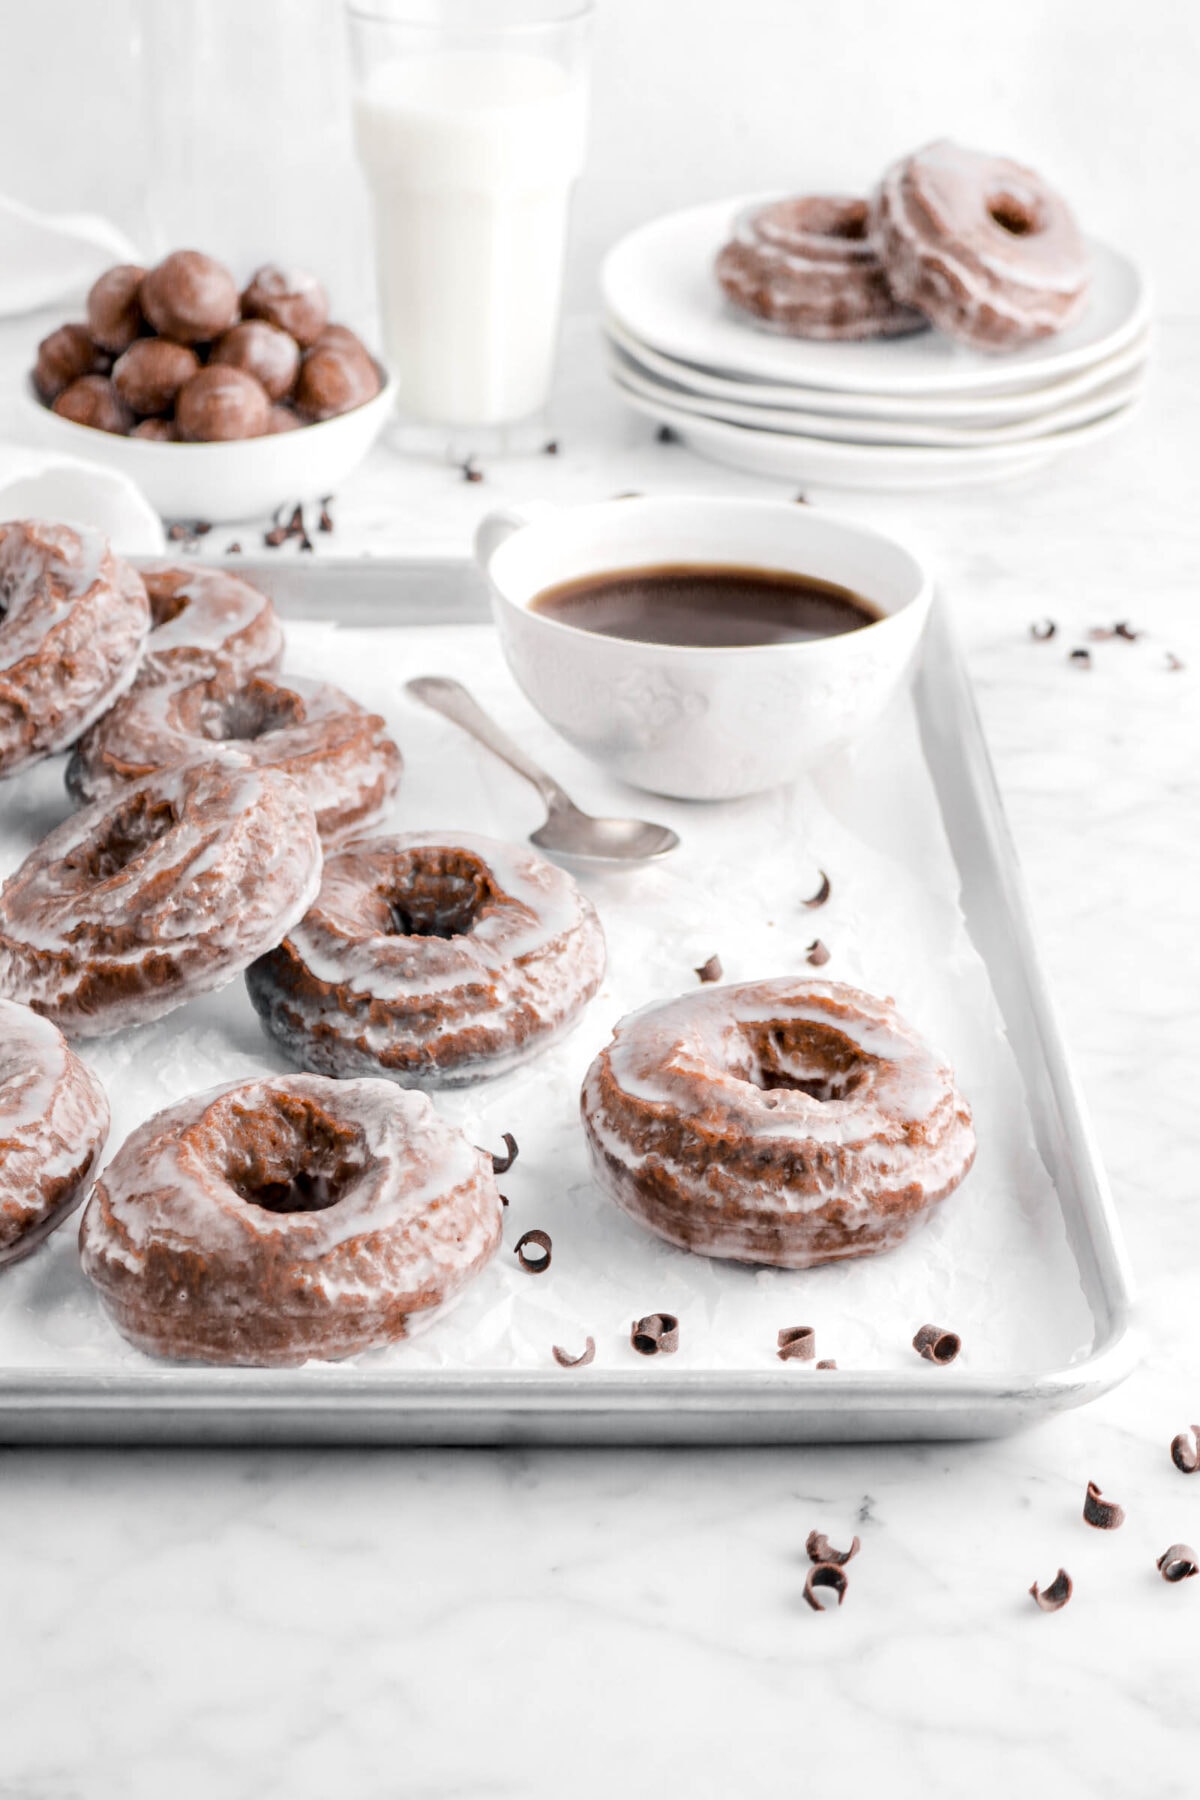
Switching up the normal breakfast with these delicious Homemade Glazed Vanilla Doughnuts! A super easy sweet dough, fried to golden brown perfection, generously glazed with a delicious vanilla glaze, and served warm for the best doughnut ever.
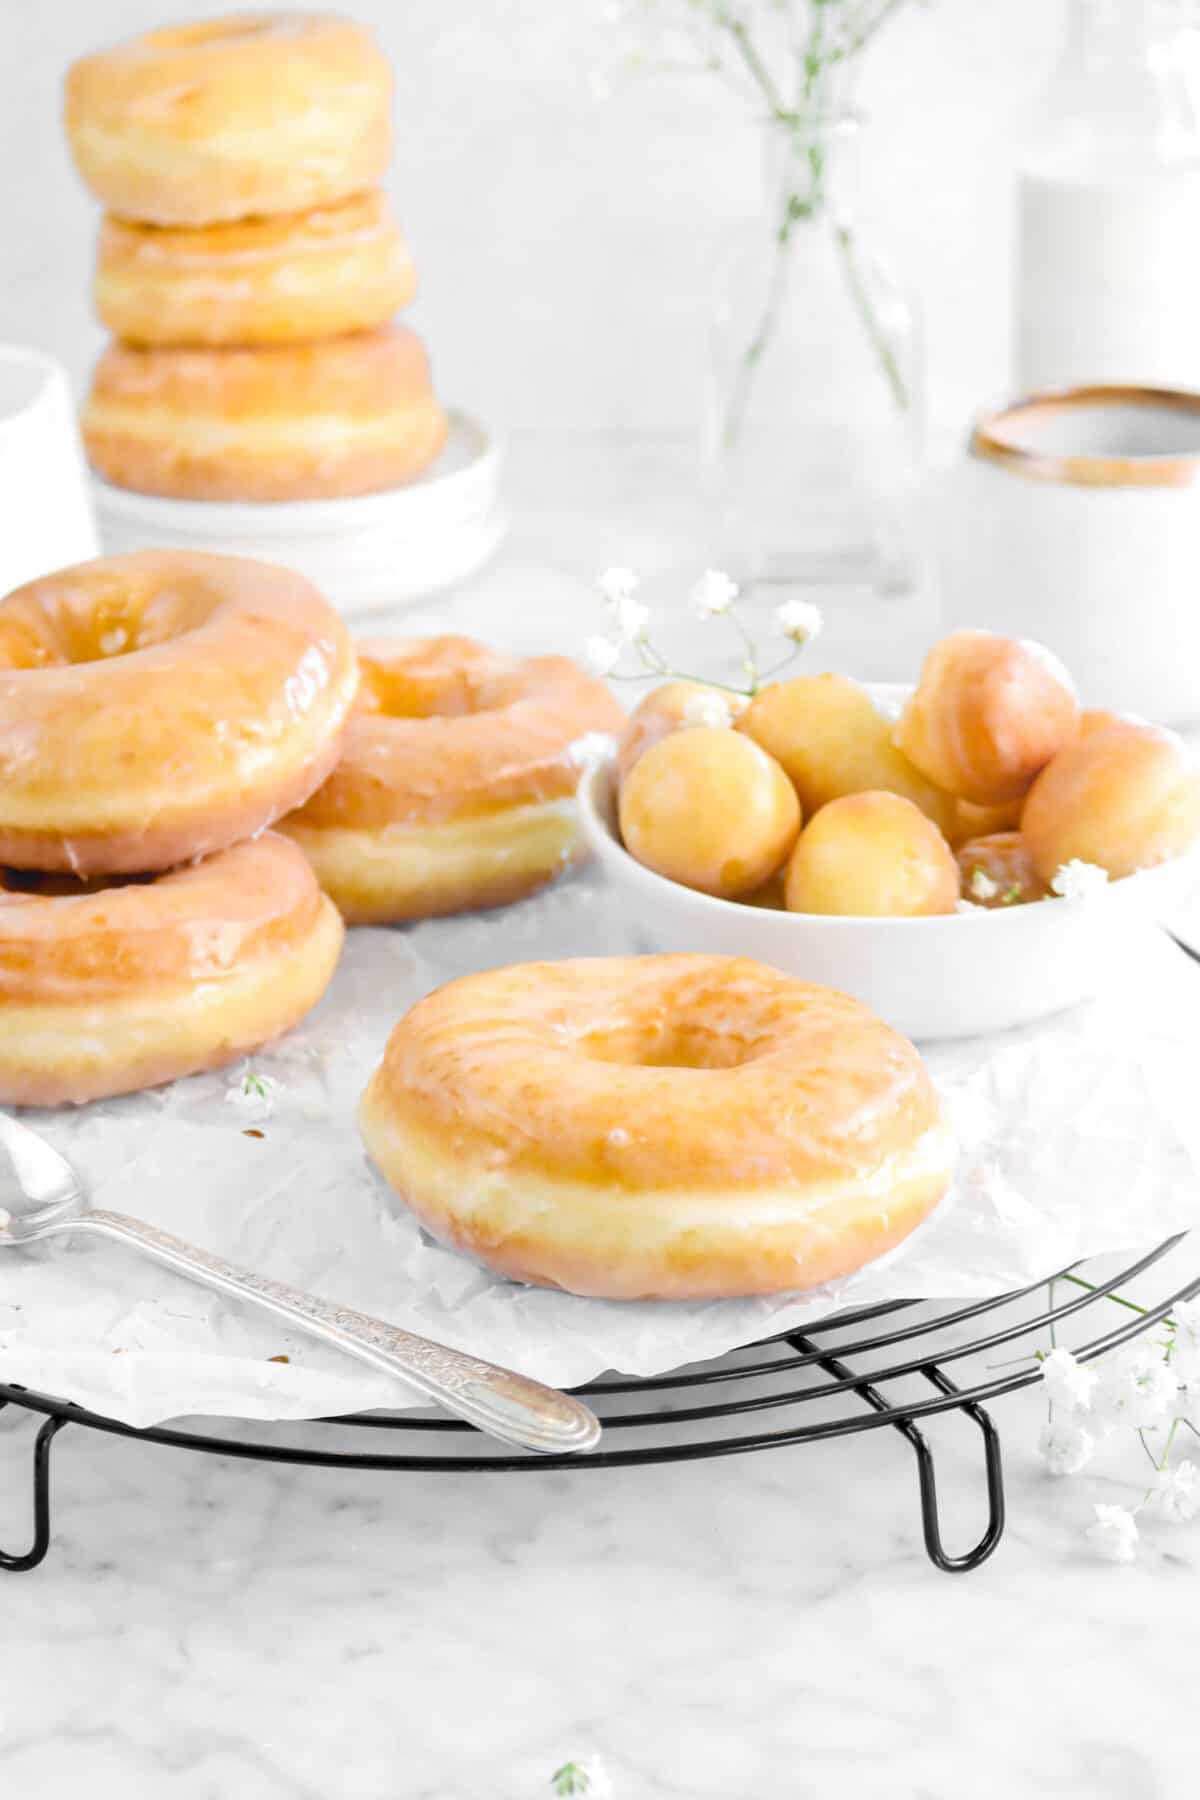
We love doughnuts. All kinds of doughnuts! Chocolate doughnuts, jelly filled doughnuts, chocolate filled doughnuts, even simple flavors like honey or lemon! But, if i’m being honest, there’s nothing better than a classic glazed vanilla doughnut.
In fact, my mom and I used to go get doughnuts every Friday before school. It was kind of our girl time when I was growing up. So, when my mom suggested we make some of our own, I pretty much couldn’t contain my excitement!
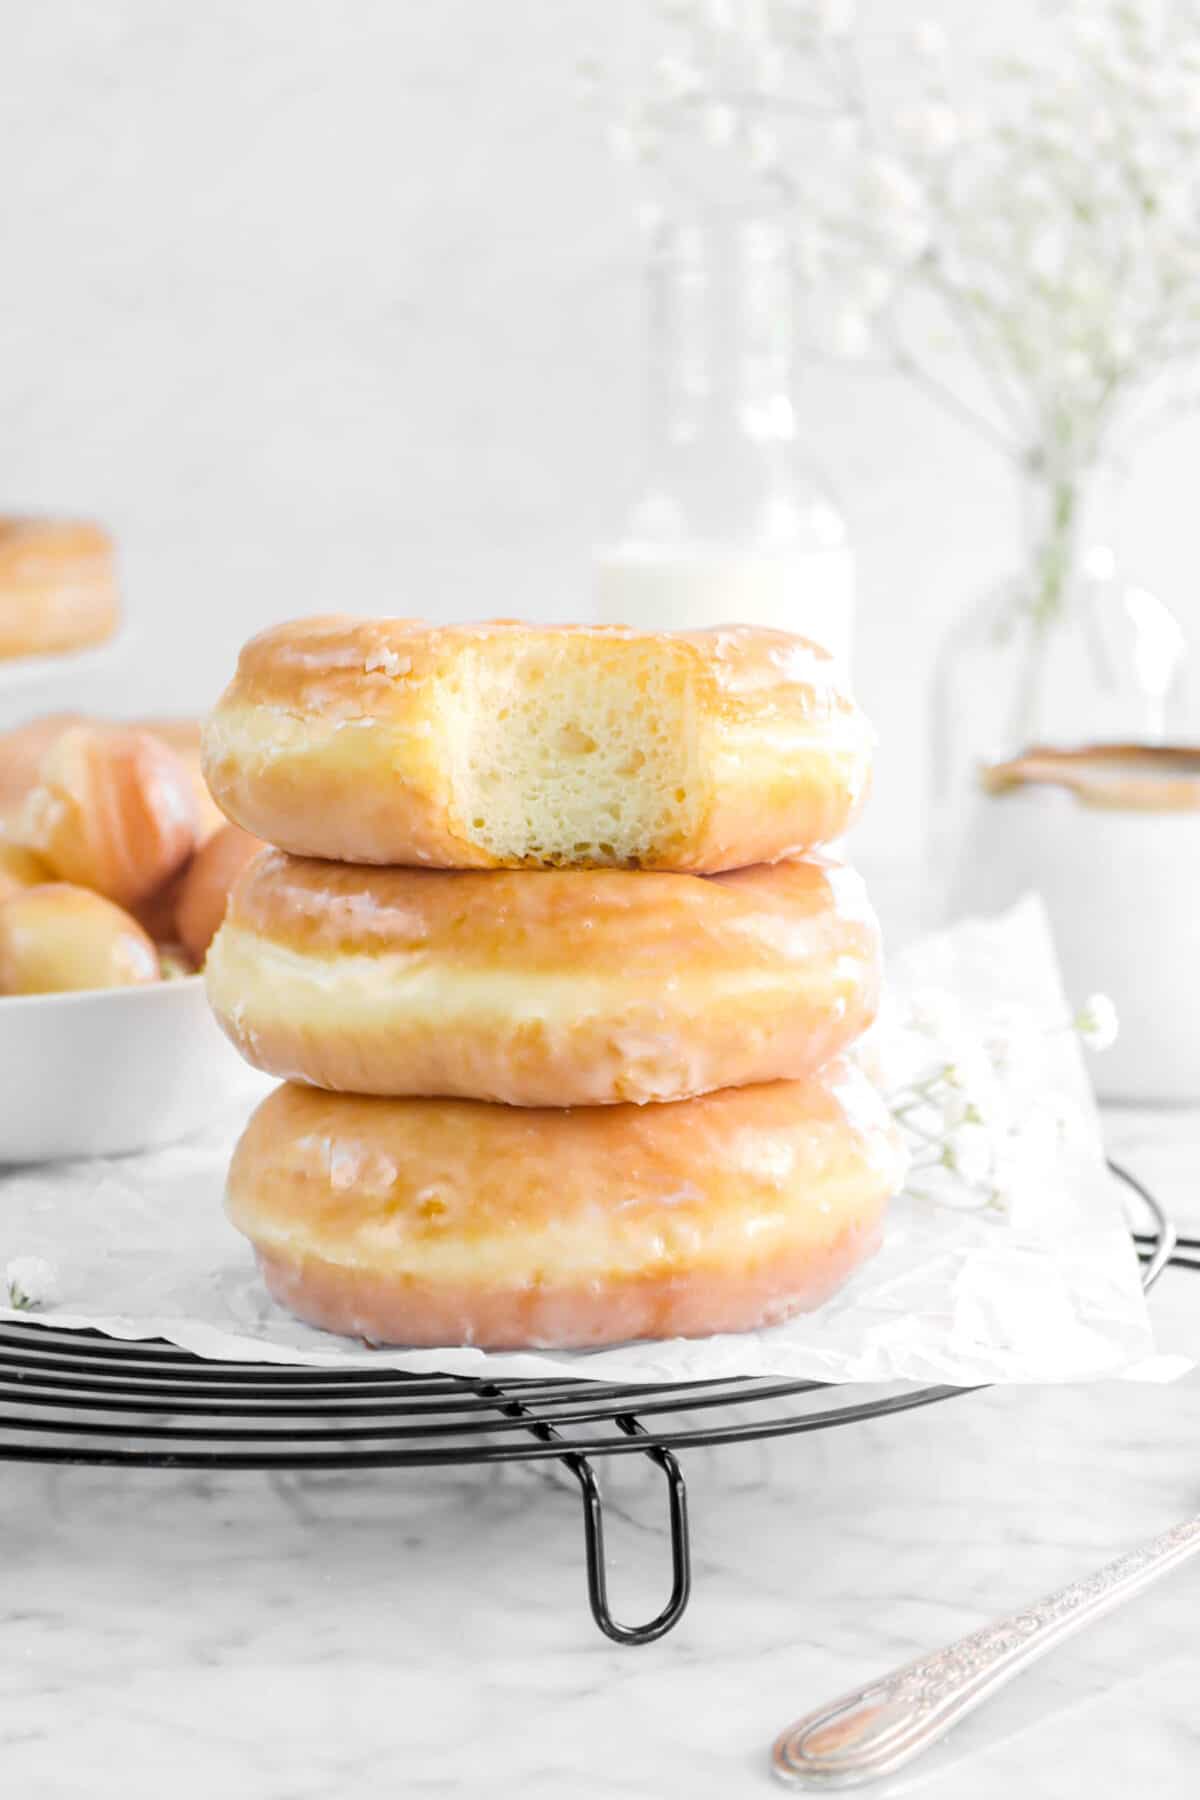
And, I have to admit, these taste so much better than any doughnut shop! They’re sweet, without being too sweet. They also have just the right amount of vanilla and they’re never stale!
Fried vs Baked Doughnuts – What’s The Difference?
While both are called doughnuts, or donuts, they are vastly different recipes! So, let’s get into it, shall we?
A baked doughnut (or donut) is also known as a cake doughnut. It is made from a batter (just like cake!) rather than a dough and baked in a doughnut pan.
So, let’s talk fried doughnuts. They are a totally different thing! The recipes are vastly different. Instead of a batter, fried doughnuts are made from a yeast-risen sweet dough that’s rolled, cut, and – well, fried!
These Are The Best Glazed Doughnuts
Here’s why:
- Homemade goodness. These doughnuts are made entirely from scratch, giving them a fresh, homemade taste that store-bought doughnuts just can’t match.
- Perfectly Balanced Flavor. The doughnuts are sweet without being overly sugary, and they have just the right amount of vanilla to always leave you wanting more.
- Light and Fluffy Texture. The doughnuts are incredibly light and fluffy, creating a delightful mouthfeel with every bite.
- Nostalgic. Everyone loved doughnuts growing up. These doughnuts are reminiscent of the ones you used to find in doughnut shops and bakeries, but even better.
Best Ingredients To Use & Why
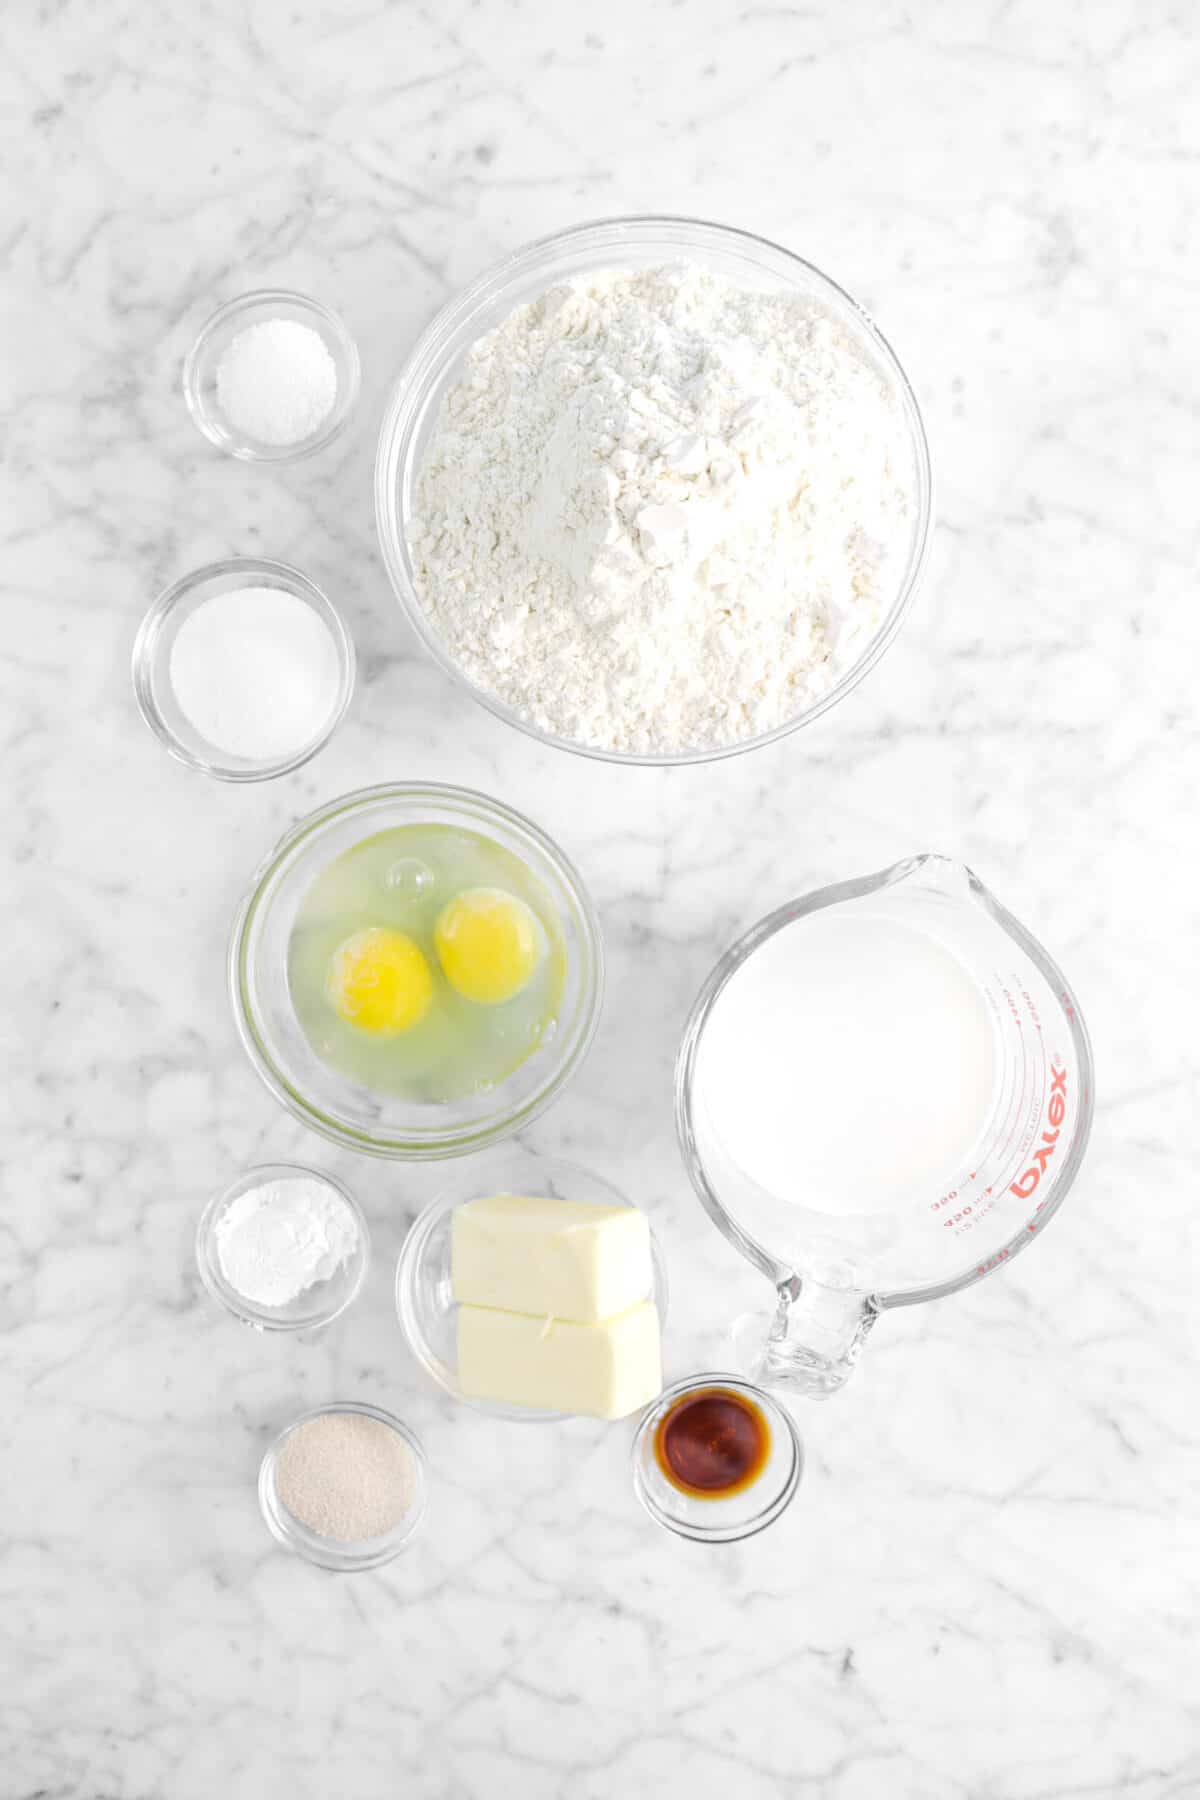
For The Doughnuts:
- All-Purpose Flour – Using plain all purpose flour is the way to go here. The protein content gives the dough the structure it needs.
- Instant Yeast – I prefer instant yeast because it is so easy to use and reliable. It requires no proofing, so it can be mixed in with the dry ingredients. For sweet doughs, I use SAF Gold, which is formulated to work specifically with enriched doughs.
- Baking Powder – A second raising agent may sound strange, but baking powder gives the doughnuts a light, fluffy texture.
- Granulated Sugar – Adding just the right amount of sweetness, granulated sugar is neutral in flavor allowing the vanilla to shine.
- Kosher Salt – It helps control the rise and strengthens the dough as well as enhancing the flavor.
- Whole Milk – A popular choice for sweet dough, whole milk has a higher fat content that creates a richer flavor and helps the doughnuts brown.
- Large Eggs – The binder that holds all the ingredients together, eggs also contribute structure, stability, moisture, and richness.
- Vanilla Extract – Just a bit of vanilla gives these doughnuts their flavor.
- Unsalted Butter – Adding richness, tenderness, and structure, unsalted butter also has a bright, fresh flavor and allows us to control the level of salt.
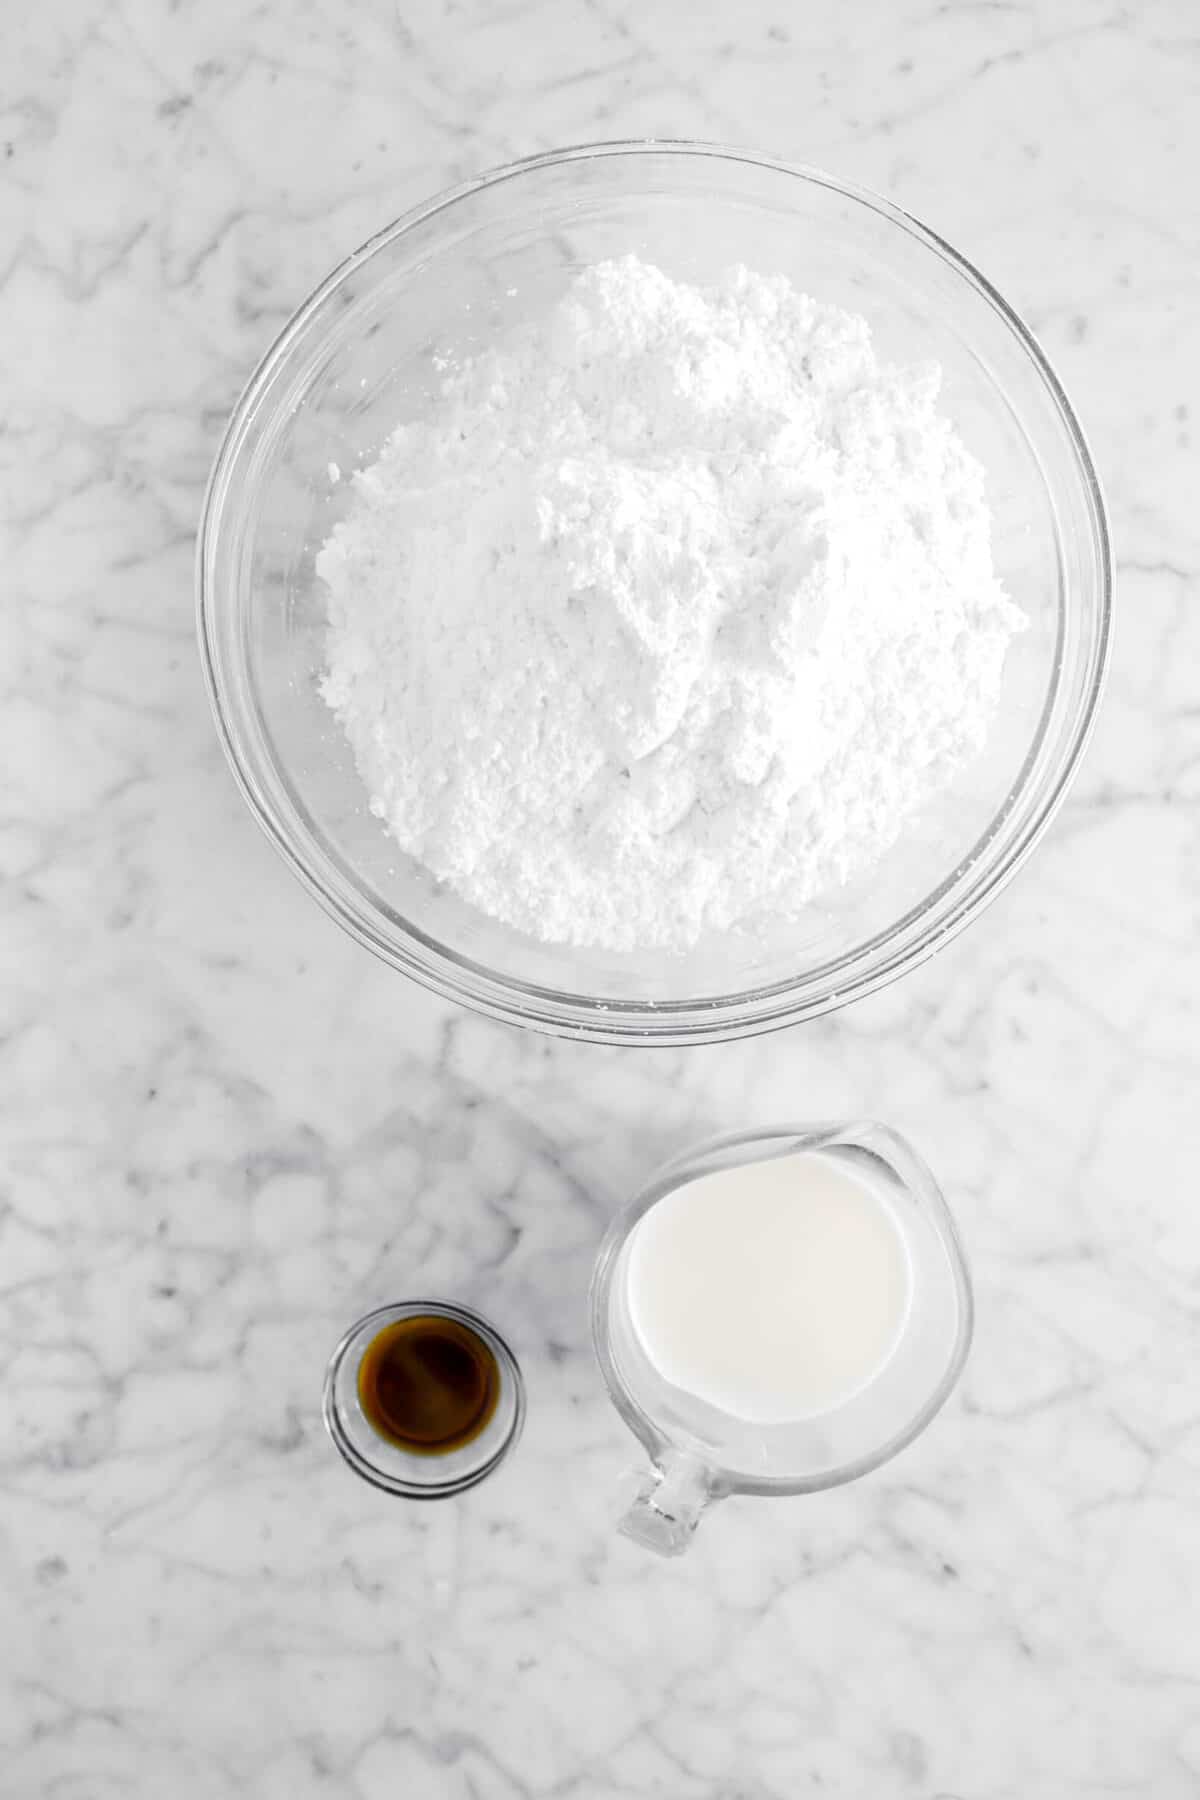
For The Glaze:
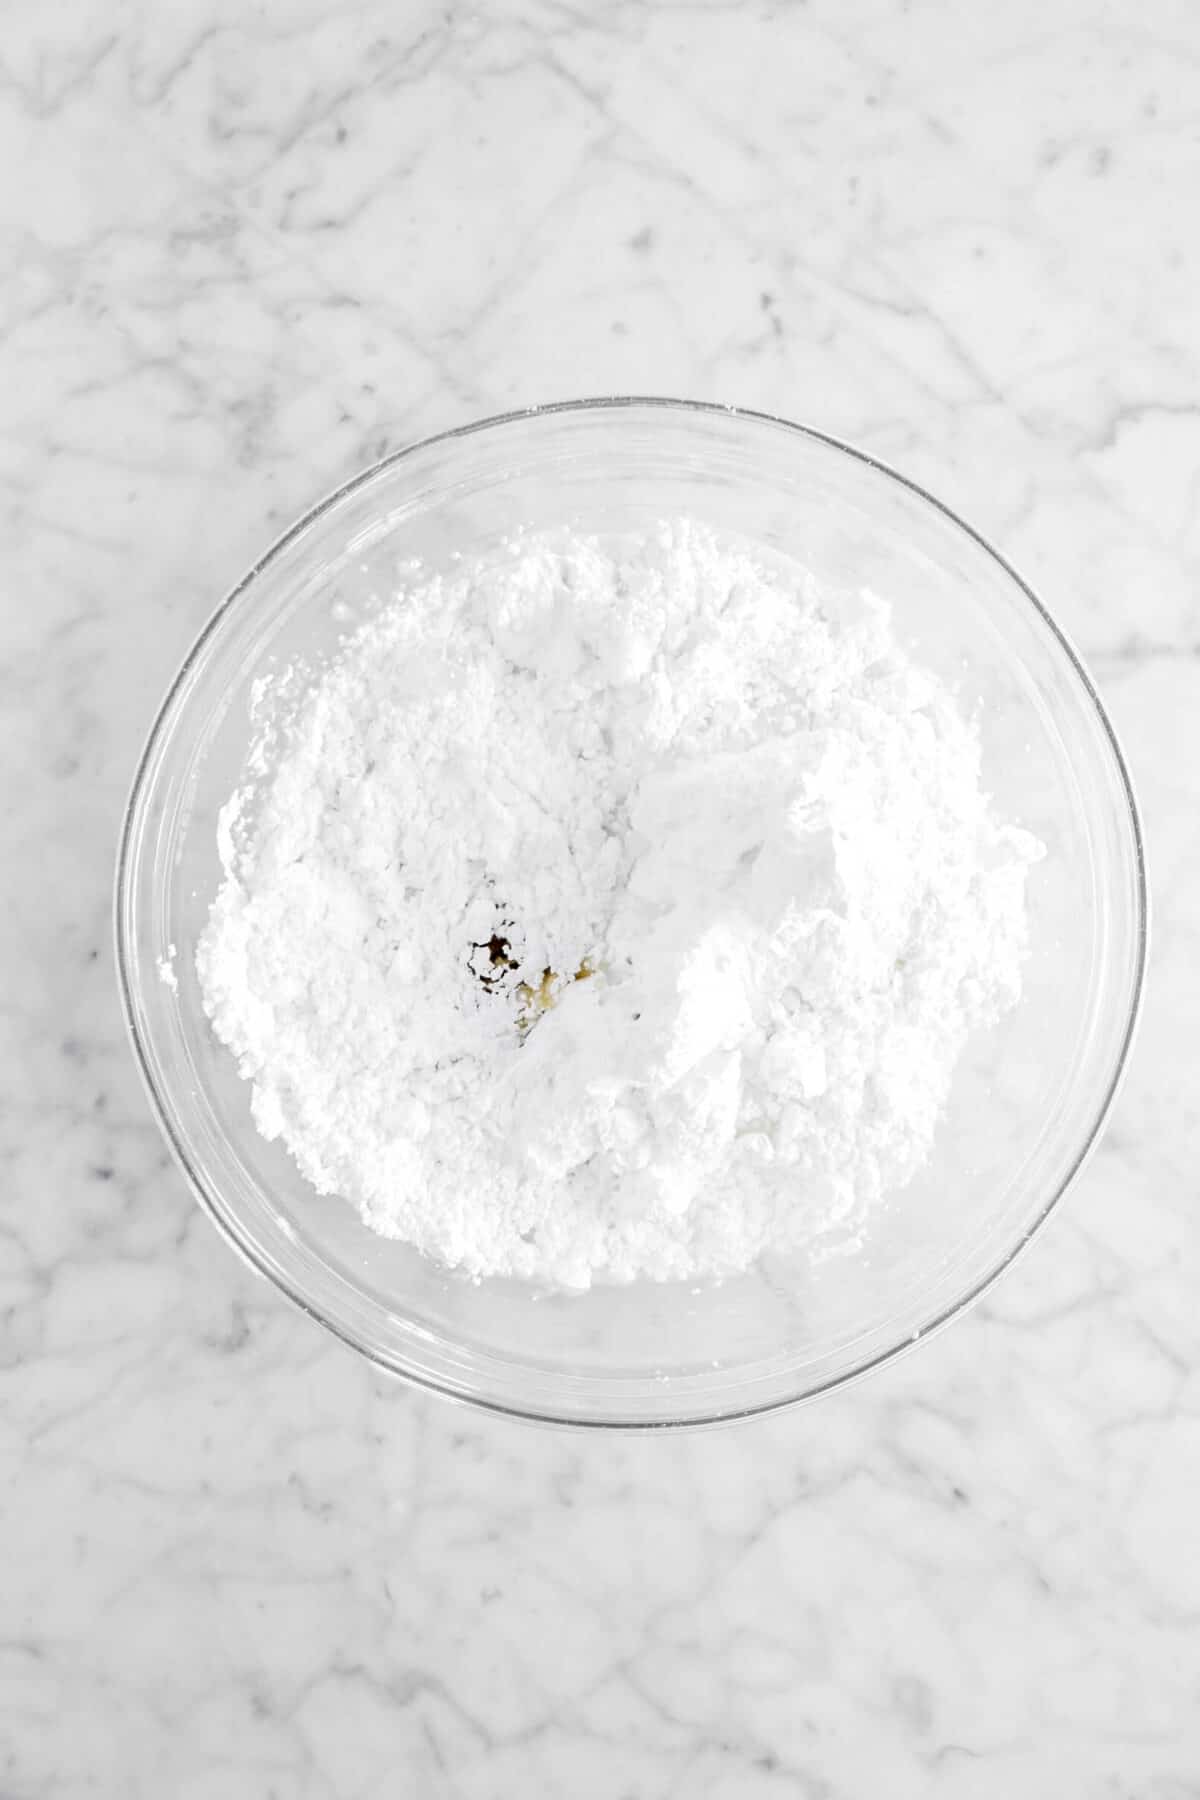
- Powdered Sugar – Because it melts easily, powdered sugar ensures a smooth icing.
- Whole Milk – The liquid component that turns powdered sugar into icing, we used whole milk because we wanted just a tiny bit of richness without adding additional flavor.
- Vanilla Extract – The main flavor for the icing, vanilla extract perfectly enhances the flavor of the doughnut.
* A Note On Yeast
For this recipe, we use instant yeast. It doesn’t need to be mixed water like active dry yeast, but can simply be added to the dry ingredients. If you only have instant active, it can be used interchangeably with instant, but you will need to rehydrate it first.
How To Make Glazed Doughnuts (In 5 Simple Steps!)
Step 1: Prepare the dough
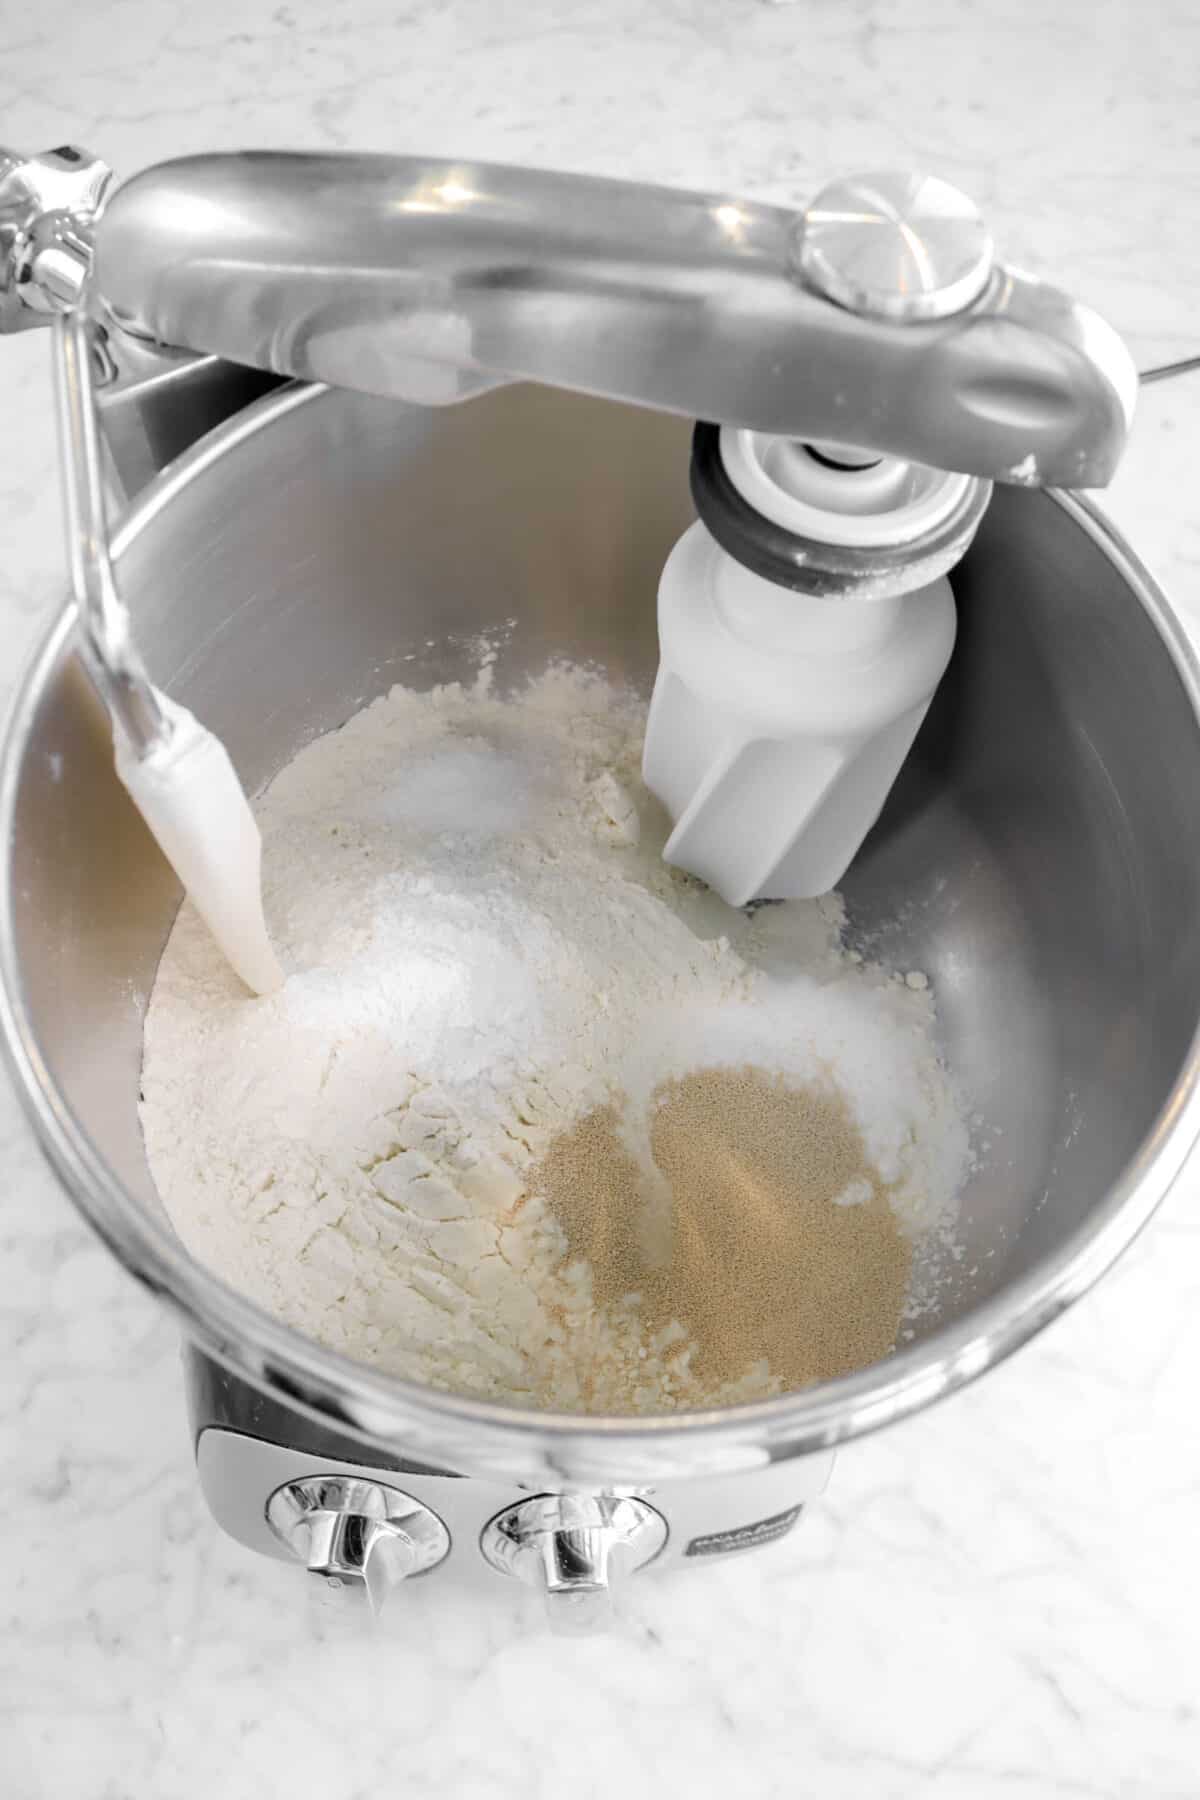
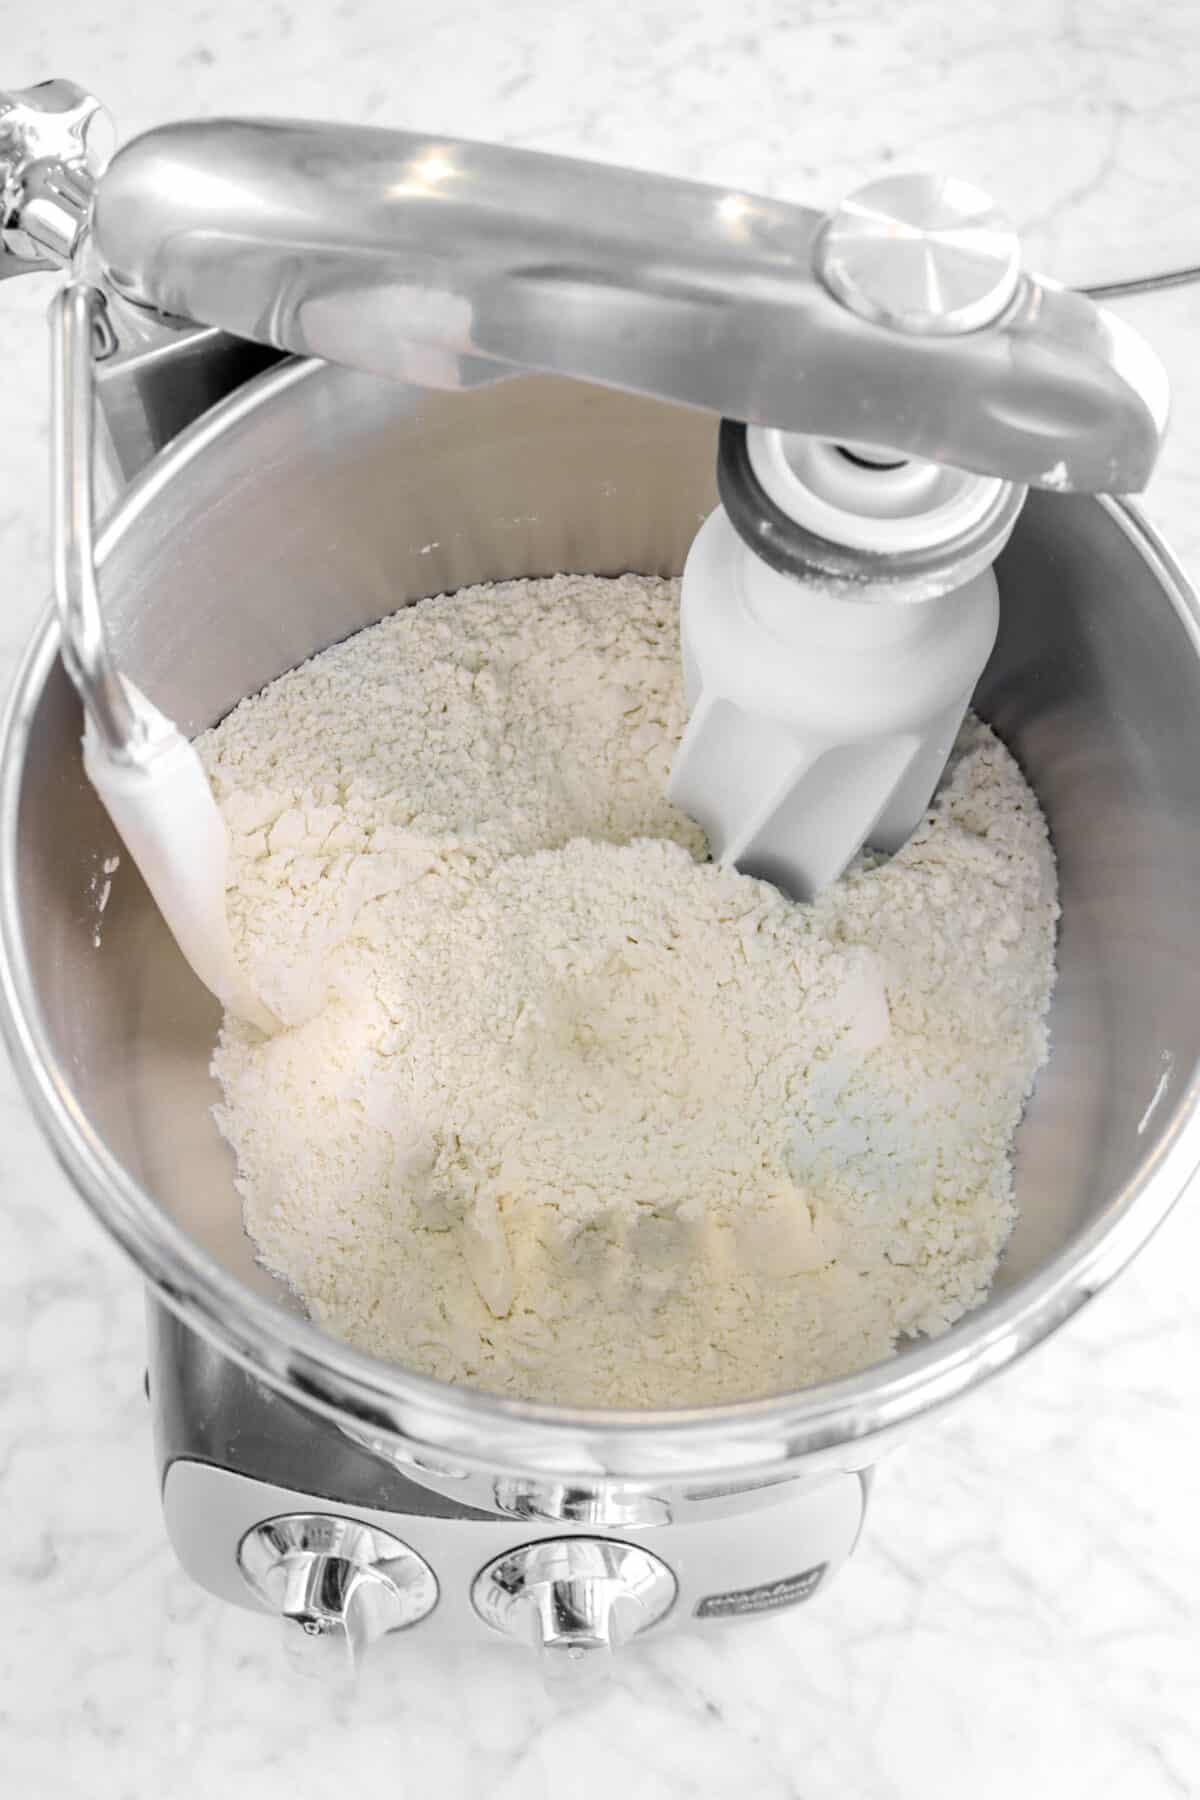
In the bowl of a stand mixer, combine flour, yeast, baking powder, sugar, and salt.
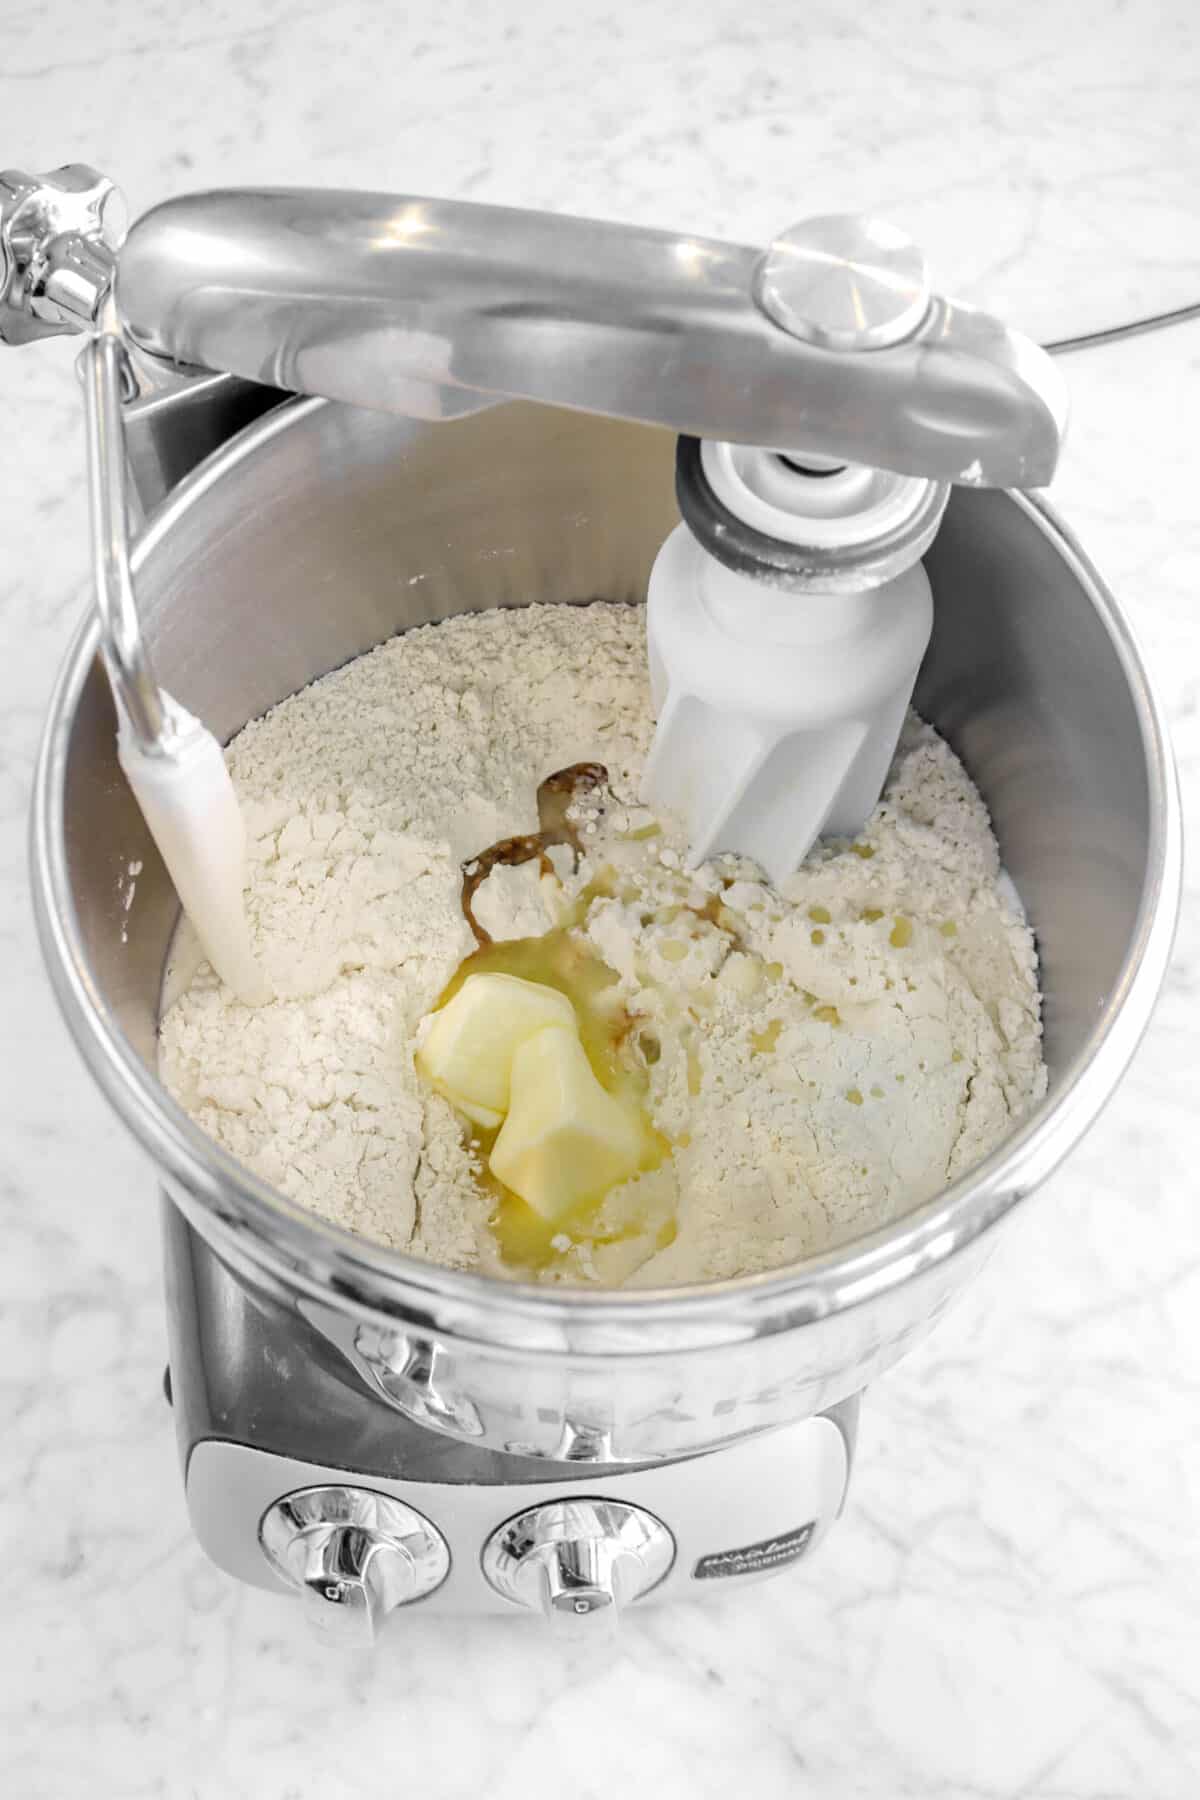
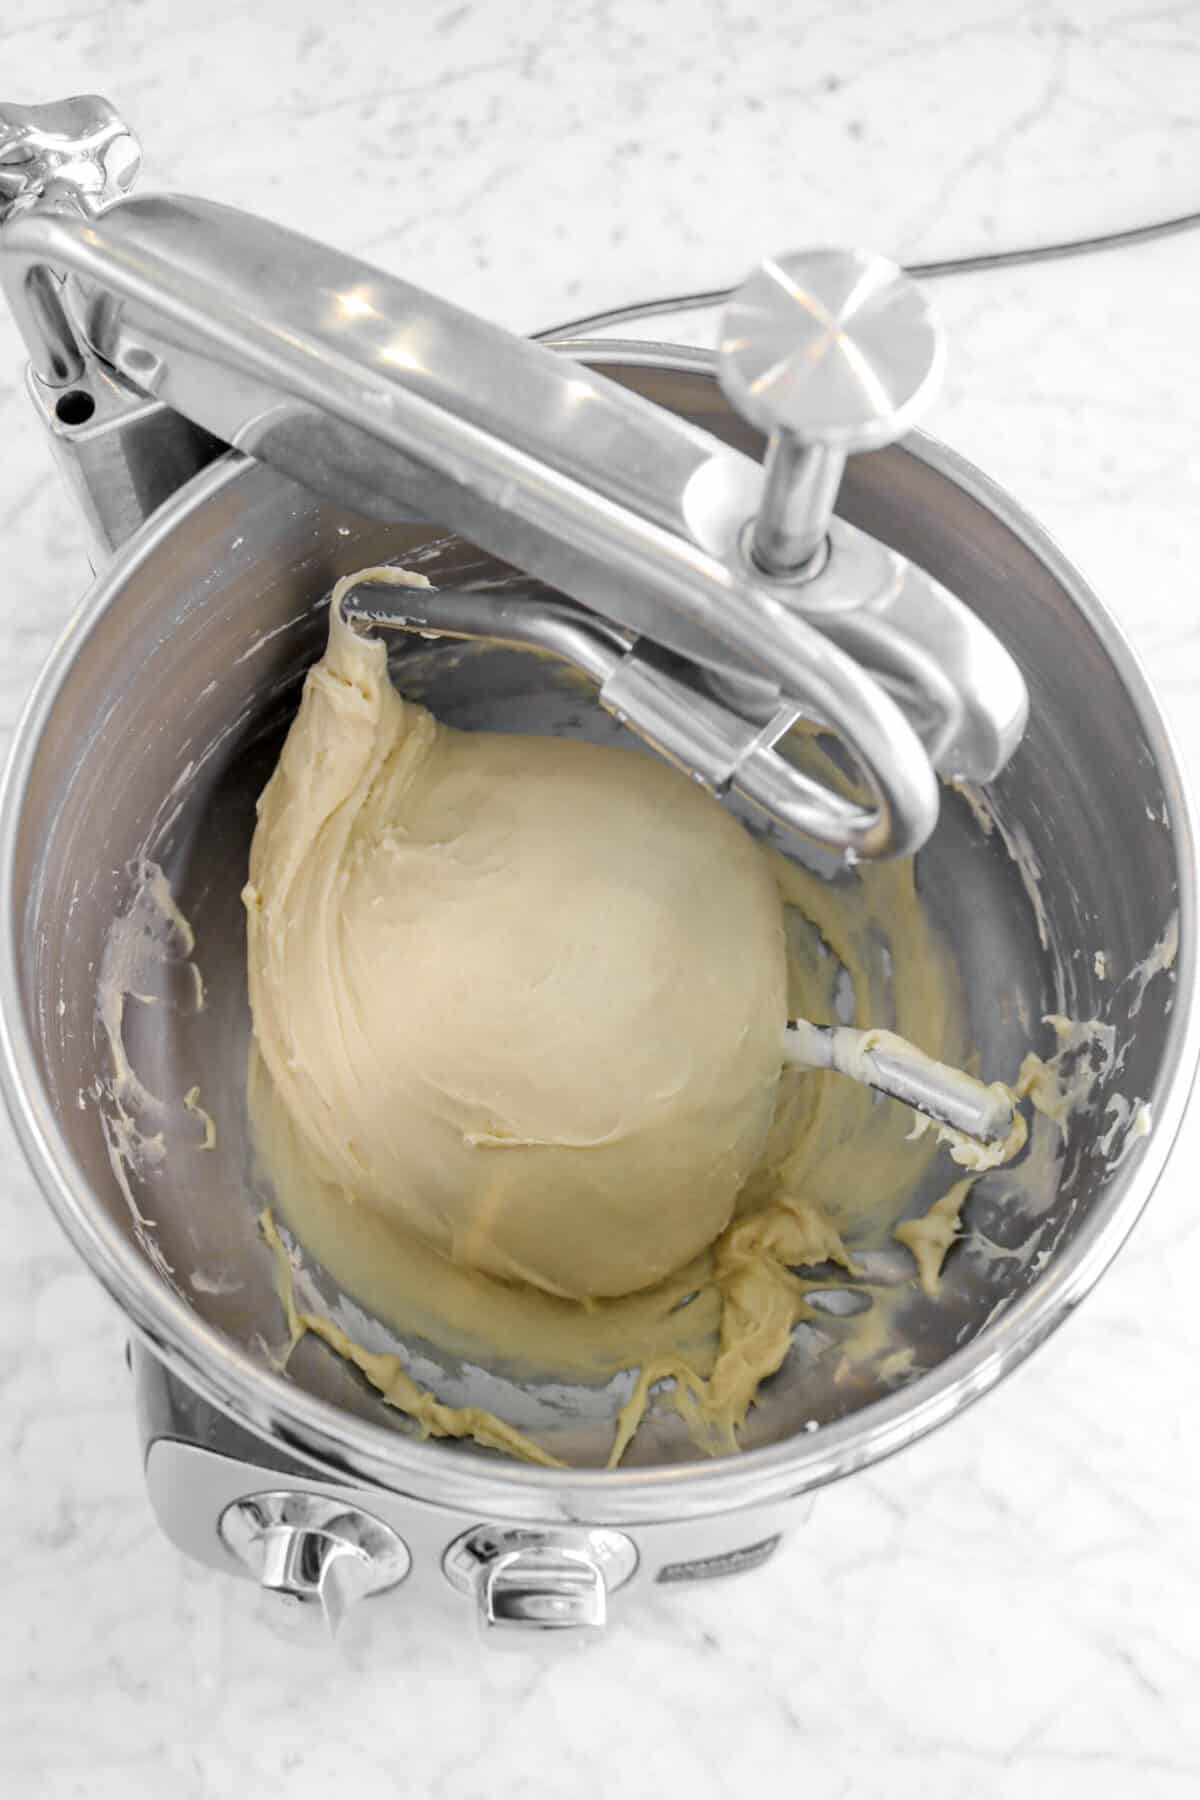
With the mixer running, add the milk, eggs, vanilla, and butter. Mix on low speed for 1-2 minutes, or until the dough is combined. Turn off the mixer and switch to the dough hook. Turn the speed to medium and knead for 8-10 minutes, or until the dough is smooth.
Step 2: Proof and roll
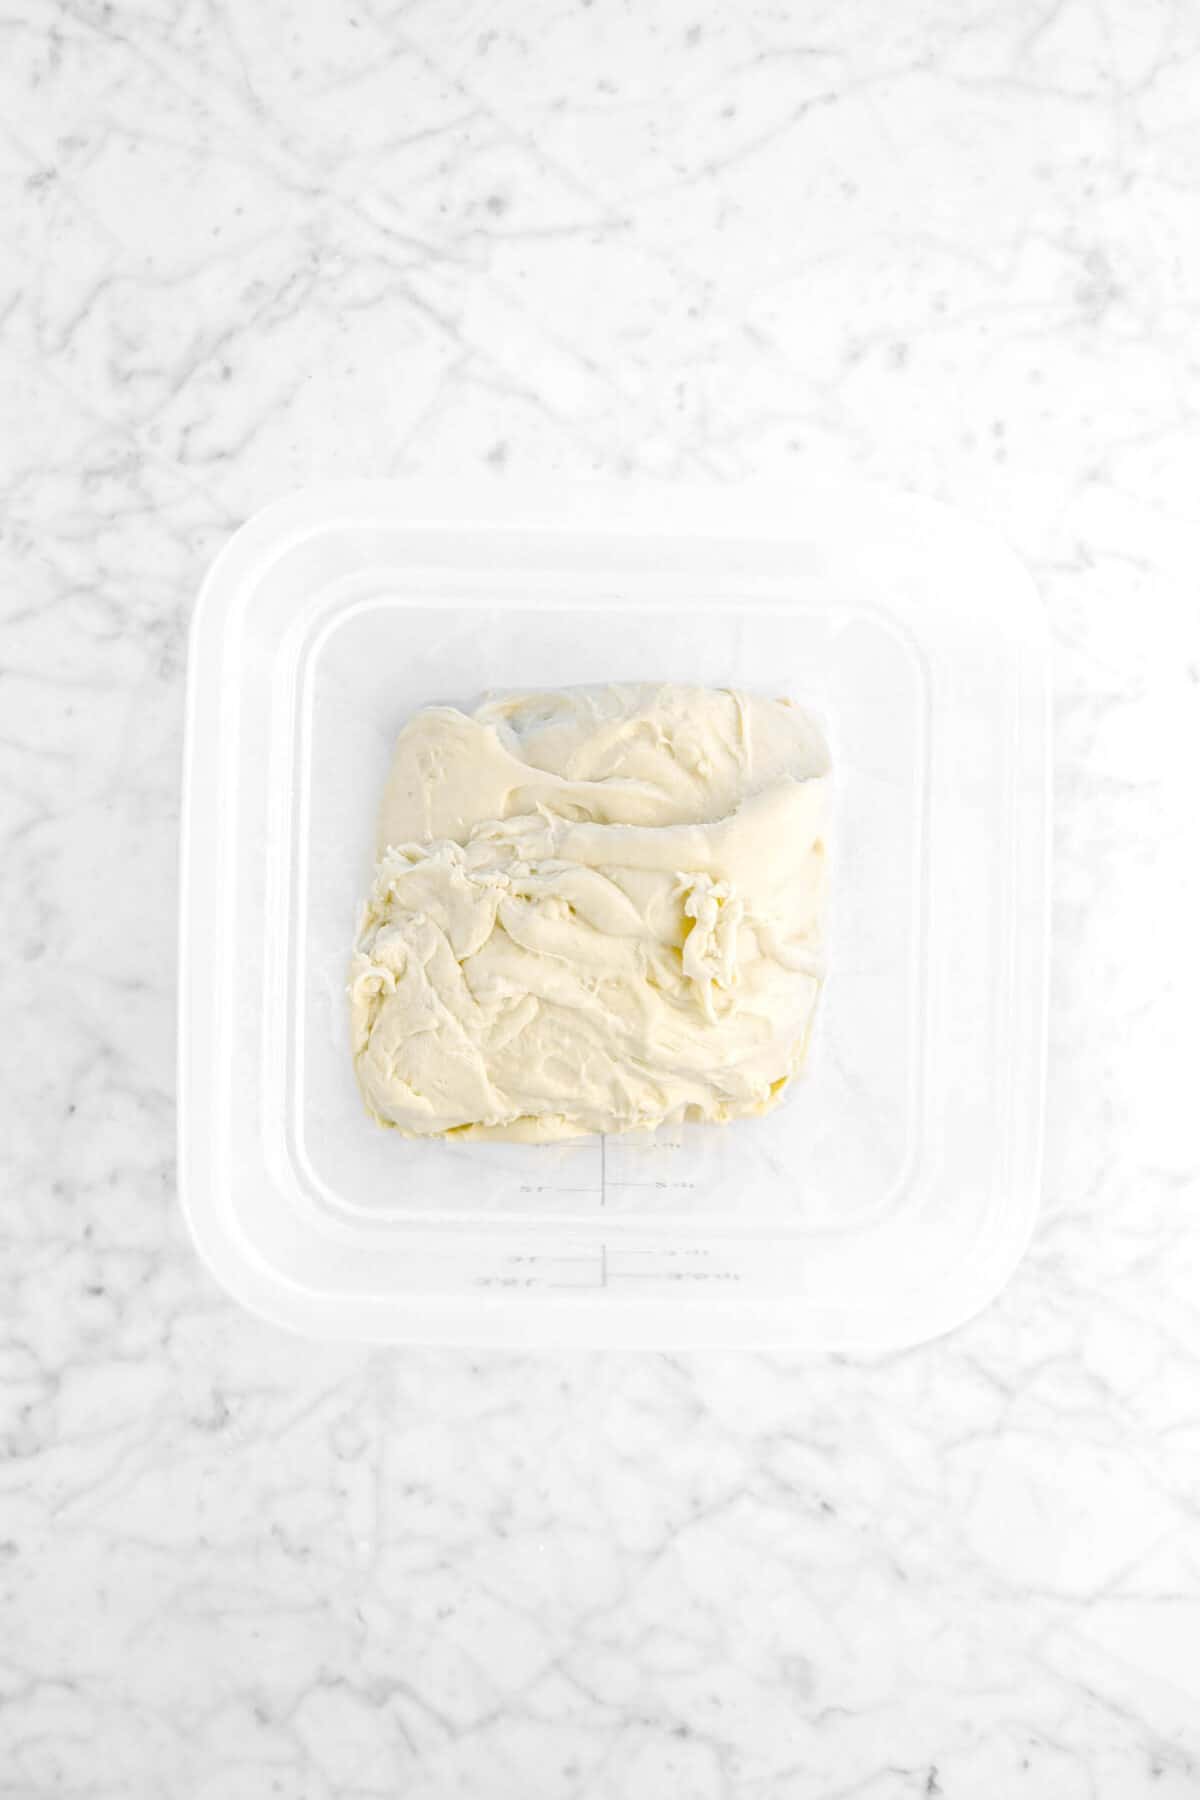
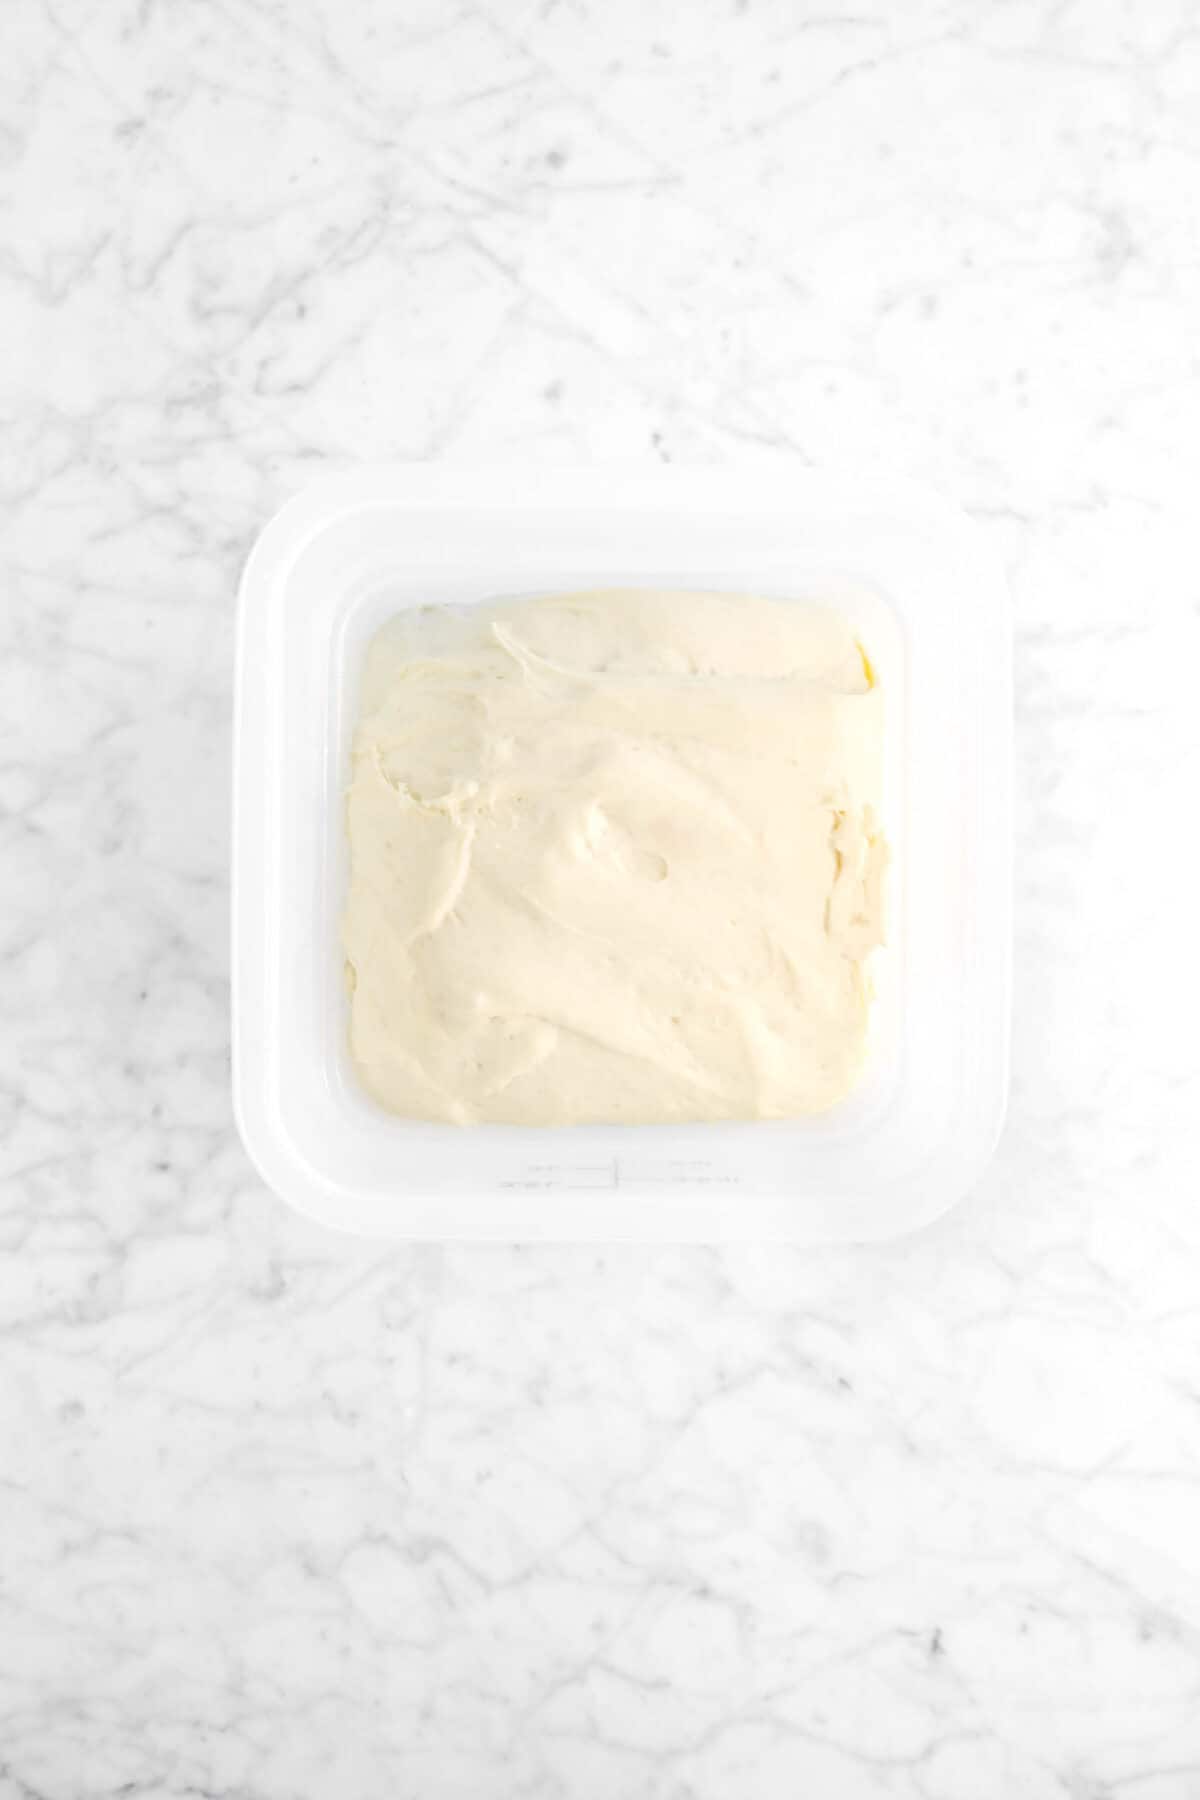
Place the dough in covered, greased container. Allow to rise for 1 hour.
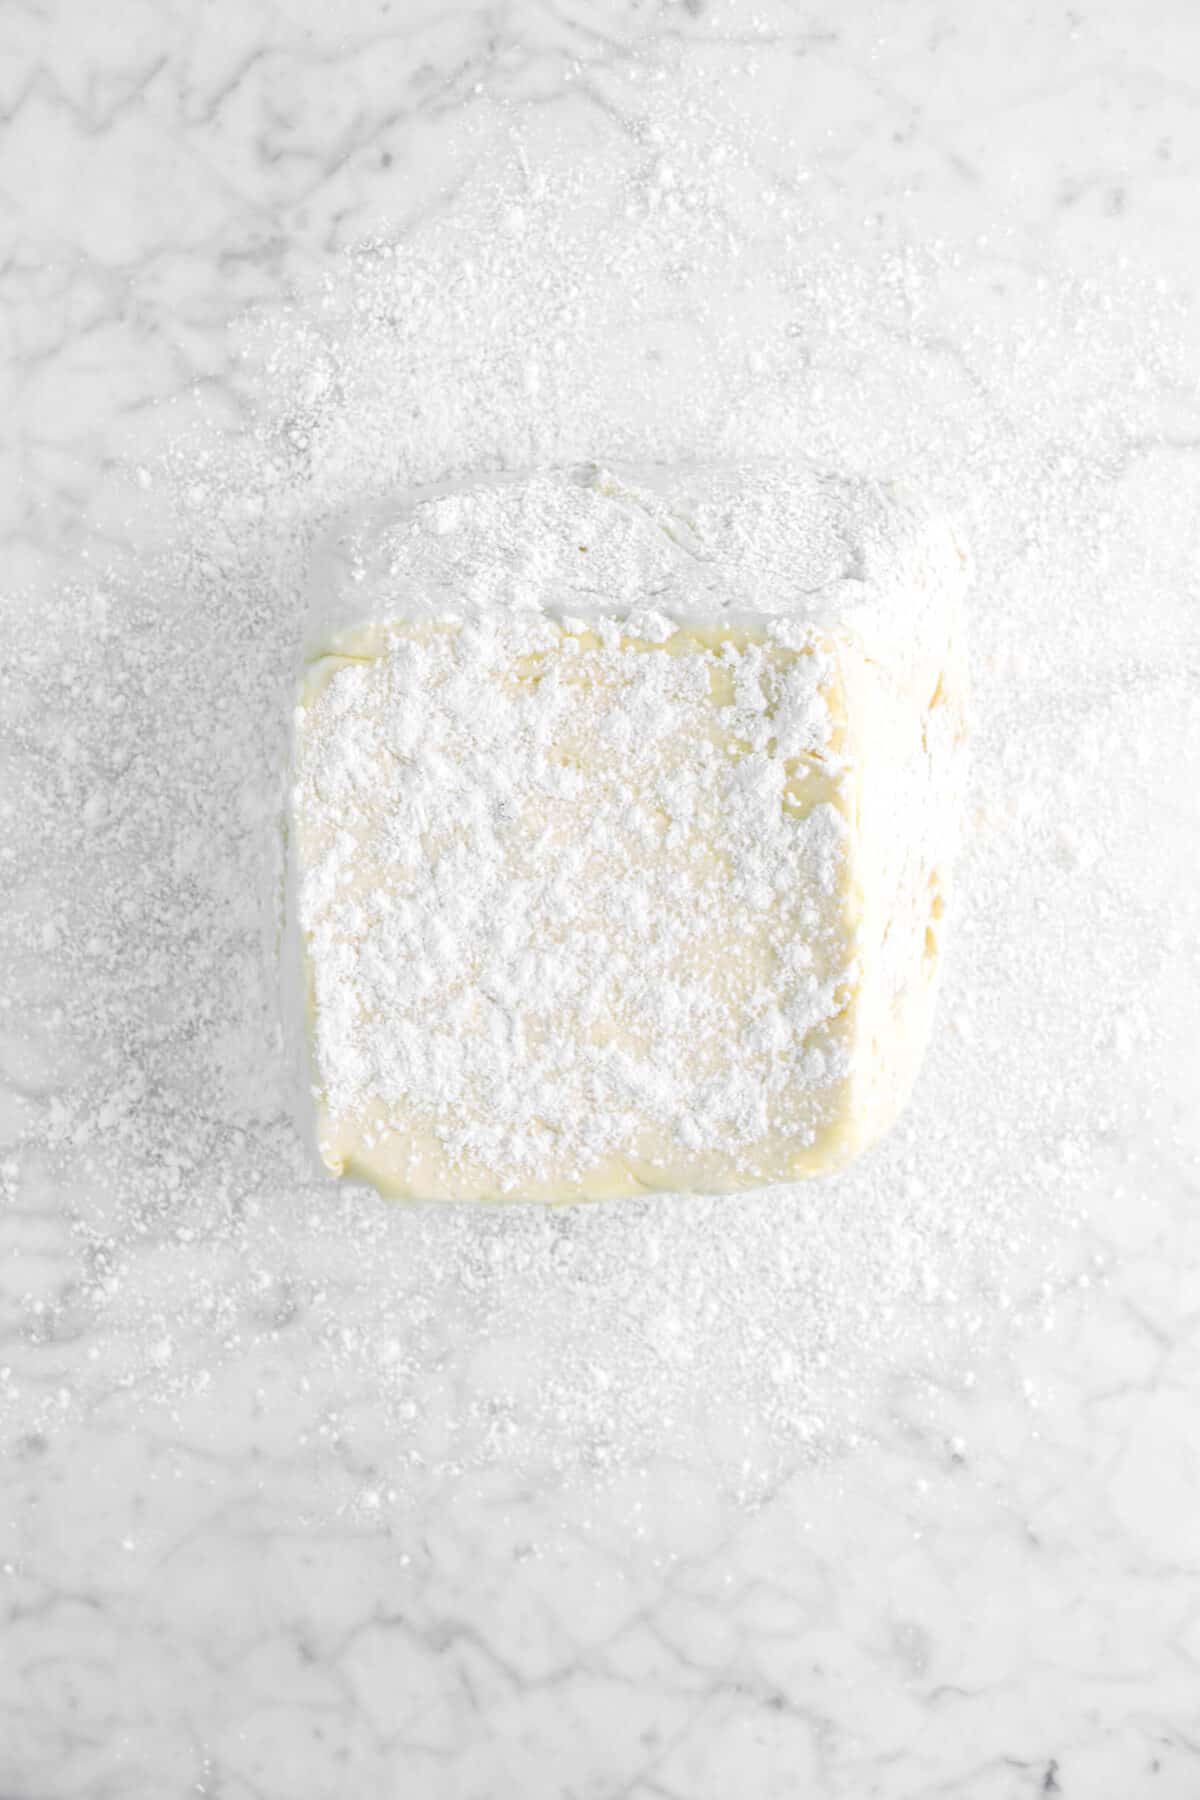
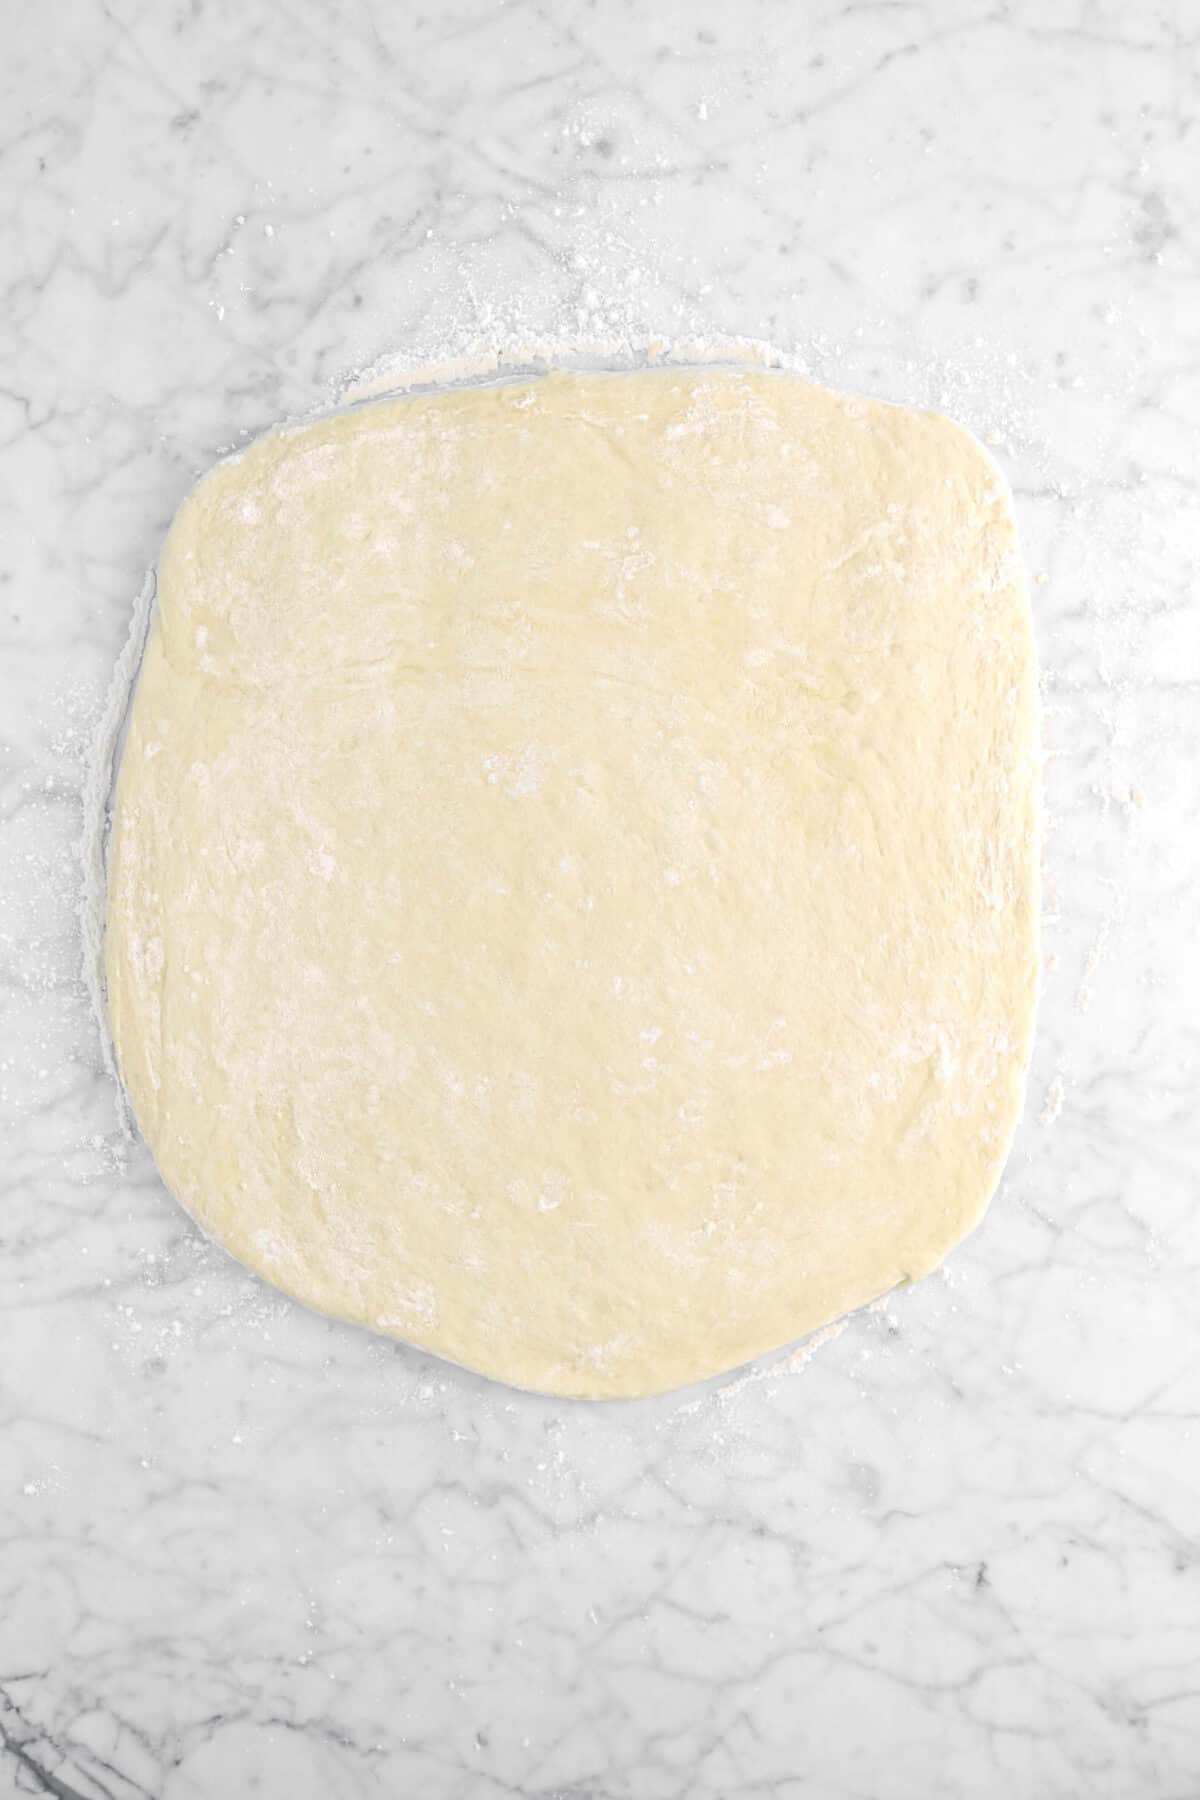
Turn the dough out onto floured surface and sprinkle top of dough with flour. Roll to ½ inch thick. Cover dough and let rest for 10 minutes.
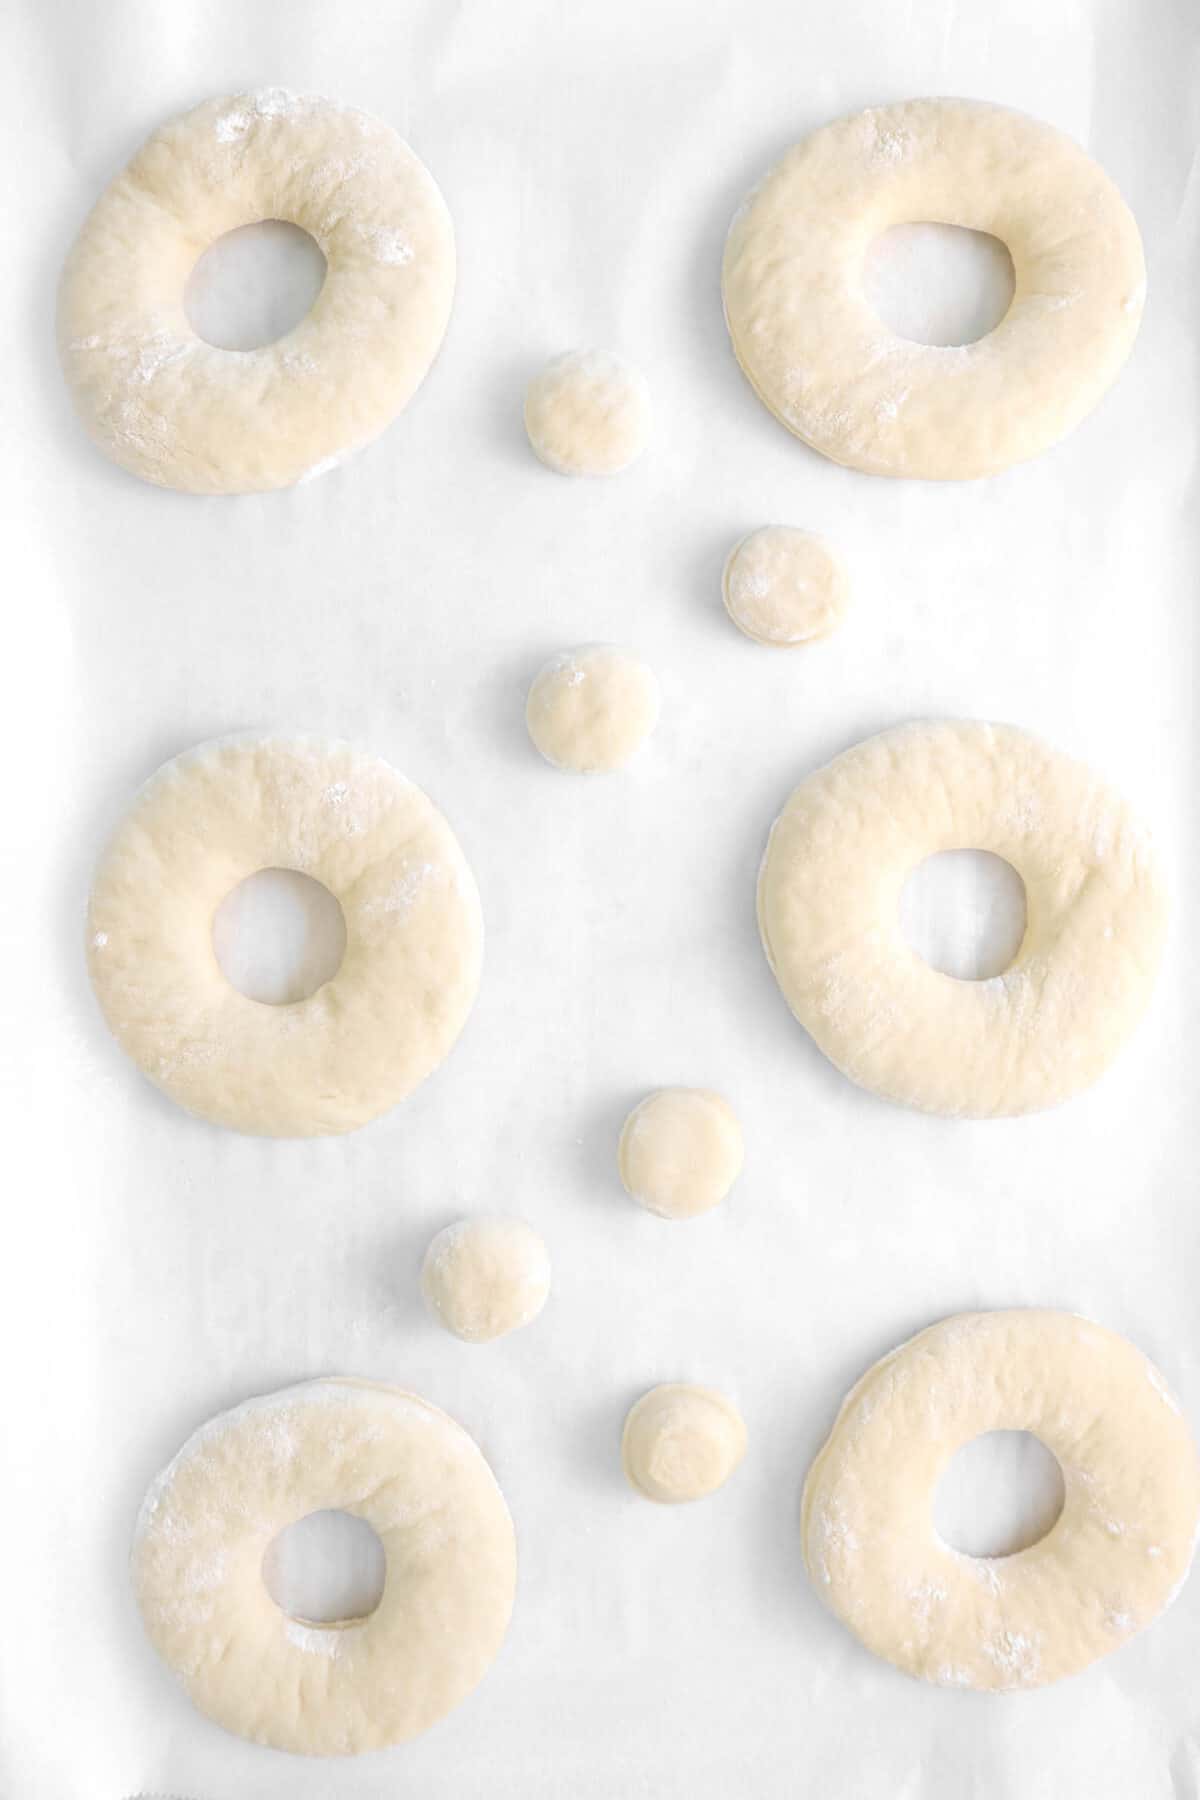
Step 3: Cut and fry
Cut out the doughnuts. Place each doughnut about 3-4 inches apart on parchment lined pans that have been lightly sprayed with cooking spray. Cover and let rise 15 minutes. You can re-roll the scraps, but these won’t be as pretty as the first batch! Just remember to not add anymore flour to the dough if you choose to re-roll.

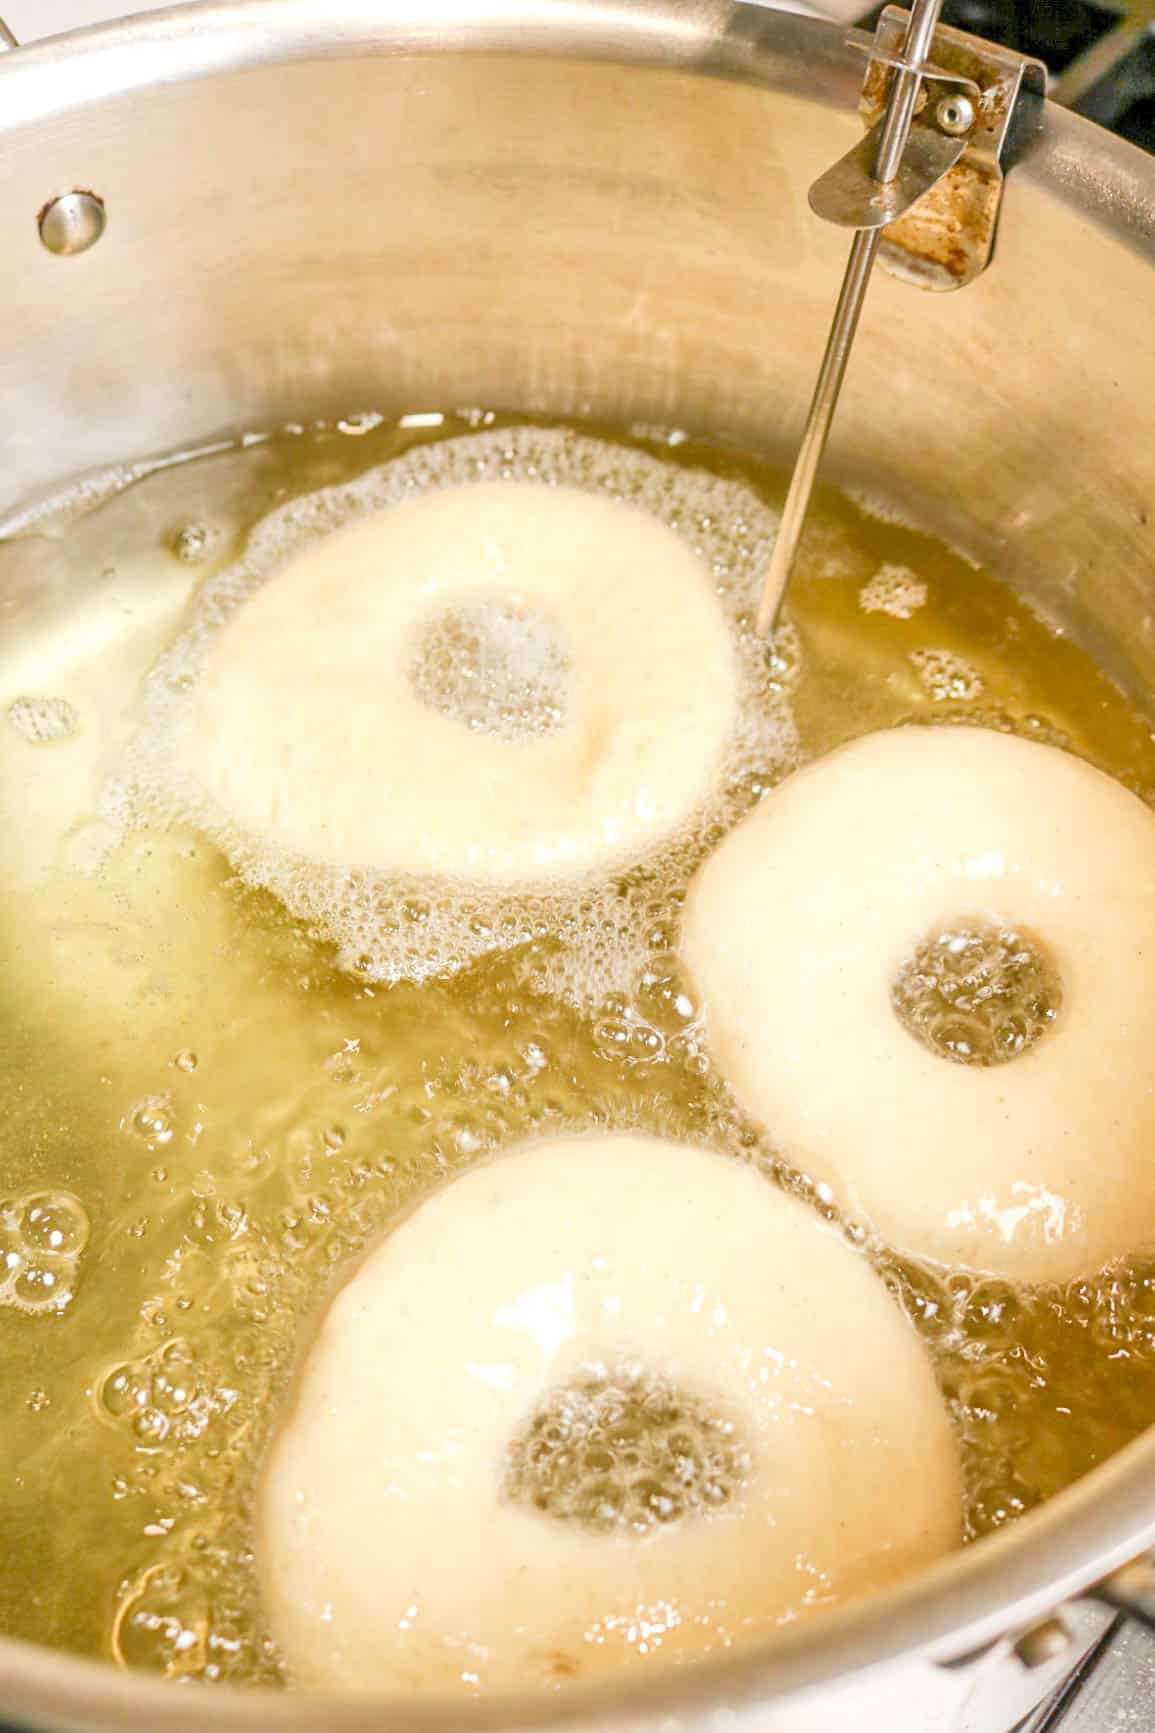
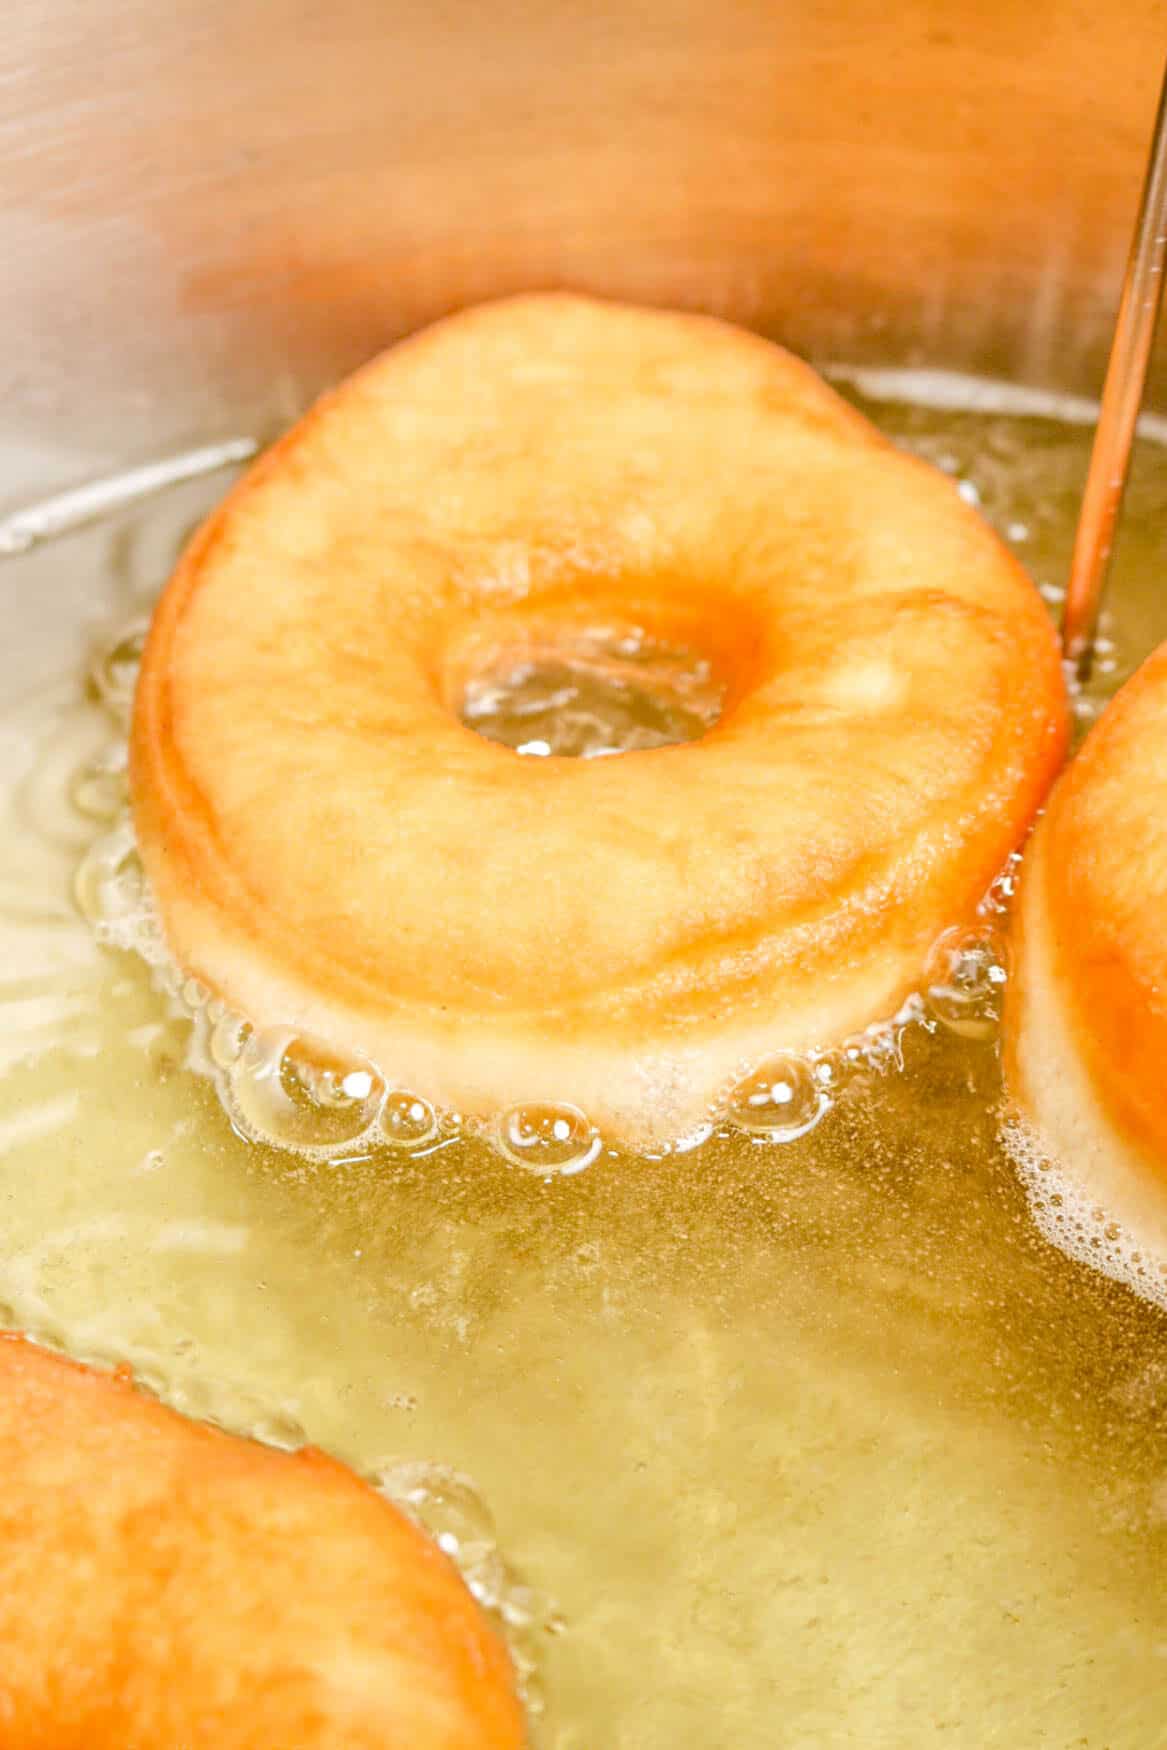
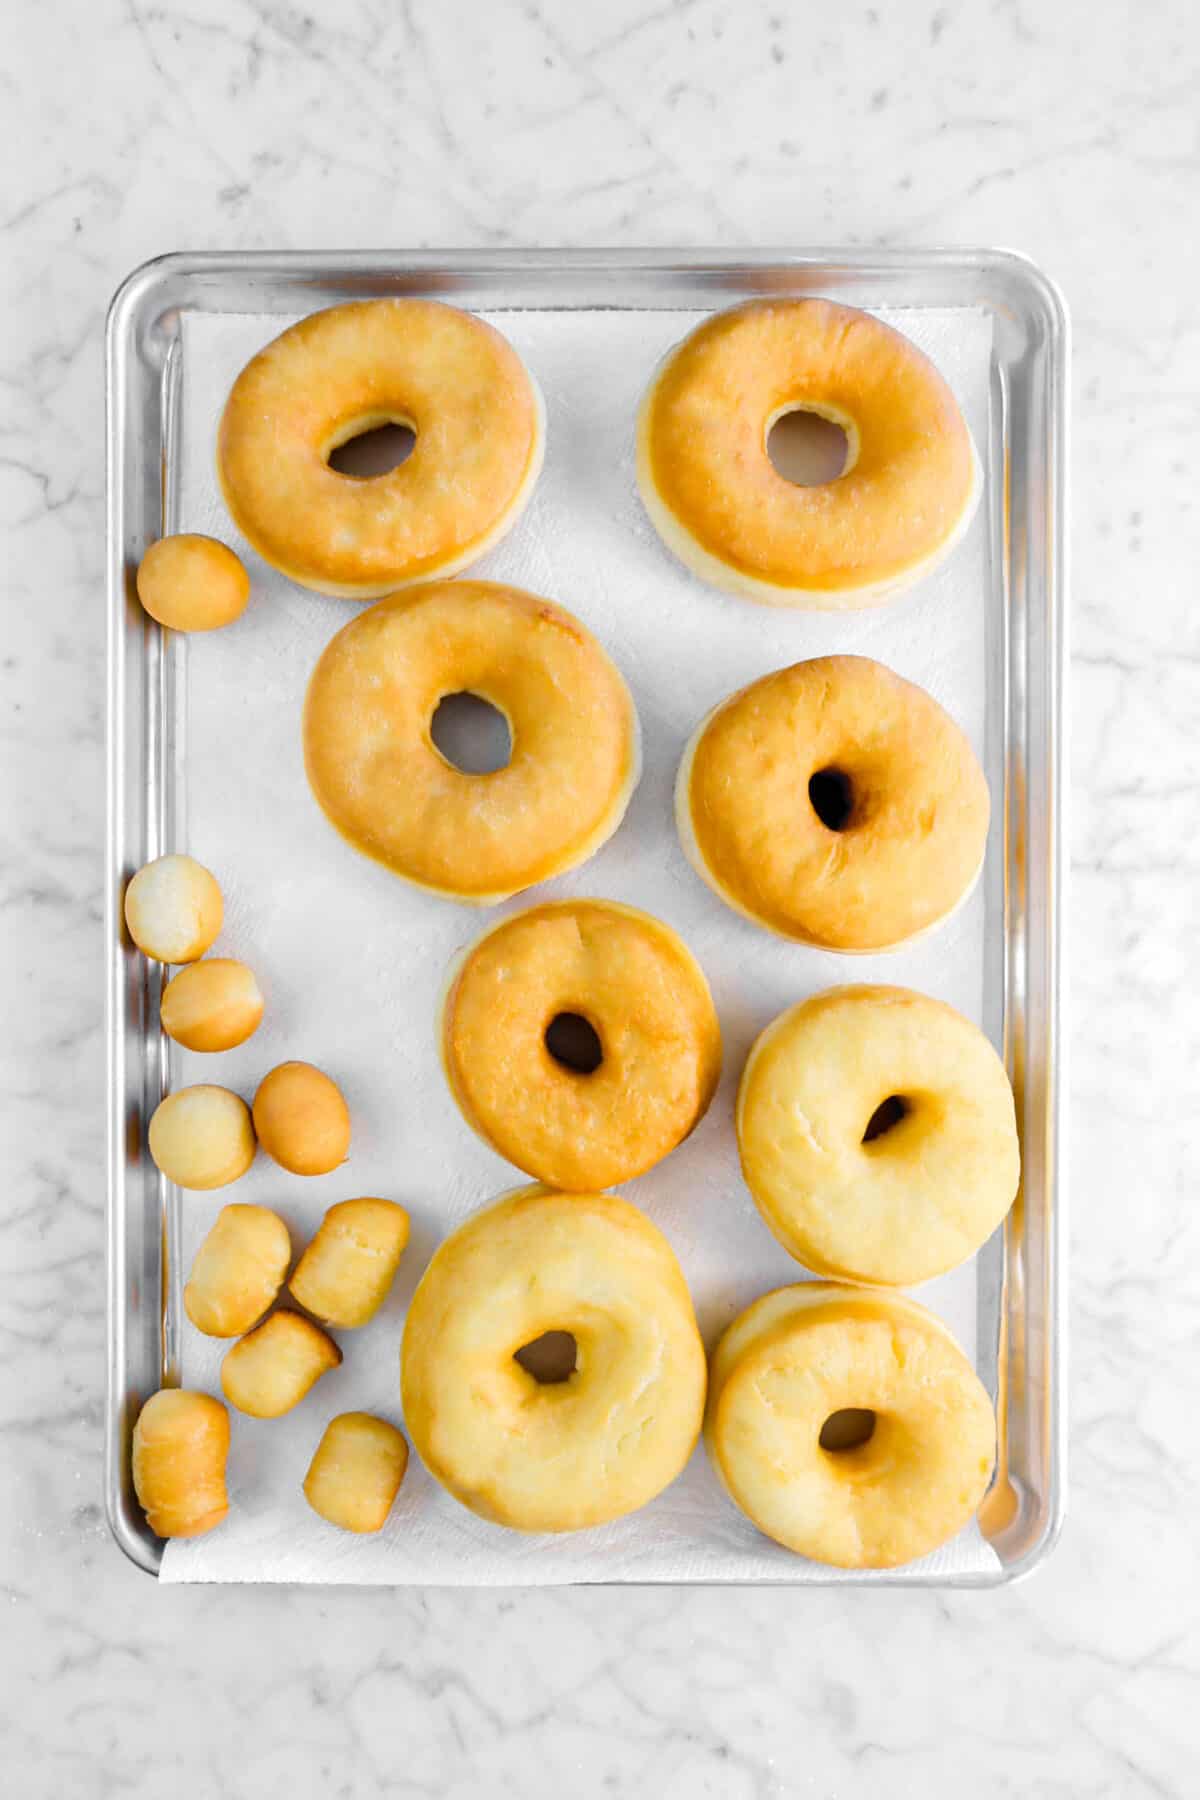
While the dough is rising, heat 2 inches of oil in a large pot to 350℉. Fry doughnuts in small batches, 2 or 3 at a time, 1-2 minutes on each side until golden brown. Drain on paper towels.
Step 4: Make the glaze
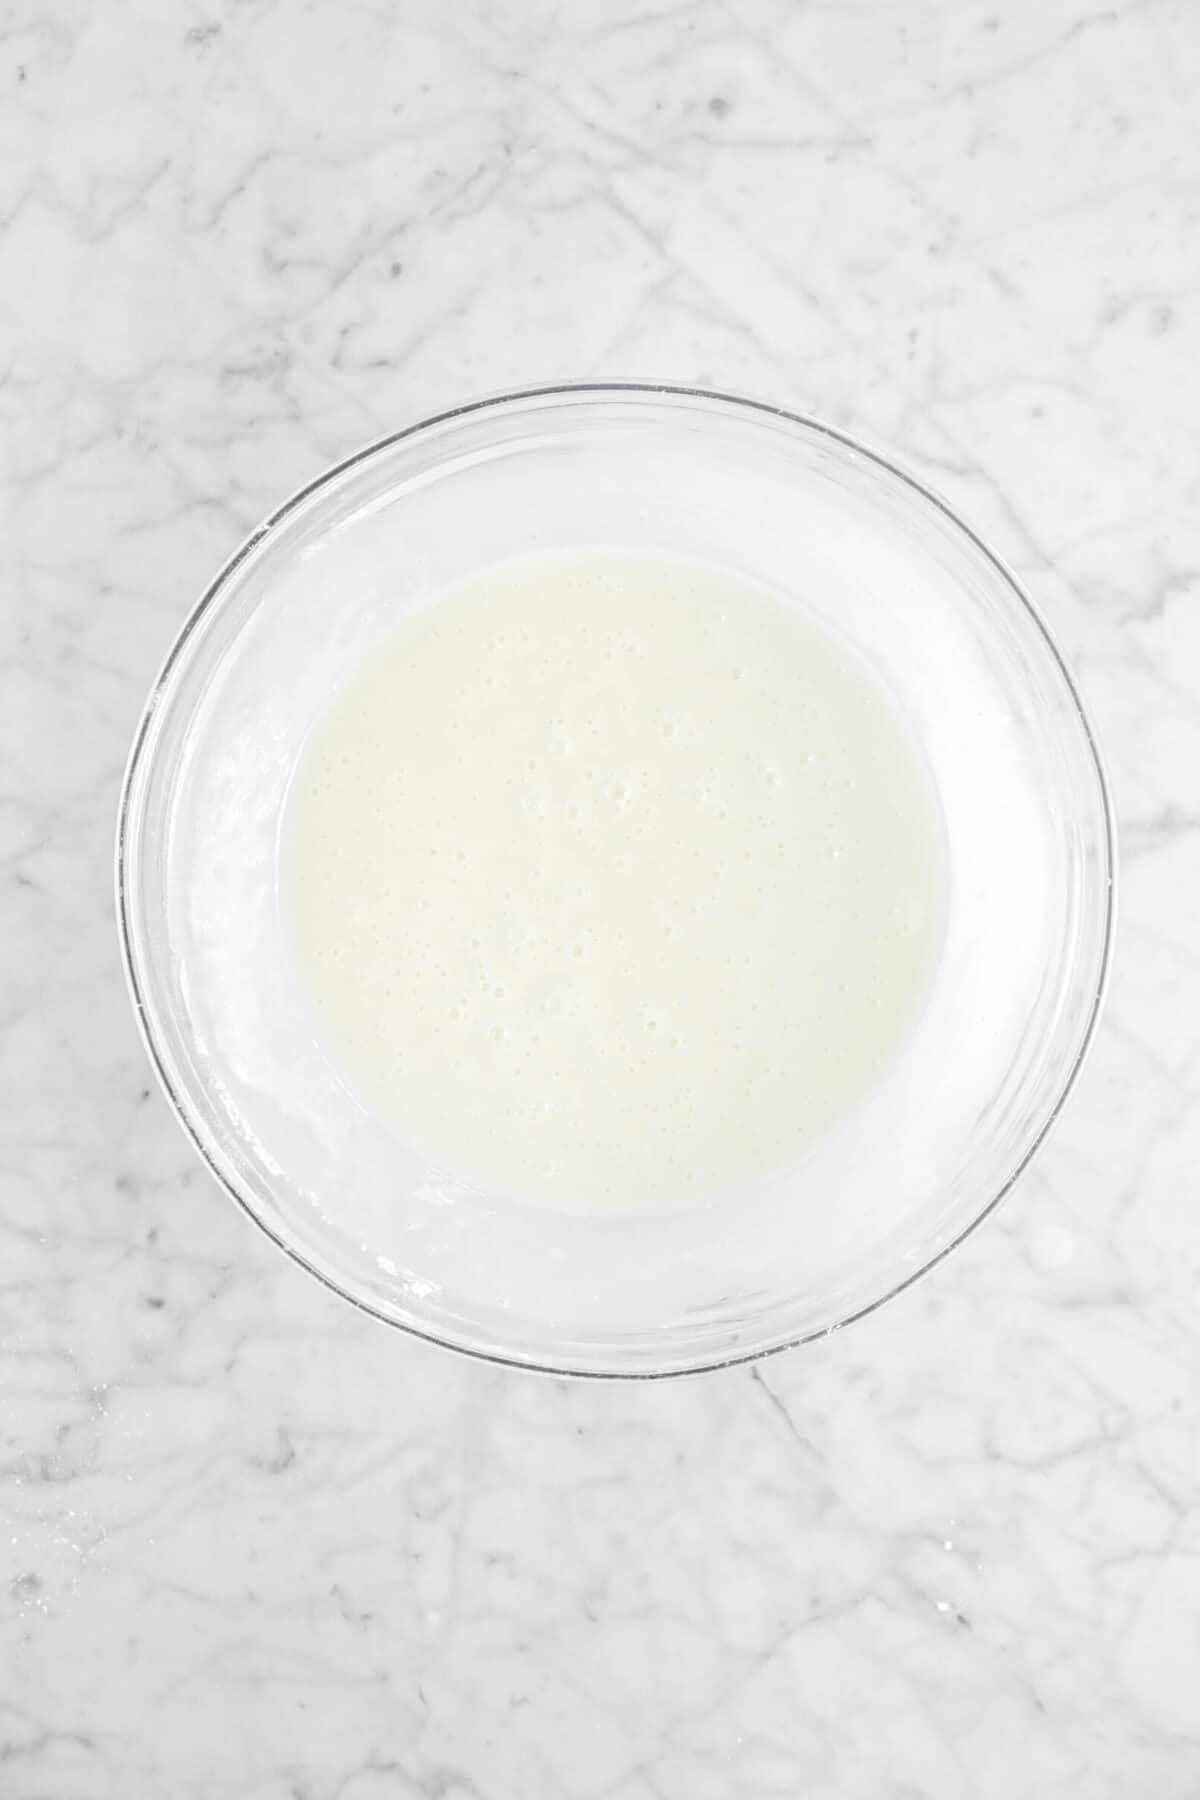
Combine the powdered sugar, milk, and vanilla. Whisk until smooth.
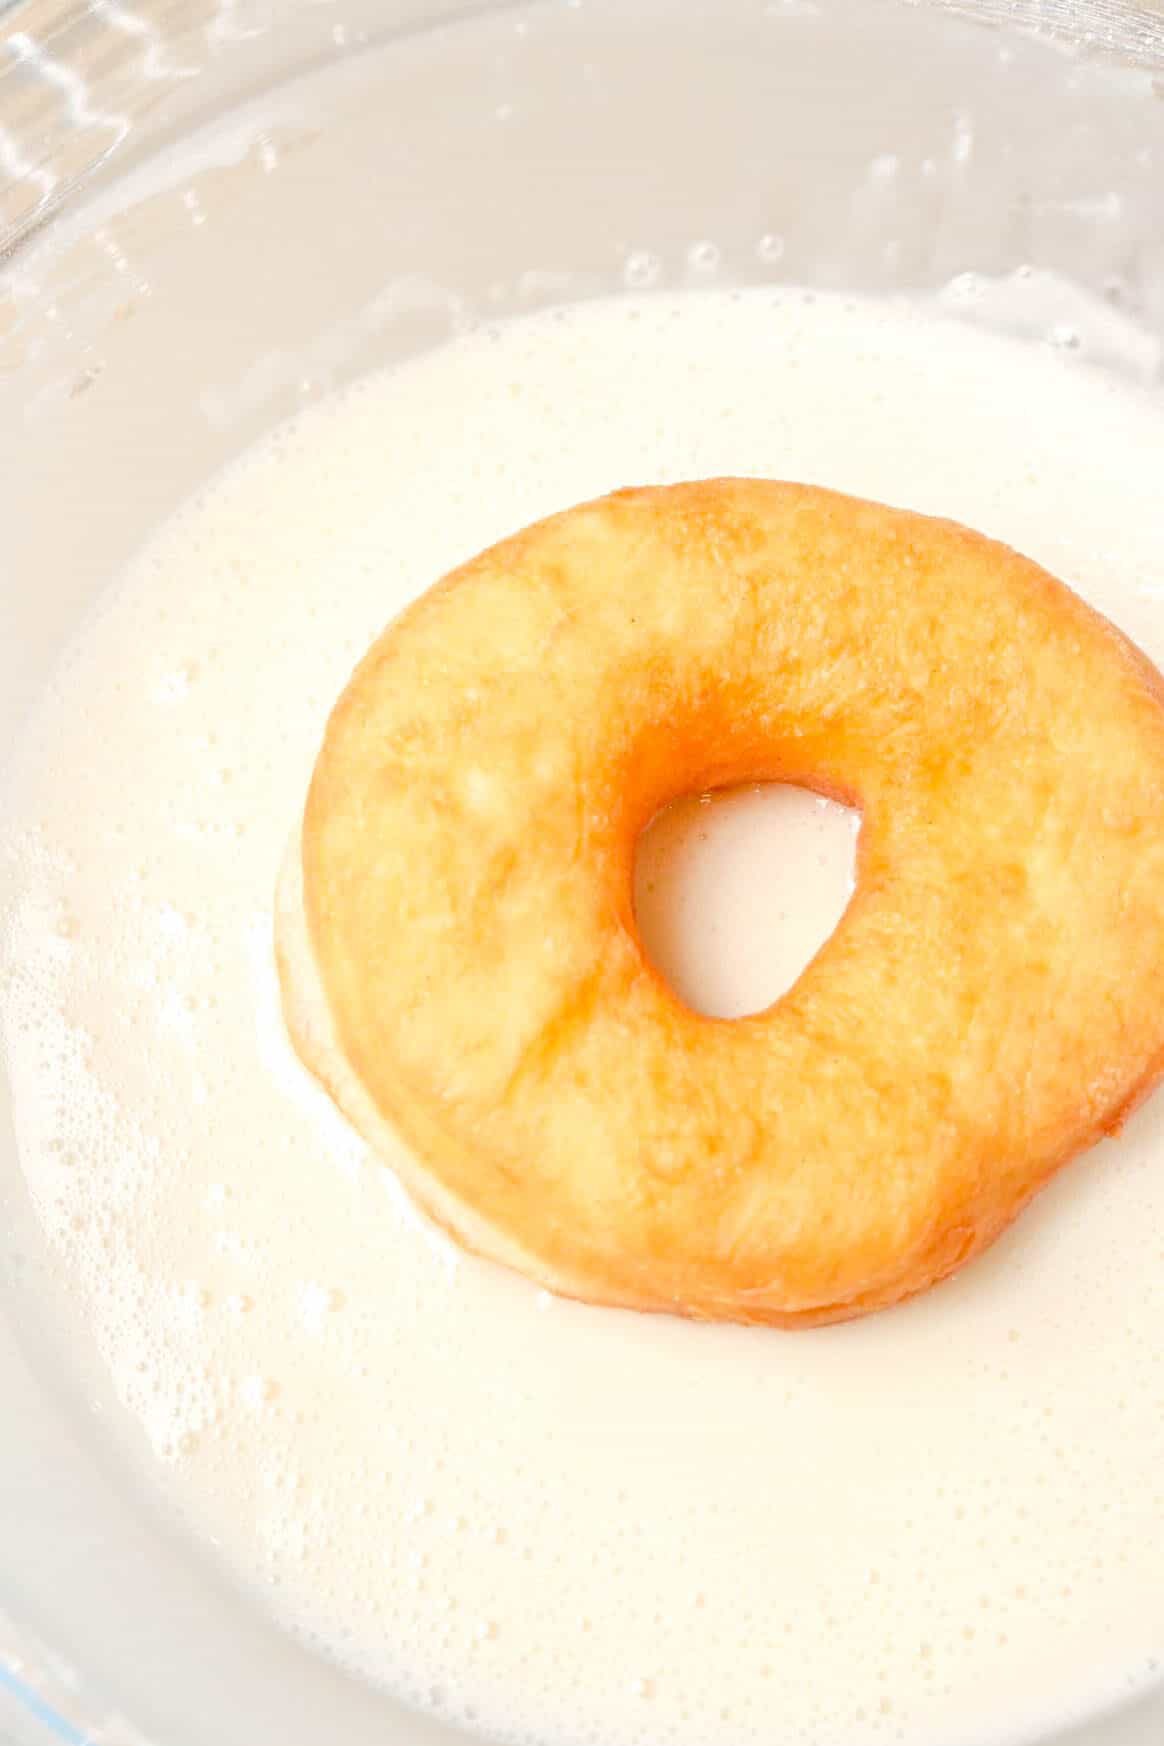
Step 5: Dip doughnuts
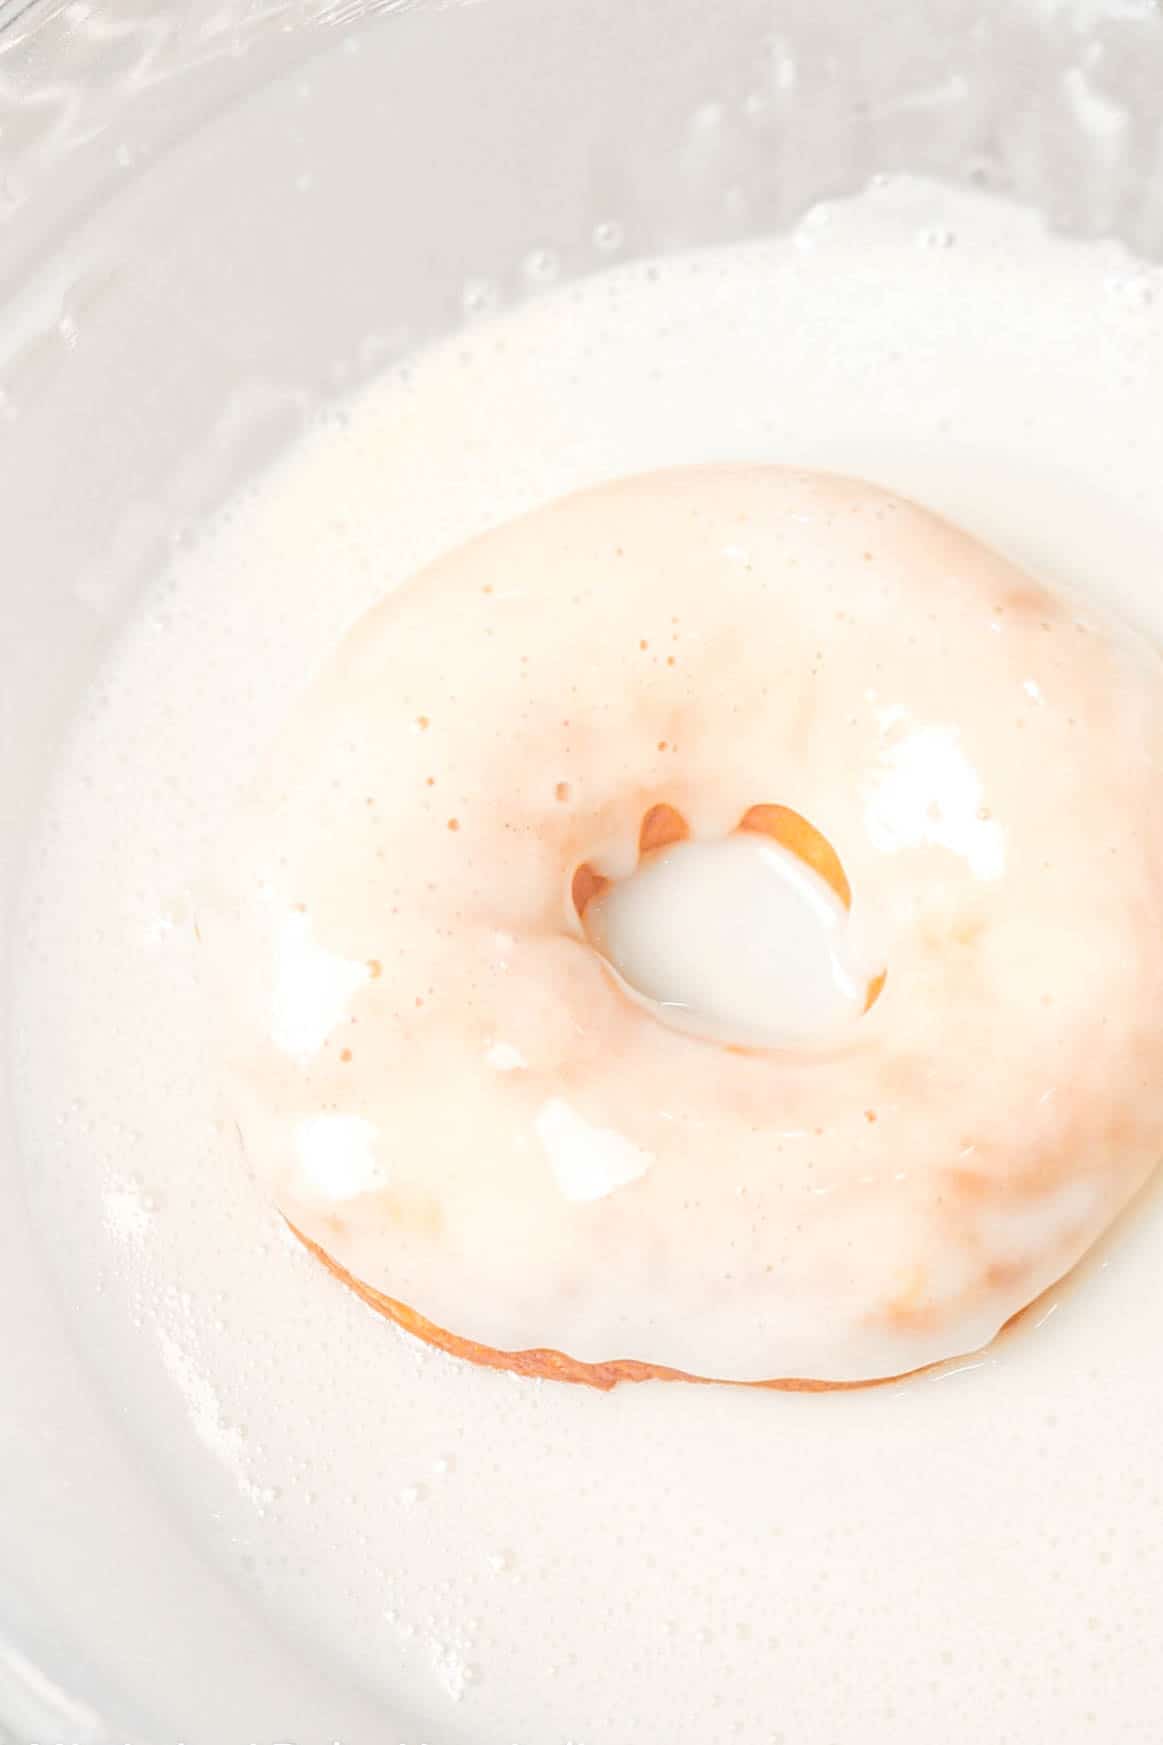
Dip the doughnuts in the glaze, one side at a time. Place on a wire cooling rack and let the excess glaze drip off.
This Dough Is Best For Frying
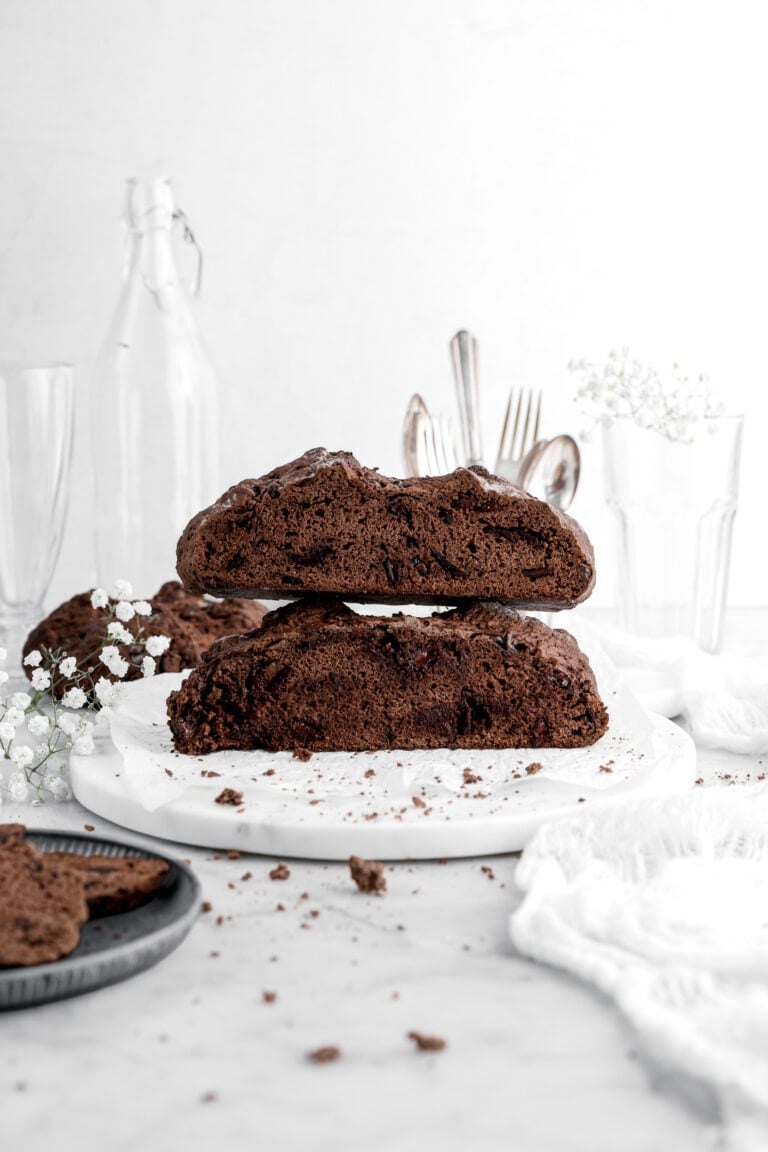
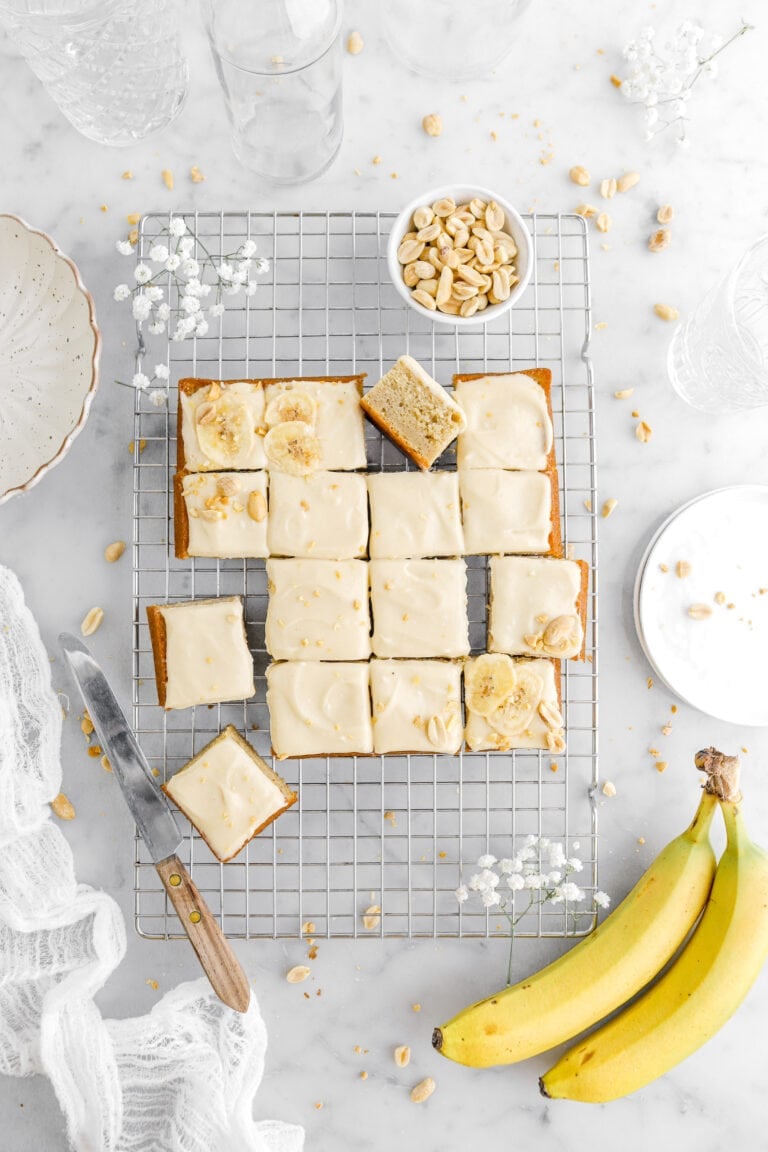
While most doughs are associated with baking, this dough was formulated specifically for frying! We would not recommend baking these doughnuts. But, if you’re really looking for some doughnuts to bake, you might want to check out our Cinnamon Spiced Donuts, Double Dark Chocolate Donuts, Banana Nut Donuts, or even our Apple Cider Donuts!
FAQ’s
The most important thing you need to make sure of is that all your ingredients are room temperature. If anything is cold, it won’t work.
If your dough is not smooth, you haven’t kneaded it enough. If your mixer can’t handle the dough, you can finish kneading it by hand. It’ll take a little longer, but will work just as well.
This could be a couple of things. It might be too cold, it could be the yeast, or it just hasn’t had the amount of time needed to rise. Sweet dough takes longer to rise than regular dough because all the extra ingredients in there (sugar, eggs, milk) inhibit the yeast. Try placing the dough near a warm oven or in a proofing box. If you’re sure this isn’t the problem, check your yeast to see if it’s still active!
This is because your oil is too hot! Use a good quality thermometer and turn down your heat. Allow it time to cool to 350° F before trying again.
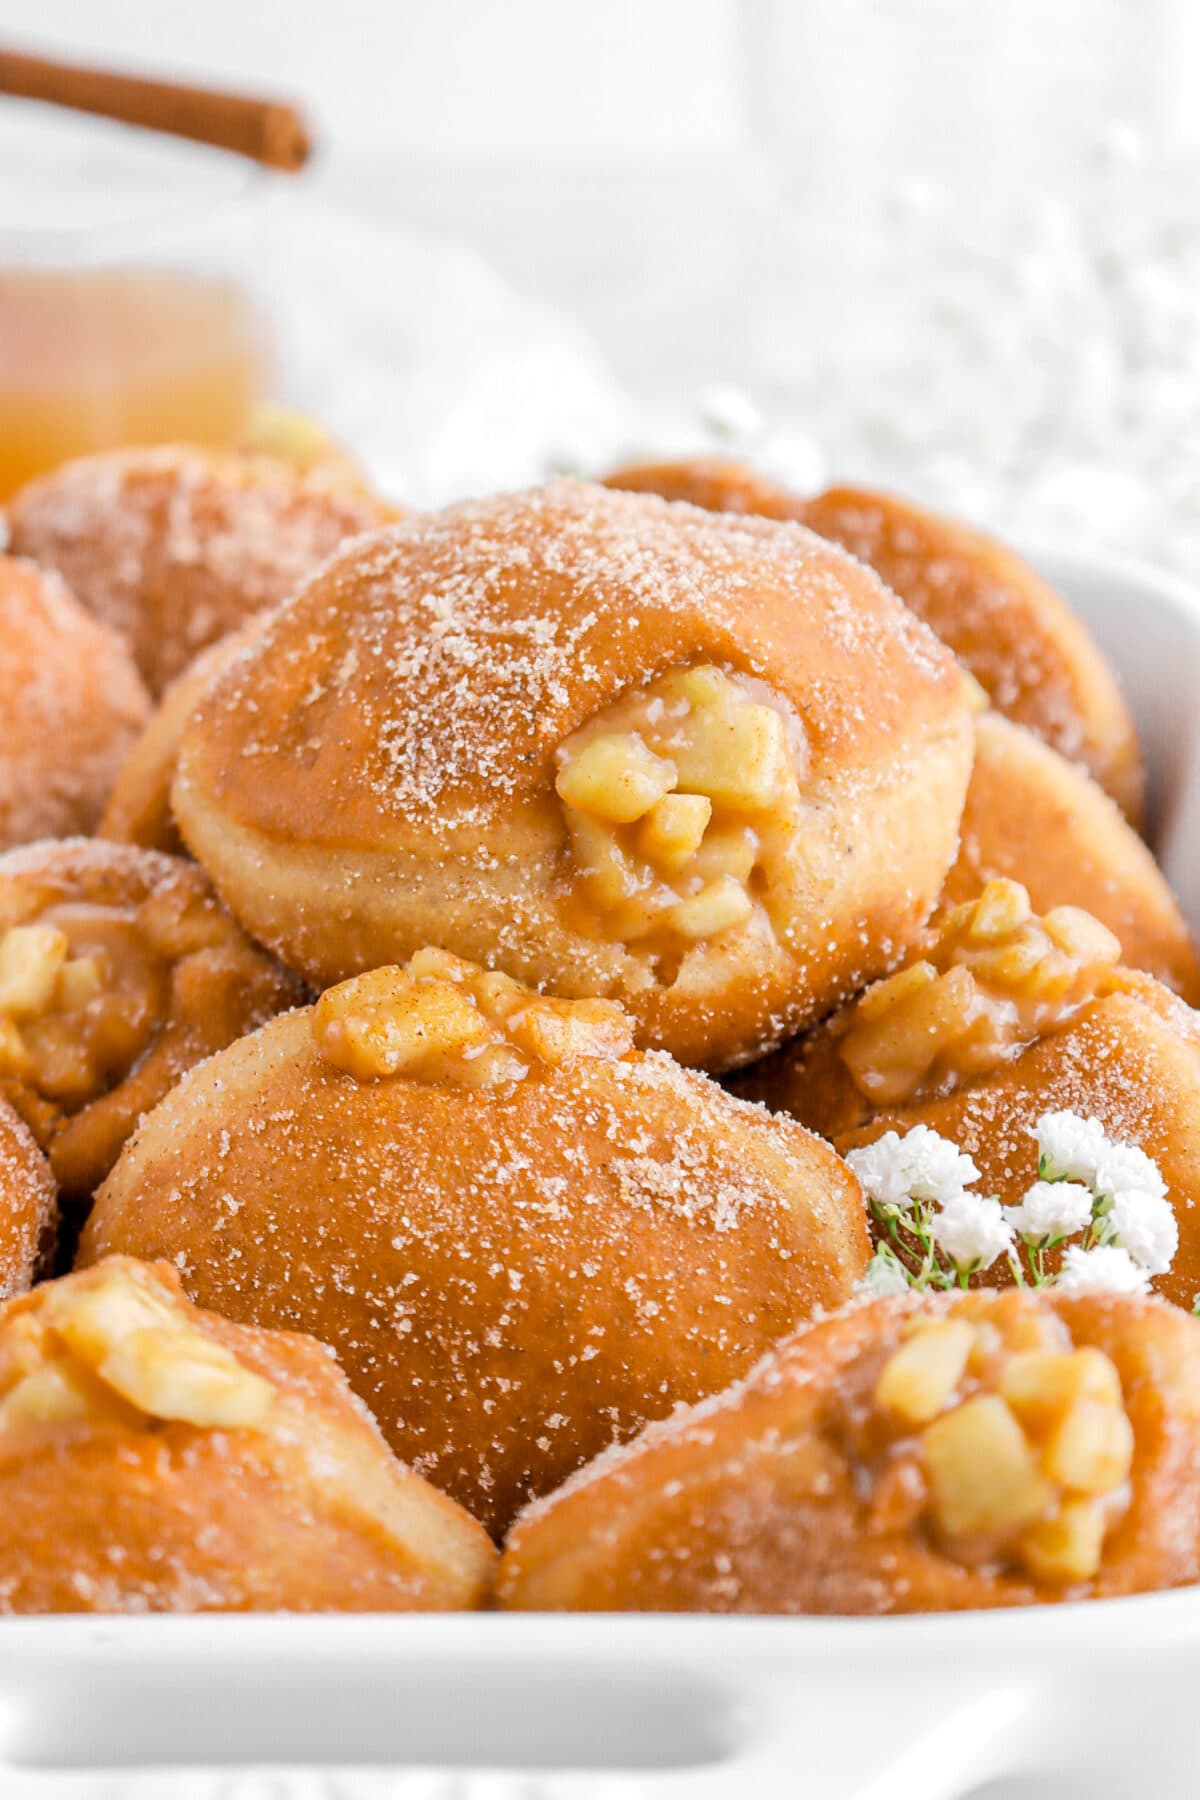
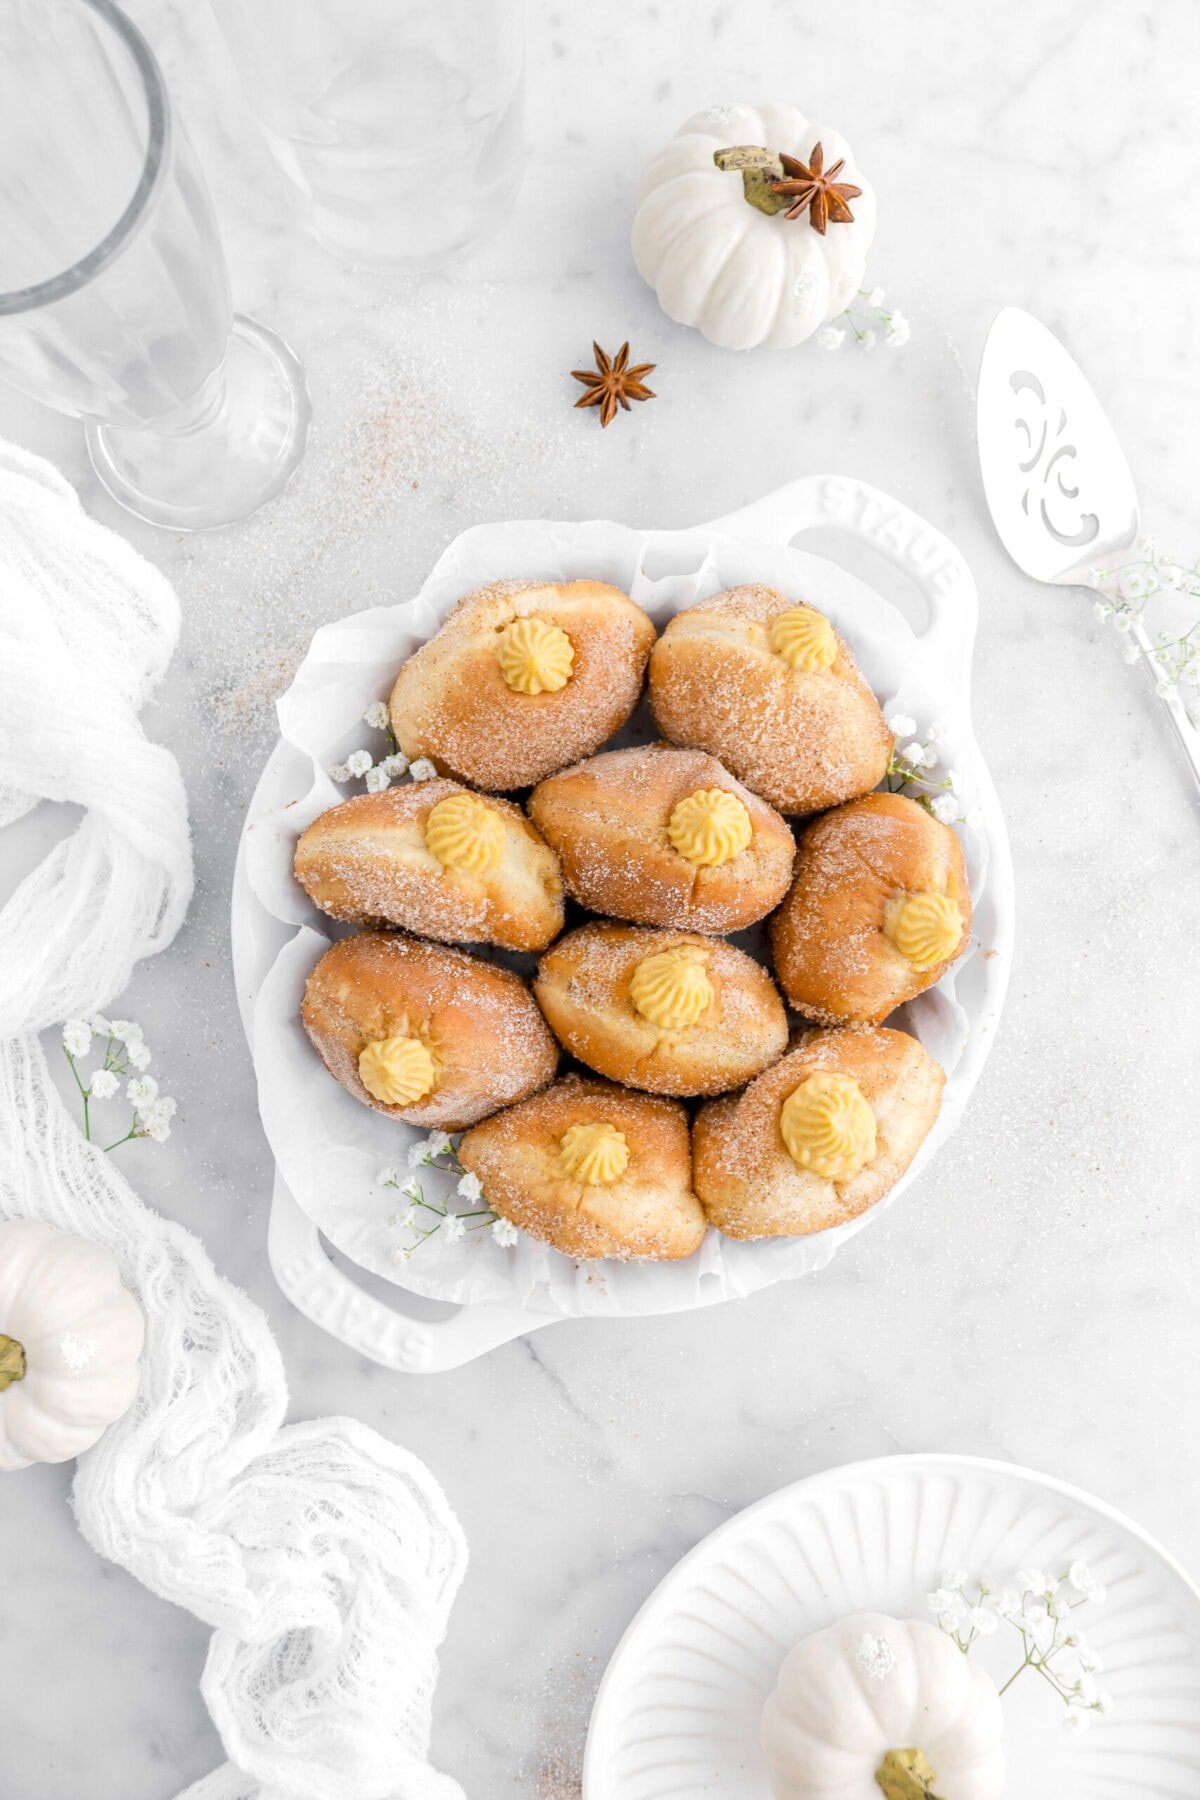
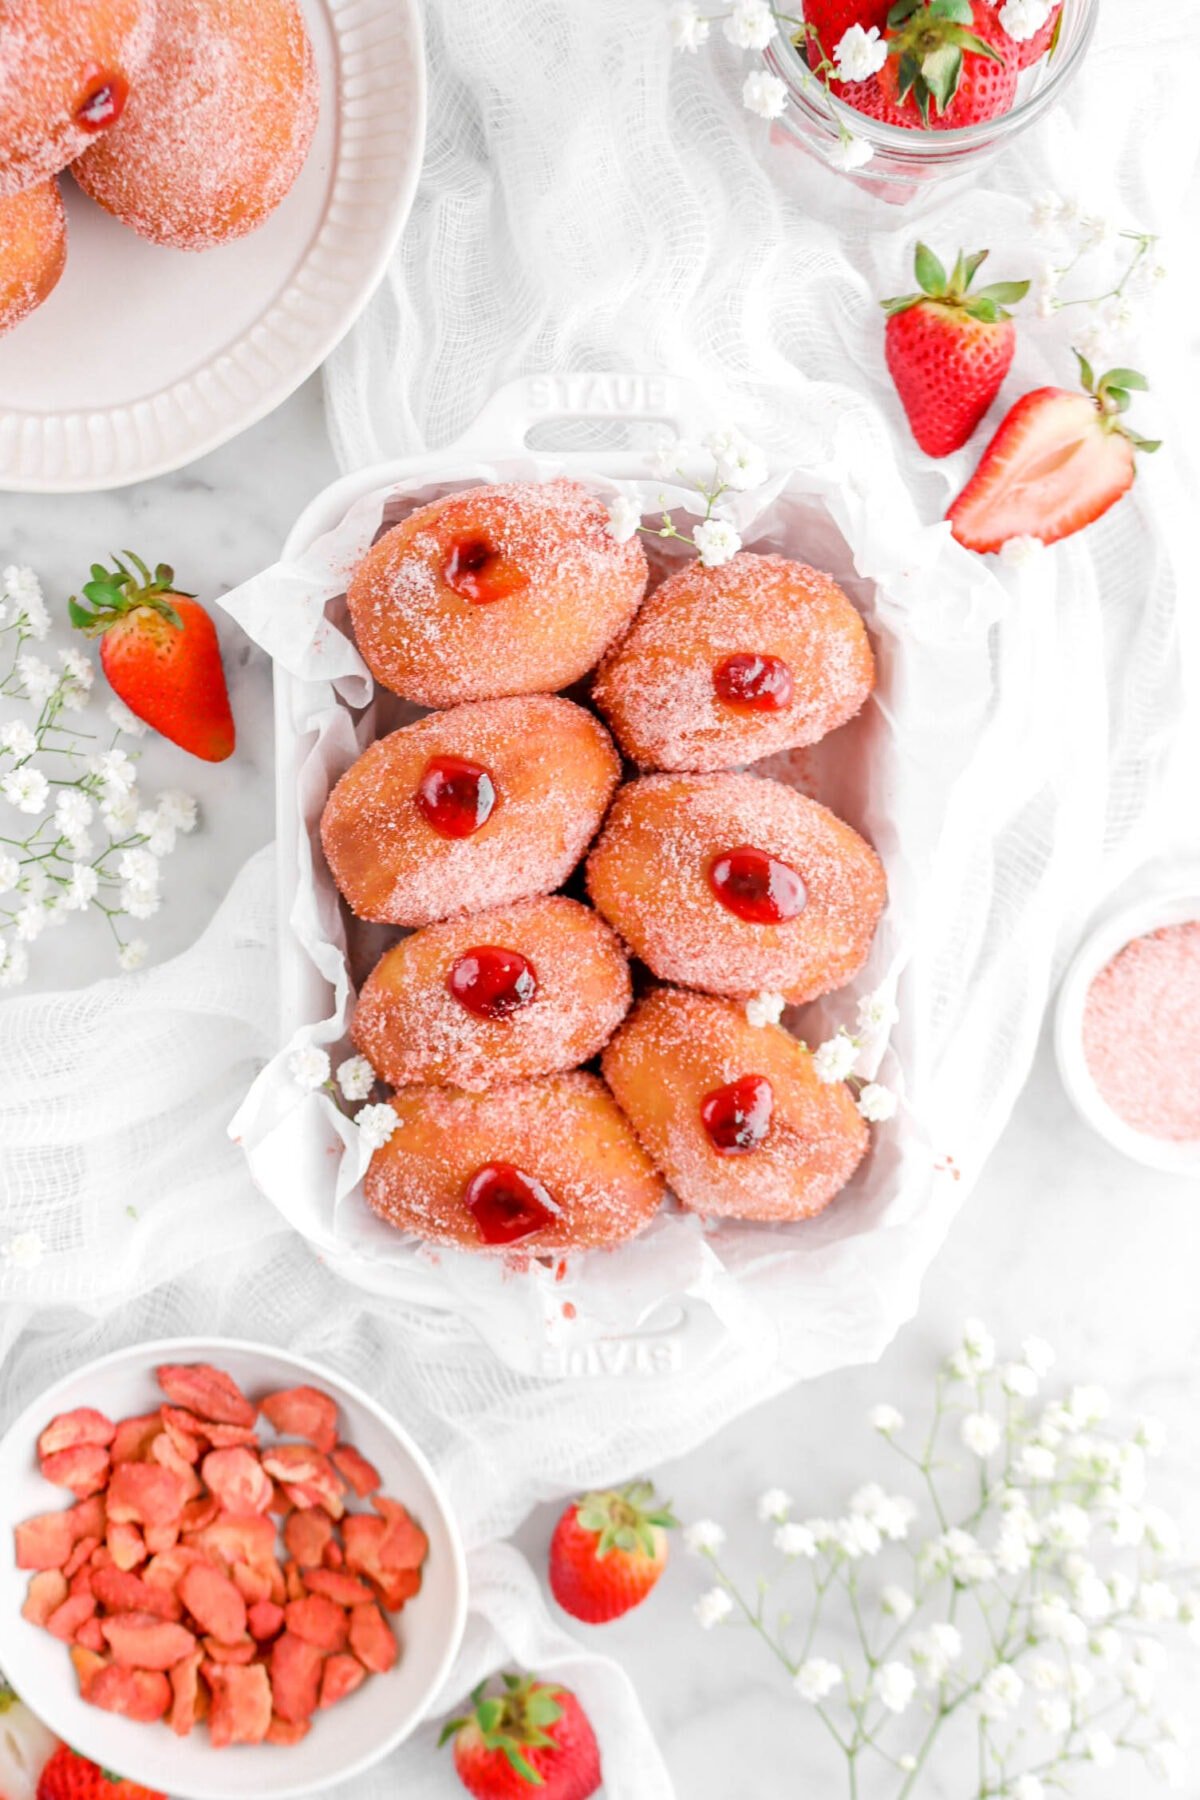
Of course! Instead of using a traditional doughnut cutter, use a 3-4 inch round biscuit cutter. From there, follow the recipe as written. We highly recommend filling doughnuts with Strawberry Jam, Raspberry Jam, Chantilly Cream, or even custard!
This recipe is best fried in oil. If an air fryer is used, the doughnuts may come out more like bread than doughnuts. We highly recommend following the recipe as written for best results.

Craving more? Here are a few recipes you may like:

When you make these Homemade Glazed Vanilla Doughnuts, leave a comment down below! We love hearing from you and answering any questions you might have! Also, be sure to tag us on social media and hashtag it #BakersTable.
Happy baking!
x, Caylie

Homemade Glazed Vanilla Doughnuts
Ingredients
Doughnuts
- 4 cups all purpose flour*
- 1 Tablespoon instant yeast
- 2 teaspoons baking powder
- ⅛ cup granulated sugar
- 1¼ teaspoons kosher salt
- 1¼ cups whole milk
- 2 large eggs, room temperature
- 1 teaspoon vanilla extract
- ½ cup unsalted butter, softened
- vegetable oil, for frying
Glaze
- 4 cups confectioners sugar, sifted
- ¾ cup whole milk
- 1 teaspoon vanilla extract
Instructions
Doughnuts
- In the bowl of a stand mixer, combine flour, yeast, baking powder, sugar, and salt.
- With mixer running, add milk, eggs, vanilla, and butter.
- Mix on low speed for 1-2 minutes, until combined.
- Switch to dough hook.
- Turn speed to medium and knead for 8-10 minutes, until dough is smooth.
- Turn dough into covered, oiled container.
- Allow to rise for 1 hour.
- Turn dough out onto floured surface.
- Sprinkle top of dough with flour.
- Roll to ½ inch thick.
- Cover dough and let rest for 10 minutes.
- Cut out doughnuts.
- Place on parchment lined pans that have been lightly sprayed with cooking spray.
- Cover and let rise 15 minutes.
- While dough is rising, heat 2 inches of oil in a large pot to 350℉.
- Fry doughnuts in small batches, 2 or 3 at a time, 1-2 minutes on each side until golden brown.
- Drain on paper towels.
Glaze
- Combine confectioners sugar, milk, and vanilla.
- Beat until smooth.
To Finish
- Dip cooked doughnuts into glaze, being sure to coat both sides.
- Place on a wire cooling rack to dry. (Make sure you place a pan under the cooling rack to catch the drips.)
Notes + Tips!
- Don’t skip the resting phase! It relaxes the gluten in the dough and makes it easier to cut.
- Tea towels are perfect for covering dough while it is resting.
- You can actually re-roll the dough scraps. Just don’t add any extra flour. The doughnuts from the dough scraps won’t be quite as pretty and may be a little tougher.
- Use a thermometer to keep oil at a steady temperature.
- If there are a lot of bubbles in your glaze, the doughnuts will dry with bubbles.
- To glaze the doughnuts, place the doughnut in the bowl of glaze and use a fork (or your fingers) to flip it over.
- Place glazed doughnuts on cooling rack to dry.
Tools You May Need (affiliate links)
Nutrition
Nutritional information is only an estimate. The accuracy of the nutritional information for any recipe on this site is not guaranteed.
– Still Hungry? –
Here are a few recipes may like!
Sorry please tell me if you can make dough a day ahead of day frying?
Hi Donna! I haven’t done it that way, but you can try refrigerating them as soon as you get the dough mixed. It should work fine. Let me know how they turn out.