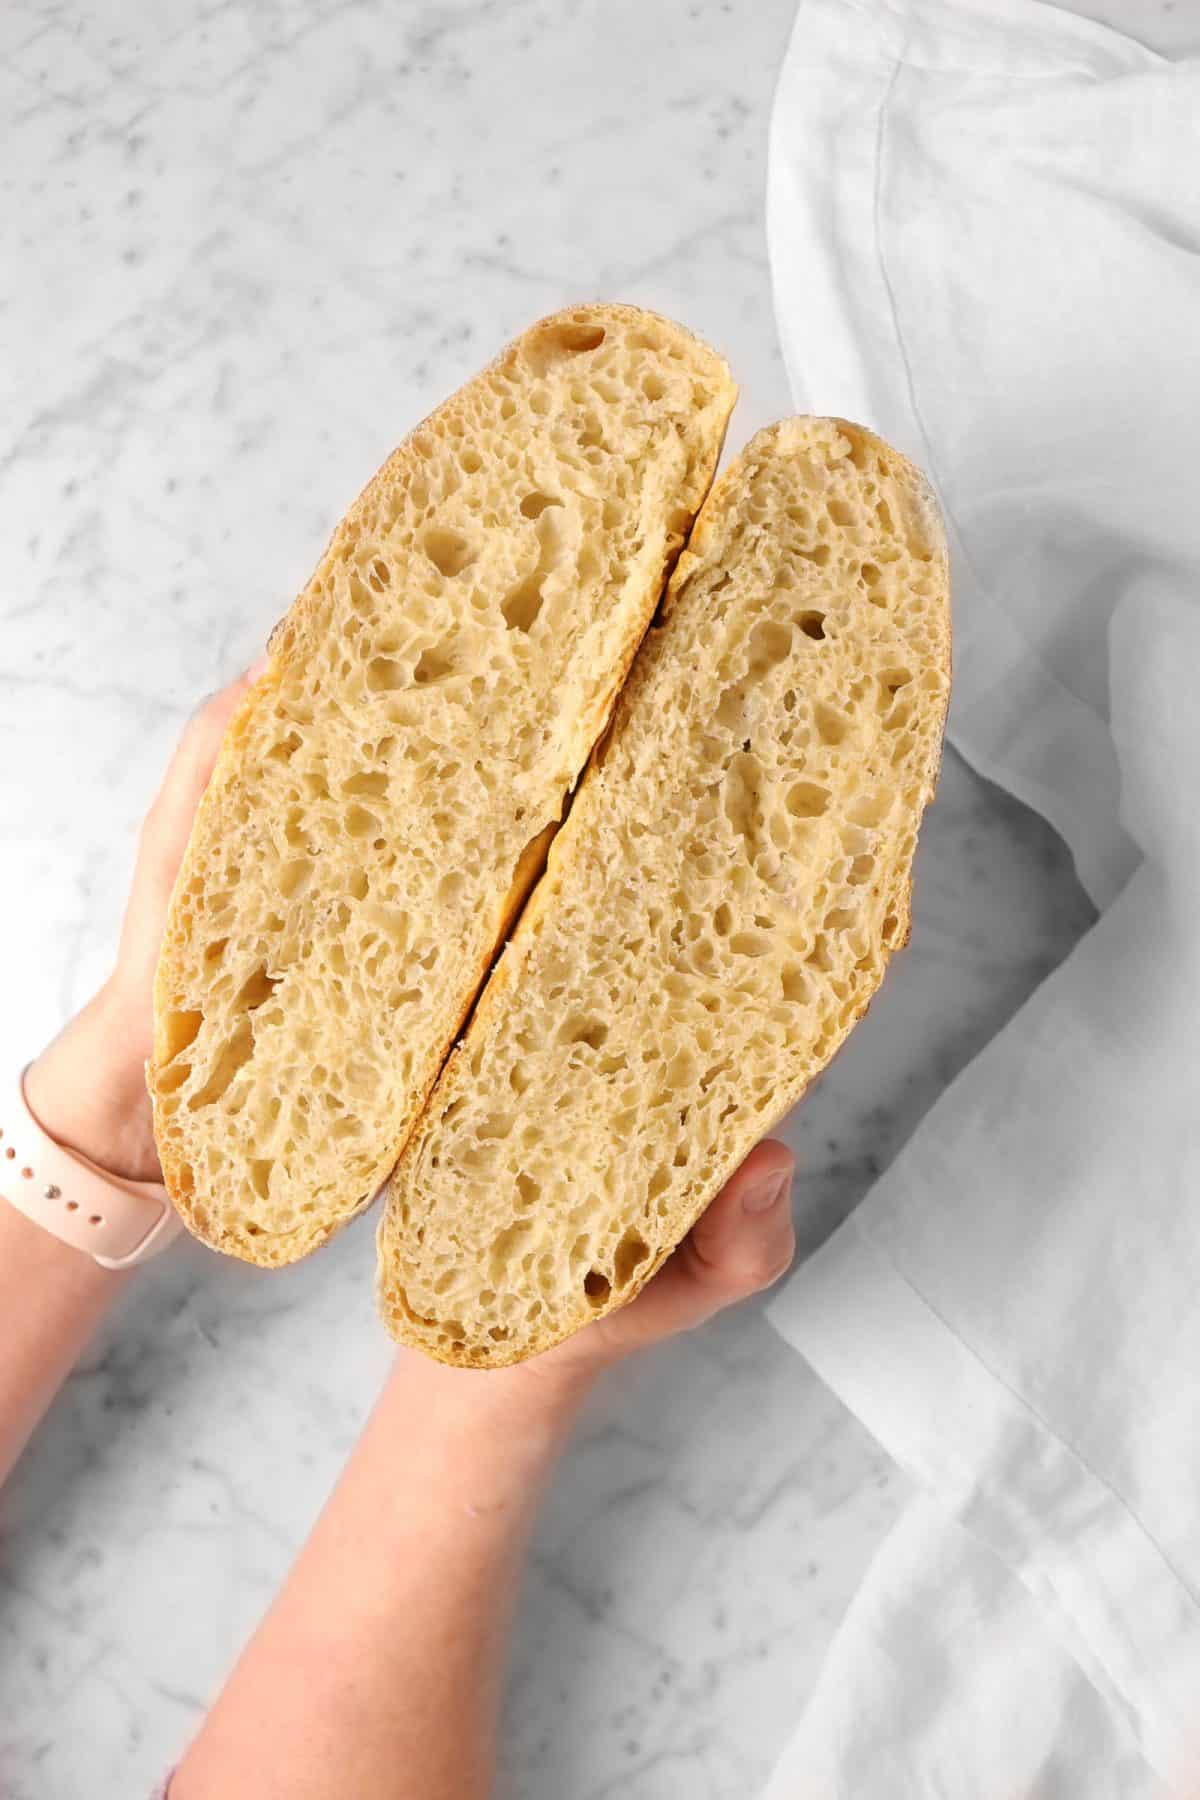
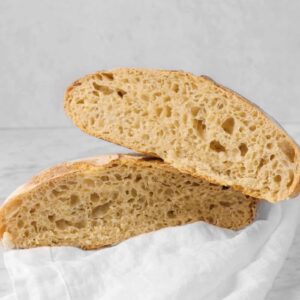
No Knead Sourdough Bread
A household favorite! This No Knead Sourdough Bread recipe has been in our kitchen for as long as I can remember. It’s delicious, simplified and explained so even beginning bakers can make it, and it always has the perfect crust with that beautiful soft middle. While it does require a little patience and dedication, there is nothing more rewarding than baking your very own loaf of bread. The entire process can seem daunting, or even overwhelming but this step-by-step guide will help! This is definitely not a hard bread to make. If you have the time, you can have a delicious and fresh loaf coming out of your oven in just a few days.
About The Recipe
So, before we dive into this sourdough bread guide (because, this will be a long post), I wanted to tell you guys some stuff. My mom has been baking bread, this bread for almost twenty years. I can remember as a kid that instead of reading a book at night or while me and my brother were swimming, she was reading bread books. She has HUNDREDS of books. I never minded because, since I was a homeschooled kid, her bread experiments became my science class. She taught me all about fermentation, leavening, flours, yeasts, how things react, gases, etc! So, instead of dissecting a frog, I was baking bread with my mom.
Which is kinda cool. Over the years, I’ve followed her around and done pretty much everything she’s done. I’ve asked a ton of questions so you really don’t have to.
I’ve learned that a secret to a good loaf of bread is having a good starter. Lucky for you, we have a step-by-step guide on how to make the best sourdough starter in FIVE days.
Patience is a virtue but why wait longer than needed when you can have a delicious loaf of bread from scratch by the end of the week?
If you already have a starter then you can jump right in!
QUICK NOTE: The older your sourdough starter is, the more flavor your actual bread will have; but it’s not totally necessary to have a mature starter. A young starter can make a an equally delicious loaf of bread, but it won’t have the same amount of flavor.
Equipment Needed
Honestly, nothing is better than baking your own loaf of bread. But first, you gotta make sure you have the tools! All you need is:
- a large glass mixing bowl because, that’s right, this recipe doesn’t require a mixer!
- a large airtight container to let the bread rise.
- a bench knife is probably one of the most essential tools a baker can have. You’ll use it for dividing, shaping and moving the dough!
- a banneton is where you’e going to place the dough to help give it shape and while it retards overnight.
- a pastry brush to brush away with any access flour!
- a bread lame or a sharp knife. This is to make cuts into your bread to allow it to breathe. You can also add intricate designs.
- a cocotte or a pizza stone to bake the bread!
- heavy duty oven mitts to ensure you don’t burn yourself when grabbing the cocotte or just getting the bread out of the oven.
Each tool is just as important as the last. There aren’t a lot of substitutions so, make sure you have everything before you get into this!
Ingredients
For The Firm Starter:
- Bread Flour
- Sourdough Starter
- Water
For the Bread:
- Firm Starter
- Water
- Barley Malt
- Bread Flour
- Salt
The Basics of Starter
To make sourdough bread, the starter is essential. It’s what makes this bread so special. Like, I said above, you can click here to see our guide on how to make a very quick sourdough starter.
- Starters are active organisms. It requires daily feedings, almost like a kid! Keep that in mind before diving head first into this. My mom has had her starter for the last 15 years!
- A mature starter is always preferred when you’re baking bread, but you can use a younger one. The flavor won’t be as strong so, just know, with every loaf you make, it’ll only get better!
- Sourdough tastes different in different parts of the country, based on the type of yeast in the air. If you move and take your sourdough starter with you, the flavor will change based on the airborne yeast in your new location.
- A healthy starter should be bubbly and have a sweet-yeasty smell to it.
how to make sourdough bread
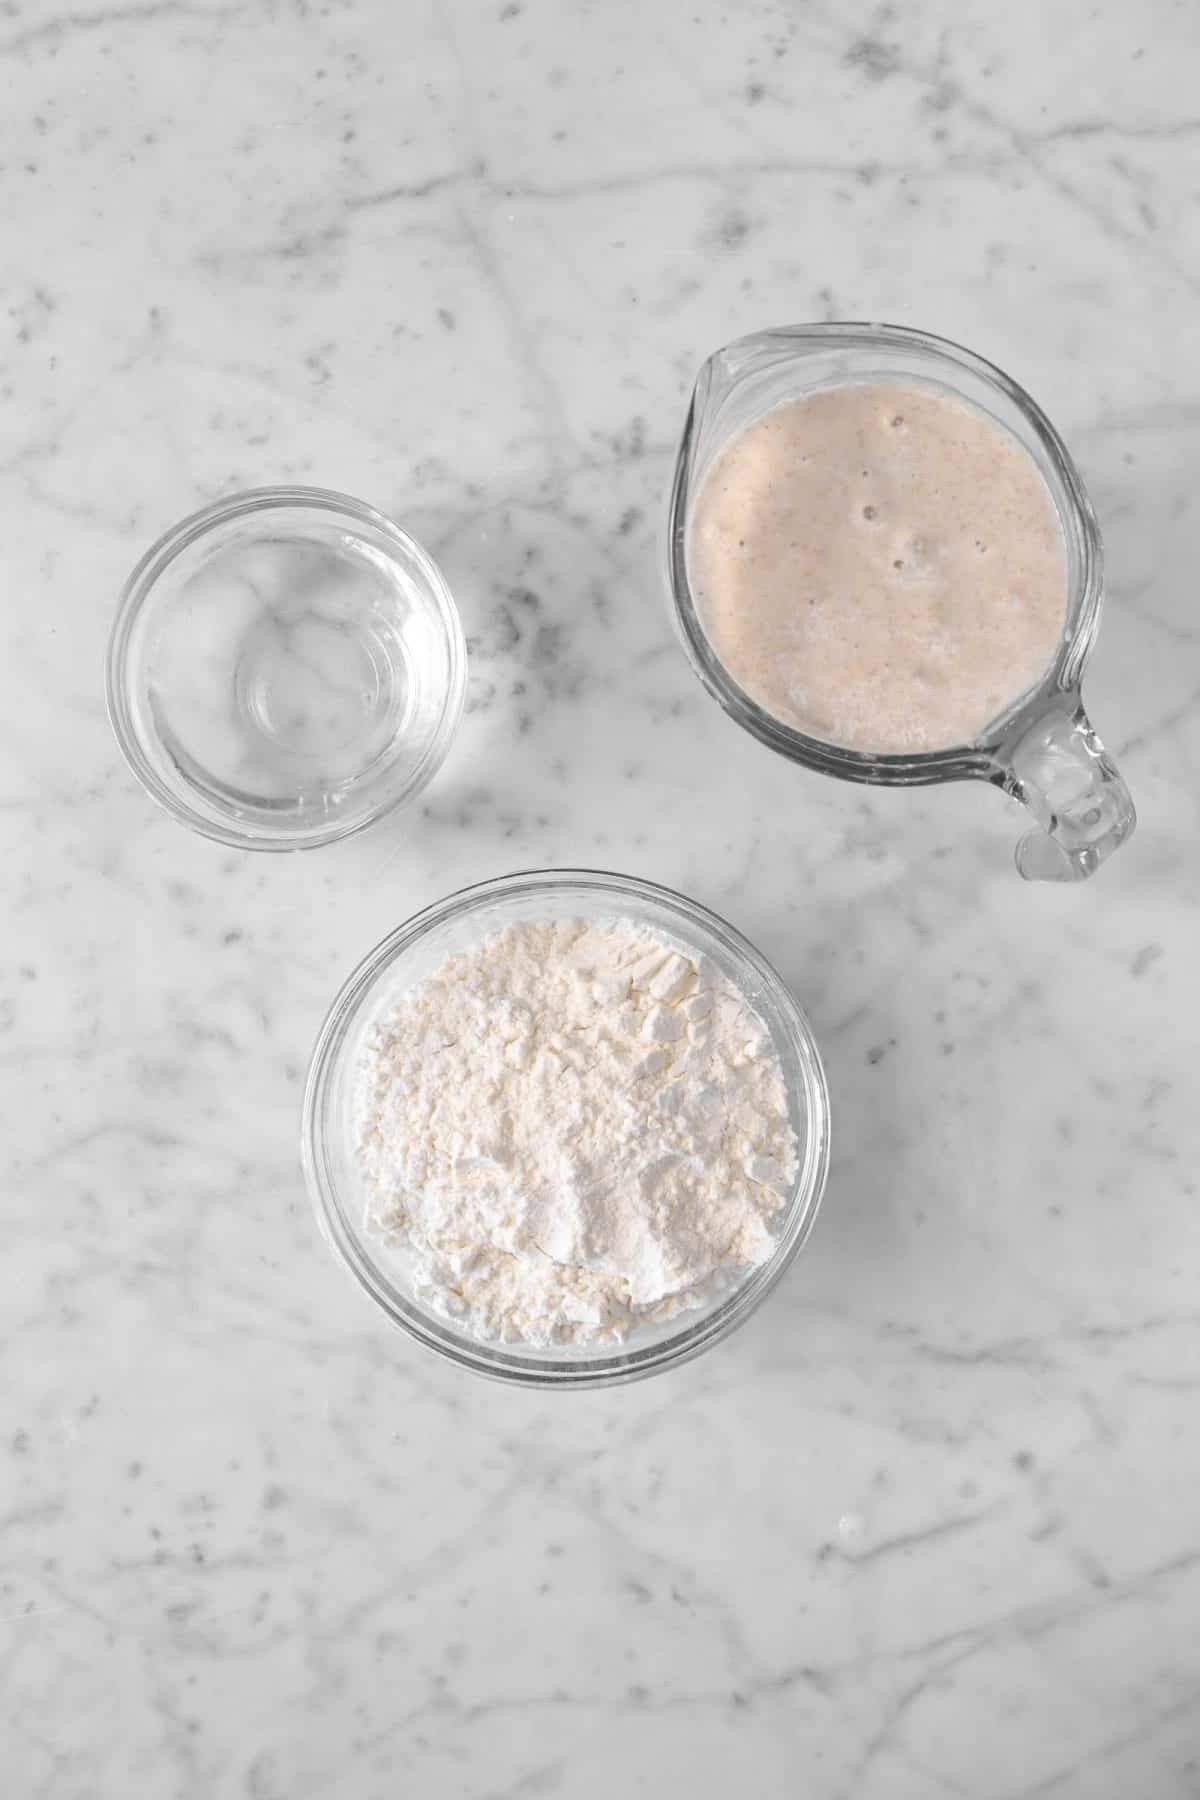
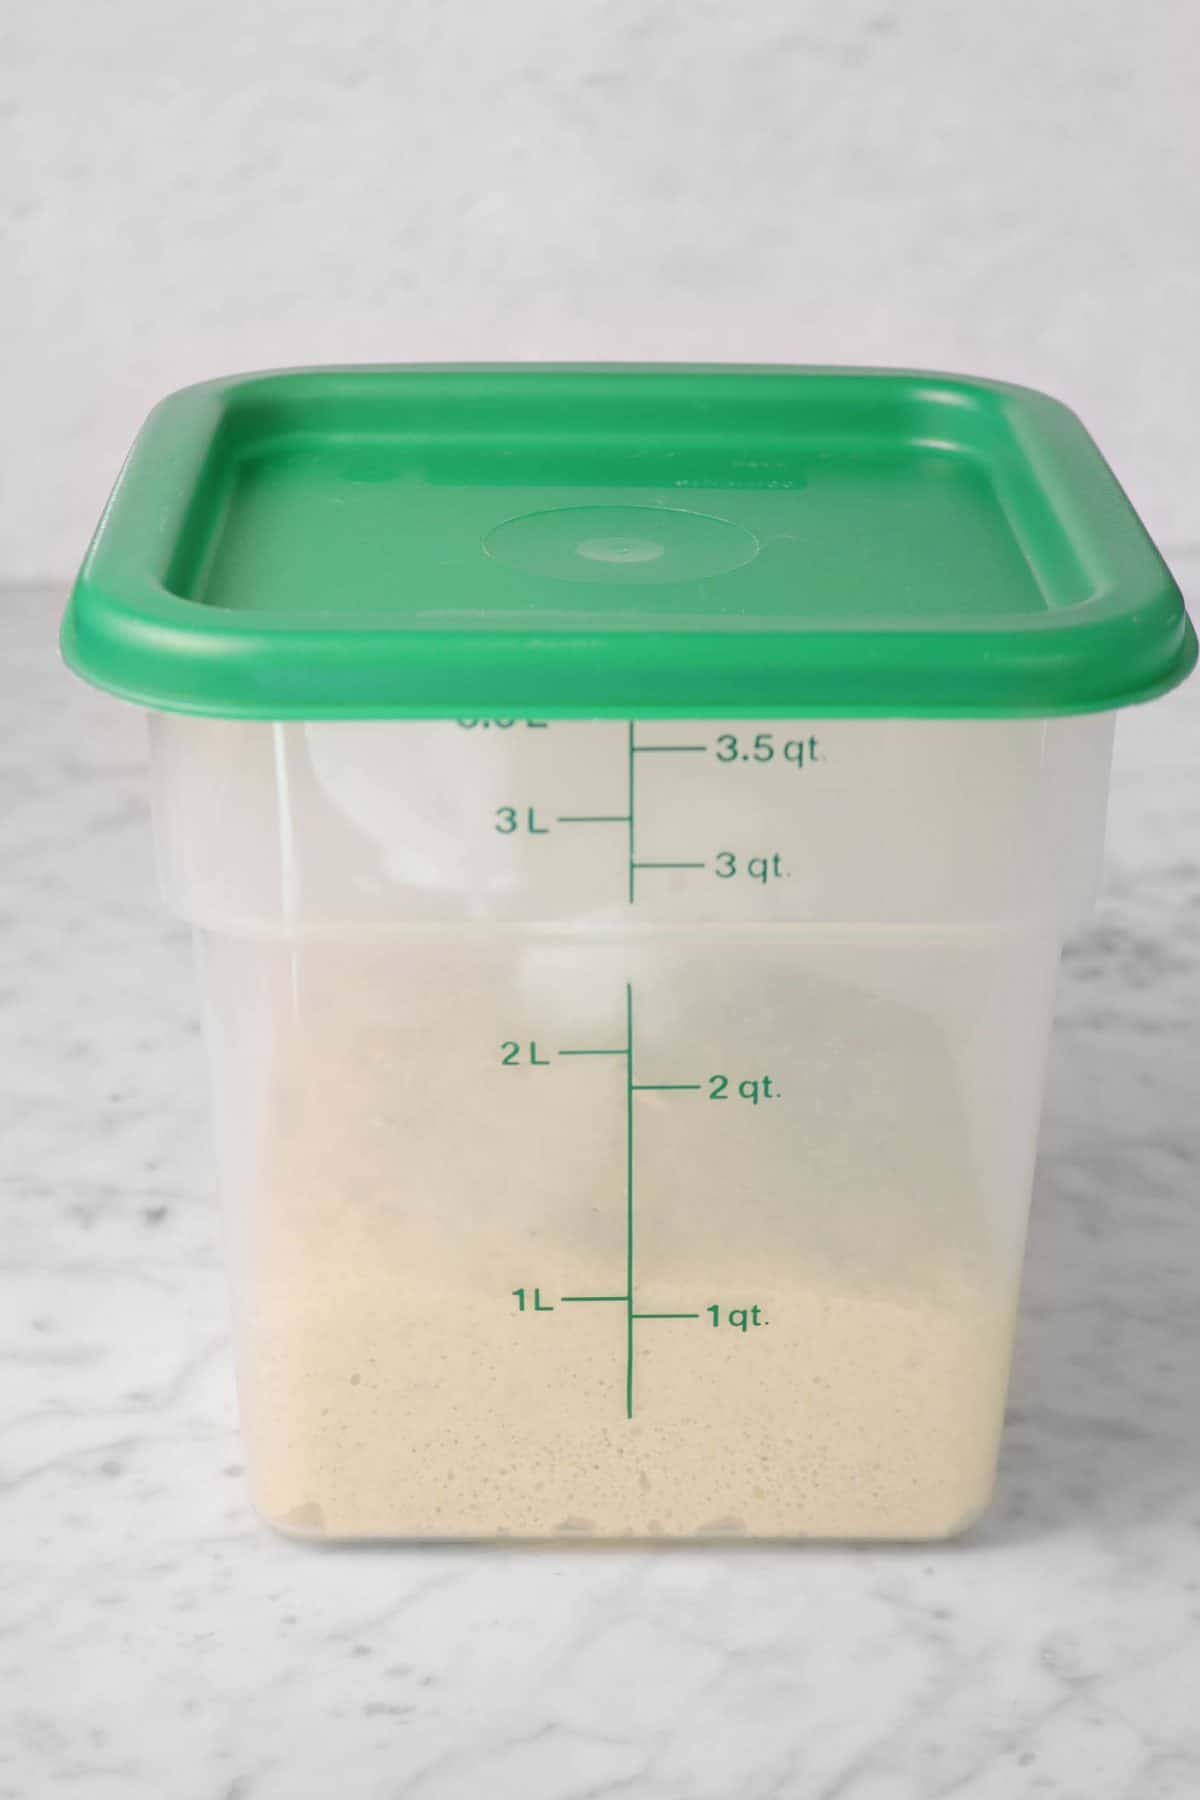
The first thing you have have to do is make the firm starter! Combine the water and sourdough starter into a large mixing bowl. Add water until you have a soft, pliable dough. Place in an airtight container and set aside until the firm starter has doubled in bulk.

Once the firm starter has risen, get together flour, water, barley malt (or honey), and salt.
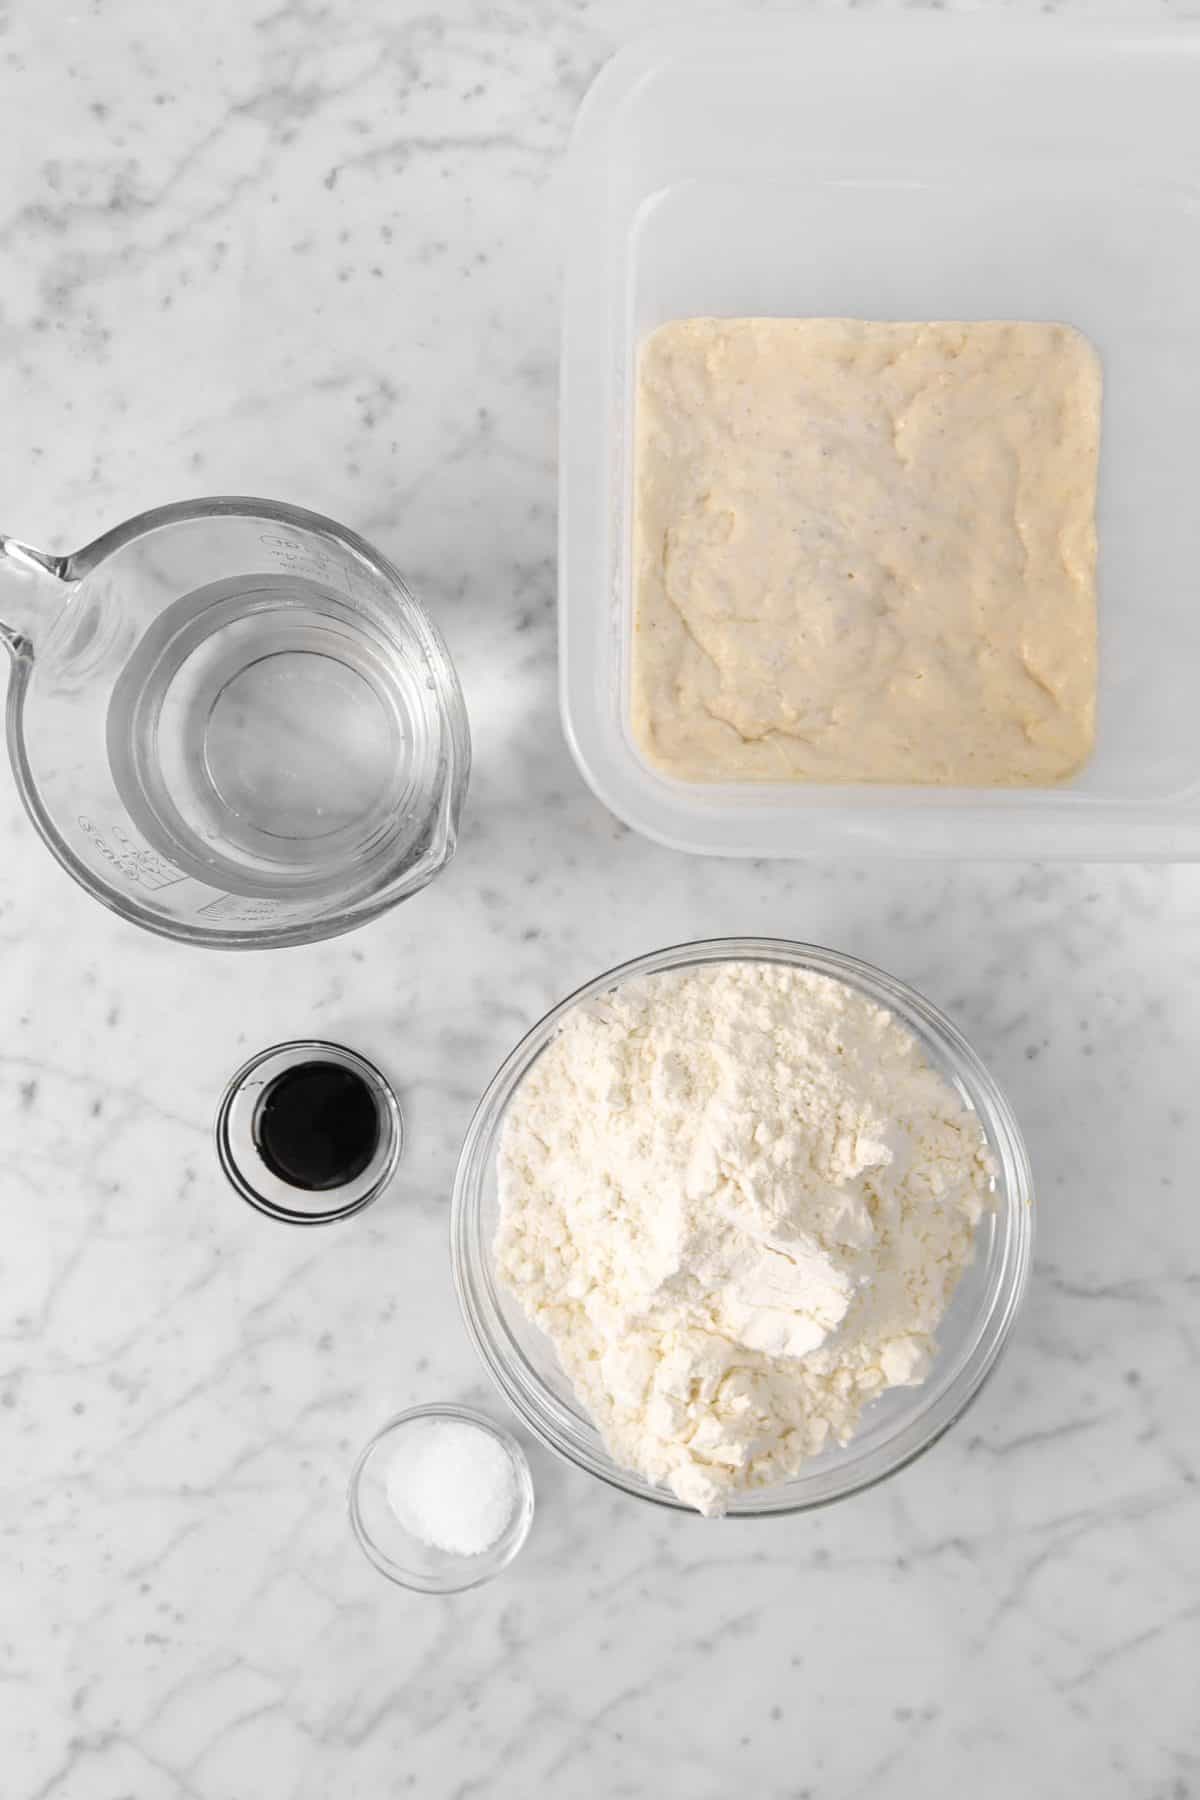
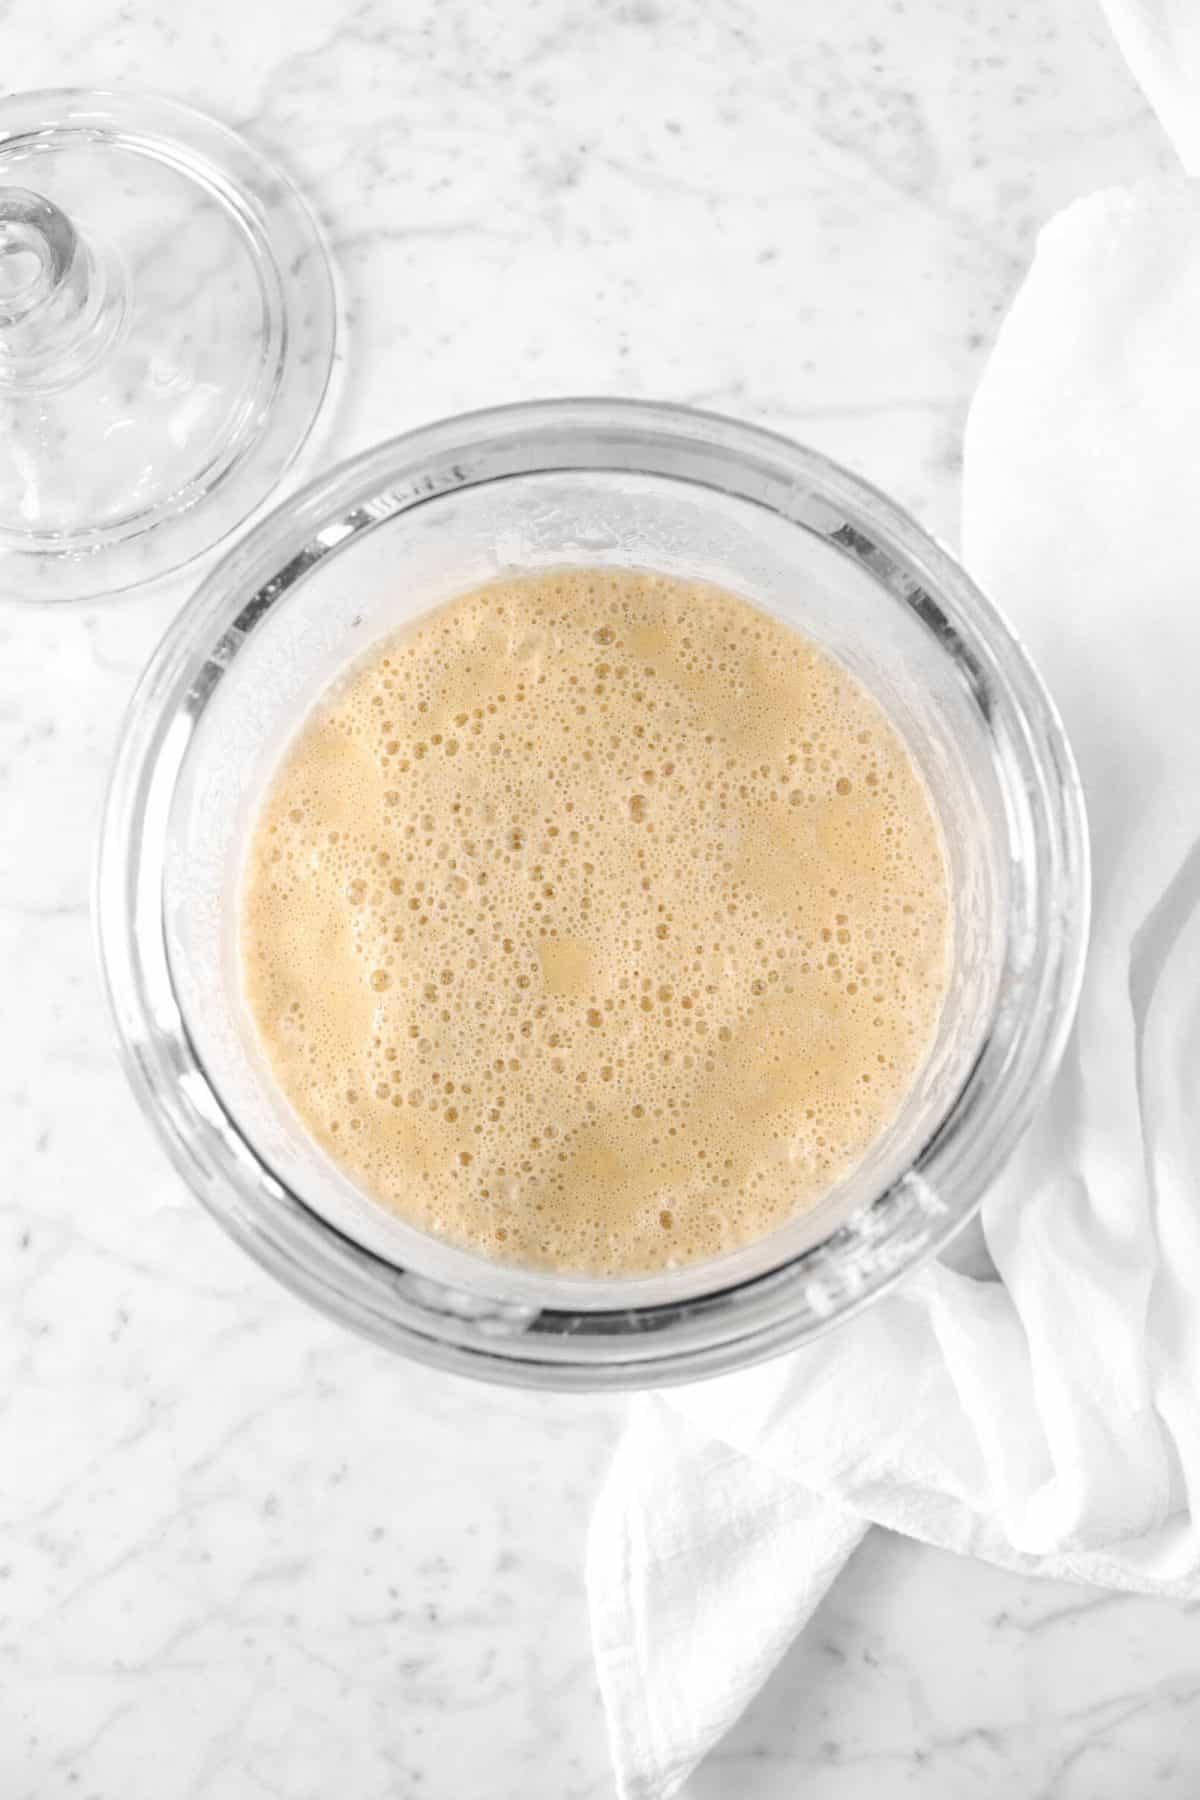
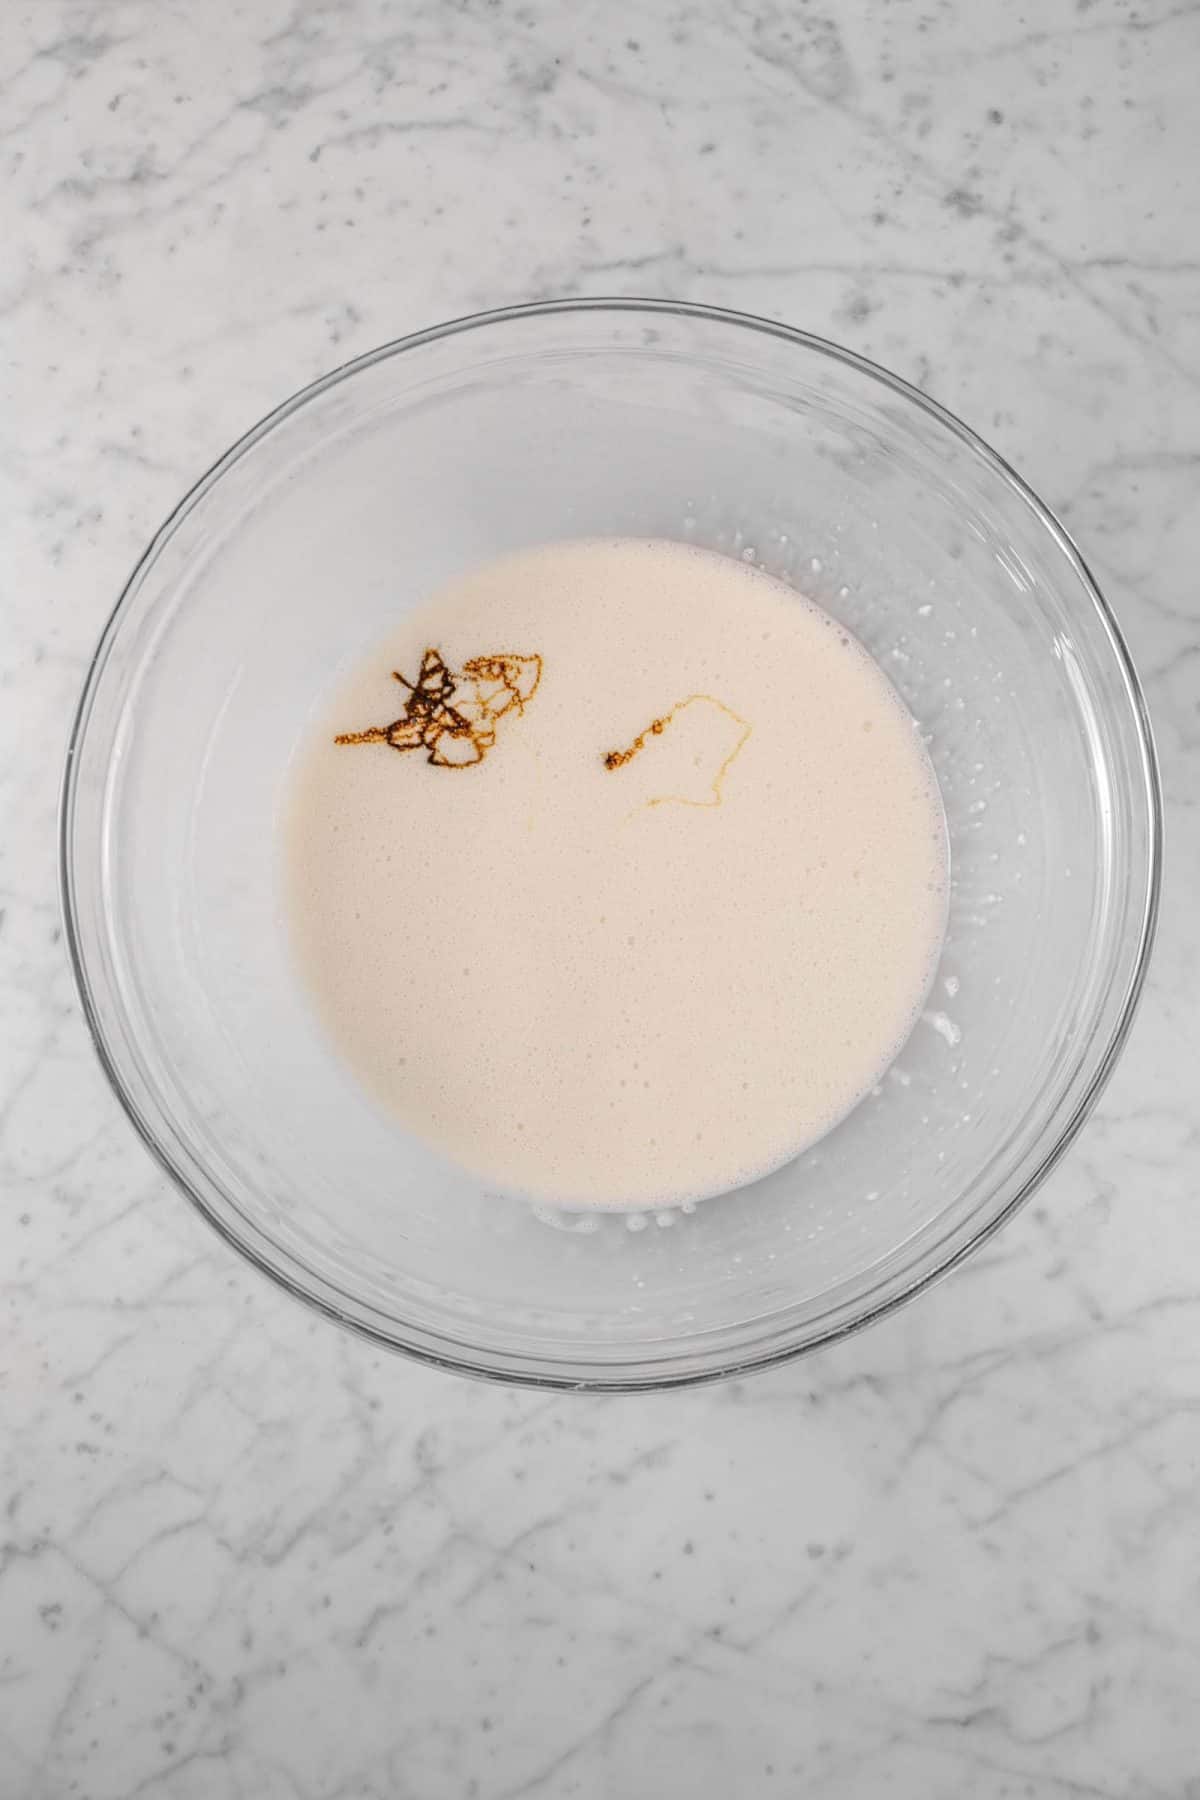
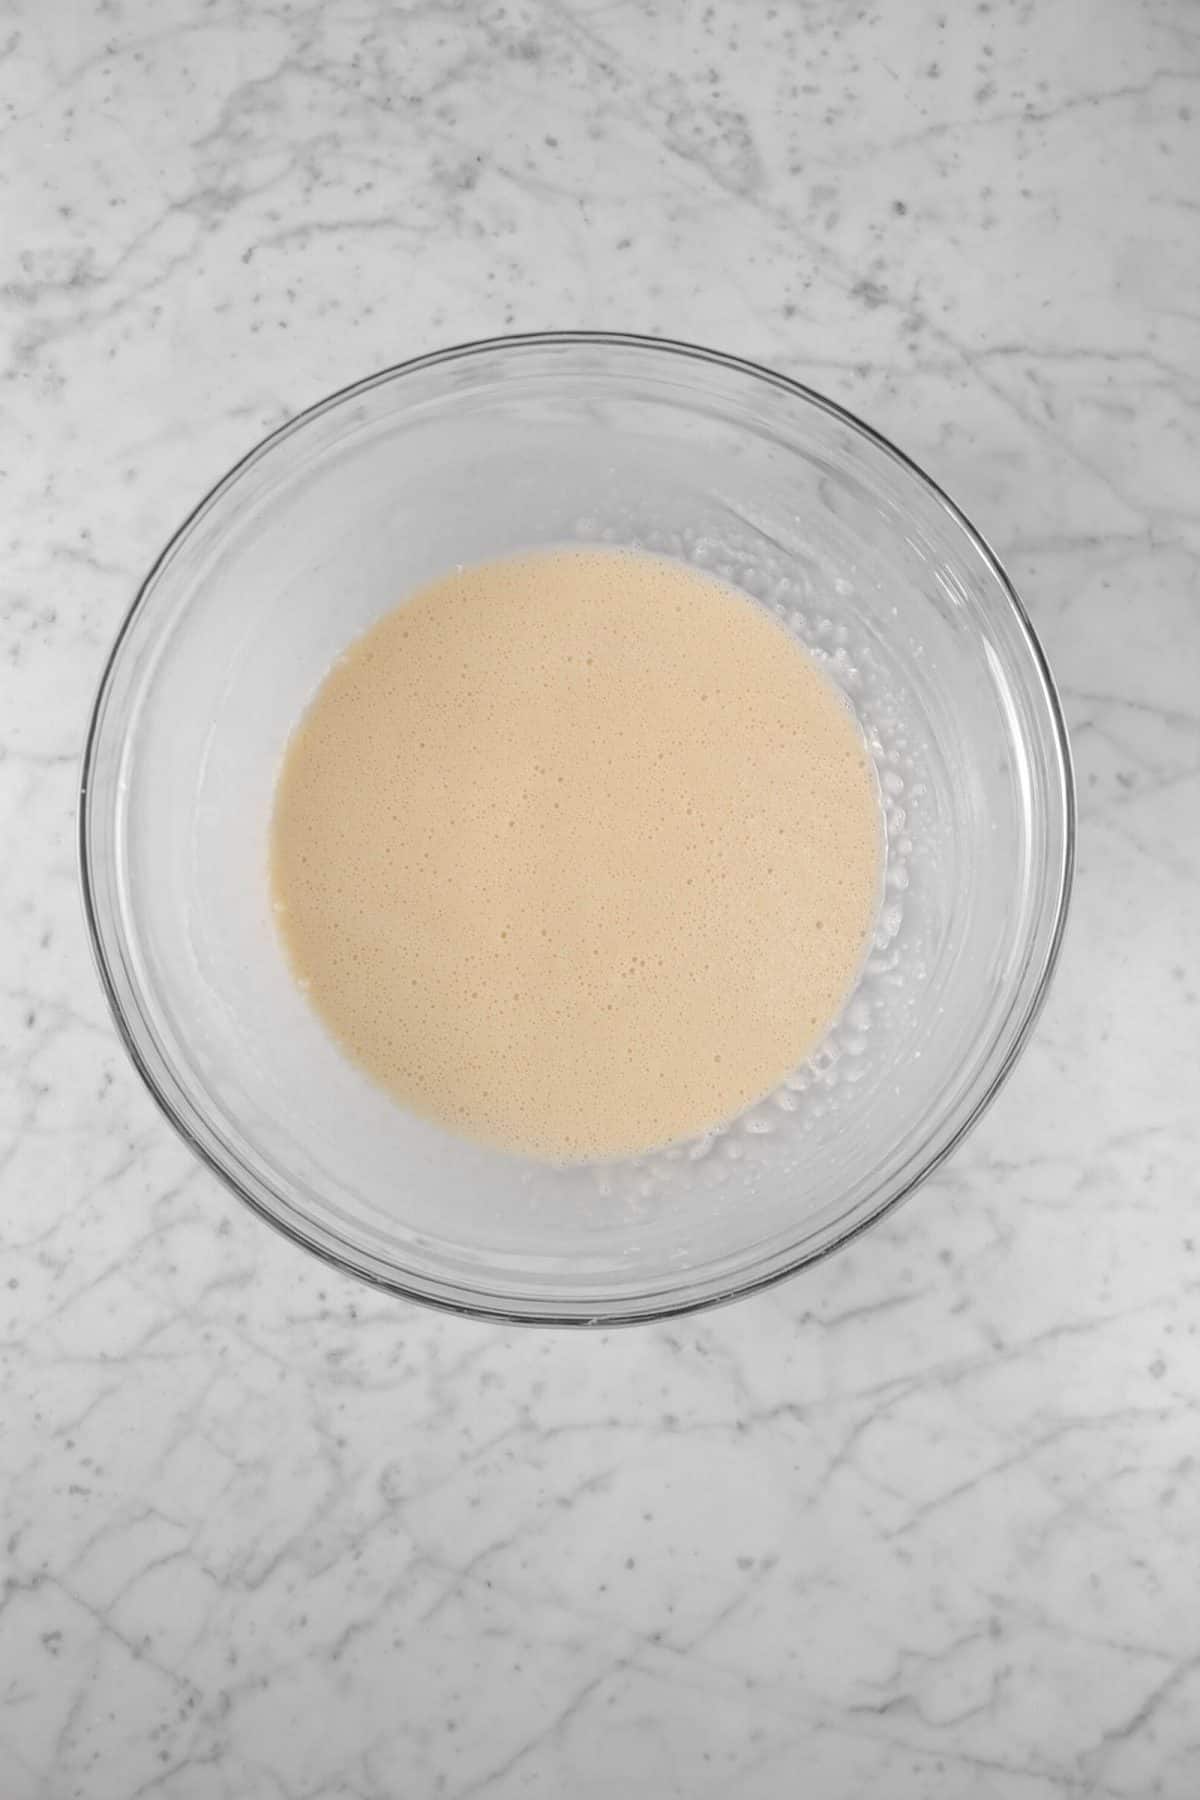
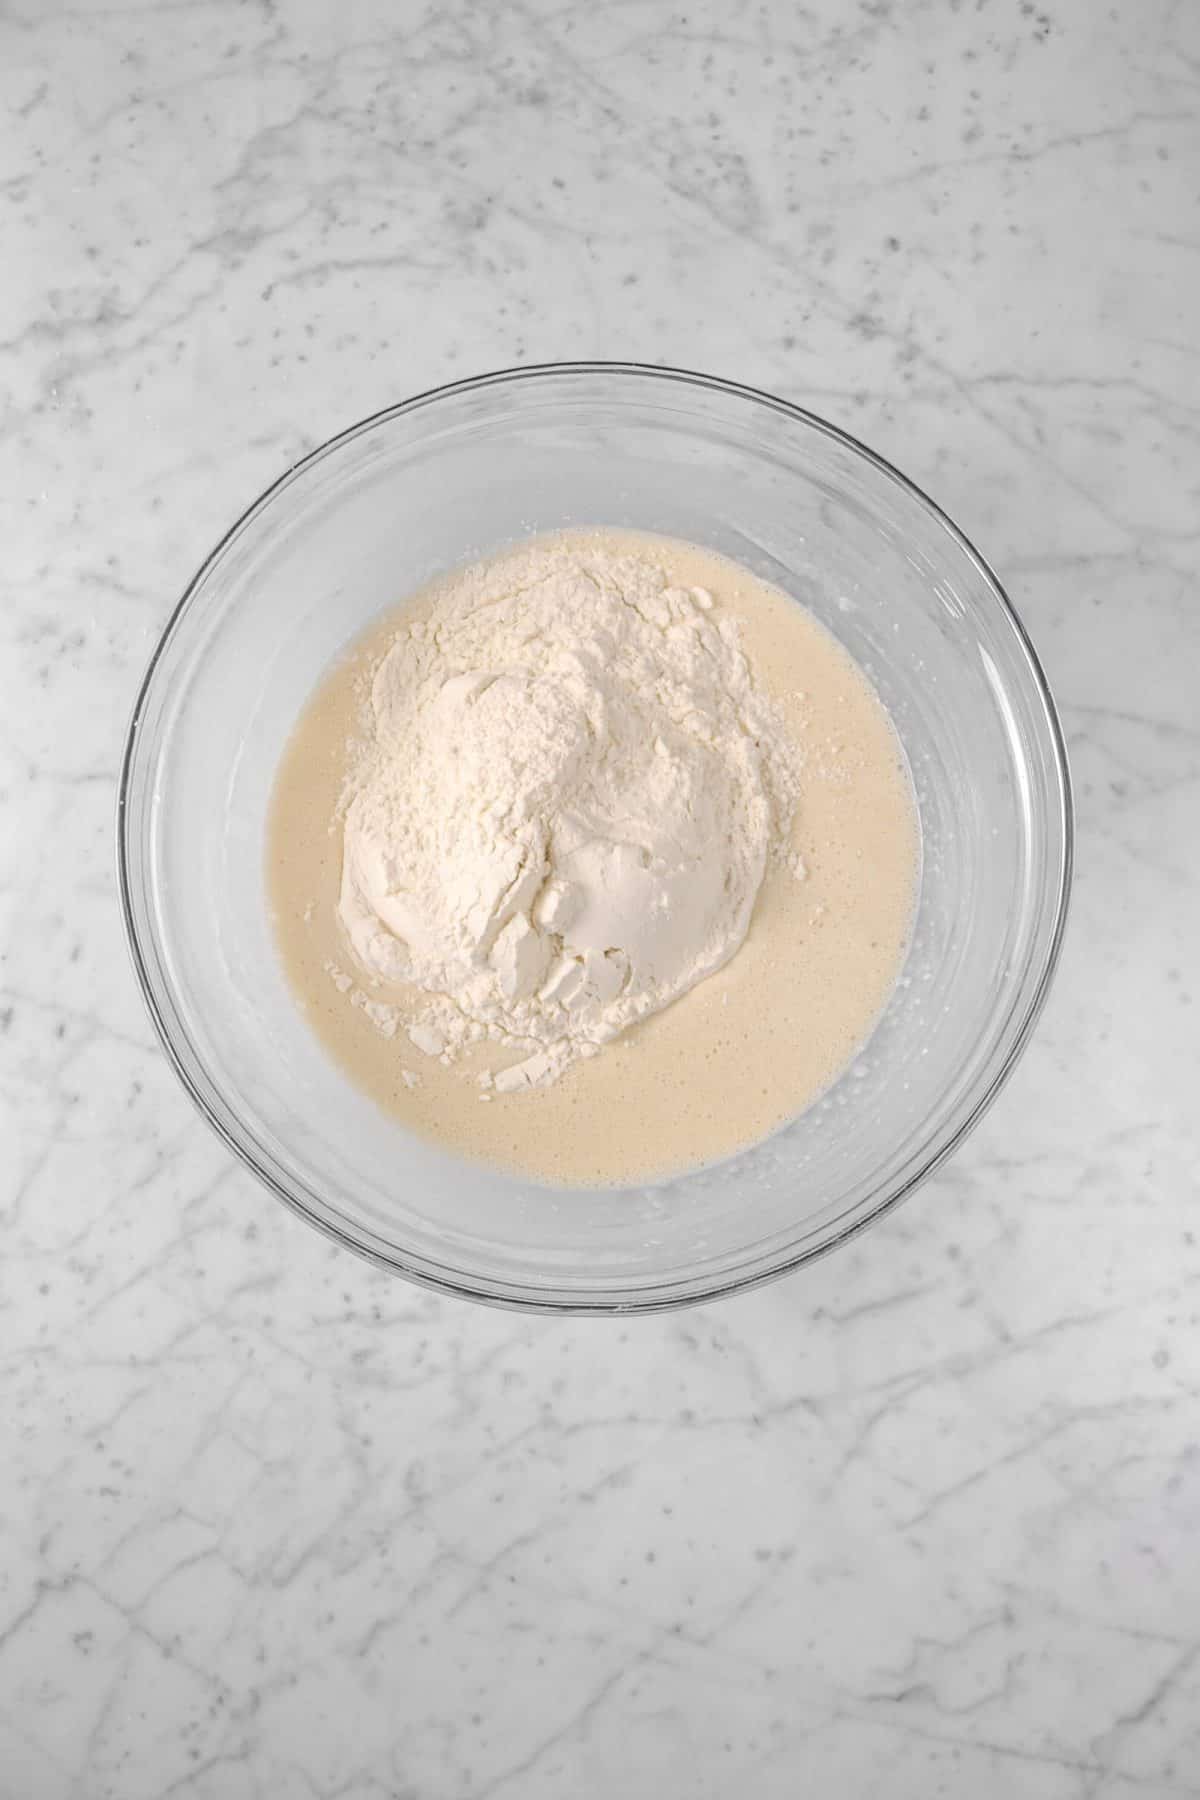
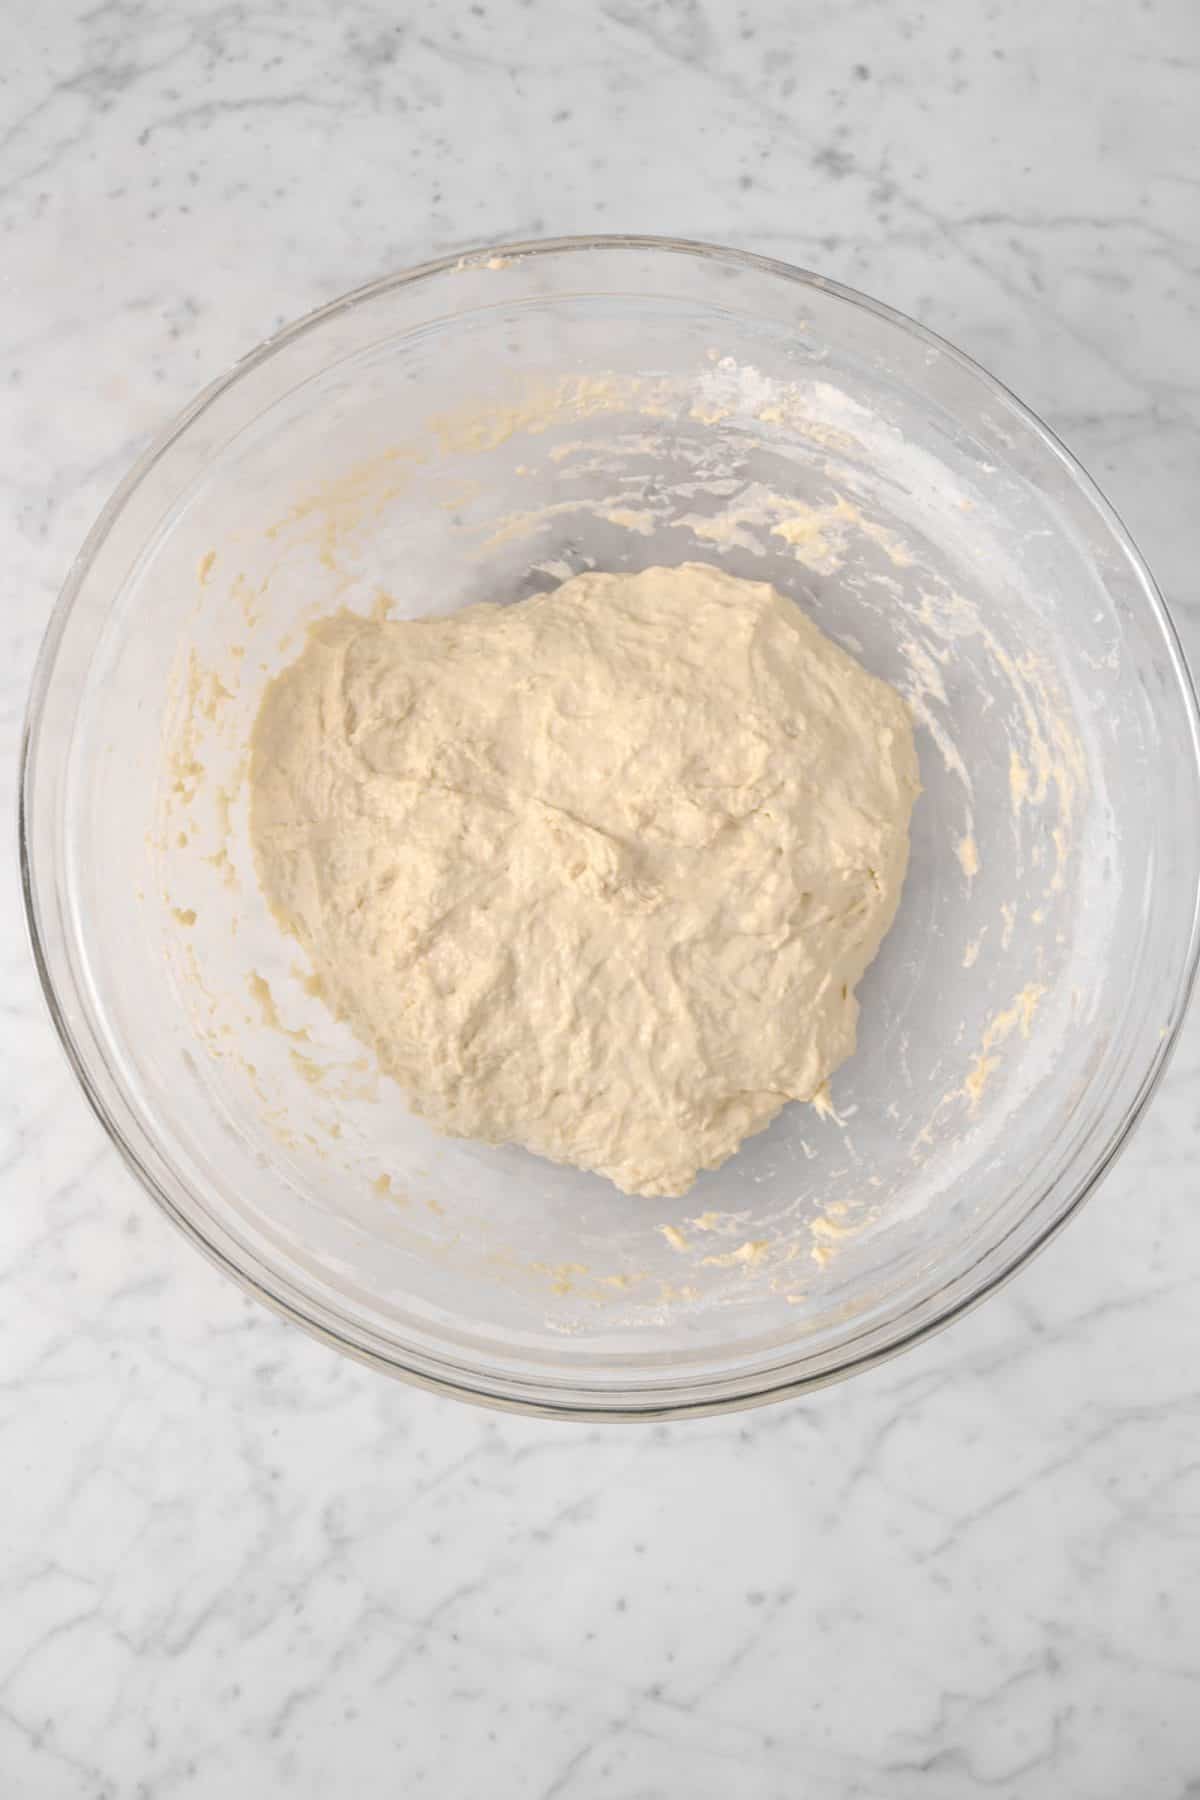
Combine the firm starter and water into a large glass bowl. Mix with a whisk until the firm starter has thoroughly dissolved. Mix in the barley malt.
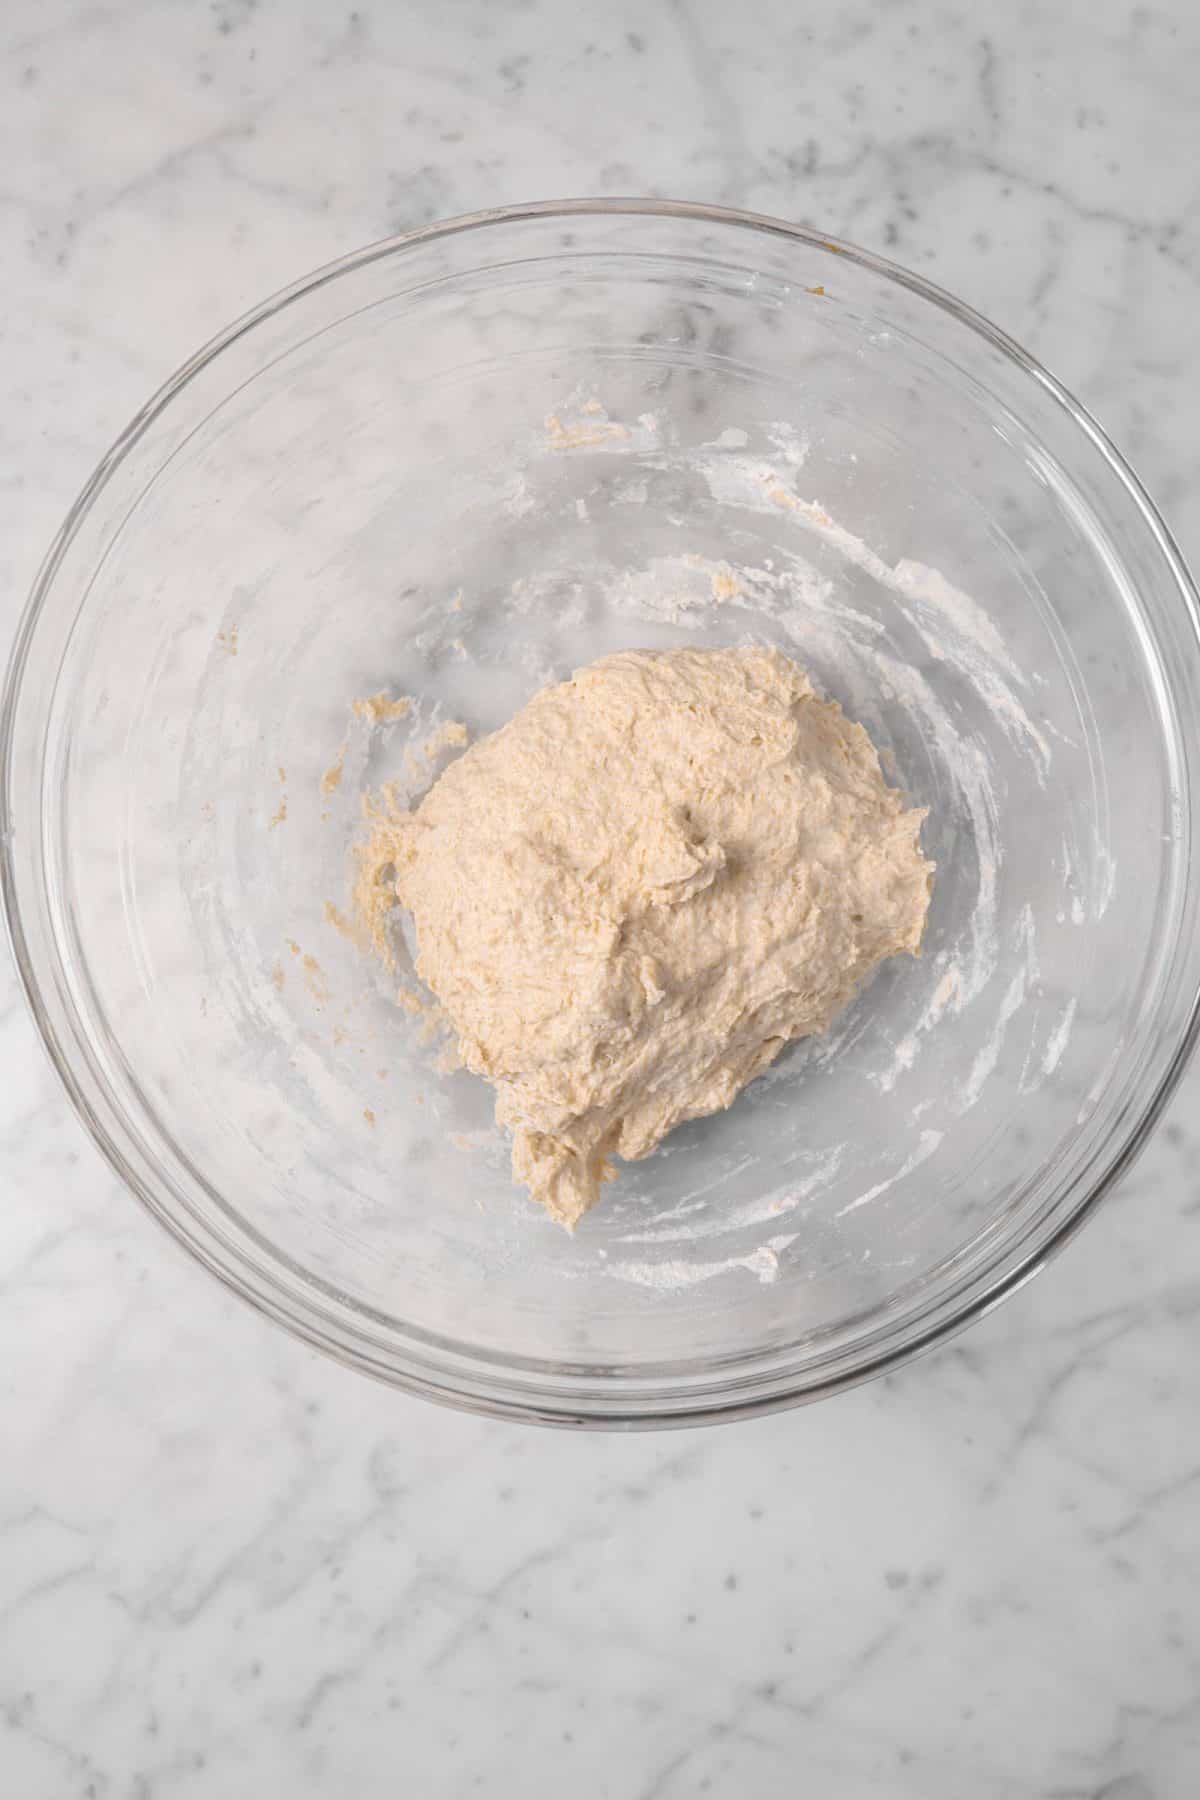
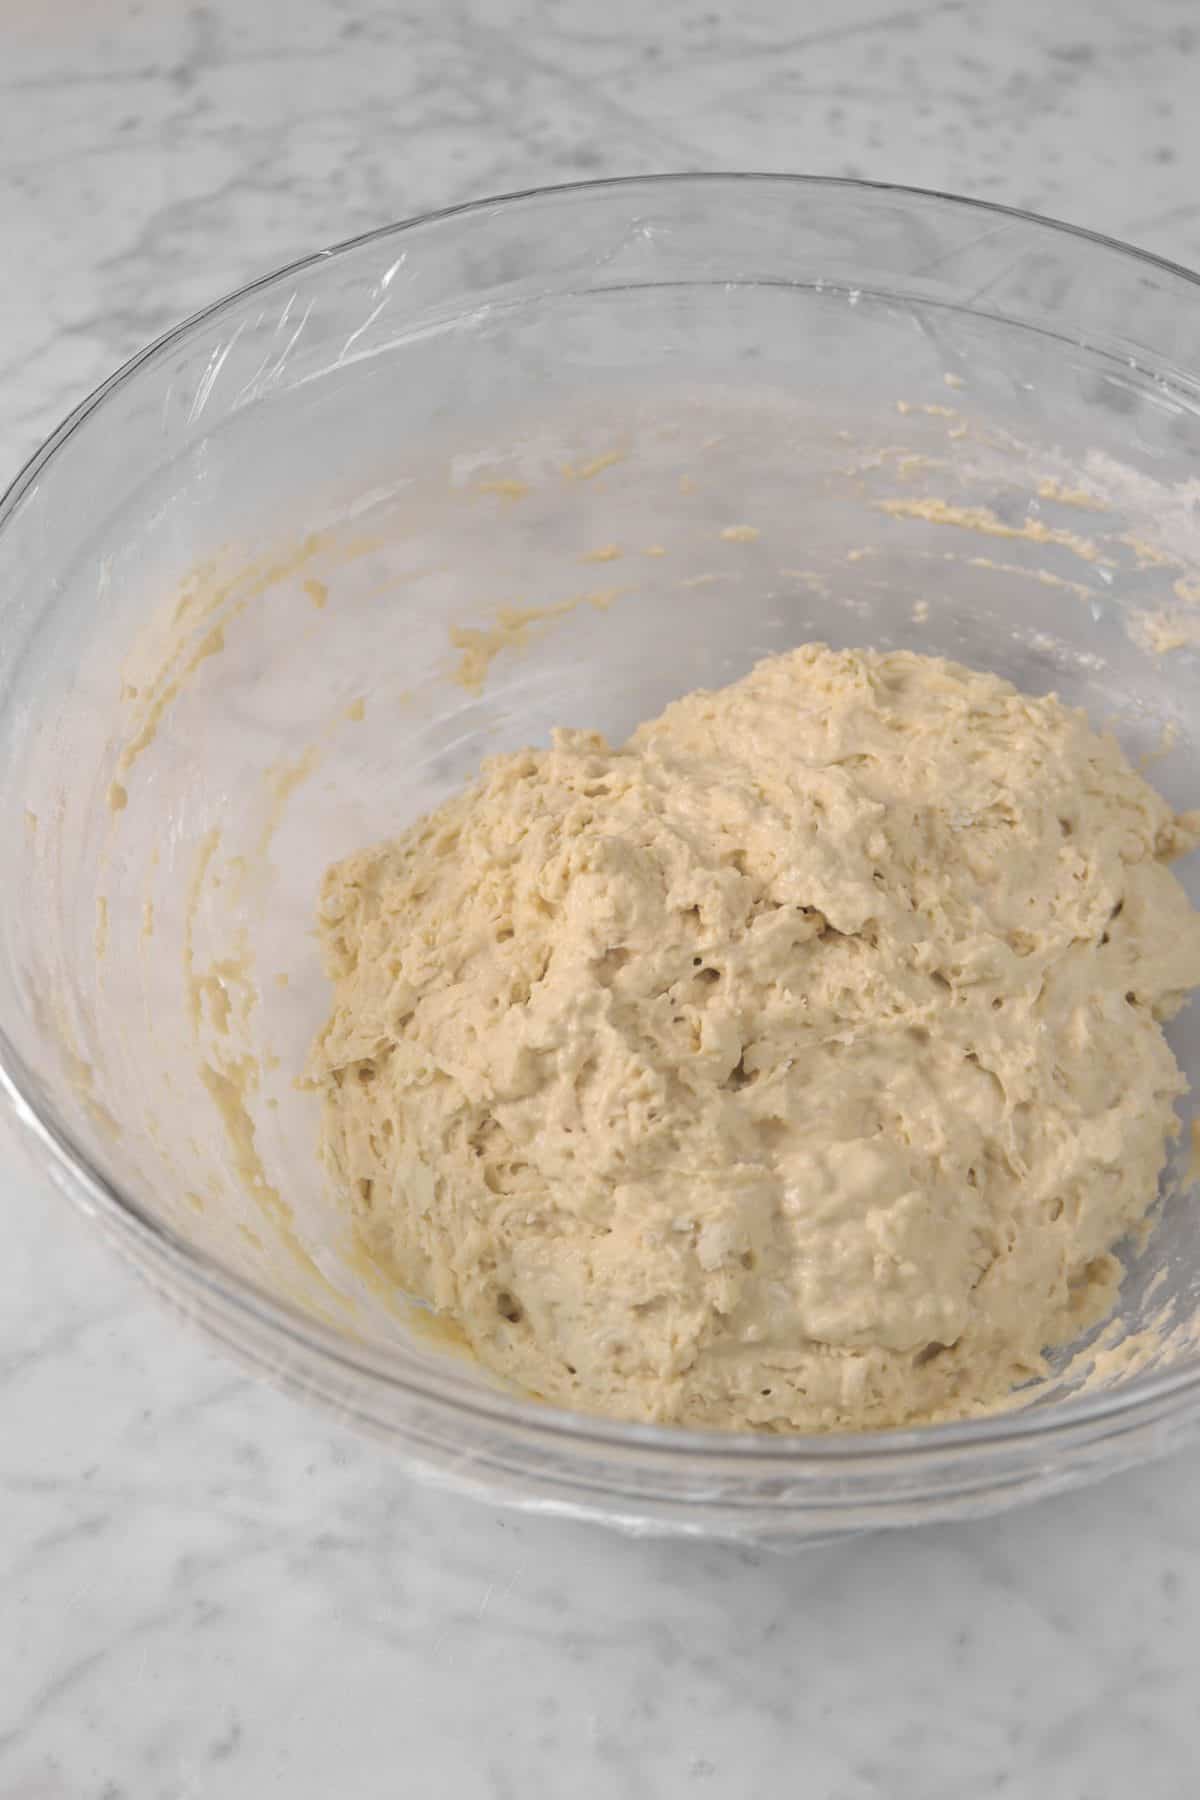
Add the flour next and mix well. Cover with plastic wrap and set aside for 30 minutes.

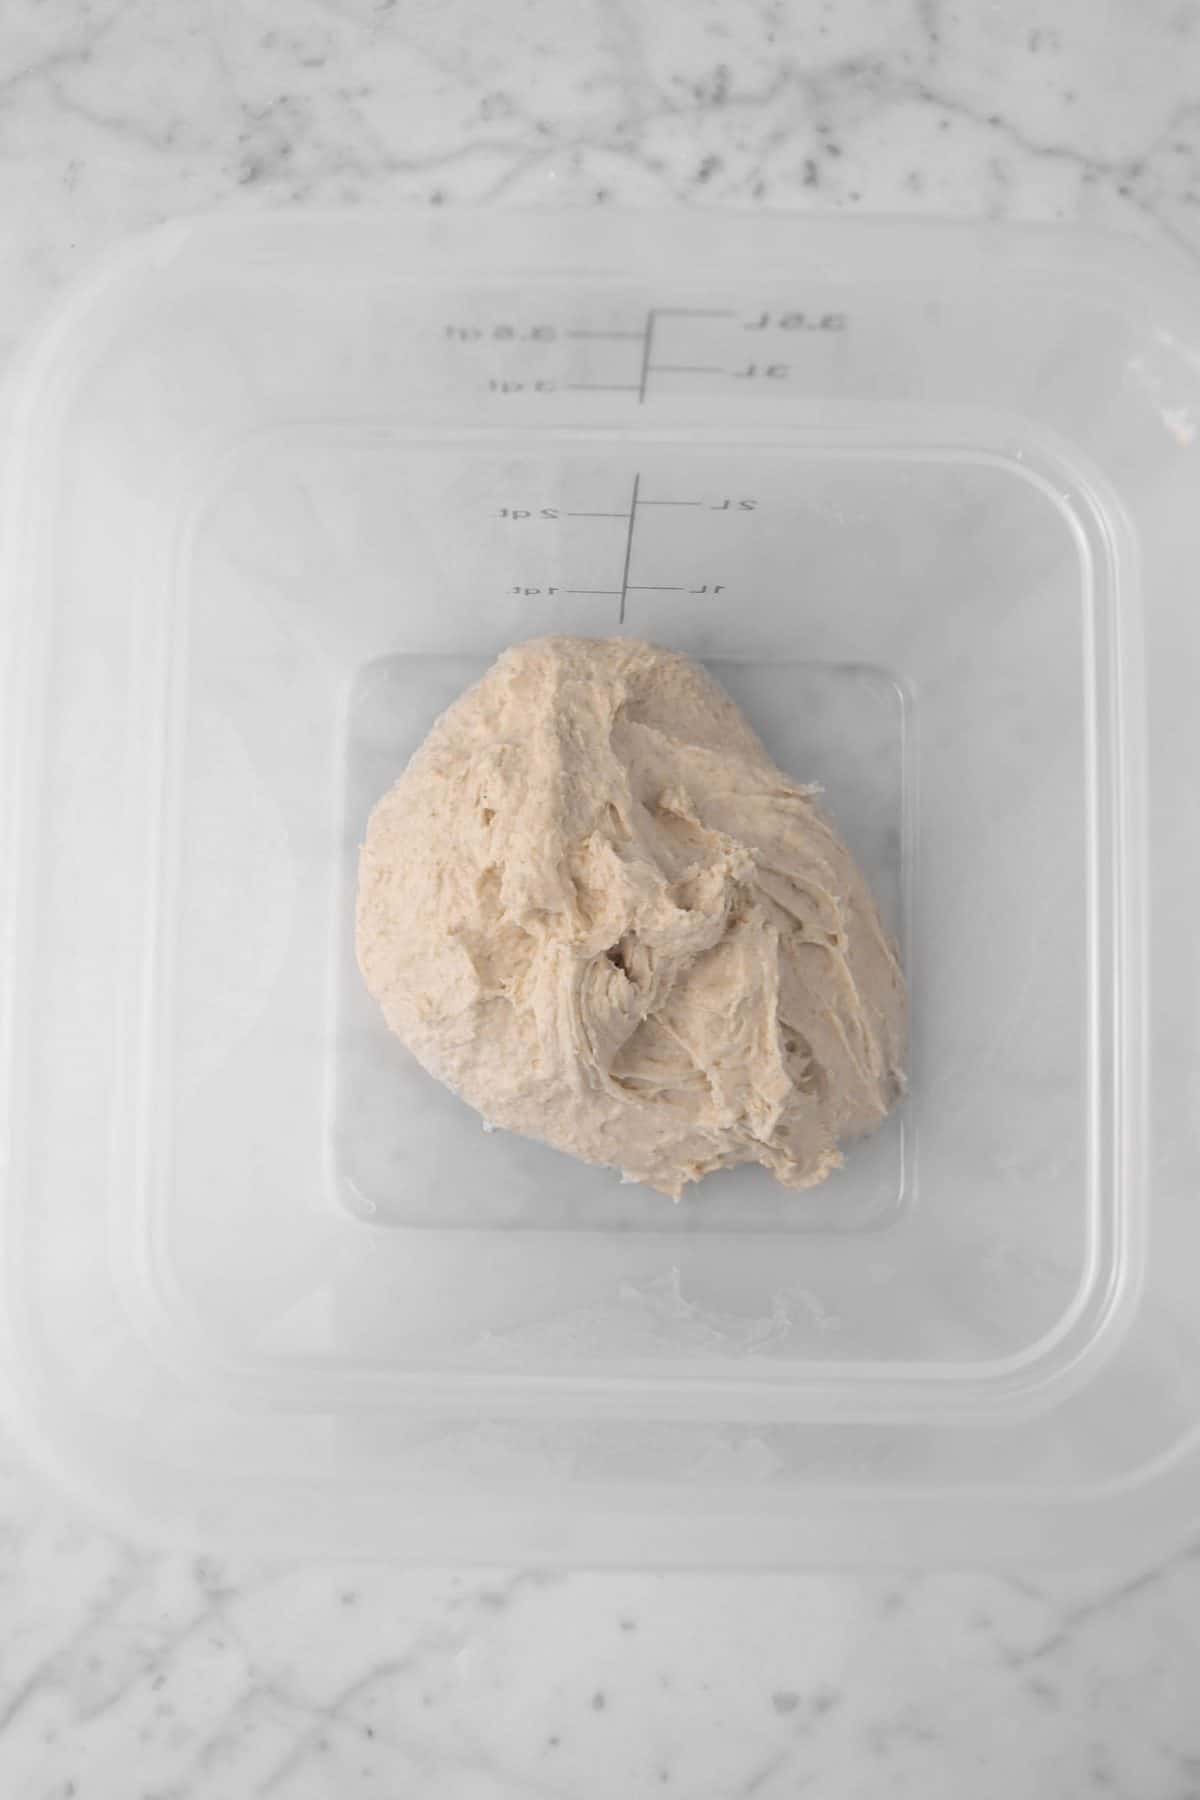
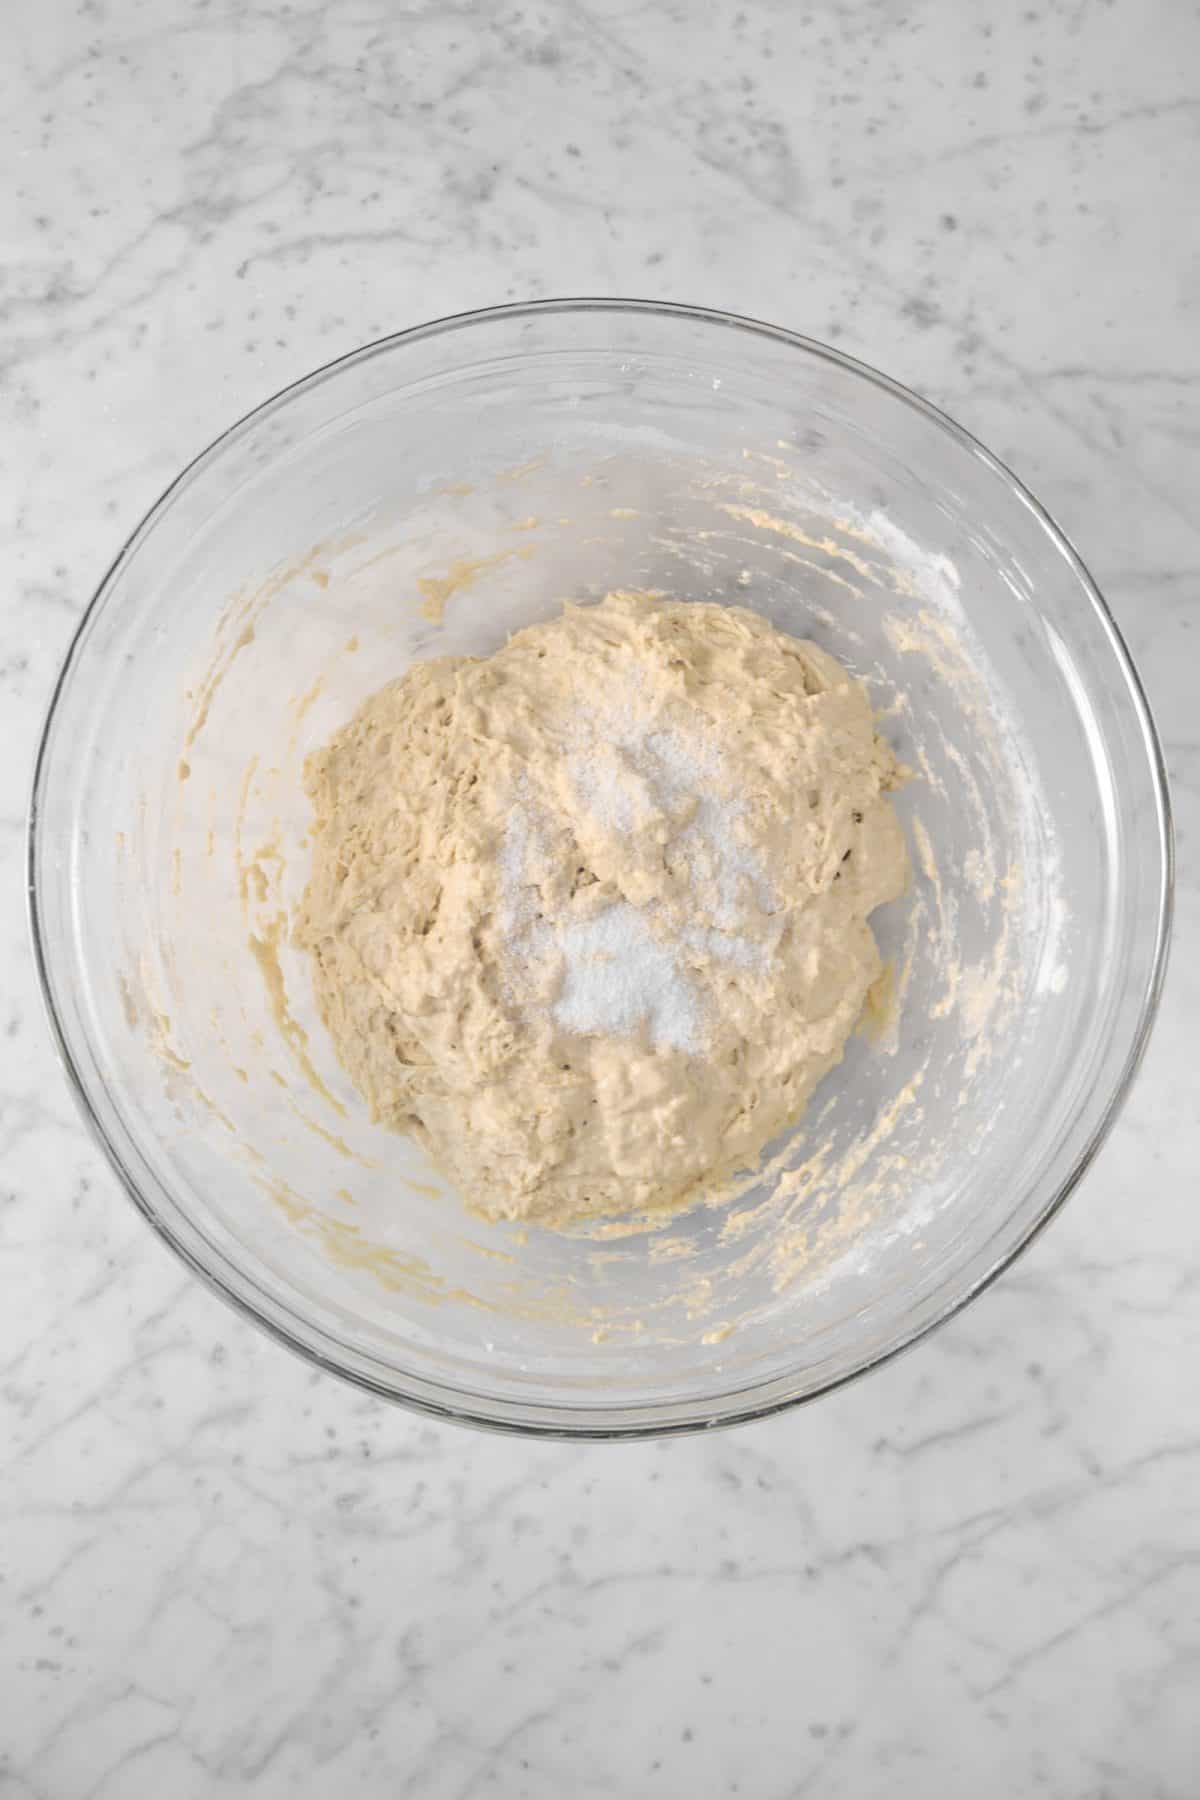
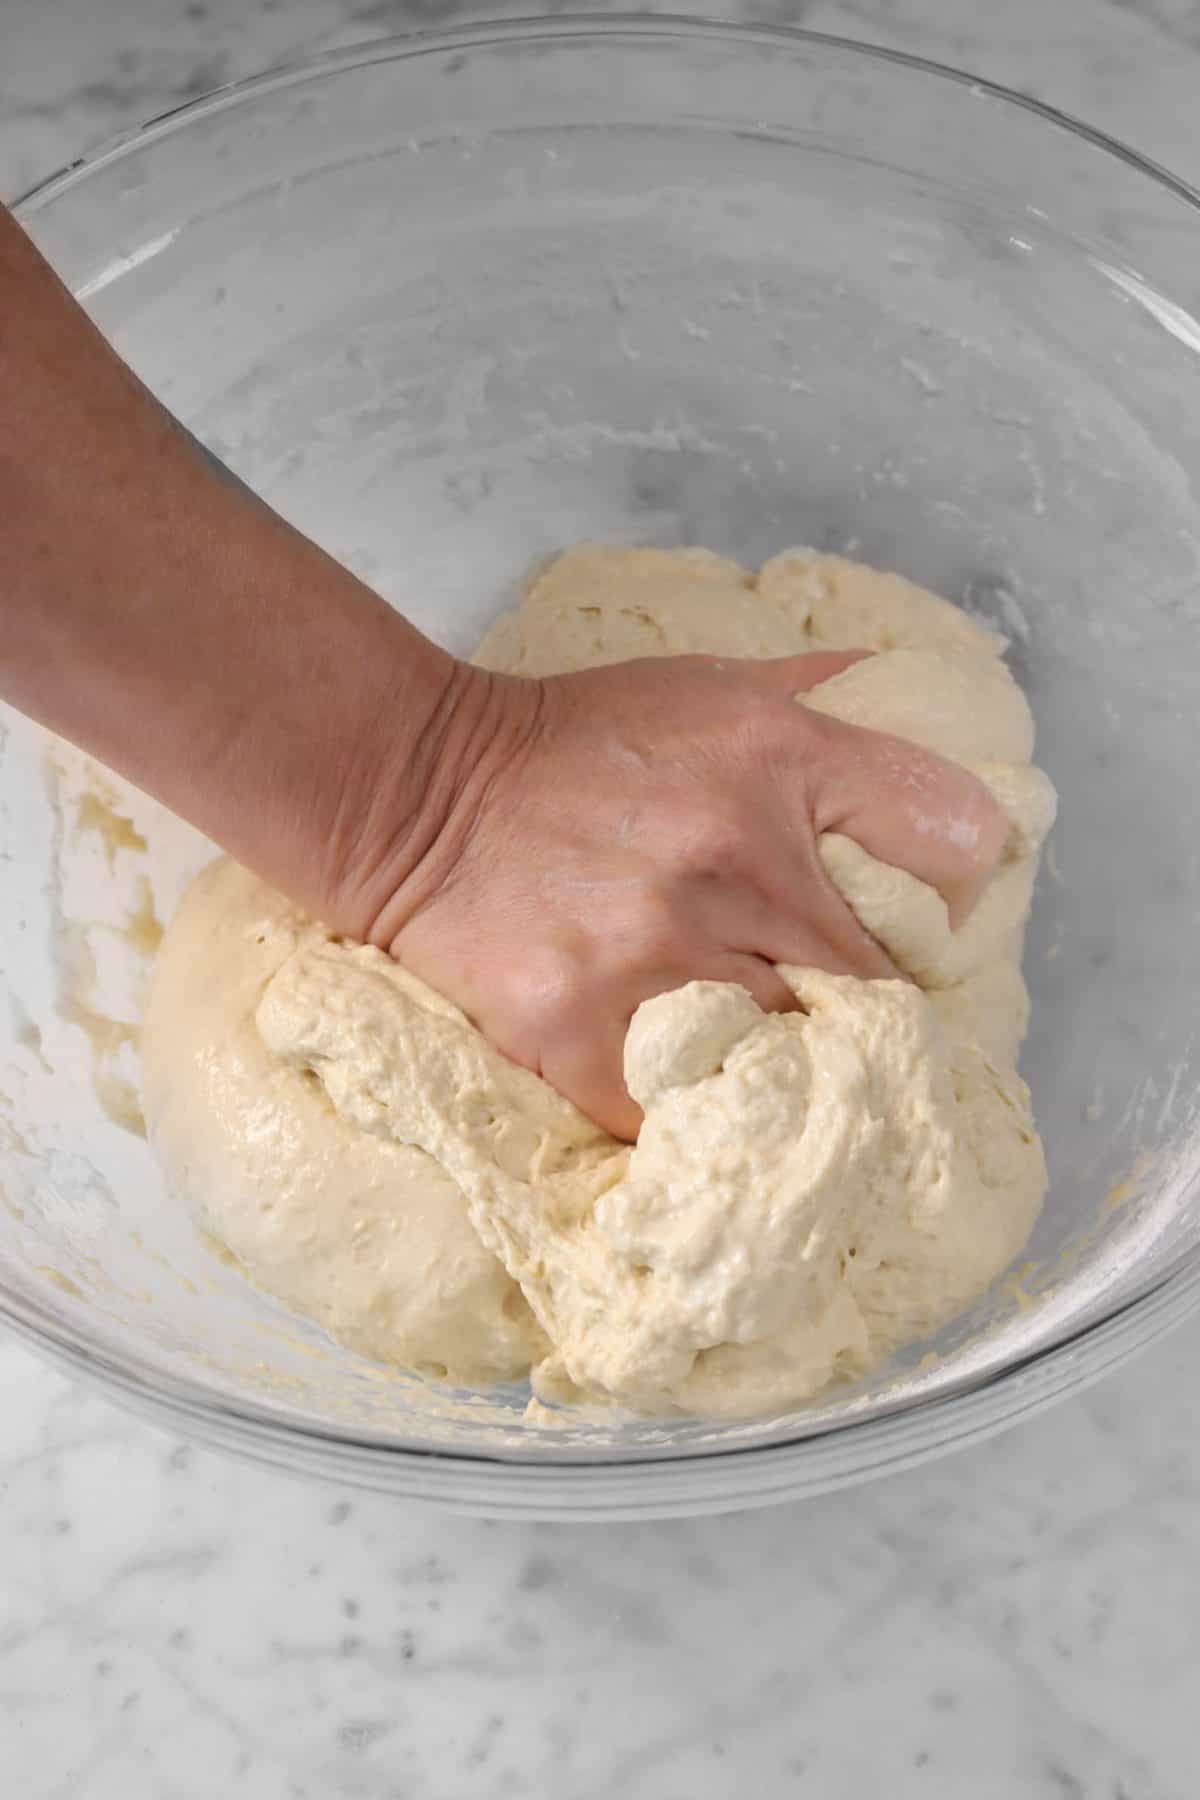
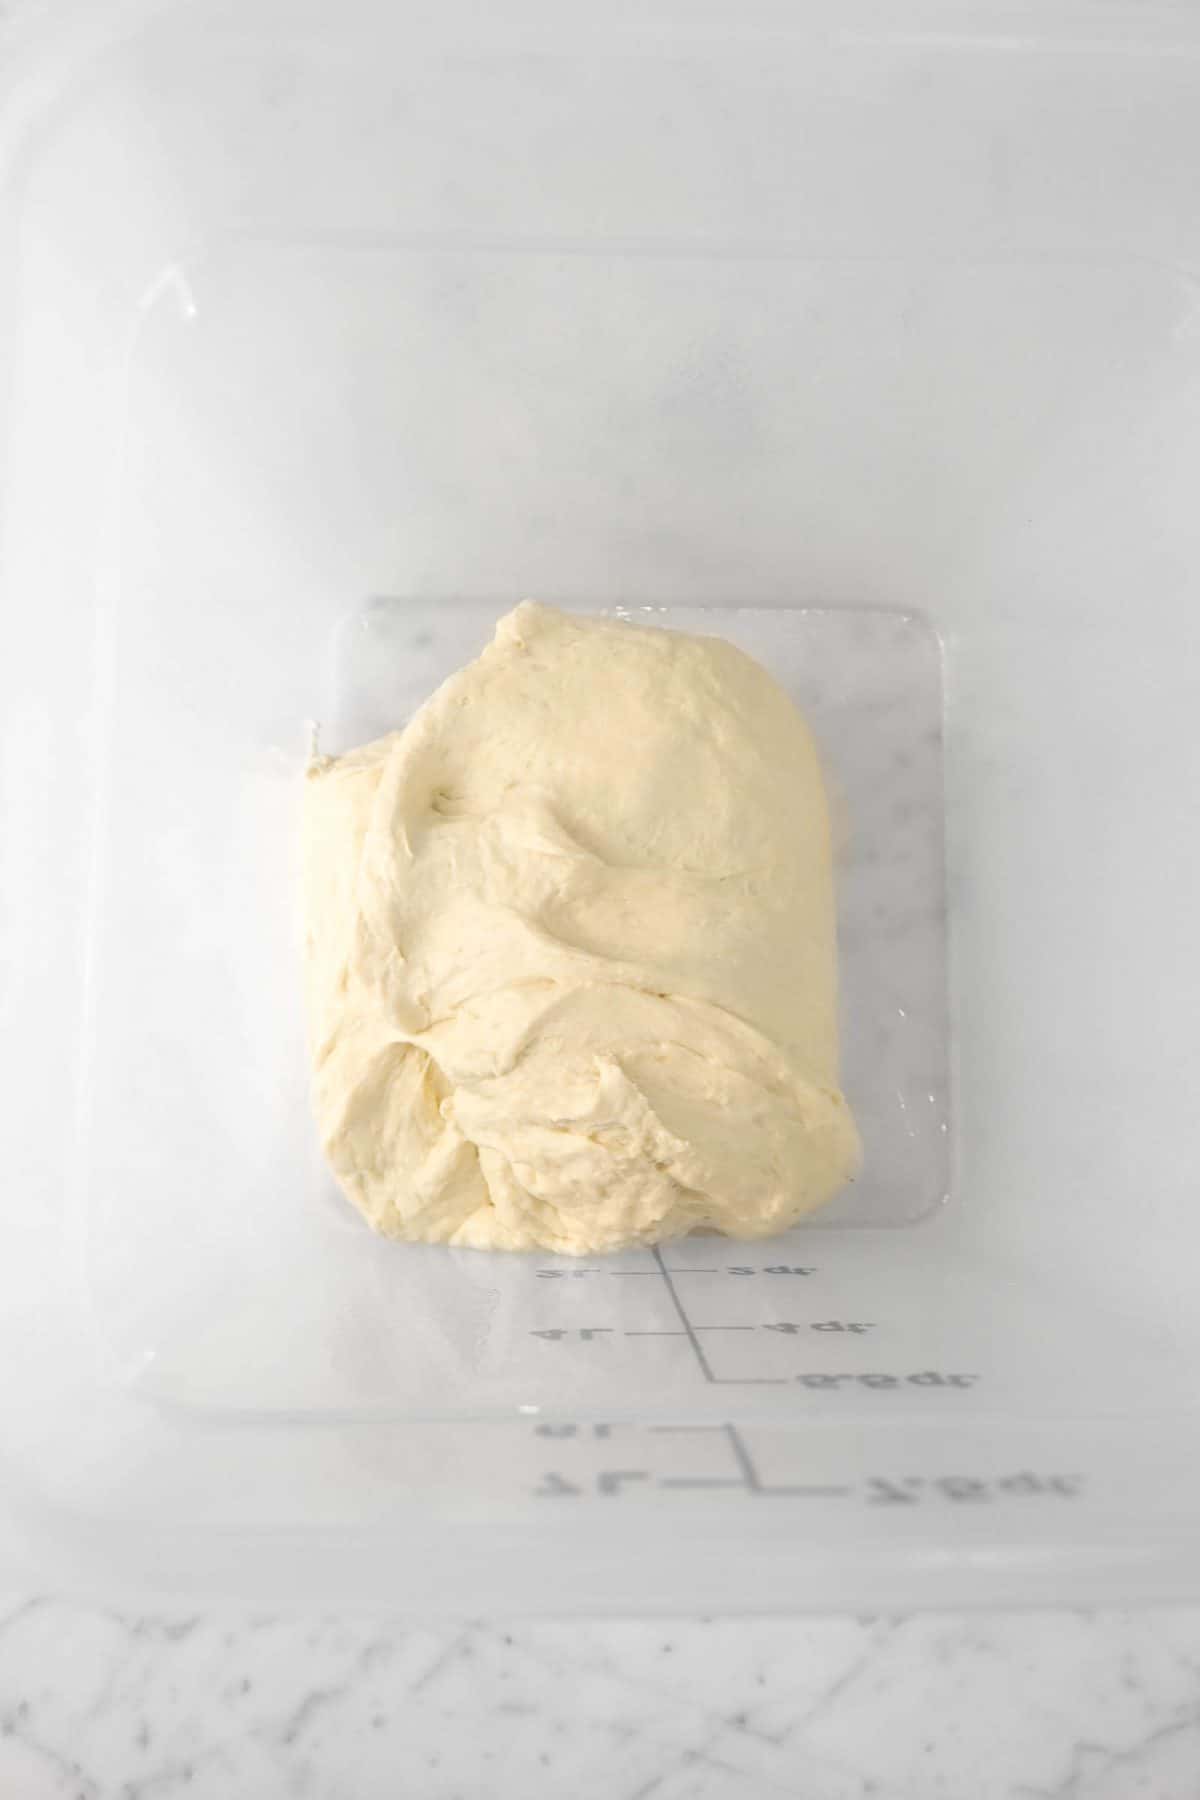
Remove the plastic wrap and add salt to the dough. Knead until smooth and there are no more clumps of salt. Transfer into a large airtight container and set aside for 30 minutes.
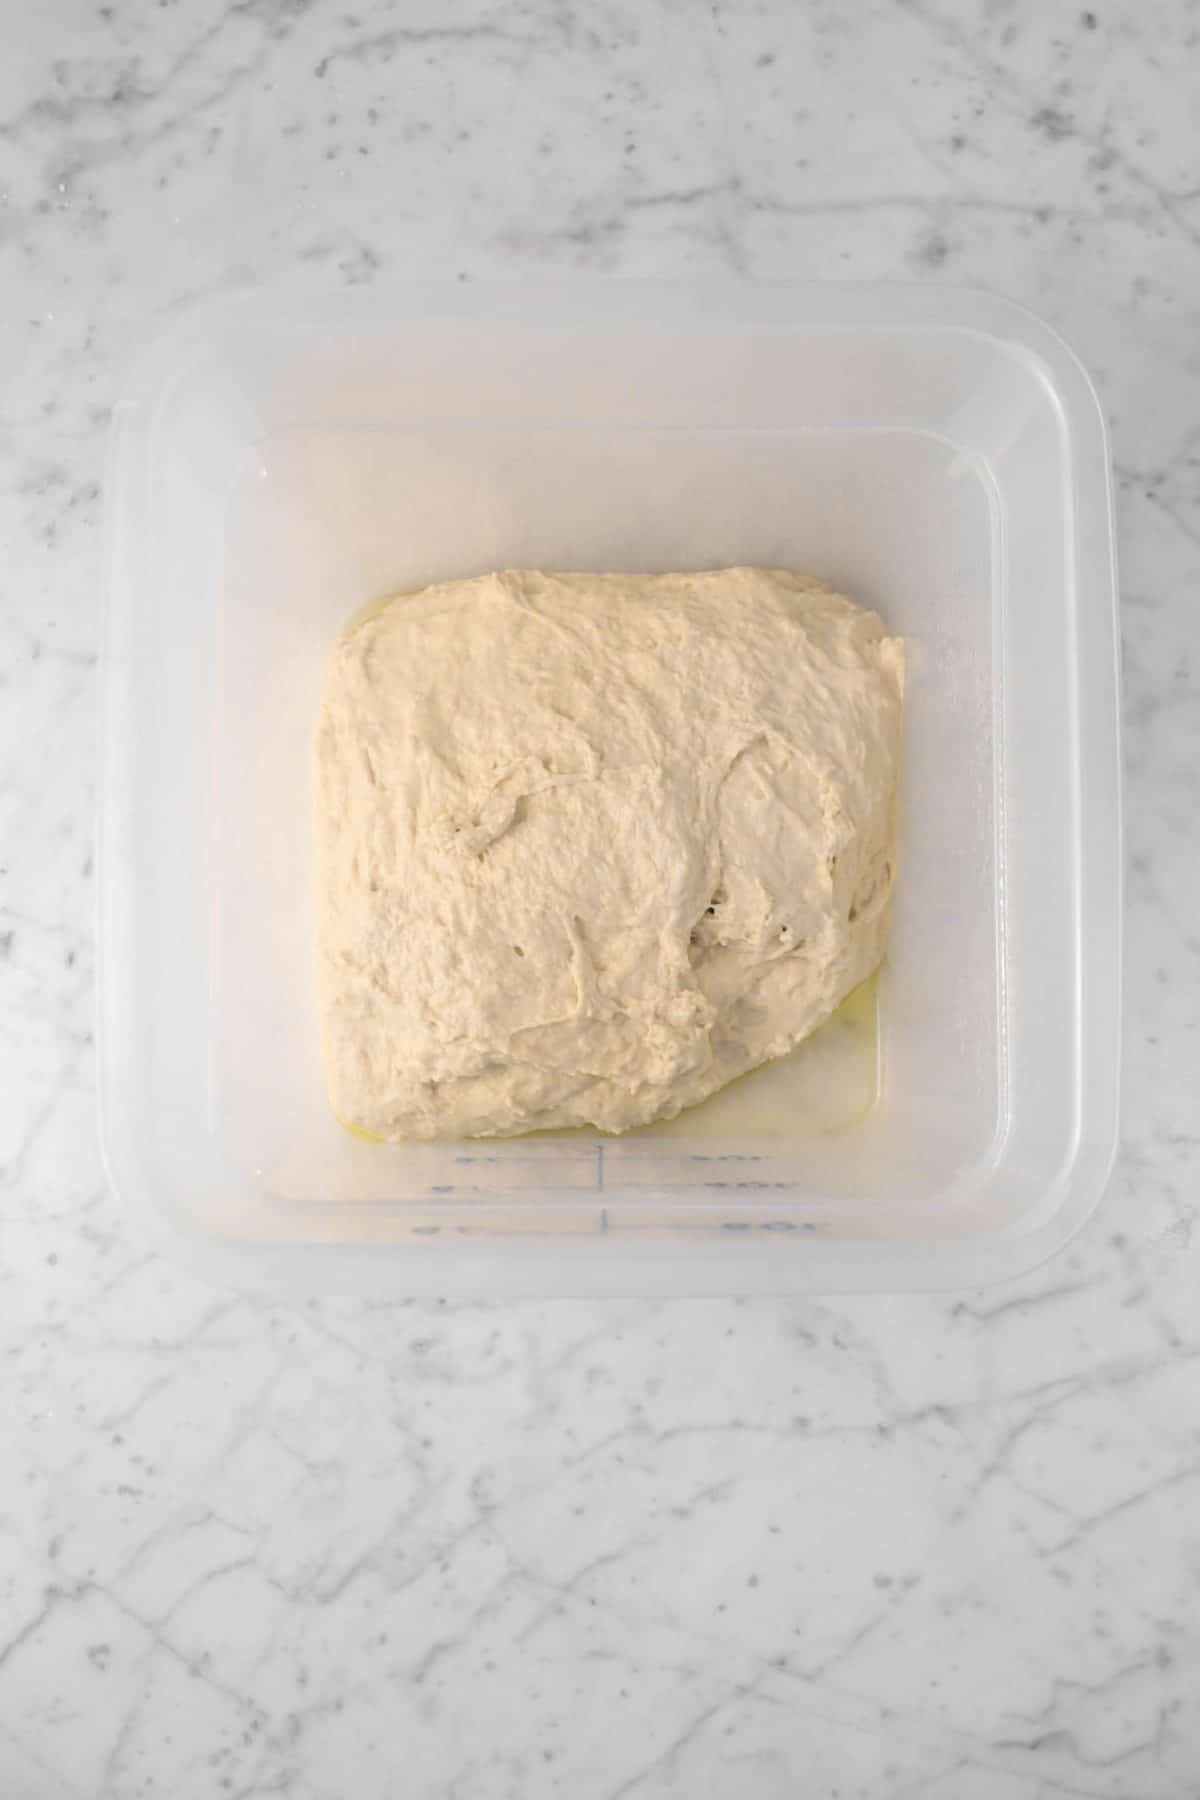
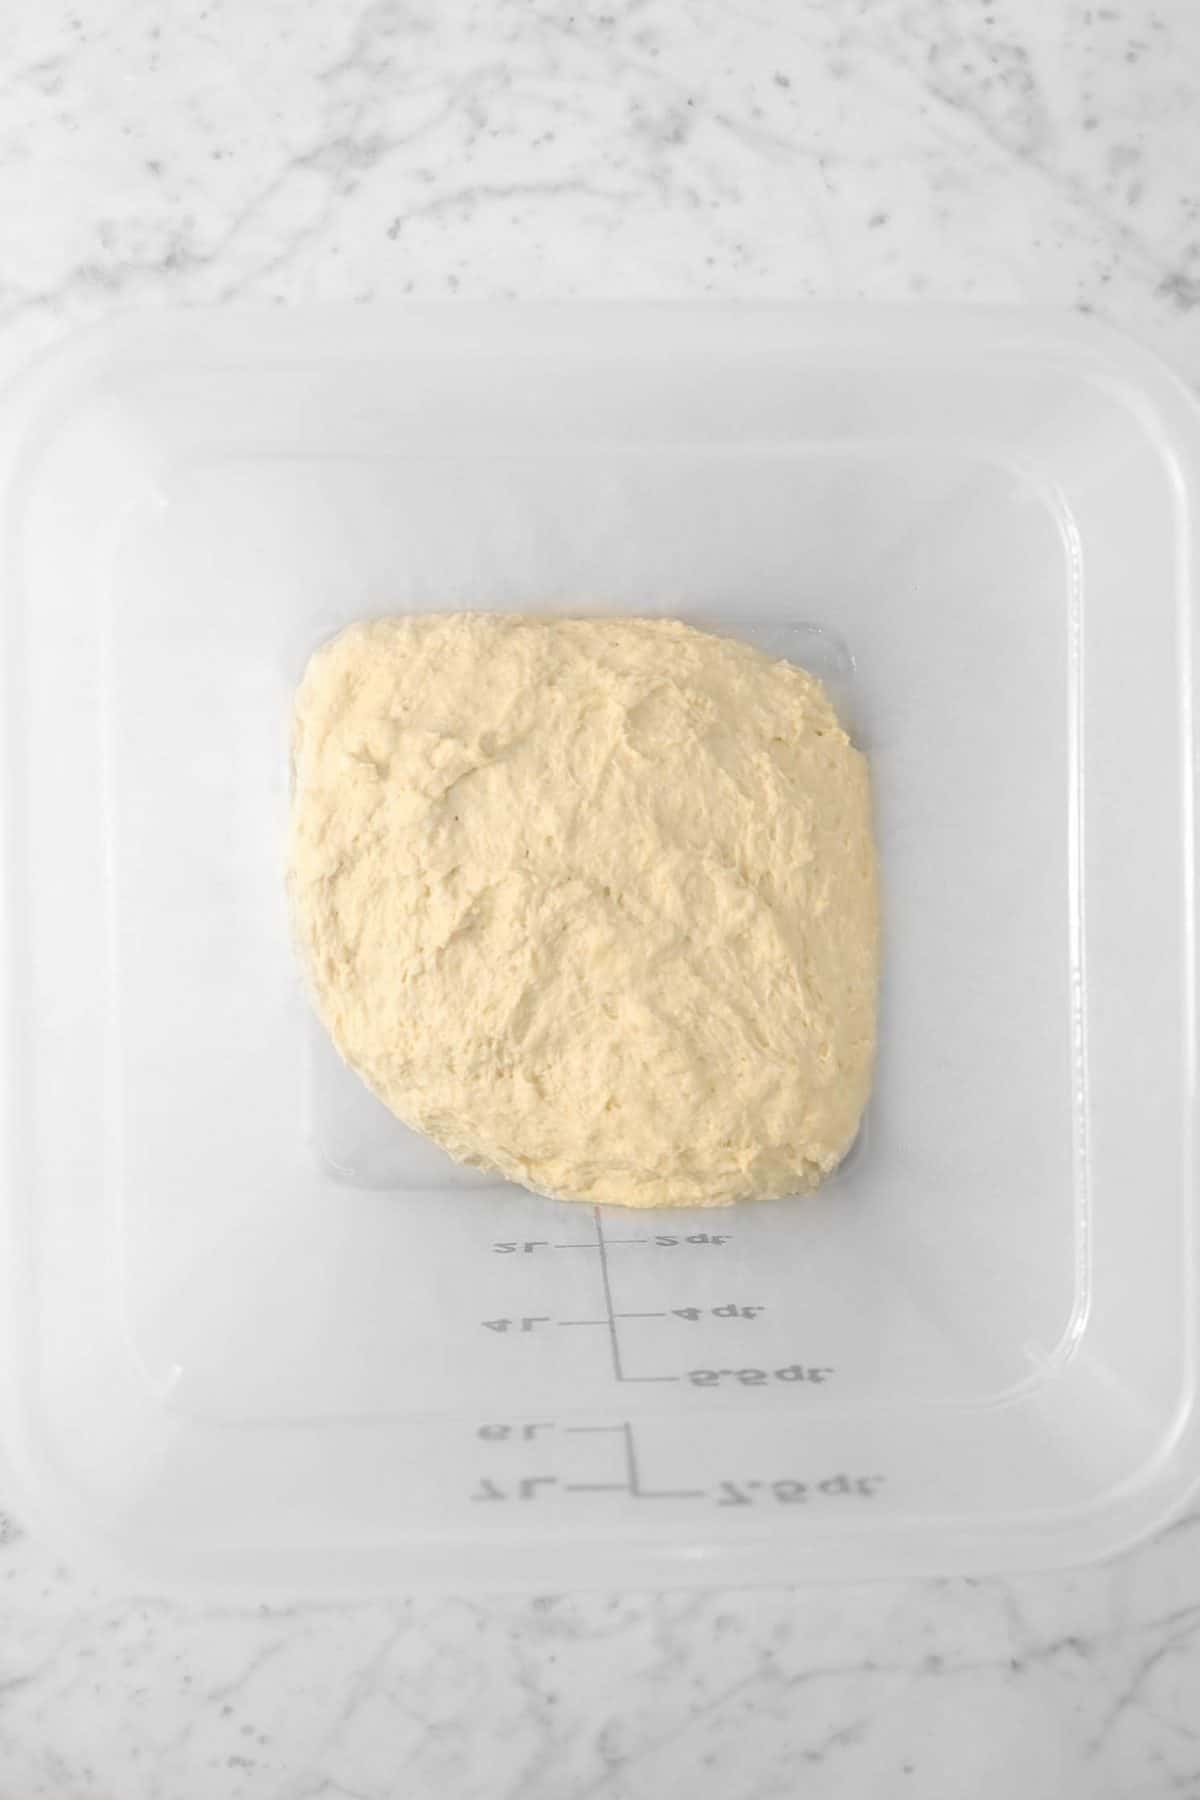
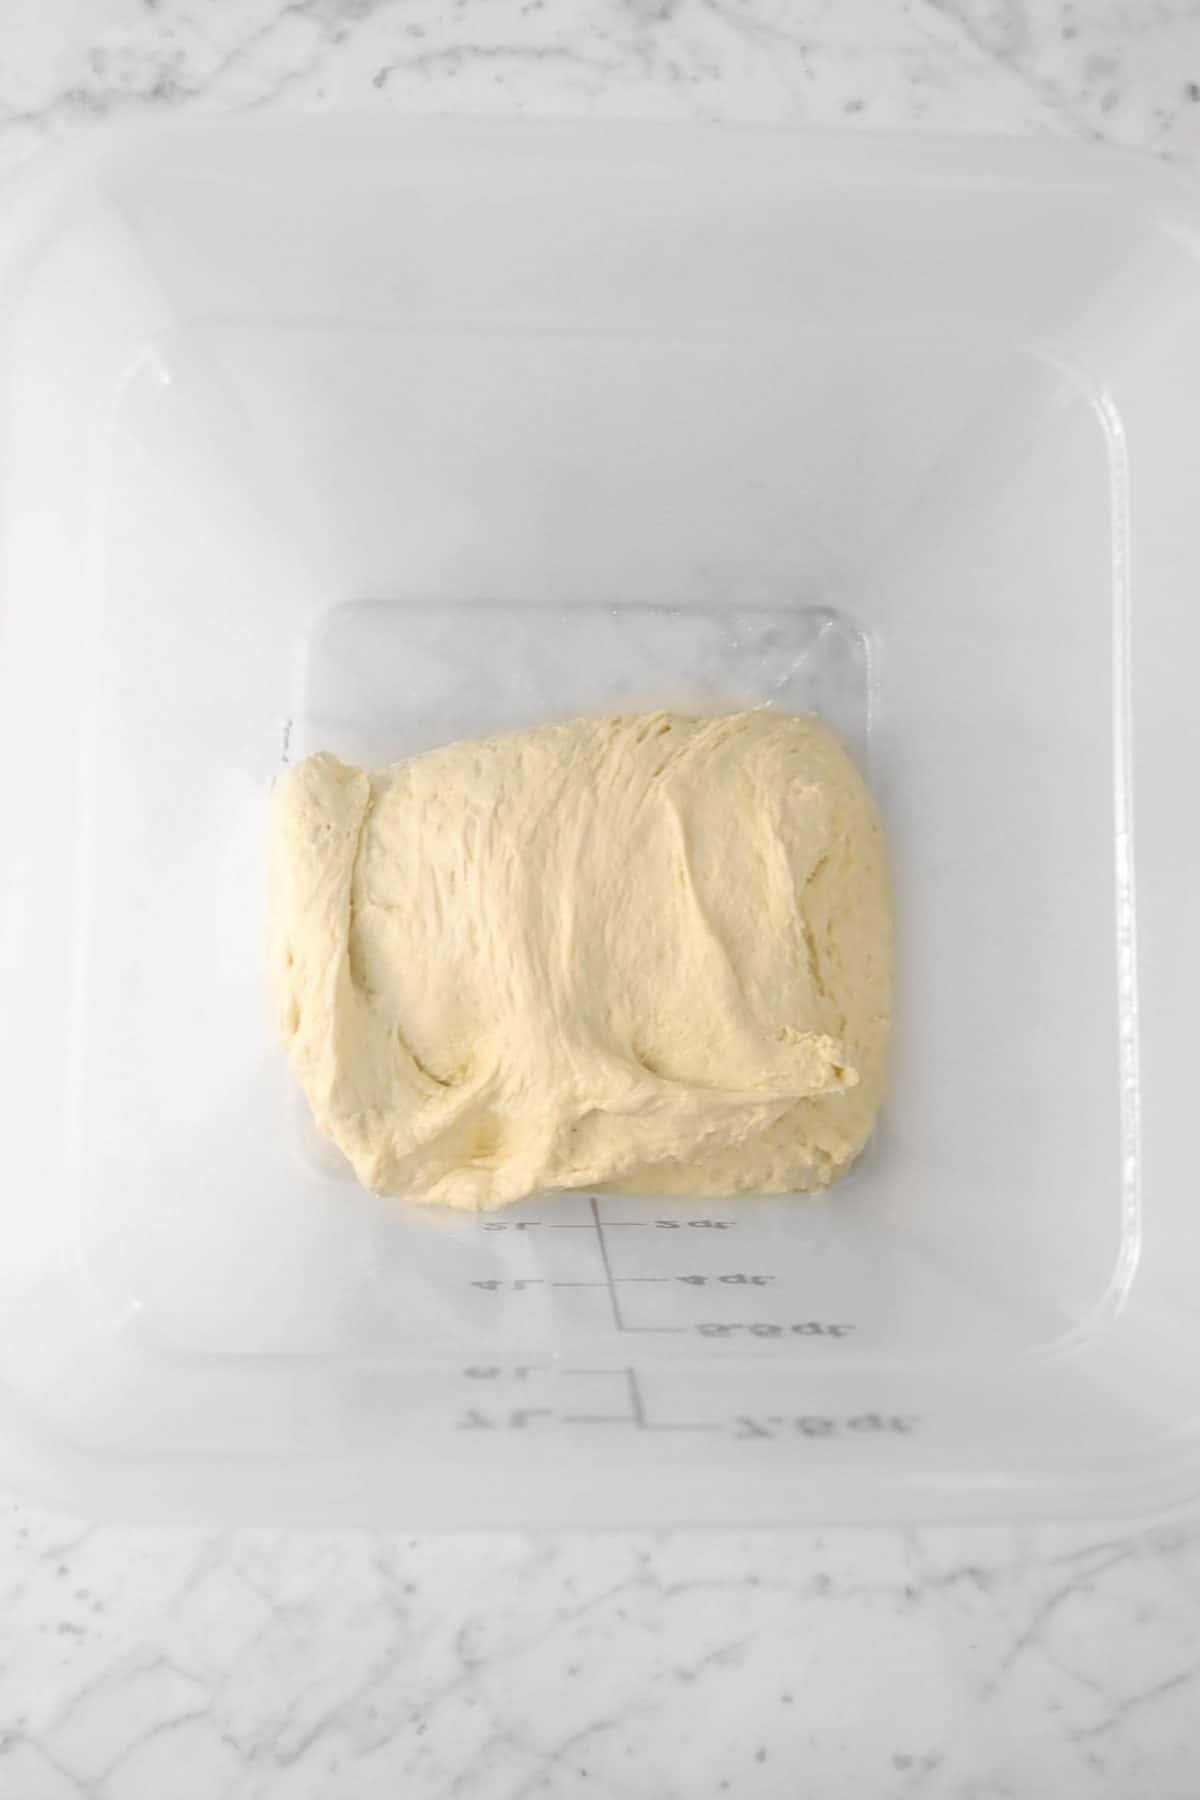
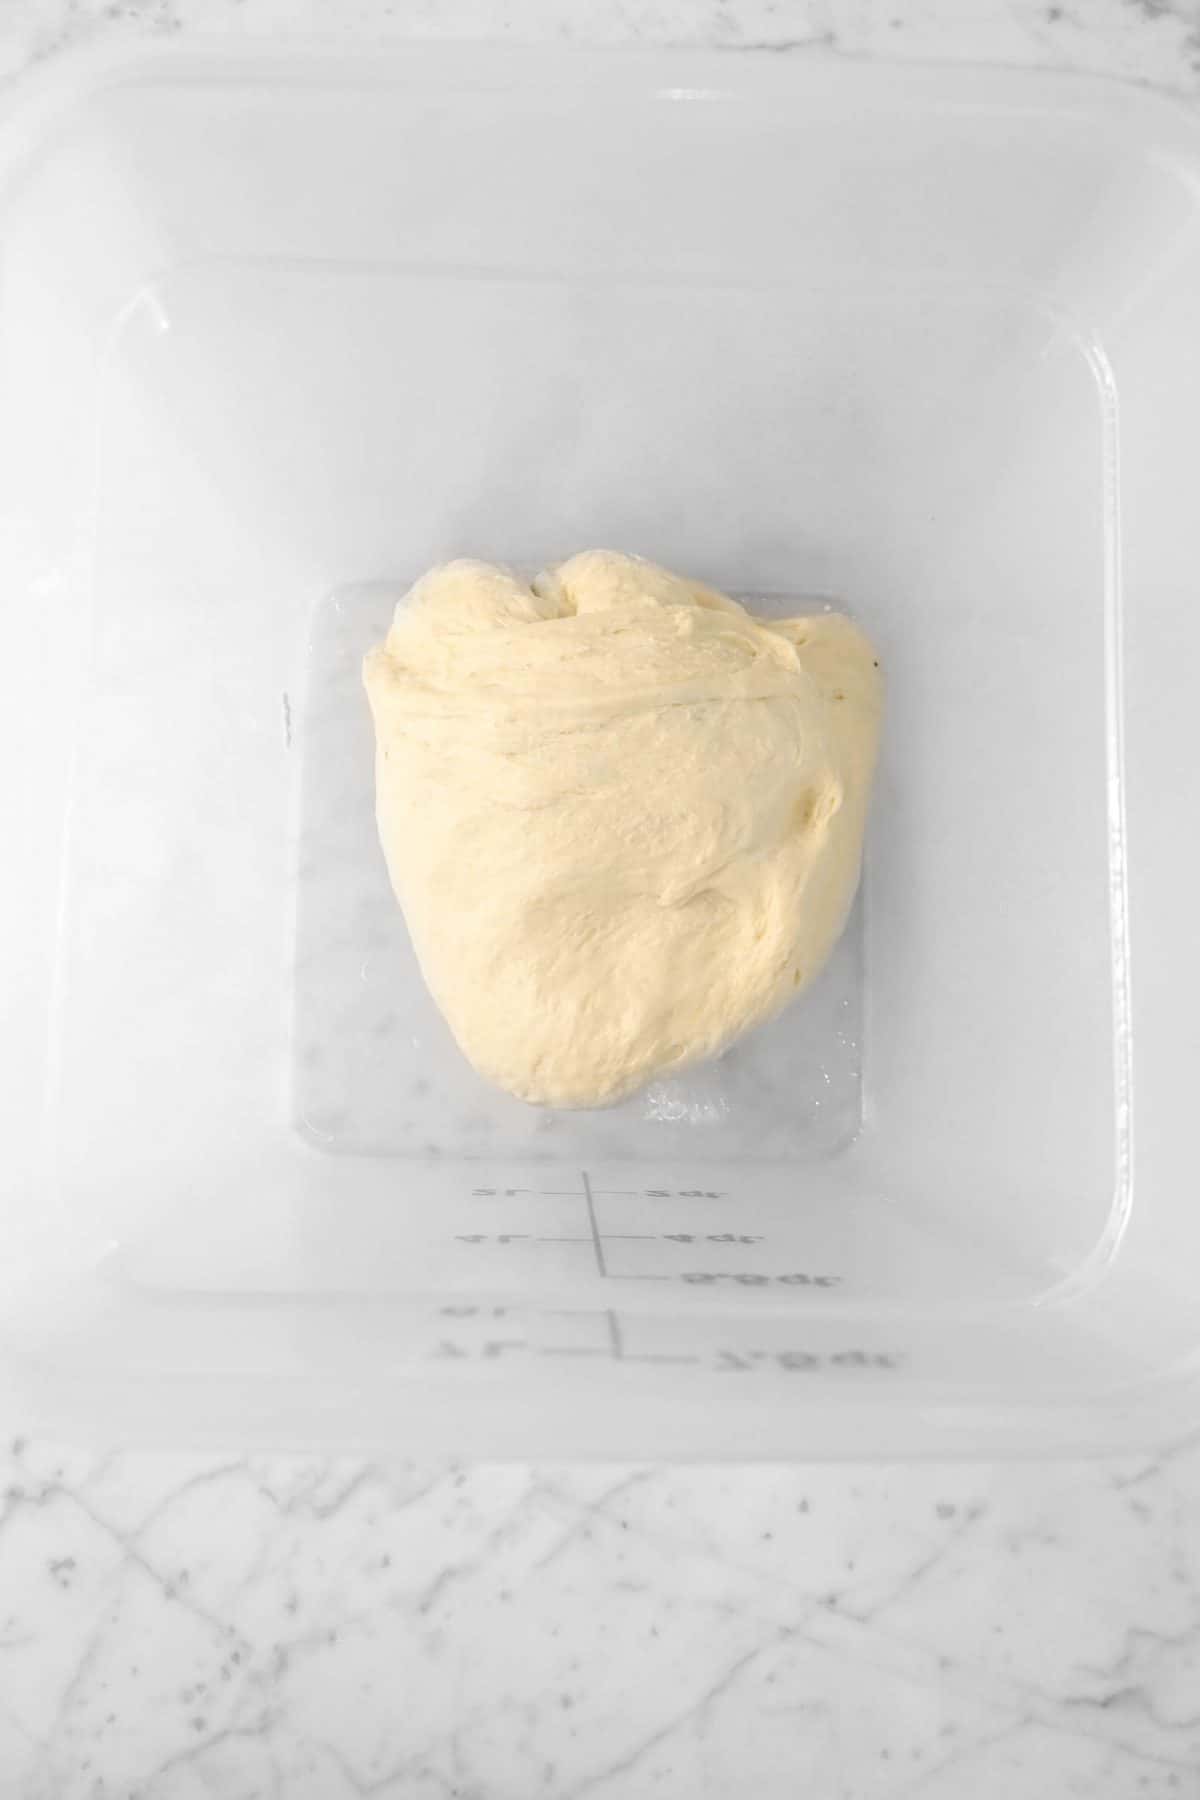
Every thirty minutes, turn the dough. Fold over in half like an envelope, fold in half towards the left, fold upwards in half, and then fold to the right. Let sit for 30 minutes. Repeat these steps 5 more times. Afterwards, let dough rest until it has doubled in bulk.

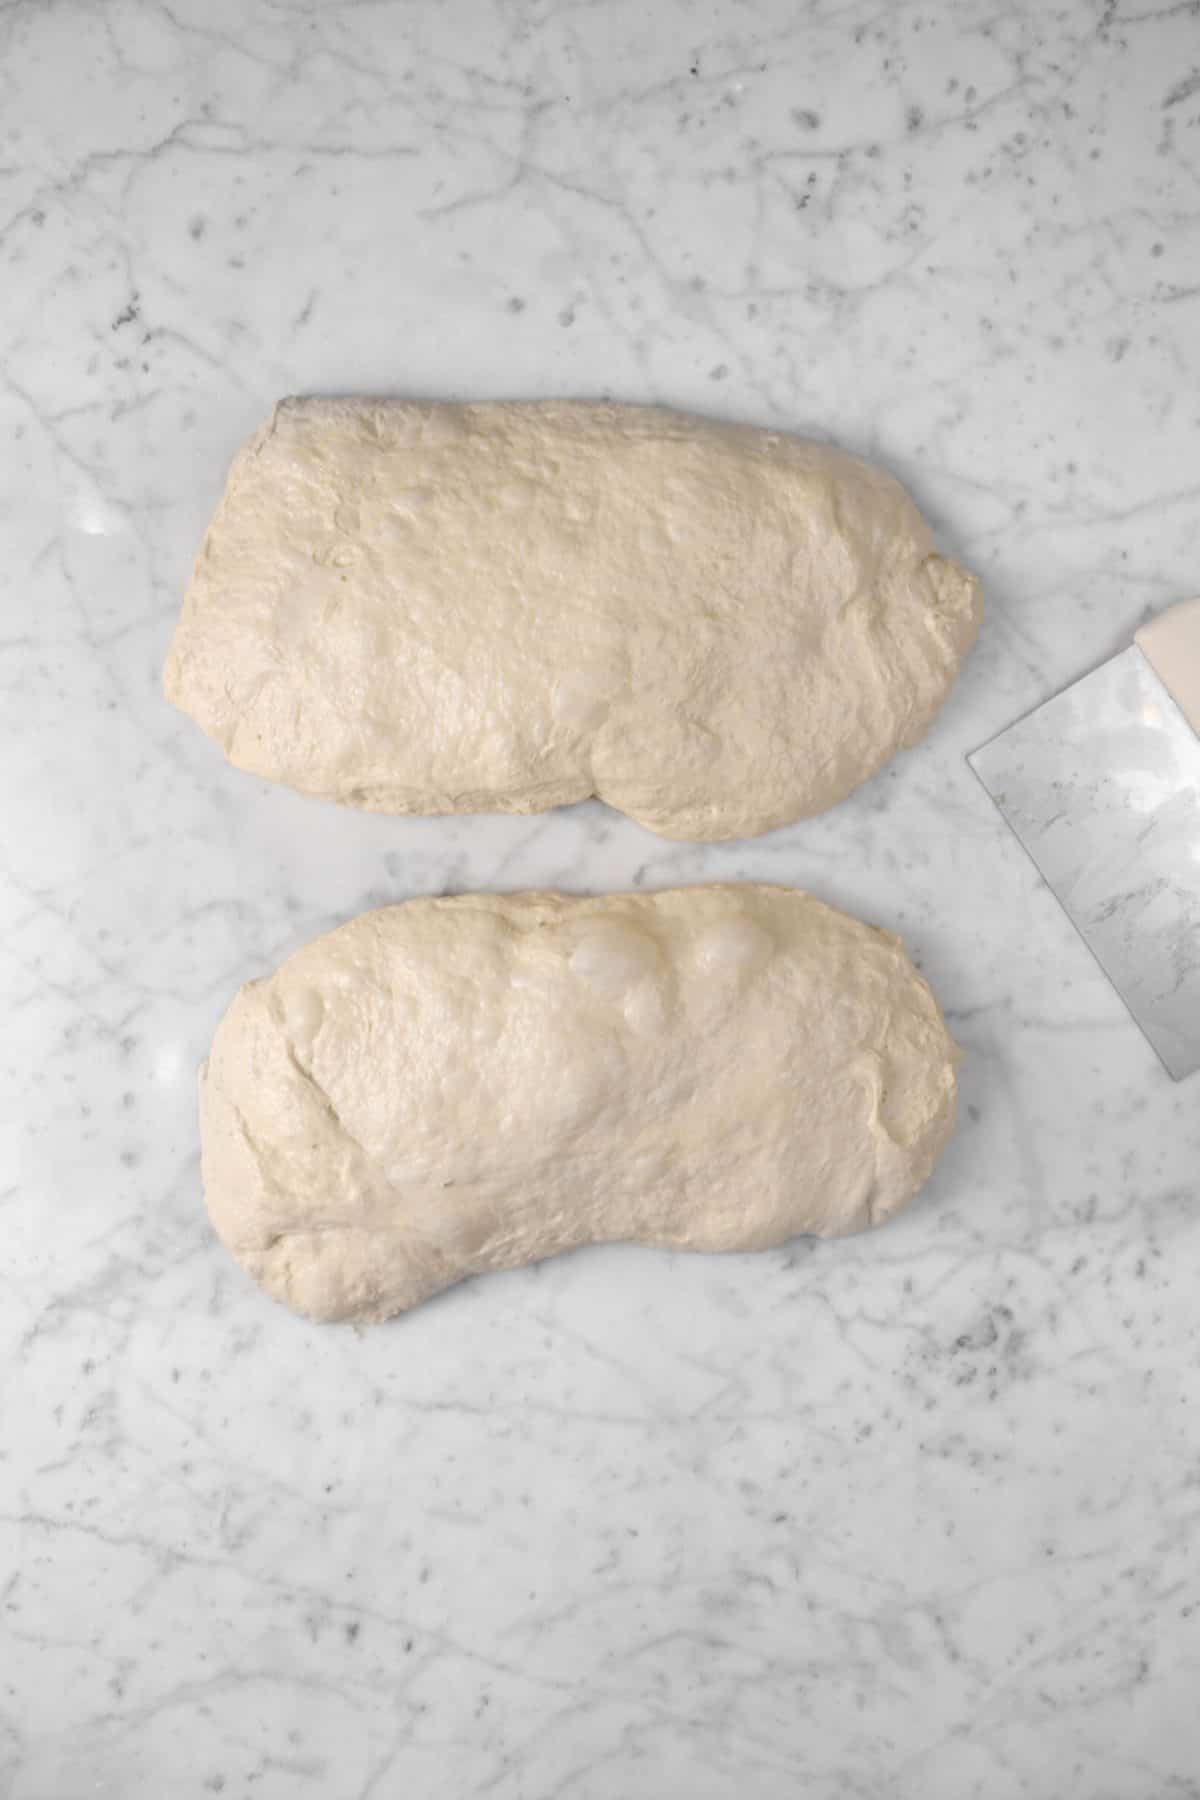
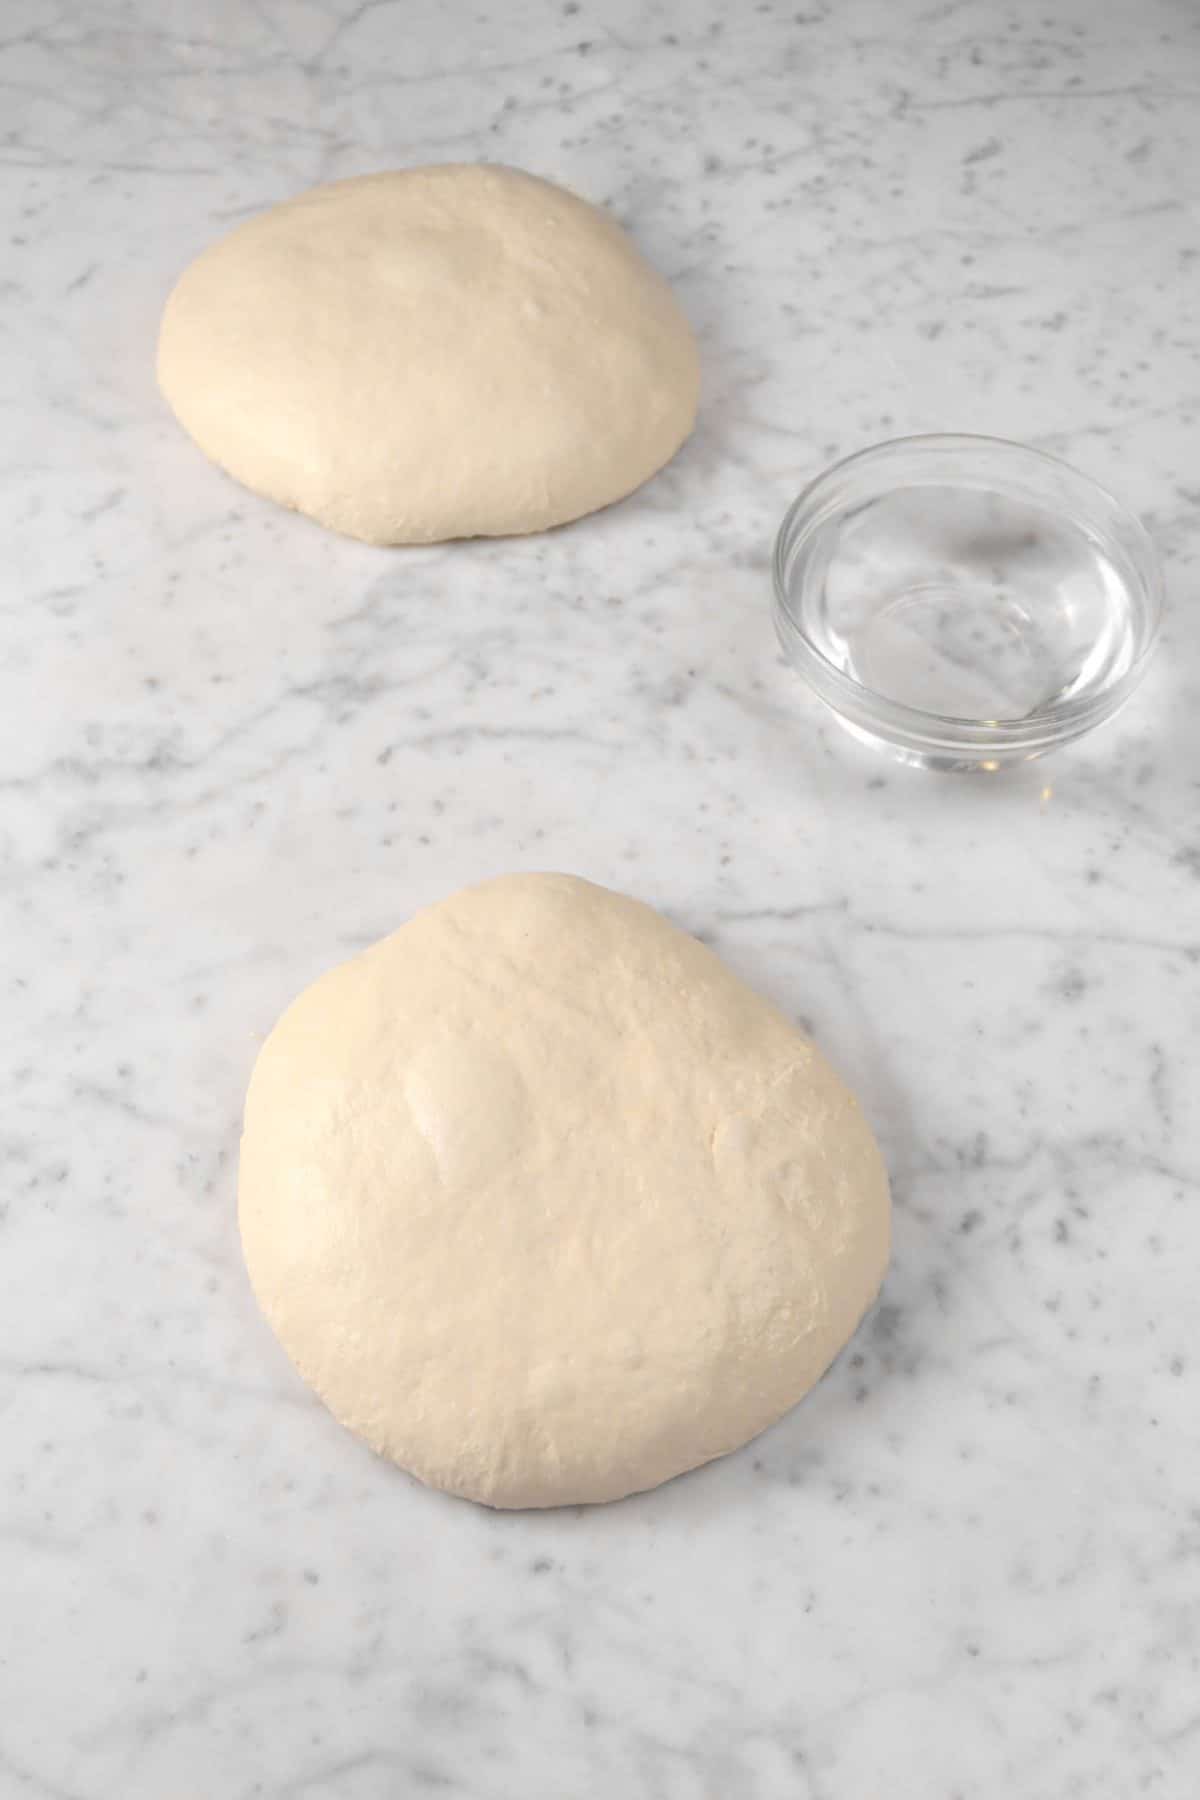
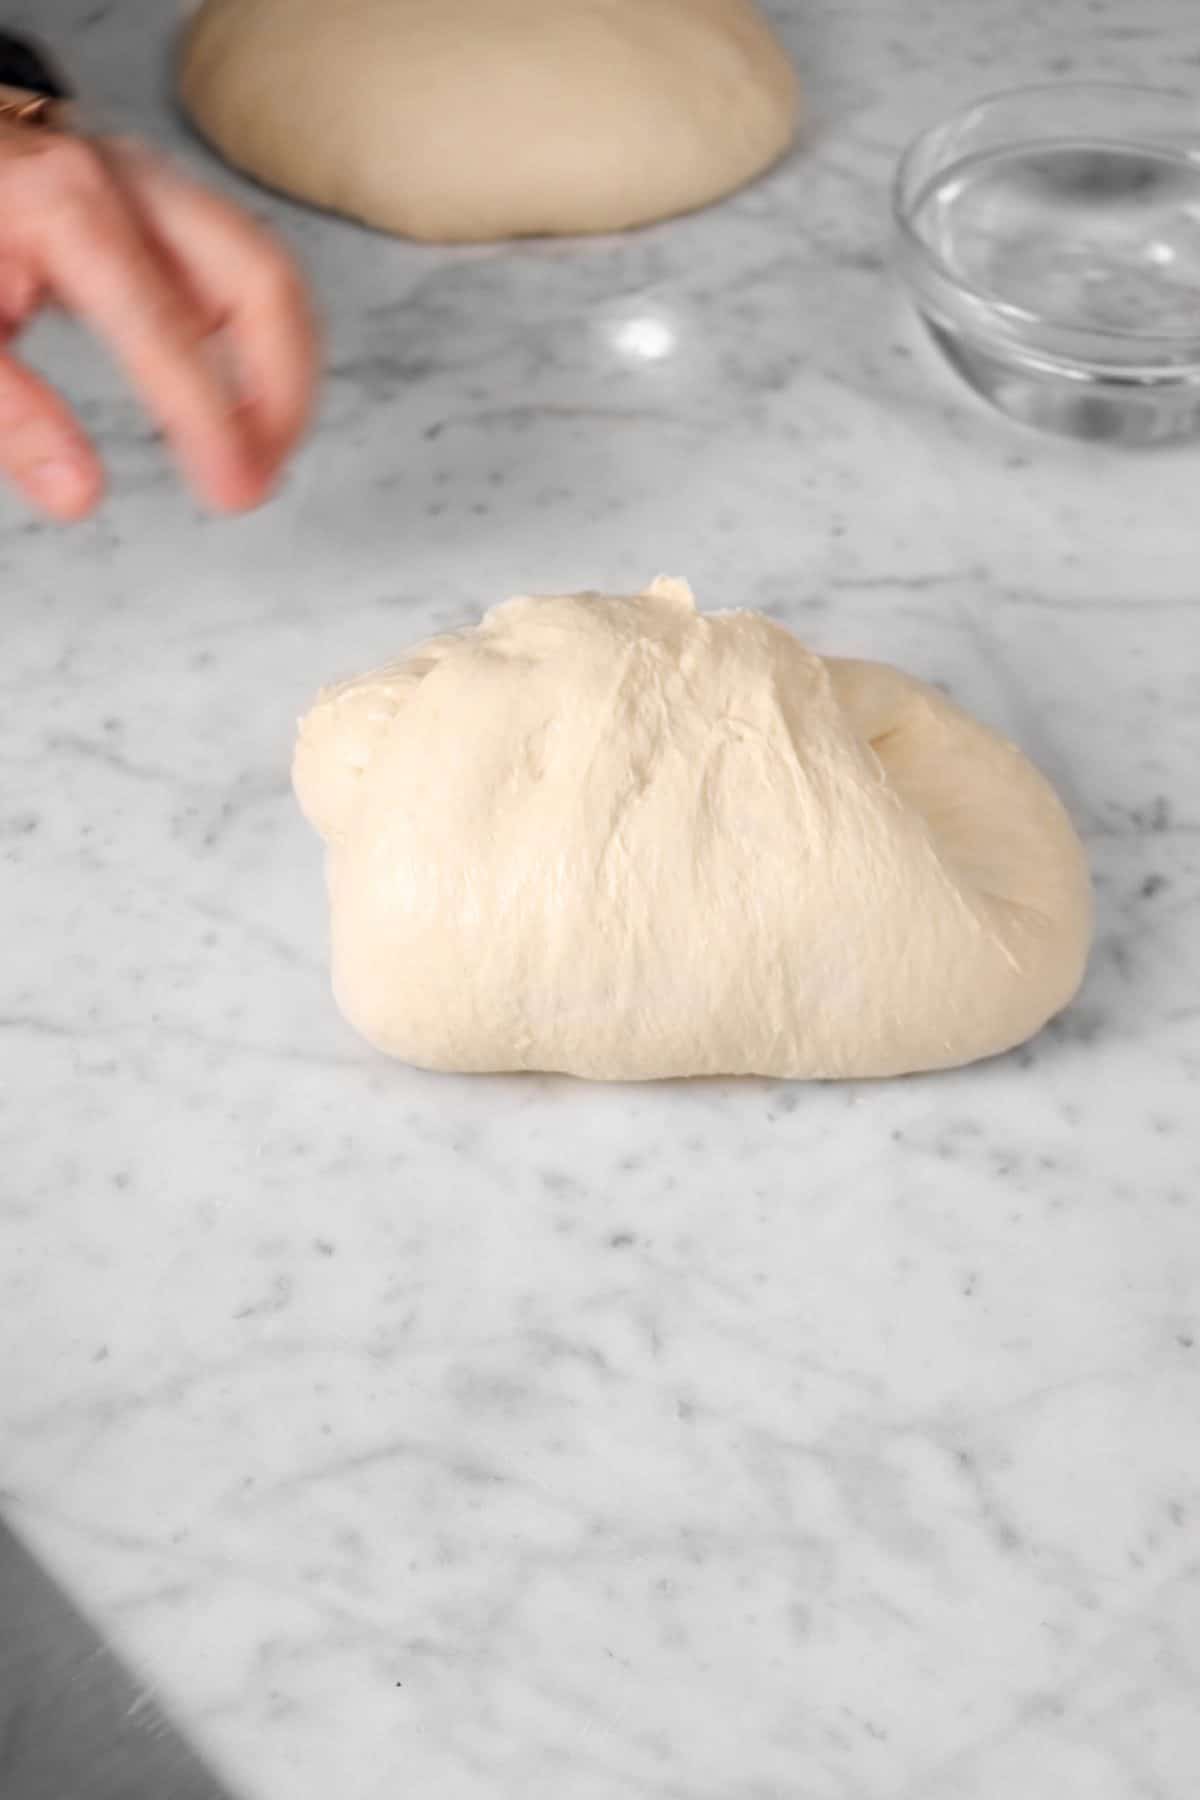
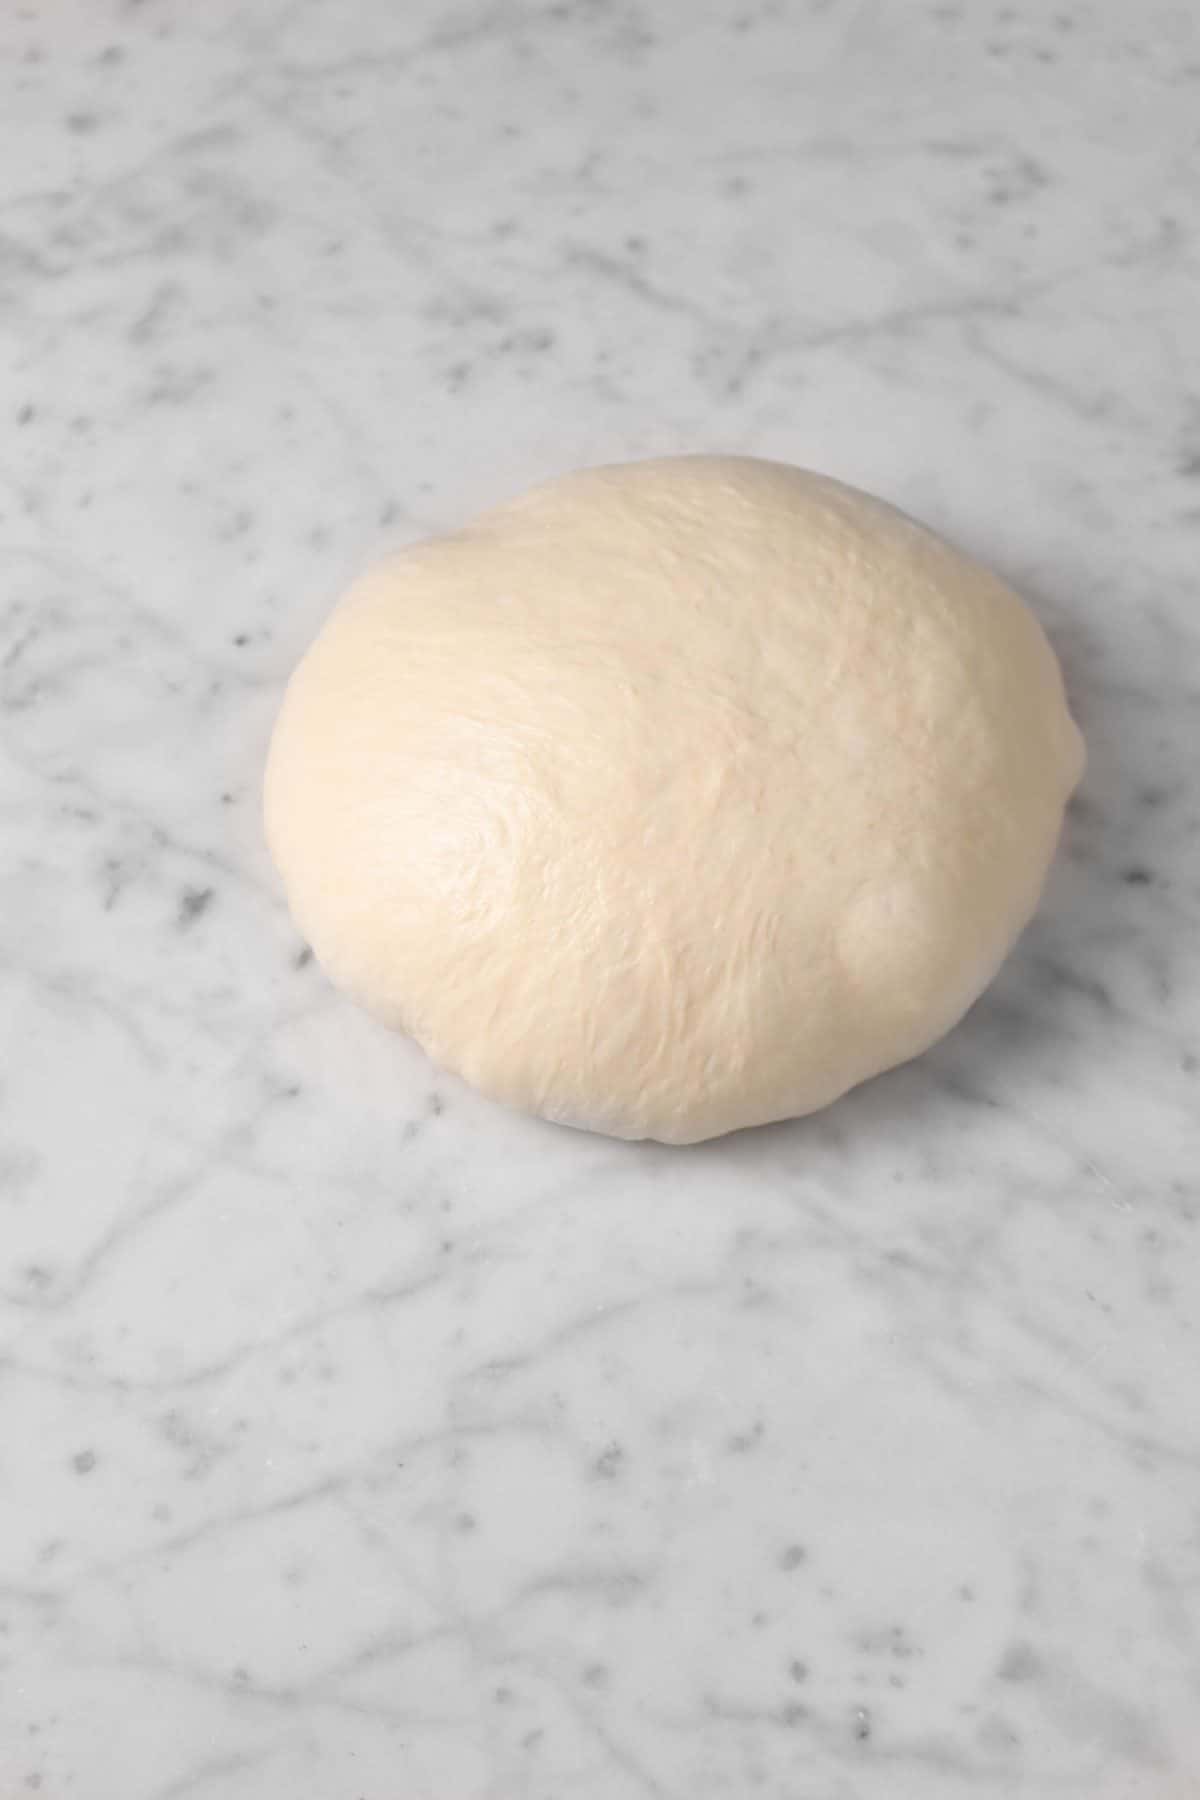
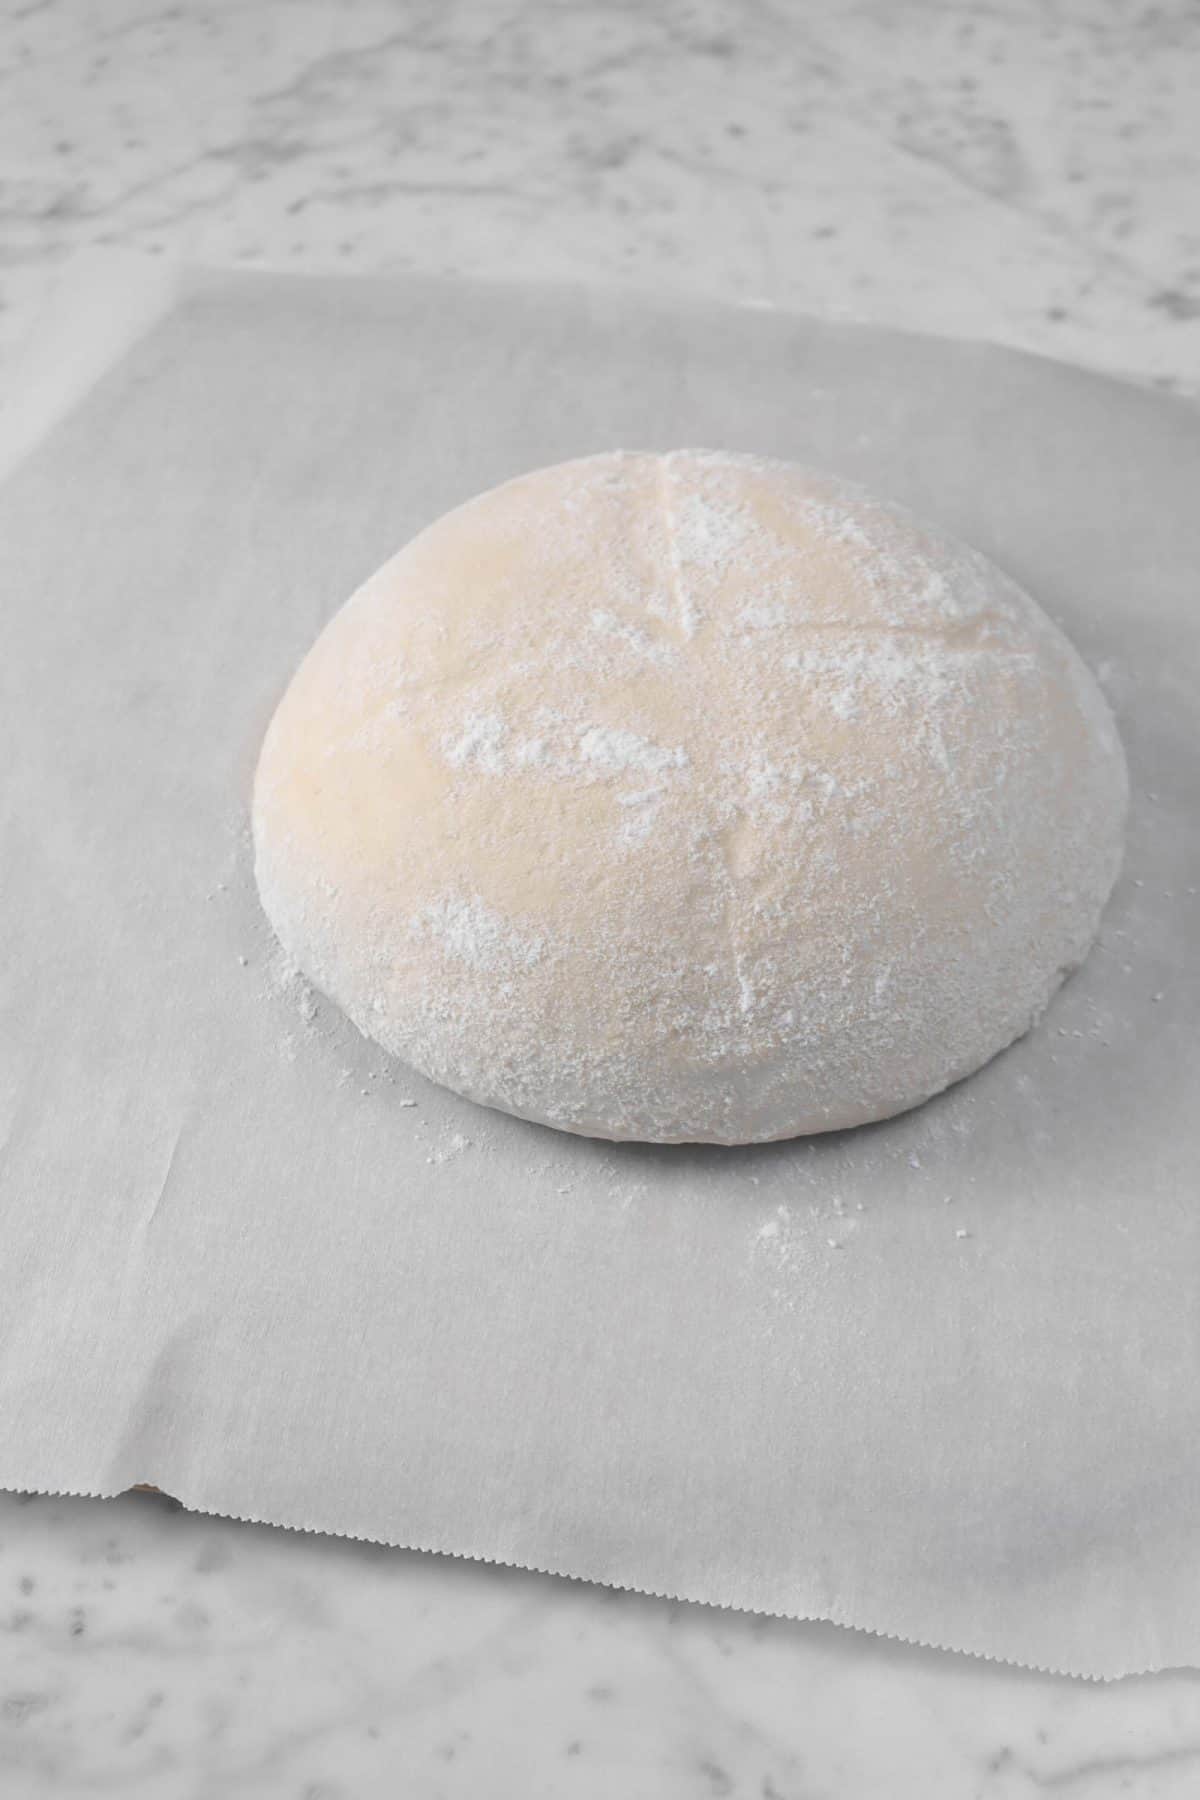
Turn the dough out and shape into a small boule. The photos below are from a doubled recipe so, don’t worry about cutting the dough like we did! Cover the dough with a damp towel and let rest for 30 minutes.
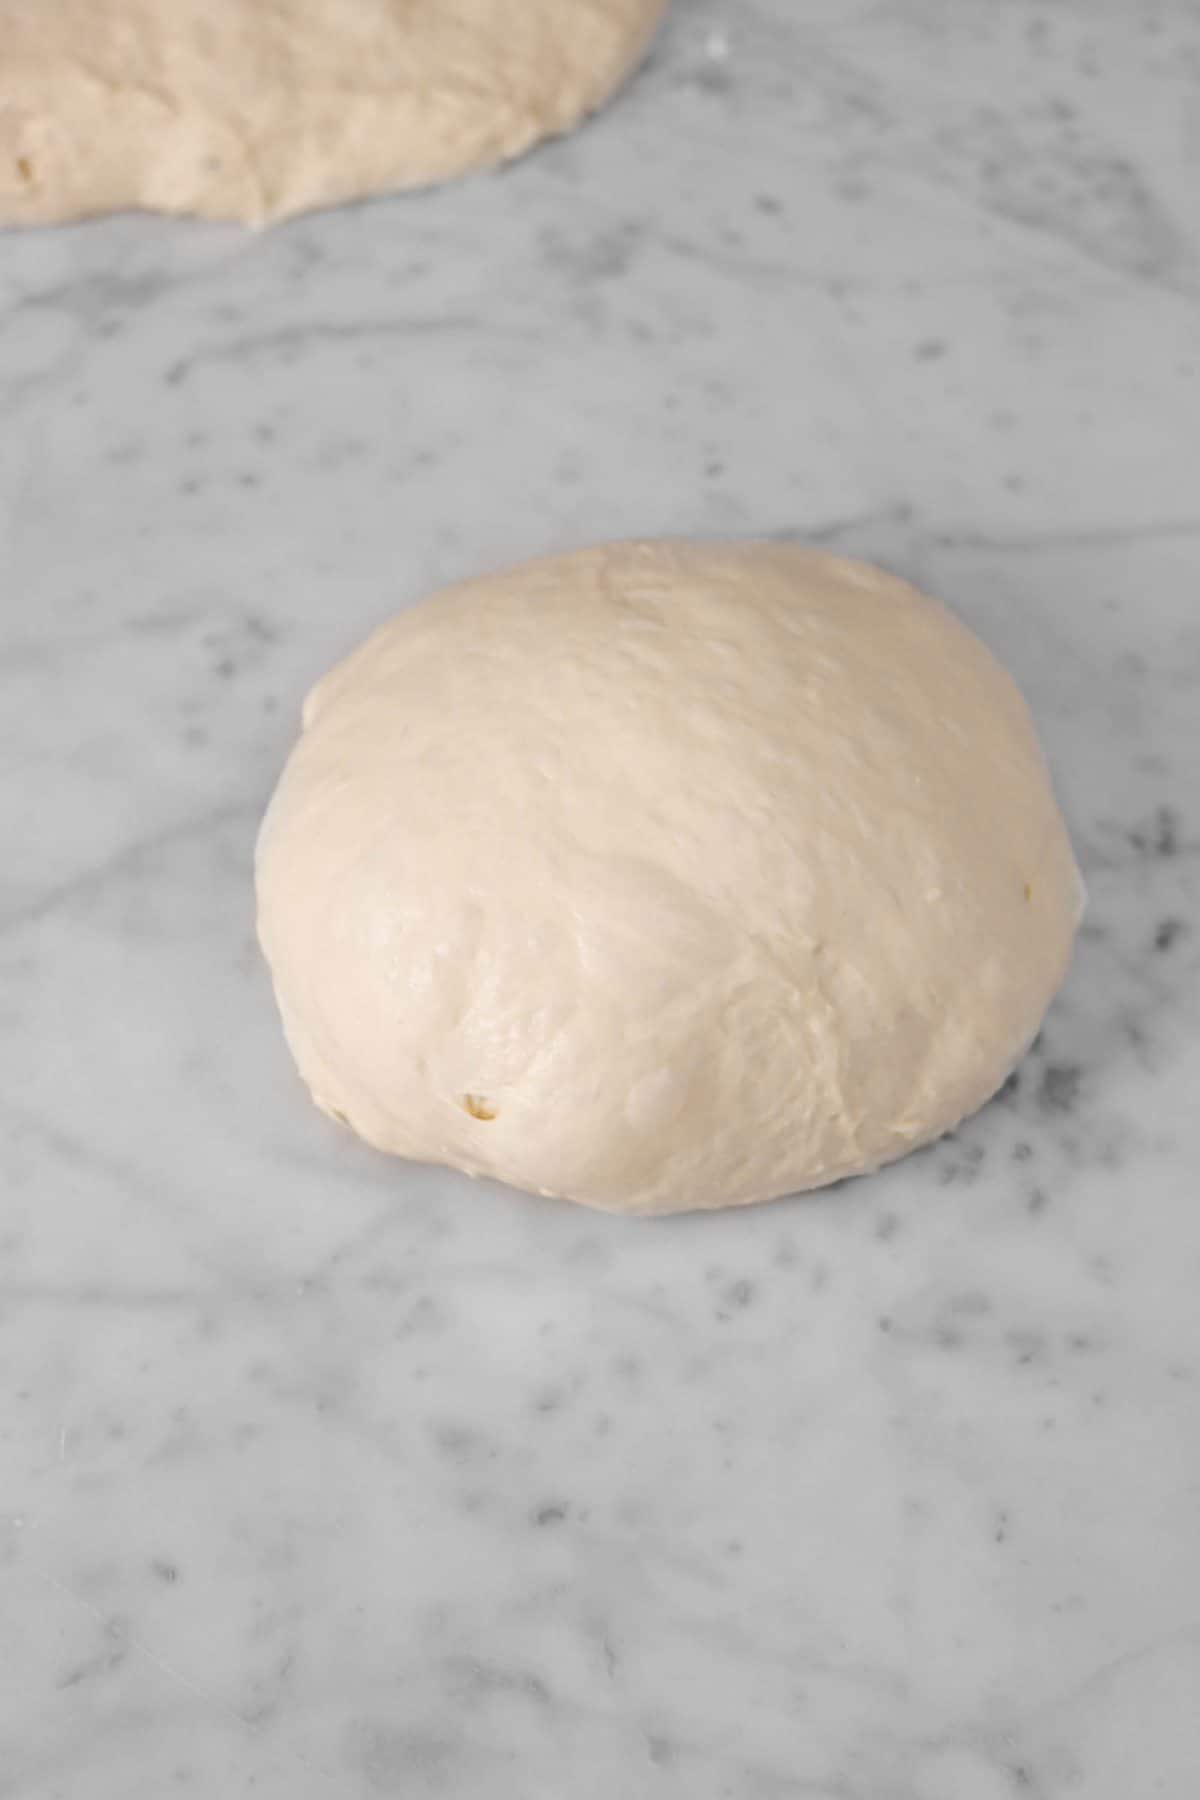
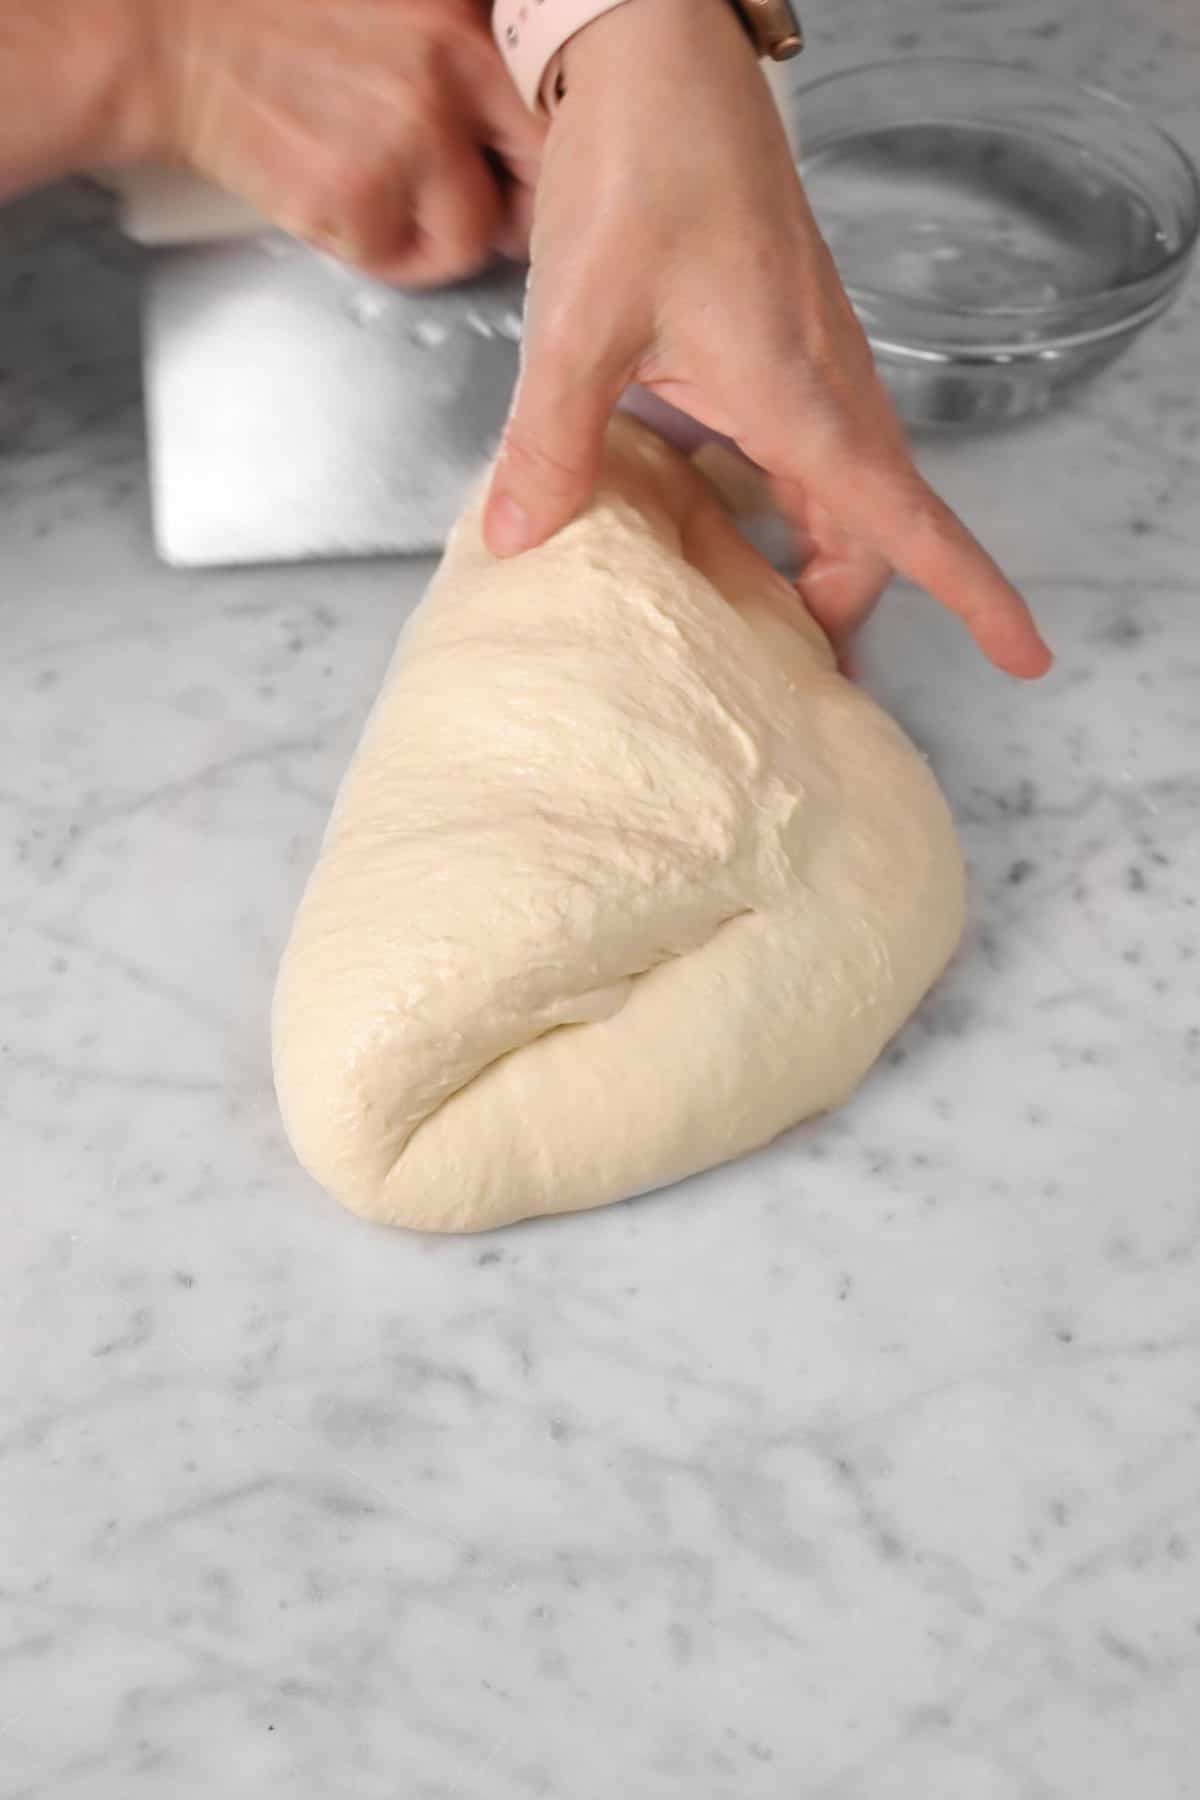
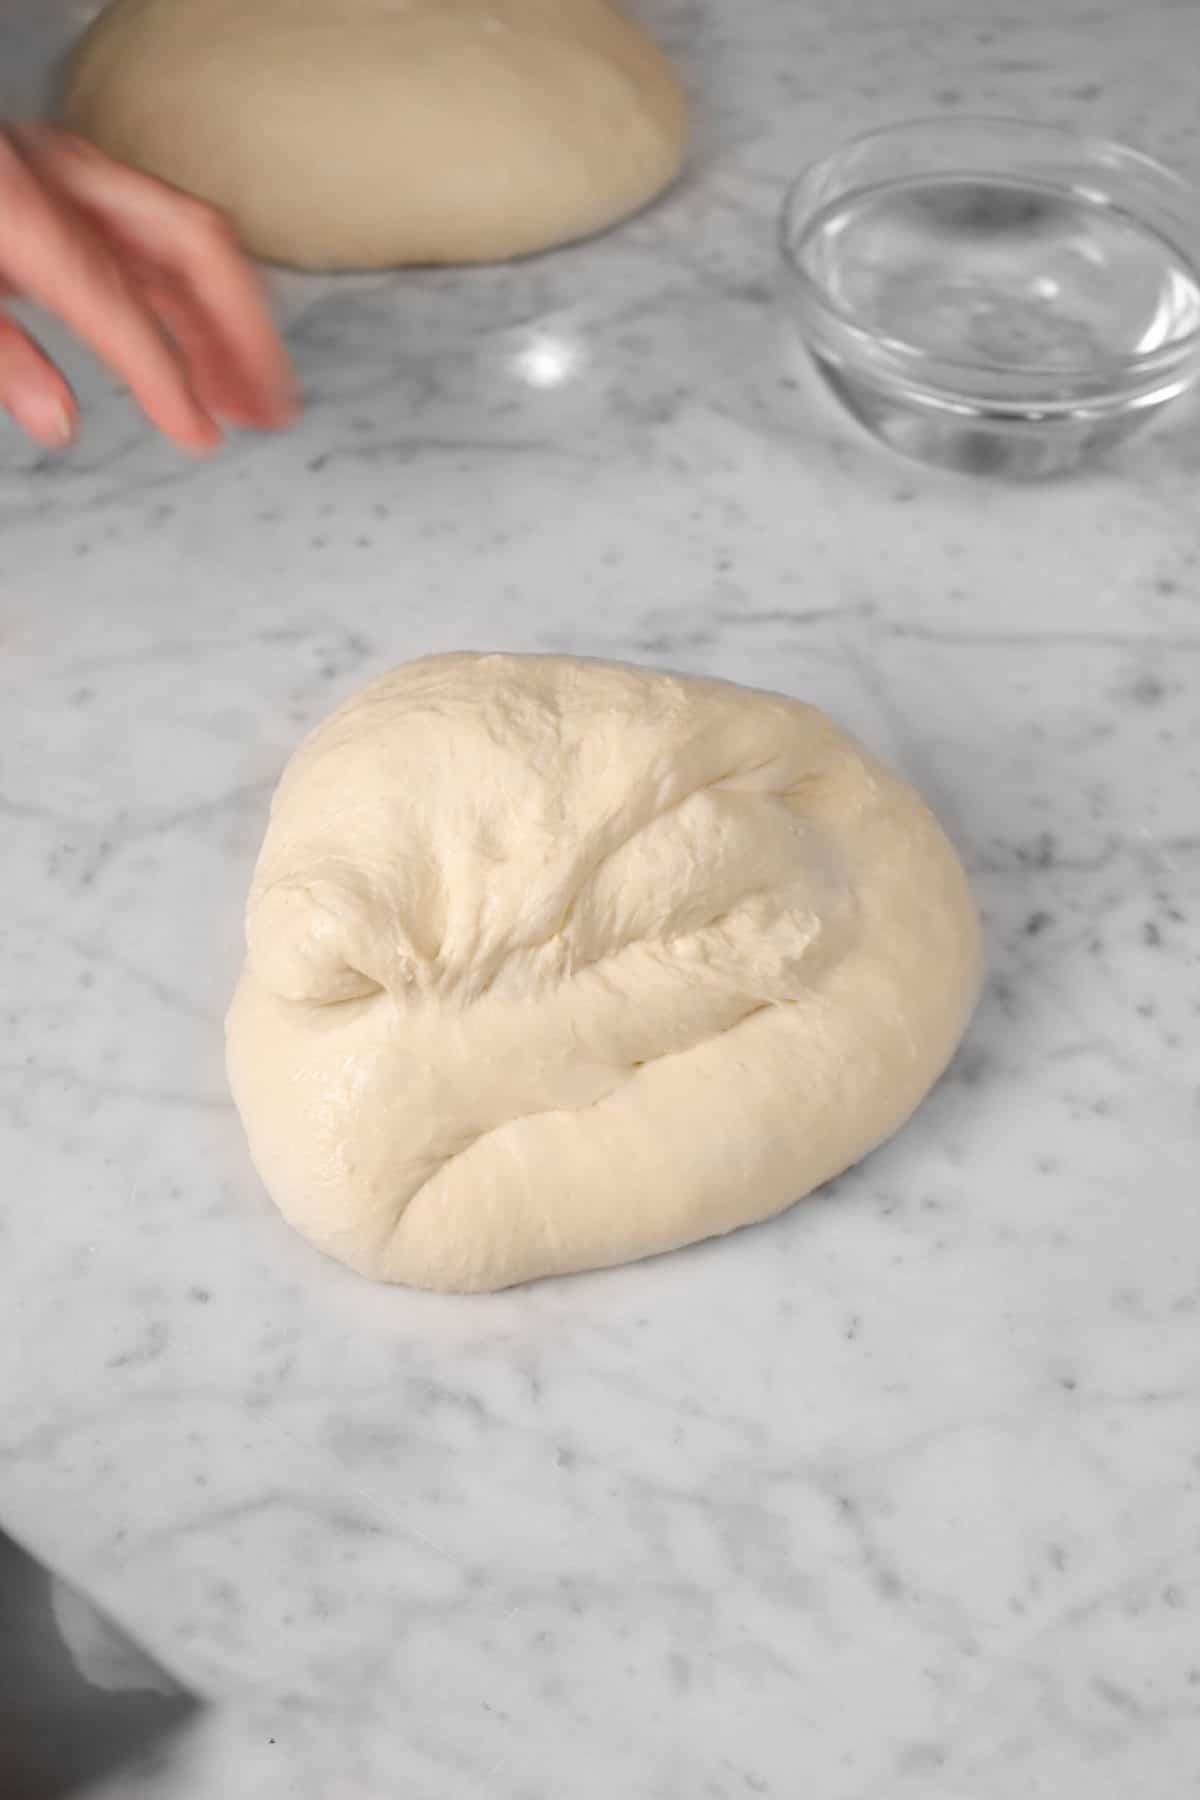
Remove the towel and turn using an envelope fold (fold the bottom up, fold each of the sides in, and then fold the top down and under the dough). Reshape into a small boule.

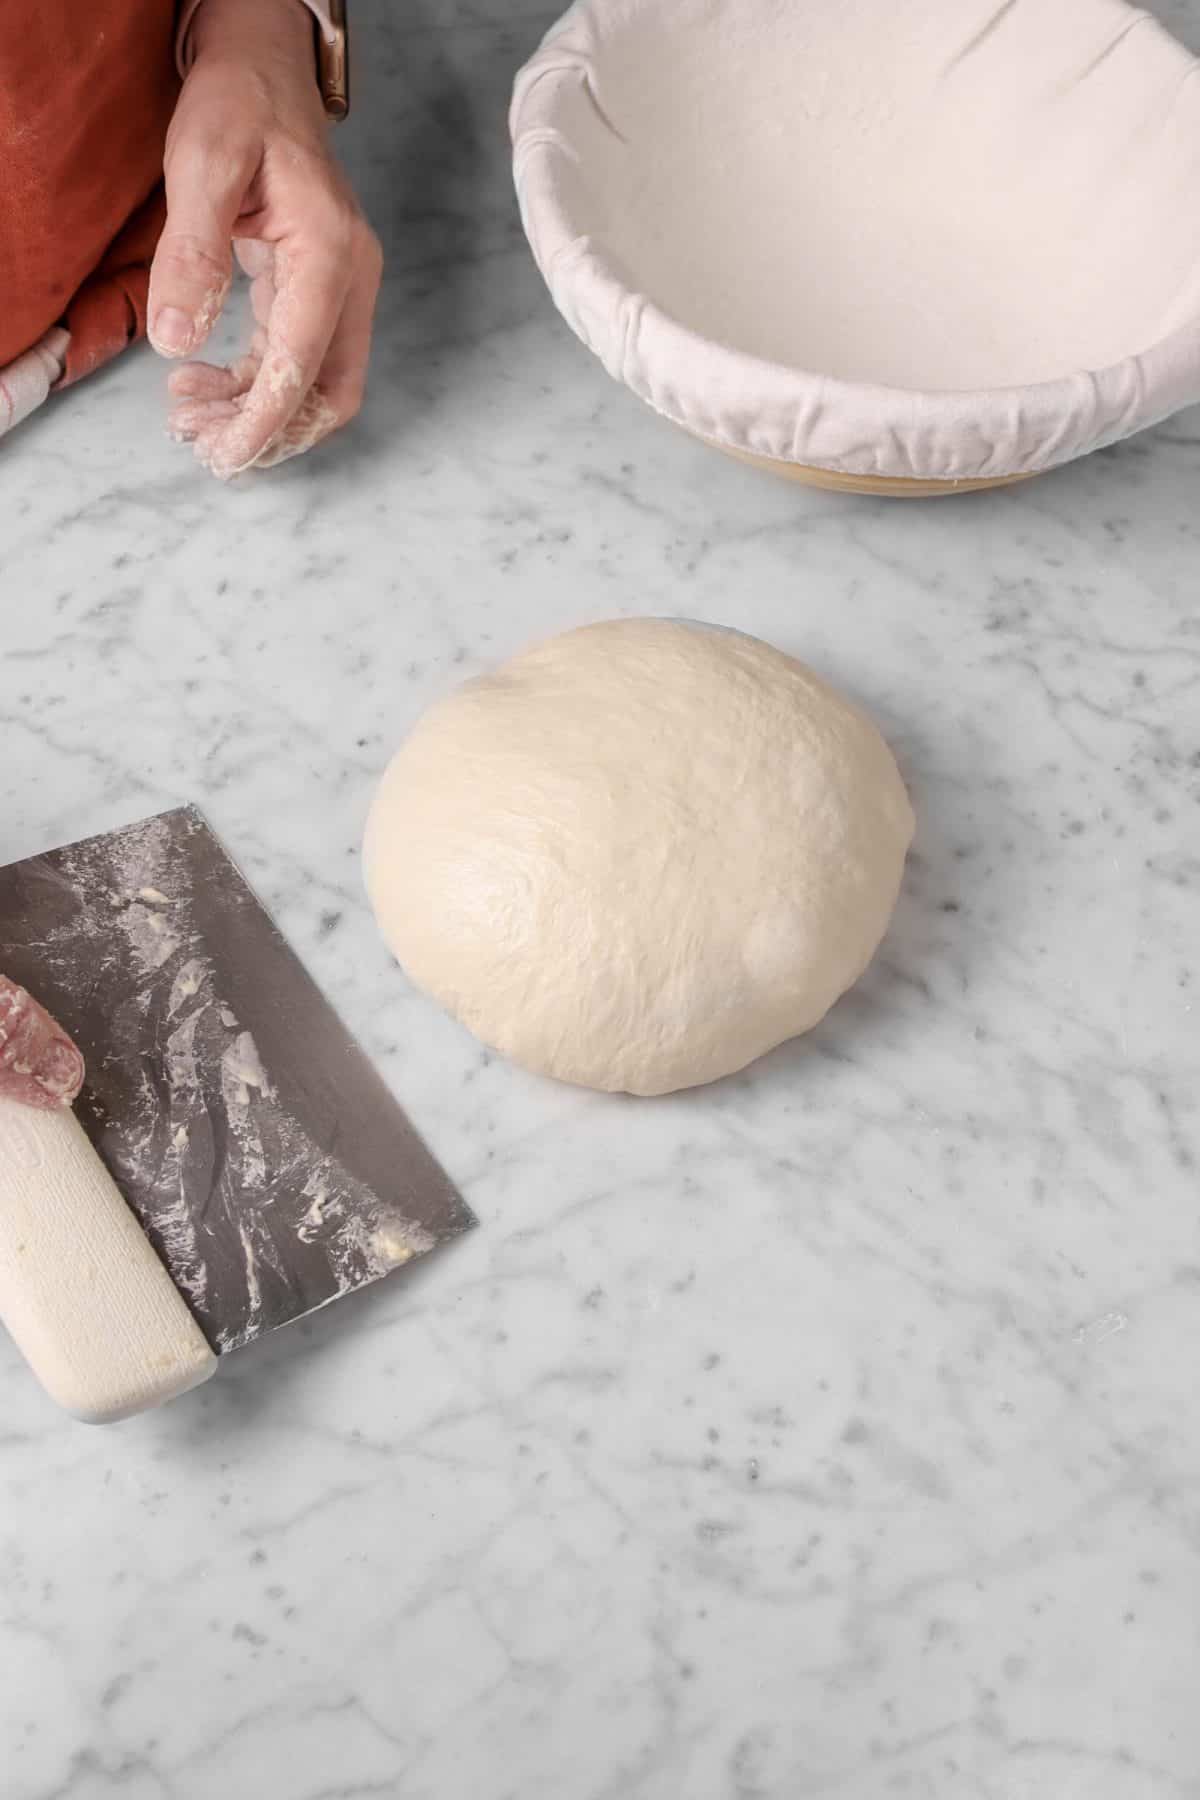
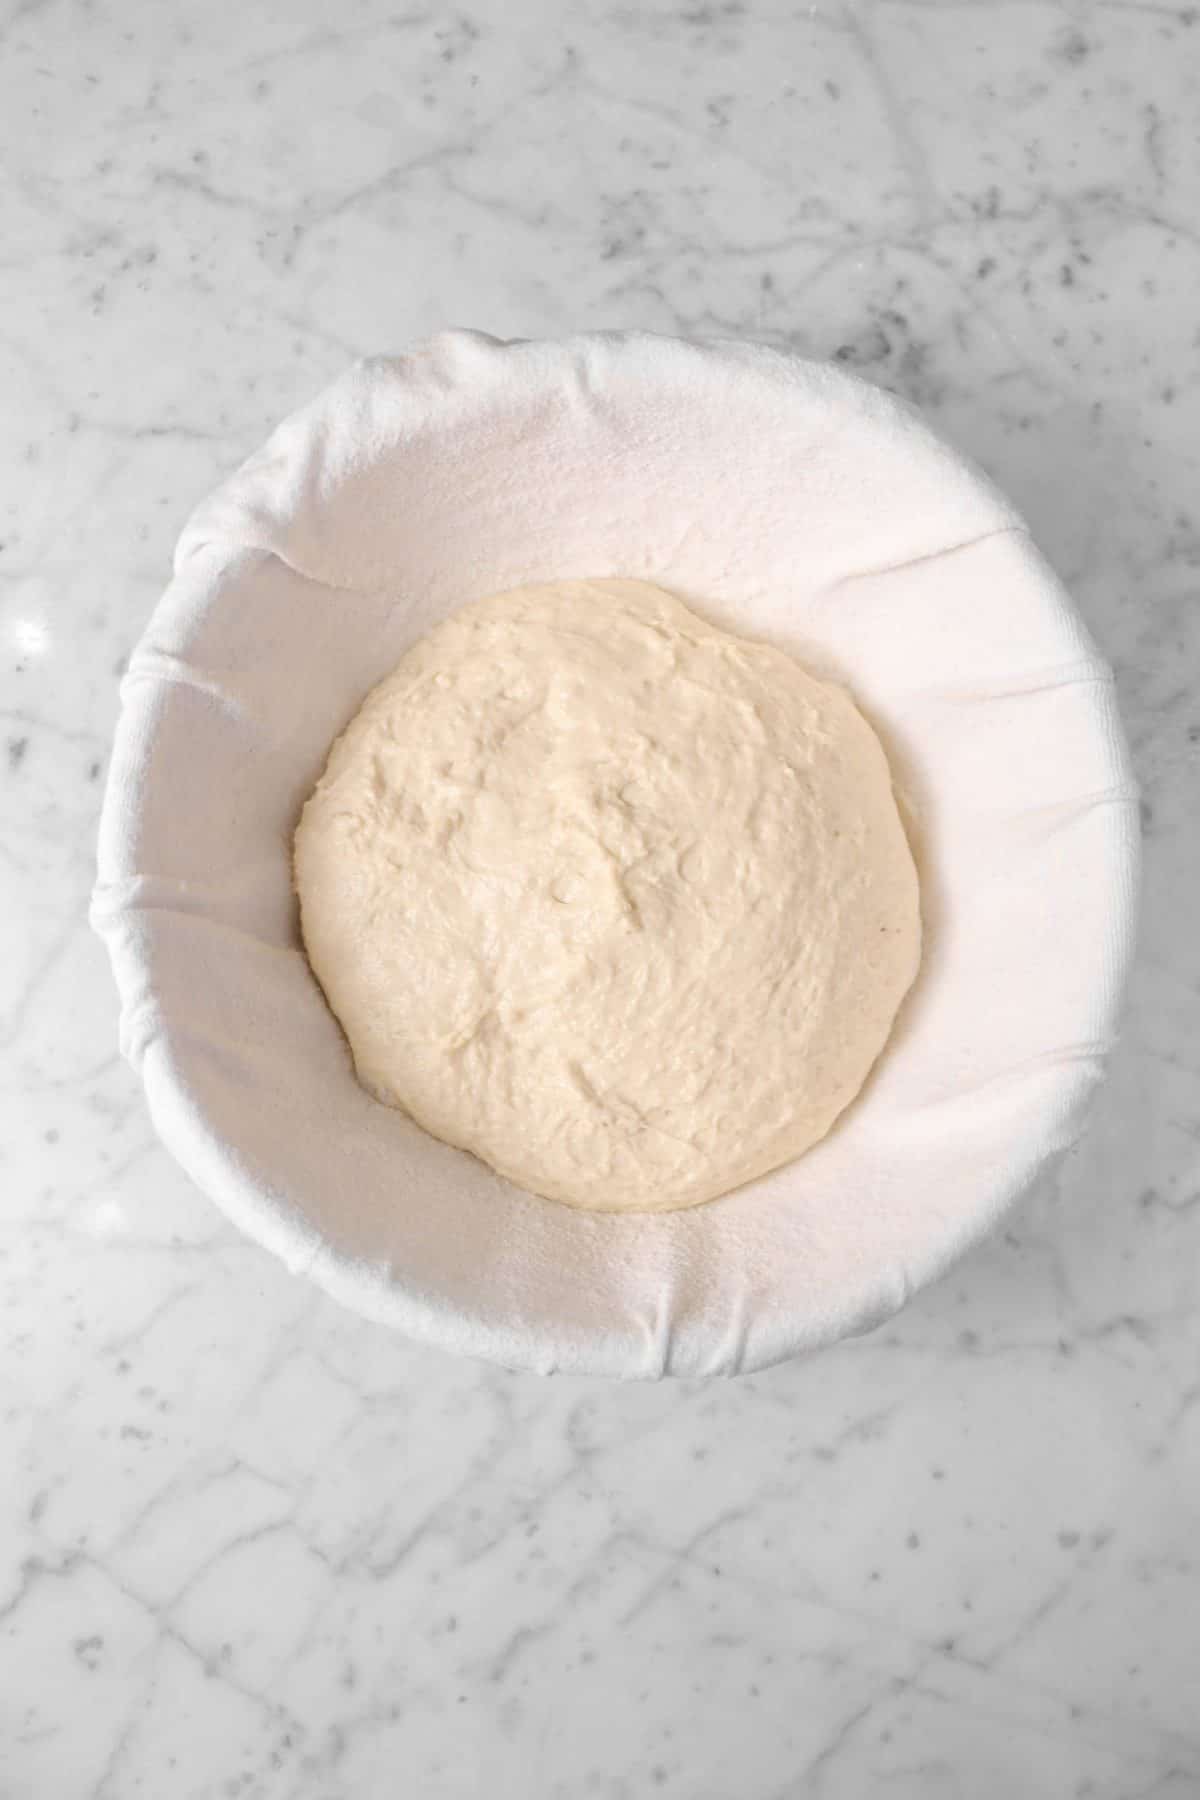
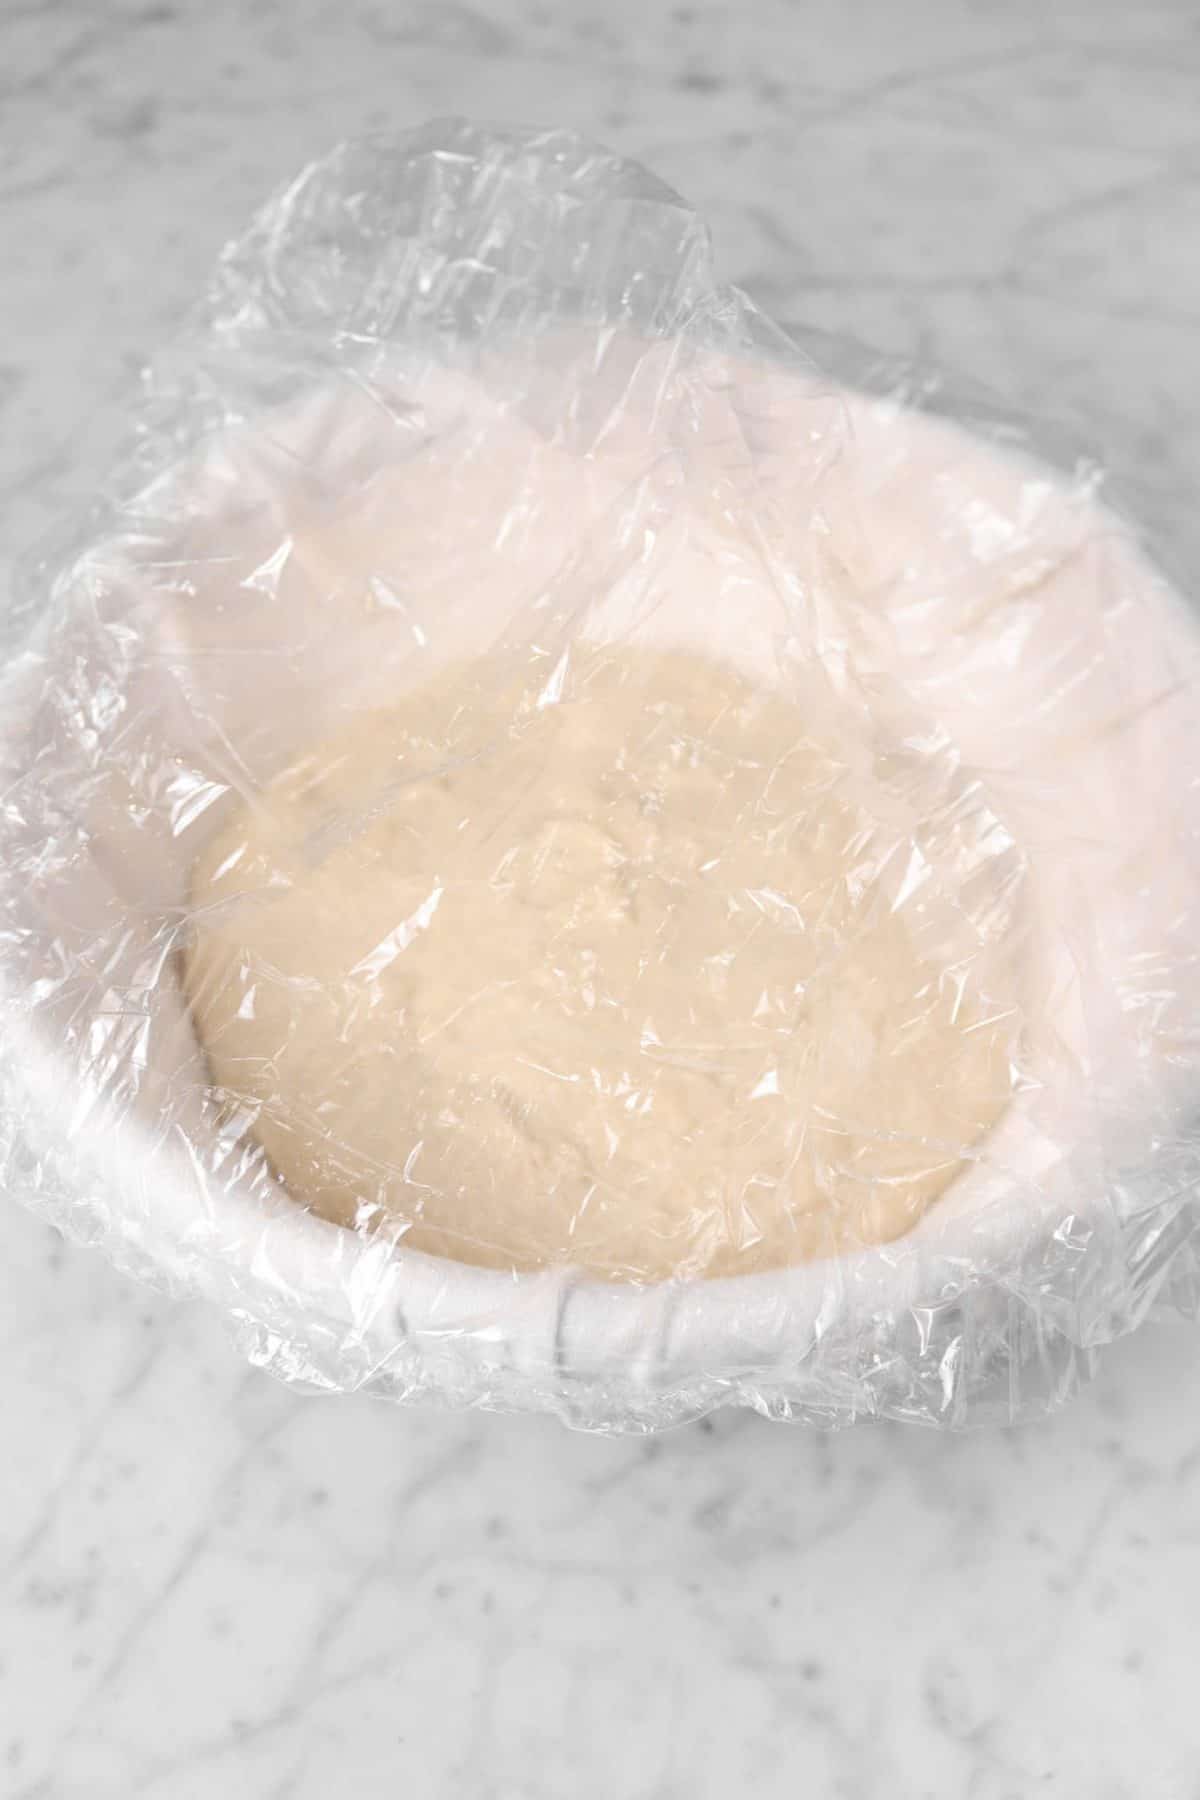
Using the bench knife, quickly scoop the dough up and place smooth side down into a floured banneton. Cover with plastic wrap or a plastic shower cap, set aside to proof for 1 hour, and then place in the refrigerator overnight.
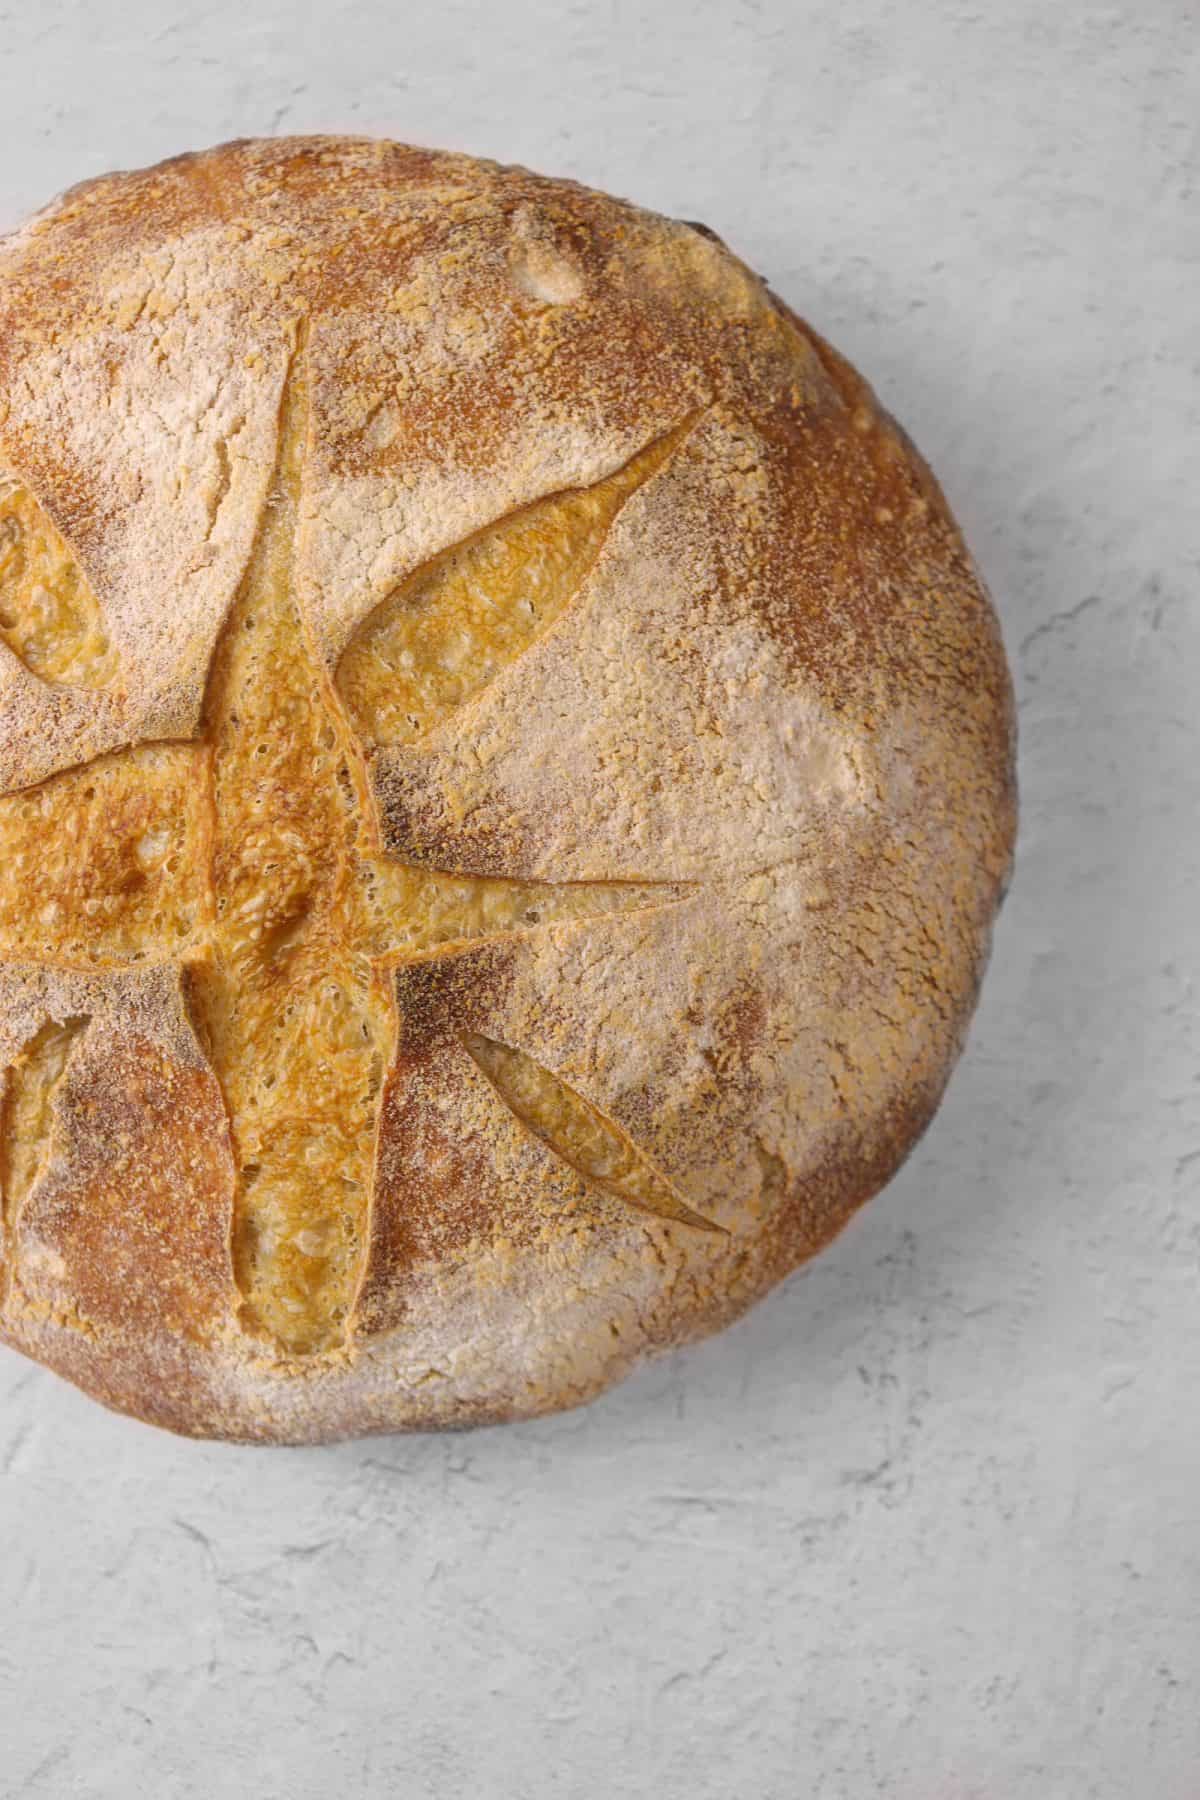
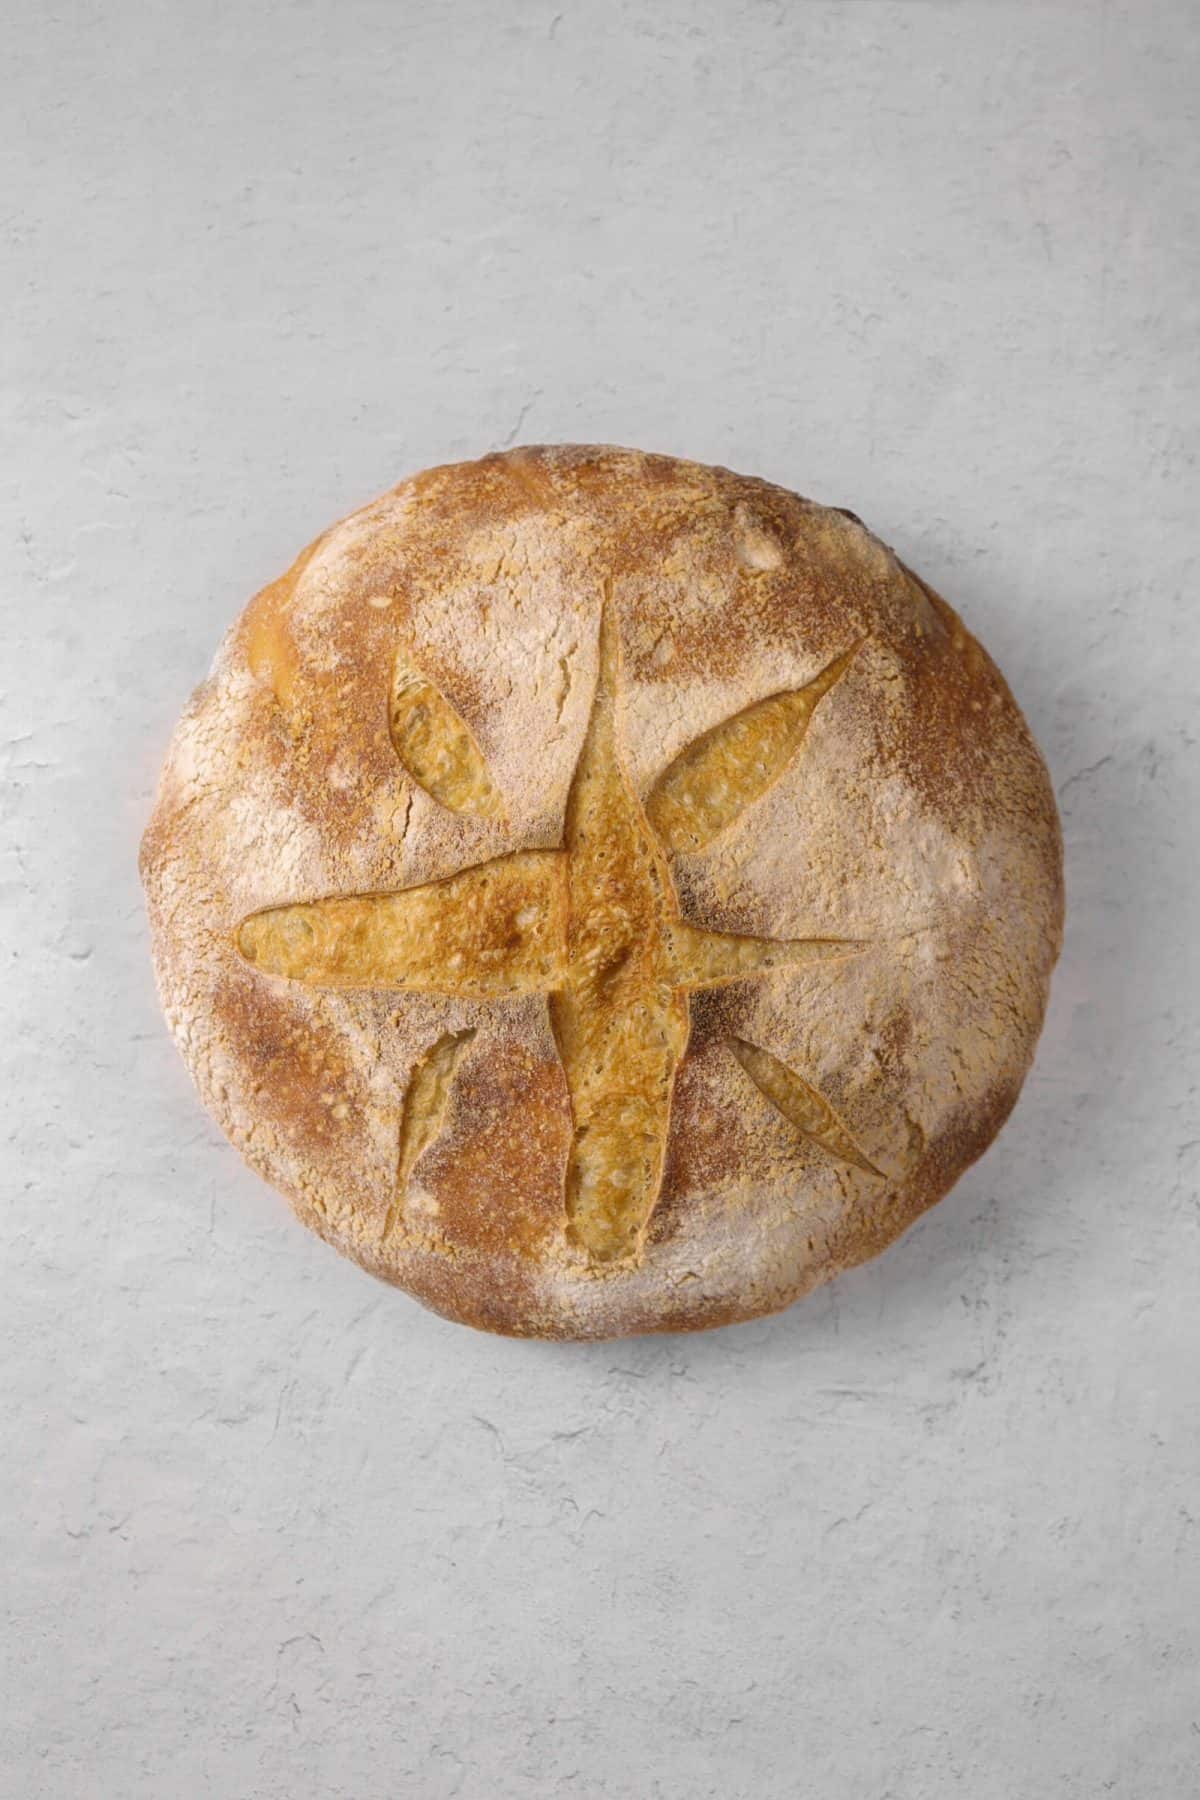
Next morning, it’s time to bake! Preheat a dutch oven or something similar in a 500 degree oven. Once that’s hot, turn out the dough into the dutch oven. Carefully use a lame or a sharp knife to make your cuts in the dough. Cover with the lid and let cook for 20 minutes at 450 degrees. Uncover and bake for another 10-20 minutes, or until golden brown.

Carefully, turn bread out of the dutch oven and let cook on a cooling rack.
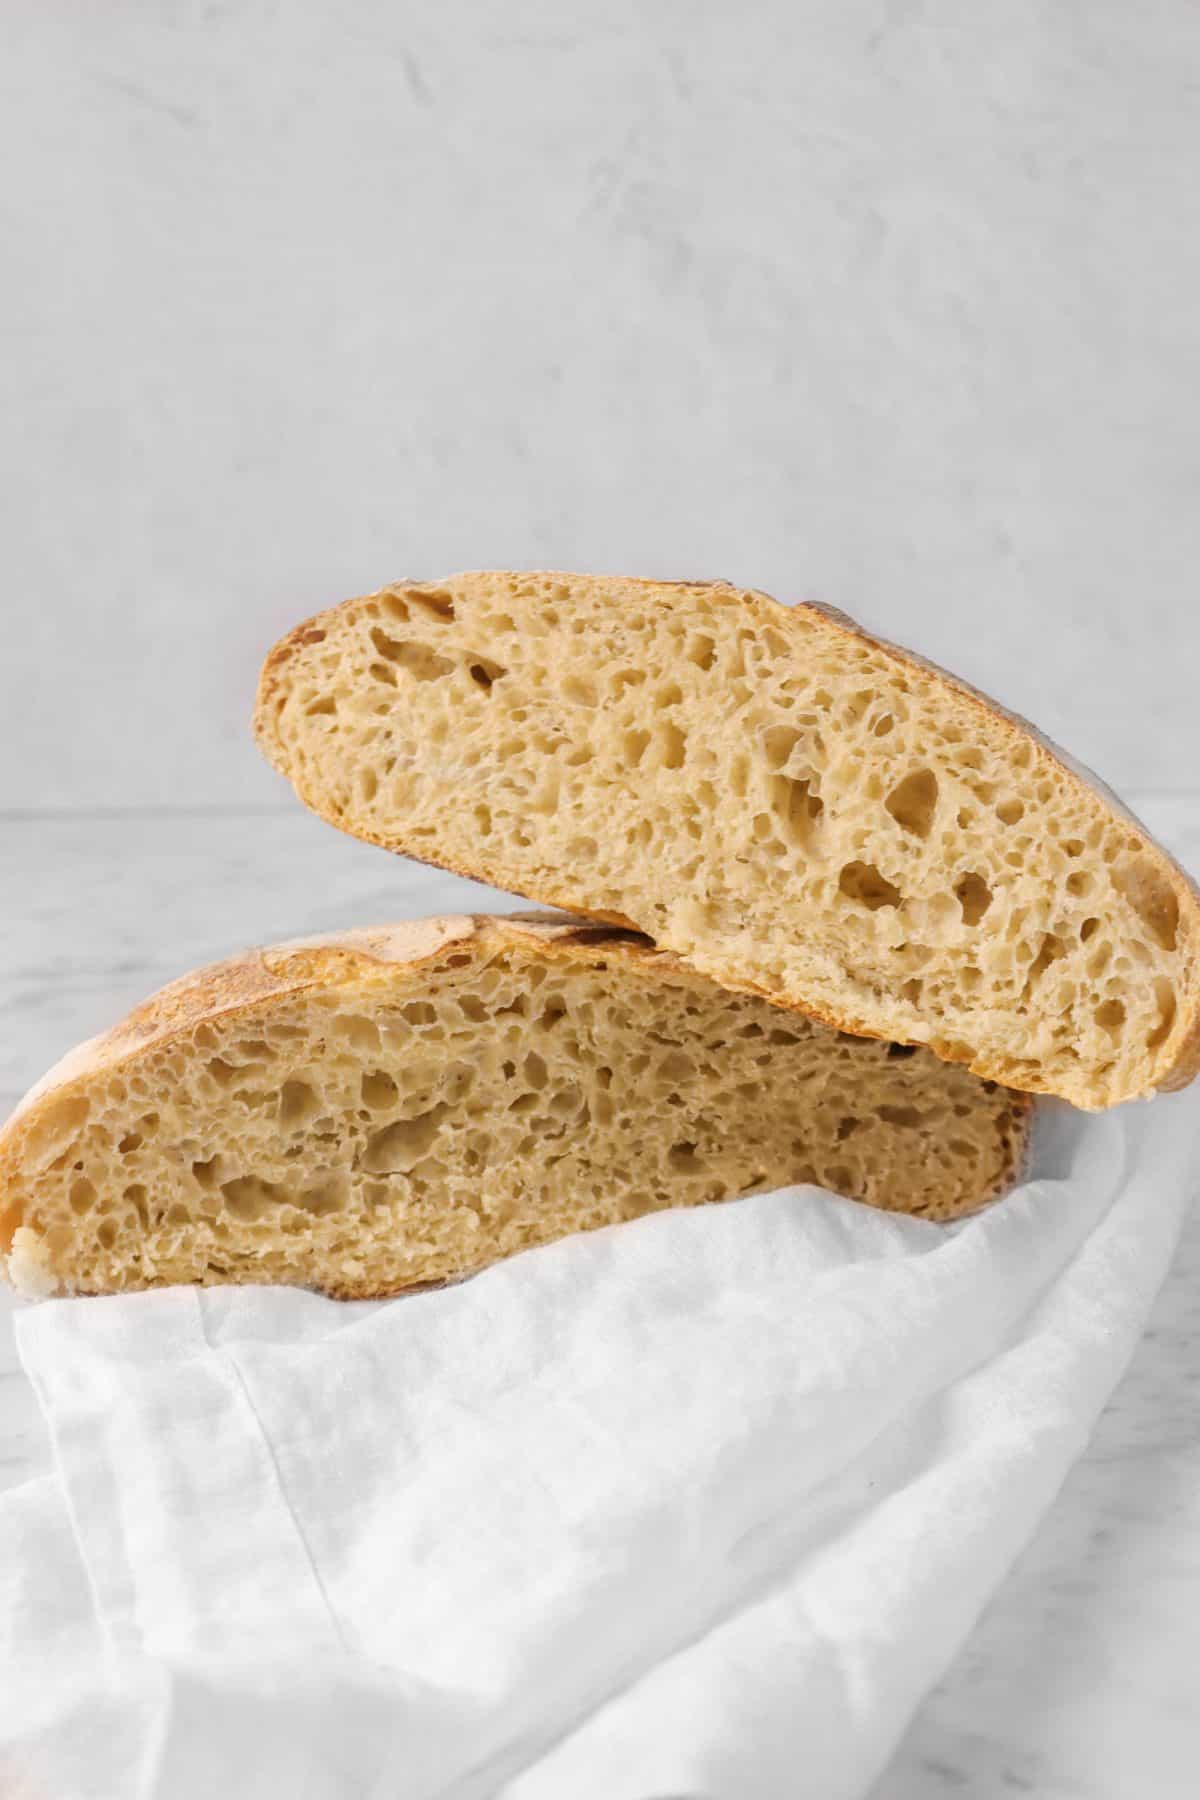
I know it might be tempting but don’t cut immediately into the bread. Wait at least 30 minutes. It’s killer, I know – but you can do it!
Storing/Reheating
Remember how I said above we were making a double batch of this recipe? Well, there is a reason why! You can actually keep this bread in the freezer because you never know when you’re gonna want a chunk of homemade bread.
All we do is wrap it in tinfoil and write on there what it is. You can always slice the bread in half if you don’t think you’re gonna eat a whole loaf. Which, we try not to do but… let’s be honest. Homemade sourdough bread is literally the best thing ever.
To reheat it, set out on the counter for a little while to thaw slightly and then place in a hot oven to finish thawing it. Take it out of the tinfoil and place back in the oven to crisp up for a few minutes! It’s SO good and will taste just like the day you made it.
Expert Tips
- The barley malt syrup is optional, but contributes to the browning when baking!
- Glass mixing bowls are gonna be your best friend when making this bread. Sourdough reacts better to glass.
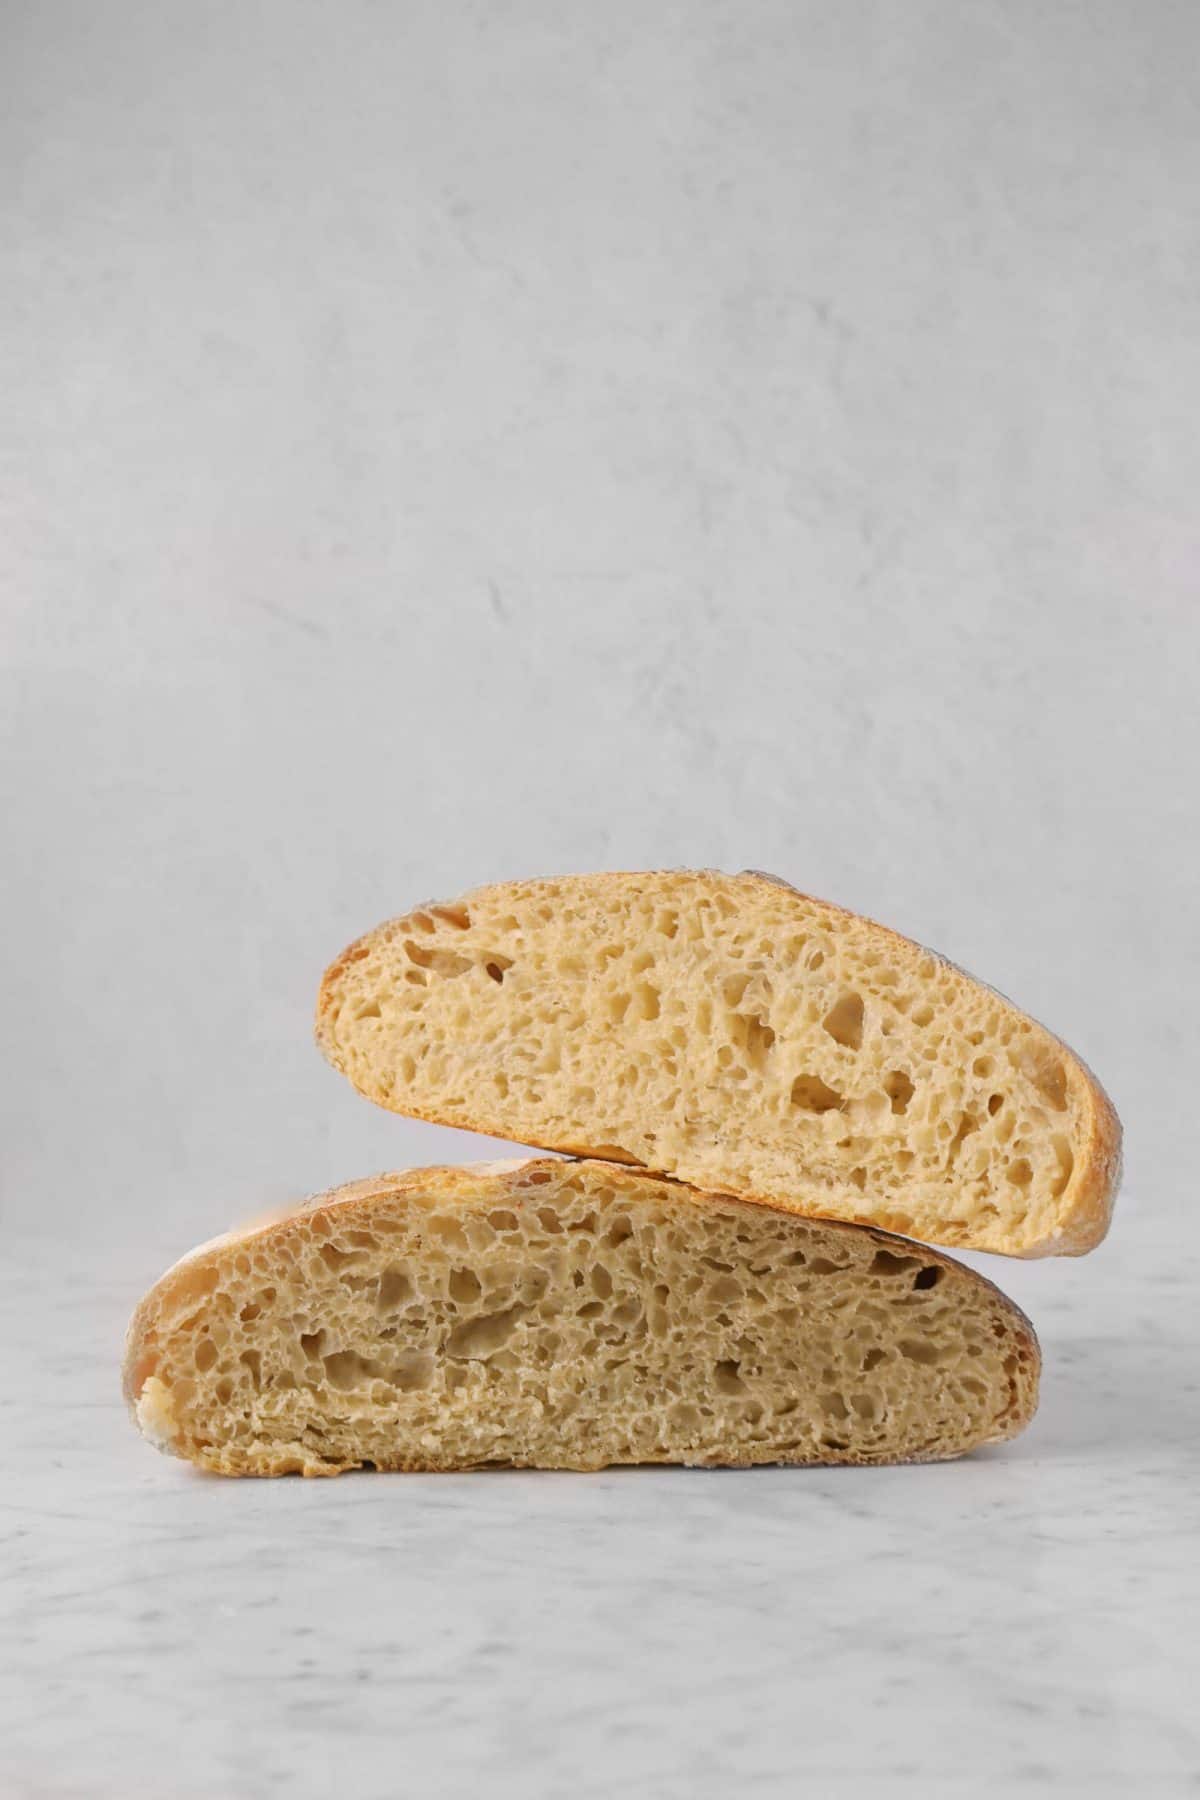
- A wetter dough will have a better hole structure, but it is more difficult to work with. This recipe is that perfect in between! You may need a little water when shaping the dough to ensure it doesn’t stick to the bench knife or your hand.
- One of the most common mistakes for new bakers is under-proofing. Follow along with the times and recipe, and your bread should turn out perfectly every time!
- If the dough splits, or something else goes wrong, set the dough aside, cover it back up, and let it rest again!
- If you already have a sourdough starter and it seems to be a little sluggish/doesn’t have that healthy smell, I recommend giving it about a week or so of really working to revive it. You can find out how/more tips HERE!
- If you’re new to this and don’t have a mature stater, don’t fret! The age of the starter doesn’t effect the baking. Just the flavor. Like I stated above, the older the starter, the stronger sourdough flavor your bread will have.
- It takes a lot of time working with a bench knife to get used to using it to shape the bread! Don’t be upset if it doesn’t always come out perfectly. Just keep practicing!
- It may help to wet your bench knife or spray it with cooking spray to prevent it from sticking to the dough when shaping and moving the dough.
- When scoring your bread, don’t cut too deep! You don’t want to deflate the bread.
- Make sure you preheat your oven to 500 degrees.
- Rice flour works the best to flour banneton to prevent sticking.
- If you don’t have a dutch oven or a combo cooker, you can use a pizza stone to bake the bread!
When you make this No Knead Sourdough Bread, leave a comment down below! We love hearing from you and answering any questions you might have! Also, be sure to tag us on social media and hashtag it #BakersTable.
No Knead Sourdough Bread
Ingredients
Firm Starter
- ¾ cup bread flour
- ¾ cup [sourdough starter]
- ⅛ cup water
Bread
- All of the Firm Starter
- 9 ounces water
- ½ teaspoon barley malt syrup or honey, optional
- 2 ⅓ cups bread flour
- 1 ½ teaspoons kosher salt
Instructions
To Make the Firm Starter:
- Combine flour and starter in a glass mixing bowl.
- Mix until well combined.
- Add water, if needed, to get a soft, pliable dough.
- Place in a clean glass bowl or plastic container and cover.
- Allow to rise until doubled in bulk, about 4 hours.
- Place in refrigerator overnight.
To Make the Bread Dough:
- Remove the firm starter from the refrigerator about an hour before you are ready to start.
- In a large glass bowl, combine all of the Firm Starter and the water.
- Stir until smooth.
- Add malt syrup and stir in.
- Add bread flour and work in until it forms a rough dough.
- Cover and set aside for 30 minutes.
- Add salt.
- Work through dough until evenly distributed.
- Place the dough in a lidded plastic bucket (or clean glass bowl) and snap on the lid (or cover the bowl with plastic wrap).
- Turn the dough every 30 minutes for 3 hours, for a total of 6 times. (See step-by-step photos, above.)
- Leave it alone to finish rising. It's done when the dough has doubled in bulk. This should take another hour or so, depending on your kitchen temperature.
- Turn the dough out onto your work surface.
- Using a bench knife to pull the dough under, work it into a round with a taught top.
- Place a damp cloth over the dough. Let rest for 30 minutes.
- While dough is resting, heavily flour a lined 9-inch banneton. Set aside.
- Uncover the dough and turn using an envelope fold (fold the bottom up, fold each of the sides in, and then fold the top down and under the dough).
- Use a bench knife to once again tuck the dough into a round and pull it tight across the top.
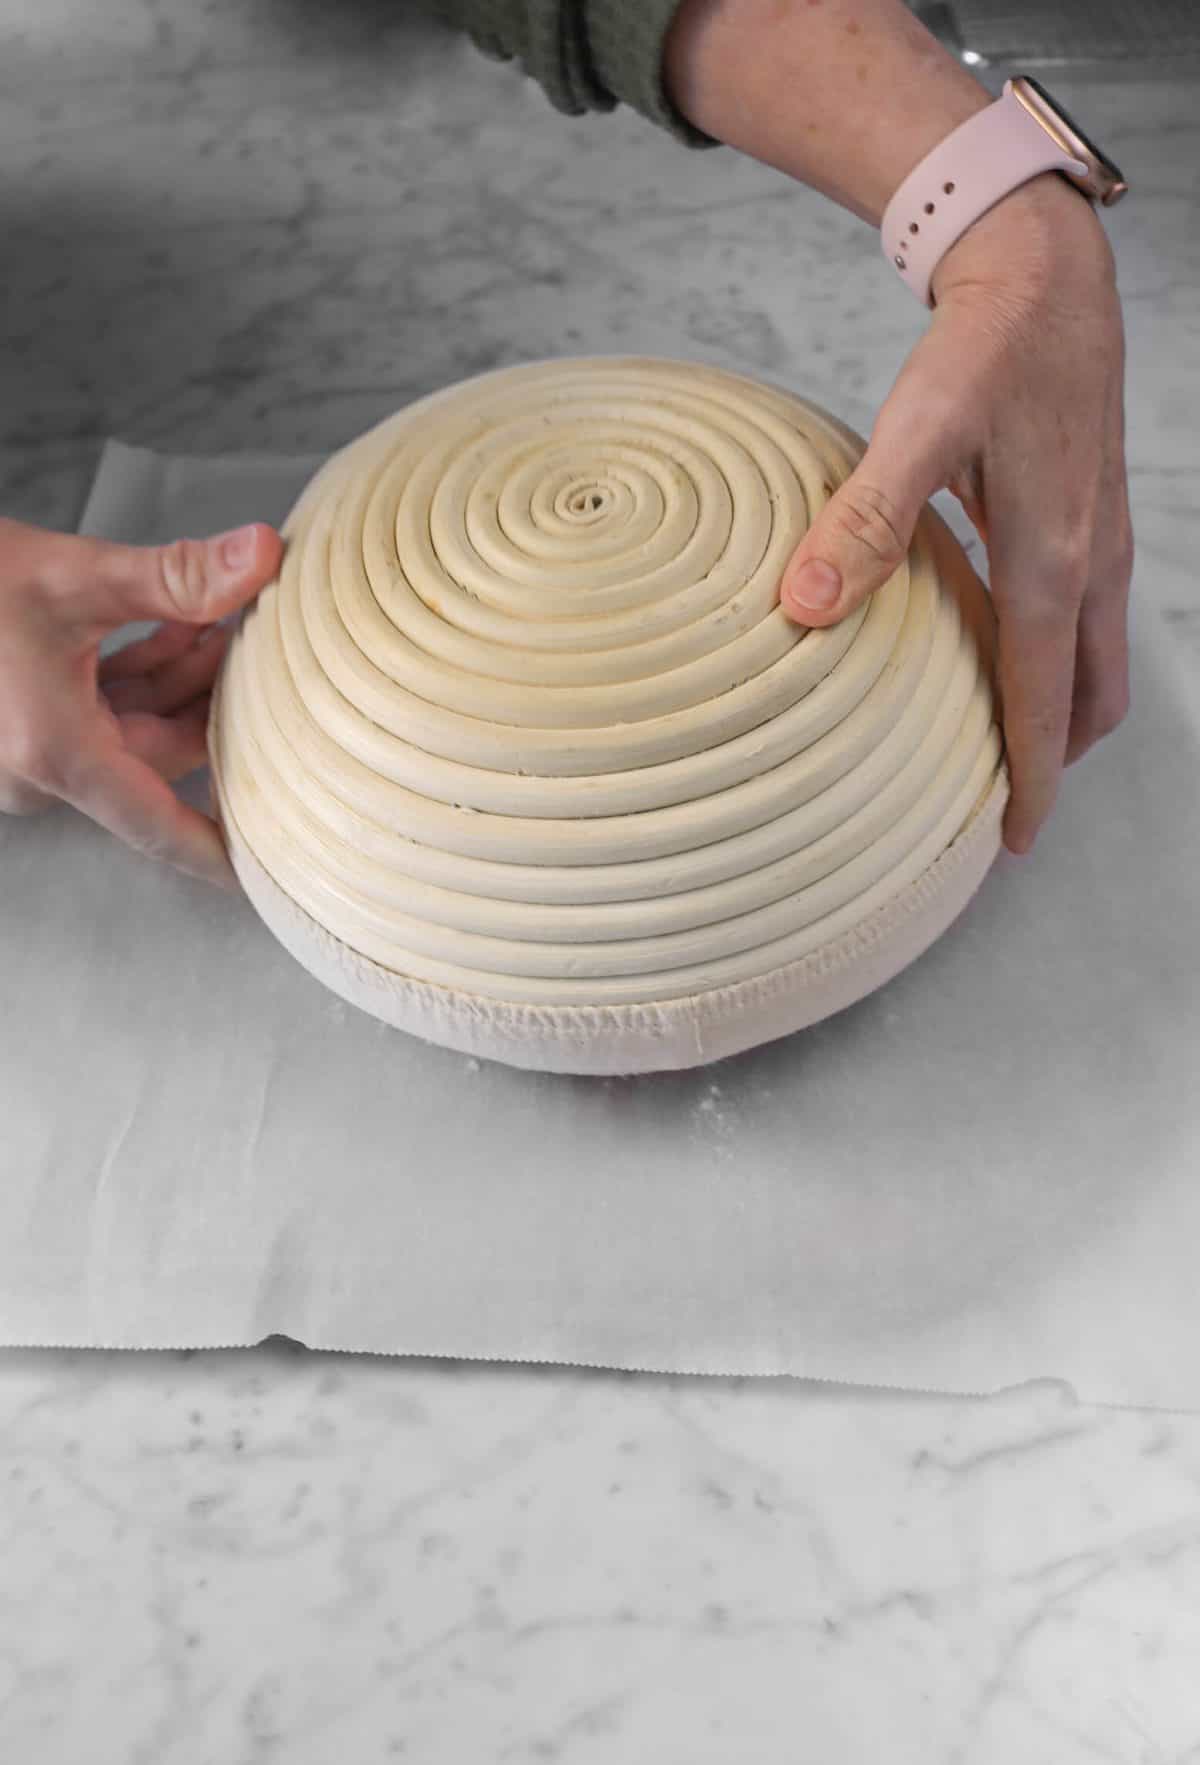
- Lift dough using a bench knife and place dough in the prepared banneton, bottom side up.
- Cover with plastic wrap or a plastic shower cap, set aside to proof for 1 hour, and place in the refrigerator overnight.
- *The next day, place a Dutch oven (or similar style pan) in the oven and preheat the oven to 500 degrees.
- Remove the dough from the refrigerator and remove the plastic covering.
- Being extremely careful, turn the dough directly into the heated Dutch oven.
- Using a lame, razor blade, or sharp knife, slash the top of the bread.
- Immediately put the lid on and close the oven.
- Reduce heat to 450 degrees and bake for 20 minutes.
- Remove lid and bake for another 10-20 minutes, until dark brown.
- Remove to a cooling rack.
*Alternate Instructions For Using A Baking Stone Instead Of A Dutch Oven:
- Instead of a Dutch oven. place a baking stone on the middle rack and a heavy pan (I use a cast iron skillet) on the bottom rack and preheat oven to 500 degrees.
- When you are ready to bake, turn your dough onto a piece of parchment paper or onto a peel or sheet pan that has been coated with semolina. Slash your dough.
- Transfer to baking stone and pour 2 cups water in cast iron pan.
- Close door and bake for 5 minutes. Reduce heat to 450 degrees and continue to bake for another 20-25 minutes.
Notes + Tips!
- The barley malt syrup is optional, but contributes to the browning when baking!
- Glass mixing bowls are gonna be your best friend when making this bread. Sourdough reacts better to glass.
- A wetter dough will have a better hole structure, but it is more difficult to work with. This recipe is that perfect in between! You may need a little water when shaping the dough to ensure it doesn't stick to the bench knife or your hand.
- One of the most common mistakes for new bakers is under-proofing. Follow along with the times and recipe, and your bread should turn out perfectly every time!
- If the dough splits, or something else goes wrong, set the dough aside, cover it back up, and let it rest again!
- If you already have a sourdough starter and it seems to be a little sluggish/doesn't have that healthy smell, I recommend giving it about a week or so of really working to revive it. You can find out how/more tips HERE!
- If you're new to this and don't have a mature stater, don't fret! The age of the starter doesn't effect the baking. Just the flavor. Like I stated above, the older the starter, the stronger sourdough flavor your bread will have.
- It takes a lot of time working with a bench knife to get used to using it to shape the bread! Don't be upset if it doesn't always come out perfectly. Just keep practicing!
- It may help to wet your bench knife or spray it with cooking spray to prevent it from sticking to the dough when shaping and moving the dough.
- When scoring your bread, don't cut too deep! You don't want to deflate the bread.
- Make sure you preheat your oven to 500 degrees.
- Rice flour works the best to flour banneton to prevent sticking.
- If you don't have a dutch oven or a combo cooker, you can use a pizza stone to bake the bread!
Tools You May Need (affiliate links)
Nutrition
Nutritional information is only an estimate. The accuracy of the nutritional information for any recipe on this site is not guaranteed.
How do you age your starter dough if you have to use it all in the recipe if you want years old starter.
Hi Leon! I keep a fairly large amount of starter in my refrigerator, always at least 5 or 6 cups. If it’s been a little while since I’ve used my starter and I want to bake, I start a couple of days in advance feeding it to rebuild its strength. It sounds like you have a very small amount of starter. If this is the case, you can add volume to your starter. If you have a least 1 cup, I would recommend feeding it with 1 cup of flour and 3/4 cup water. The next day, pour off about 1/2 cup and feed it again with the same amounts. If you want more than this, day 3 pour off 1 cup and feed it with 2 cups flour and 1 1/2 cups water. You should have plenty by this time. You can go to a regular feeding schedule of pouring off roughly 2 cups and replacing it with 2 cups flour and 1 1/2 cups water. For reference, my starter is 18 years old. Let me know if you have any other questions.
Like!! Thank you for publishing this awesome article.
Been seeing a lot of sourdough bread lately and I’m actually loving it! This looks amazing!
Hi! Thank you so much! xo