Rosemary Garlic Roasted Turkey Breast
This post may contain affiliate links, please visit our privacy policy for details.
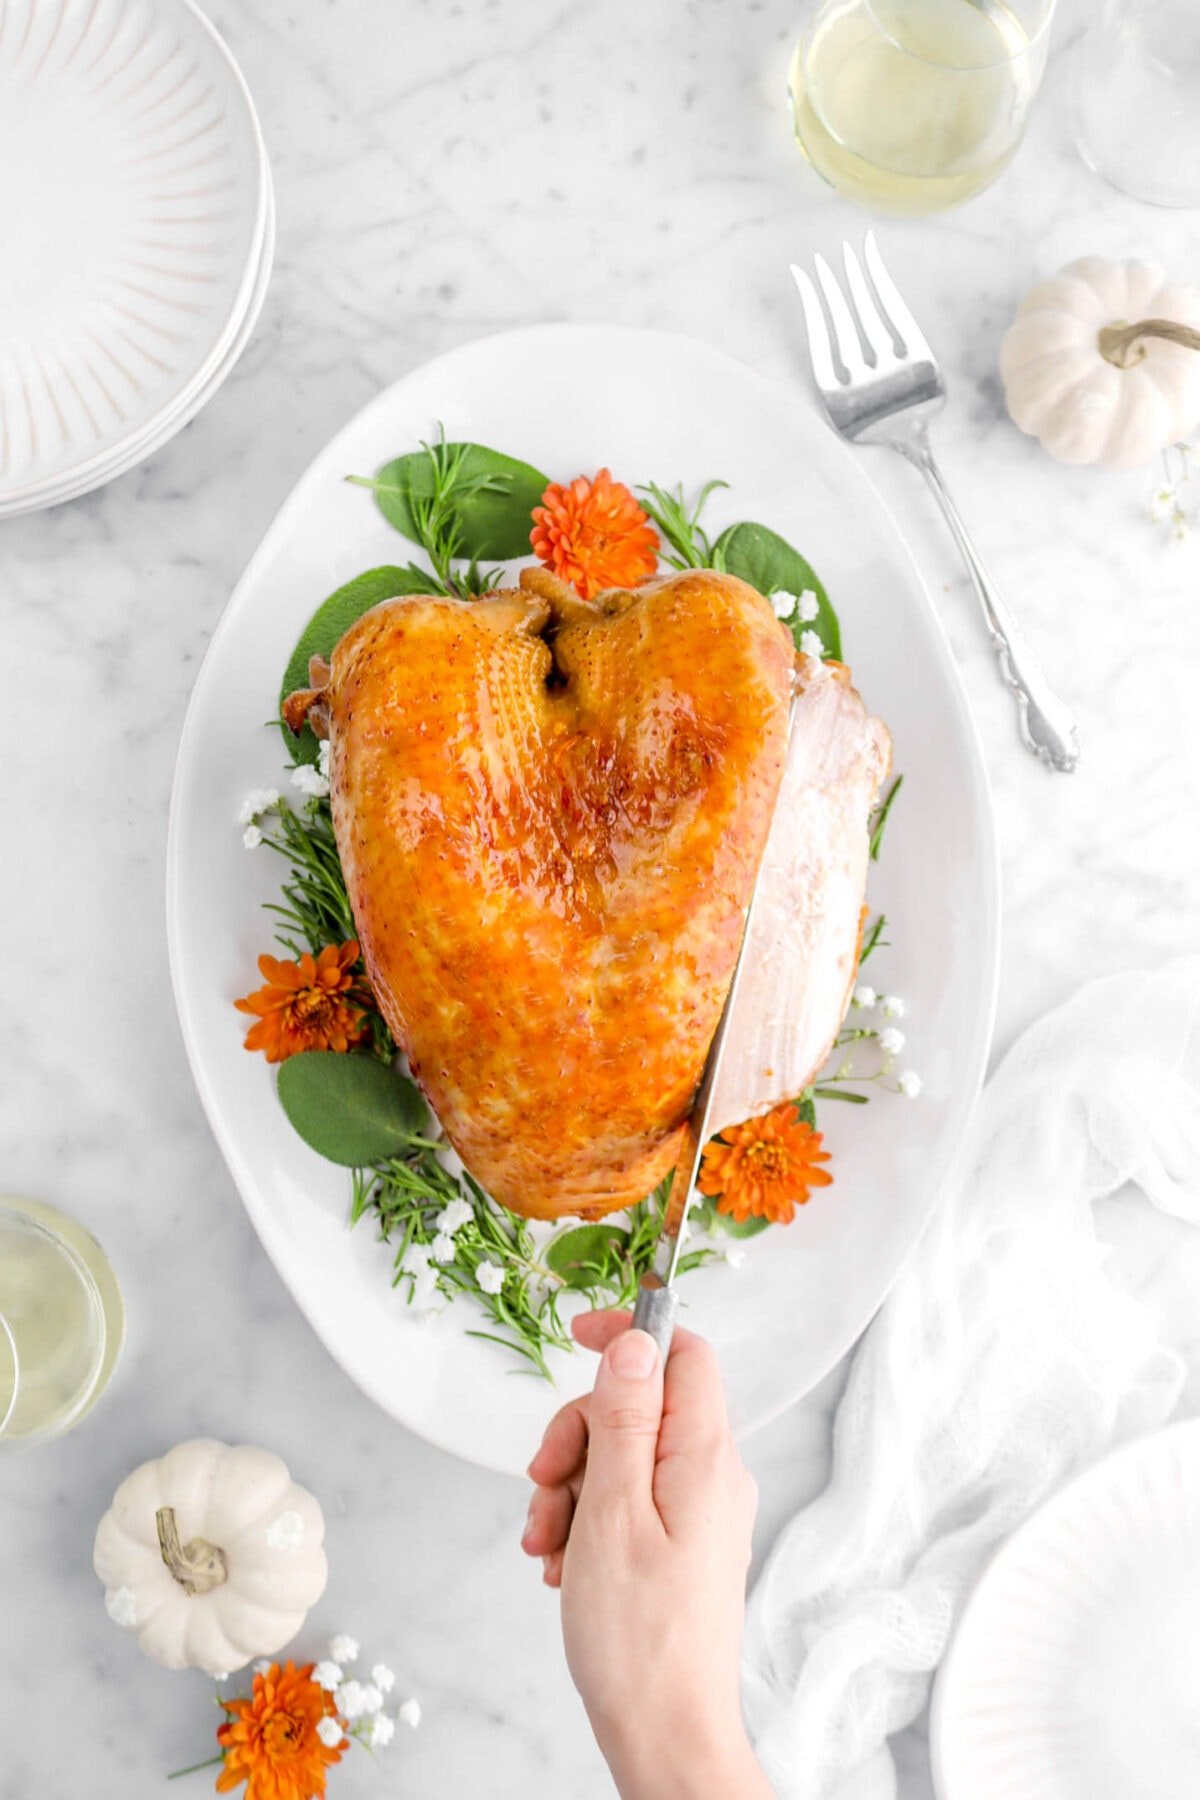
Rosemary Garlic Brined Turkey. A simple, flavorful, and crowd-pleasing Thanksgiving recipe. Brined overnight, buttered, and roasted to perfection. Every bite is juicy, garlicky, herby, and delicious!
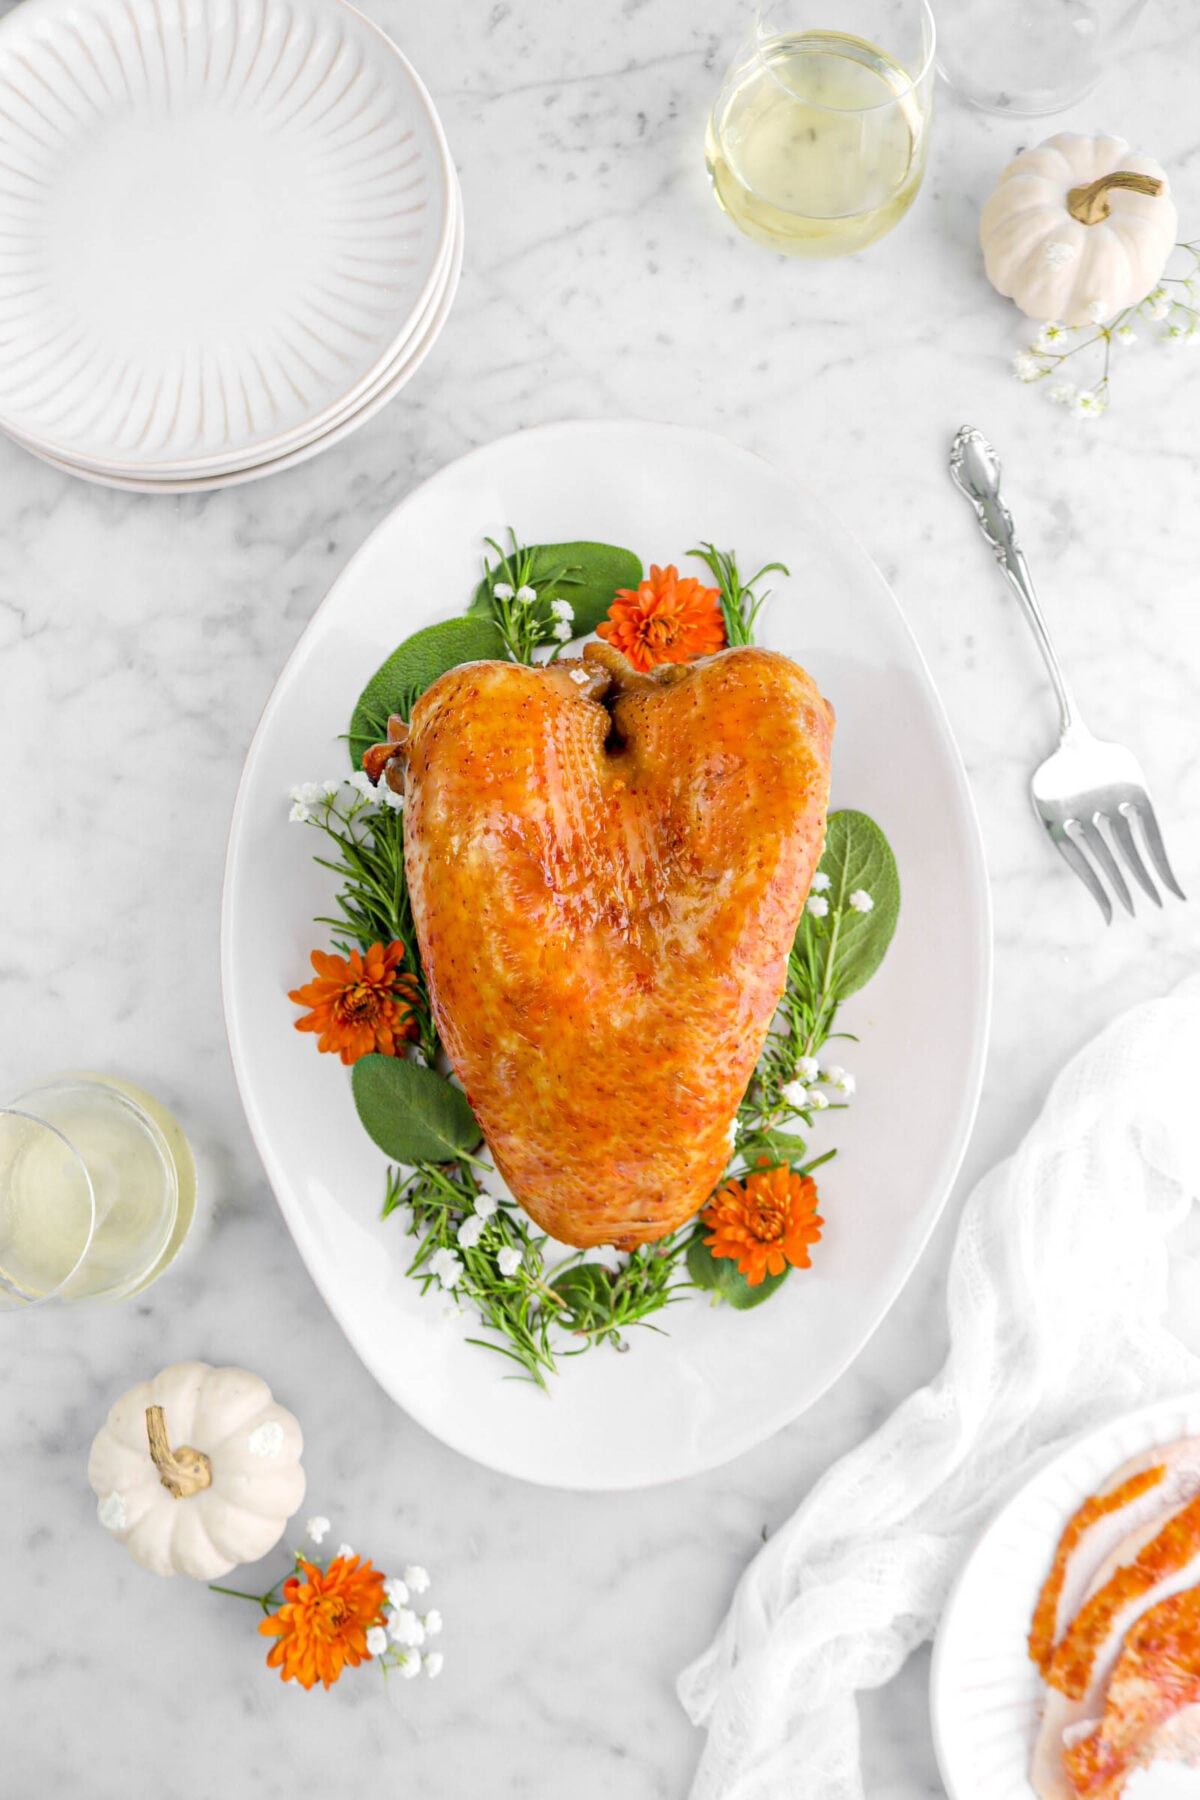
Happy November! Turkey Day is almost here! We’re so excited to share our family’s secret to a perfectly juicy and crispy turkey. For years, we’ve struggled with the age-old problem of brining vs. crispy skin. But we finally cracked the code!
The secret? Brining overnight, then drying the turkey in the fridge and wrapping it in butter-soaked cheesecloth before roasting. This simple trick yields a mouthwatering turkey with a crispy skin and juicy meat.
We’ve got a lot to go over today, so let’s get into it!
Let’s Go Over The Ingredients
Alright, let’s talk turkey! For this recipe, you’ll need a few simple ingredients:
- Brine: A good brine is the secret to a delicious turkey. Our recipe has been a staple in our family for 20+ years. It consists of fresh rosemary, garlic, and a little bit of dried red chili. YUM!
- Turkey: The star of the show come Thanksgiving! For this recipe and pictures, you will see we used a 5-7 lb turkey breast. This is because we are a very small family and this is plenty for us! Though, don’t worry. If you have a bigger gathering, you can still follow the recipe. Any size turkey will work with this recipe.
- Unsalted Butter: Remember to use unsalted butter! The brine itself has plenty of salt for the turkey. The butter just gives a little bit of flavor, as well as makes the skin perfectly crispy.

⊹ Remember To Check Before Buying! ⊹
This is SUPER important!! When going to buy a turkey, make sure that you buy plain turkey/turkey breast. No added anything! NO “enhanced”, self basting, nothing.
Be sure to read the labels and double check what you’re getting!
What Size Turkey Do I Need?
So, the general rule of thumb is about 1 pound of turkey per person. We have a pretty small family, so this recipe is for a 5-7 pound turkey. There’s just the three of us, sometimes a few members of family will drop by, but we typically have enough for some meals a few days afterwards!
Though, if you have a big family, here’s a quick guide to help you through it!
- For 8 people: 10 – 12 pound turkey
- For 12 people: 14 – 18 pound turkey
- For 16 people: 18 – 20 pound turkey
Quick note: once you start upping the weight on the turkey, the amount of brine + cooking times will need to be increased! The recipe + cooking times listed below is for a 5-7 pound turkey breast.
On average, plan for about 15 minutes of cooking time per pound. Always use a thermometer to gage when your turkey is done. Place it in the thickest part of the breast and it should read 165°F.
Preparation is Key
This recipe is a multi-day process. So, plan ahead! Our brine recipe comes together quickly, but as with any wet brine, it must be completely cool before you can start the process.
It’s also important to note that, depending on the size of your turkey, the size of the container will vary. For a 5-7lb turkey bread, we’ve found that a 12 quart lidded container works perfectly. If you’re making anything bigger, you will need to size up accordingly. You could also use a brining bag, if needed!
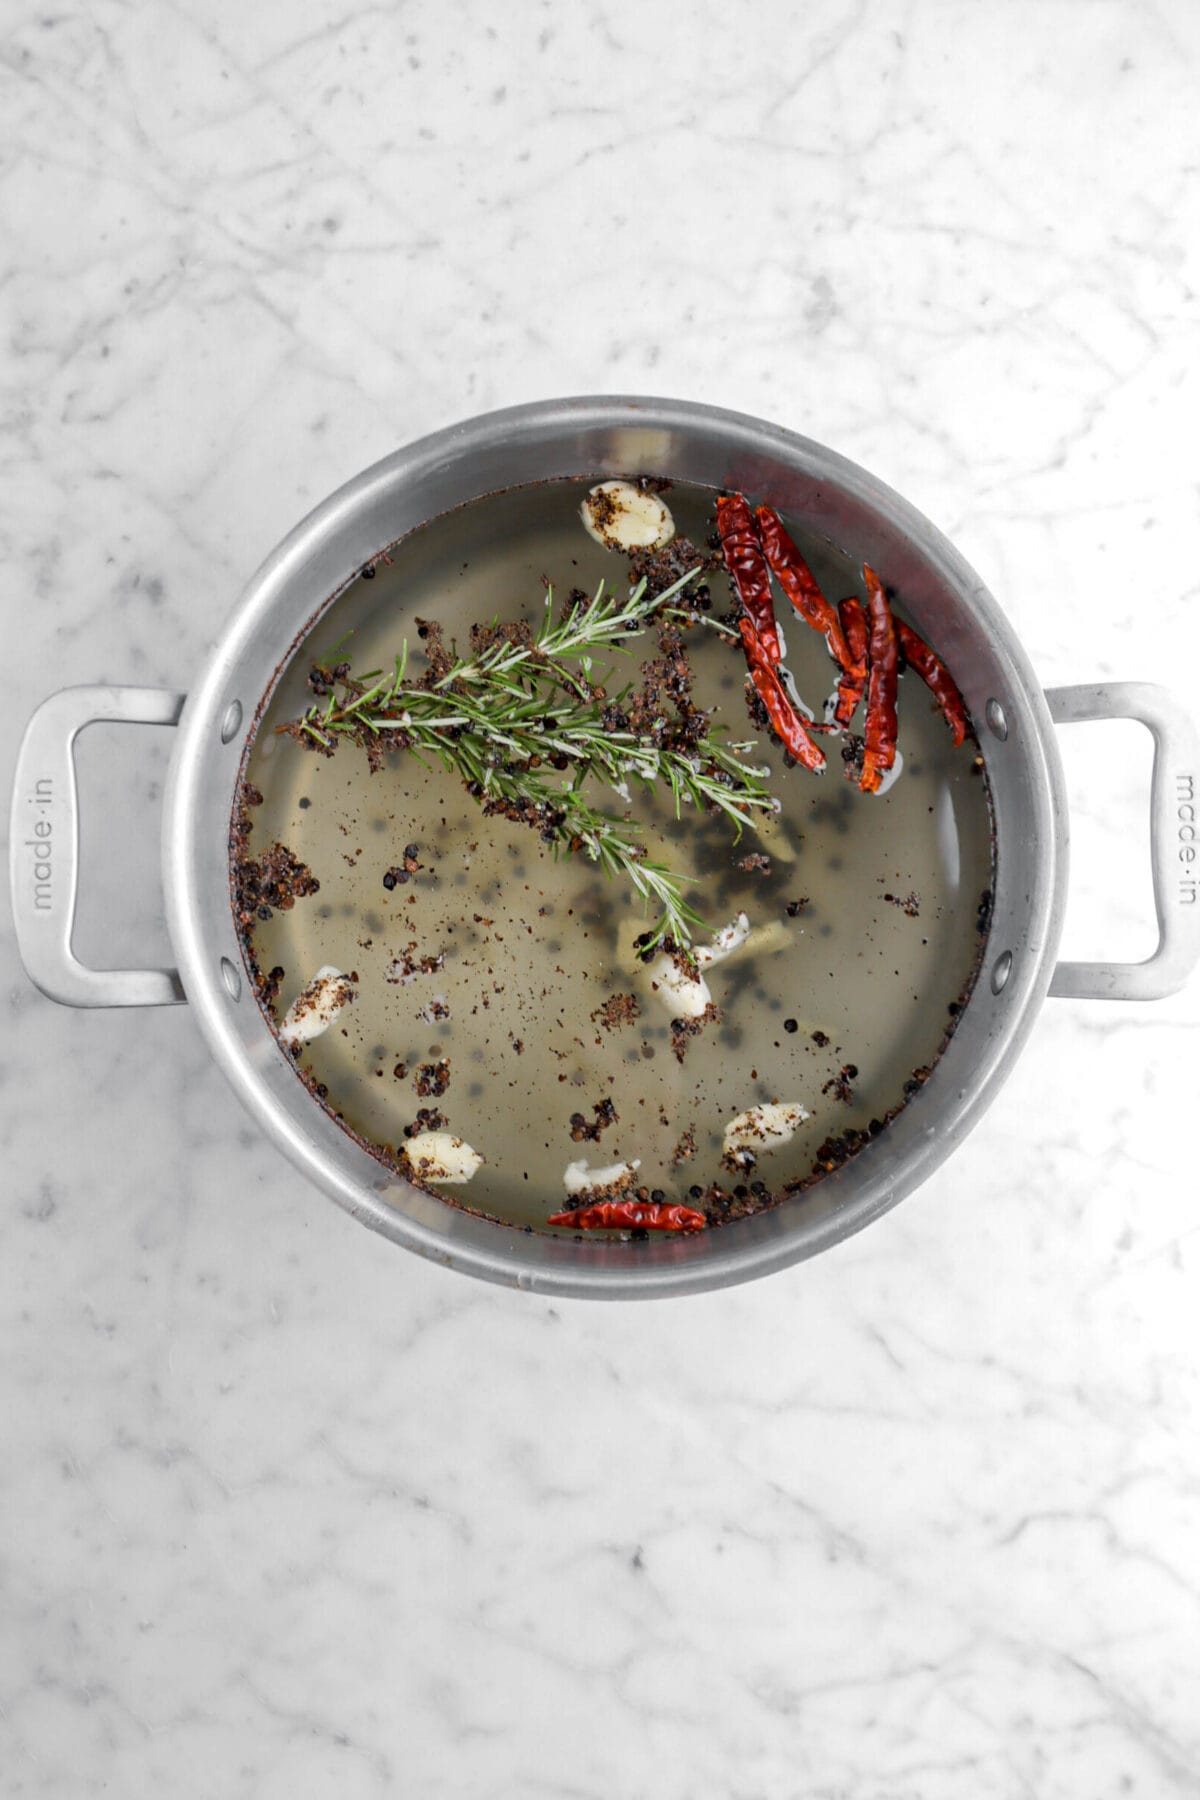
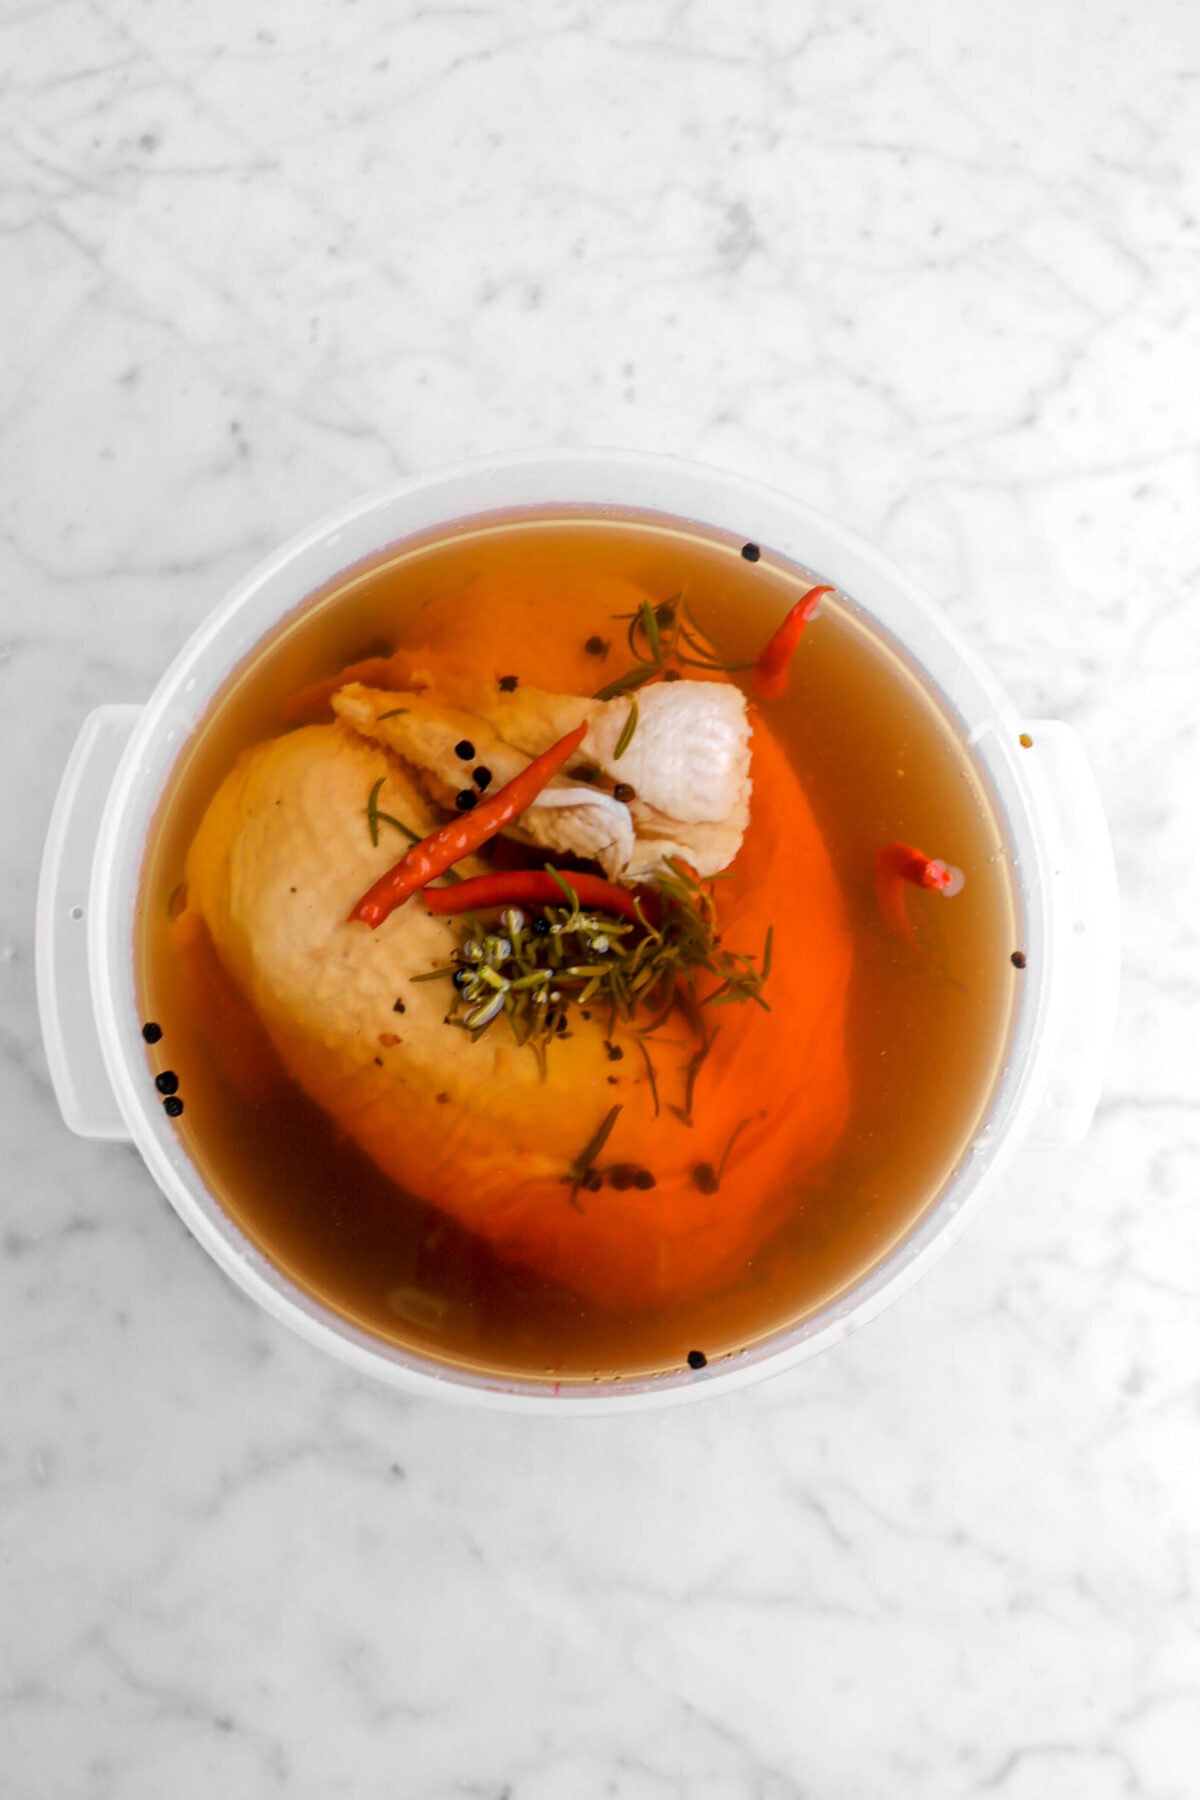
We recommend brining the turkey for a minimum of 12 hours, but preferably 1-2 days. This really allows for all of those amazing flavors to soak into the meat. While it’s brining, you can go ahead and prep your dinner rolls or shoepeg corn casserole!
⊹ Quick Tip! ⊹
Remember, over-brining a turkey can actually be worse than under-brinining. An over-brined turkey will turn spongy and become much too salty. A general rule of thumb for wet brining a turkey is 1 hour of brining per pound of turkey, but over the years, we’ve found that this can often lead to a turkey that’s lacking in flavor. Of course, all of this is to taste. Our 5-7 lb turkey can technically “be done” in 5-7 hours, but we prefer the more pronounced flavor that brining for 1-2 days brings.
Once brined to your liking, it’s time to start baking!
Our Secret To A Delicious Thanksgiving Turkey
For years, we’ve been perfecting our Thanksgiving turkey recipe, combining tradition with a little innovation. The key to our juicy, crispy turkey lies in a simple yet effective technique that happens after brining. Once your turkey is brined to perfection, the key to that crispy skin is drying it out. This might sound counterintuitive, but trust us, it works wonders!
After brining, remove the turkey from the brine and pat it dry with paper towels. Be sure to get into all of those nooks and crannies. It MUST be dry!
Before roasting, wrap it in cheesecloth soaked in melted butter. This not only adds flavor and makes the skin extra crispy, but it also helps to protect the meat while roasting.
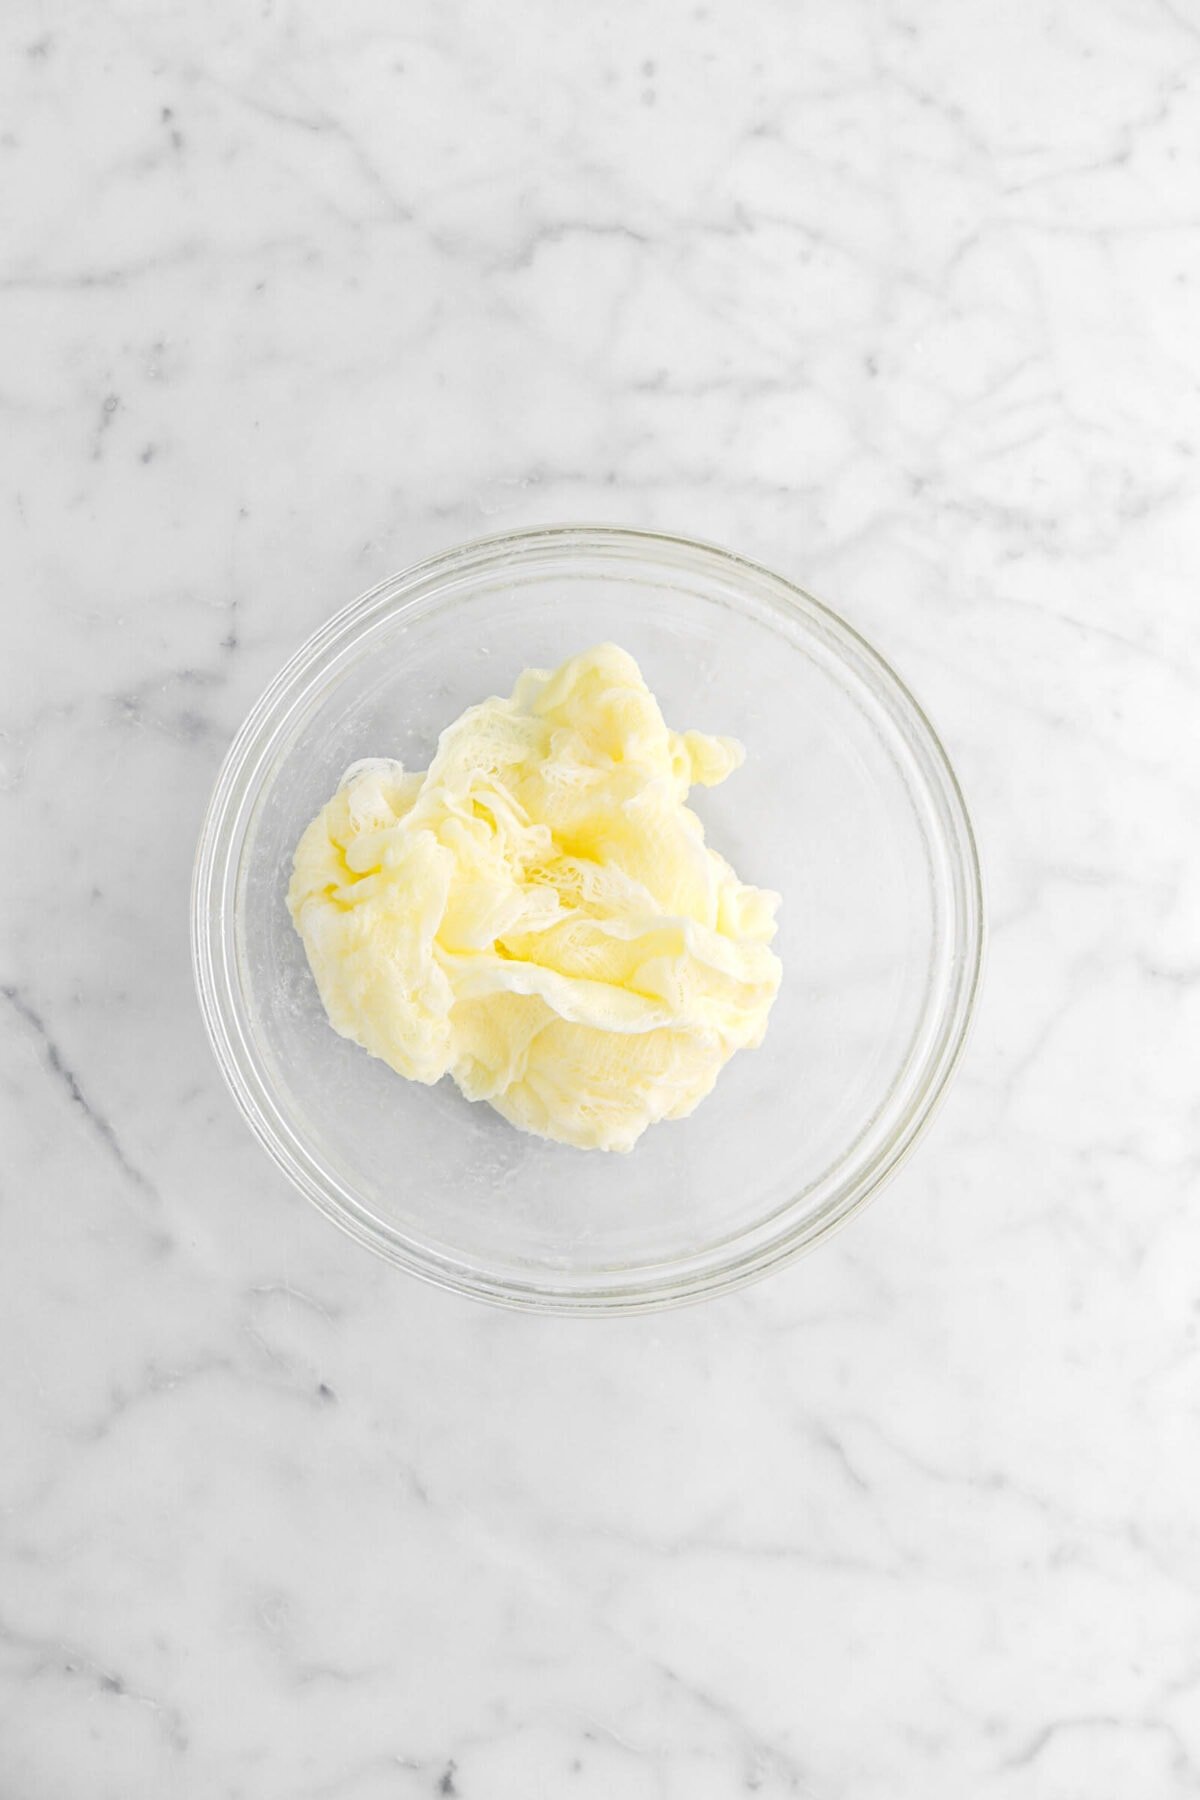
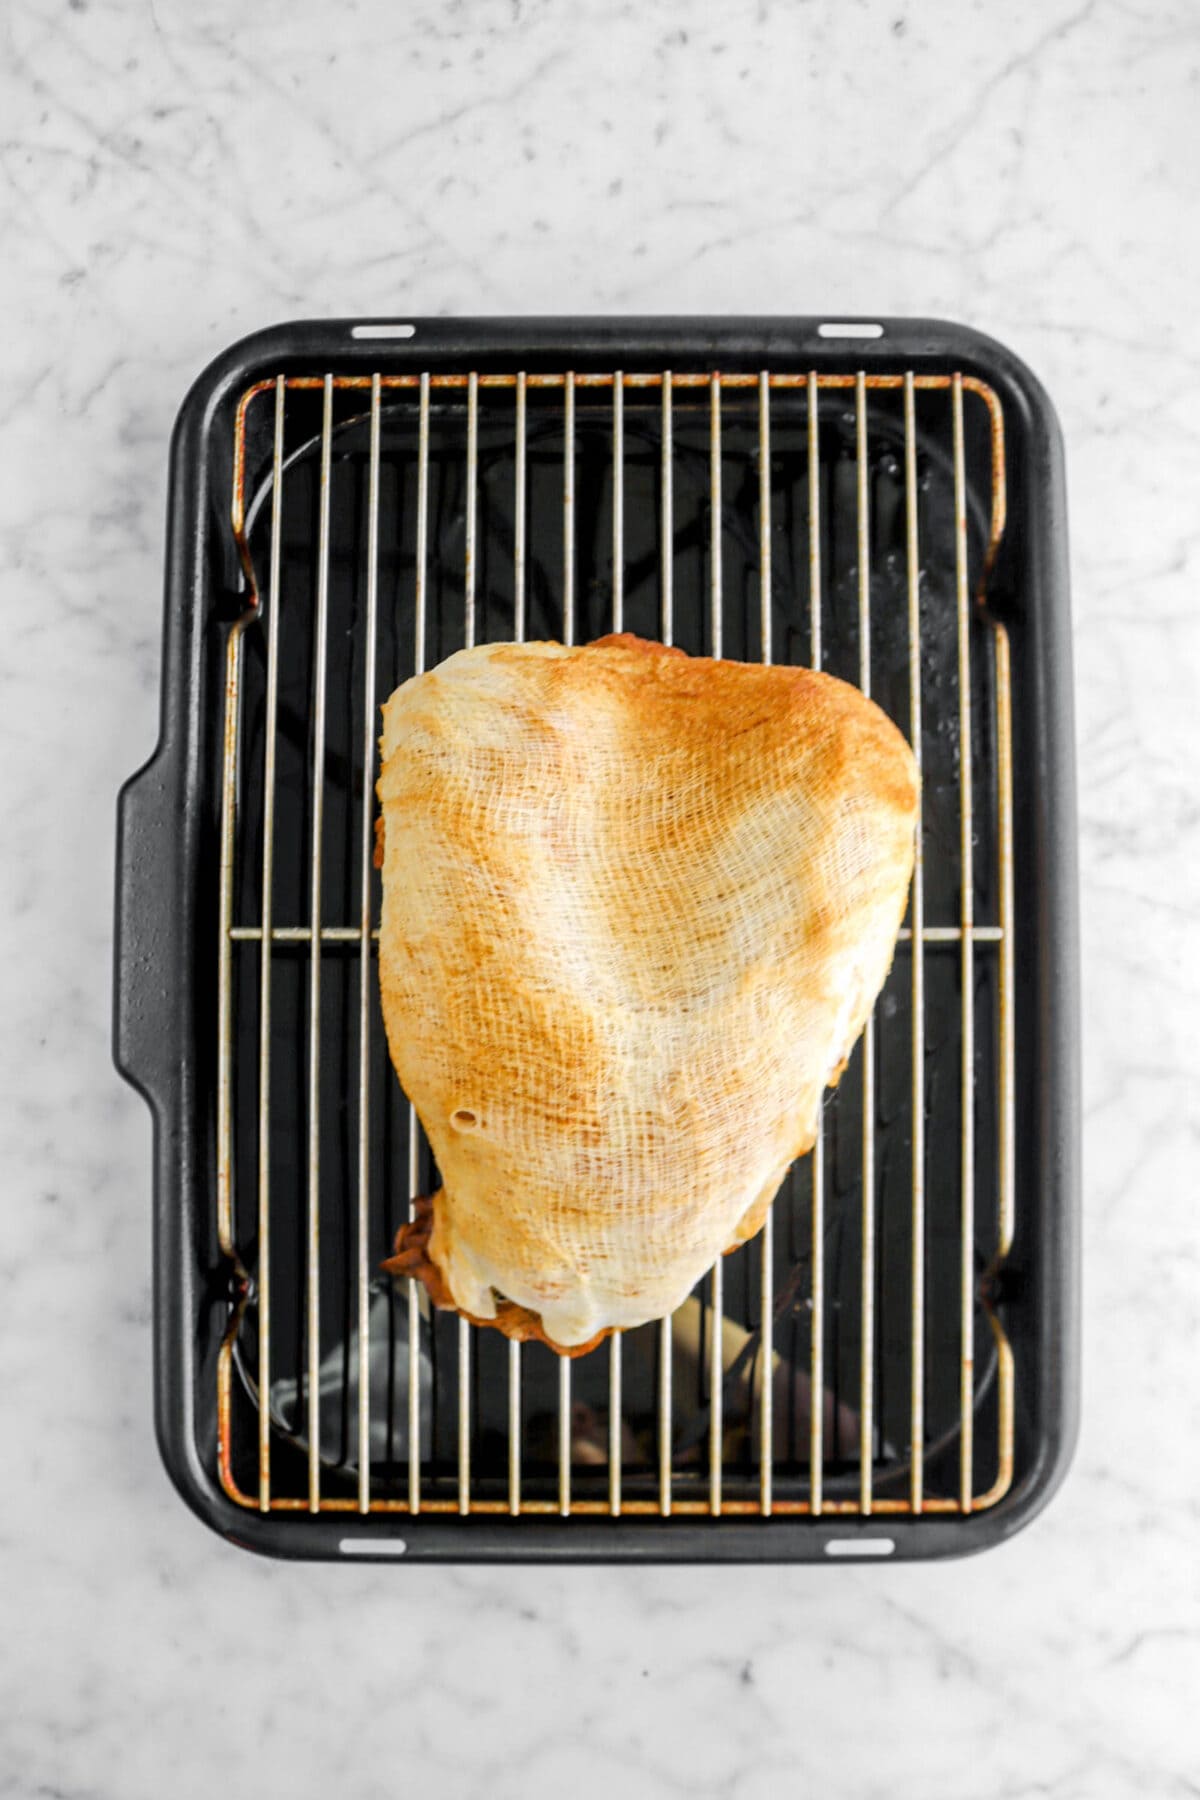

During our years of testing, we found that starting with the oven at 425℉/220℃ for the first 30 minutes, and then decreasing the temperature to 325℉/165℃ for the final hour, results in a turkey that’s moist, tender, and perfectly cooked.
Of course, if your turkey is bigger, the bake times will need to be adjusted. No matter how big your turkey is, bake it until the internal temperature reaches 165℉/74℃ with an instant read thermometer or a meat probe.
⊹ Quick Tip! ⊹
Remember to let your turkey sit for at least 10 minutes before slicing and serving!

A quick note: Pink inside your turkey doesn’t always mean underdone. If your thermometer is accurate and reading 165°F, the turkey is safe to eat. Always check your thermometer before cooking. Boil some water and see what your thermometer reads. If it reads 212°F, which is the temperature of boiling water, it’s accurate!
If it’s higher or lower, write down the number and adjust the temperature as needed. Say the thermometer reads 214°F, that means your thermometer is reading 2 degrees higher than what it actually is. So, you will need to cook your turkey to 167°F degrees, as that will actually be 165°F.
Our Must-Have Thanksgiving Sides:
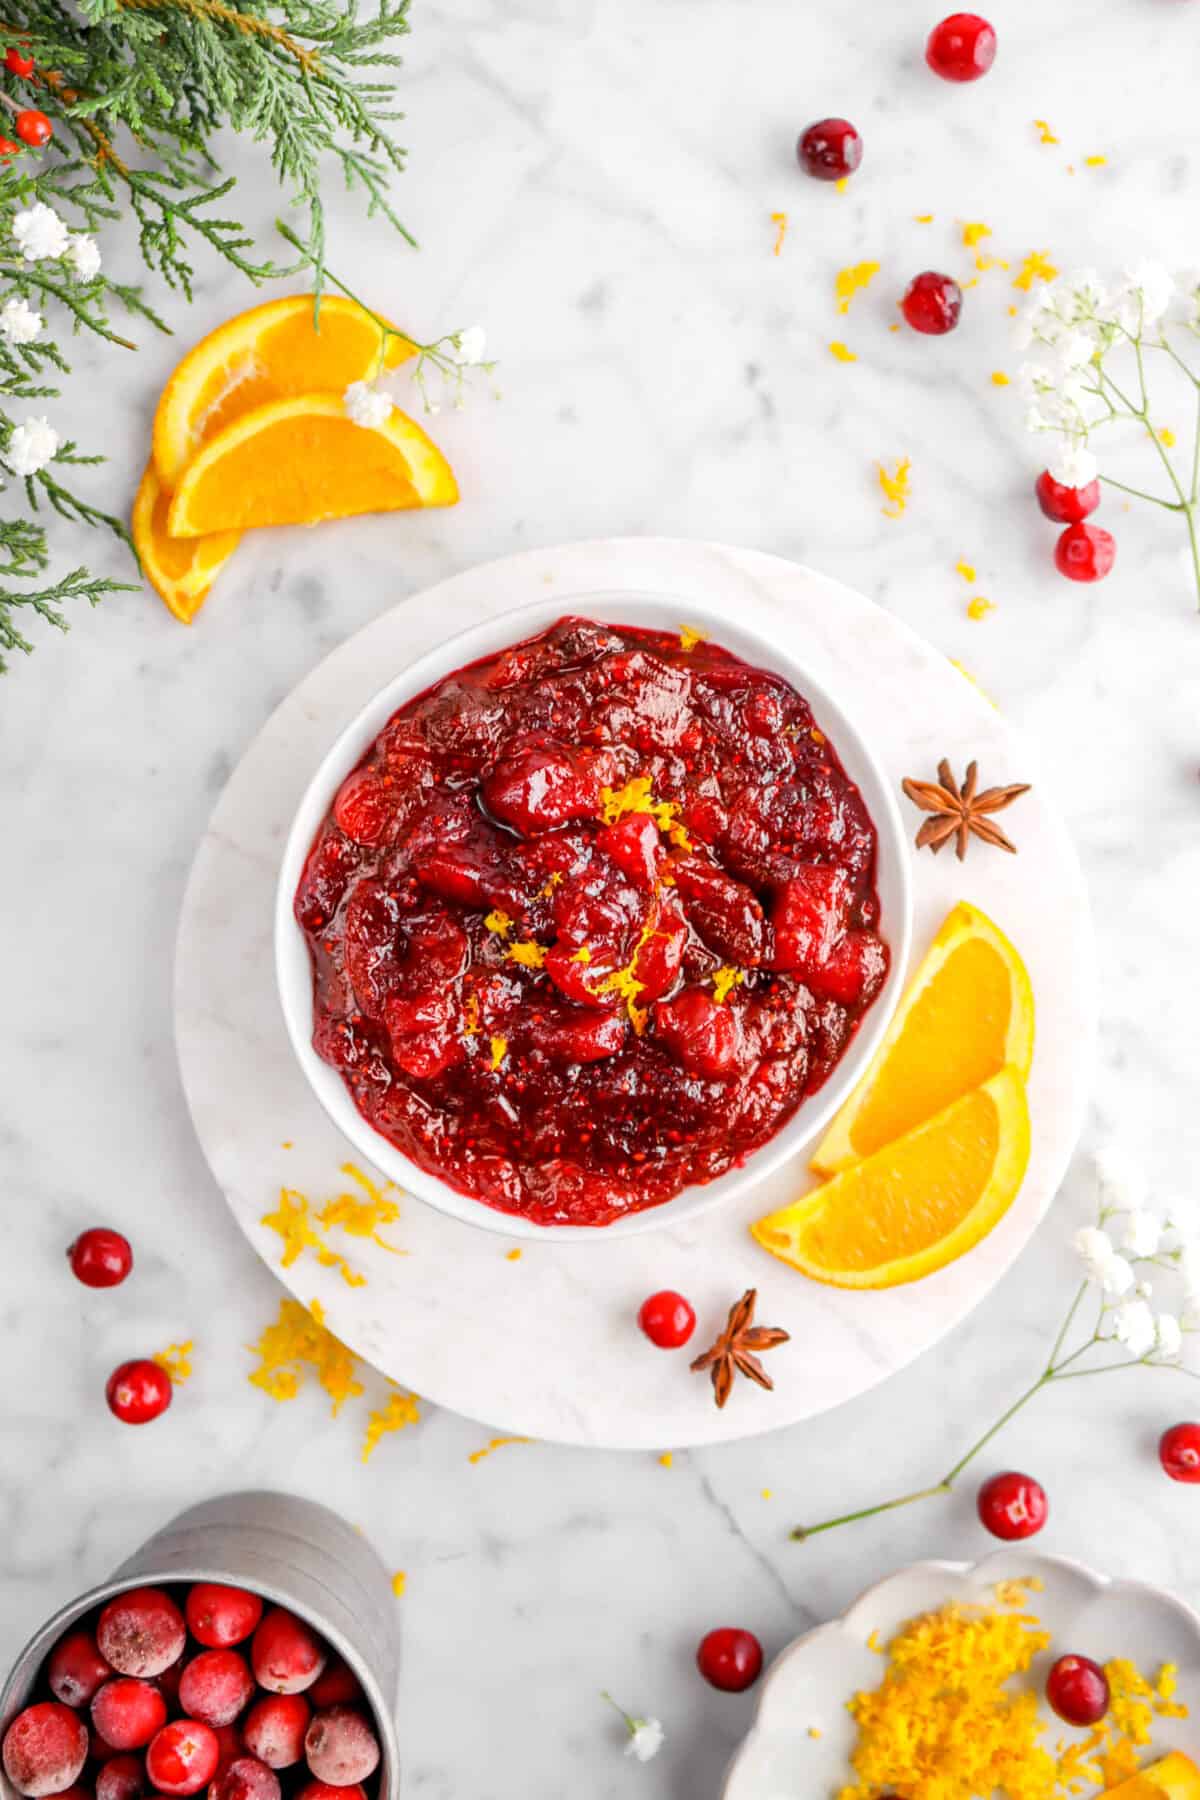
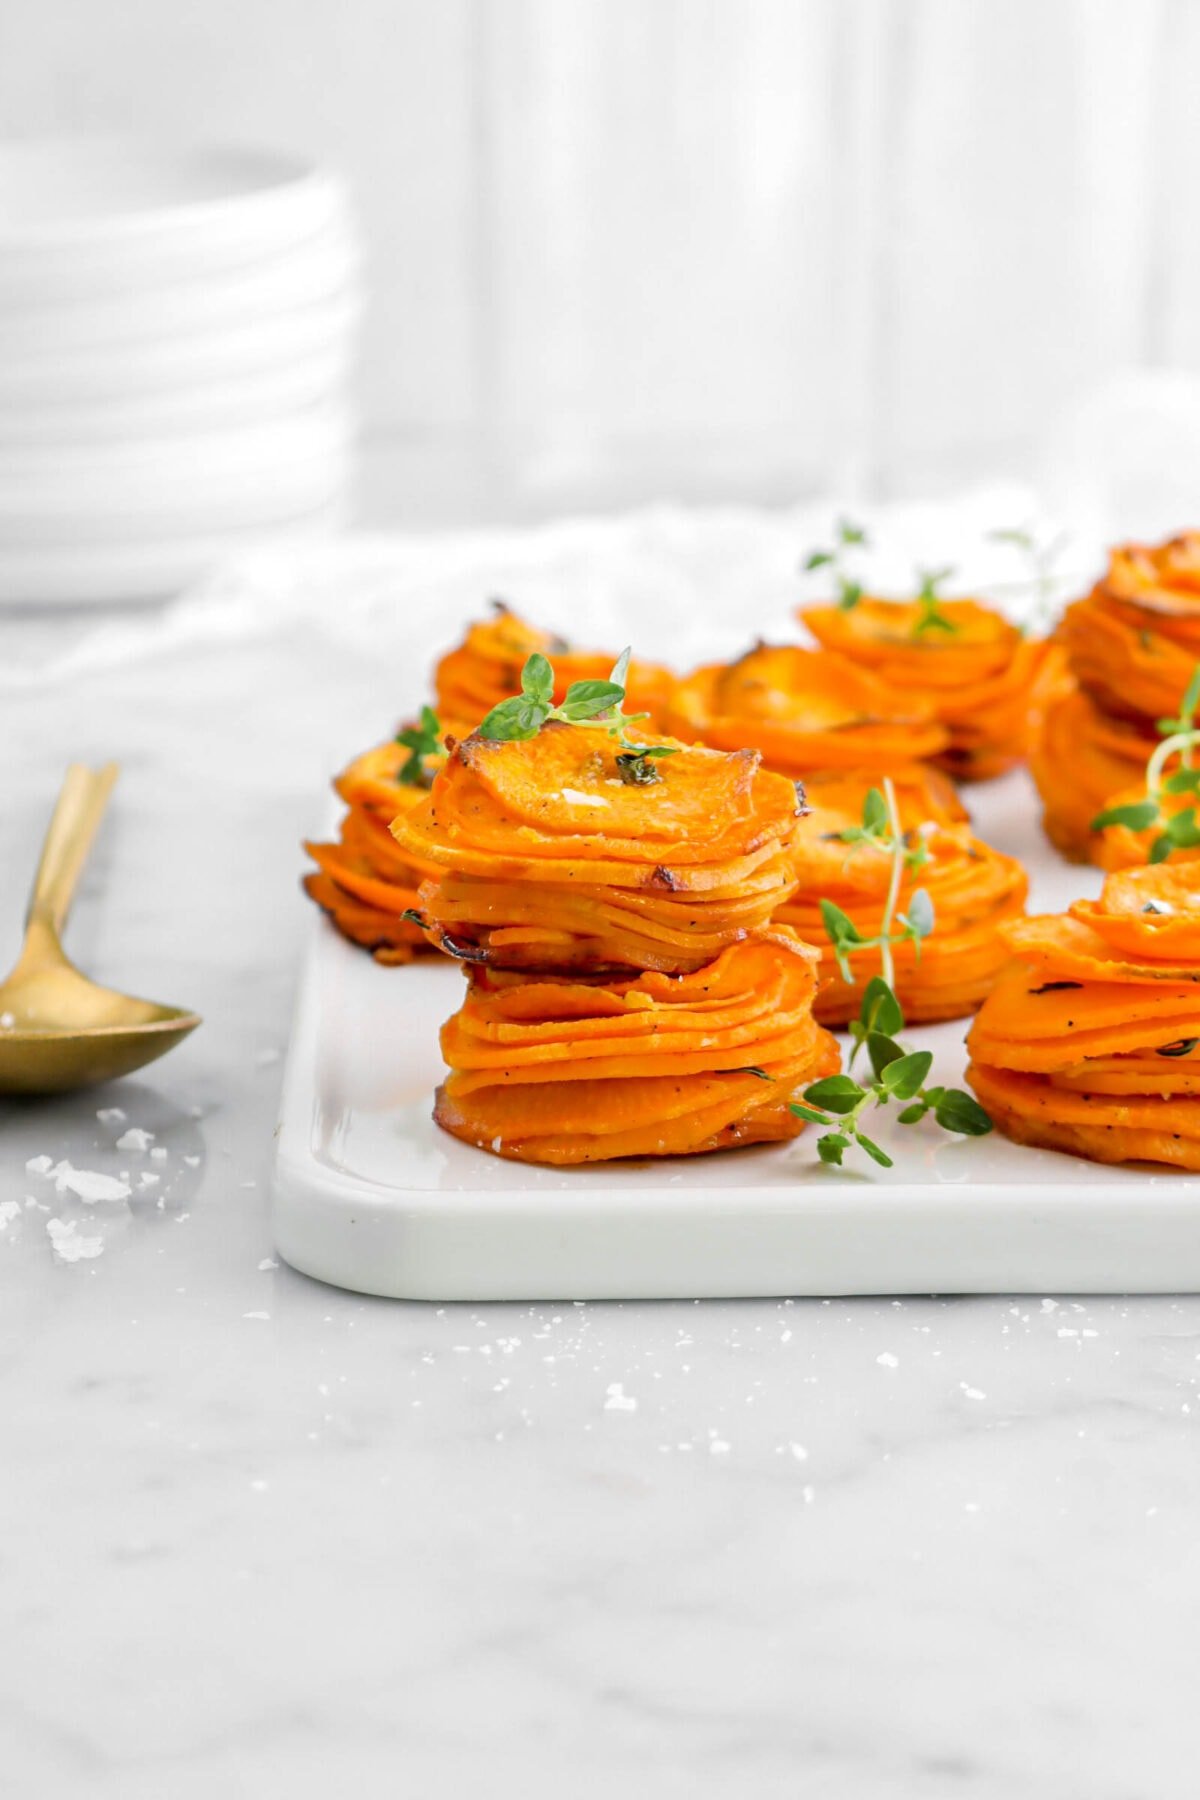

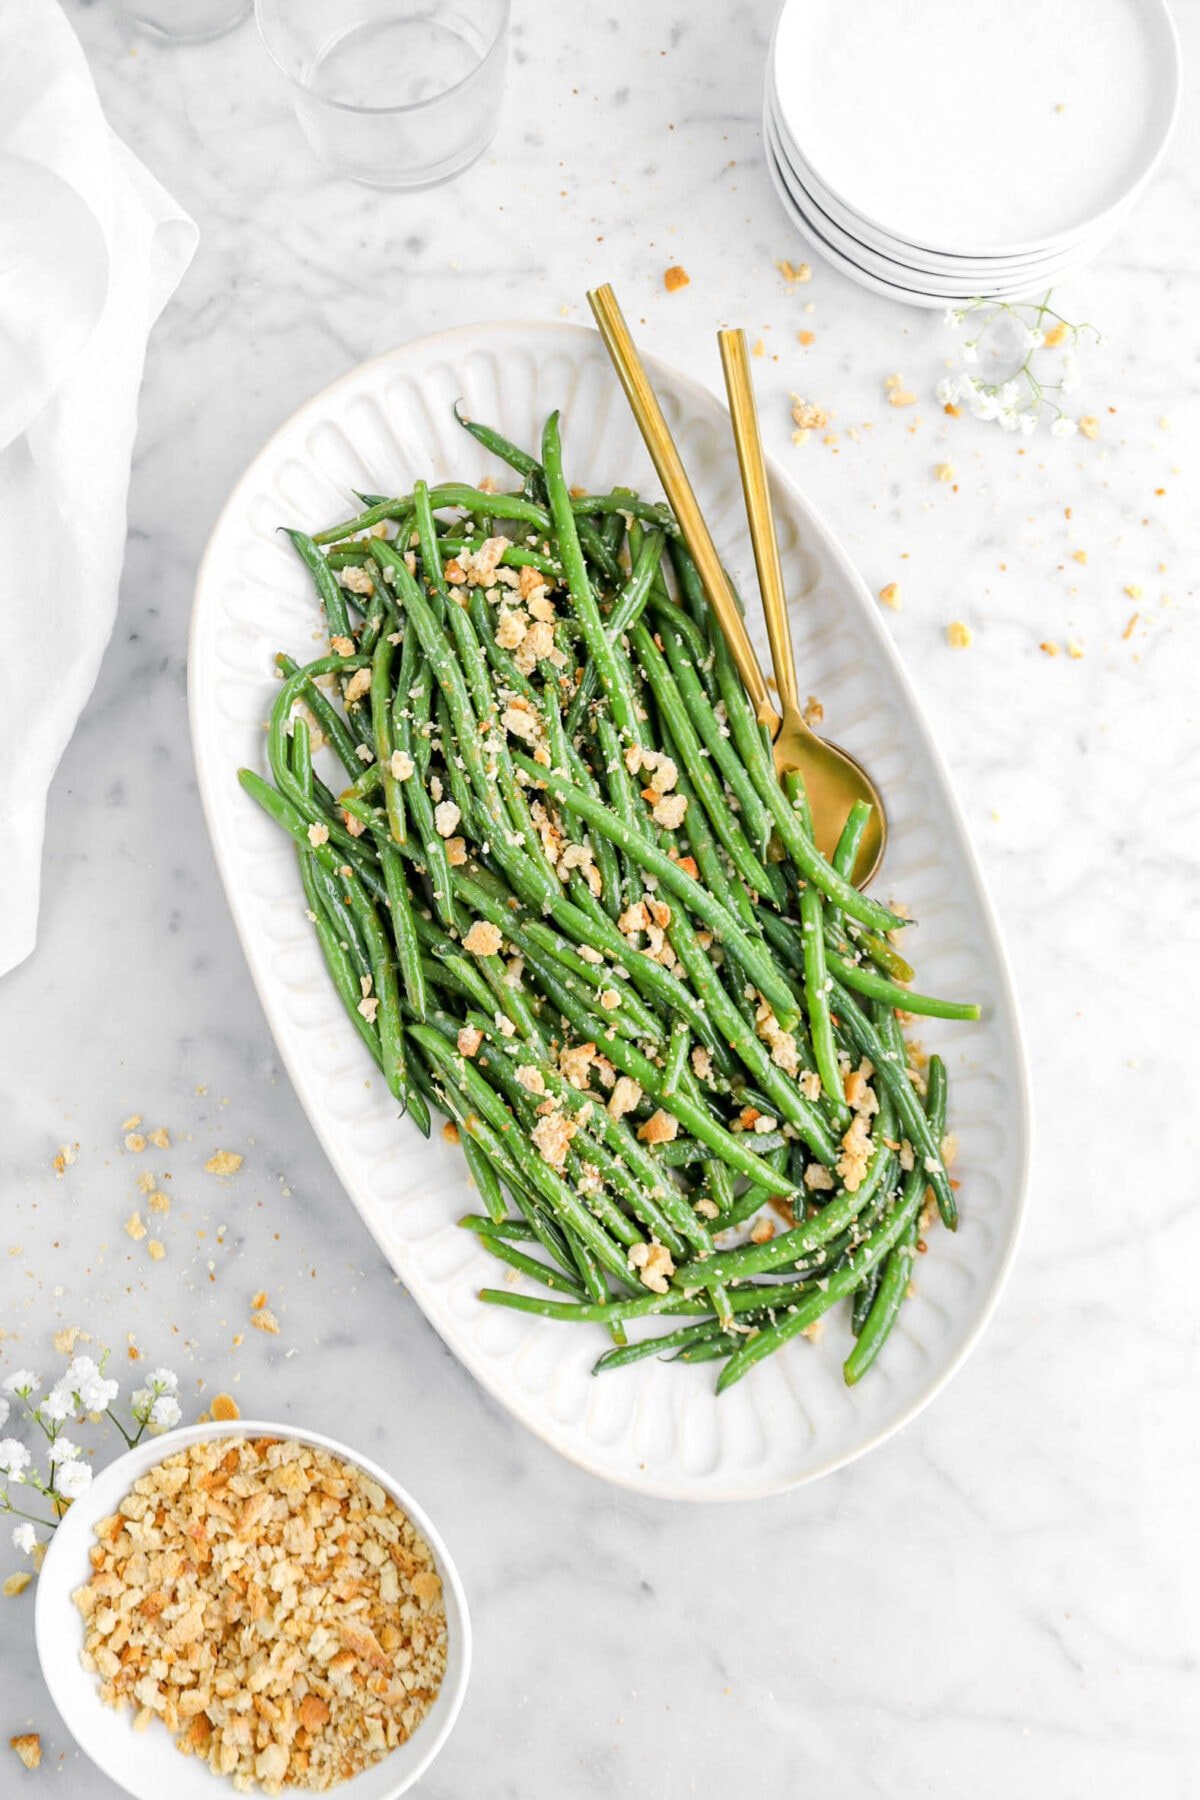


When you make this Rosemary Garlic Roasted Turkey Breast, leave a comment down below! We love hearing from you and answering any questions you might have! Also, be sure to tag us on social media and hashtag it #BakersTable.
Happy baking!
x, Caylie

Rosemary Garlic Roasted Turkey Breast
Ingredients
- 5-7 pound fresh turkey breast
- 5 quarts rosemary garlic turkey brine
- ¾ cup unsalted butter

Instructions
- Remove giblets from turkey breast, if turkey breast contains them.
- Place breast in a lidded container big enough to hold the breast and that will also fit in the refrigerator.
- Pour brine over breast, making sure to get all of the rosemary, garlic, peppers, and peppercorns into the container with the turkey.
- Close lid.
- Refrigerate for a minimum of 12 hours, and up to 2 days.
- The night before cooking, remove turkey from brine and pat it dry.
- Place it on a cooling rack set over a sheet pan.
- Place it uncovered in the refrigerator overnight.
- Set your turkey out of the refrigerator about 45 minutes – 1 hour before roasting to allow it to come to room temperature.
- While turkey is coming to room temperature, heat oven to 425℉/220℃.
- Melt butter.
- Place cheesecloth in melted butter, turning so that cheesecloth can soak up all the butter.
- Place turkey on roasting rack.
- Drape buttered cheesecloth around the turkey breast, covering as much as possible.
- Place turkey in oven.
- Cook for 30 minutes.
- Reduce heat to 325℉/165℃.
- Continue cooking for an additional hour or until internal temperature registers 165℉/74℃.
- Allow to stand for at least 10 minutes before slicing.
Notes + Tips!
- A frozen turkey breast can be used. Just be sure to thaw it in the fridge before brining.
- Be sure to start this recipe ahead of time! Read through the times and instructions thoroughly.
- When brining, make sure the turkey is fully submerged in the brine.
- Do not wash the turkey after brining!
- If you see dry spots on your cheesecloth, you may need to melt some more butter. The cheesecloth needs to be thoroughly coated in melted butter.
- Always use a thermometer to see when your turkey is done.
- Let the turkey rest about 10 minutes before slicing!
Tools You May Need (affiliate links)
– Still Hungry? –
Here are a few recipes may like!