How To Wet Brine A Turkey (+ Recipe!)
This post may contain affiliate links, please visit our privacy policy for details.
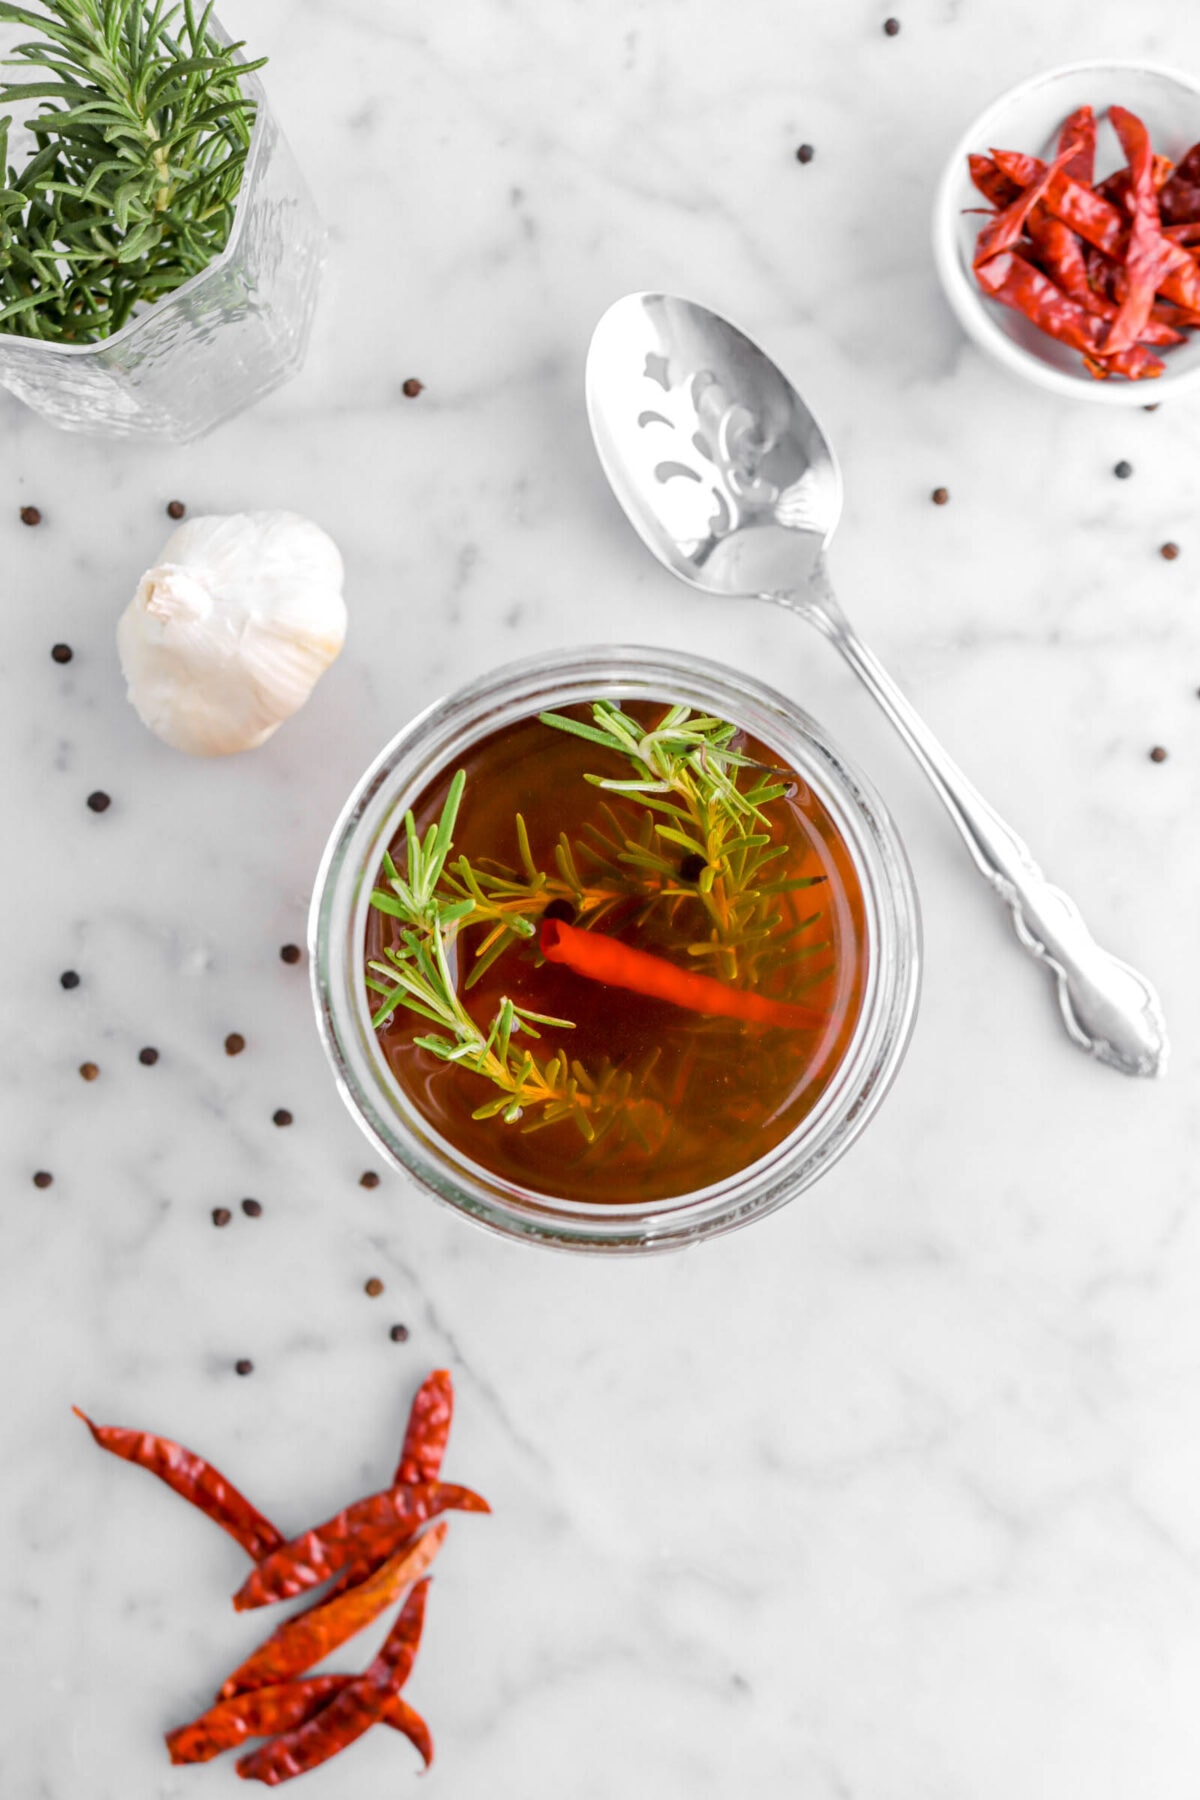
Elevate your Thanksgiving with this simple, yet flavorful turkey brine! In this post, you will learn how to perfectly brine your turkey alongside our go-to recipe which features a delicious blend of rosemary, garlic, and chili.

It’s November and Thanksgiving is right around the corner. This time of year always seems to be a little hectic, but thankfully with this turkey brine, you have one less thing to worry about…your turkey for the big day!
Why Brine Your Turkey?
Have you ever wondered why your Thanksgiving turkey always seems a bit dry? The secret to a juicy, flavorful turkey lies in a simple technique: brining.
This process helps to:
- Enhance Flavor: A brine infuses the turkey with flavor, typically with herbs, citrus, and spices, to make it more delicious.
- Add Moisture: The salt draws moisture into the meat, making it juicy and extra tender.
If you’ve ever been on the fence about wet brining your turkey or always felt like it might be too daunting, don’t let it discourage you this year! Many of our readers agree that brining the turkey makes the best Thanksgiving meal:
One reader, Daniel, commented: “Second year in a row I used this on my turkey & it did not disappoint! I used it on a whole turkey. I love how you made it so easy to double or even triple the recipe with a click of the button! ⭐️⭐️⭐️⭐️⭐️ “
Another reader, Linda, commented: “This makes the best turkey!! Every year, I’ve had friends and family ask for the recipe. Thank you! ⭐️⭐️⭐️⭐️⭐️”

Wet Brine vs Dry Brine: What’s The Difference?
There are two types of brines out there:
- Wet Brine: the turkey is submerged in heavily seasoned salt water for 6-24 hours (which is what this post will cover).
- Dry Brine: the turkey is salted on the outside with a combination of kosher salt, herbs, and seasonings of choice for 24 to 36 hours.
Each type of brine has its pros and cons! We have tried both for our turkeys over the years and there are two reasons we always choose a wet brine:
- A wet brine works more quickly. A dry brine needs at least 24 hours to work to infuse the meat with flavor; a wet brine is effective in 6-12 hours, depending on the size of your turkey.
- A wet brine produces a juicier turkey. In our experience (and we’ve had a lot!), a wet brine produces a juicier turkey, whereas we’ve had more luck with dry brines on pork (if you’re interested, you can check out our roasted pork loin recipe!).
Though, between you and me, any brine (wet or dry) is better than none!
Making Your Brine
There’s actually only two ingredients necessary to make a wet turkey brine…water and salt! Though, if that’s all you use, you’re missing an opportunity to add extra flavor to the turkey.
- Kosher Salt. When making this brine, you MUST use kosher salt. Table salt is iodized and will give a metallic flavor to your turkey.
⊹ Types of Kosher Salt ⊹
There are two major brands of kosher salt, Diamond Crystal and Morton’s.
When choosing which to use, remember that Morton’s has smaller crystals, which means there is more salt in each measurement. It’s our go-to choice for recipes like this. If you’re using Diamond Crystal, you will need about 1 cup of salt.
- Water. For a 5-7 lb turkey, you will need about 5 quarts of water. Feel free to double or triple, as needed.
- Whole Spices. Black peppercorns along with dried red chili peppers and garlic cloves perfectly compliment the flavor of turkey.
- Herbs. Fresh rosemary is the perfect herb with turkey.
⊹ A Quick Tip!⊹
If you have other herbs on hand, feel free to toss them in either in place of or along with the rosemary: sage and thyme are great with turkey as well.
How To Wet Brine A Turkey: A Quick Overview
Here is an overview of each step. For the full recipe, see the recipe card at the bottom of the post!
First, Thaw The Turkey
- Plan on about 24 hours of thawing time per 5 pounds of turkey.
Whenever possible, try to purchase a fresh turkey, not frozen, so you can avoid this extra step!
Now, Let’s Make The Brine
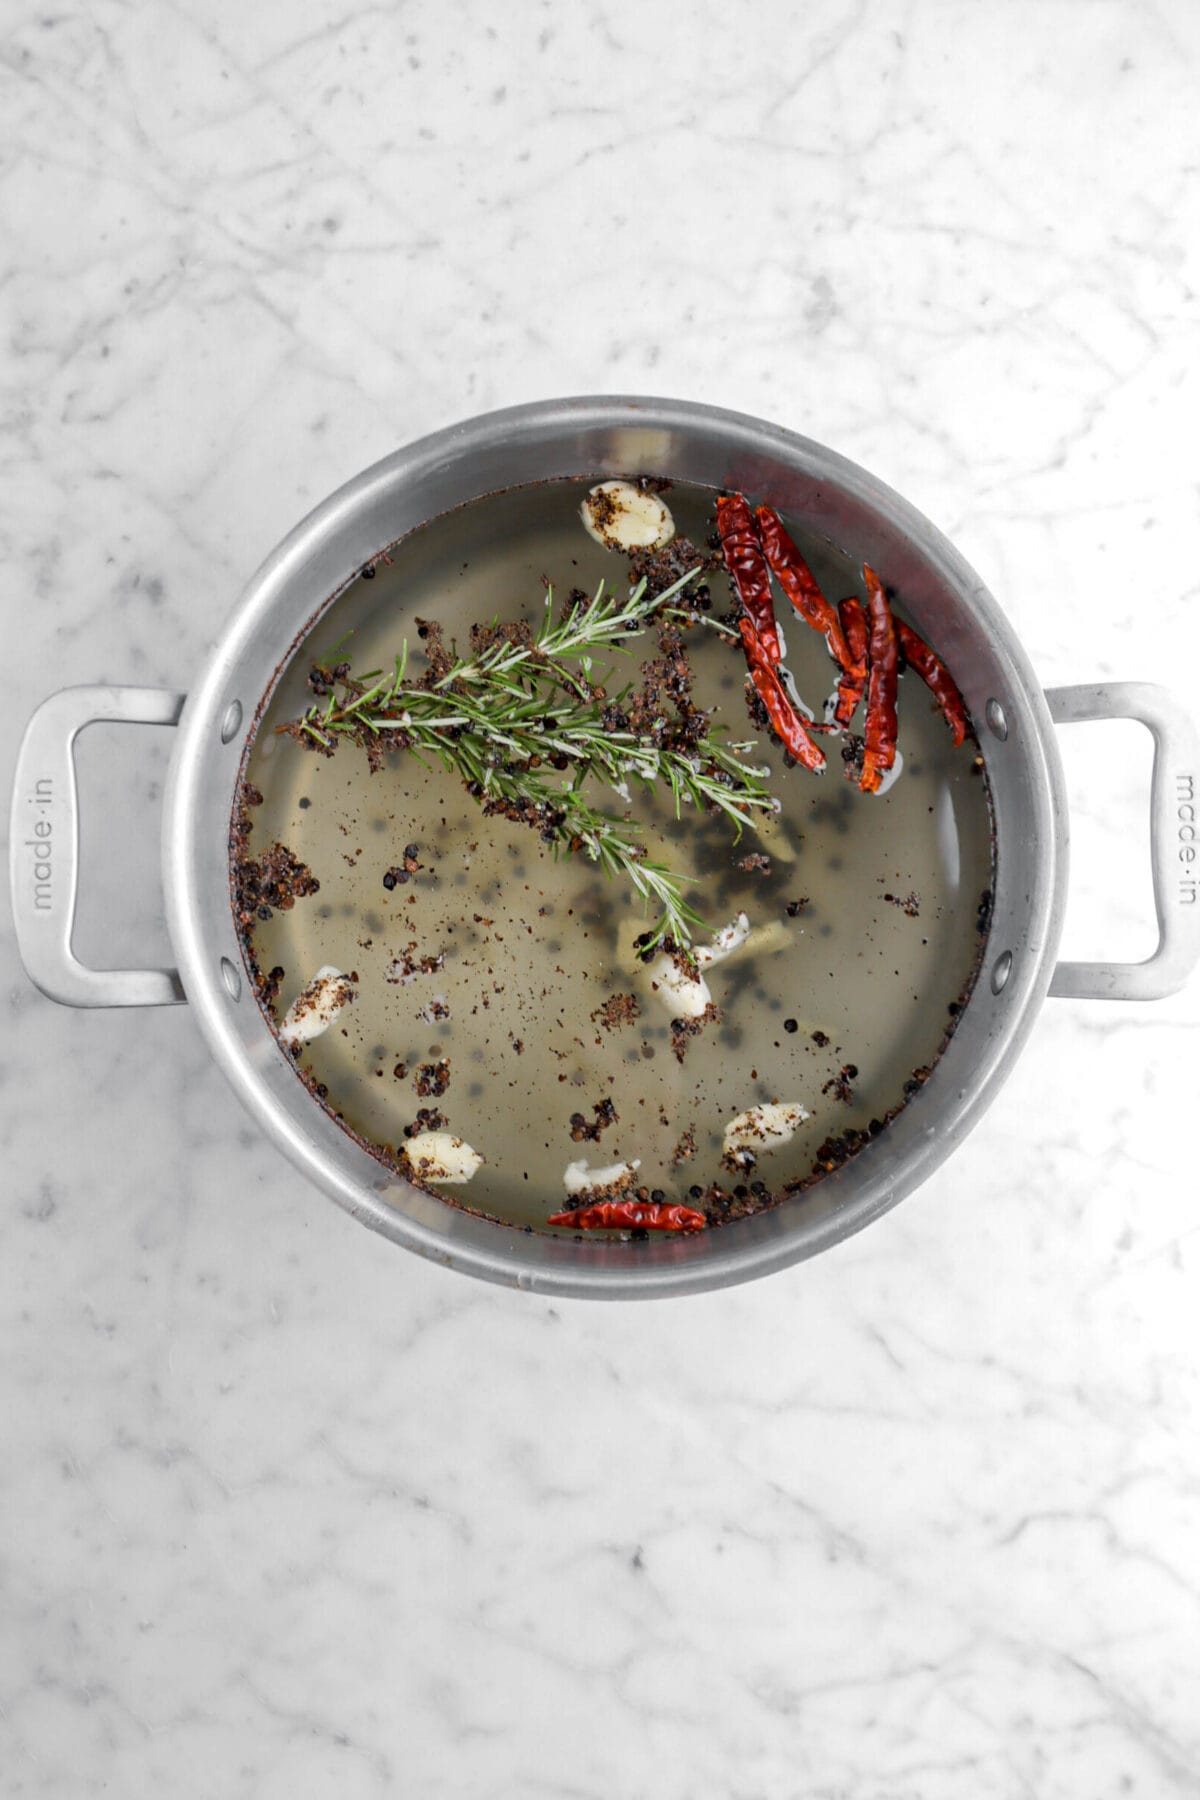
- In a very large stockpot (for our 5-7lb turkey breast, we used an 8 quart pot), combine all of the ingredients and bring to a boil. Allow to cook for 10 minutes.
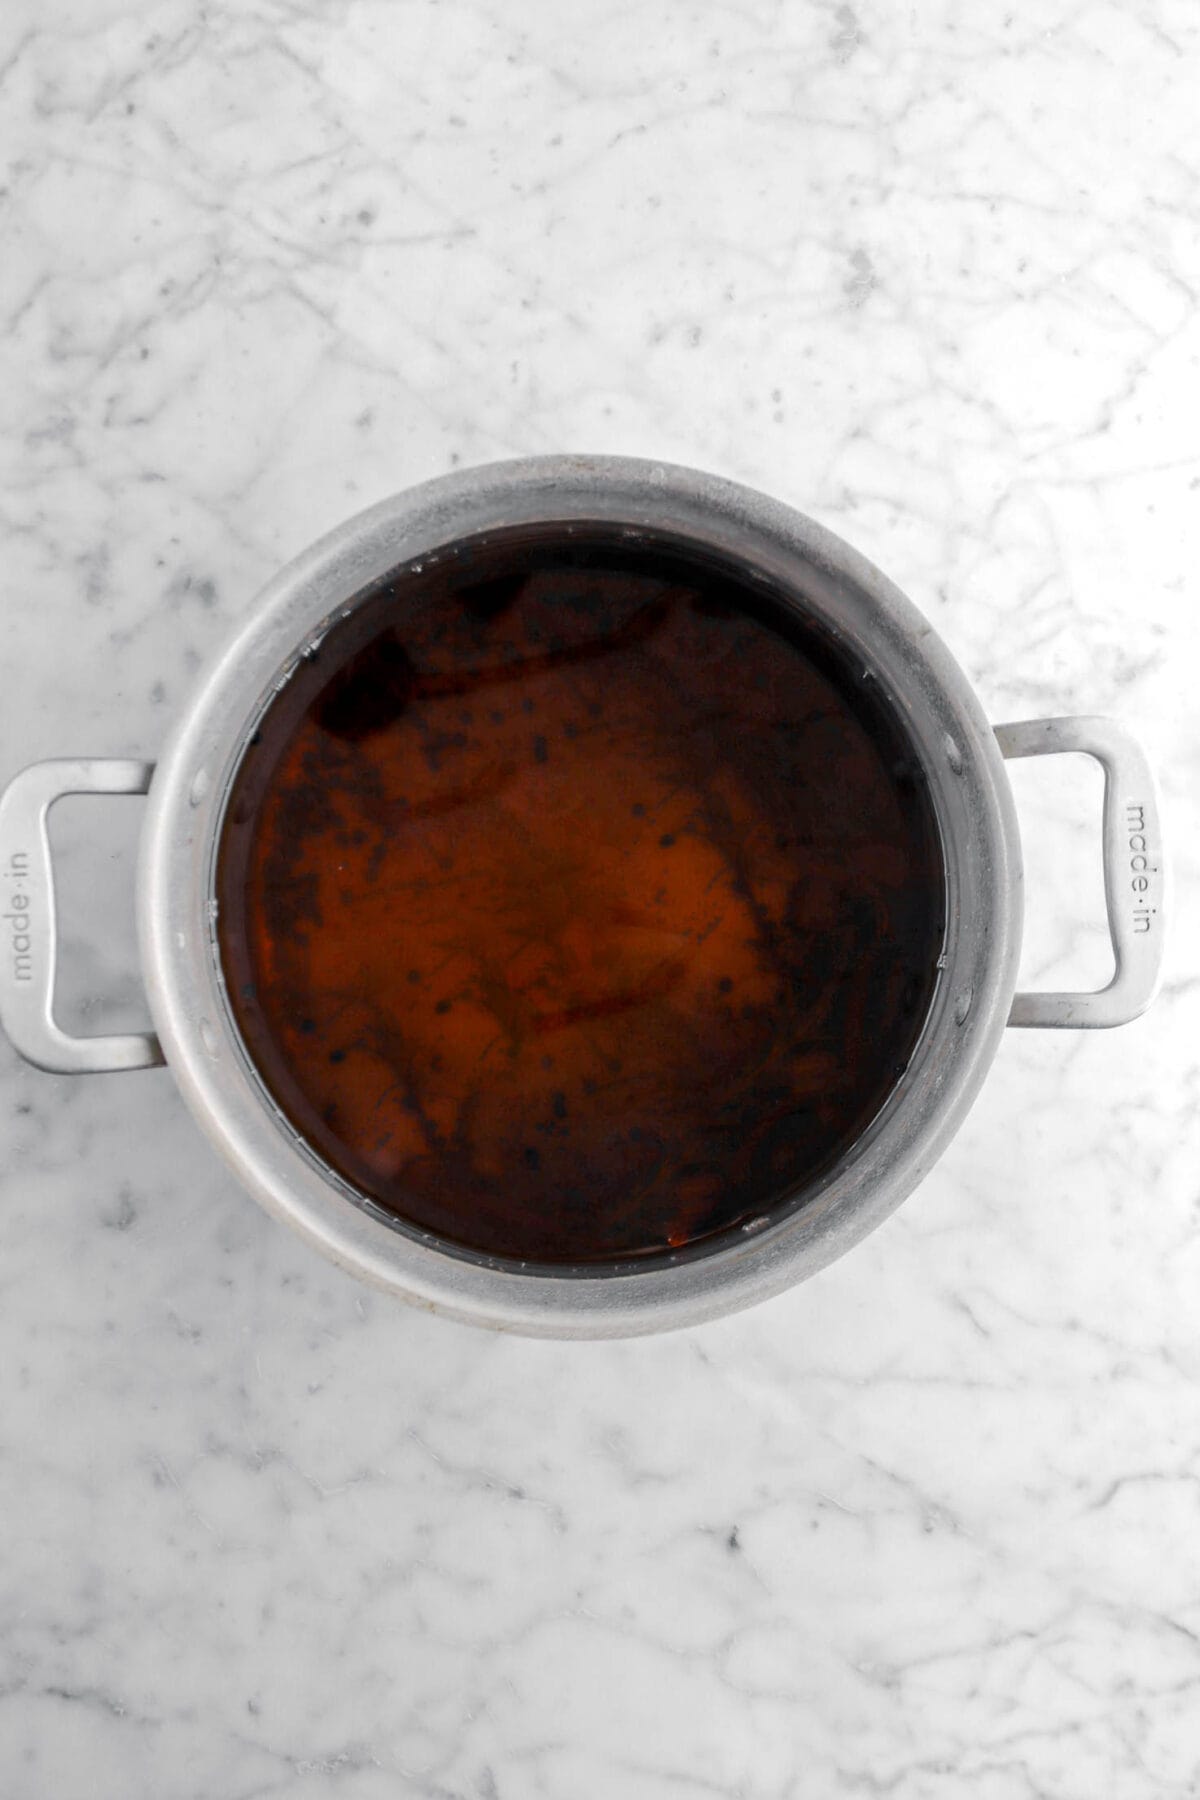
⊹ Let The Brine Cool! ⊹
This is such an important step and cannot be skipped. The brine needs to be cool/cold before you can add your turkey. If you add the turkey to a brine that is too warm, it can cause bacteria to grow. So, plan accordingly! Brine can take hours to cool, but on the plus side, you can prep this brine WELL in advance of the big day.
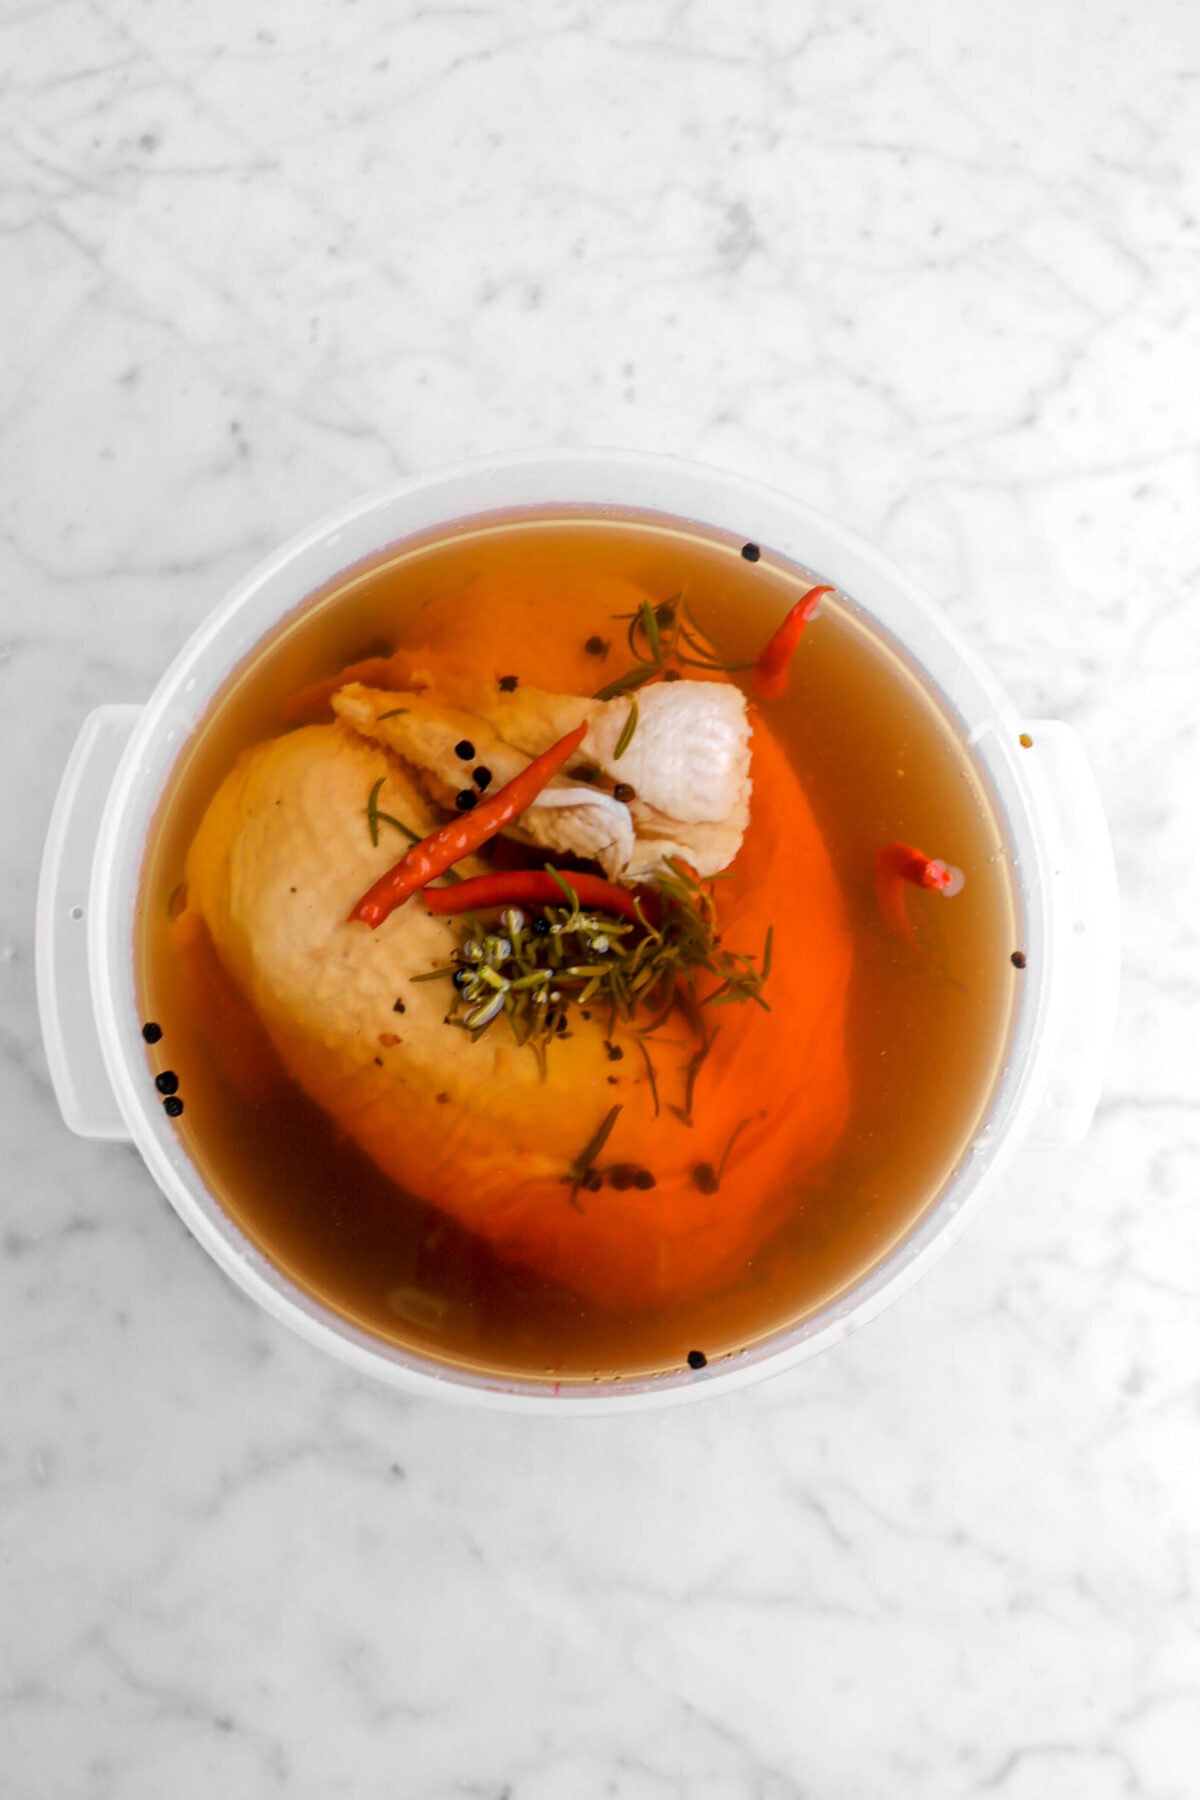
Brine The Turkey For At LEAST 12 Hours
- Position the turkey in chosen container, breast-side down, and fill with brine.
- If the turkey isn’t completely submerged in the brine, add more water to cover it.
- Tightly close your brining bag or secure the brining bucket lid.
- If the turkey is floating, use something heavy like a cast-iron skillet to weigh it down!
- Brine the turkey in the fridge for at least 12 hours and up to 2 days. Any less and you won’t get the juicy, flavorful results. If the turkey is left in the brine for longer than 2 days, the turkey will have an unpleasant/spongy texture and be too salty.
- The turkey should be kept at or below 40°F (4°C).


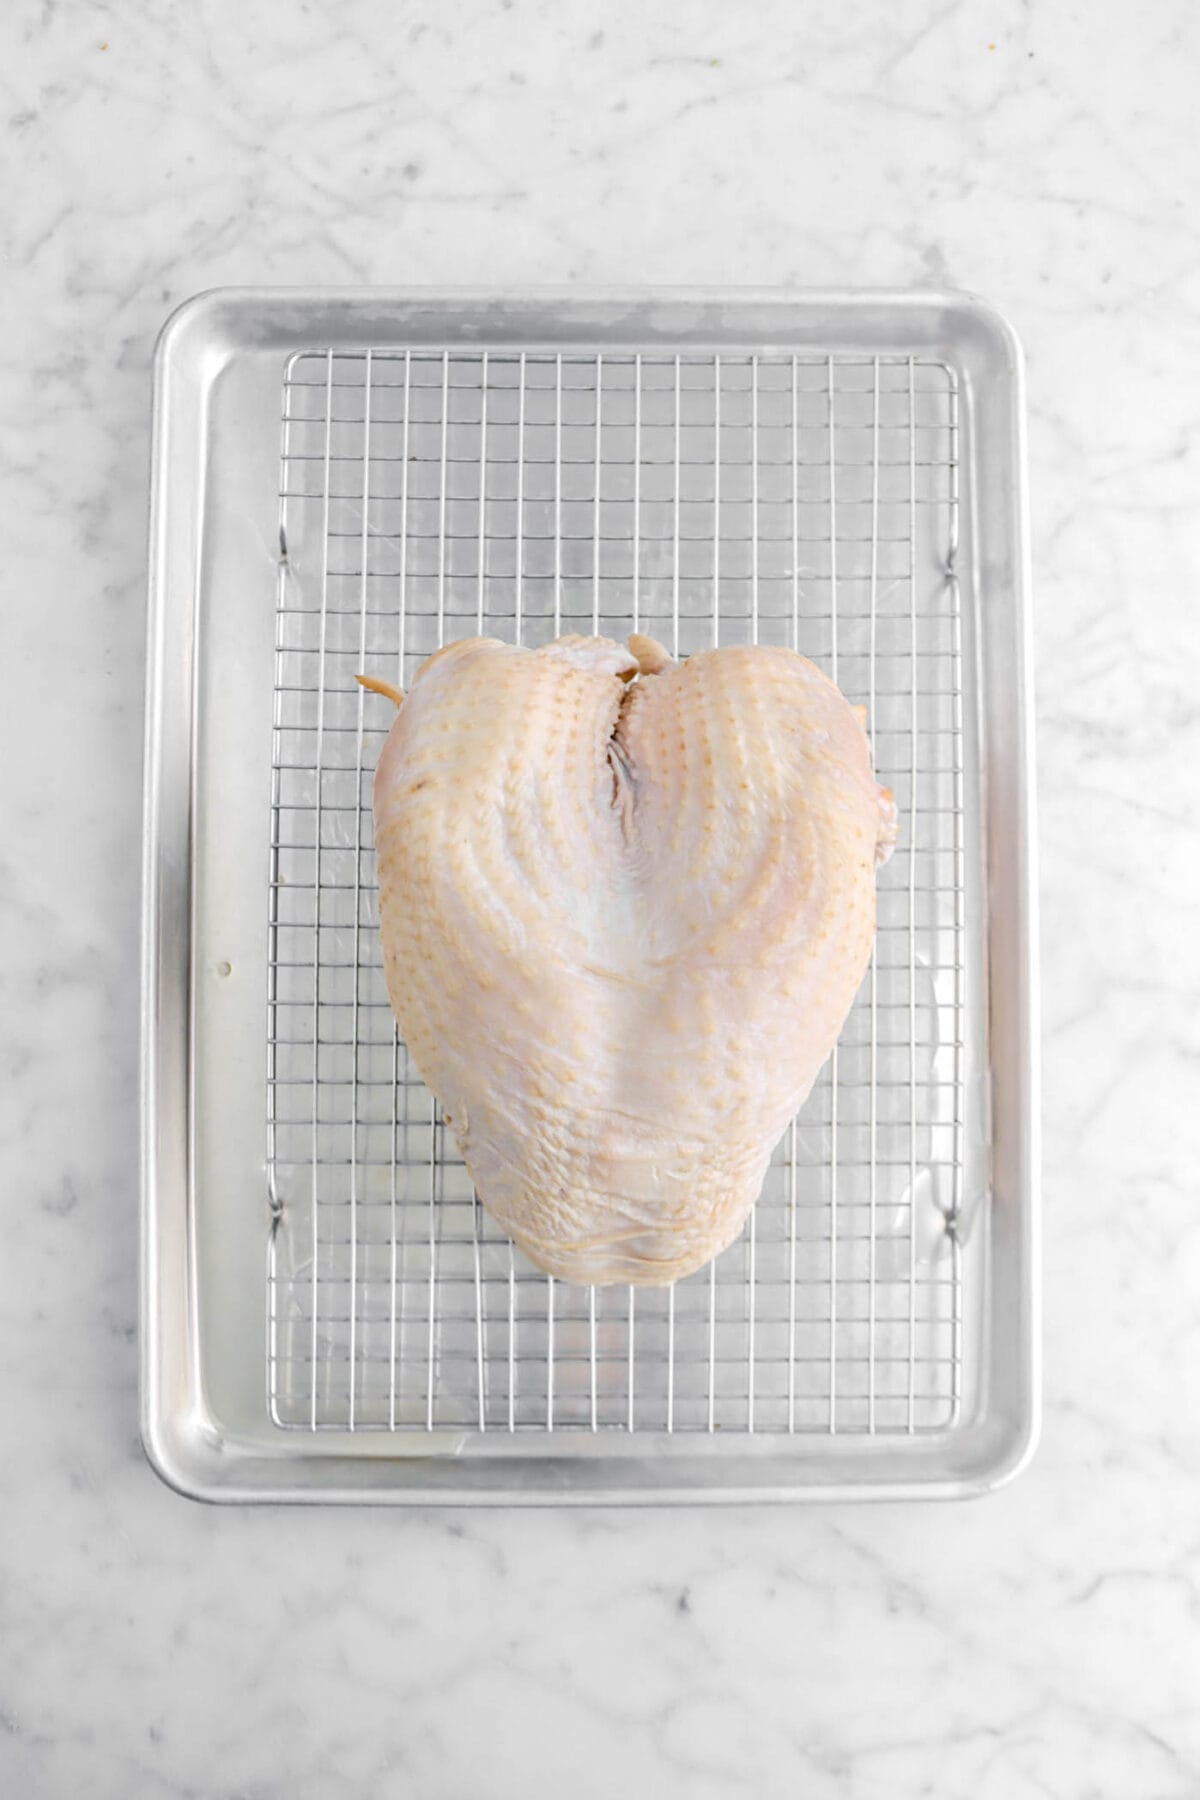
⊹Want To Roast Your Turkey?⊹
We have a full post dedicated to roasting the perfect thanksgiving turkey. Be sure to check it out!
Our Thanksgiving Must-Haves:


When you make this Rosemary Garlic Turkey Brine, leave a comment down below! We love hearing from you and answering any questions you might have! Also, be sure to tag us on social media and hashtag it #BakersTable.
Happy Cooking!
x, Caylie

Rosemary Garlic Turkey Brine
Ingredients
- 5 quarts water
- ½ cup kosher salt
- ⅛ cup peppercorns
- 7 small dried red chilis
- 6 cloves garlic,, crushed
- 4 sprigs rosemary
Instructions
- Place all ingredients in a large stock pot over high heat.
- Bring to boil and cook for 10 minutes.
- Remove from heat and allow brine cool completely before using.
- Place turkey in a lidded container or brining bag big enough to hold the turkey.
- Pour brine over turkey, making sure to get all of the rosemary, garlic, peppers, and peppercorns into the container. Seal. Refrigerate for a minimum of 12 hours, and up to 2 days.
Tools You May Need (affiliate links)
– Still Hungry? –
Here are a few recipes may like!


Second year in a row I used this on my turkey & it did not disappoint! I used it on a whole turkey. I love how you made it so easy to double or even triple the recipe with a click of the button!
Great taste & sooo simple!