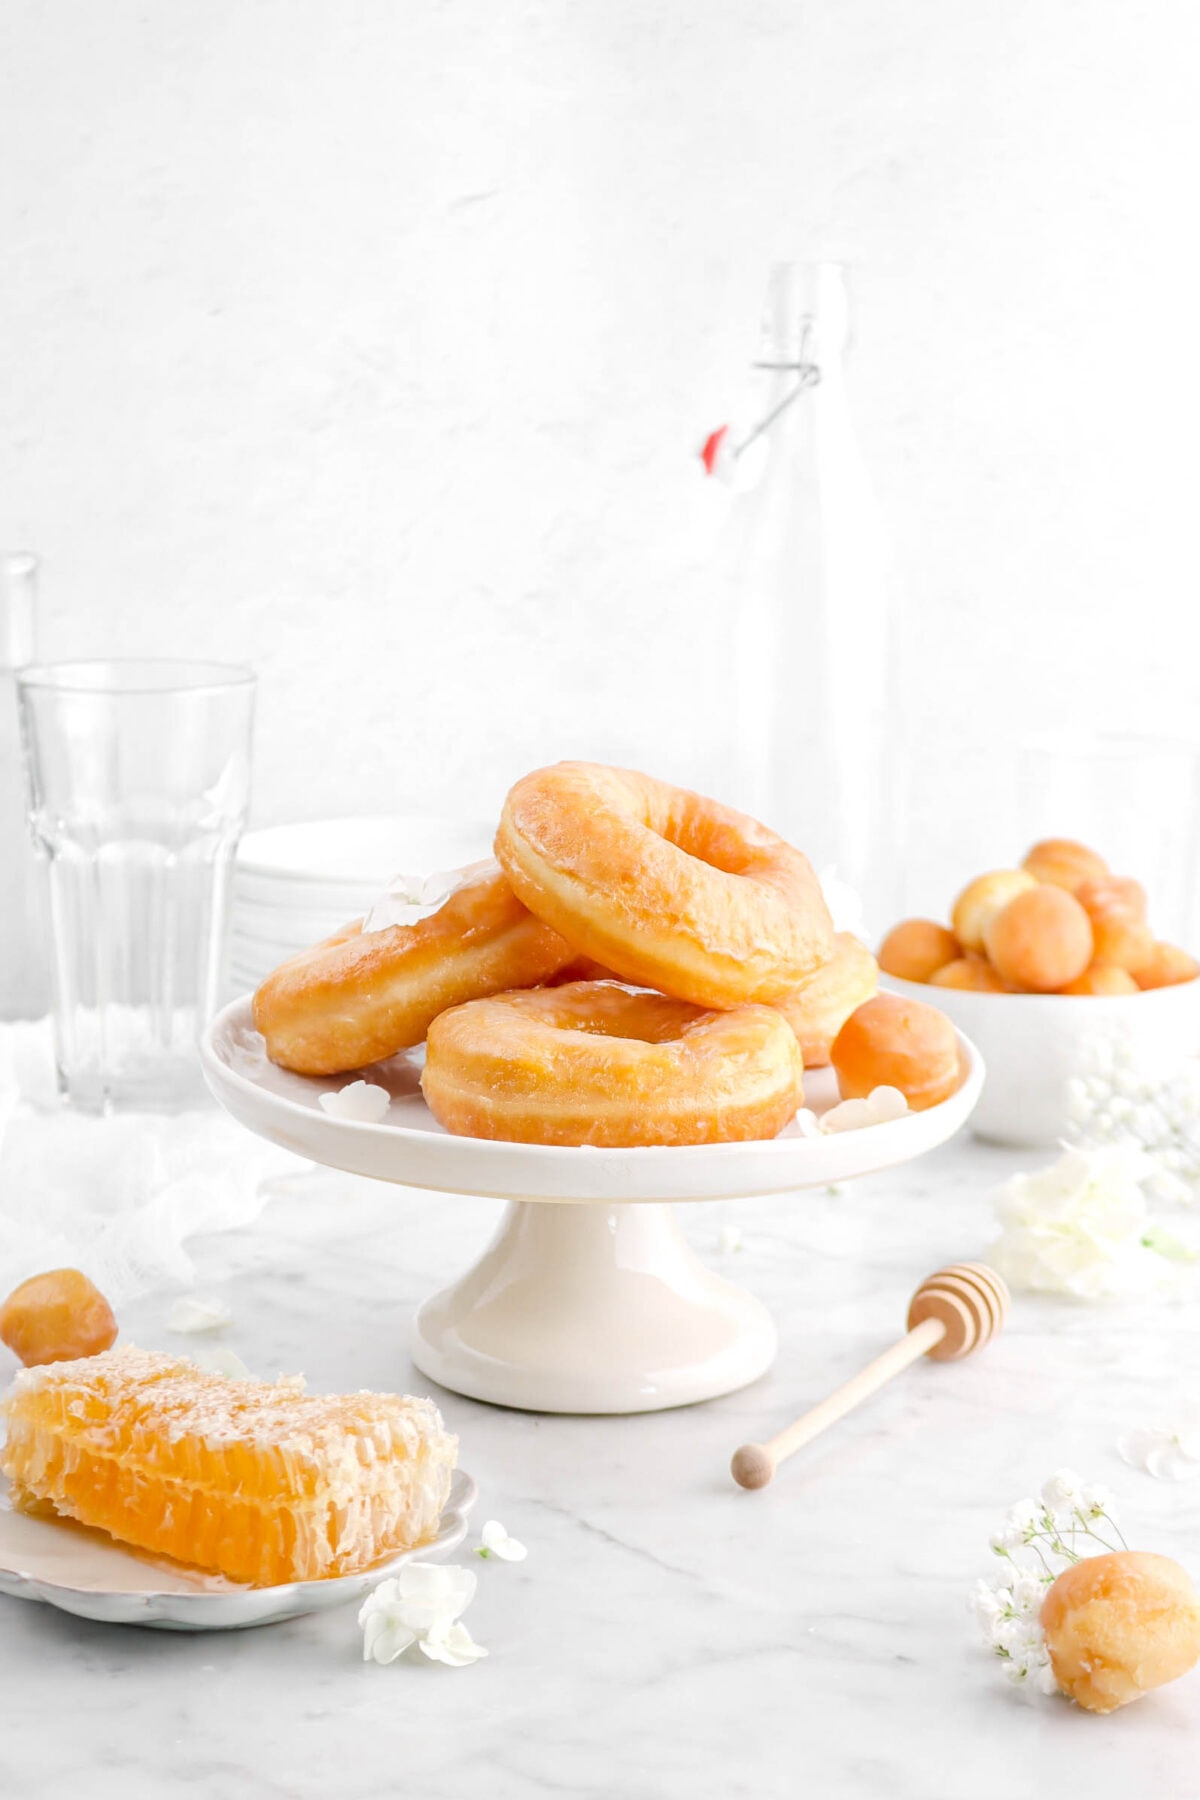
Honey Glazed Doughnuts
This post may contain affiliate links, please visit our privacy policy for details.
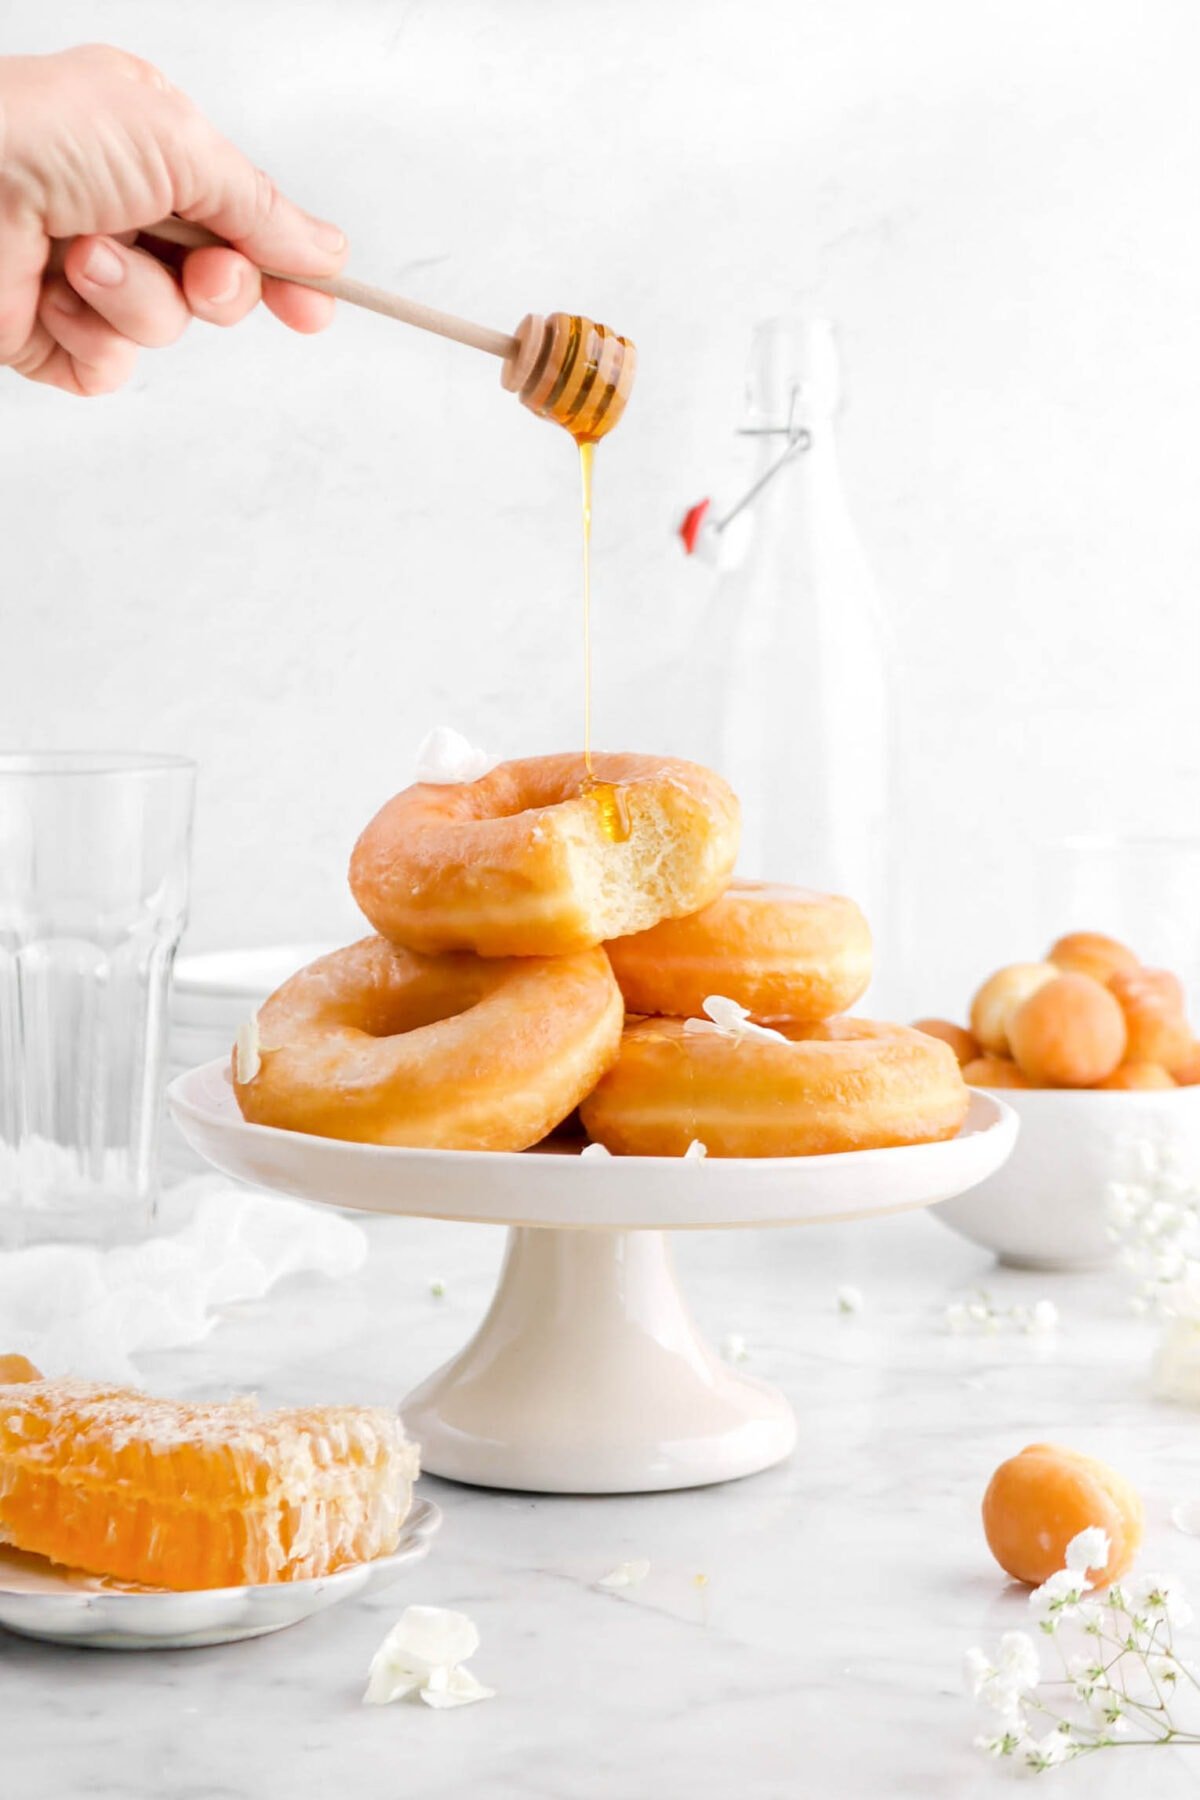
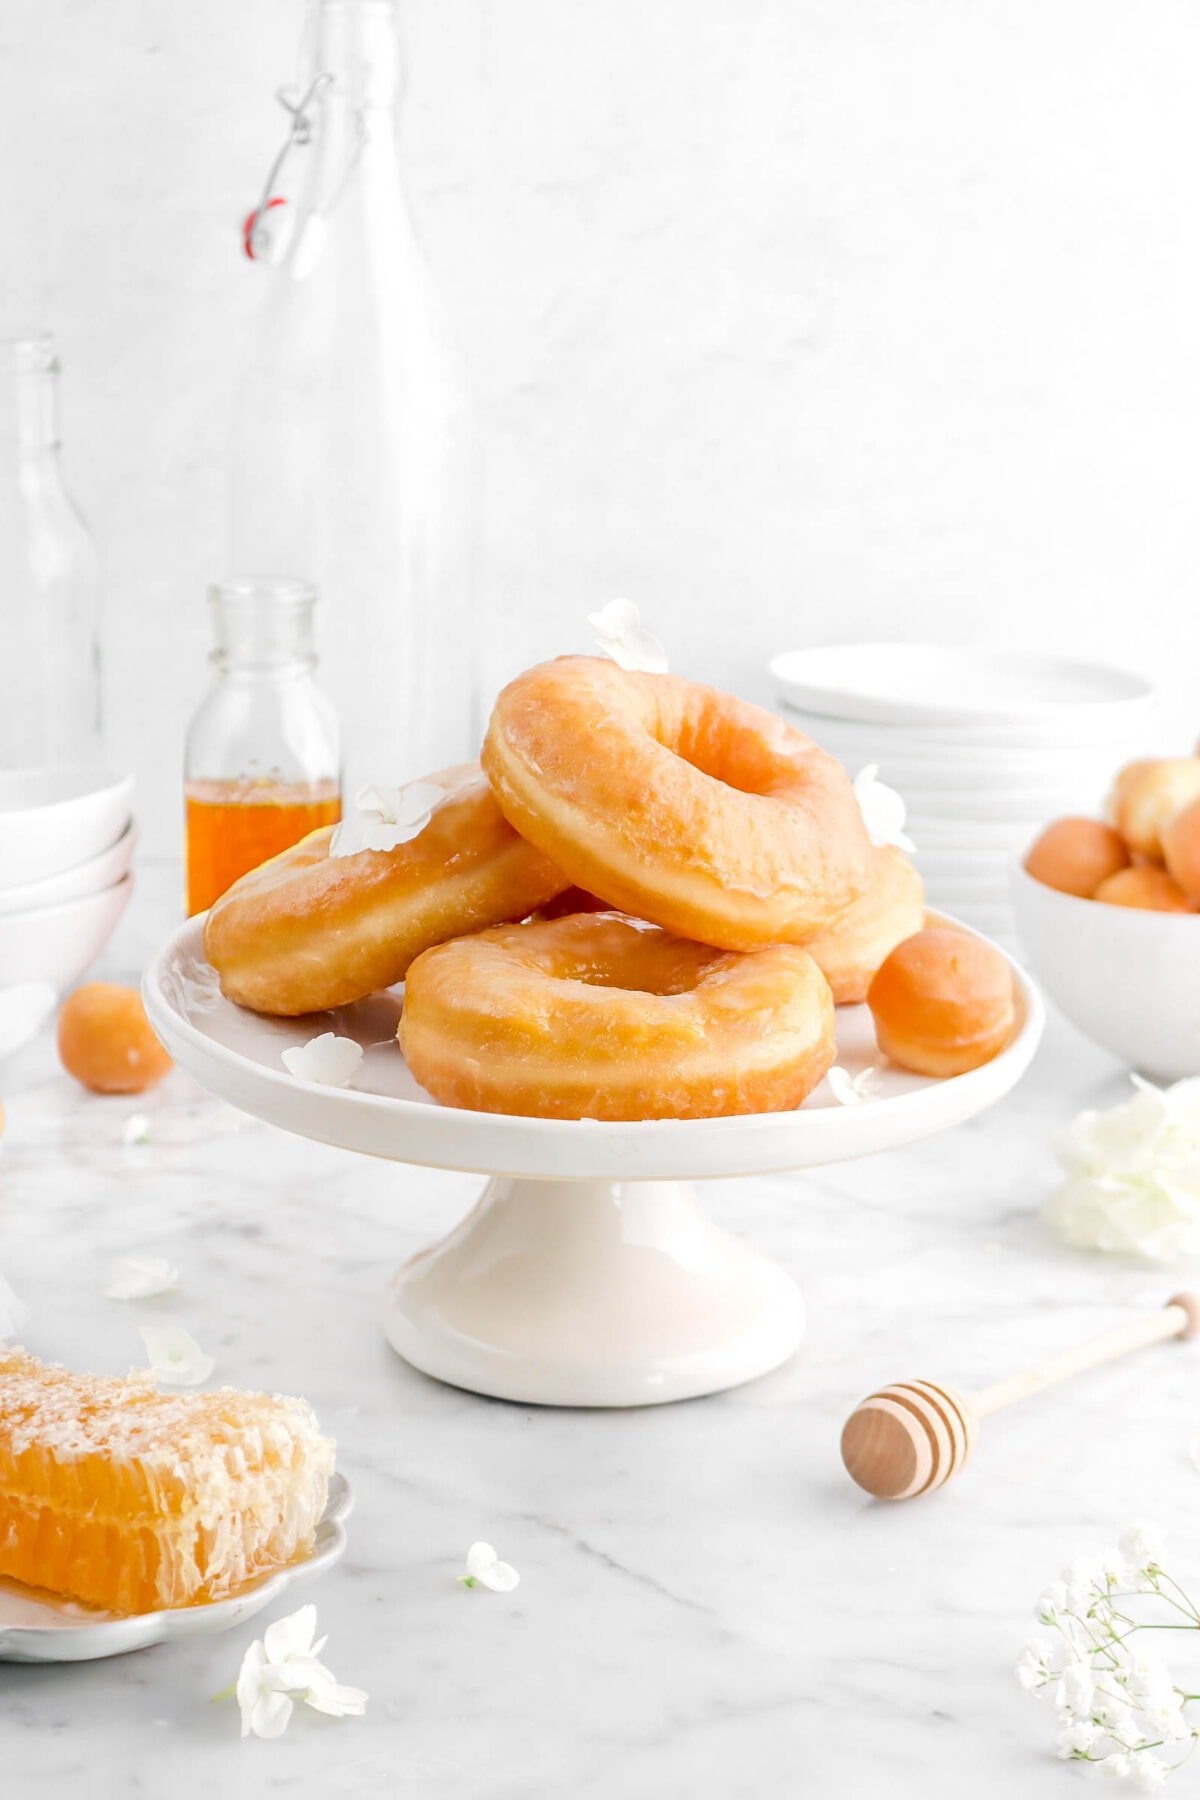
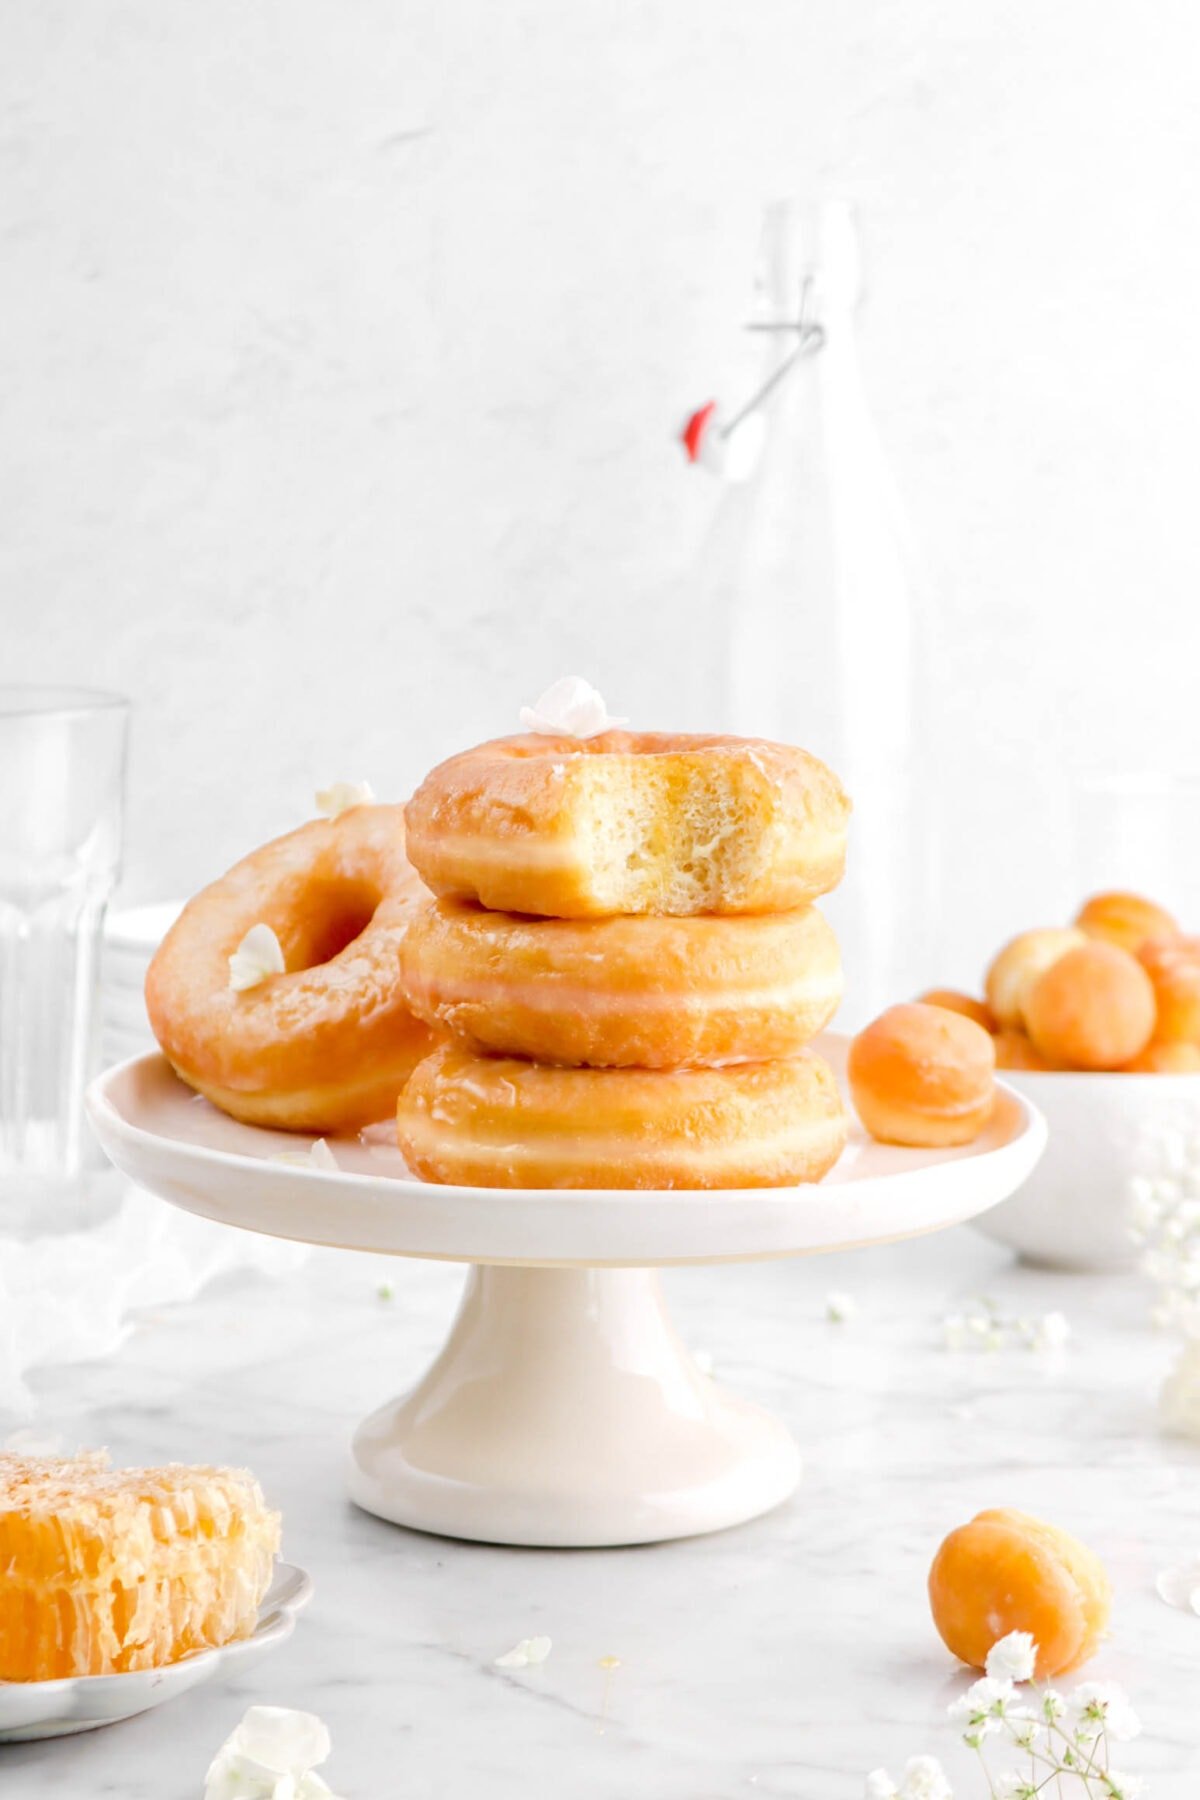
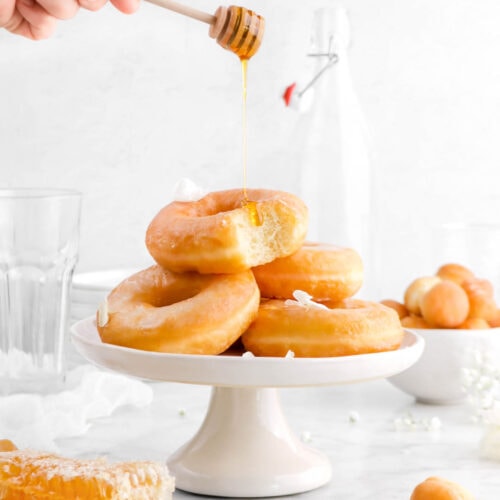
These Honey Glazed Doughnuts are the best way to enjoy doughnuts AND honey. Honestly, it’s so good that may never go back to the regular store-bought doughnuts! A super simple yeasted sweet dough made with a mix of flour, eggs, milk, yeast, salt, and lightly sweetened with honey. Cut and fried to golden perfection. Though, the goodness doesn’t stop here! Each doughnut is dipped in an easy 3 ingredient honey glaze that really sets these doughnuts apart from the rest. Perfect for spring and summertime breakfasts, the holiday’s, or lazy weekends. Every bite is perfectly sweet, without being TOO sweet, taste strongly of honey, and are oh so fluffy. Trust me, if you’re a fan of honey, you NEED to make these doughnuts! SO. GOOD.
About The Recipe
There is no way to have the Monday blues when these doughnuts are around! It’s kind of like edible sunshine and happiness bundled into one bit of sweet fried dough. Inspired by the changing of the seasons and our love of doughnuts, these sweet treats were the best way to welcome in this beautiful Spring weather!
If you’ve been following us on Instagram, then you know that my mom and I are in the middle of planning/packing for a trip to Walt Disney World! We leave this week and, honestly, we couldn’t be more excited. Though, you don’t have to worry! We have posts ready to go for the entire time we’re gone. So, it will be like we never left.
But, if you’re wondering why I’m talking about this, it’s because there is a booth dedicated to all things honey at the Flower and Garden Festival found at Epcot! When we were looking through food menus, as one does, we were suddenly struck with a bit of inspiration.
Our top recipe the last week or so has been our Vanilla Gazed Doughnuts. Which, it totally understandable because they are SO good, but we’ve been trying to come up with another doughnut recipe to give you all.

So, with that little tidbit of information in mind, then reading through the honey menu at the Flower and Garden Festival…it just seemed to click immediately!
And, let me tell you, I am so glad it did. I am a firm honey lover, so these doughnuts are basically my HEAVEN! Every bite is that perfectly soft and fluffy doughnut you know and love, while being sweet without TOO much sugar, and full of just the right amount of honey flavor.
You really couldn’t ask for a better way to give a little spring in your step this spring!
Why You Will Love These Honey Doughnuts
- Super simple to make.
- Ready in less than 2 hours.
- Full of honey flavor.
- Aren’t too sweet.
- Perfect for kids and adults alike.

Equipment Needed
- Stand Mixer
- Glass Mixing Bowls
- Bread Proofer (optional)
- Rolling Pin
- Doughnut Cutter
- Large Stock Pot
- Thermometer
- Slotted Spoon
Ingredients
(Full ingredient amounts and instructions can be found in the recipe card at the bottom of the post)
For The Doughnuts:
- All-Purpose Flour
- Instant Yeast
- Baking Powder
- Kosher Salt
- Whole Milk
- Eggs
- Honey
- Vanilla Extract
- Unsalted Butter

For The Glaze:
- Powdered Sugar
- Honey
- Whole Milk

How To Make Honey Doughnuts
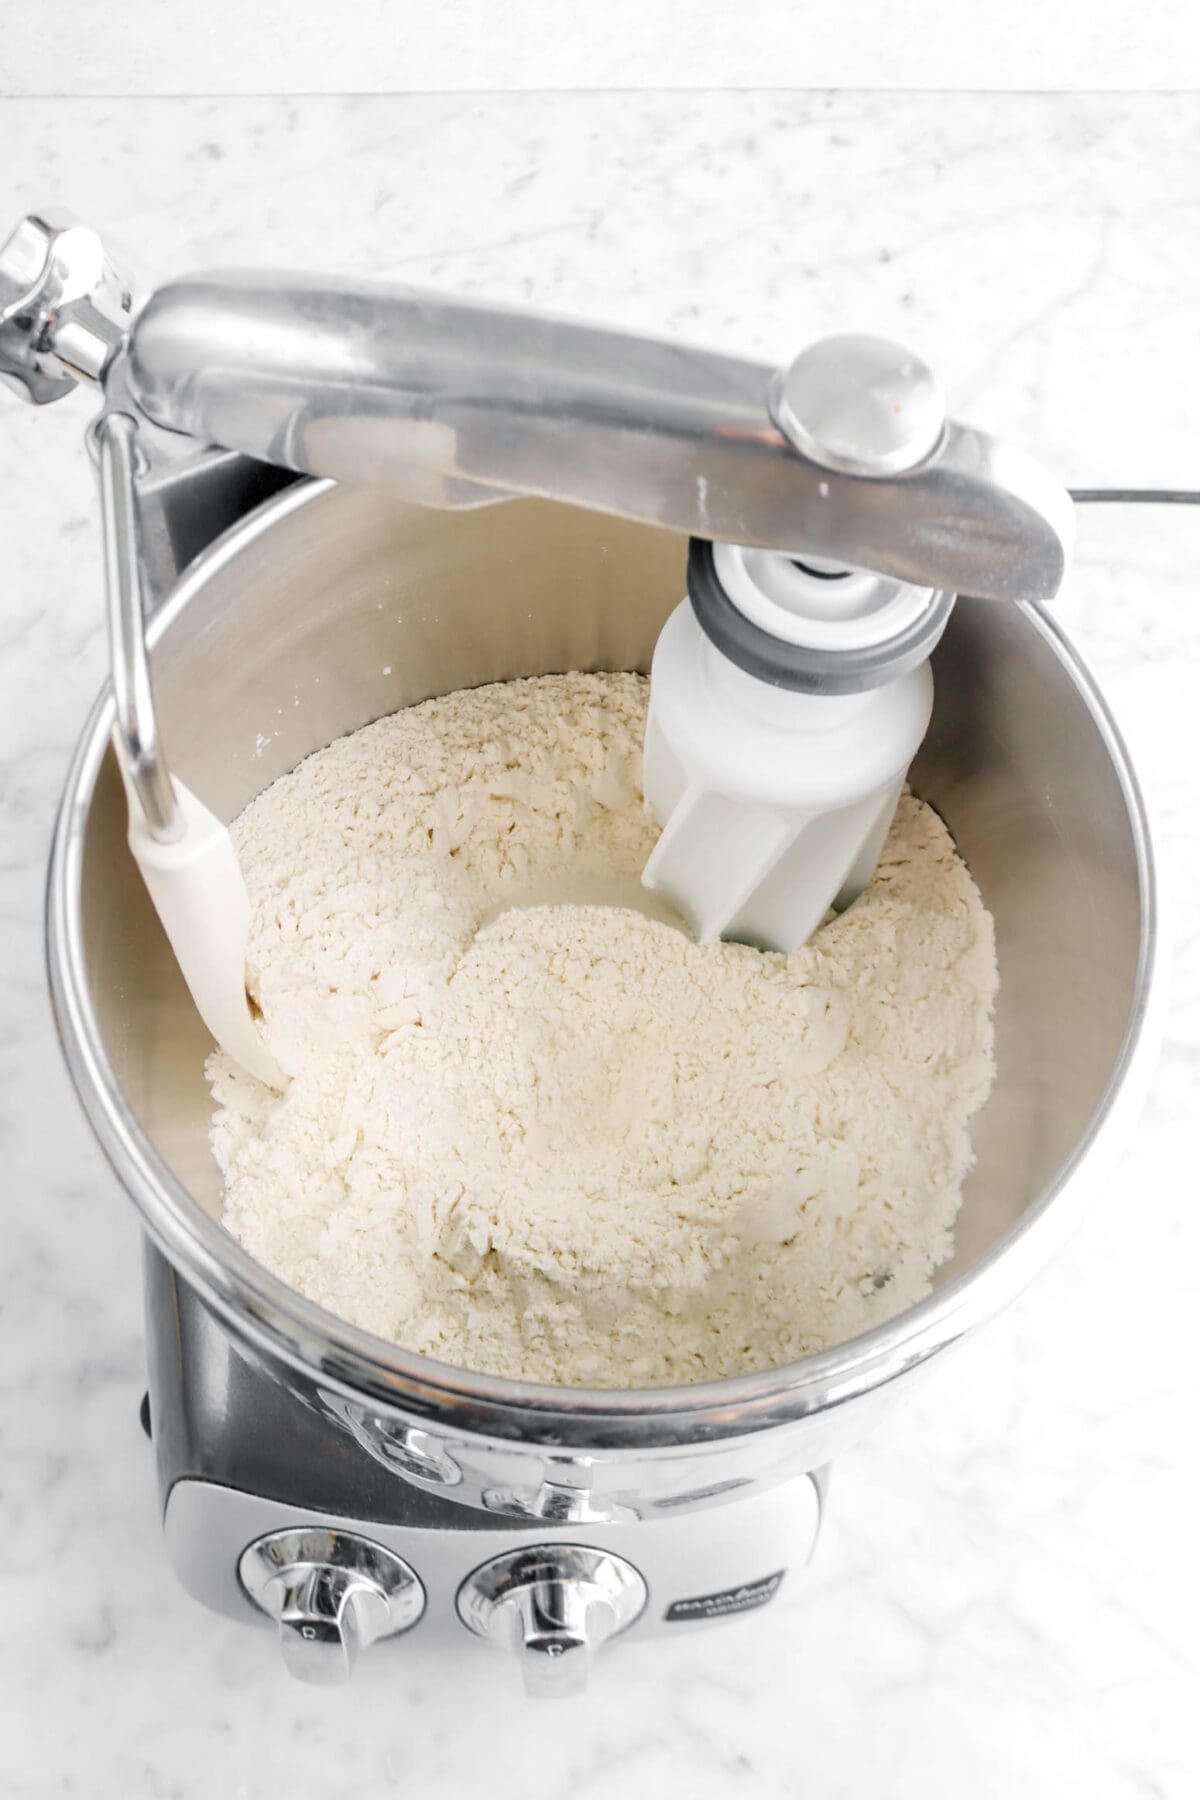
Step 1: Make the dough and proof
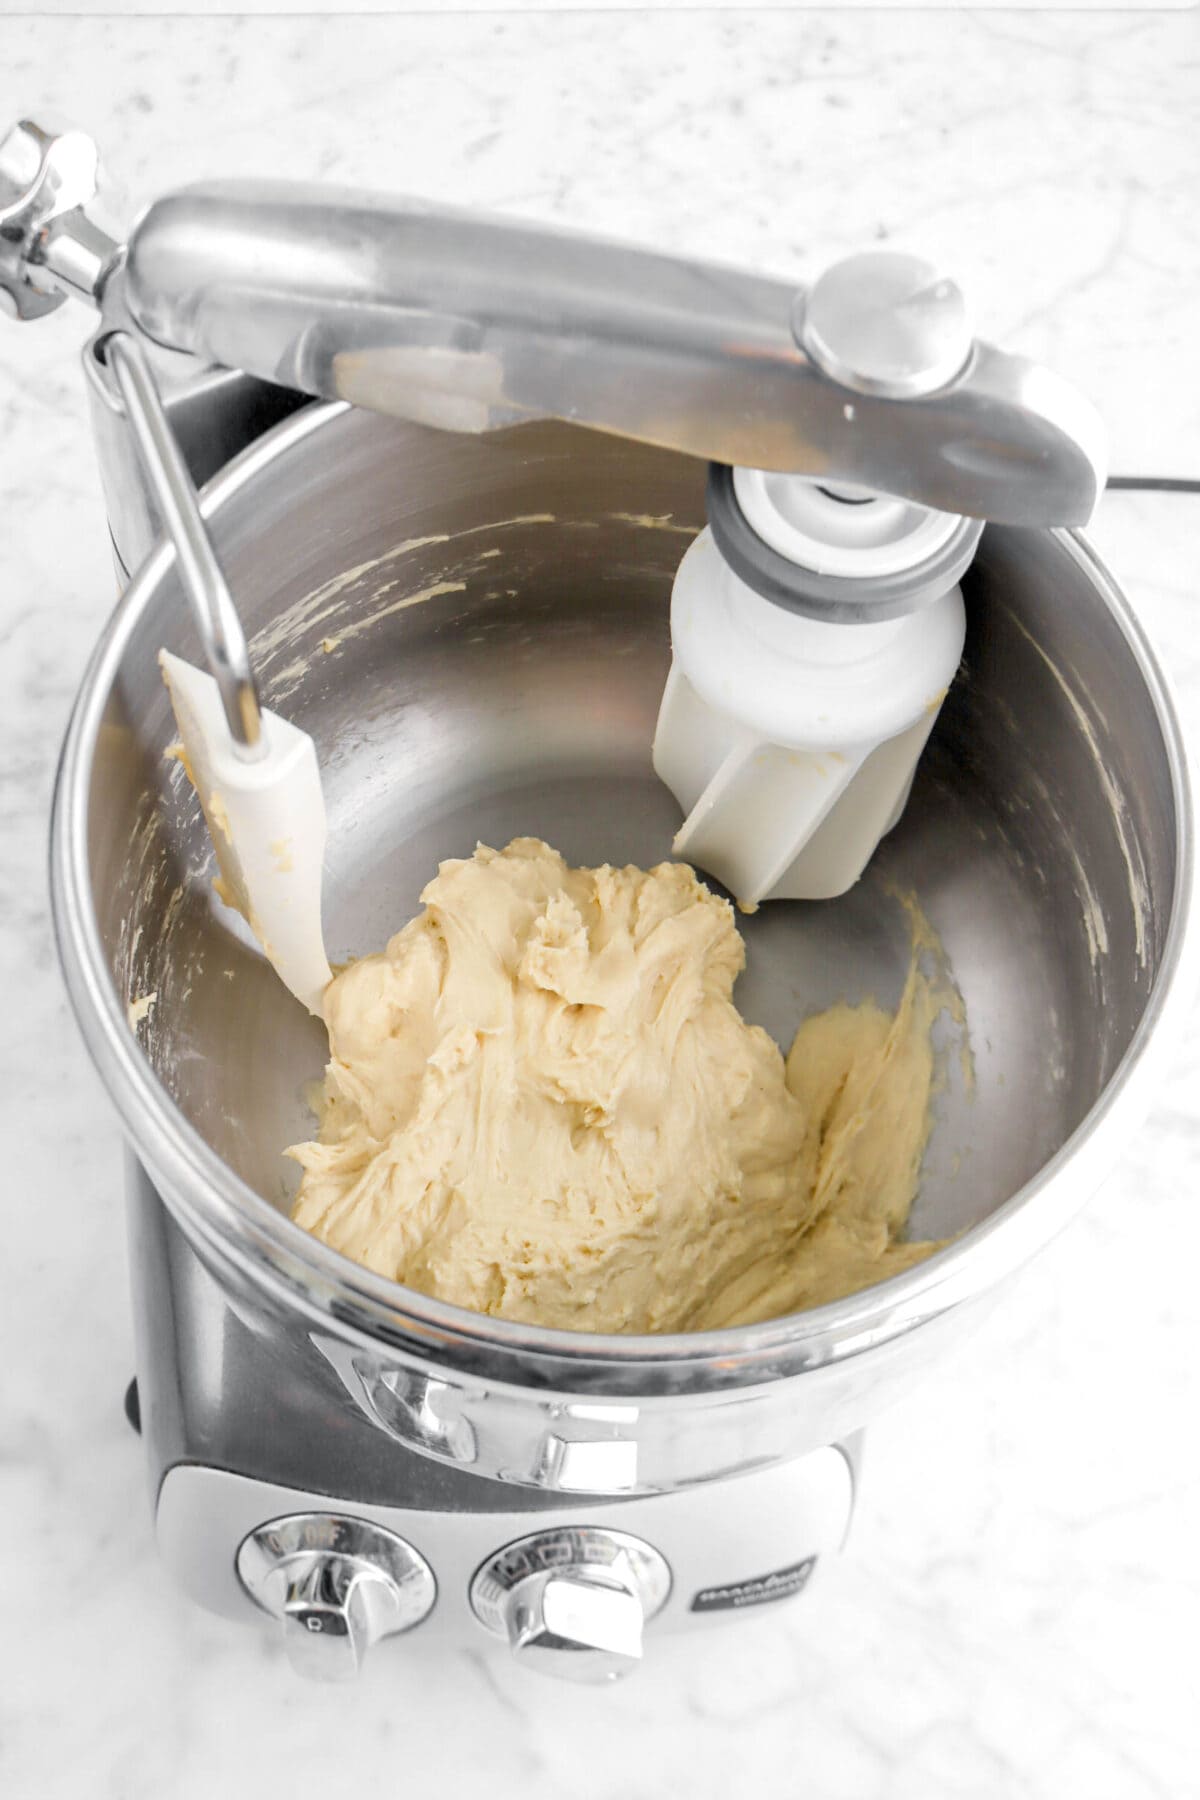
In the bowl of a stand mixer, combine flour, yeast, baking powder, and salt.

Add the butter, milk, egg, egg yolk, honey, and vanilla. Mix on low speed for 3 minutes. Increase speed to medium for 8 minutes.

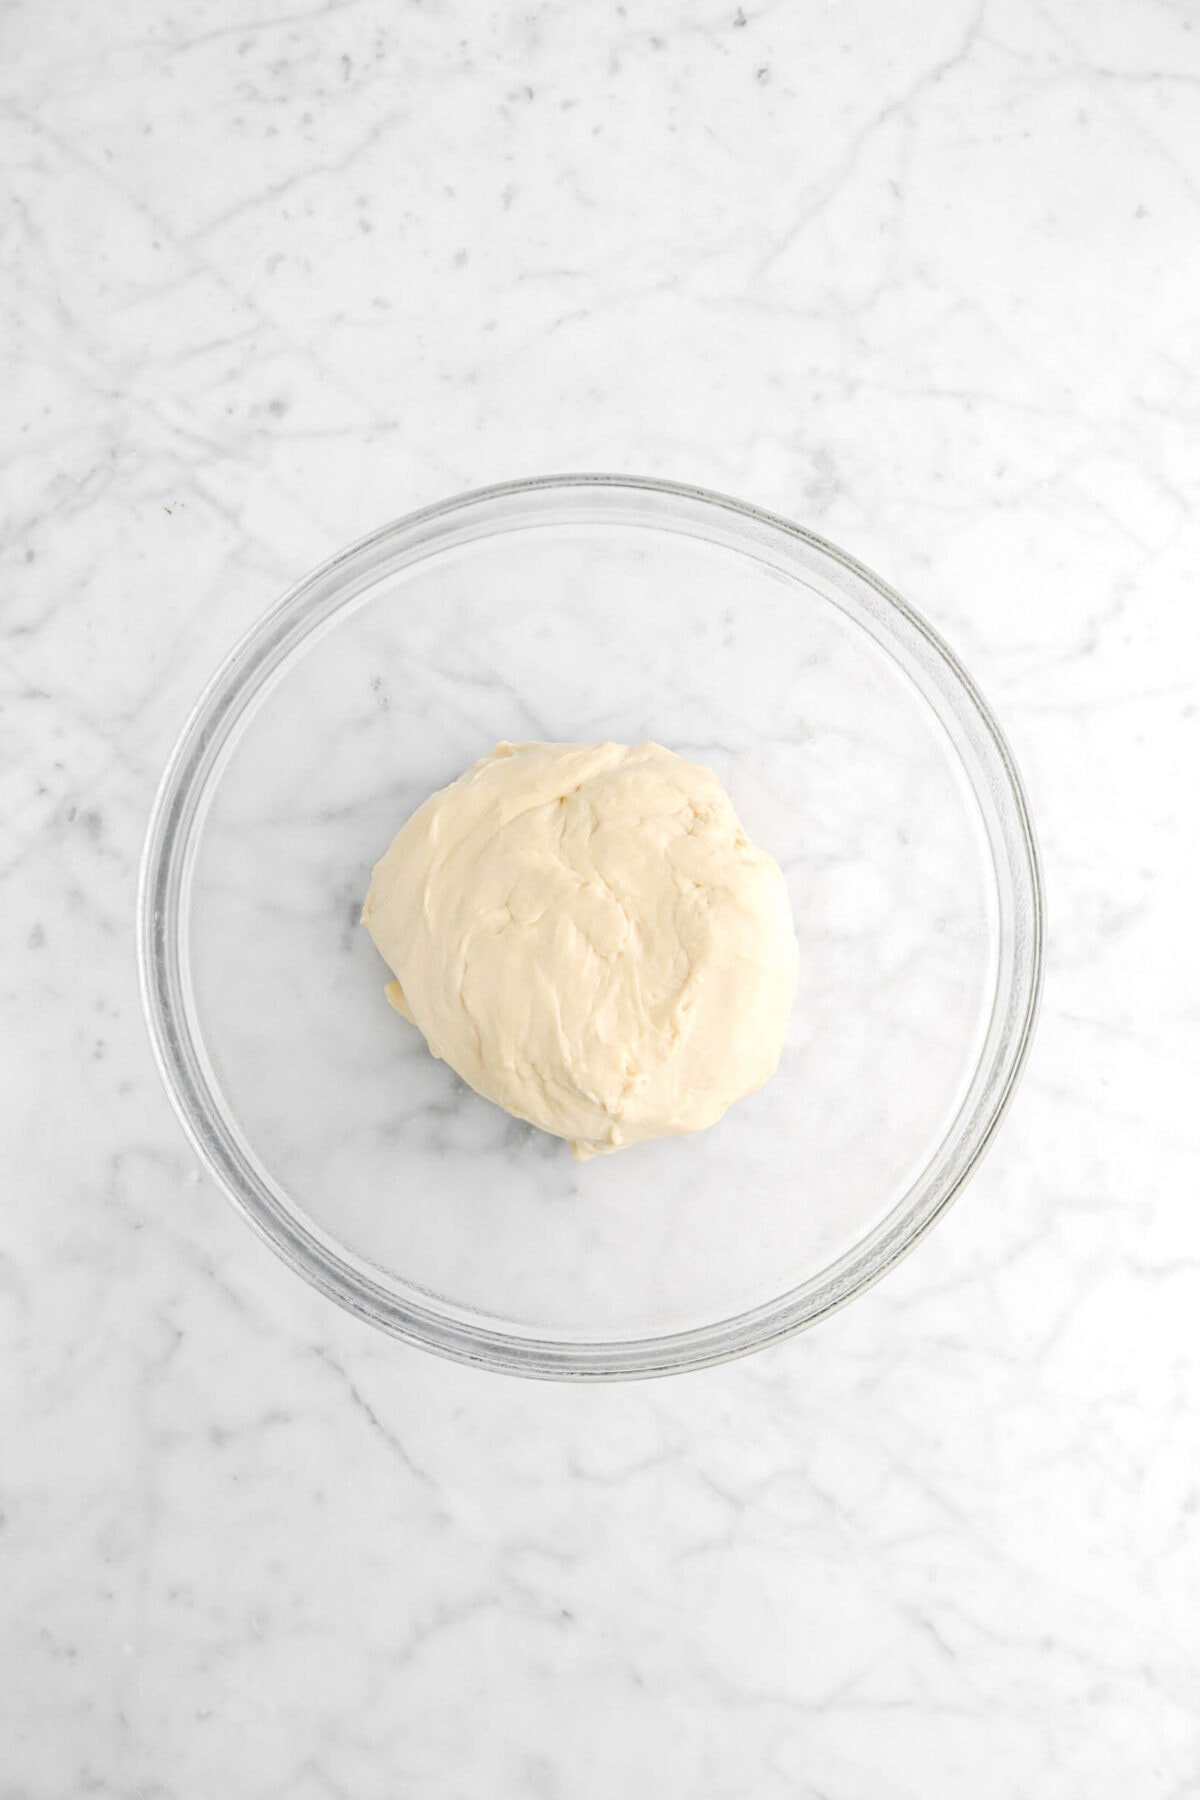
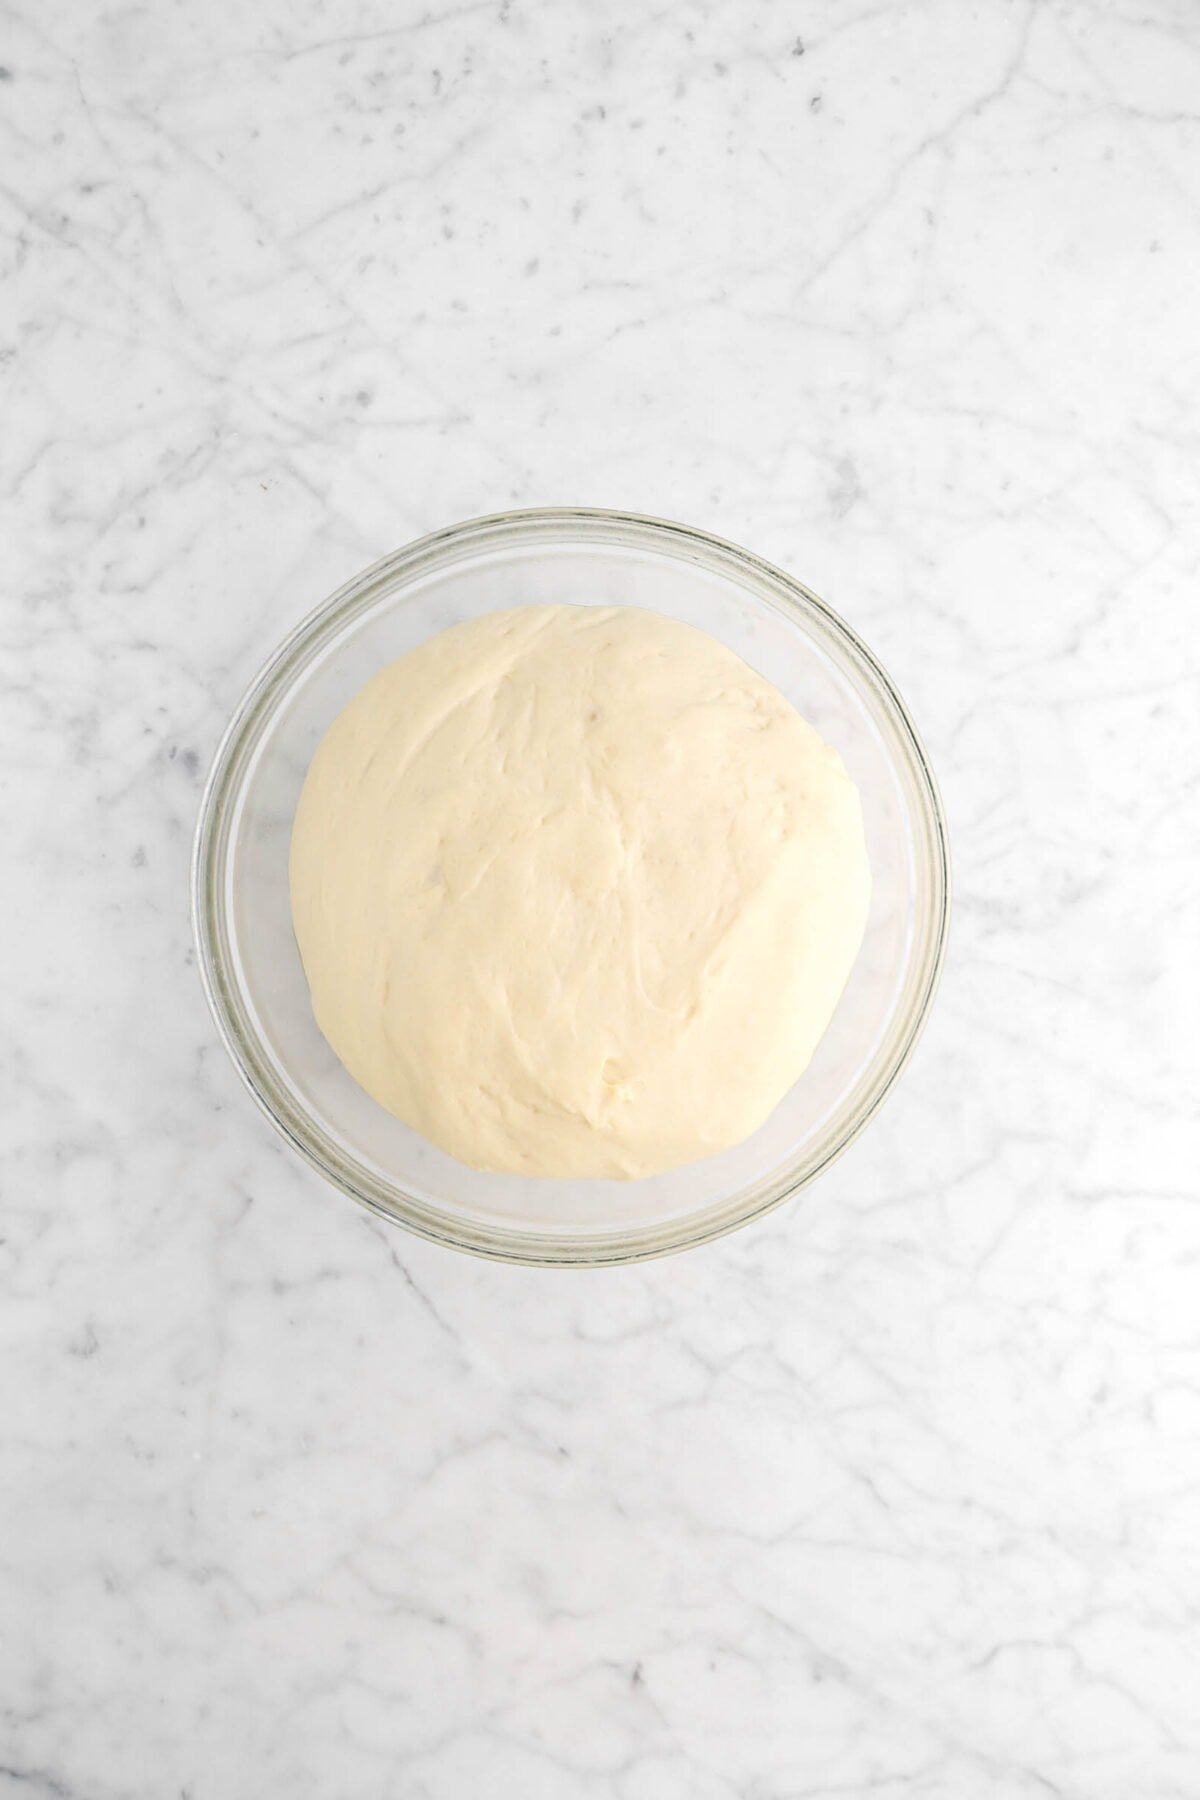
Place in glass bowl and cover with plastic wrap. Allow to rise for 1 hour, or until doubled in bulk.
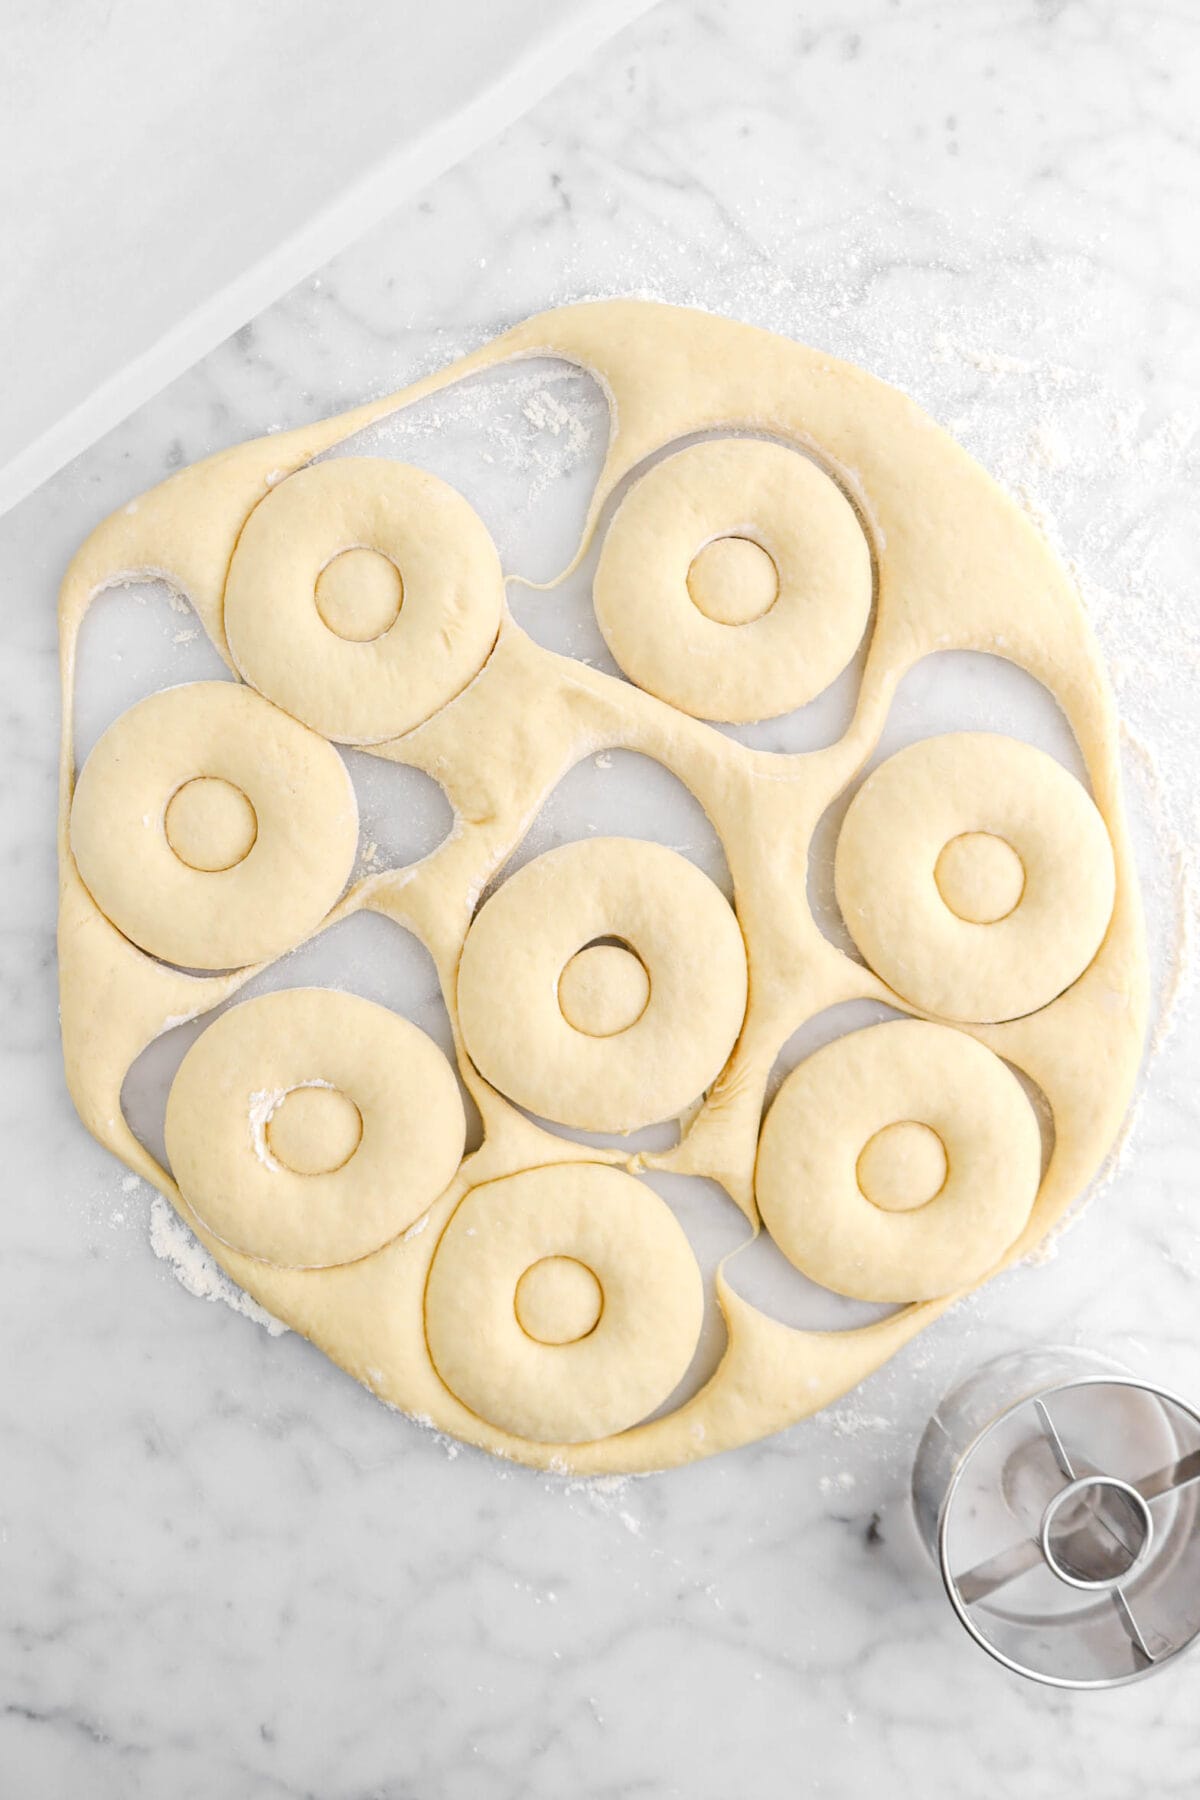
Step 2: Roll and cut
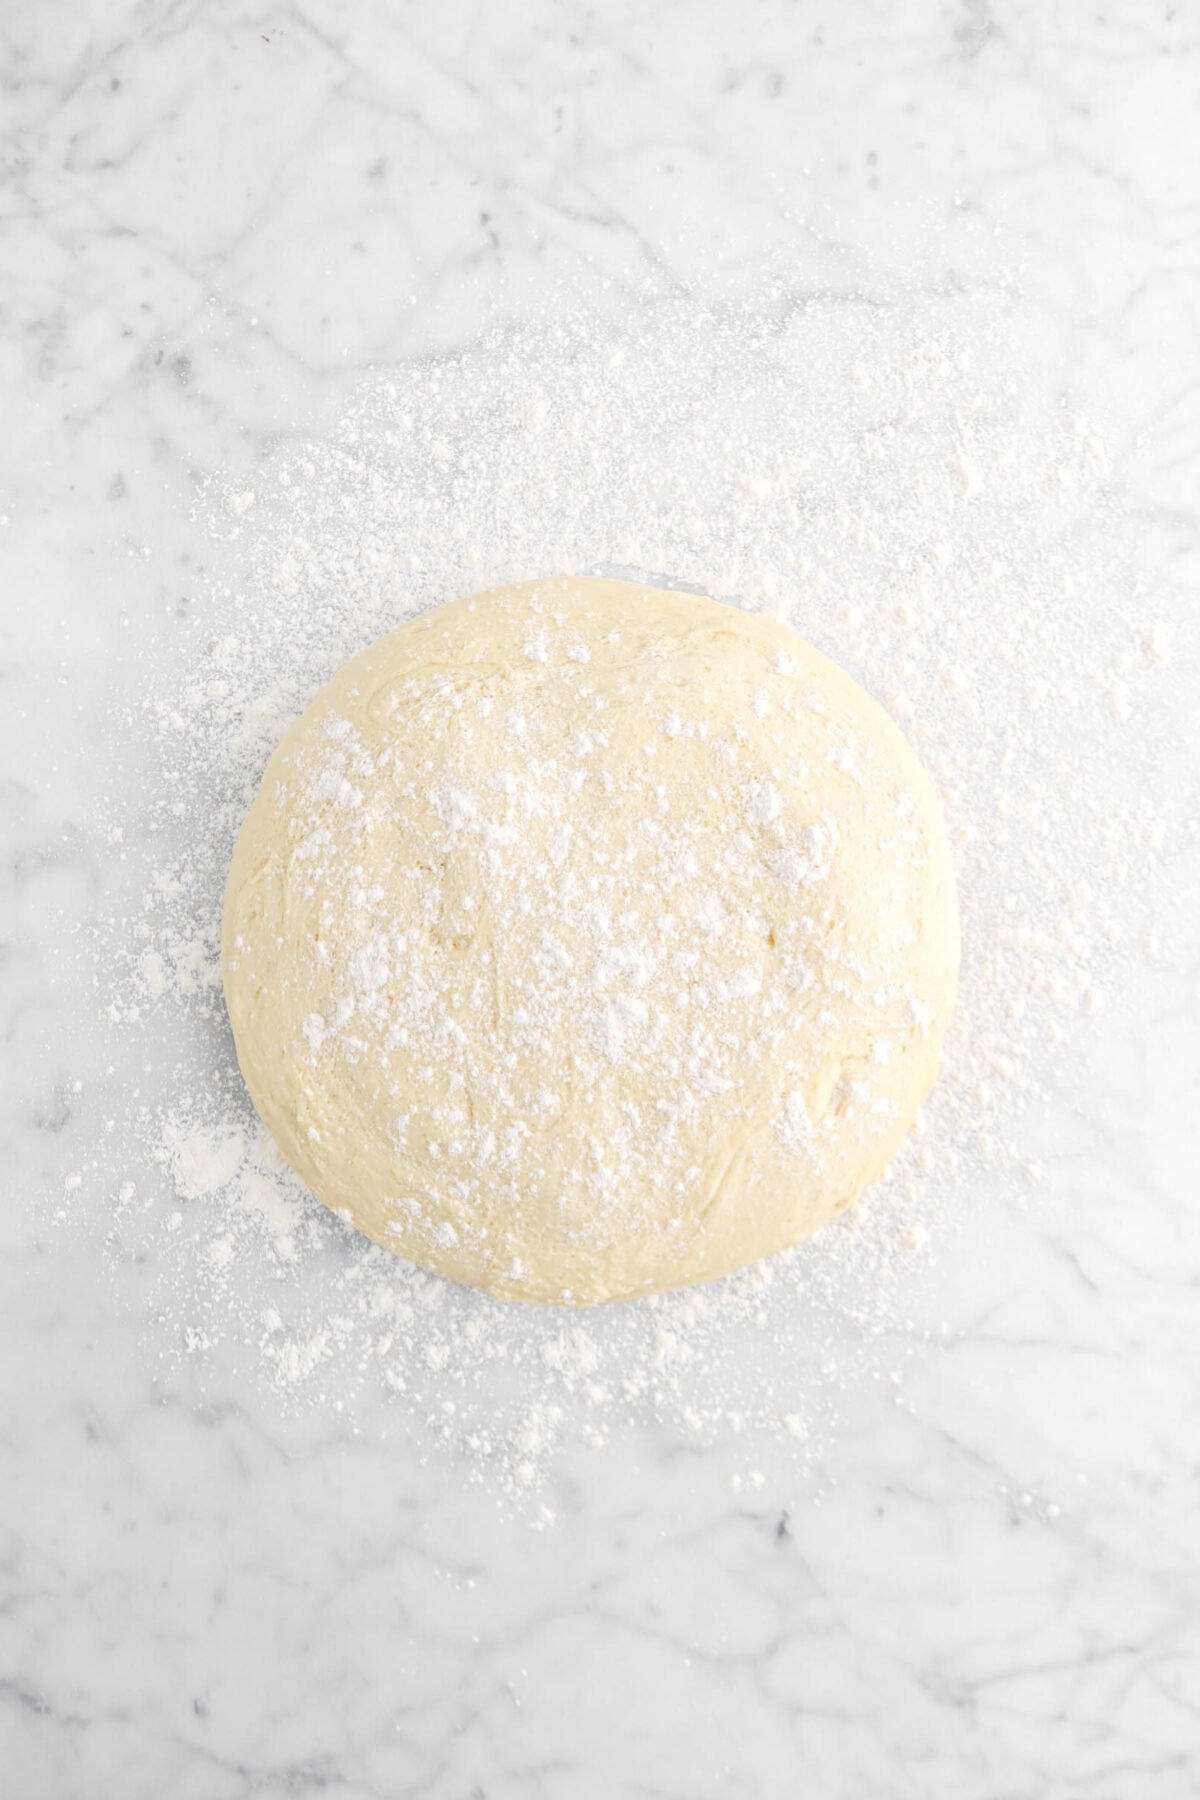
Turn the dough out onto floured surface and sprinkle top of dough with flour. Roll to ½ inch thick. Cover dough and let rest for 10 minutes.

Cut out the doughnuts. Place each doughnut about 3-4 inches apart on parchment lined pans that have been lightly sprayed with cooking spray. Cover and let rise 15 minutes. You can re-roll the scraps, but these won’t be as pretty as the first batch! Just remember to not add anymore flour to the dough if you choose to re-roll.

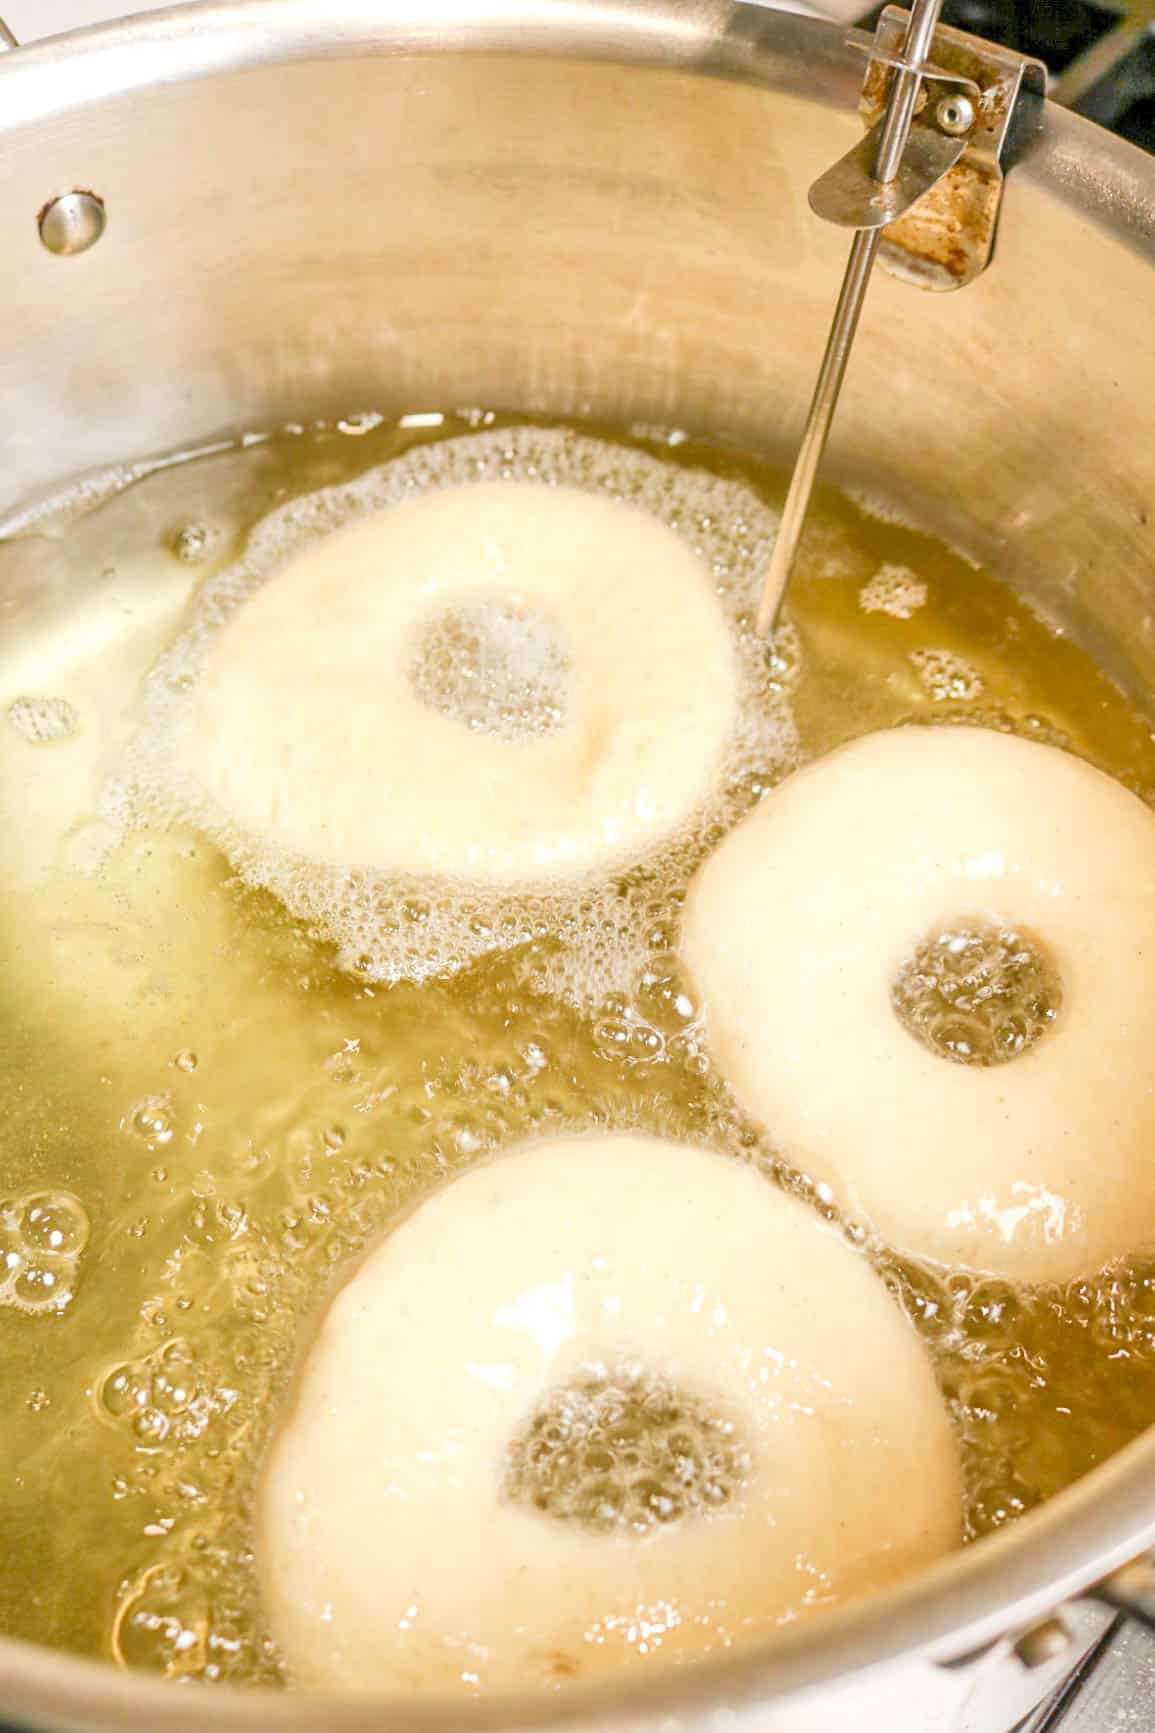
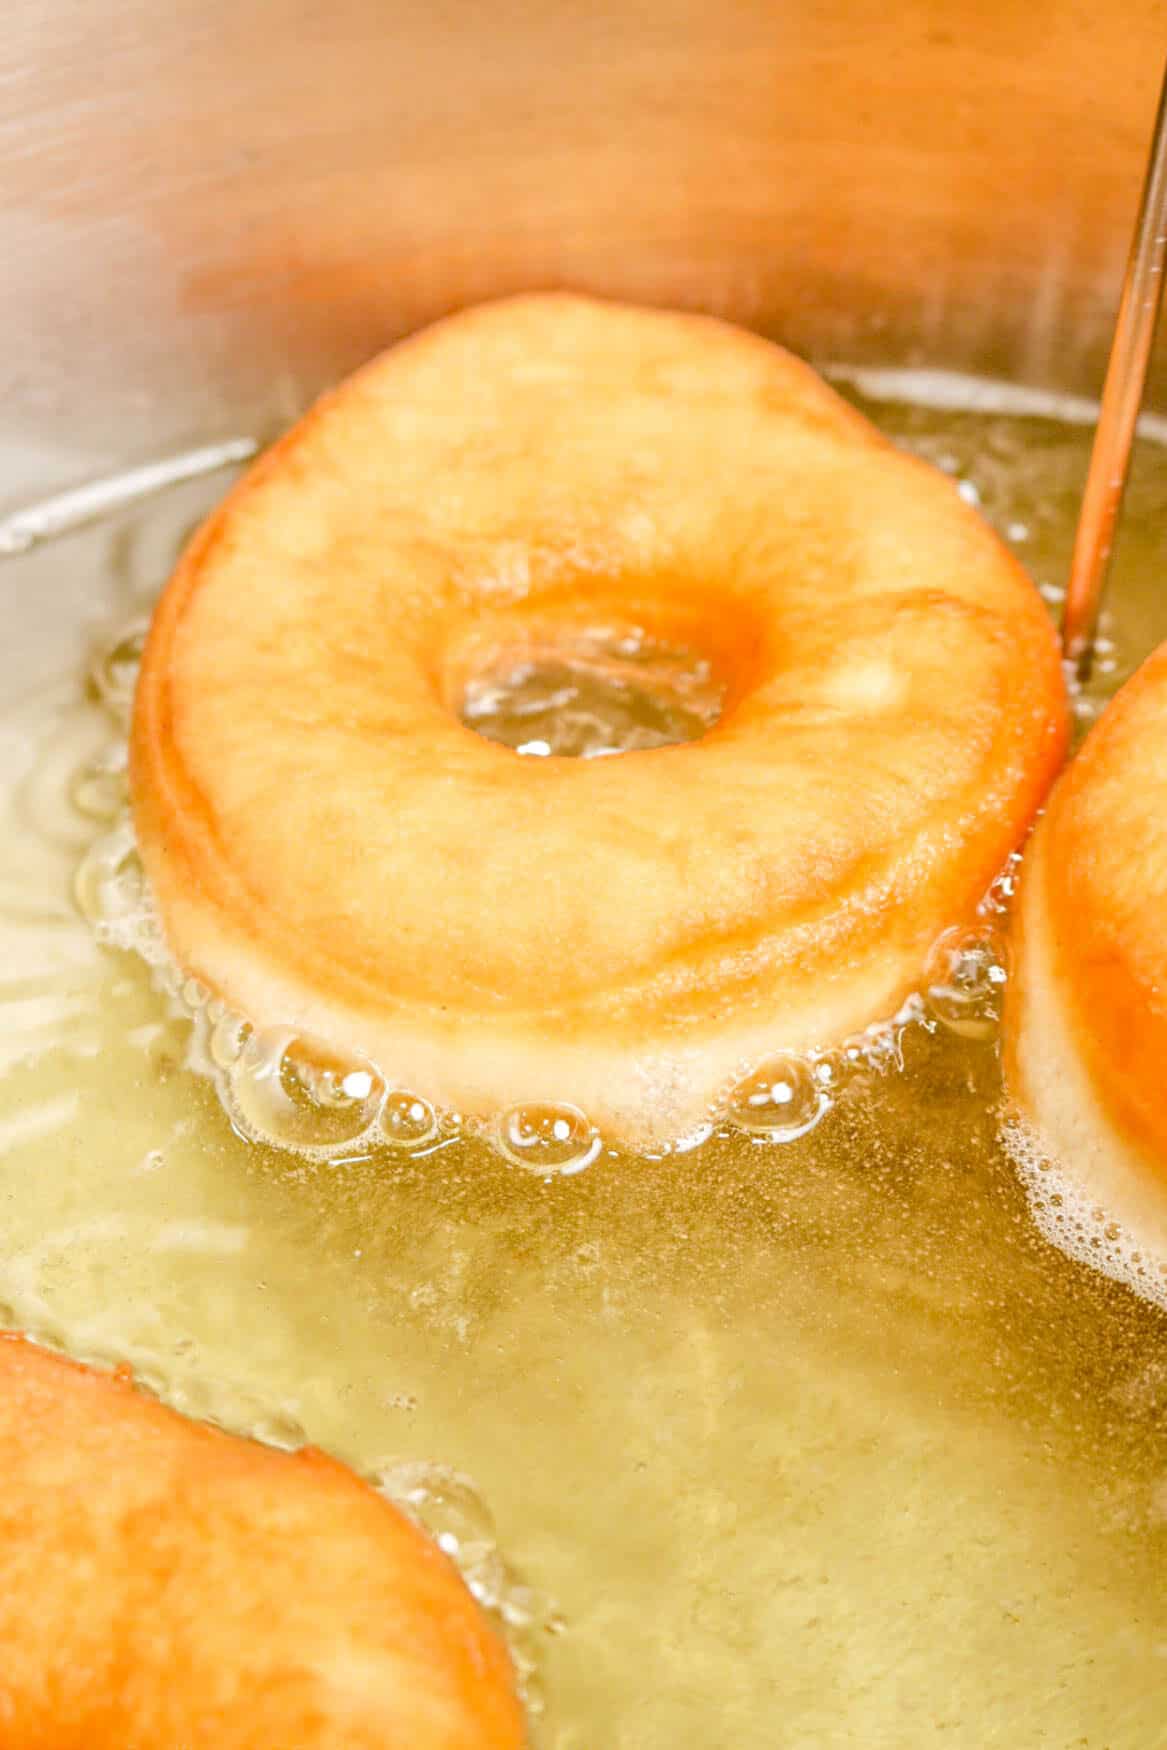
Step 3: Fry
While the dough is rising, heat 2 inches of oil in a large pot to 350 degrees. Fry doughnuts in small batches, 2 or 3 at a time, 1-2 minutes on each side until golden brown. Drain on paper towels.

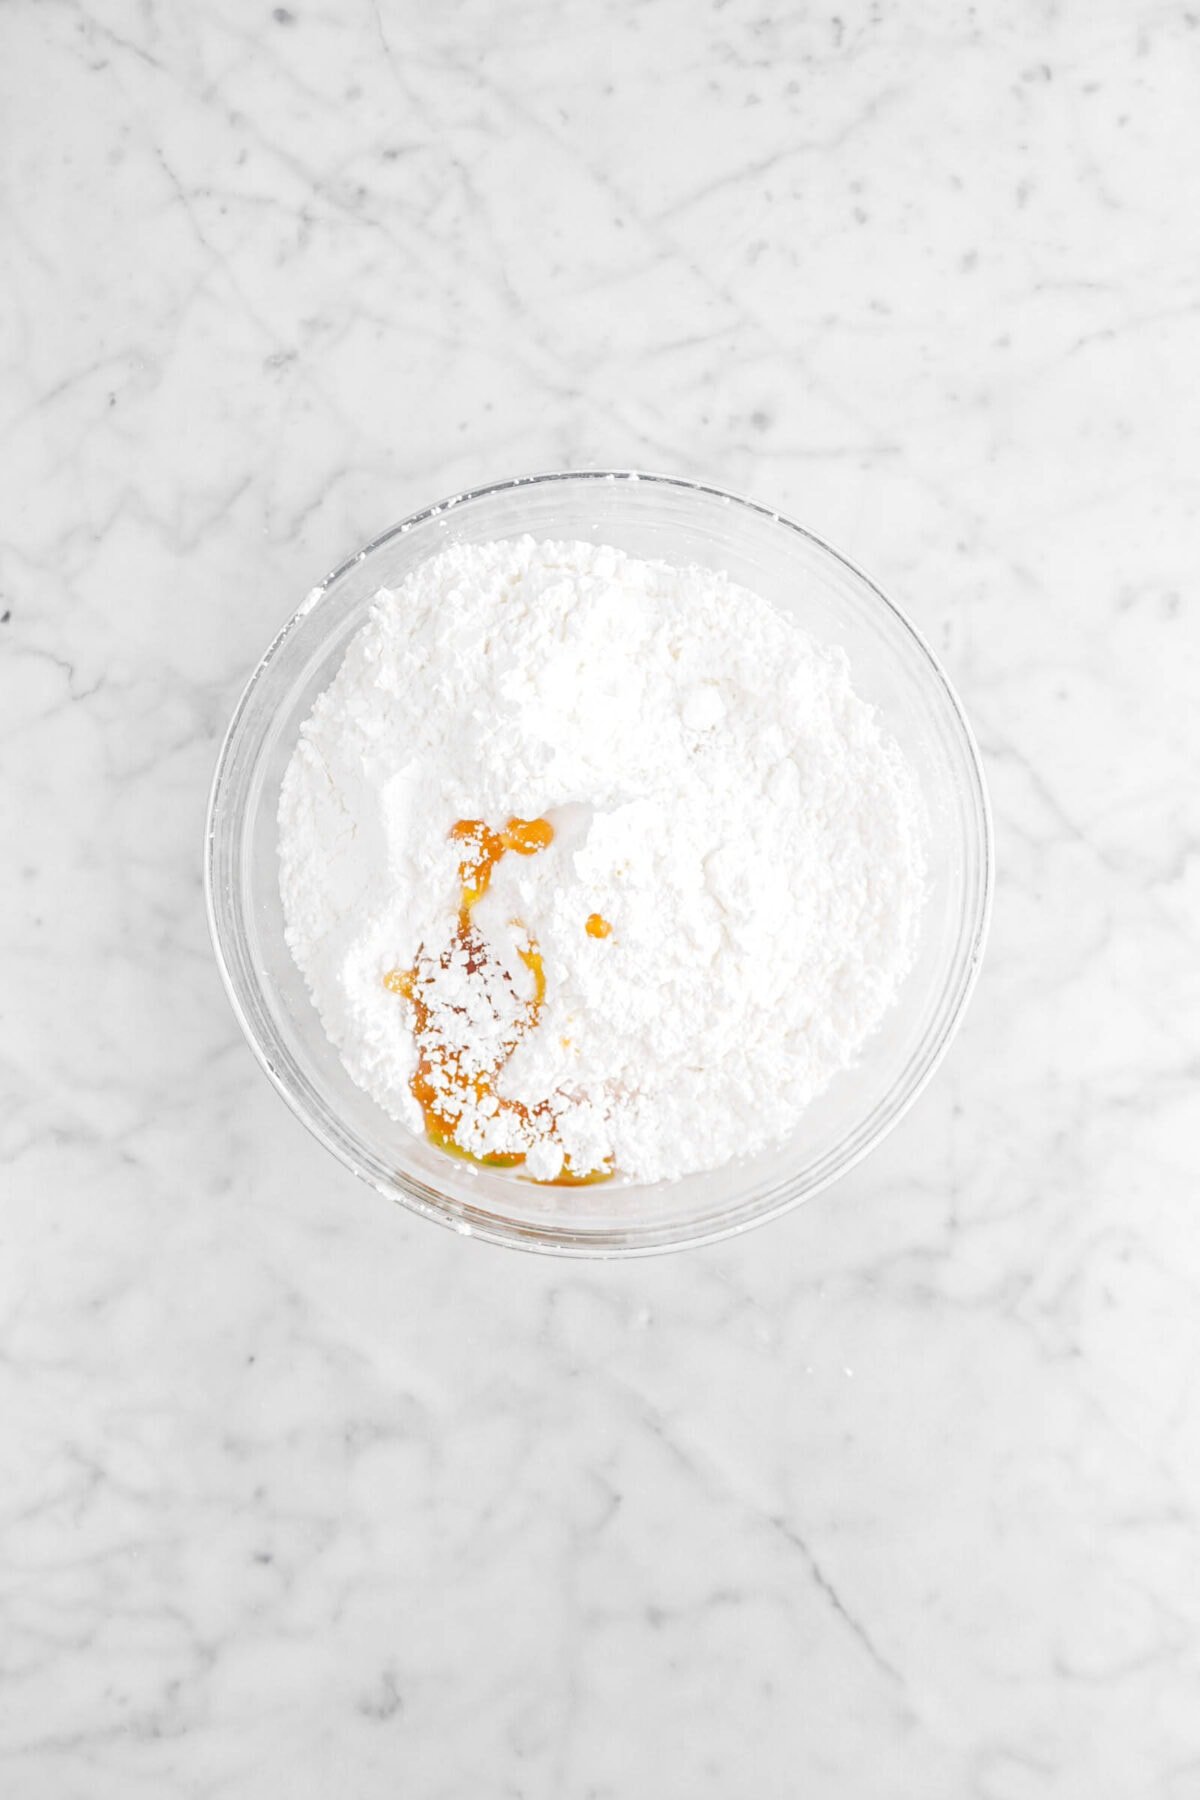
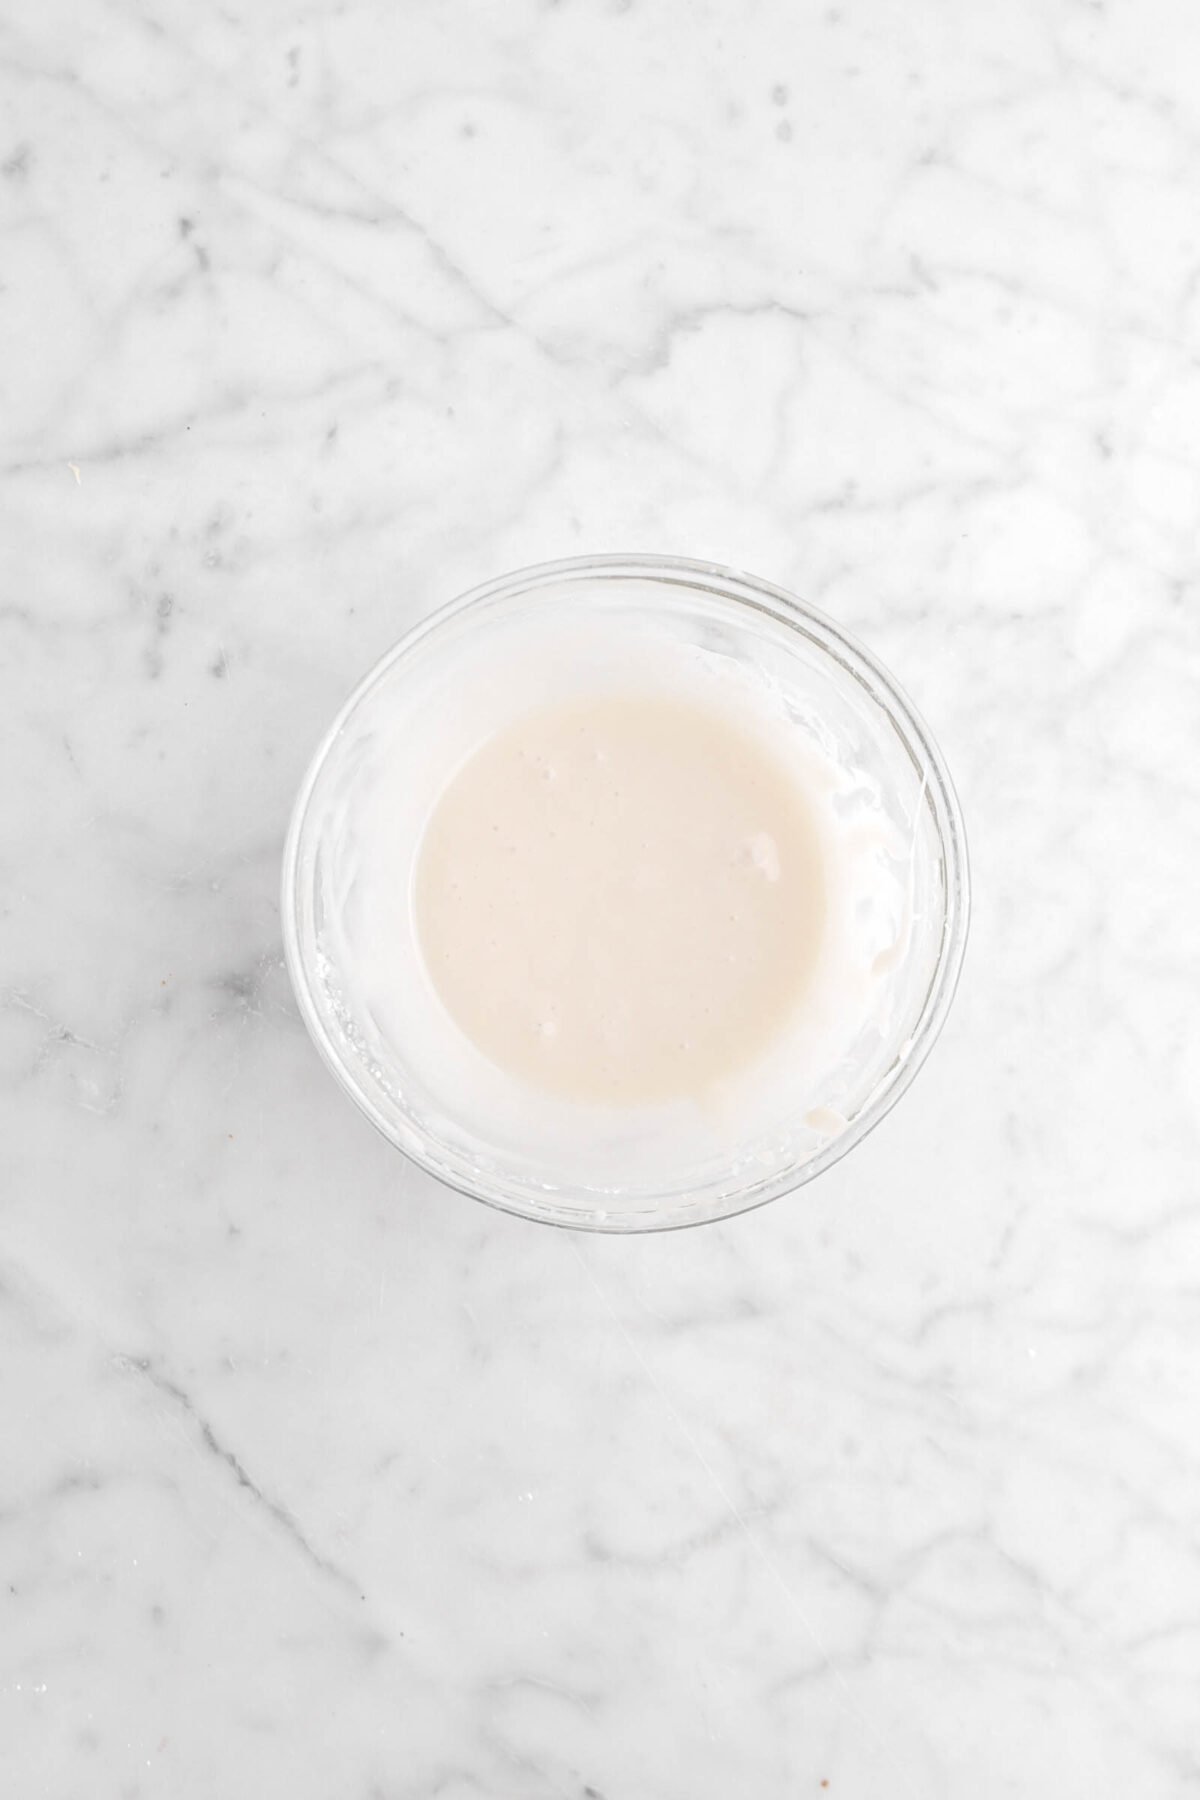
Step 4: Make the glaze and dip the doughnuts
Combine the powdered sugar, milk, and honey in a large bowl. Whisk until smooth.
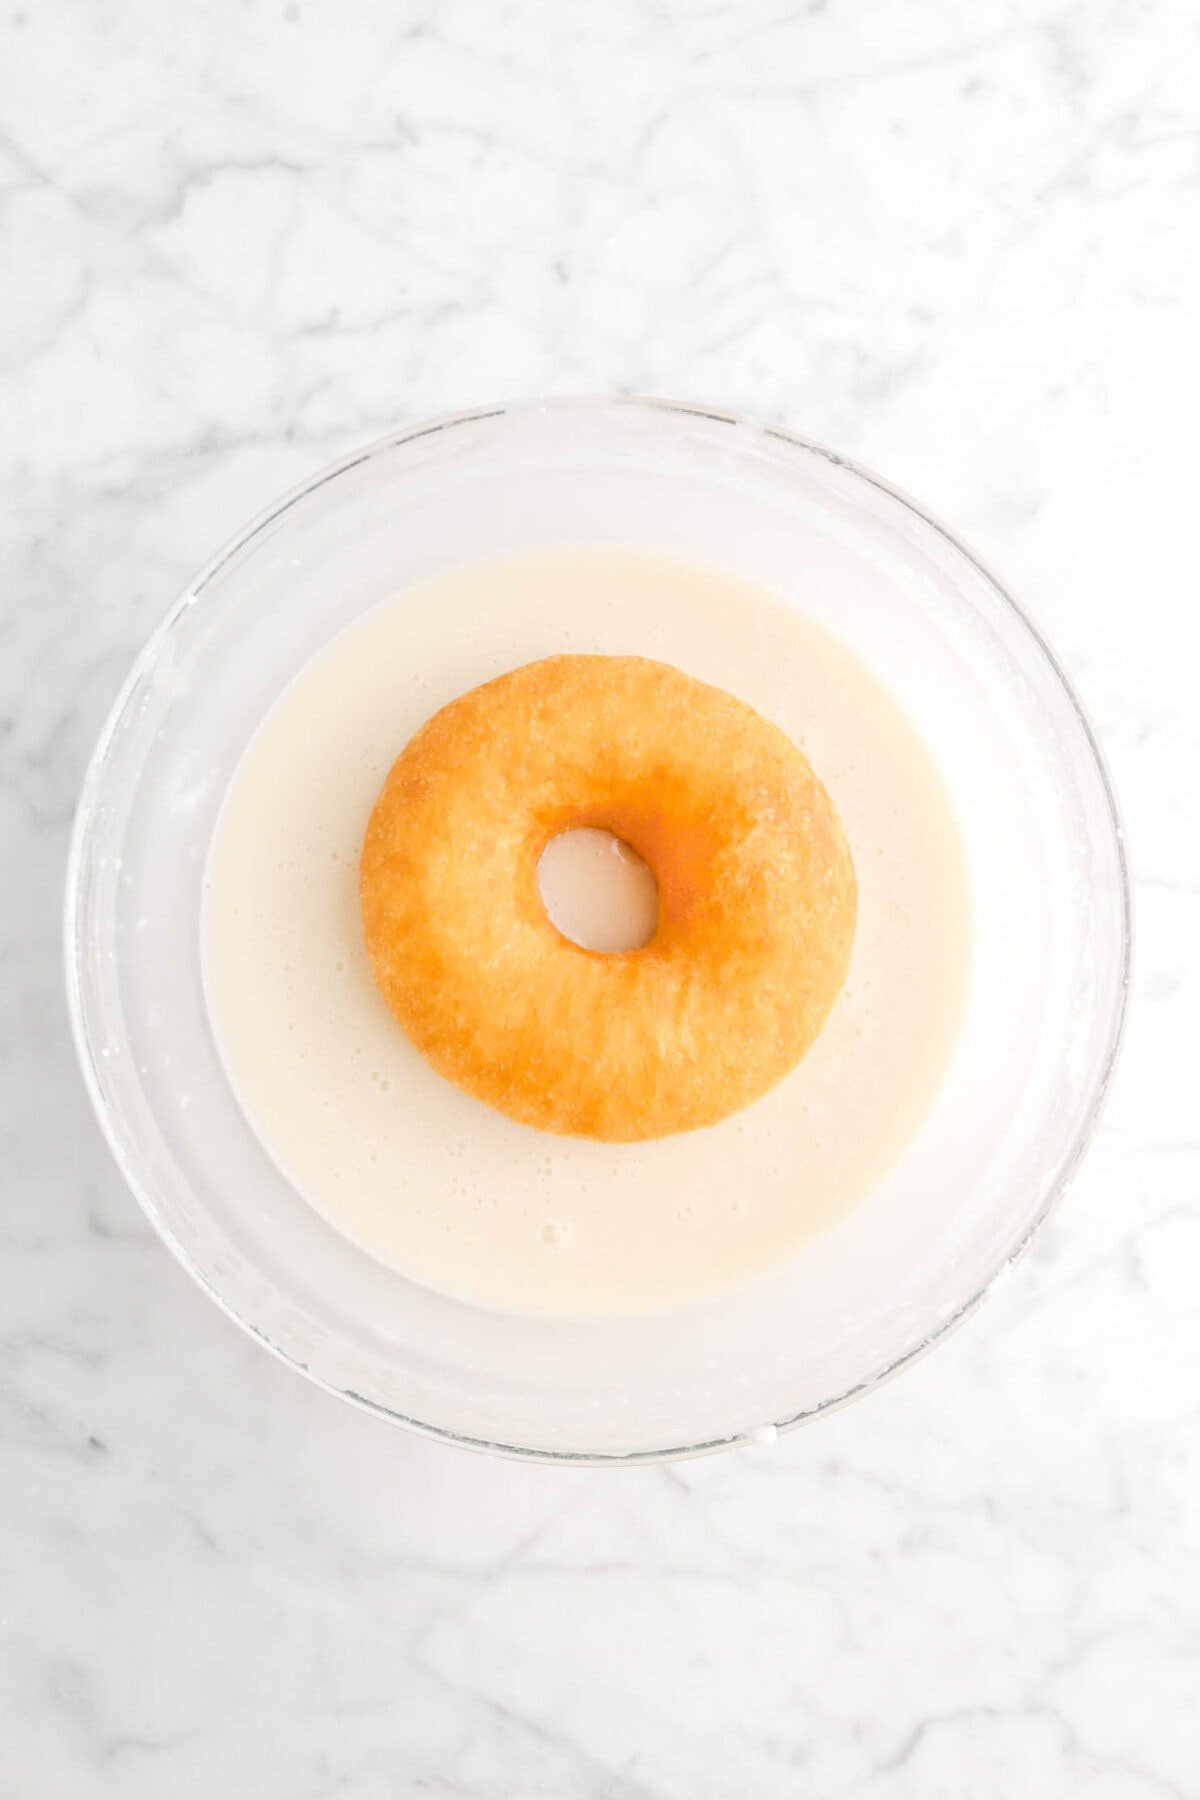
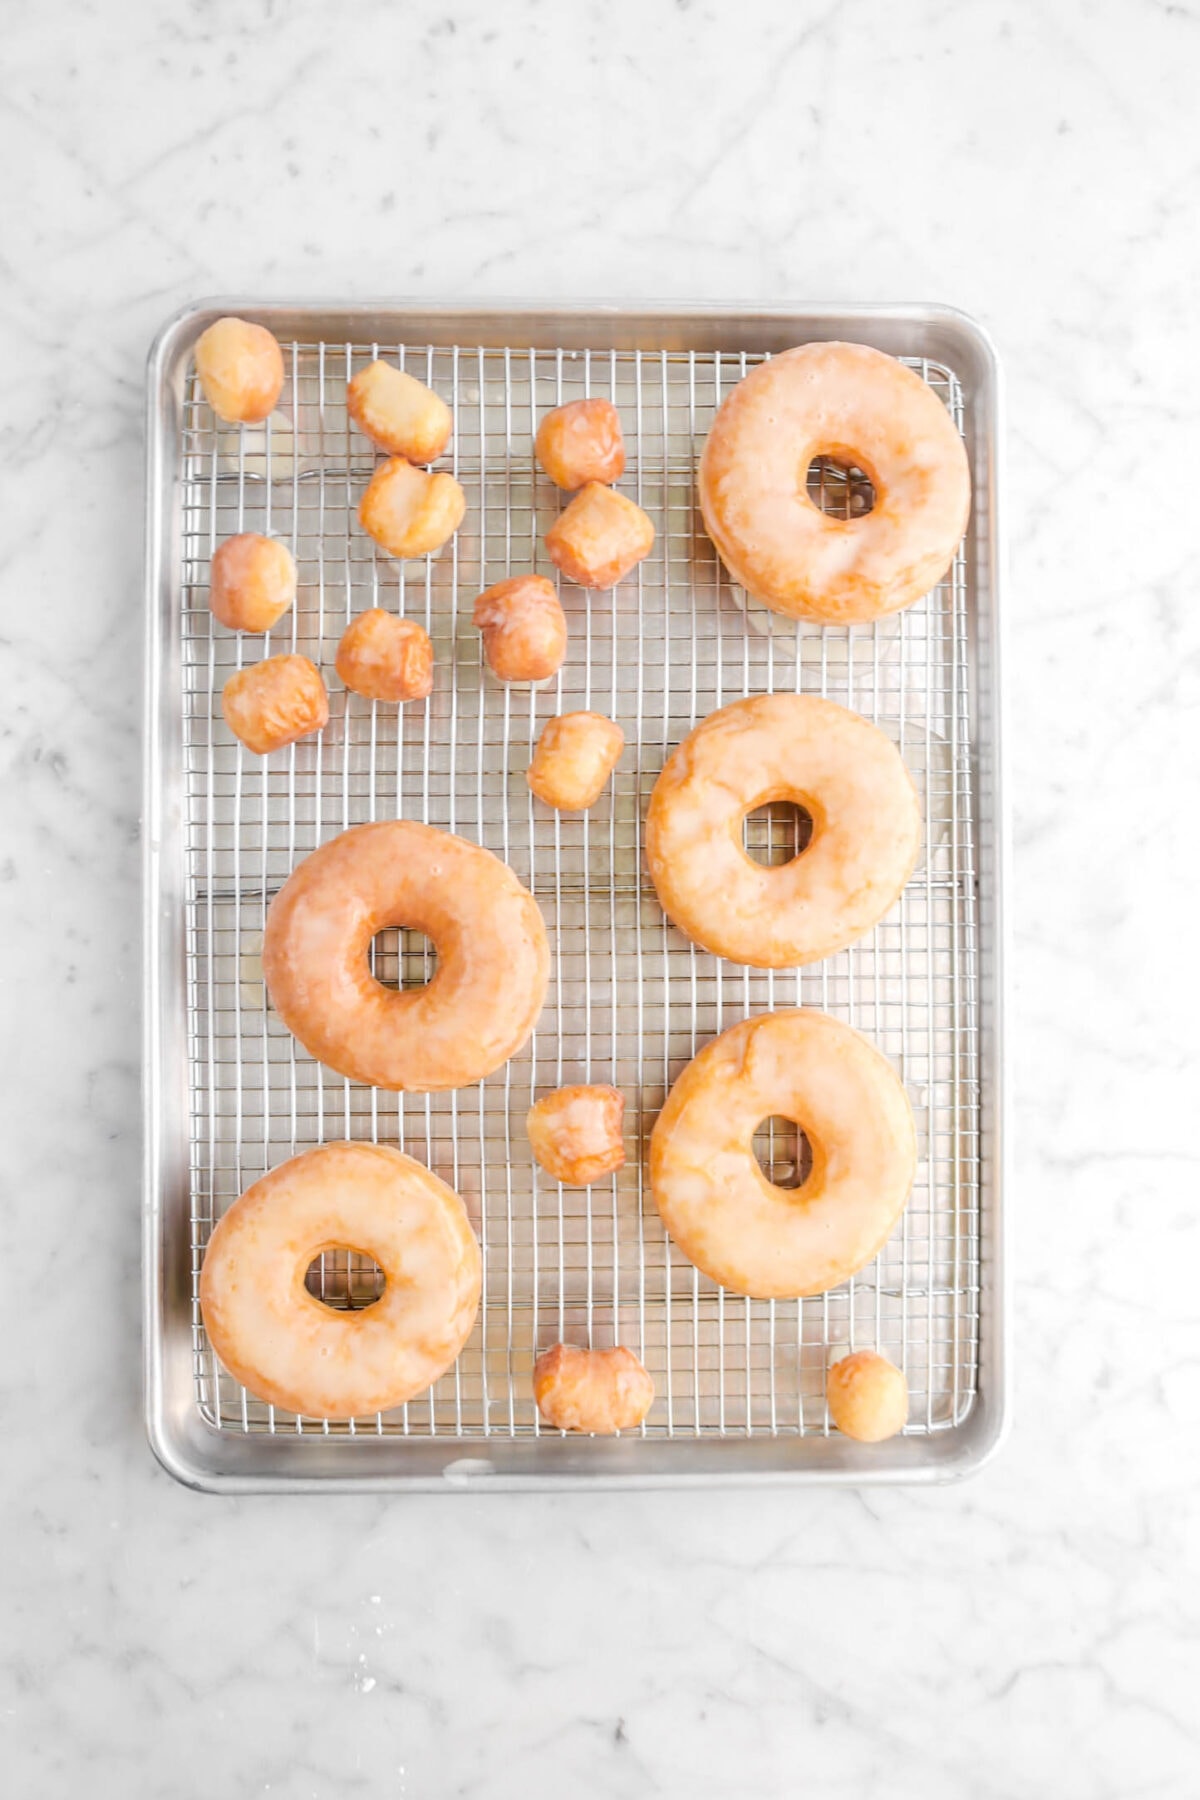
Dip the doughnuts into the glaze, one side at a time. Place on a wire cooling rack and let the excess glaze drip off.

– Doughnut Troubleshooting –
The butter won’t mix into the dough!
The most important thing you need to make sure of is that all your ingredients are room temperature. If anything is cold, it won’t mix like it’s supposed to.
My dough isn’t smooth after kneading!
Make sure you’re using a dough hook when mixing! It also could be that it wasn’t kneaded enough.
The dough didn’t rise in the times stated in the recipe card.
This could be caused by a few different things. It might be too cold in your kitchen, the yeast could be inactive, etc. We recommend investing in a dough proofer to help control the climate and keep your doughs rising as they should.
Dough browned but didn’t cook in the middle!
This is because your oil is too hot! Turn down the temperature and try again. Also, use a thermometer if you have one. It’s a good way to keep an eye on the oil and make sure it doesn’t get too hot again.
My doughnuts don’t have ANY flavor!
The doughnuts in this recipe are meant to be pretty bland/basic as you don’t want them to be too sweet or strong once you glaze them. So, be sure to not skip the glaze!
What Type of Yeast To Use
You need to use an instant yeast. In this recipe, we used SAF Gold. If you use another type of yeast, we really can’t guarantee any outcomes.
How To Store
These doughnuts are best eaten fresh and don’t store very well. We found after letting them sit overnight, all the honey flavor dissipated. Though, that doesn’t mean you can’t store them. If you’re okay with the flavor loss, you can store these doughnuts in a zip top bag or container and keep in the fridge for about a week.
You can also freeze these in a freezer safe container or sealable bag!

Expert Tips
- Be sure to use a strong honey that you like the flavor of!
- Don’t skip the resting phase! It relaxes the gluten in the dough and makes it easier to cut.
- Tea towels are perfect for covering dough while it’s resting.
- You can actually re-roll the dough scraps. Just don’t add any extra flour! The doughnuts from the dough scraps won’t be quite as pretty and may be a little tougher.
- If dough is difficult to work with when re-rolling, cover it and let it rest for 10 minutes to relax the gluten.
- Use a thermometer to keep oil at a steady temperature.
- If there are a lot of bubbles in your glaze, the doughnuts will dry with bubbles!
- To glaze the doughnuts, place the doughnut in the bowl of glaze and use a fork (or your fingers) to flip it over. Then, place glazed doughnuts on sheet pan with a cooling rack to dry.
When you make these Honey Glazed Doughnuts, leave a comment down below! We love hearing from you and answering any questions you might have! Also, be sure to tag us on social media and hashtag it #BakersTable.
Honey Glazed Doughnuts
Ingredients
Doughnuts
- 3 cup all purpose flour
- 2¼ teaspoons instant yeast
- 1½ teaspoons baking powder
- 1 teaspoon kosher salt
- 6 Tablespoons unsalted butter, room temperature
- 1 cup whole milk
- 1 large egg, room temperature
- 1 large egg yolk, room temperature
- 1 Tablespoon honey
- ¾ teaspoon vanilla extract
- vegetable oil, for frying
Glaze
- 4 cups confectioners sugar, sifted
- ¾ cup whole milk
- ⅓ cup honey
Instructions
Doughnuts
- In the bowl of a stand mixer fitted with a dough hook, combine flour, yeast, baking powder, and salt.
- Add butter, milk, egg, egg yolk, honey, and vanilla.
- Mix on low speed for 3 minutes.
- Increase speed to medium for 8 minutes.
- Place dough in a clean bowl that has been sprayed with cooking spray.
- Let rise at warm room temperature (78℉) for 1 hour. If not using a proofing box with a water tray, cover bowl with plastic wrap.
- While dough is proofing, line a sheet pan with parchment paper.
- Spray lightly with cooking spray. Set aside.
- Turn dough out onto a floured surface.
- Sprinkle top with flour.
- Roll to ½ inch thick.
- Cover dough with a tea towel.
- Let rest for 10 minutes.
- Use a doughnut cutter to cut out doughnuts, gathering scraps and re-rolling as necessary.
- Place on prepared pan.
- Cover with a tea towel or plastic wrap that has been lightly sprayed with cooking spray.
- Let rest for 15 minutes.
- While dough is resting, heat 2 inches of oil in a large Dutch oven to 350℉.
- Fry doughnuts in batches, 2-3 at a time, 1-2 minutes on each side, until golden brown.
- Drain thoroughly.
Glaze
- In a medium bowl, combine powdered sugar, milk, and honey.
- Beat until smooth.
- Dip doughnuts, one at a time, into glaze, flipping to coat both sides.
Notes + Tips!
- Be sure to use a strong honey that you like the flavor of!
- Don’t skip the resting phase! It relaxes the gluten in the dough and makes it easier to cut.
- Tea towels are perfect for covering dough while it’s resting.
- You can actually re-roll the dough scraps. Just don’t add any extra flour! The doughnuts from the dough scraps won’t be quite as pretty and may be a little tougher.
- If dough is difficult to work with when re-rolling, cover it and let it rest for 10 minutes to relax the gluten.
- Use a thermometer to keep oil at a steady temperature.
- If there are a lot of bubbles in your glaze, the doughnuts will dry with bubbles!
- To glaze the doughnuts, place the doughnut in the bowl of glaze and use a fork (or your fingers) to flip it over. Then, place glazed doughnuts on sheet pan with a cooling rack to dry.
Tools You May Need (affiliate links)
– Still Hungry? –
Here are a few recipes may like!


Will stainless steel mixing bowls be okay to use or is there some reason why you have glass mixing bowls? I don’t use glass mixing bowls because of them getting damaged with the electric mixer. I wouldn’t want glass particles in the food my family eats. You might like them for your family but not for mine.
Will stainless steel mixing bowls cause an issue? Possibly a chemical reaction to the ingredients? Please let me know. I’m sure others would want to know too.
Hi David! You can use whatever bowls you have. We just use glass so the ingredients can be seen, but the mixer bowl is stainless steel. You can see it in the pictures in the post. There shouldn’t be a chemical reaction with a stainless steel bowl unless you are using acidic ingredients and letting them sit in the bowl. Hope that helps. Let me know if you have any other questions.
These were the best! We made some exactly as the recipe, and a few we filled with jam and topped with icing sugar. Delightful.
Just wondering the best way to store them?
Hi Jenn! I’m so happy you like the doughnuts! As we said in the post, they are best eaten fresh. There is a noticeable loss of flavor if you store them. That being said, you can refrigerate or freeze them in a ziptop bag or resealable container if you are ok with some flavor loss.
Does the yeast not have to rise for this recipe?? Thank you
Hi Chantal! Of course it has to rise. Please see Step 6 in the recipe card. Let me know if you have any other questions.