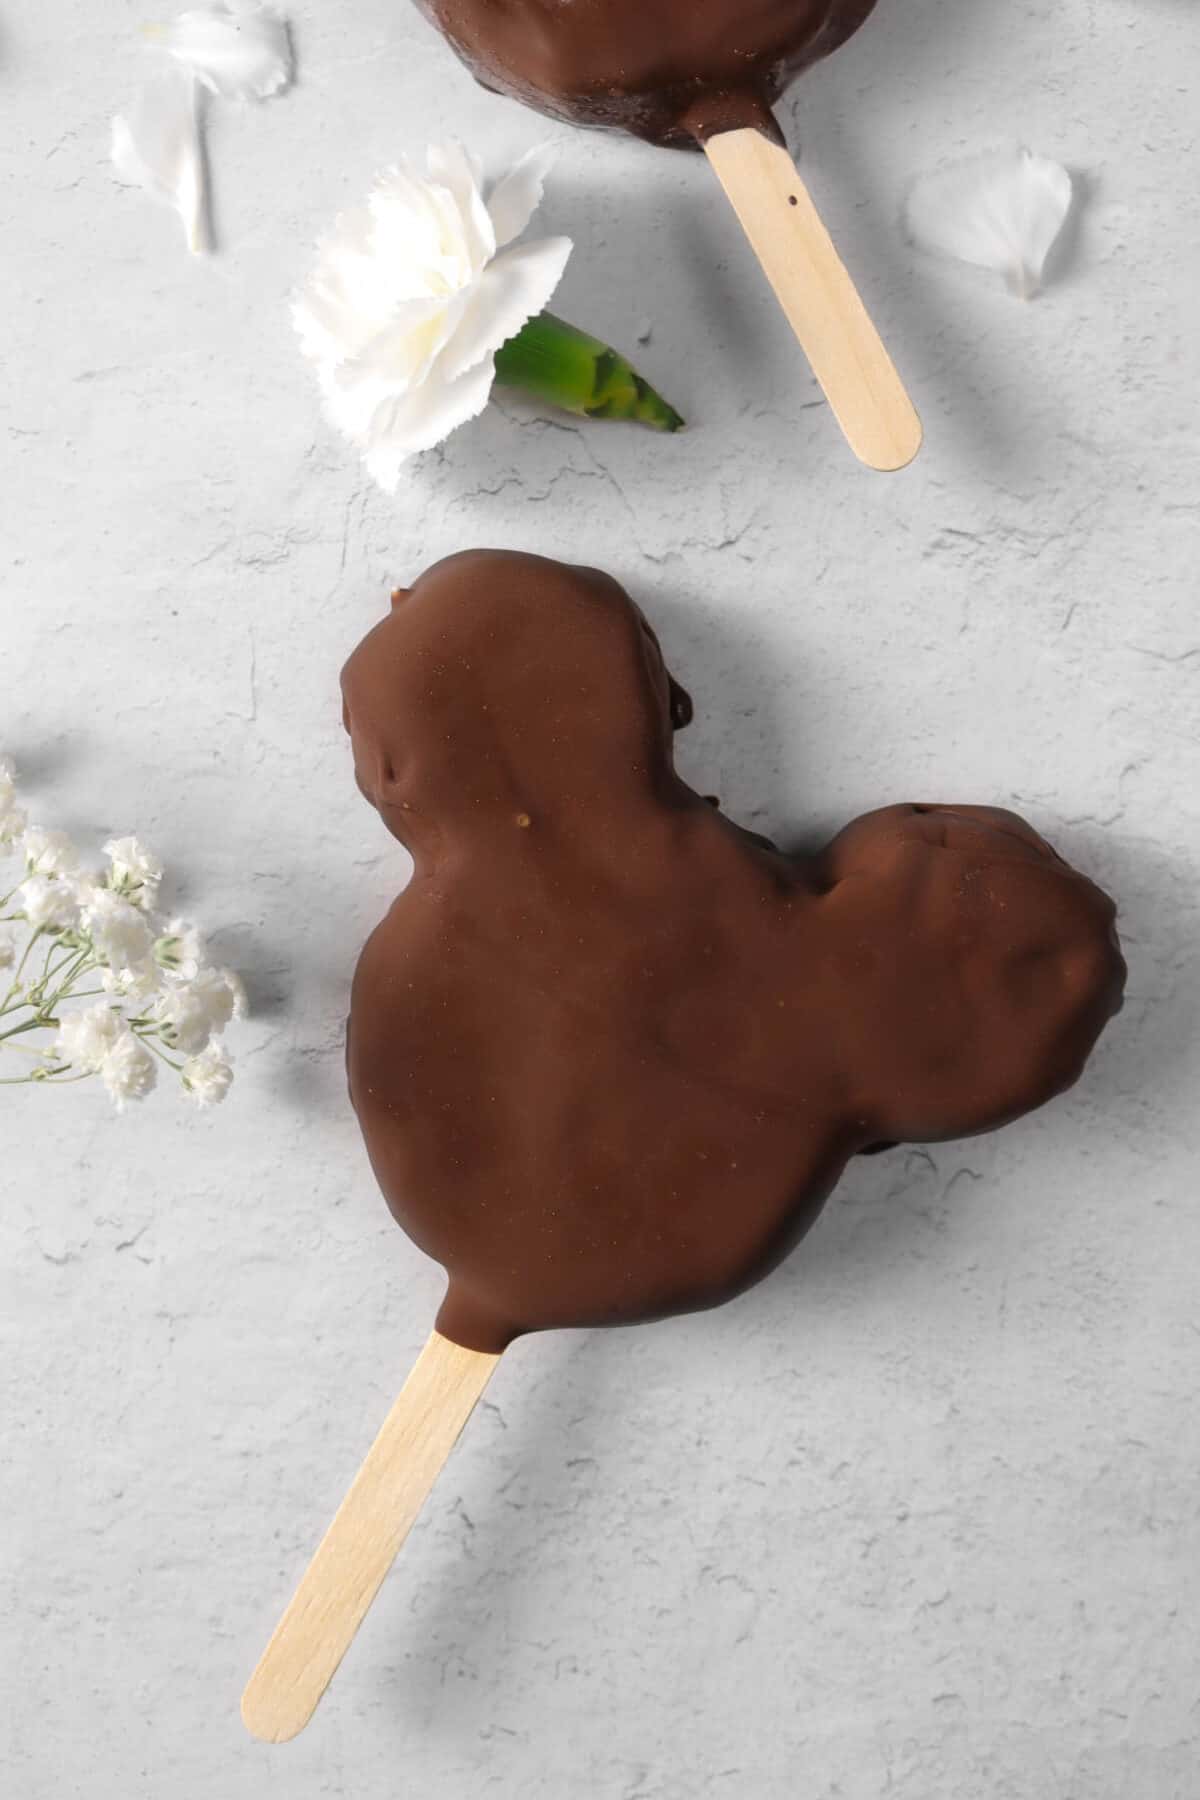
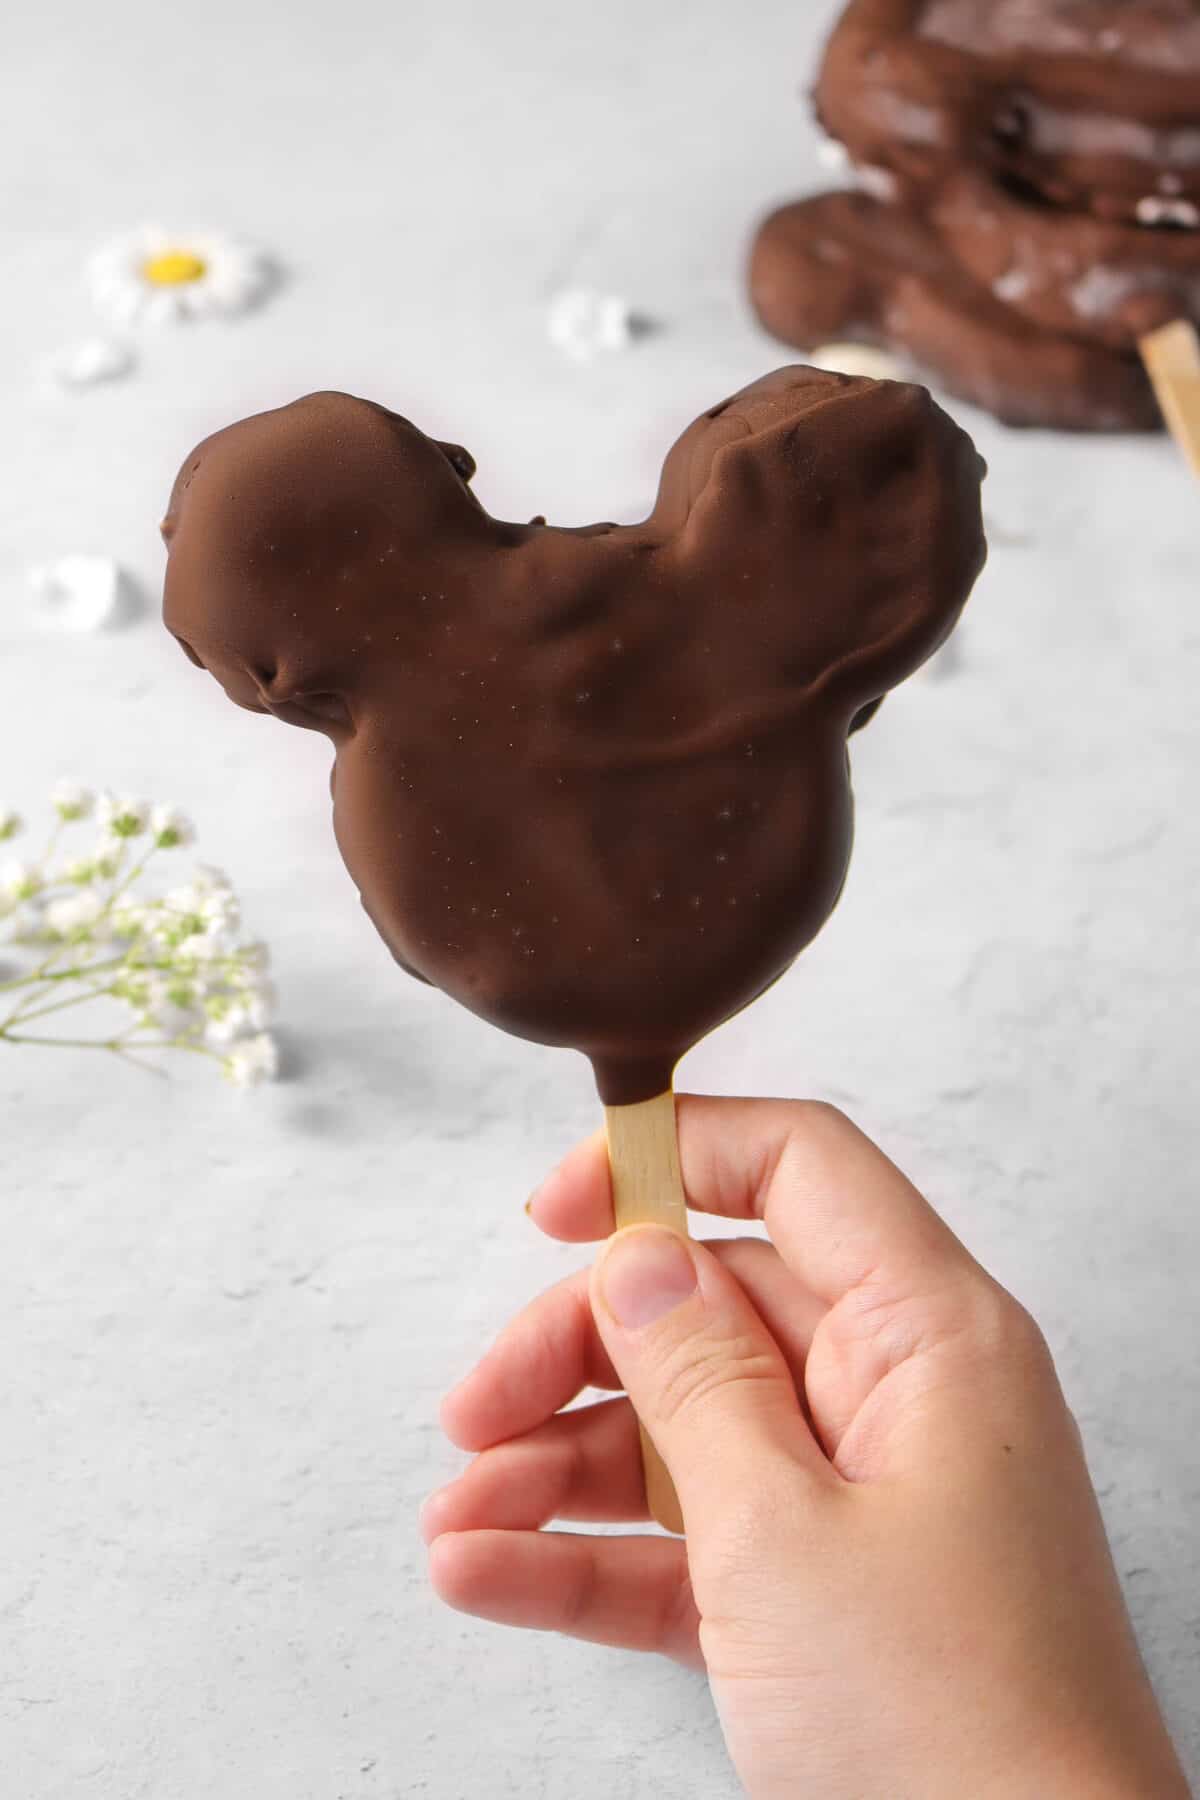
Mickey Mouse Ice Cream Bars
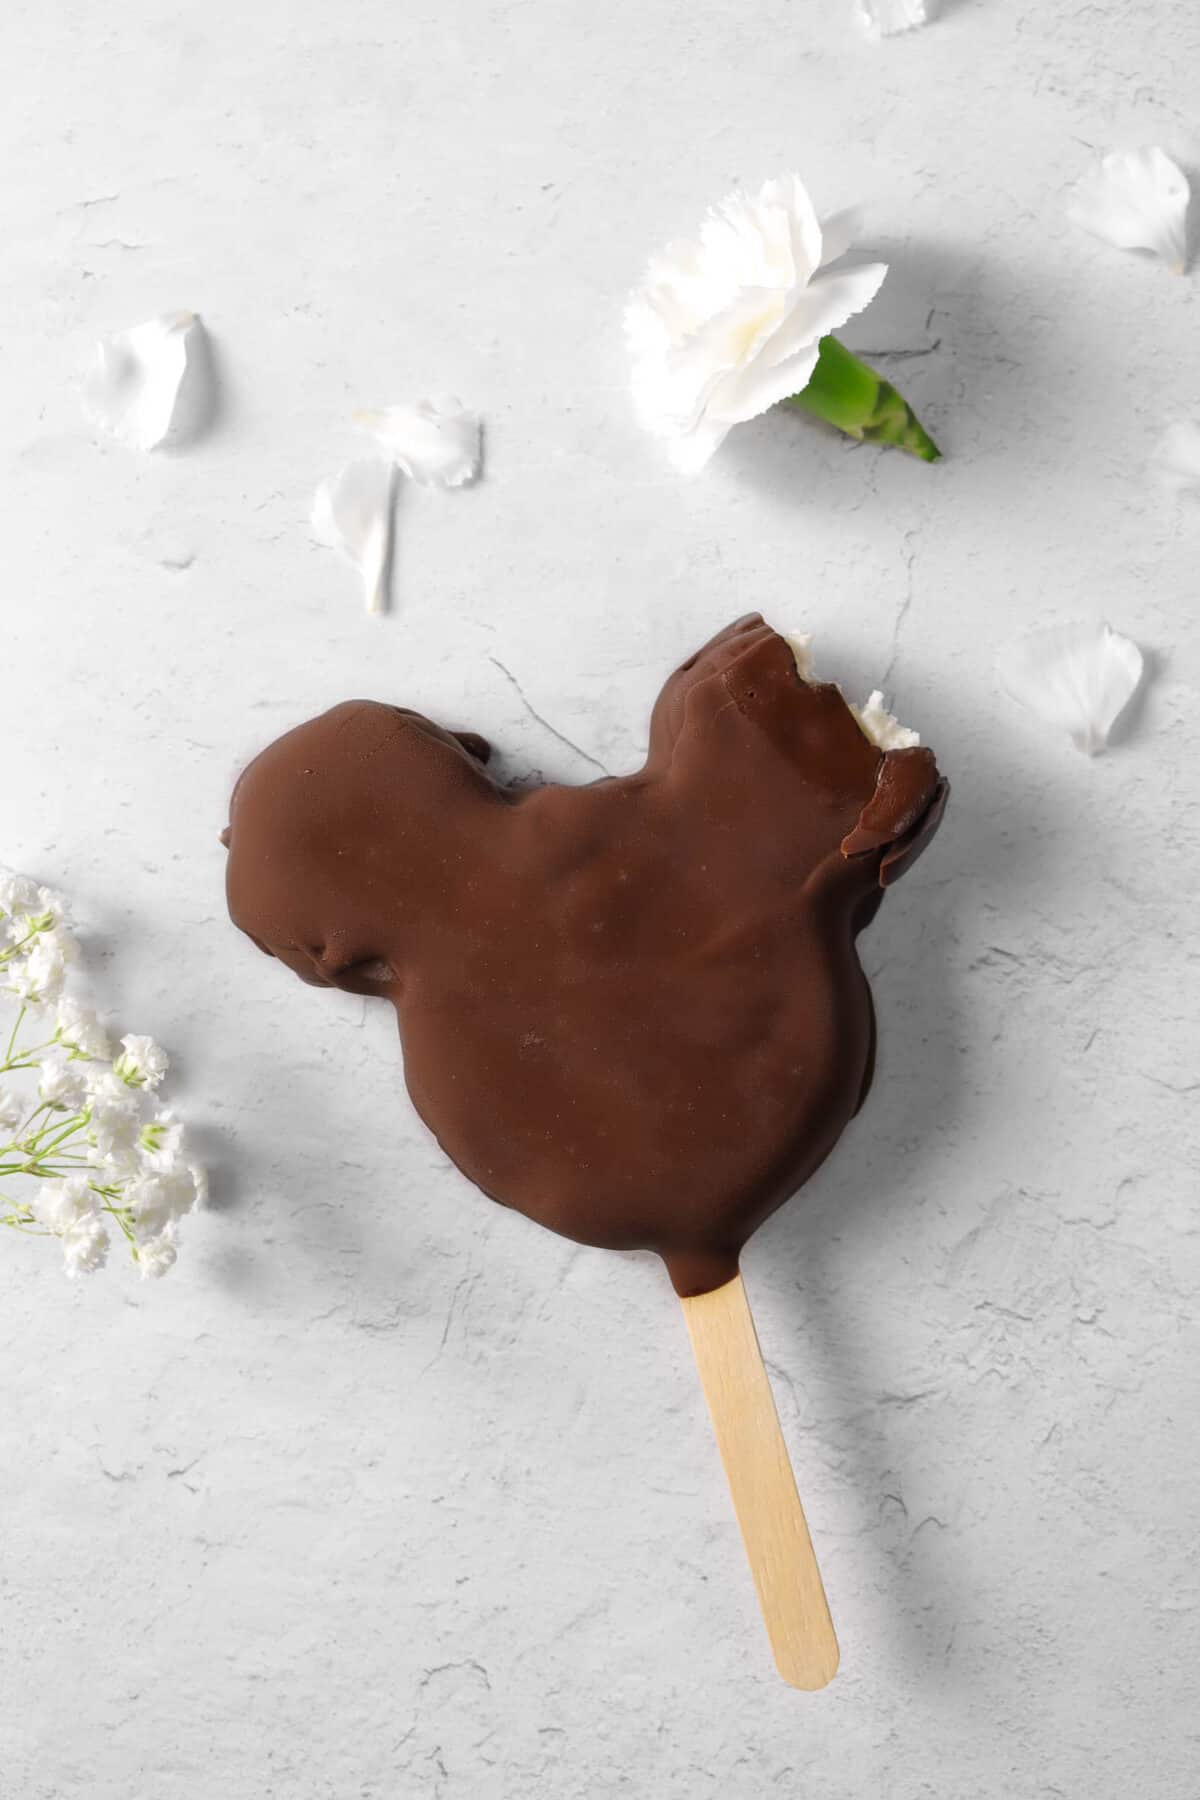
Homemade Mickey Mouse Ice Cream Bars – our copycat of the classic Disney Parks treat. A snappy dark-chocolate shell gives way to a soft, ultra-creamy vanilla center, so every bite is crisp outside and smooth inside. Use our No-Cook Vanilla Ice Cream or your favorite store-bought; the quick chocolate coating comes together in minutes. Keep a stash in the freezer for an easy, make-ahead summer dessert everyone loves.
Mickey bars are my forever favorite Disney treat. I grew up devouring them – hiding from an afternoon shower at Magic Kingdom or melting in the sweltering heat at Animal Kingdom – and yes, I usually wore the chocolate. Now I make them at home: snappy dark-chocolate shell, soft vanilla center, same bit of park magic without the queue. They’re simple, freezer-friendly, and the first thing I reach for on a hot day. Kids love them; grown-ups do too… and if you’re drip-prone like me, maybe skip the white tee.
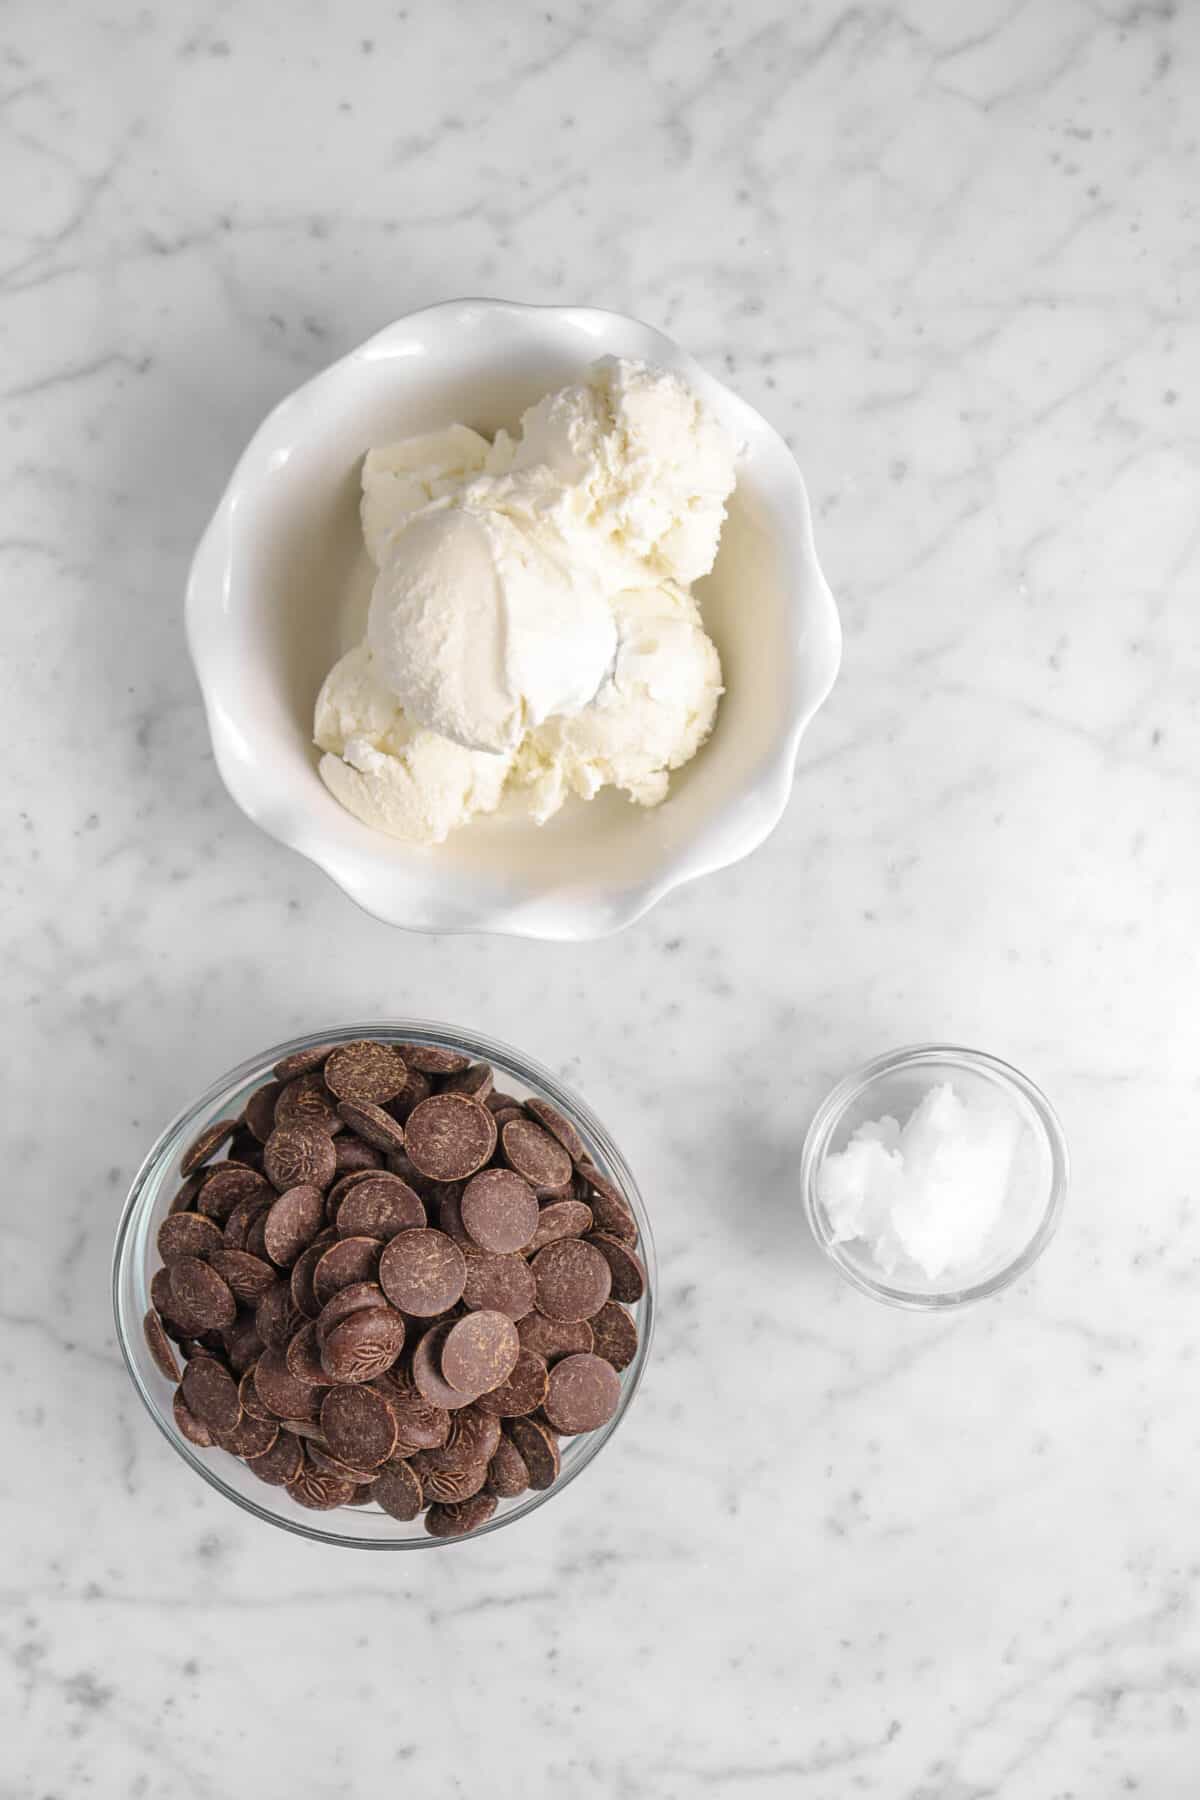
Ingredients
- Dark Chocolate
- Coconut Oil
- Vanilla Ice Cream
Instructions
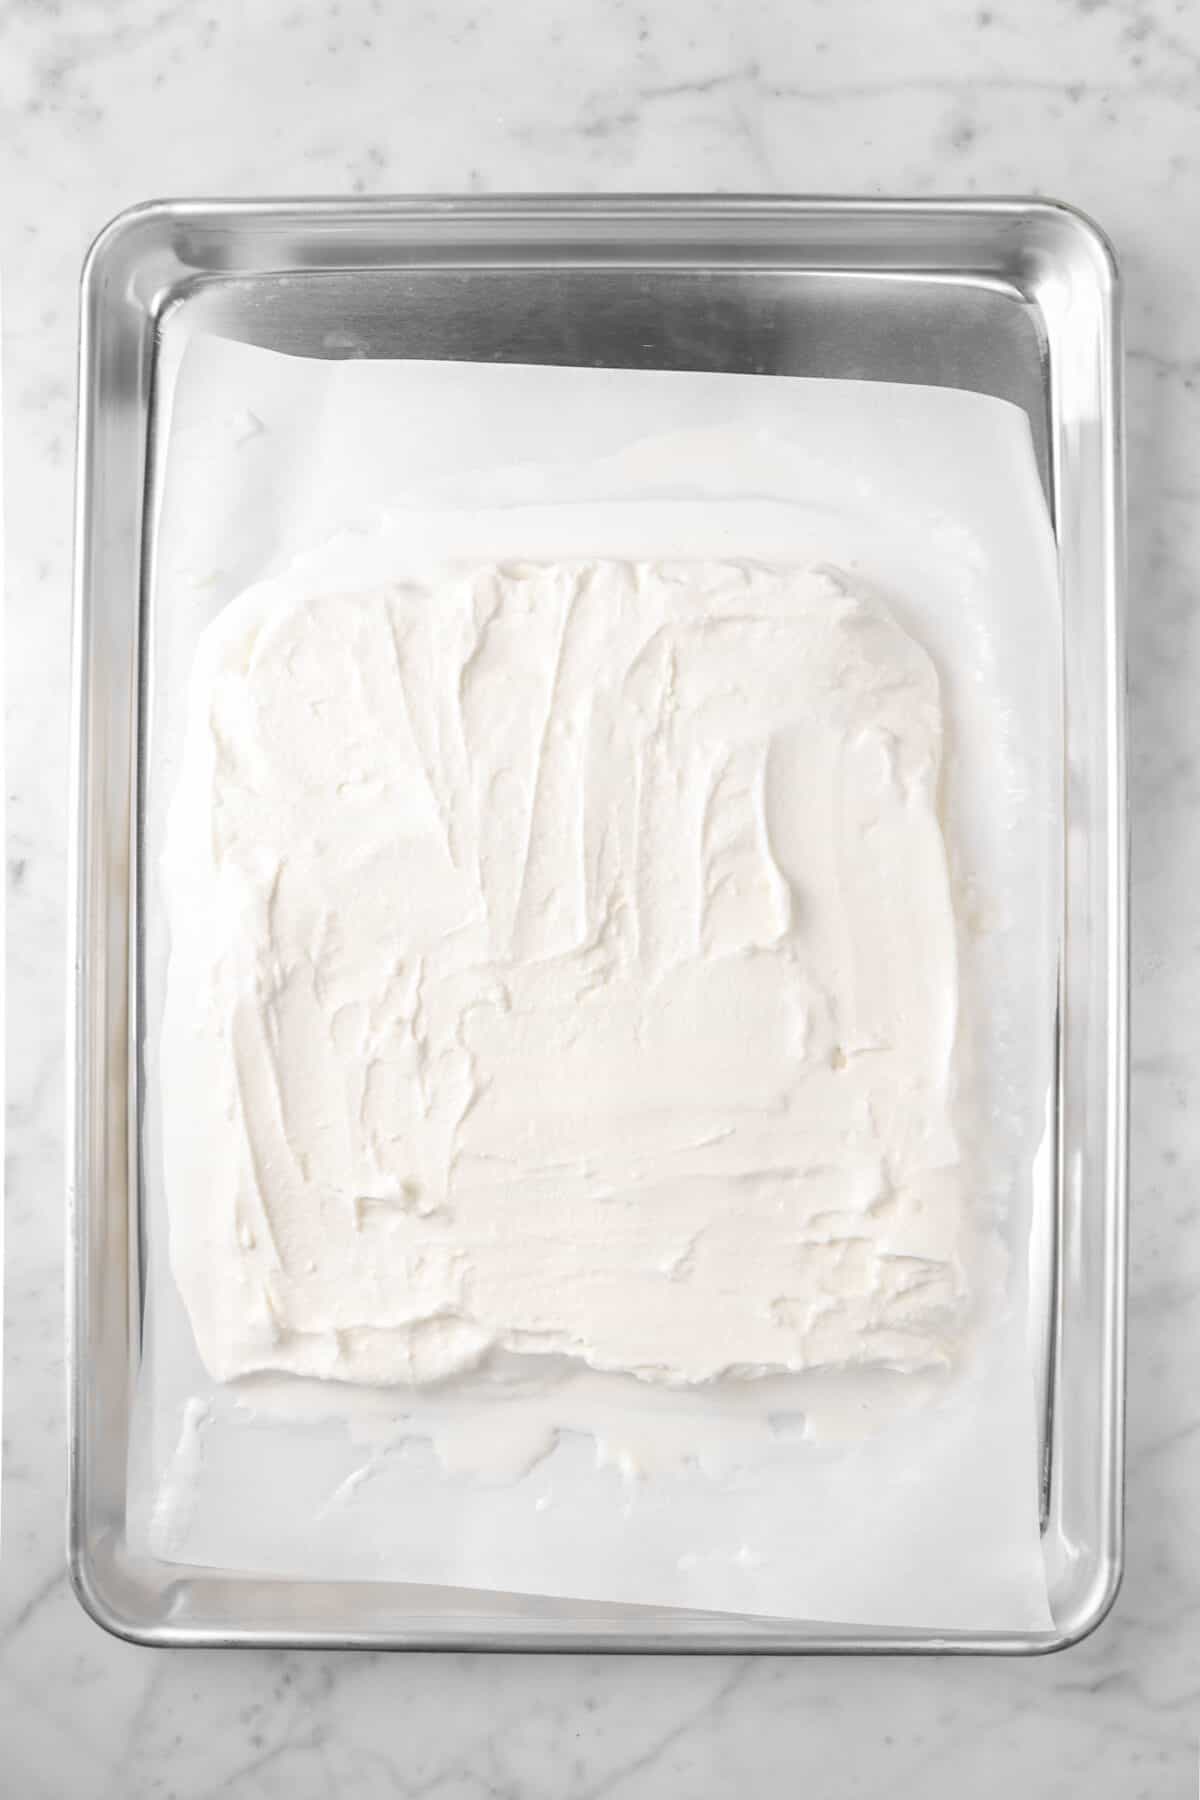
Spread the softened vanilla cream onto a lined baking sheet. You’ll want it anywhere between 1/2 to a full inch. Place the sheet pan the freezer and let the ice cream harden.
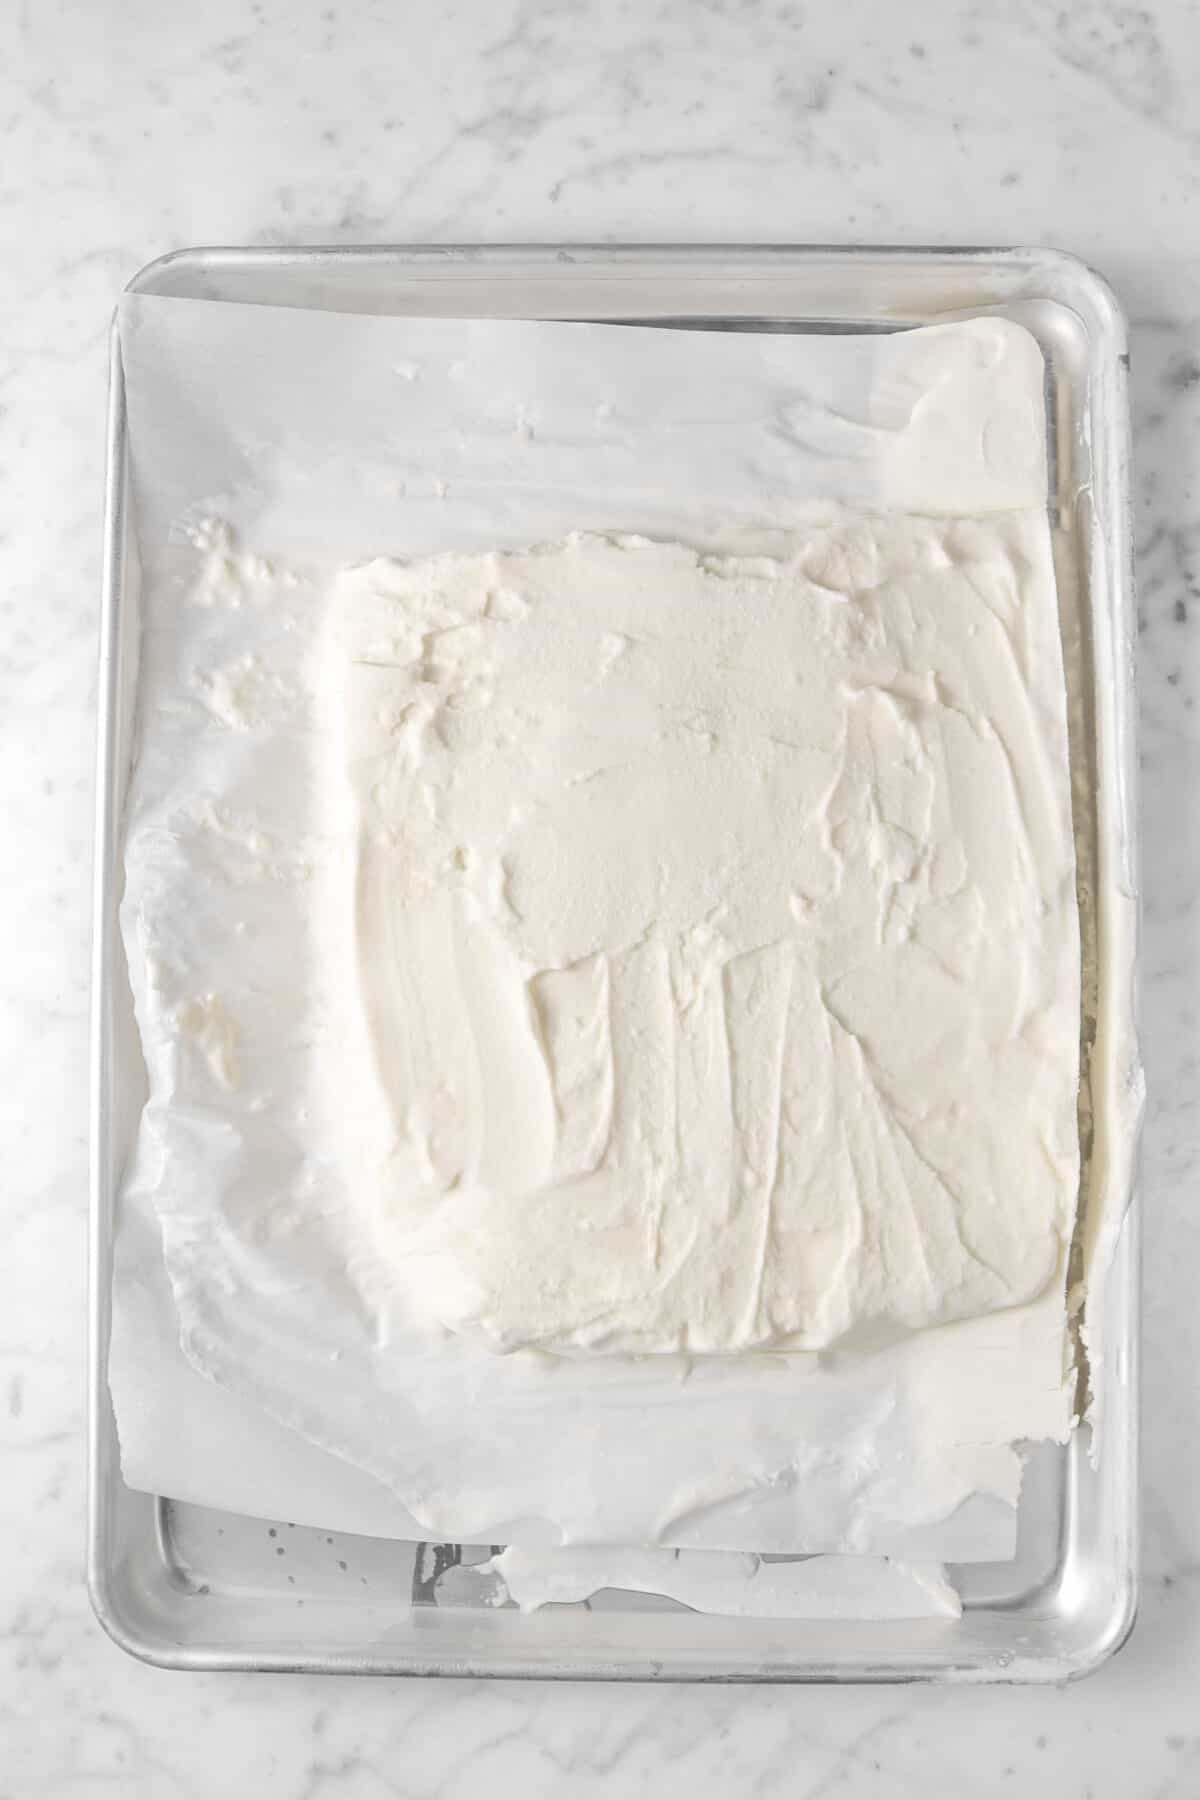
If your ice cream is a little messy like mine, use the back of a spoon to smooth out the top. This step is totally optional. I did it because I wanted my mickey bars to look as smooth as possible!
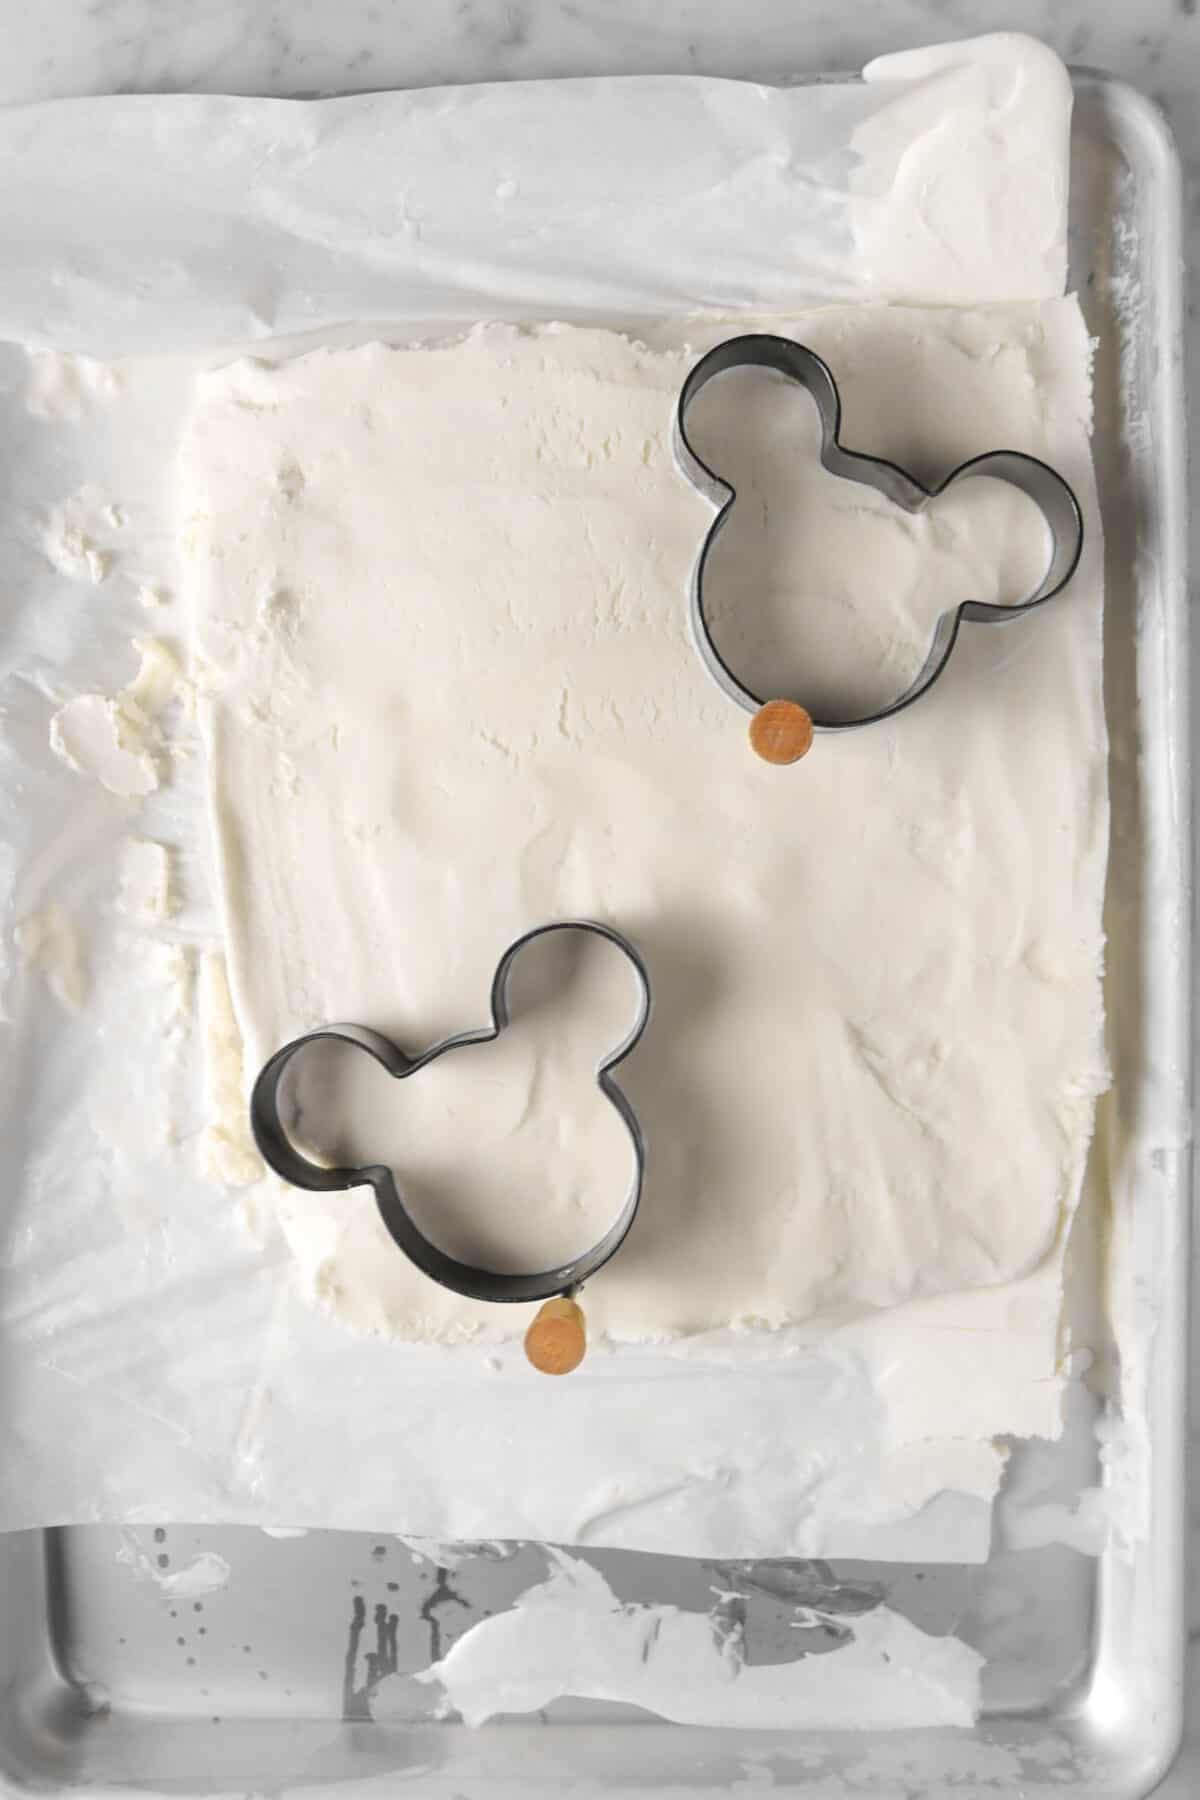
But, now it’s time to cut the mickey’s out of the ice cream. There will be some excess ice cream so feel free to just toss that back into the container to enjoy later. Also, be sure to put the newly cut mickey’s onto a clean piece of parchment and a new sheet pan.
From here, if your ice cream is more than a little melty, put it back in the freezer for a few minutes. DON’T let it harden!
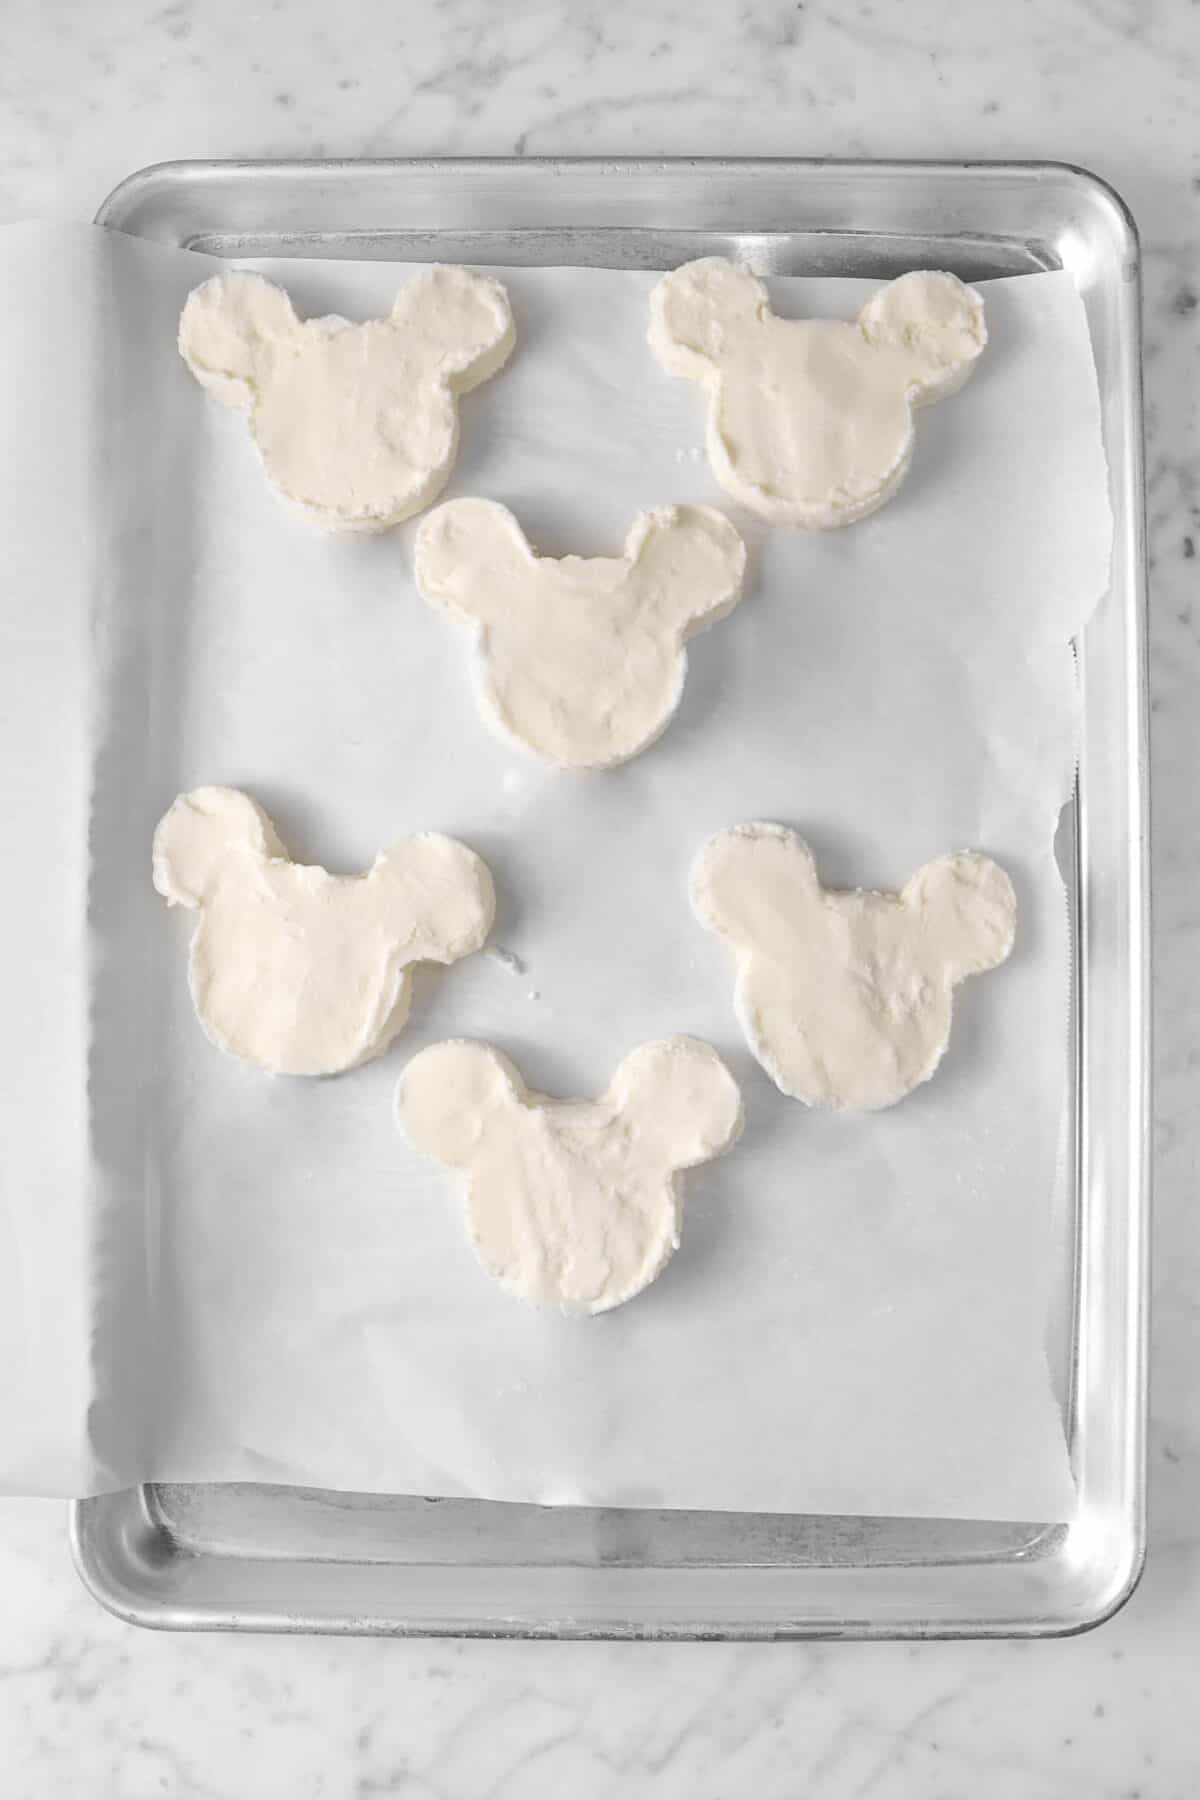
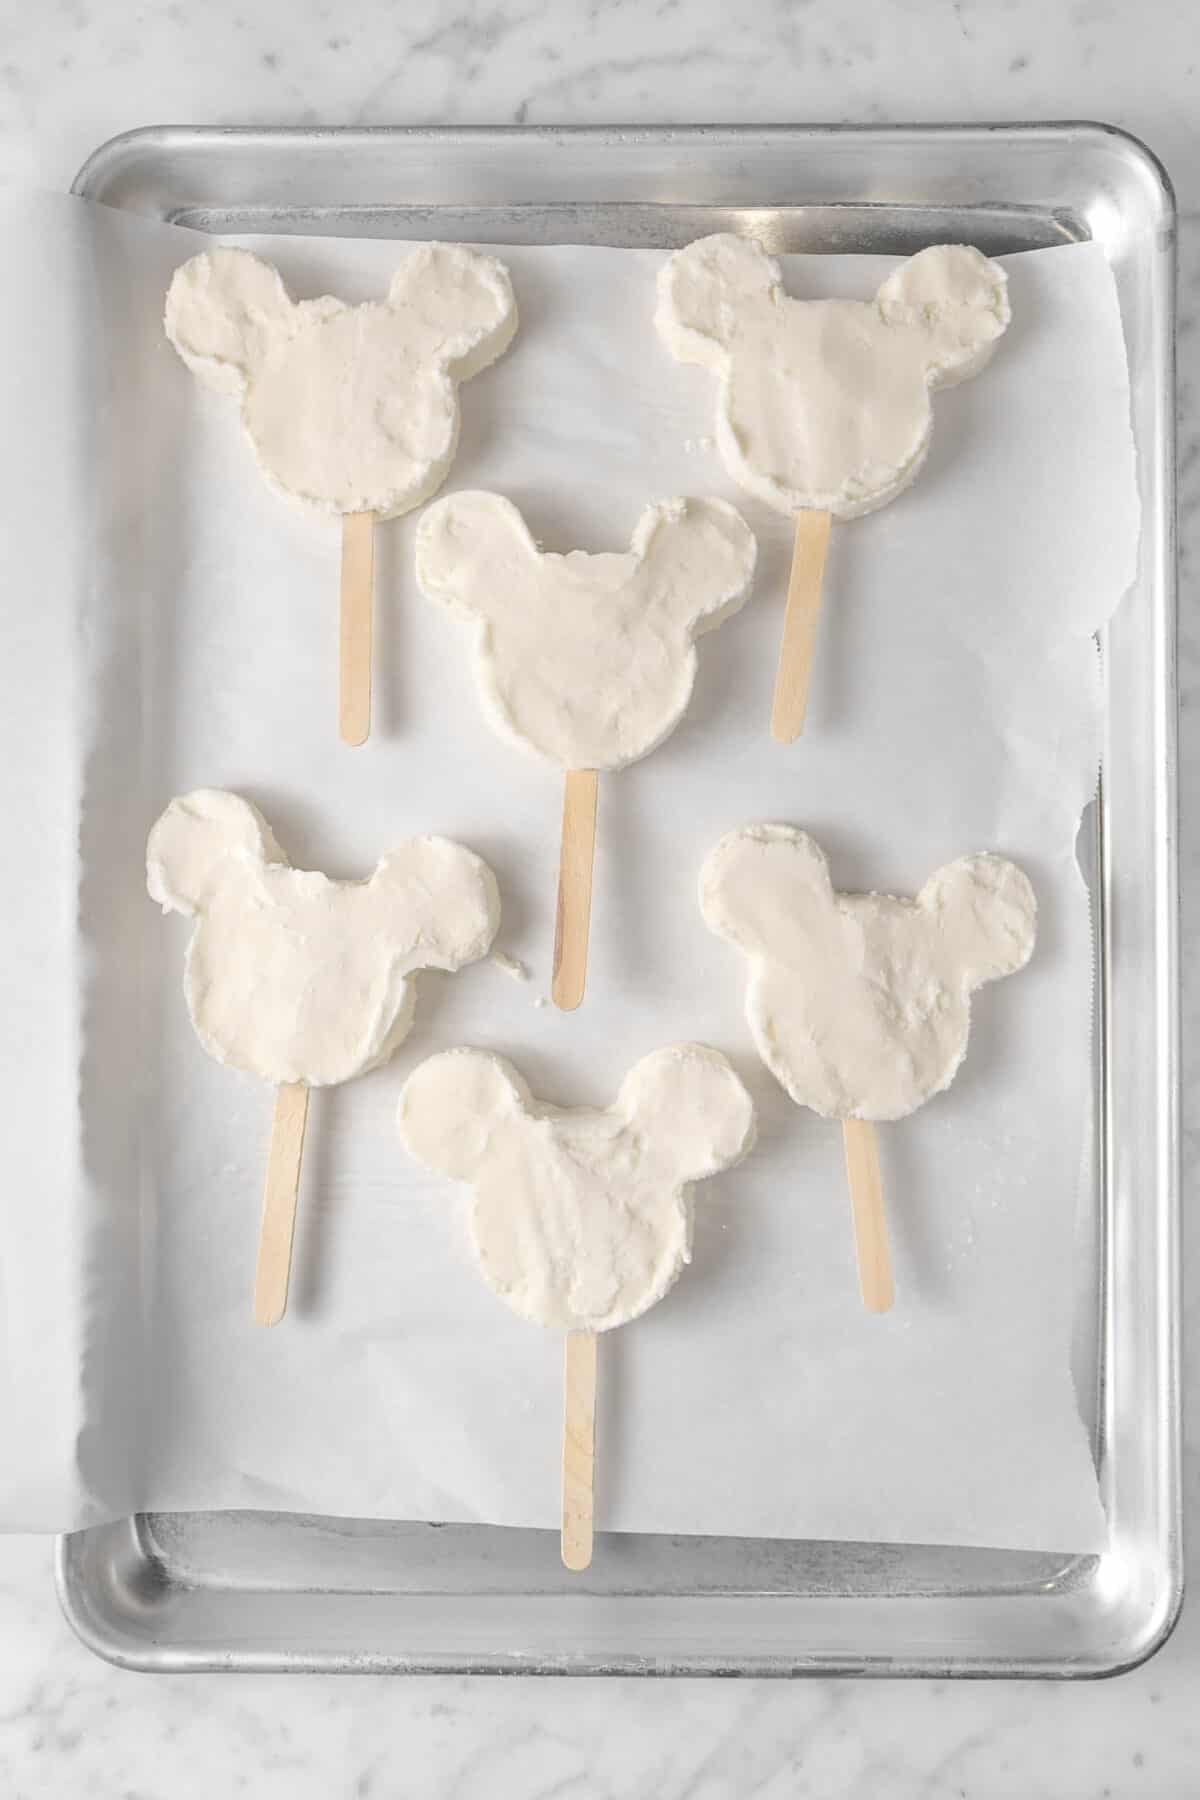
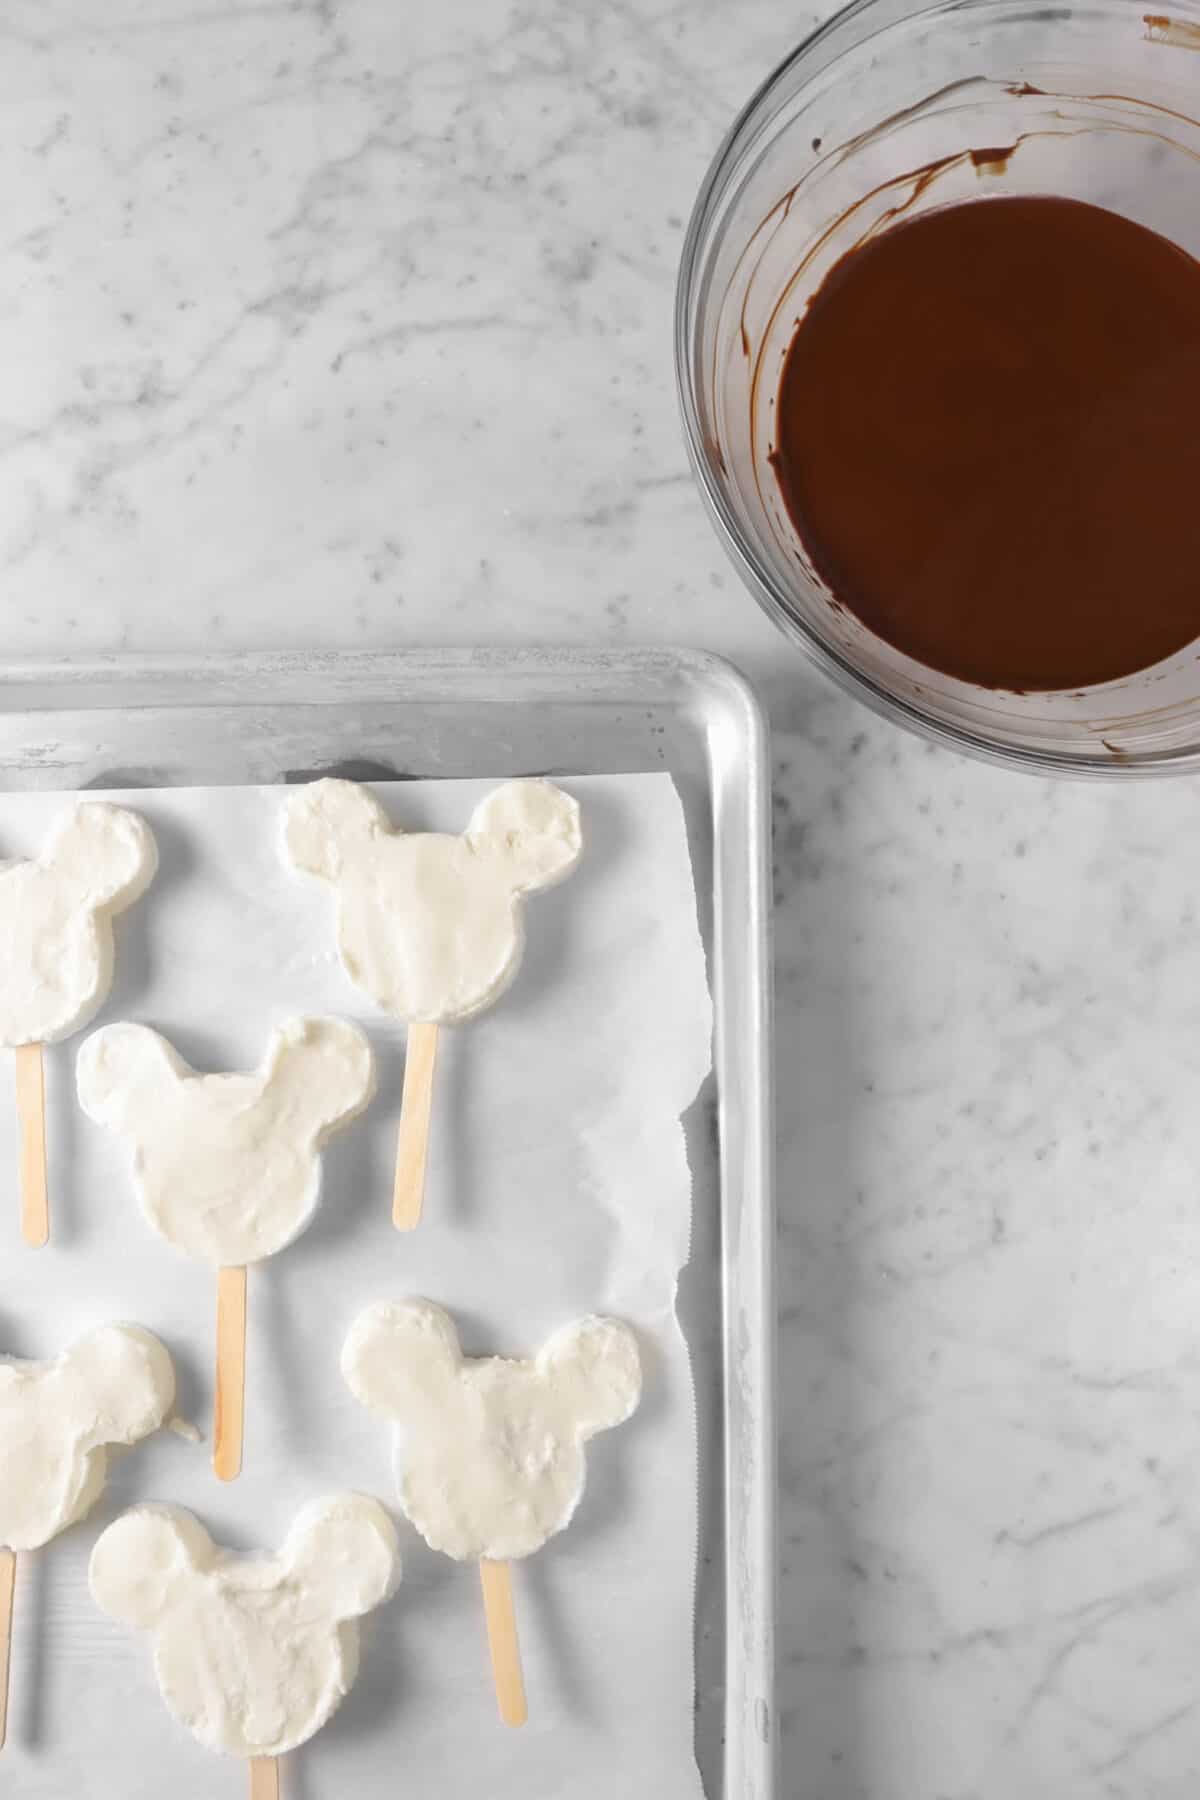
Once they’re cut, push the popsicle sticks into the middle of each mickey ice cream. Make sure to push it 1/4 way through the stick to ensure the ice cream will be stable. Place back in the freezer until hardened.
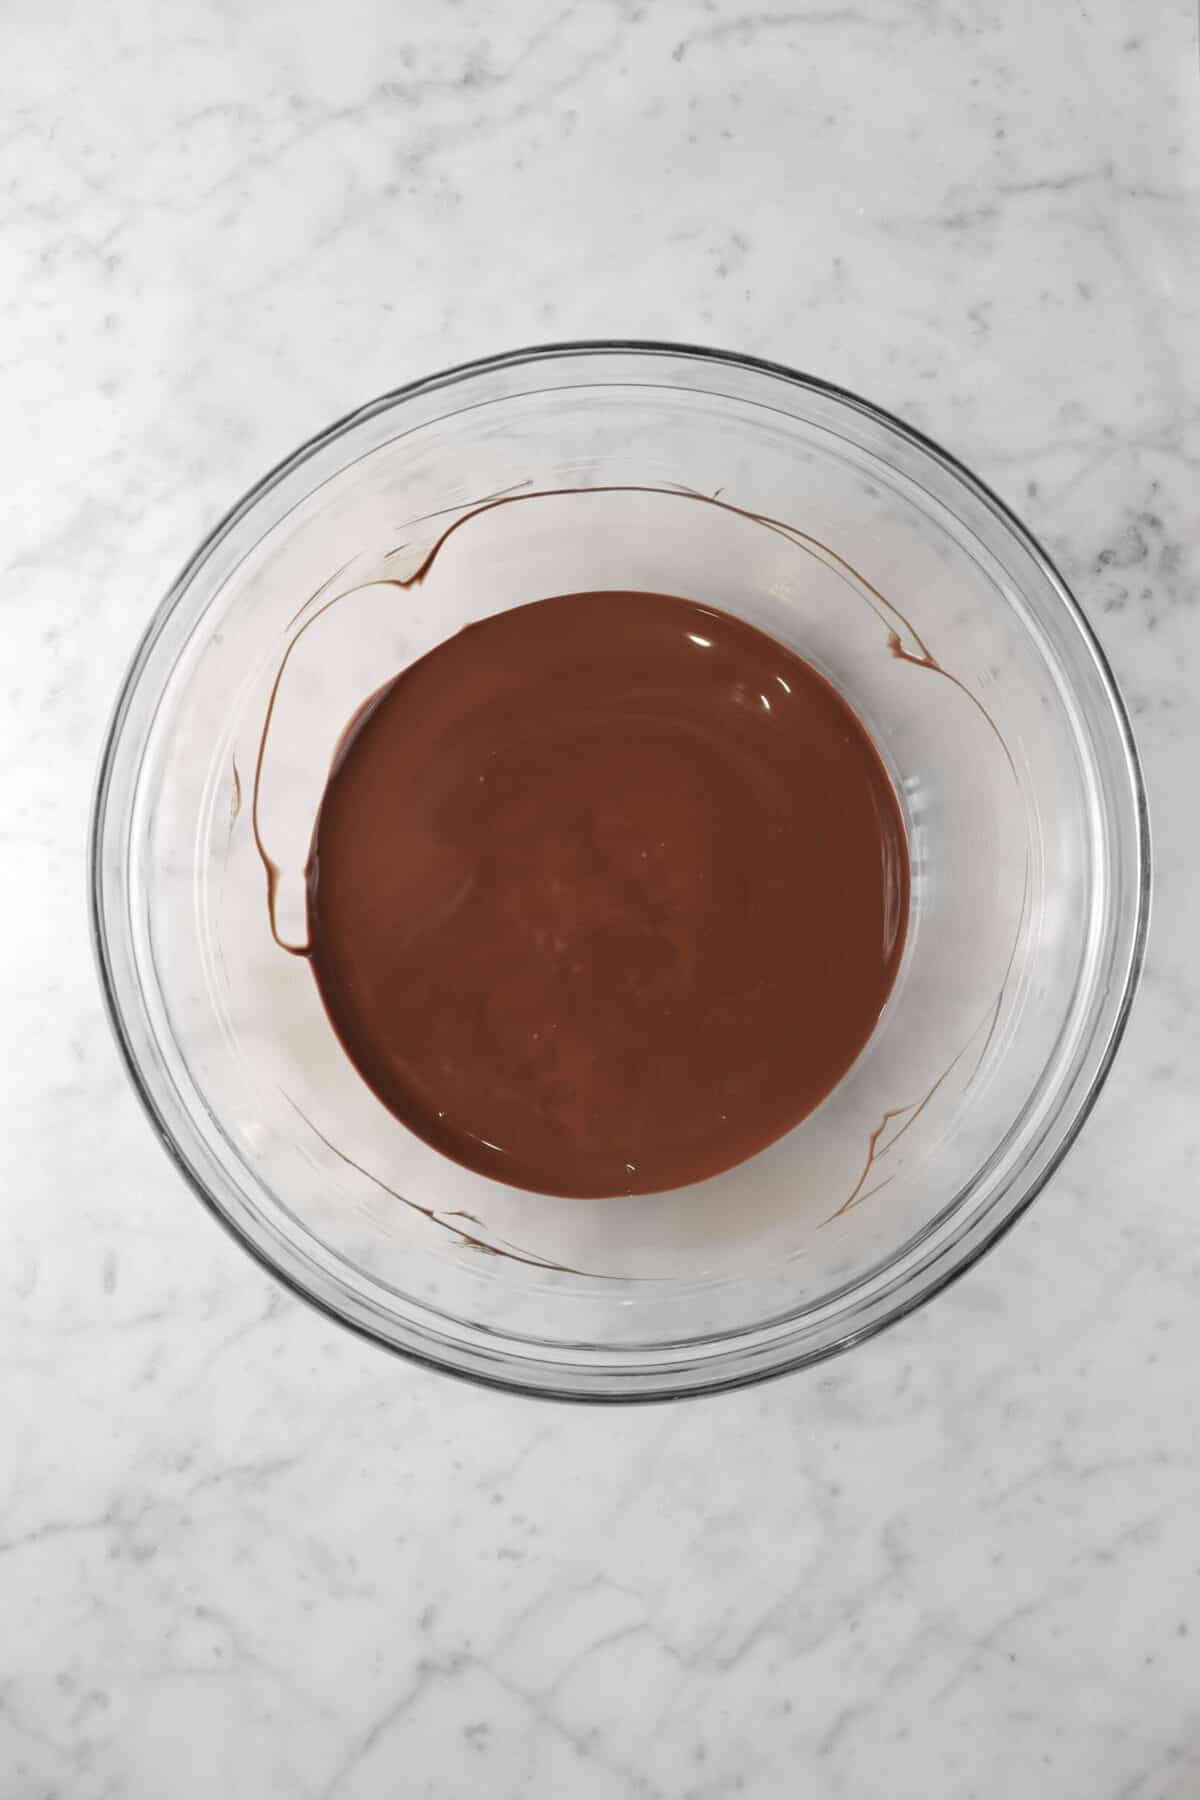
Okay, once the ice cream hardens, get the chocolate ready! Go ahead and place the chocolate chips and coconut oil in a medium to large sized bowl. Put in the microwave for 30 second intervals, stirring in between until the chocolate is completely melted and smooth. Let cool slightly.

It’s time to dip! I recommend using a spoon to drizzle the chocolate over the ice cream. Just make sure you’re working fast! The ice cream will start to melt as soon as you take it out of the freezer. You may need to put it back into the freeze in between dippings.
Once the ice creams are coated, place them back in the freezer until they are hardened. From there, enjoy!
How To Store
These bars are the perfect summertime treat! Why? Because after they are done with the final freeze, you can place them all into a freezer safe bag and keep them for about a month. Seriously delish.
When you make these Mickey Mouse Ice Cream Bars, leave a comment down below and/or give this recipe a rating! We love hearing from you and answering any questions you might have! Also, be sure to tag us on social media and hashtag it #BakersTable.

Mickey Mouse Ice Cream Bars
Ingredients
- 4 cups vanilla ice cream, softened
- 3 cups dark chocolate chips
- 1½ Tablespoons coconut oil
Instructions
- Spread softened vanilla ice cream ½-inch thick on a lined baking sheet.
- Set in the freezer until hardened, about 30 minutes.
- Once ice cream has hardened, remove from freezer.
- Cut out mickey mouse shapes with a cookie cutter.
- Place mickey ice creams on a baking sheet lined with fresh parchment paper.
- Freeze until beginning to firm up, about 5 minutes.
- Push popsicle sticks into the middle of each mickey ice cream.
- Freeze until hardened, about 30 minutes.
- Combine chocolate and coconut oil in a medium sized bowl.
- Microwave 5 times at 30 second intervals, stirring after each. Total time should be 2 minute and 30 seconds (5 times). Set aside to cool.
- Remove ice cream from freezer.
- Dip into cooled chocolate mixture.
- Place back on baking sheet line with fresh parchment paper and freeze.
Notes + Tips!
- If you don’t have Homemade Vanilla Ice Cream, your favorite store-bought brand will do just fine.
- I personally adore dark chocolate because it cuts some of the sweet! But, feel free to use milk chocolate or whatever else you may like.
- If you don’t have coconut oil, you can use vegetable oil. You may need to slightly cut back on the amount of oil.
- Be warned! Depending on temperatures, your ice cream may melt faster and you may need to freeze it more often or longer than recommended.
- If your ice cream melts while you’re cutting out the shapes, don’t worry! Just get them into the freezer as soon as you can. You can always cut off the melted excess.
- Try and get the popsicle sticks in the middle of the ice creams so they have more stability.
- You may need to place your fingers between the ears to be able to fully push the popsicle sticks into the ice cream.
- The chocolate will immediately start hardening once you place it onto the cold ice cream. You can always do a dunking method to try and get a more even coating of chocolate.
- If your chocolate solidifies before you’re able to dip the ice cream, don’t worry! You can place it back into the microwave for 30 second intervals until it’s melted.
My youngest son’s birthday is next week…perfect for end of summer too! I know the kids will LOVE these! Thank you SO MUCH!
Hi Laurel! You’re SO welcome! I hope you and your kids enjoy these just as much as I do. Also, happy early birthday to your son! I hope it’s a great day. xo Caylie
This is too adorable! 🤍🖤
Hi! Thank you SO much! I had so much fun making shooting, and eating these Mickey bars. x Caylie