Mini Chocolate Cakes with Marshmallow Filling and Chocolate Coating (Homemade Ding Dongs!)

This post may contain affiliate links, please visit our privacy policy for details.
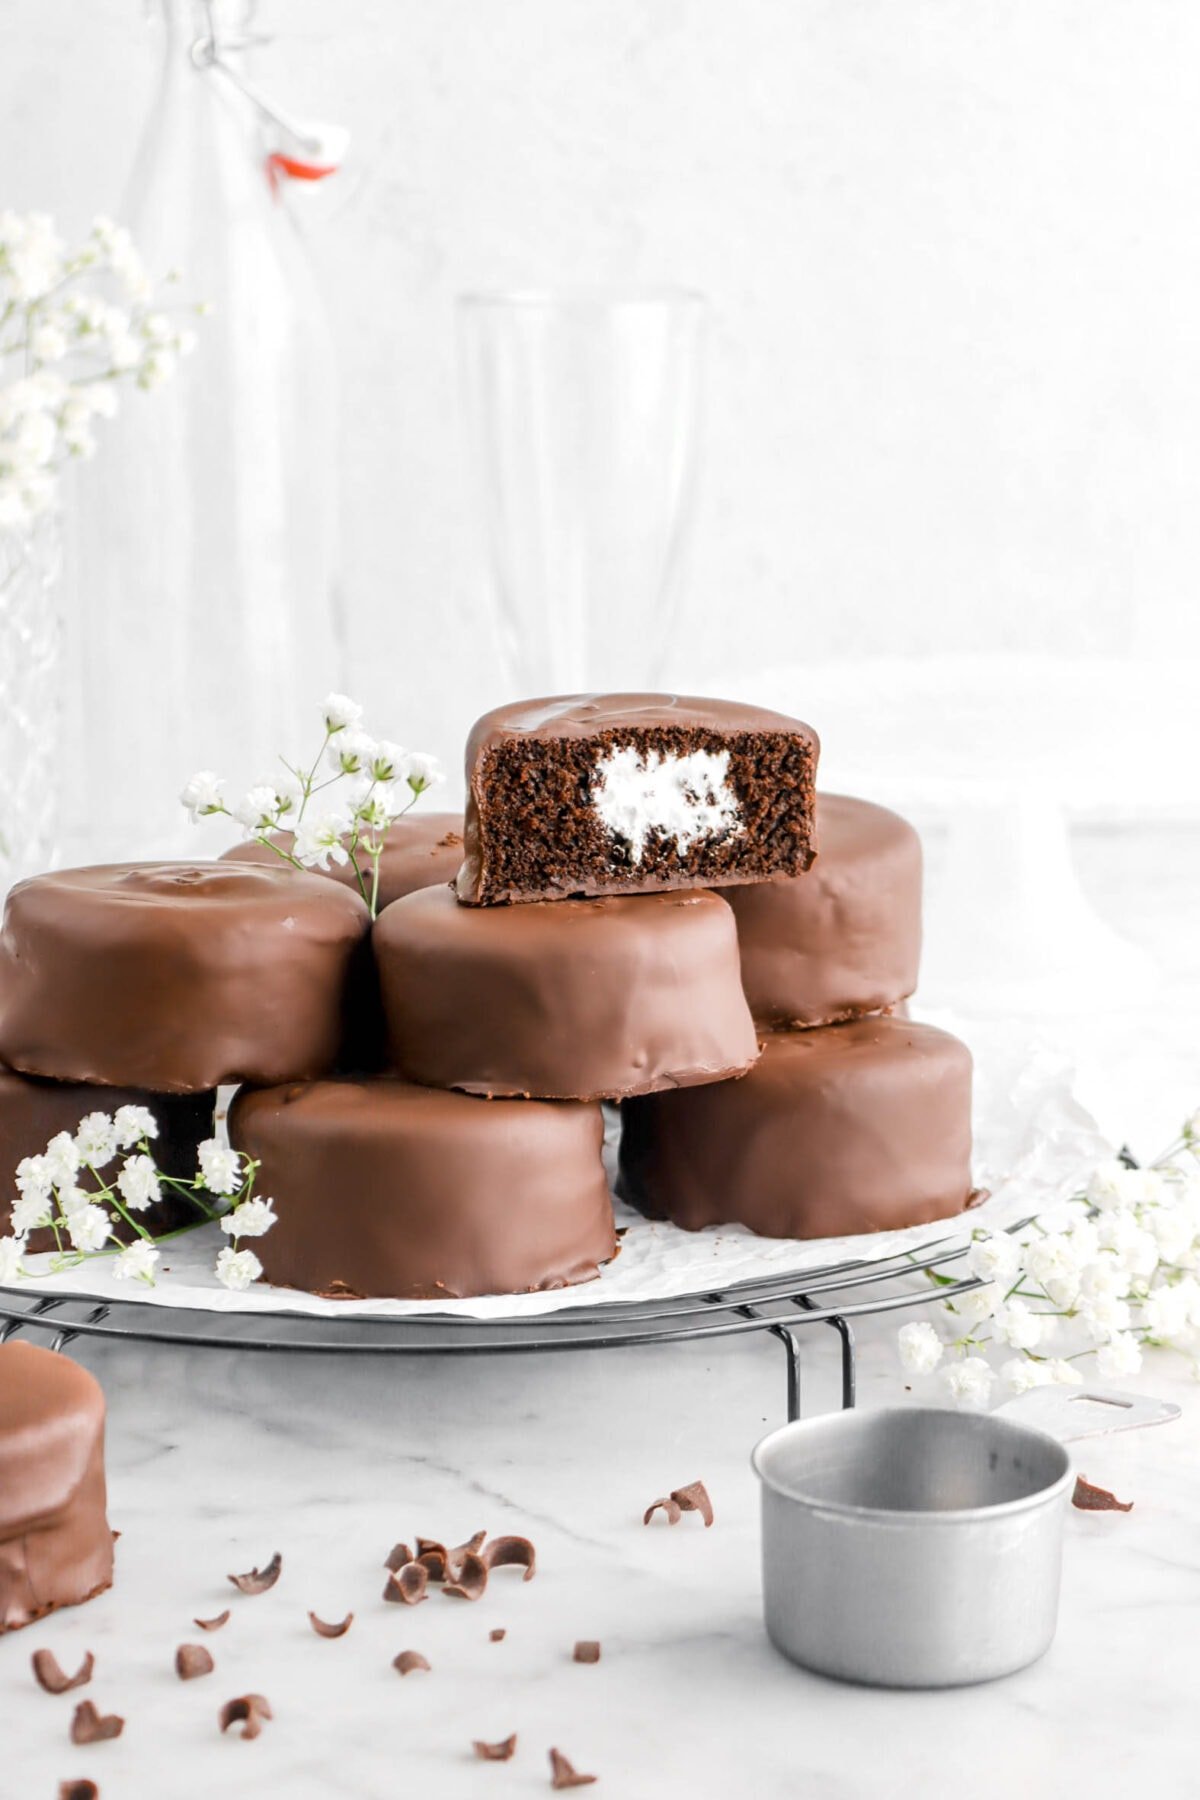
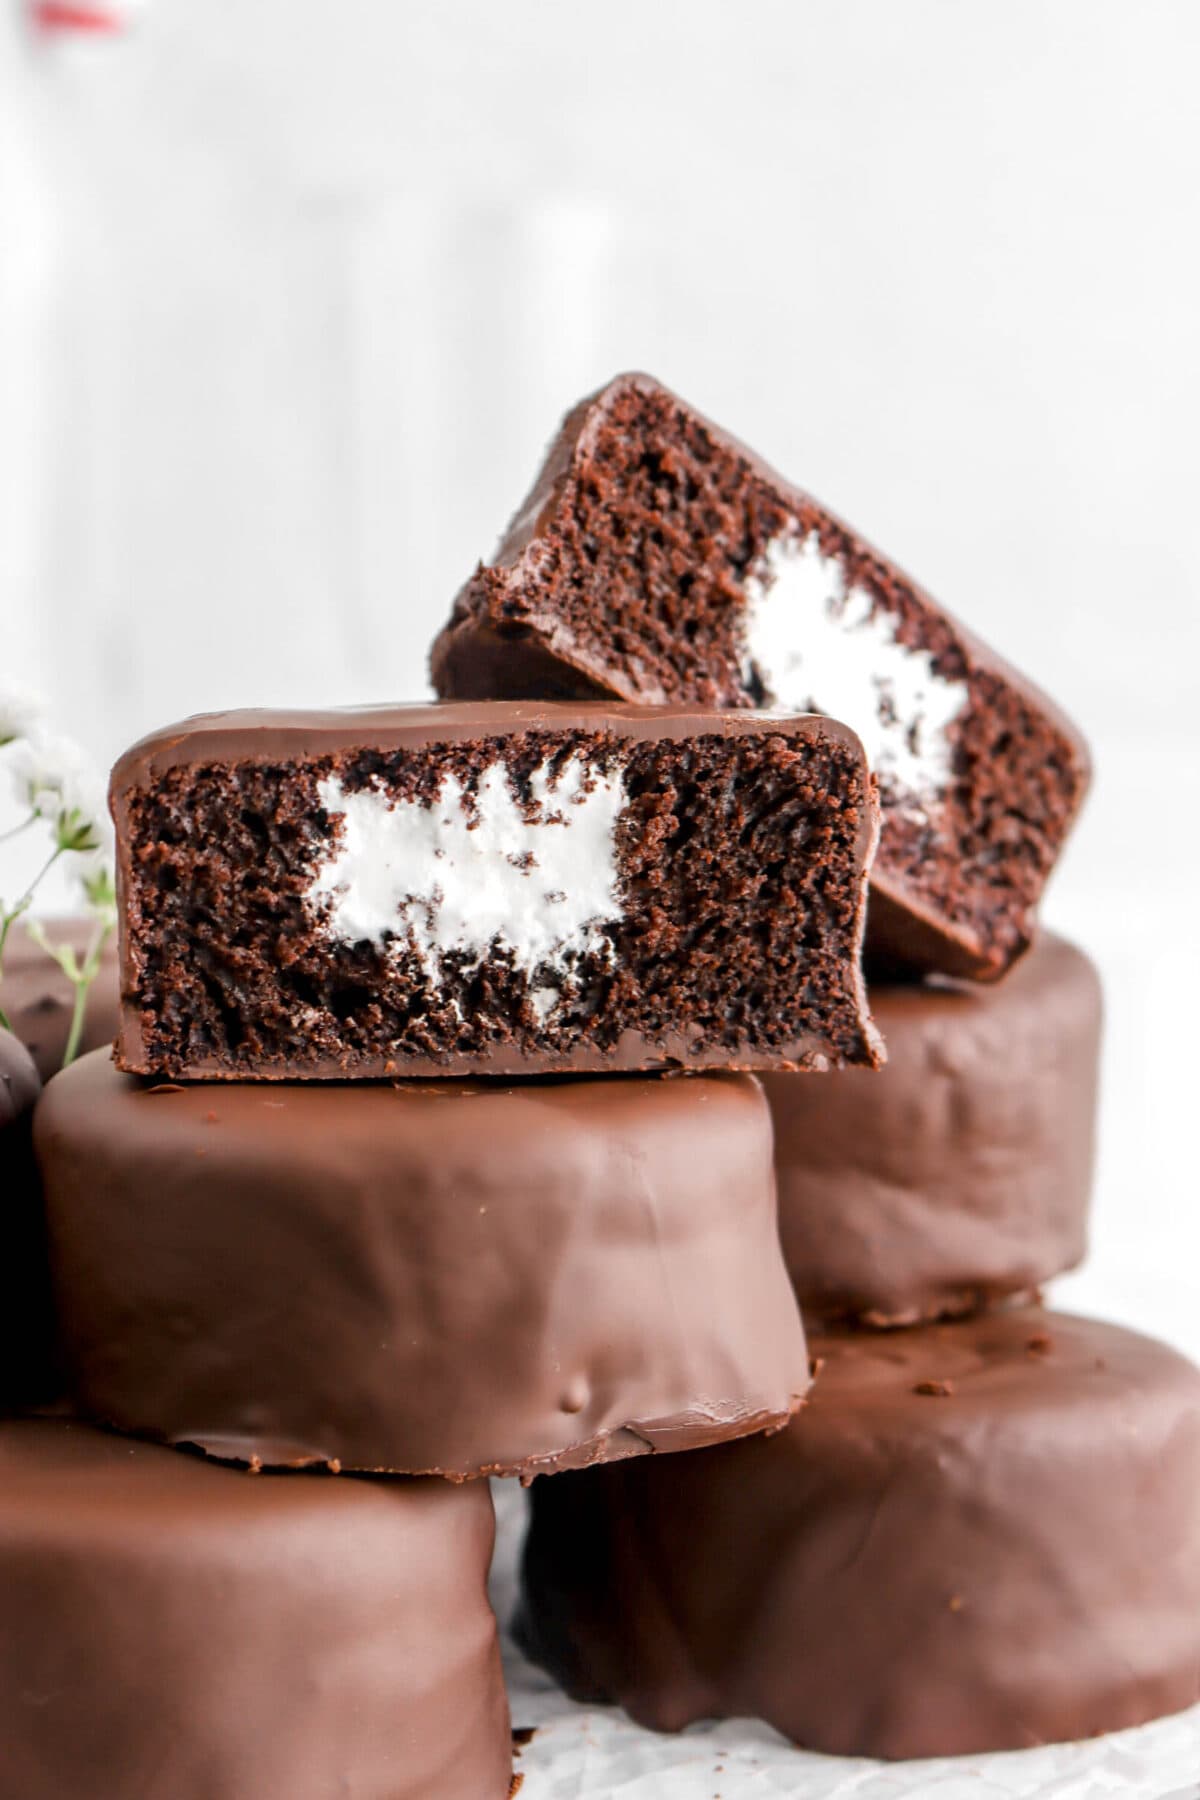
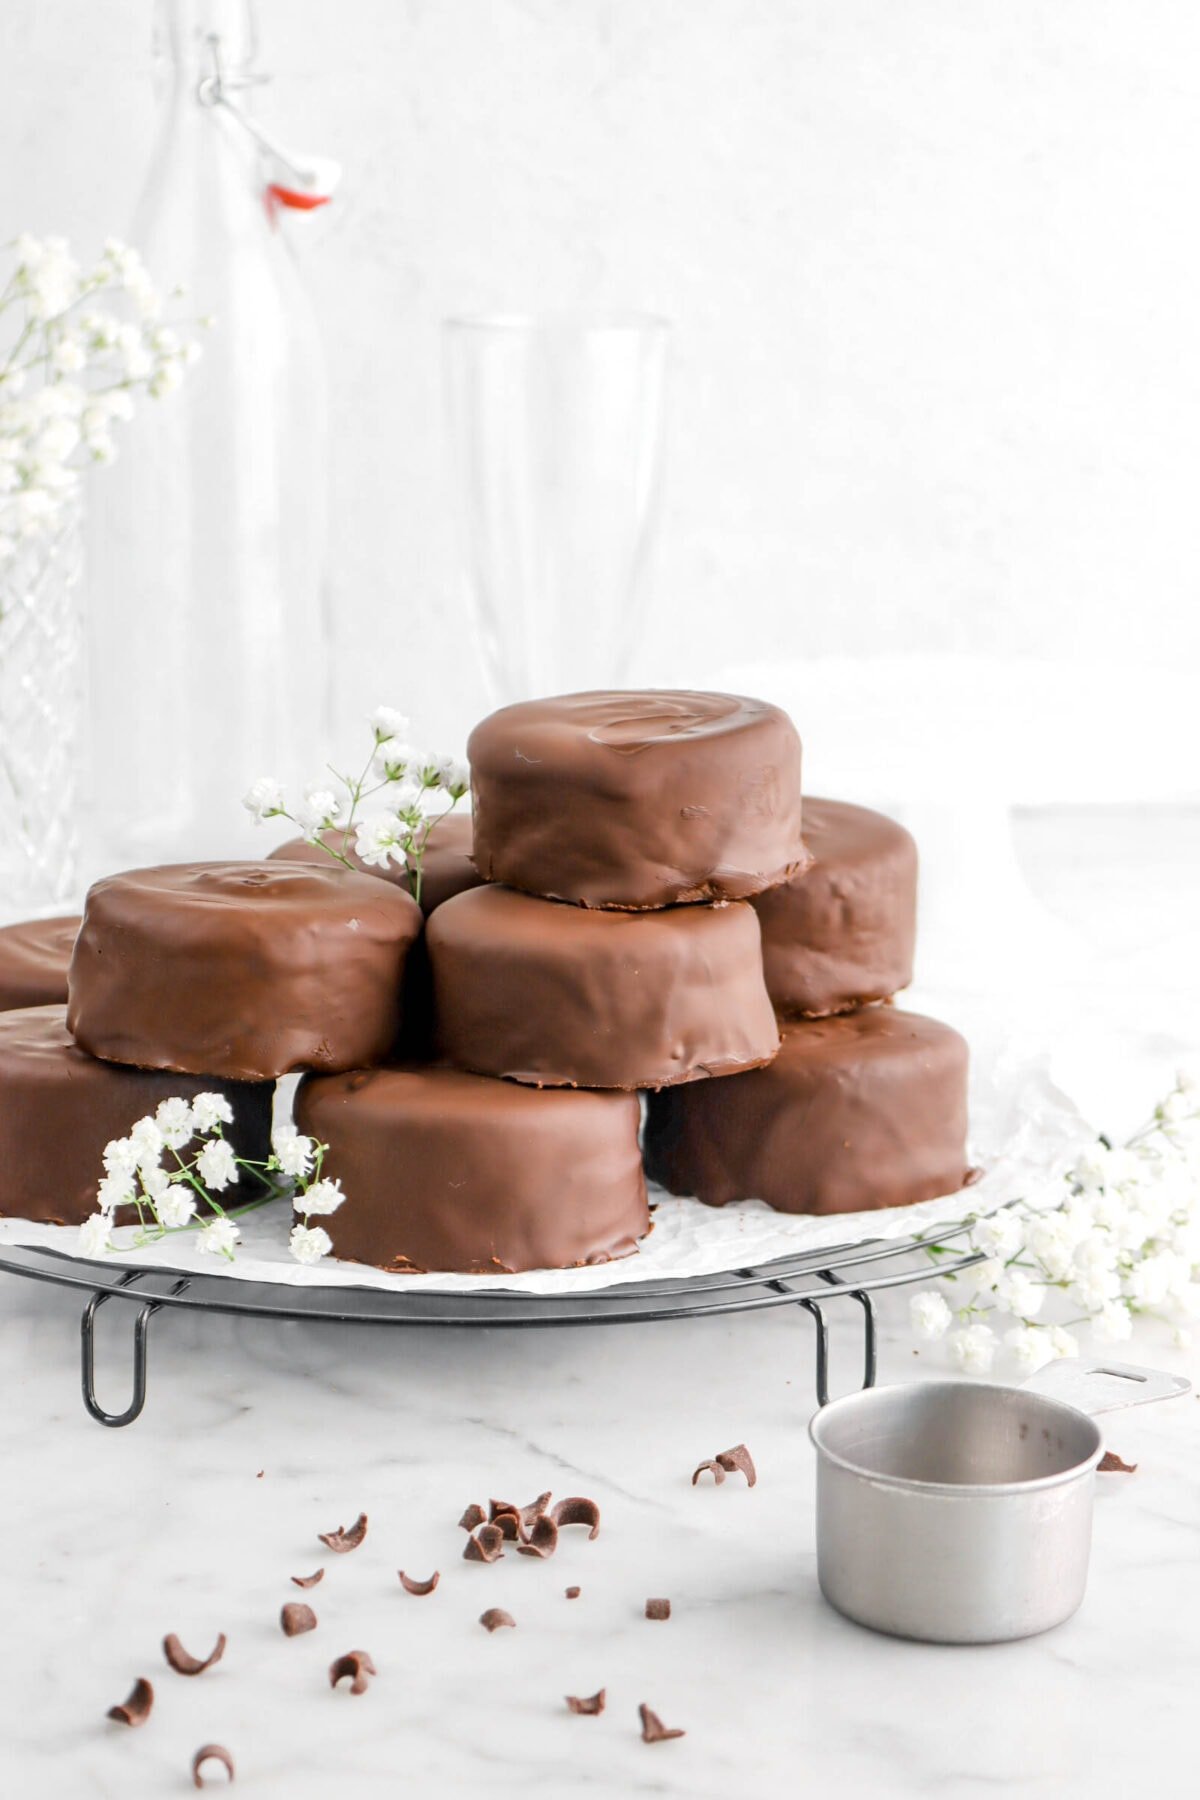
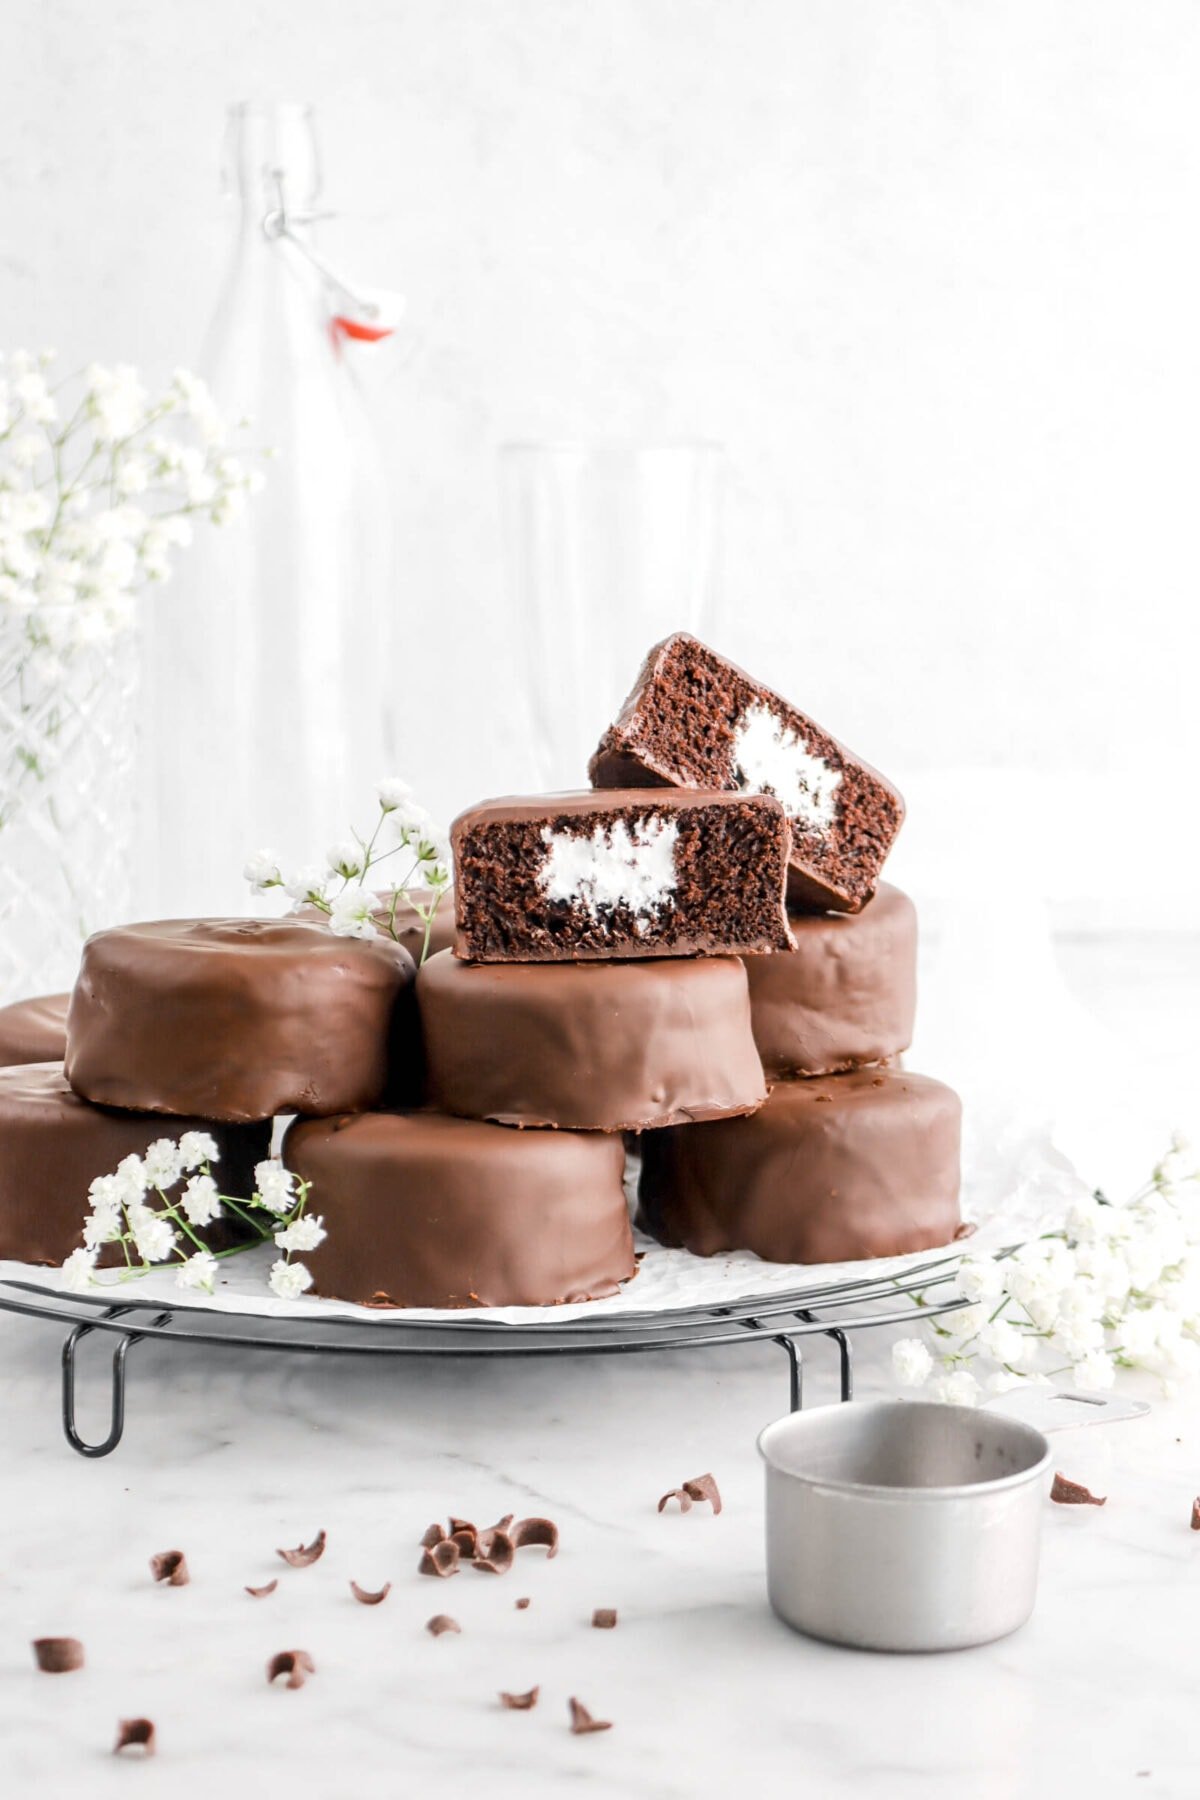
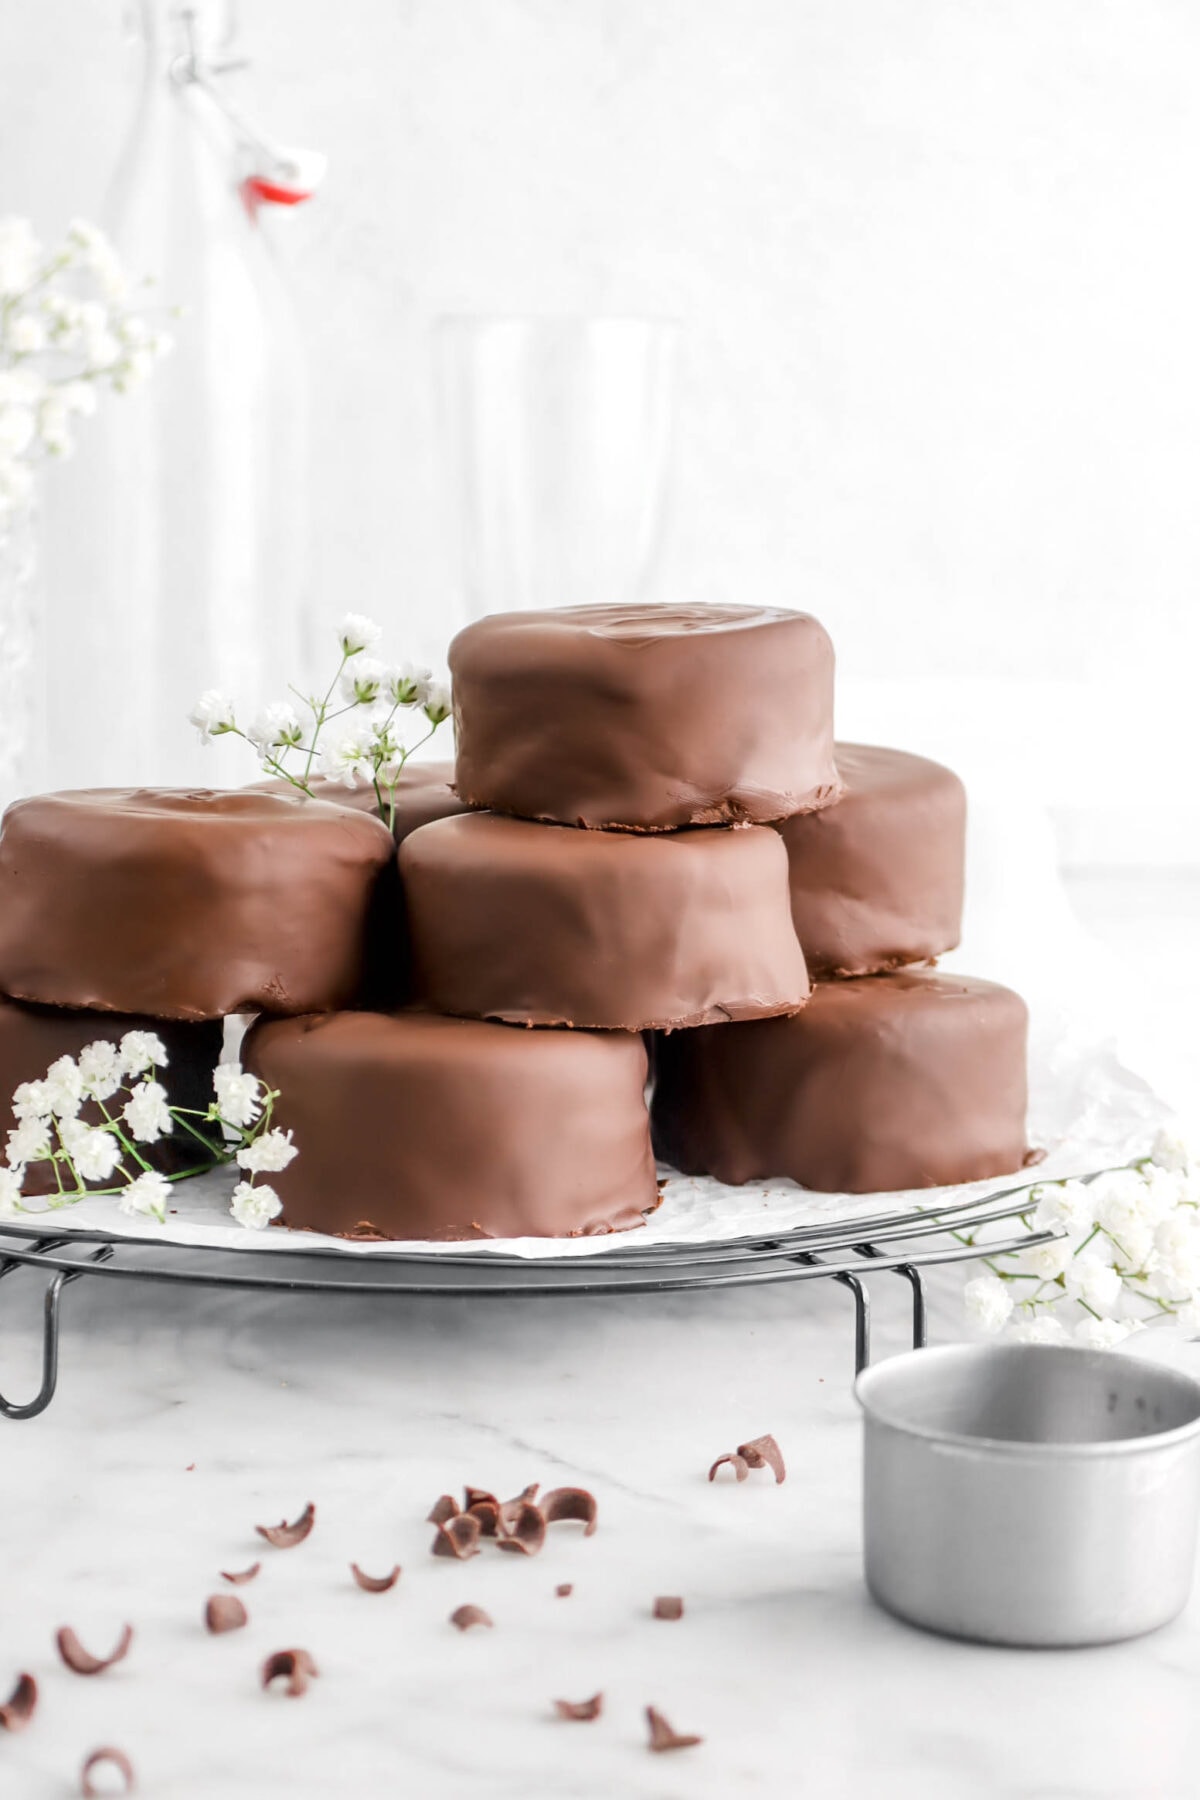
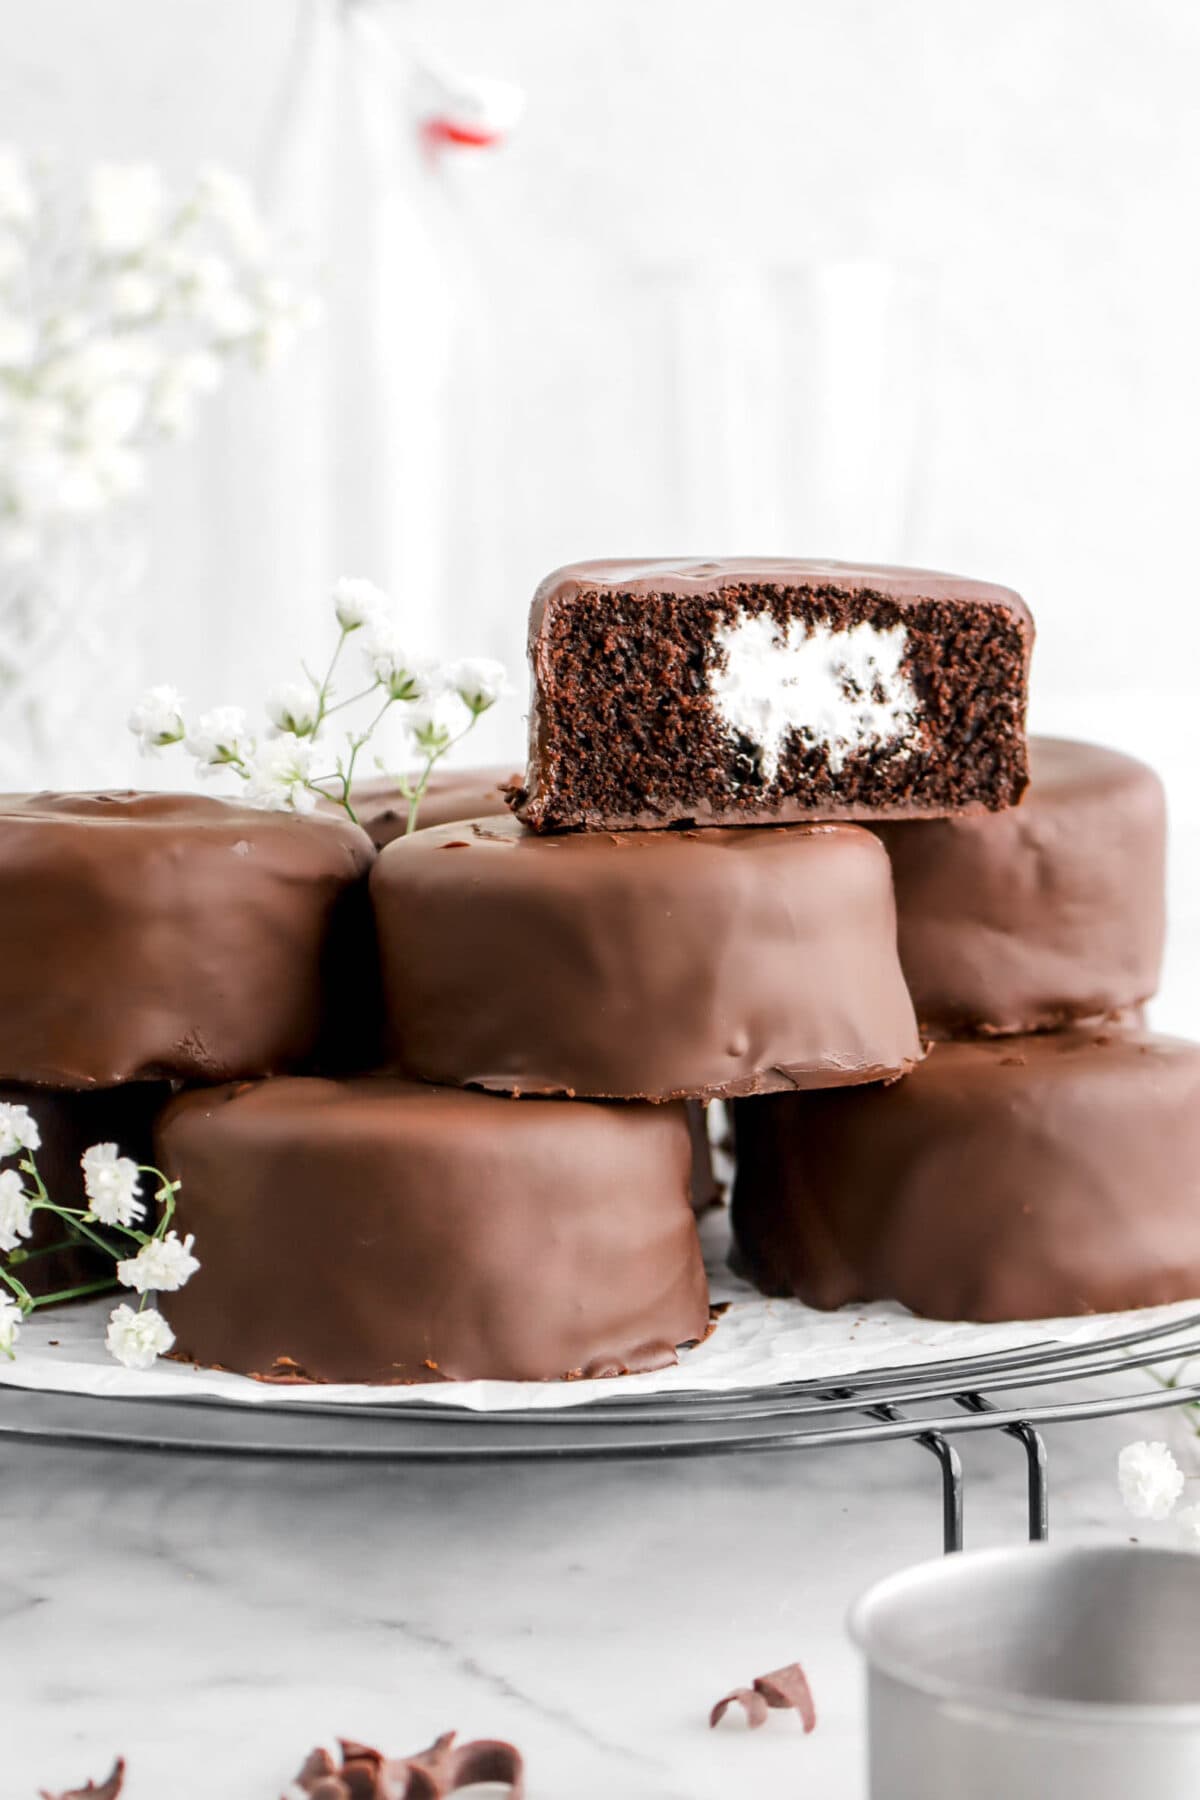
Retro-style Mini Chocolate Cakes with Marshmallow Filling and Chocolate Coating…or just Homemade Ding Dongs! We’re going back in time with these delicious mini cakes. Everyone’s favorite childhood treat, now made in your kitchen! Picture a soft, moist, and extra chocolate-y cake with homemade marshmallow fluff as the filling, and coated in rich dark chocolate. A bit of an upgrade from the stuff in the package! Every bite is roll-your-eyes-back delicious. The perfect extra chocolate-y treat for this summer!
About The Recipe
If I had to choose a recipe that pretty much defined the worlds “childhood throwback”, it would be this one! I mean, there are a few recipes that really bring back a lot of memories, but these are the epitome of it. Honestly, who didn’t love a good ding dong (or…chocolate coated cake with marshmallow filling) growing up?
My friends and I always had them in our school lunch boxes or as a summertime treat after a long day of playing outside. They were a quick grab-and-go sweet snack that ticked every box of deliciousness.

Though, as I got a little bit older, my mom began tinkering in the kitchen. You see, ding dongs are one of her absolute favorite Hostess treats and if my mom loves something that much, she’s gonna figure out a way to make it at home.
So, our kitchen became a mini chocolate cake factory for a little while! That was, until my mom settled on what she deemed nearly perfect. They were mini chocolate cakes, coated with dark chocolate, and filled with Chantilly cream.
The only problem? With the Chantilly cream filling, the cakes NEEDED to be refrigerated or frozen. We mostly kept them in the outside freezer (this sounds weird, I know, but growing up we didn’t have a garage. We had a carport. Hence, outside freezer)…and from that moment on, the homemade ding dongs became THE summertime snack that disappeared quickly out of the freezer.
Well, fast forward about 14 years and my mom stumbled upon her old recipe! We knew immediately we needed to share this cake on the blog, but that Chantilly cream filling just wasn’t going to cut it. So, we cut it and opted for a homemade marshmallow fluff! It’s technically meringue, but the point is, it’s more stable and doesn’t need to be refrigerated or frozen ASAP.
Then, of course, we tinkered on the cake itself and had the PERFECT little cakes that taste even better than they look. If you’ve been wanting to make mini chocolate cakes that are filled with a luscious and smooth marshmallow filling and coated in rich dark chocolate, you definitely can because it’s actually SO much easier to make than you might think.
Every bite is soft, sweet, and just soooo freaking good!
Why You Will Love This Recipe
- The cakes are SUPER easy to make and takes about 45 minutes.
- The filling is a homemade marshmallow fluff…YUM!
- Three words. Dark. Chocolate. Coating.
- Makes for the perfect back to school treat, summertime snack, or just nostalgic bake.
Equipment Needed
- Mixing Bowls
- Whisk
- Mini Cake Pans
- Cake Tester
- Cupcake Corer
- Stand Mixer
- Small Saucepan
- Digital Thermometer
- Piping Bags
Ingredients
(Full ingredient amounts and instructions can be found in the recipe card at the bottom of the post)
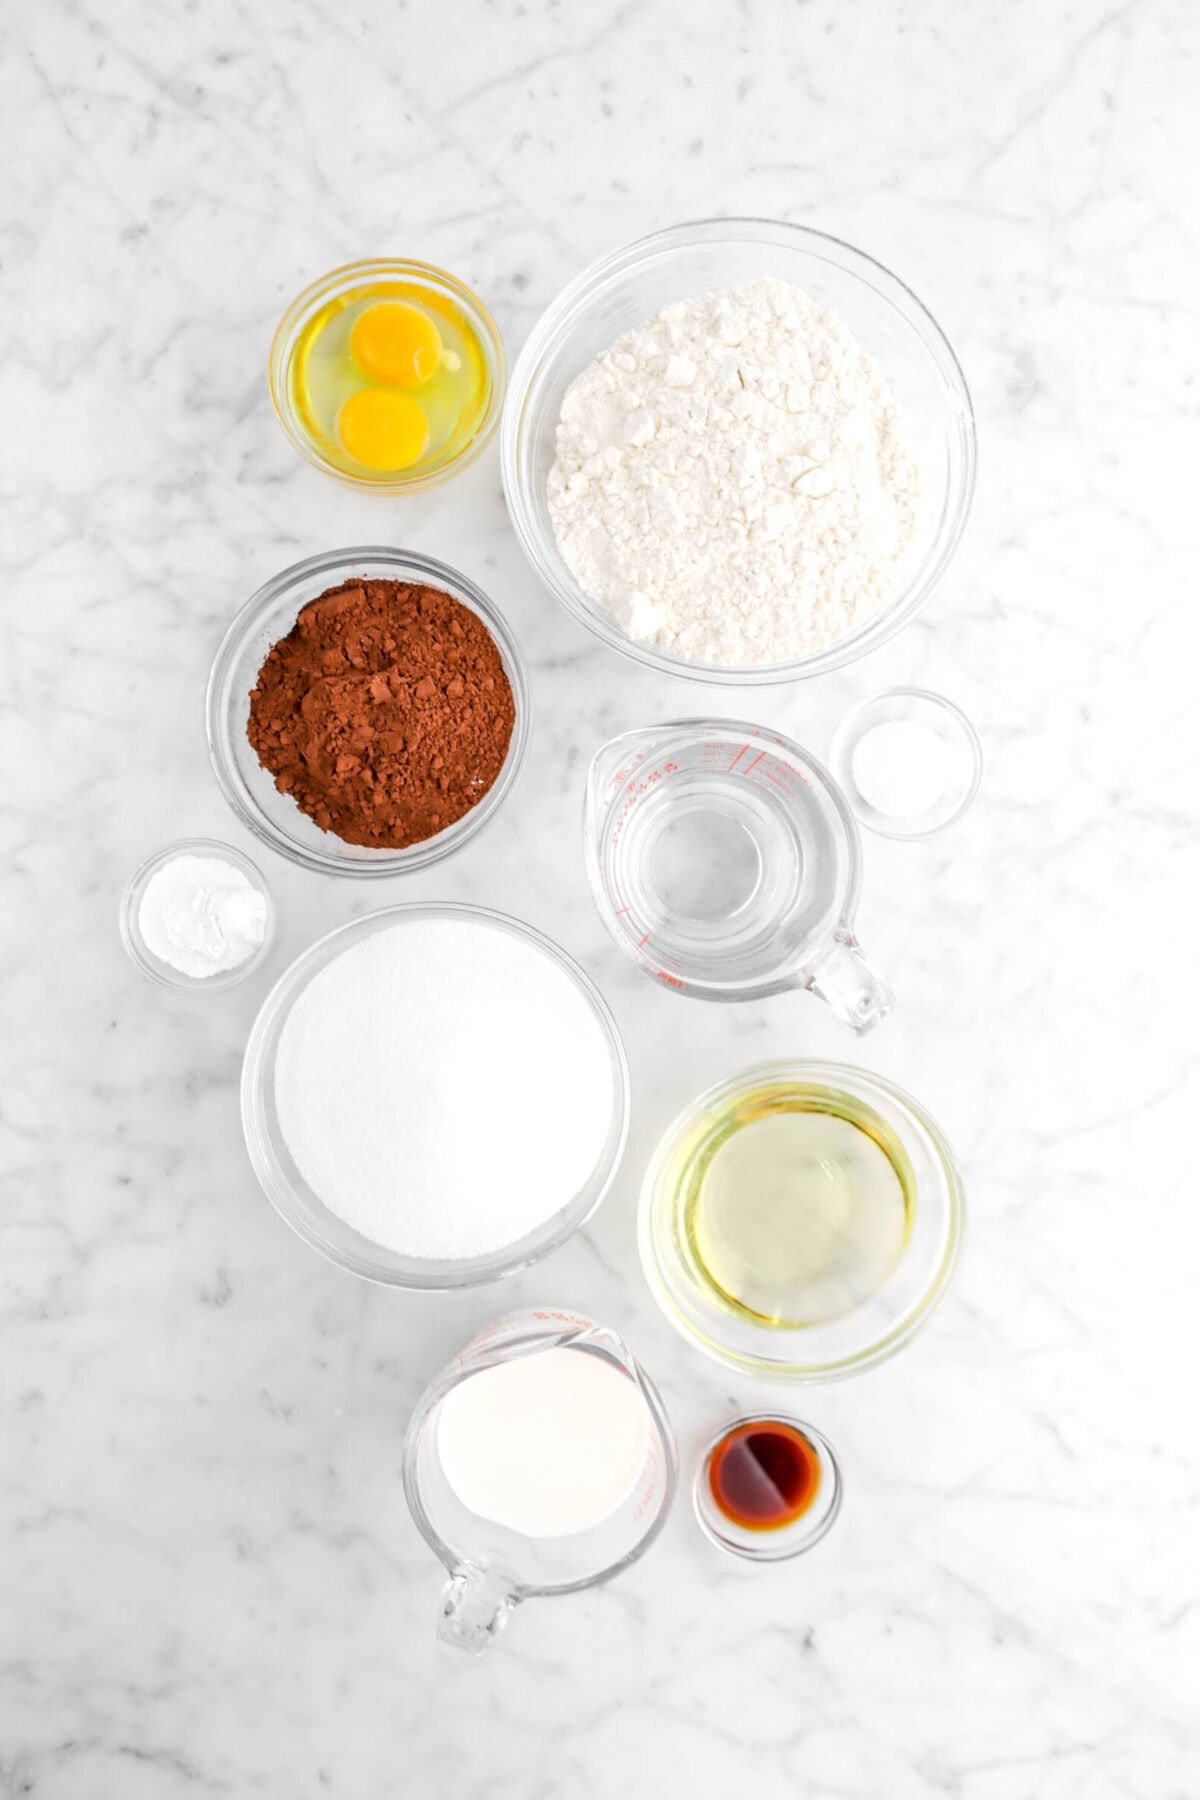
For The Cakes:
- Dutch Process Cocoa Powder
- Boiling Water
- All Purpose Flour
- Granulated Sugar
- Baking Powder
- Salt
- Large Eggs
- Whole Milk
- Vegetable Oil
- Vanilla Extract
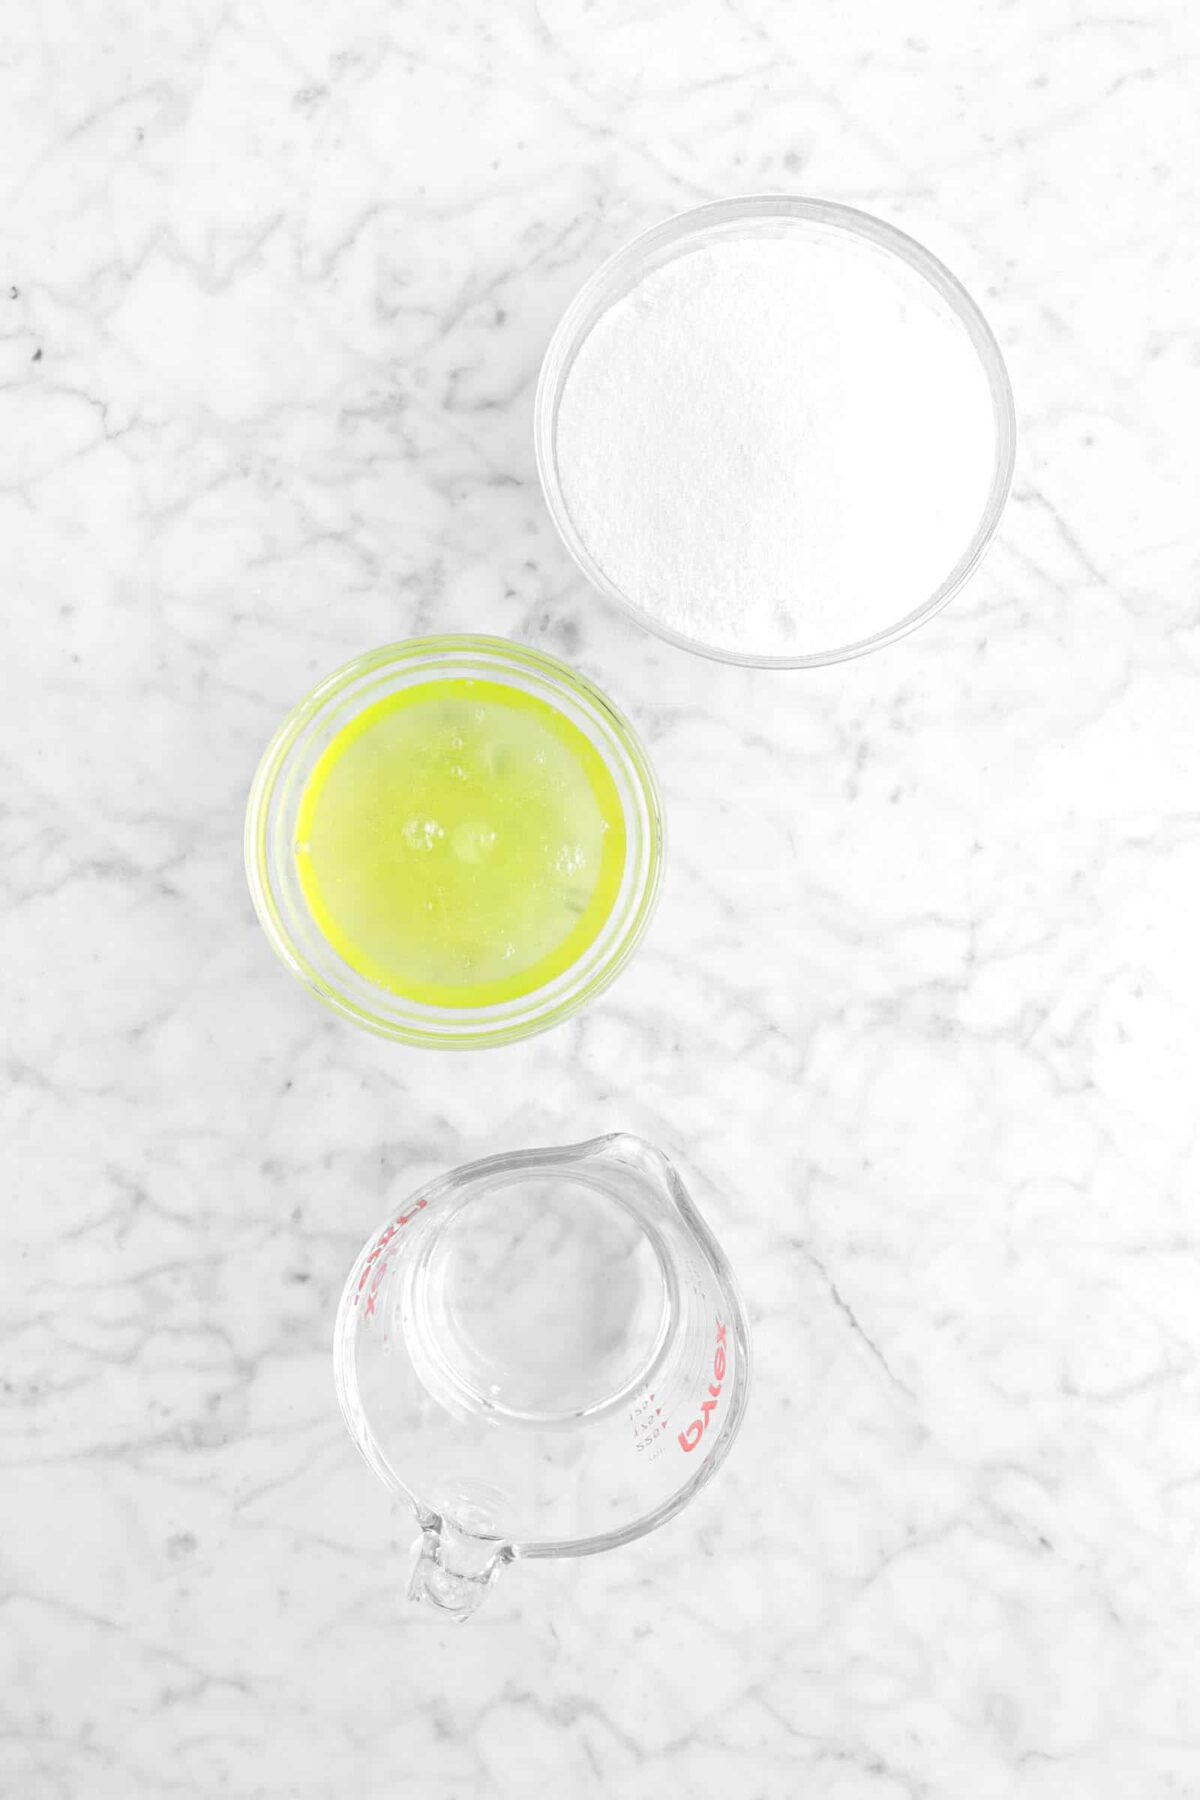
For The Marshmallow Fluff:
- Egg White
- Granulated Sugar
- Water
For The Coating:
- Melted or Tempered Chocolate
How To Make Mini Chocolate Cakes with Marshmallow Filling
Step 1: Make the cakes
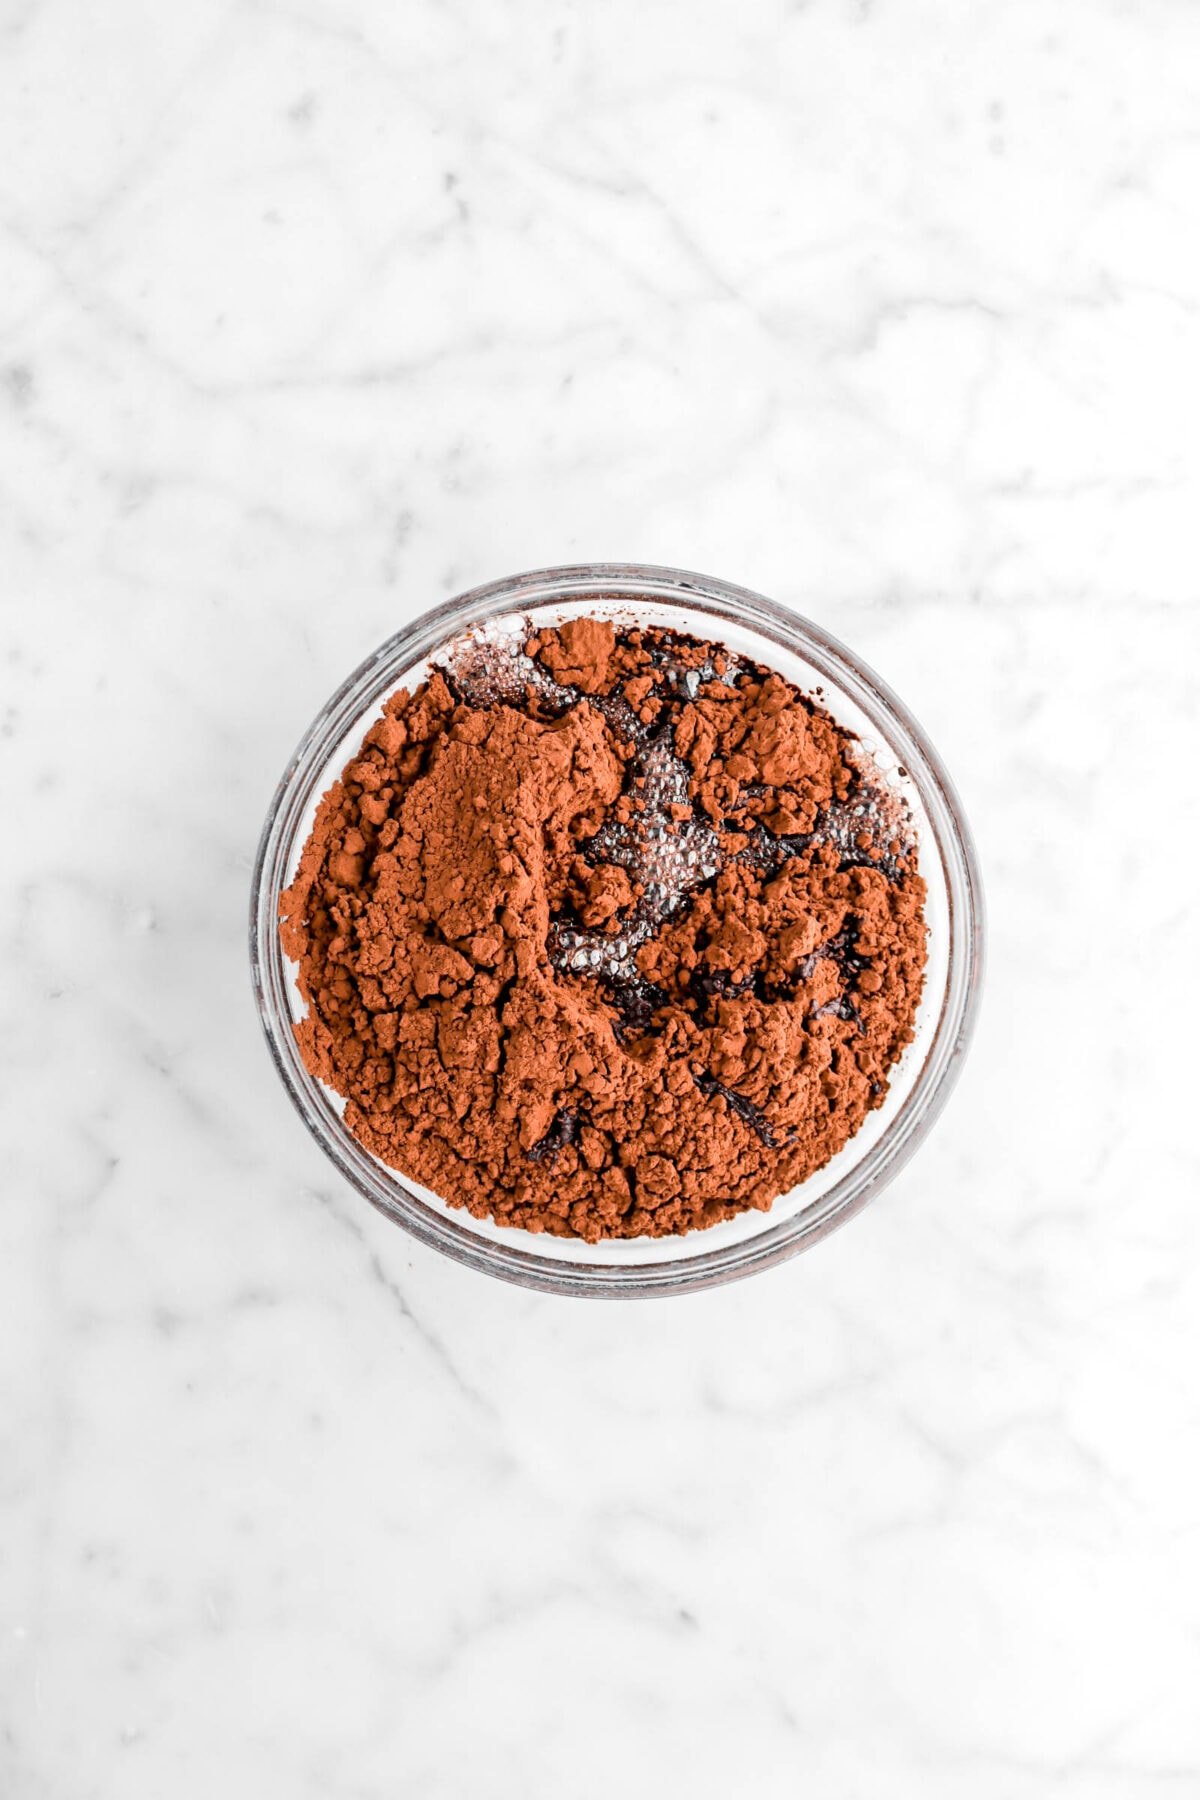
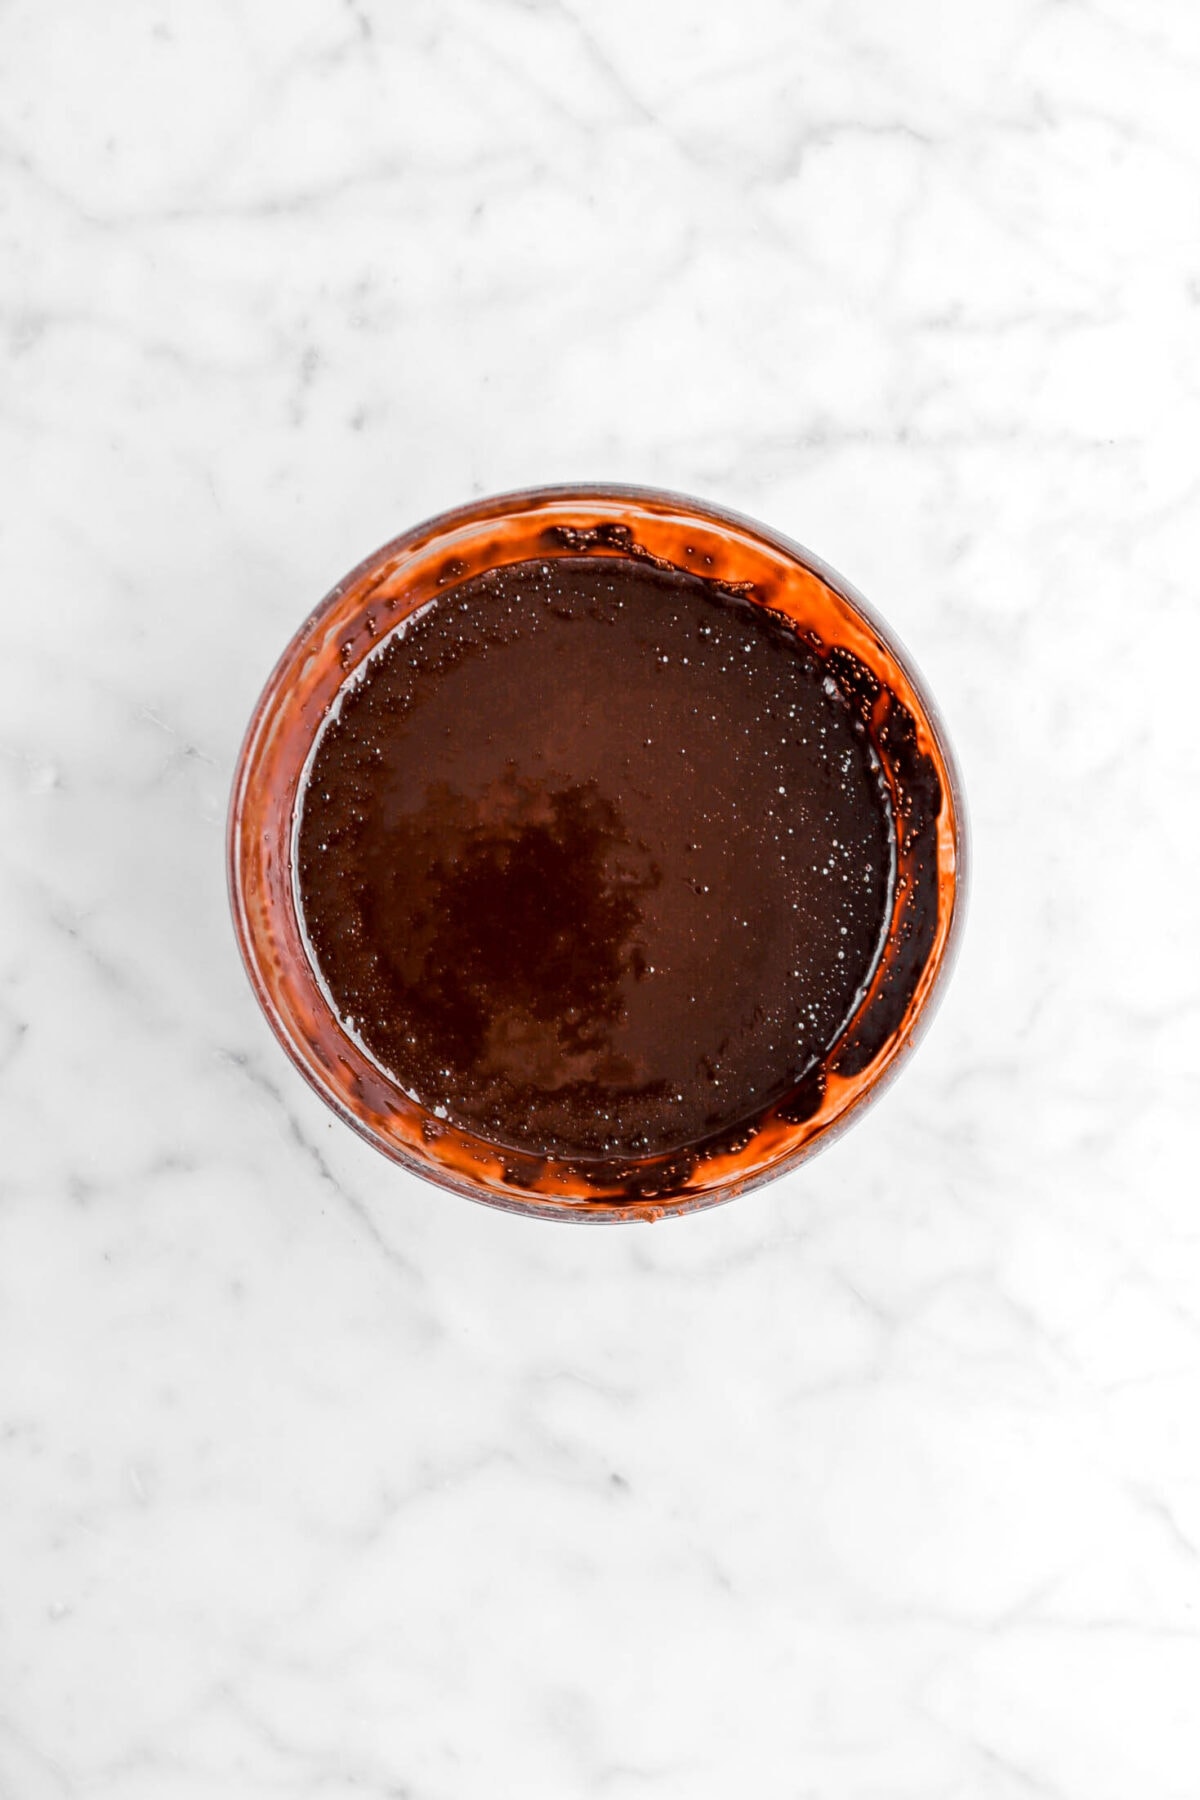
In a small bowl, whisk together cocoa and boiling water. Set aside.
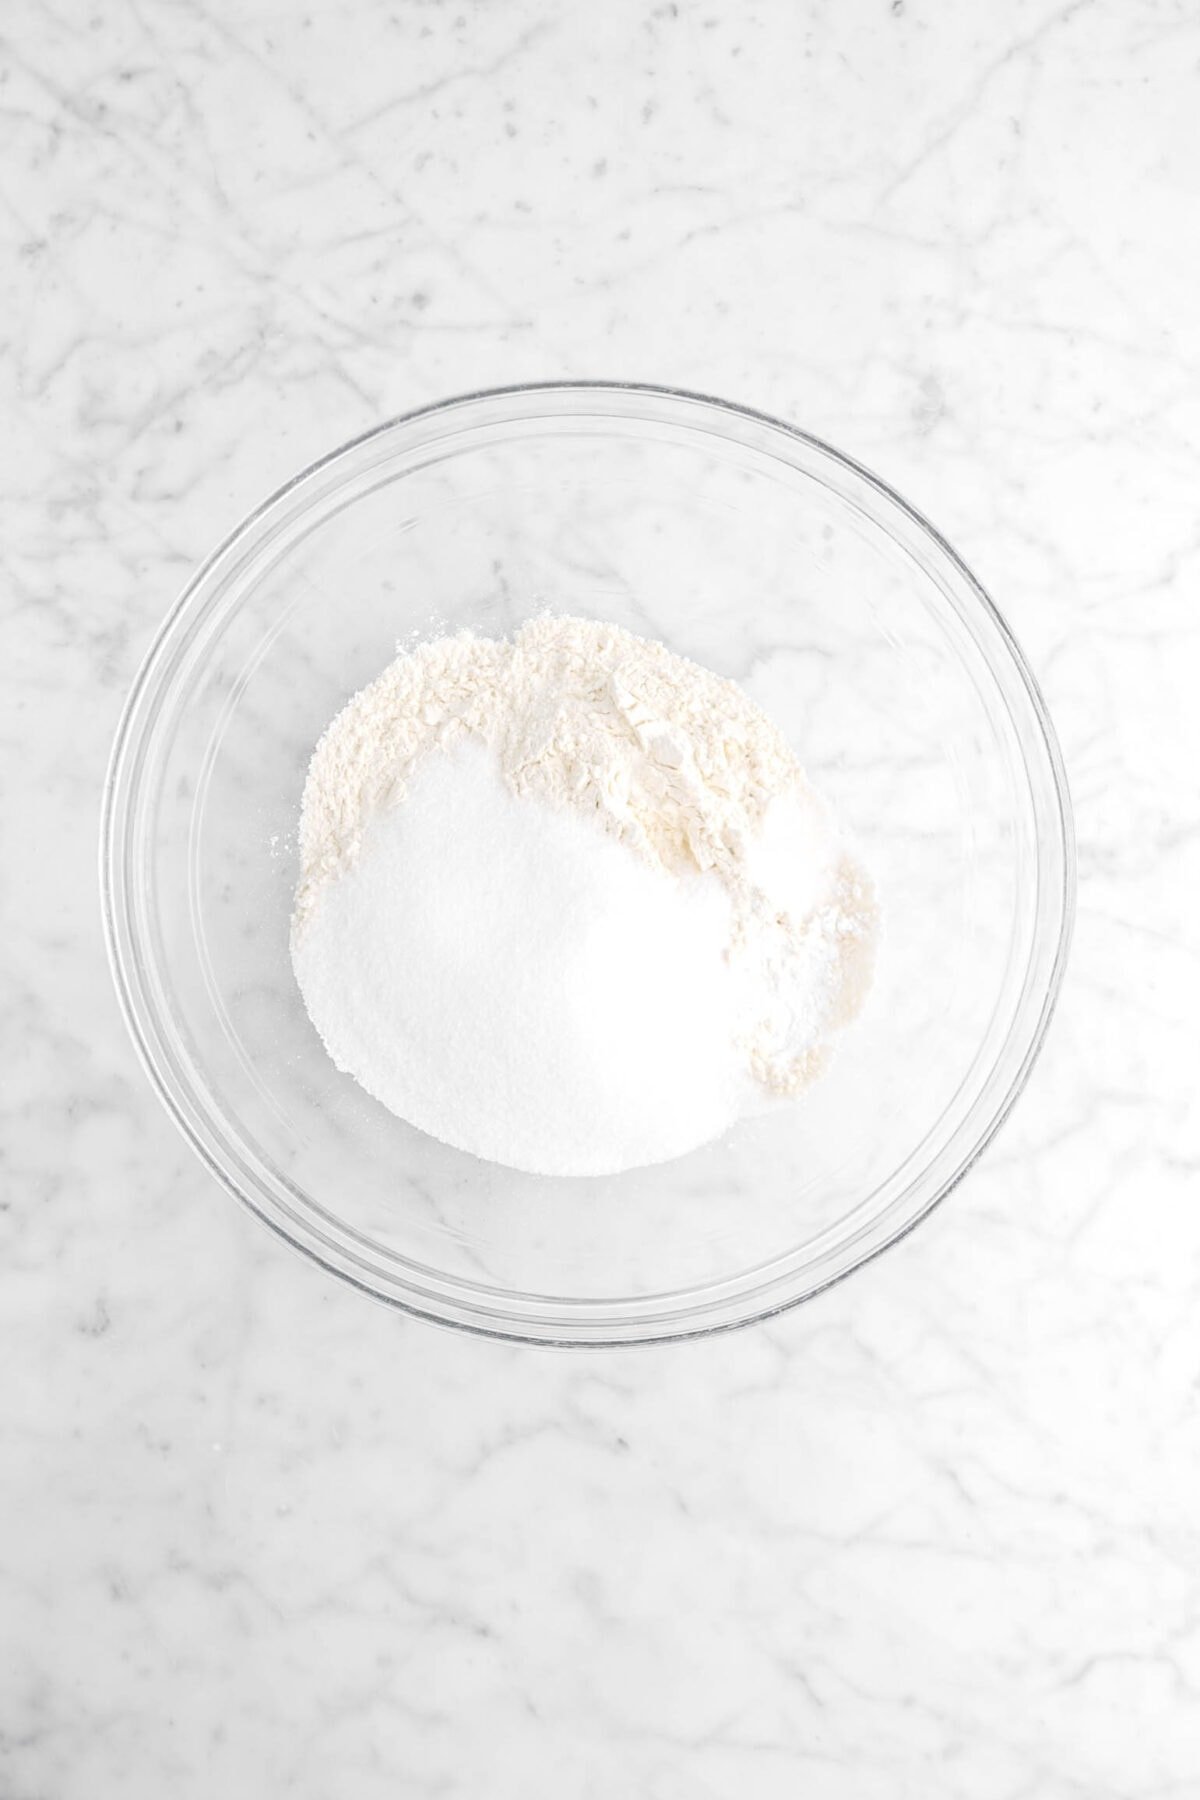
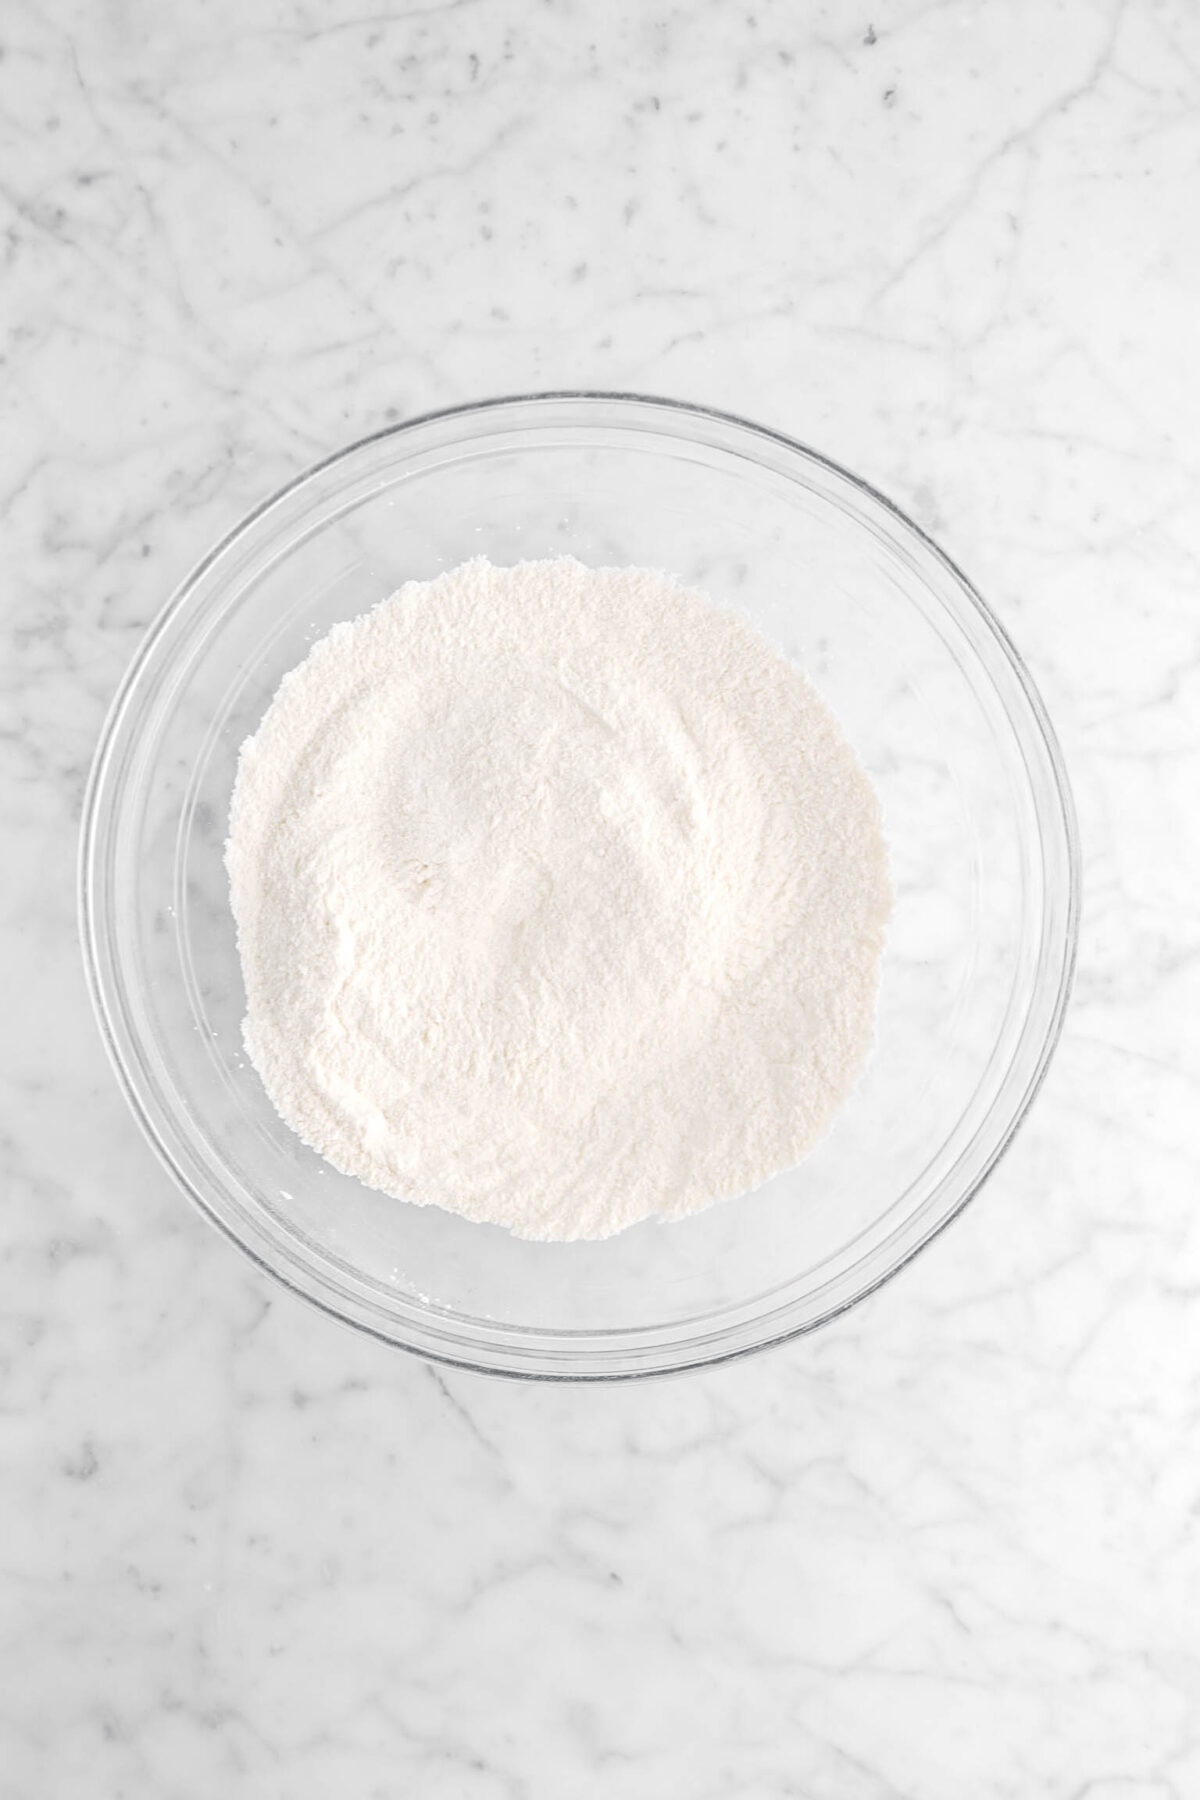
In a large bowl, whisk together flour, sugar, baking powder, and salt.
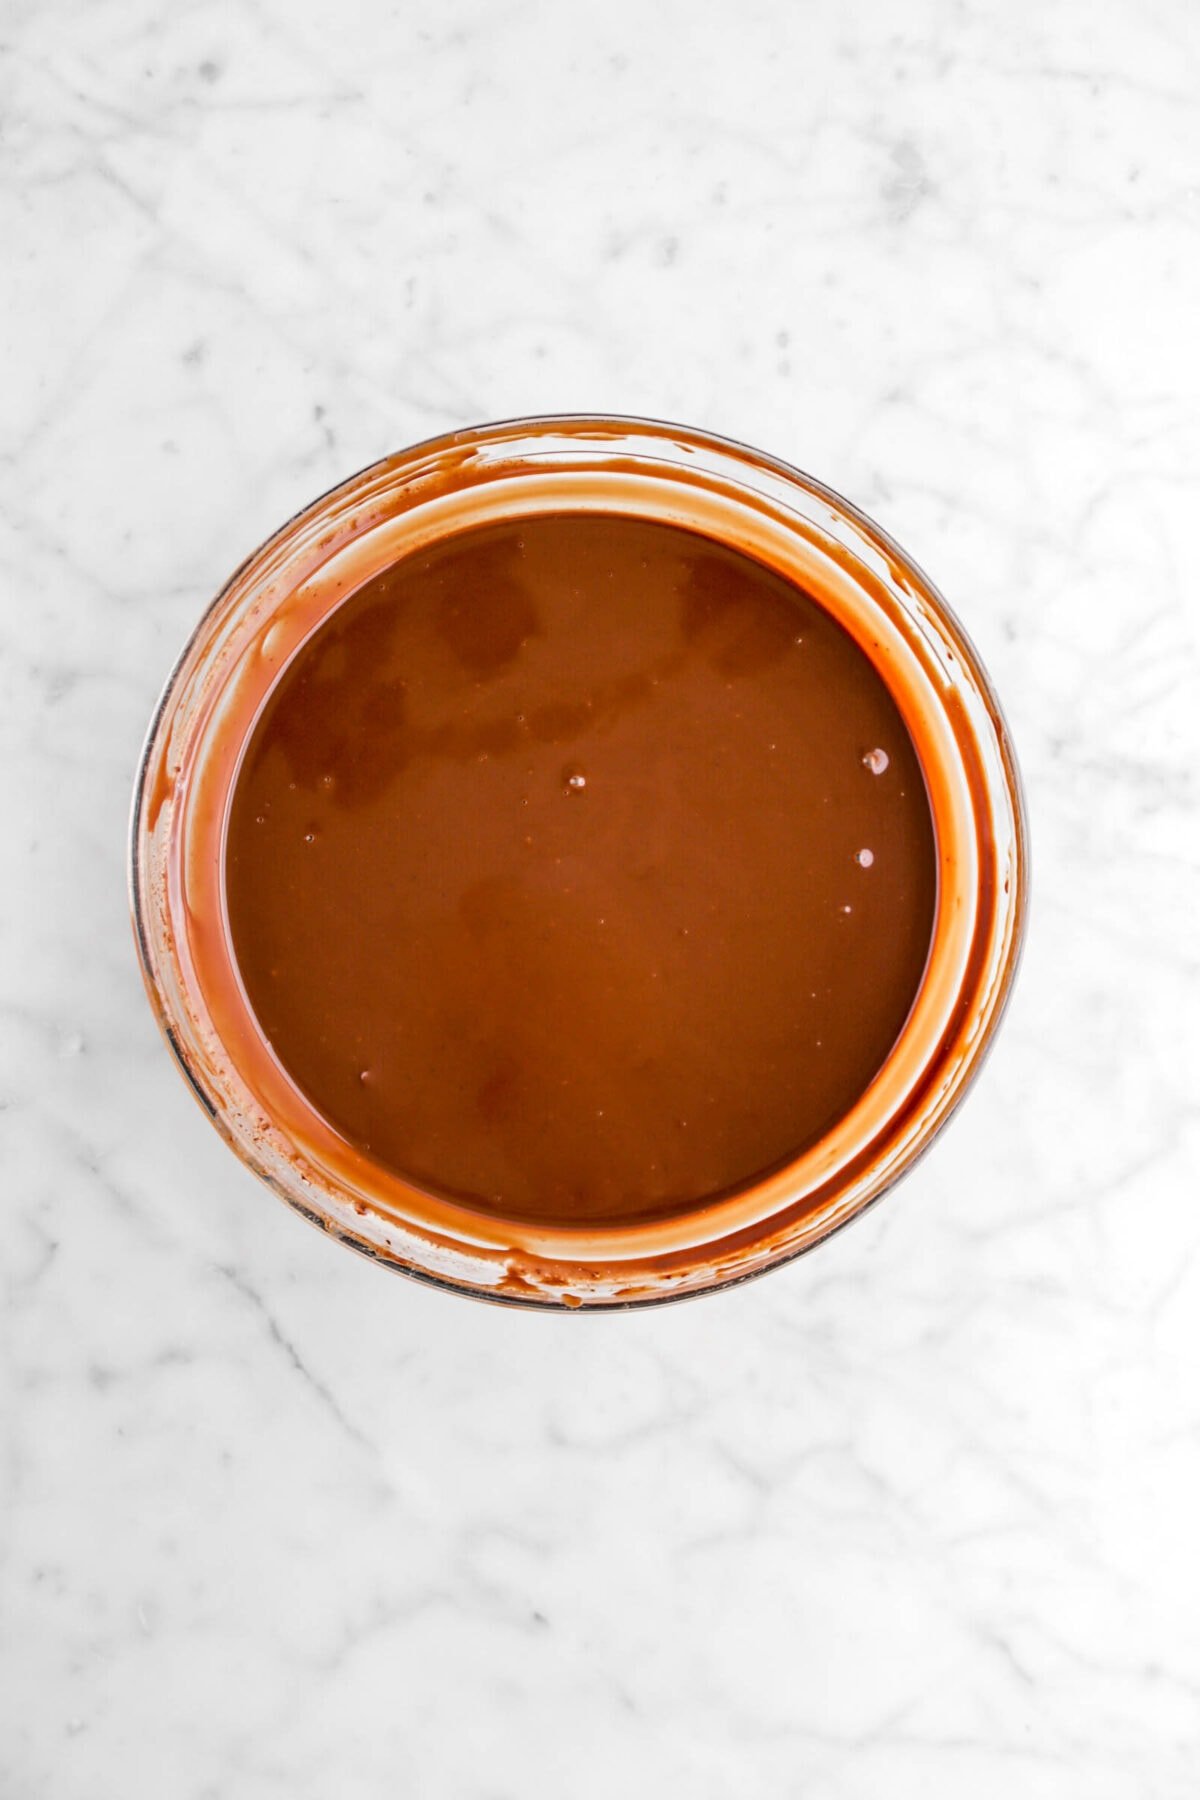
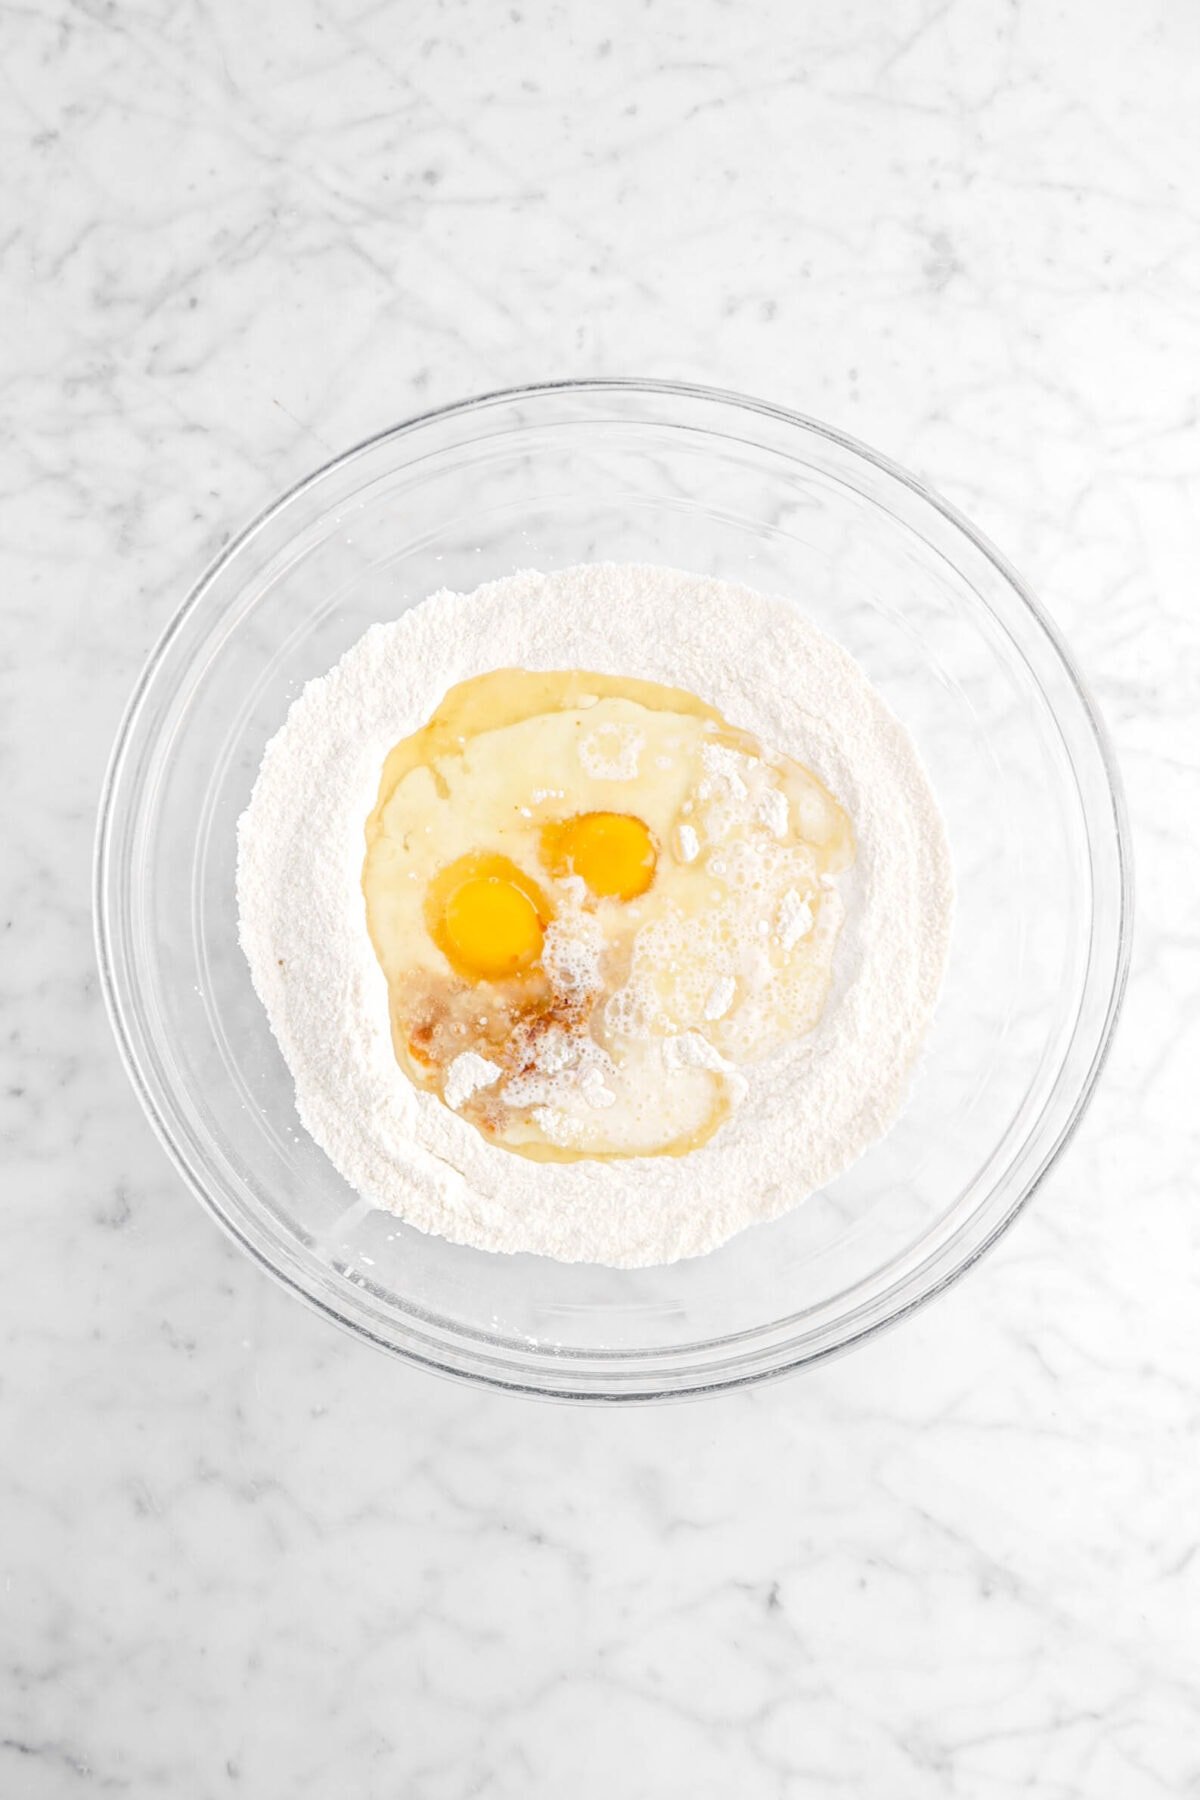
Add eggs, milk, oil, and vanilla. Whisk until smooth.
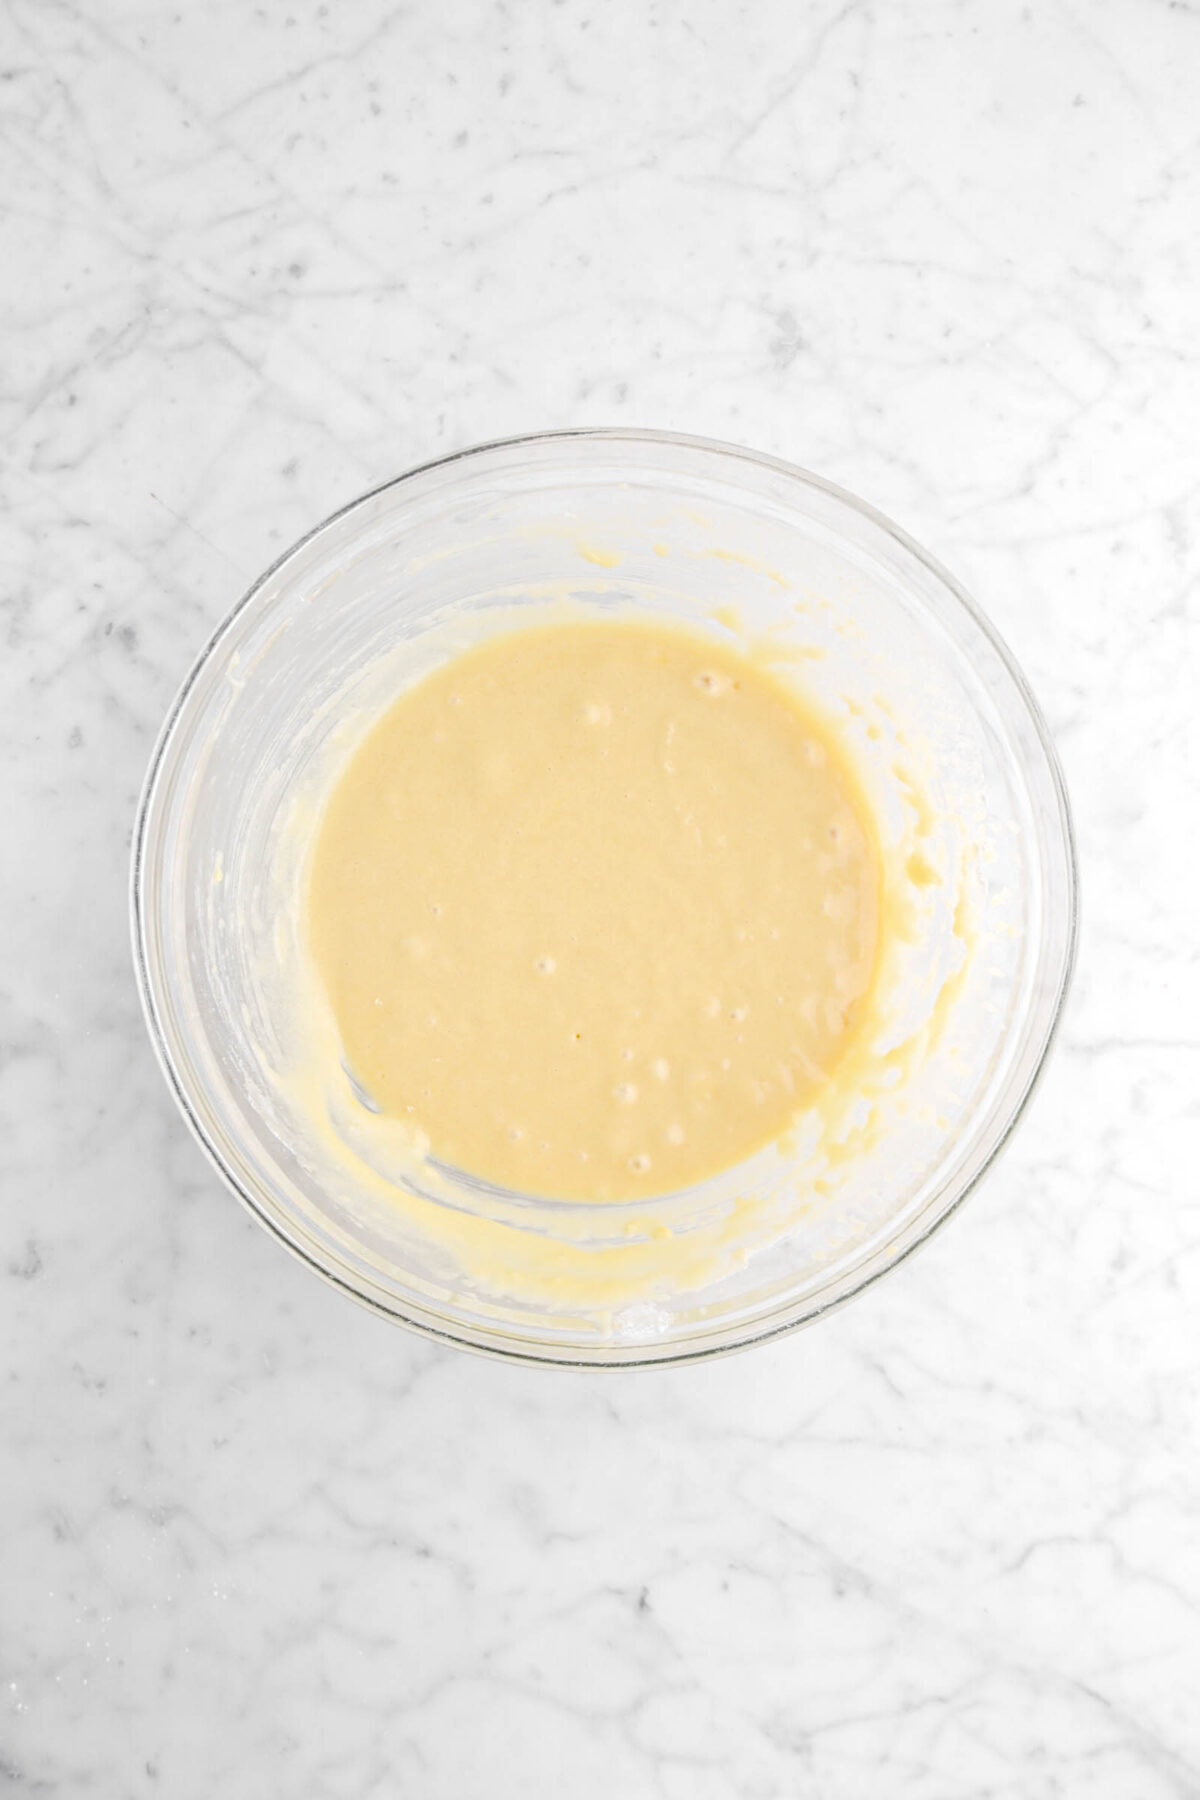
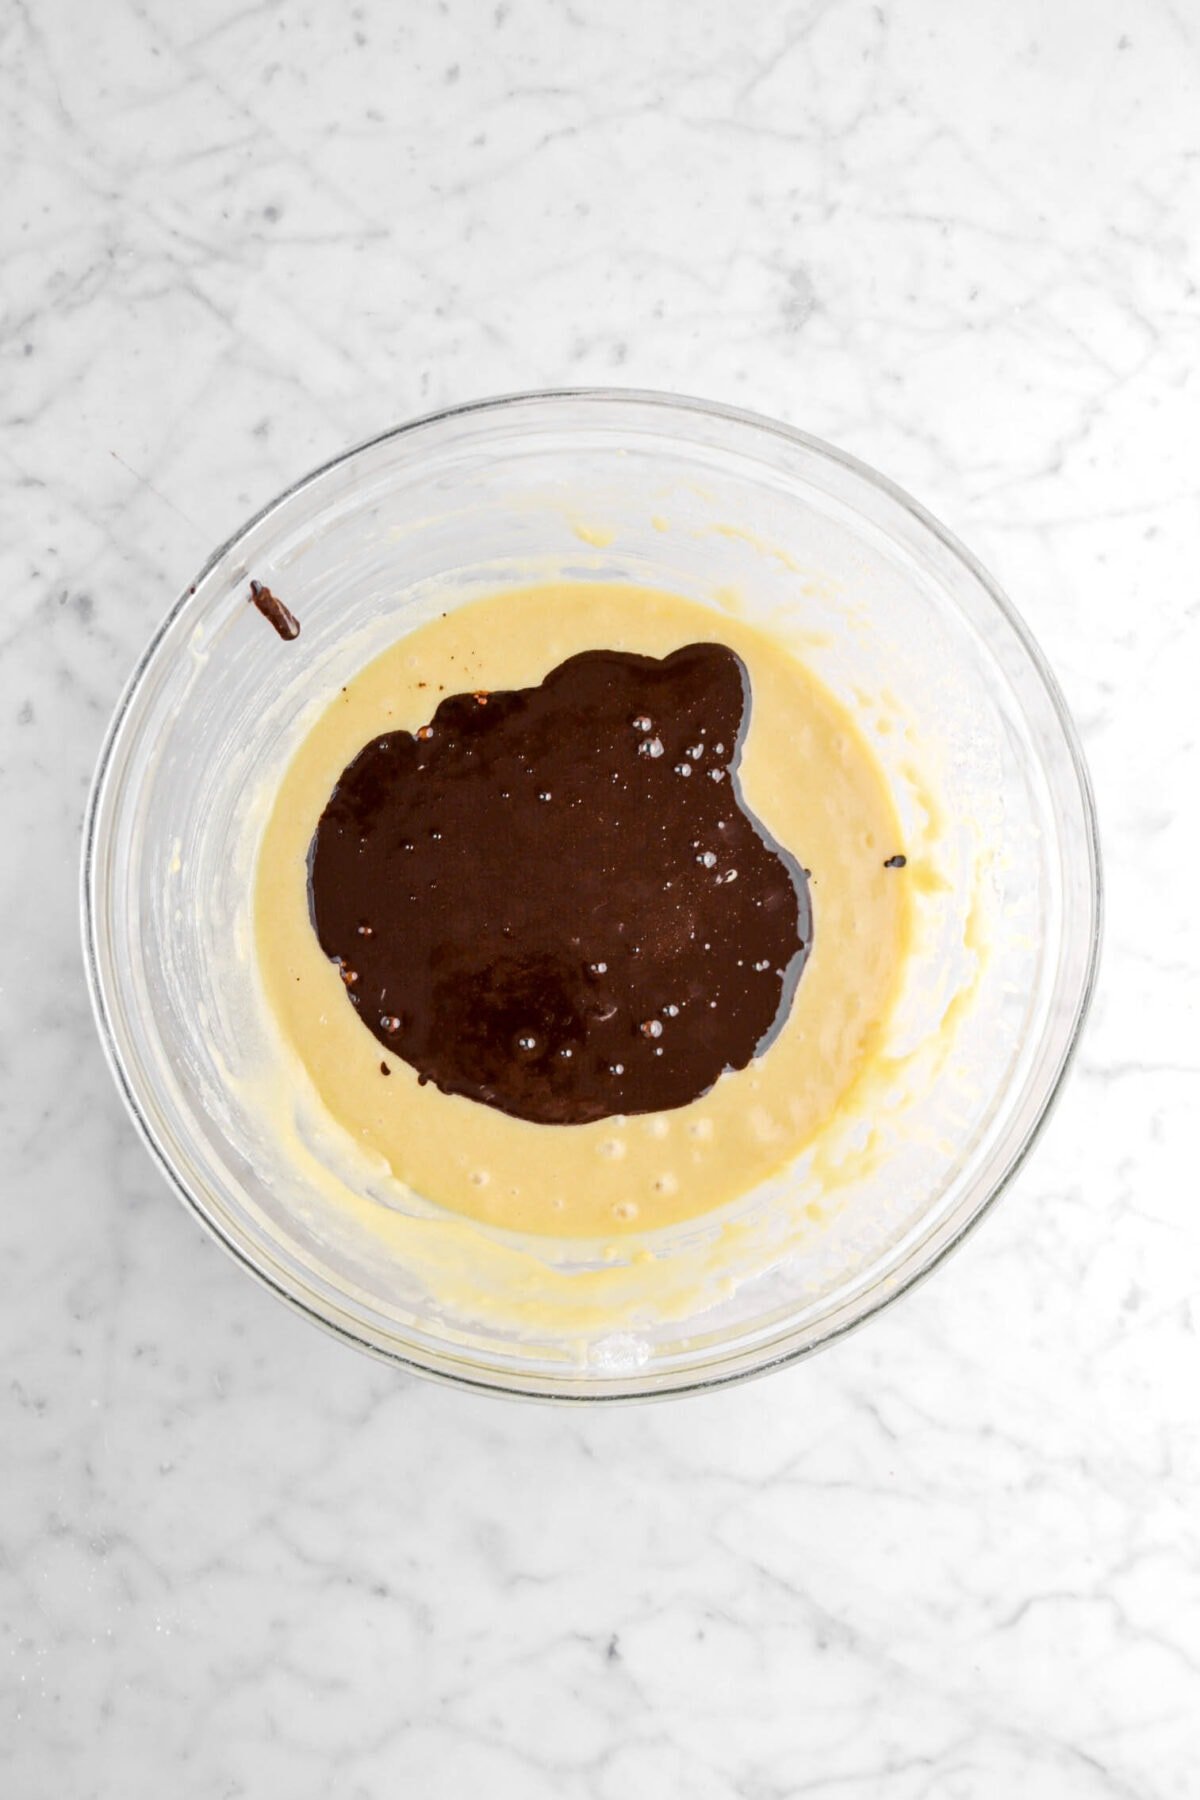
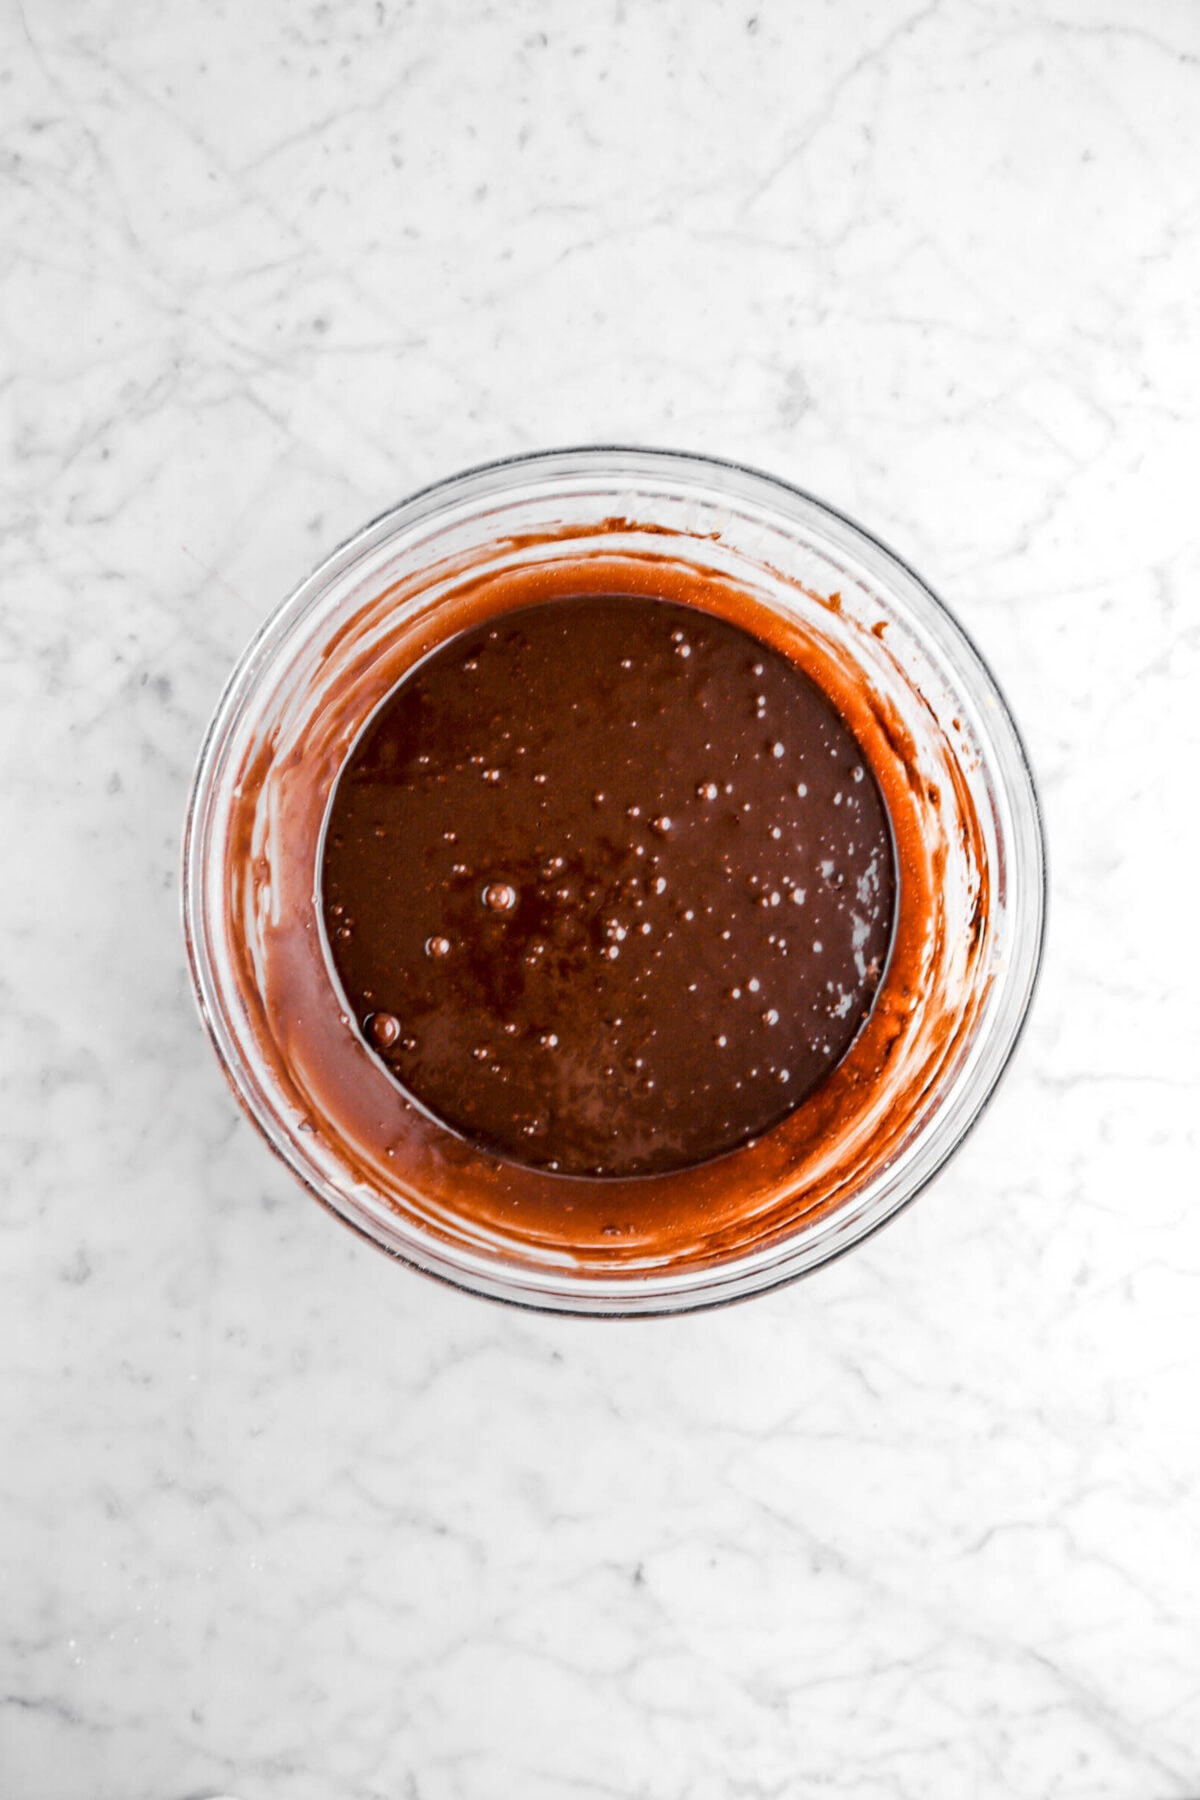
Stir in the bloomed chocolate.
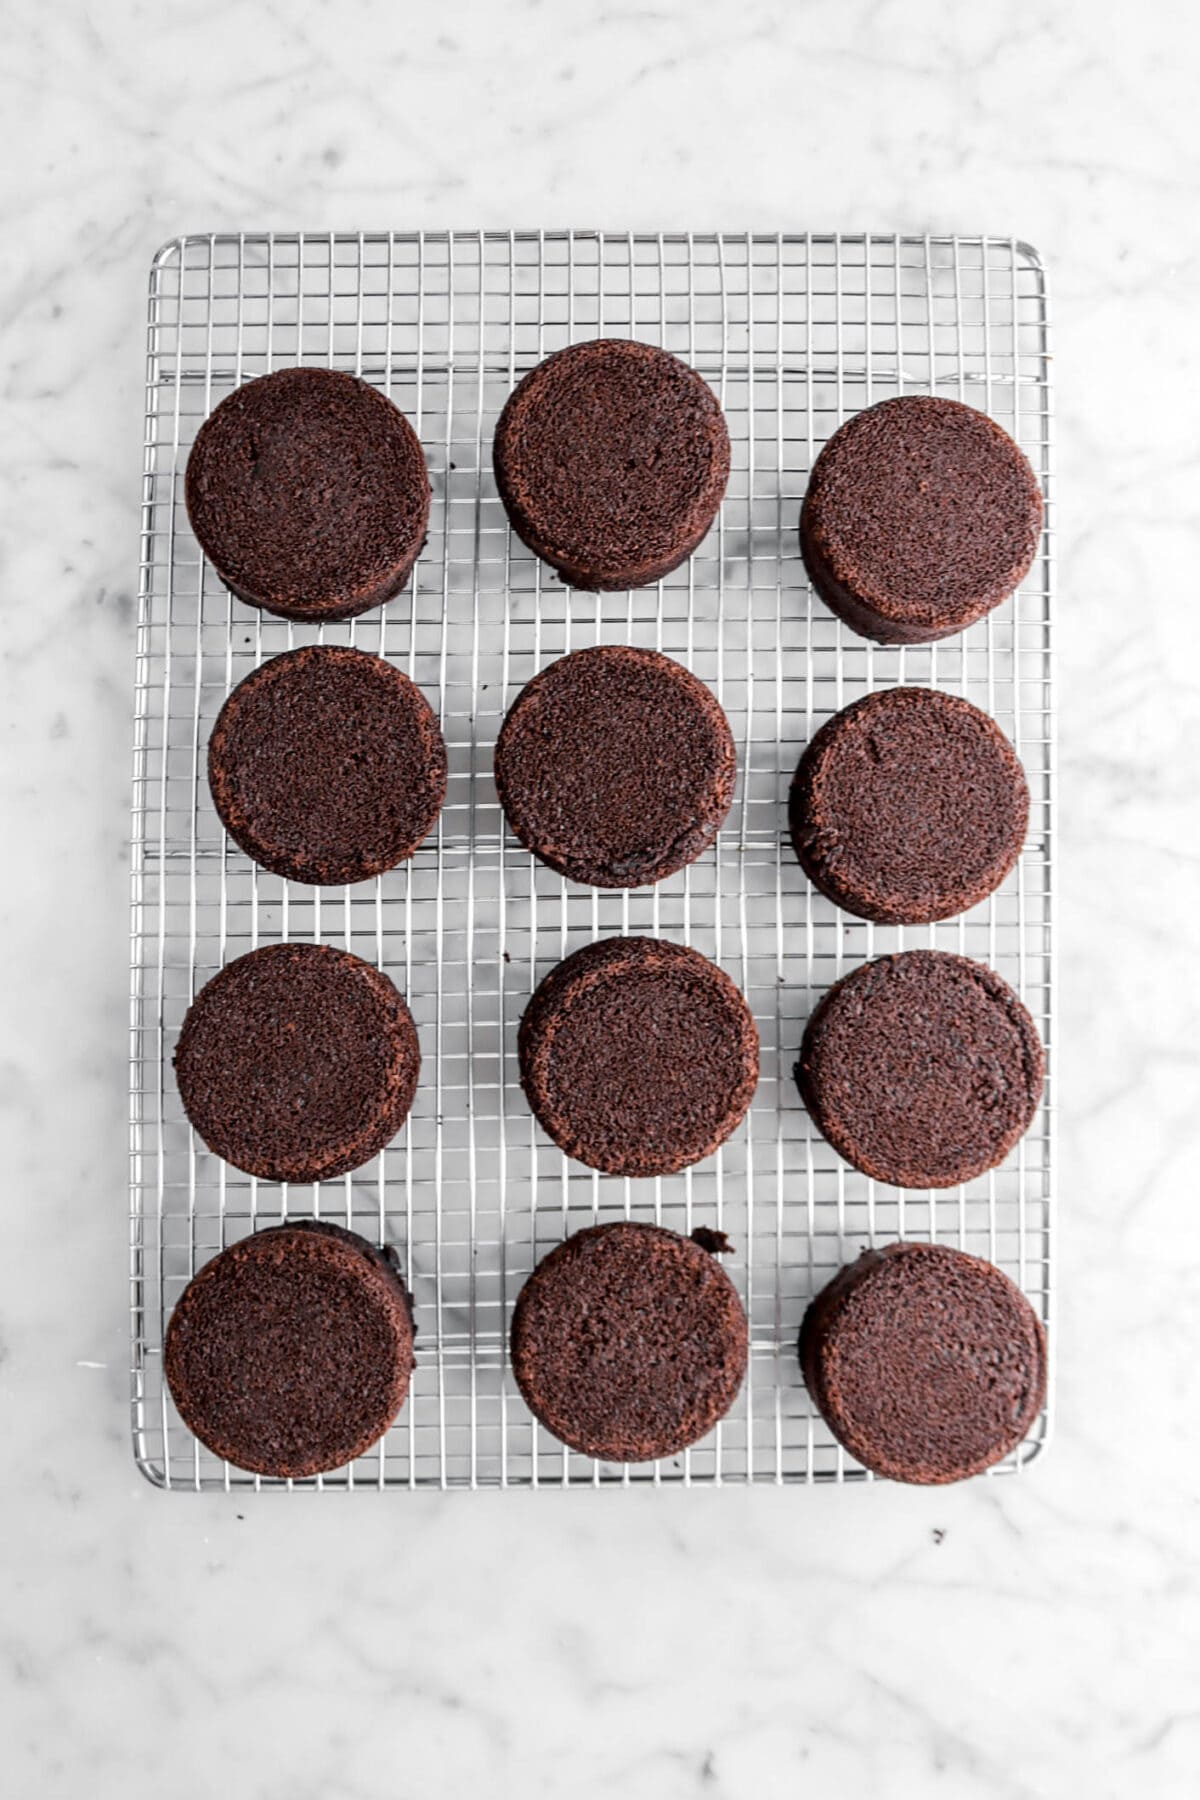
Spoon into molds, filling each ⅔ full. Bake for 18-20 minutes, or until cakes test done. Let cool slightly in the pans before turning out.


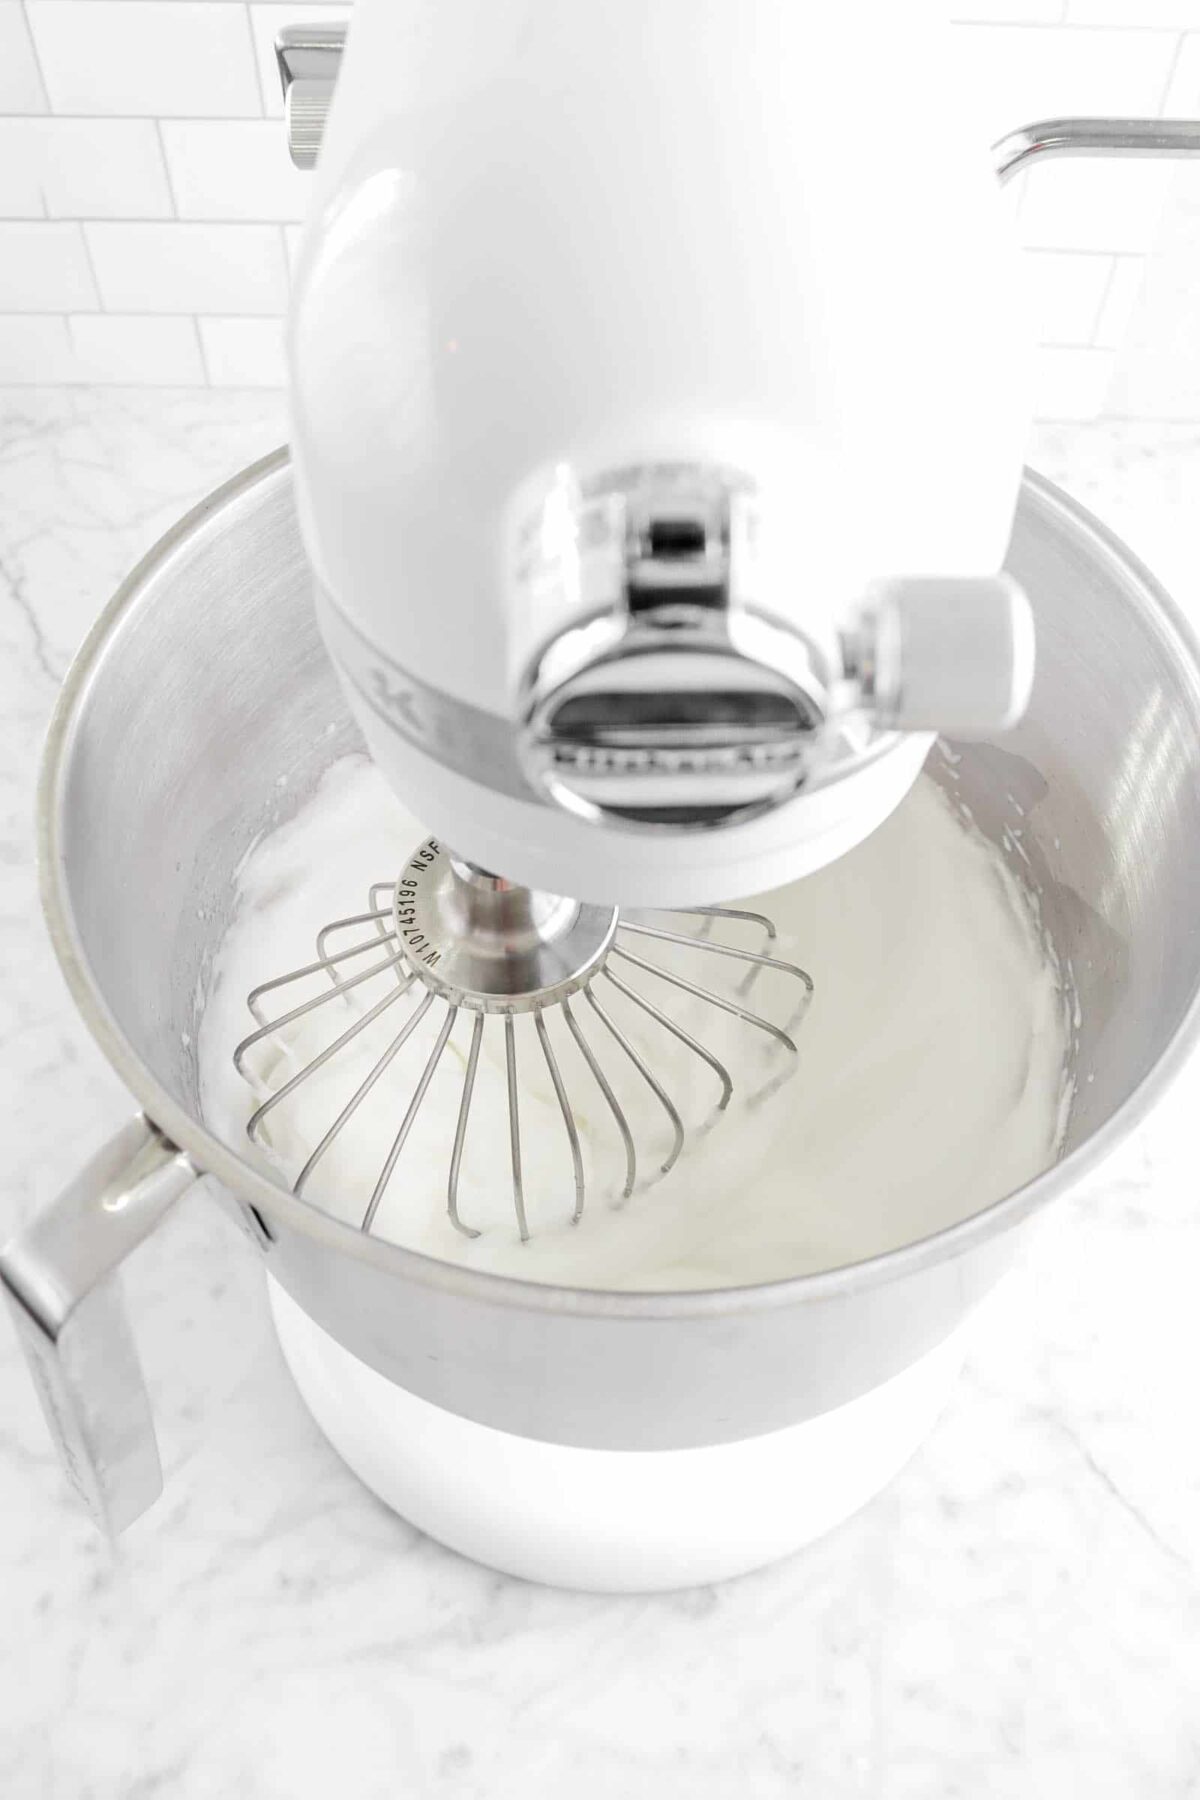
Step 2: Make the marshmallow fluff
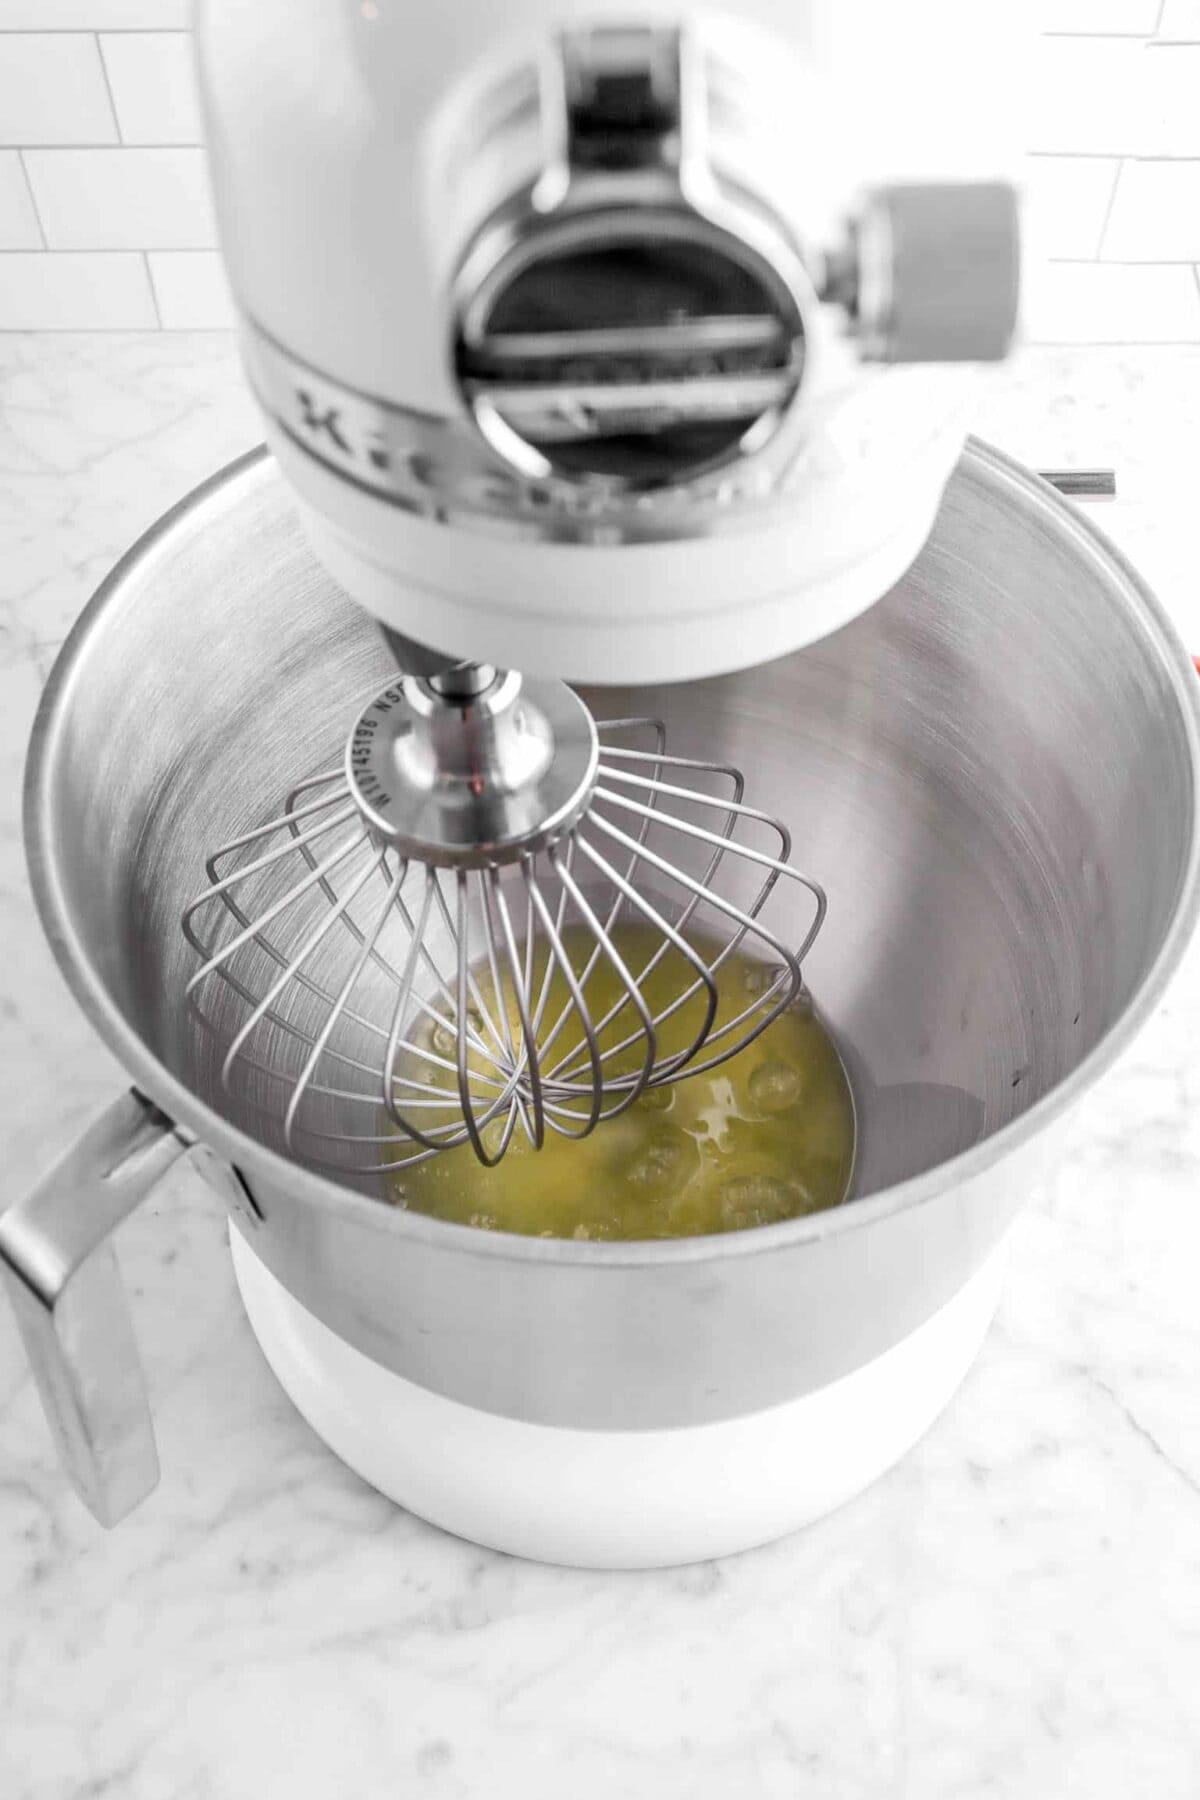
Beat egg white to stiff peaks with electric mixer.
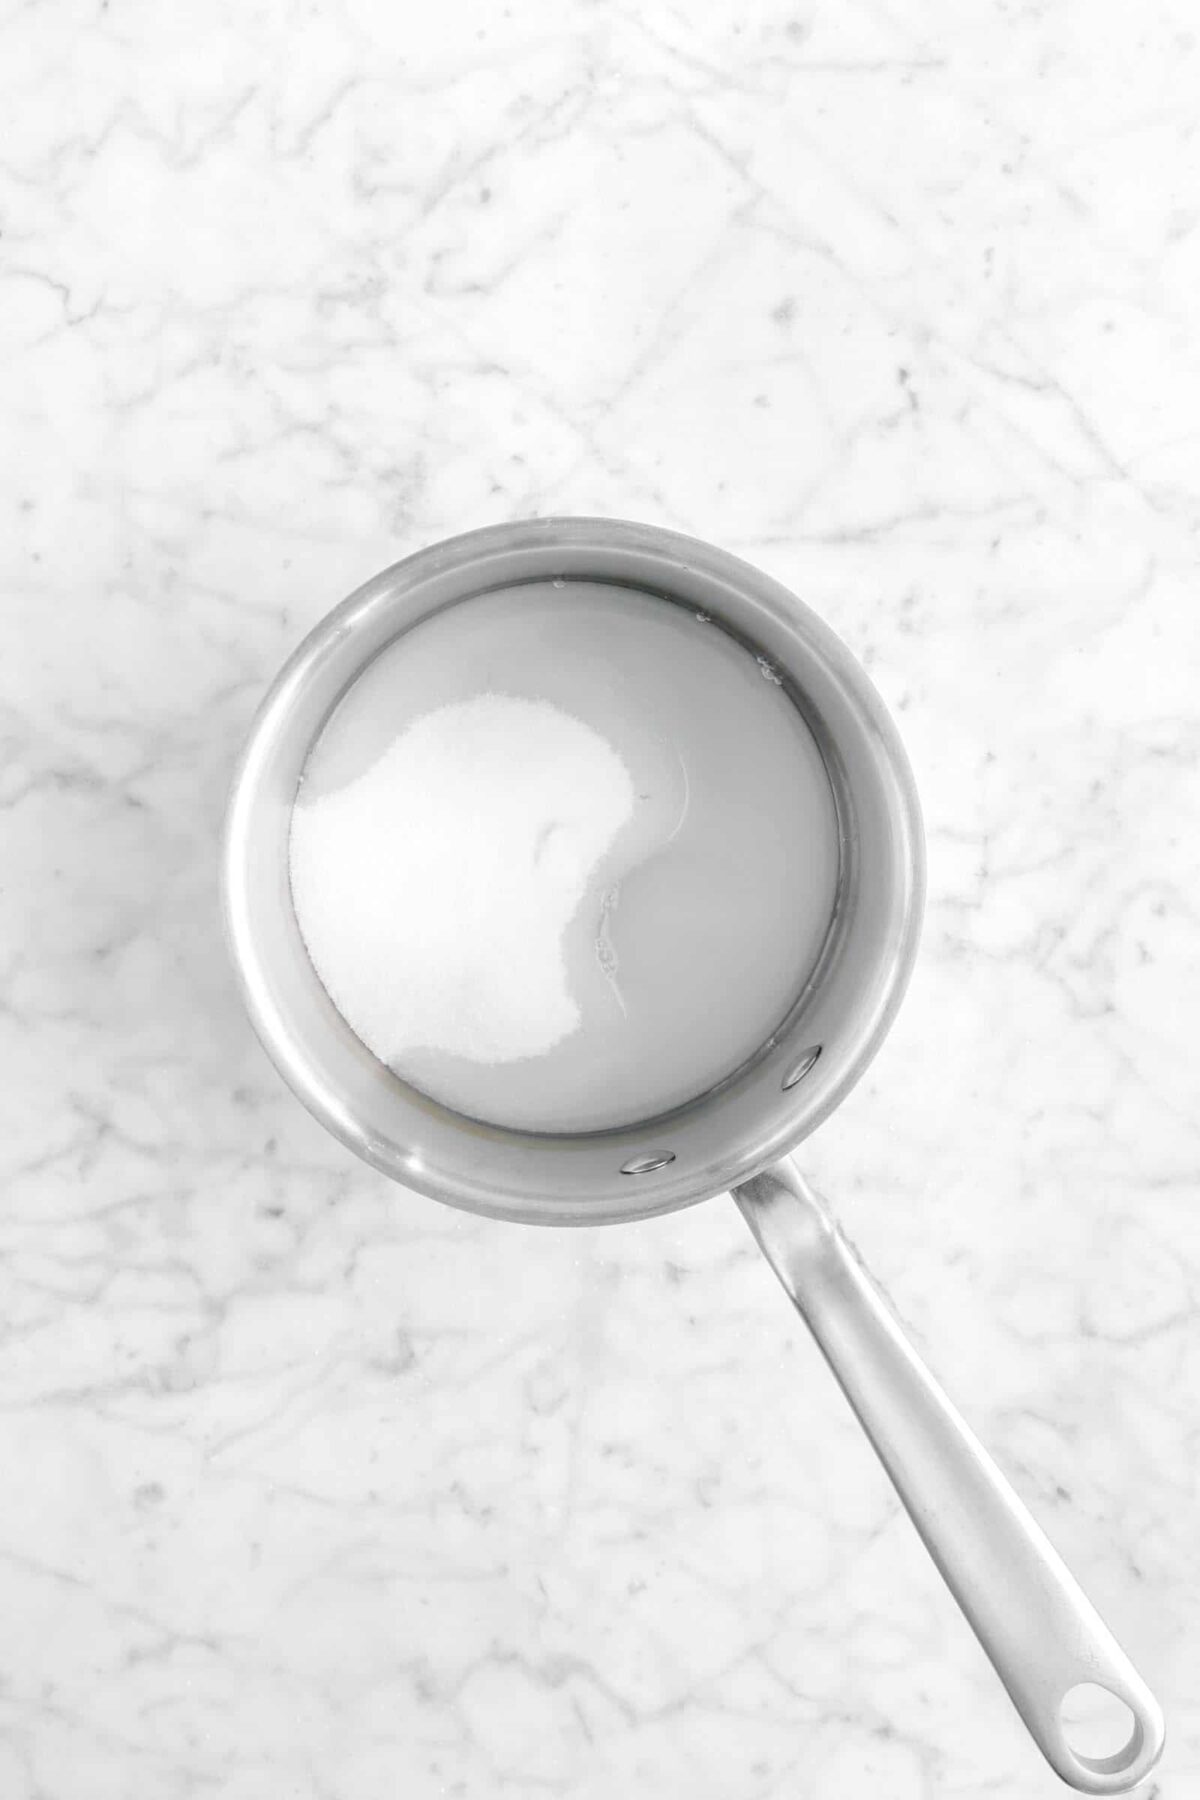
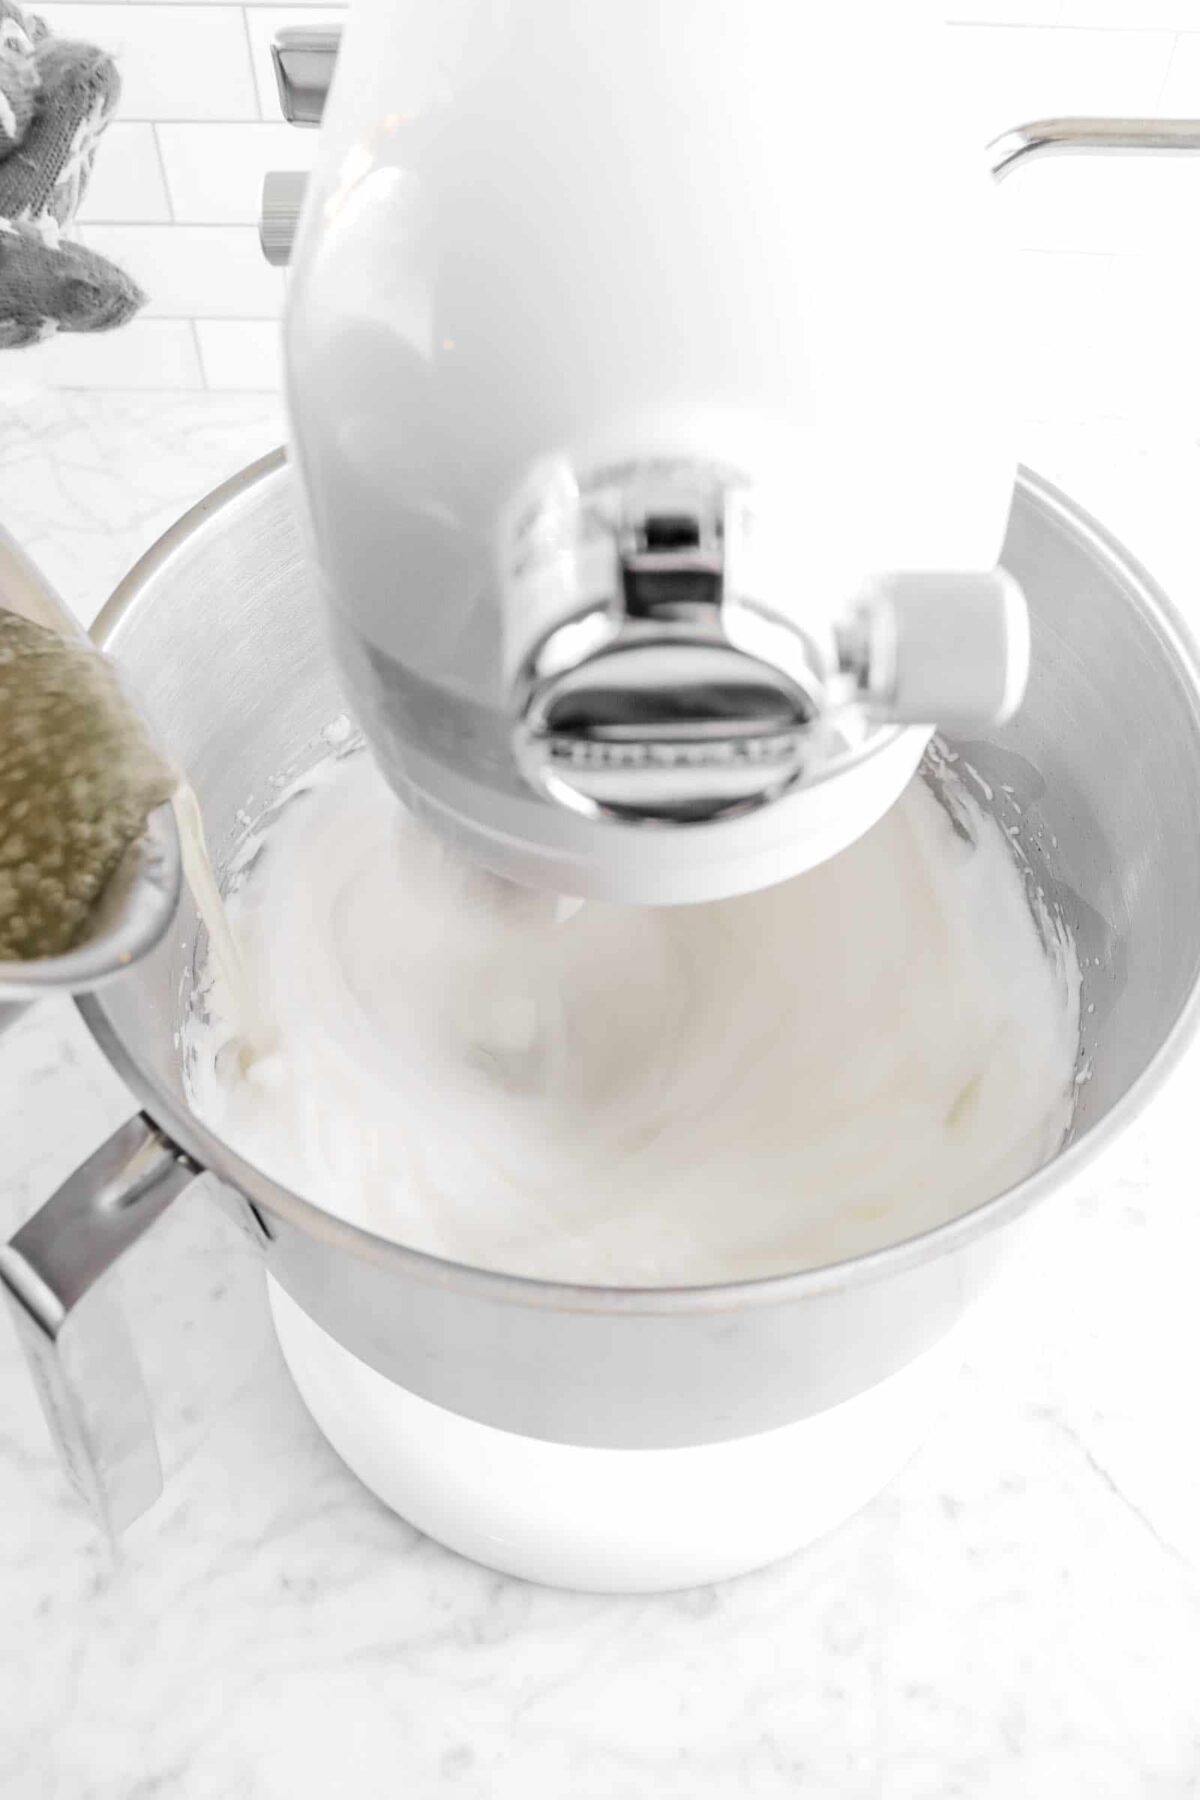
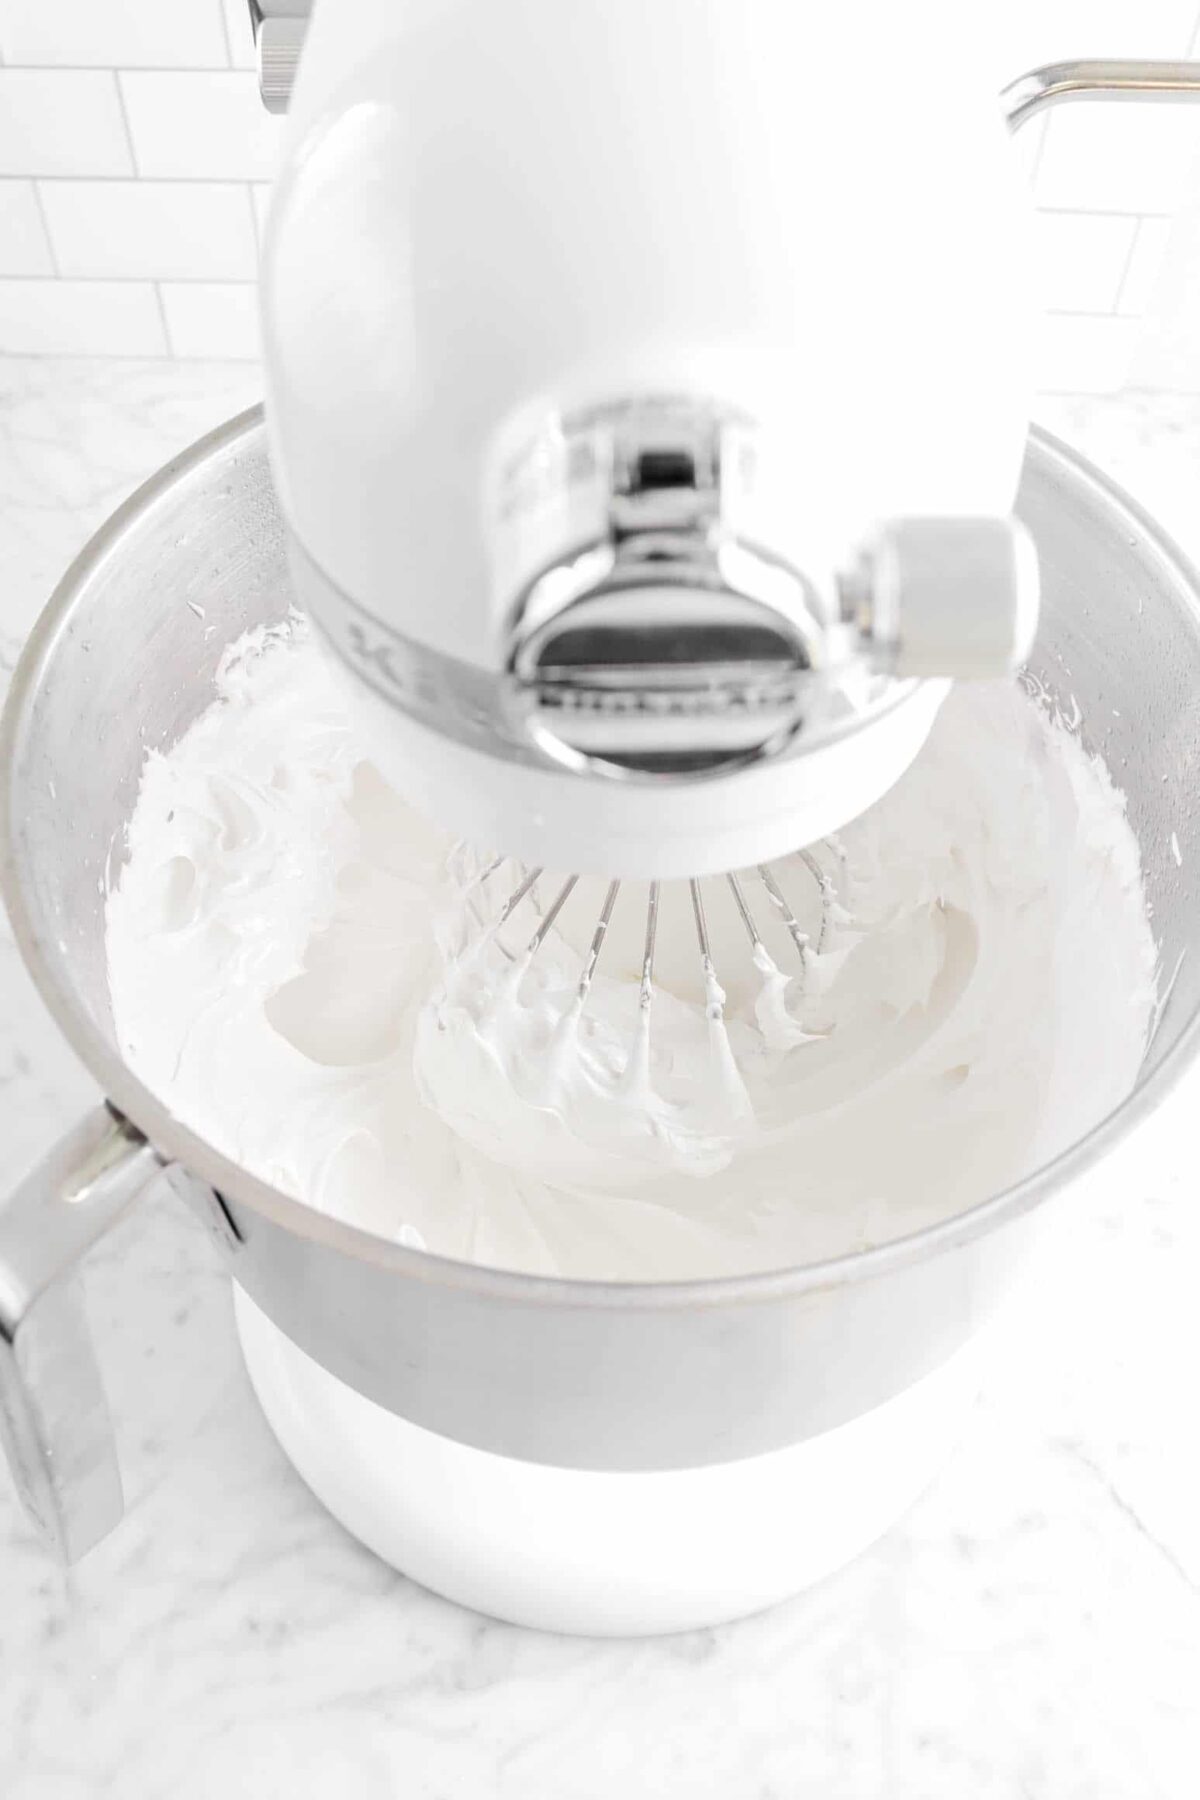
In a small saucepan, combine sugar and water. Cook and stir over medium low heat until sugar dissolves. Stop stirring and brush down sides of pot with a pastry brush dipped in water. Continue to cook, without stirring, to 246°-250° F. With mixer running, slowly pour sugar mixture into egg white. Continue beating until cool.
Step 3: Assemble the cakes
Once the cakes have cooled, level the tops with a serrated knife. Turn upside down.

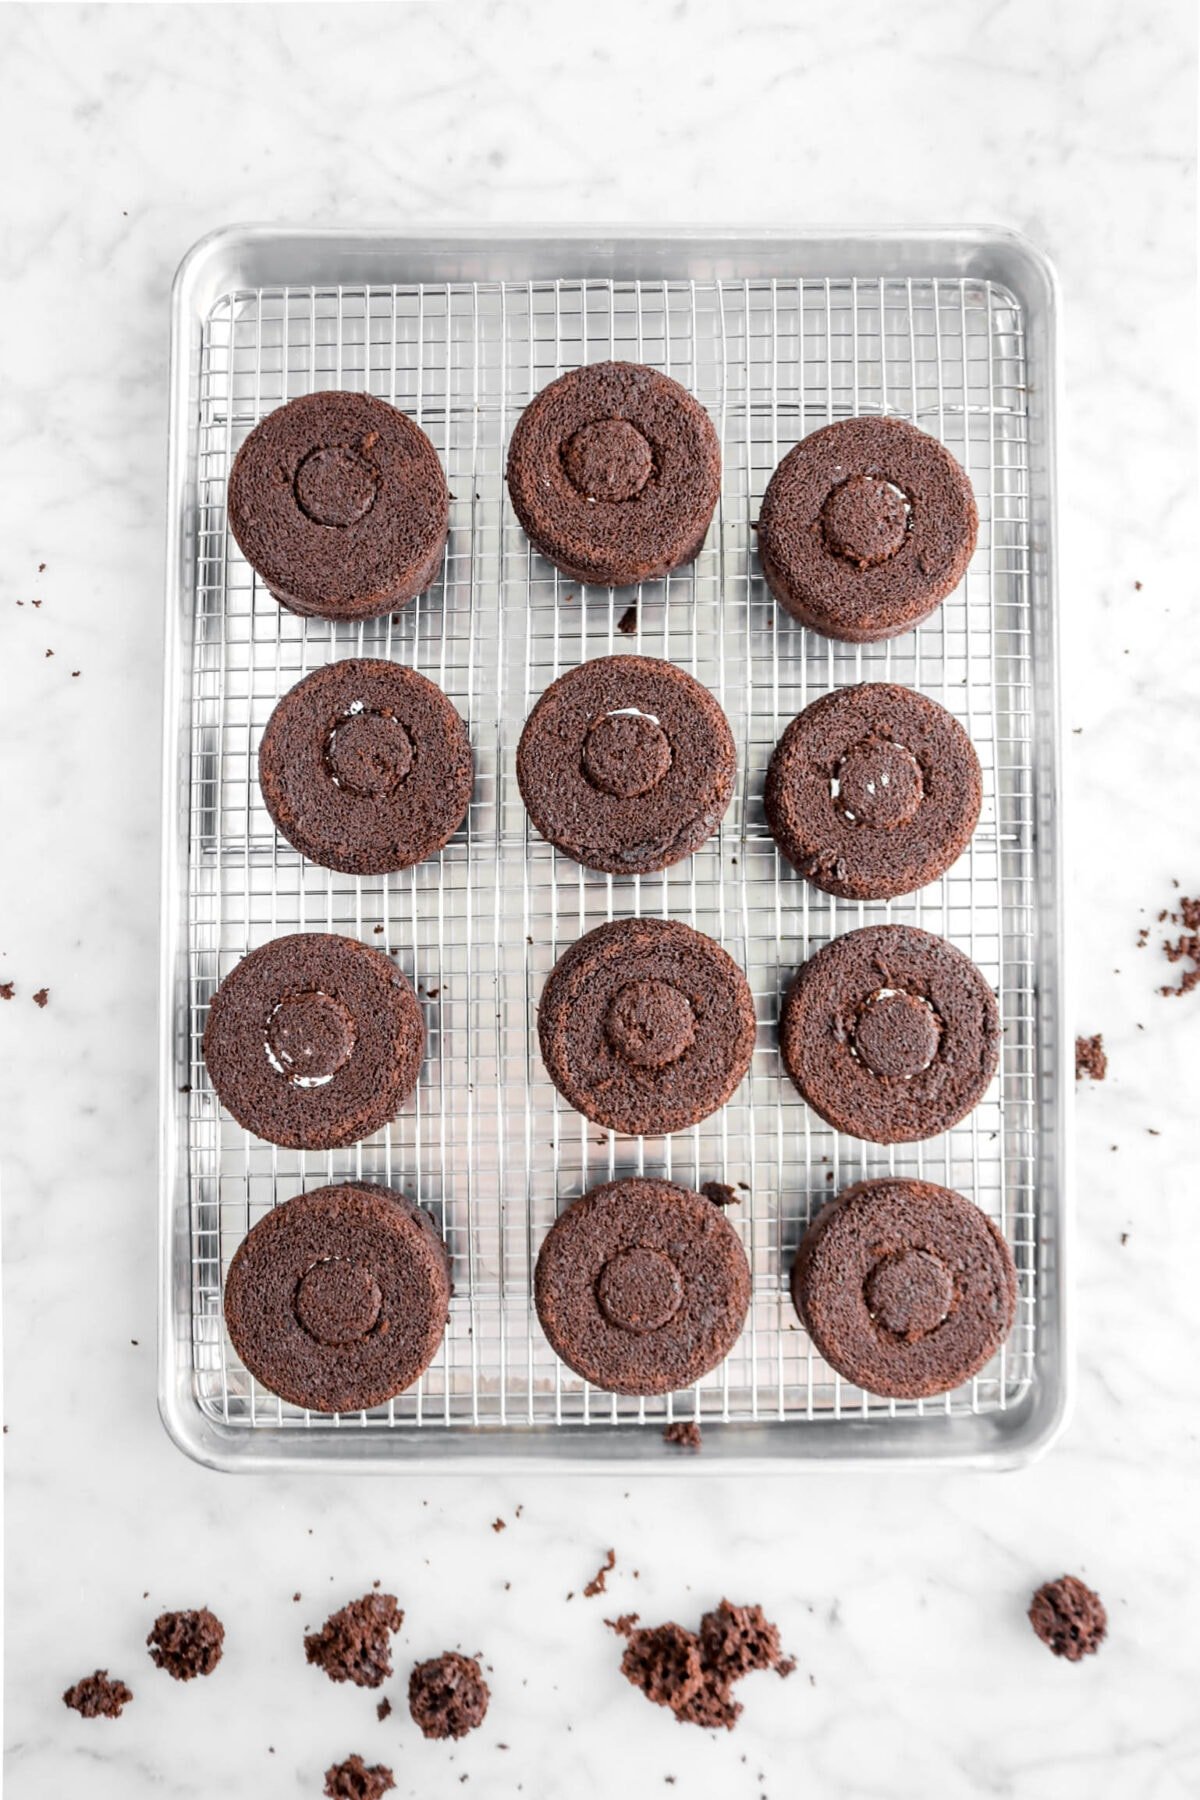
Using a cupcake corer or spoon, dig out the middle of the cakes. Do NOT go all the way to the the bottom of the cake! About half way. Fill with marshmallow fluff and place the cut out tops over the filling.


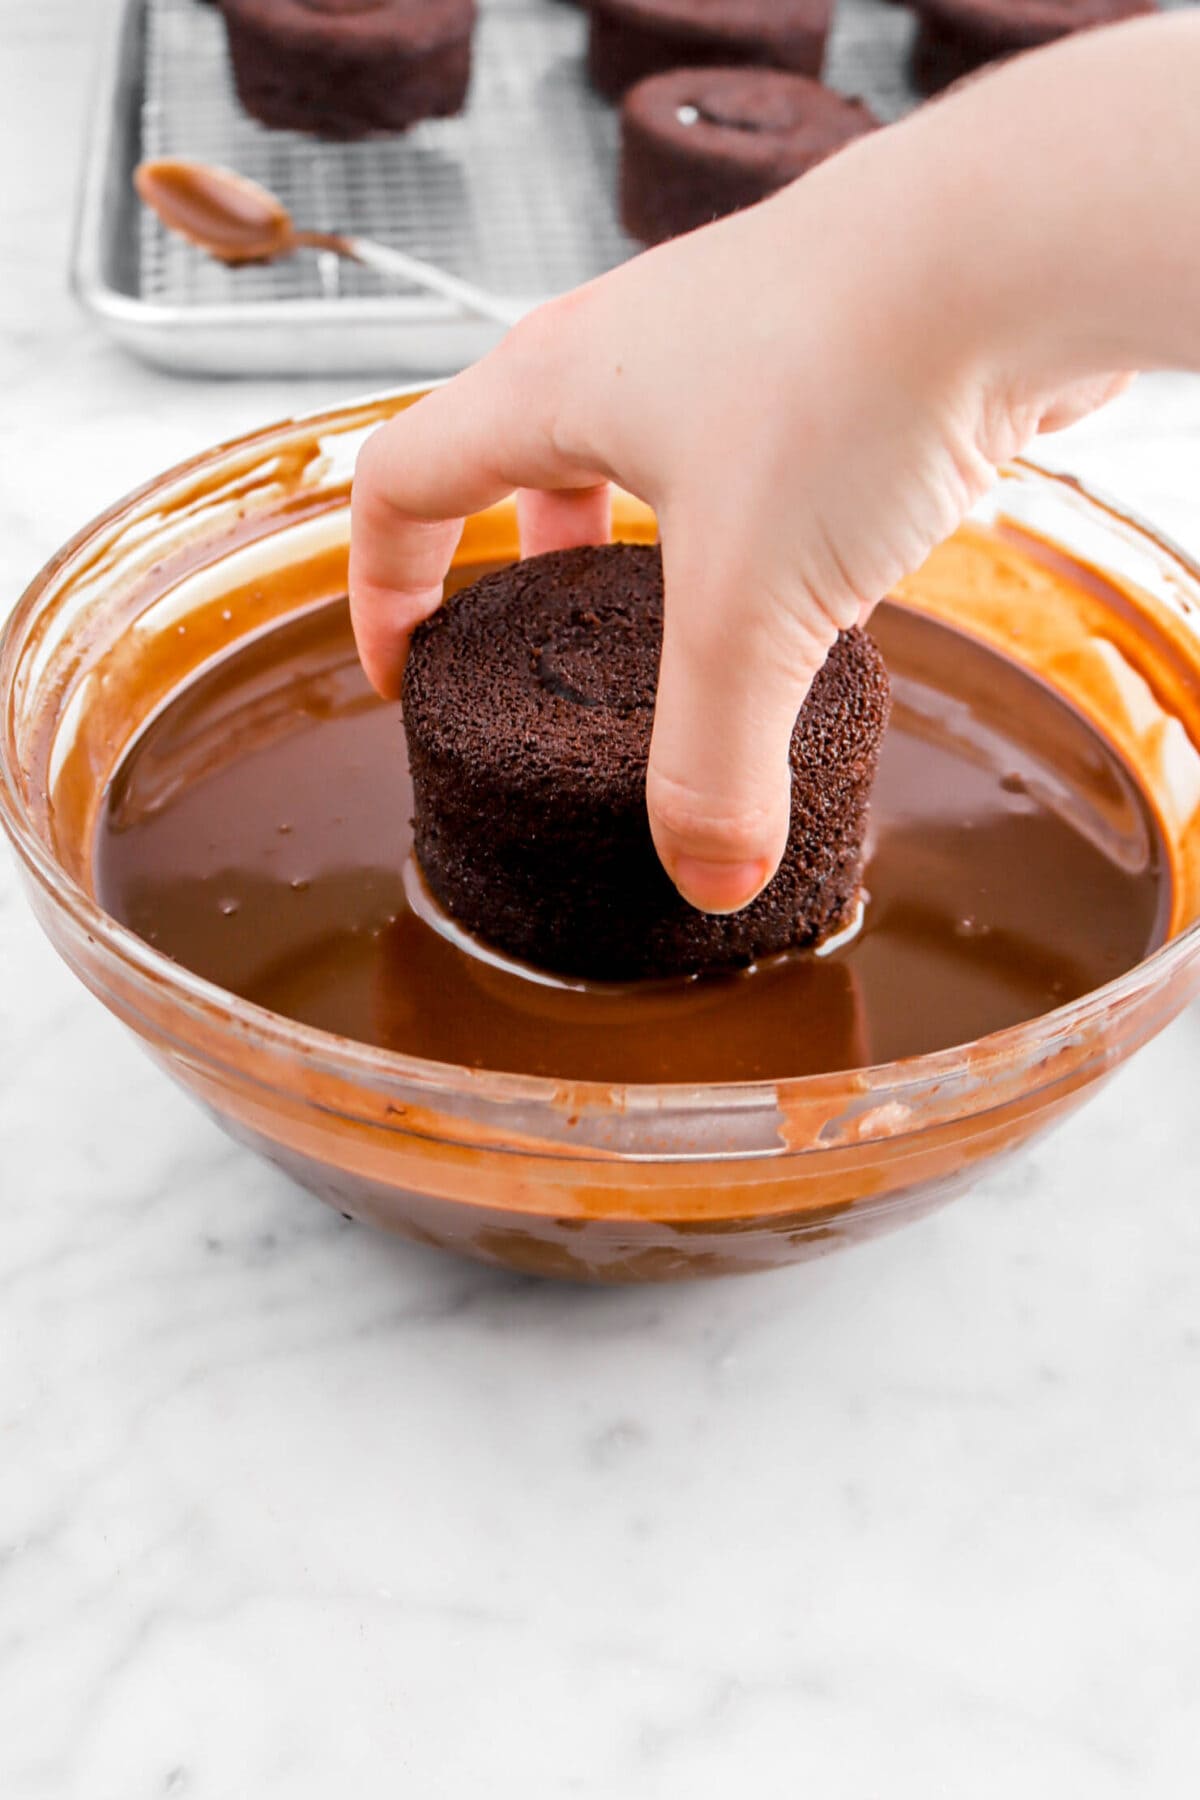
Carefully, dip the bottoms of each cake in tempered or melted dark chocolate. Set on parchment paper and let set.

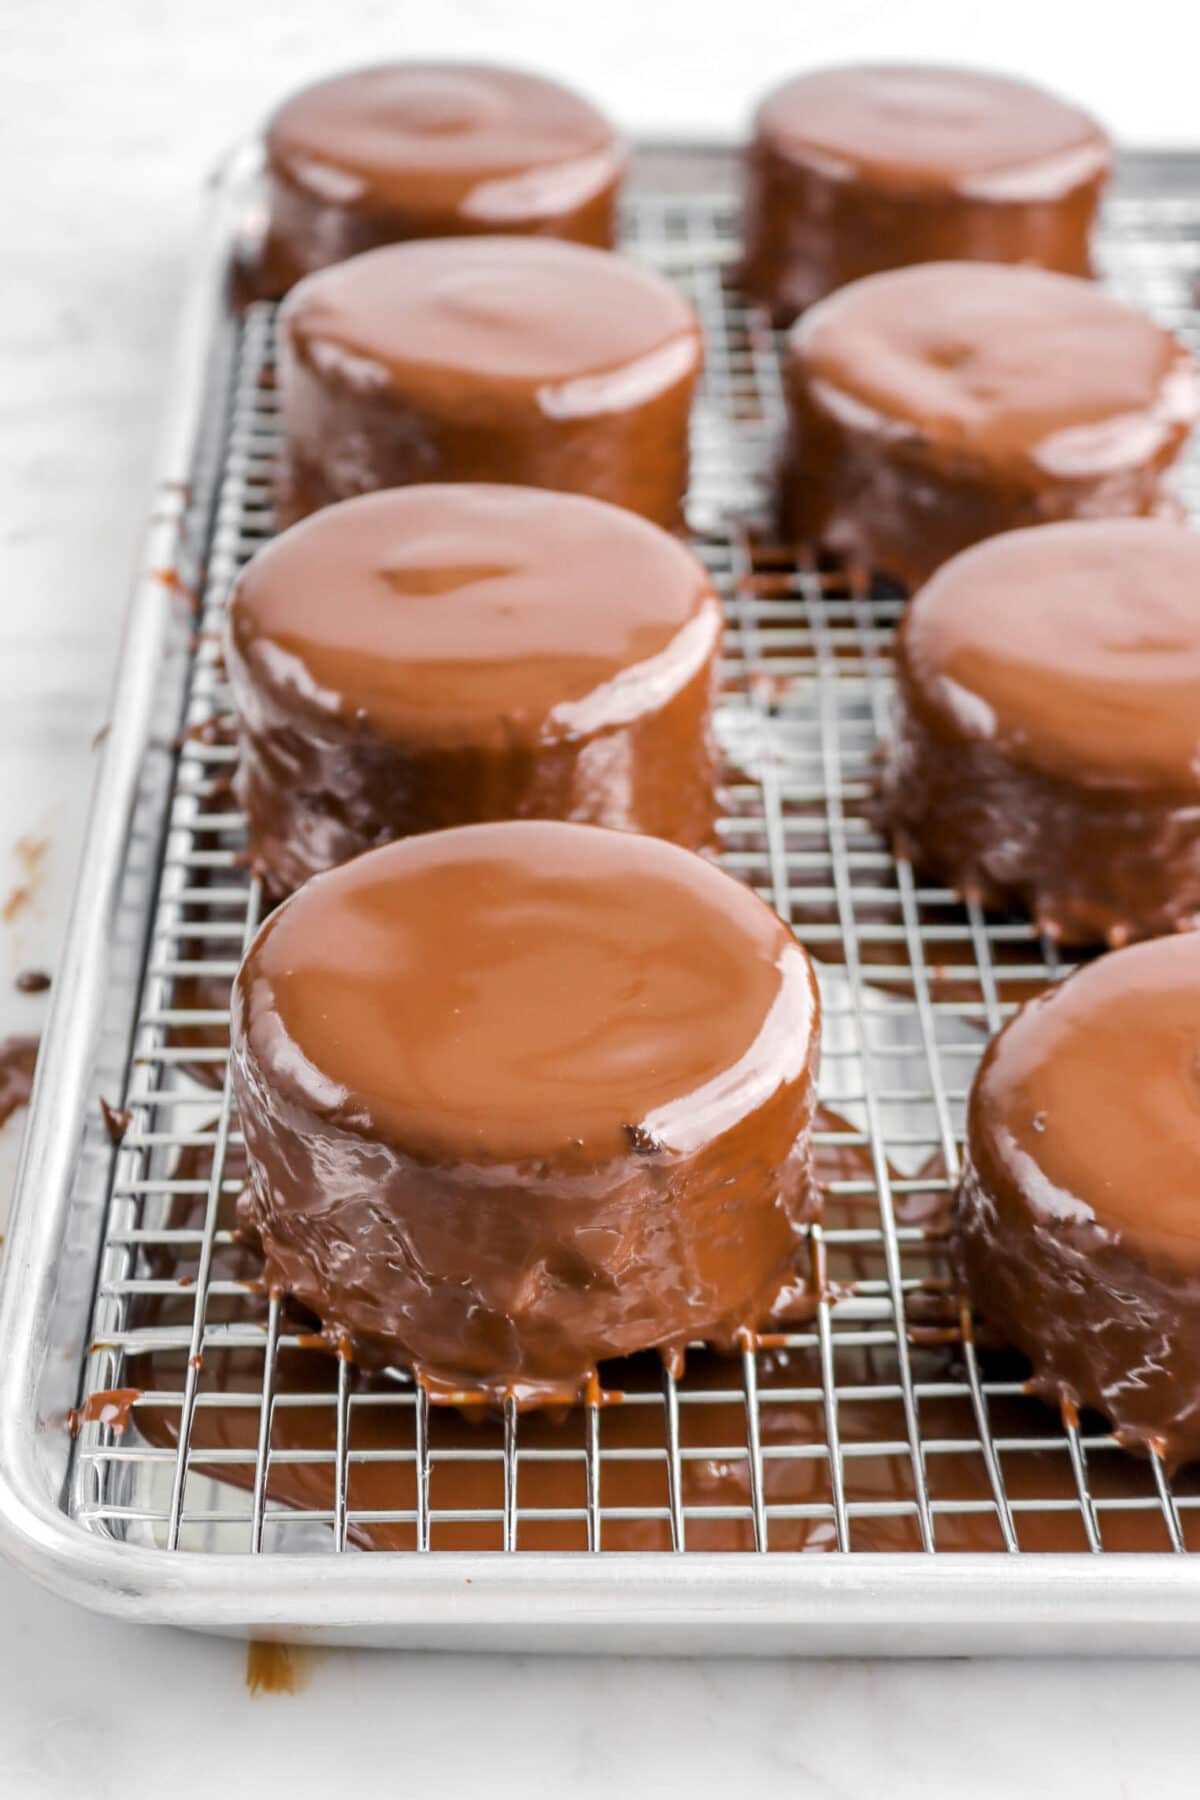
Once the bottoms are set, place the mini cakes on a cooling rack lined sheet pan and pour chocolate over each cake, being sure to coat the sides.

What Kind of Chocolate Should I Use?
For this recipe, we recommend using high quality dark or semi-sweet chocolate (depending on your taste). Be sure that you do not use candy melts or chocolate chips. We used a dark chocolate (64%) for the chocolate layer, but you can also use a semi-sweet (about 60%). If you are tempering the chocolate, do not use anything darker or lighter. If you do, the temperatures will not be accurate.
Should I Use Tempered or Melted Chocolate?
With this recipe, you can really use either! Though, I will admit, it’s much better with tempered chocolate. With tempered chocolate, it’s more resistant to heat! So, it’s less likely to melt in your hands. The downside to tempered chocolate is that it is more difficult to do than just melting chocolate.
With just melted chocolate, it’s great because of how simple it is! Though, it doesn’t have the same qualities as tempered and it will melt in your hand much faster than tempered.
How To Temper Dark Chocolate
If you would like to temper your chocolate rather than melt it, we’ve got you covered. In three simple steps, you can temper chocolate perfectly every time!
- Place the dark chocolate in a glass bowl and place over a pot of simmering water (this technique is called a baine-marie). Stir until the chocolate melts and temperature is around 124 degrees F, but no higher 130 degrees F.
- Remove from heat and cool, stirring constantly, to between 82 degrees F and 84 degrees F.
- Place back over warm water and raise temperature to between 88 degrees F and 90 degrees F. Hold at this temperature.
How To Store
Once the cakes are assembled, you can store them in a container or zip top bag and keep at room temperature for 2-3 days. You can also freeze them for up to 2 months!
Substitutions
- You can use store-bought marshmallow fluff for the filling.
- If you use melted chocolate for this recipe, you may want to add about 1-2 Tablespoons of vegetable oil.
Expert Tips
- When blooming the chocolate, let it stand for AT LEAST 5 minutes. If you rush it, the cakes will not have as strong of a chocolate flavor.
- If you don’t have the proper pan/molds for these cakes, you can bake the cake in a sheet pan and cut out with biscuit cutter! Just remember the baking time may be longer, so you will need to keep an eye on the cake!
- When you’re making the meringue, make sure egg whites are at room temperature. The eggs won’t whip if not. Also, be sure that the mixer bowl is free of any dust!
- Use a digital thermometer to make sure your candy is the right temperature before adding it to the egg whites.
- When adding the candy, be sure to stream it in slowly! Do not add it too fast.
- You can use a fork/spoon to dig out the middles of the cake. Just be careful to not dig out TOO much of the cake.
- When coating the cakes, it’s best to spoon about 1-2 Tablespoons of the melted chocolate over the top and then gently push it to the edges to really get the smooth sides.
- If you run out of chocolate before you’re done coating the cakes, you can spoon it out of the bottom of the pan and remelt it. Just remember if you’re using tempered chocolate, this will work, but it will bring it out of temper.
When you make these Mini Chocolate Cakes with Marshmallow Filling and Chocolate Coating (Homemade Ding Dongs!), leave a comment down below! We love hearing from you and answering any questions you might have! Also, be sure to tag us on social media and hashtag it #BakersTable.
Mini Chocolate Cakes with Marshmallow Filling and Chocolate Coating (Homemade Ding Dongs!)
Ingredients
Cakes
- ¾ cup Dutch process cocoa powder, sifted
- 1 cup boiling water
- 1¾ cups all purpose flour
- 1½ cups granulated sugar
- 2½ teaspoons baking powder
- ¾ teaspoon salt
- 2 large eggs, room temperature
- ¾ cup whole milk
- ½ cup vegetable oil
- 1¾ teaspoons vanilla extract
Filling
- 2 large egg whites
- ⅔ cup granulated sugar
- 8 teaspoons water
Coating
- 4 cups melted or tempered chocolate
Instructions
Cakes
- Heat oven to 350℉.
- Spray pans with baking spray. Set aside.
- In a small bowl, whisk together cocoa and water. Set aside.
- In a large bowl, whisk together flour, sugar, baking powder, and salt.
- Add eggs, milk, oil, and vanilla.
- Whisk until smooth.
- Stir in chocolate.
- Spoon into prepared molds, filling each ⅔ full.
- Bake for 18-20 minutes, or until cakes test done.
Filling
- Beat egg whites to stiff peaks.
- In a small saucepan, combine sugar and water.
- Cook and stir over medium low heat until sugar dissolves.
- Stop stirring and brush down sides of pot with a pastry brush dipped in water.
- Continue to cook, without stirring, to 246℉-250℉.
- With mixer running, slowly pour sugar mixture into egg whites.
- Continue beating until cool.
Assembly
- Level the cakes.
- Core cakes using a cupcake corer or spoon.
- Place filling in piping bag.
- Pipe filling into each cake.
- Place cut out lid on top.
- Dip bottom of cakes into melted chocolate.
- Set on parchment lined sheet pan and allow to set.
- Place cakes on wire cooling rack.
- Spoon melted chocolate over cakes.
Notes + Tips!
- You can use store-bought marshmallow fluff for the filling.
- If you use melted chocolate for this recipe, you may want to add about 1-2 Tablespoons of vegetable oil.
- When blooming the chocolate, let it stand for AT LEAST 5 minutes. If you rush it, the cakes will not have as strong of a chocolate flavor.
- If you don’t have the proper pan/molds for these cakes, you can bake the cake in a sheet pan and cut out with biscuit cutter! Just remember the baking time may be longer, so you will need to keep an eye on the cake!
- When you’re making the meringue, make sure egg whites are at room temperature. The eggs won’t whip if not. Also, be sure that the mixer bowl is free of any dust!
- Use a digital thermometer to make sure your candy is the right temperature before adding it to the egg whites.
- When adding the candy, be sure to stream it in slowly! Do not add it too fast.
- You can use a fork/spoon to dig out the middles of the cake. Just be careful to not dig out TOO much of the cake.
- When coating the cakes, it’s best to spoon about 1-2 Tablespoons of the melted chocolate over the top and then gently push it to the edges to really get the smooth sides.
- If you run out of chocolate before you’re done coating the cakes, you can spoon it out of the bottom of the pan and remelt it. Just remember if you’re using tempered chocolate, this will work, but it will bring it out of temper.
Tools You May Need (affiliate links)
– Still Hungry? –
Here are a few recipes may like!


Would you be willing to share the chantilly filling?
Hi Maureen! These are filled with marshmallow cream. If you would rather have a Chantilly cream, here is the link: https://bakerstable.net/how-to-make-chantilly-cream. Keep in mind if you use Chantilly instead of marshmallow, these will need to be consumed immediately because the cake will absorb the cream. Let me know if you have any other questions.
Hello, I tried this recipe and filled them with the made the from scratch marshmallow cream. The next day i realized that the marshmallow cream had disappeared inside the cake. The cakes were cool when I filled them. What do you think went wrong with my cream?
Thank you
Hi Allie! We’ve never had that happen. The only thing I can think of was that the sugar syrup wasn’t cooked to the proper temperature, or you didn’t beat it long enough. Did you calibrate your thermometer? Did you beat it until it was completely cool? Let me know if you have any more questions.
I had the same issue. The filling was gone the next day. Also noticed that when you toggle between metric and customary measurements, the filling recipe gets halved.
Hi Raymond! Sorry for the late response. Thank you for bringing to our attention that the metric amounts were cut in half! That’s been fixed.
With the filling, did you do anything different or swap the filling for something else (like whipped cream, store-bought marshmallow, etc)? We’ve never had our filling disappear out of the cakes, so we’d really like to get to the bottom of this and see what may be happening! Thanks again. x, Caylie
Hi Caylie, Followed the recipe as is. I’ve filled other baked goods with a marshmallow center and have not had this issue. When the cake was just filled and eaten, it was delicious! But the filling just didn’t stay when I went back for number 2.