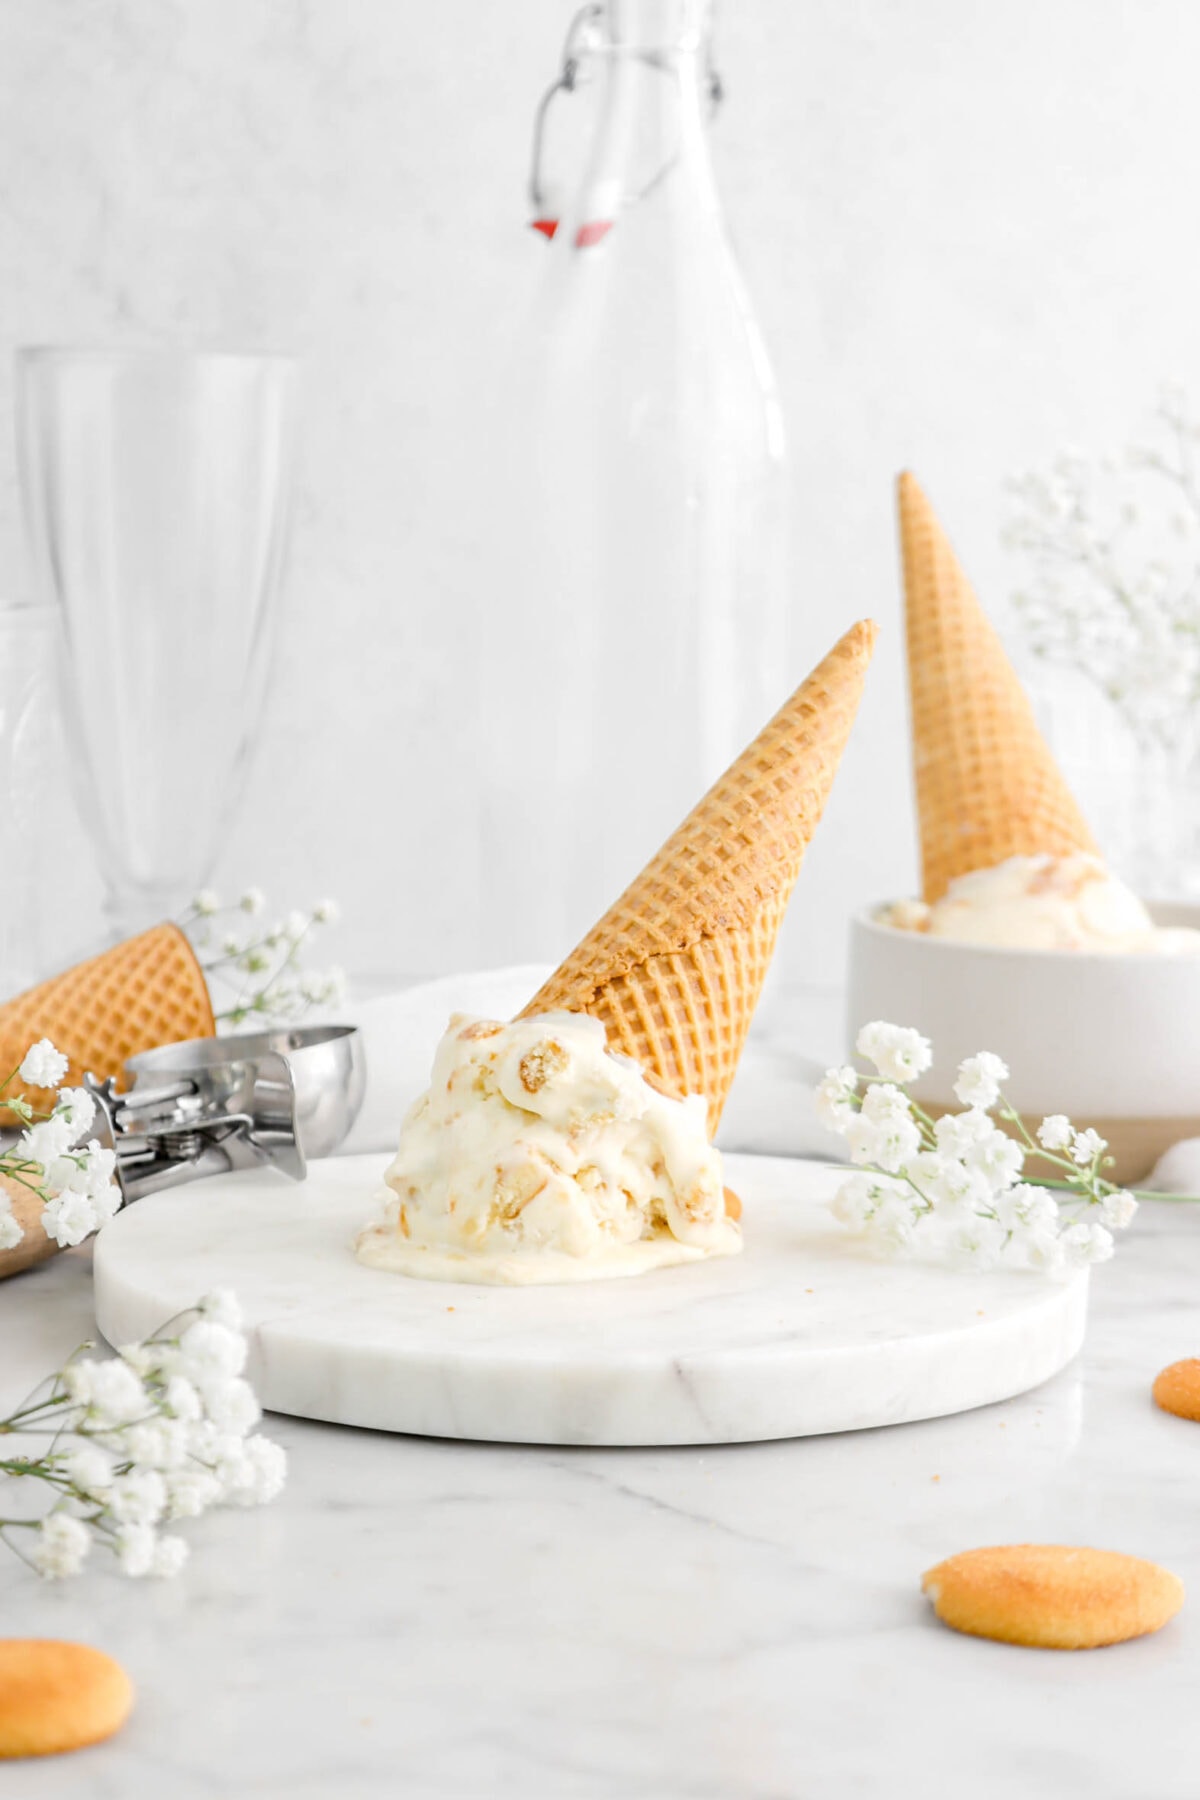
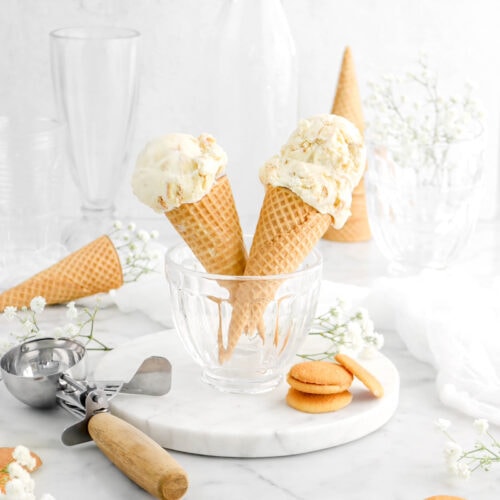
No Churn Banana Pudding Ice Cream
This post may contain affiliate links, please visit our privacy policy for details.
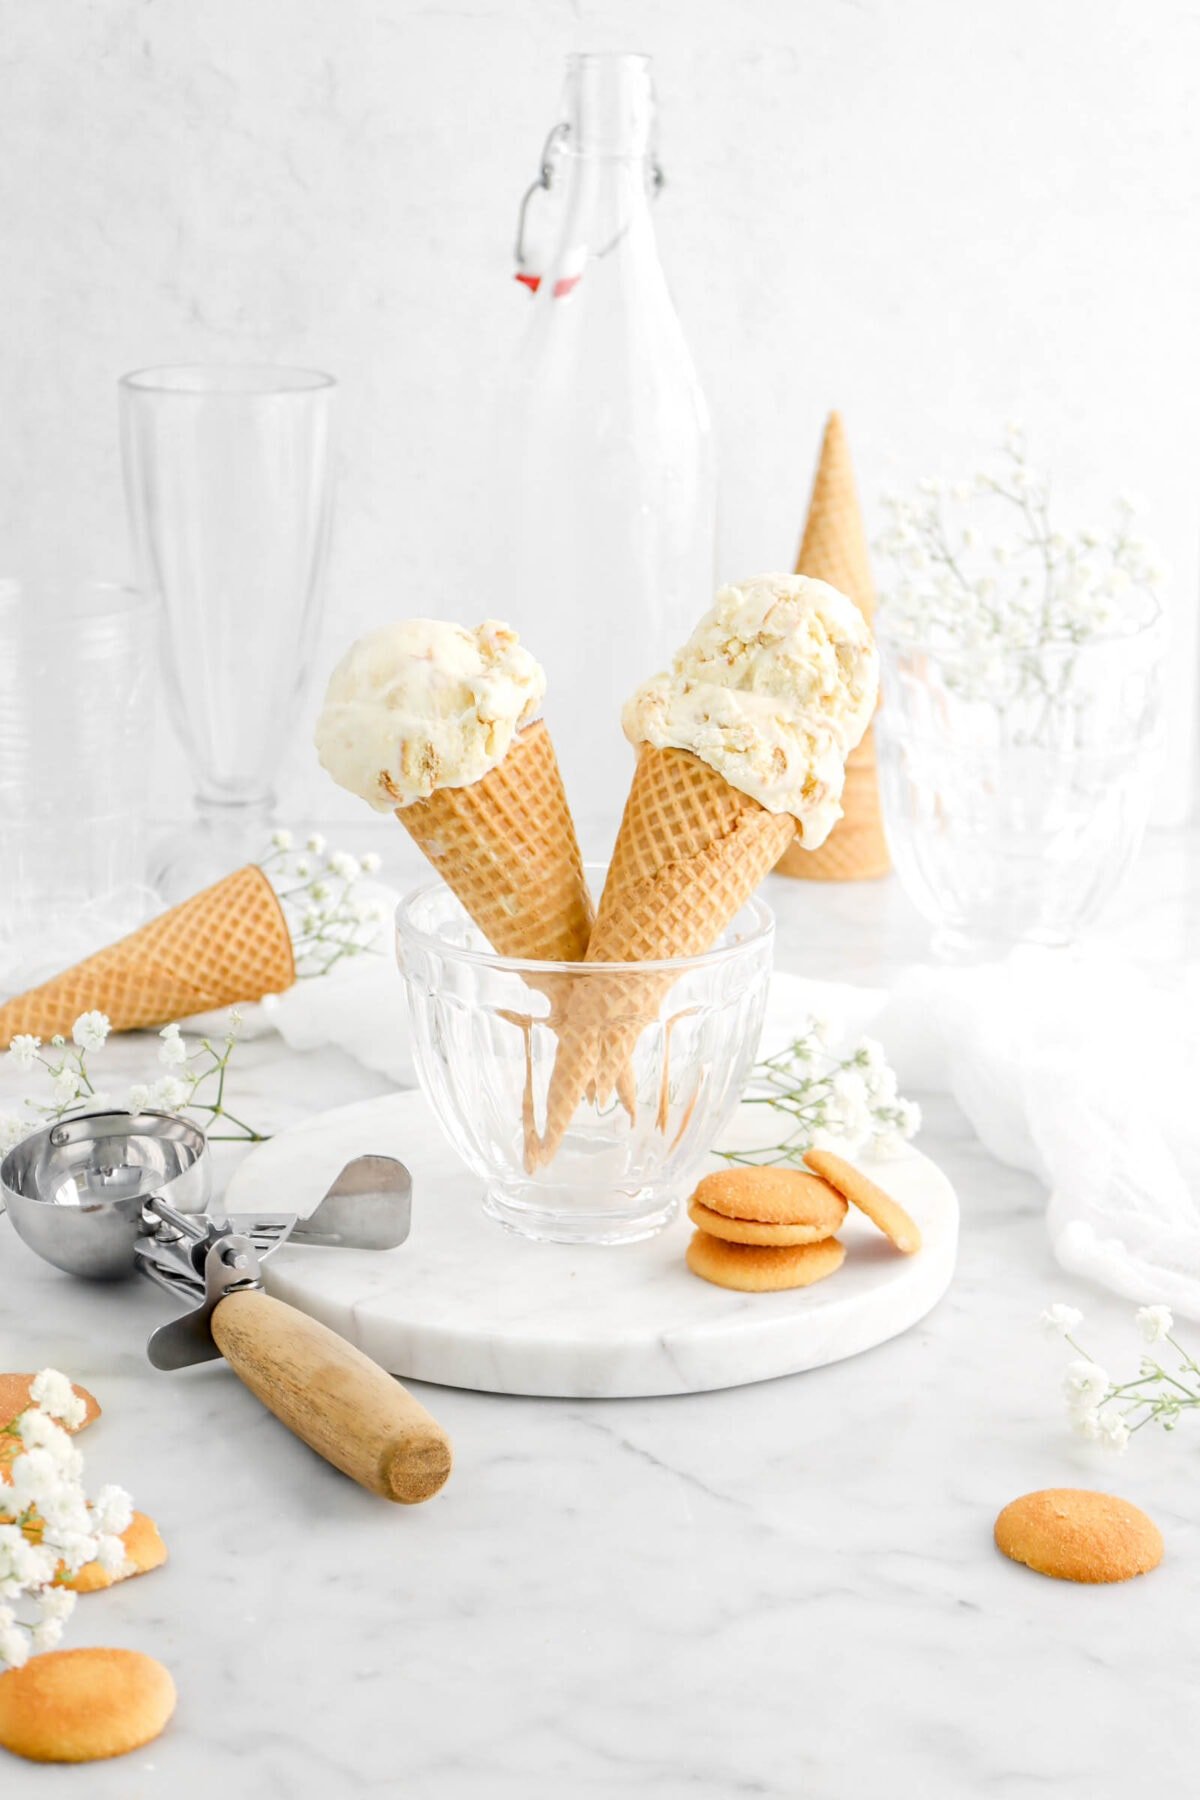
Keeping things sweet today with this simple 6 ingredient No Churn Banana Pudding Ice Cream! It’s everyone’s favorite summertime dessert, now made into a deliciously simple ice cream. Made from heavy cream, sweetened condensed milk, a splash of vanilla, salt, chunks of sweet vanilla wafers, and fresh bananas! This creamy and decadent ice cream only takes a few minutes to mix up, doesn’t require an ice cream machine, and you don’t even have to cook it! It’s truly so simple and guaranteed to be your new warm weather go-to recipe.
About The Recipe
It’s officially ICE CREAM SEASON! Well, it is here in Texas anyways. The weather has been so unbelievably hot already! It feels like it’s over 100 degrees most days and there is no relief. Even inside feels hot most days! So, with that said, as of today, I am deeming it ice cream season! Because ice cream just makes everything better, you know?
Oh, especially when it tastes like everyones favorite childhood treat!

I am literally SO excited to share this recipe with all of you. In my family, we use an ice cream machine all. the. time. Even when I was a little, during the summers, my mom always had a batch of ice cream being made. Well, me and my brother technically. We would whip up a batch of No Cook Vanilla Ice Cream every weekend.
Though, after starting this blog, we learned about no churn ice creams. It’s quickly become one of our most requested recipes during the summer! So, to say that it’s been on our “to-make” bucket list since we started this blog, would be an understatement.
Today, we are finally sharing our first…and it’s a GOOD one! Banana freaking pudding. Made into ice cream. Seriously, can it get any better?
Banana pudding is actually one of Ian’s (my older brother) favorite desserts. He would request it all the time. If we went anywhere for dinner and there was a banana pudding on the menu, he’d order it. If my mom had a box of vanilla wafers in the cabinet (that he hadn’t eaten yet), he’d beg her to make him some!
So, when my mom and I were trying to think of a recipe to make for this week, we saw our bananas beginning to over ripen and with the weather so hot…we knew we either were going to make another batch of Banana Bread or finally try our hand at a no-churn ice cream!
And, I am so glad we did. I’ll be honest, I don’t really like Banana Pudding. It’s never been my thing, but this ice cream? Ohmygosh.
I could annihilate the entire containers worth! Me and my brother have been fighting over sharing this ice cream since we made it. It’s truly the perfect way to cool off after a hot day. The best part? It’s SO easy to make!
What Is No Churn Ice Cream?
A no churn ice cream, has no eggs and you don’t need an ice cream machine! Instead, all you really need is some heavy cream, sweetened condensed milk, and a few hours! This version is flavored to taste like banana pudding, so it has a few more additions, but it truly tastes SO good!
Reasons You Need To Make This No Churn Banana Pudding Ice Cream
- Only needs SIX ingredients.
- Literally takes minutes to prepare.
- Frozen in 4-6 hours.
- No eggs or ice cream machine required!
- The perfect summertime dessert.
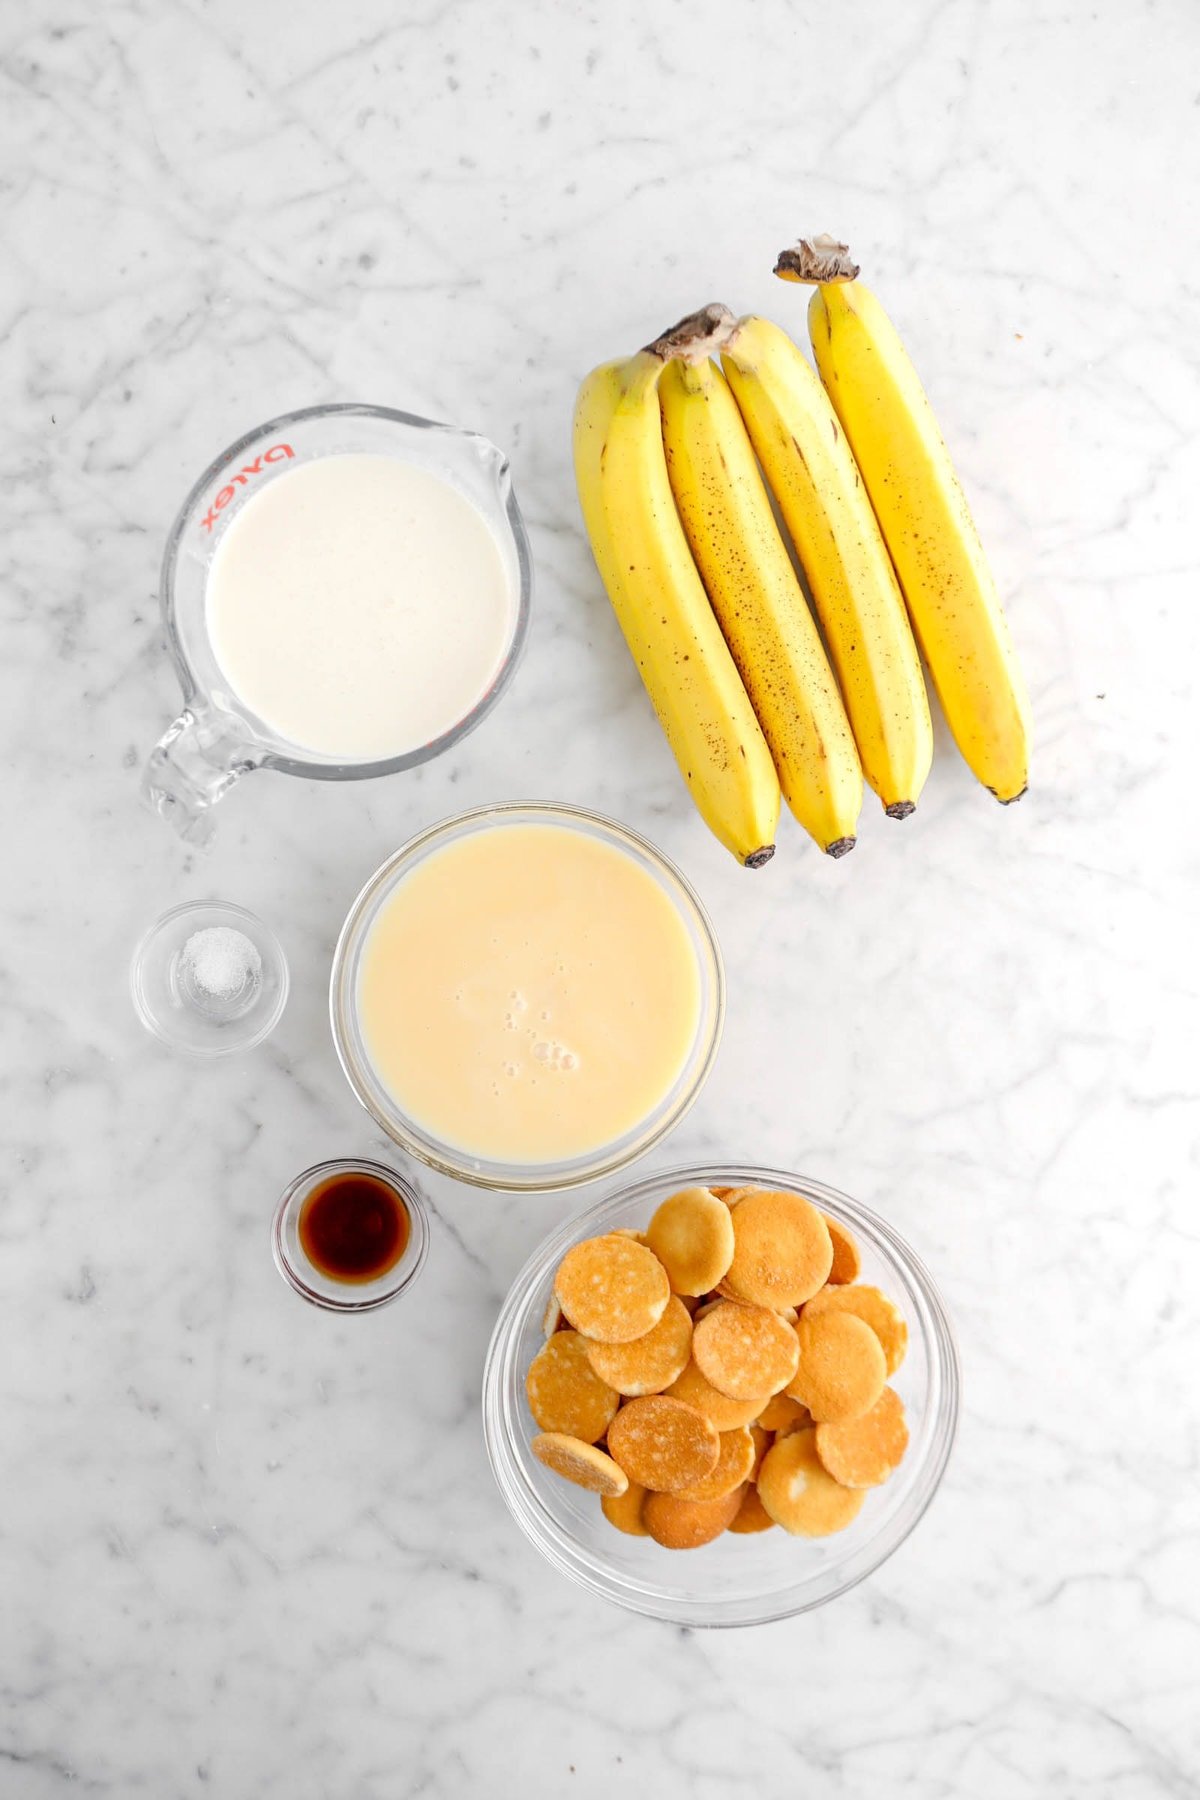
Ingredients
(Full ingredient amounts and instructions can be found in the recipe card at the bottom of the post)
- Heavy Cream
- Sweetened Condensed Milk
- Vanilla Extract
- Salt
- Vanilla Wafers
- Fresh Bananas
How To Make No Churn Banana Pudding Ice Cream
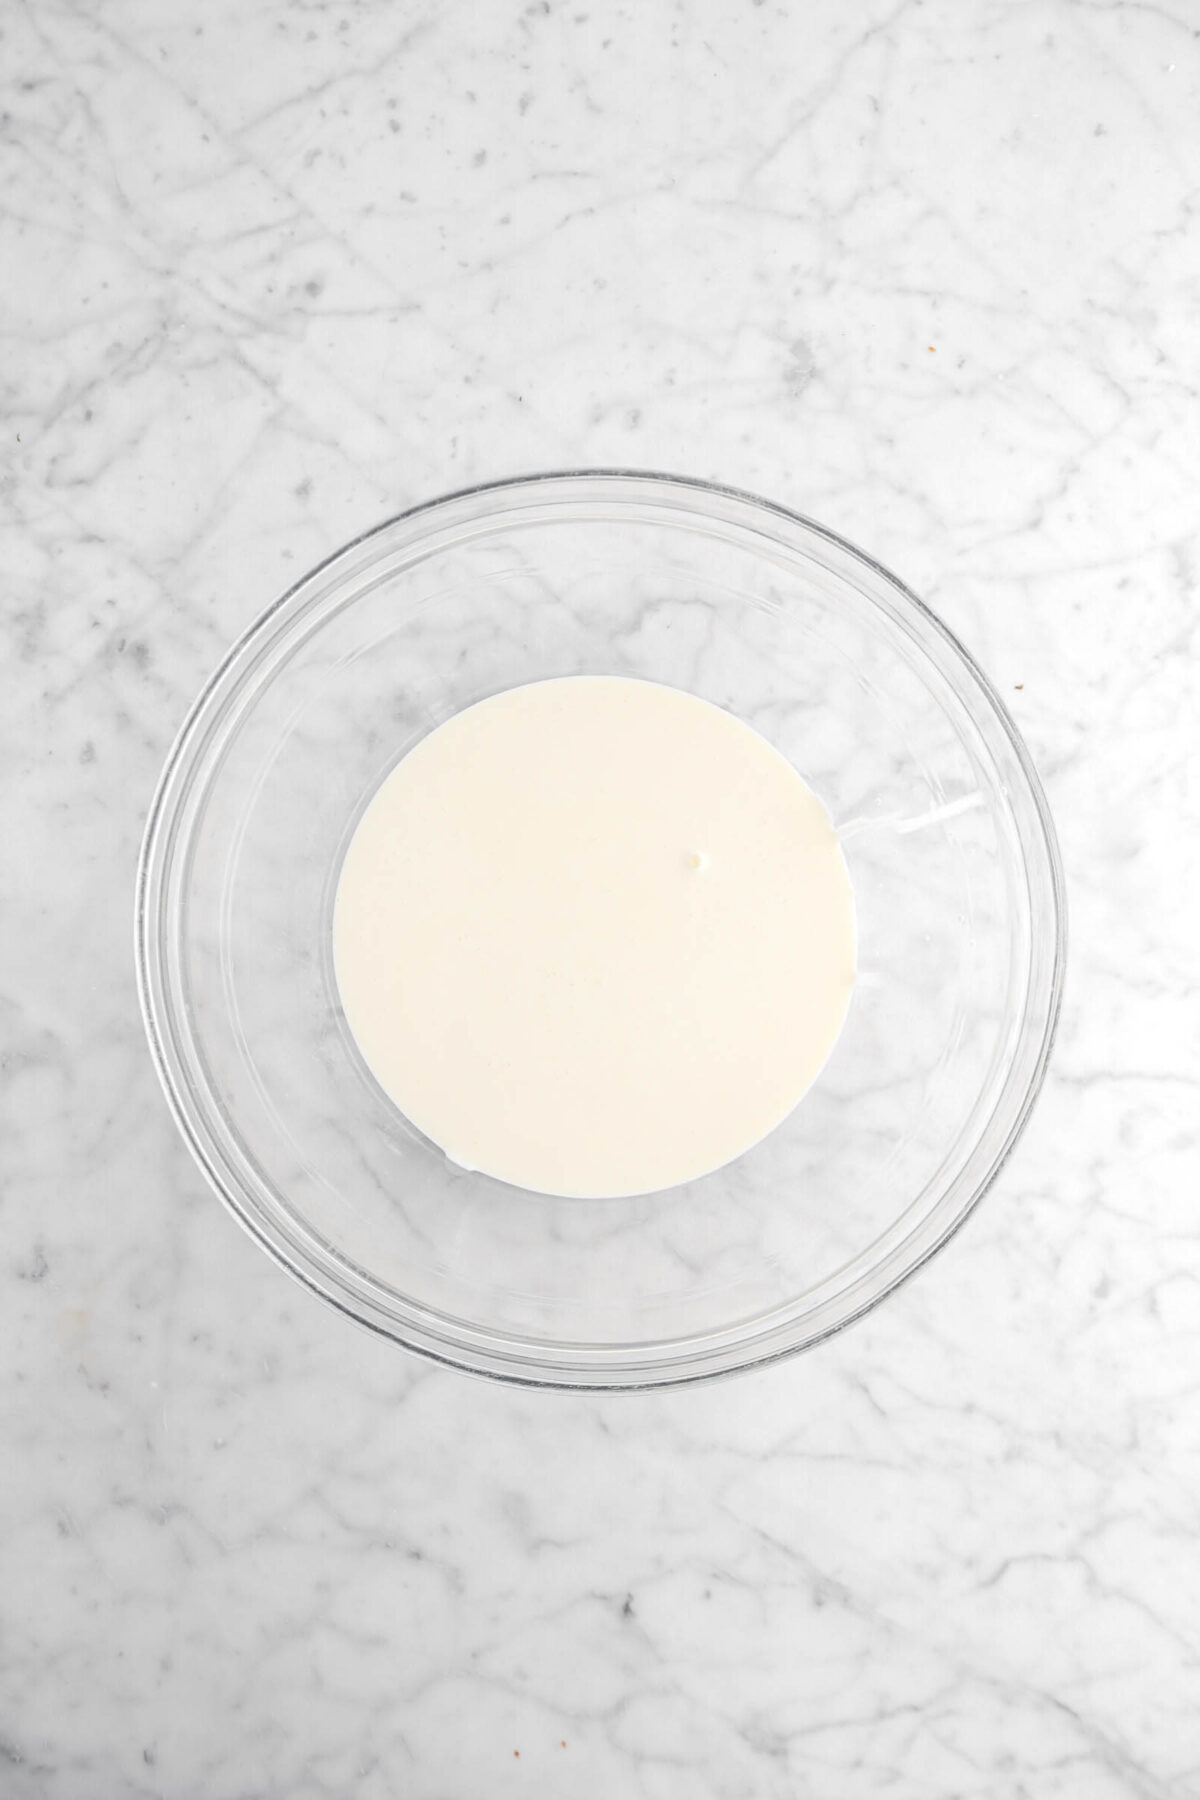
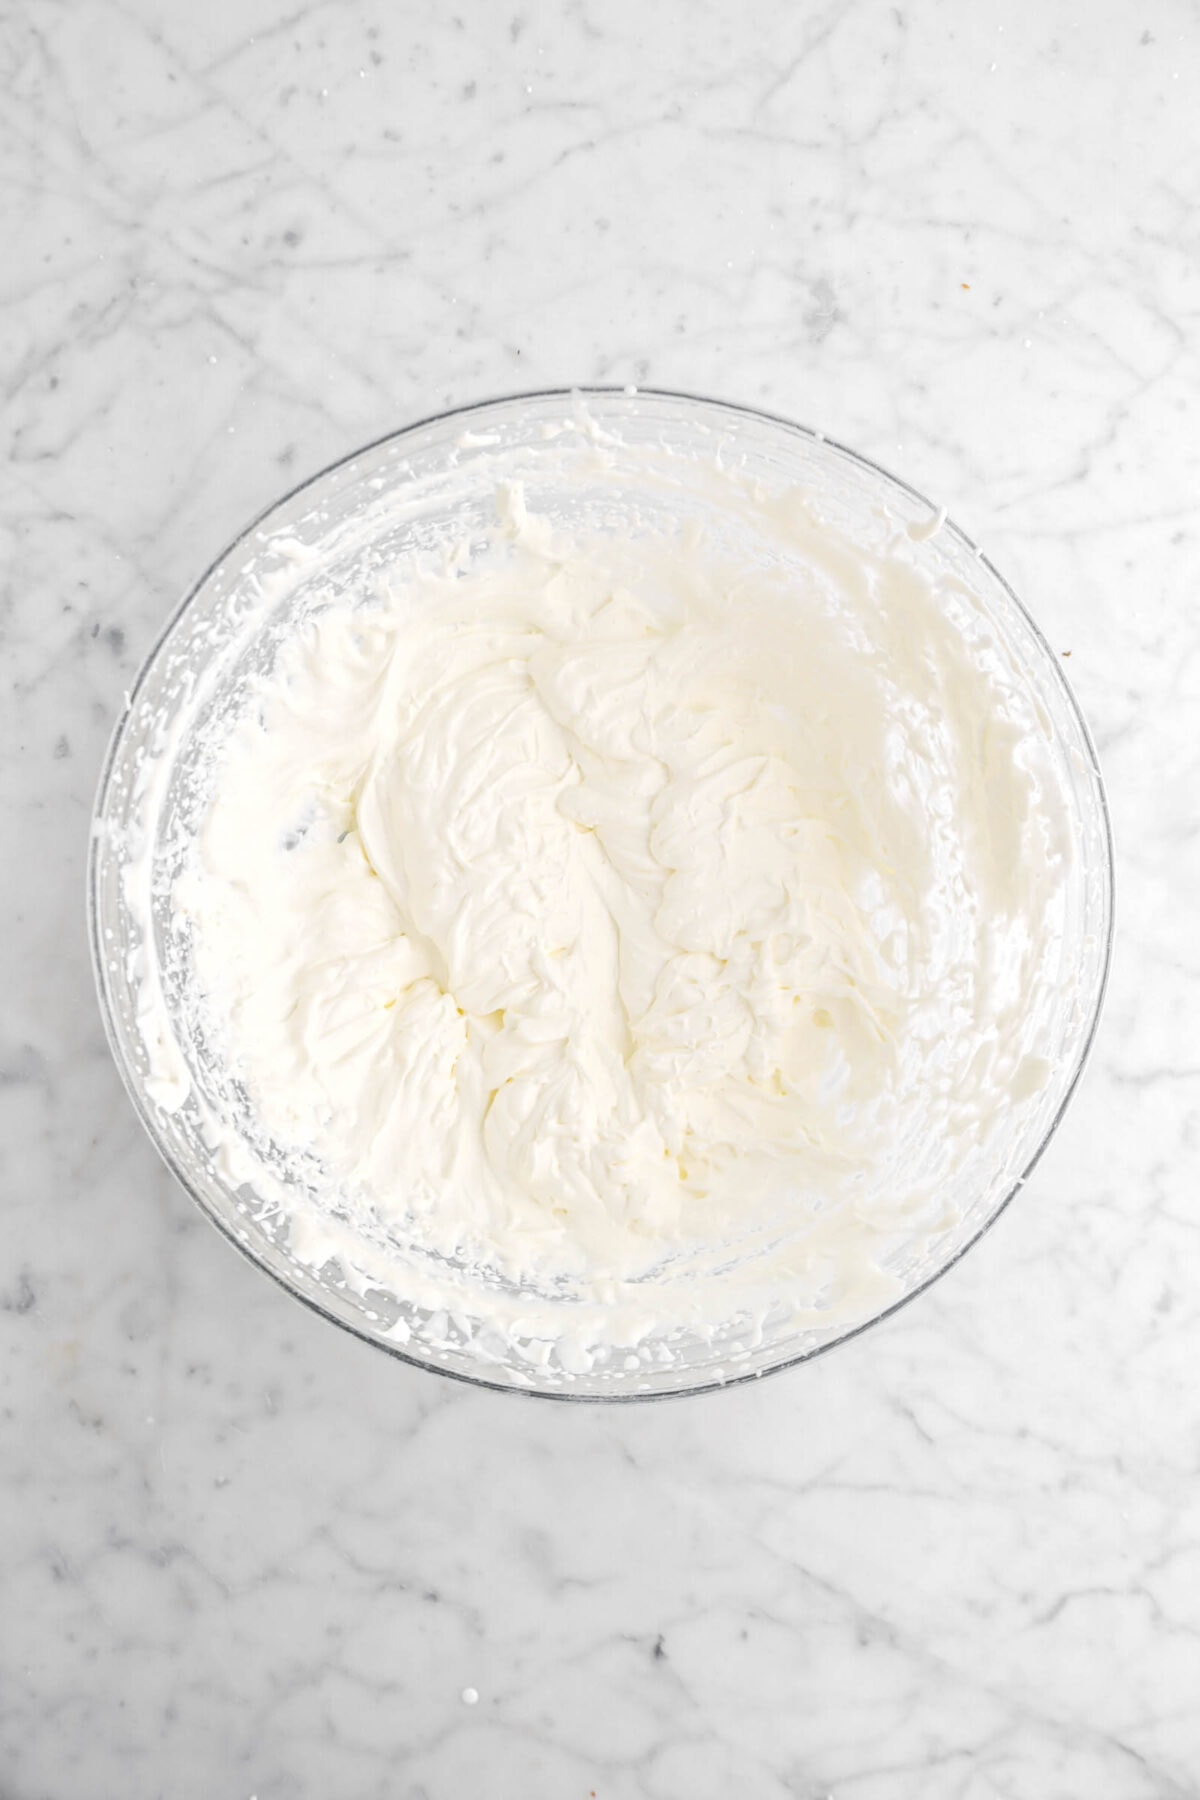
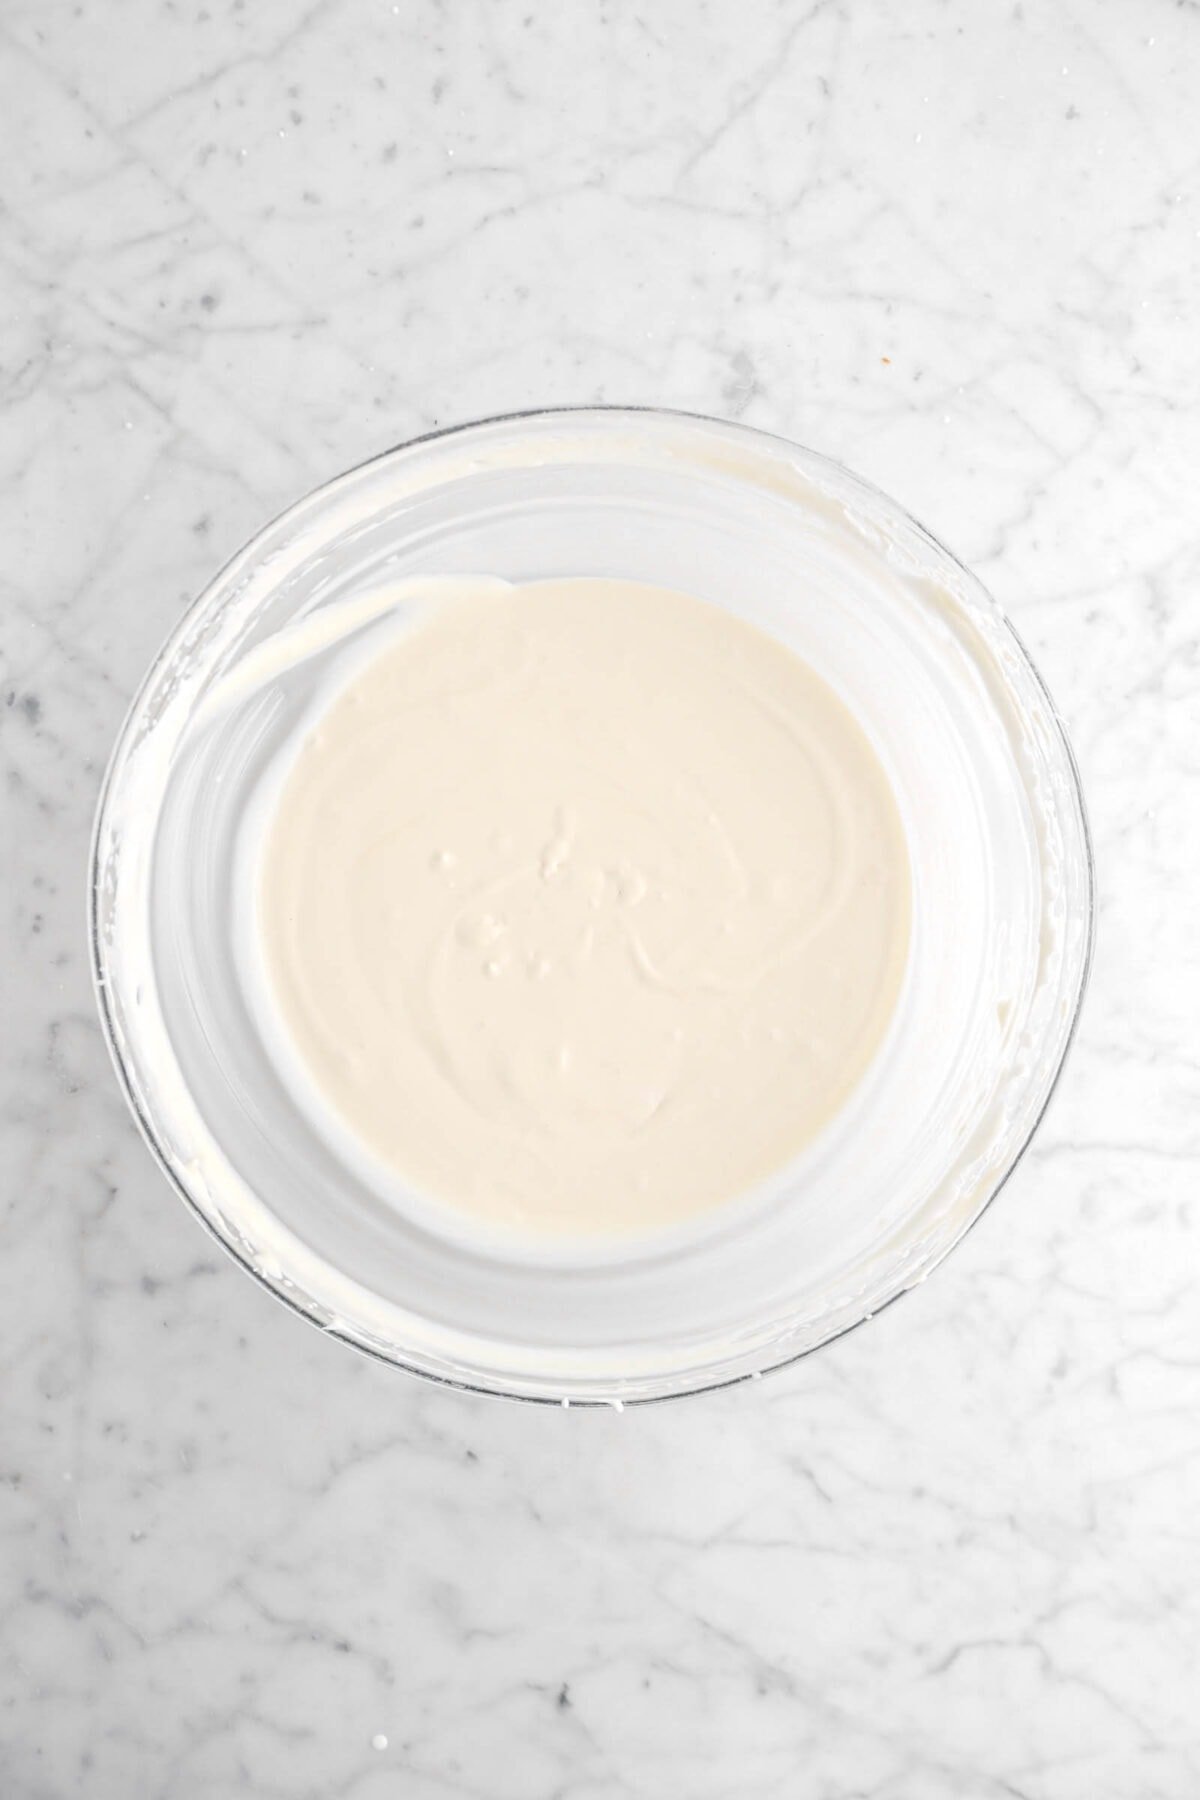
Step 1: Whip the cream
In a large bowl, beat the heavy cream to stiff peaks.
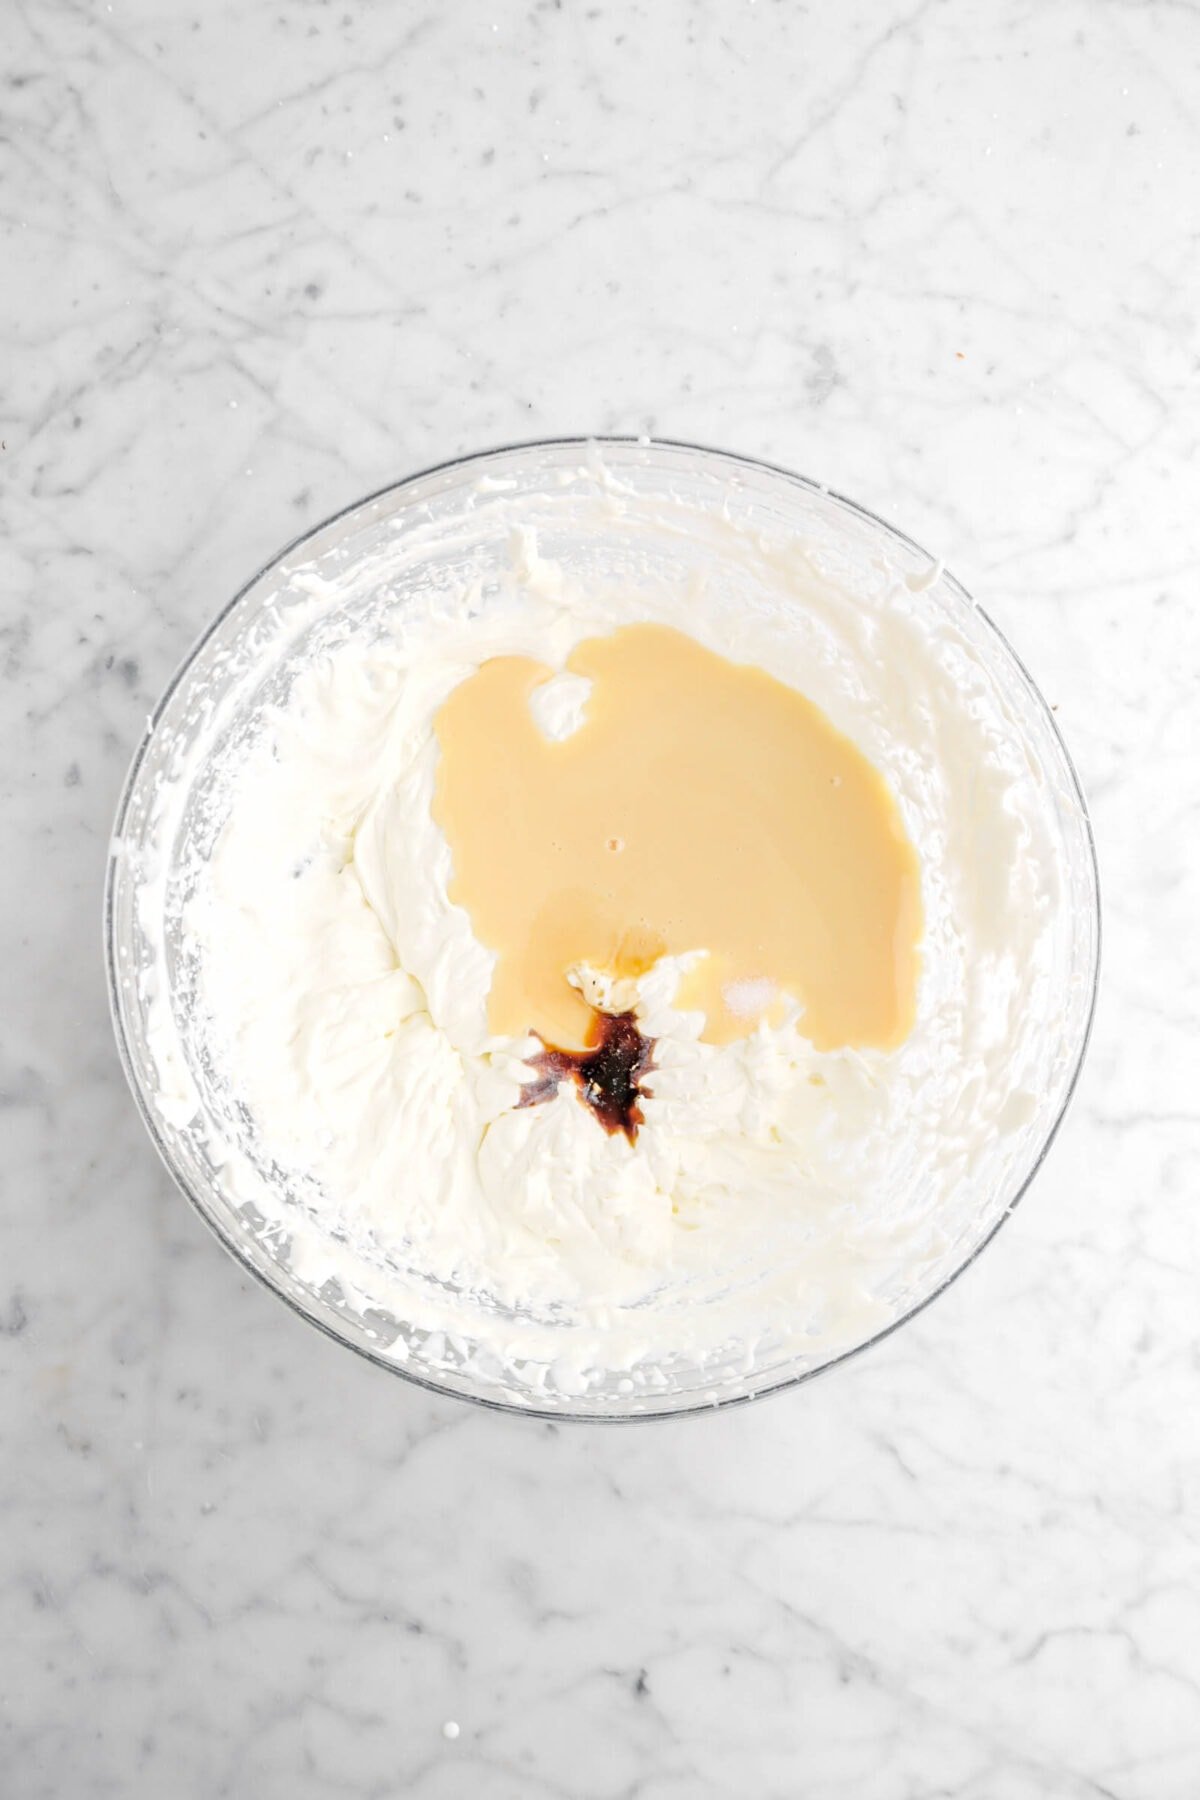
Step 2: Fold in the remaining ingredients
Fold in condensed milk, vanilla, and salt.
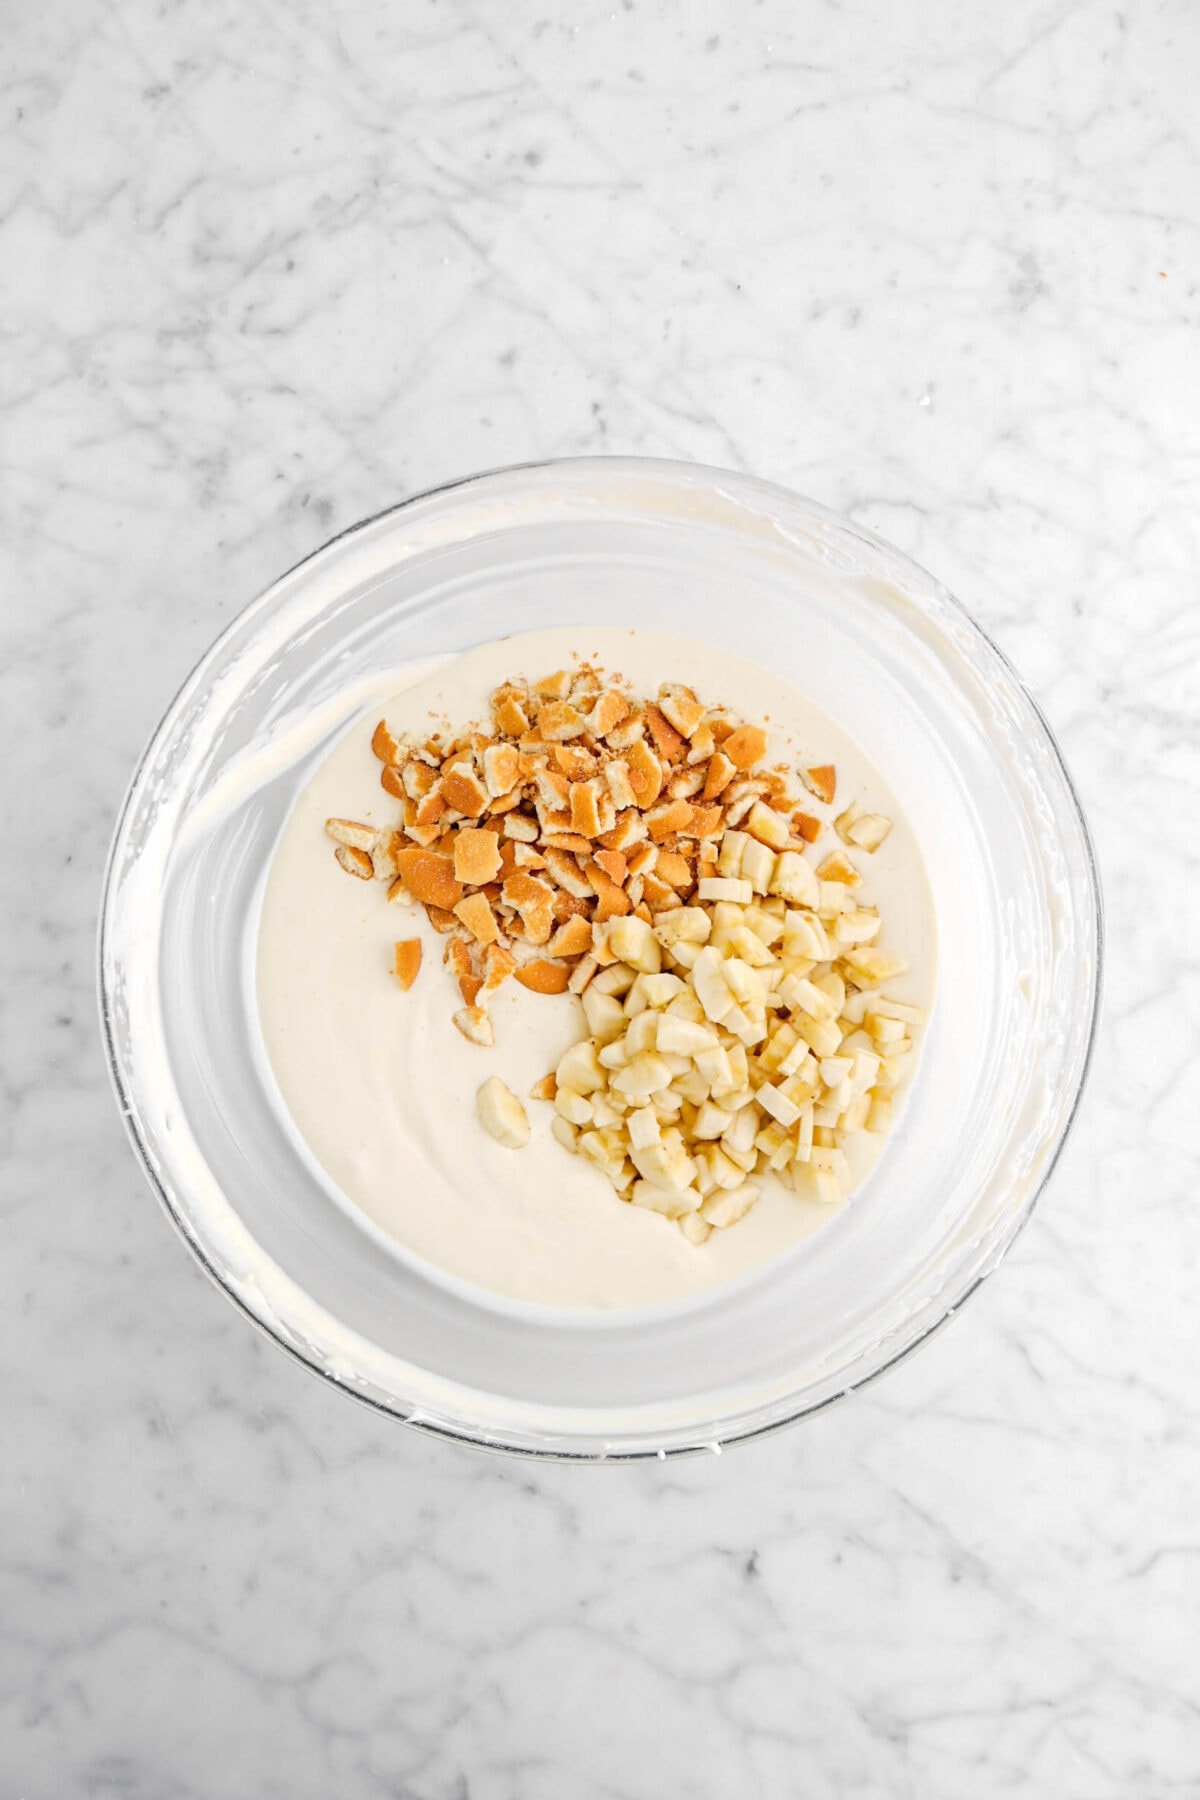
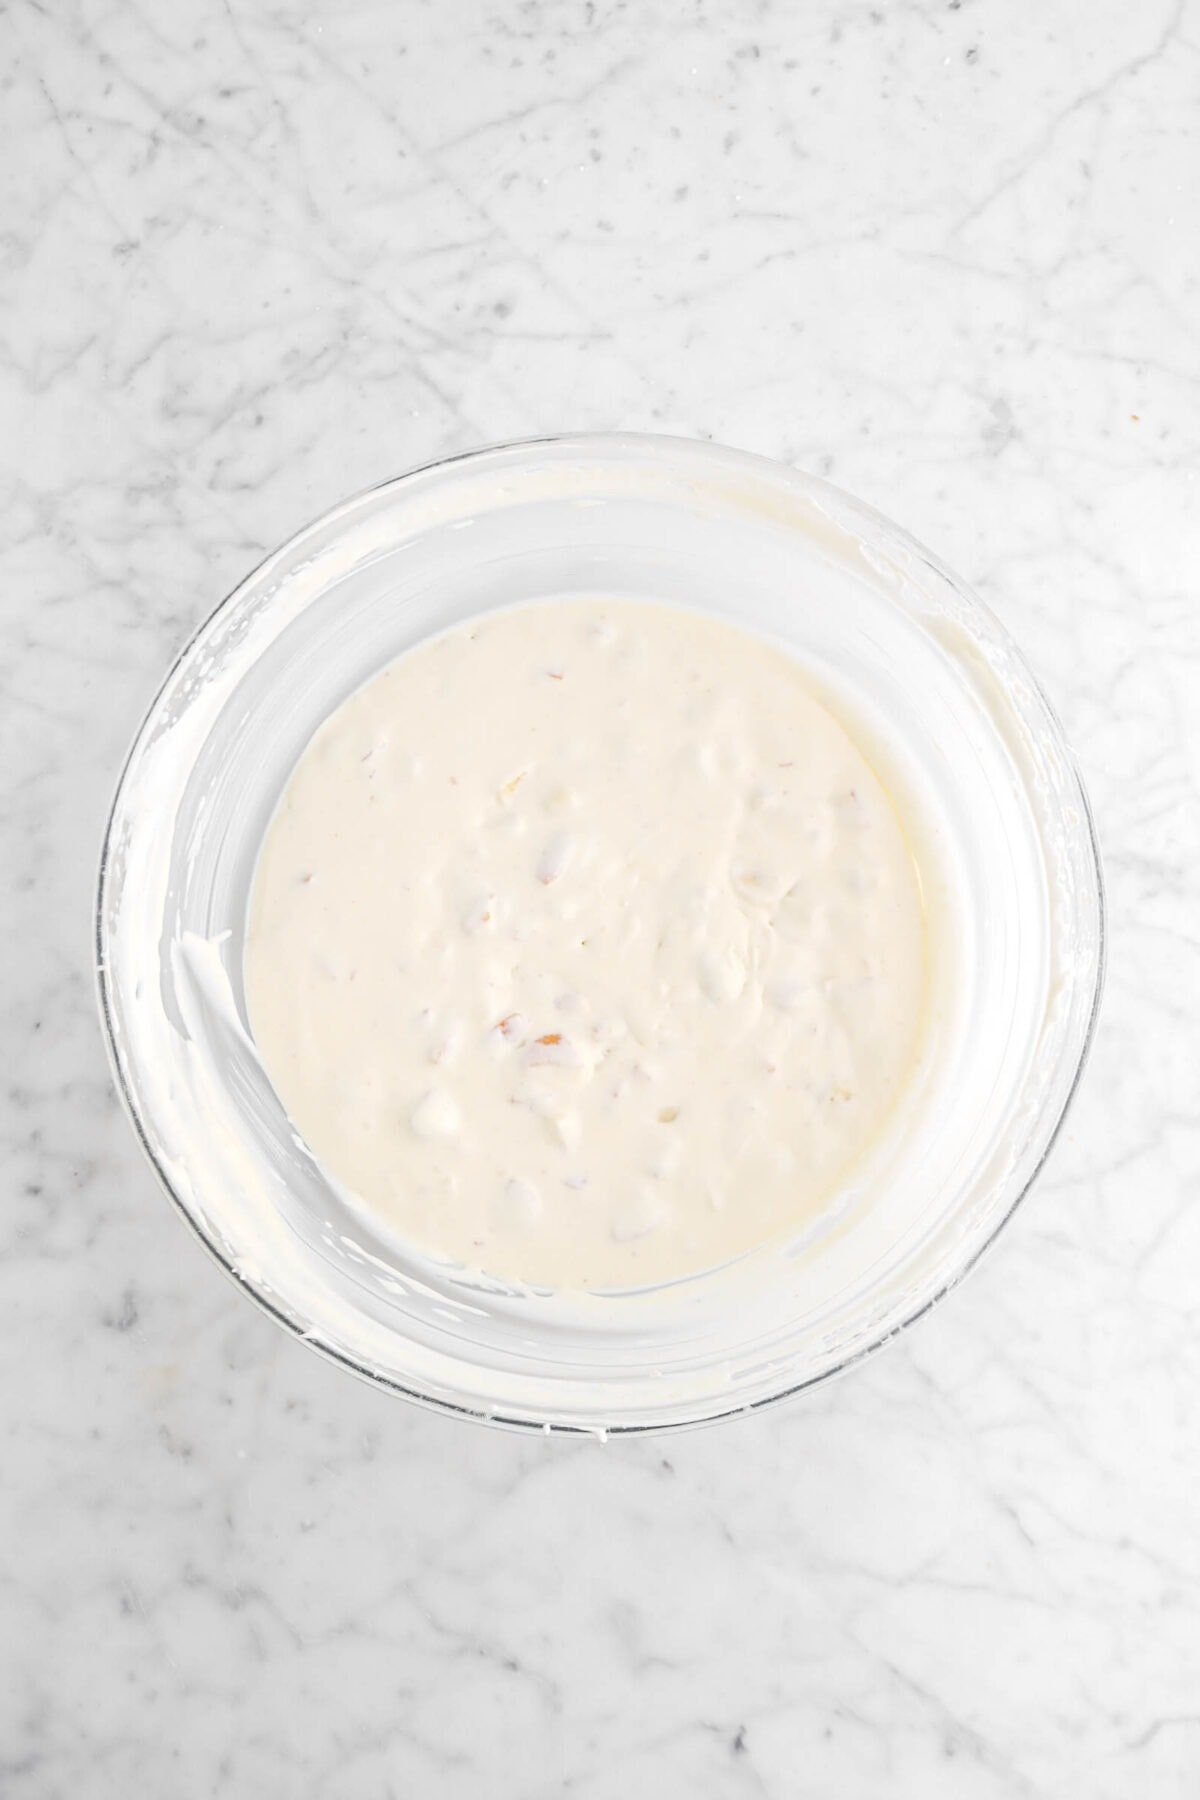
Fold in the chopped bananas and vanilla wafers.
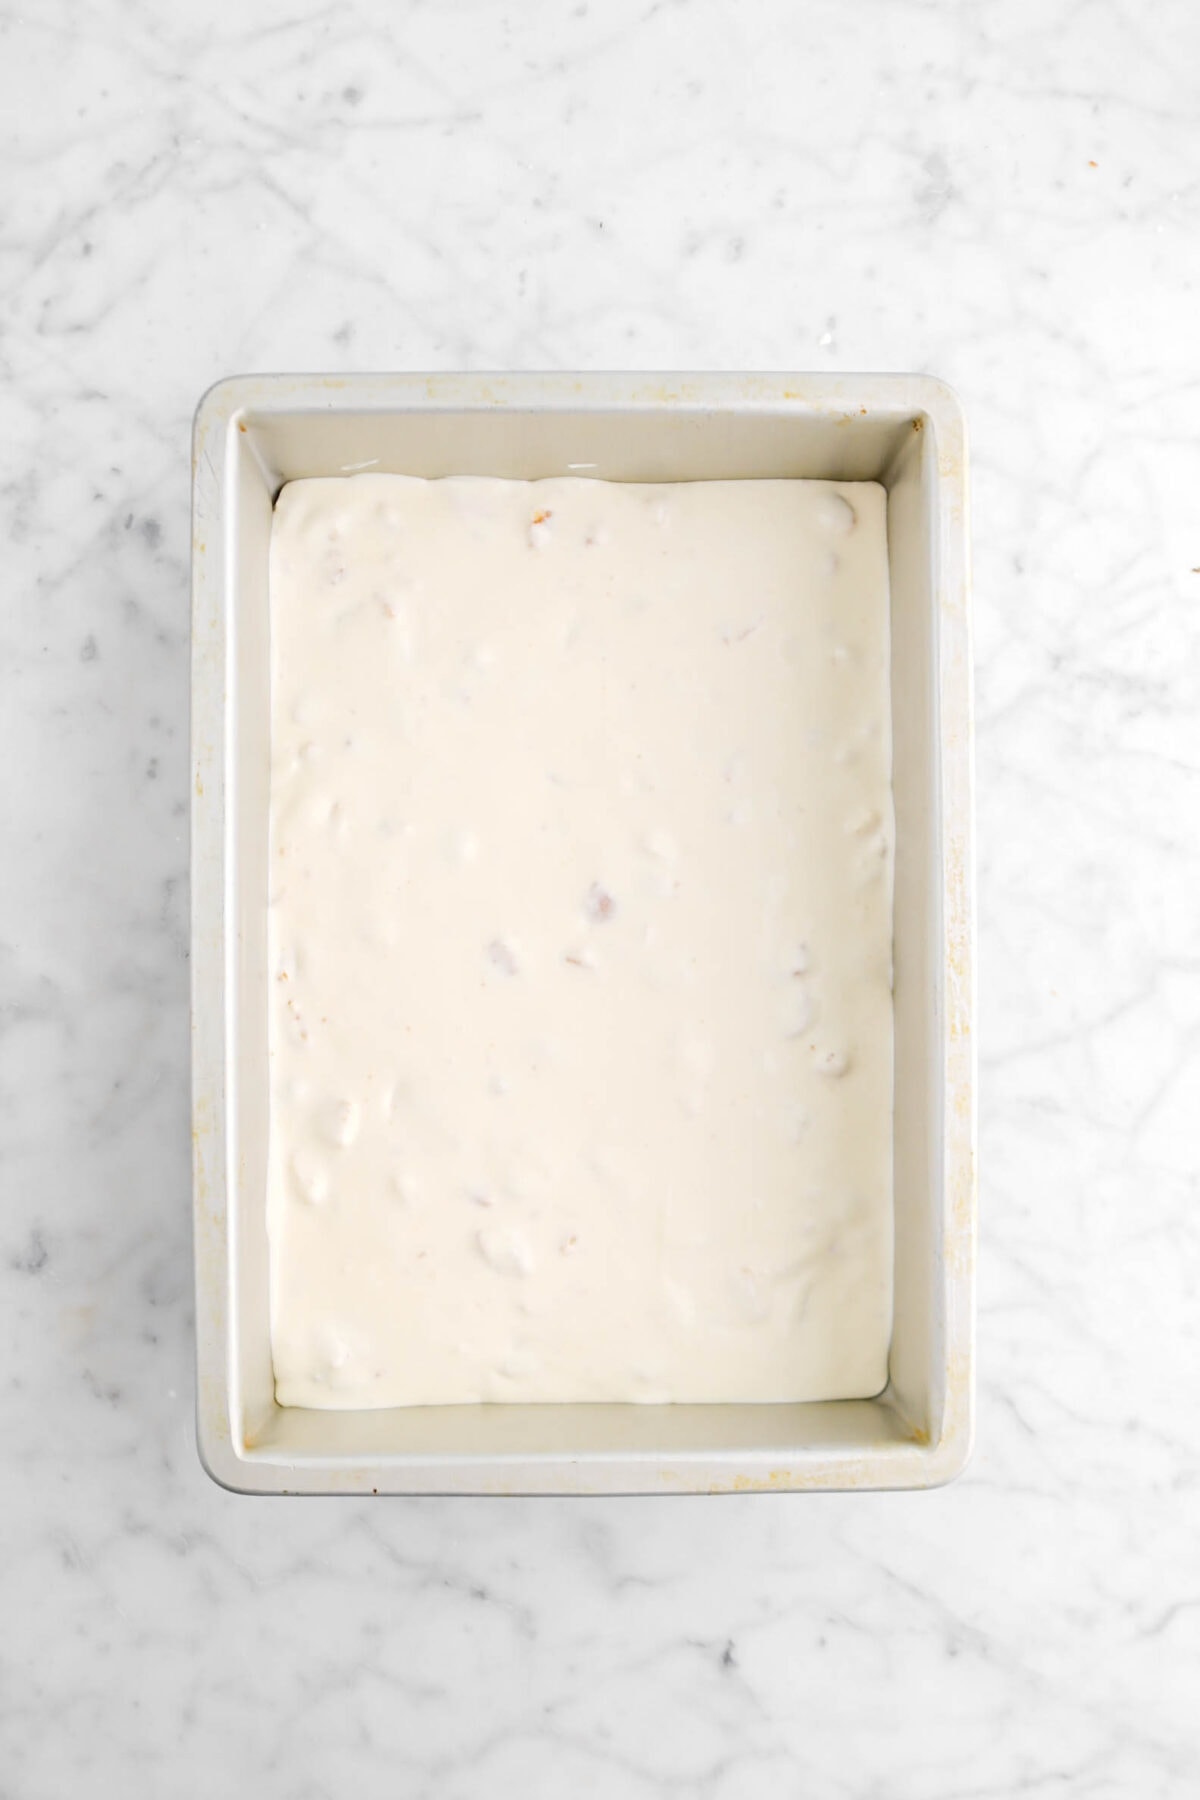
Step 3: Freeze
Pour the ice cream base into a metal sheet pan. Cover and freeze for 4-6 hours, or until set.

No Churn Ice Cream FAQ’s
Do I Have To Use Heavy Whipping Cream?
For this recipe, heavy whipping cream is essential! Once it’s whipped, that’s how the ice cream becomes so light and fluffy.
Does No Churn Ice Cream Taste Like Normal Ice Cream?
Honestly? Not really. While it’s very delicious, it is much sweeter than traditional ice cream. It also tastes like sweetened condensed milk, which works well for this recipe, as it lends a very pudding-type flavor, but if you aren’t a fan of sweetened condensed milk, you should probably stick with traditional ice cream!
Can I Use Frozen Banana For This Recipe?
Yes! Just be sure to chop it before you add it into the ice cream base.
How Long Does It Take For This Ice Cream To Freeze?
Ours frozen in about 4-5ish hours. Though, it can take 8-12 hours, depending on how cold your freezer is.
4 Ways You Can Turn This Ice Cream Into A New Dessert
There’s nothing better than a scoop (or two!) of ice cream on a hot day…but when you have leftovers, sometimes you might wanna do something special. Which, we totally get. Here are a few of our favorite ways to change-up this ice cream and make a whole new dessert!
- Make a milkshake! Simplicity is always better.
- Freeze it in a cookie crust like our Turtle Ice Cream Pie!
- Make some ice cream sandwiches.
- Use leftover vanilla wafers and make a trifle!
How To Store
Once this ice cream is frozen, you can keep it in sheet pan, covered with plastic wrap, and in the freezer for 5-7 days. Though, we do recommend scooping it out and placing it in an ice cream container to really make it last! We found that, if using an ice cream container, the ice cream will last 2-3 weeks before ice crystals really start to form!
When you make this No Churn Banana Pudding Ice Cream, leave a comment down below! We love hearing from you and answering any questions you might have! Also, be sure to tag us on social media and hashtag it #BakersTable.
No Churn Banana Pudding Ice Cream
Ingredients
- 2 cups heavy cream, cold
- 1⅓ cups condensed milk
- 1 teaspoon vanilla
- 1 pinch salt
- 2 whole bananas, chopped
- 1 cup vanilla wafers, broken
Instructions
- In a large bowl, beat cream to stiff peaks.
- Fold in condensed milk, vanilla, and salt.
- Fold in bananas and vanilla wafers.
- Pour into a metal sheet pan and cover.
- Freeze until firm enough to scoop, about 4-6 hours.
Notes + Tips!
- 1 1/3 cups condensed milk is equal to a single 14-oz can.
- Do not OVER whip the cream! Stiff peaks is when you quickly lift up the beaters and see a peak. There should just be a slight curve at the tip.
- Be careful to not over-fold the ice cream base. You don’t want to deflate the whipped cream!
- Use a metal pan to help freeze the ice cream quickly.
Tools You May Need (affiliate links)
– Still Hungry? –
Here are a few recipes may like!


I’ve been making this but lost my recipe. This is closest to it. But I mash the 3 bananas with the condensed milk til smooth and add vanilla and salt. THEN I fold in the whipped cream and the broken vanilla wafers – or graham crackers.
Do NOT need pudding mix an other stuff other recipes include.
Hi Jane! I’m so happy you found our recipe 😊 I love the idea of mashing the bananas with the condensed milk, I’ll have to try that next time! Hope you find more recipes to love on our blog!! x, Caylie