Angel Food Cake
This post may contain affiliate links, please visit our privacy policy for details.
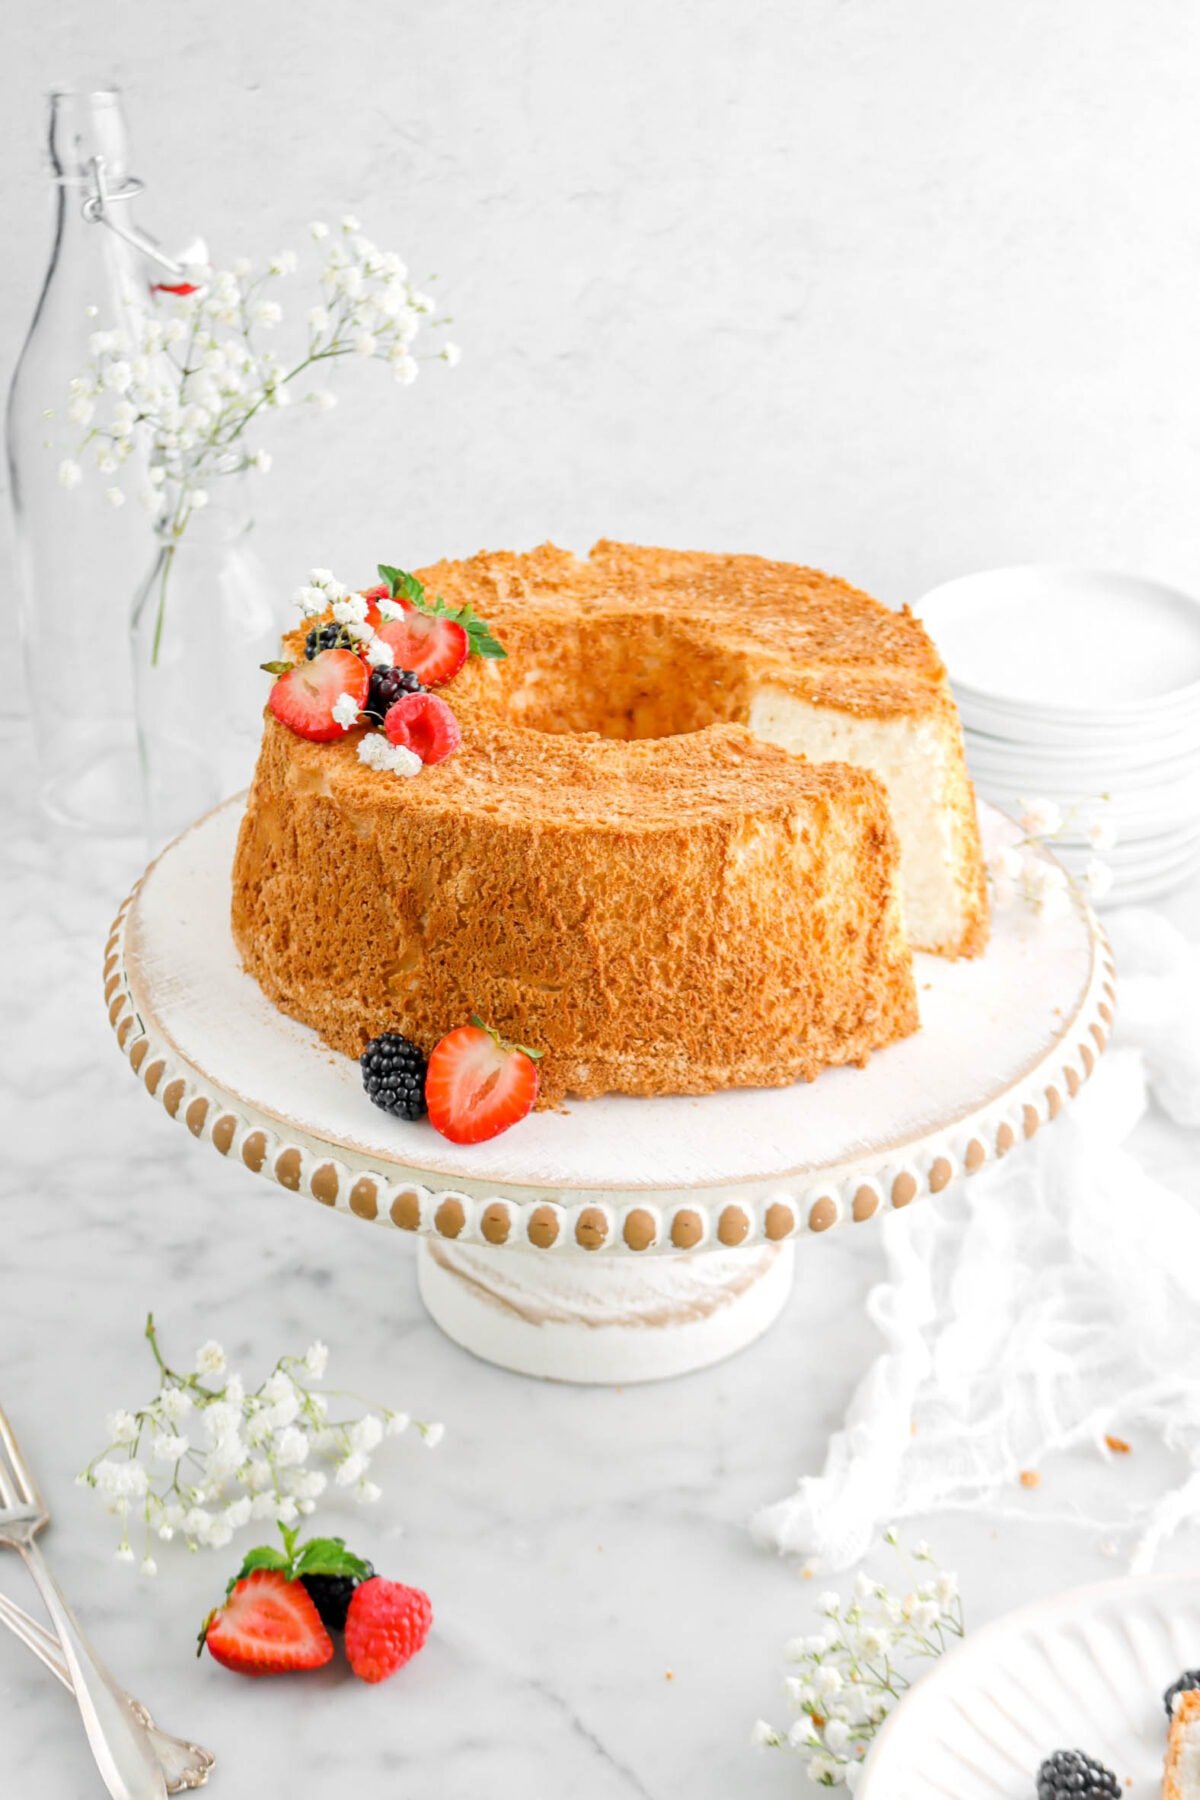
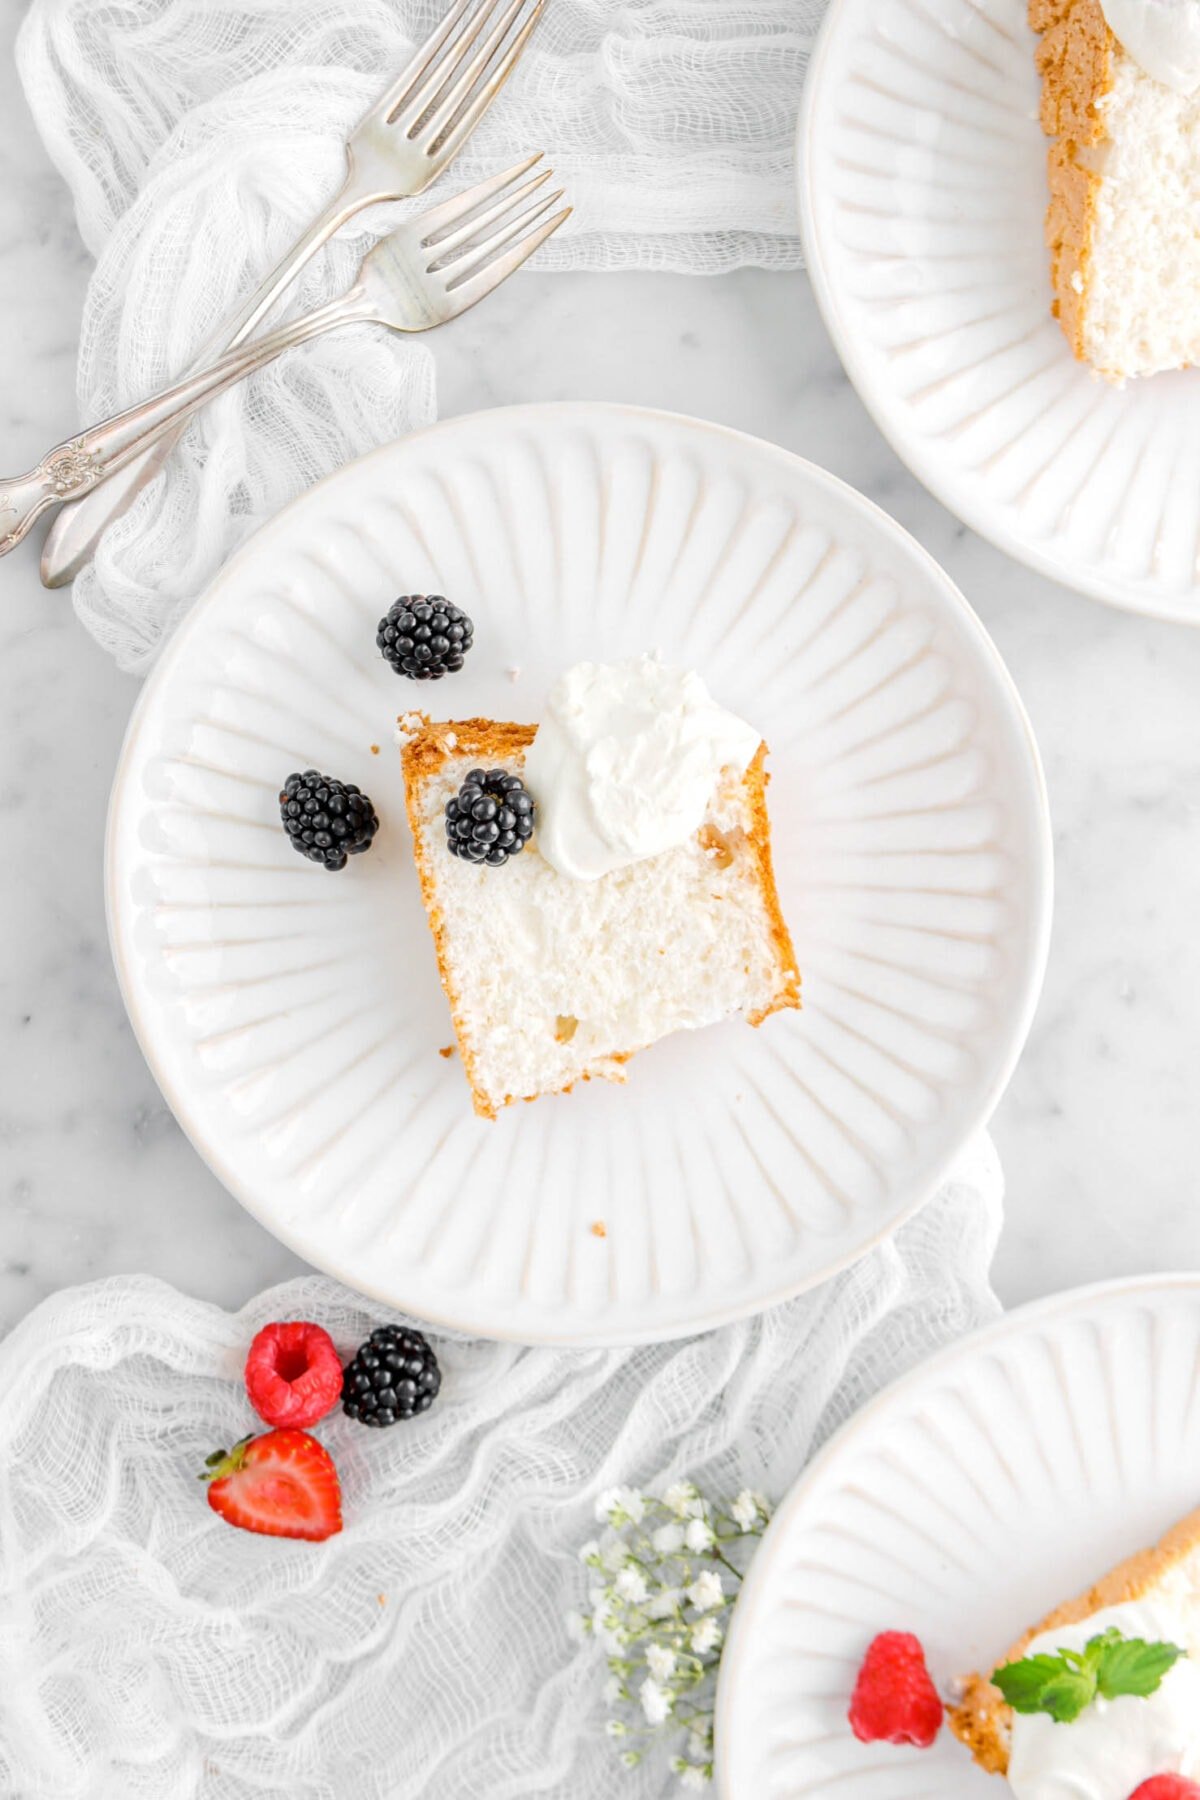
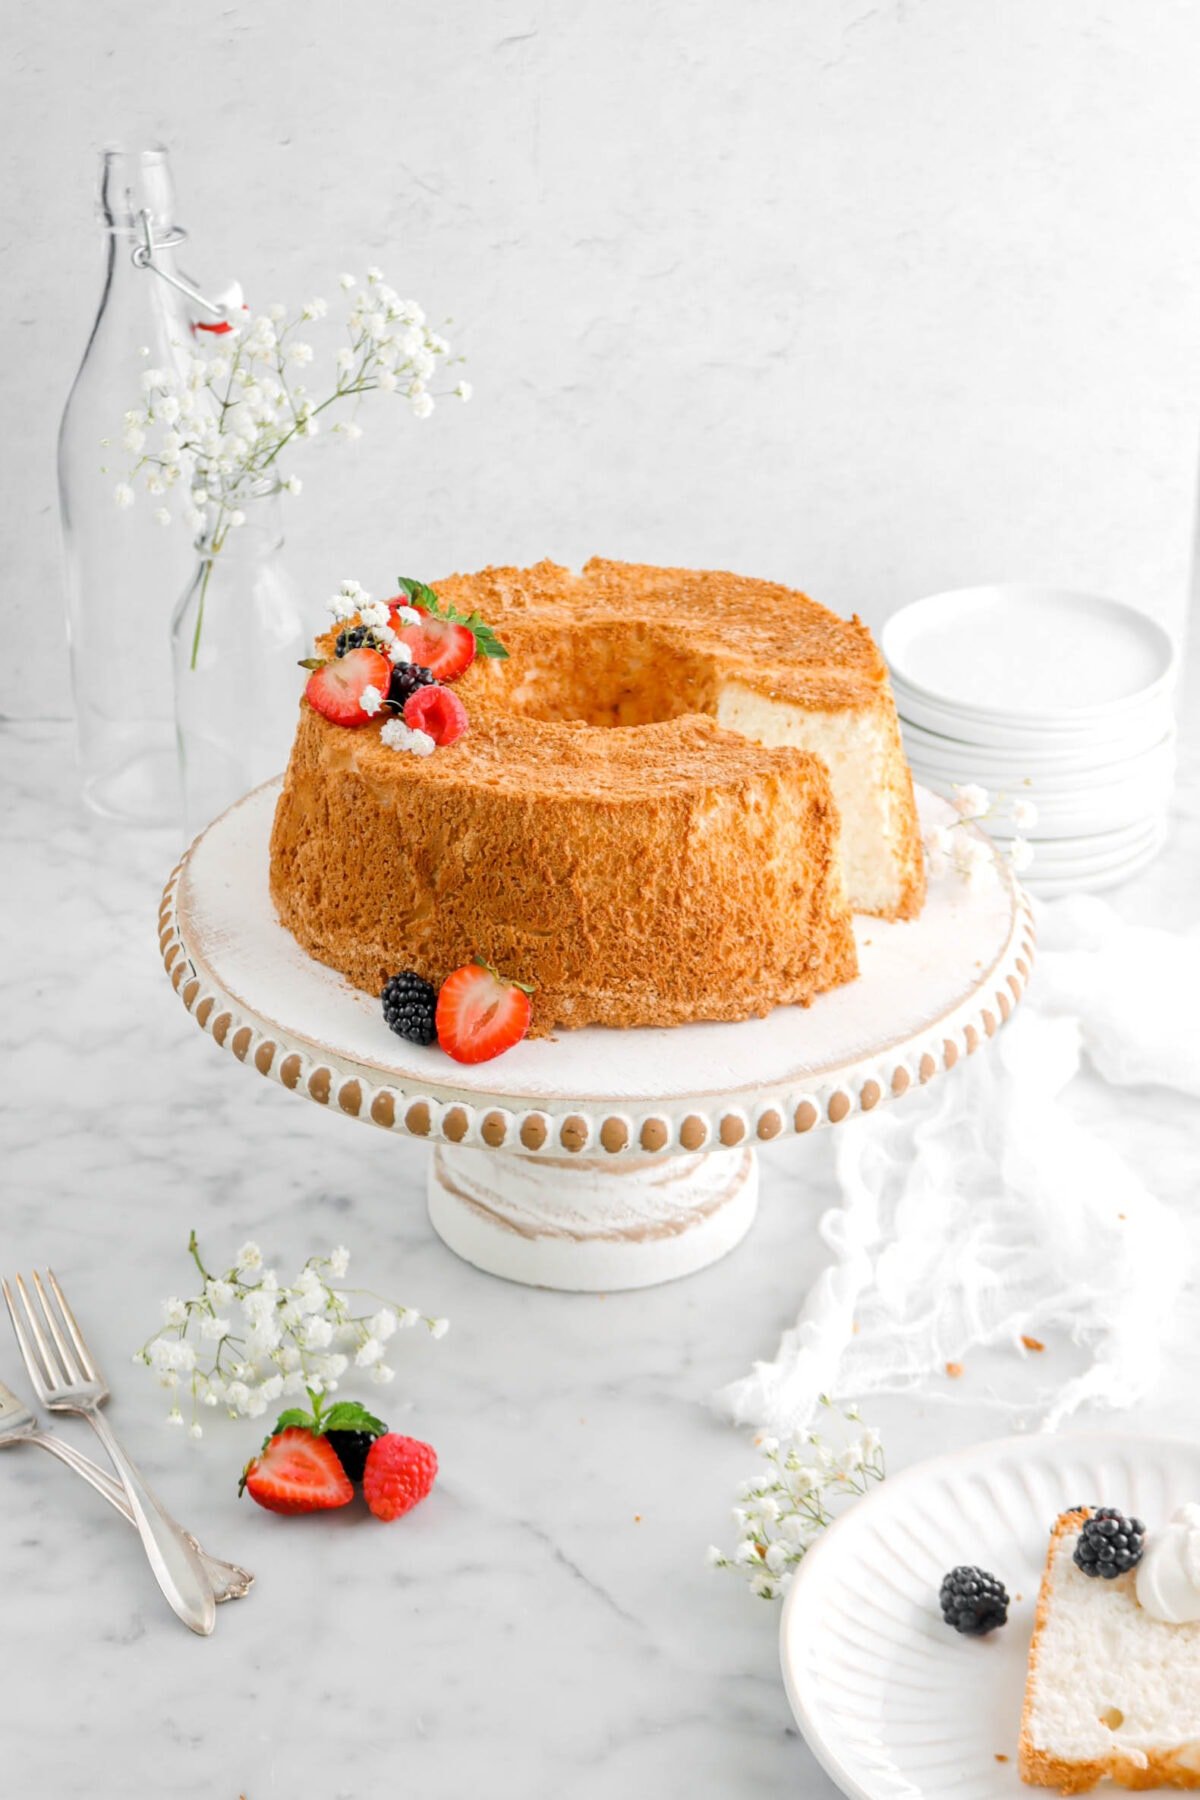
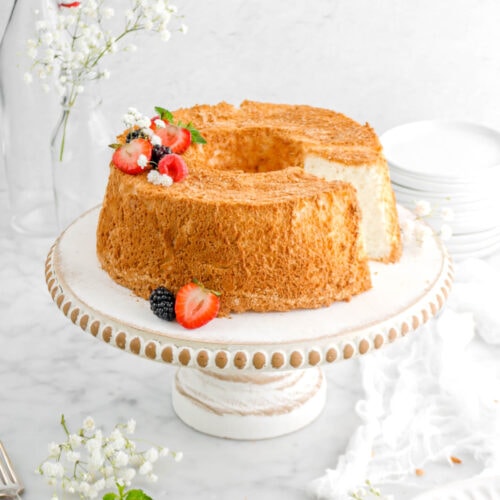
Light, perfectly sweet, and absolutely delicious Angel Food Cake. The effortlessly gorgeous and oh so impressive cake that tastes just as good as it looks! Made simply with only 6 ingredients and baked to golden perfection. It’s the same classic dessert you know and love, but made at home! Be sure to serve each slice of this delicious cake with a dollop of Chantilly Cream and fresh berries to really make every bite pop with flavor. There is no better crowd-pleasing cake to bake! Perfect for anytime of year and any holiday. So. GOOD.

About The Recipe
Happy Friday, everyone!
It’s officially the last day of September and I am so excited to finally be sharing this Angel Food Cake with all of you! This is definitely one of those recipes that have been in development for years. Like, before this blog was even started. One of the things my mom always wanted to learn how to make and make well was an angel food cake.
And, after getting quite a few requests for this cake, we thought it would be fun to give it a try! It’s something my mom hasn’t tried to make for a while and…to be honest, it took us days of development. Before we even started baking, my mom spent about 2 days on the couch crunching numbers to get the formula just right.
From there, we did a few small test bakes to see how we fared. Each one actually turned out perfectly! Still, when it came down to actually making the angel food cake, we were nervous.
I mean, it is mostly meringue with a small bit of flour added to it. There are so many things that can happen!
Still, to our surprise (and absolute joy!), the cake turned out beautifully. The recipe itself is pretty much full-proof and we could not be more excited to share it!
It’s every bit as good as you remember an angel food cake being, but somehow even BETTER. The texture is light and fluffy, almost pillow-like, and just melts in your mouth with every bite.
The best part? This can be made all year long and is oh so impressive!
Reasons You Will Love This Angel Food Cake
- Naturally dairy-free.
- The perfect cake to bake all year long.
- Effortlessly pretty.
- Tastes sweet with subtle hints of vanilla!
- Perfect for parties, get-togethers, or holidays.

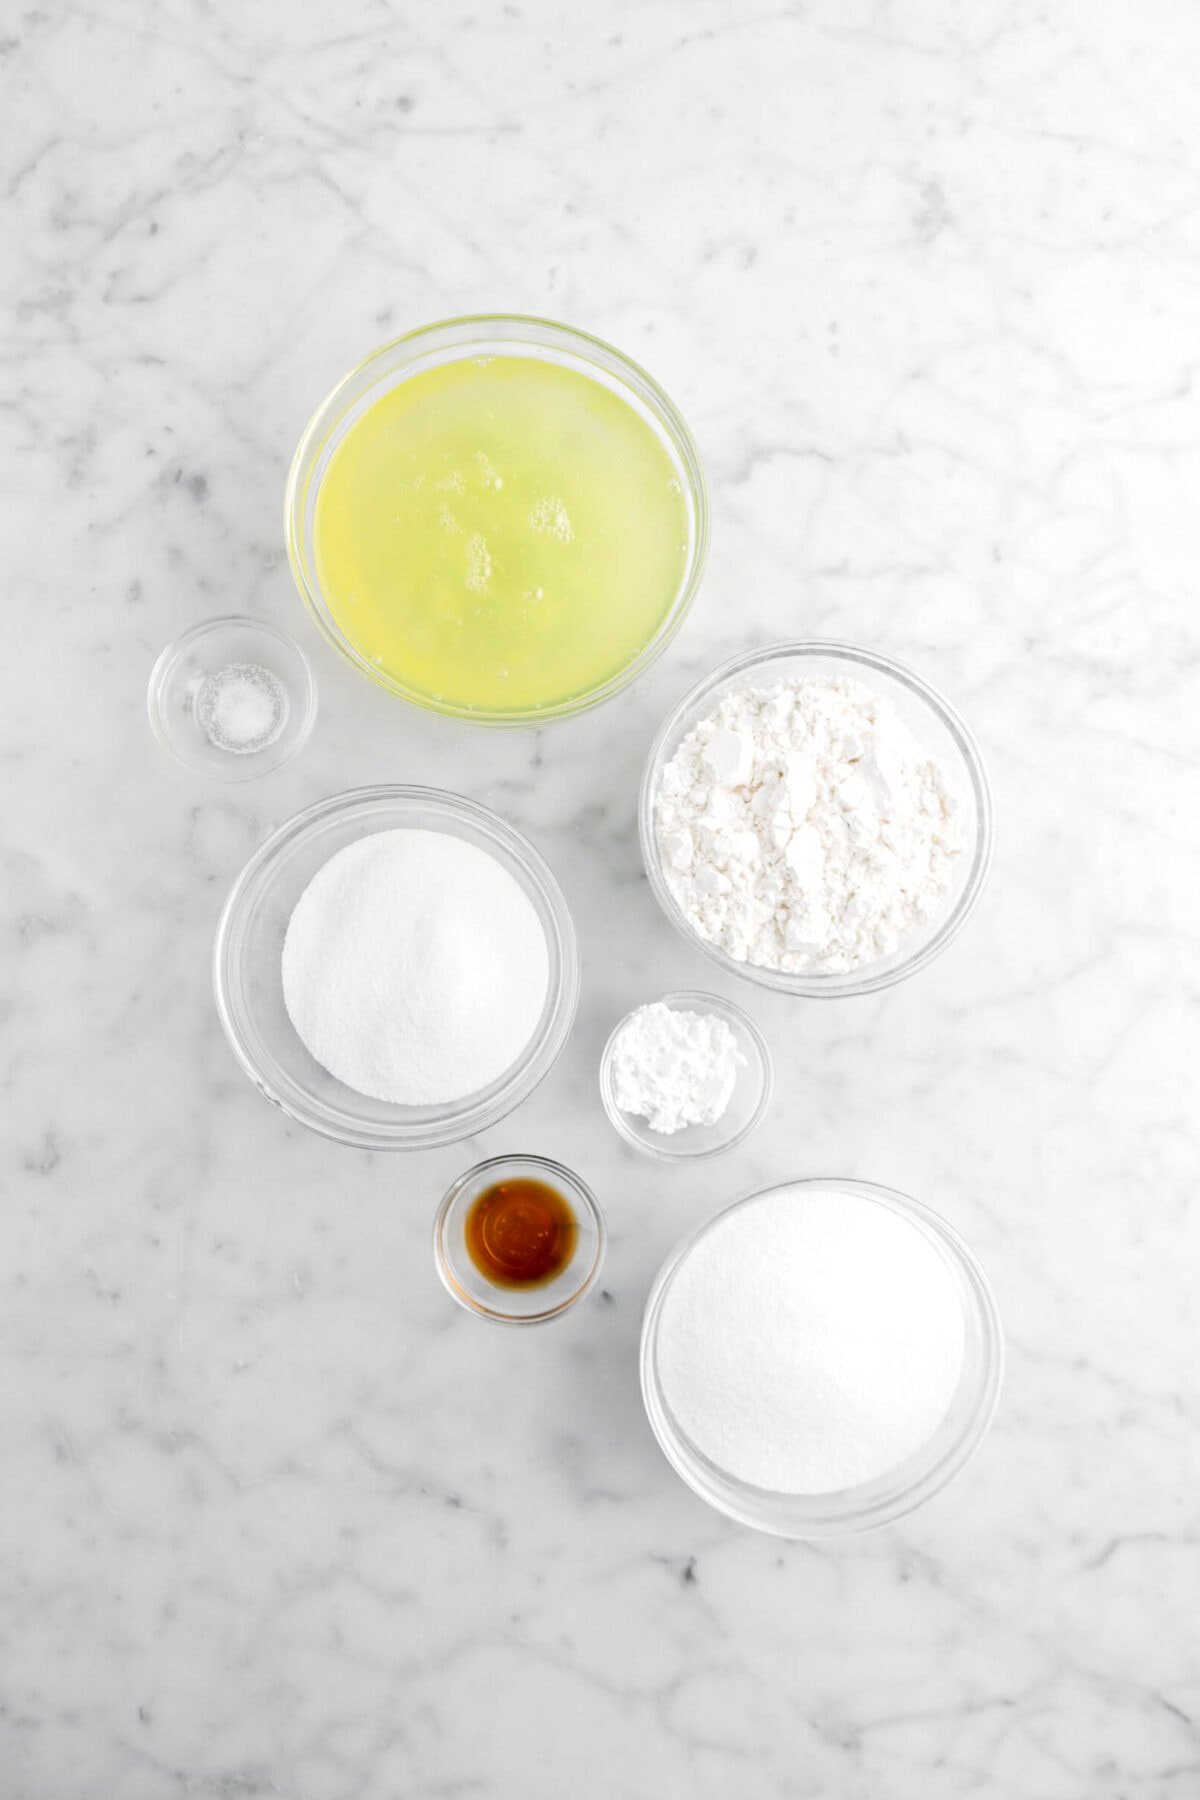
Ingredients
(Full ingredient amounts and instructions can be found in the recipe card at the bottom of the post)
- Cake Flour
- Granulated Sugar
- Salt
- Egg Whites
- Cream of Tartar
- Vanilla Extract
How To Make Angel Food Cake
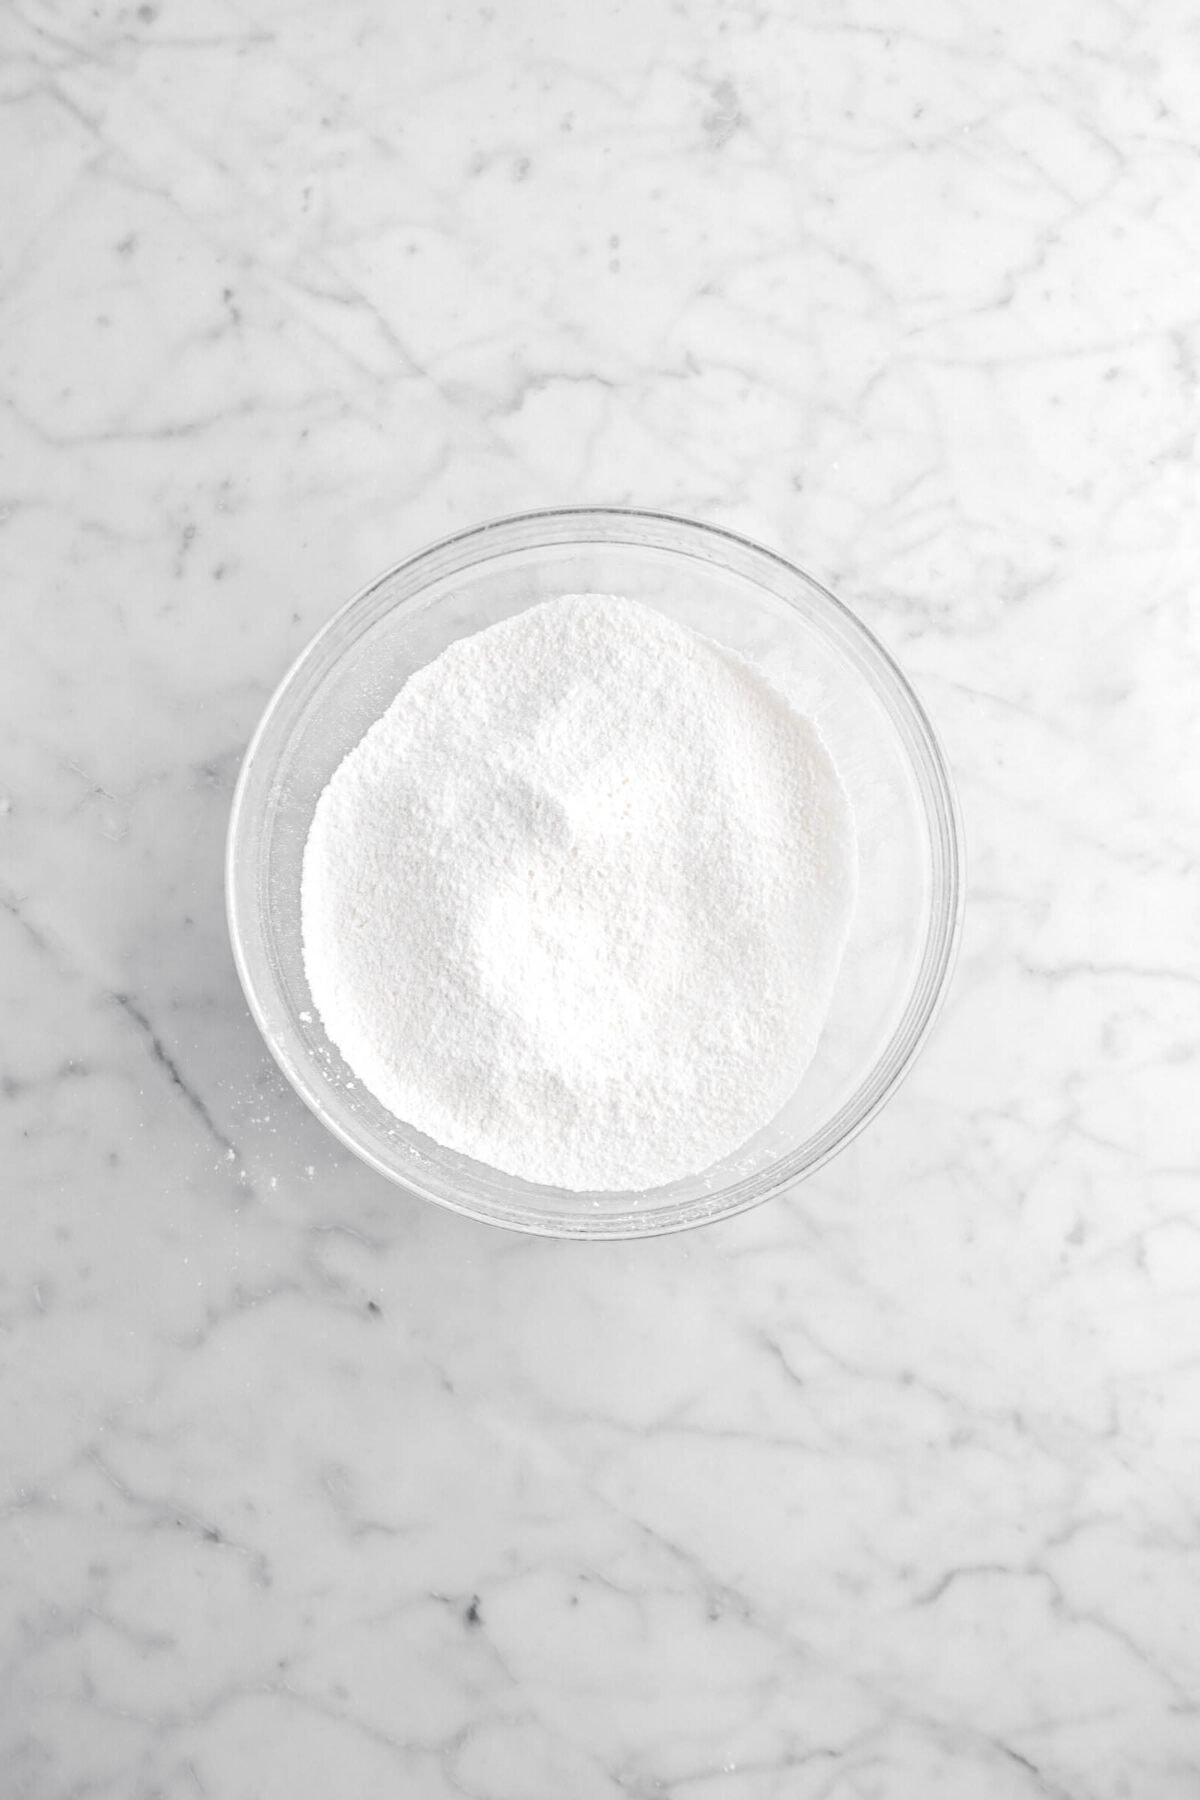
Step 1: Combine
Mix together flour, 1 cup of sugar, and salt in a small bowl. Set aside.
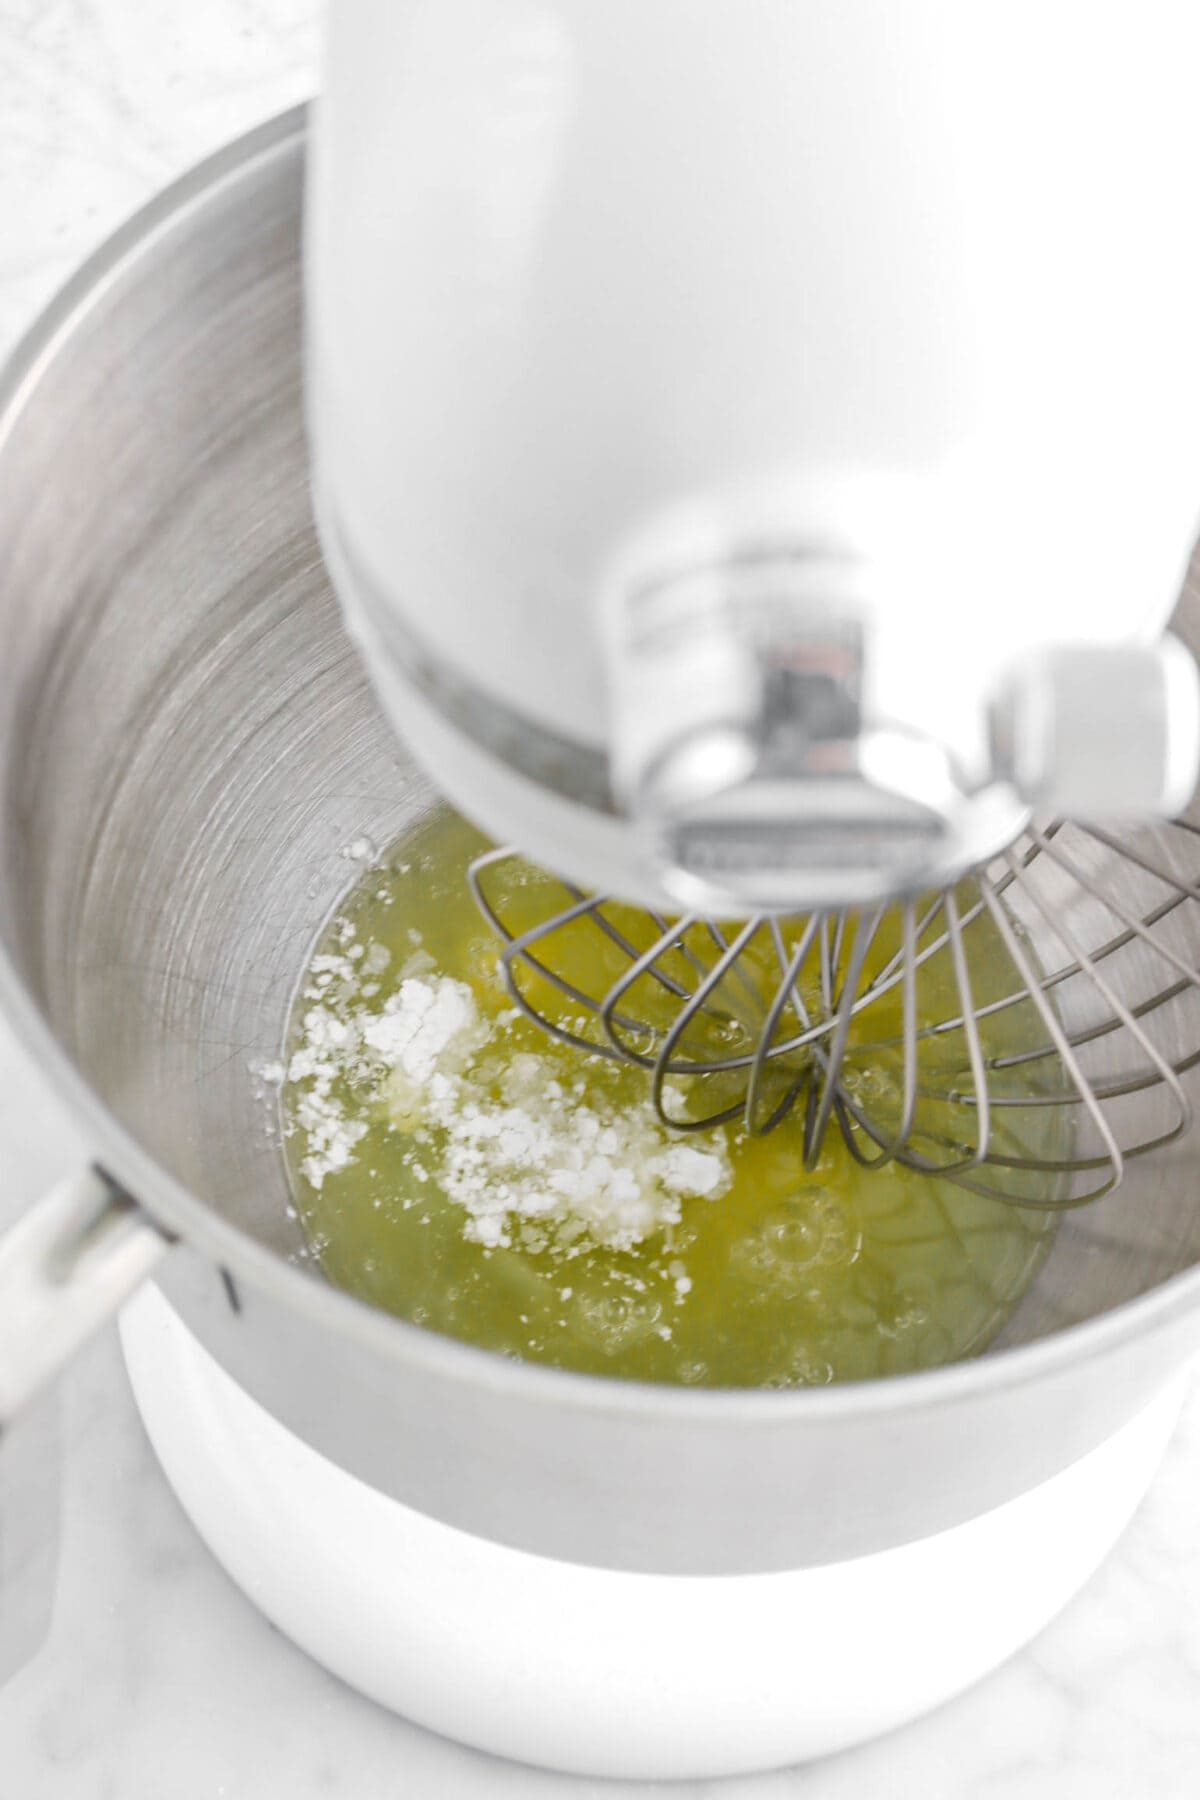
Step 2: Whip egg whites
Beat egg whites and cream of tartar with an electric mixer until foamy.

Stream in 1/2 cup sugar while beating.
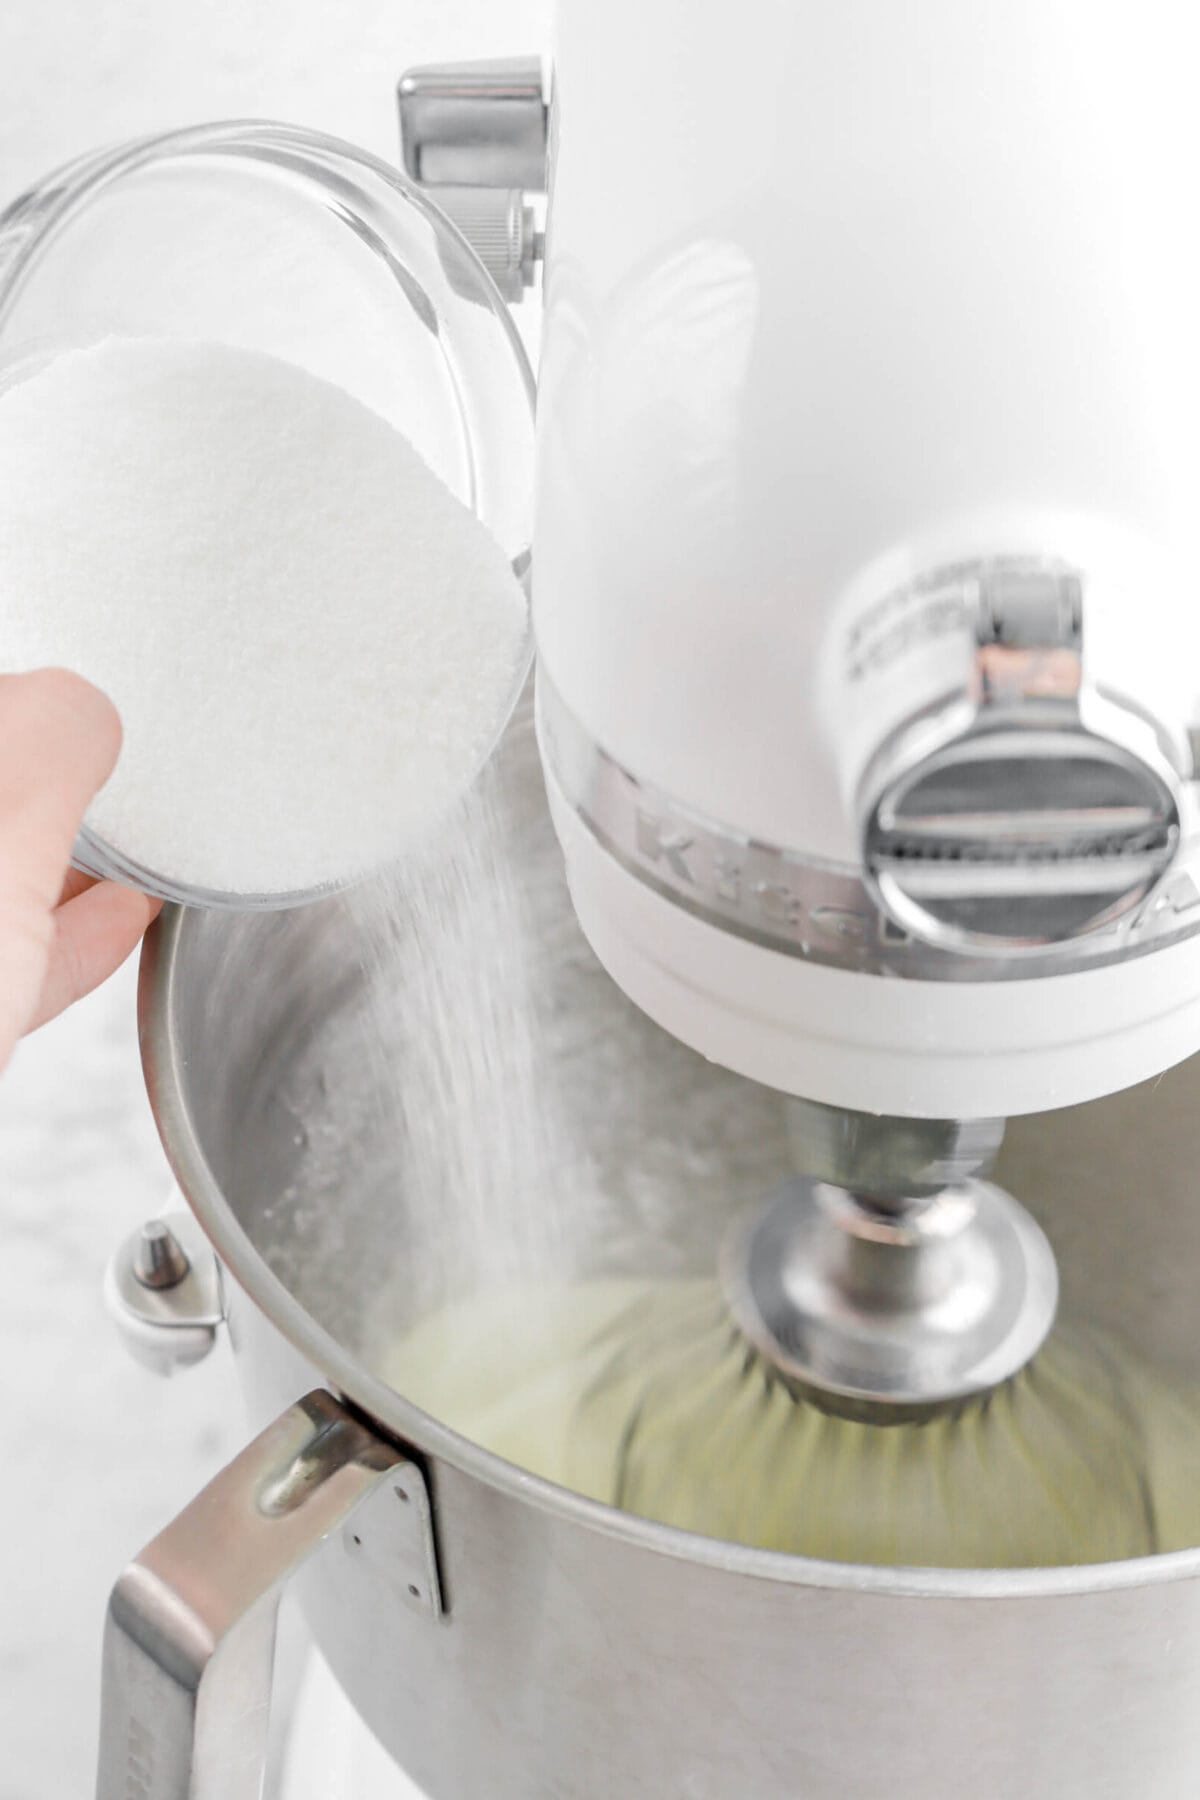
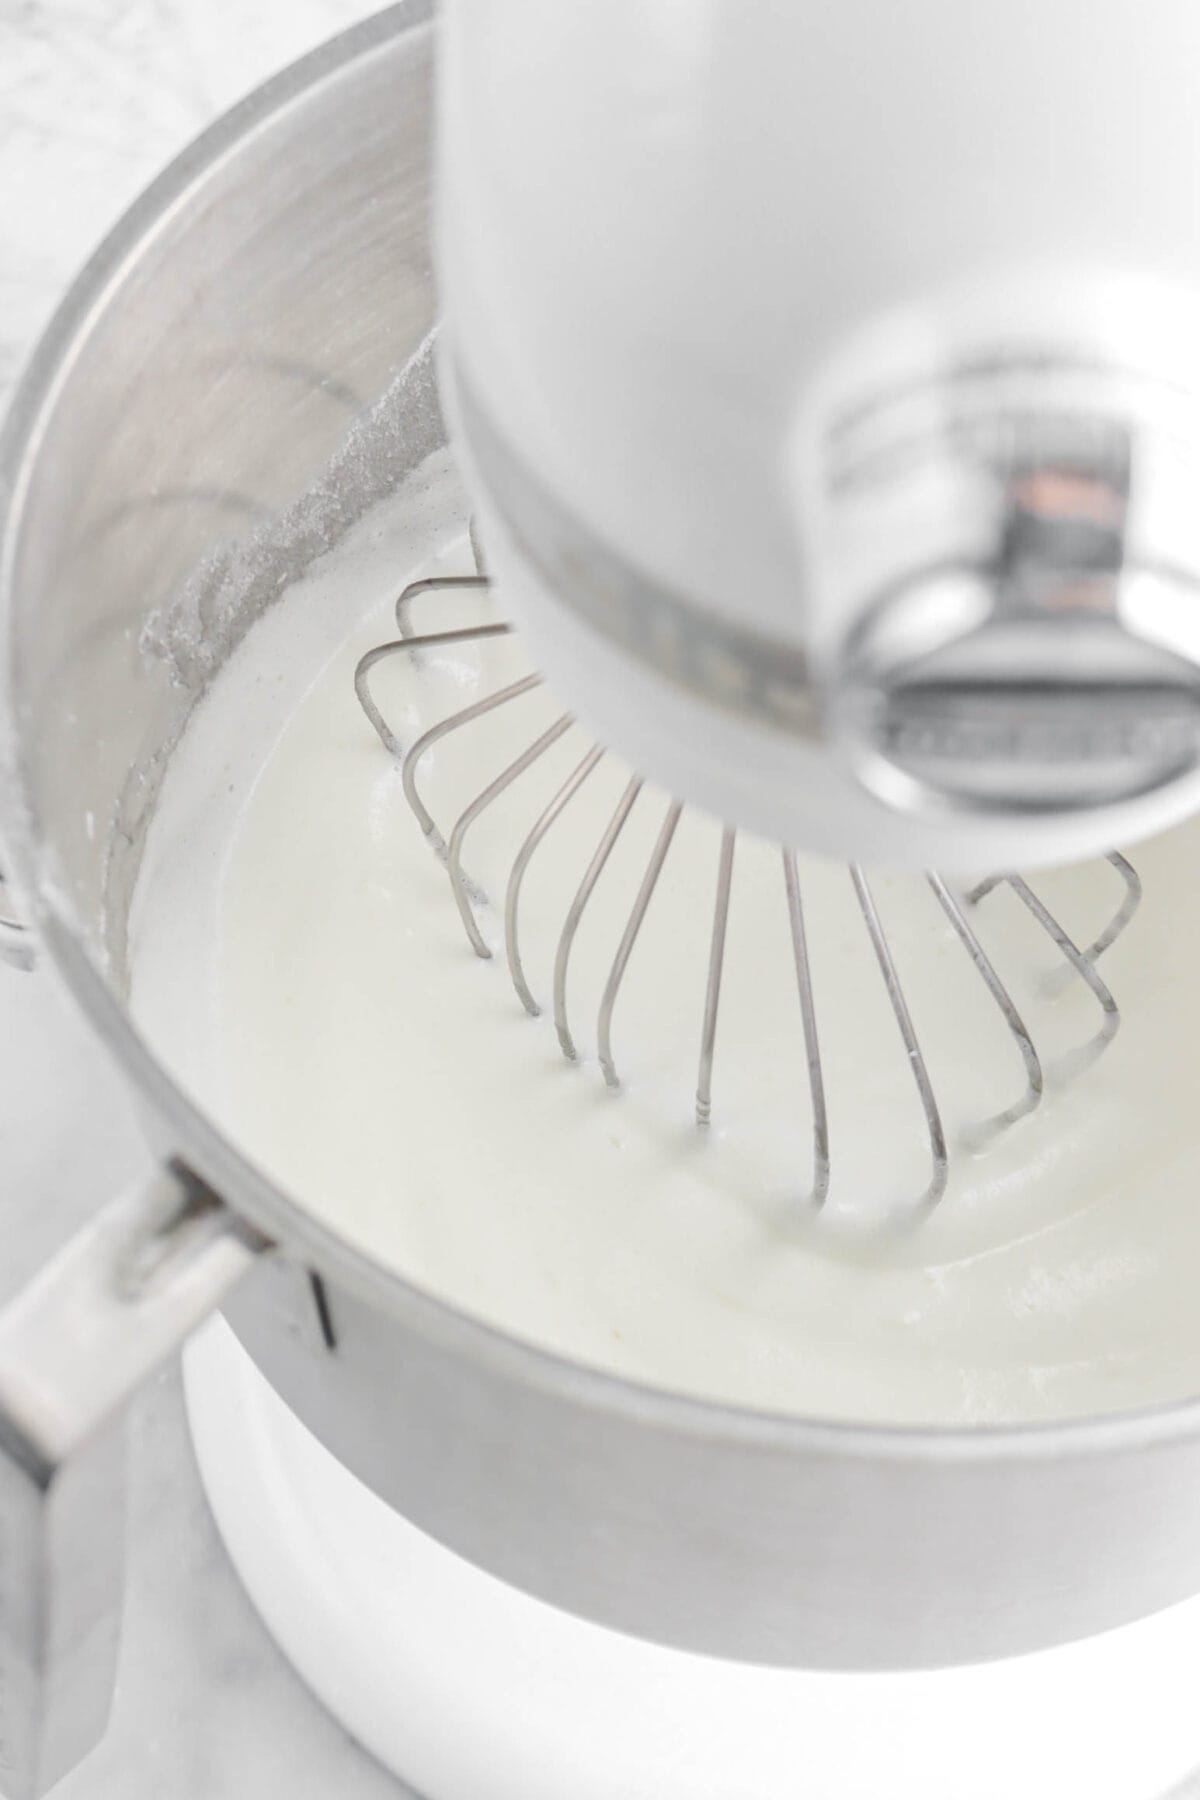
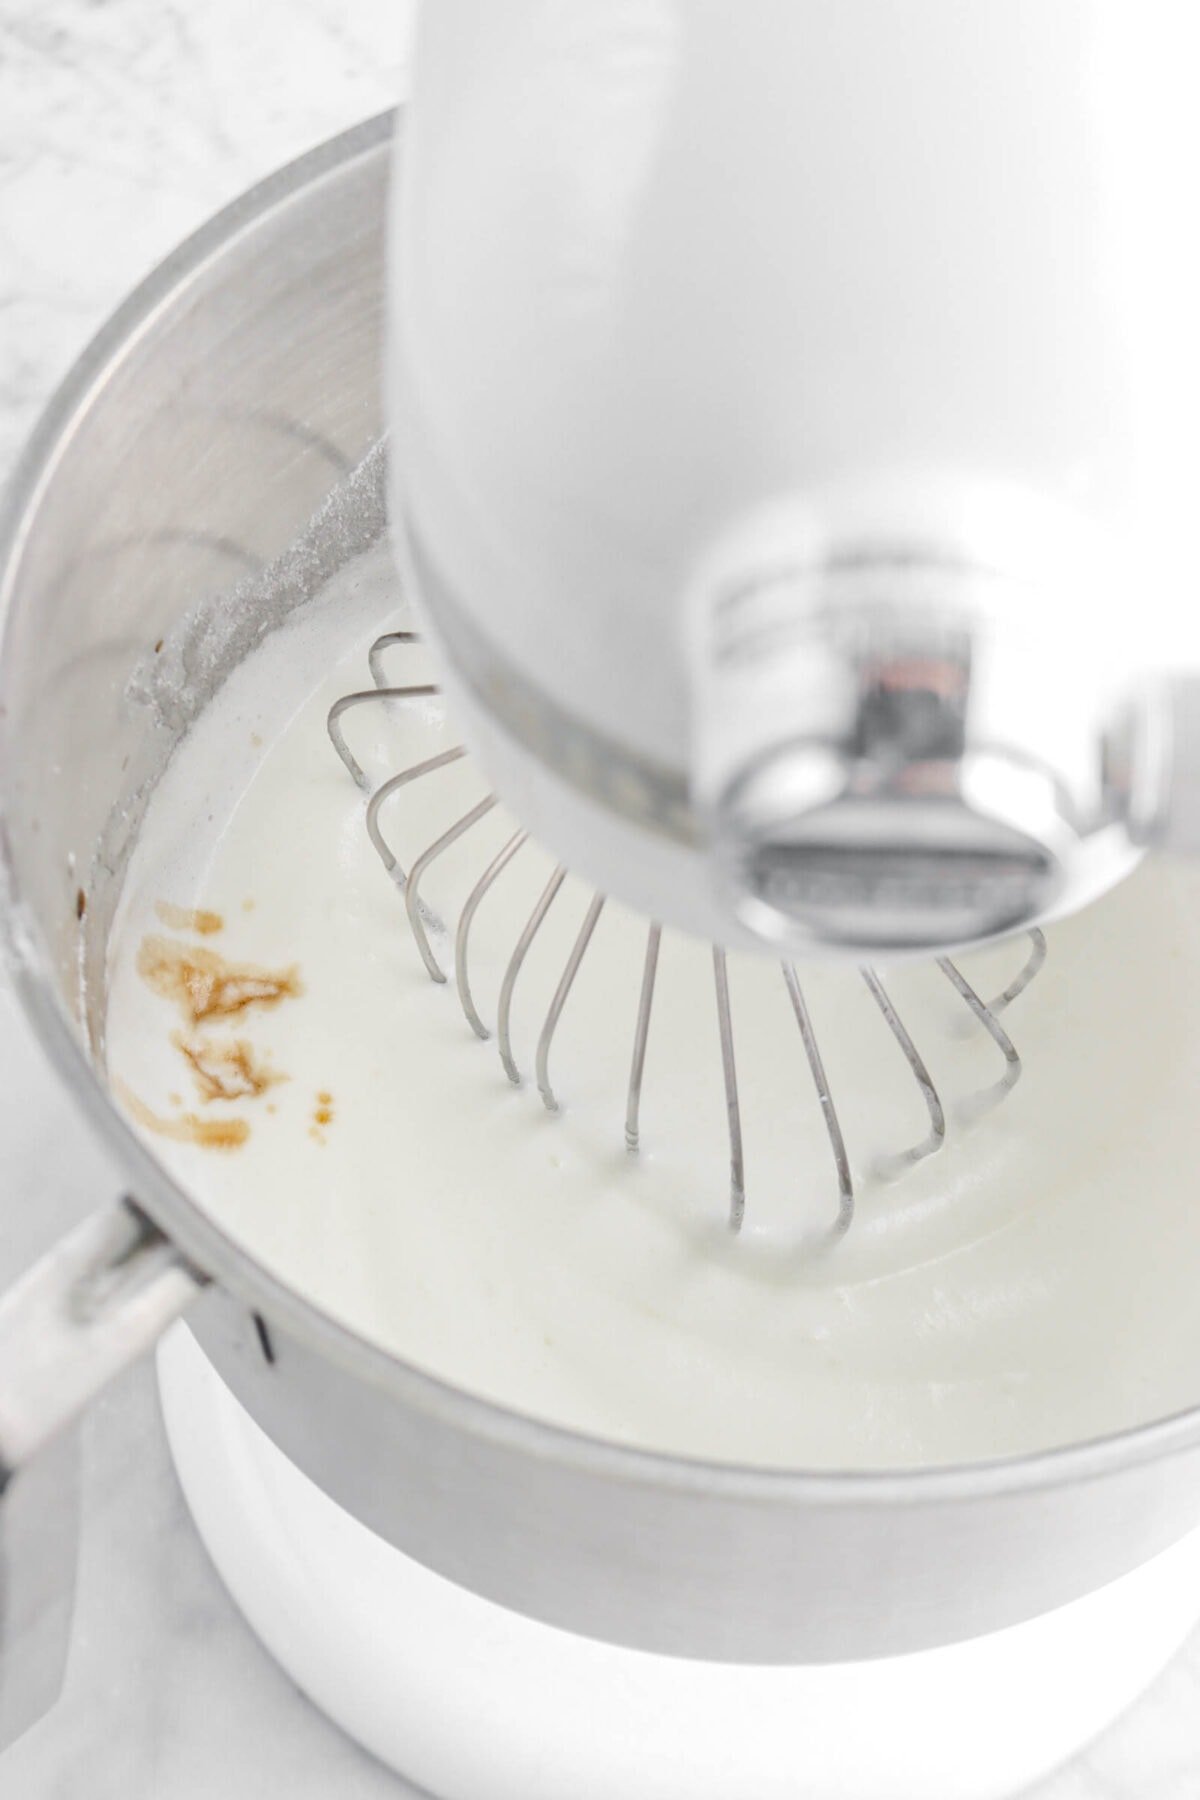
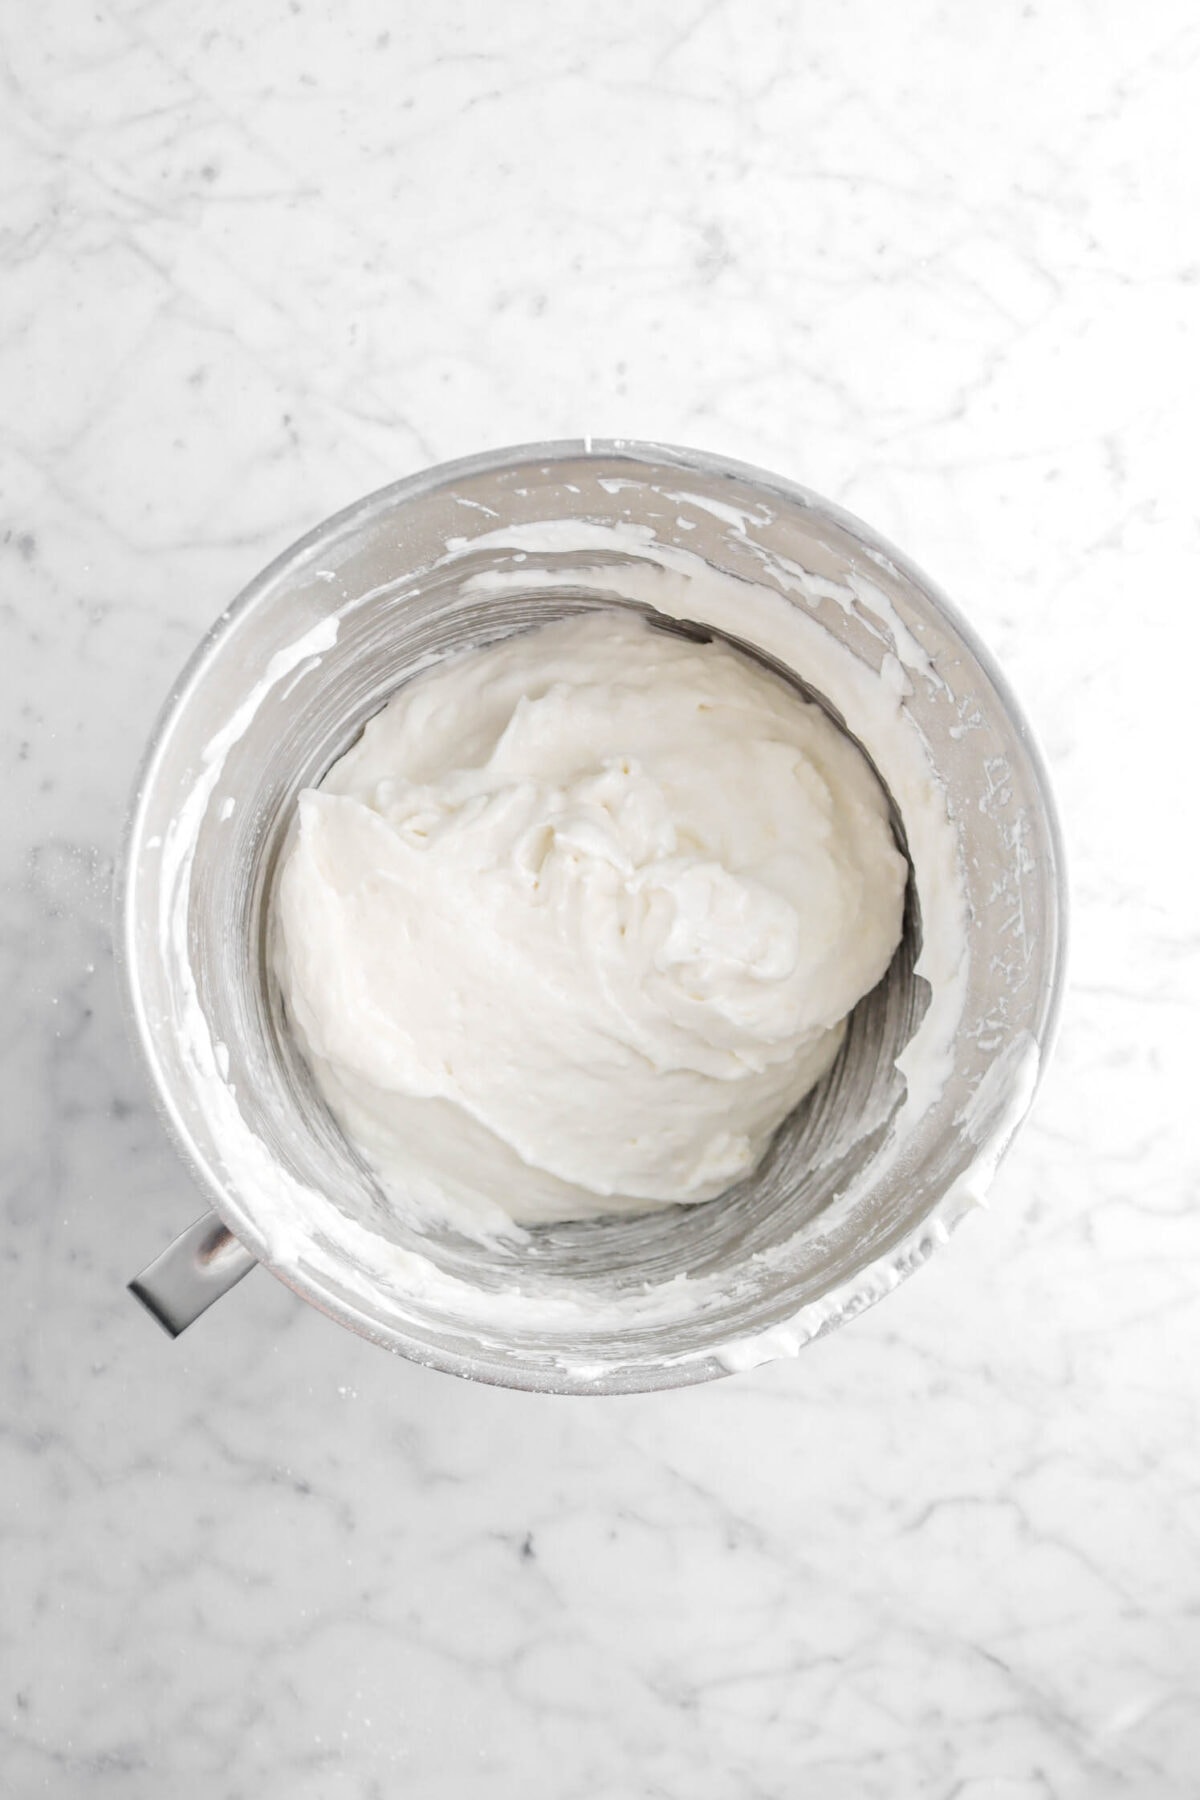
Add vanilla and continue beating to medium peaks.
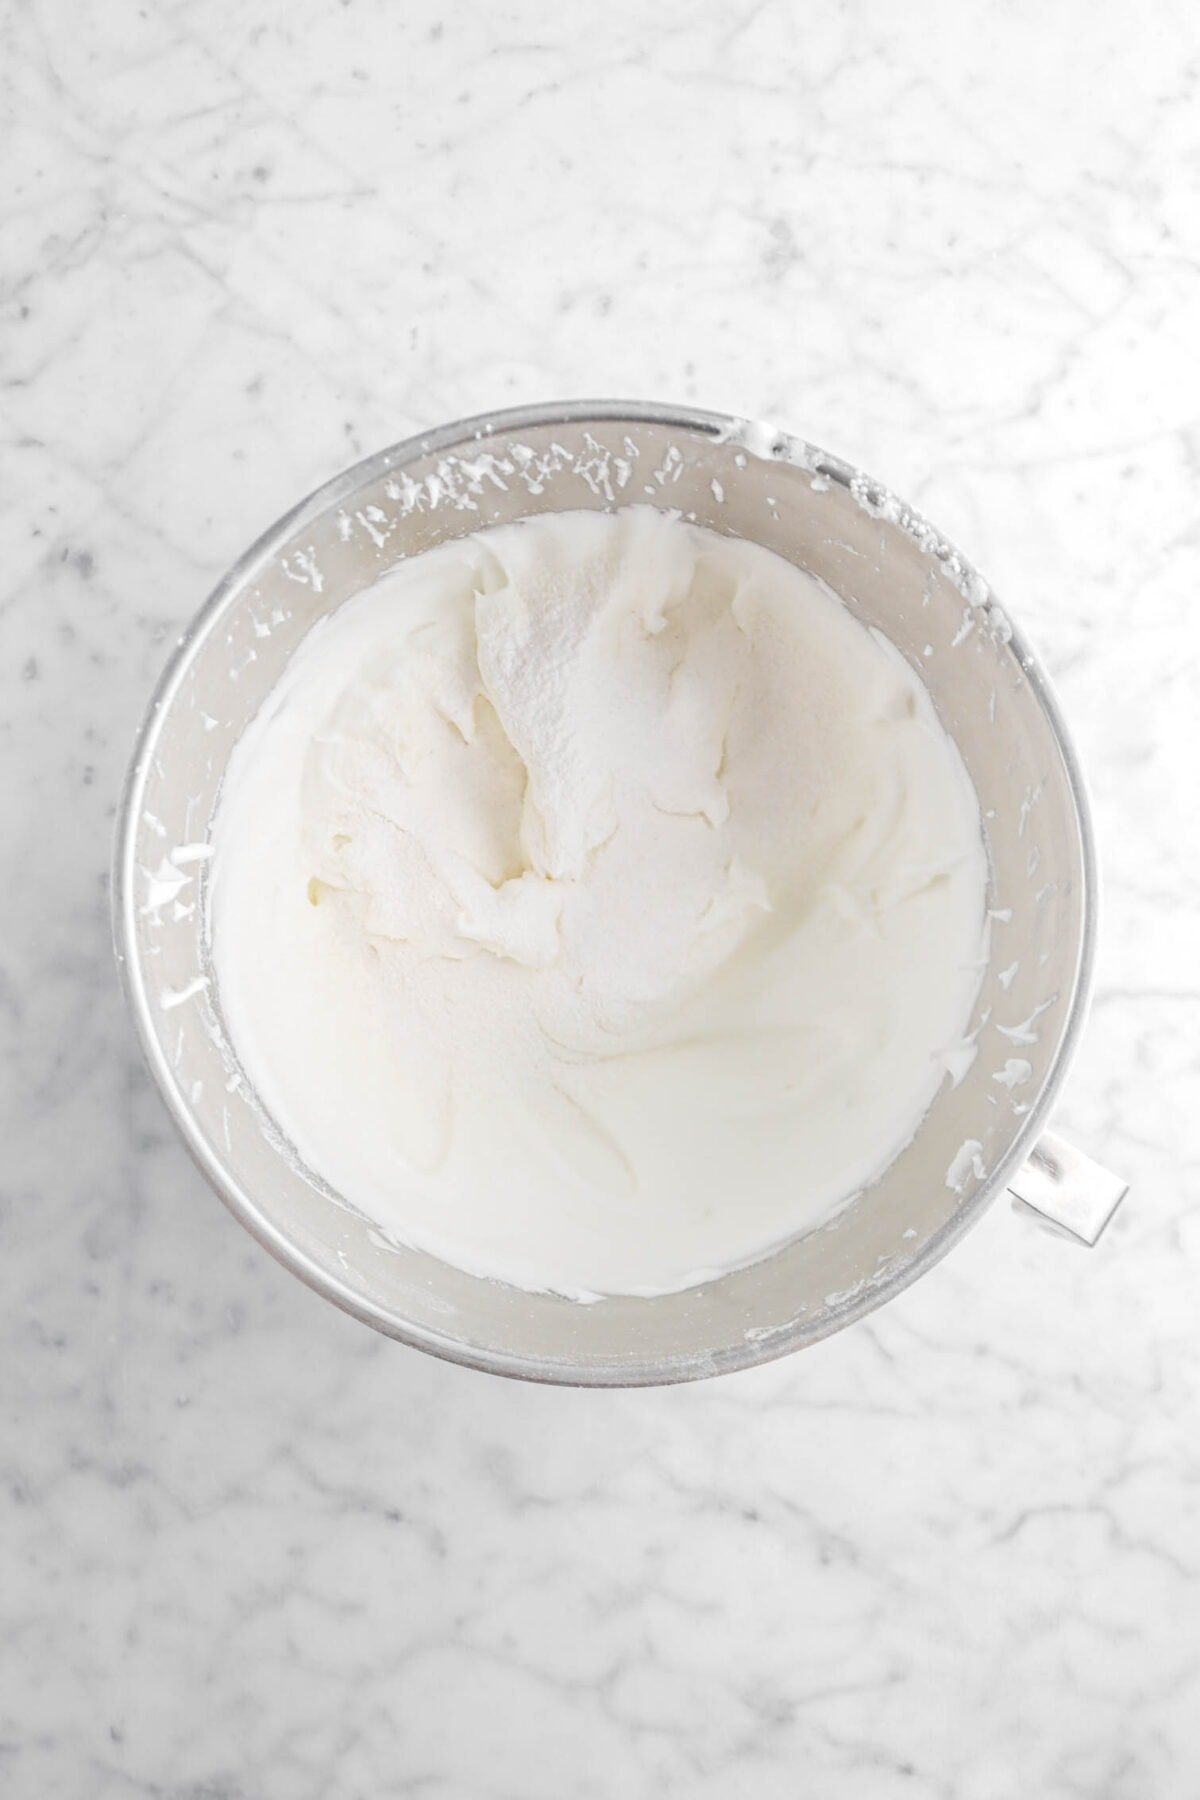
Step 3: Fold
Sift flour mixture into meringue a little at a time. Gently fold.
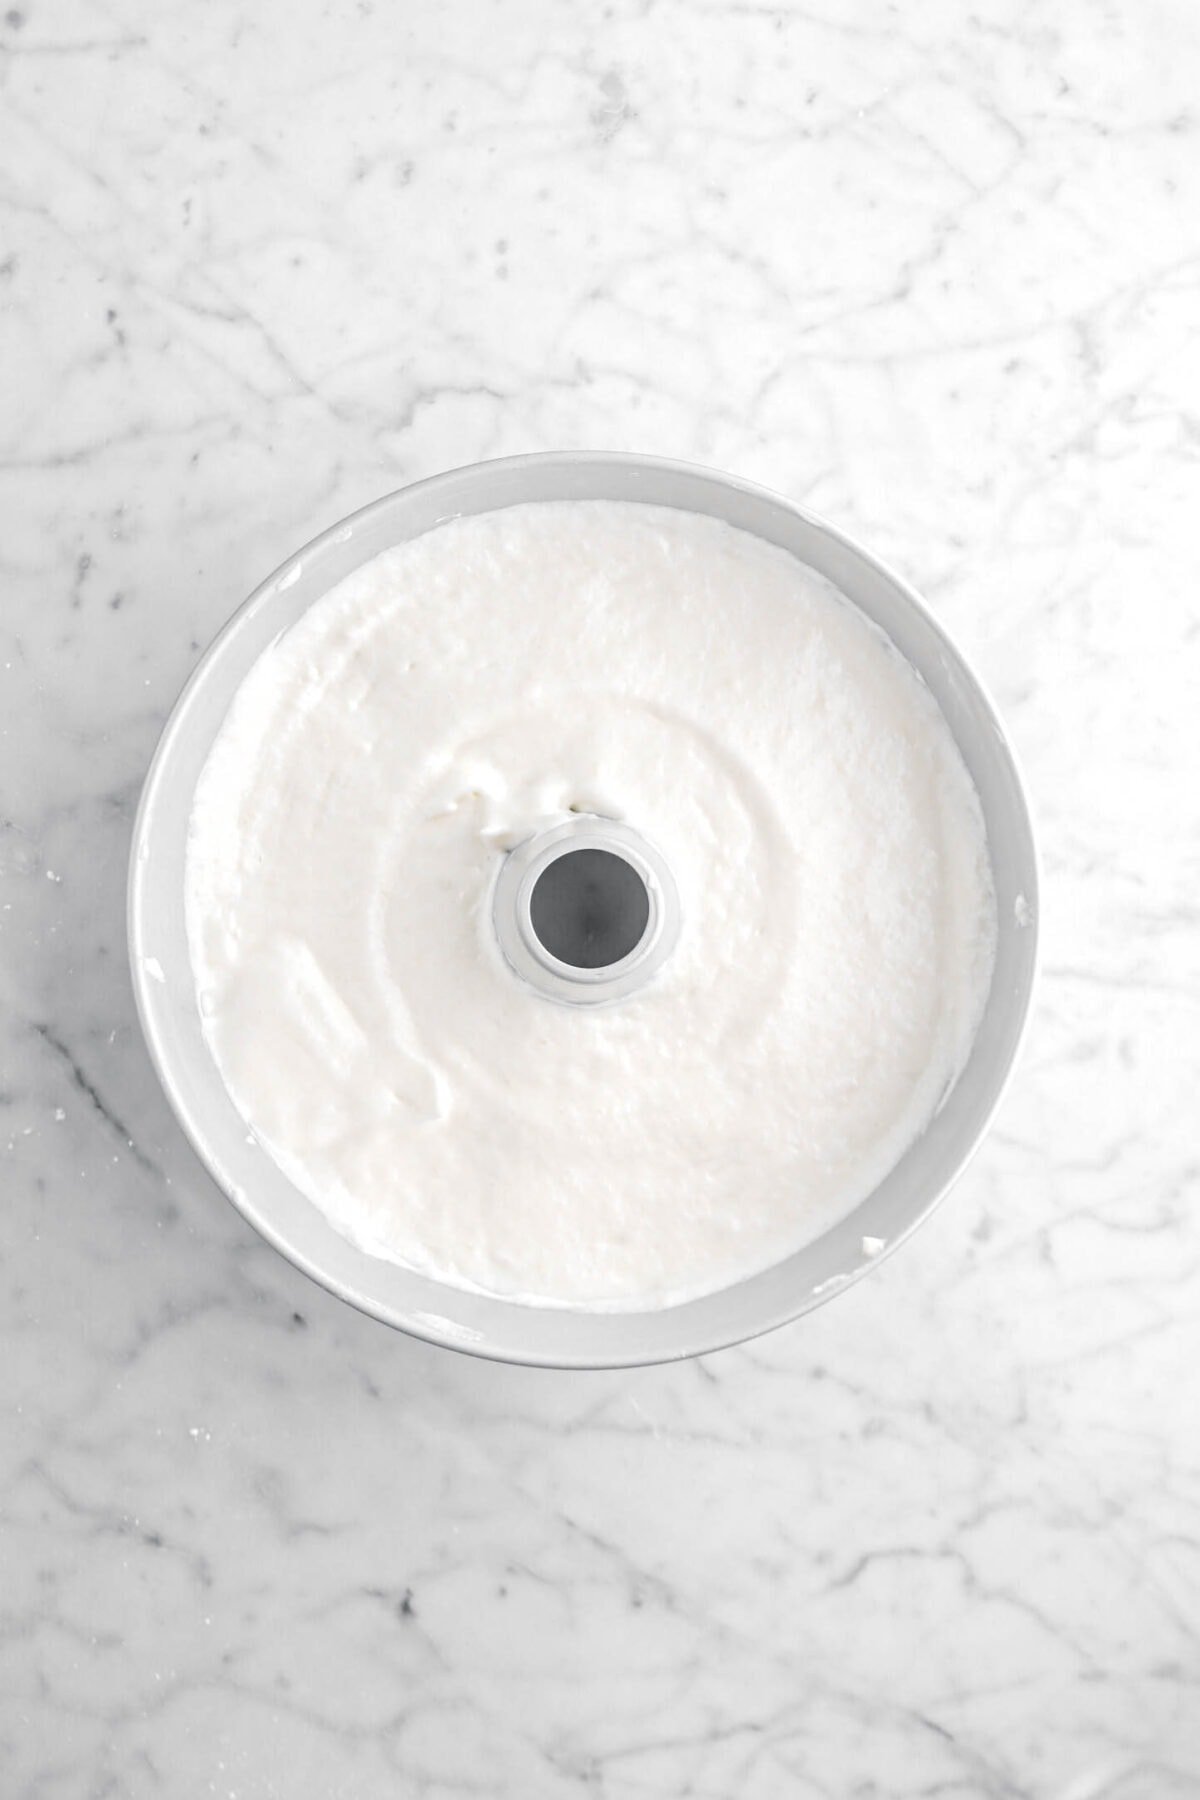
Step 4: Bake
Spoon into prepared pan. Tap gently to release air bubbles. Bake for 55-60 minutes, or until cake springs back when pressed.
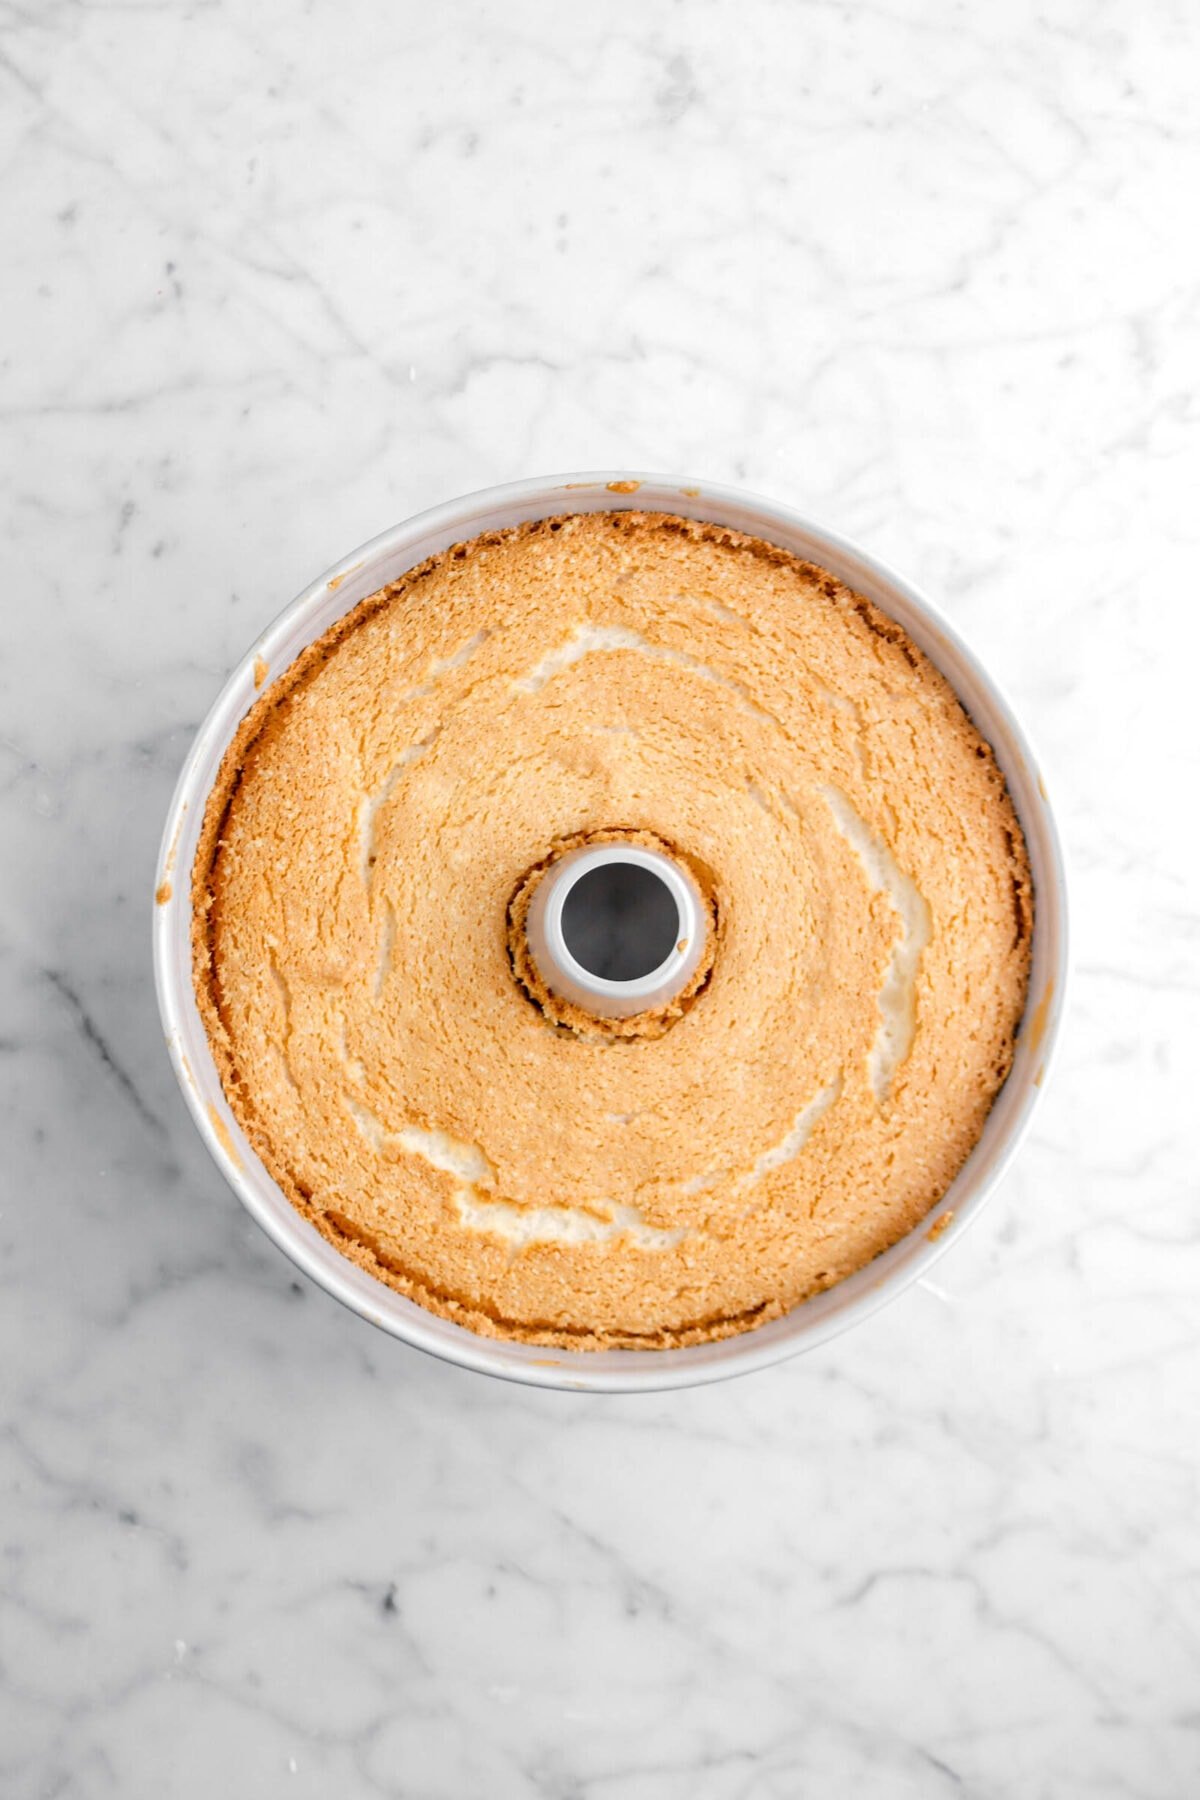
Turn upside down on a cooling rack and allow to cool completely.

Step 5: Remove from pan
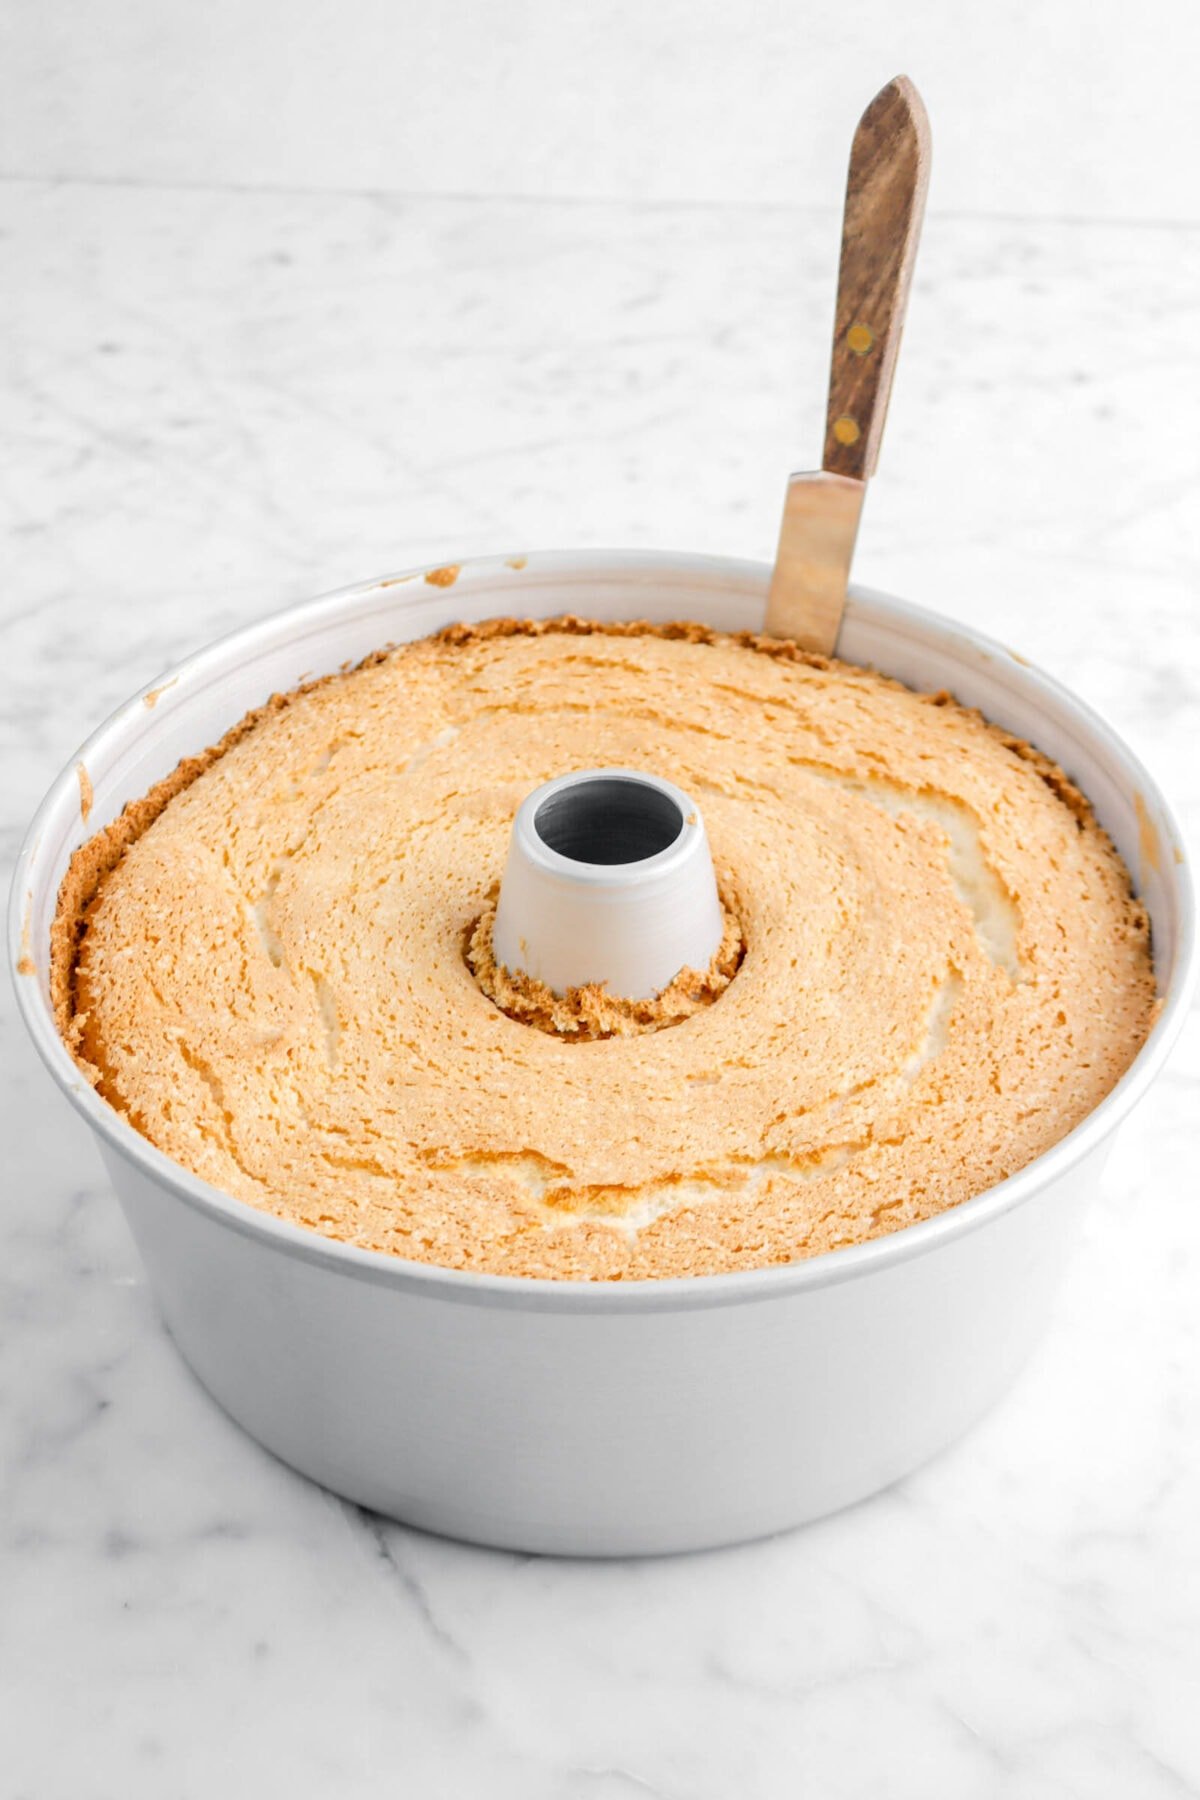
When cake is completely cool, run a thin-bladed knife around edge of pan, making sure not to cut off crust.
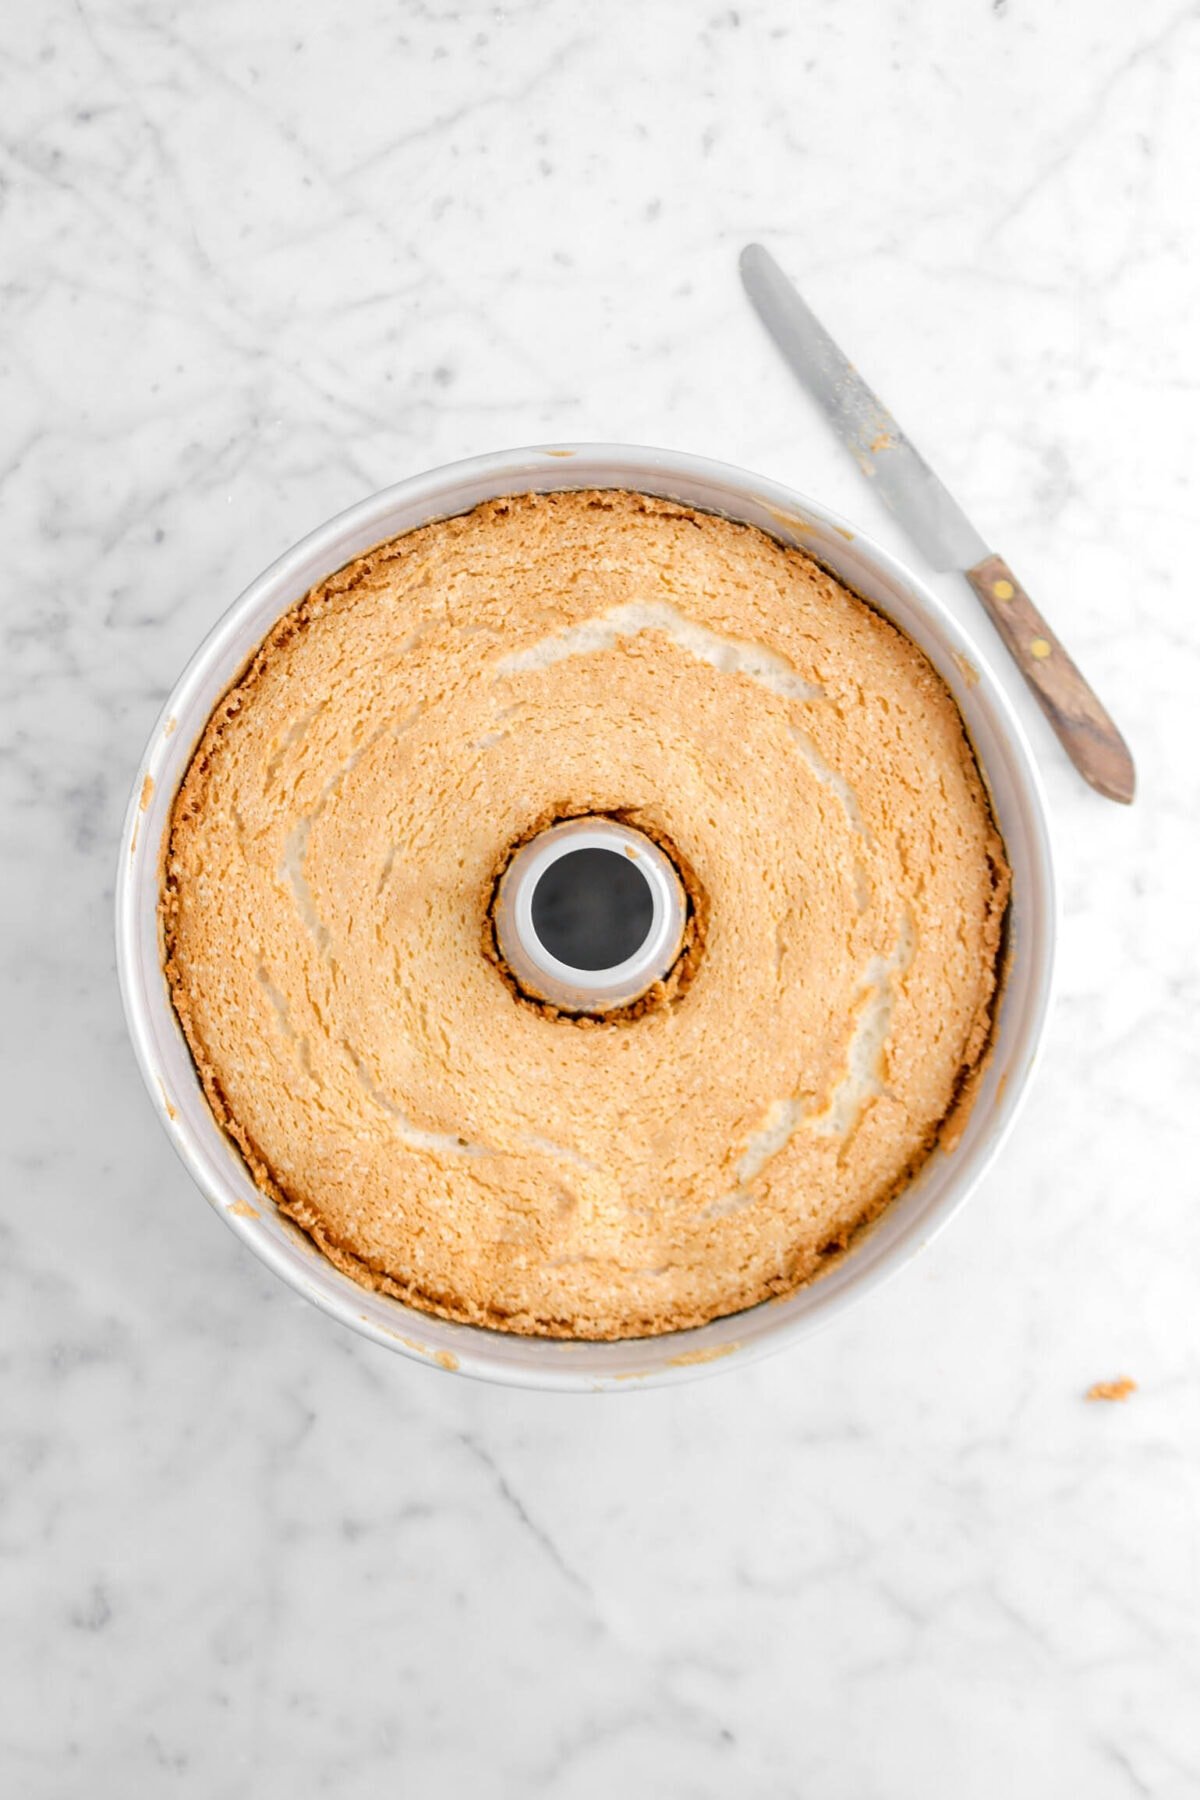
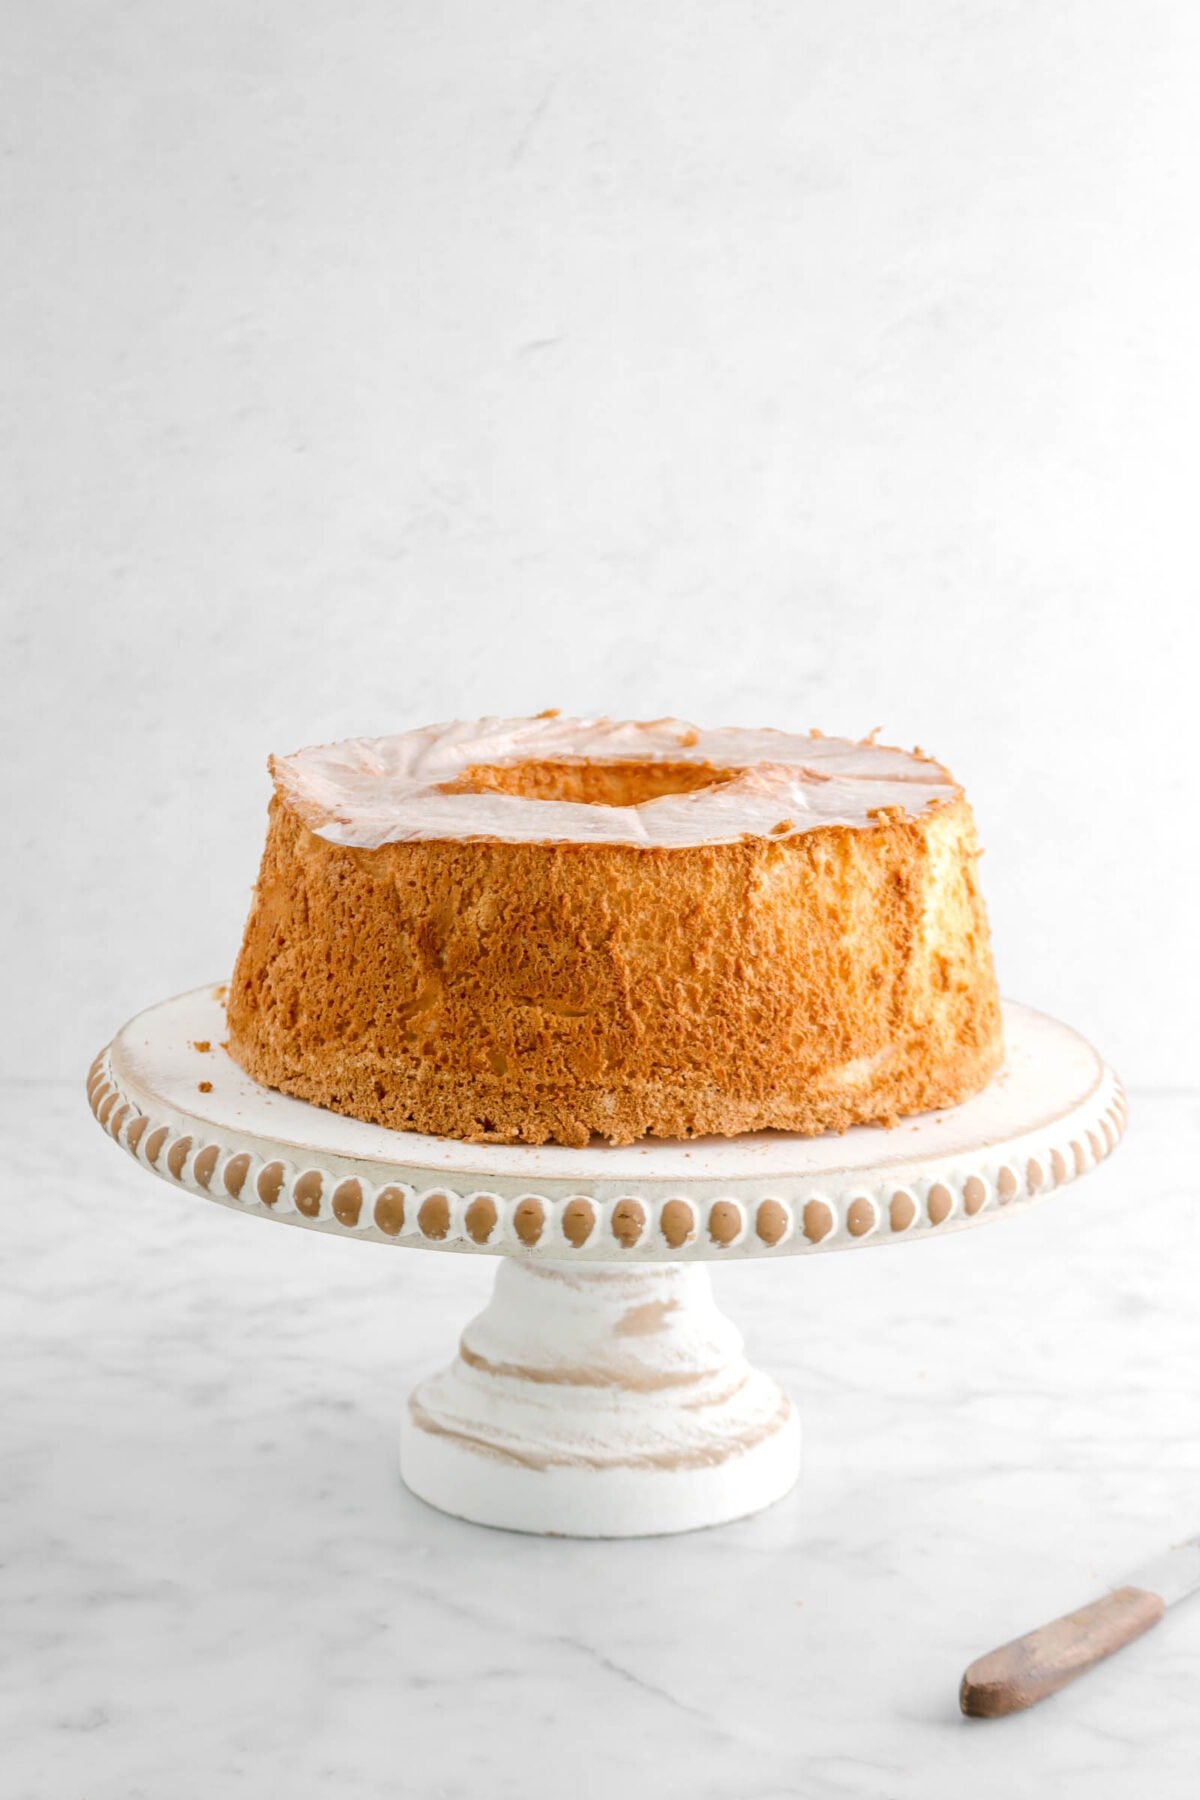
Turn out on rack or plate. Peel off parchment paper.
Soft Peaks vs Medium Peaks vs Stiff Peaks
When it comes to whipping egg whites, there can be a lot of variables. The main thing to go wrong with an angel food cake is under-whipped or over-whipped egg whites. That’s why it’s important to know the differences in all the peaks! Here’s a quick guide to help you navigate what you’re looking for.
- Soft Peaks: When you lift the whisk attachment on your mixer, the egg whites will just the smallest amount of shape. It will create a “peak” but almost fold back in on itself. This is too soft for our angel food cake recipe.
- Medium Peaks: The perfect peak! You will know you’ve achieved medium peaks when you lift the whisk and see just a slight curve at the end of your peak. It should hold it’s shape and this is what you’re looking for.
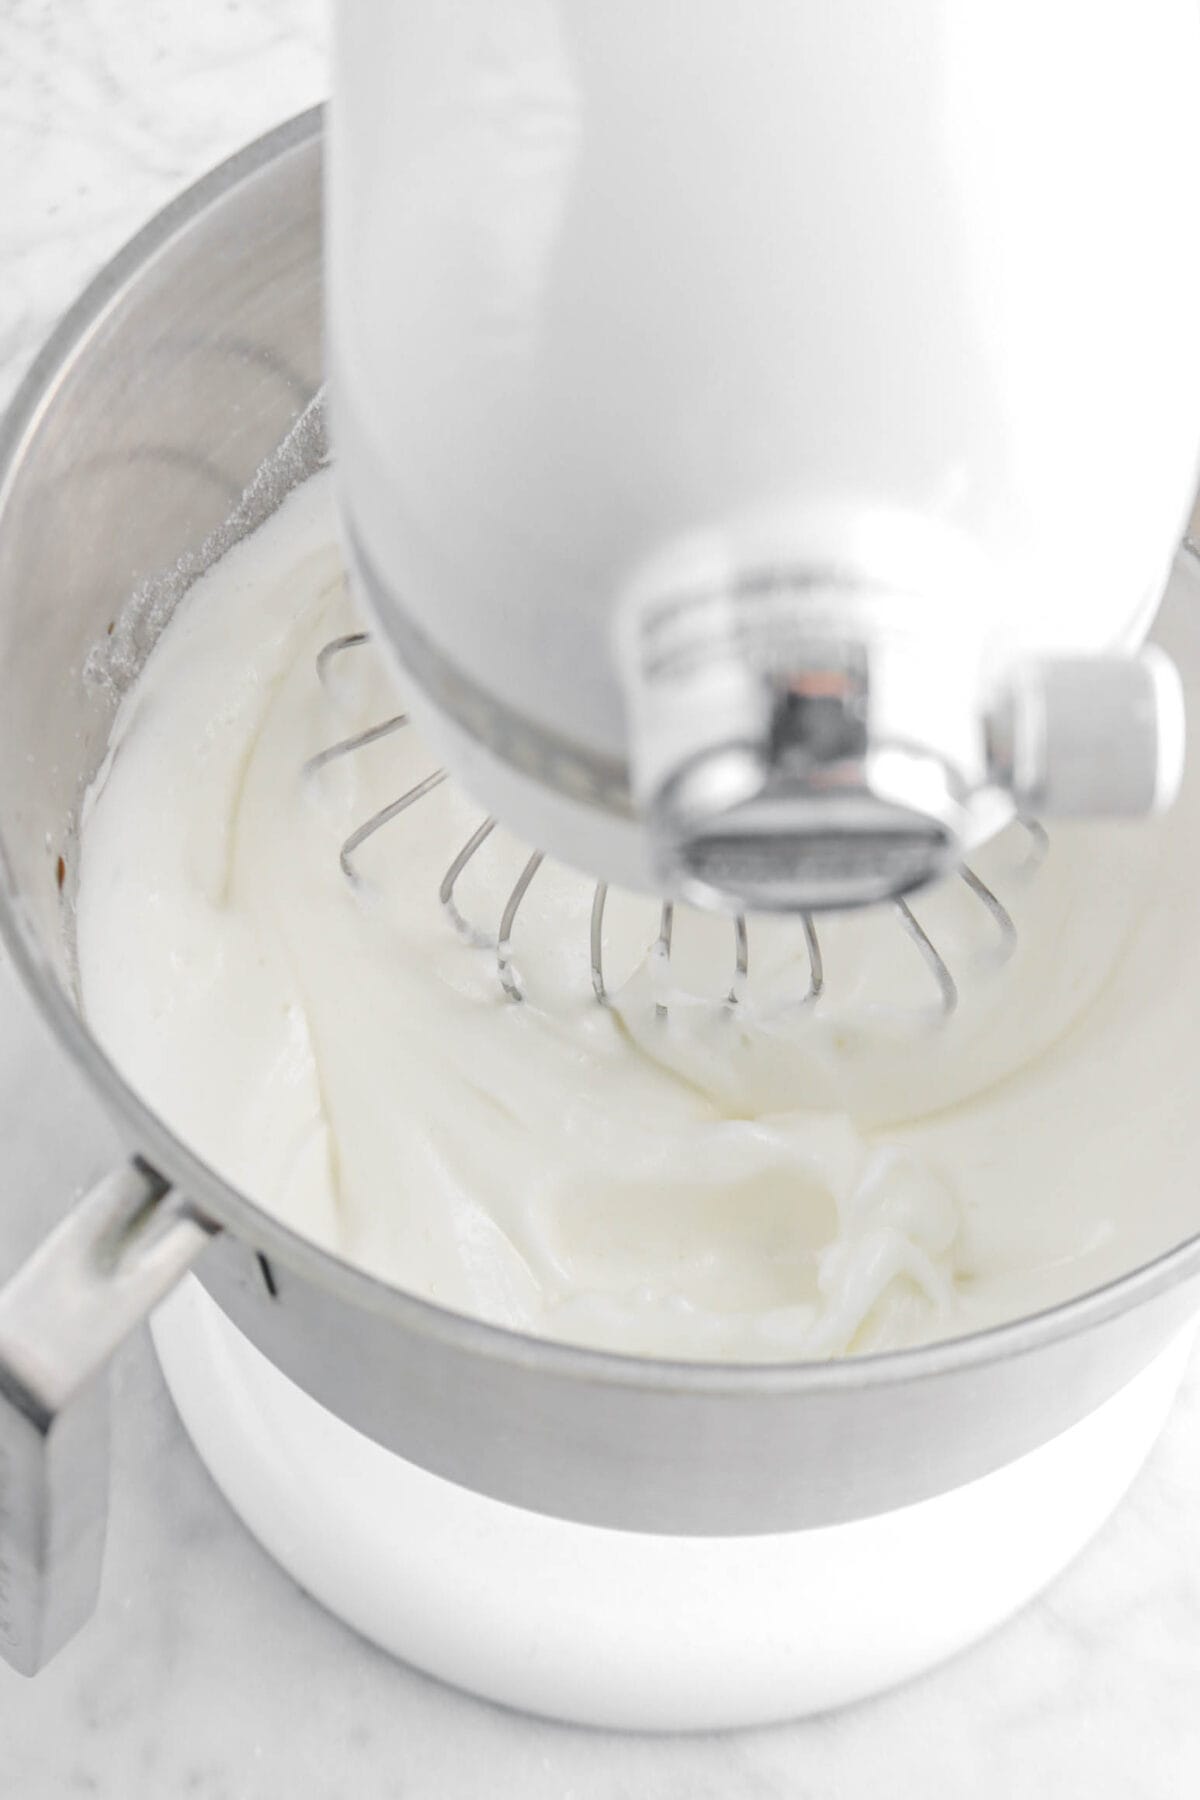
- Stiff Peaks: After lifting the whisk attachment, you will see a straight peak in your egg whites. There will be no curve. This is too stiff!
As always, you can refer to the photos above to help you see consistencies of each step!

Decorating Ideas
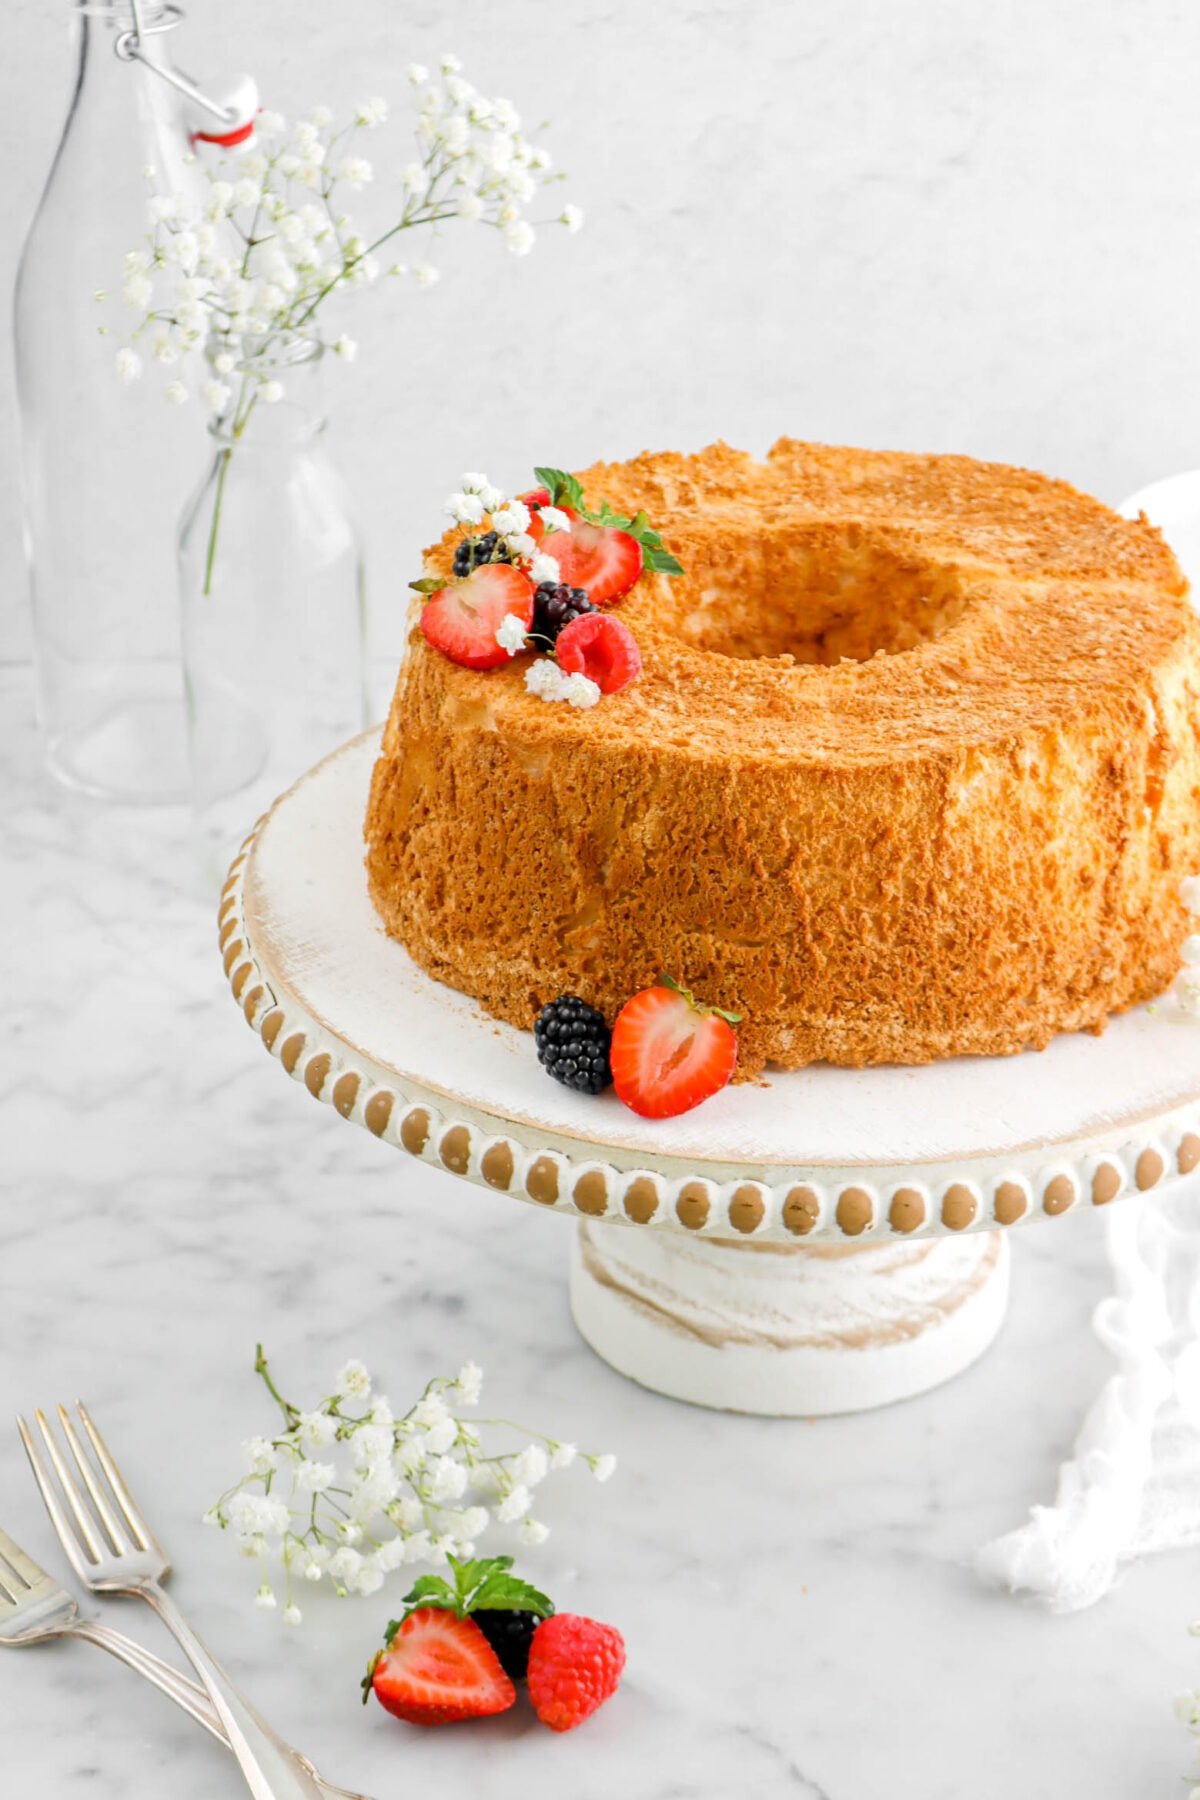
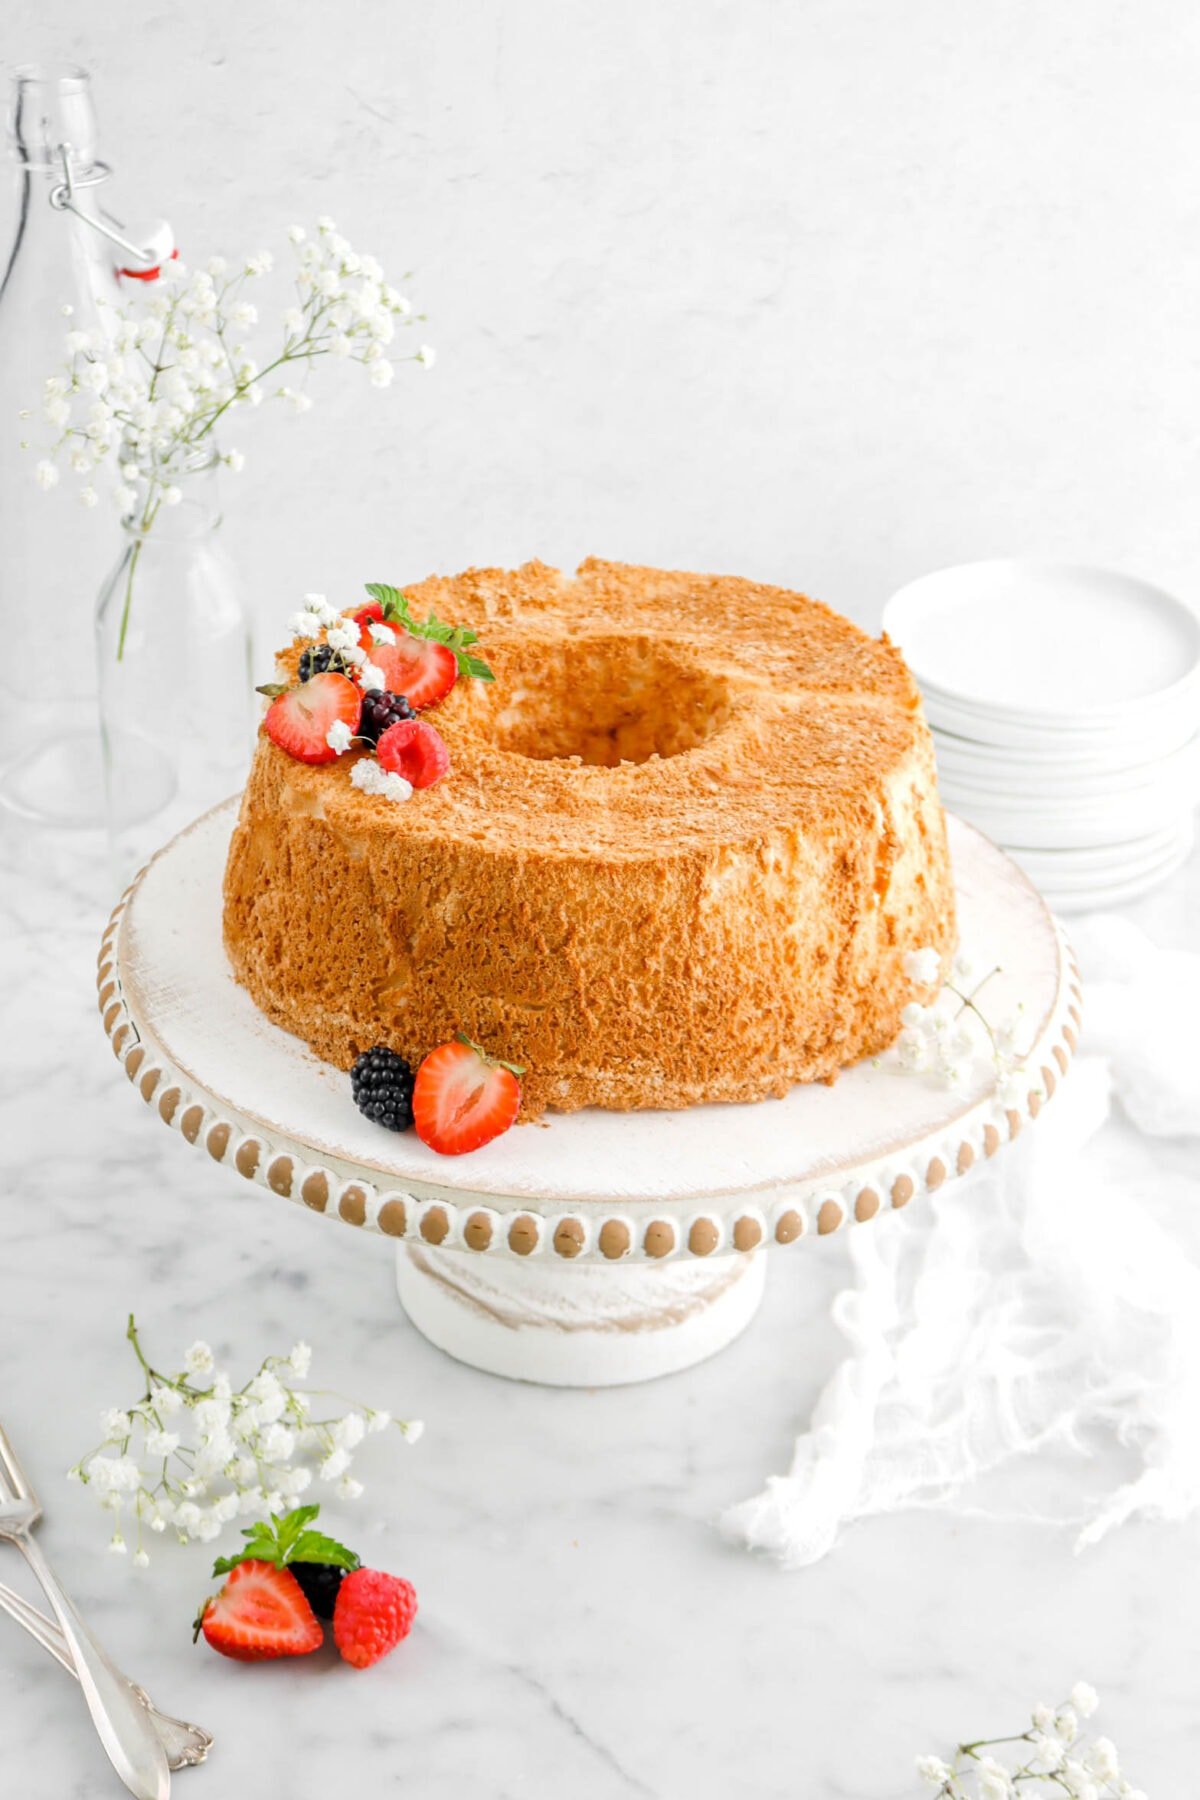
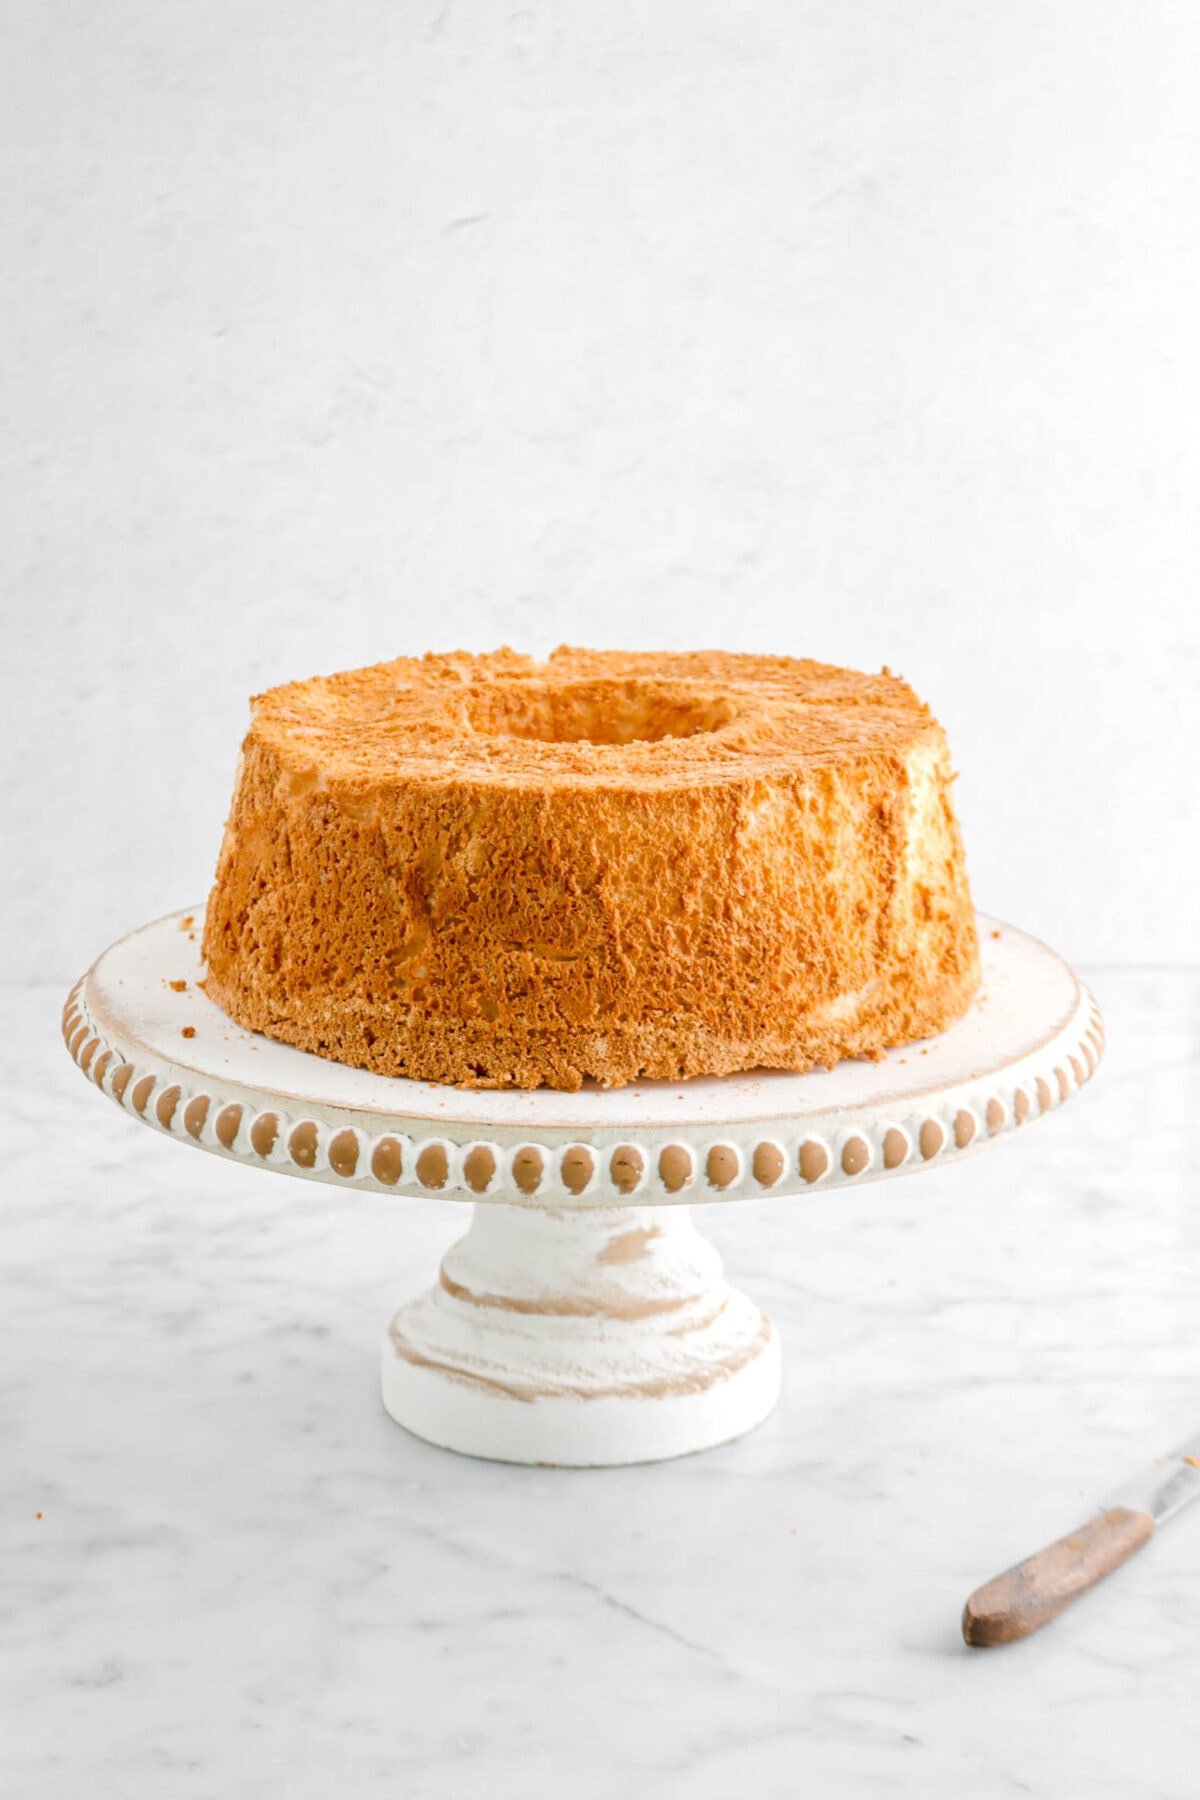
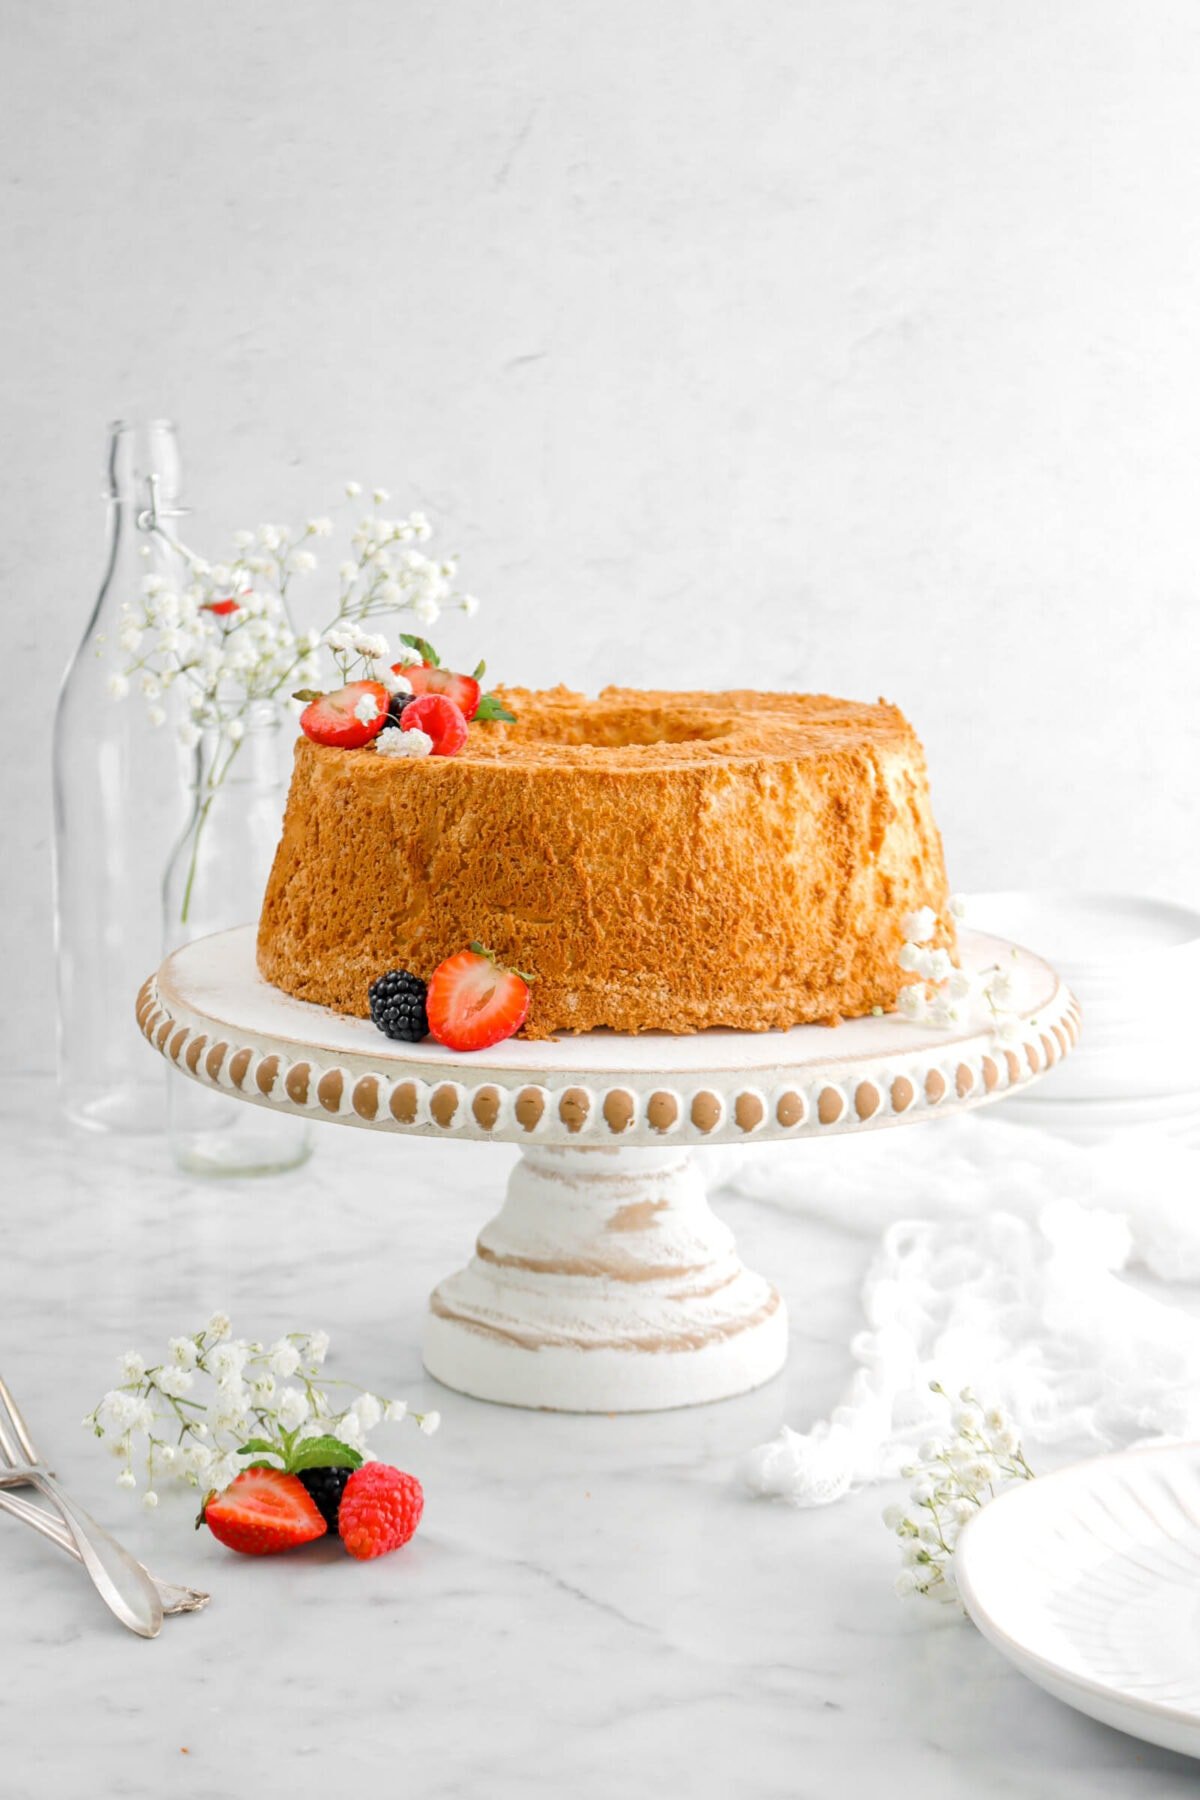
The great thing about angel food cakes is that they are effortlessly pretty. That browned crust is EVERYTHING! Though, it’s always fun to jazz it up and give it new life. Here are a few of our favorite ways to decorate this delicious cake.
- Keep it simple and decorate with your favorite fresh berries (or really any fruit!).
- Edible flowers are a must-have in the spring and summer.
- This cake can be cut into layers and made into a gorgeous layer cake!
What To Serve With Angel Food Cake
After slicing, you may want something a little extra to go with your cake (I definitely always do!). These are some, in our opinion, best things to serve with a slice of angel food cake!
- Chantilly Cream
- Fresh Fruit
- Chocolate Sauce
- Salted Caramel Sauce
- Ice Cream (vanilla ice cream and lavender ice cream are a favorite!)
How To Store
This angel food cake can be left covered in a cake plate overnight at room temperature, stored in the fridge for 3-5 days, or even frozen for up to three months! If you freeze this cake, remember to set it out on the counter at room temperature a few hours before you need to serve it to allow time to thaw.
Looking for more recipes like this? Here are a few you may like: Mixed Berry Tiramisu, Mixed Berry Crisp, Strawberry Sheet Cake, Apricot Lemon Clafoutis
When you make this Angel Food Cake, leave a comment down below! We love hearing from you and answering any questions you might have! Also, be sure to tag us on social media and hashtag it #BakersTable.
Angel Food Cake
Ingredients
- 1 cup cake flour
- 1 cup granulated sugar
- pinch salt
- 10 large egg whites, room temperature
- 1½ teaspoons cream of tartar
- ½ cup granulated sugar
- ½ teaspoon vanilla extract
Instructions
- Heat oven to 325°F/165℃.
- Line the bottom of an angel food cake or tube pan with parchment paper. Set aside.
- Combine flour, 1 cup sugar, and salt in a small bowl. Set aside.
- Beat egg whites and cream of tartar with an electric mixer until foamy.
- Stream in ½ cup sugar while beating.
- Add vanilla.
- Continue beating to medium peaks.
- Sift flour mixture into meringue a little at a time.
- Fold gently.
- Spoon into prepared pan.
- Tap gently to release air bubbles.
- Bake for 55-60 minutes, until cake springs back when pressed.
- Remove from oven.
- Turn upside down on a cooling rack and allow to cool completely.
- When cake is completely cool, run a thin-bladed knife around edge of pan, making sure not to cut off crust.
- Turn out on rack or plate.
- Peel parchment off top.
Notes + Tips!
- Be sure to use freshly separated egg whites for this recipe! Carton egg whites will not work.
- The egg whites need to be whipped to medium peaks.
- Do not skip sifting the dry ingredients into the egg whites. This is SUPER important.
- Be careful when folding the dry ingredients into the egg whites. You do not want to deflate them.
- You need to use a tube pan for this recipe. A bundt pan will not work.
- Do not grease your tube pan!
- There needs to be parchment at the bottom of your pan. You will have to cut it to fit your pan.
- Let this cake cool upside down on a cooling rack for at least 2 hours. This is a must!
- Be very careful when loosening the cake from the pan. Try and keep the knife as close as you can to the edge of the tube pan. Also, be sure to go around the middle (the tube), not just the outside edge!
- Use a serrated knife to slice this cake.
Tools You May Need (affiliate links)
– Still Hungry? –
Here are a few recipes may like!


