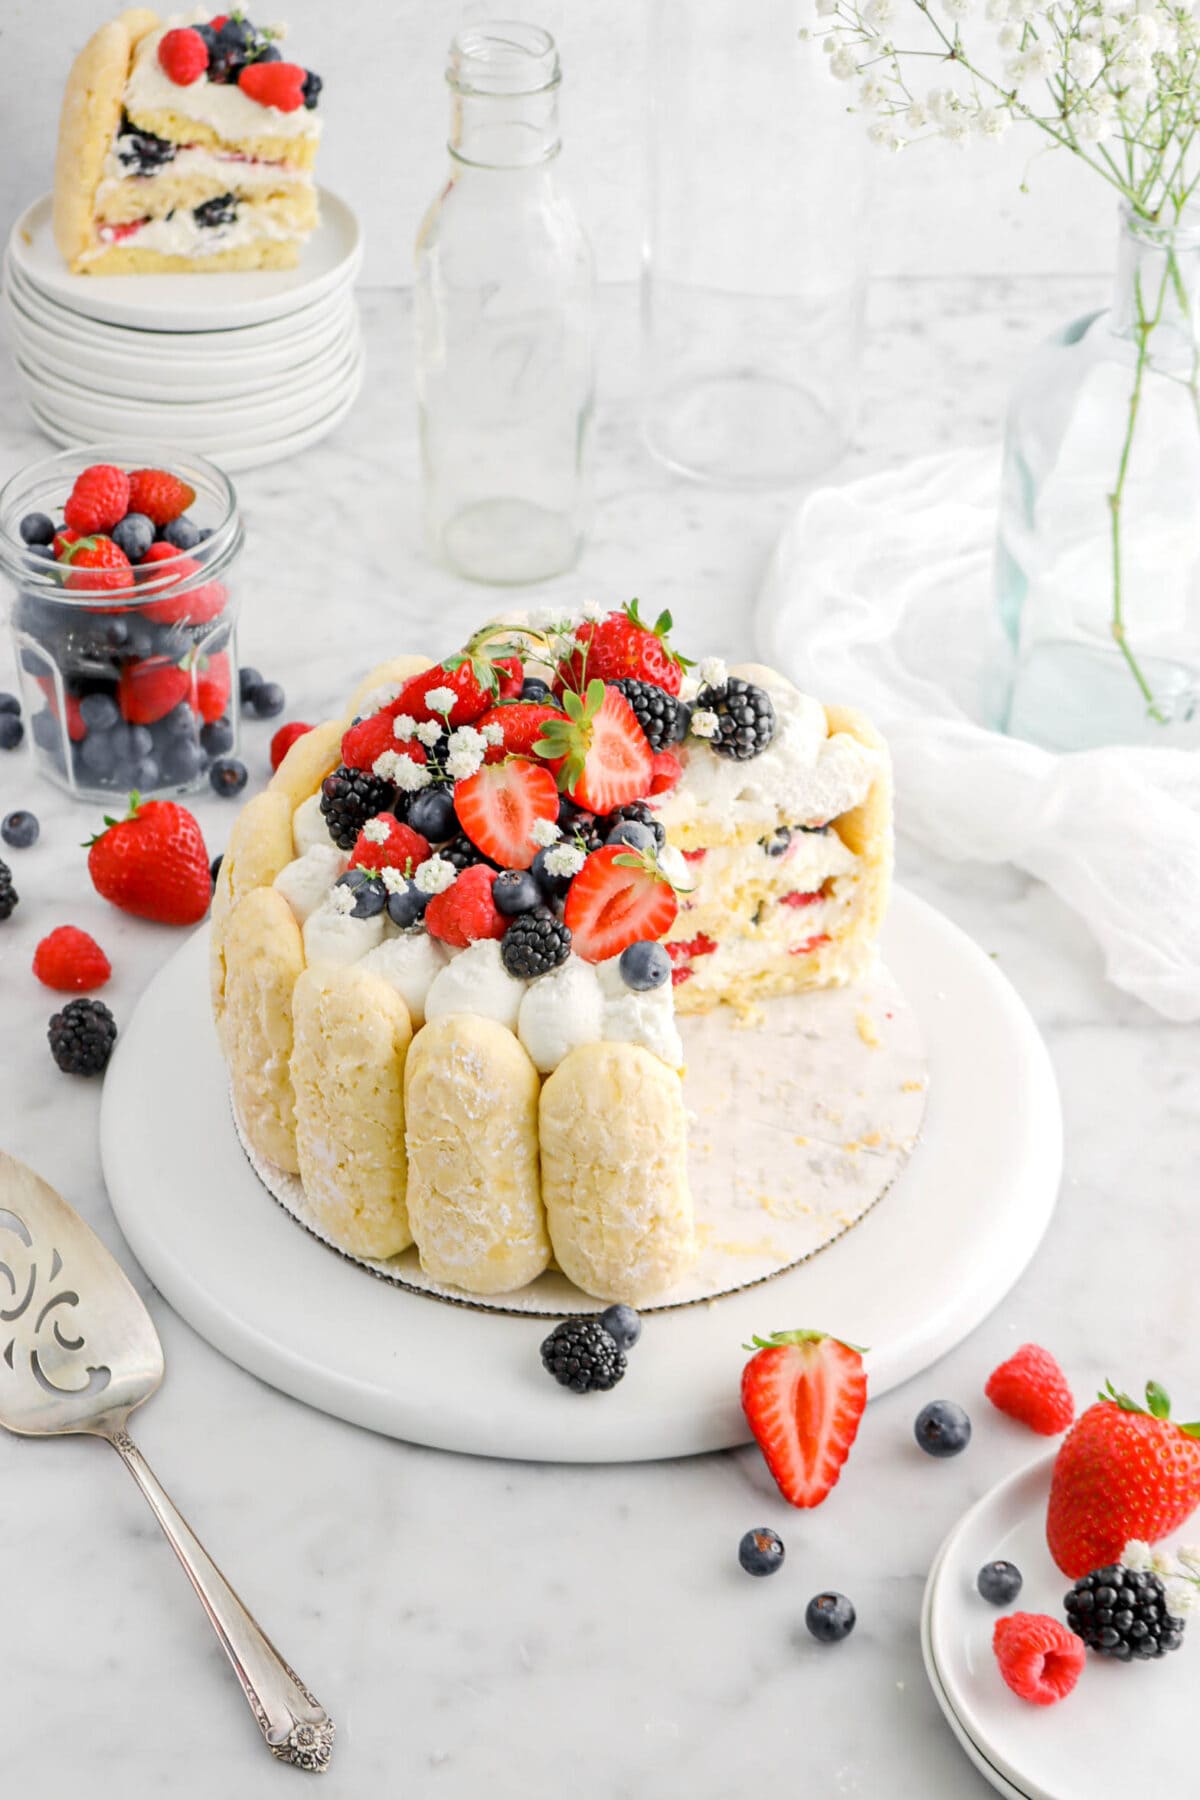
Berry Chantilly Tiramisu Cake
Prep time: 20 min | Chill time: 3 hr | Total time: 3 hr 20 min
This no-bake Berry Chantilly Tiramisu Cake is light, fruity, and the perfect summer dessert. We wanted something that combined the simplicity of a berry chantilly cake but with the creamy richness of tiramisu—all without turning on the oven! Every bite is has amaretto-soaked ladyfingers, fresh summer berries, and whipped mascarpone cream.

Berry Chantilly Tiramisu Cake
Prep time:
20 min
chill time:
3 hr
Total time:
3 hr 20 min
This no-bake Berry Chantilly Tiramisu Cake is light, fruity, and the perfect summer dessert. We wanted something that combined the simplicity of a berry chantilly cake but with the creamy richness of tiramisu—all without turning on the oven! Every bite is has amaretto-soaked ladyfingers, fresh summer berries, and whipped mascarpone cream.
– know before you bake –
Traci & Caylie’s
Recipe Highlights
This post may contain affiliate links, please visit our privacy policy for details.
These are the kind of desserts we crave when the temperatures rise — no oven, no stress, and still every bit as showstopping as a layer cake. This recipe started as a “what if we combined tiramisu and berry Chantilly cake?” moment, and the first time we tasted it, we knew it was something special.
It’s soft.
It’s creamy.
It’s loaded with fresh berries and just the right amount of sweetness.
Whether you’re hosting brunch, celebrating a summer birthday, or just want something cool and beautiful to pull from the fridge, this is the cake that delivers.

Traci & Caylie Crossland
We’re the mother-daughter duo behind Bakers Table, sharing from-scratch recipes made with love, experience, and a serious passion for baking. Traci brings decades of baking expertise, while Caylie brings a fresh perspective and a love for all things creative. Together, we test every recipe to make sure it’s easy to follow and absolutely delicious. Read more about us and our blog →
“Our kitchen is where memories are made — and we’re so glad you’re here baking with us.”
What You’ll Need
Here’s a quick rundown of the ingredients that bring this no-bake cake to life:
- Fresh Berries – We use a mix of strawberries, blueberries, raspberries, and blackberries, but you can use your favorites. Ripe, sweet berries are key.
- Amaretto + Milk – This simple soak gives the ladyfingers their signature tiramisu-style texture with a subtle almond flavor. For a non-alcoholic version, use sweetened berry juice or vanilla milk.
- Mascarpone Cream – A whipped blend of heavy cream, mascarpone, confectioners’ sugar, and vanilla. Light, creamy, and just sweet enough.
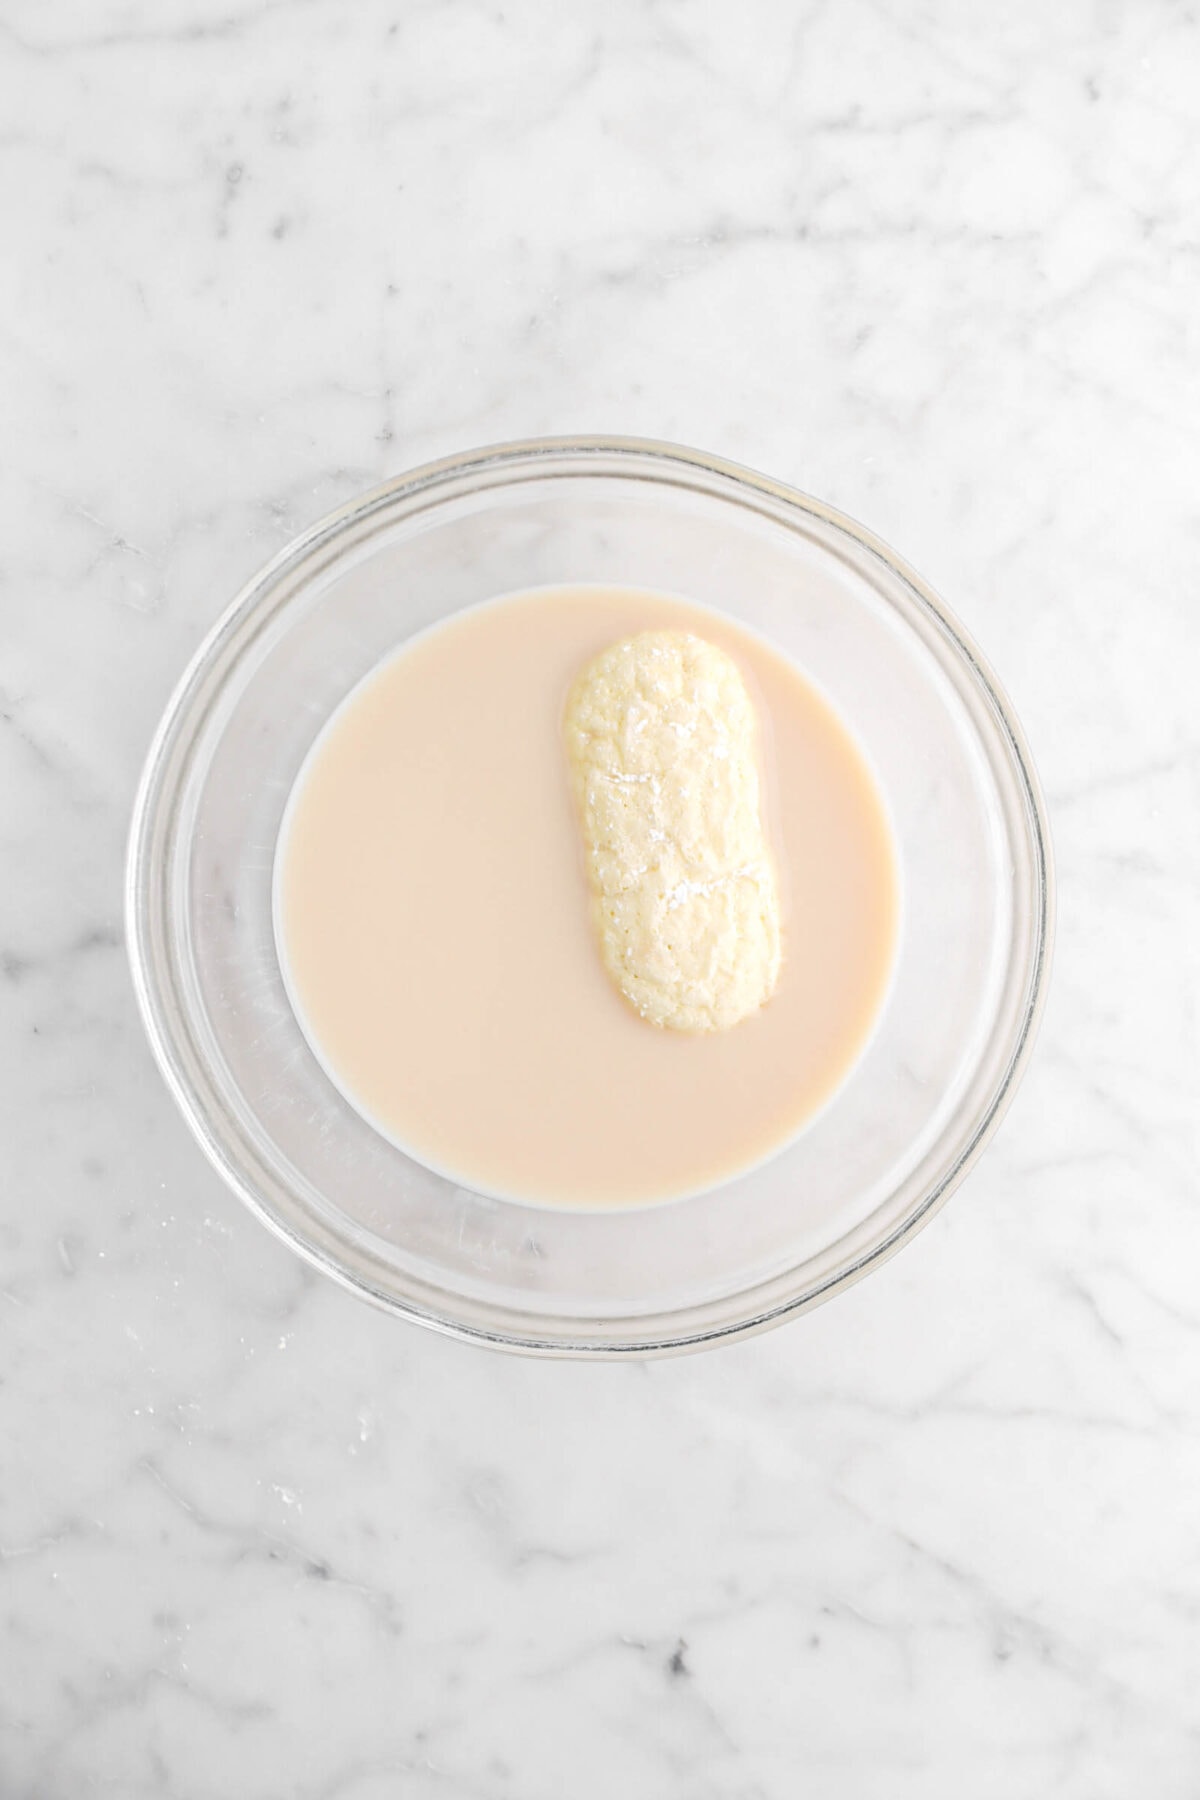
- Ladyfingers – Also called savoiardi. These dry, crisp cookies absorb the amaretto soak in just a second or two and soften into perfect layers once chilled.


Pro Tip: Don’t over-soak the ladyfingers — a quick dip is all you need. They’ll continue to soften as the cake sets.
How to Make Berry Chantilly Tiramisu Cake
We build this cake in a springform pan to give it height and structure (plus easy slicing!), but you can also layer it in a glass dish if you prefer.
- Whip the heavy cream, sugar, and vanilla until medium peaks form. Beat in the mascarpone until just combined and smooth.
- Dip the ladyfingers in the milk + amaretto mixture. Line the sides and bottom of the pan with soaked ladyfingers.
- Add a layer of mascarpone cream, then a layer of fresh berries. Repeat the layering process with more ladyfingers, cream, and berries.
- Finish with a final layer of cream on top. Chill for at least 3 hours, or overnight if possible.
- When ready to serve, unmold the springform pan and top with extra berries. Slice and enjoy cold!


Why We Love This Method
There’s no baking, no eggs, and no complicated steps. Everything gets layered cold and softens as it rests in the fridge. The result? A cake that feels elevated, but couldn’t be easier to put together.
We tested this several different ways:
– With and without the ladyfinger border
– Different berry combos
– Adjusting cream ratios for stability
This final version gives you clean slices, balanced flavor, and the perfect light-but-decadent texture you want in a summer dessert.

FAQs
Can I make this ahead of time?
Yes! It’s actually better after a chill. Make it up to 24 hours in advance.
What can I use instead of amaretto?
Berry juice, orange liqueur, or vanilla work well. Anything that compliments the flavor of sweet cream and berries!
Can I use frozen berries?
Fresh berries give the best texture and flavor, but if frozen is all you have, thaw and drain them well before layering.
Does it freeze well?
Not really — the mascarpone cream and soaked ladyfingers don’t hold up to freezing and thawing.
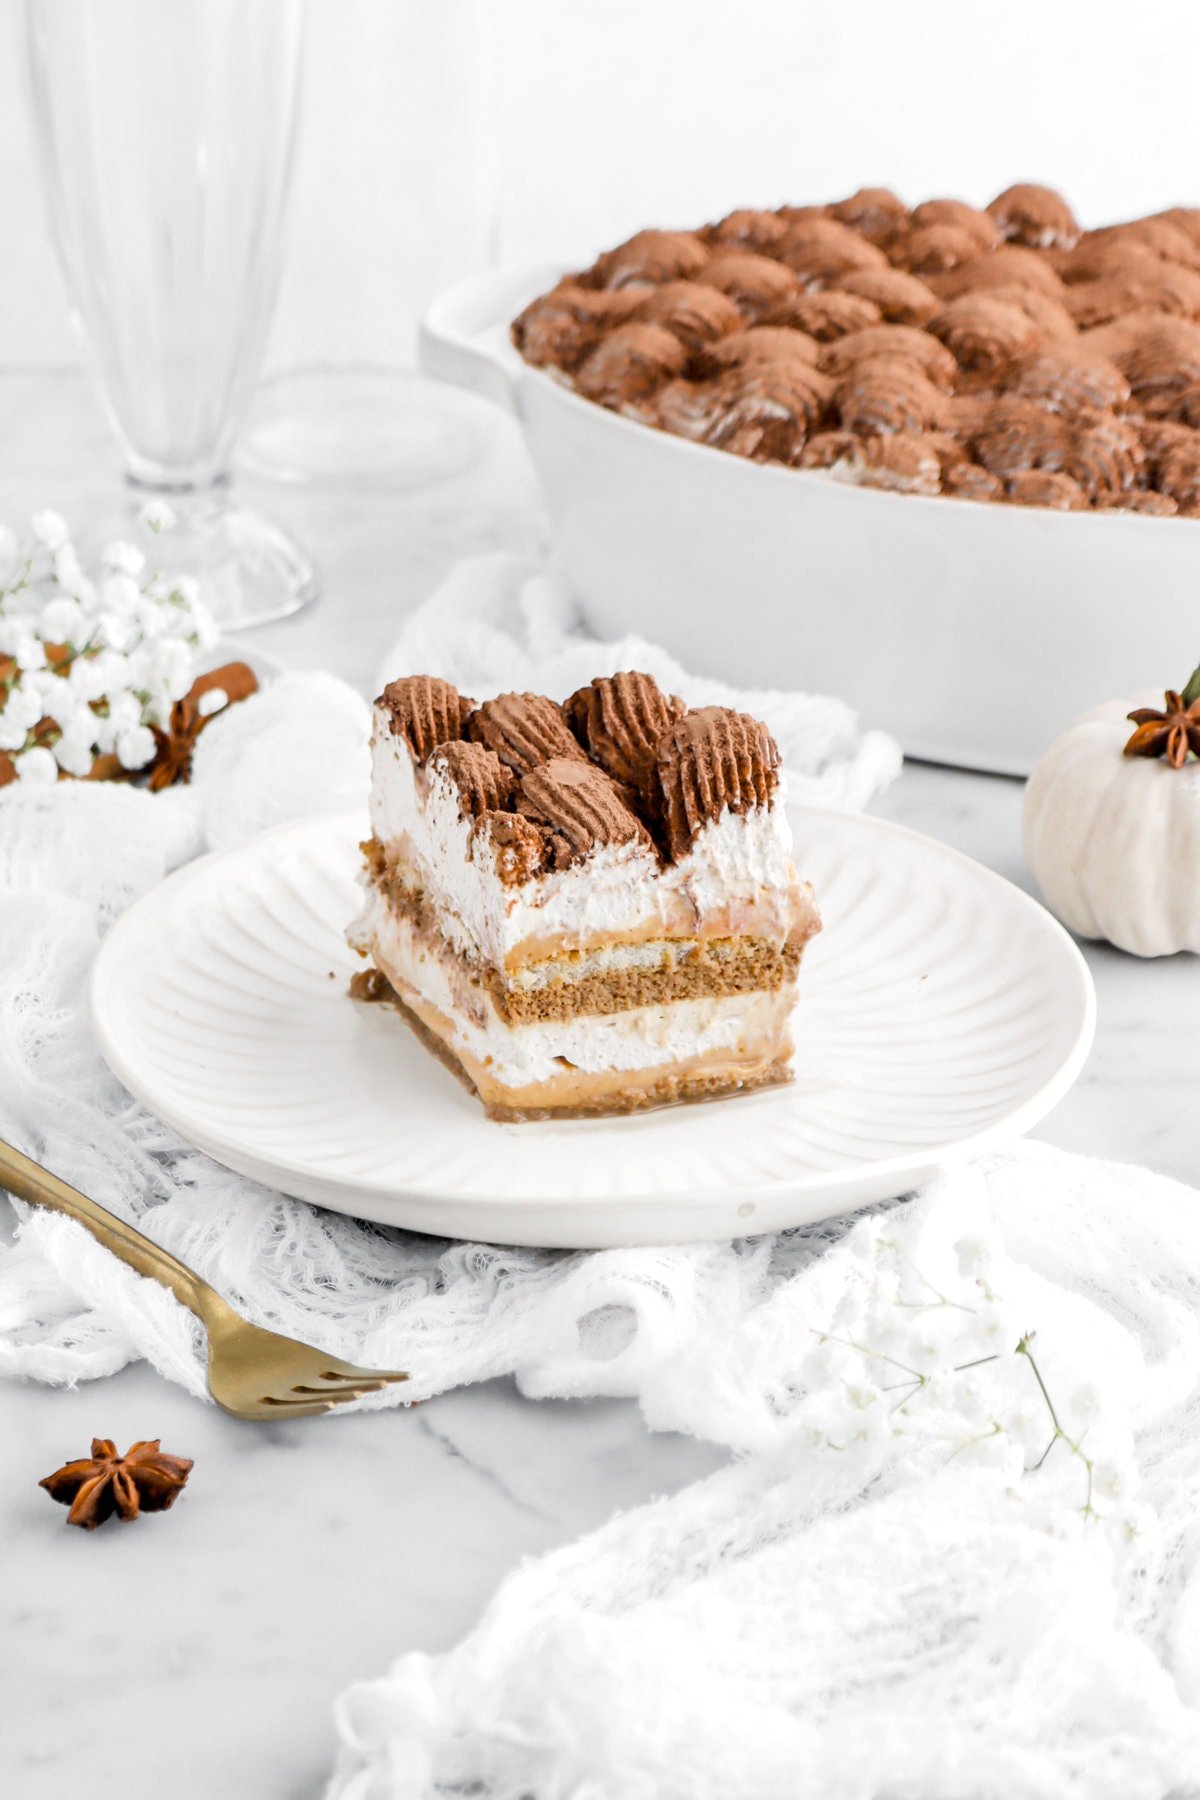
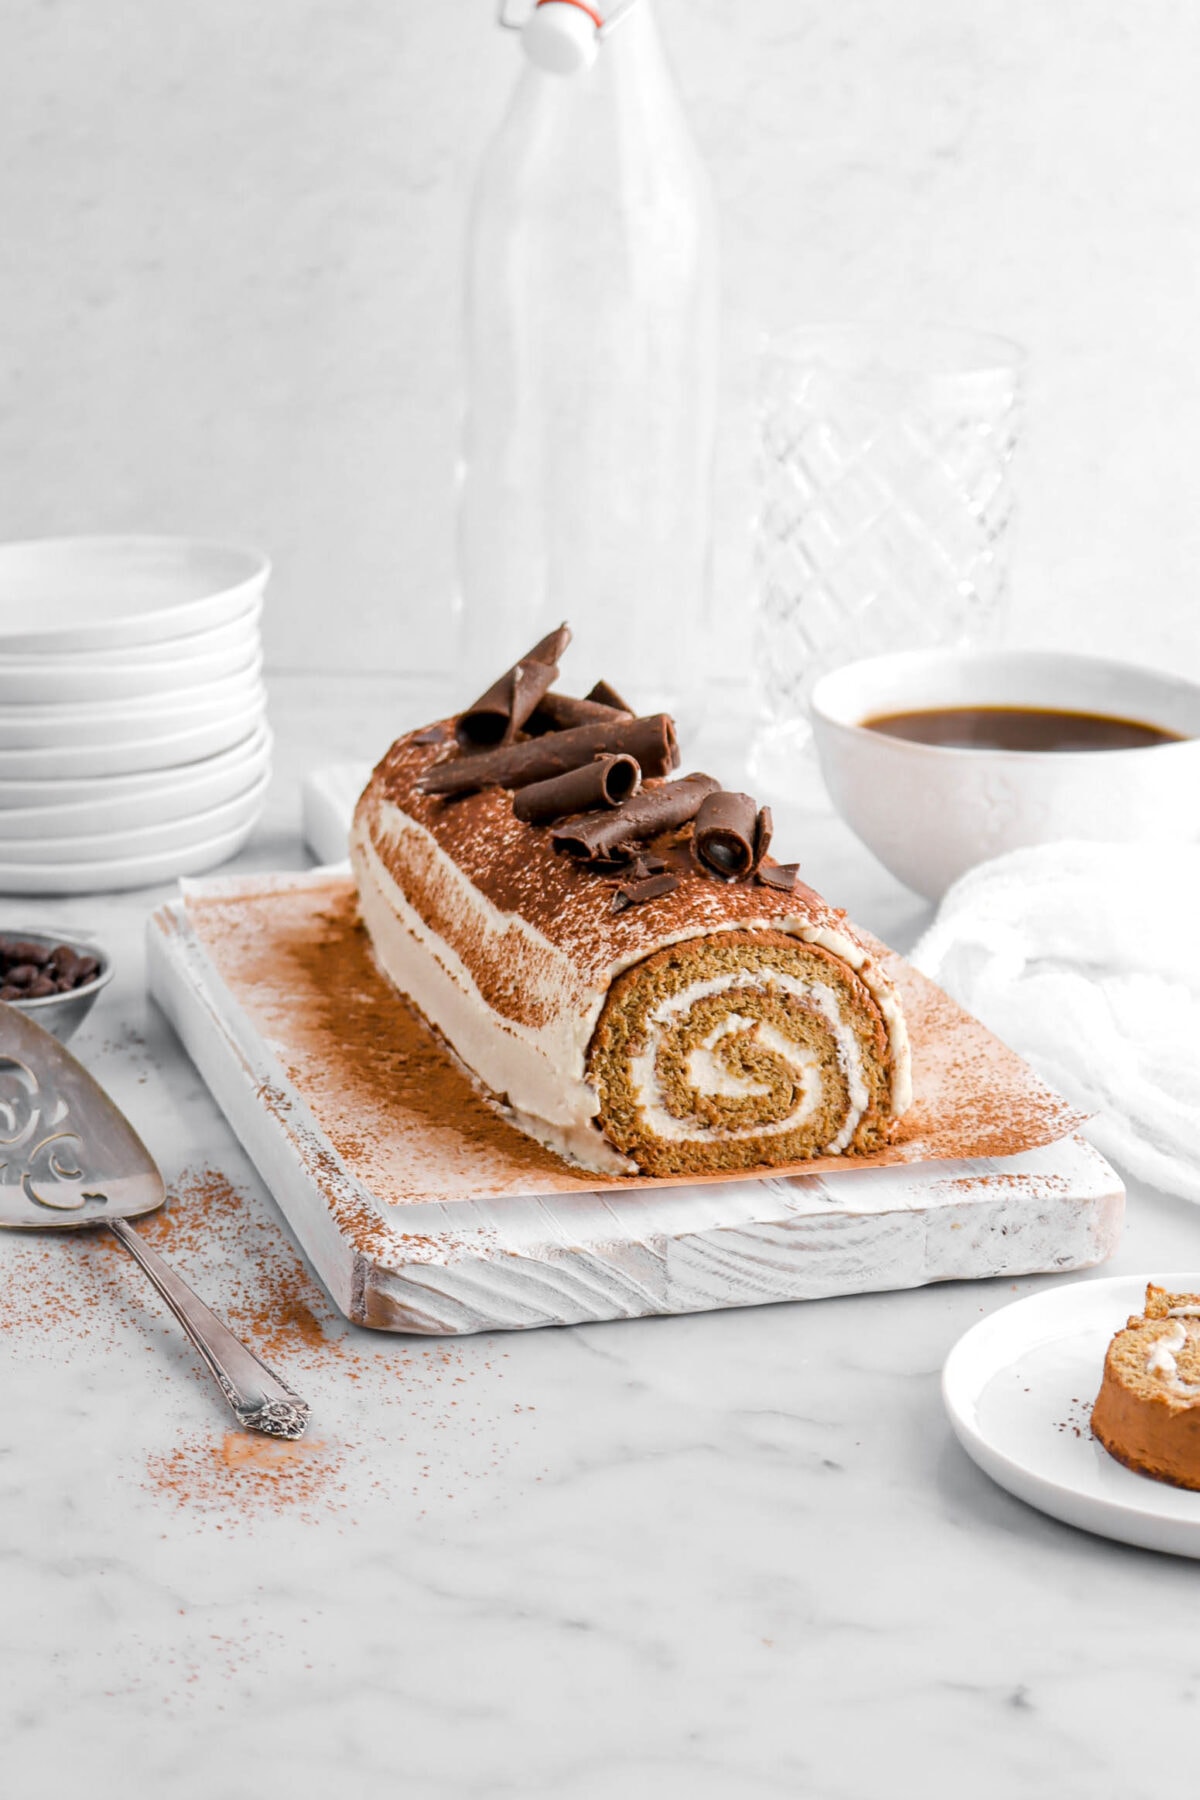
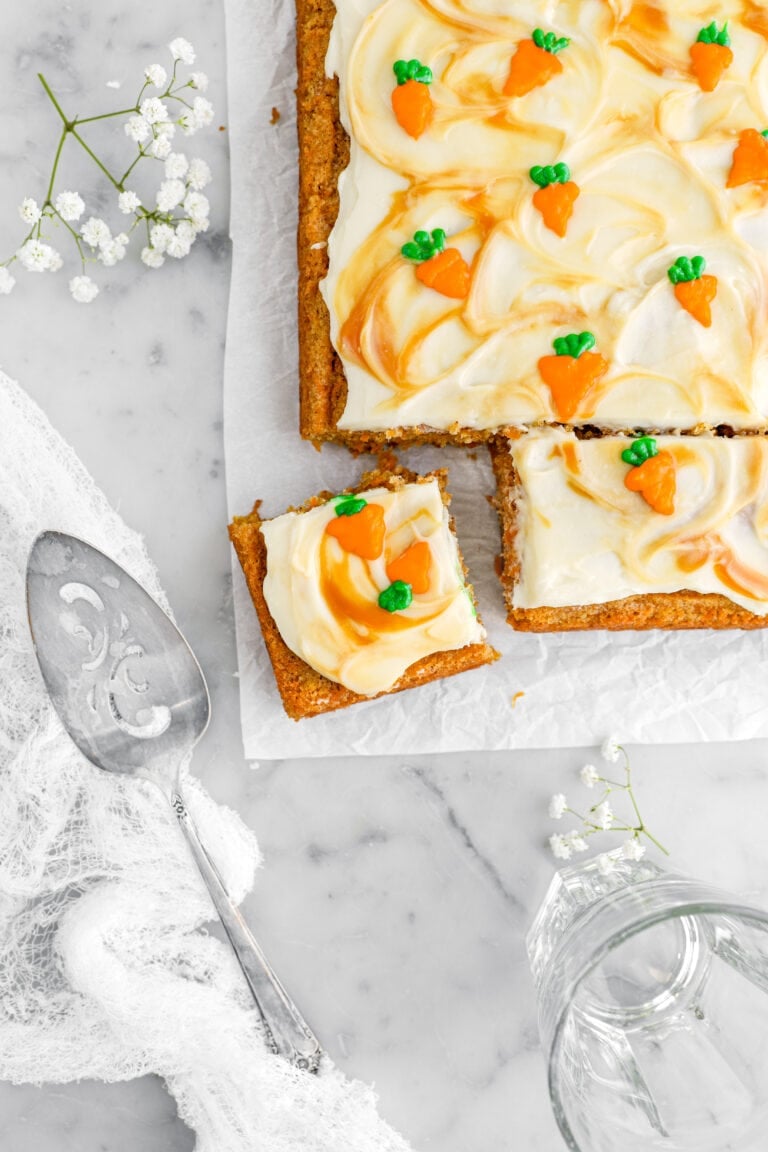
Try These
delicious
bakes next!


When you make this Berry Chantilly Tiramisu Cake, leave a comment down below! We love hearing from you and answering any questions you might have! Also, be sure to tag us on social media and hashtag it #BakersTable.
Happy baking!
x, Caylie

Berry Chantilly Tiramisu Cake
Ingredients
Filling
- 1¾ cups heavy cream, cold
- ⅜ cup powdered sugar, sifted
- ½ teaspoon vanilla extract
- 1 cup mascarpone cheese, cold
- 1 cup blueberries
- 1 cup blackberries
- 1 cup raspberries
- 1½ cups strawberries, sliced
To Assemble
- 34 ladyfingers
- ½ cup amaretto
- ½ cup milk
Instructions
- In a large bowl, gently toss the berries together. Set aside.
- With an electric mixer, beat cream, powdered sugar, and vanilla to medium peaks.
- Beat in mascarpone. Set aside.
- In a small bowl, combine amaretto and milk.
- Soak ladyfingers, one at a time, in amaretto mixture until saturated but not falling apart.
- Place in the bottom of an 8 inch springform pan to cover.
- Place un-soaked ladyfingers upright around the side of the pan.
- Spread ⅓ of mascarpone mixture over bottom.
- Top with ⅓ of the berries.
- Add a layer of soaked ladyfingers.
- Top with ½ of the remaining mascarpone mixture.
- Add half the remaining berries.
- Repeat layers one more time.
- Refrigerate for at least 3 hours, or overnight.
Notes + Tips!
- Refrigerator: Freshly assembled tiramisu will keep beautifully in the refrigerator for up to 3 days. For best results, cover the dish tightly with plastic wrap to prevent drying out.
- Don’t over-whip the cream! Aim for medium-stiff peaks – any stiffer and it might turn into sweetened butter.
- Slice or chop berries to your preference.
- Wash and dry your berries before using them.
- For a decorated edge: The number of ladyfingers needed will depend on their size. Aim for a snug fit around the dish.
- No amaretto? Substitute with milk and a splash of vanilla extract for added flavor!
Tools You May Need (affiliate links)
– Still Hungry? –
Here are a few recipes may like!


Did you try this recipe?
Let us know in the comments!
Let Me Introduce You!
Hi and welcome! We’re Traci and Caylie, a mother-daughter duo with 30+ years of combined experience in baking, recipe development, and food photography. Our expertly developed and delicious recipes have led us to be featured in publications such-as: Costco, Crate & Barrel, & more!
More about us →
Disclaimer
We use affiliate links on our Equipment Needed and Recommended Products section of each recipe. If you click through these links and make a purchase, we may receive a commission at no additional cost to you. As an Amazon Associate I earn from qualifying purchases.
We use Baby’s Breath for photographic purposes only. Do not consume any parts of the plant.