Malted Chocolate Robins Egg Cake
This post may contain affiliate links, please visit our privacy policy for details.
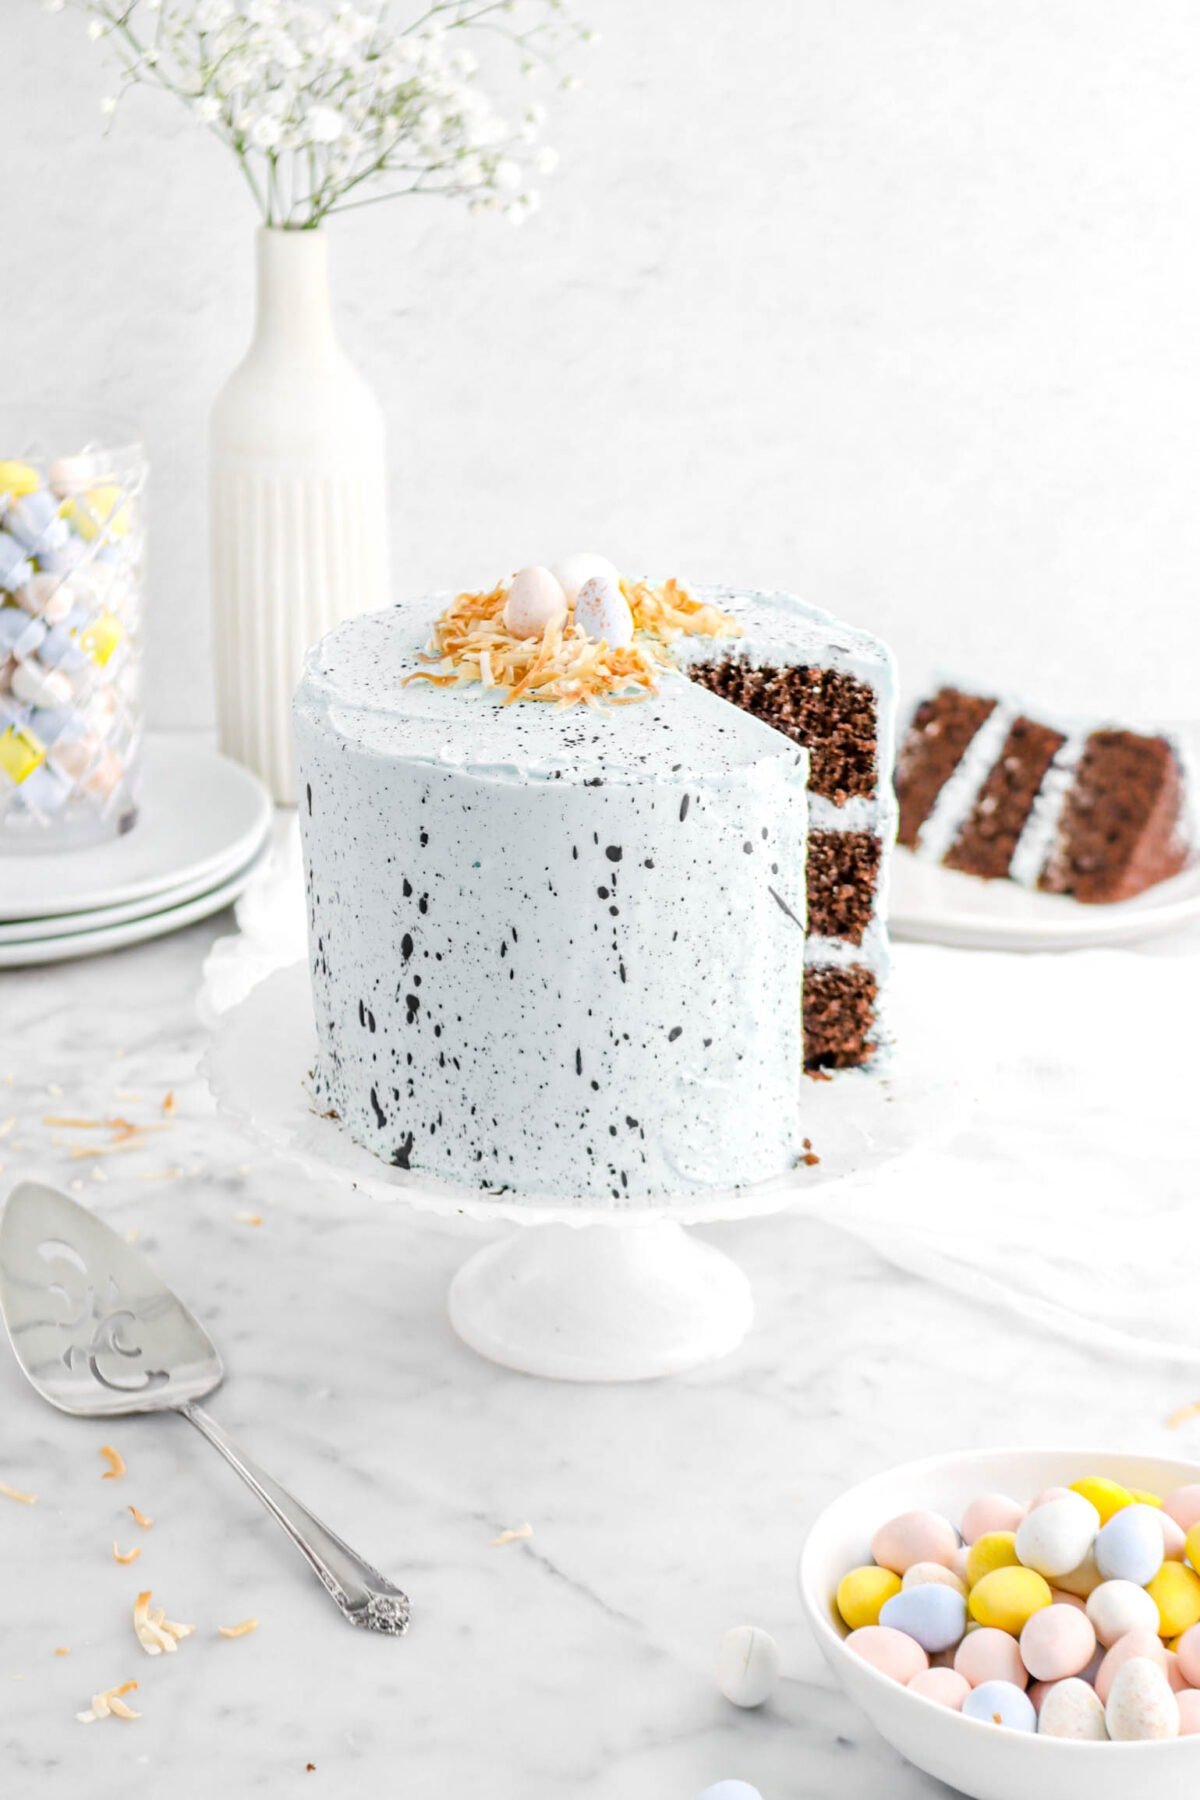
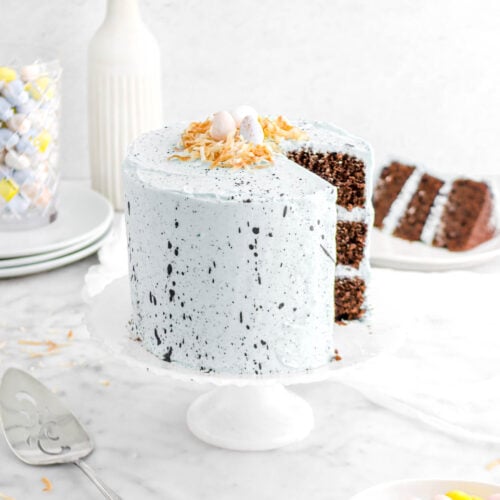
This Malted Chocolate Robins Egg Cake is the ultimate Easter dessert! Soft, moist chocolate cake infused with malted milk powder, layered with a smooth malted vanilla buttercream, and finished with a classic robin’s egg speckled design. It’s like your favorite chocolate malt candy, but in cake form!
– know before you bake –
Traci & Caylie’s
Recipe Highlights
To me, Easter is all about chocolate treats—like our homemade coconut cream-filled chocolates—but nothing feels more festive than this Robin’s Egg Cake. It’s rich, chocolatey, and has that nostalgic malted flavor I’ve loved since childhood. Plus, the pastel blue frosting and chocolate speckles make it almost too pretty to eat (almost!).
One reader, Tony, commented: “I had my doubts because the batter was so thin, but what a great cake it made! I made this for my partner’s grandsons, and they absolutely loved it—so much so they couldn’t even stop eating to talk on camera. I already have a request to make another one! ★★★★★”
We love hearing when our recipes become family favorites! If you make this cake, be sure to leave a review below!
Key Ingredients For The Best Chocolate Malt Cake
Before we get baking, here’s everything you’ll need to make this beautiful Robin’s Egg Cake. From pantry staples to the key ingredient—malted milk powder—these simple ingredients come together to create a cake that’s rich, chocolatey, and perfectly sweet!

More Easter Recipes
We have LOTS of Easter recipes on our blog, including a roundup of some of our favorite Easter brunch, dinner, and dessert recipes.
How To Make This Robins Egg Cake
This cake comes together in just a few simple steps:
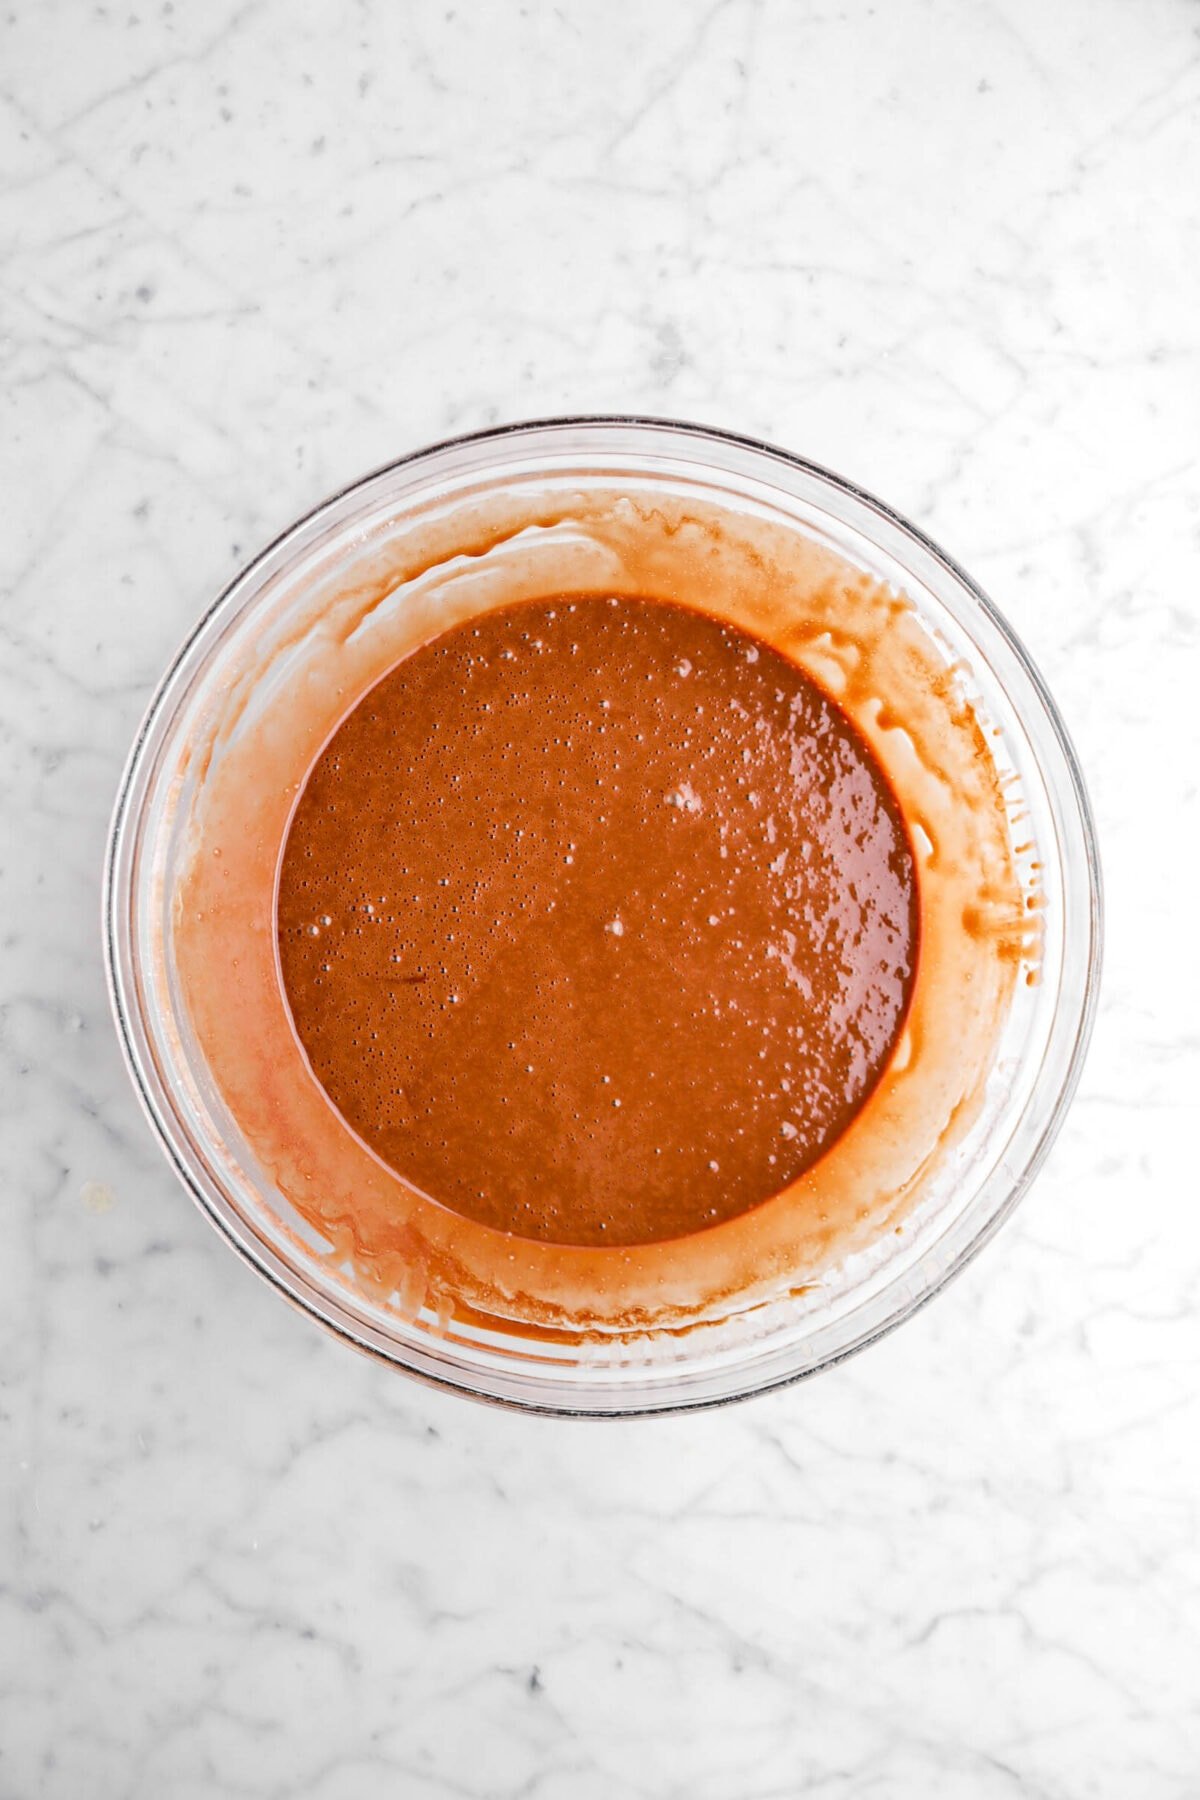
- Make the batter – Bloom the cocoa powder with boiling water, mix the wet and dry ingredients, then stir everything together.
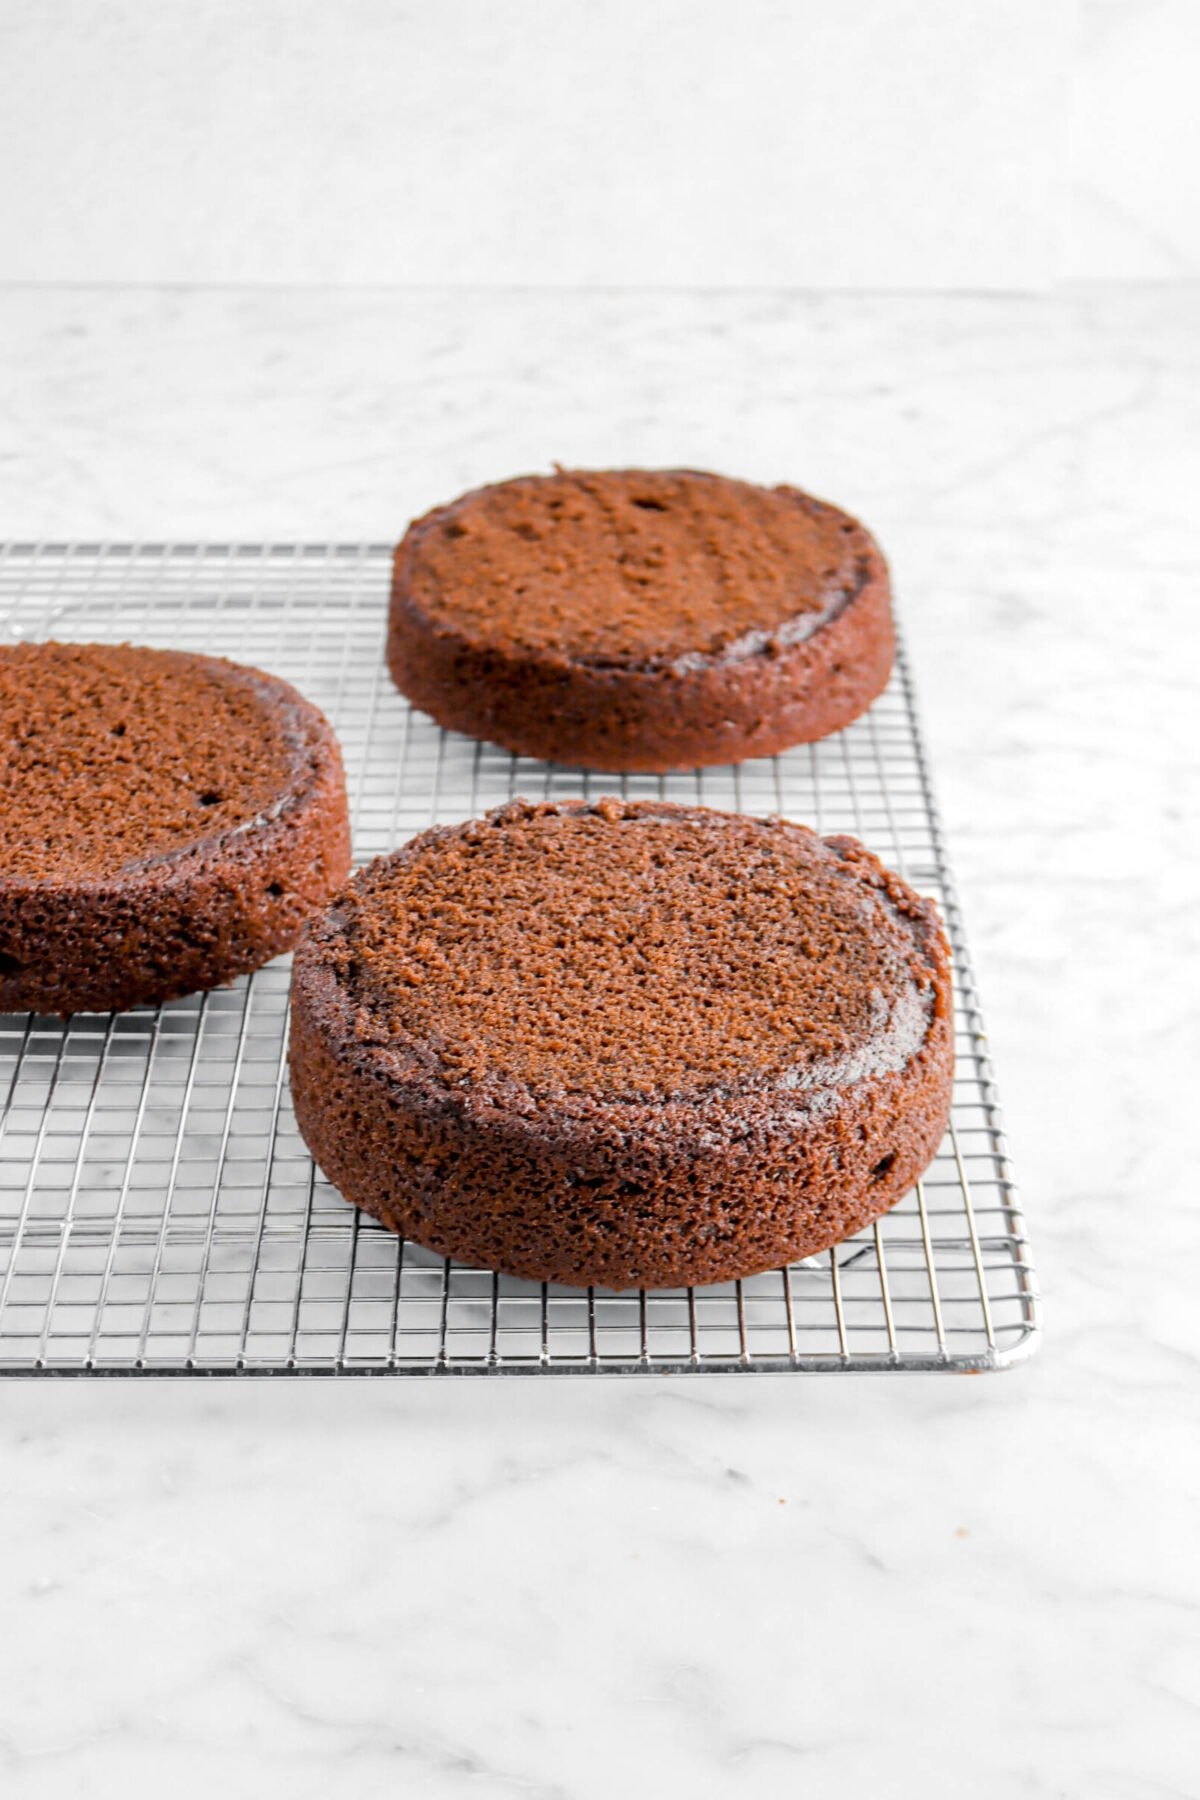
- Bake – Divide the batter evenly between cake pans and bake until set. The cakes are done when a toothpick or cake tester inserted into the center comes out clean or with a few moist crumbs. Let the cakes cool completely.
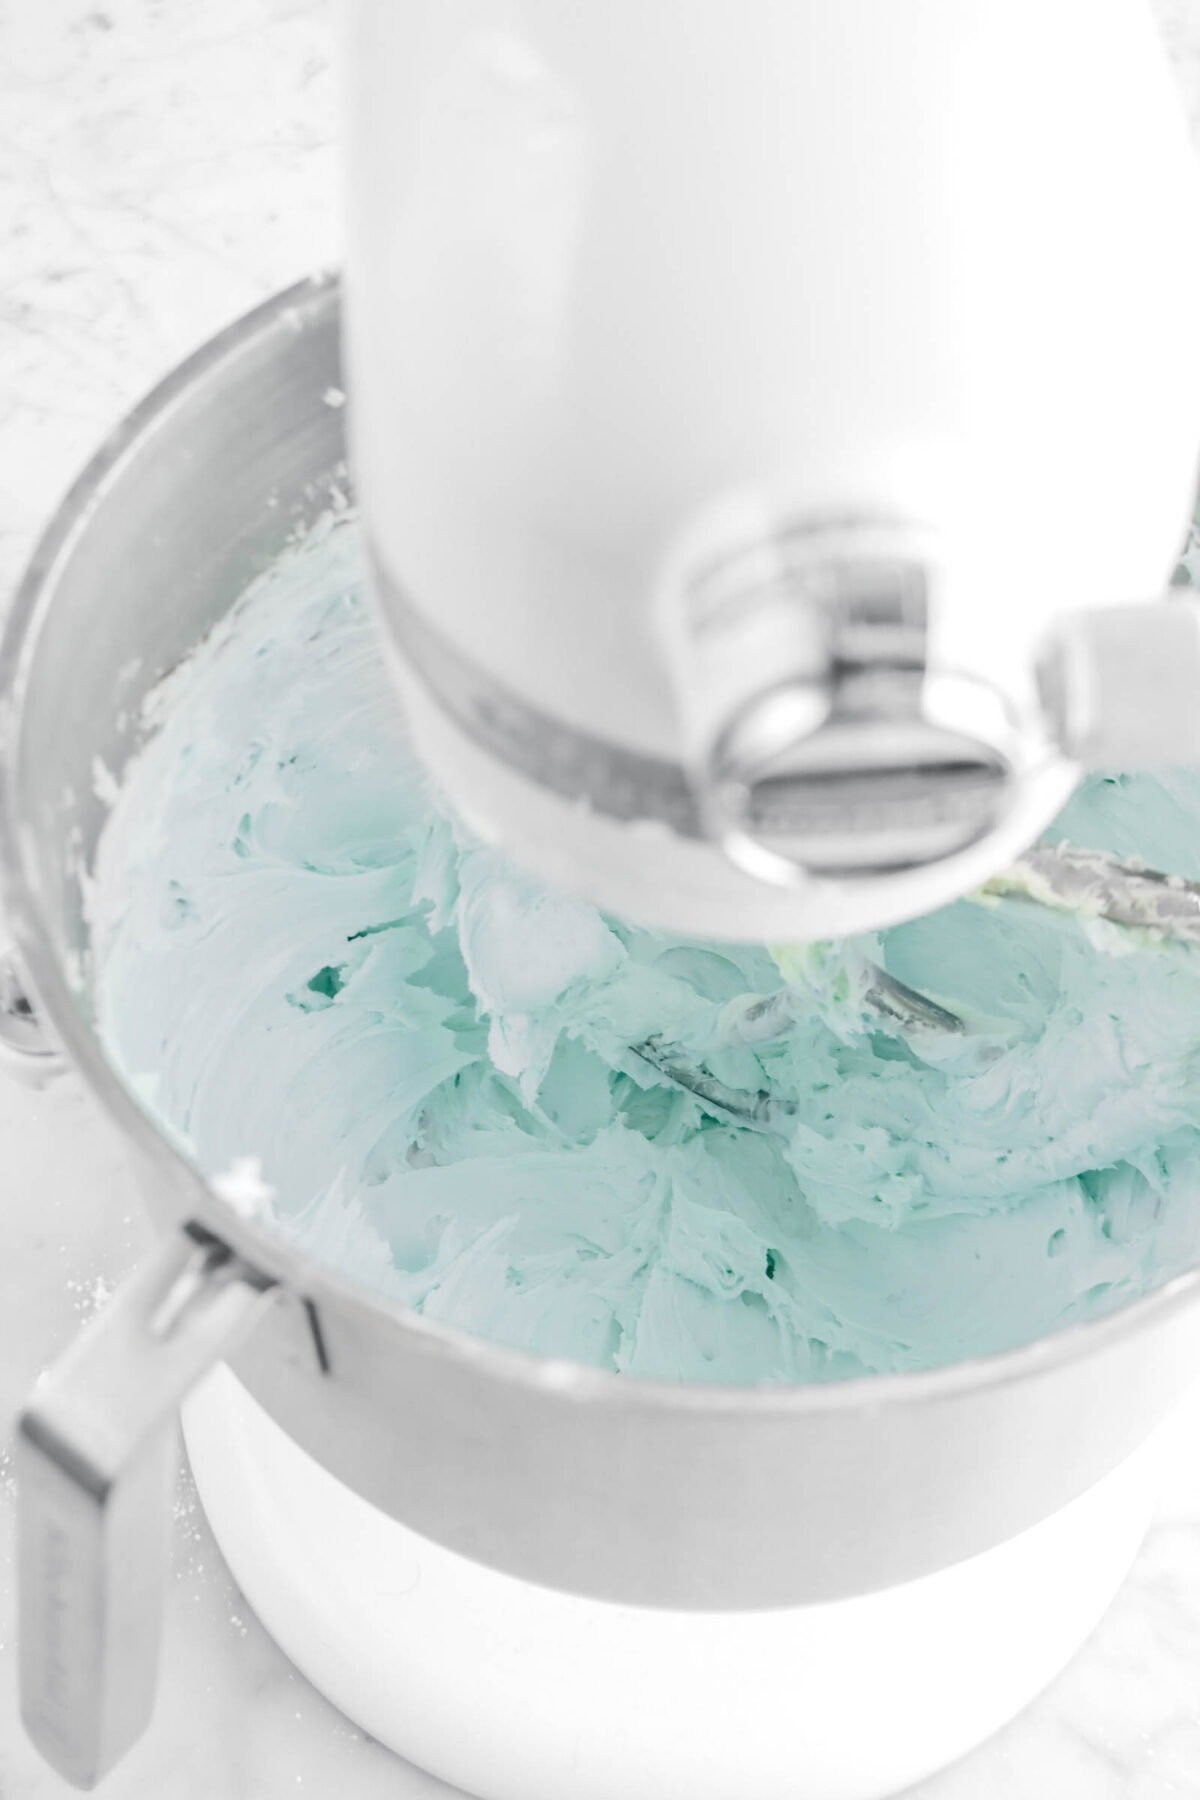
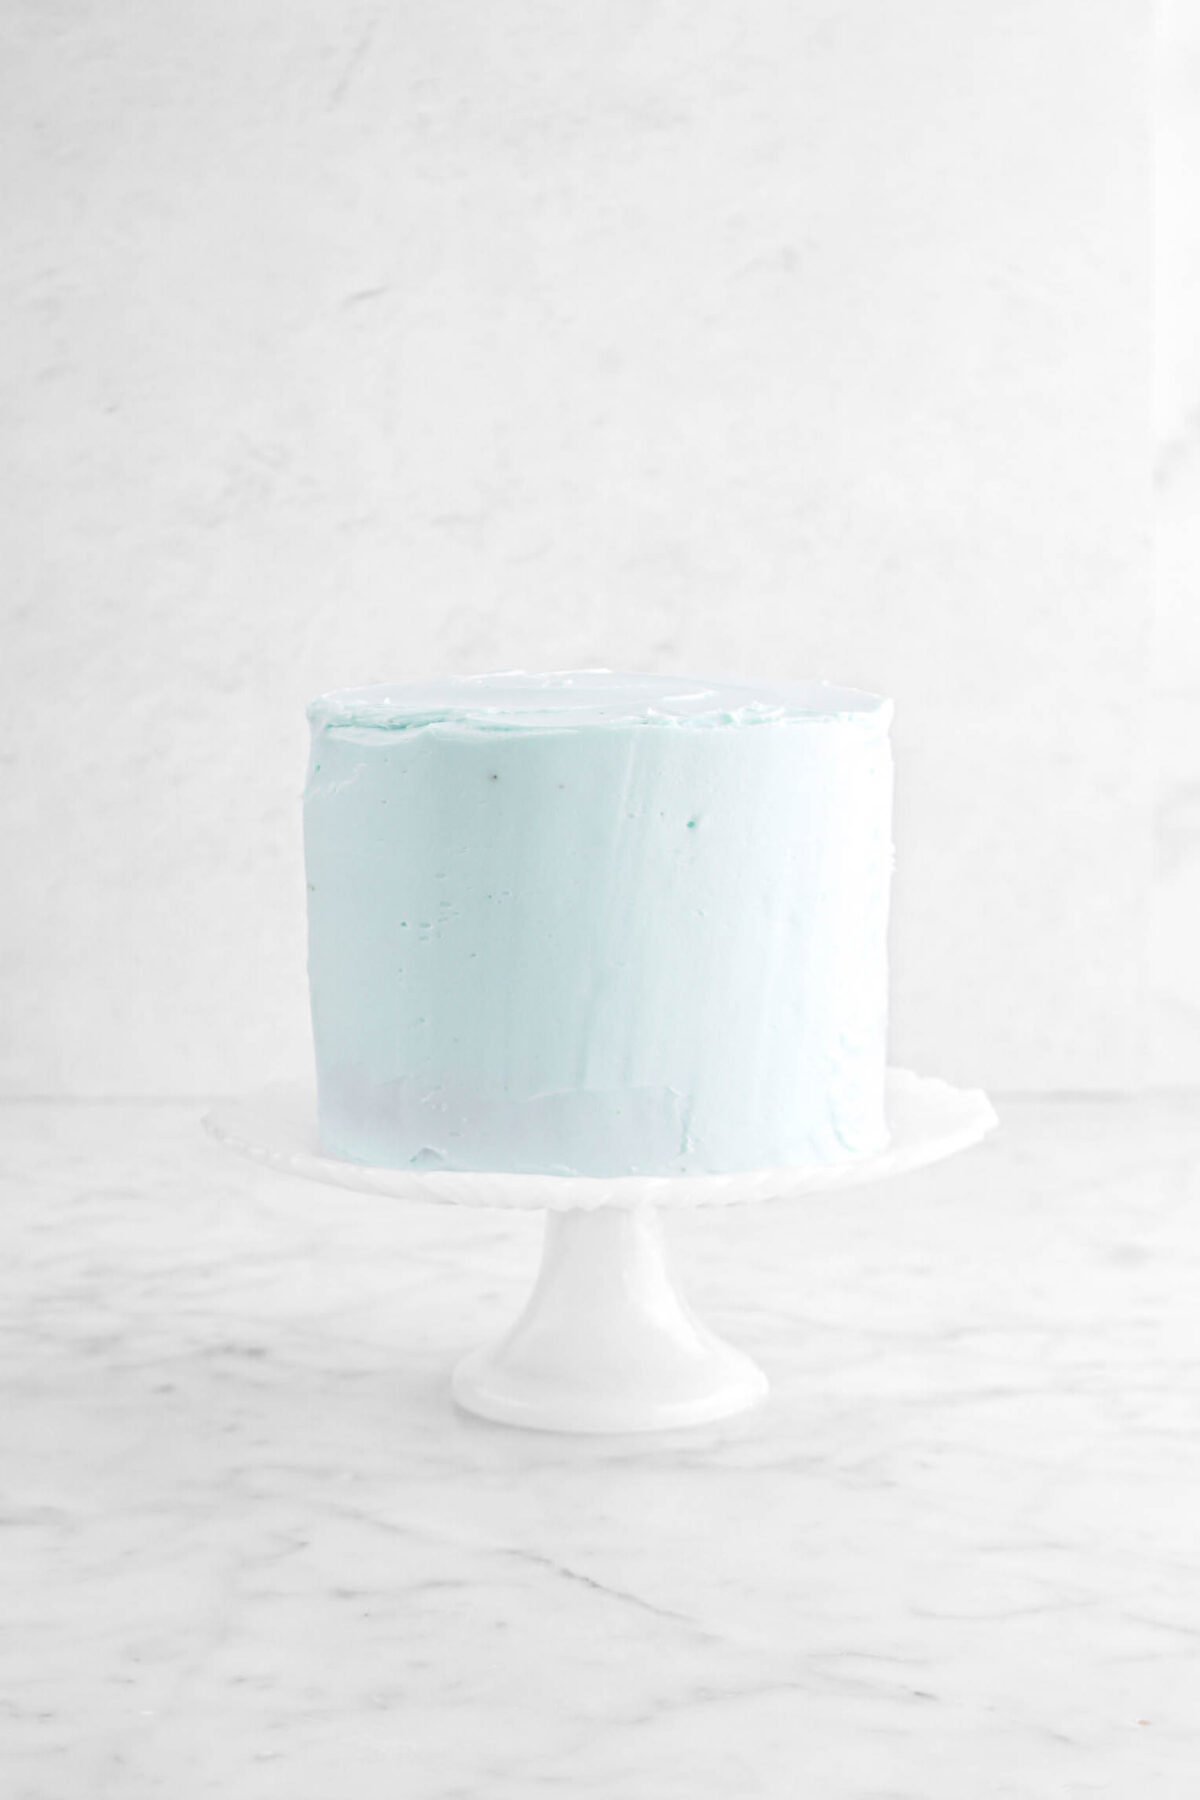
- Make the frosting – Beat the butter until smooth, then mix in the powdered sugar, malted milk powder, and vanilla. Add a touch of blue food coloring for that signature robin’s egg hue!
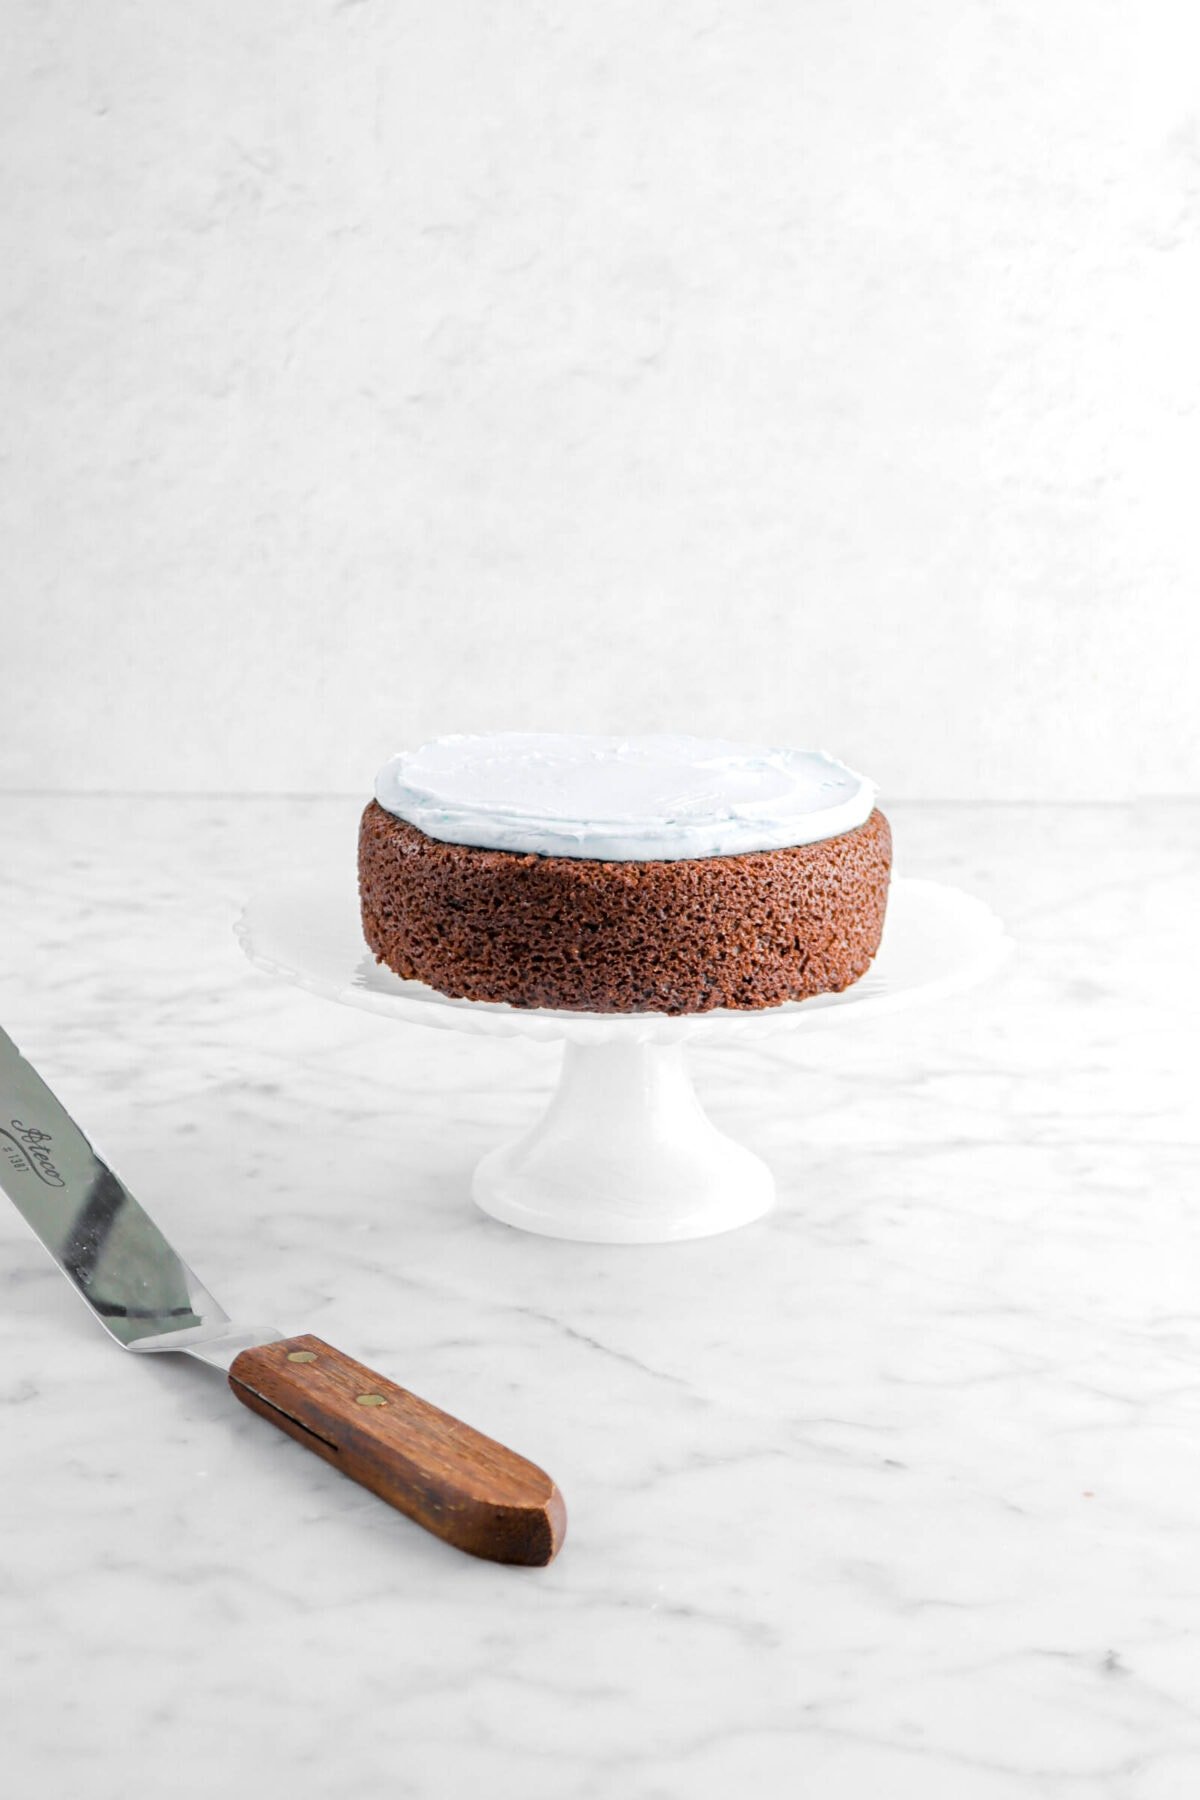
- Assemble – Stack and frost the cake layers, then smooth the buttercream. Need help? Check out our comprehensive guide on How to Frost a Cake!
For full details and measurements, head to the recipe card below!
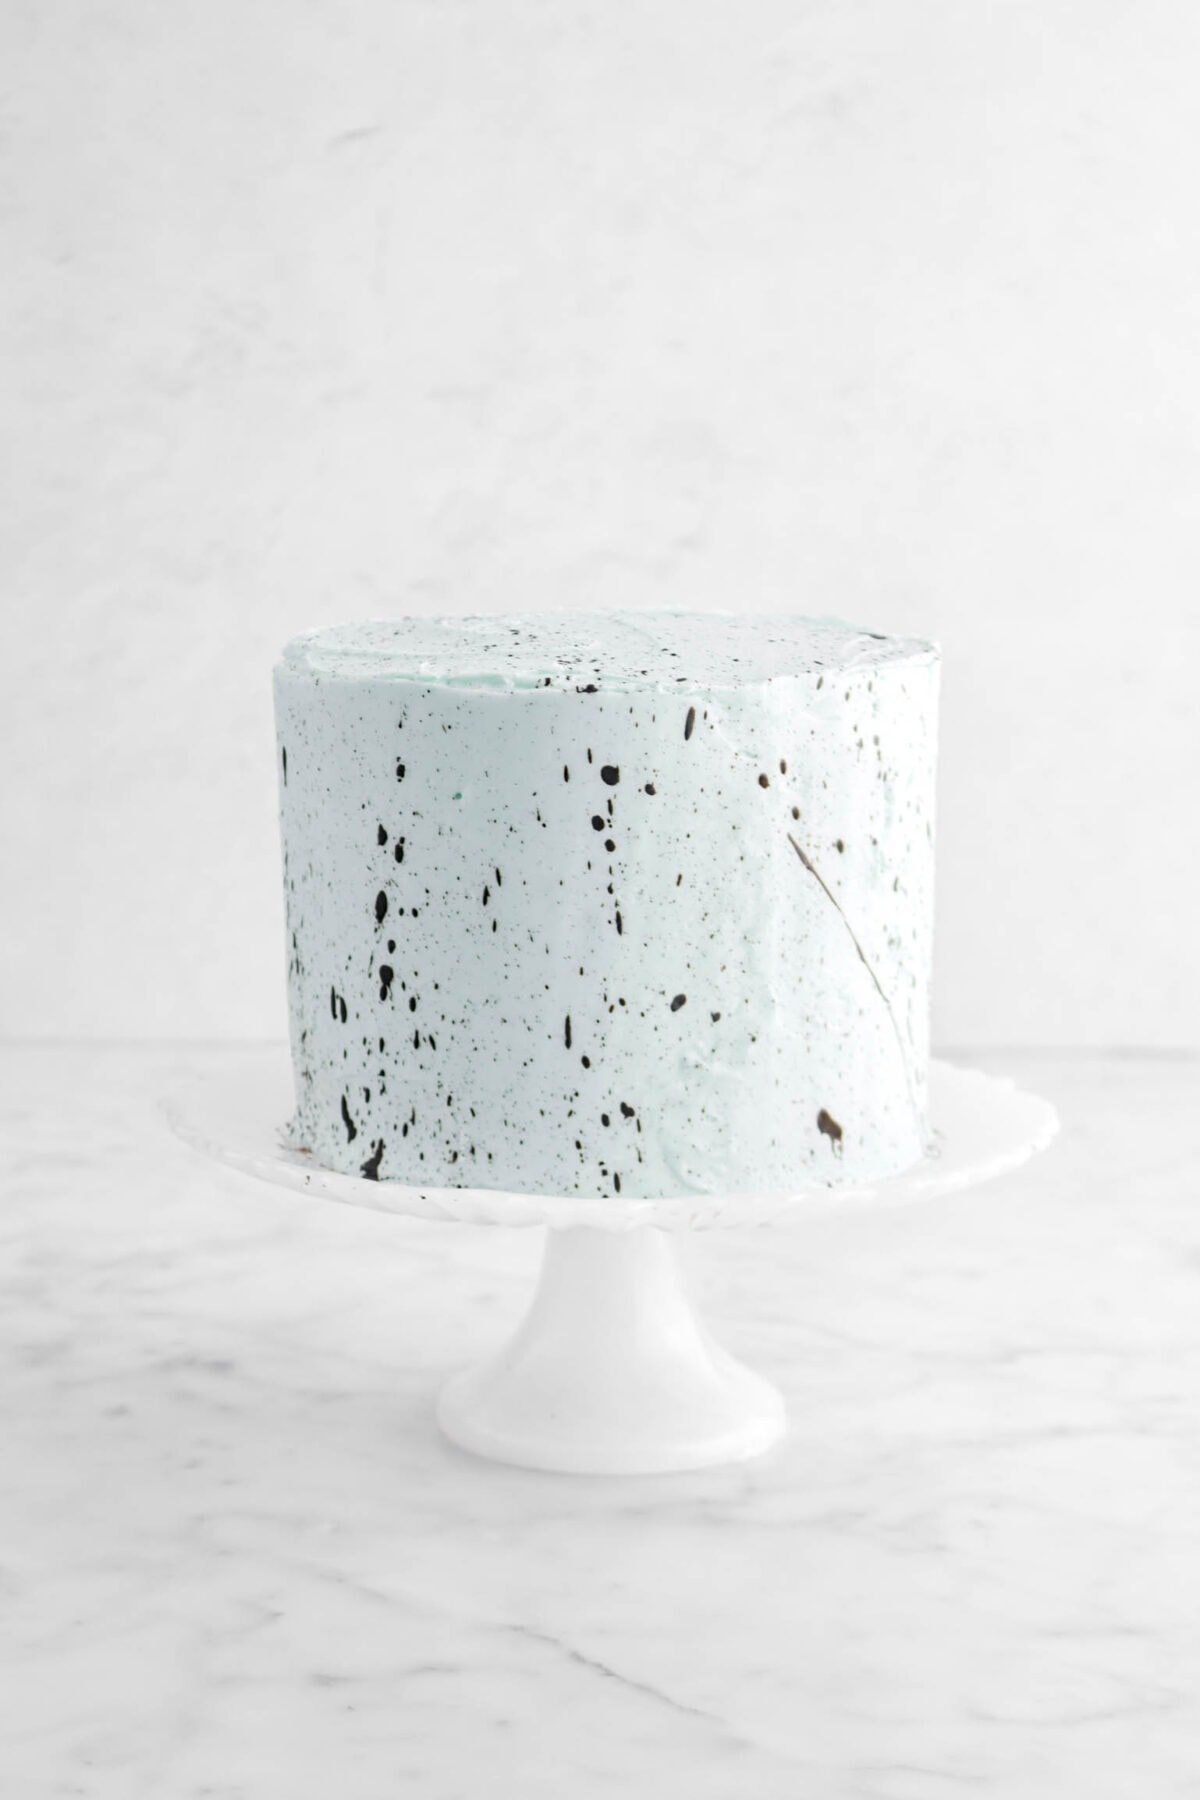
Mastering the Robin’s Egg Speckled Look
That beautiful speckled finish? It’s easier (and more fun!) than you think! Just mix cocoa powder with a bit of vanilla extract or rum, then use a pastry brush to flick the mixture onto the cake. The key is to tap the brush against a wooden spoon for a natural, splattered effect.
💡 Tip: This gets messy! Lay down some towels and wear an apron before you start.
Tried this cake? Leave a comment below—we’d love to hear what you think! And don’t forget to tag us on social media with #BakersTable so we can see your beautiful creations!
Happy baking!
x, Caylie
Chocolate Malt Robins Egg Cake with Malted Vanilla Buttercream
Ingredients
Cake
- ½ cup natural cocoa powder, sifted
- ¾ cup boiling water
- 1½ cups all purpose flour
- ¼ cup malted milk powder
- 1¼ cups granulated sugar
- 1¾ teaspoons baking powder
- ½ teaspoon baking soda
- ¾ teaspoon salt
- 2 large eggs, room temperature
- ¾ cup whole milk
- ½ cup vegetable oil
- 1½ teaspoons vanilla extract
Frosting
- 1½ cups salted butter, room temperature
- 4 cups powdered sugar, sifted
- 1 Tablespoon malted milk powder
- 1 teaspoon vanilla extract
- 2 Tablespoons heavy cream
- 1-2 drops blue food coloring
Chocolate Speckles
- 2 teaspoons cocoa powder, sifted
- 4 teaspoons dark rum, or vanilla extract
Instructions
Cake
- Heat oven to 350℉/177℃.
- Spray three 6-inch round pans with baking spray. Set aside.
- In a small bowl, whisk together cocoa powder and boiling water. Set aside.
- In a large bowl, whisk together flour, malt, sugar, baking powder, baking soda, and salt. Set aside.
- In a medium bowl, whisk together eggs, milk, oil, and vanilla.
- Pour over top of dry ingredients.
- Mix until smooth.
- Stir in bloomed chocolate.
- Divide batter evenly into prepared pans.
- Bake for 30-35 minutes, or until cake tests done.
- Let cool at least 10 minutes before turning out.
Frosting
- With an electric mixer, cream butter.
- Beat in powdered sugar.
- Add malt powder, vanilla, and cream.
- Beat until smooth and fluffy.
- Mix in food coloring.
Chocolate Speckles
- In a small bowl, whisk together cocoa powder and rum until smooth.
Assembly
- Level cake layers.
- Spoon frosting into piping bag.
- Place 1 cake layer on cake round or serving platter.
- Pipe a ring of frosting around edge of cake layer.
- Fill in.
- Spread evenly.
- Repeat with second layer.
- After adding third layer, pipe frosting around and on top of entire cake.
- Use an offset spatula to spread.
- Using a pastry brush dipped in chocolate mixture, flick chocolate onto cake.
Notes + Tips!
- The cake layers are VERY fragile and tender. Be careful!
- You can adjust the color of the frosting as you need to. We found 1 1/2 drops of blue food dye worked for us.
- When assembling the cake, you will need to use about 1/3 cup of frosting between the layers.
- The frosting makes just enough to assemble and cover this cake. If you would like more to pipe decorations, you will need to make more.
- You can use either dark rum or vanilla extract for the chocolate speckling. Both work well!
- Flicking the chocolate mixture is VERY messy (but very fun!). Make sure to cover anything around the cake that you don’t want covered in chocolate!
Tools You May Need (affiliate links)
– Still Hungry? –
Here are a few recipes may like!


After great success with your pumpkin spice cake with chai buttercream, I ran across this recipe. So I decided to try it and made it for my partner’s grandsons. Over Christmas, I made two cakes and brought them with me. The boys liked the almond torte but critiqued my Baum Torte. They hated the dark chocolate ganache. Tough critics in a 4 and 7 year old. So imagine my surprise when their mom sent me a video of them scarfing down the cake. They deemed this cake a winner. So much so that they couldn’t talk to the camera as they were eating the cake. I have to say I had doubts as the batter was so thin, but what a great cake it made. I already have a request to make another one. Thanks for some great recipes. The flavors are spot on. 👍
Hi Tony! Oh, I’m so happy to hear they loved this cake! It was so much fun for us to make and decorate. We hope that you keep making, sharing, and enjoying our recipes. Thank you! 😊 x, Caylie