Lemon Curd Thumbprint Cookies
This post may contain affiliate links, please visit our privacy policy for details.
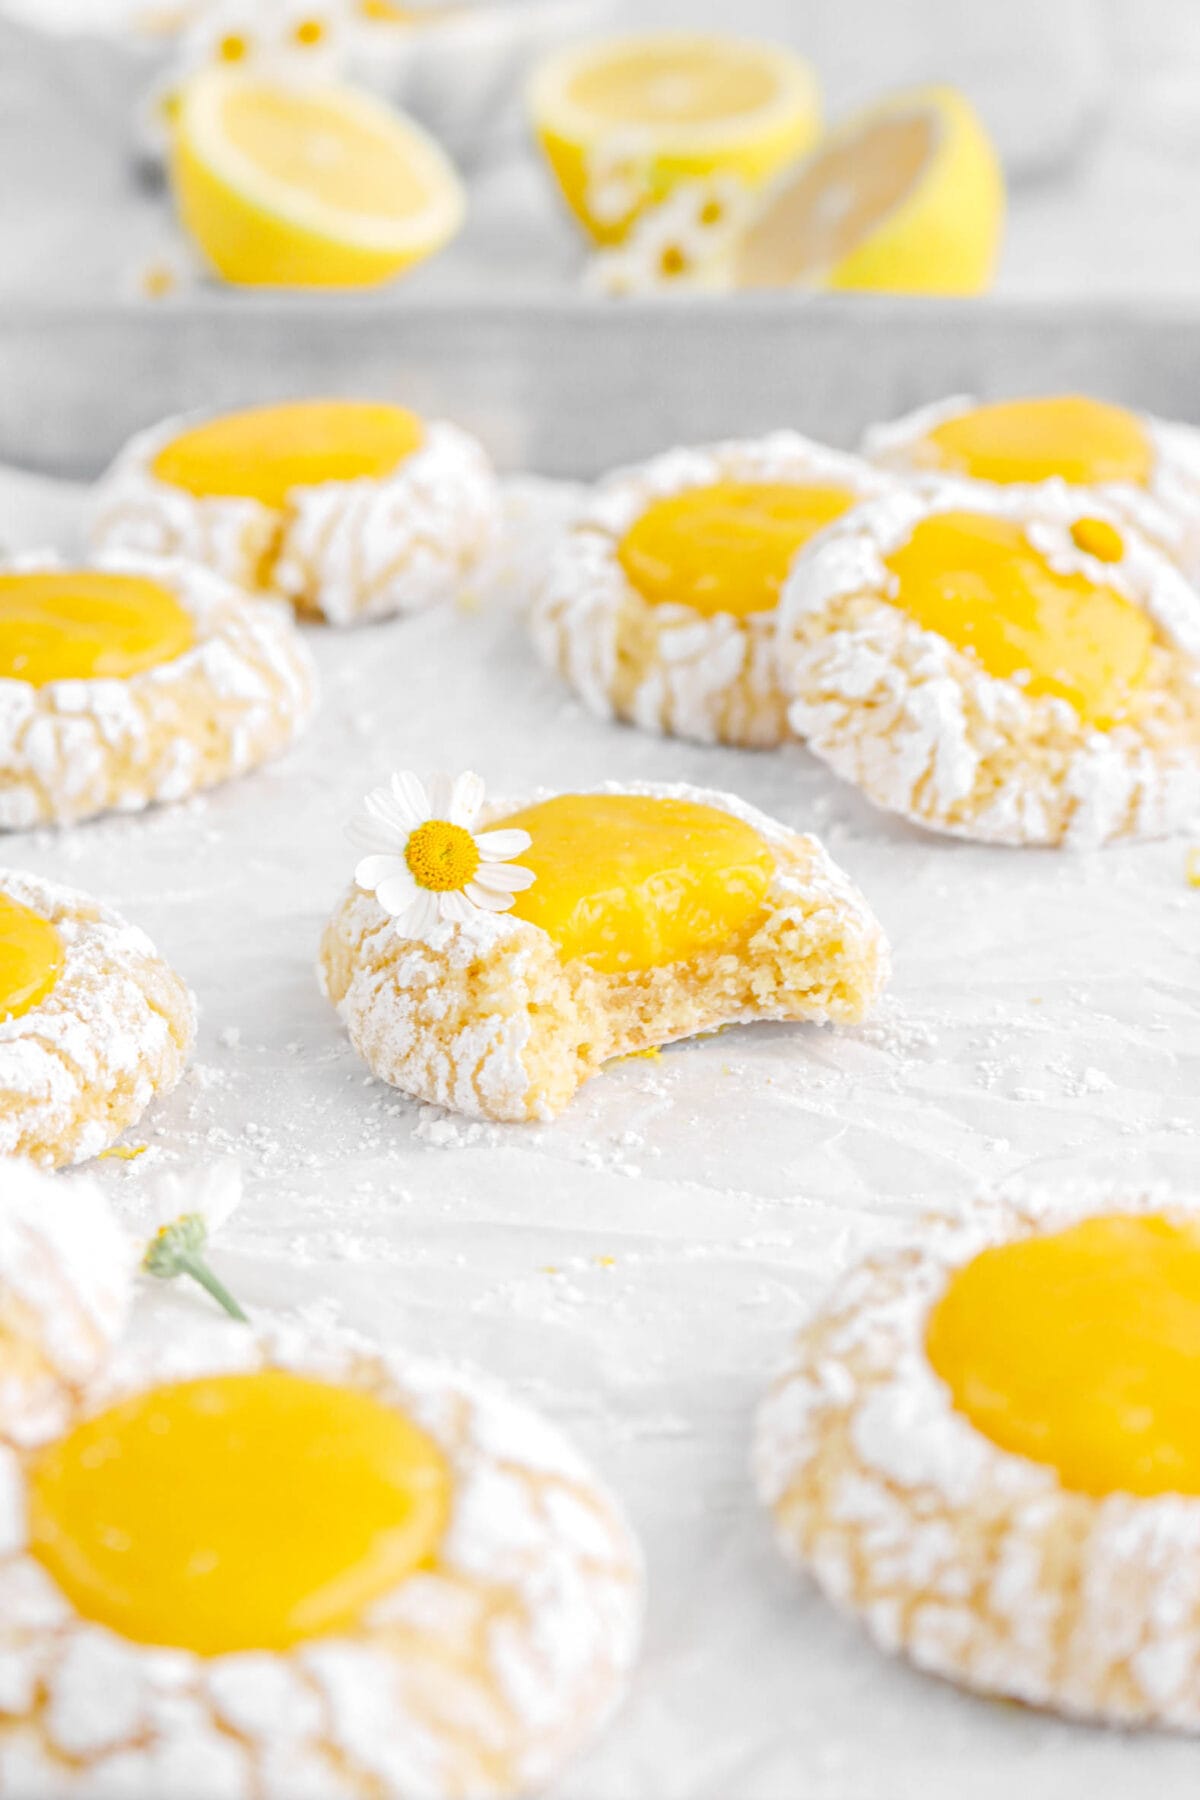
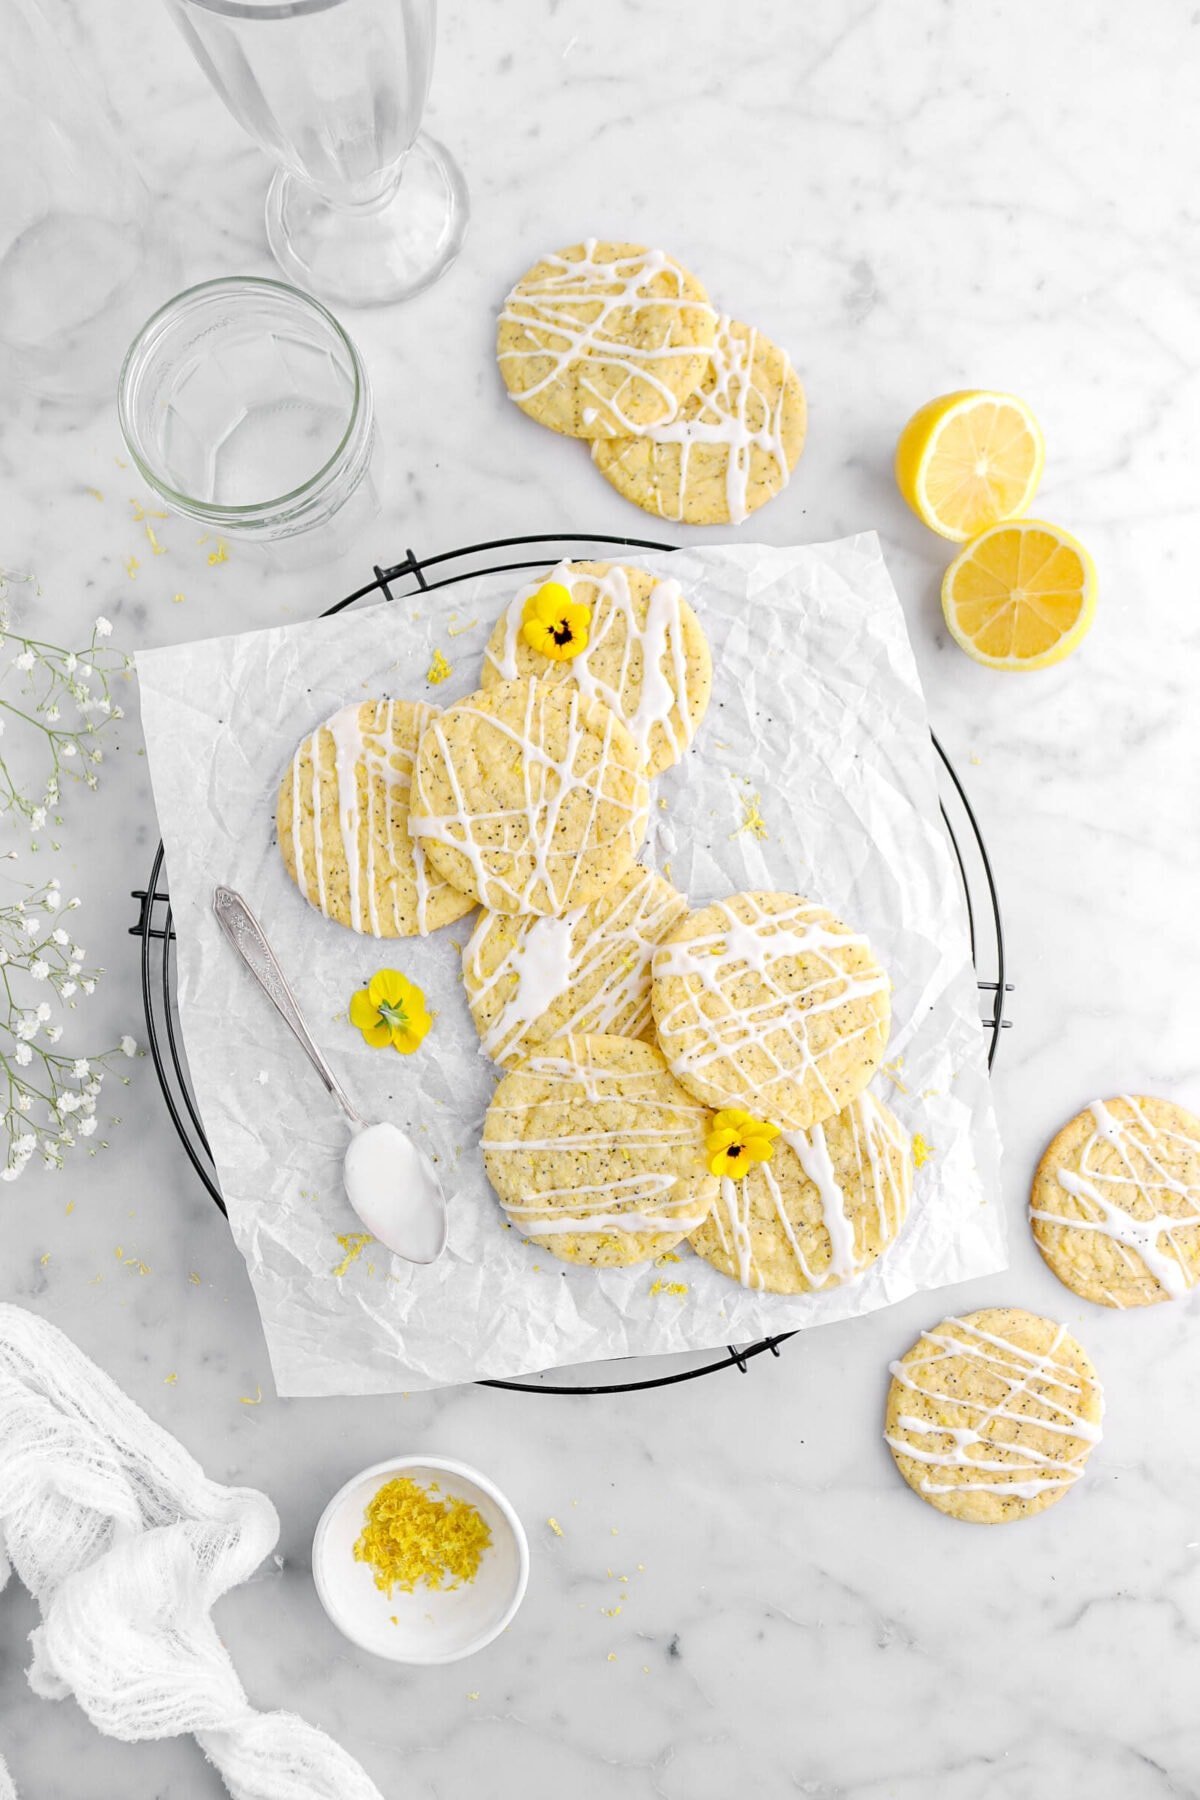
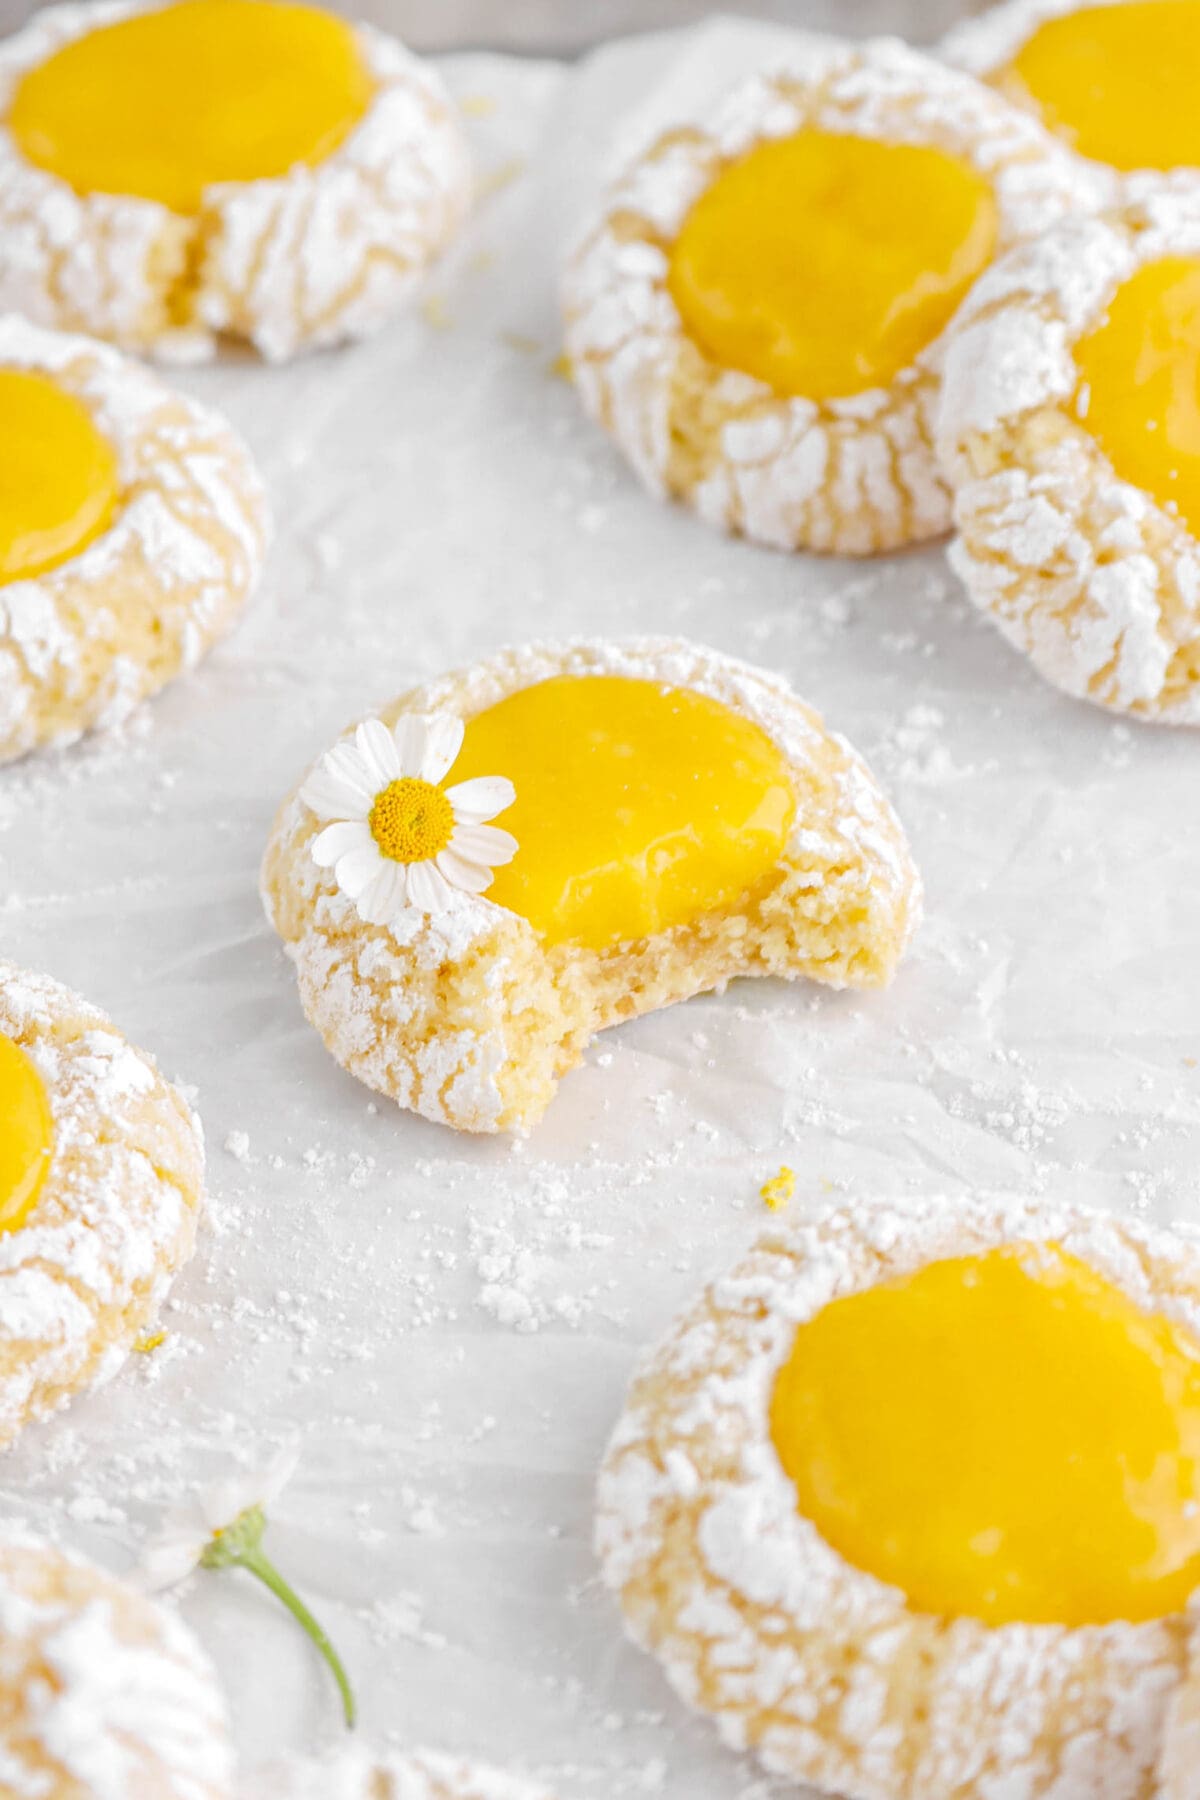
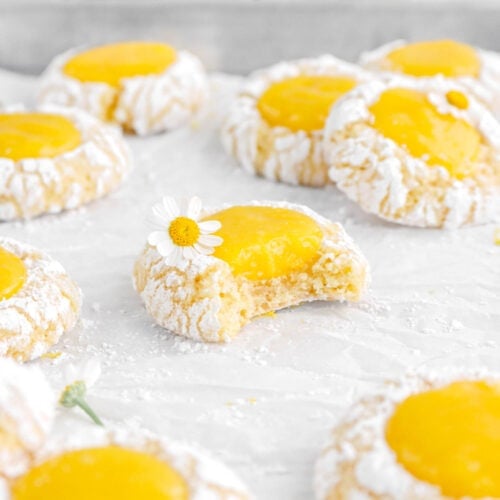
Satisfy your sweet tooth with these soft, chewy Lemon Curd Thumbprint Cookies. Easy to make and bursting with vibrant lemon flavor, they’re the perfect treat for any lemon lover this spring and summer!
This recipe was originally shared in 2023.
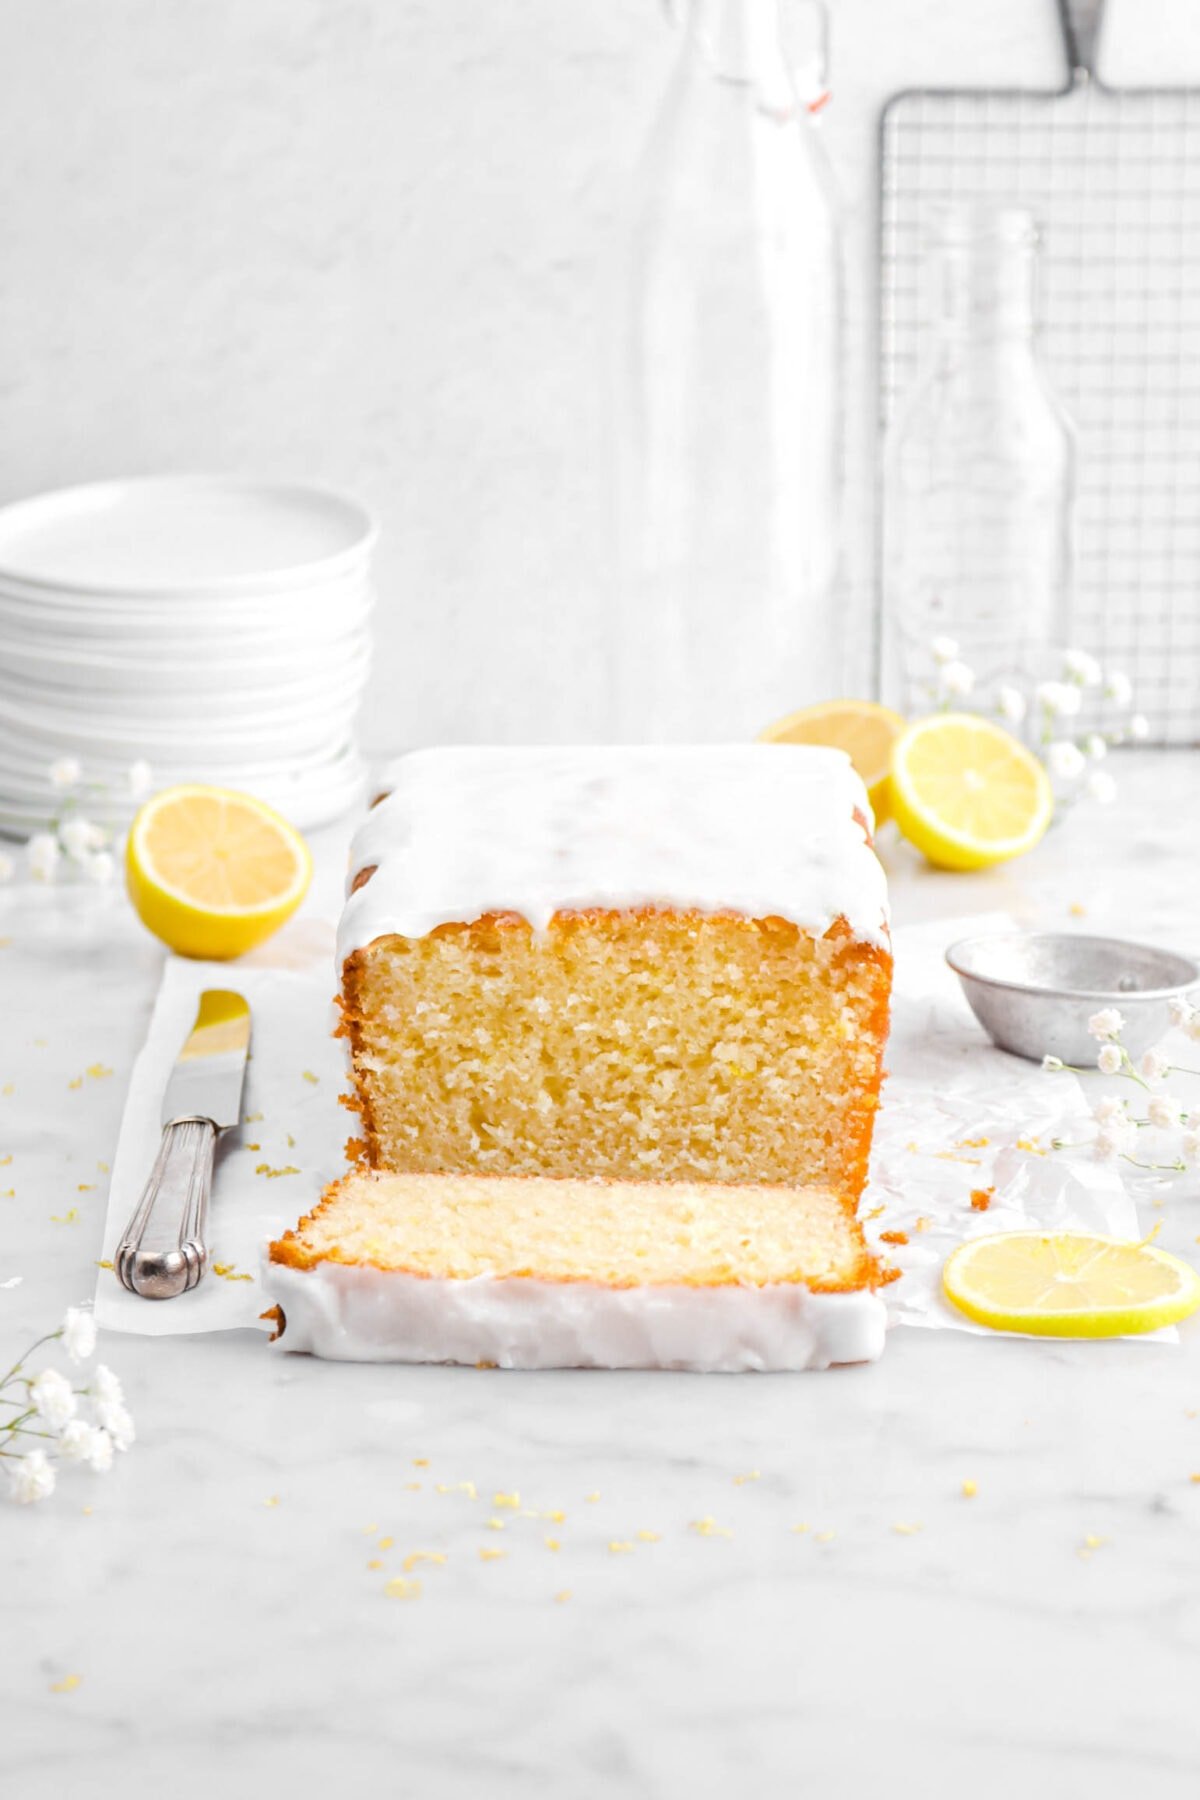
Today, we’re excited to share our newest recipe…lemon curd thumbprint cookies! This recipe combines two of our most popular posts — lemon crinkle cookies and lemon bars. Lemon is a reader favorite on our blog, from classic lemon pound cake to a twist on the Italian classic – lemon tiramisu!
So, these lemon cookies just seemed like the perfect treat to share to bring some much-needed sunshine. ☀️ 🍋
Fresh Lemon In Every Bite
So many lemon recipes call for the use of lemon extract and while that works in a pinch, there is nothing like the fresh, bright flavor of a real lemon. From the cookie to the curd, every bite is bursting with fresh lemon.
Why You Will Love These Lemon Curd Cookies:
- Each cookie is like an individual lemon bar!
- There’s NO chill time and no stand mixer needed.
- Comes together in just under 40 minutes.
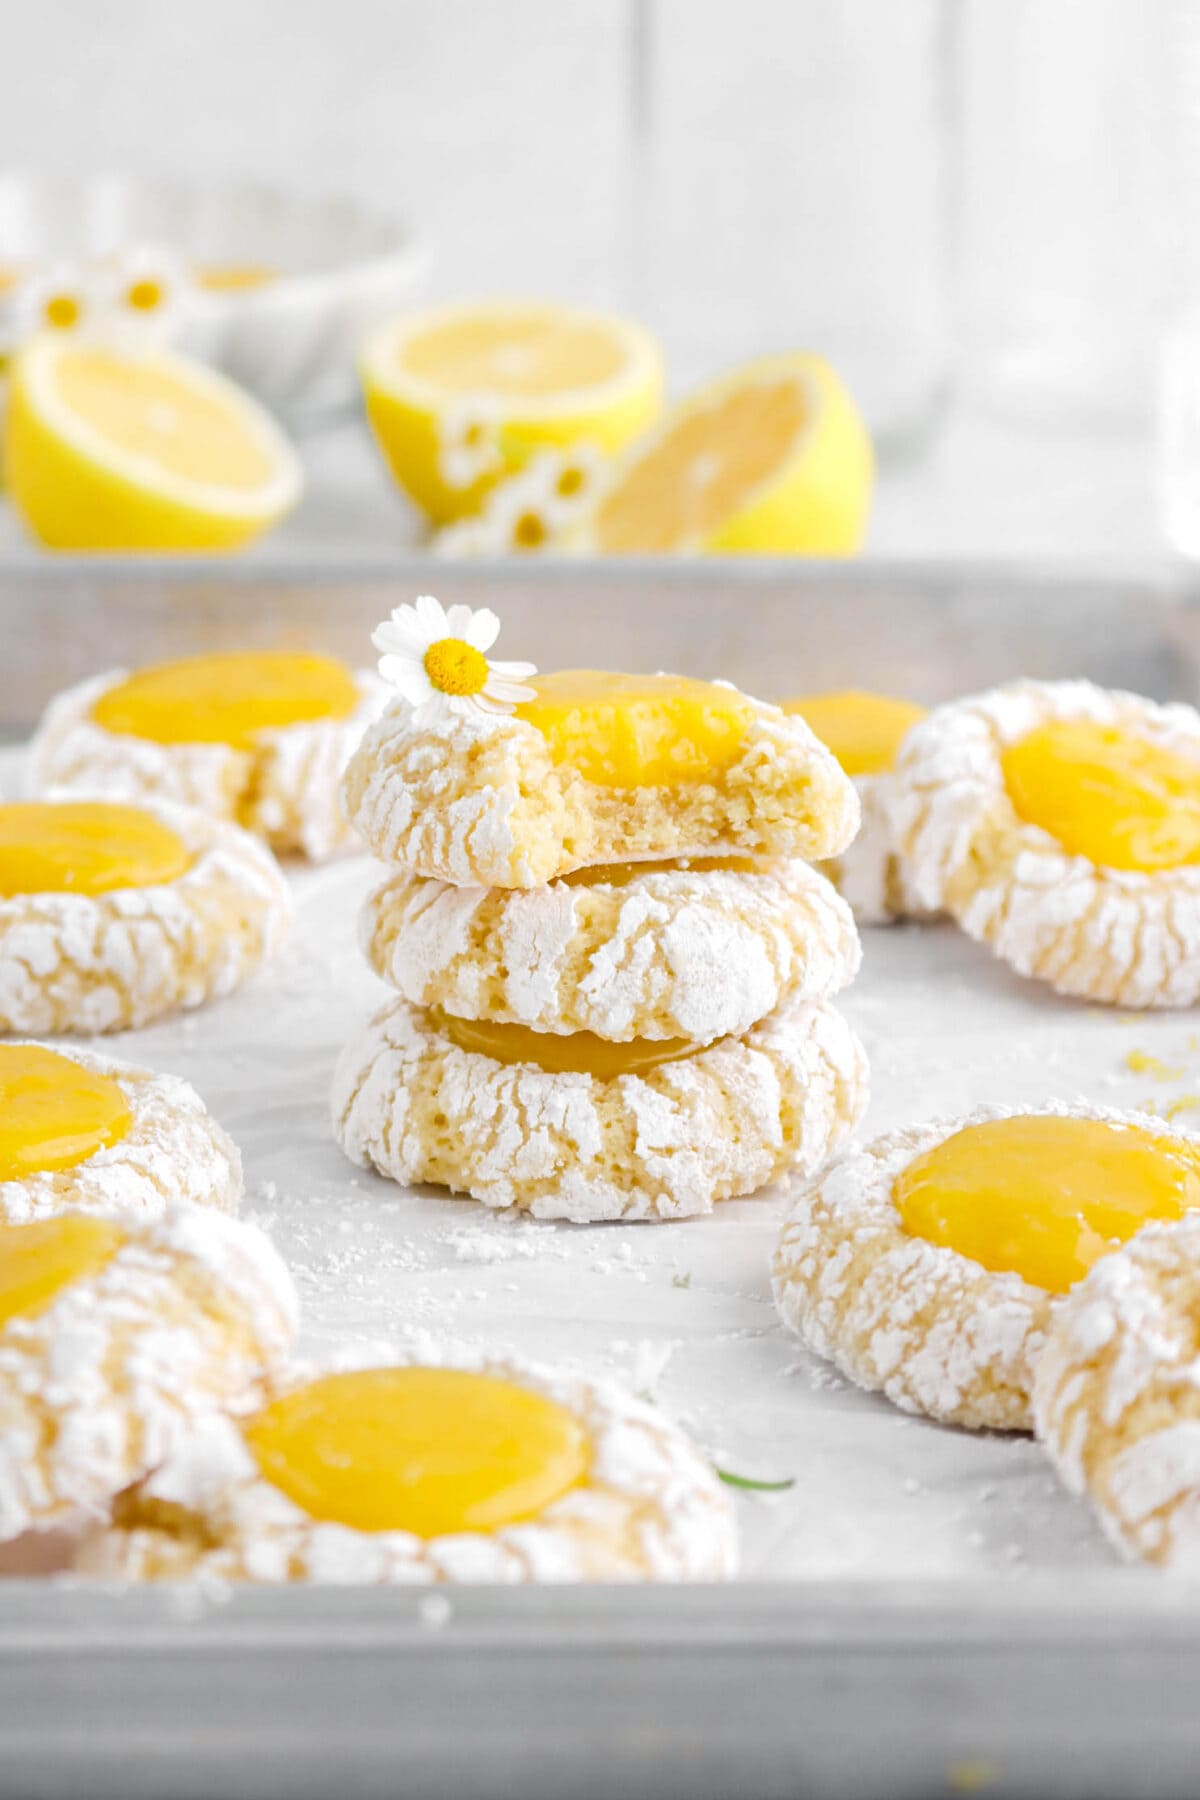
- Soft, chewy, and melts in your mouth.
- Full of lemon flavor!
See what some of our readers had to say:
There Are 3 Elements To The Perfect Lemon Curd Cookie
During development of this recipe, we tried many different variations of these cookies. We swapped the classic butter-based cookie to oil-based. We also found other small details that make ALL the difference in crafting the perfect lemon curd cookie. Let’s get into it, shall we?
- Cookie: Like I mentioned above, we spent many hours in the kitchen testing different ways to craft the perfect cookie. When we were first developing the cookie, we used a butter-based cookie similar to our Funfetti Cookies. The butter created a greasy cookie that had an unpleasant flavor and burned on the bottom. Since we often swap fats in our citrus cakes, like our Iced Lemon Loaf and our Key Lime Pound Cake, we thought…how about we do that for this cookie? With a few tweaks and adjustments to the recipe, we finally achieved a cookie that was tender, FULL of lemon flavor, and melt-in-the-mouth delicious.
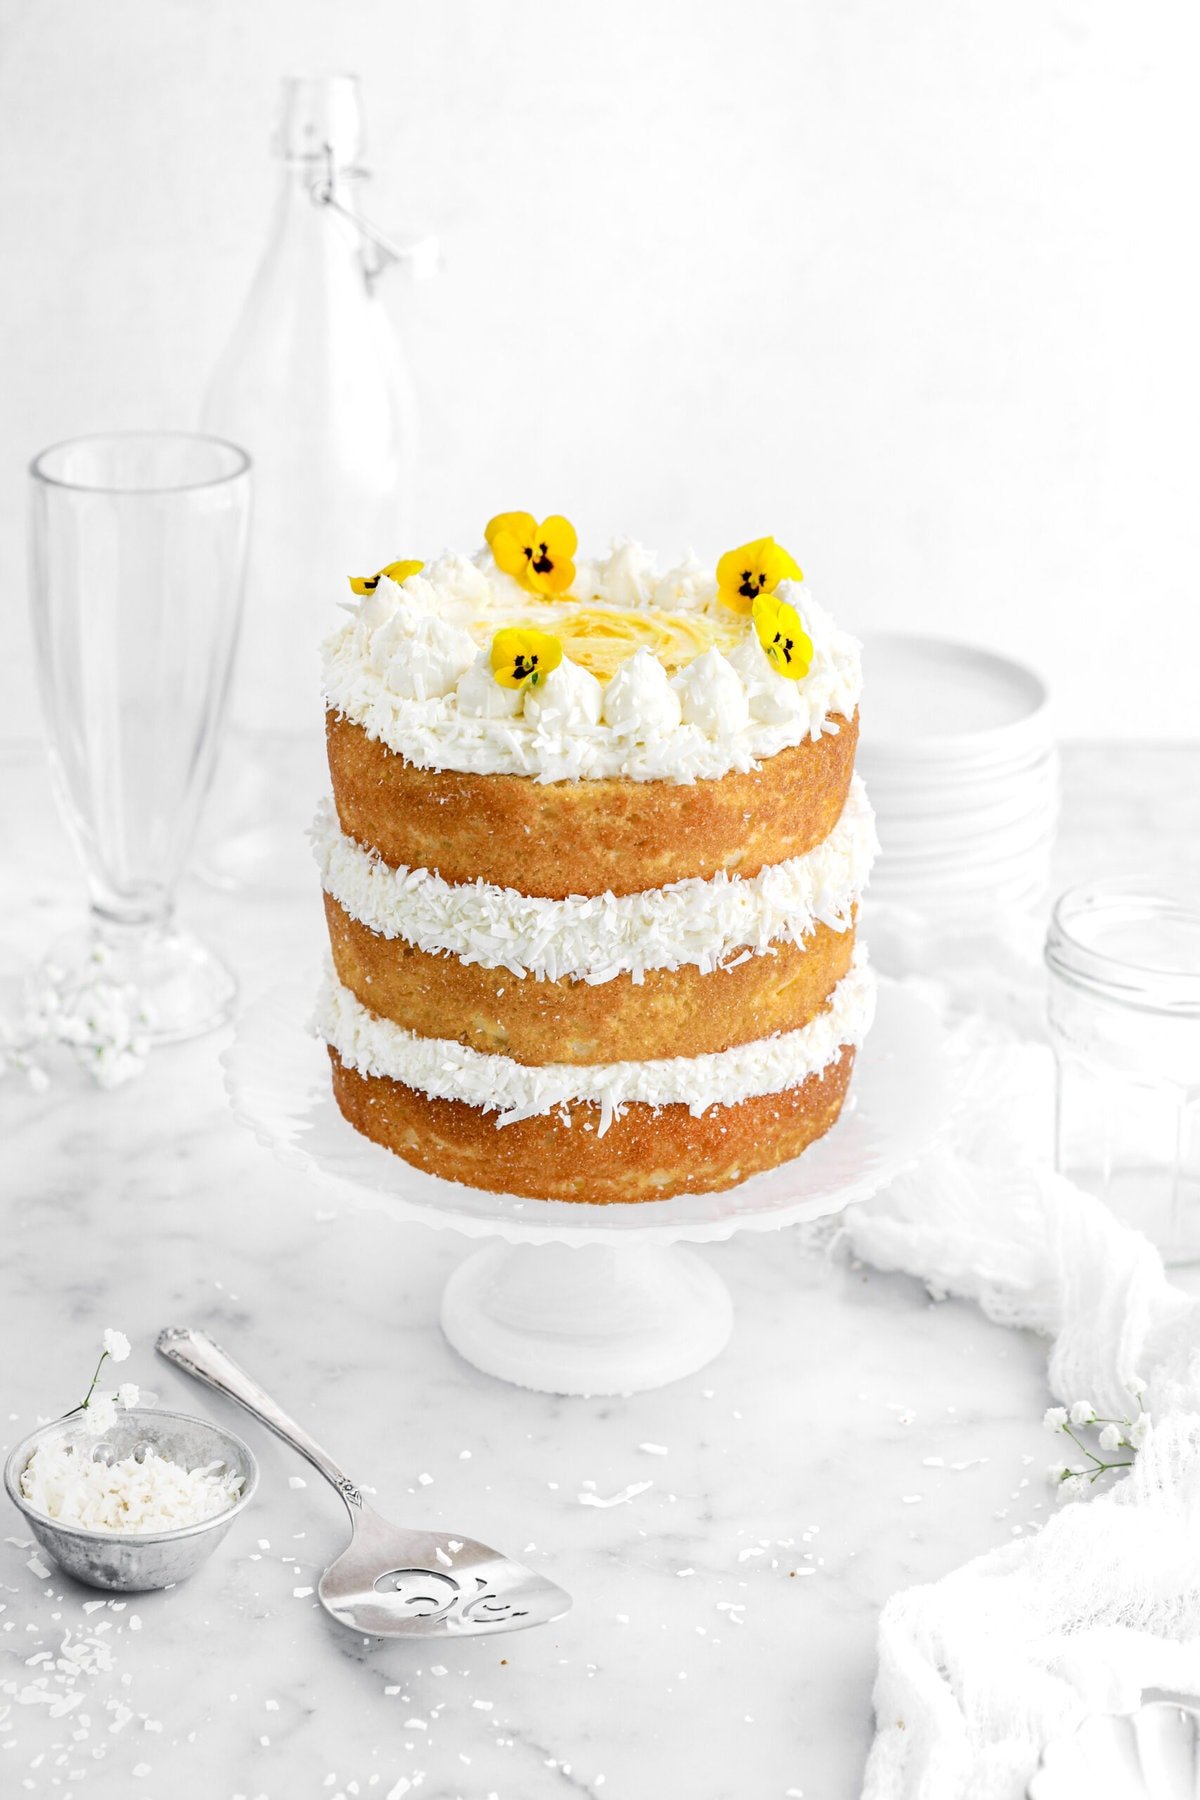
- Lemon Curd: On top of an extra lemony cookie, we filled these cookies with a fresh, bright lemon curd! If you’ve ever made our Pavlova or our Lemon Coconut Cake, this will be very familiar for you. It’s an easy recipe that really provides a delicious flavor. We found that the curd works best if you add it to the cookies AFTER (yes, after!) baking.
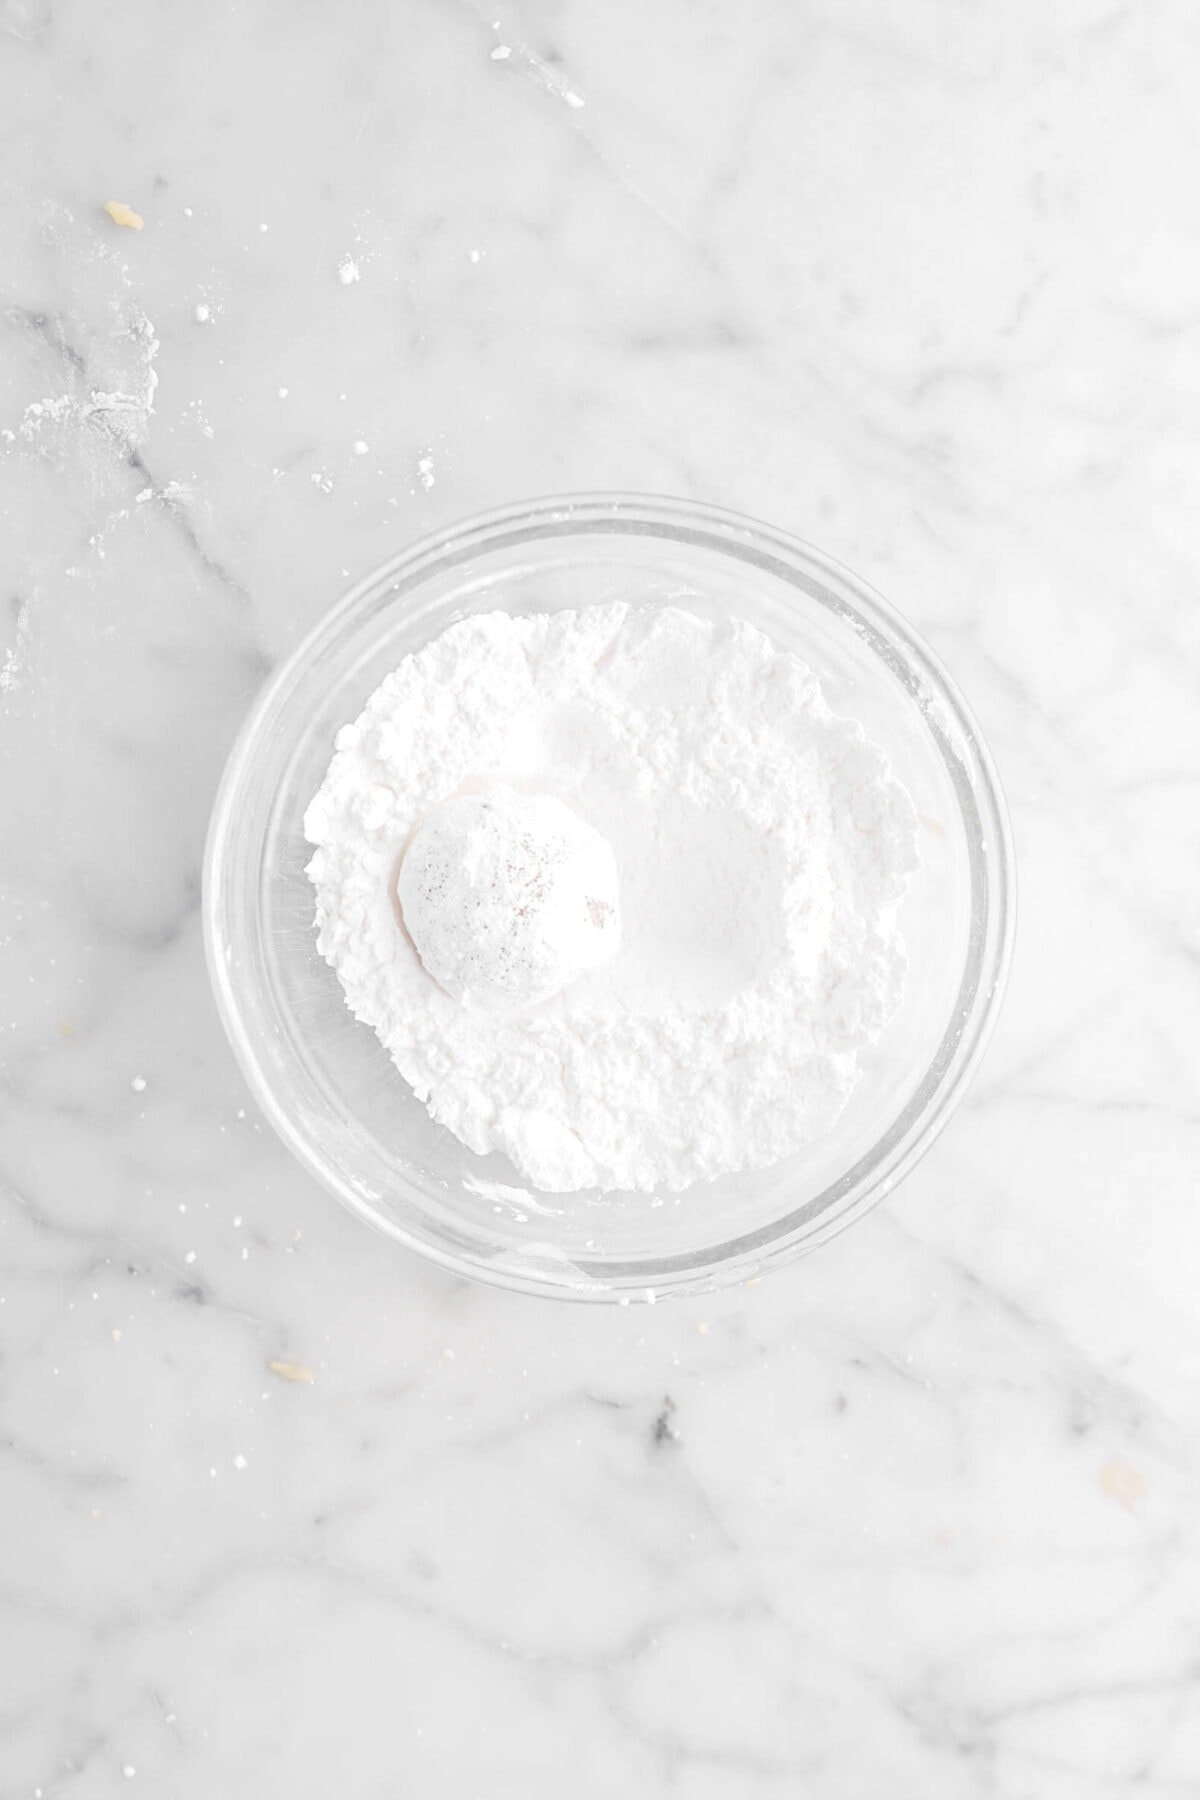
- Sugar: While it might not seem important, we found that unlike our lemon crinkle cookies, these lemon curd cookies needed to only be rolled in powdered sugar! With the addition of lemon curd, rolling the cookies in granulated sugar and powdered sugar caused too much spread; and they were more like pancakes than a cookies. So, we opted to just use the powdered sugar to give it that stunning “crinkle” look without causing too much spread!
First, Make The Homemade Lemon Curd
Instead of diving head first into cookie baking, we gotta make our curd! While you can use store-bought lemon curd to fill these cookies, we really recommend making your own as the flavor is MUCH more delicious and it only takes about 10 minutes! So, go ahead and gather the ingredients listed below:
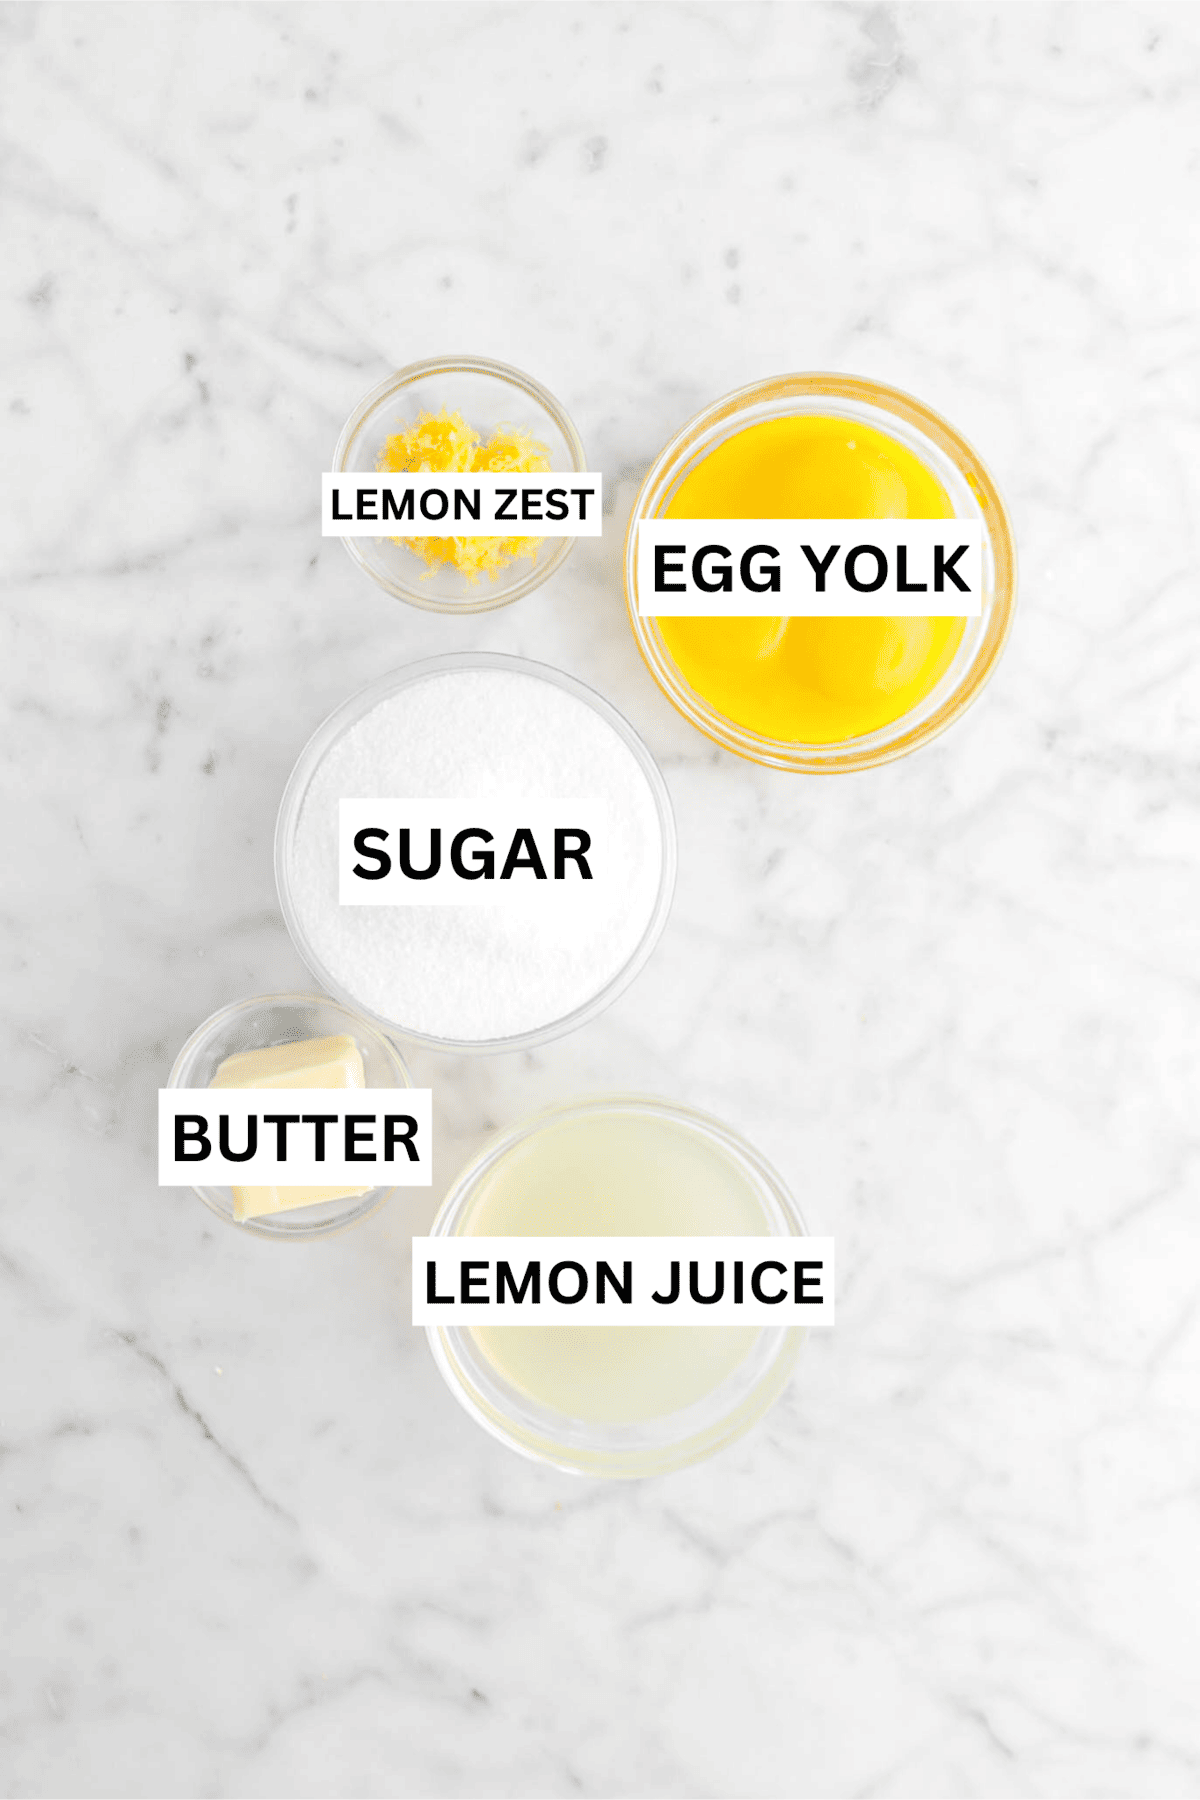
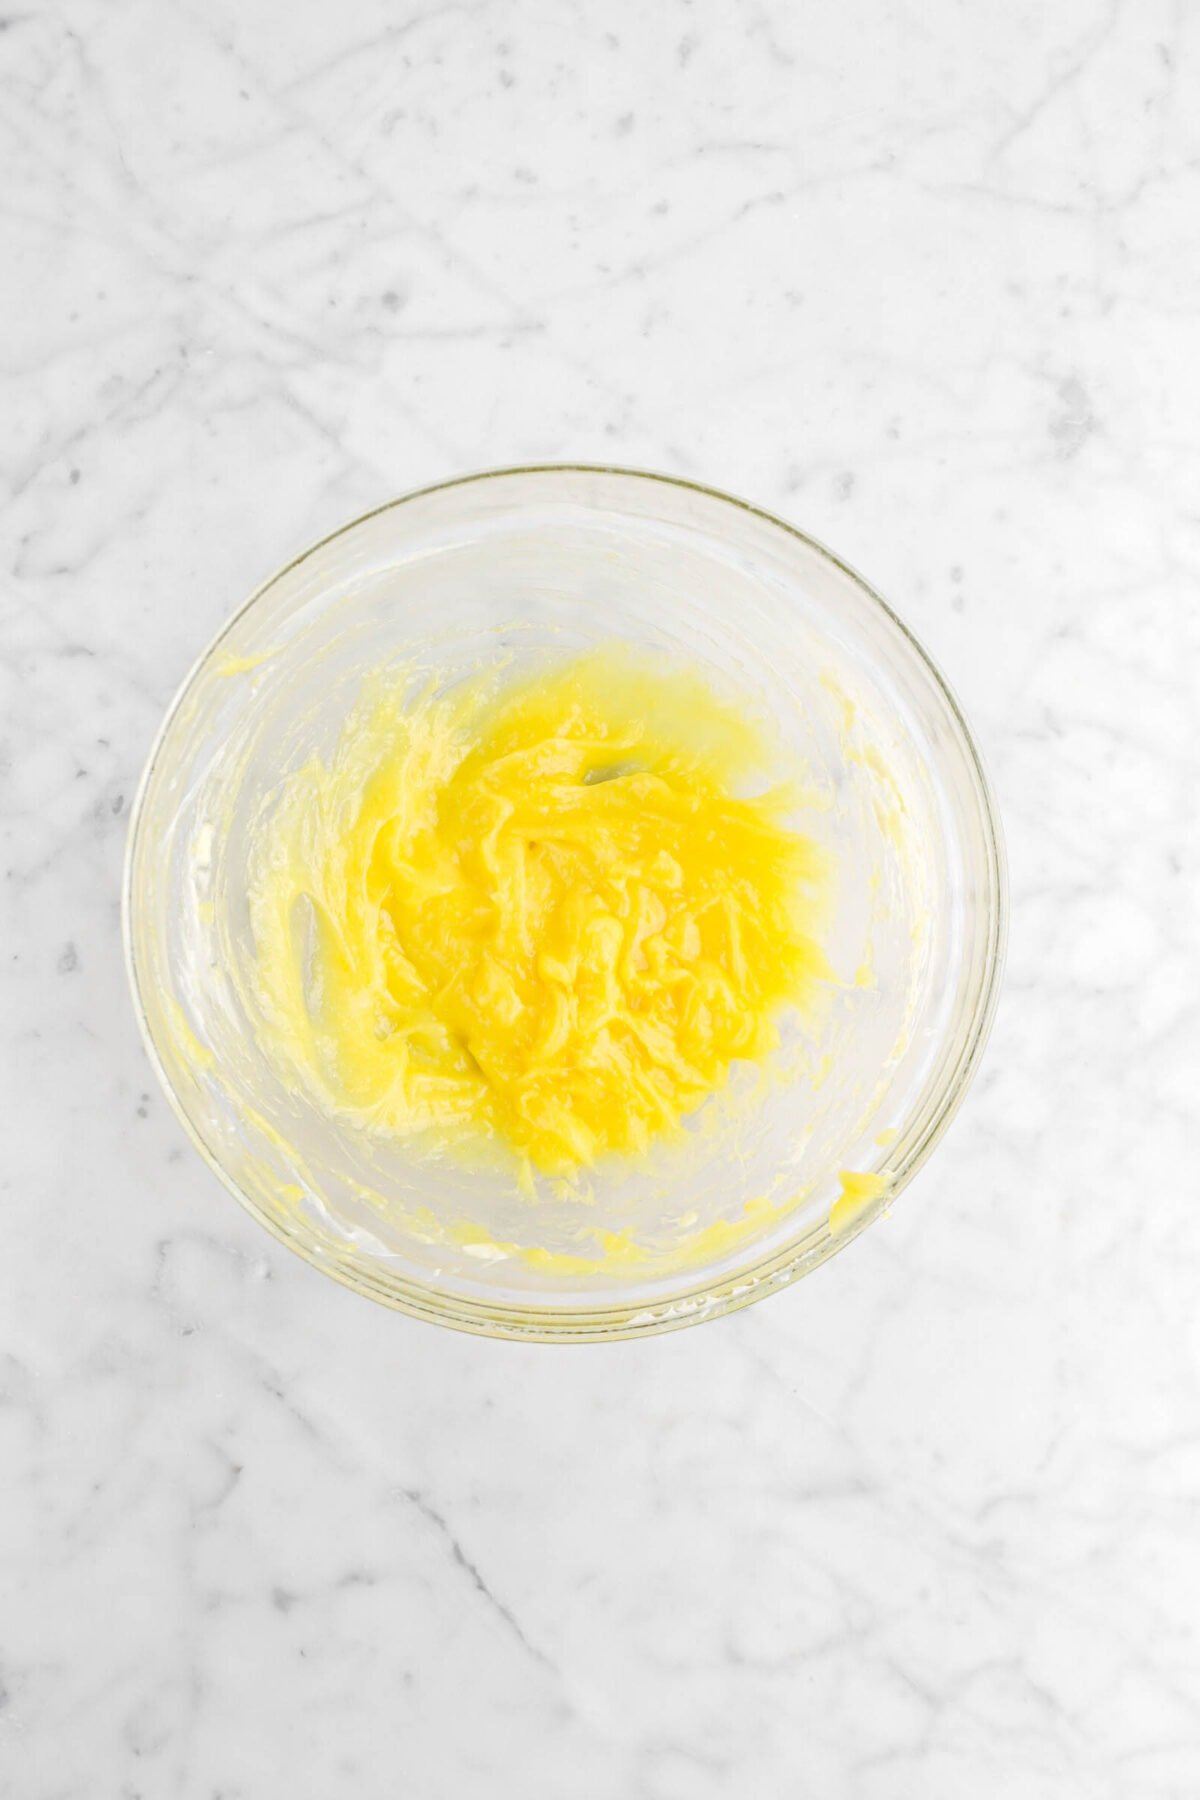
We have made lemon curd hundreds of times since starting our blog. It’s kind of our “secret weapon” for extra lemony flavor! Luckily, it’s SO easy to make and truly minimal effort. All you need to do is whisk the egg yolks, sugar, and lemon juice together in a glass bowl. Place over a bain-marie (or, pot of simmering water!) and stir continually, being sure to scrape the sides of the bowl, until thickened.
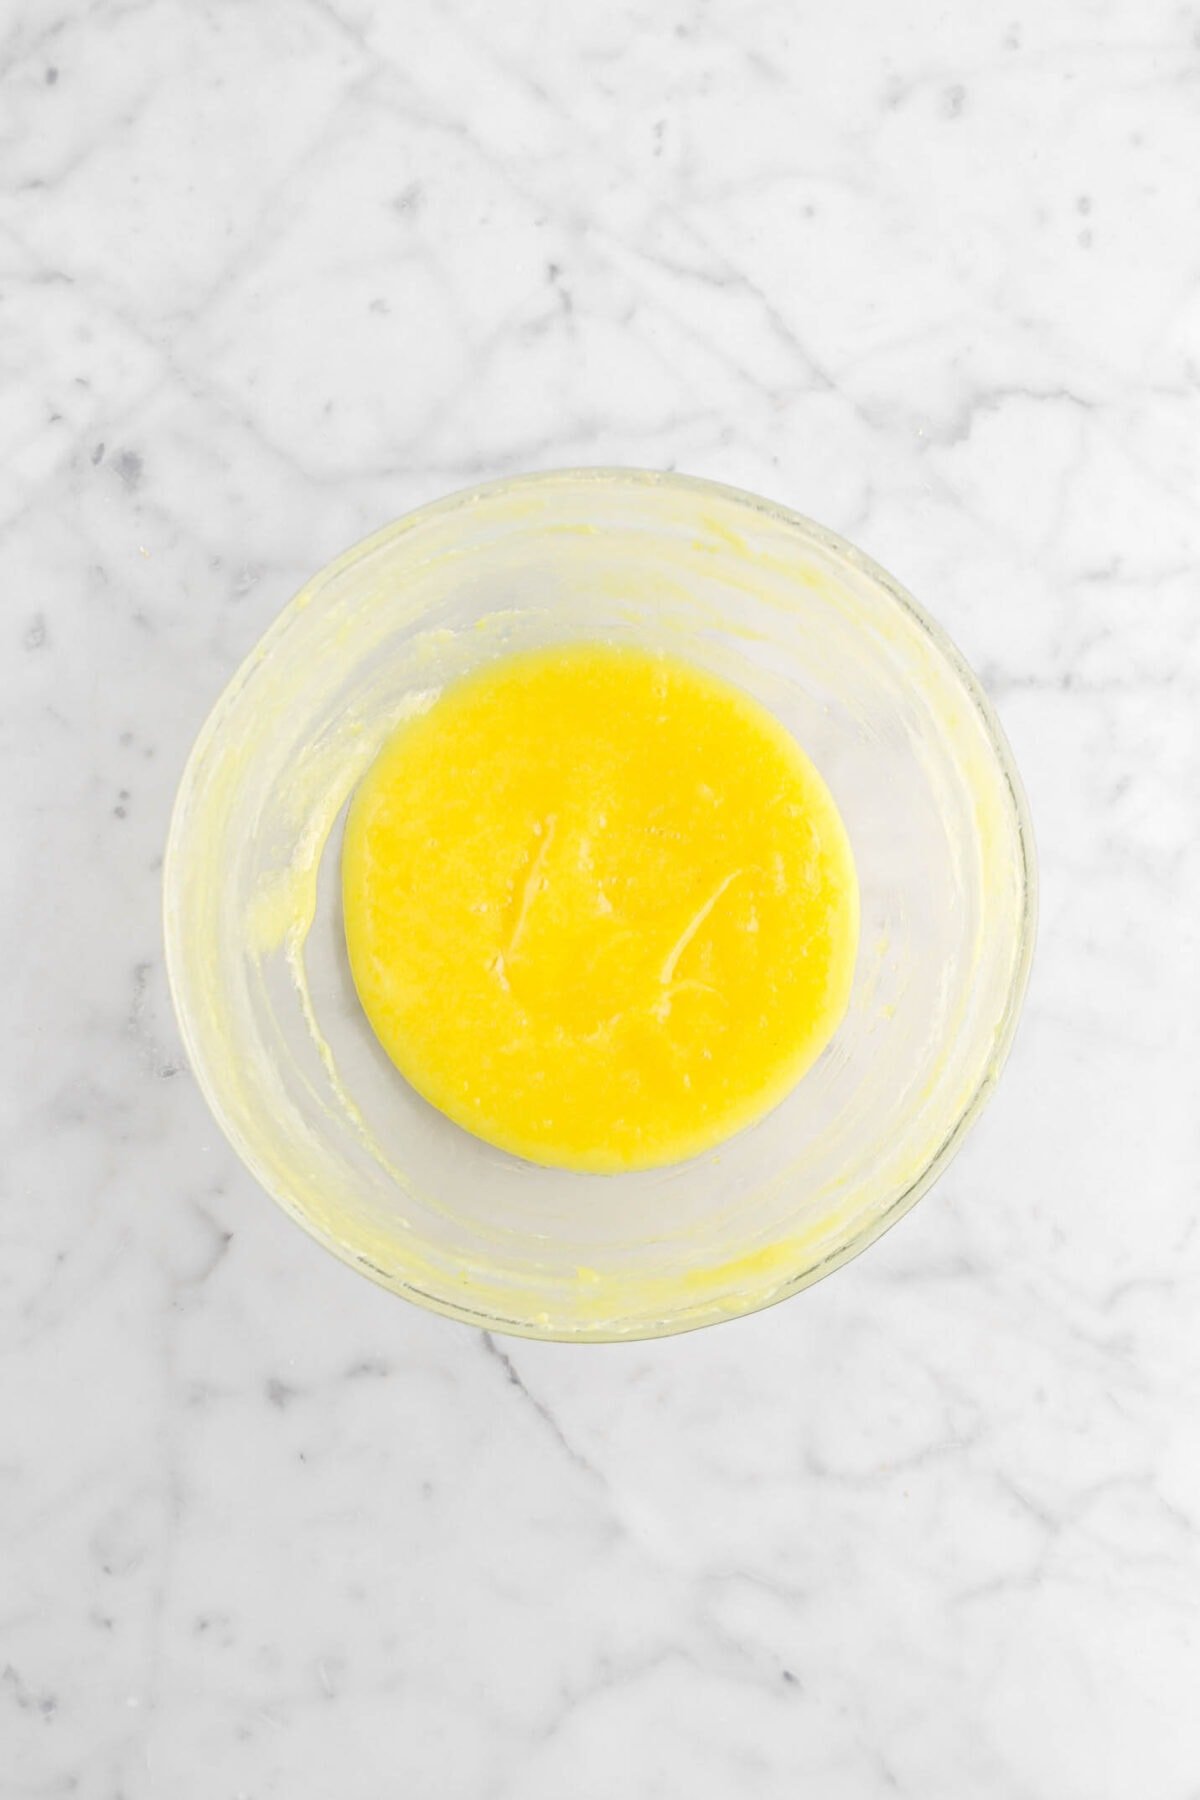
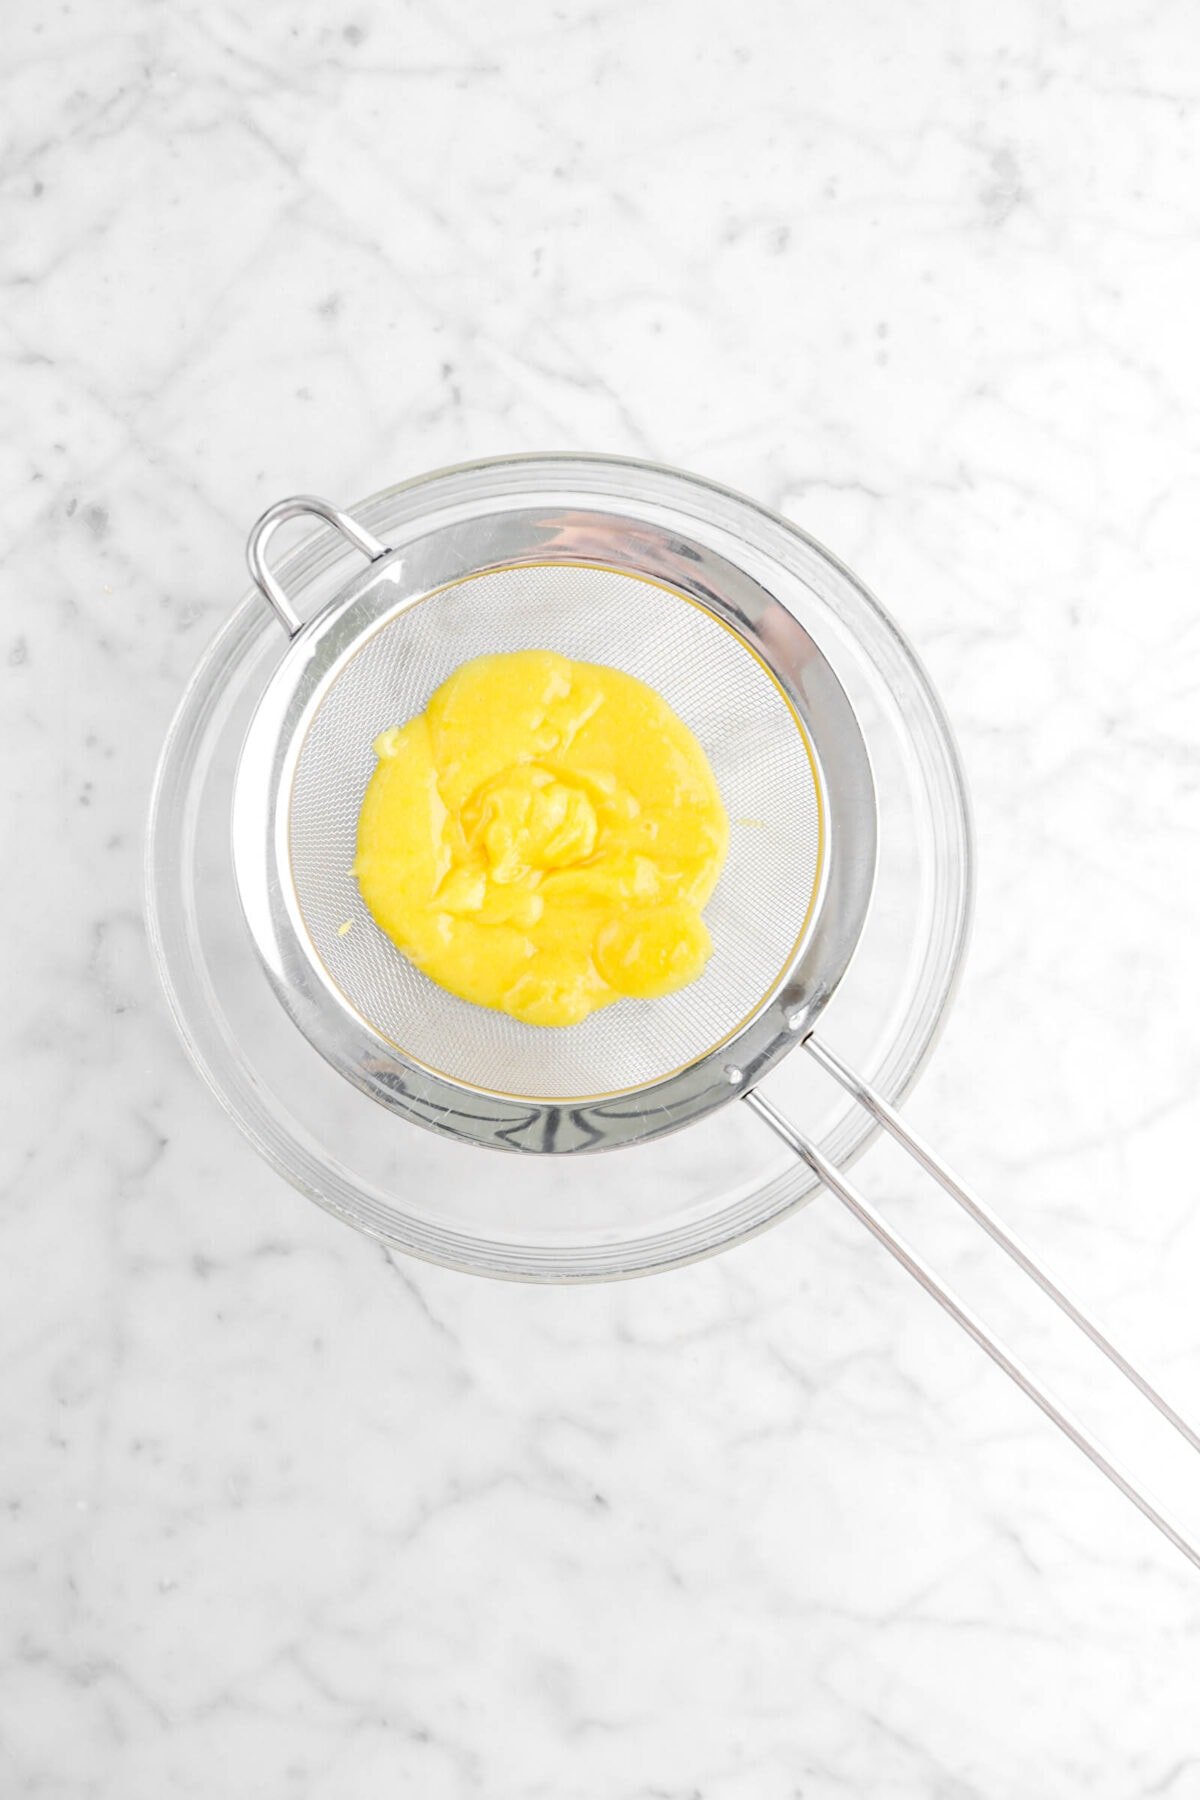
As a quick precaution, to ensure there are no lumps of cooked egg yolk in your curd, we recommend straining the curd through a fine meshed sieve. Once you’ve done this, just mix in your butter and lemon zest and set aside!
⊹ Tip For Success! ⊹
Do NOT use a metal mixing bowl to make the curd. This will leave a metallic flavor in the curd due to the acidity. You must use a glass bowl.
You’ll Need These Ingredients For The Cookies:
- All-Purpose Flour
- Granulated Sugar
- Baking Powder & Baking Soda
- Lemon Zest & Juice
- Eggs
- Vegetable Oil
- Vanilla Extract

Make The Cookie Dough
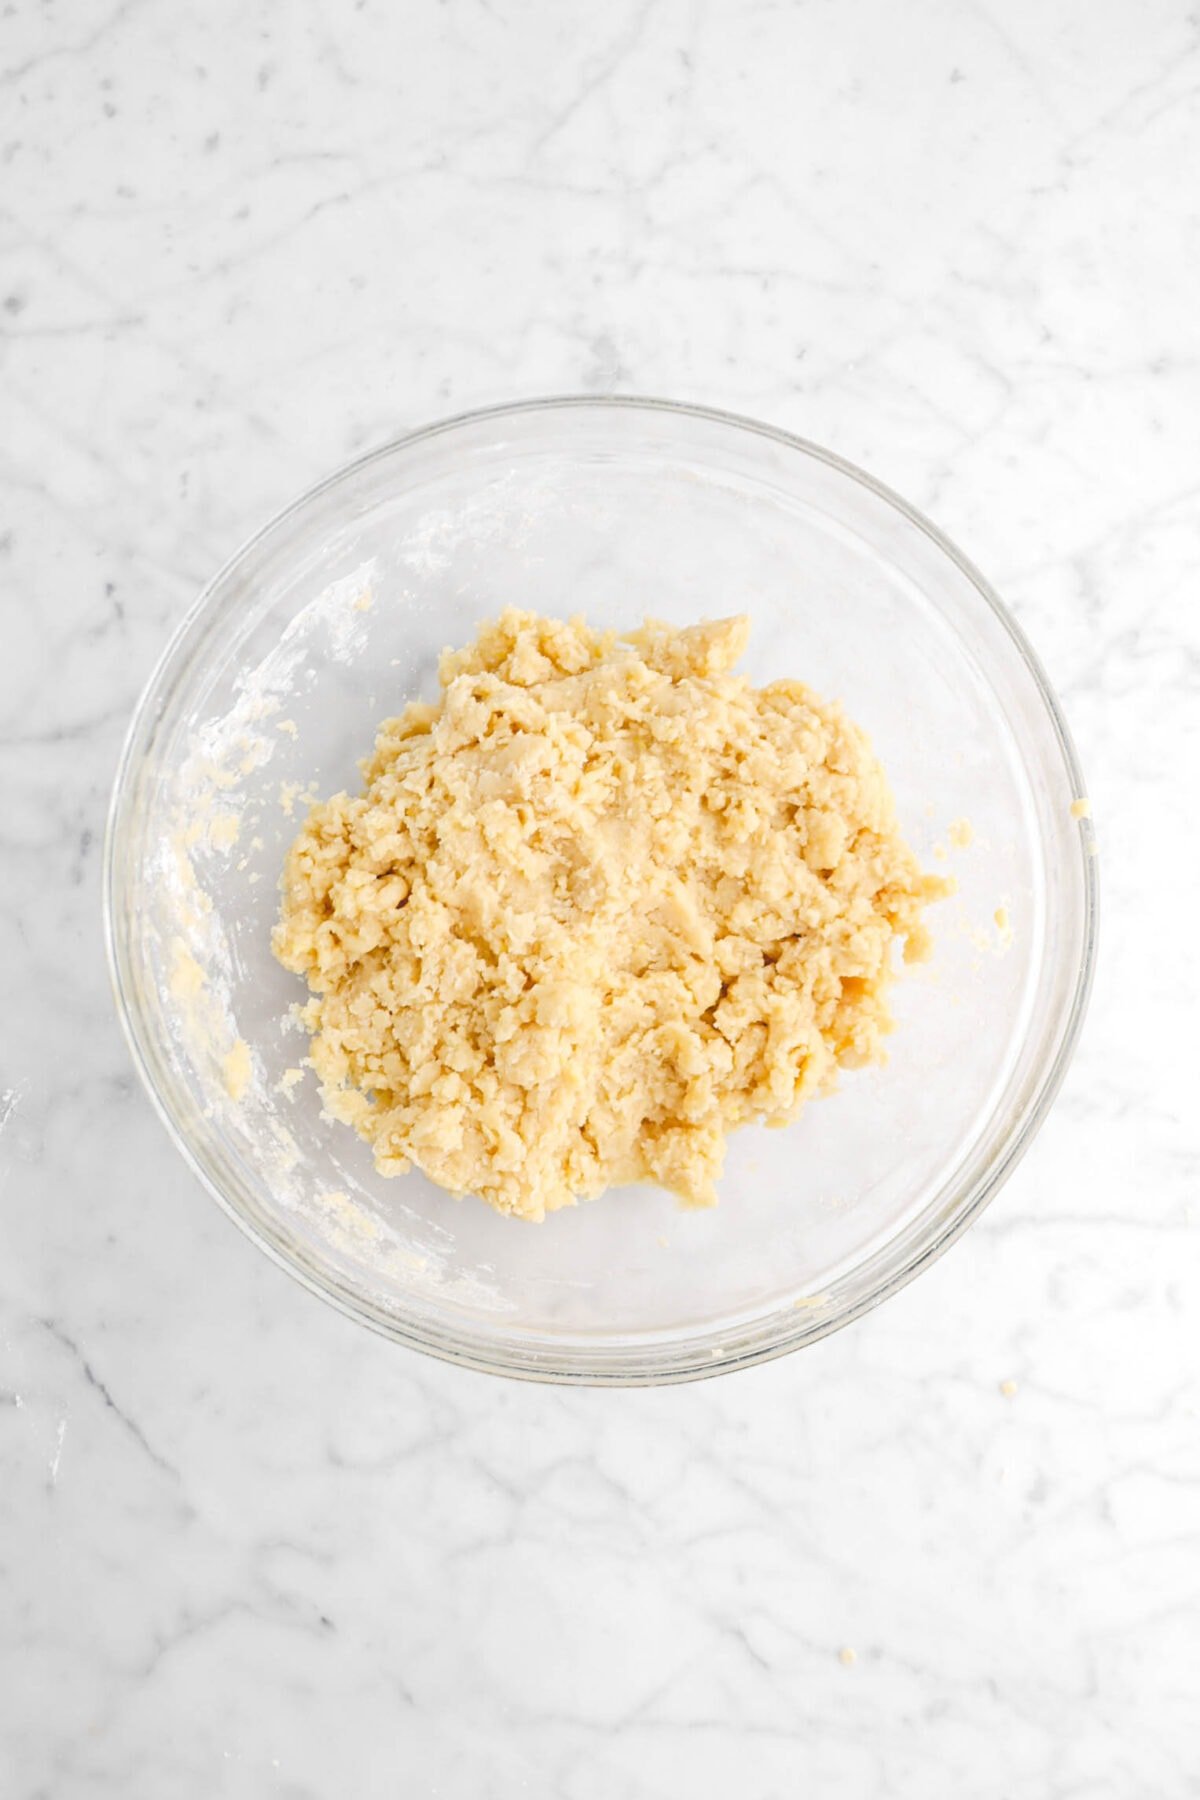
To make the dough, whisk together the flour, sugar, baking powder, baking soda, and lemon zest in a large bowl. Set aside. Then, in a separate bowl, combine eggs, oil, lemon juice, and vanilla. Whisk well. Pour over dry ingredients and stir until combined.
How To Shape These Cookies
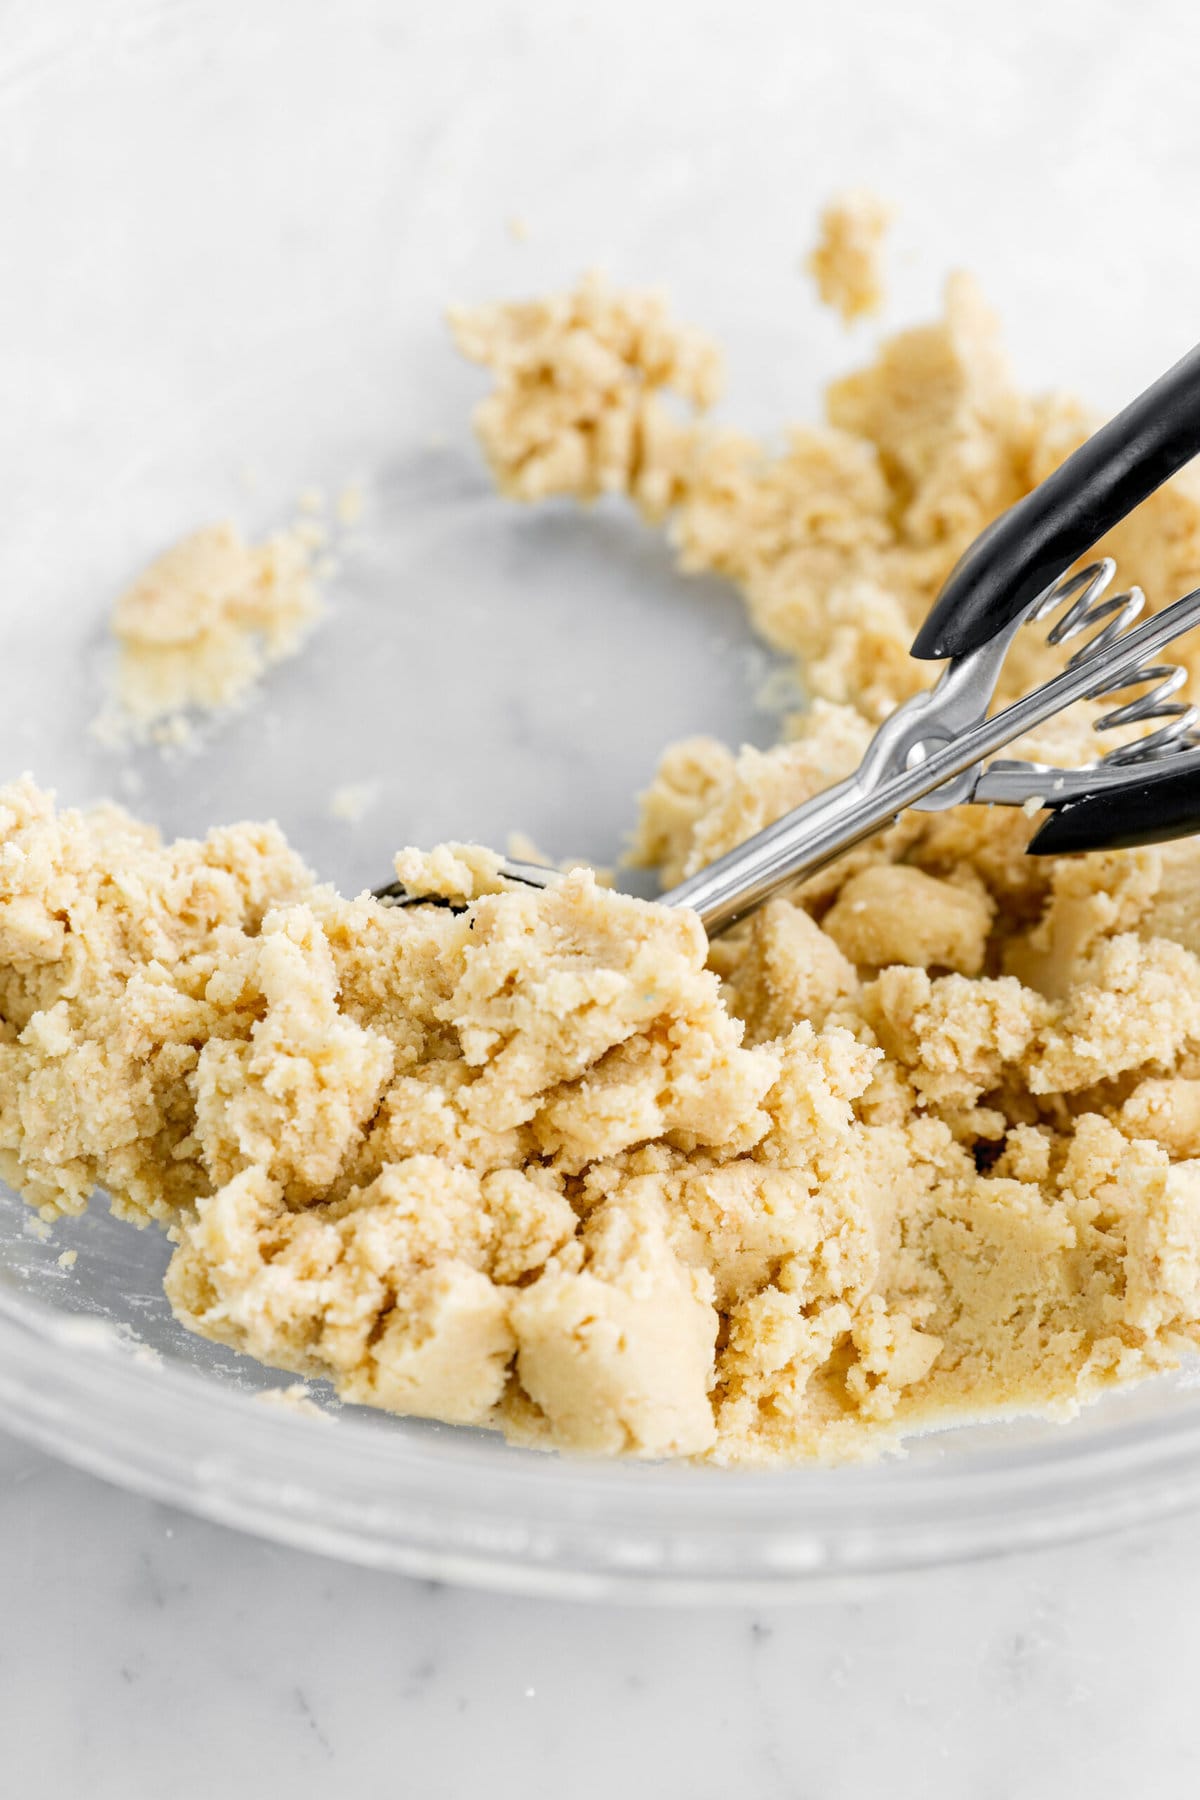
To shape the cookies, we used a medium sized cookie scoop (1½ Tablespoons) and rolled the dough in our palms to create a smooth, round ball. From there, roll the cookie dough balls in powdered sugar and place on prepared pans (15 cookies per pan).
Bake And Then Fill
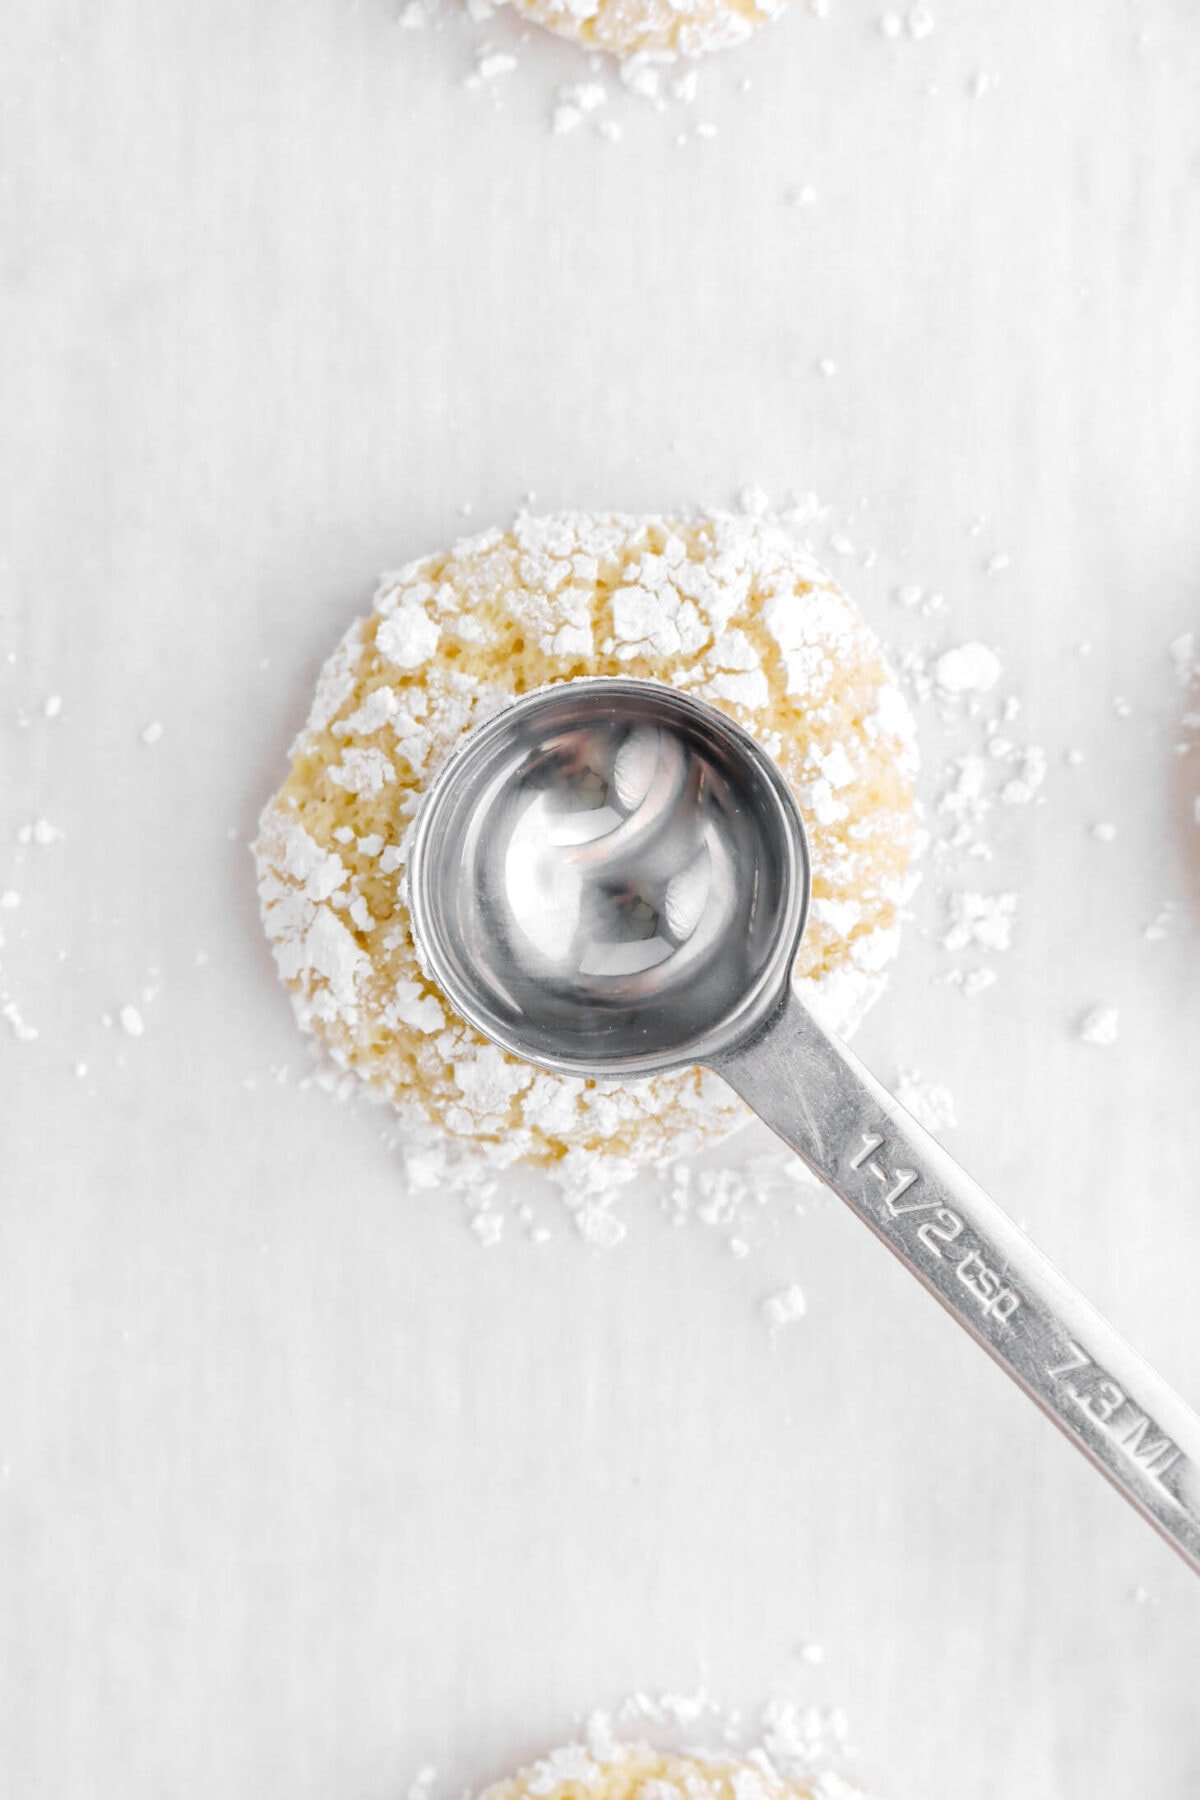
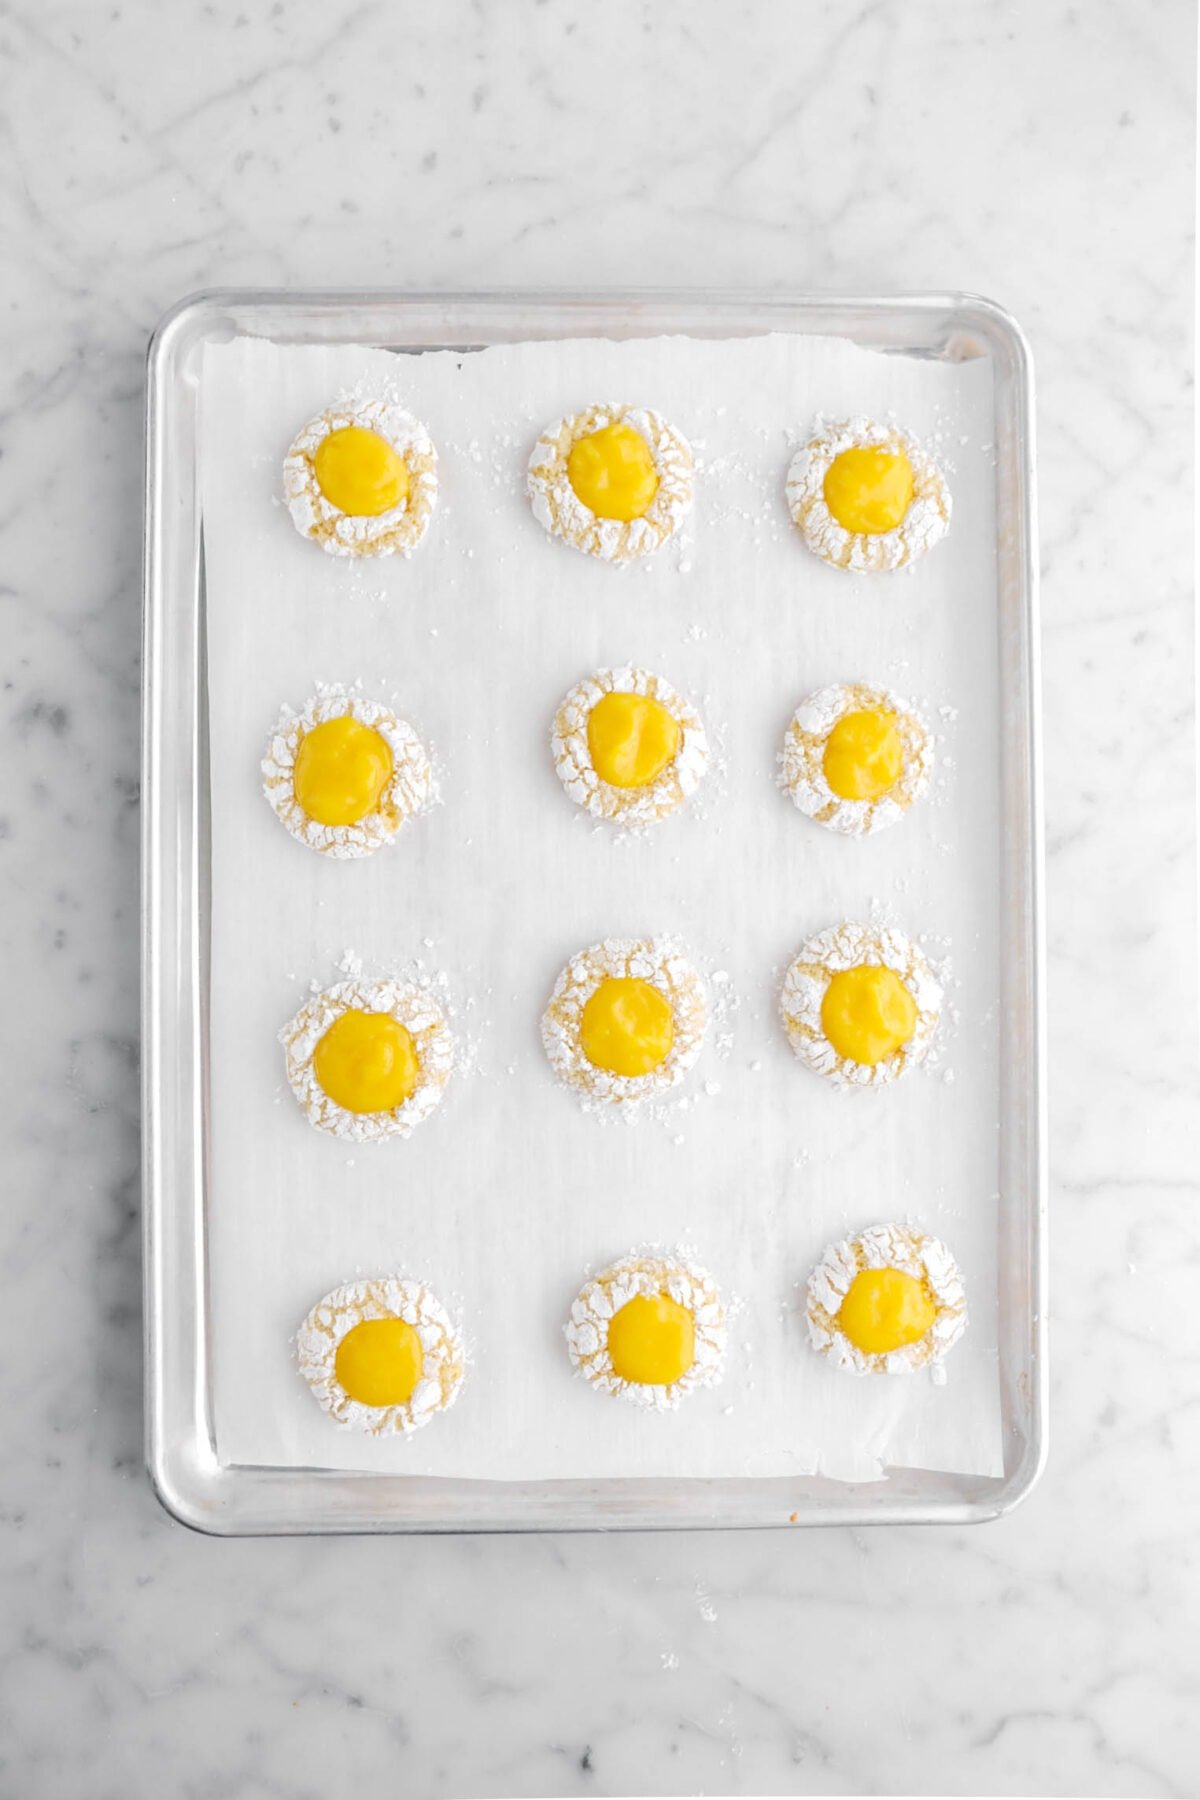
Place the cookies in a 350°F oven and bake for 12 minutes. You may have noticed that unlike most thumbprint cookie recipes, we will fill these cookies AFTER they are baked. So, once they come out of the oven, immediately use the back of a rounded teaspoon to make an indentation in each cookie. Fill each cookie with about 1½ teaspoons curd.
✳ Recipe FAQ’s
When you make these Lemon Curd Thumbprint Cookies, leave a comment down below! We love hearing from you and answering any questions you might have! Also, be sure to tag us on social media and hashtag it #BakersTable.
Happy baking!
x, Caylie
Lemon Curd Thumbprint Cookies
Ingredients
Lemon Curd
- ½ cup granulated sugar
- 4 large egg yolks, room temperature
- ¼ cup lemon juice
- 2 teaspoons lemon zest
- 3 Tablespoons salted butter, sliced, room temperature
Cookies
- 1⅝ cups all purpose flour
- ½ cup granulated sugar
- ¾ teaspoon baking powder
- ⅓ teaspoon baking soda
- ¾ teaspoon lemon zest
- 1 large egg, room temperature
- 1 large egg yolk, room temperature
- 3 Tablespoons vegetable oil
- 2½ Tablespoons lemon juice
- ¼ teaspoon vanilla extract
Coating
- ½ cup powdered sugar
Instructions
Lemon Curd
- Combine sugar, egg yolks, and lemon juice in a small, heatproof glass bowl.
- Whisk until smooth.
- Place bowl over a pot of simmering water.
- Cook, stirring continually with a wooden spoon or rubber spatula, until thickened, about 10 minutes. (If you have a thermometer, cook the curd to 170℉/77℃.)
- Remove from heat.
- Strain through a fine mesh sieve into a clean bowl.
- Stir in butter and lemon zest.
- Set aside to cool.
Cookies
- Heat oven to 350℉/177℃.
- Line 2 sheet pans with parchment paper. Set aside.
- Combine flour, sugar, baking powder, baking soda, and lemon zest in a large bowl.
- Whisk to combine. Set aside.
- In a medium bowl, combine eggs, oil, lemon juice, and vanilla.
- Whisk well.
- Pour over dry ingredients.
- Stir until combined.
- Use a medium (1½ Tablespoon) cookie scoop to portion dough.
- Roll dough into balls.
- Roll each ball in powdered sugar.
- Place 2-inches apart on prepared pans.
- Bake for 12 minutes, until cooked but still slightly soft on top.
- Remove from oven.
- Immediately use the back of a rounded 1½ teaspoon measuring spoon to make a rounded indentation within the center of each cookie.
- Fill each cookie with about 1½ teaspoons curd.
Notes + Tips!
- Room temperature is about 70℉/21℃.
- Use an oven thermometer to ensure accurate cooking temperatures.
- You can use store-bought lemon curd.
- Store-bought lemon juice may be used for this recipe, but the flavor will not be as strong and may have a metallic flavor.
- When making the curd, the texture should be about pudding consistency. (It should coat the back of a spoon.) It takes anywhere from 10-25 minutes to thicken. Just be sure to use a heatproof GLASS bowl and place over a simmering (not boiling) pot of water.
- Don’t waste the egg whites from the curd! Use them to make our meringue cookies or save the rest for breakfast!
- Don’t skip lining your pan!
- Fresh juice is always better. While using store-bought is convenient, the flavor of fresh squeezed lemons is unmatched.
- You can use a rubber spatula to fold the liquid ingredients into the dry ingredients to ensure you don’t overwork the dough. Mix until just blended together and you don’t see any flour. The dough is very stiff and may seem a bit dry, but once all the flour is incorporated, it will be fine!
- The cookie dough is a little sticky. Be sure to clean your hands often when rolling.
- Even when fully baked, these cookies should be pale. You do not need to brown them!
- Don’t skip coating them with powdered sugar.
- For the best results, sift the powdered sugar before you roll the cookies!
Tools You May Need (affiliate links)
– Still Hungry? –
Here are a few recipes may like!


Hi, thinking of making these with a few changes, but I haven’t made thumbprint cookies before. If I were to substitute the curd with a fresh rhubarb jam do you think I should stick to adding it at the end or do it at the beginning as you mentioned most recipes do for the fillings on this type of cookie?
Also, any opinions on a possible juice swap for lemon juice that would give a pink/red tint to the crevices and be a tad less tart? (I’m making Smaug themed cookies for a Hobbit event and thought these could kind of look like his eyes surrounded by his crackled dragon hide.)
Thank you for any opinions you can give on an older recipe! ☆
Hi Tiffany! I love that idea! It sounds like fun! Definitely wait to add the jam. Since you are using a rhubarb jam, the first thing that comes to mind is strawberry (you can grind dried strawberries and use strawberry juice); but since I haven’t tested it with anything other than lemon, I can’t guarantee any substitutions would work. It might be worth making a test batch. You can also try adding a drop of red food coloring to get the color you’re looking for. I hope that helps. Let me know if you have any other questions.
I enjoyed making these cookies!
What I found with handling the sticky dough, was to plop them in the powdered sugar from the cookie scooper and then it’s easier to roll into a ball. I was not able to roll them into a ball then roll them. I’m not a professional baker and I could have messed up along the way, but it was sticky and lost a bit of dough trying to figure out how to roll them into a ball. With that being said, I still enjoyed making them! We haven’t tried them yet, but I know they’re going to taste amazing!
These are the best cookies I have ever made. They are a labor of love for sure, but that is what makes them so special in my opinion. As someone who mainly bakes cookies, these have become my signature and people request them all the time. These cookies have also ruined store bought lemon curd for me, once you make it homemade there is really no going back. These cookies definitely take the most time out of any other recipes I make, but they are worth it if you have the time.