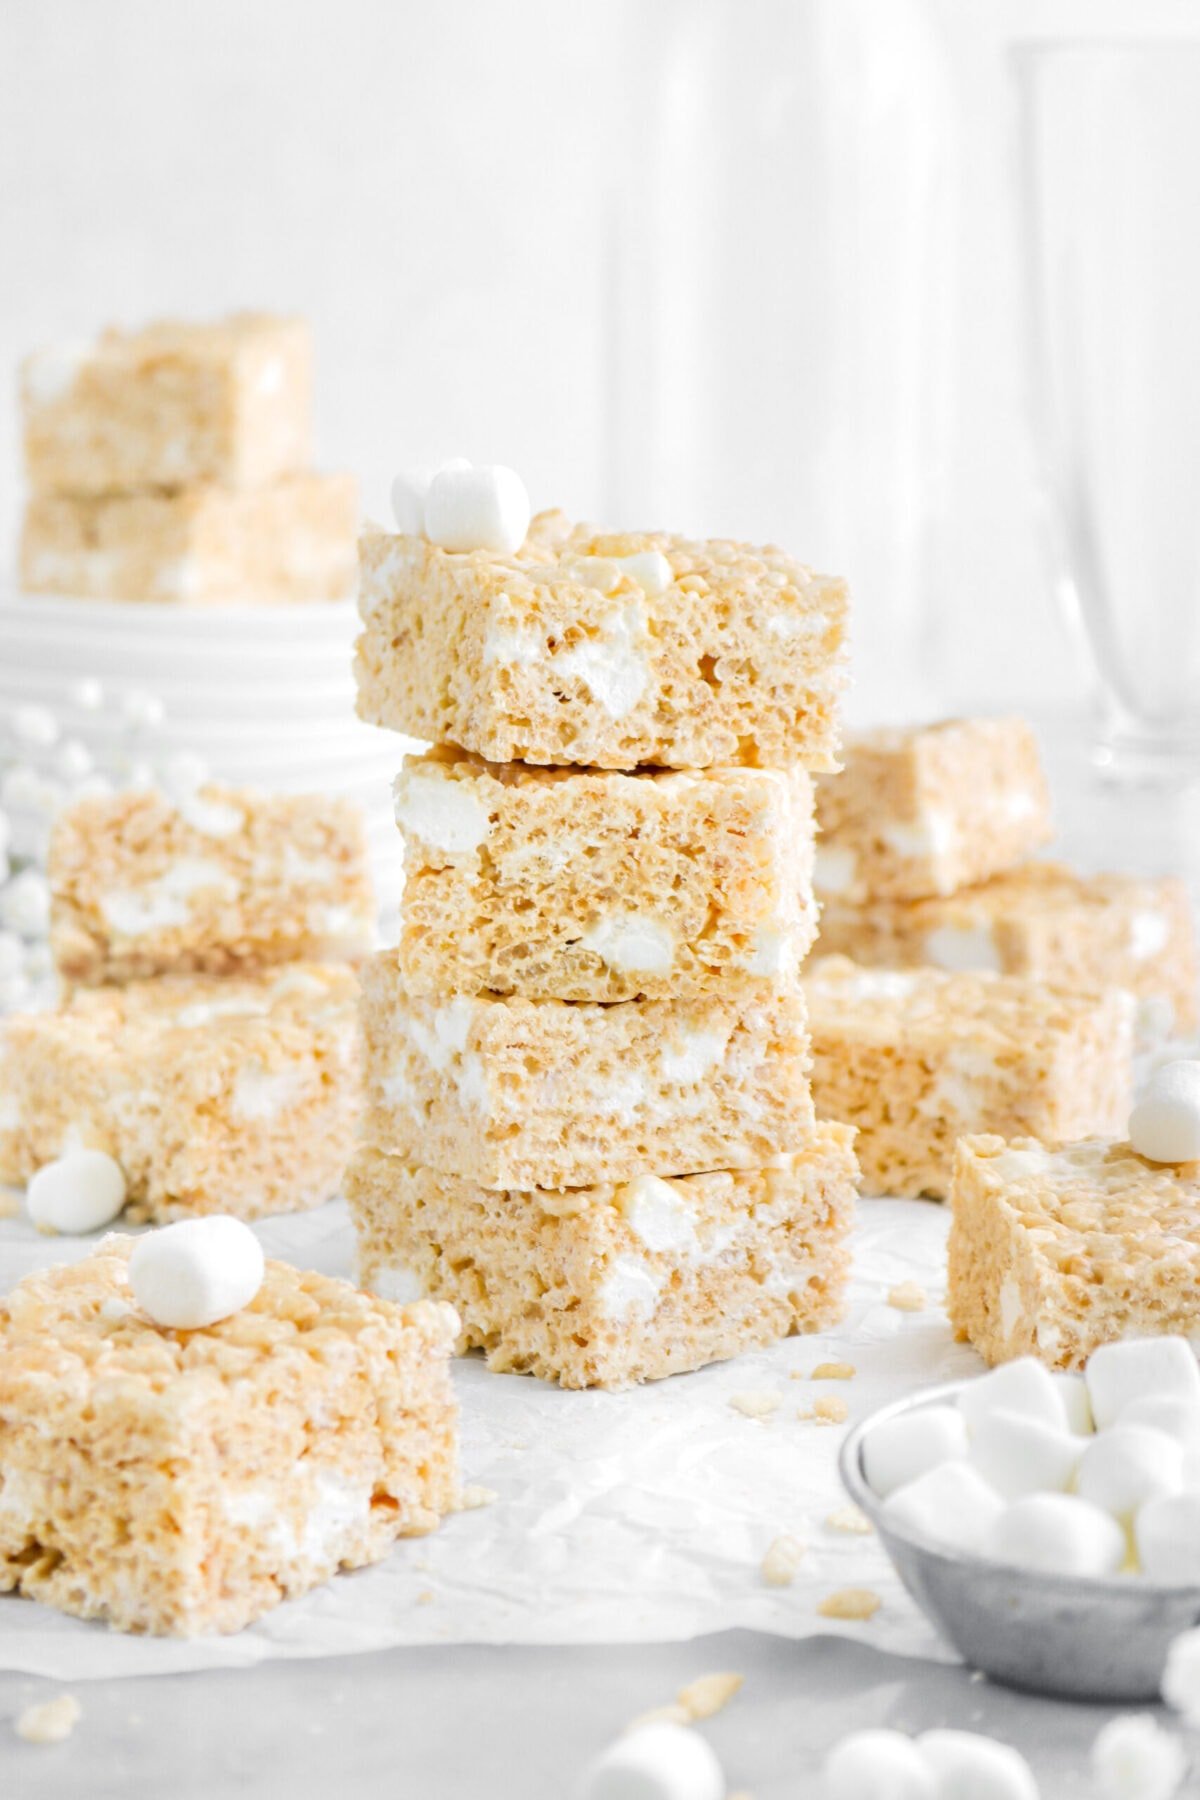
Gooey Brown Butter Rice Krispie Treats
Prep time: 10 min | Cook time: 10 min | Total time: 20 min
Better than store-bought Brown Butter Rice Krispie Treats! Whether you’re looking for a quick back to school treat or a bite of nostalgia, these rice krispie treats are the perfect no-bake snack to have on hand all year long. Made with the same classic ingredients, but with the addition of browned butter, a splash of vanilla, and a handful of extra marshmallows thrown in at the end to ensure the perfect gooey bite!
Gooey Brown Butter Rice Krispie Treats
Prep time:
10 min
Cook time:
10 min
Total time:
20 min
Better than store-bought Brown Butter Rice Krispie Treats! Whether you’re looking for a quick back to school treat or a bite of nostalgia, these rice krispie treats are the perfect no-bake snack to have on hand all year long. Made with the same classic ingredients, but with the addition of browned butter, a splash of vanilla, and a handful of extra marshmallows thrown in at the end to ensure the perfect gooey bite!
– know before you bake –
Traci & Caylie’s
Recipe Highlights
This post may contain affiliate links, please visit our privacy policy for details.
If you’re anything like me, Rice Krispie treats were a staple of your childhood. They’re the perfect balance of sweet, crispy, and gooey—who can resist that combo? But here’s the thing: once you add brown butter to the mix, you’ll wonder how you ever lived without it. These Brown Butter Rice Krispie Treats are here to take your snack game to the next level. Whether you’re packing a quick back-to-school treat or just craving something nostalgic (hello, childhood), these chewy, melt-in-your-mouth goodies are what dreams are made of.
The best part? You’re still working with the same classic ingredients you know and love, but with a few extra touches that really elevate the flavor. Browned butter, a splash of vanilla, and a handful of extra marshmallows all work together to create that perfect gooey bite we all crave. Trust me, once you try these, you might just find yourself never going back to the store-bought kind.

Why You’re Going You’re Going To Love Browned Butter!
You might be wondering, “Why brown butter? What’s the big deal?” And that’s a totally fair question! The thing is, when you brown butter, you’re basically unlocking a whole new layer of flavor. The milk solids in the butter caramelize, turning it golden brown and releasing a rich, nutty aroma that adds depth to the whole recipe.

Traci & Caylie Crossland
We’re the mother-daughter duo behind Bakers Table, sharing from-scratch recipes made with love, experience, and a serious passion for baking. Traci brings decades of baking expertise, while Caylie brings a fresh perspective and a love for all things creative. Together, we test every recipe to make sure it’s easy to follow and absolutely delicious. Read more about us and our blog →
“Our kitchen is where memories are made — and we’re so glad you’re here baking with us.”
Bonus? this recipe is…
Easy to make
We’ve broken down the steps to make this recipe as easy as possible, as well as included any tips we’ve learned over the years!
minimal ingredients
This recipe only uses a total of 4 ingredients. All you need is some rice cereal, mini marshmallows, salted butter, and a splash of vanilla.
only 20 minutes
These rice krispie treats not only come together quickly but thanks to a trick we’ve learned over the years, they set quickly too!
Fun for kids
Whether you’re baking with kids (or the kids at heart!), these rice krispie treats are something everyone will enjoy making together!


It’s Time To Make Rice Krispie Treats!
The best part? This recipe is actually SO simple to make once the browned butter is prepped. Just dump everything and go! Though, if you’d like a more detailed explanation, we’ve provided a quick overview on how to make the recipe below!
01
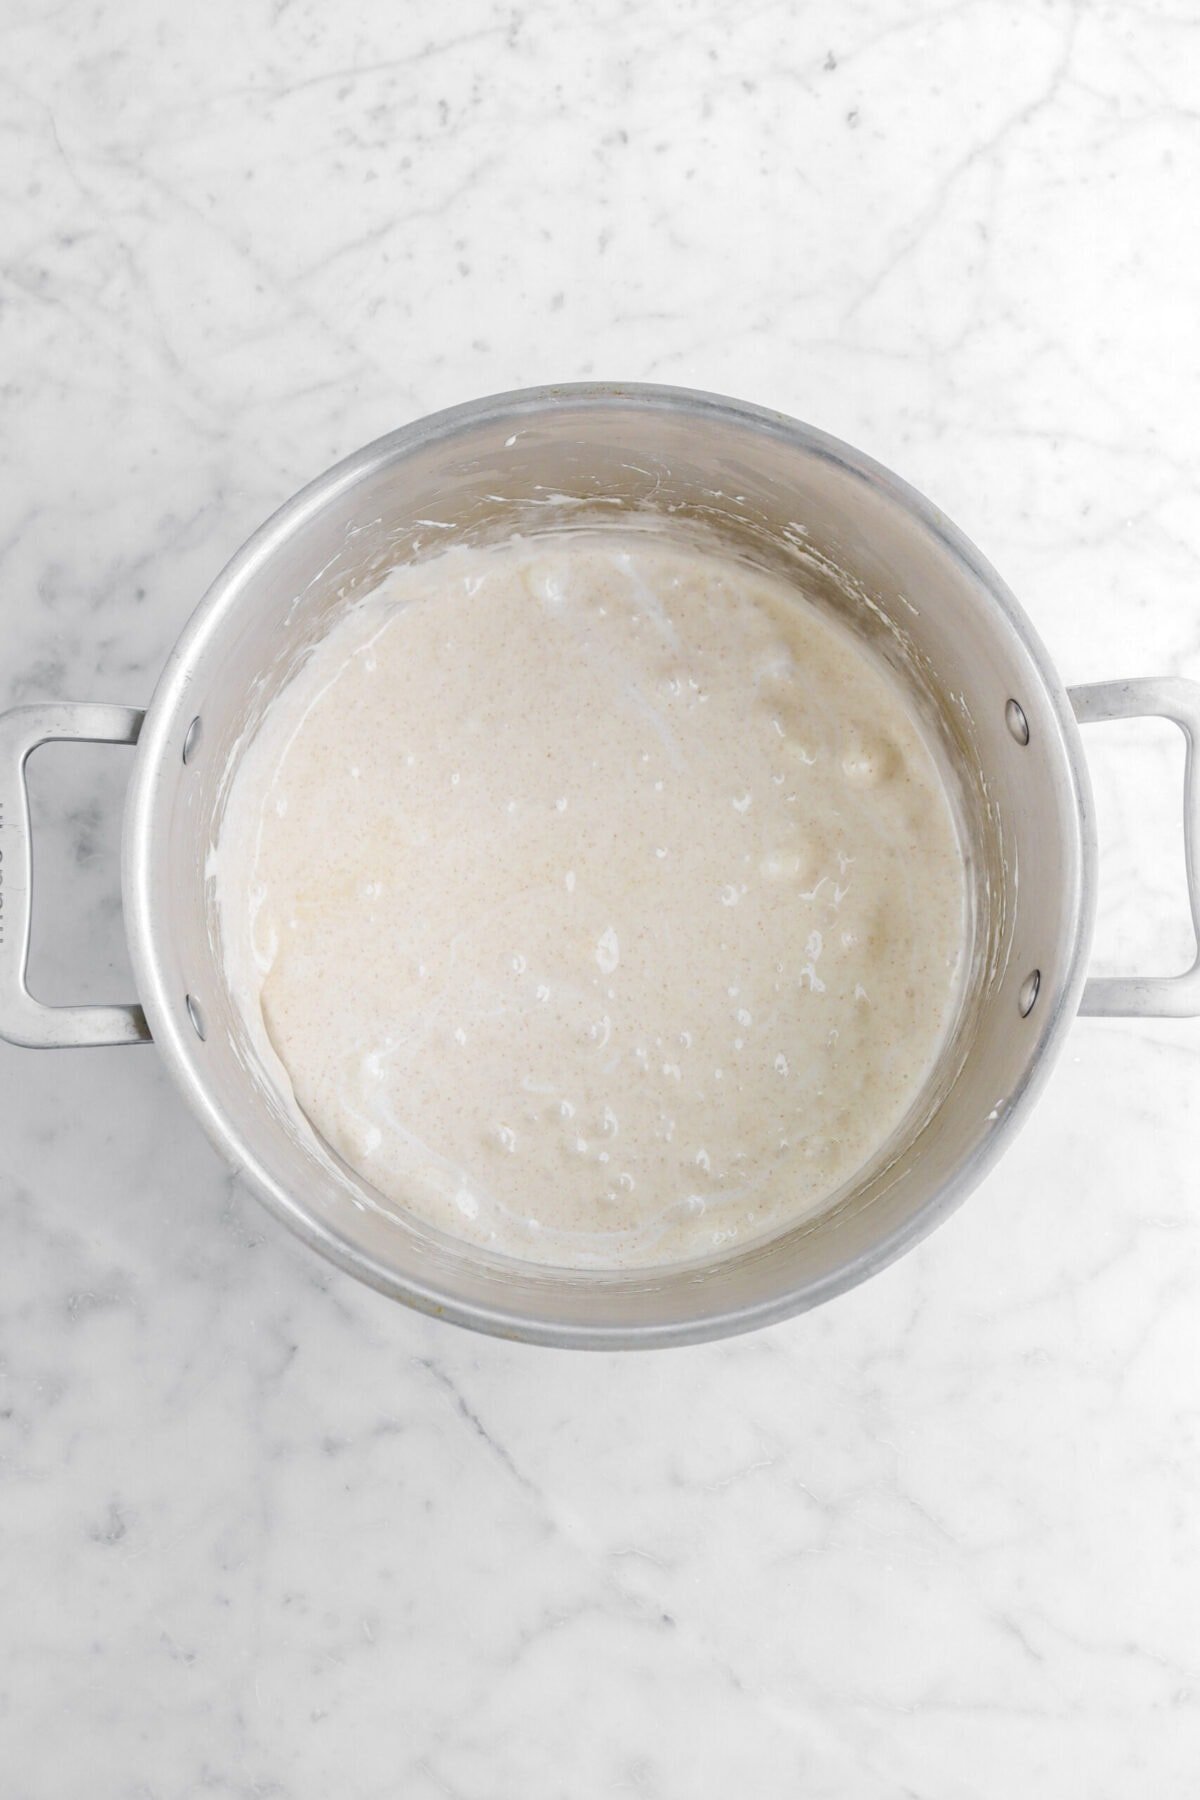
Add the marshmallows
Add 16 ounces marshmallows to the browned butter and stir until smooth and completely melted.
02
mix in the cereal
Mix in the vanilla, cereal, and the last 4 ounces marshmallows. Stir until thoroughly coated.

03
Press into pan
Once everything is mixed, quickly spoon into prepared pan and press down until level.

Can you believe just how easy that was? Plus, if you want the bars to set up quickly, just pop them in the fridge for about 5-10 minutes!

Your Brown Butter Rice Krispie Treat FAQs
Can I make these with regular butter?
Yes! Regular butter works fine, but brown butter adds depth and a nutty flavor that really elevates the classic treat.
Why are my Rice Krispie treats hard?
Overcooked marshmallows are usually the culprit. Be sure to take them off the heat once they’re mostly melted.
Do they need to be refrigerated?
Nope! These treats are actually better at room temp, but popping them in the fridge for 10 minutes helps them set faster.
Try These
delicious
bakes next!


When you make these Brown Butter Rice Krispie Treats, be sure to leave a comment down below! We love hearing from you and answering any questions you might have! Also, be sure to tag us on social media and hashtag it #BakersTable.
Happy baking!
x, Caylie

Gooey Brown Butter Rice Krispie Treats
Ingredients
- ½ cup salted butter
- 16 ounces miniature marshmallows
- 2 teaspoons vanilla
- 9⅔ cups rice krispies cereal
- 4 ounces miniature marshmallows
Instructions
- Line a 9-inch x 13-inch pan with parchment paper.
- Spray with cooking spray. Set aside.
- In a large pot over medium low heat, melt butter and cook, stirring constantly, until browned, about 5 minutes.
- Add 16 ounces marshmallows.
- Stir until completely melted.
- Remove from heat.
- Add vanilla, cereal, and 4 ounces marshmallows.
- Stir until thoroughly coated.
- Quickly press into prepared pan.
- Allow to set before cutting.
Notes + Tips!
- Keep stirring the butter as it cooks! It can burn very quickly, if left alone. Keep an eye on it and keep it stirred. Use the photos in the post above to help know when the butter is perfectly golden.
- Do NOT over cook your marshmallows! This is so important. If the marshmallows are over-cooked, they will result in a hard/unpleasant bar. We recommend that you take the marshmallows off the heat as soon as the almost all of the marshmallows are melted. If you still see 2 or 3 marshmallows that aren’t melted, that’s okay! Go ahead and take it off the heat. Be sure to use the photos in the post above as a reference!
- Be sure to WORK QUICKLY! This is something that is so important. Marshmallows are like any other candy. Once they start cooling, they become almost impossible to work with.
- Don’t skip greasing your spatula. This helps keep the marshmallow from sticking so much.
- Be careful to not over-mix! I know it sounds a bit silly, but you really only need to mix until the cereal is combined with the melted marshmallows. If you keep mixing, you may risk breaking the cereal and/or allowing the marshmallows to cool too much
Tools You May Need (affiliate links)
– Still Hungry? –
Here are a few recipes may like!


Did you try this recipe?
Let us know in the comments!
Let Me Introduce You!
Hi and welcome! We’re Traci and Caylie, a mother-daughter duo with 30+ years of combined experience in baking, recipe development, and food photography. Our expertly developed and delicious recipes have led us to be featured in publications such-as: Costco, Crate & Barrel, & more!
More about us →
Disclaimer
We use affiliate links on our Equipment Needed and Recommended Products section of each recipe. If you click through these links and make a purchase, we may receive a commission at no additional cost to you. As an Amazon Associate I earn from qualifying purchases.
We use Baby’s Breath for photographic purposes only. Do not consume any parts of the plant.