The Best Homemade Moon Pies
This post may contain affiliate links, please visit our privacy policy for details.
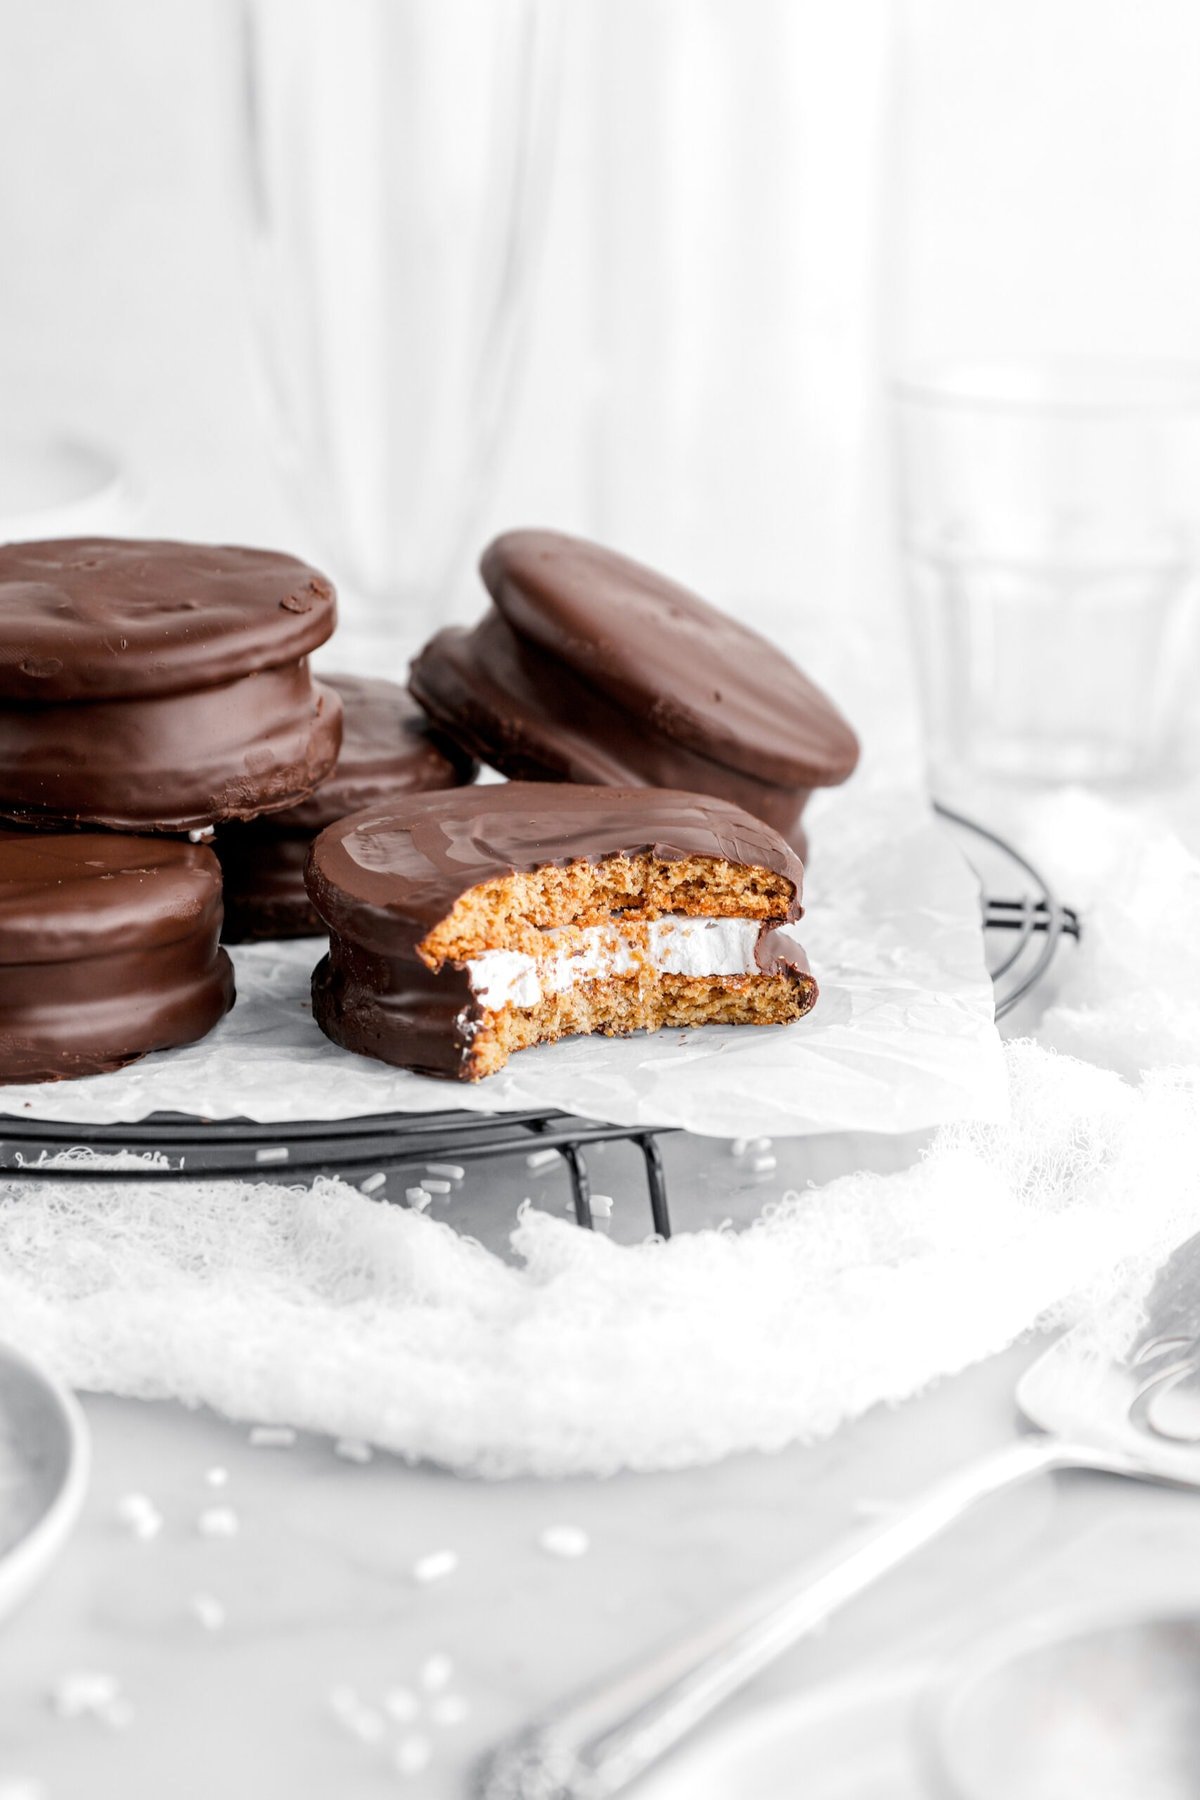
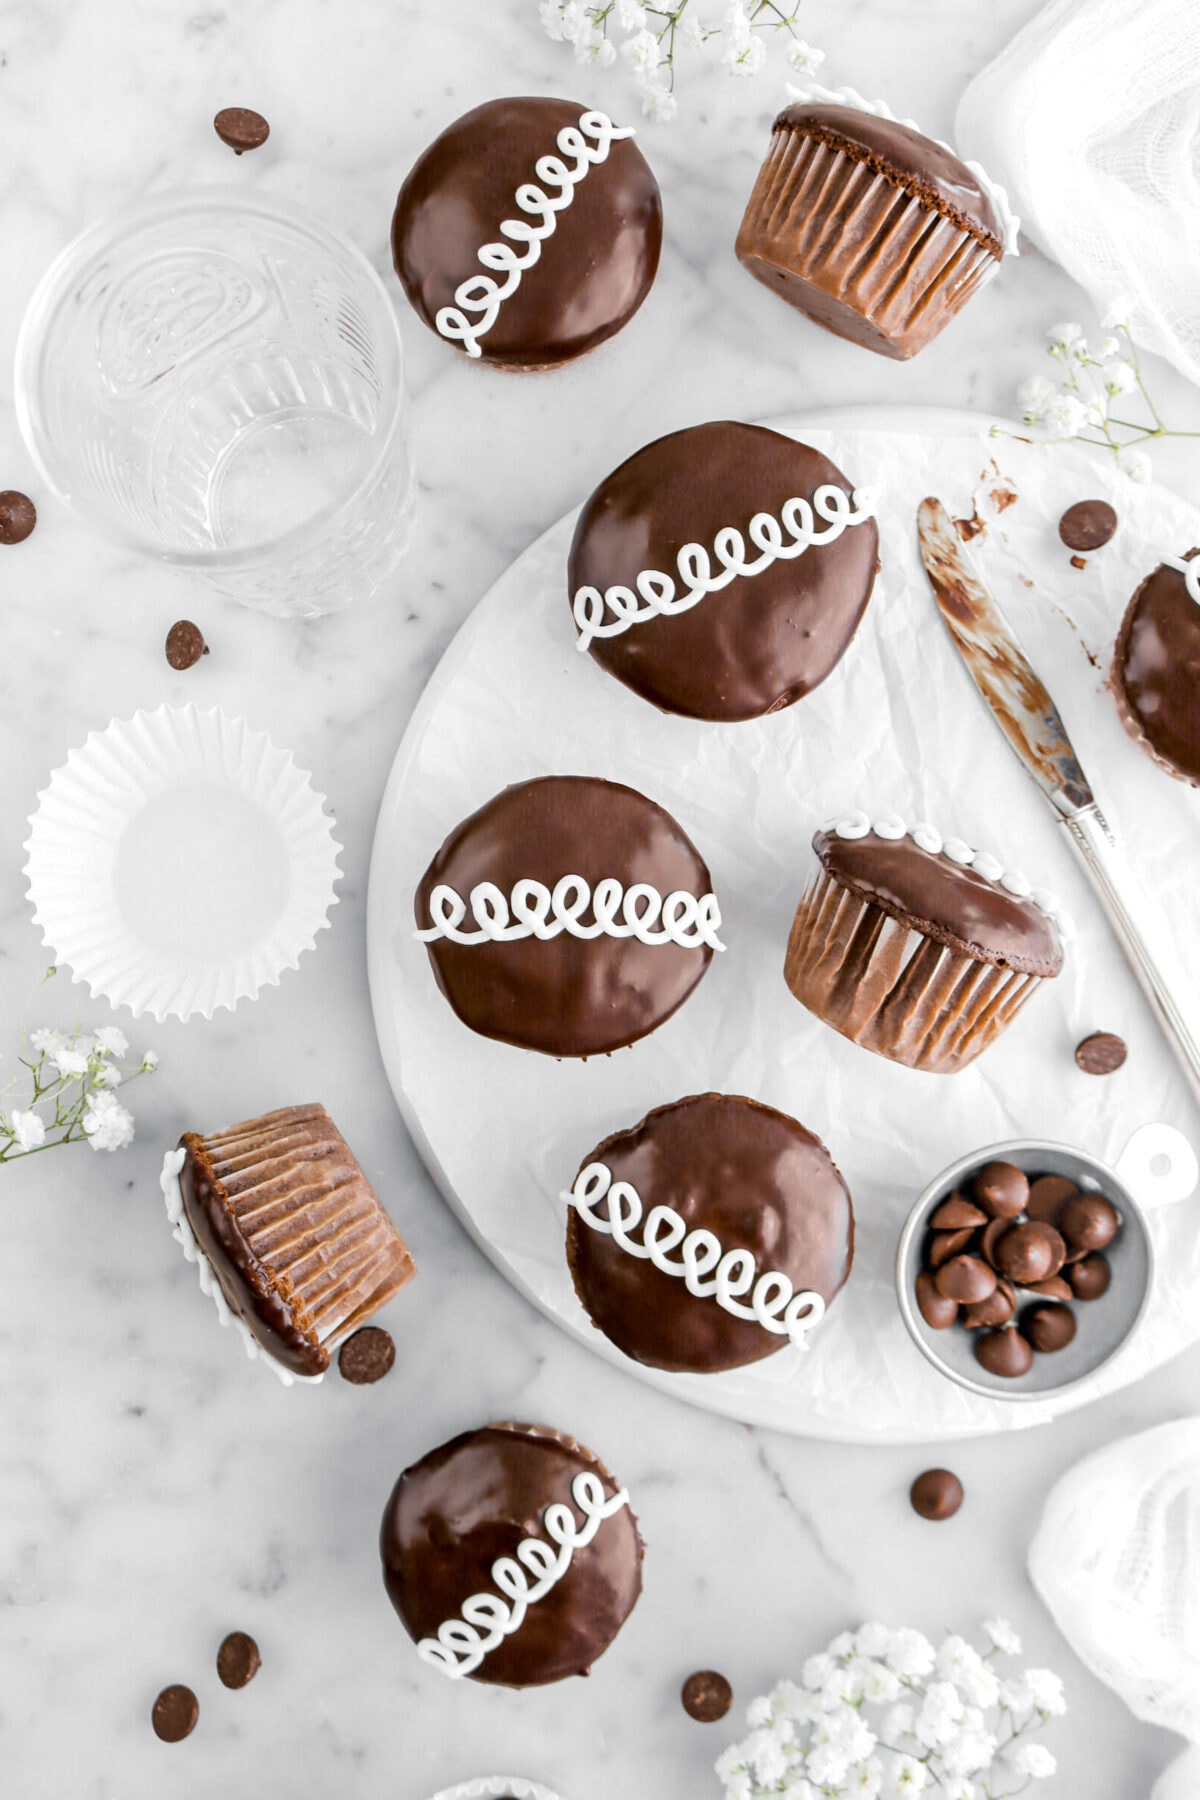
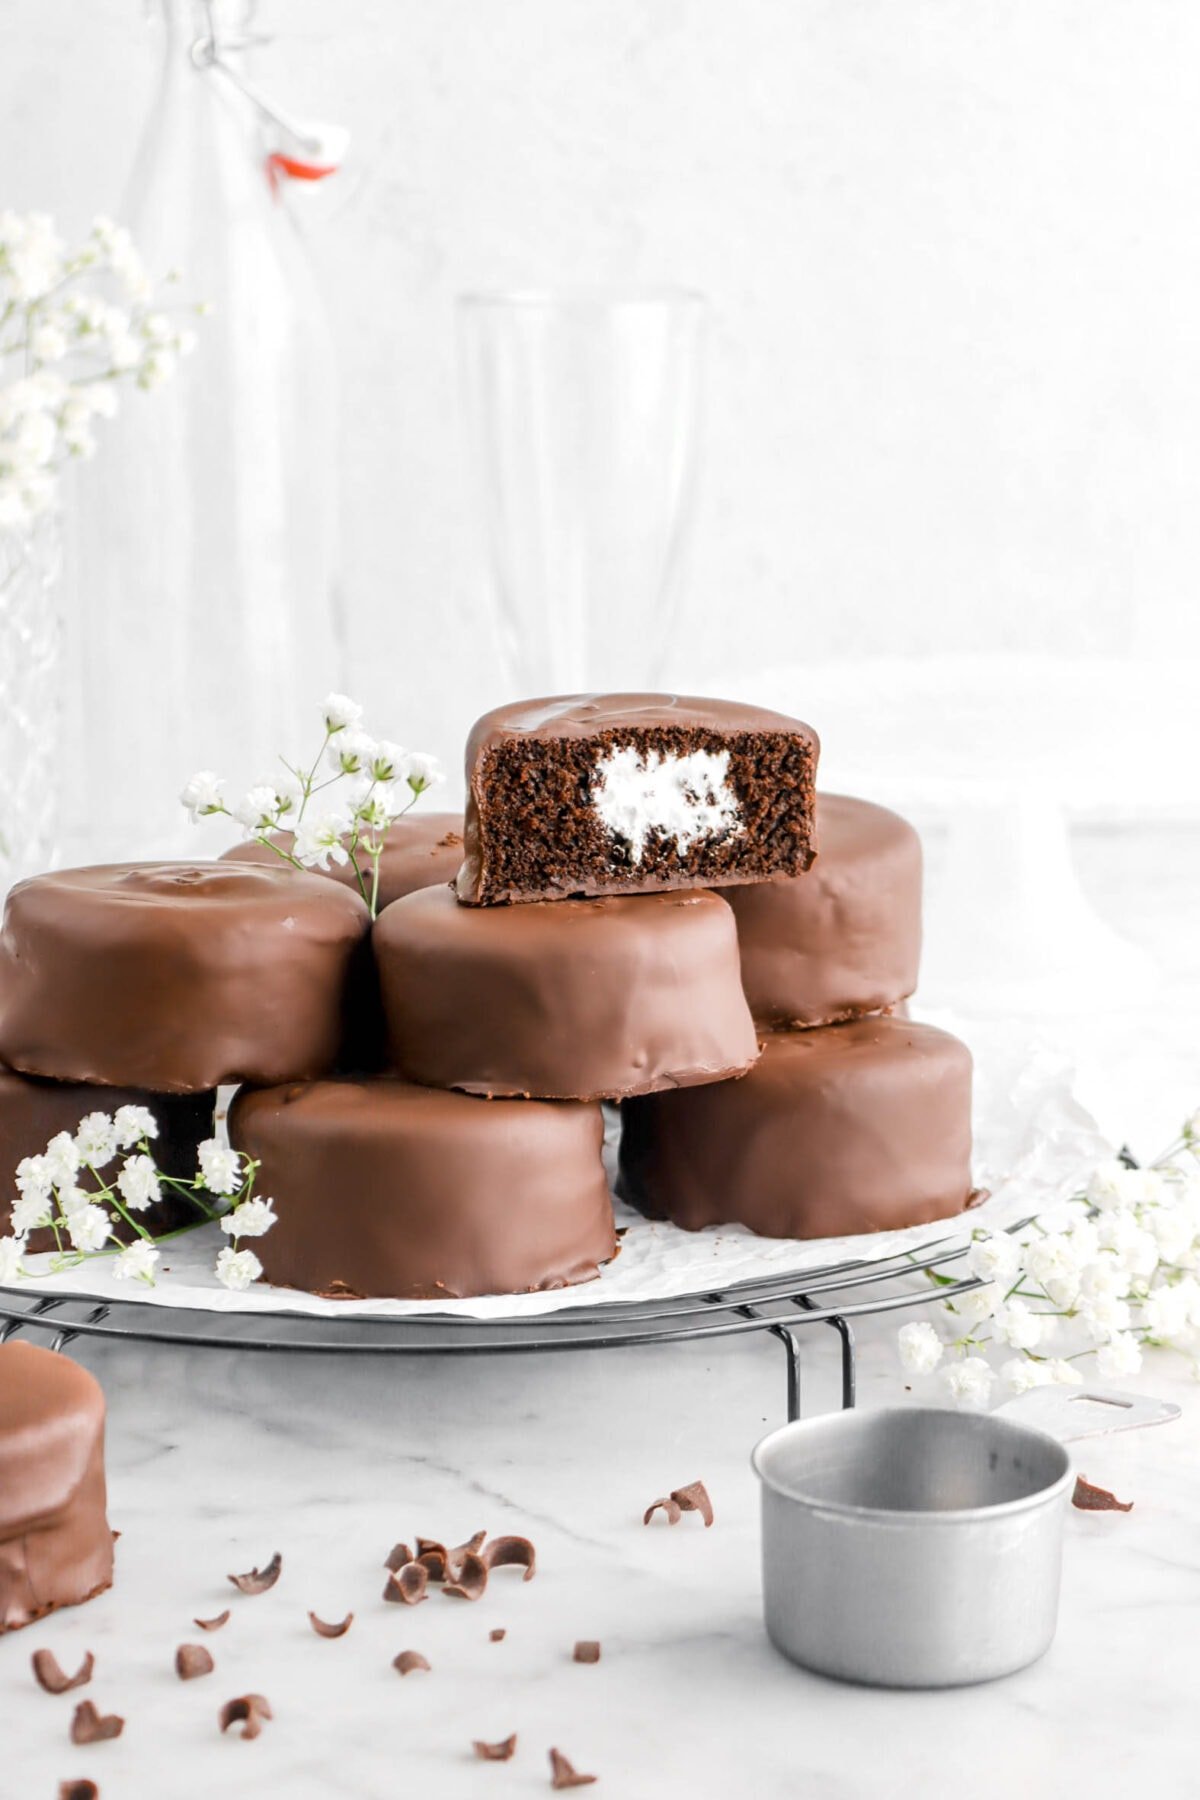
Forget store-bought! These homemade Moon Pies are about to become your new obsession! Imagine fluffy homemade marshmallow, soft graham cracker-style cookies, and a rich chocolate coating. They’re bigger, fluffier, and even MORE delicious than anything you’ll find in a box!
Is it a cookie? A pie? Both? Well, who cares! Moon Pies are their own kind of delicious, and this recipe makes them even better. I think we all remember eating moon pies when we were younger. Unwrapping and crumpling the wrapper, getting chocolate absolutely everywhere (ok…maybe that was just me) and desperately wanting to eat more than just one! They’re one of those nostalgic treats that’s instantly recognizable.
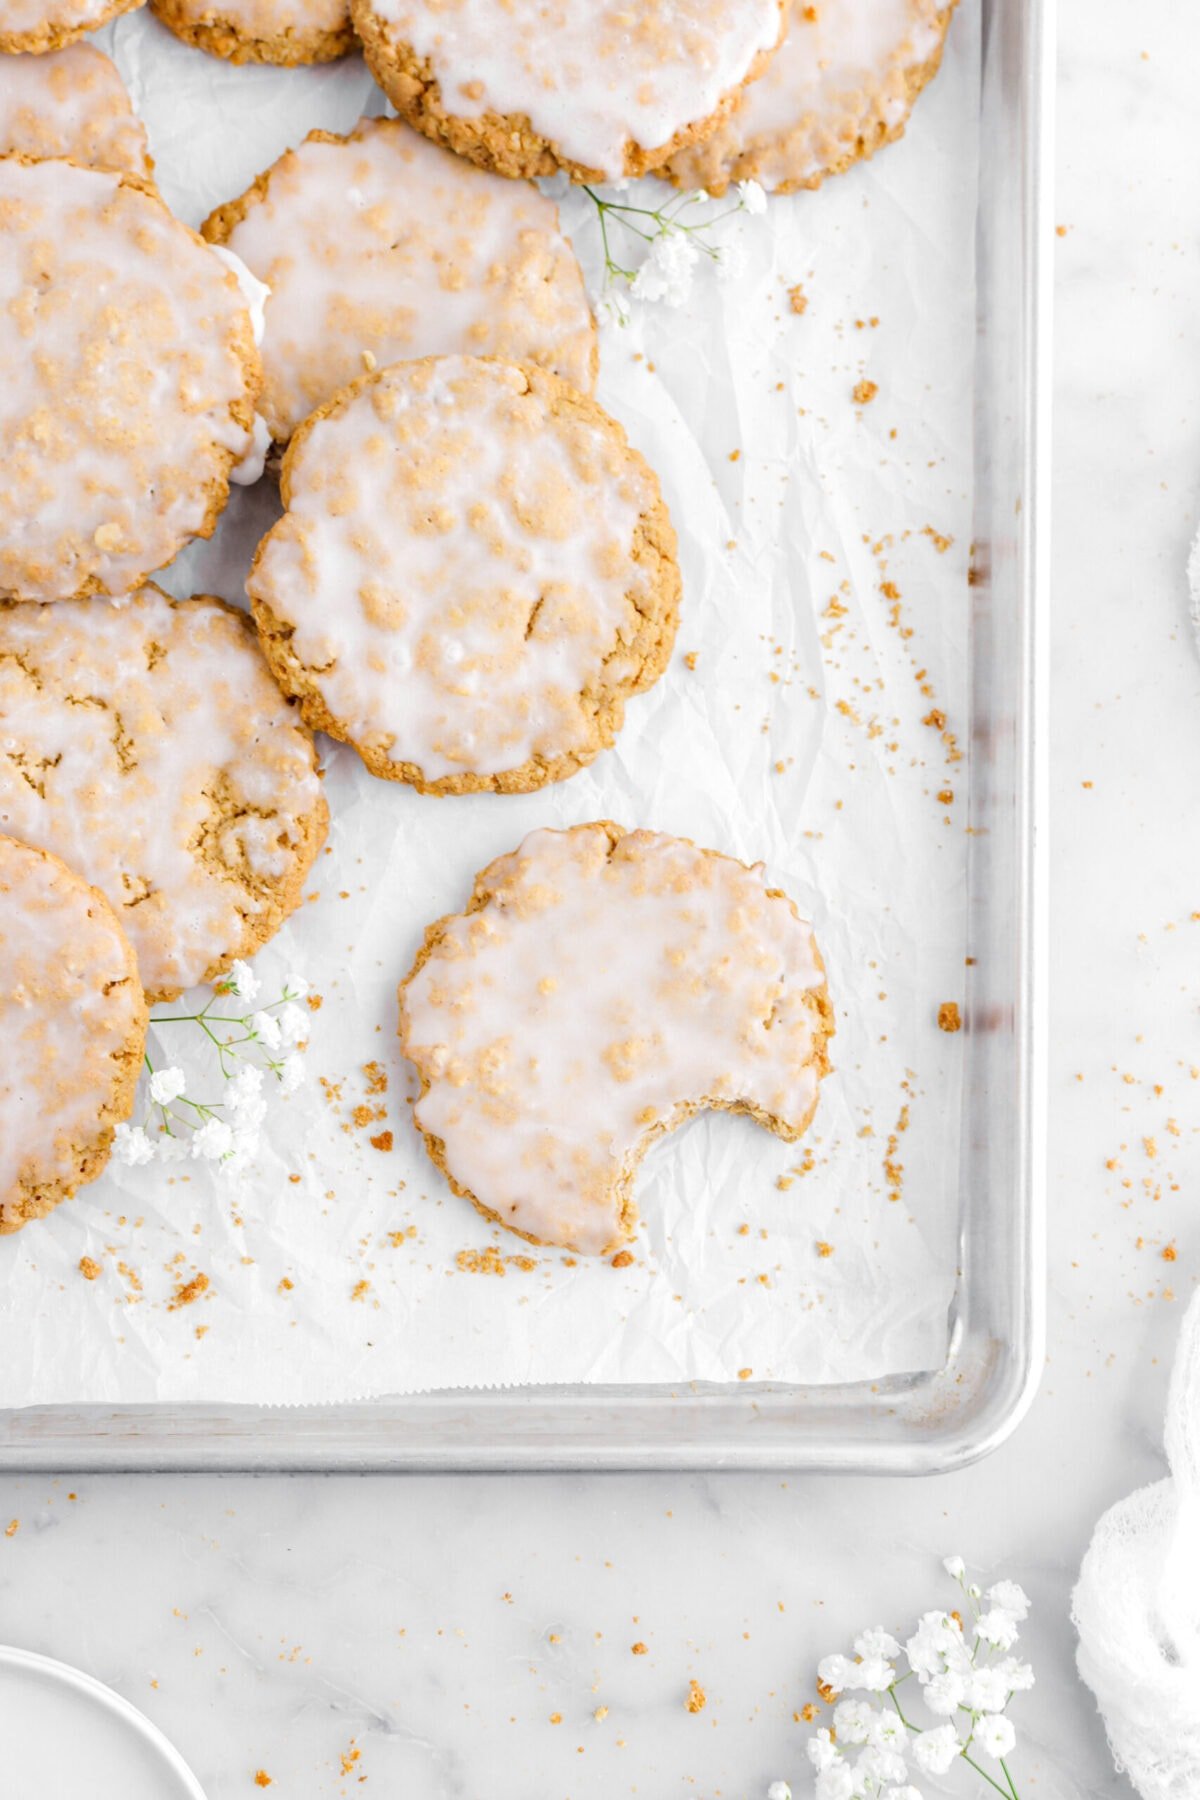
Though, I’ll be honest, we haven’t had them in a LONG time. They were definitely a childhood snack that we used to love (just like oatmeal sandwich cookies or ding dongs!) and we thought it would be fun to share a homemade version!
Homemade Moon Pies Have Three Elements
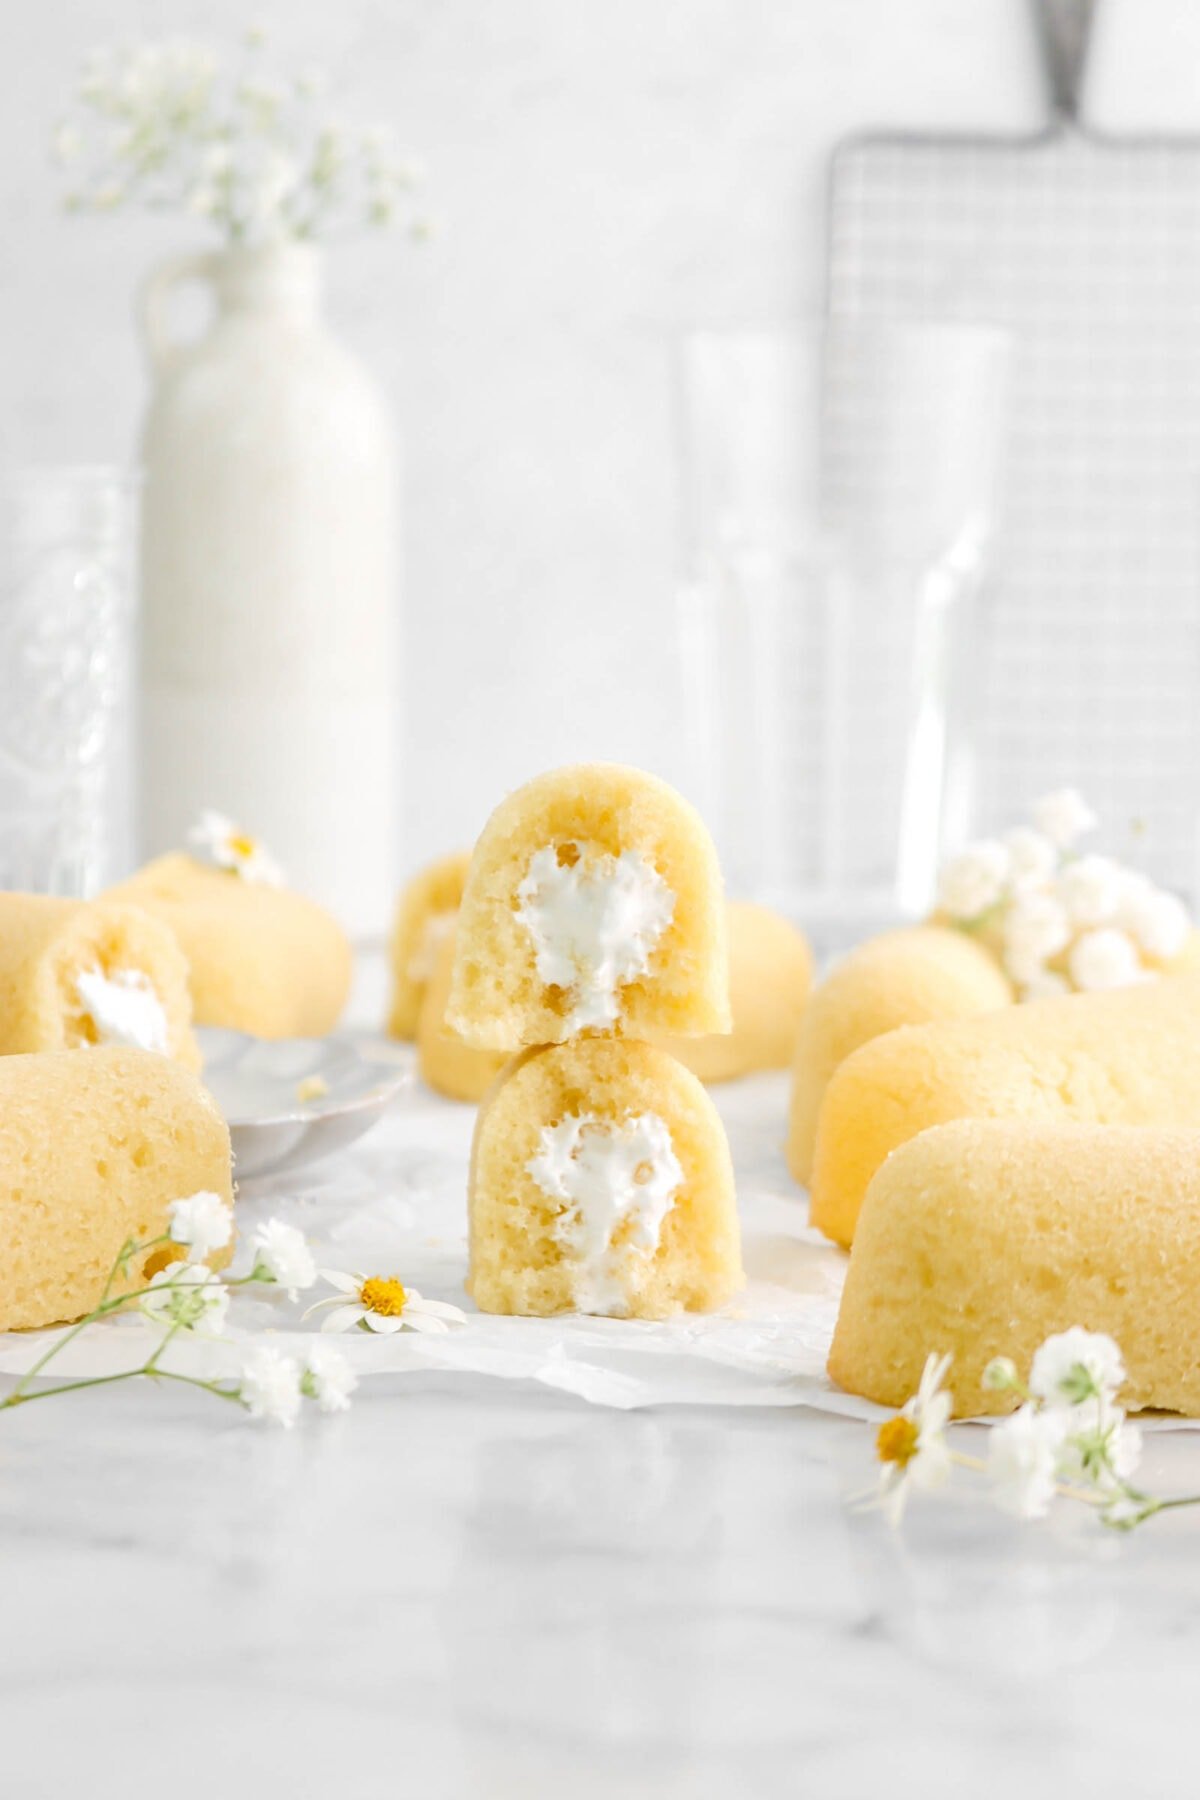
- Thick cookies: A moon pie isn’t a moon pie without the thick graham cookies! Based on our graham crackers recipe, we created the perfect cookie that holds it shape when you bite into it but is still soft enough that it’s not crunchy and unpleasant.
- Homemade marshmallow: When developing this recipe, we debated using marshmallow fluff to fill these cookies but we wanted to keep these cookies as close to the originals as possible. So, we opted to use our homemade vanilla marshmallow to create that perfect chewy center.
- Dark chocolate: Instead of a flavored coating, we opted to use real dark chocolate to cut the sweetness, as well give these cookies a rich and intense flavor.
Are These Moon Pies An Exact Copycat? No.
While all of the nostalgic flavor is there, this is not an exact copycat of a moon pie. You see, the ingredients inside of a store-bought moon pie include things that help make it shelf stable for long periods of time. See for yourself:
WHEAT FLOUR, INVERT SUGAR, CORN SYRUP, SUGAR, PALM OIL AND PALM KERNEL OIL, WATER, SOYBEAN OIL, GELATIN, BAKING SODA, CORN STARCH, CORN SUGAR, SALT, SOY LECITHIN, NATURAL AND ARTIFICIAL FLAVOR, ENZYMES, ANNATTO EXTRACT COLOR
With this homemade recipe, so many of those ingredients are not needed. Instead, the ingredients are much more natural and something you can easily in your local grocery store! Plus, we provide reasons why each ingredient was chosen to go into this recipe. 😉
Here’s What You Need To Make Moon Pies
First, we are going to make the cookies. So, you will need to gather the listed ingredients below before you start baking!
- Oat Flour – Adds a nutty flavor, adds fiber and protein, and creates a slightly chewy texture.
- Whole Wheat Flour – Enhances the nutty flavor and provides fiber, making the cookies a bit healthier.
- All-Purpose Flour – Acts as a textural and structural enhancer. All-purpose flour with its higher gluten content adds extra reinforcement. This helps maintain the cookies’ shape during baking and prevents them from becoming crumbly.
- Wheat Germ – The heart of the wheat kernel. It adds a toasty flavor, nutrients (vitamins, minerals), and a slight texture to the cookie.
- Brown Sugar & Honey – In addition to sweetening, the molasses content in the brown sugar adds a richer flavor while the honey adds a floral note. They both help keep the cookies moist.
- Unsalted Butter – Creates a tender texture and adds richness.
- Salt – Balances the sweetness and heightens all the flavors.
- Baking Powder & Baking Soda – Both are leavening agents that work together to help the cookies rise and create a lighter texture.
- Water – Provides the moisture needed to form the dough and helps bind all the dry ingredients together.
- Vanilla Extract – Enhances the sweetness and adds a warm, familiar flavor to the cookies.

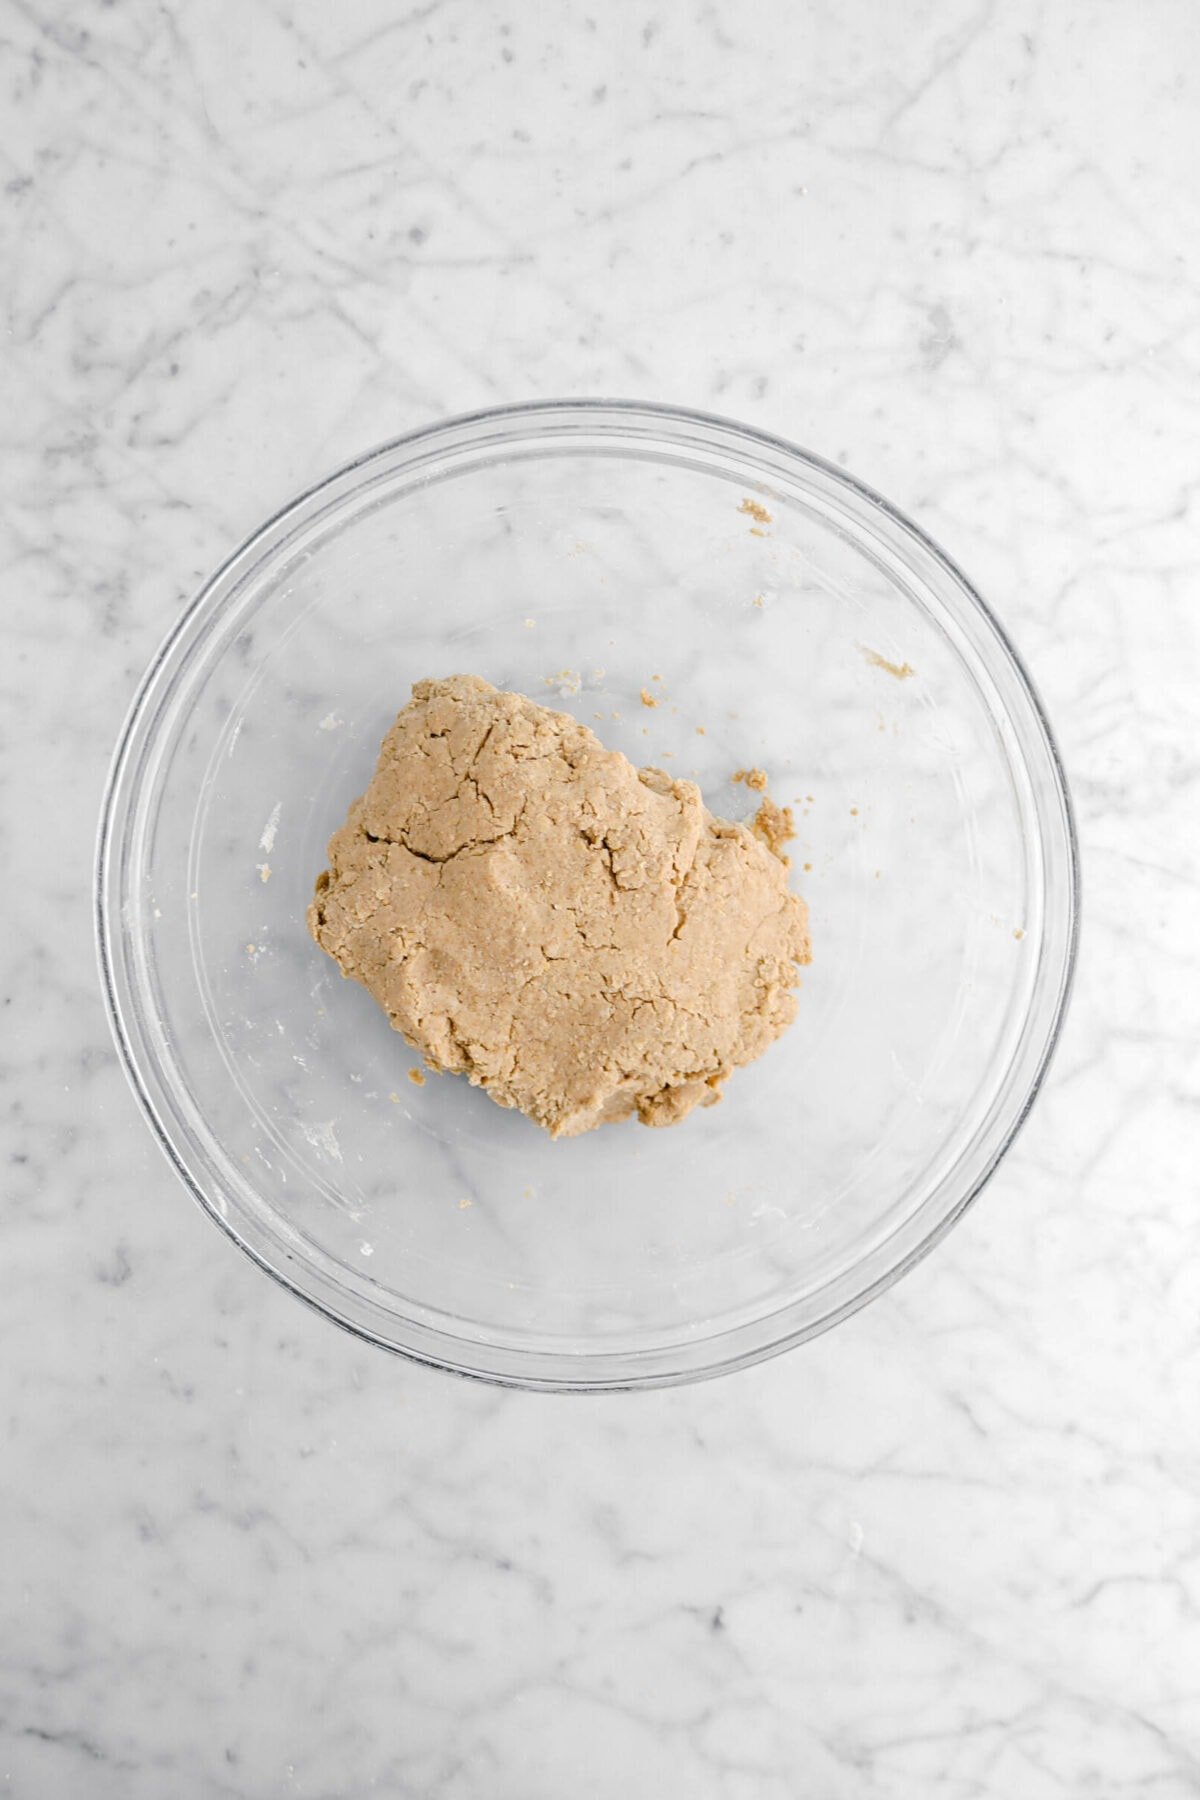
Expect A Thick, Dryer Dough
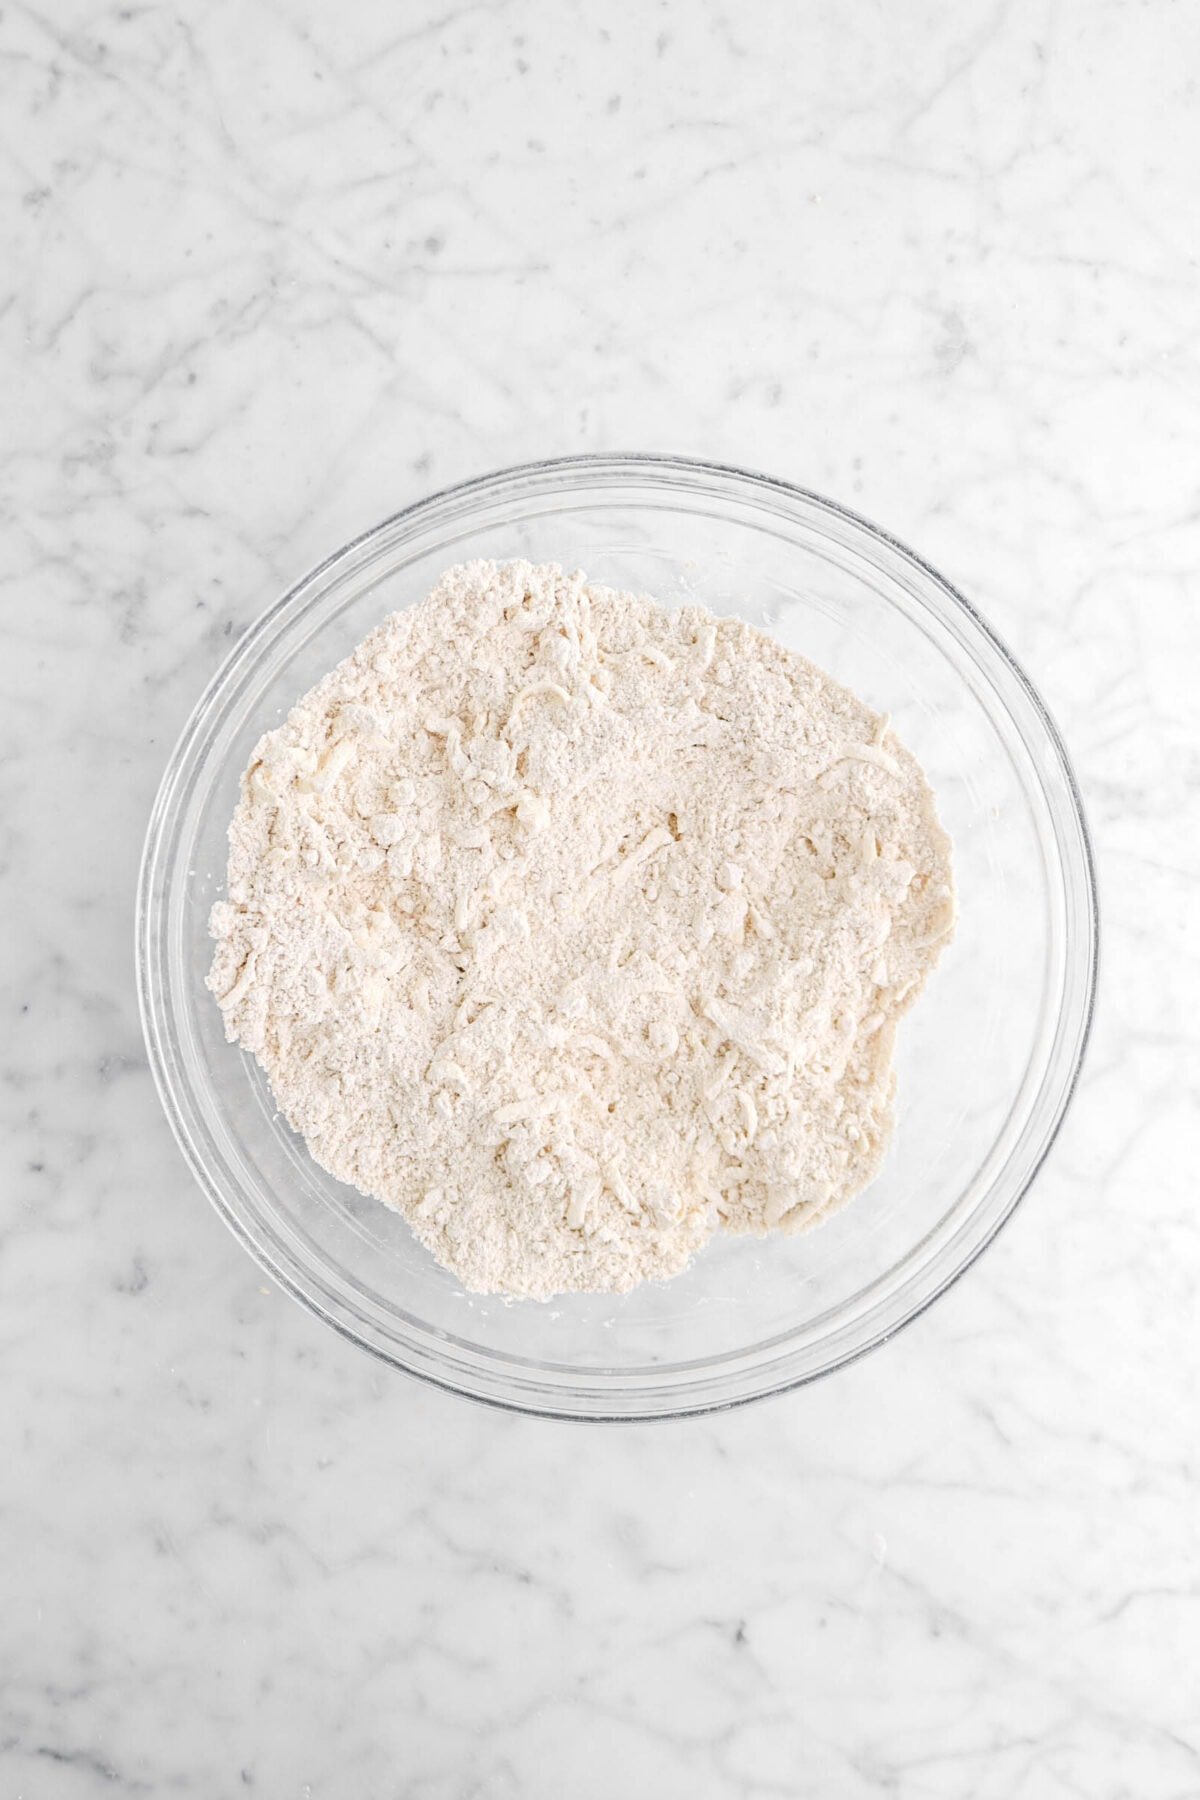
Unlike other cookies you might’ve made, these graham cracker cookies are going to be a much dryer and thicker dough. We mixed it up similar to our buttermilk biscuits to create the layered texture we were looking for.
- Mix the dry ingredients.
- Grate in butter. We found through years of testing with our biscuit recipes that grating the butter in with a cheese grater creates the same flakey layers as cutting it in!
- Add wet ingredients. You will want to mix this until it’s smooth, but keep in mind that it’s going to be a thicker dough than most cookies you may be used to!
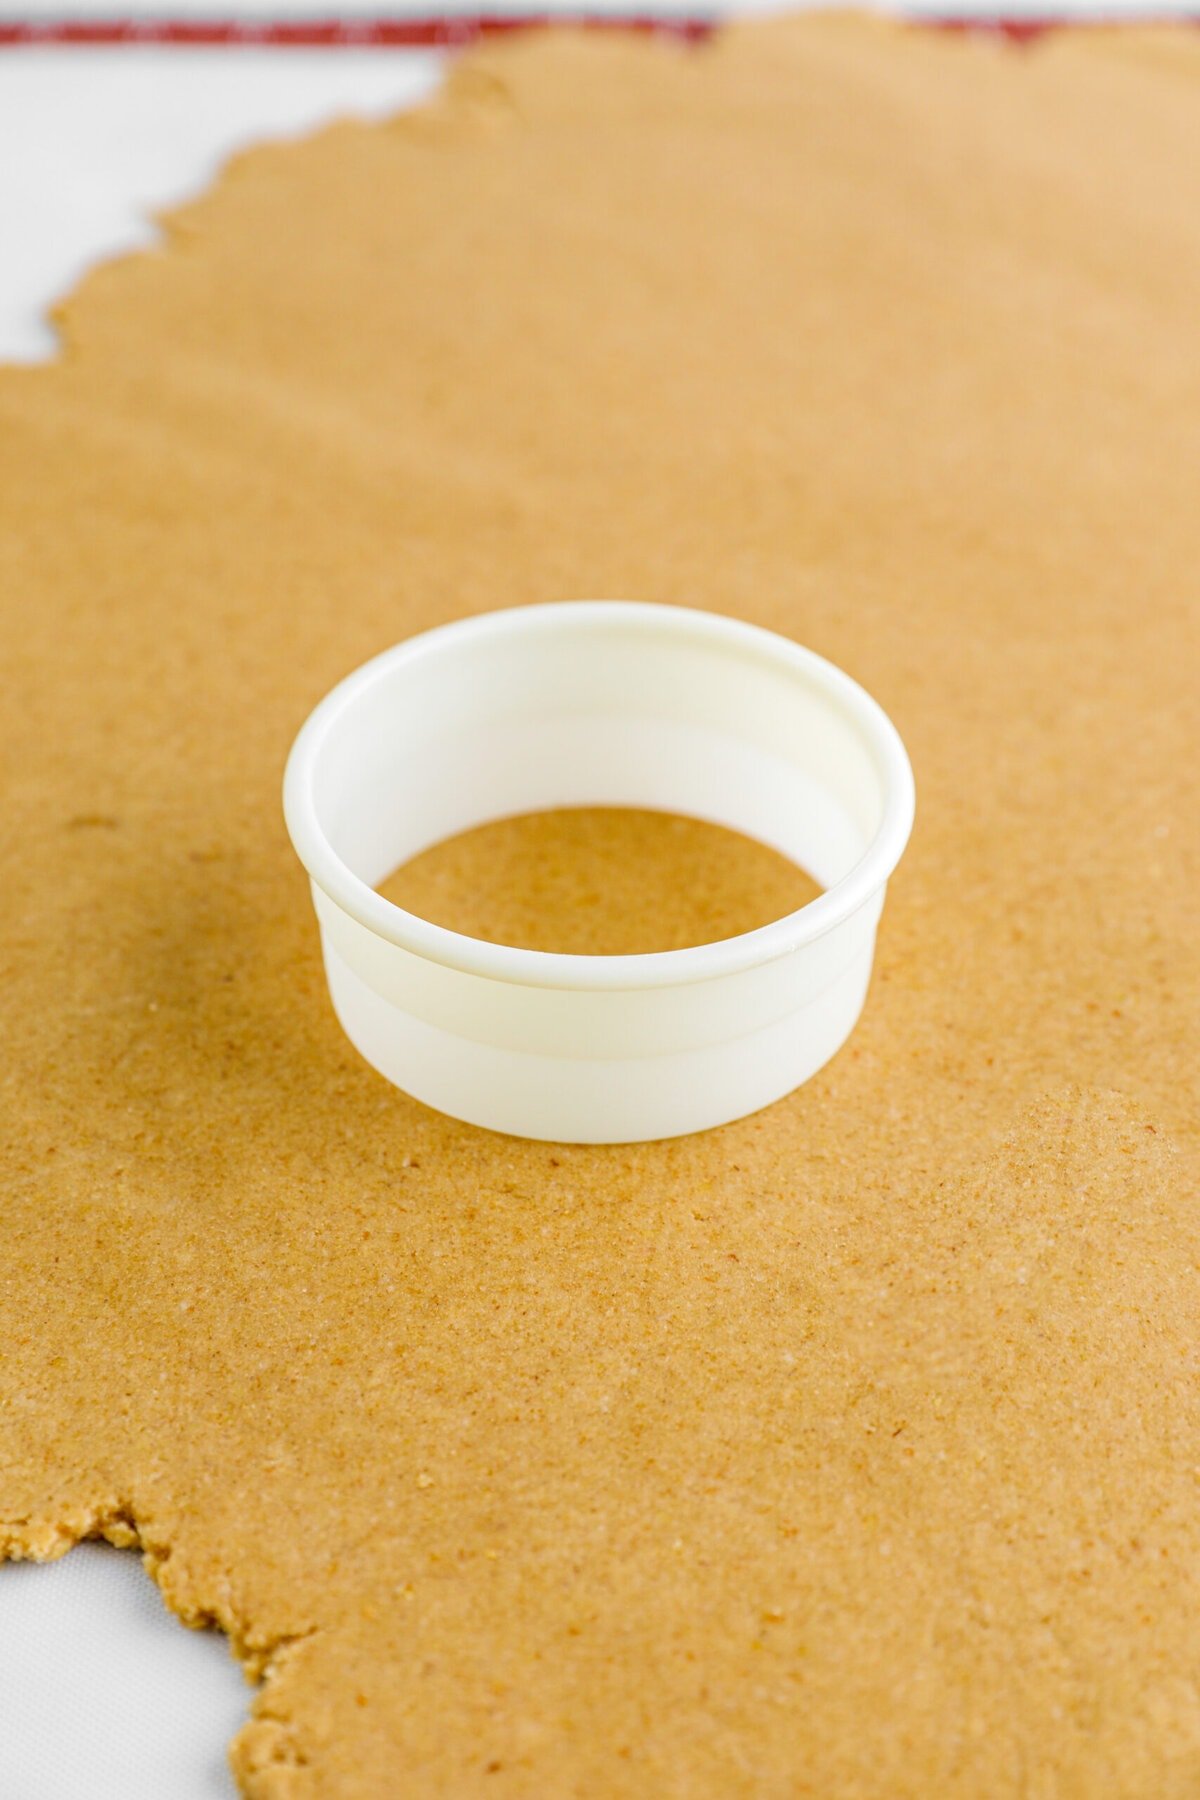
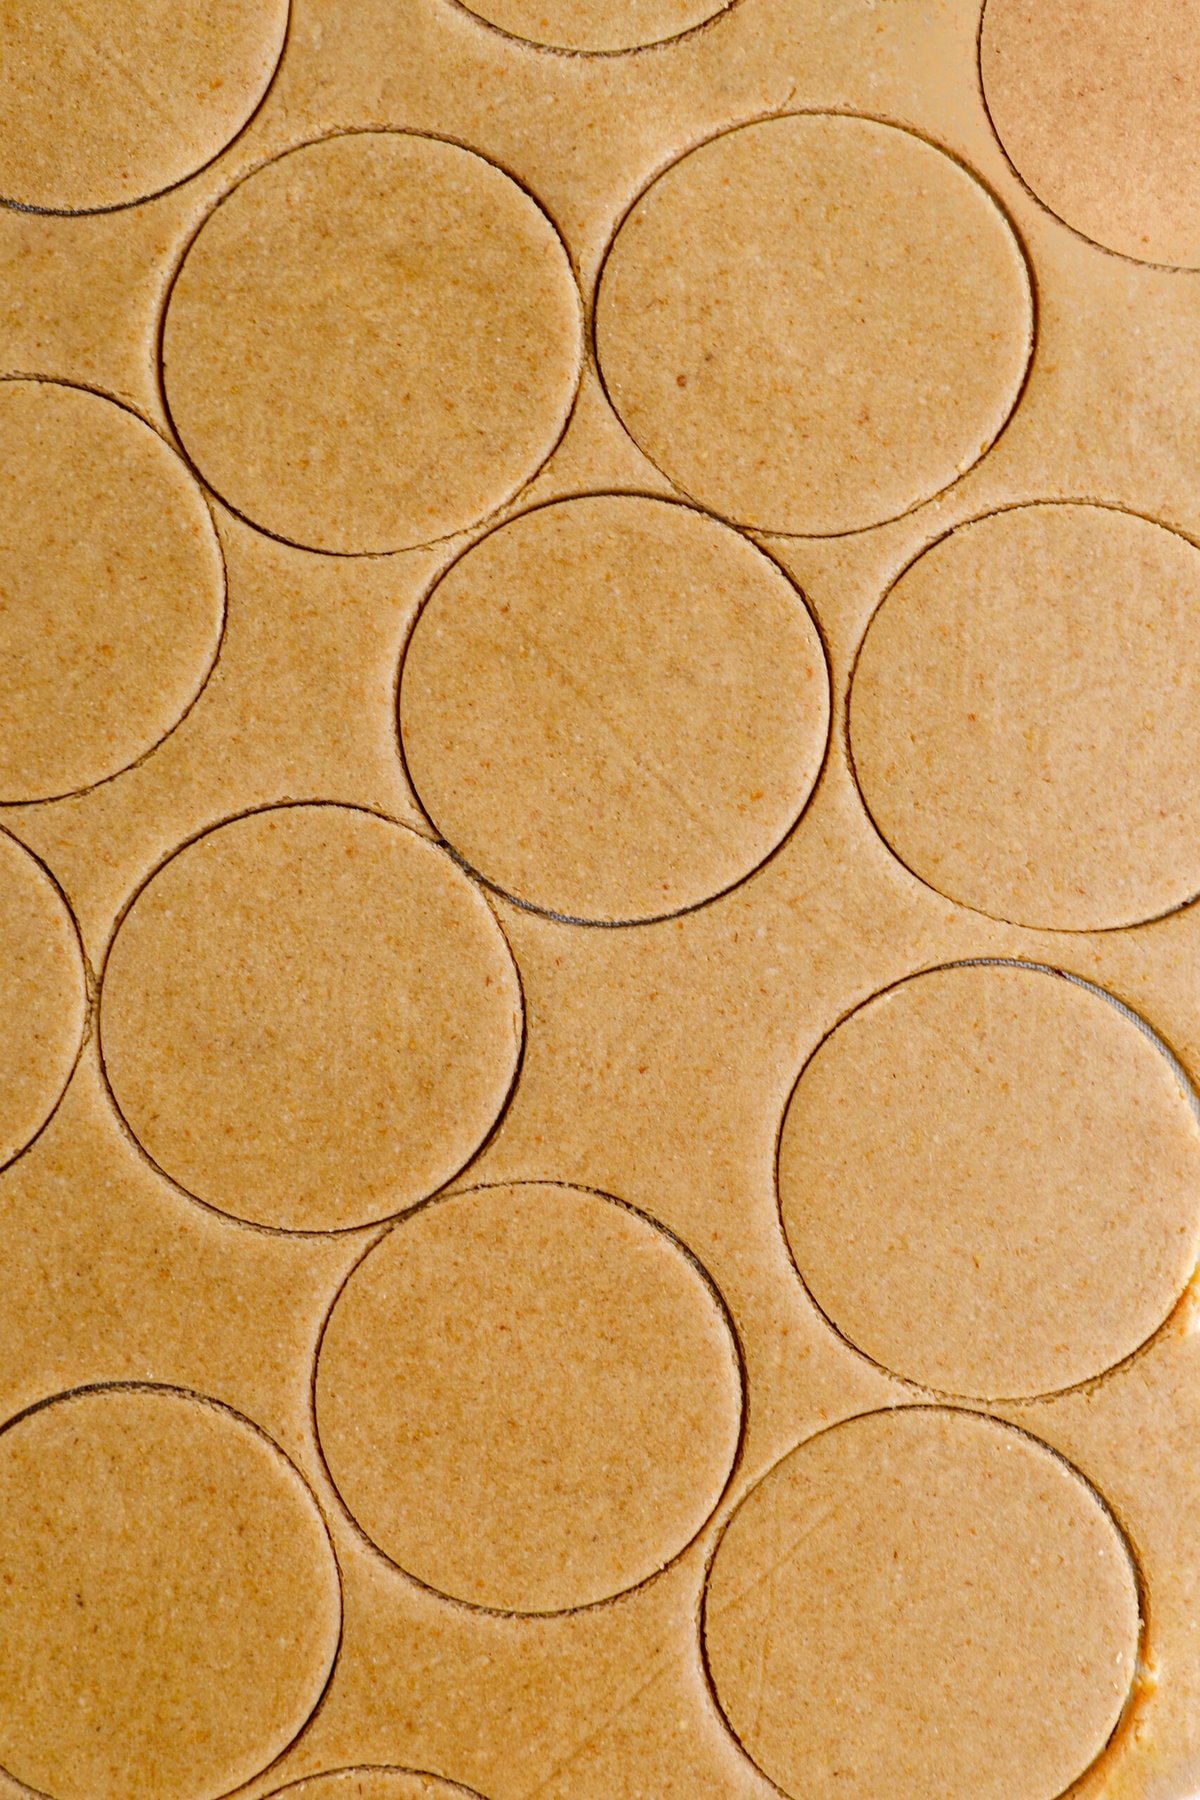
To shape these cookies, you will need a rolling pin and a 3½ inch cutter. Try to cut the cookies as close to each other as you can to minimize the need to re-roll!
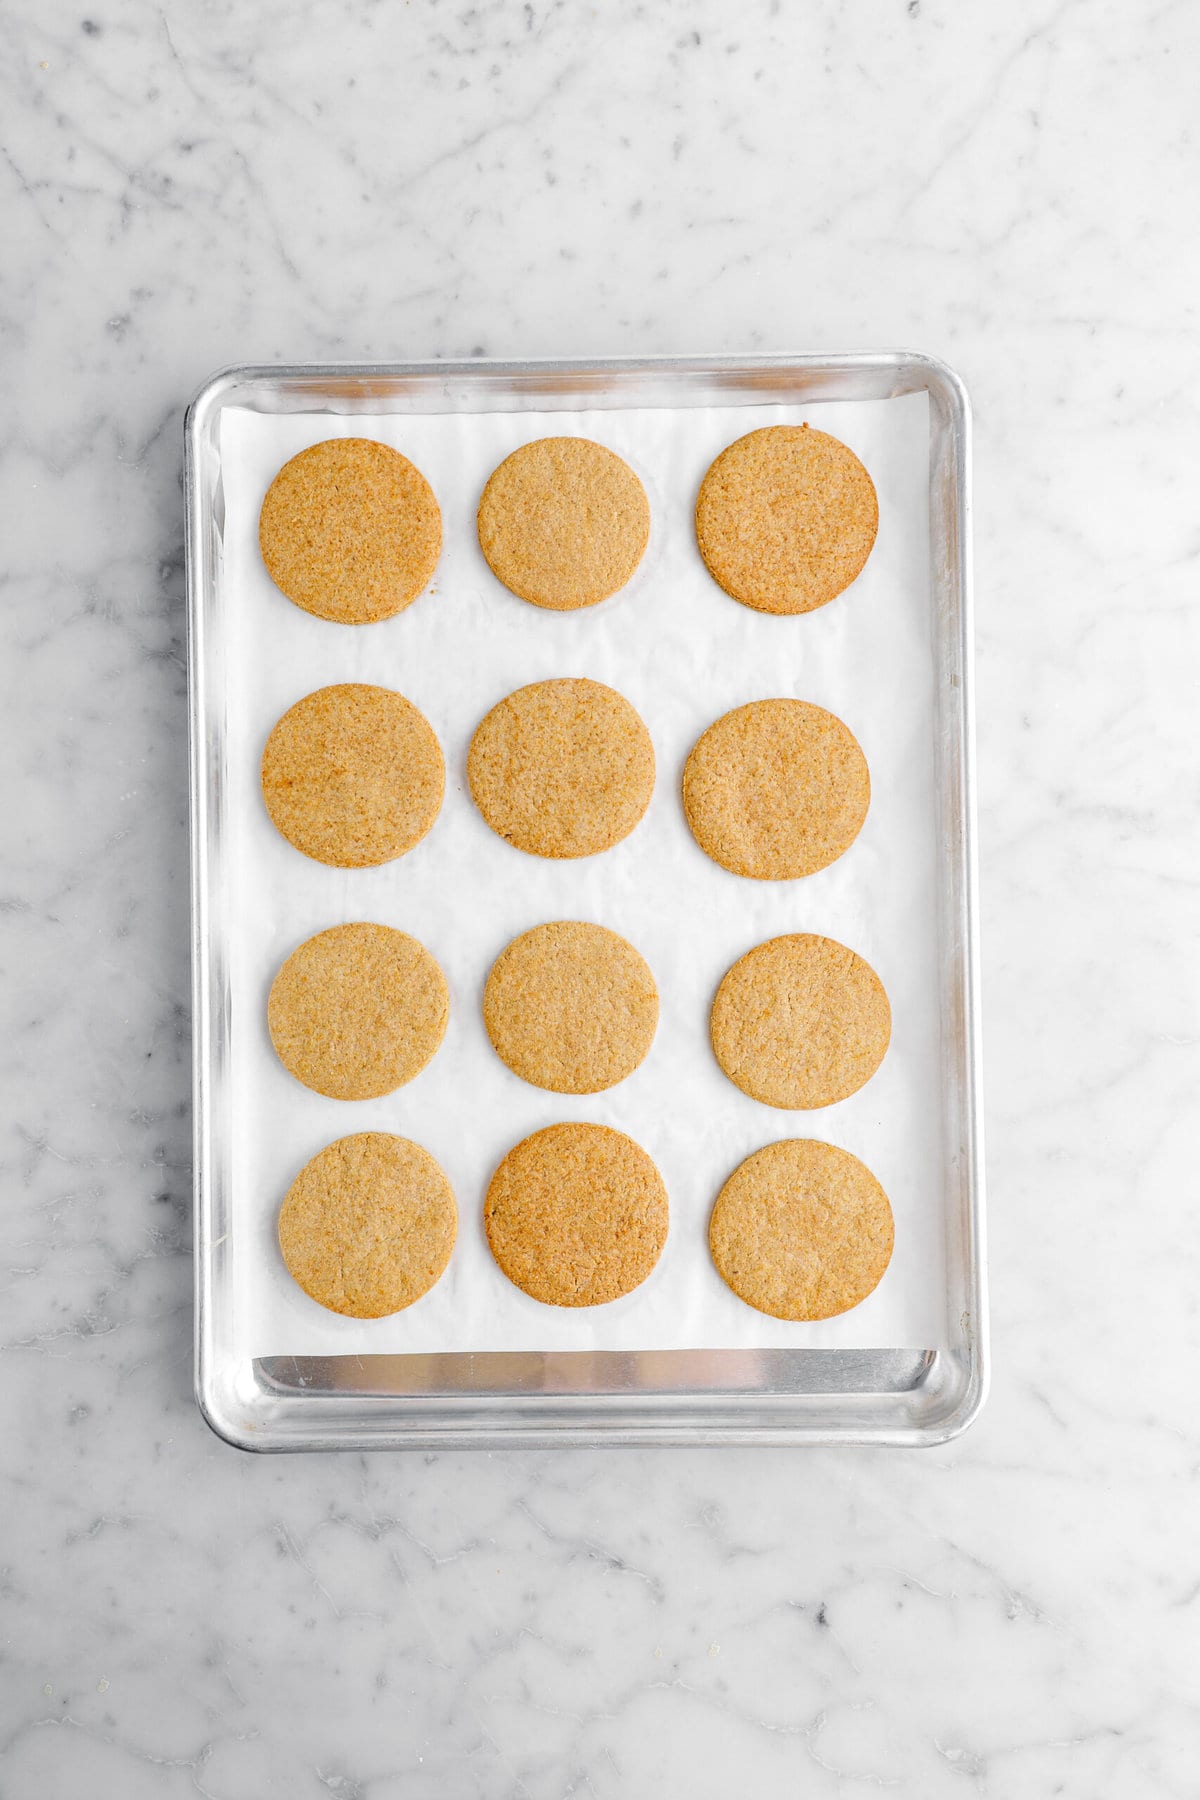
Once the cookies are cut and transferred to your prepared pan, bake for 15 minutes. The cookies should still be slightly soft and starting to brown.
Thick, Fluffy Marshmallow Filling
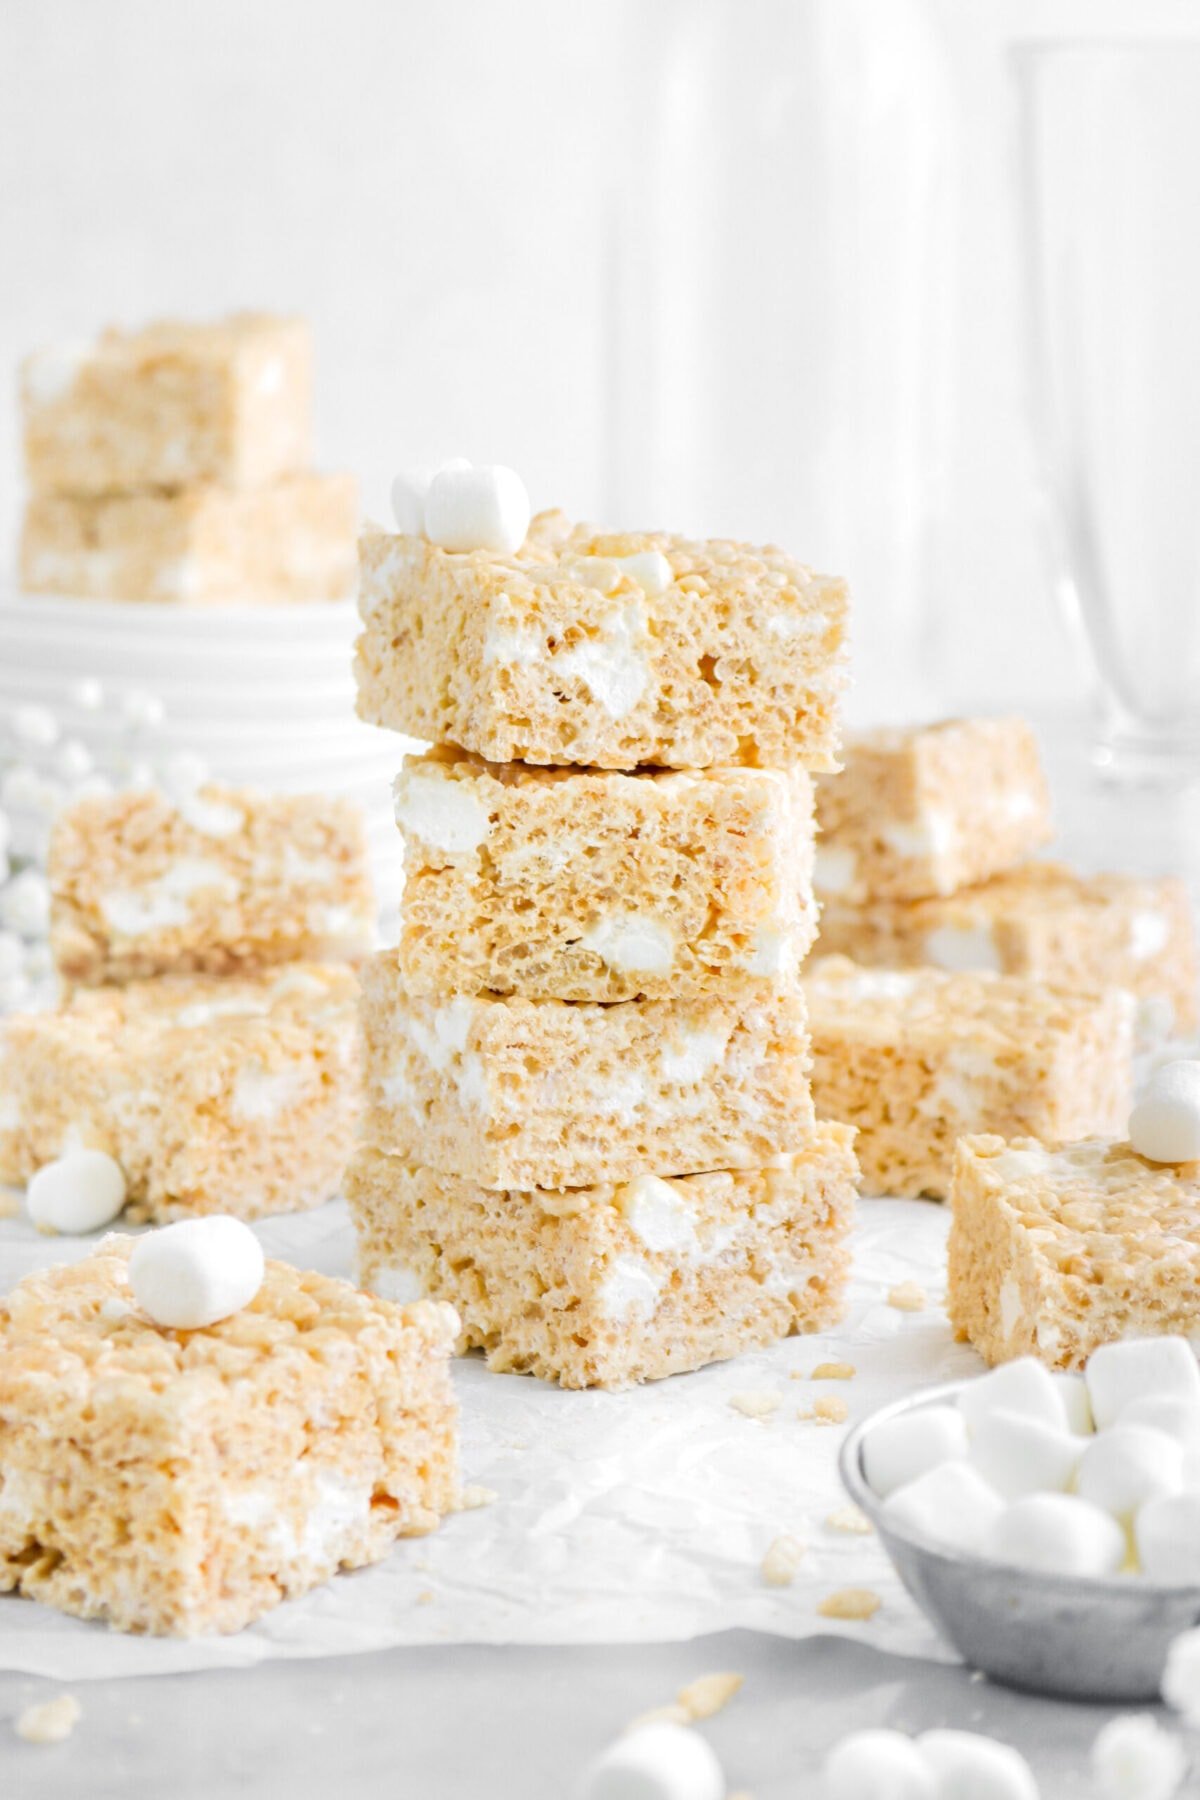
For an extra special touch, we made our OWN marshmallows to fill these sandwich cookies. While you can use store-bought, there is just a flavor that homemade has that bought marshmallows can’t replicate. The consistency is more melt-in-your mouth with a stronger, purer vanilla flavor in every bite. We always use homemade for our rice krispies treats; and when I tell you that it makes a difference, I MEAN IT!
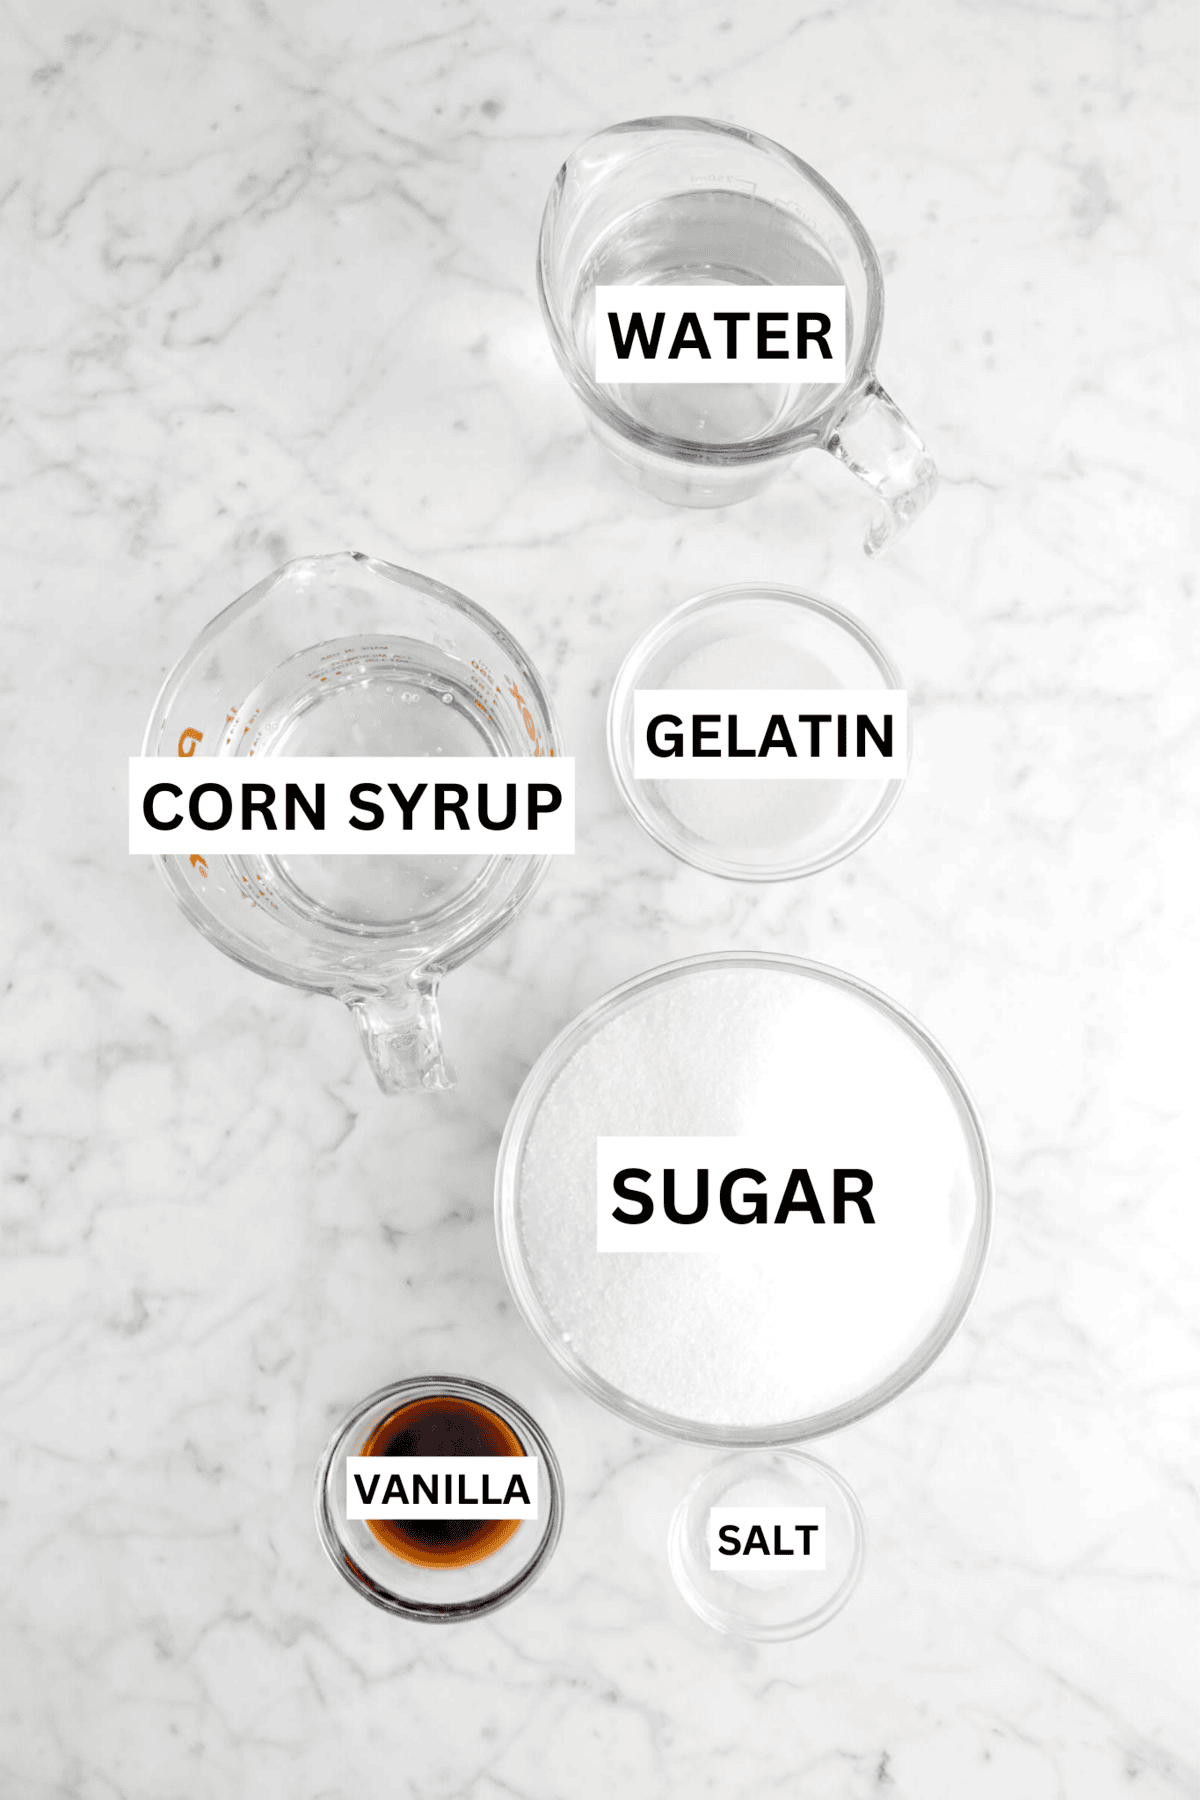
Ingredient notes:
- Unflavored Gelatin – The key structural component of the marshmallow. Gelatin is a protein derived from collagen. When dissolved in hot water and then cooled, it forms a network of bonds that gives the marshmallow its characteristic airy, bouncy, and slightly firm texture.
- Water – Crucial for dissolving the gelatin and sugar, and creating the syrupy base of the marshmallow. It also contributes to the final soft and pliable texture.
- Granulated Sugar – The primary sweetener in the marshmallow, providing that familiar sweet taste.
- Corn Syrup – Adds sweetness, but more importantly, it prevents the granulated sugar from crystallizing. This helps keep the marshmallows smooth and prevents them from becoming grainy.
- Salt – Just a pinch of salt balances out the sweetness and enhances the overall flavor of the marshmallows.
- Vanilla Extract – Adds a subtle warmth and classic flavor to the marshmallow.
- Powdered Sugar – This prevents the marshmallows from being too sticky and makes them easier to handle.
While it may seem intimidating, making your own marshmallows actually isn’t that difficult! Below, we’ve included some step-by-step photos to help you make them perfectly every time.
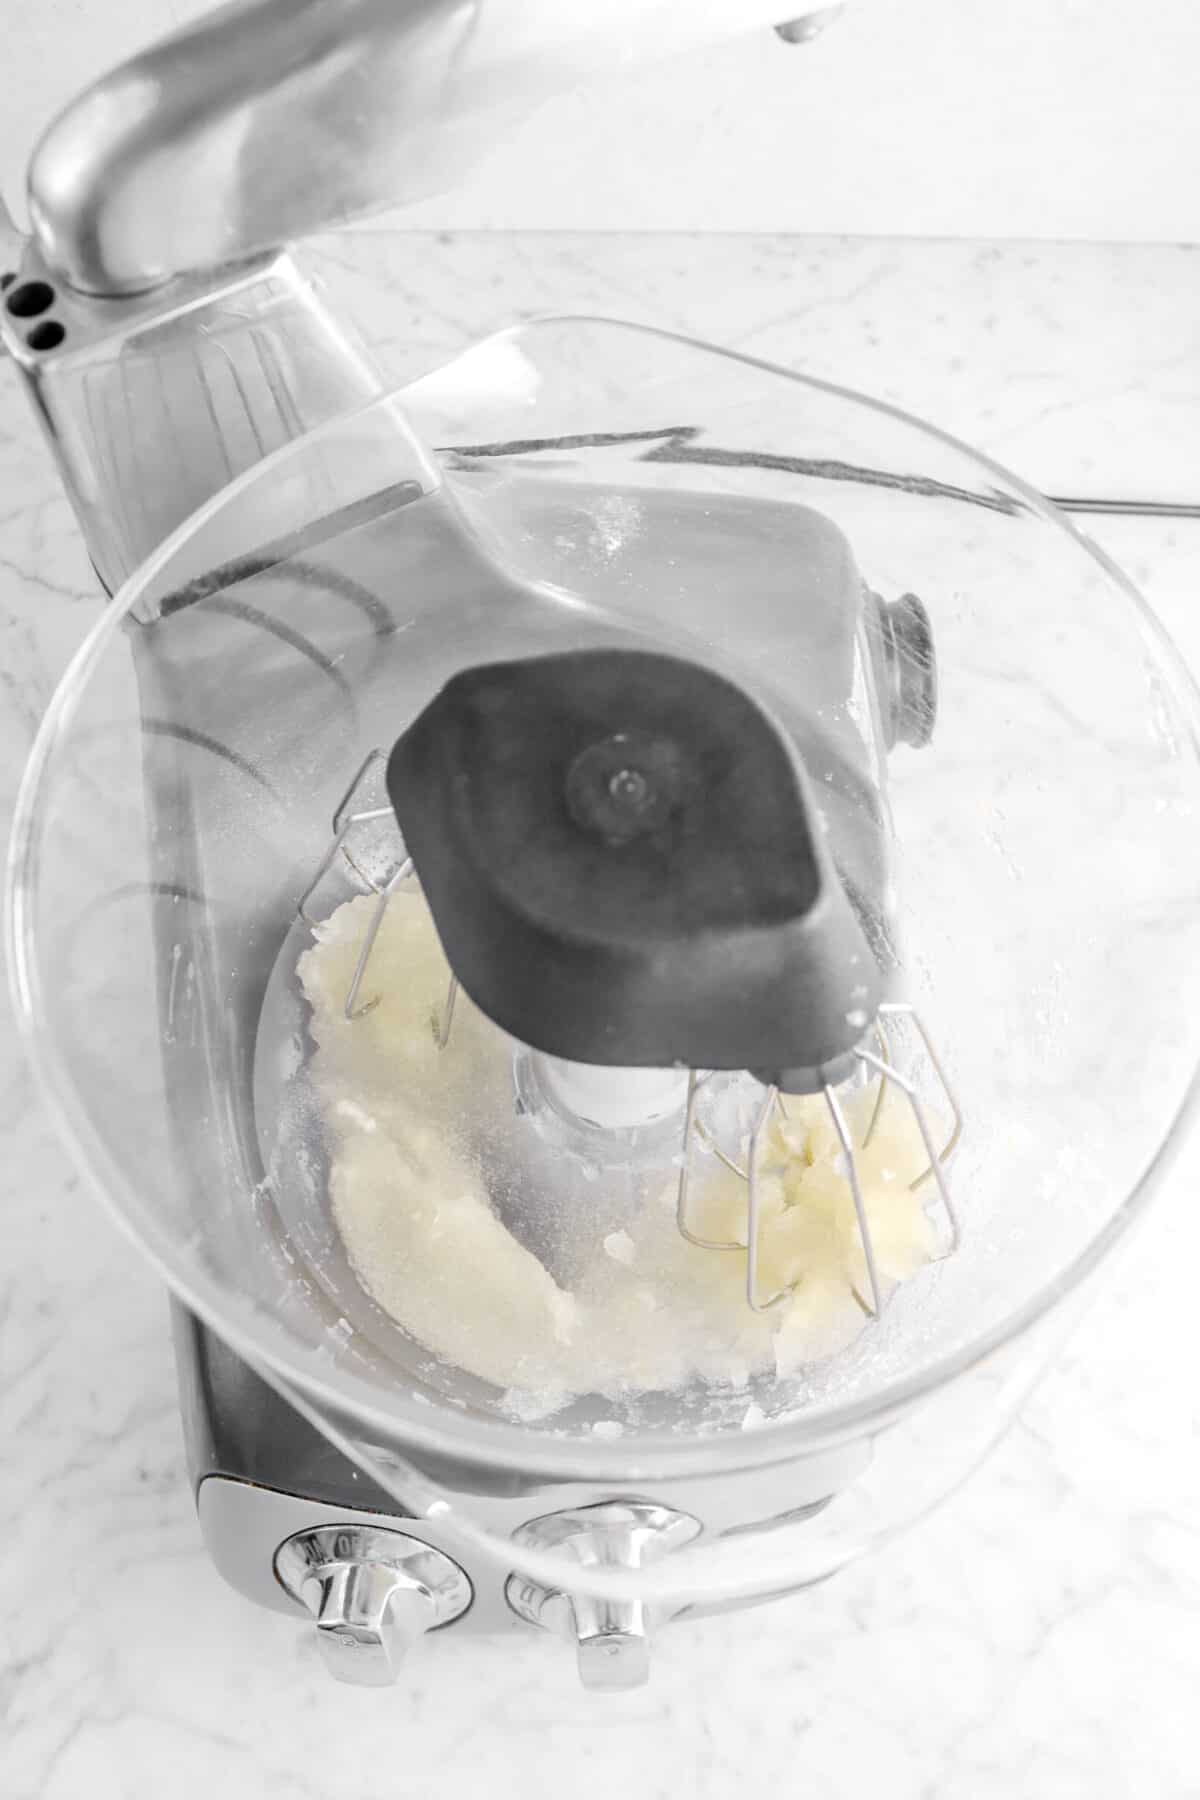
In a heat resistant mixing bowl, combine the water and gelatin. It’s important you use a stand mixer for this recipe, as consistent whipping in key to the perfect marshmallow!
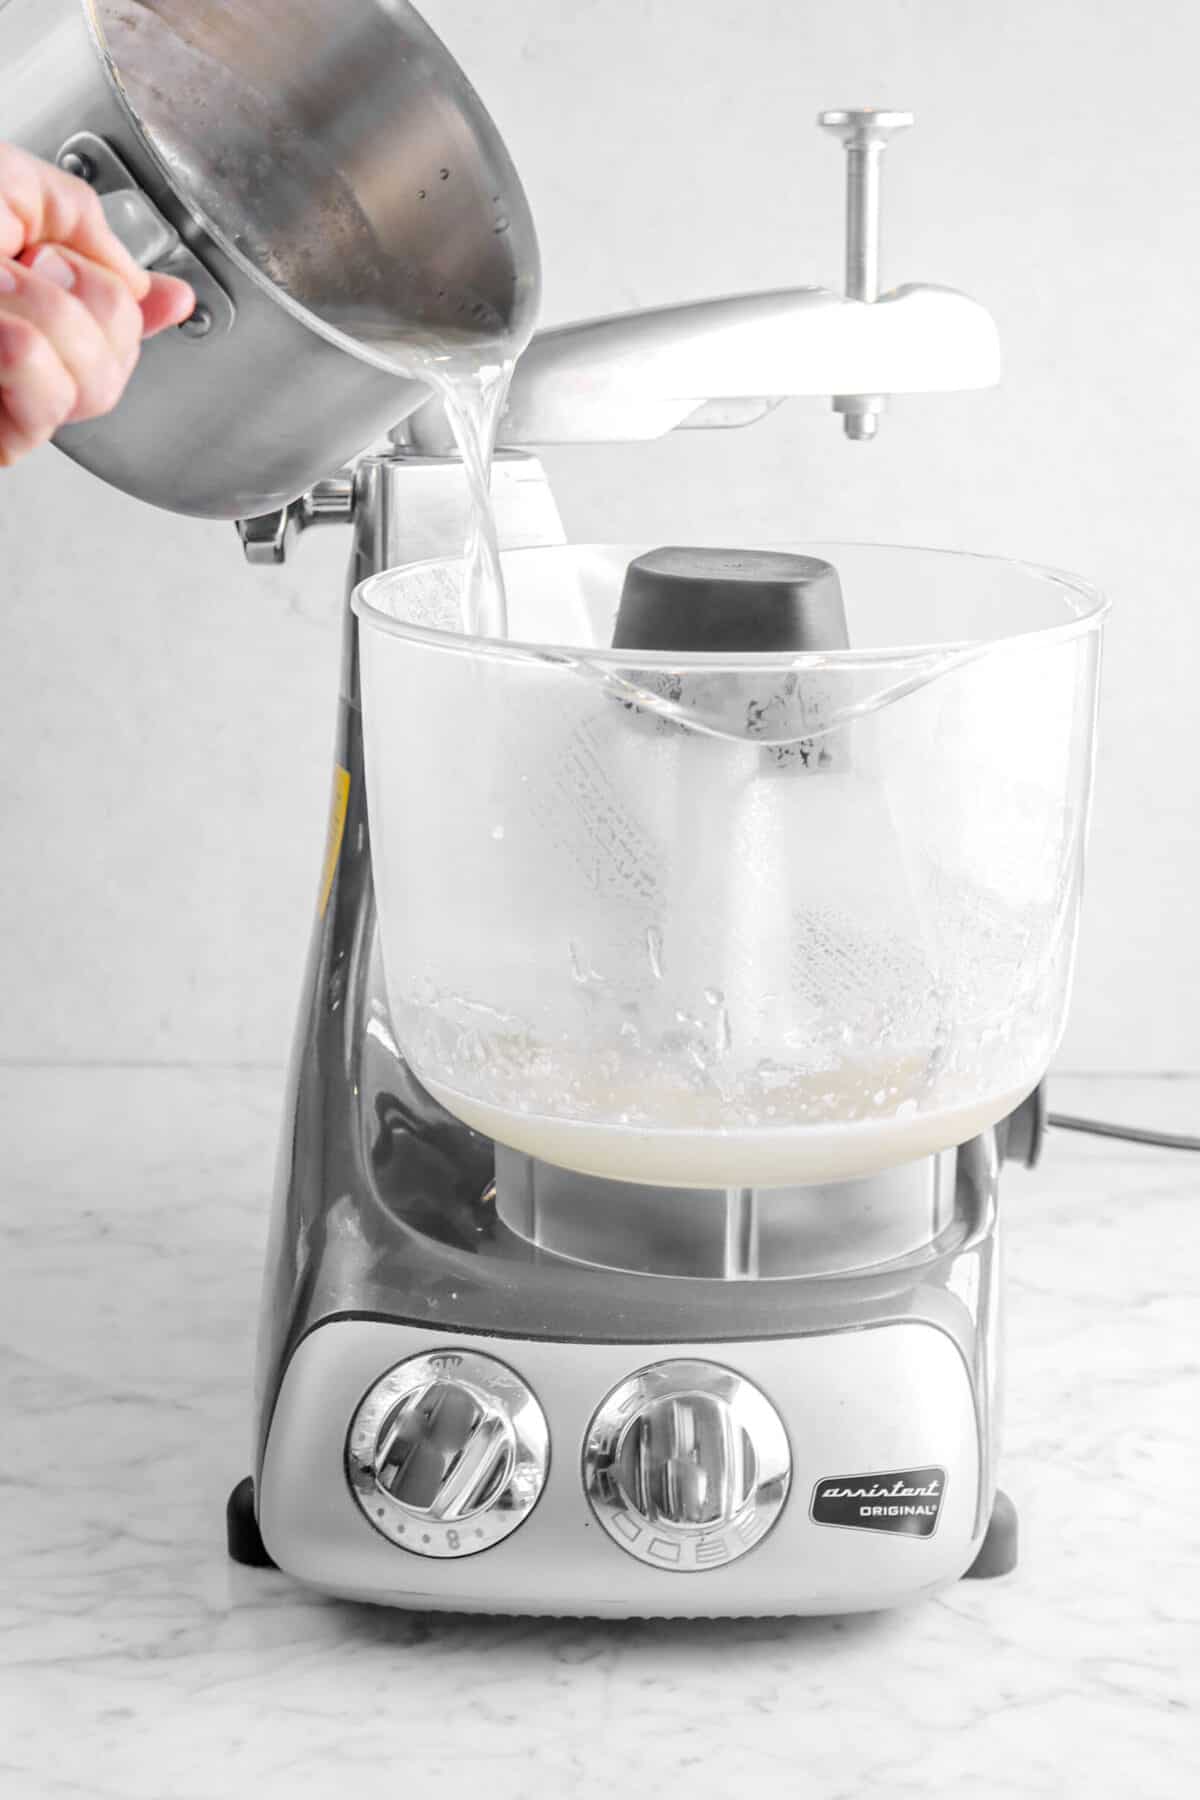
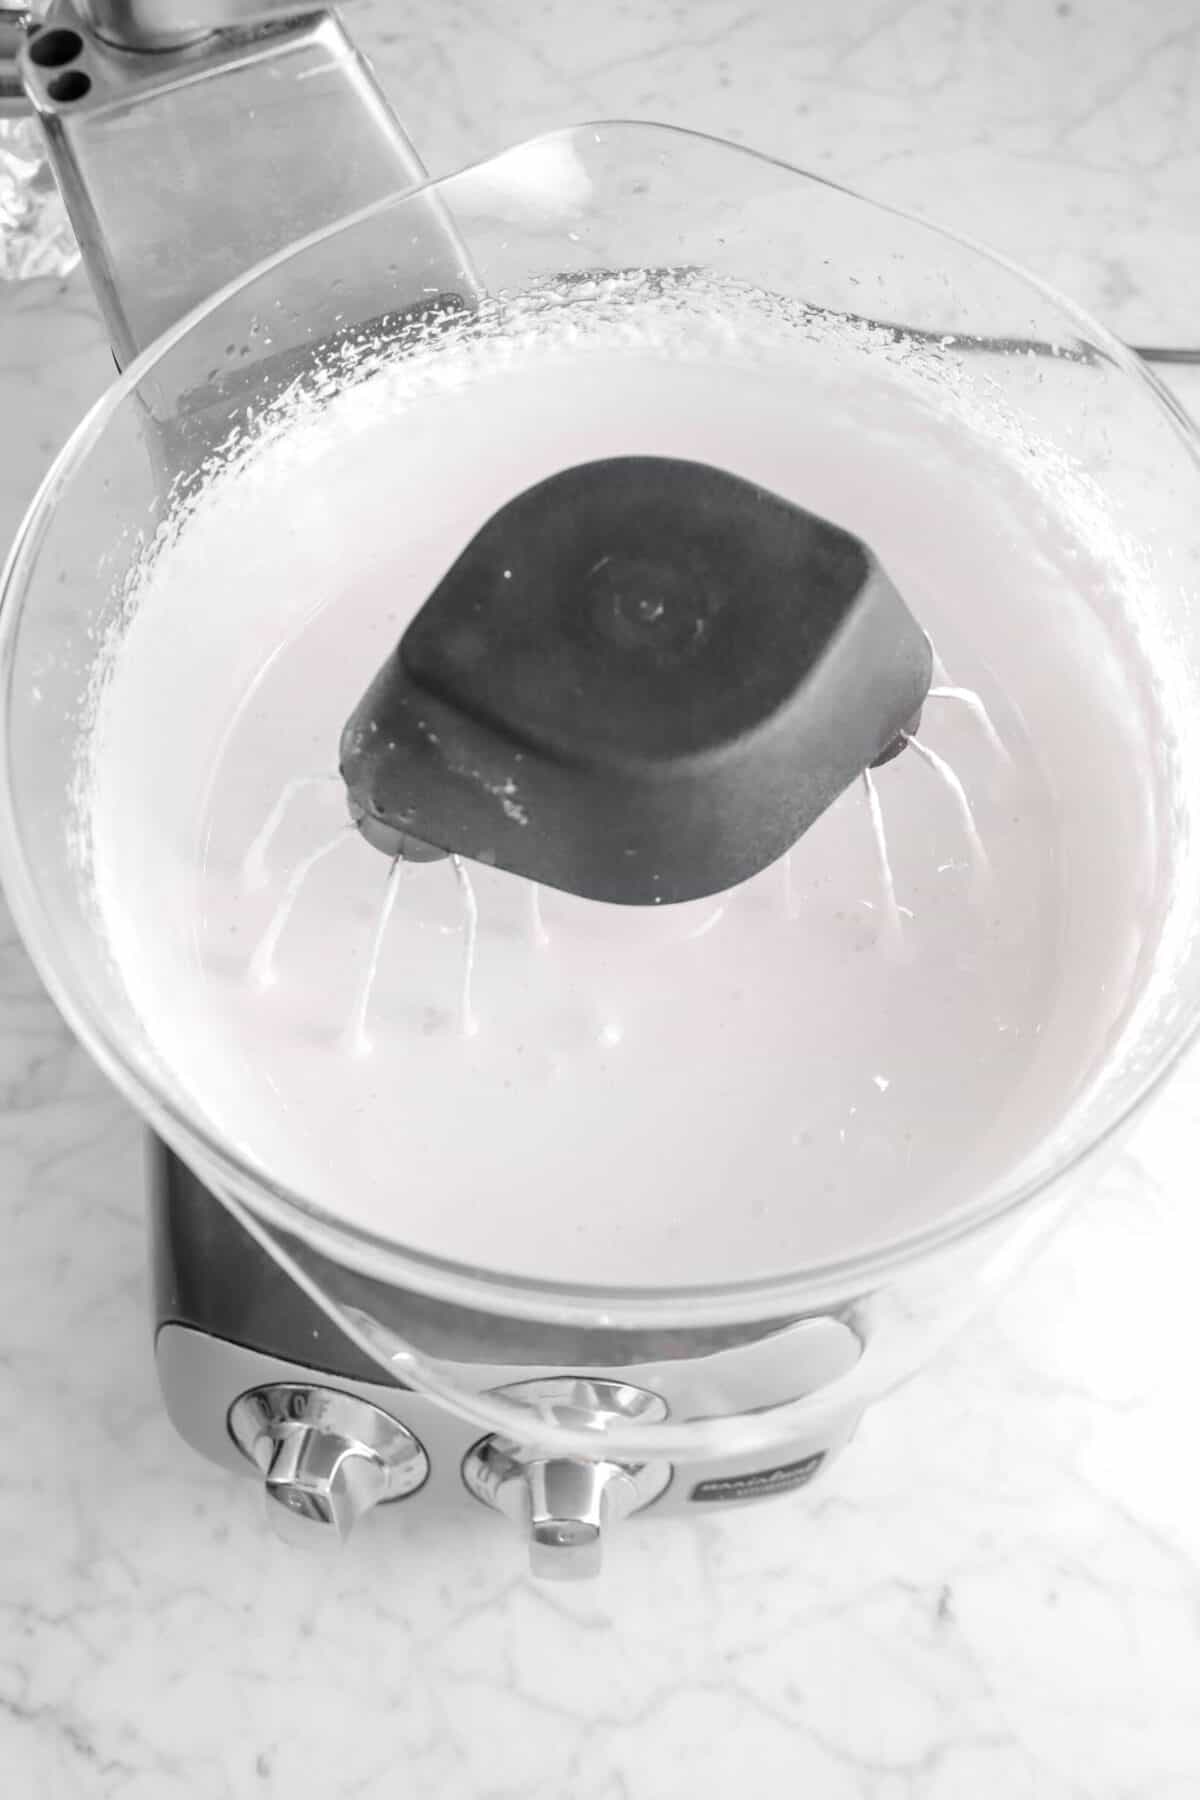
Once the gelatin and water are mixed, heat water and sugar t0 240°F/116℃. With the mixer running, slowly stream the sugar into the gelatin mixture. Beat until the mixture reaches stiff peaks. Stir in the vanilla.
Spoon the mixture into a prepared pan and dust with powdered sugar. Press out until level and set aside to set.
⊹ A Quick Tip! ⊹
Want the marshmallow to set faster? Place it in the fridge for an hour, or until set.

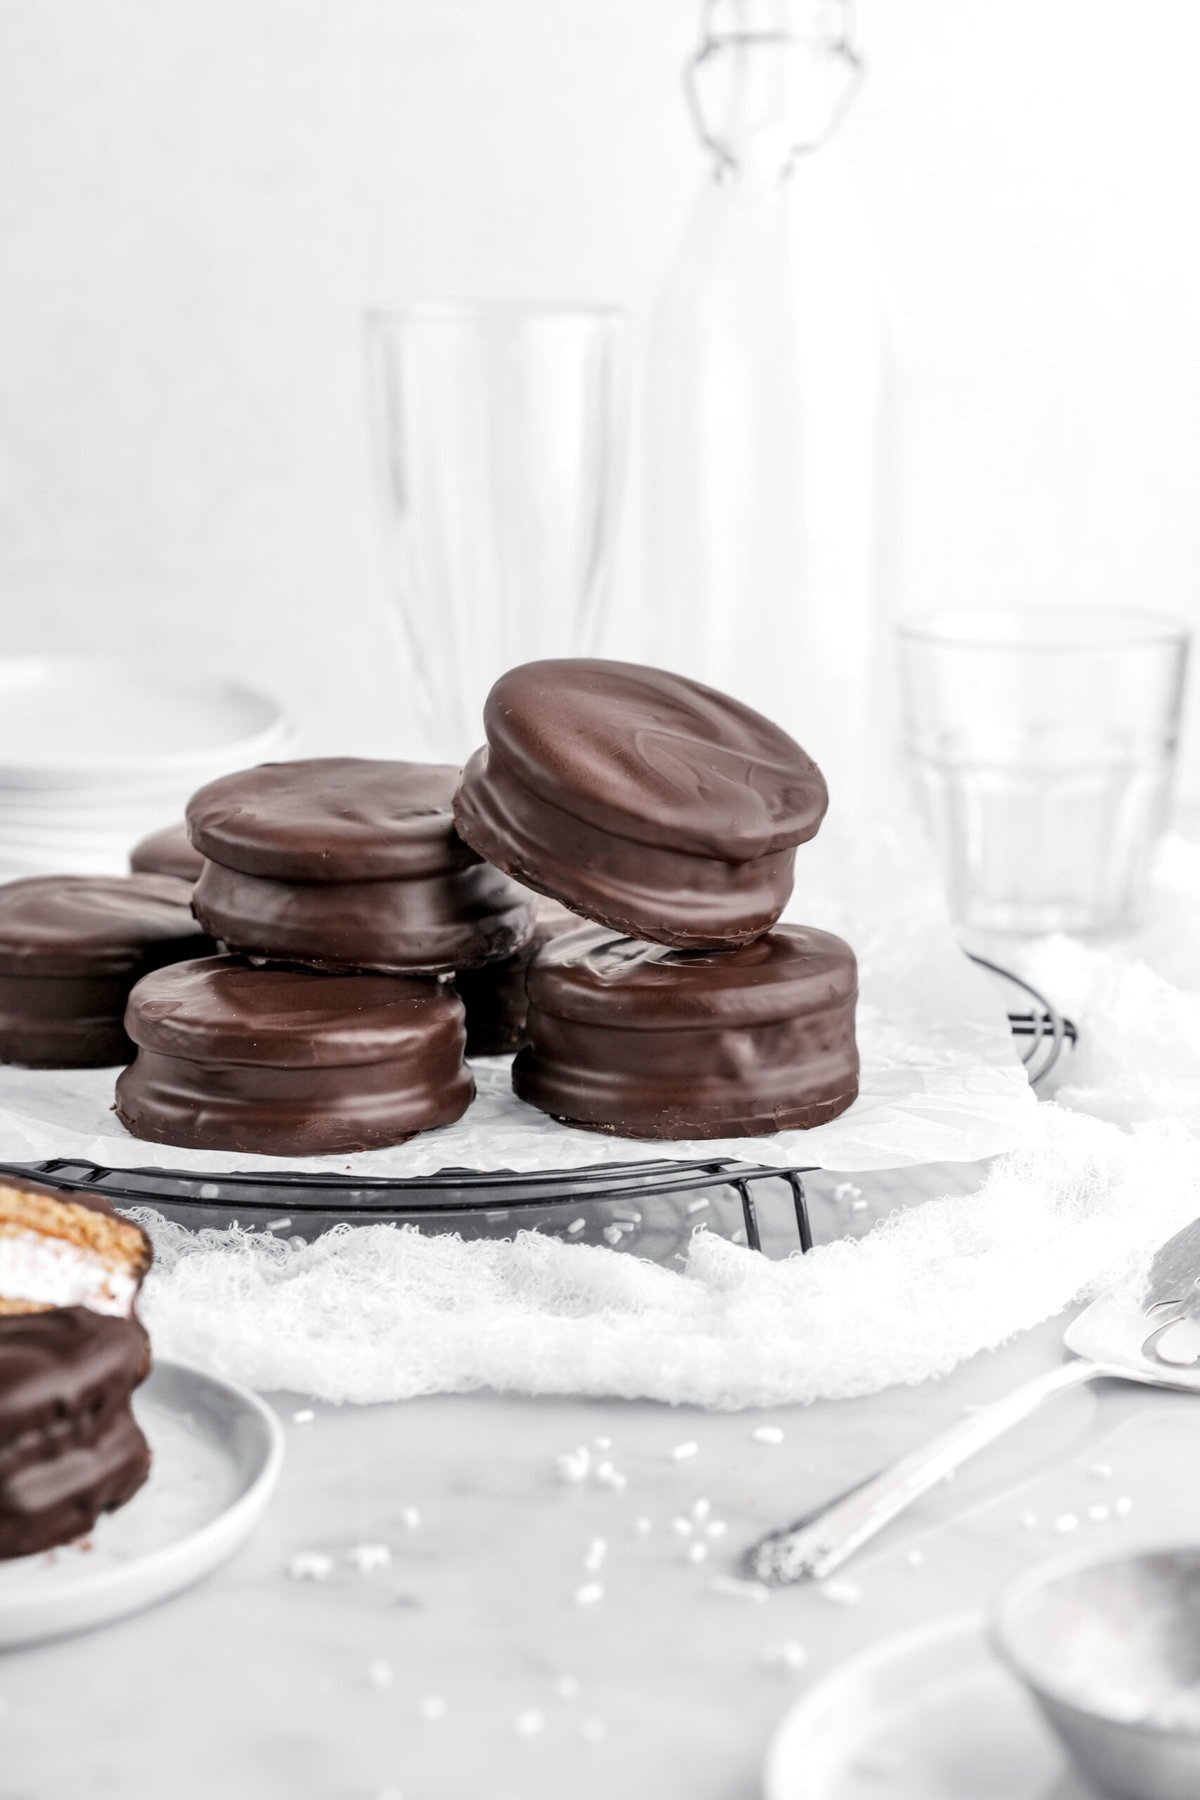
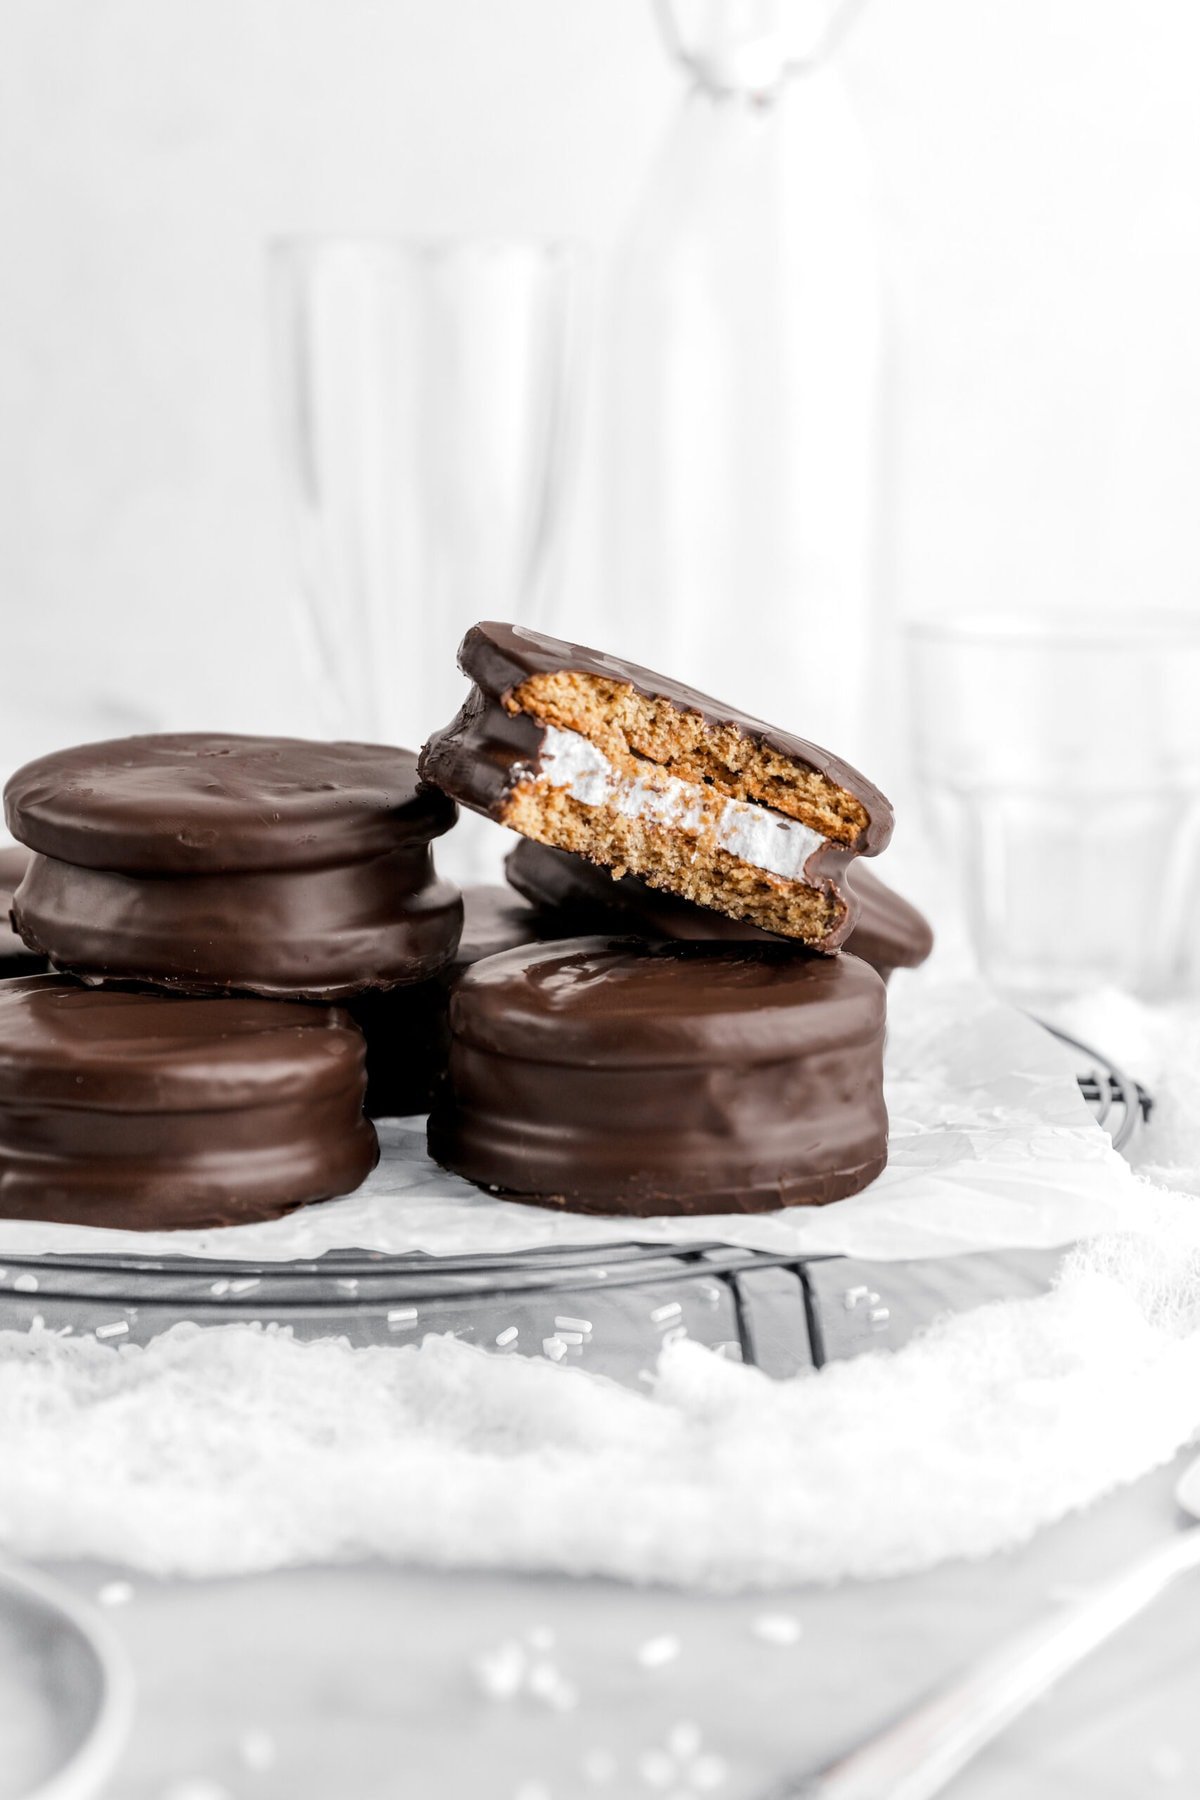
For us, one of the most important parts about getting this recipe right (other than the flavor, of course!) was the iconic dip around the middle of each cookie. To achieve this, we used a cutter that was just a little bit smaller than the cookie. That way, when these cookies are dunked in chocolate, they have that iconic dip in the middle!
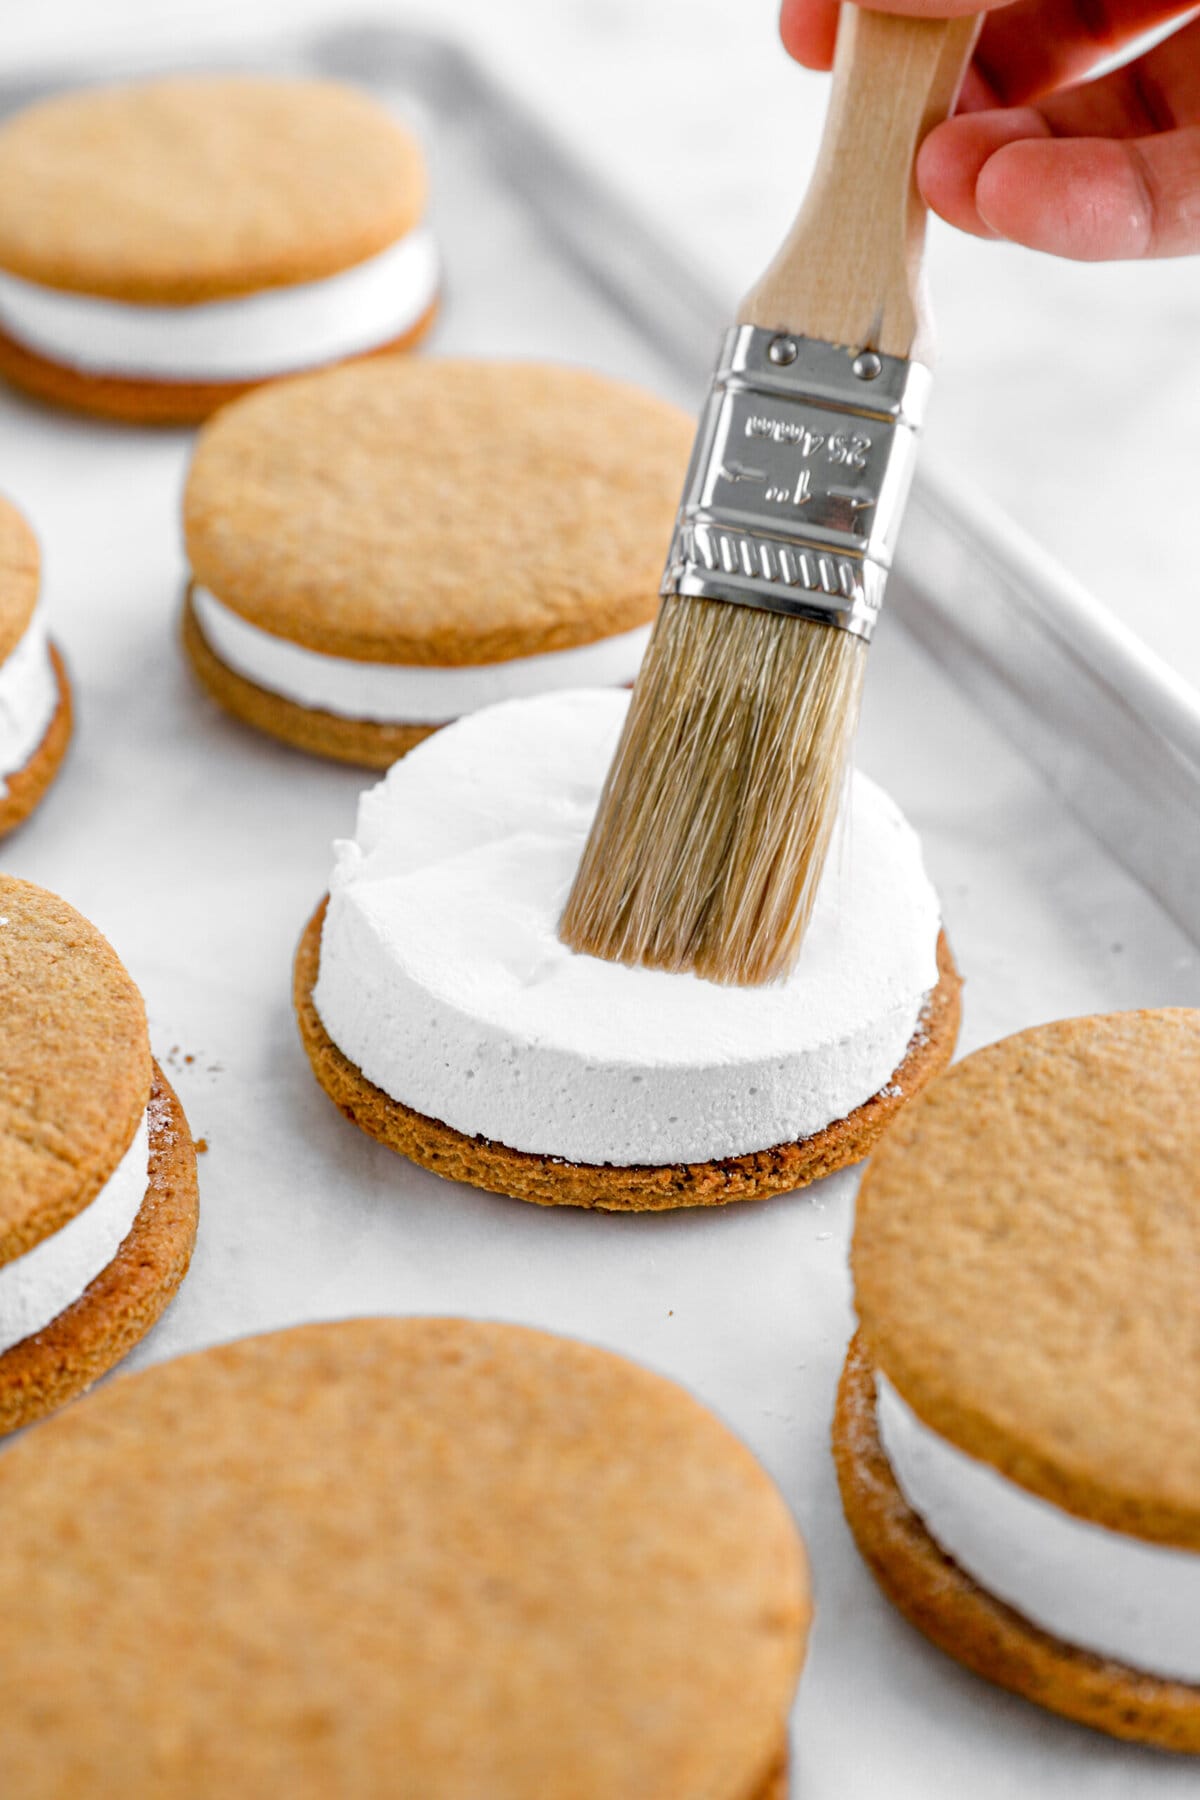
How Do We Keep The Cookies Together? It’s Simple!
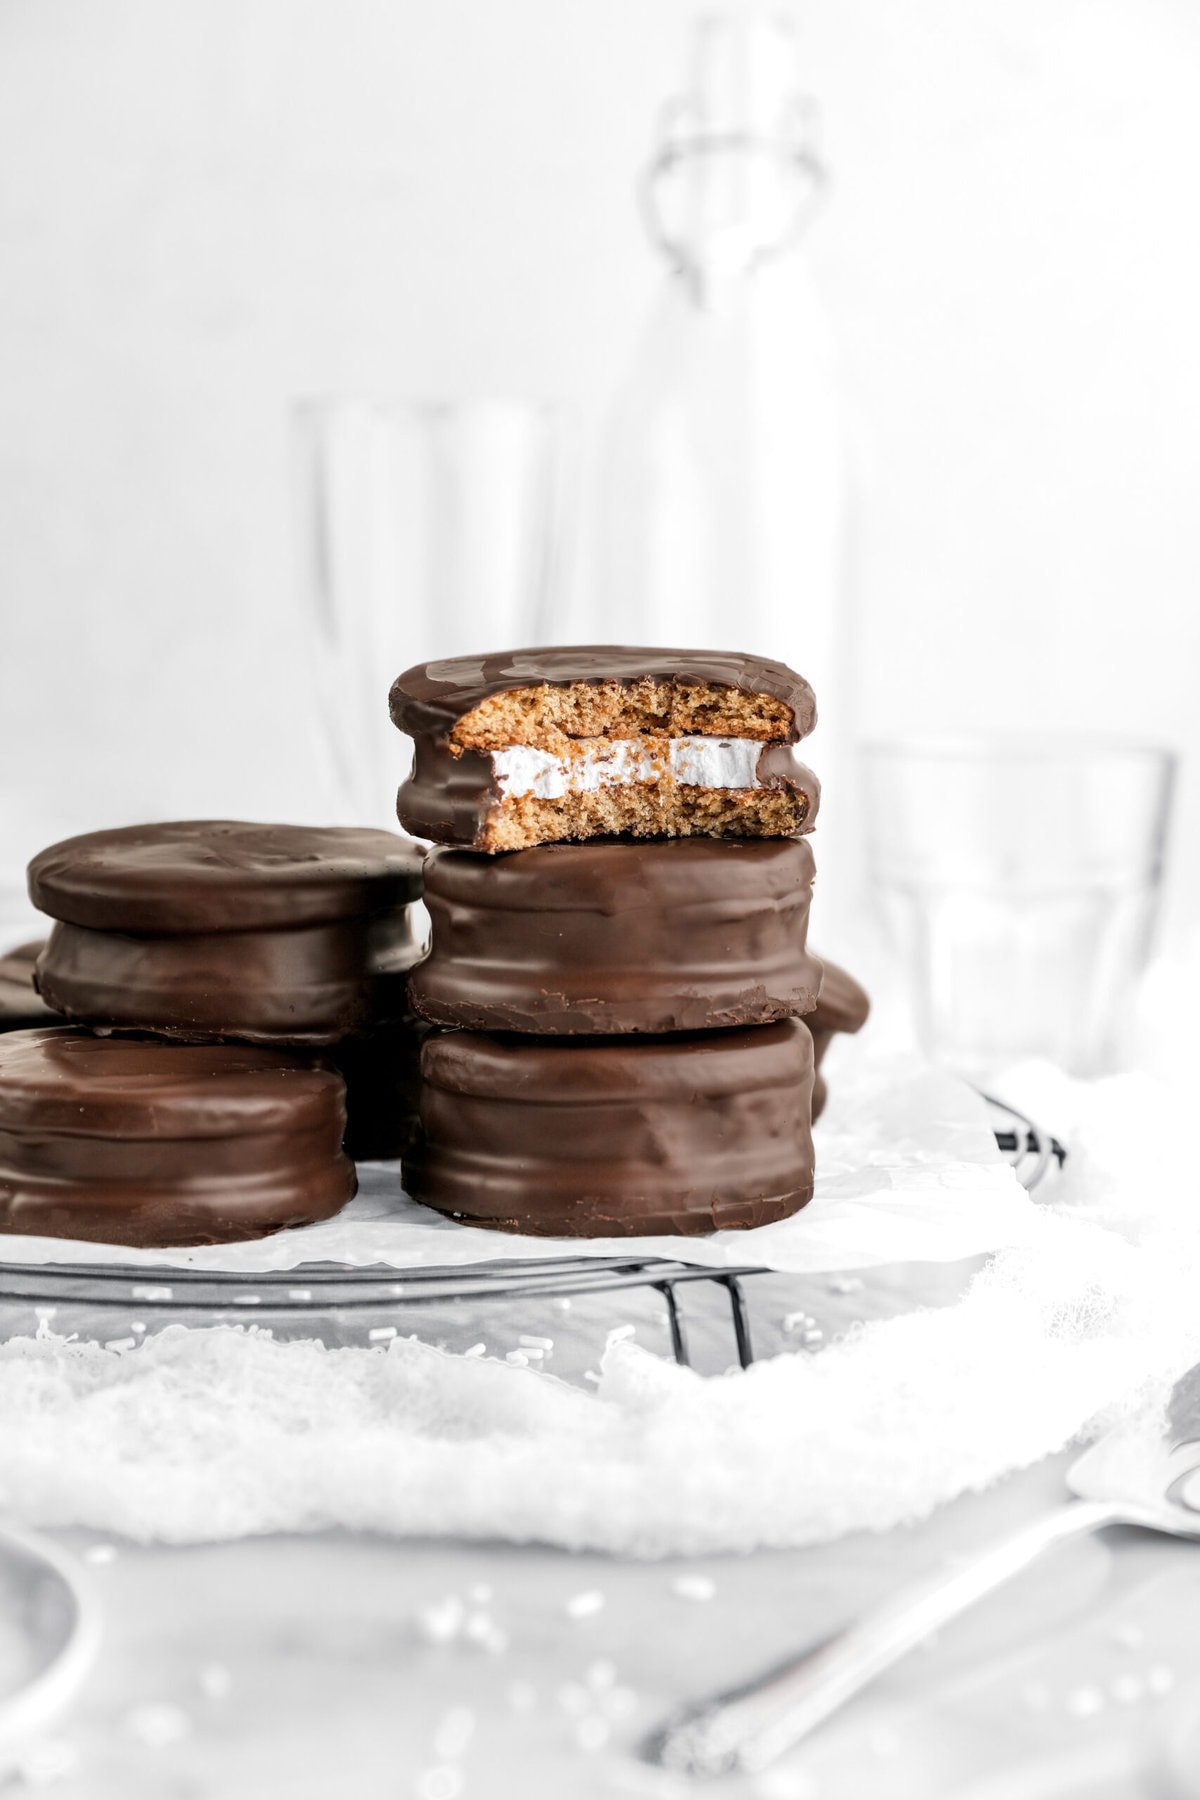
When we were testing this recipe, one of the biggest struggles we had was keeping the sandwich together when dipping in chocolate. We tried a variety of different tricks with varying success. The only trick that worked consistently was brushing each side of marshmallow with just a little bit of water before sandwiching it between the cookies!
From there, wait a few moments and then dip! It worked every time and keeps the cookie stuck to the marshmallow long enough for the chocolate to solidify!
Tempering Chocolate vs Melting Chocolate
The chocolate coating on these sandwich cookies could make or break your treat!
The first thing you need to know is that using a high quality chocolate is a MUST. Not only does it taste better but it also is guaranteed to set and not split/break. The chocolate you need will depend on what flavor you prefer. If you want a sweeter treat, you can use milk chocolate for the coating. If you’re looking for something a little less sweet, we recommend using dark chocolate or bittersweet.
Now that that’s out of the way, let’s talk about tempered vs melted chocolate.
Both will work for this recipe BUT there are great things and drawbacks to both. So, here’s a quick breakdown of each.
Melted Chocolate Pros & Cons
- Pros: Pretty much effortless to do, ready in about a minute, can easily be remelted if needed, can be melted in the microwave or over the stove.
- Cons: Chocolate melts quickly when held, no crisp coating, chocolate may bloom after a day or so.
Tempered Chocolate Pros & Cons
- Pros: The coating doesn’t melt when held, won’t bloom, has a crisp coating, and a gorgeous shiny exterior, and you don’t need to worry about remelting.
- Cons: Can be complicated if you aren’t familiar with tempering chocolate, takes about 25 minutes, needs to be done with a machine or by hand, has to be held at a consistent temperature for dipping, different types of chocolate need to be tempered at different temperatures.

✳ Recipe FAQ’s
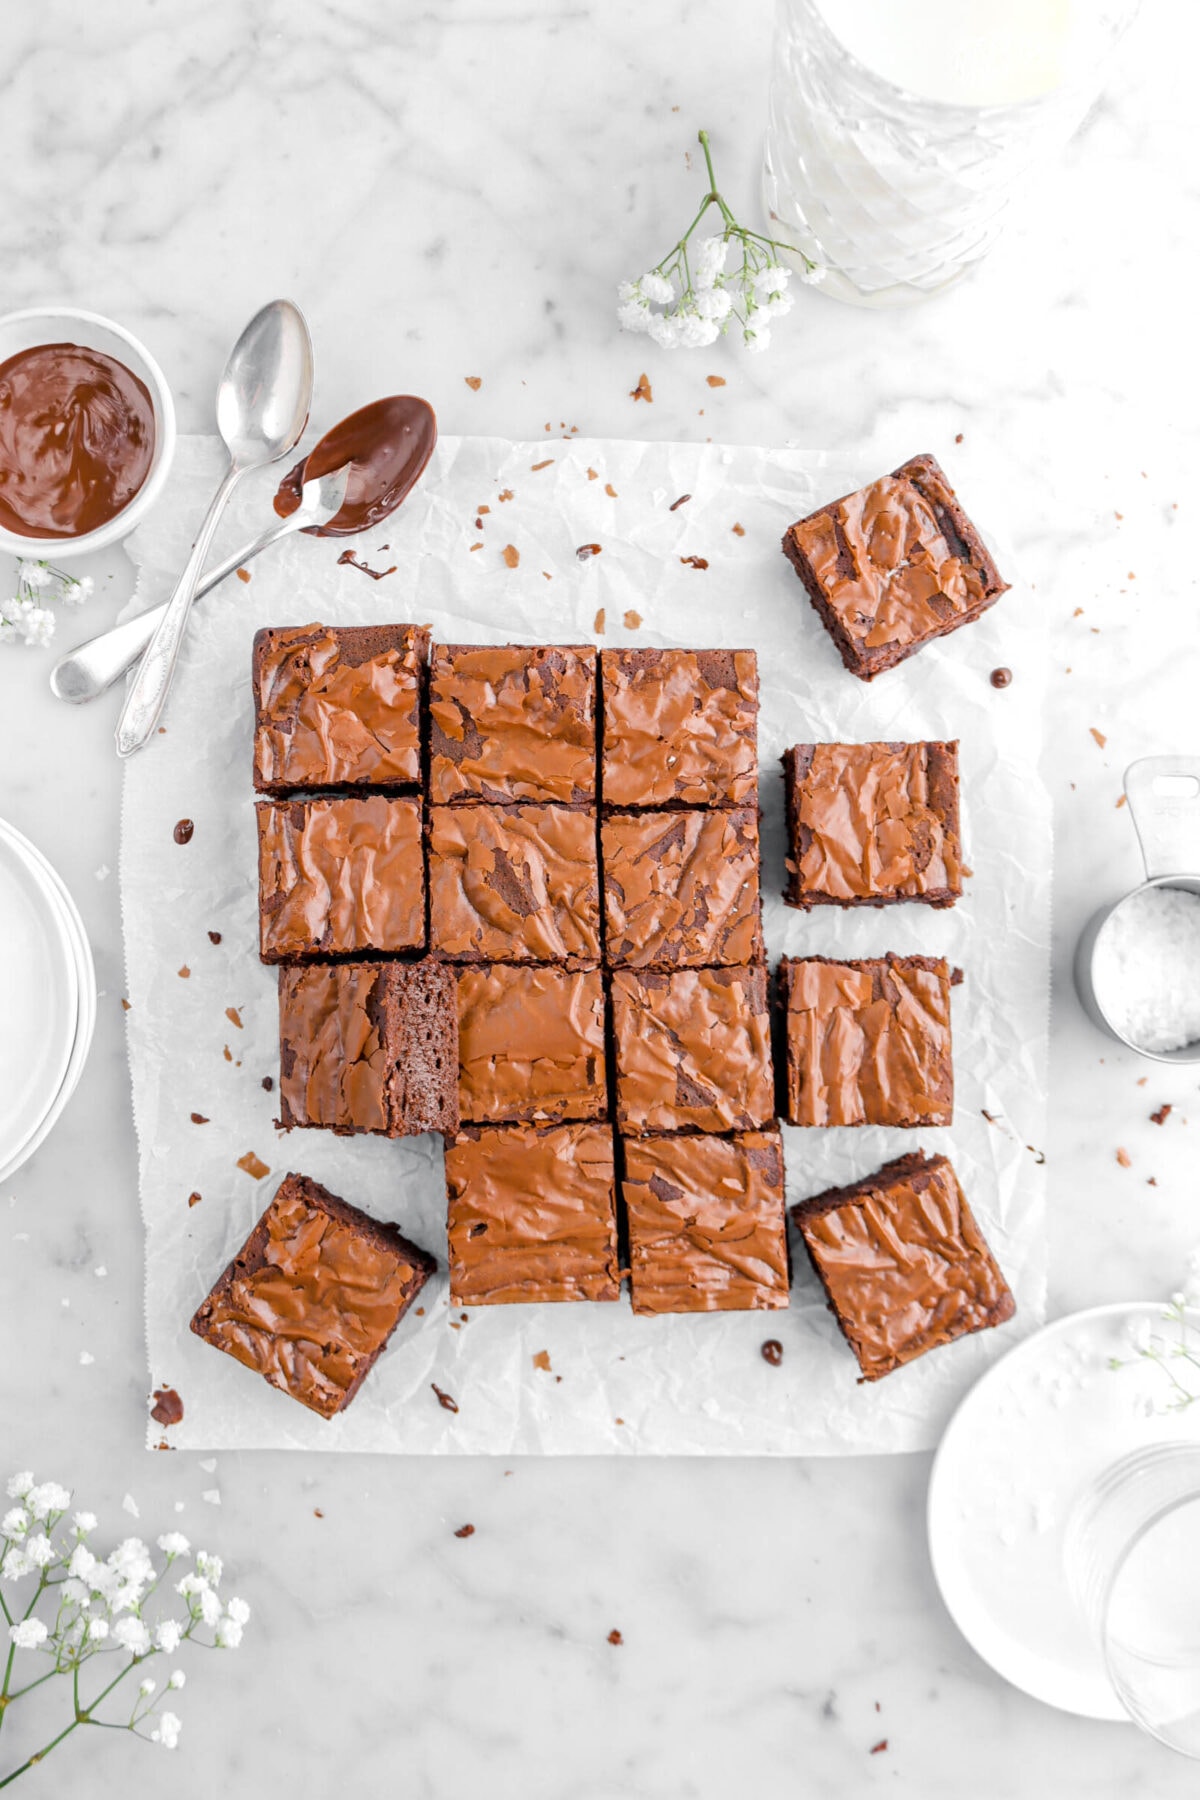
More Recipes You Will Love
When you make these The Best Homemade Moon Pies, leave a comment down below! We love hearing from you and answering any questions you might have! Also, be sure to tag us on social media and hashtag it #BakersTable.
Happy baking!
x, Caylie
The Best Homemade Moon Pies
Ingredients
Graham Cracker Cookies
- 3 cups oat flour
- ½ cup whole wheat flour
- ½ cup all purpose flour
- 2 Tablespoons wheat germ
- ¼ cup brown sugar, firmly packed
- ⅓ teaspoon salt
- ½ teaspoon baking powder
- ⅔ teaspoon baking soda
- 10 Tablespoons unsalted butter, cold
- ½ cup water
- ⅓ cup honey
- 1 teaspoon vanilla extract
Marshmallow Filling
- 3 Tablespoons unflavored gelatin
- 1 cup water, divided
- 1½ cups granulated sugar
- 1 cup corn syrup
- ¼ teaspoon salt
- 1 Tablespoon vanilla extract
- powdered sugar
Chocolate Coating
- 2 cups bittersweet chocolate, tempered
Instructions
Graham Cracker Cookies
- Heat oven to 350℉/177℃.
- Line 2 sheet pans with parchment paper. Set aside.
- In a large bowl, whisk oat, whole wheat, and all purpose flours, wheat germ, brown sugar, salt, baking powder, and baking soda together.
- Grate butter into flour mixture.
- Stir to coat.
- Add water, honey, and vanilla.
- Mix until all dry ingredients are incorporated. (They dough is very stiff.)
- Roll to ⅜ inch thick on a non-stick surface (silicone mat, parchment paper, marble). To make rolling easier, you can cover the top of the dough with a piece of parchment paper.
- Use a 3½ inch cutter to cut out cookies, re-rolling scraps until you have used all the dough (28 cookies).
- Place cookies on prepared pans.
- Bake for 15 minutes. They should still be slightly soft and just barely starting to brown.
Marshmallow Filling
- Line a sheet pan with parchment paper.
- Spray with cooking spray.
- Sift a generous amount of powdered sugar over bottom and on sides. Set aside.
- In the bowl of a stand mixer fitted with the whisk attachment, bloom gelatin in ½ cup of the water.
- Combine sugar, corn syrup, salt, and the remaining ½ cup of water in a small saucepan.
- Heat over medium low heat, stirring continuously, until sugar has dissolved.
- Increase heat to medium – medium-high.
- Bring to a boil, while stirring.
- Once it boils, stop stirring and brush down the sides with a pastry brush dipped in water.
- Let it cook, without stirring, until it reaches 240℉/116℃ (soft ball stage).
- With the mixer running, pour hot syrup over gelatin.
- Increase speed to high.
- Beat to stiff peaks.
- Beat in vanilla.
- Spread evenly in prepared pan.
- Sift a generous amount of powdered sugar over the top.
- Refrigerate until set, about 1 hour.
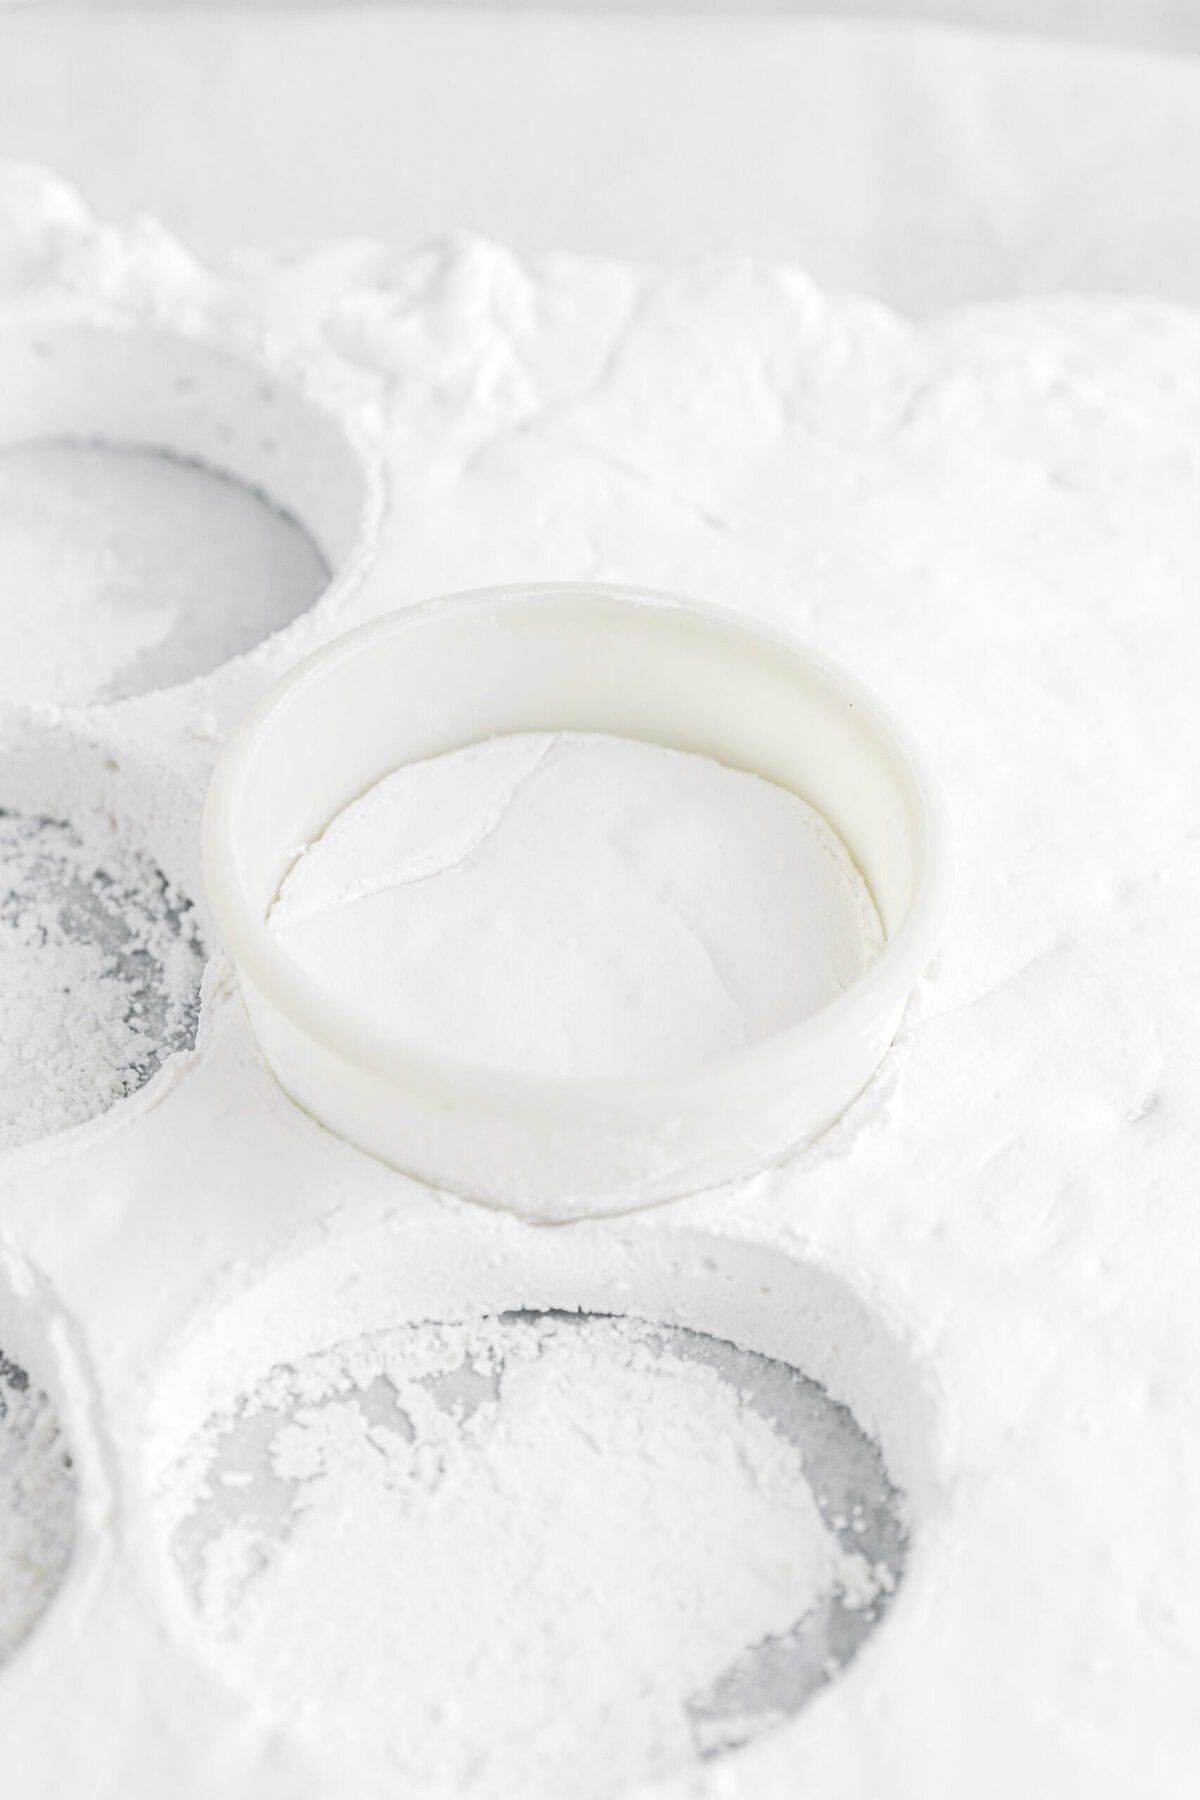
Assembly
- Use a 3 inch cutter to cut the marshmallow.
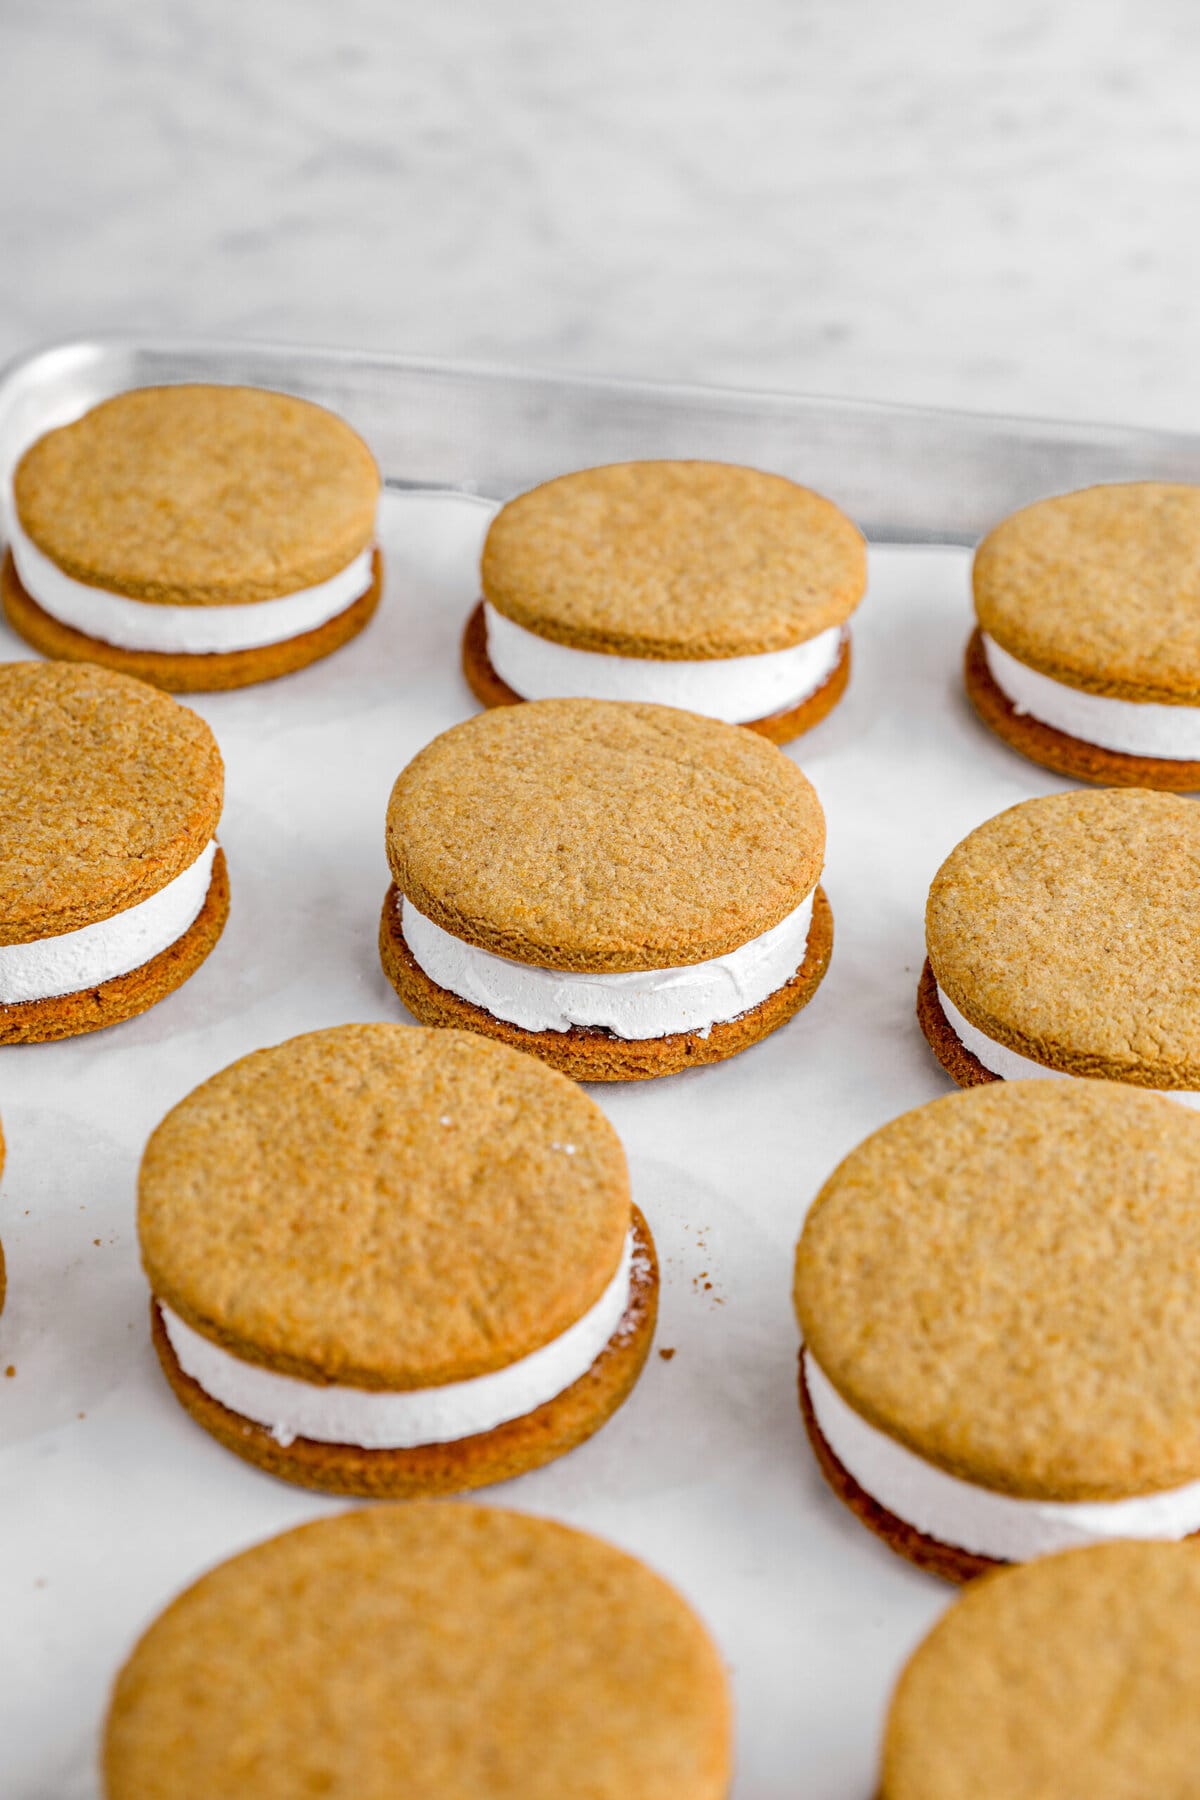
- Turn half the cookies with the bottoms up.
- Use a pastry brush to brush the excess powdered sugar off the marshmallows and place one on top of each cookie.
- Top with the other half of cookies. (If you brush a small amount of water on each side of the marshmallow, it will help it stick to the cookies.
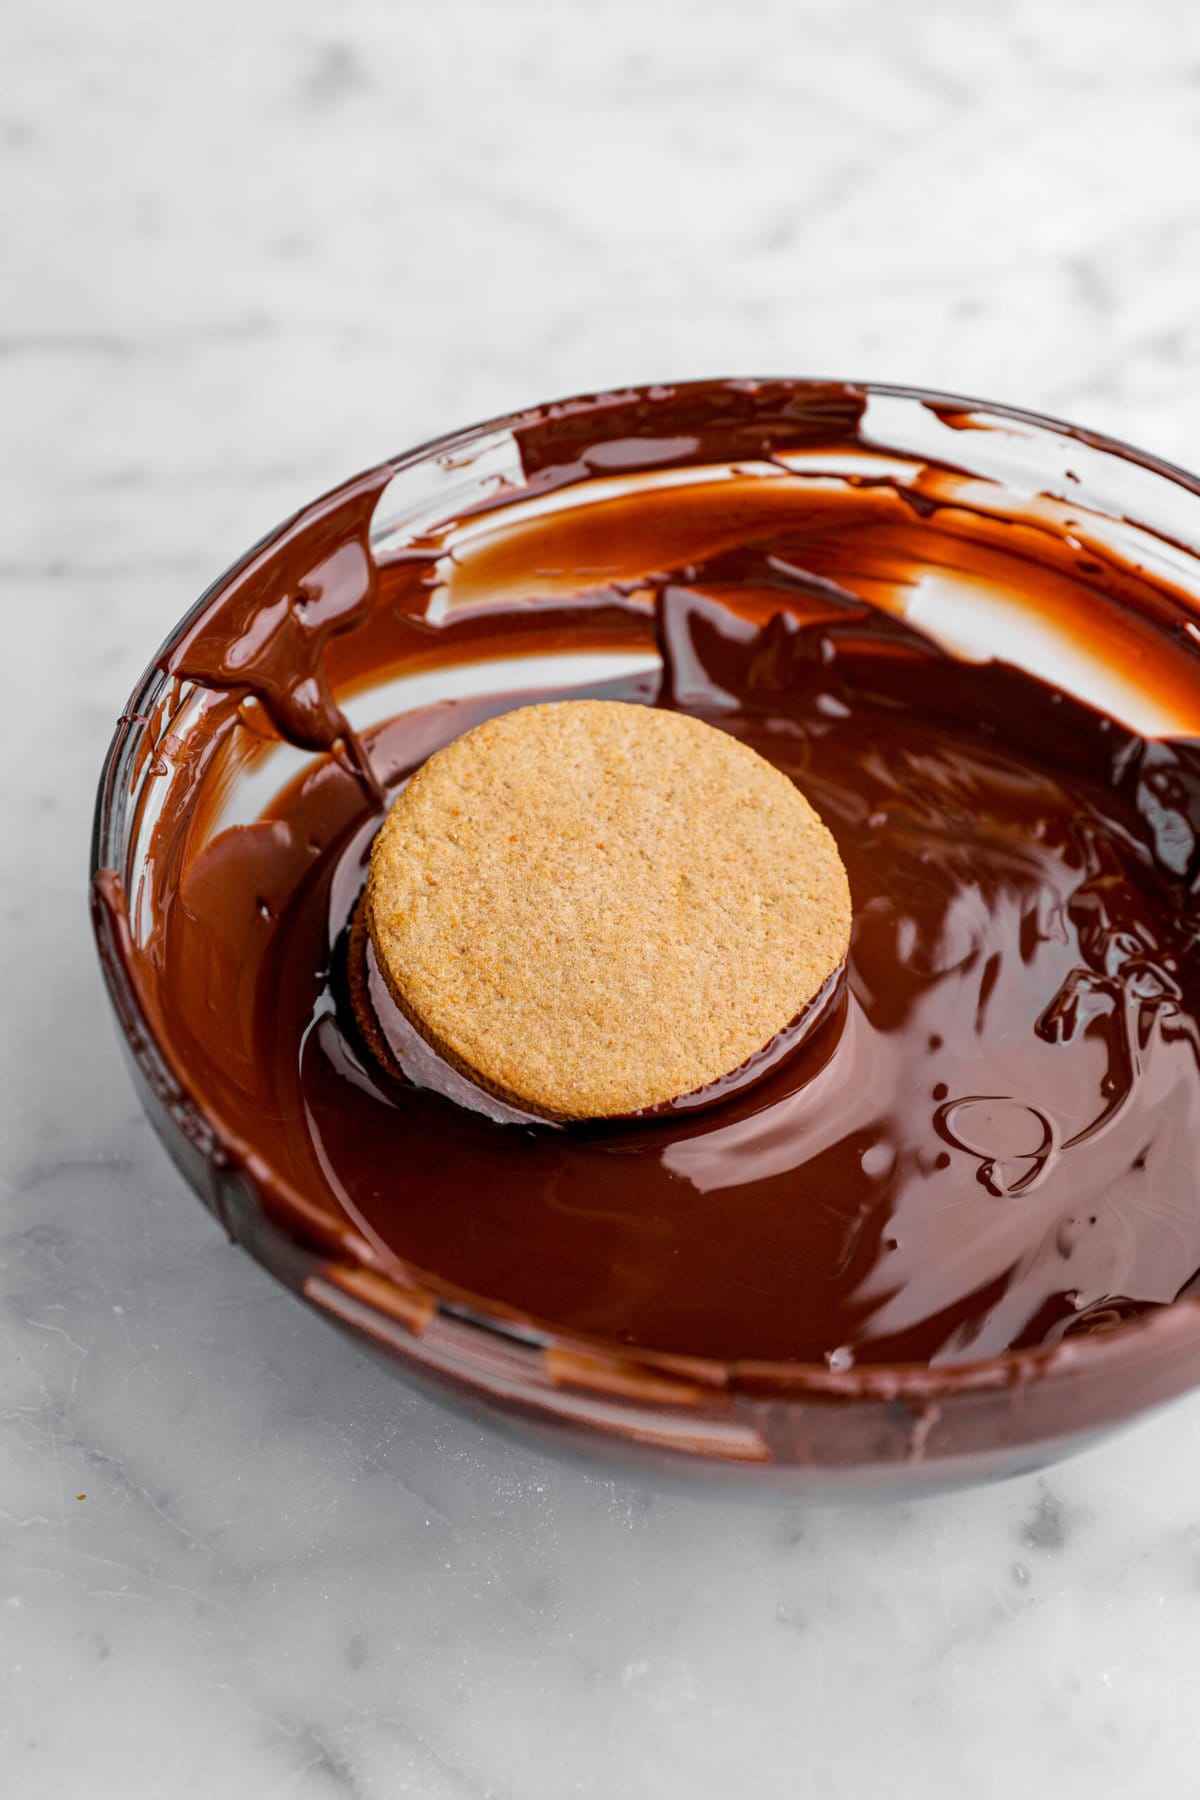
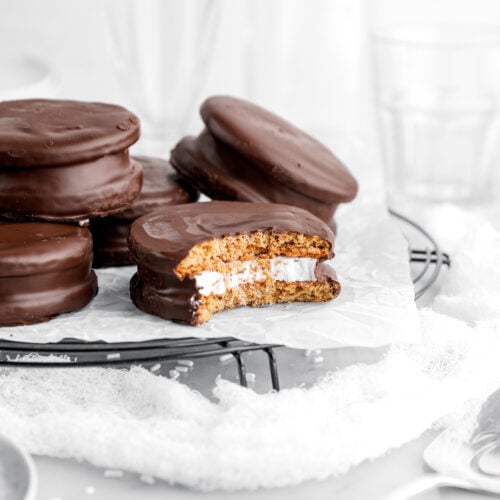
- Dip each sandwich in tempered chocolate.
- Place on parchment paper to dry.
Notes + Tips!
- Use an oven thermometer to ensure accurate cooking temperatures.
- If you don’t want to temper the chocolate, you can just melt it. Be aware if you don’t temper it, the chocolate will melt in your hand.
Tools You May Need (affiliate links)
– Still Hungry? –
Here are a few recipes may like!


