Homemade Challah
This post may contain affiliate links, please visit our privacy policy for details.
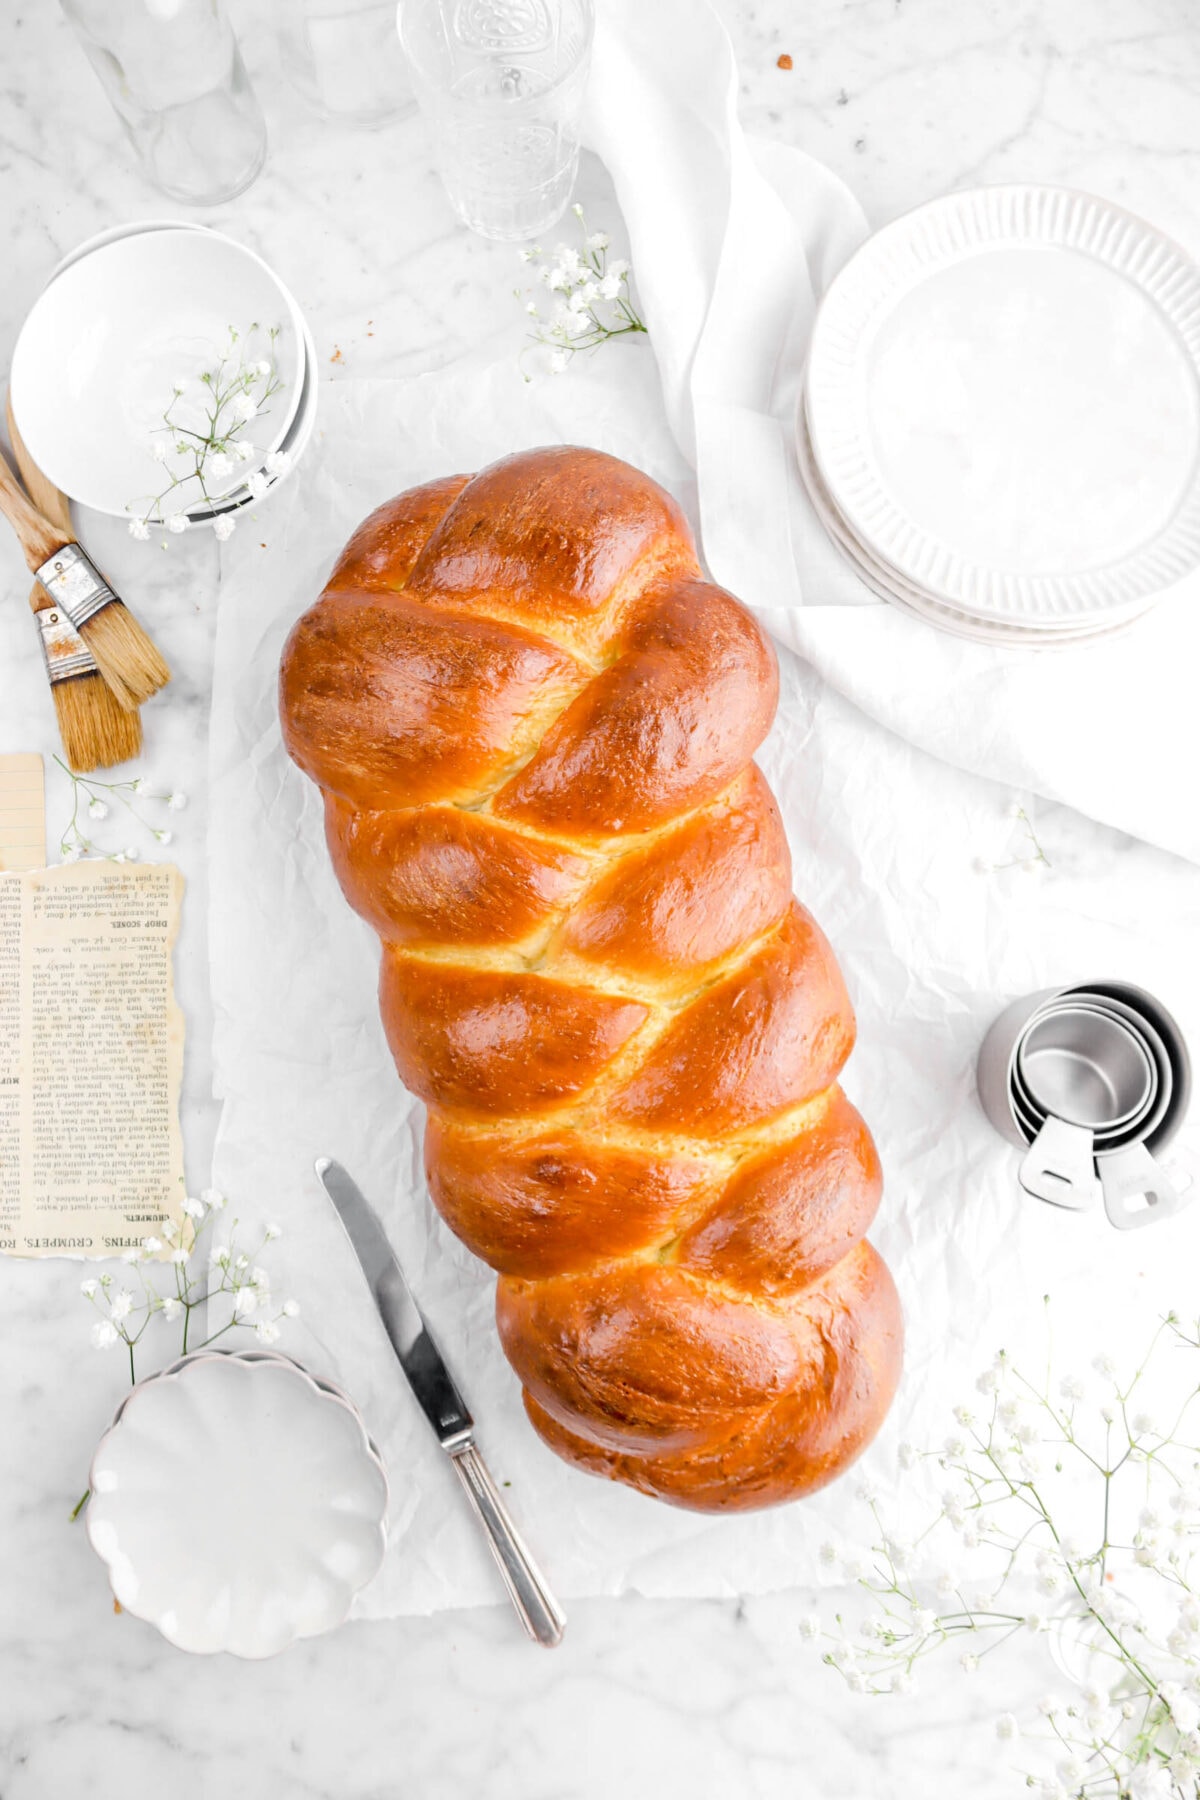
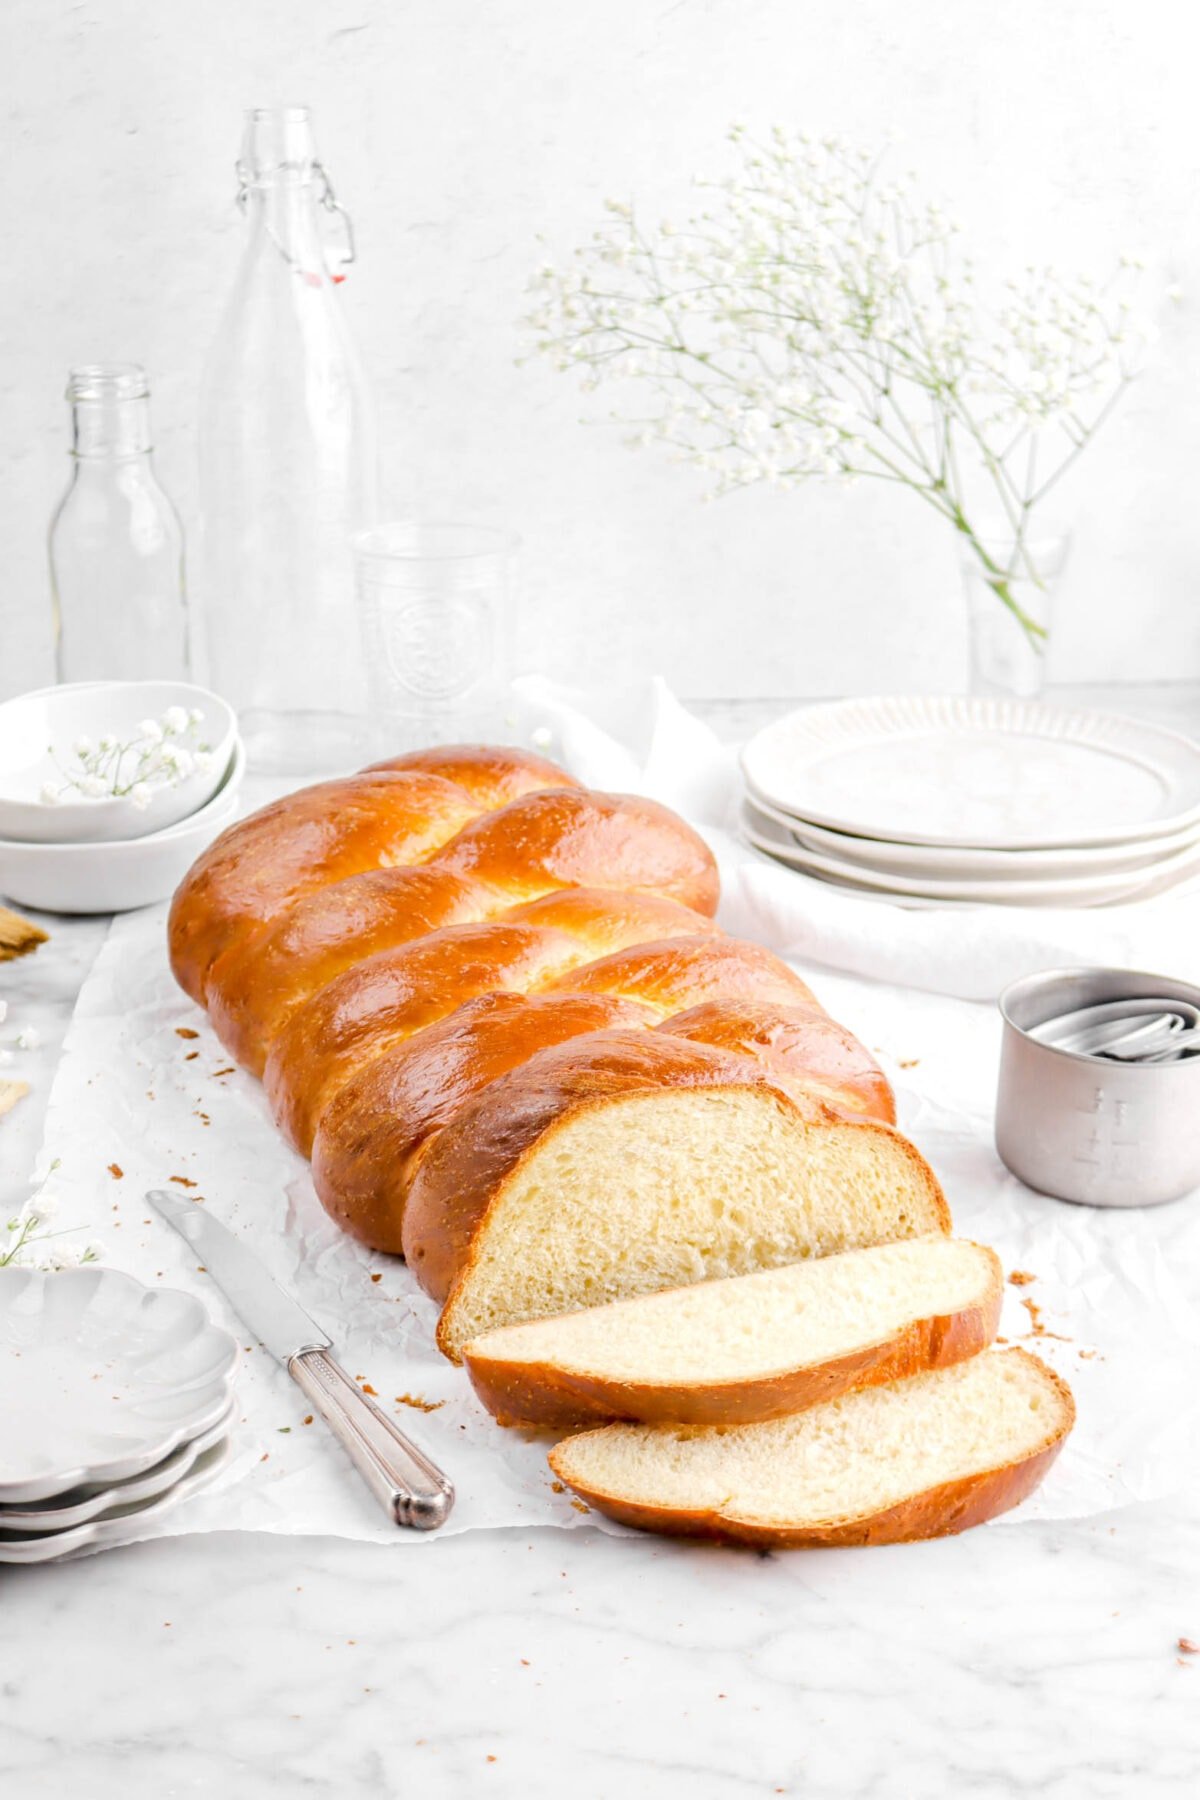
Sharing the most delicious Homemade Challah for your Wednesday baking! Such a simple loaf, made with minimal ingredients, and the perfect bake to make today or for any special occasion. Every bite of this loaf is soft, chewy, and so darn delicious! It’s a perfect loaf to serve on it’s own, but it’s also wonderfully versatile. From french toast, to casseroles, or even just as a bread for sandwiches. So simple, but oh so good!
About The Recipe
With March coming to an end and April right around the corner, we couldn’t wait to start sharing some of our favorite recipes! The first one up? Challah! It has always been something we’ve wanted to make and this year is finally the year we got to try.

Though, I will tell you right off the bat. This loaf is HUGE! About 18-20 inches long after baking. When my mom and I were test baking, it made us laugh! We had to carry it like a baby to get it from the counter to the pan or even just to pick up the loaf.
Though, the bigger the loaf, the better it is, right?
That’s been our thinking, anyways. But when it came down to the day of taking photos of this recipe, my mom sprained a muscle! She’s okay now, but the entire day, she couldn’t walk. We had already started on the challah, so I had to finish it..which was nerve-racking for sure! My mom is 100% the bread baker in the family. I can bake anything, but to be honest, bread make me nervous.
Though, even through my worries, it was was SUPER simple! I was constantly afraid of messing it up, but it turned out beautifully.
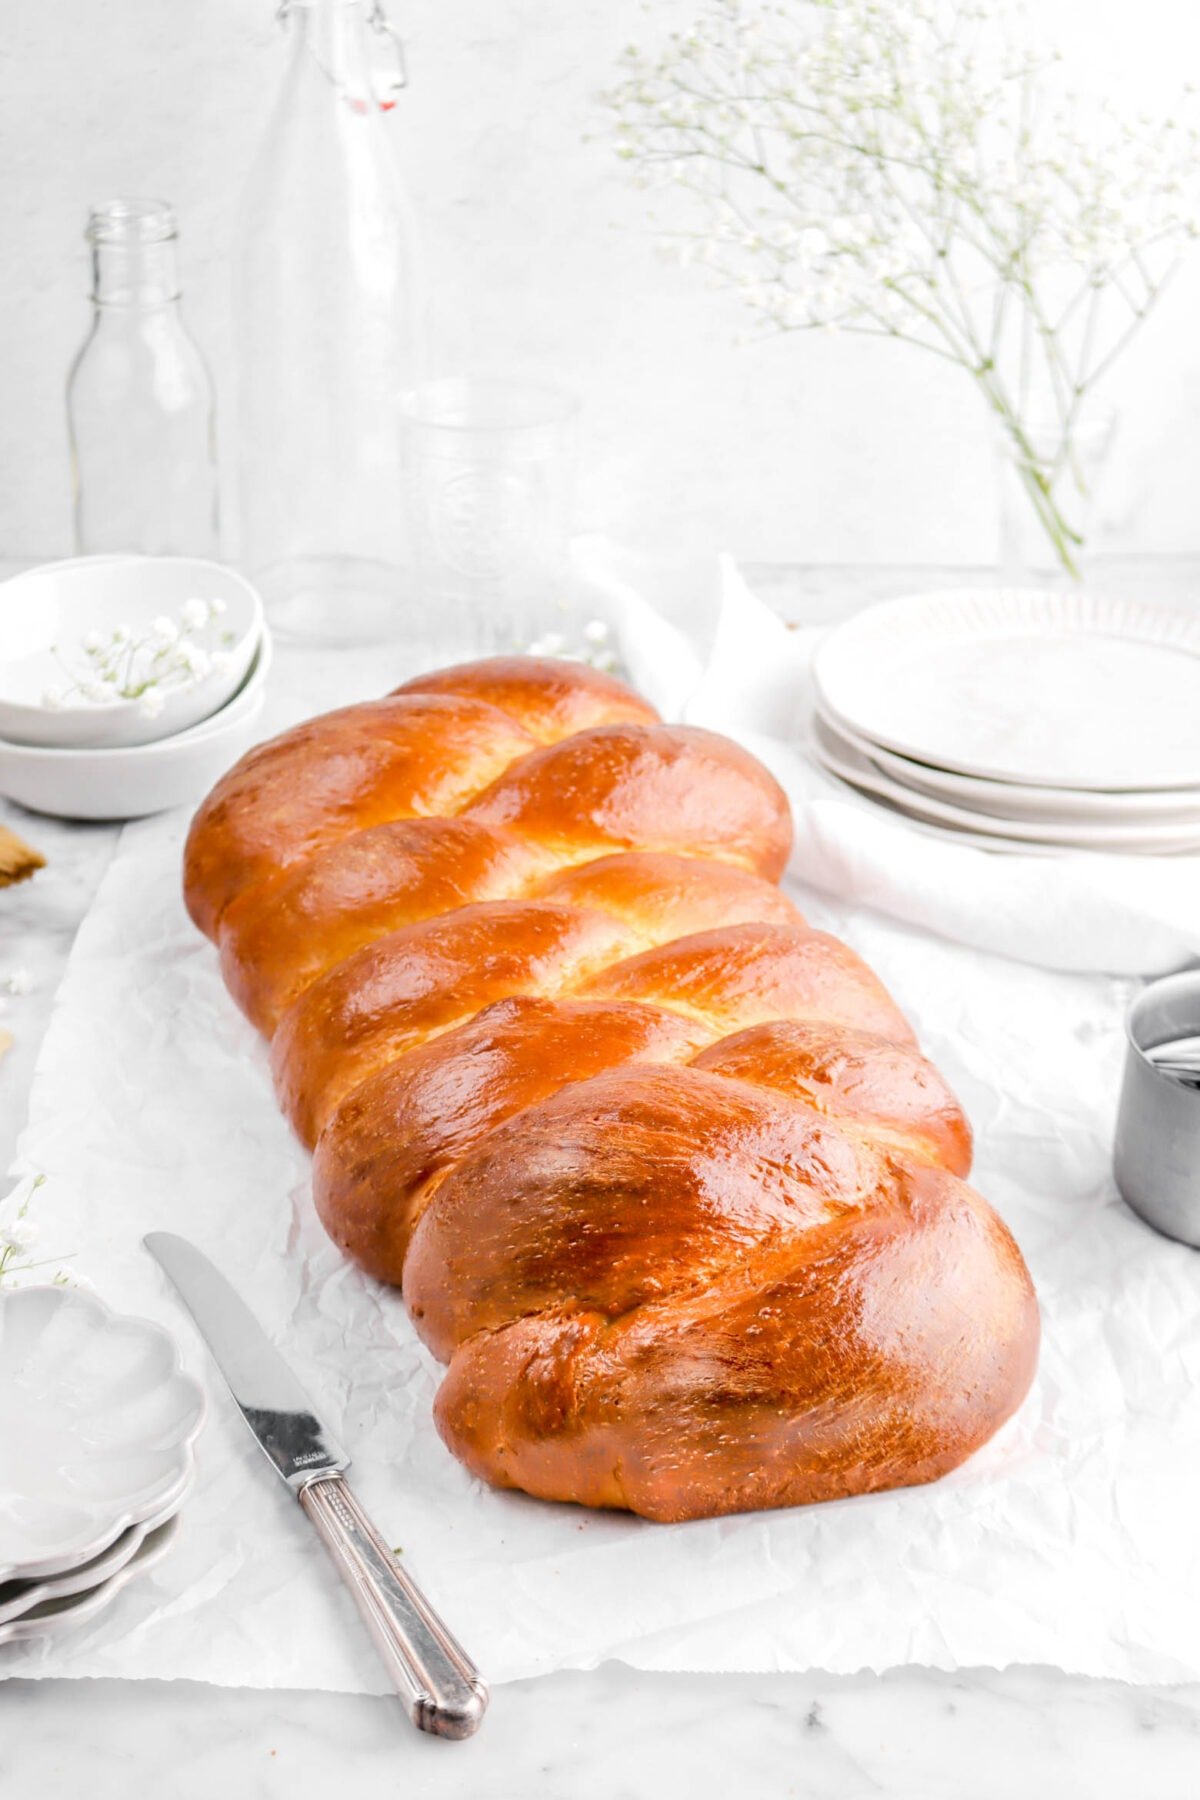
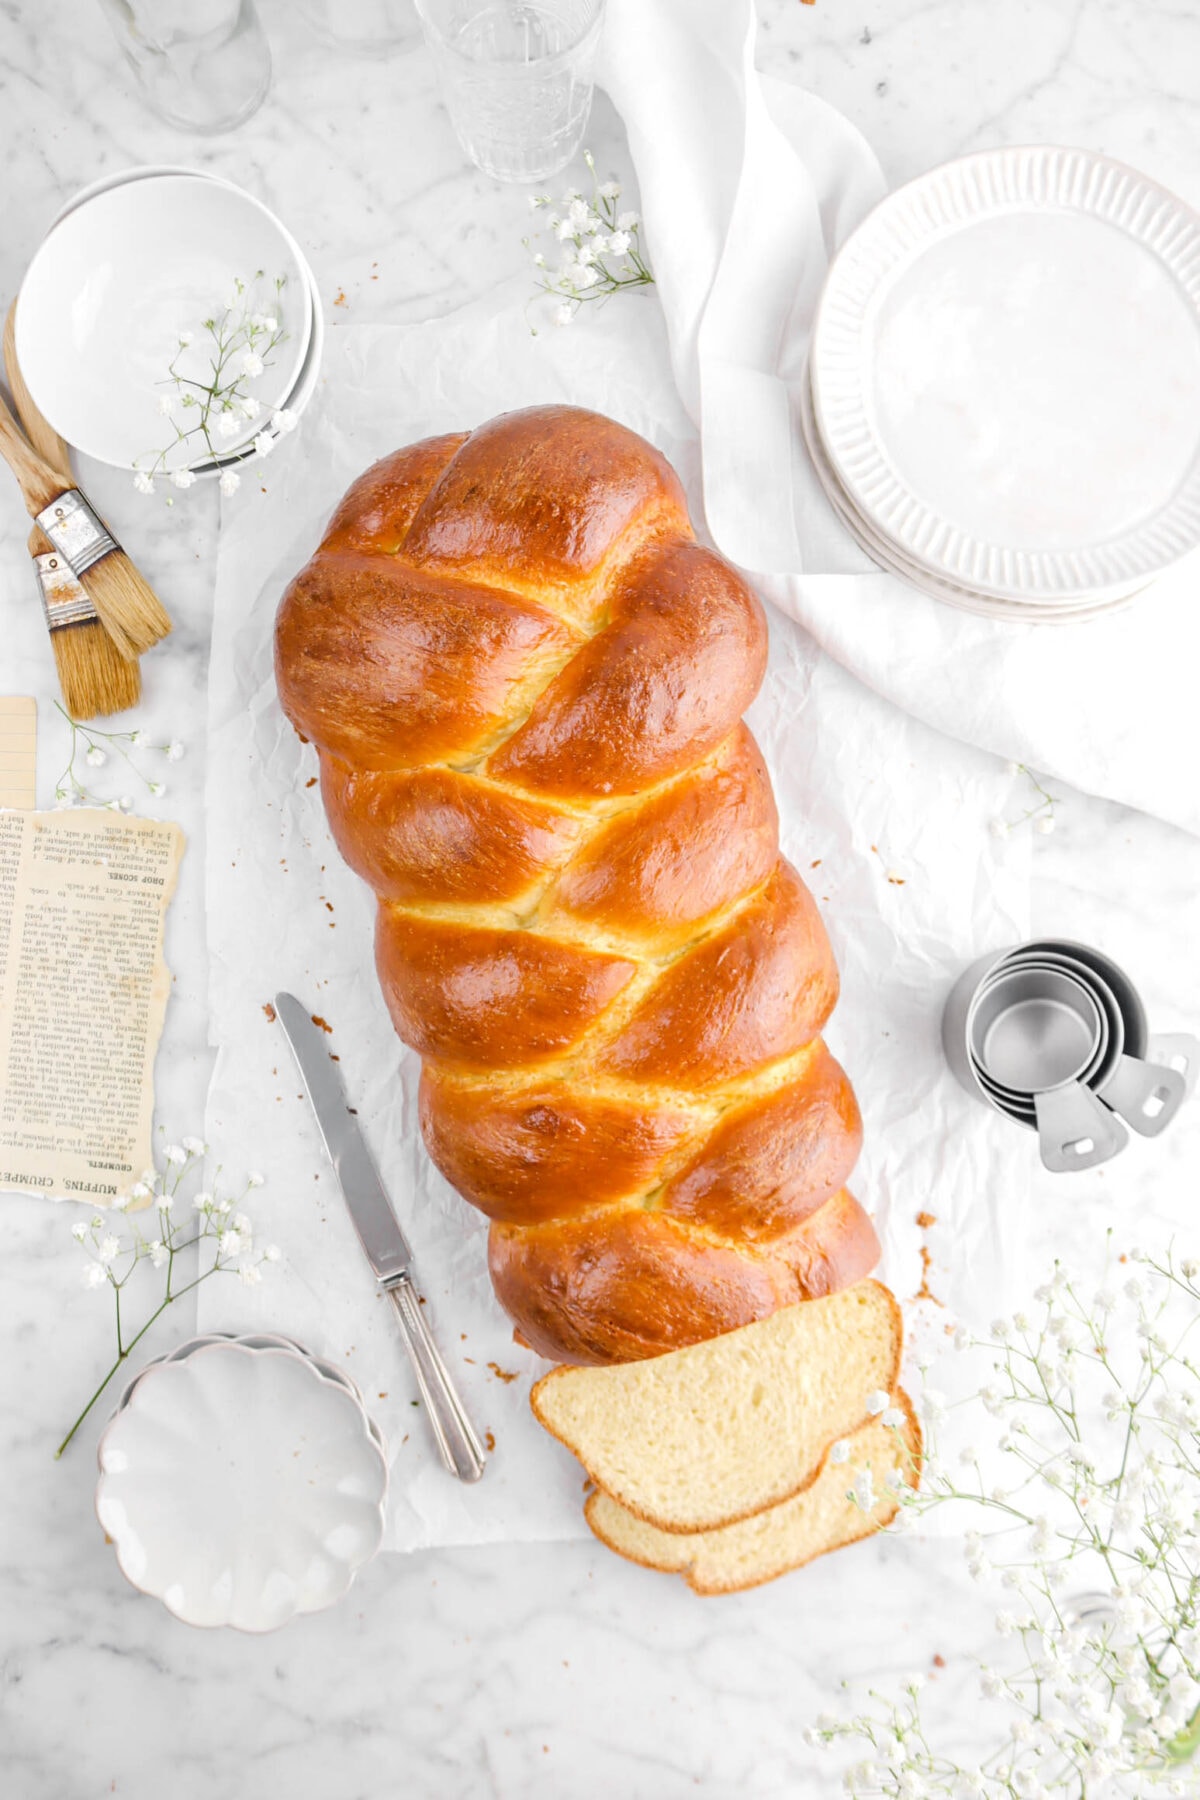
My favorite part, though? Braiding! This recipe is for a super simple 3 strand braid and, when it’s something this simple, it can’t help but make you smile and feel proud! Because it LOOKS complicated, but it really is so easy.
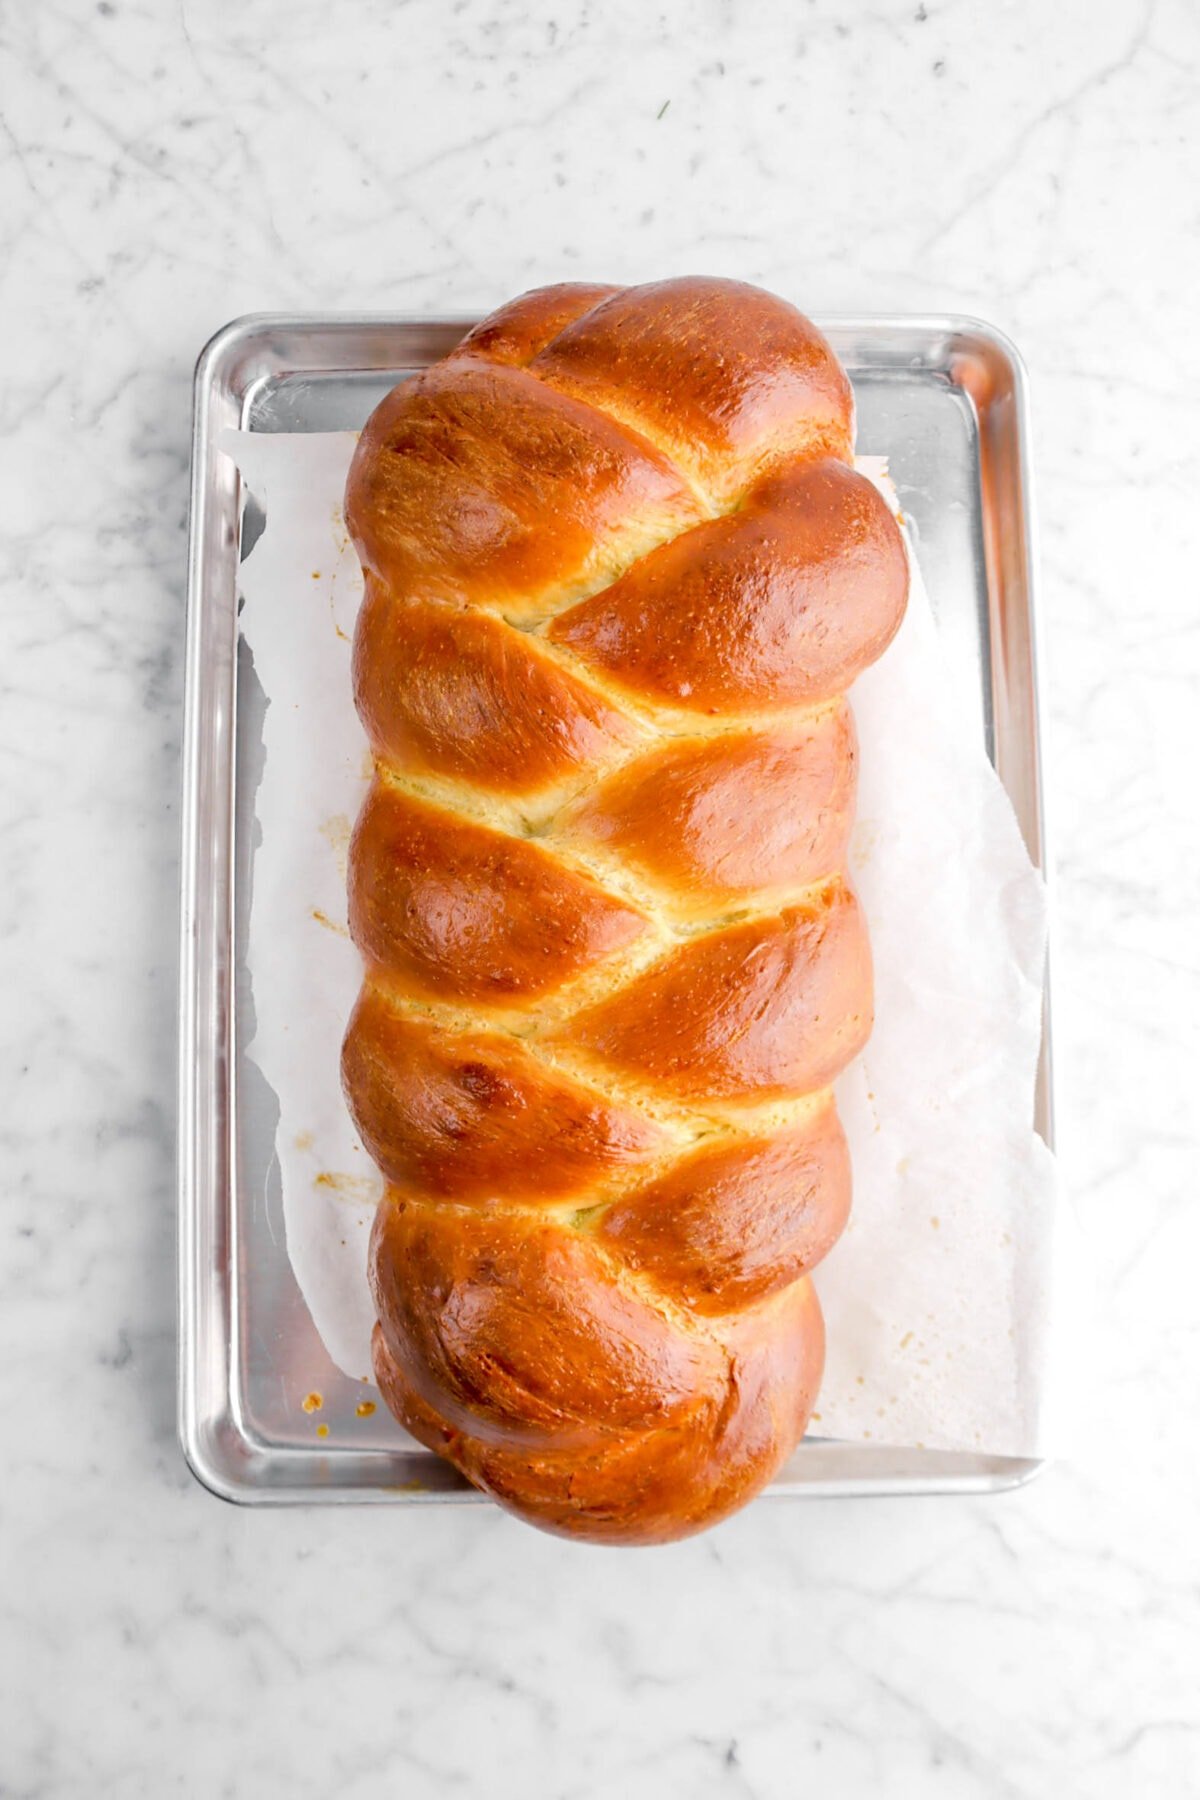
Even the baking of this loaf wasn’t difficult. After the second proof, you brush it down with an egg wash, bake it for 15 minutes, brush it again in the middles where it’s not browning as much (this is totally optimal), and bake for 30 minutes!
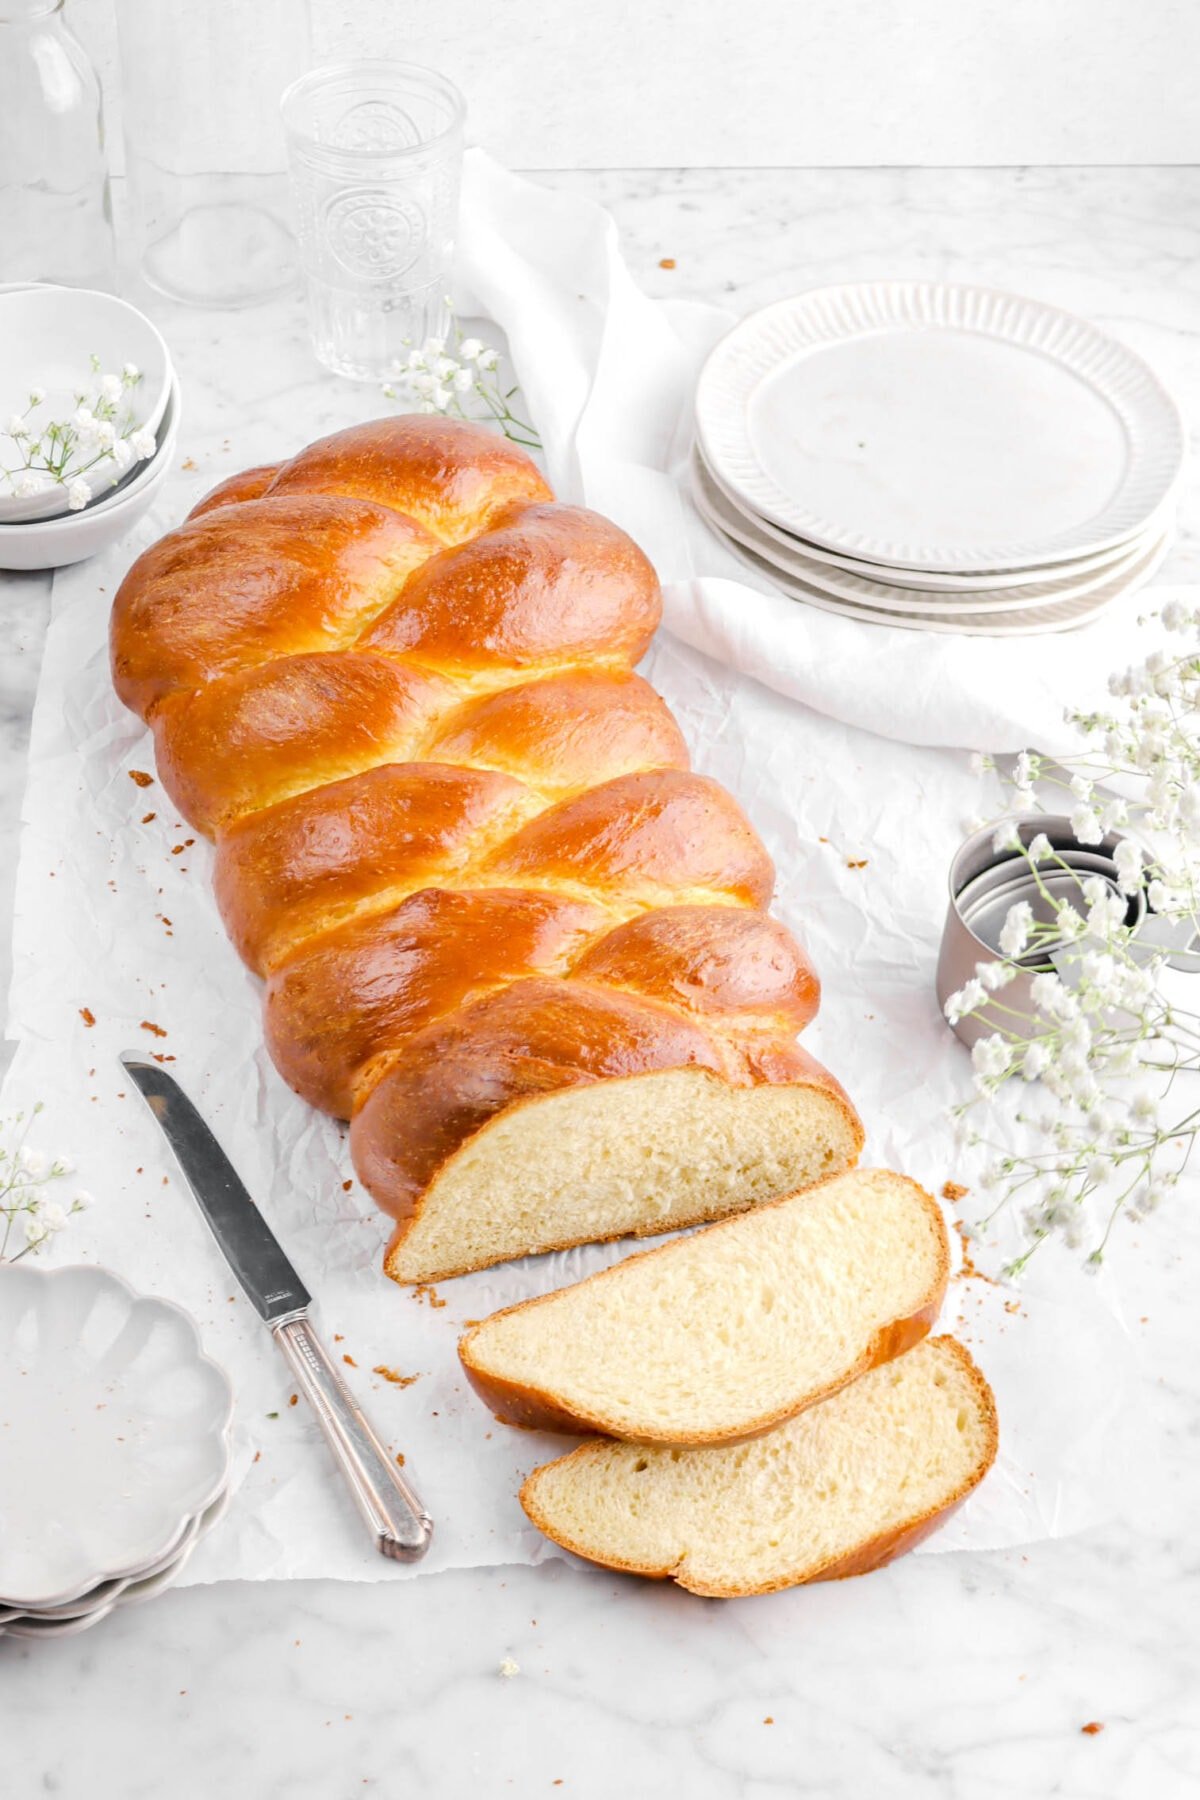
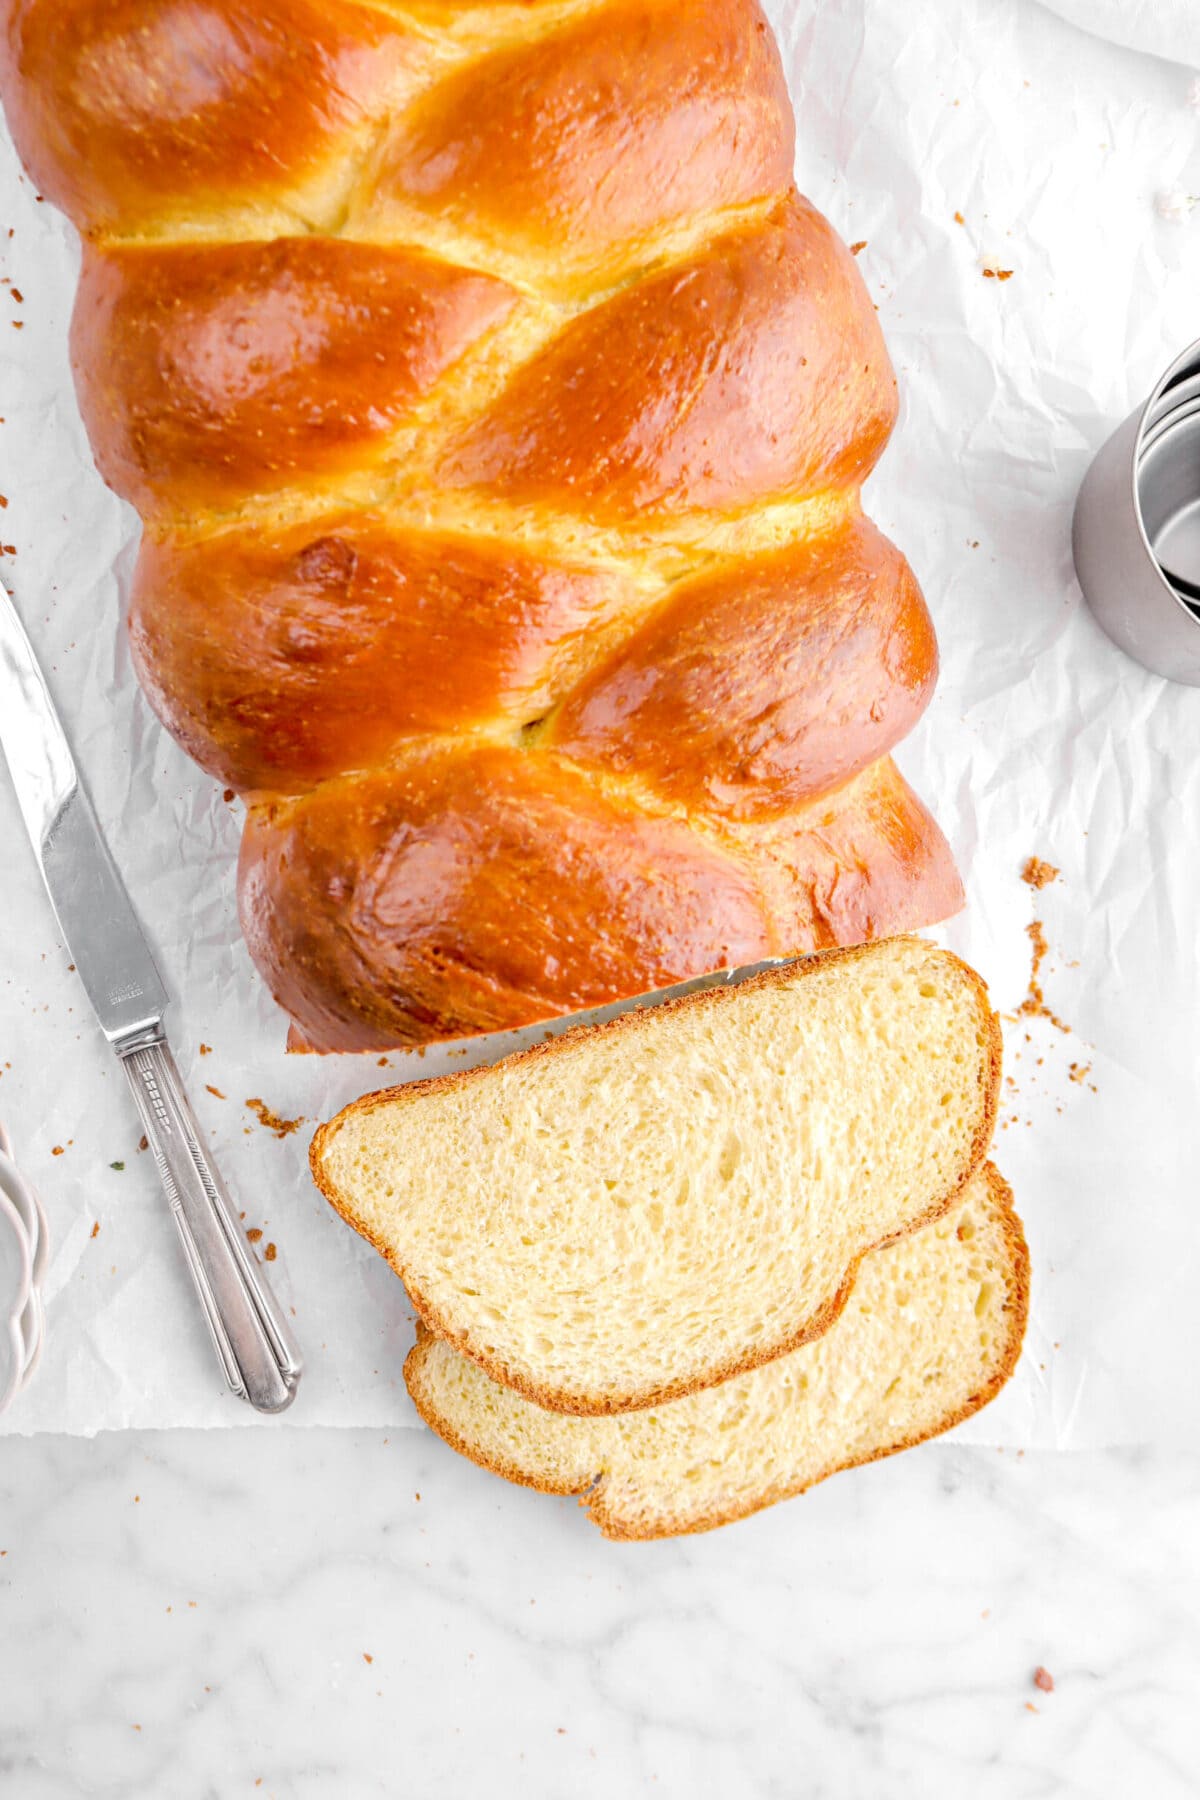
This recipe yields in a tender, soft, moist, and fluffy loaf that always has you coming back for more!
Reasons You Will Love This Challah
- Super simple to make.
- Only a 3 strand braid.
- Requires 6-7 ingredients.
- This recipe is naturally dairy-free!
- Proofing time and all, this loaf is ready in about 4 hours!
- The perfect addition to so many recipes.
Ingredients
(Full ingredient amounts and instructions can be found in the recipe card at the bottom of the post)
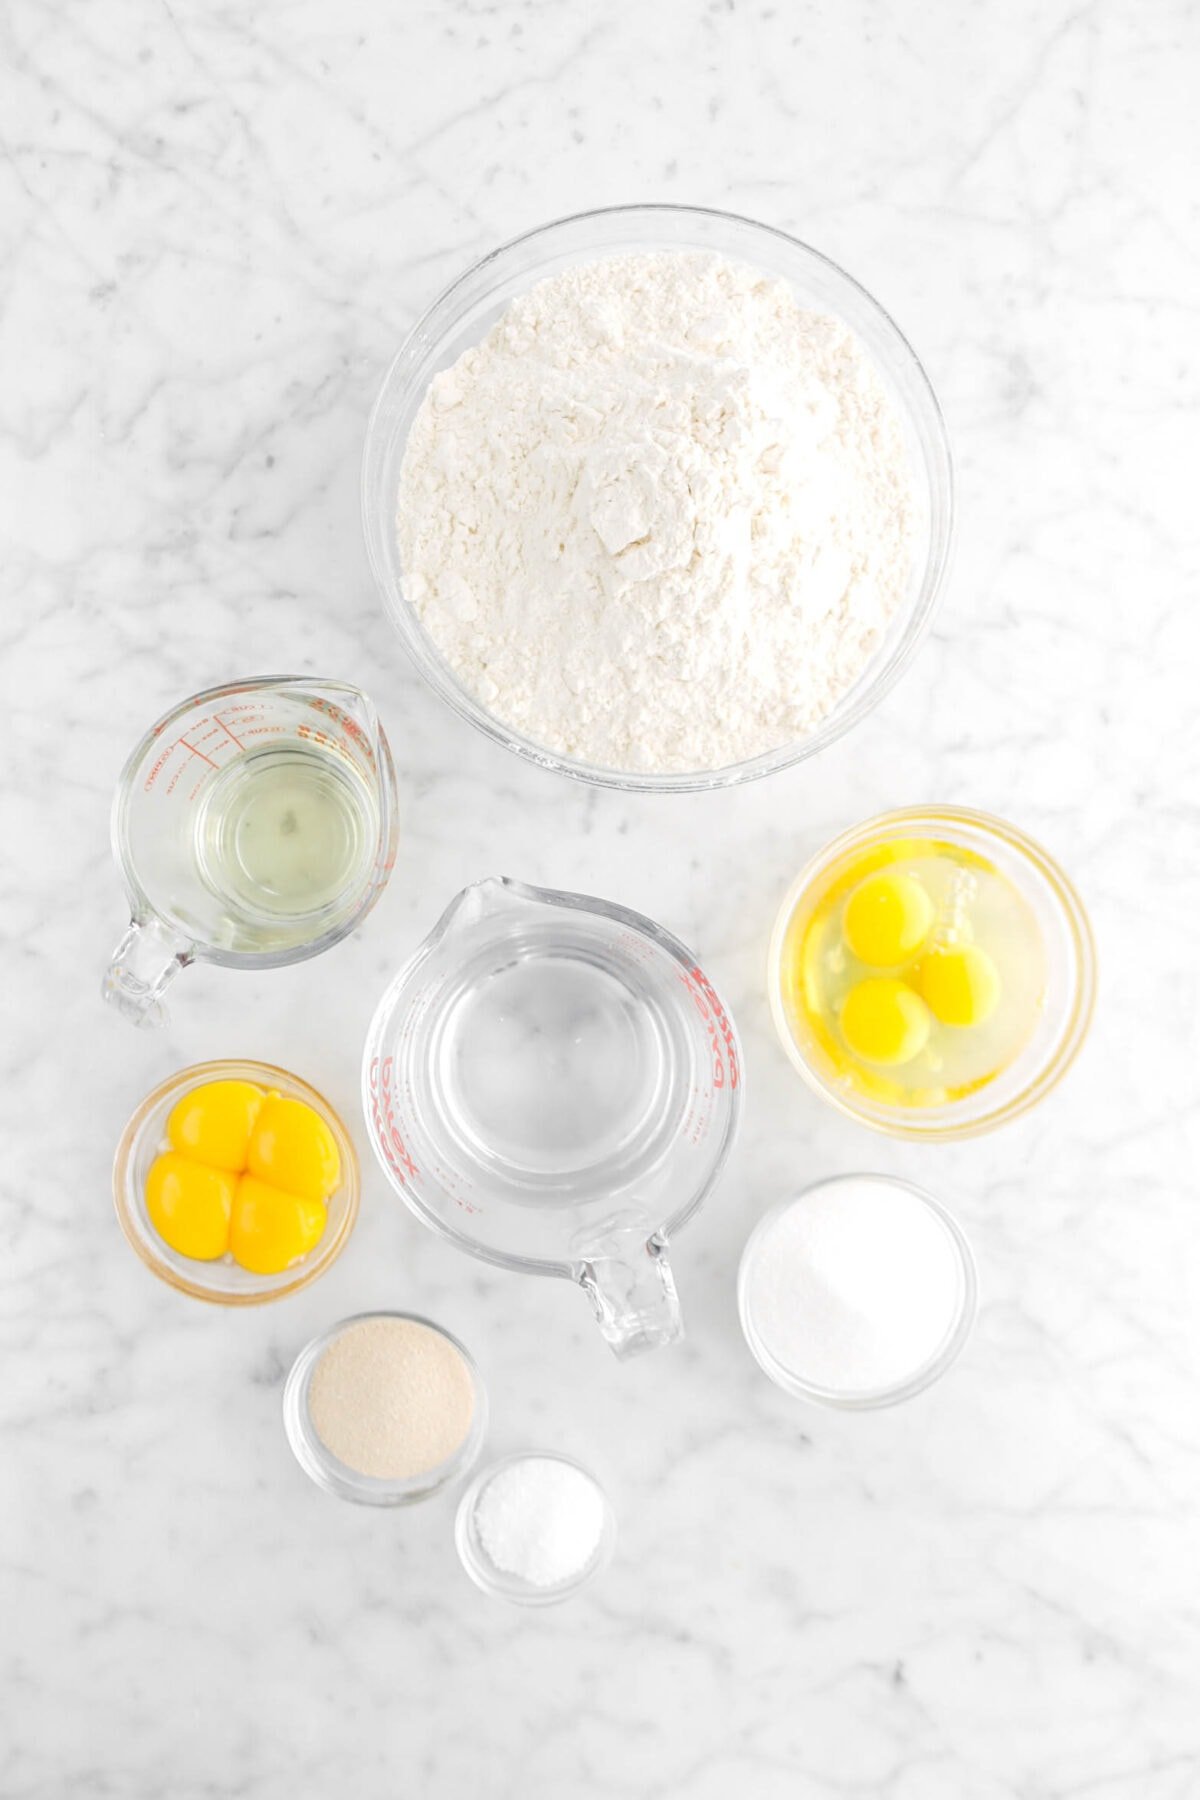
For The Bread:
- Bread Flour
- Granulated Sugar
- Kosher Salt
- Instant Yeast
- Large Eggs
- Whole Eggs
- Vegetable Oil
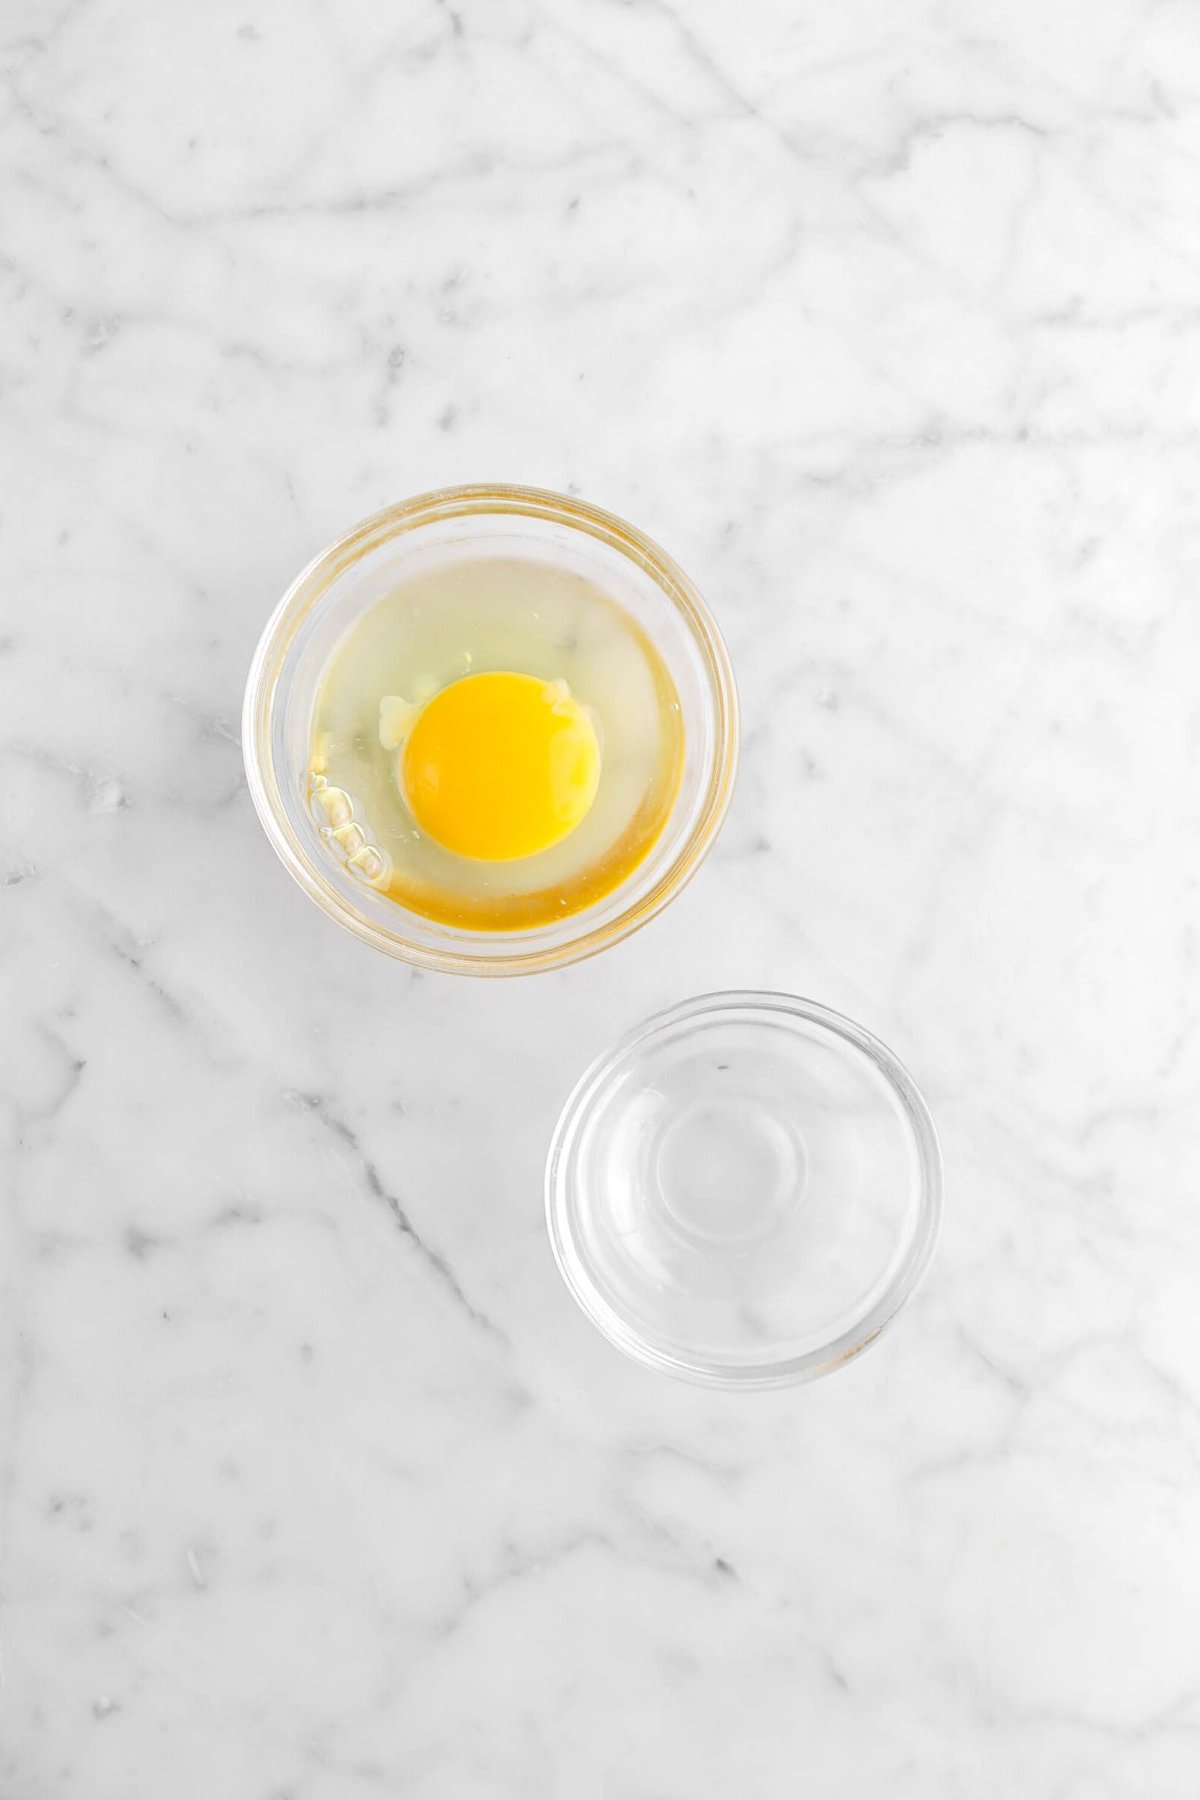
For The Egg Wash:
- Large Egg
- Water
How To Make Challah
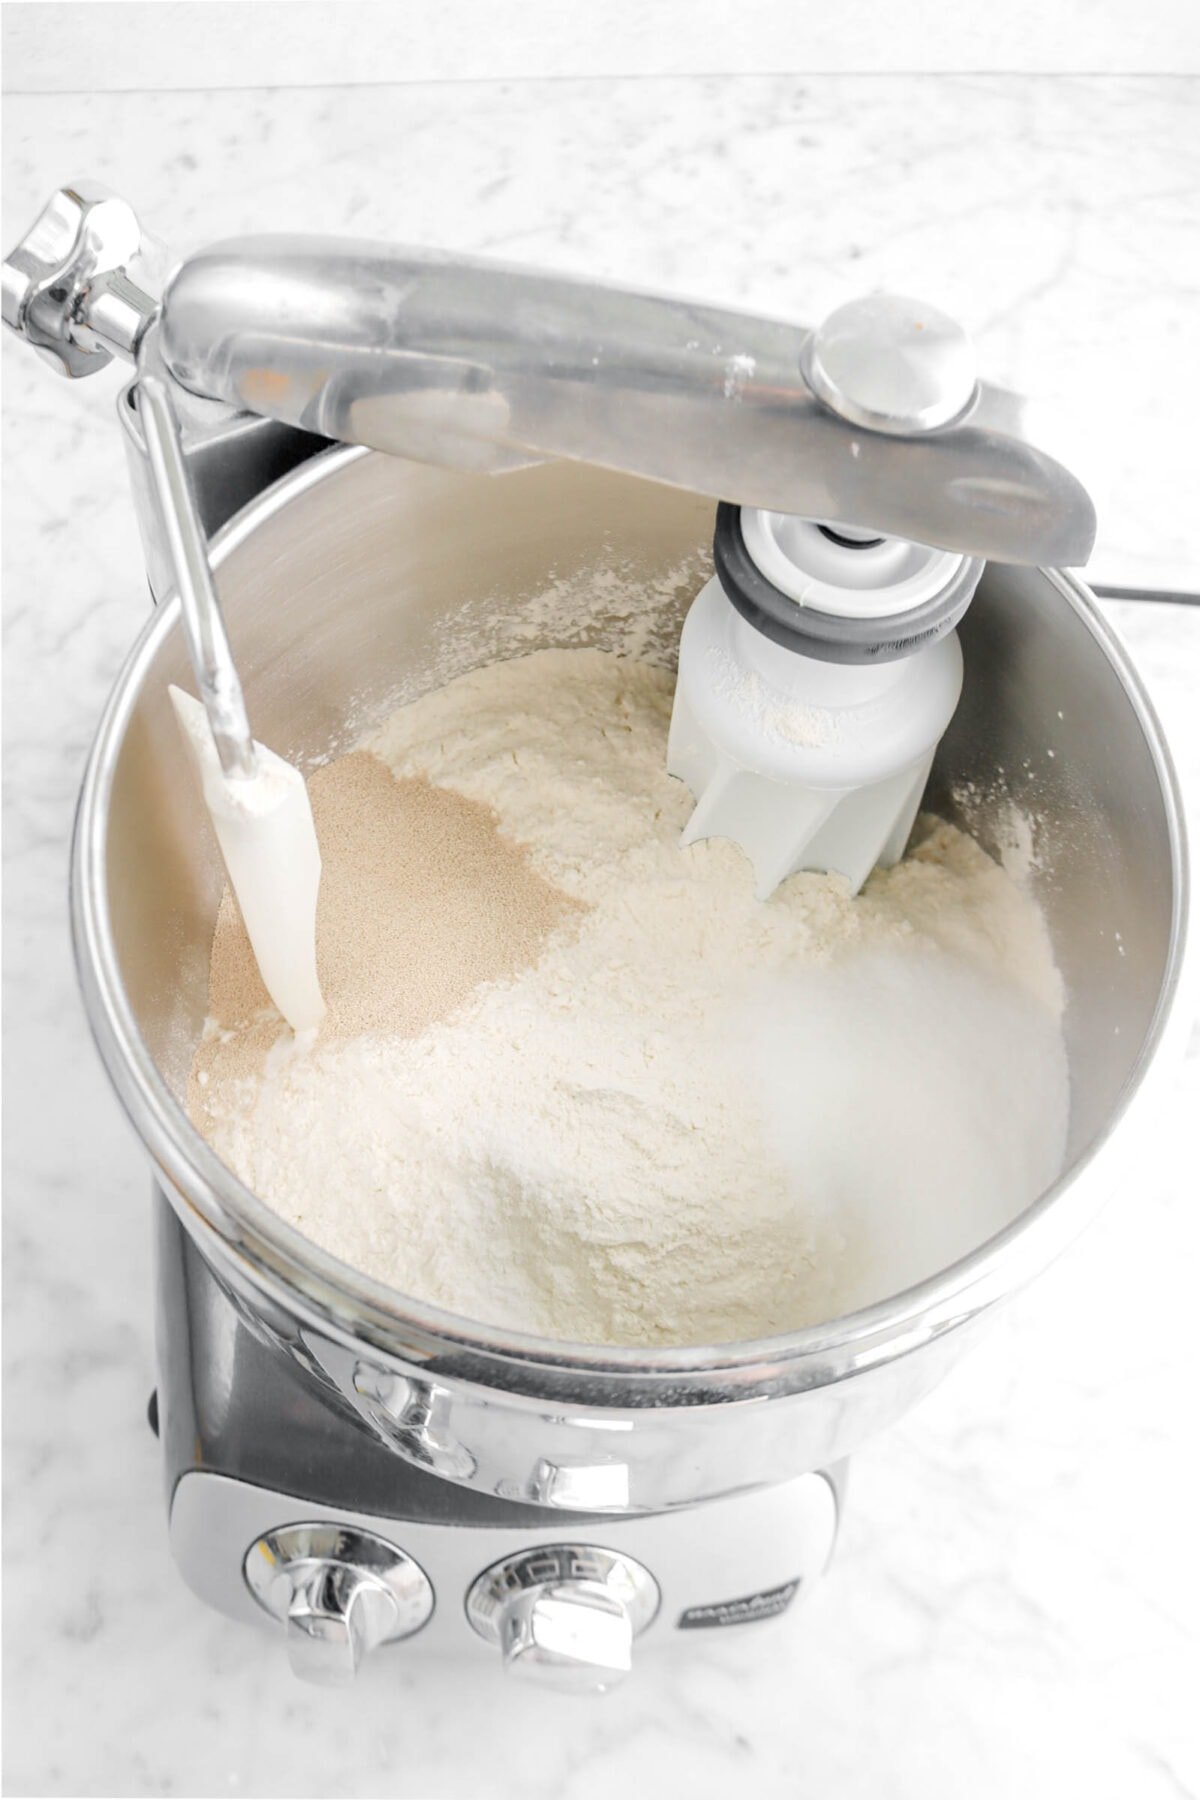
Step 1: Make the dough
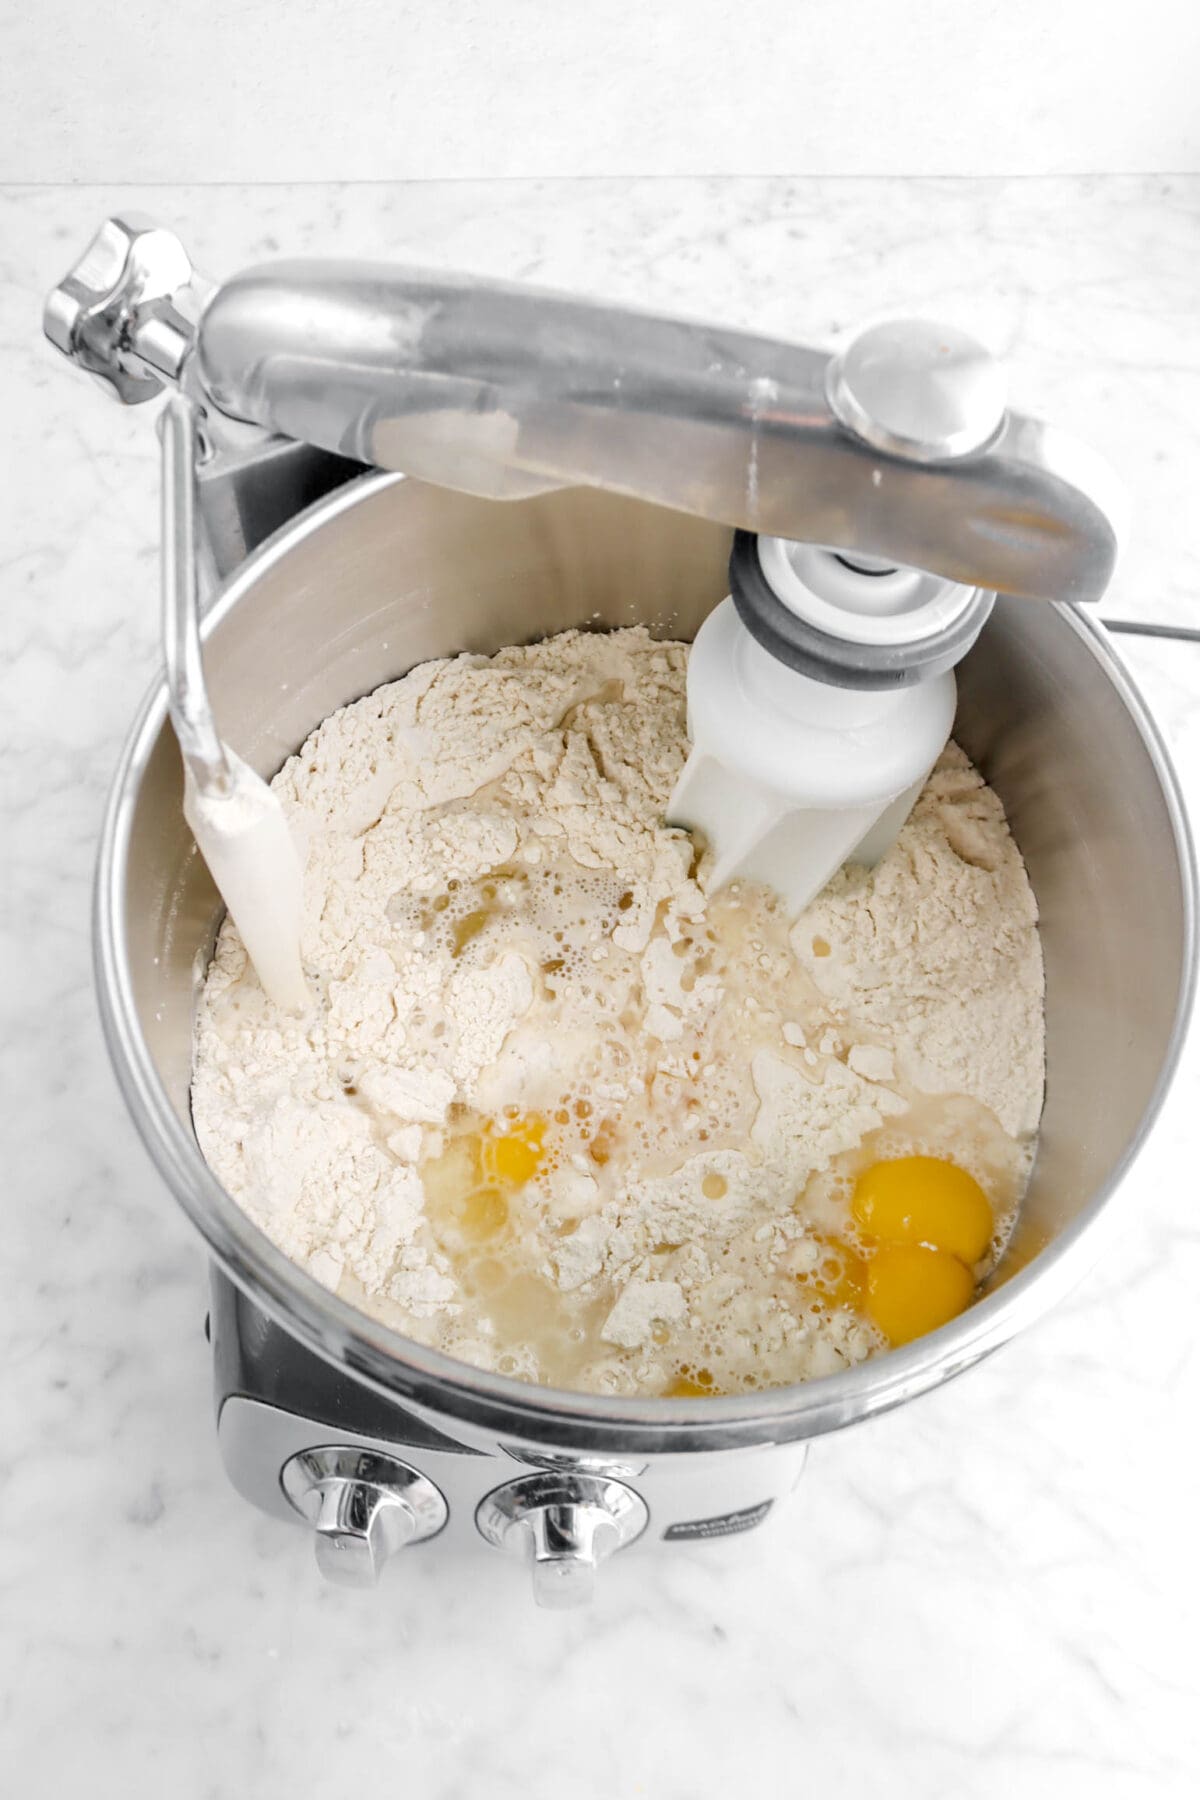
In the bowl of an electric mixer fitted with the dough hook, combine flour, sugar, salt, and yeast. Stir together.
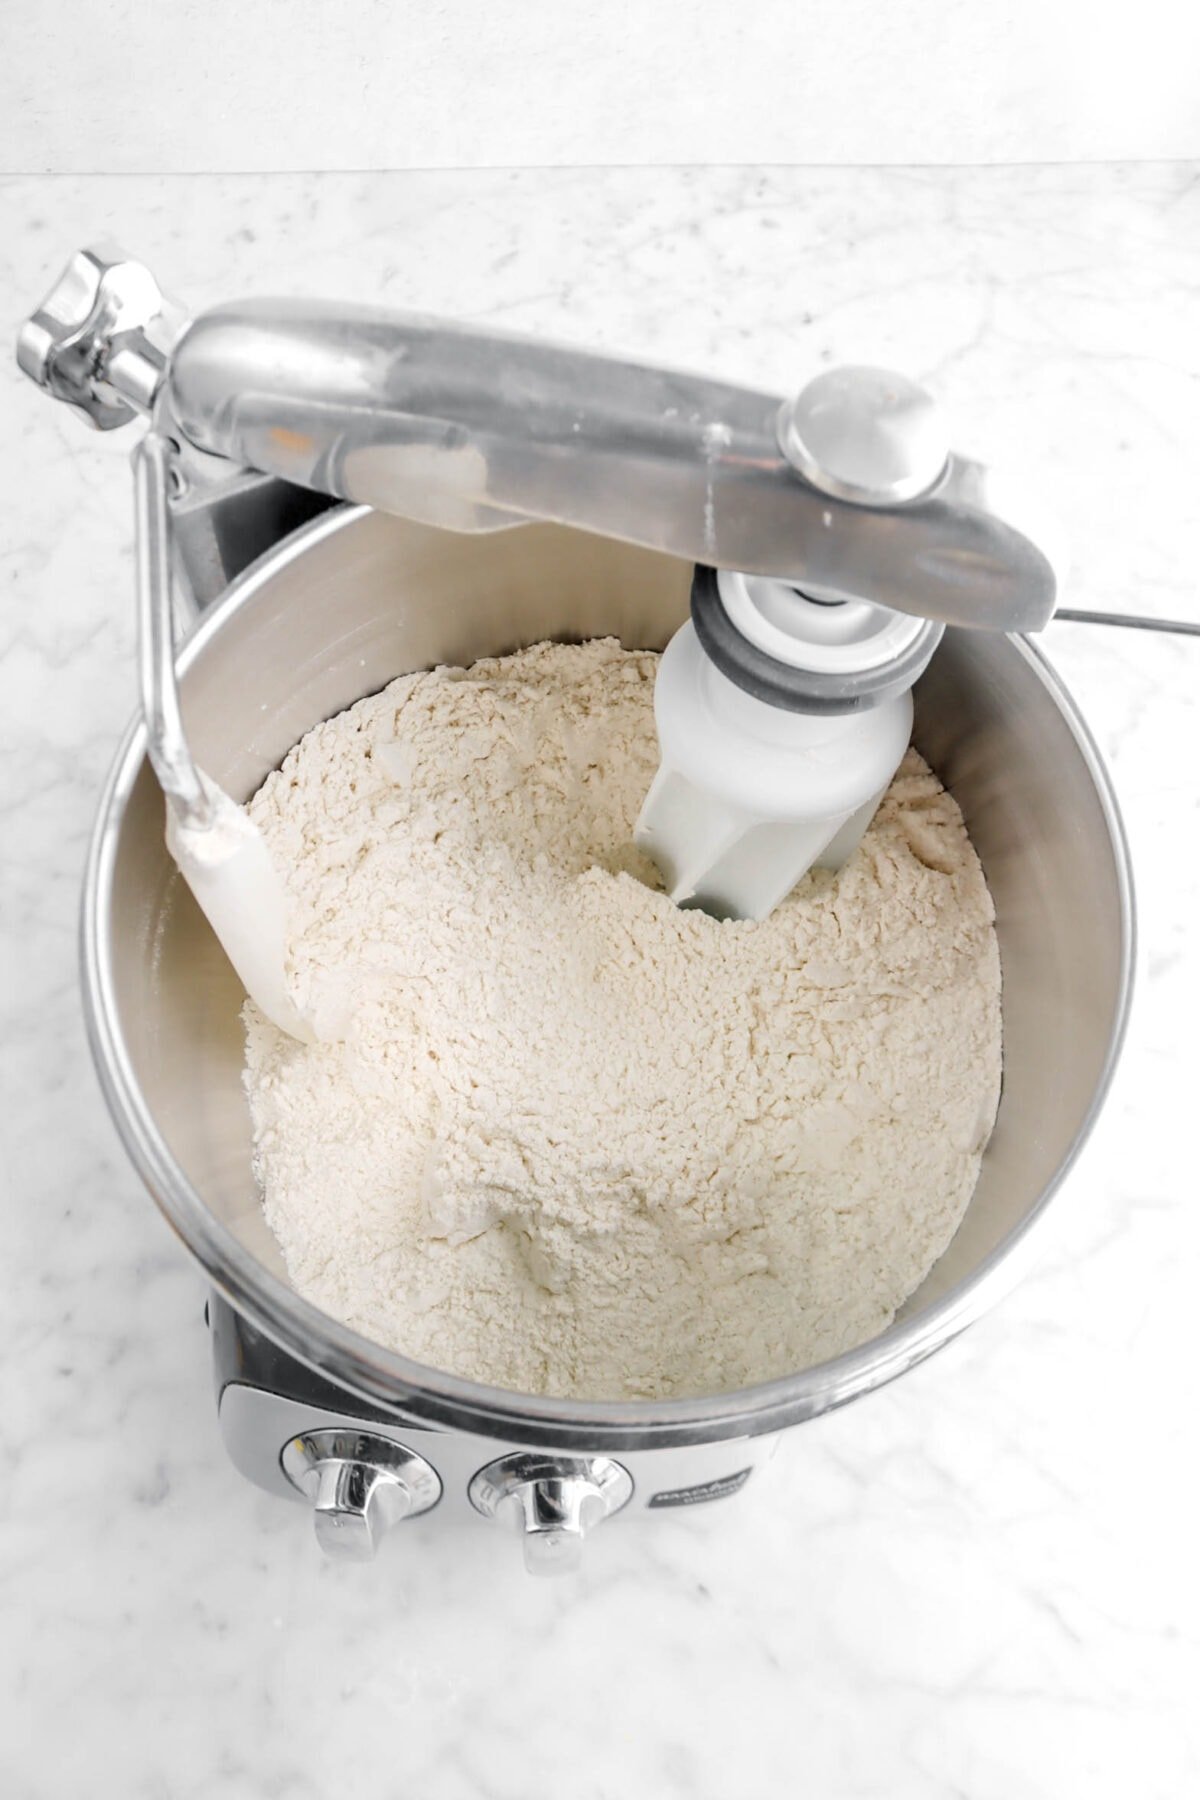
Add egg yolks, vegetable oil, and water. Mix on low speed for 3 minutes. Increase speed to medium and knead for an additional 5 minutes.
Step 2: Proof and shape
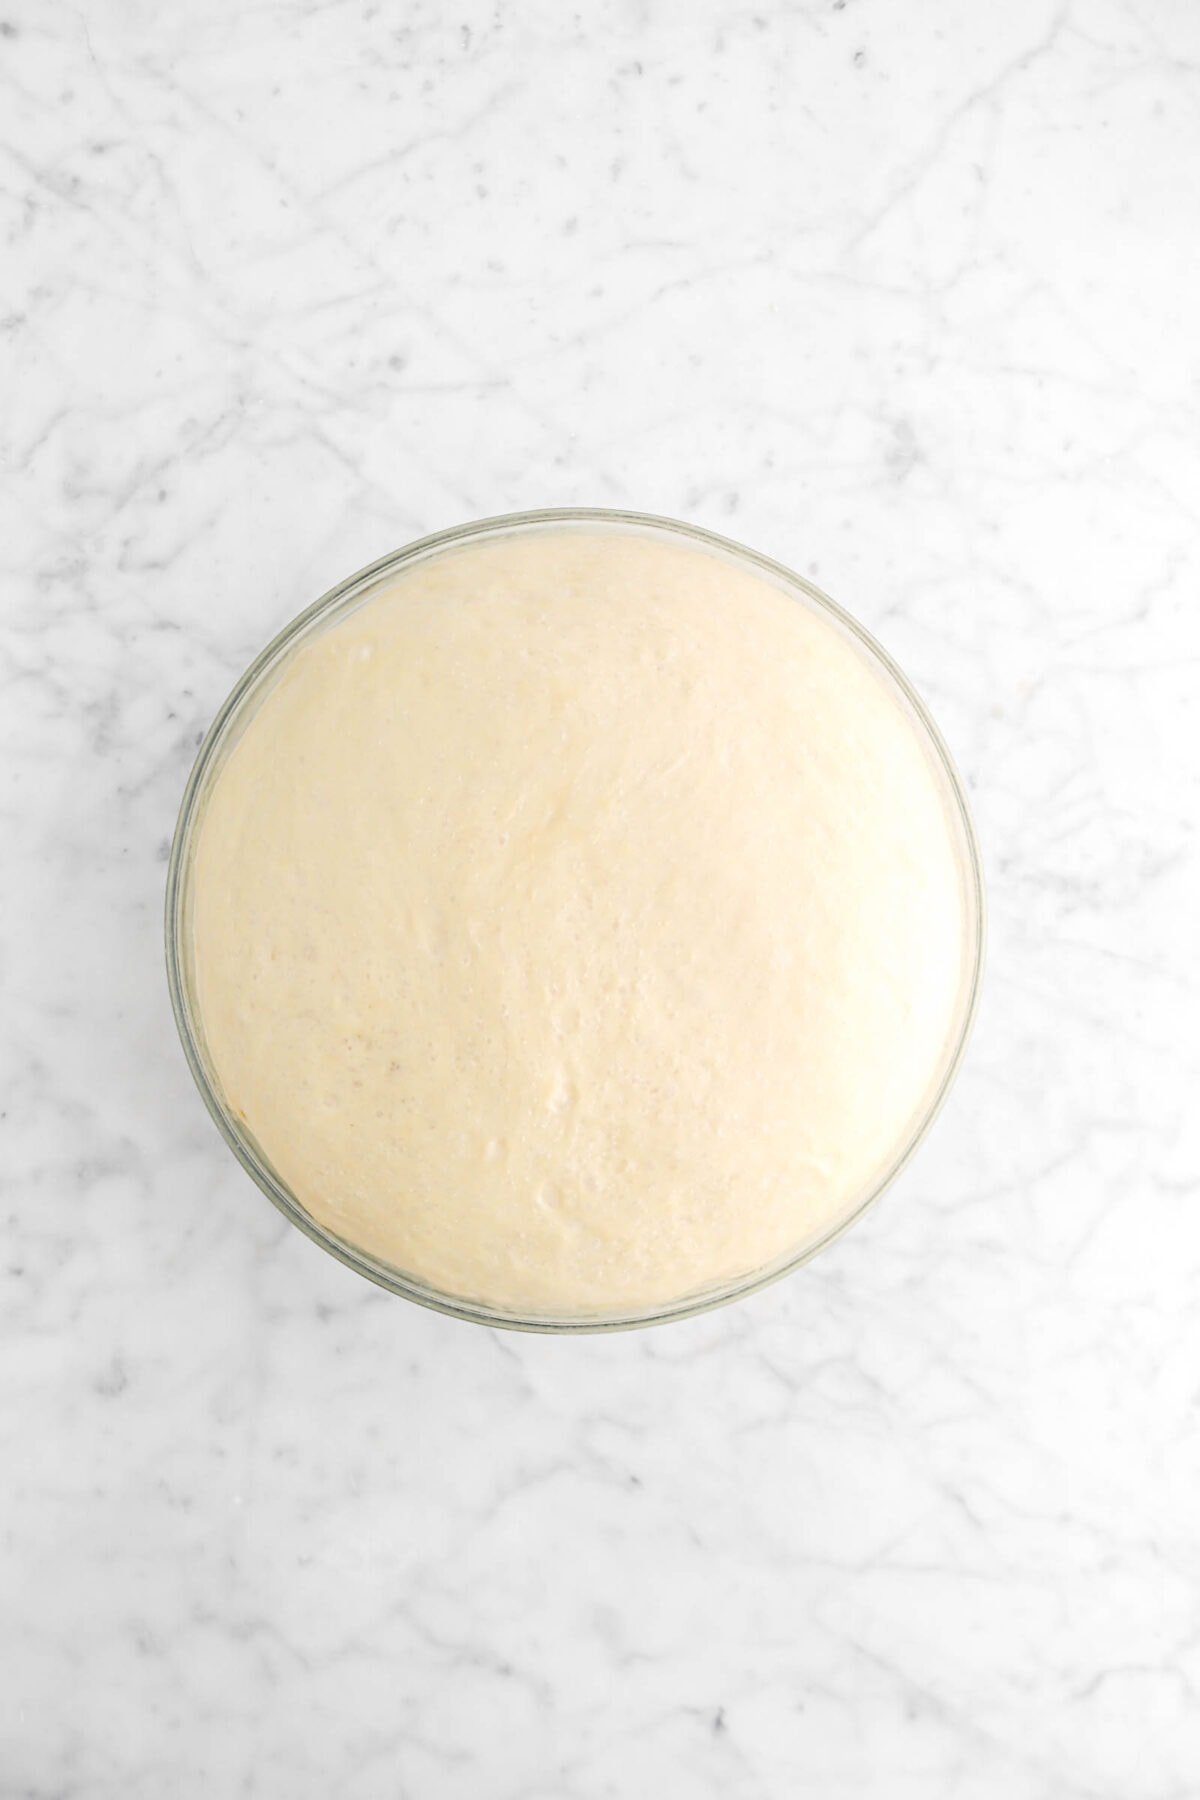
Turn dough out into a large bowl. Cover with plastic wrap and proof at warm room temperature for 2 hours.

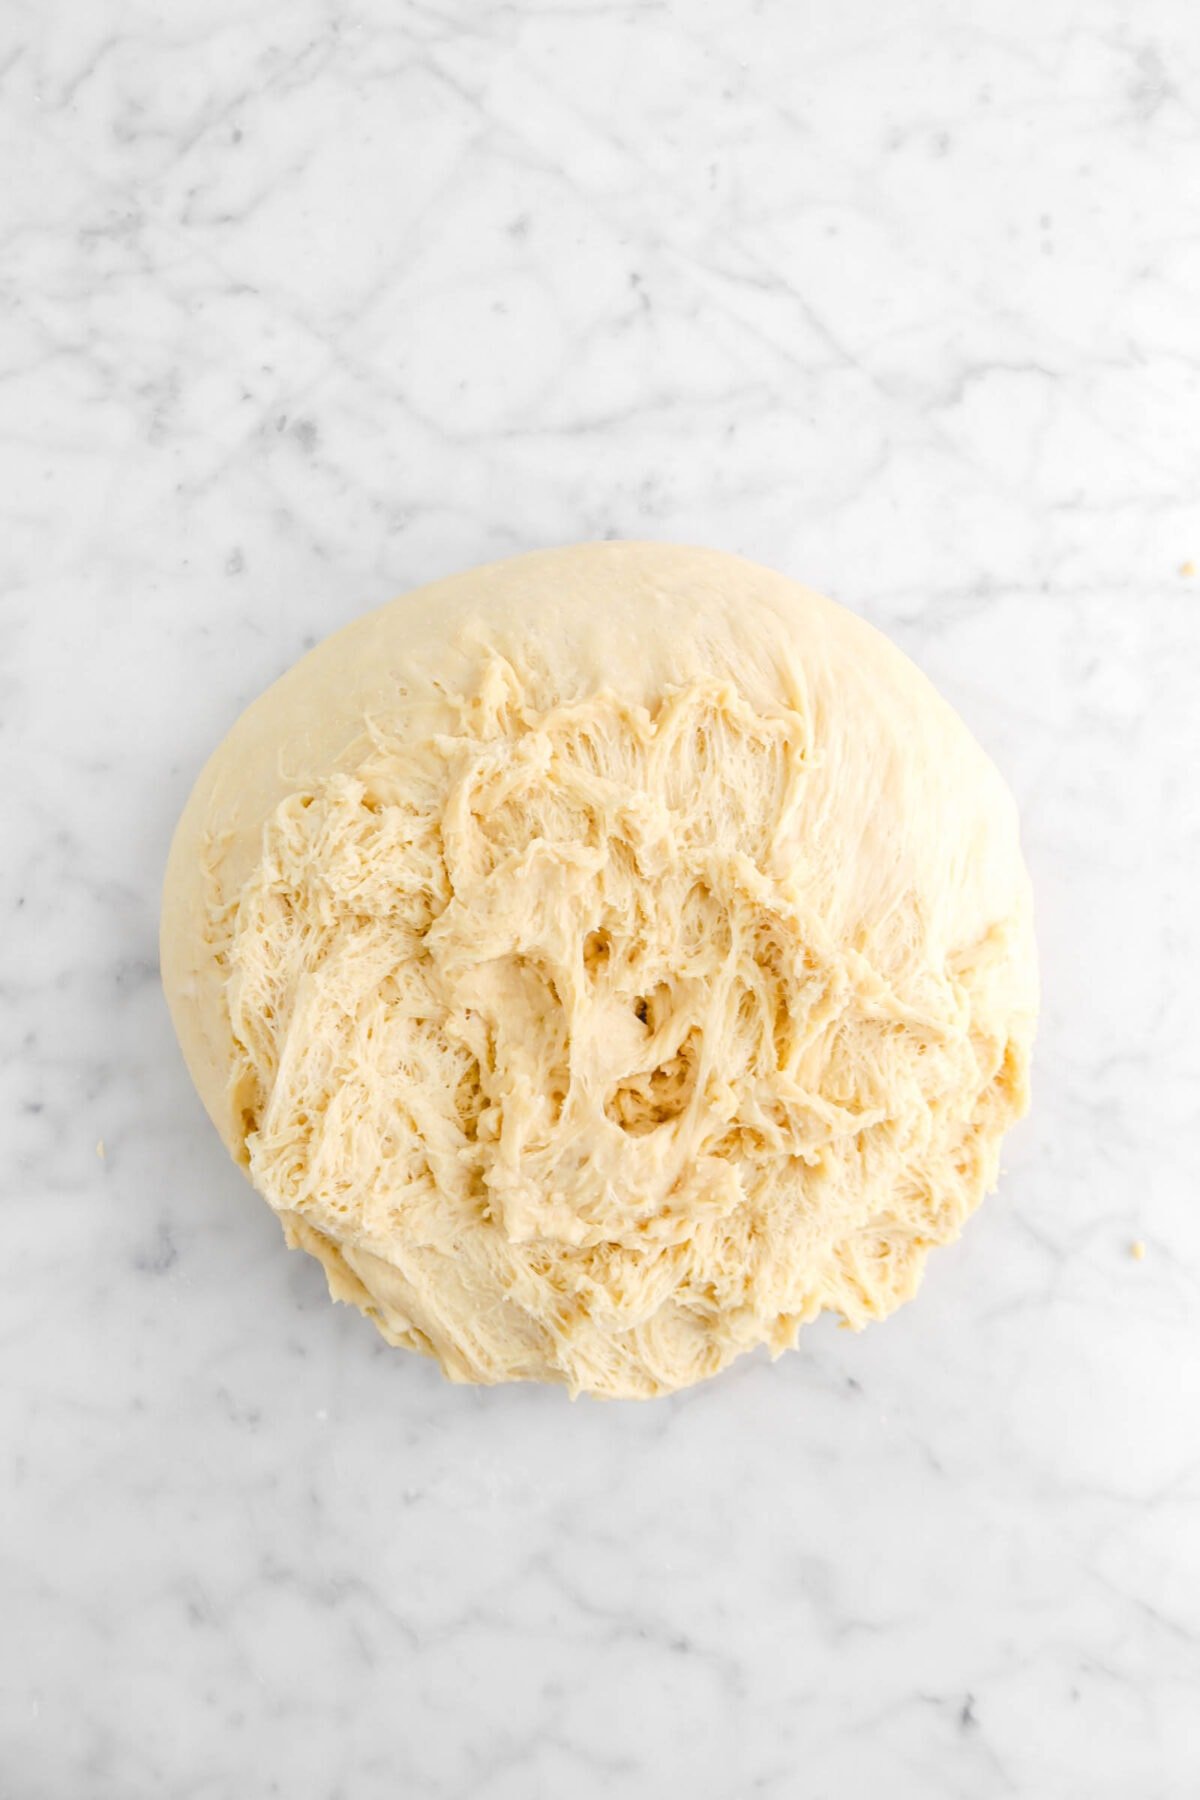
Turn dough out onto an unfloured surface. Degas by patting down gently.
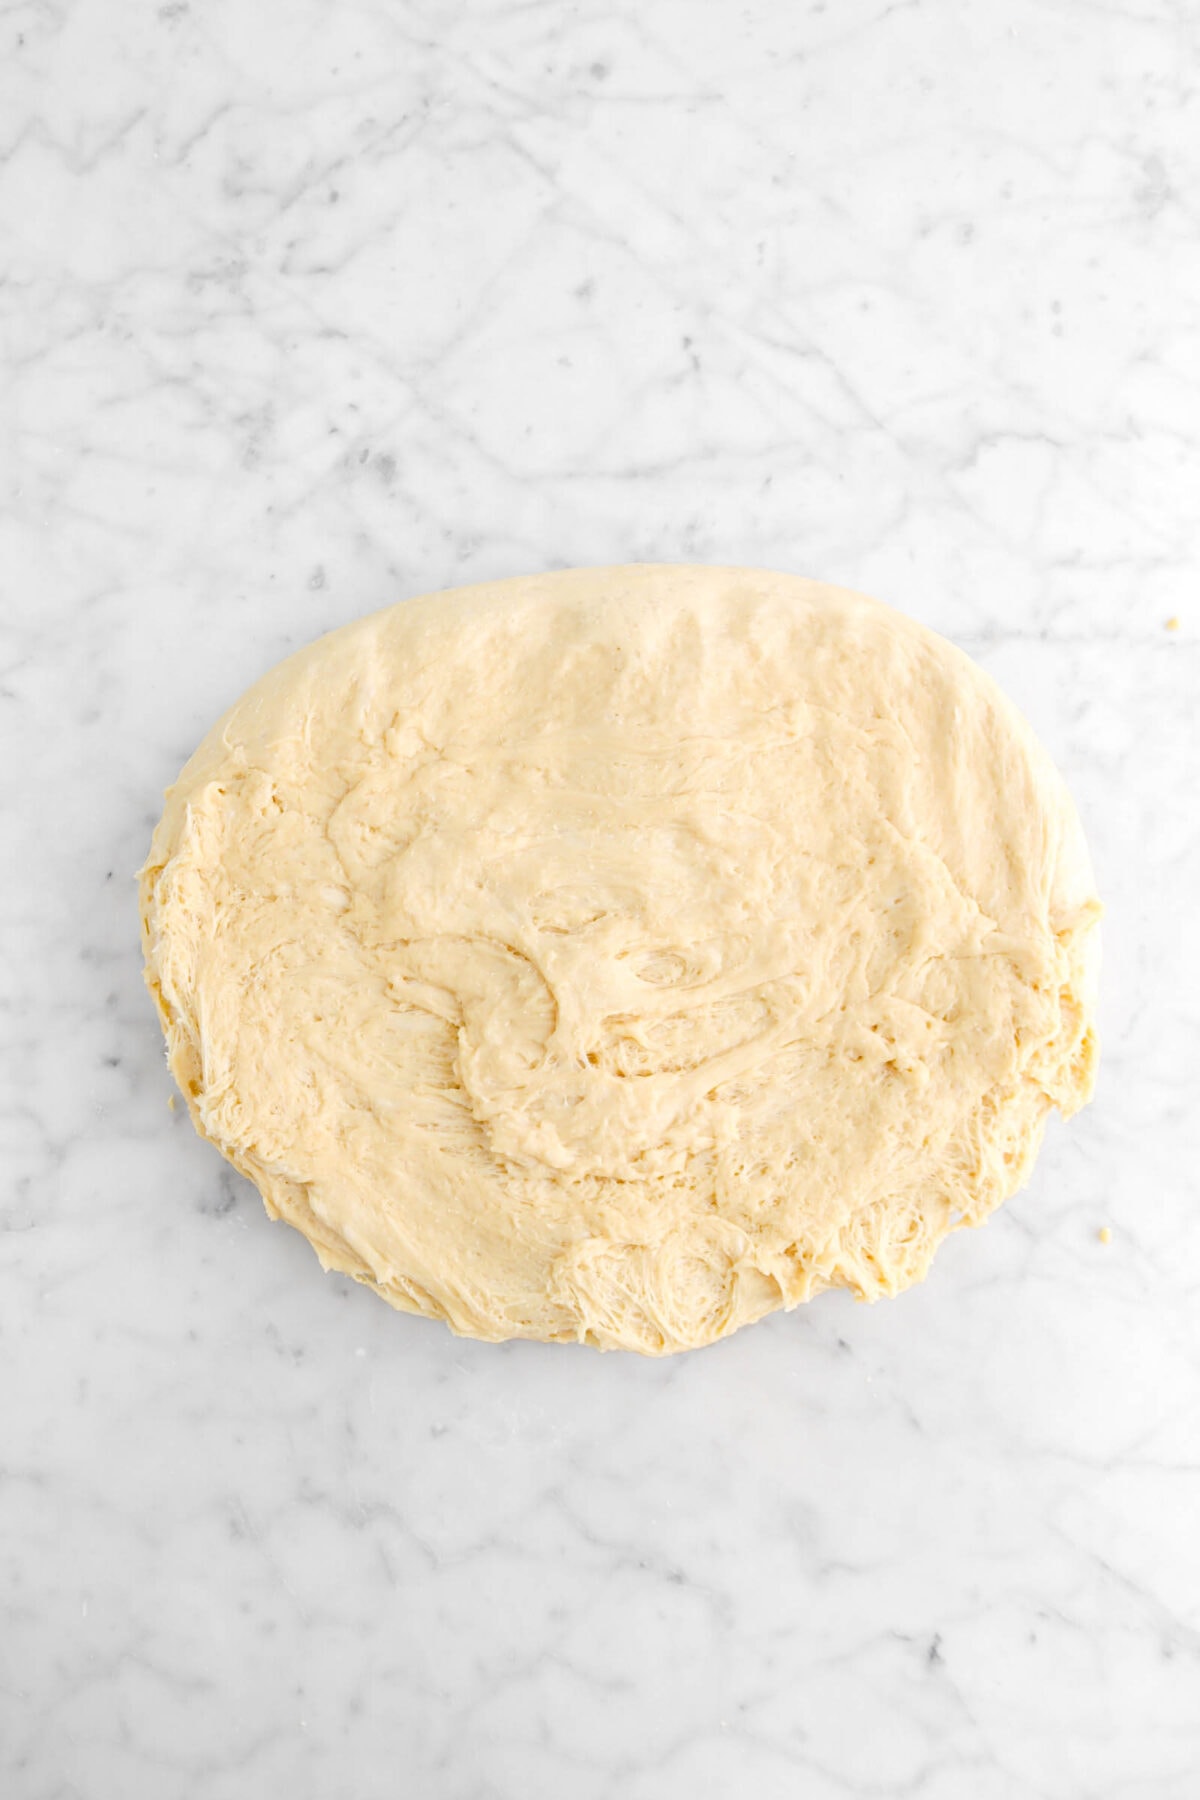
Divide into thirds (about 1lb 3oz each). Form each third into a rectangle. Allow dough to rest for 15 minutes.

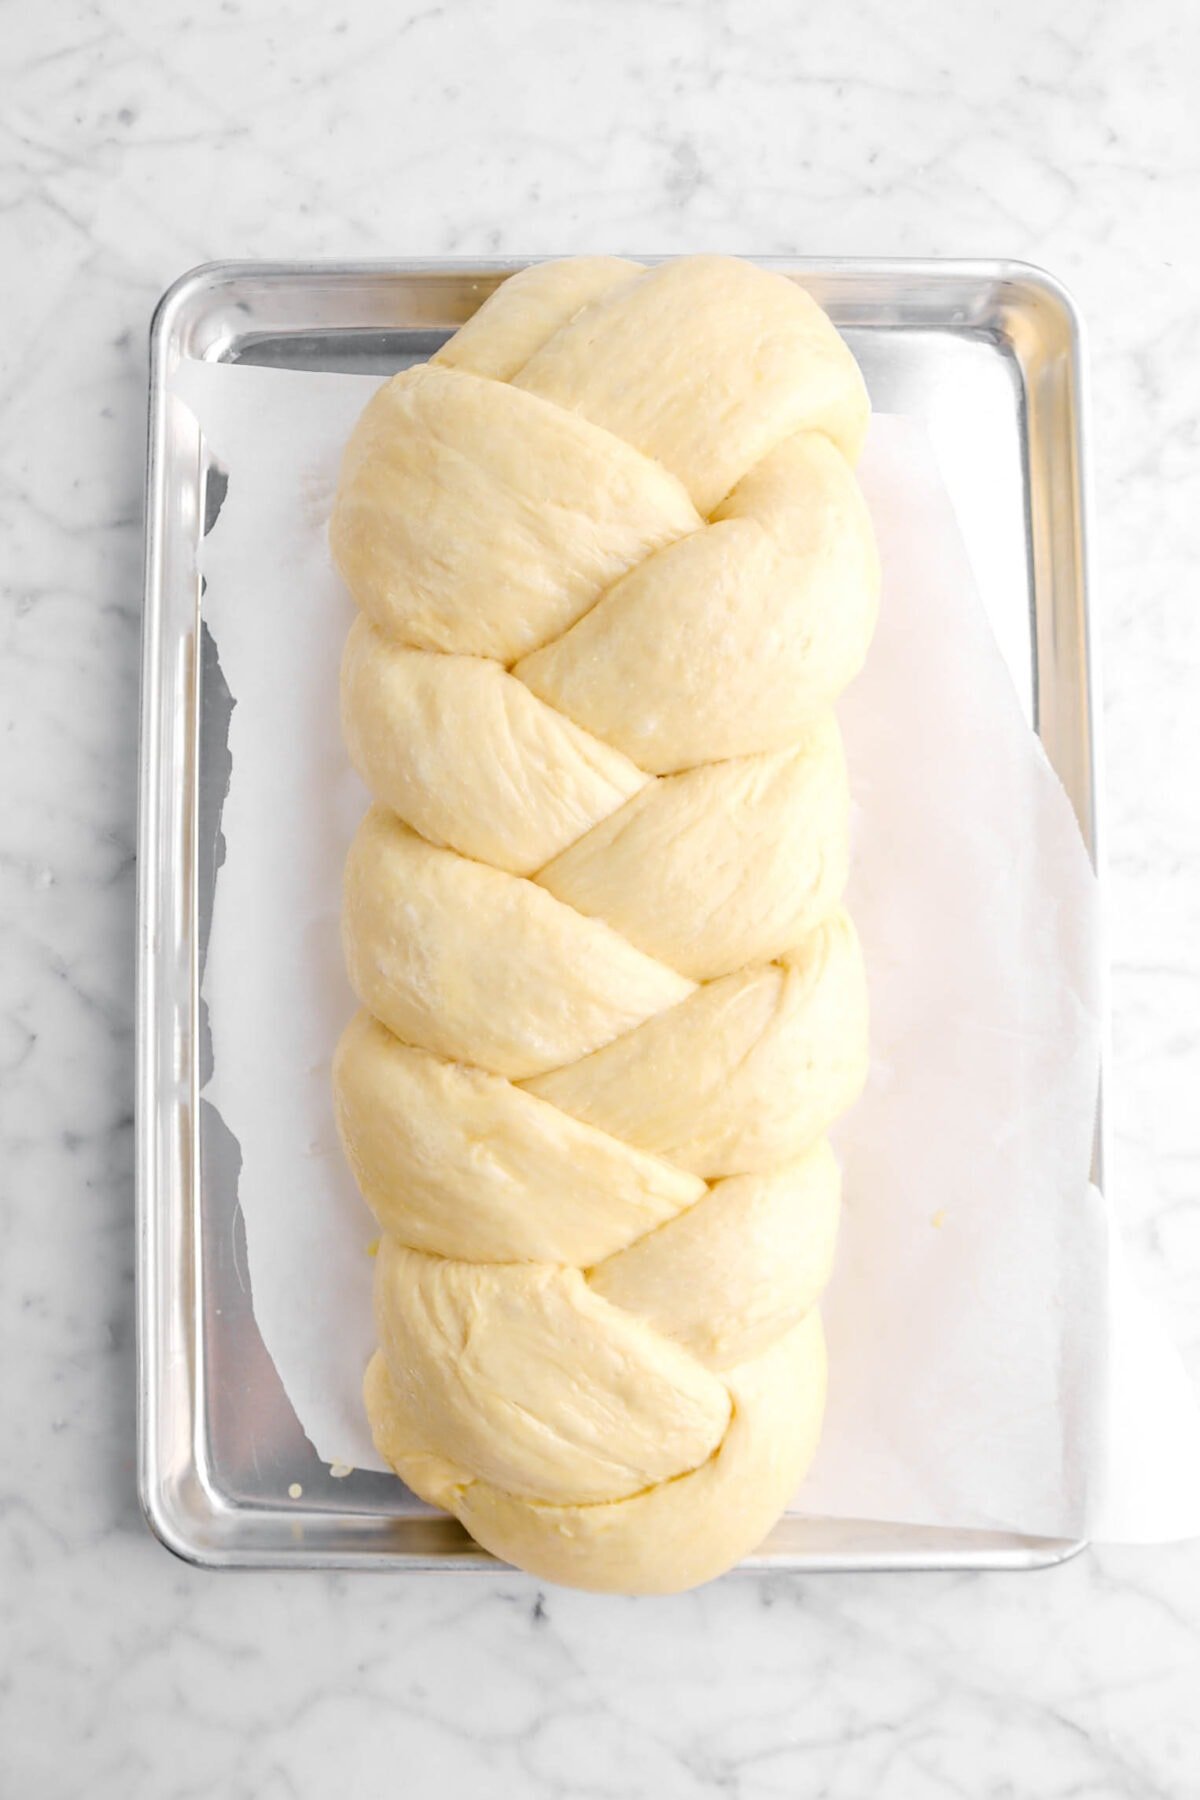
Step 3: Braid and proof
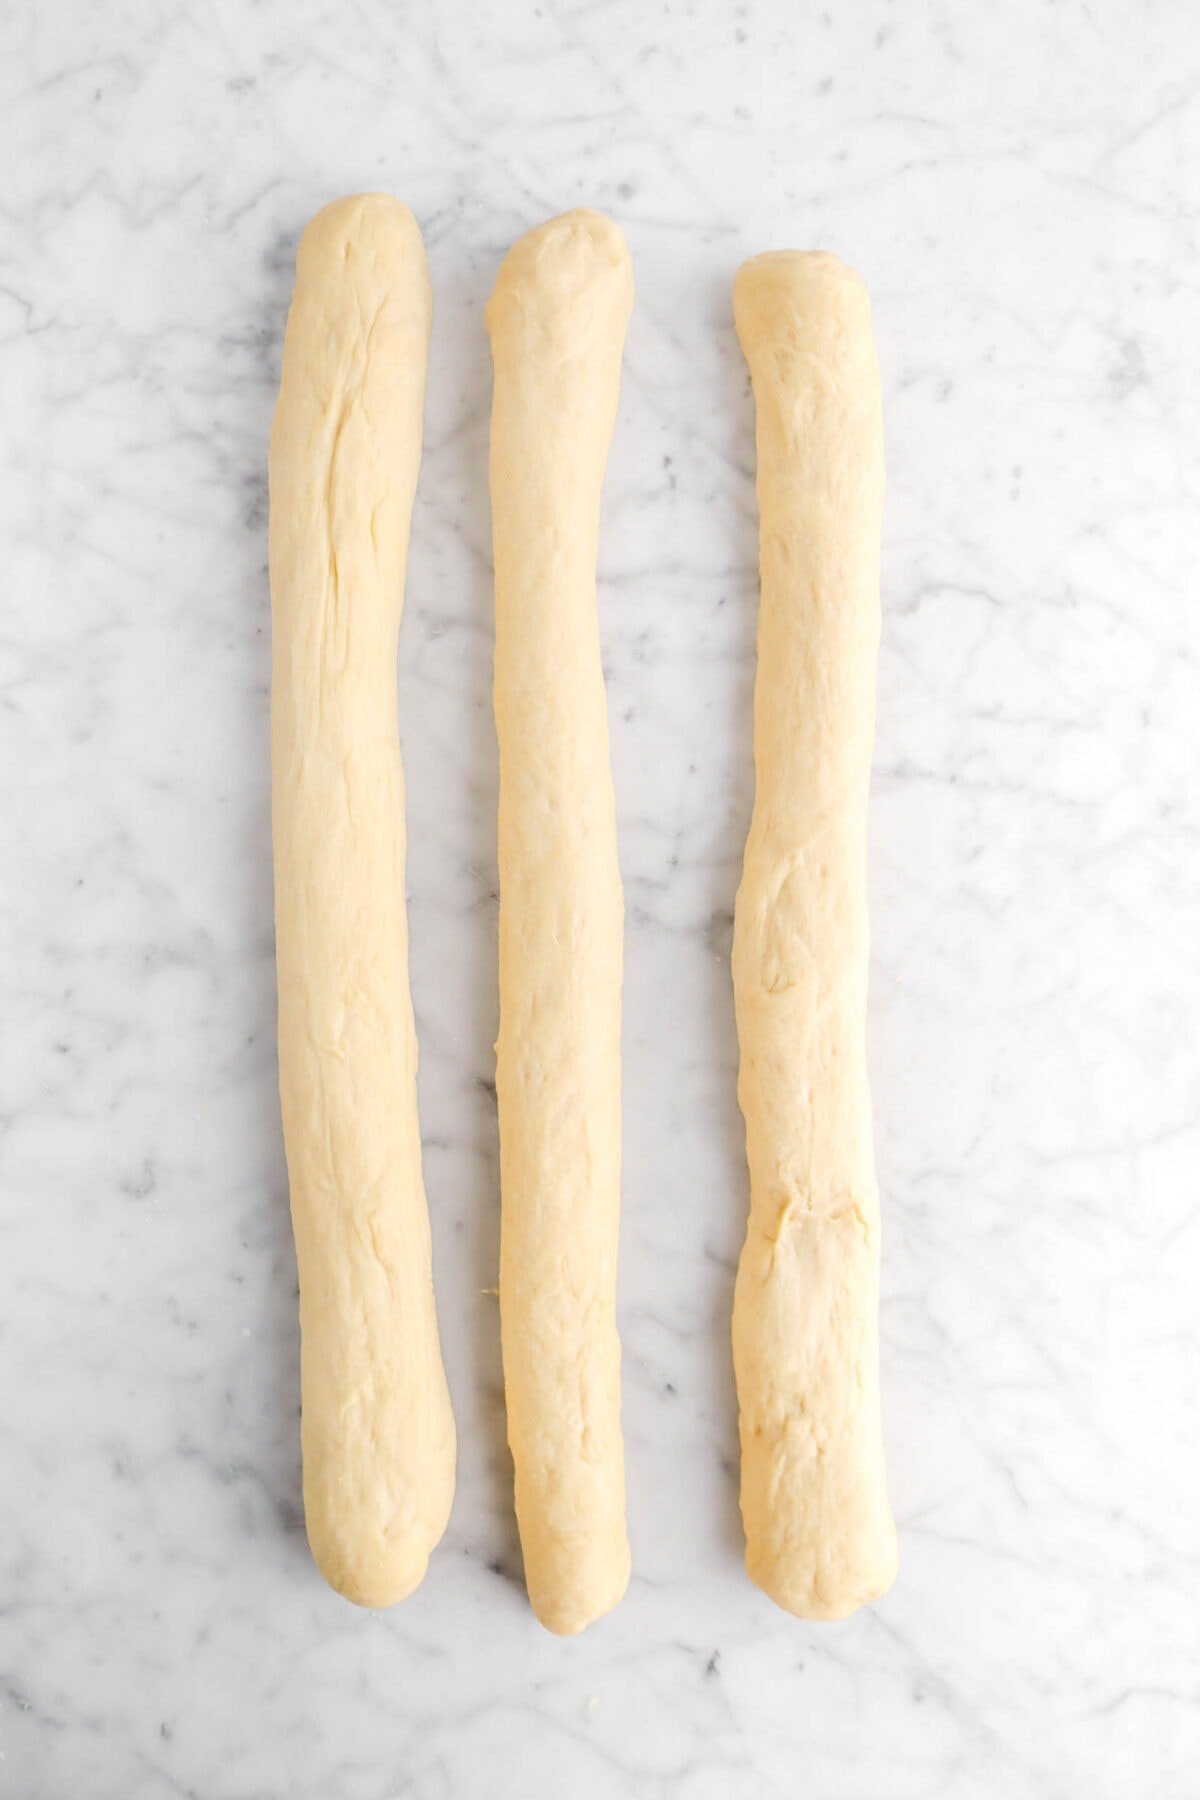
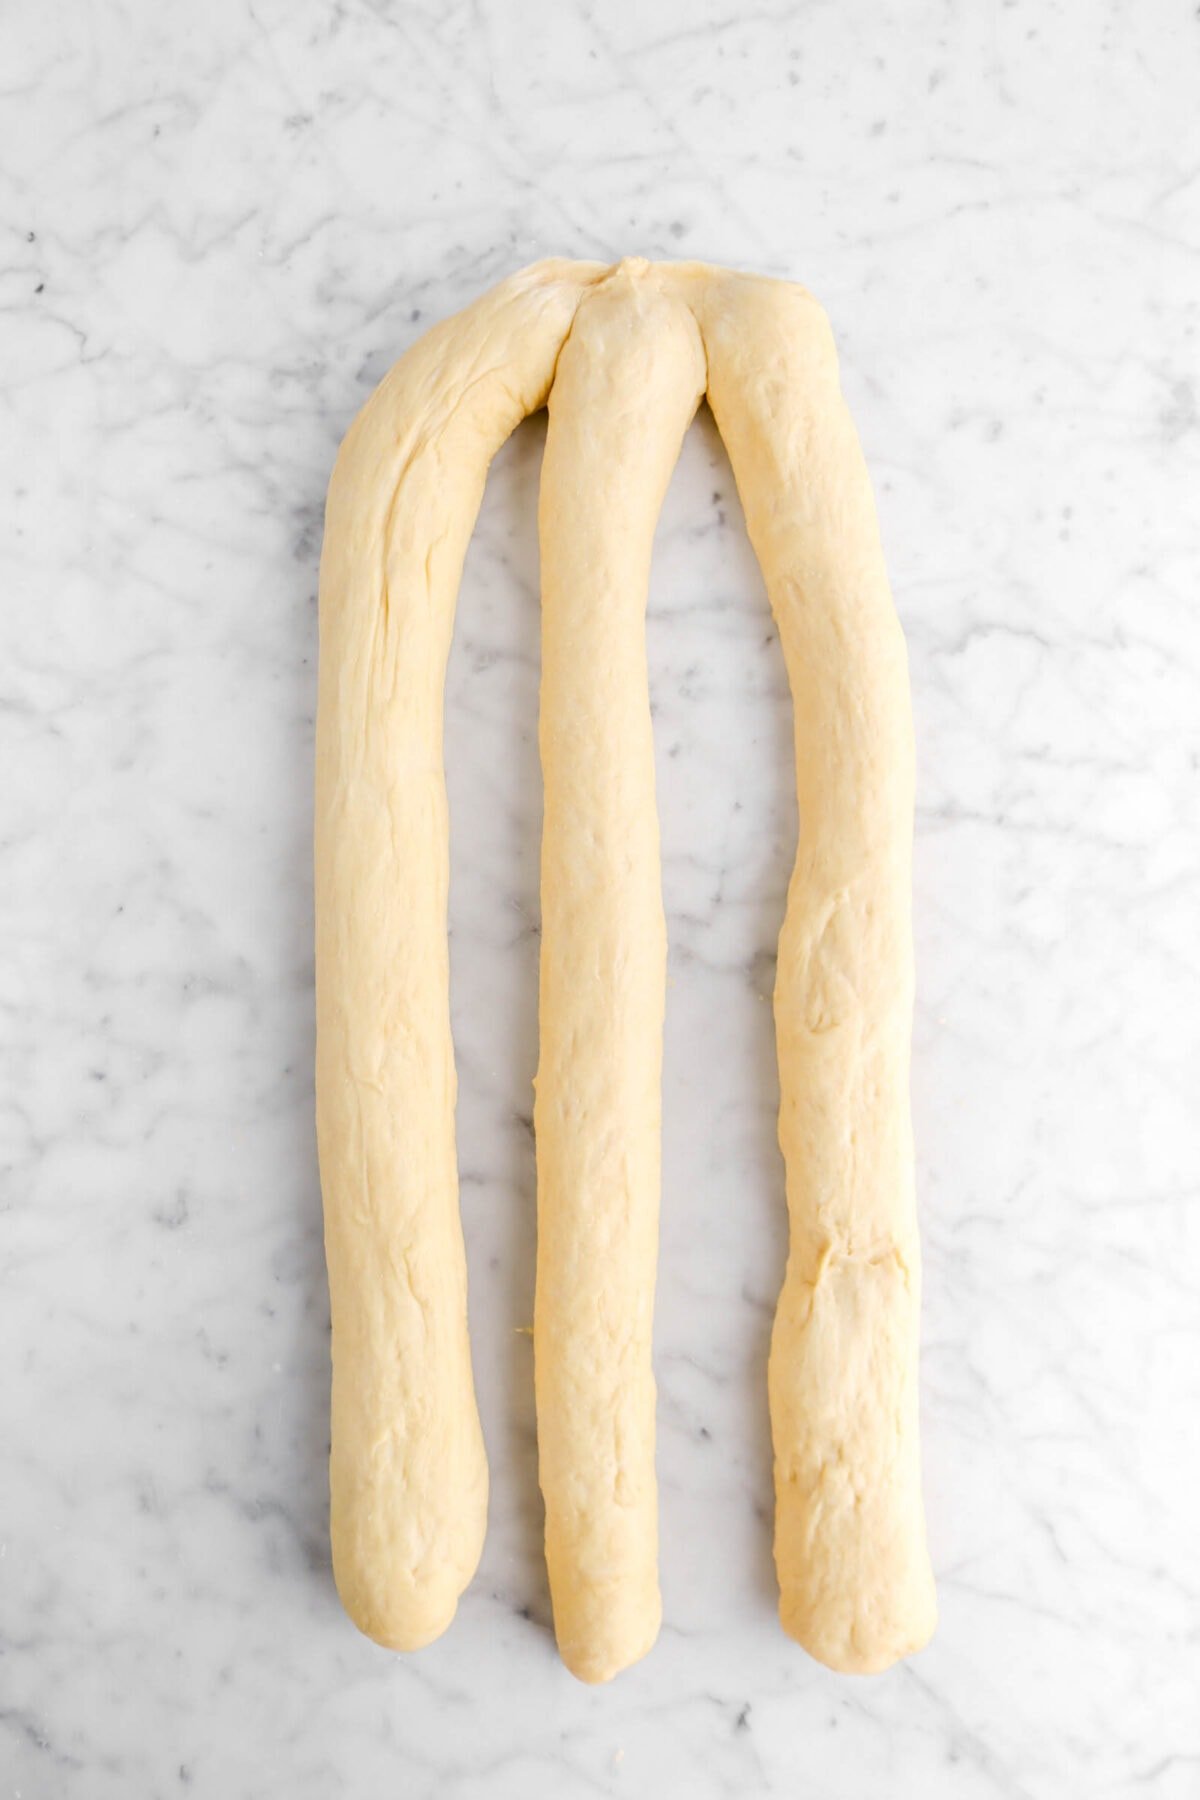
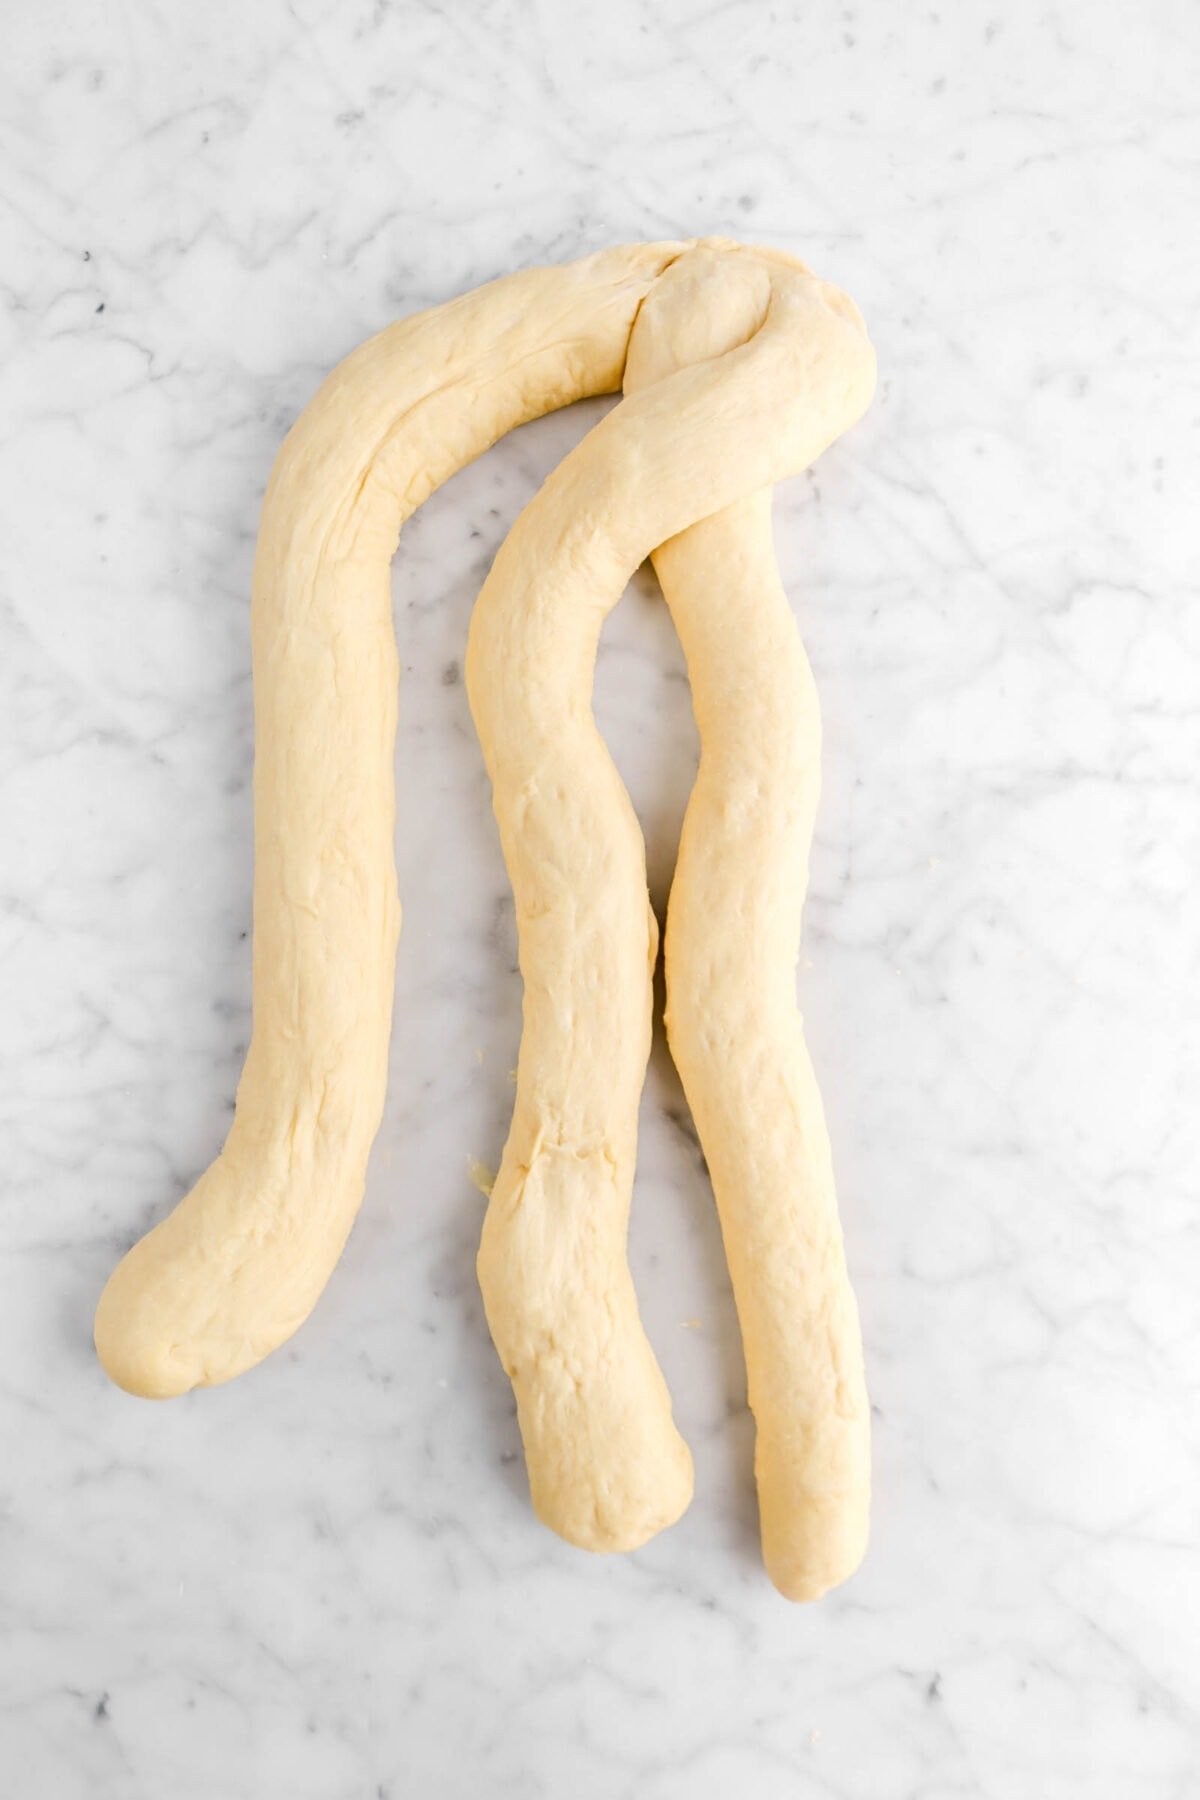
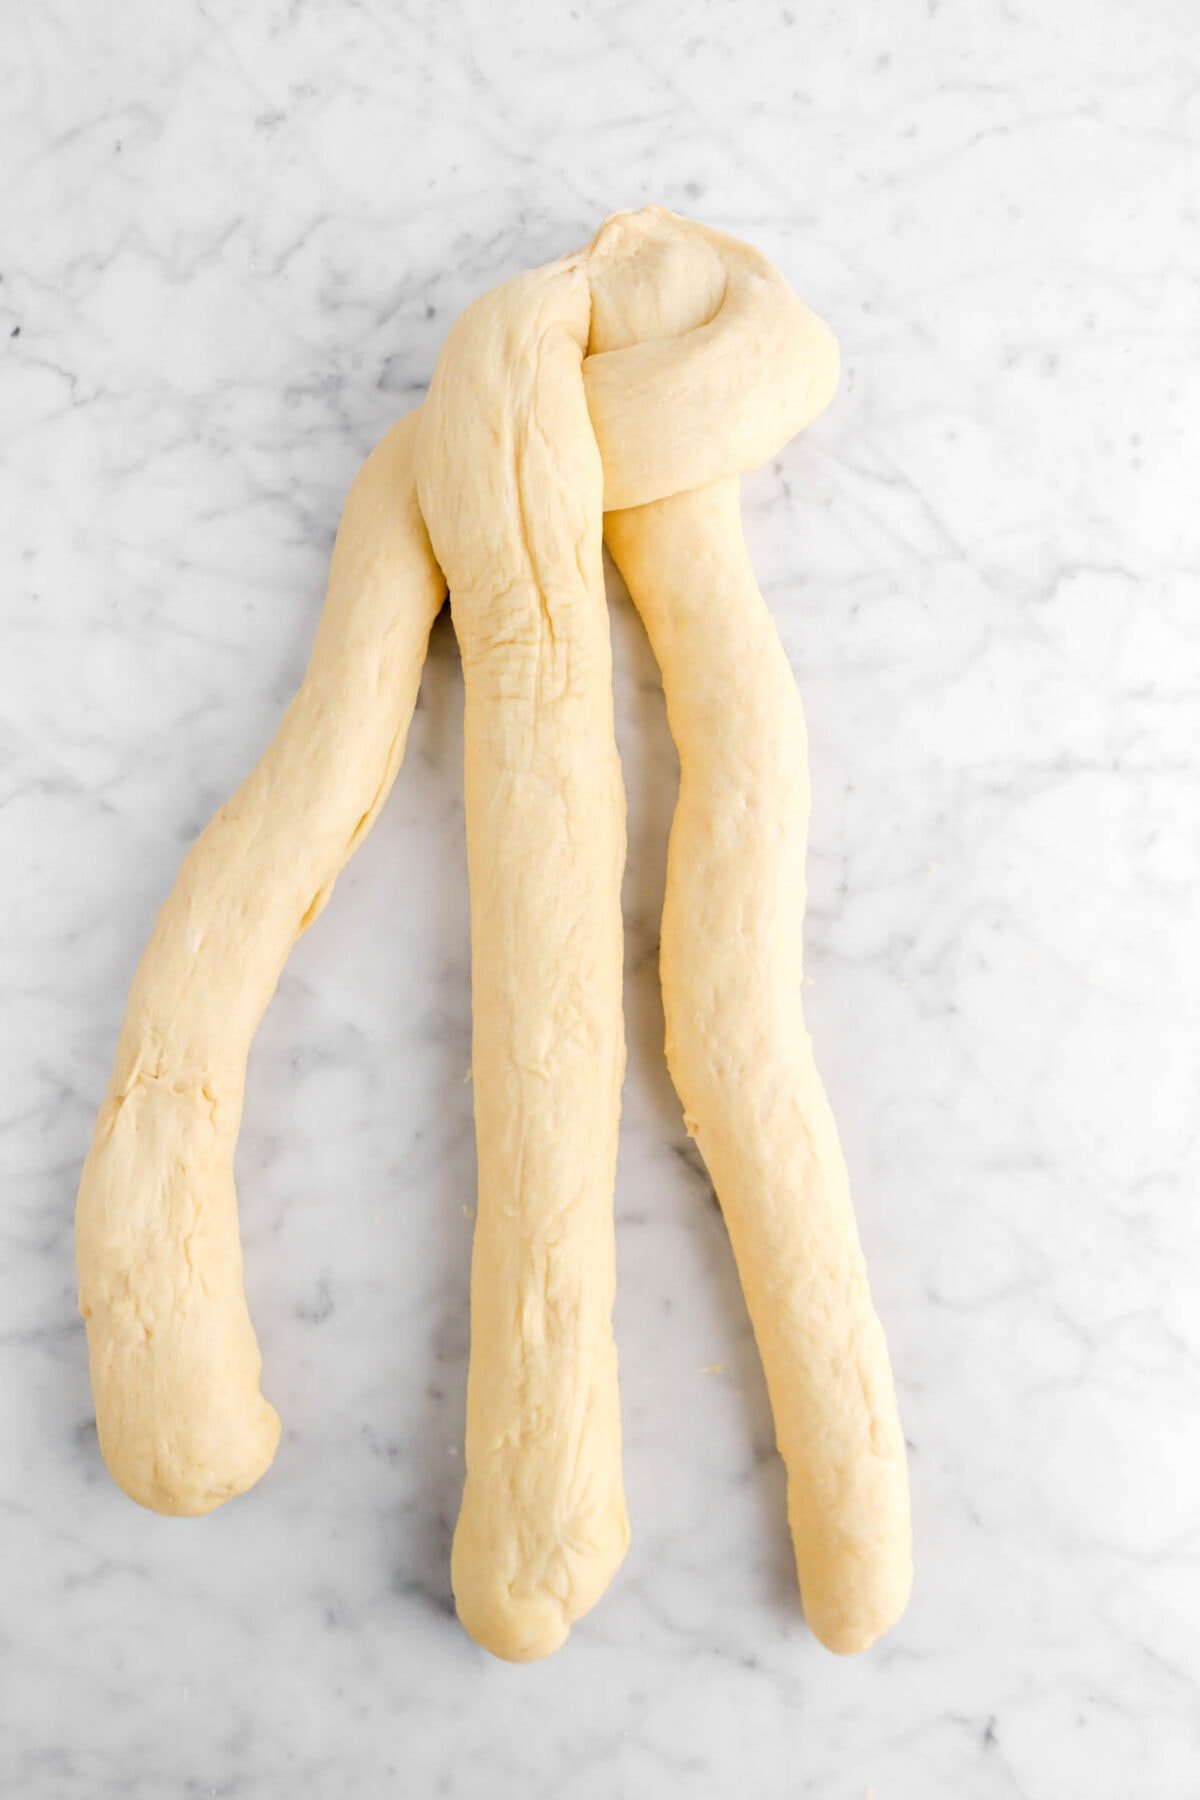
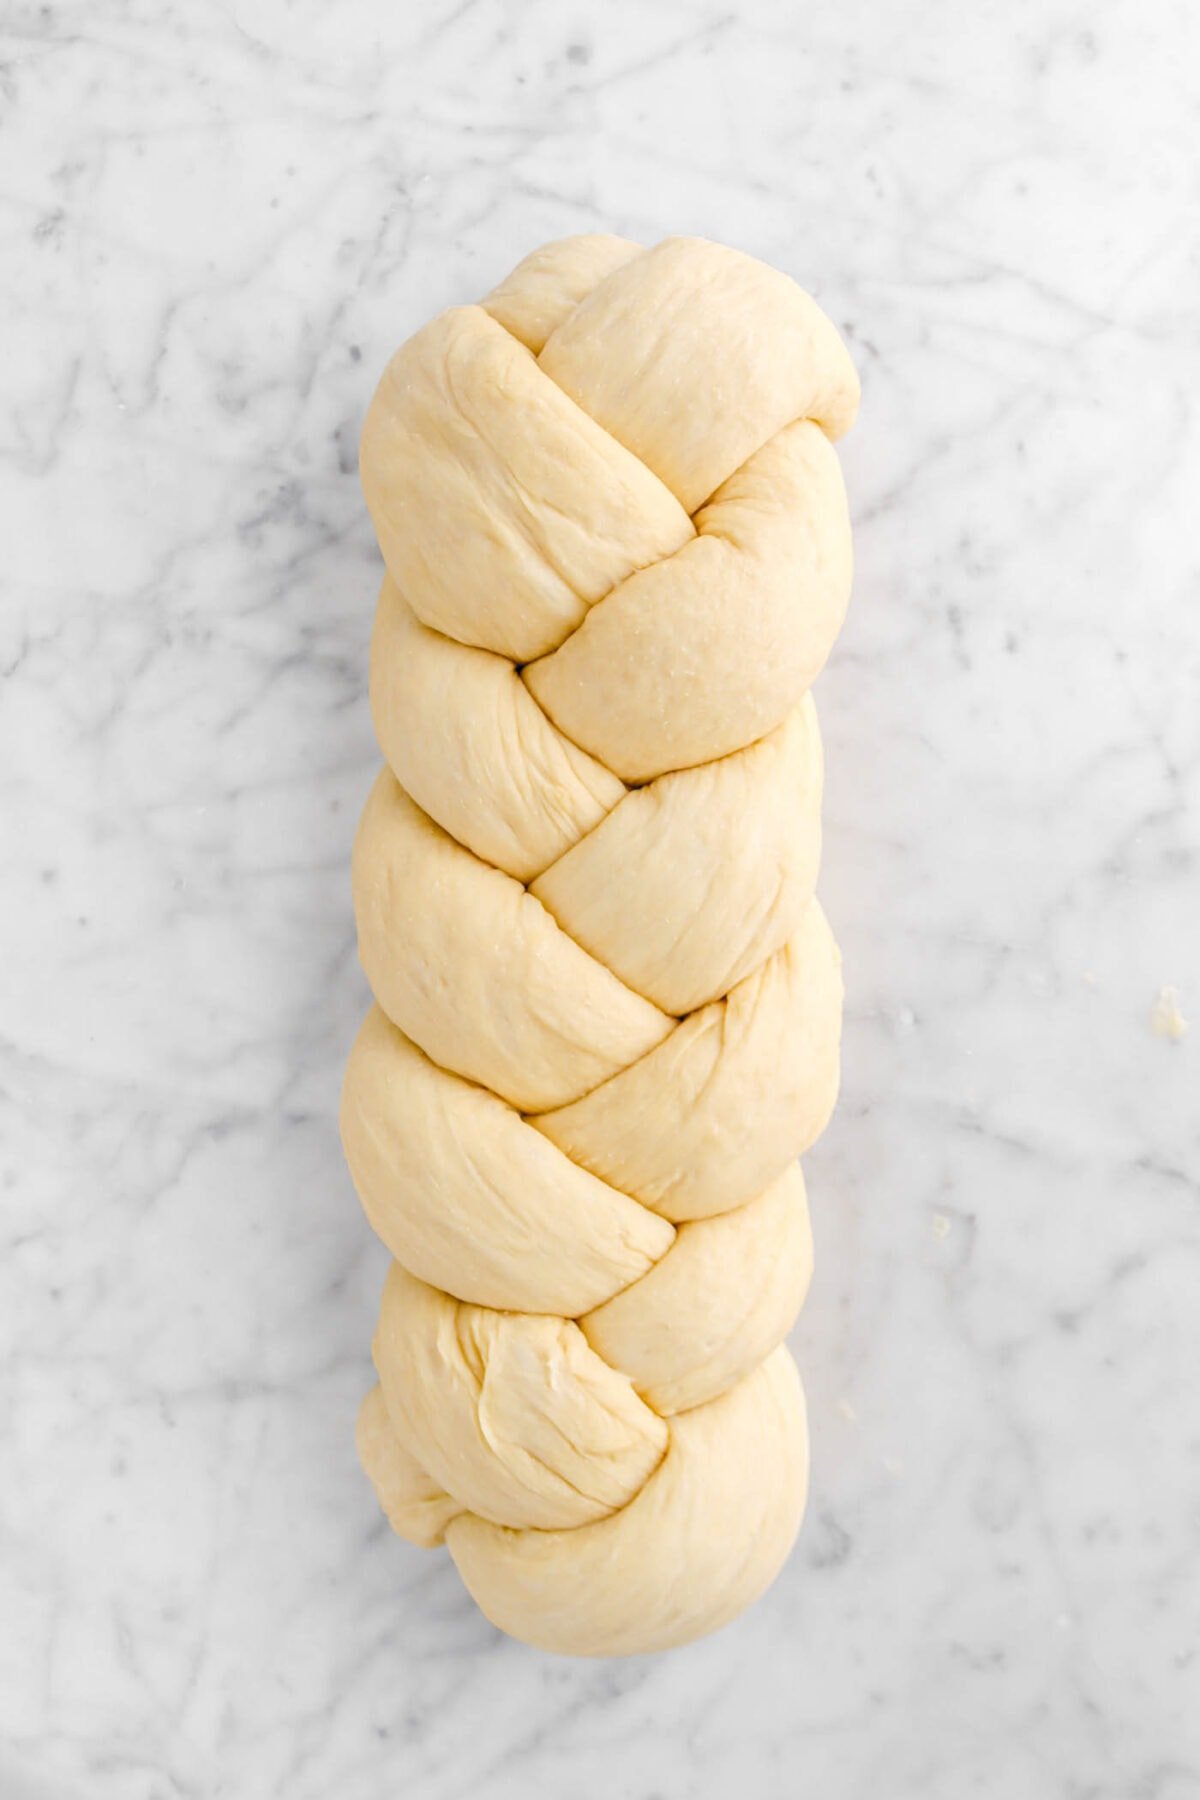
Roll each rectangle into a log and pinch ends together. Beginning with the far right strand, place over the middle strand as seen in the 3rd photo. From there, lift the far left strand and place your first strand under it as seen in the 4th photo. Continue this patter, always starting with the strand that is on the right, until the loaf is fully braided. Tuck ends underneath.
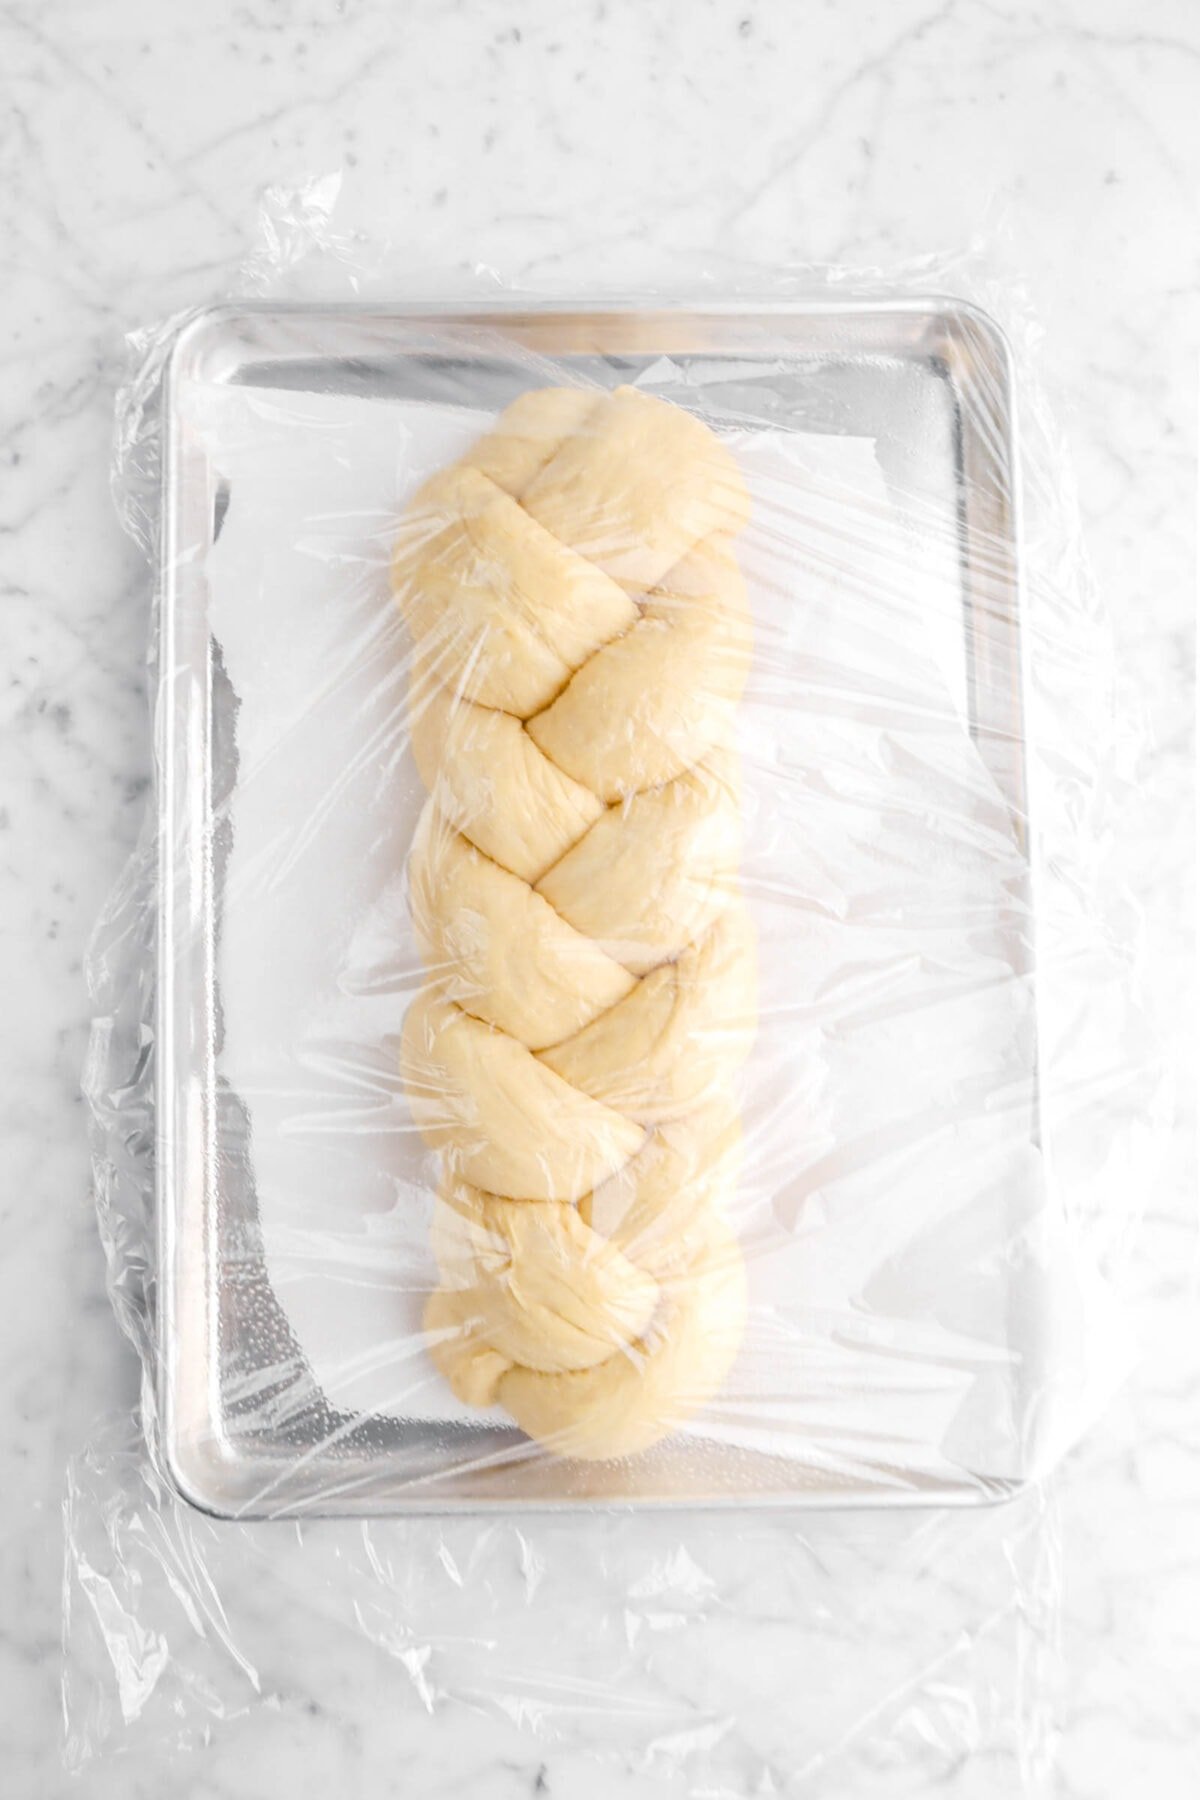
Place loaf on a sheet pan and cover with plastic wrap that has been sprayed with cooking spray. Allow to rise in a warm place for 1 hour, until noticeably risen.
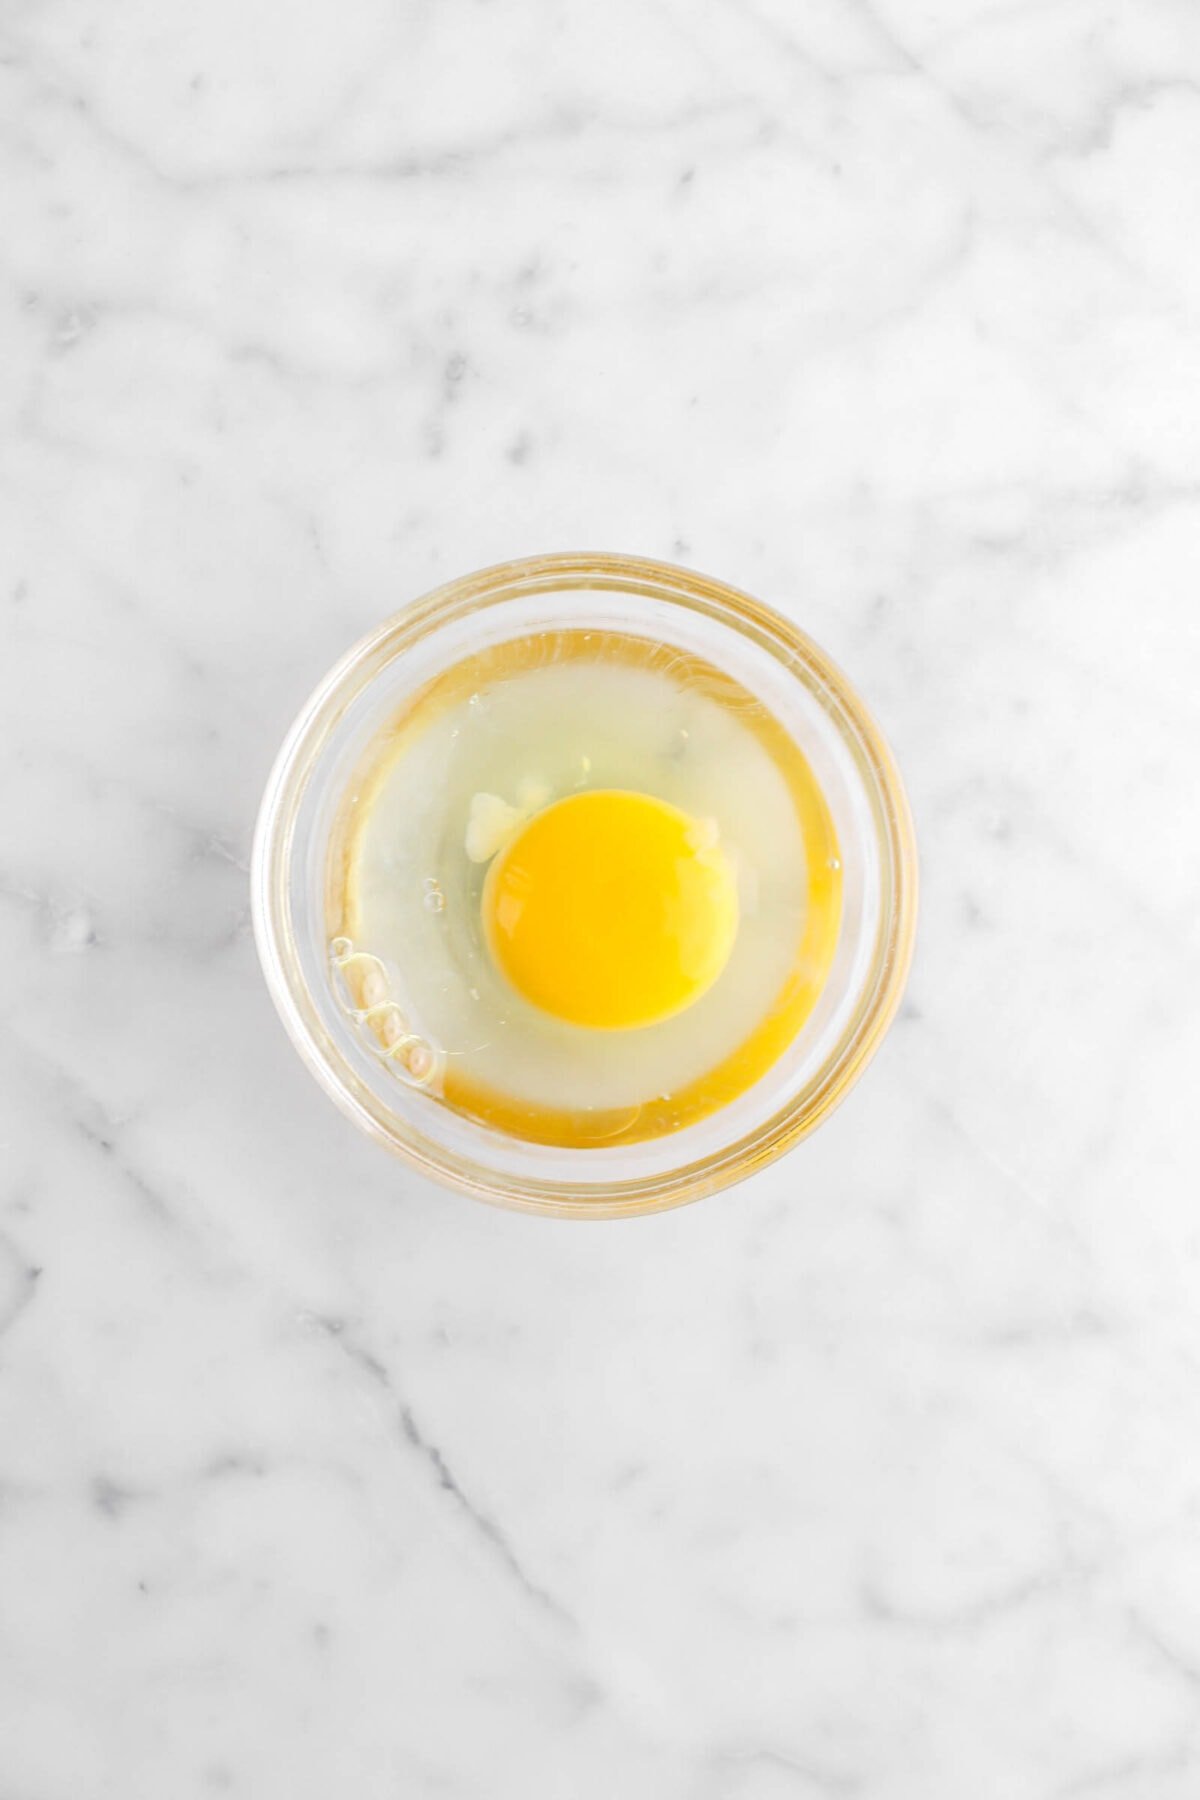
Step 4: Make egg wash
In a small bowl, whisk together egg and water until completely combined.

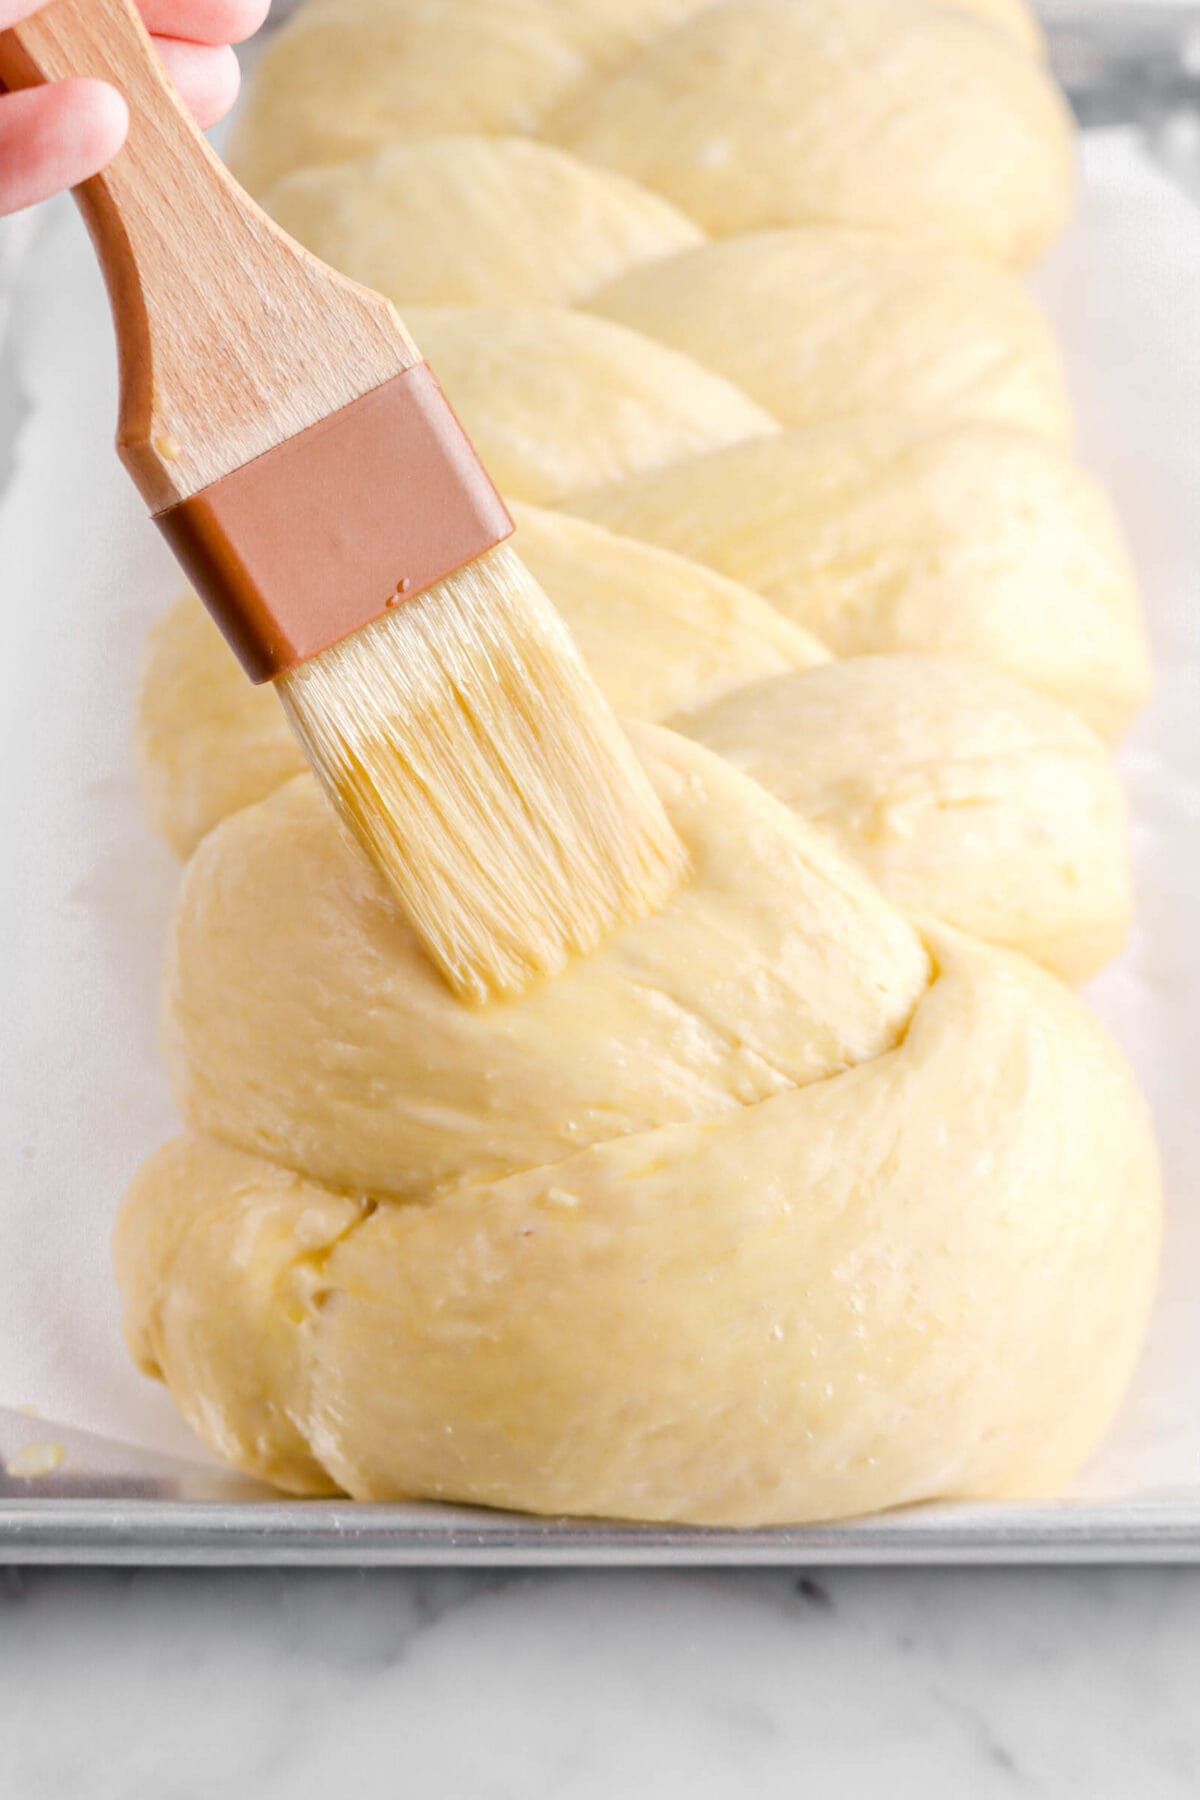
Step 5: Brush loaf and bake
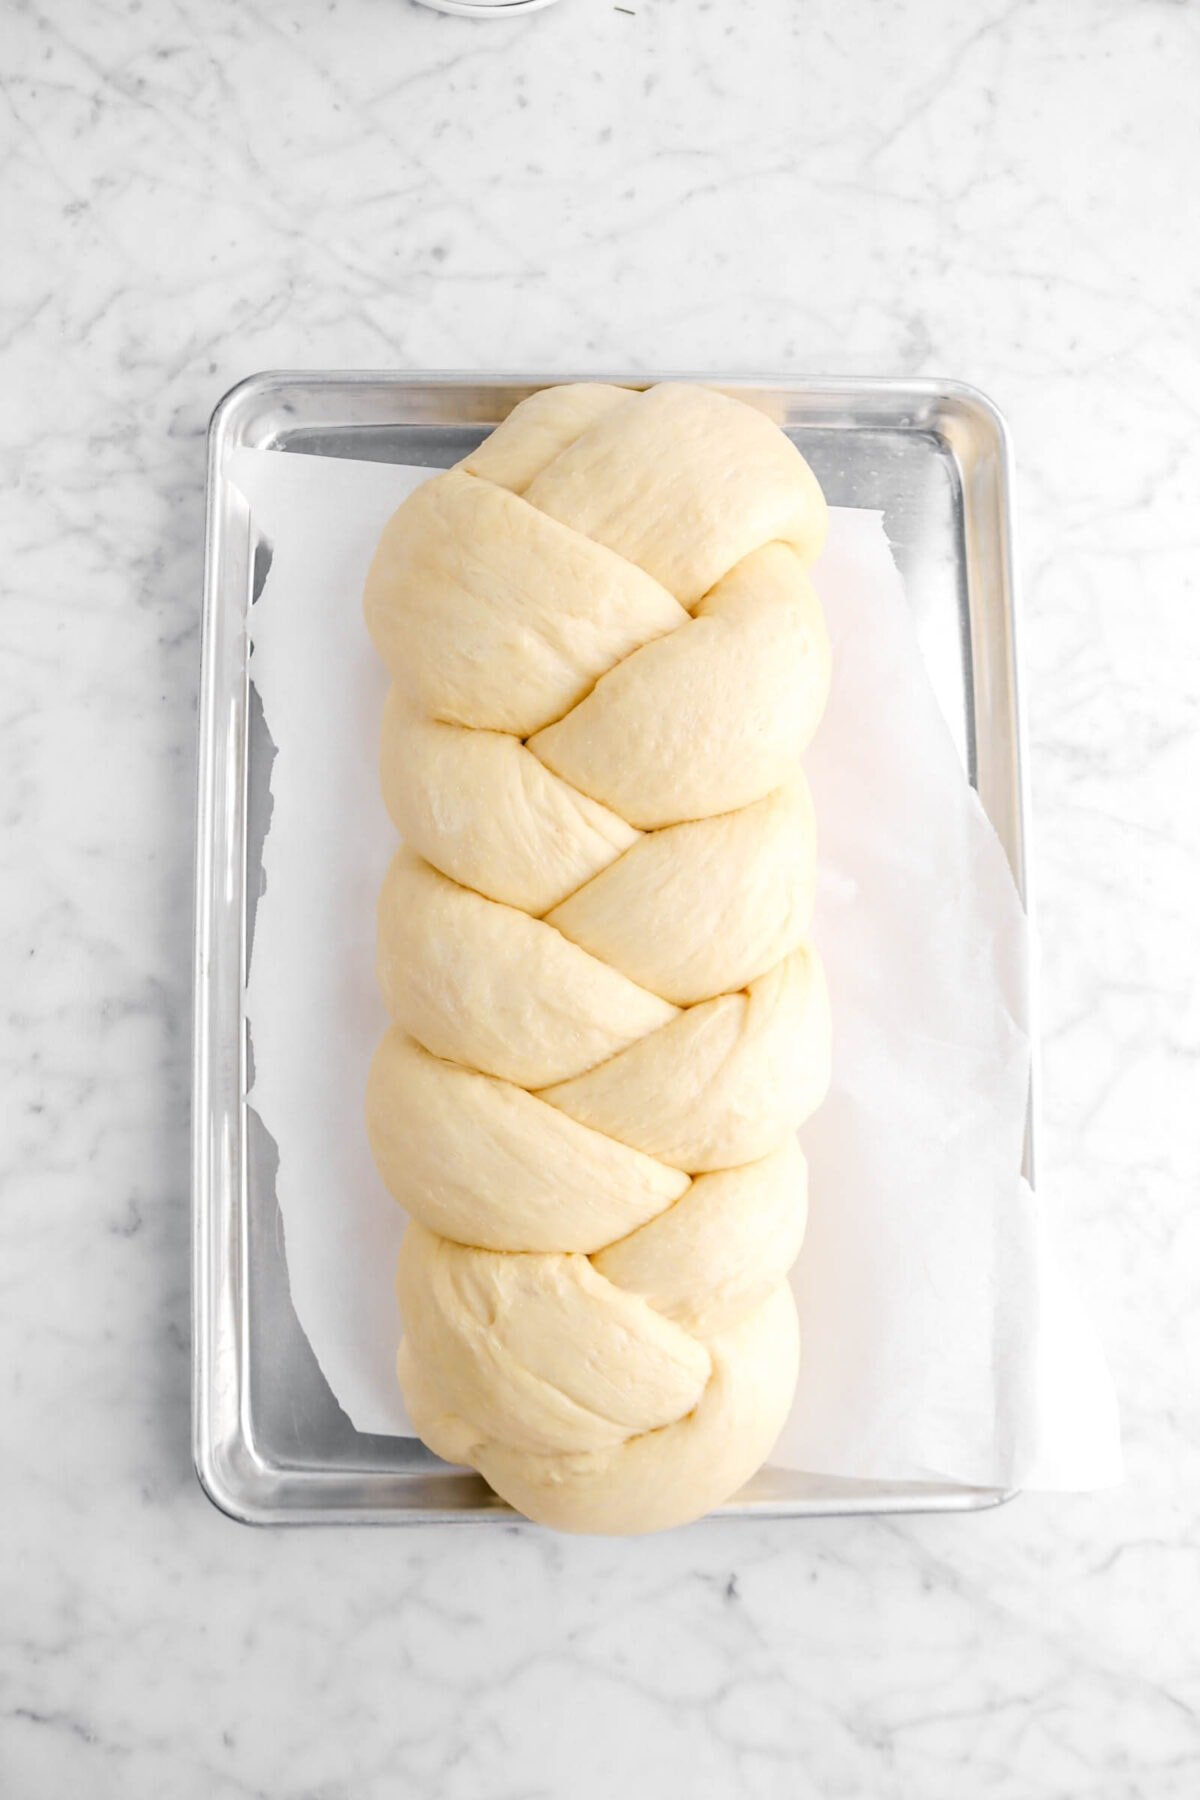
Once the loaf has risen, about double in size, brush top and sides with egg wash.
Bake for 15 minutes and brush the lighter/not browning parts of the challah again with egg wash. Continue baking for an additional 20 minutes, or until done (190 degrees), covering the last ten minutes of baking if necessary to prevent over browning.
What To Make With Challah
After baking, you might be wondering what you can really make with this wonderful bread. The truth is, a little bit of everything! Though, here’s a quick list of things we like to make with this bread.
- Served with Homemade Strawberry Jam and a generous smear of butter
- French Toast (like this delicious Pumpkin French Toast!)
- Bread Pudding
- As the bread for your favorite sandwich
- Ham and Cheese Casserole
There are so many more things you can do with this bread, so be sure to let us know in comments what you came up with!
– Challah FAQ’s –
I don’t have a mixer. Can I make this by hand?
While you can make this bread by hand, it’s always best to use a stand mixer!
Can I make more than one loaf?
Actually, you can! You can follow the recipe as stated below in the recipe card, but instead of dividing the dough into 3rds, divide it into 6ths! Follow the same directions, but doing everything twice. Bake time may vary.
How can I tell when my dough is kneaded properly?
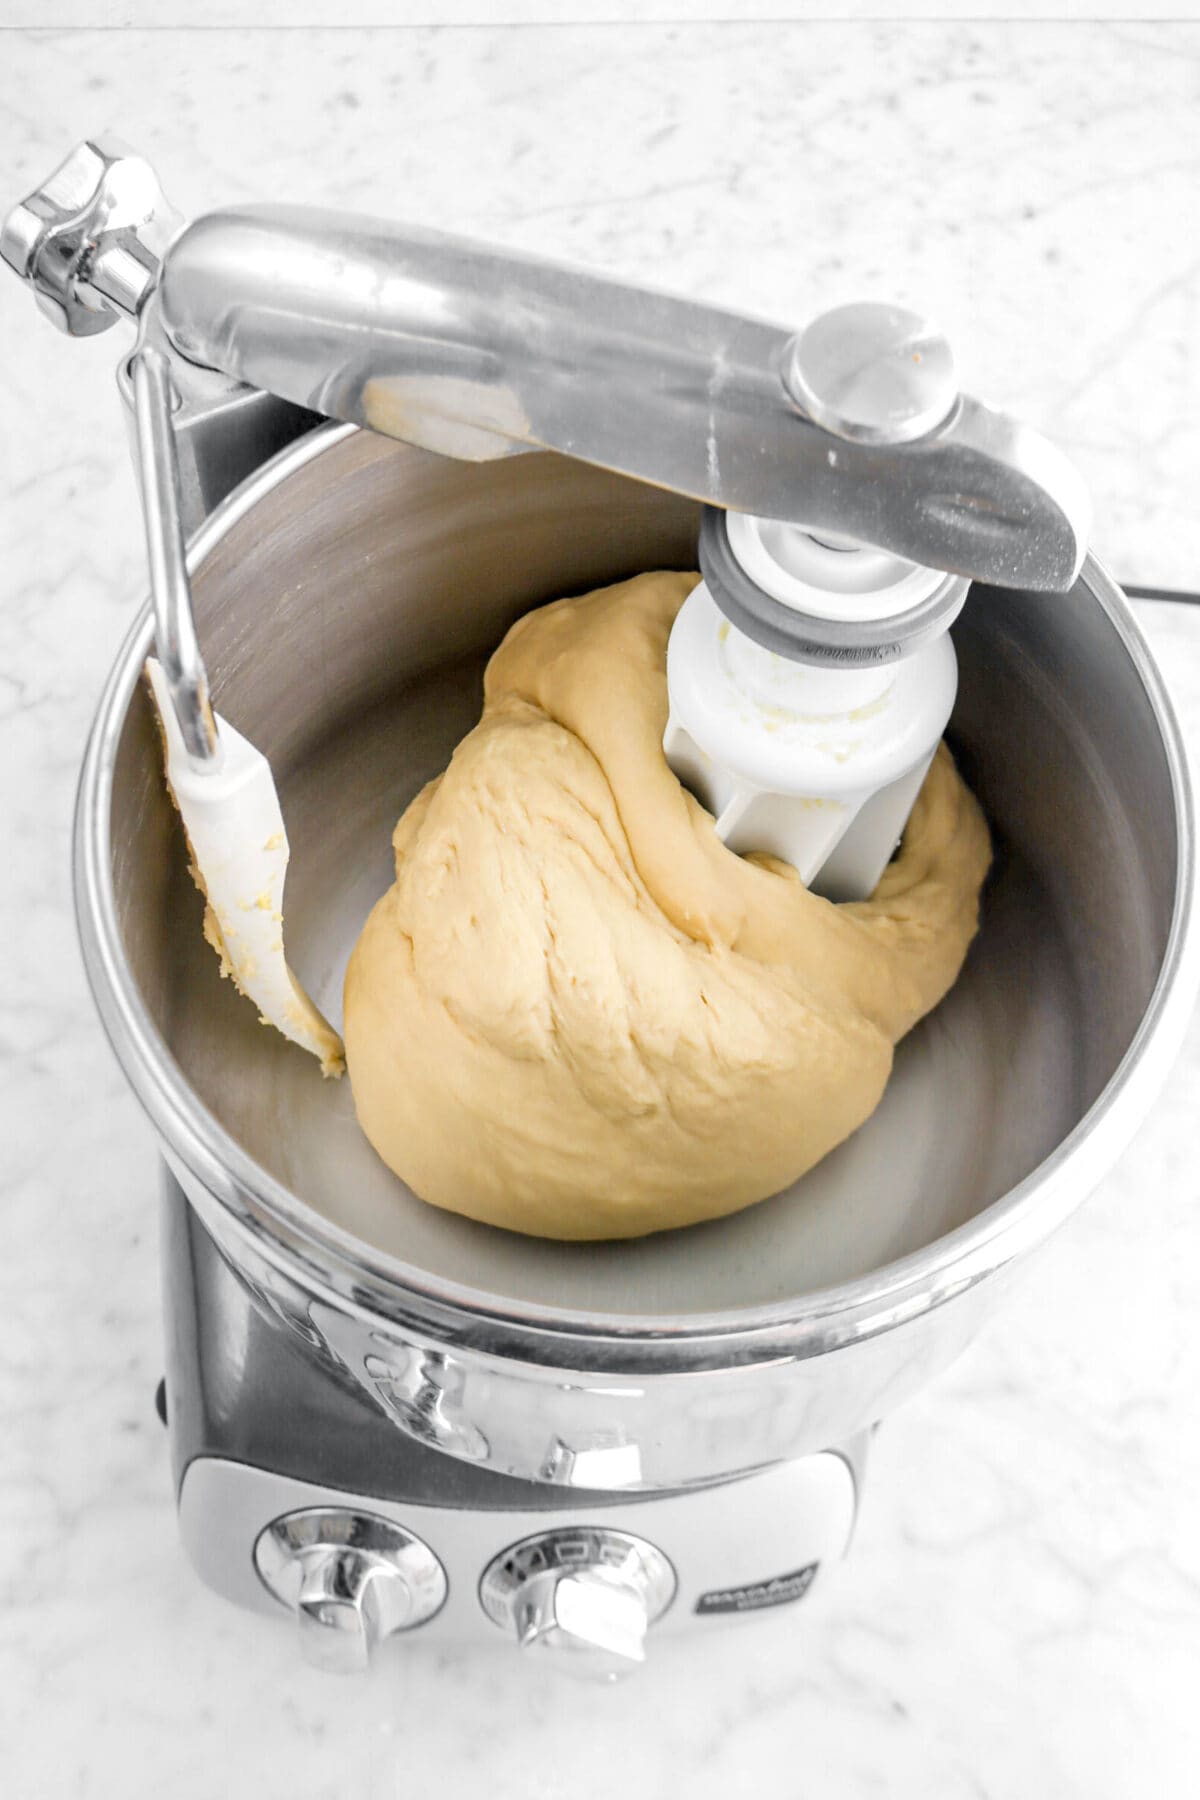
A properly kneaded dough should be smooth and shiny. The bowl of the mixer should also be VERY clean and the dough should lift out of the mixer in one piece, rather than ripping into two pieces.
Why is my dough taking so long to rise?
This is an enriched dough, which tends to take longer to rise than a traditional bread. Though, you may need to check to see if your yeast is still in date!
My dough isn’t rising in the times stated in the recipe card!
The recipe card/post states the times it took our dough to rise. We live in Central Texas. So, it tends to be a bit warmer here and doughs generally take less time to rise. I promise there’s nothing wrong with the dough! Just let it do its thing.
My Challah is already browned, but it’s not done yet!
If this happens, don’t worry! Cover with aluminum foil and finish baking. You can also use an instant read thermometer to see if the bread is properly baked. A properly baked Challah should read 190 degrees F.

How To Store
Once this bread is cooled, it can be stored in a zip top bag at room temperature for up to 2-3 days. You can also refrigerate it for 7-9 days. Though, in our opinion, the best way to keep this bread is by freezing it! Wrap it in aluminum foil and freeze for 1-2 months.
When you make this Homemade Brioche, leave a comment down below! We love hearing from you and answering any questions you might have! Also, be sure to tag us on social media and hashtag it #BakersTable.
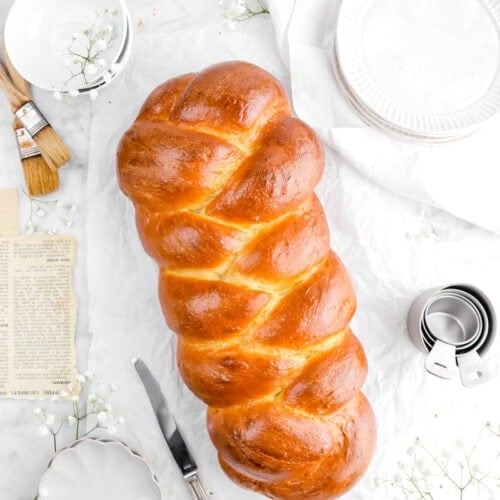
Homemade Challah
Ingredients
Bread
- 3 cups bread flour
- 3 Tablespoons granulated sugar
- 1¾ teaspoons Morton kosher salt
- 1½ teaspoons instant yeast
- 5 large egg yolks, room temperature
- 3 Tablespoons vegetable oil
- ¾ cup water
Egg Wash
- 1 large egg yolk, room temperature
- 1 Tablespoon water
Instructions
Bread
- In the bowl of an electric mixer fitted with the dough hook, combine flour, sugar, salt, and yeast.
- Stir together.
- Add egg yolks, vegetable oil, and water.
- Mix on low speed for 3 minutes.
- Increase speed to medium.
- Knead for an additional 5 minutes. (The dough should be smooth and shiny. You can use the windowpane test to check for proper gluten development.)
- Scrape dough into a large bowl.
- Cover with plastic wrap. (If using a proofing box with a water tray, there is no need to cover with plastic wrap.)
- Let rise at warm room temperature (78℉/26℃-80℉/27℃) for 2 hours.
- Turn dough out onto an unfloured surface.
- Degas by patting down gently.
- Divide into thirds.
- Form each third into a rectangle.
- Cover with a piece of plastic wrap or a damp tea towel.
- Allow dough to rest for 15 minutes.
- While dough is resting, make egg wash by whisking egg yolk and water together until thoroughly combined and smooth. Set aside.
- Working with one rectangle at a time, turn dough horizontally.
- Fold the top third down and the bottom third up.
- Turn over so seam is on bottom.
- Roll into a log that is 12 inches long.
- Place on a large sheet of parchment paper.
- Repeat with 2 remaining pieces of dough.
- Braid, making sure to seal and tuck ends under. (See step-by-step photos in post.)
- Make egg wash by whisking egg and water together in a small bowl until smooth.
- Brush dough with egg wash.
- Cover with plastic wrap that has been sprayed with cooking spray.
- Allow to rise in a warm place for 1 hour, until noticeably risen.
- While dough is proofing, heat oven to 350℉/177℃.
- Brush dough with egg wash again.
- Bake for 18-22 minutes, or until done (190℉/88℃).
Notes + Tips!
- If you use Diamond Crystal salt, increase the salt to 1 Tablespoon.
- Do not flour the surface when turning out the dough.
- Make sure that you’re using an instant yeast. We use SAF Gold for this recipe.
- Remember to pinch the ends of the dough together before beginning the braid!
- You may need to cover this bread the last 10 minutes or so of baking.
- To tell if you bread is fully baked, poke a thermometer in the center of the loaf. It should read 190 degrees.
Tools You May Need (affiliate links)
– Still Hungry? –
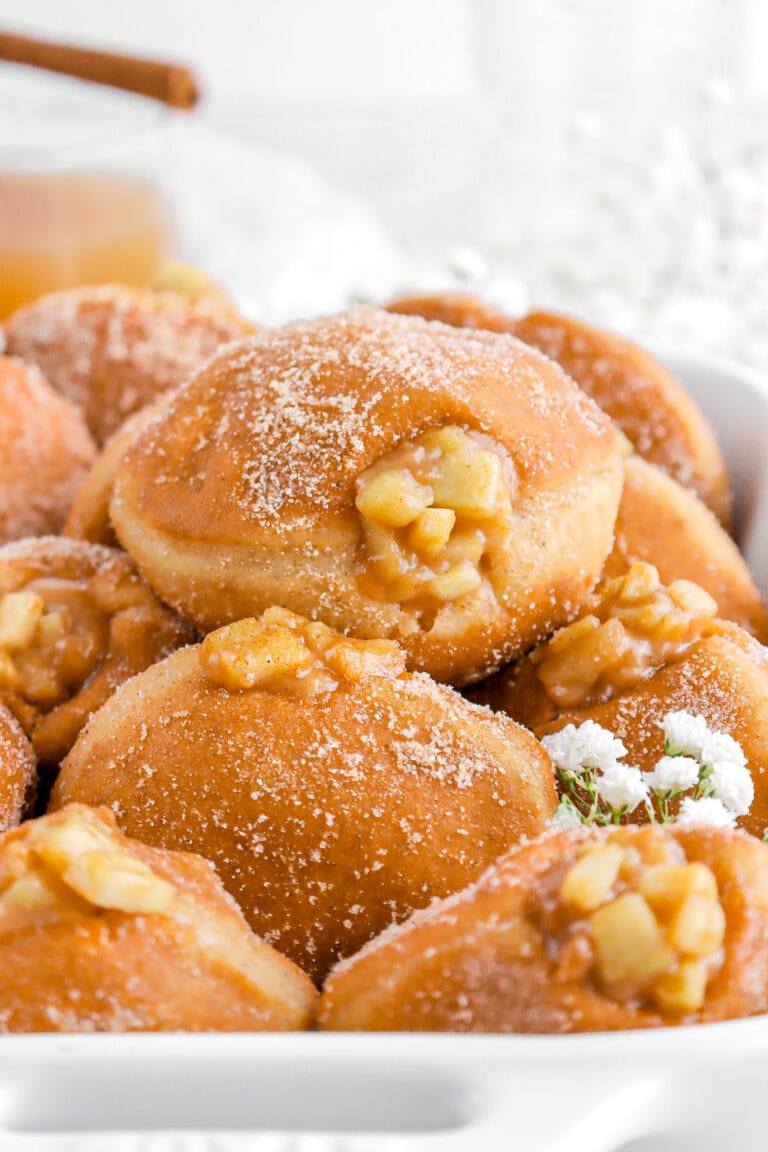
Here are a few recipes may like!

Hello Traci. I hope you are well.
Kindly advise on the eggs. In the picture with all the ingredients you have 4 egg yolks and 3 eggs with whites. In the directions with the pictures – you advise to add the egg yolks and eggs. However, in the actual recipe, you advise to use 5 egg yolks. Which is the correct quantity for eggs and yolks? Thank you so much.
Hi Anthea! I apologize for the mistake in the photo. Thank you for bringing it to my attention. The correct quantity is 5 egg yolks. If you are ever in doubt, always follow the recipe card. Let me know if you have any other questions.
*****! Five stars for easy, and delicious!! I would only say, it is huge!! I would recommend halving the recipe, or make two and gift someone with the second loaf. Seriously, this is a perfect recipe for easy and delicious!