Homemade Dark Chocolate Peanut Butter Cups
This post may contain affiliate links, please visit our privacy policy for details.
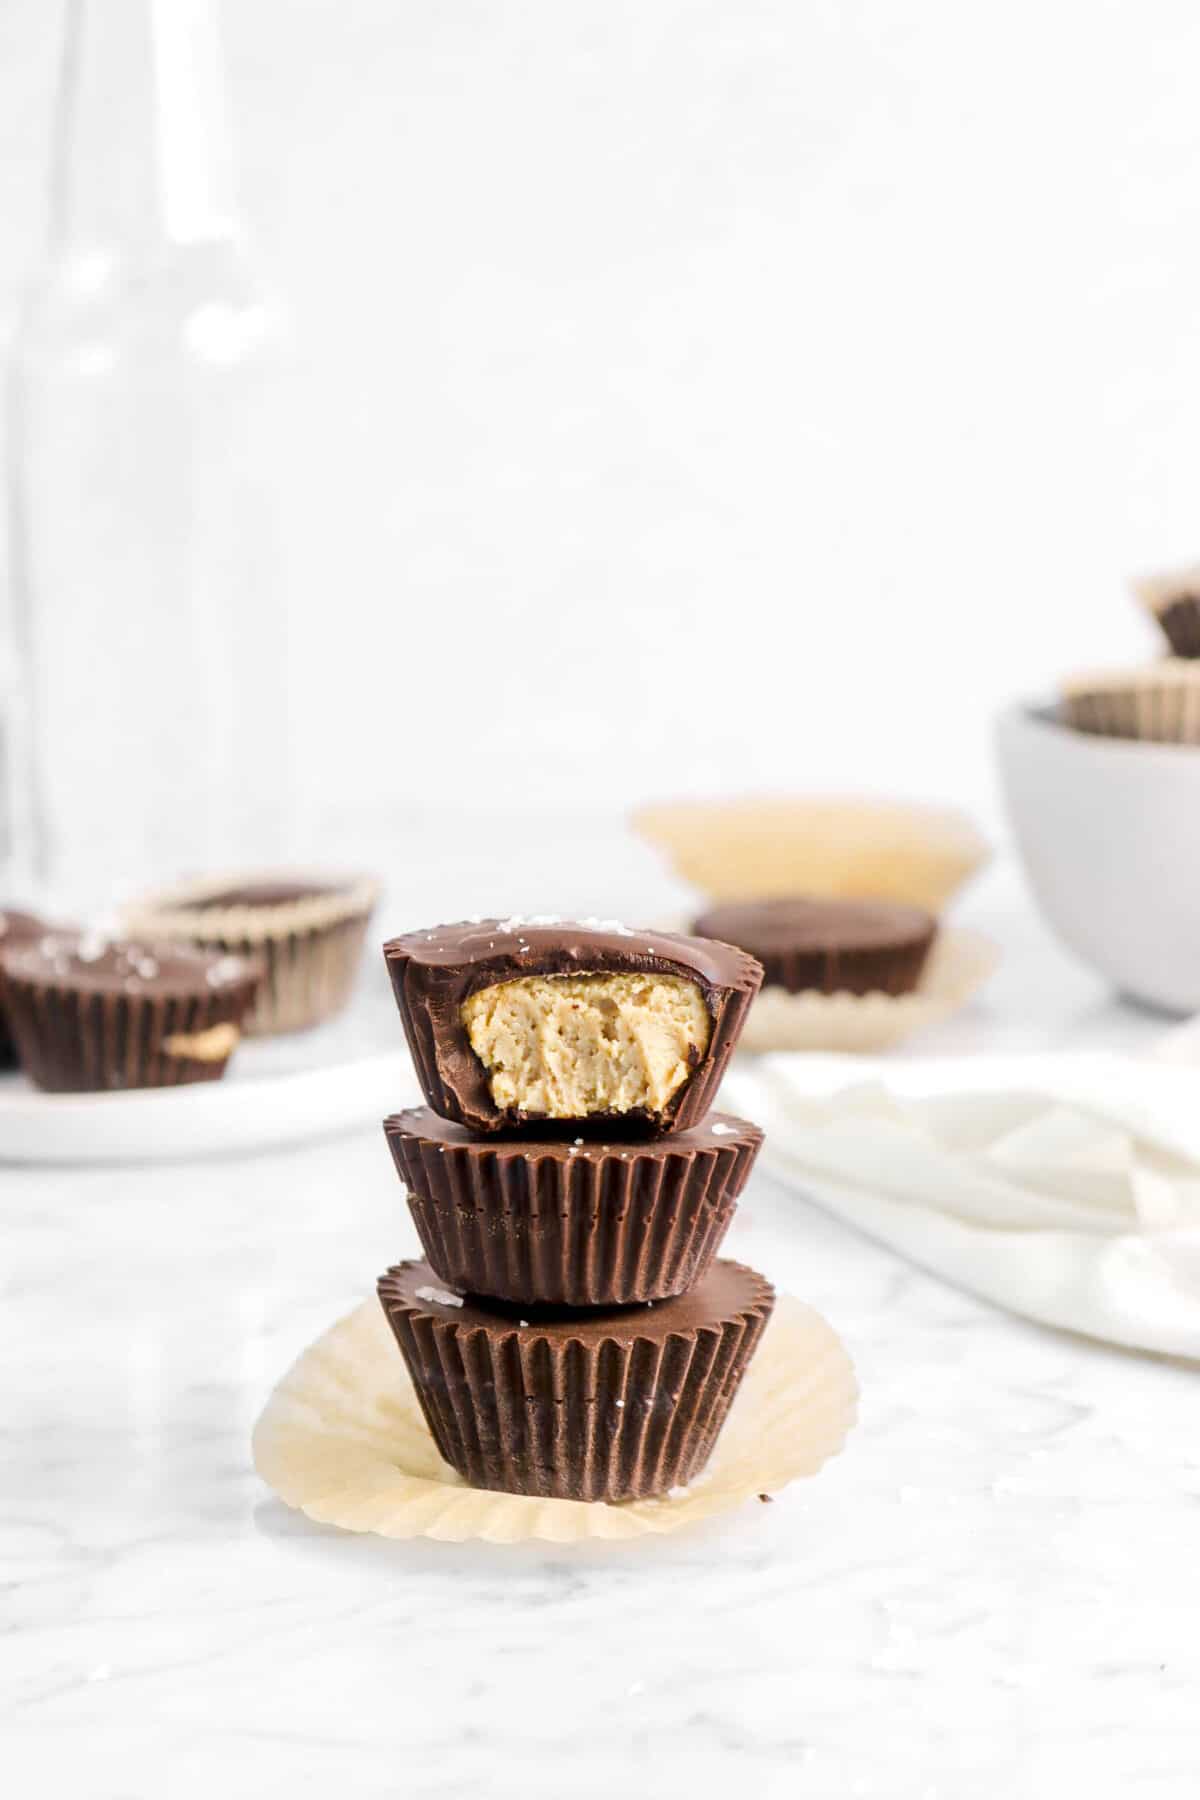
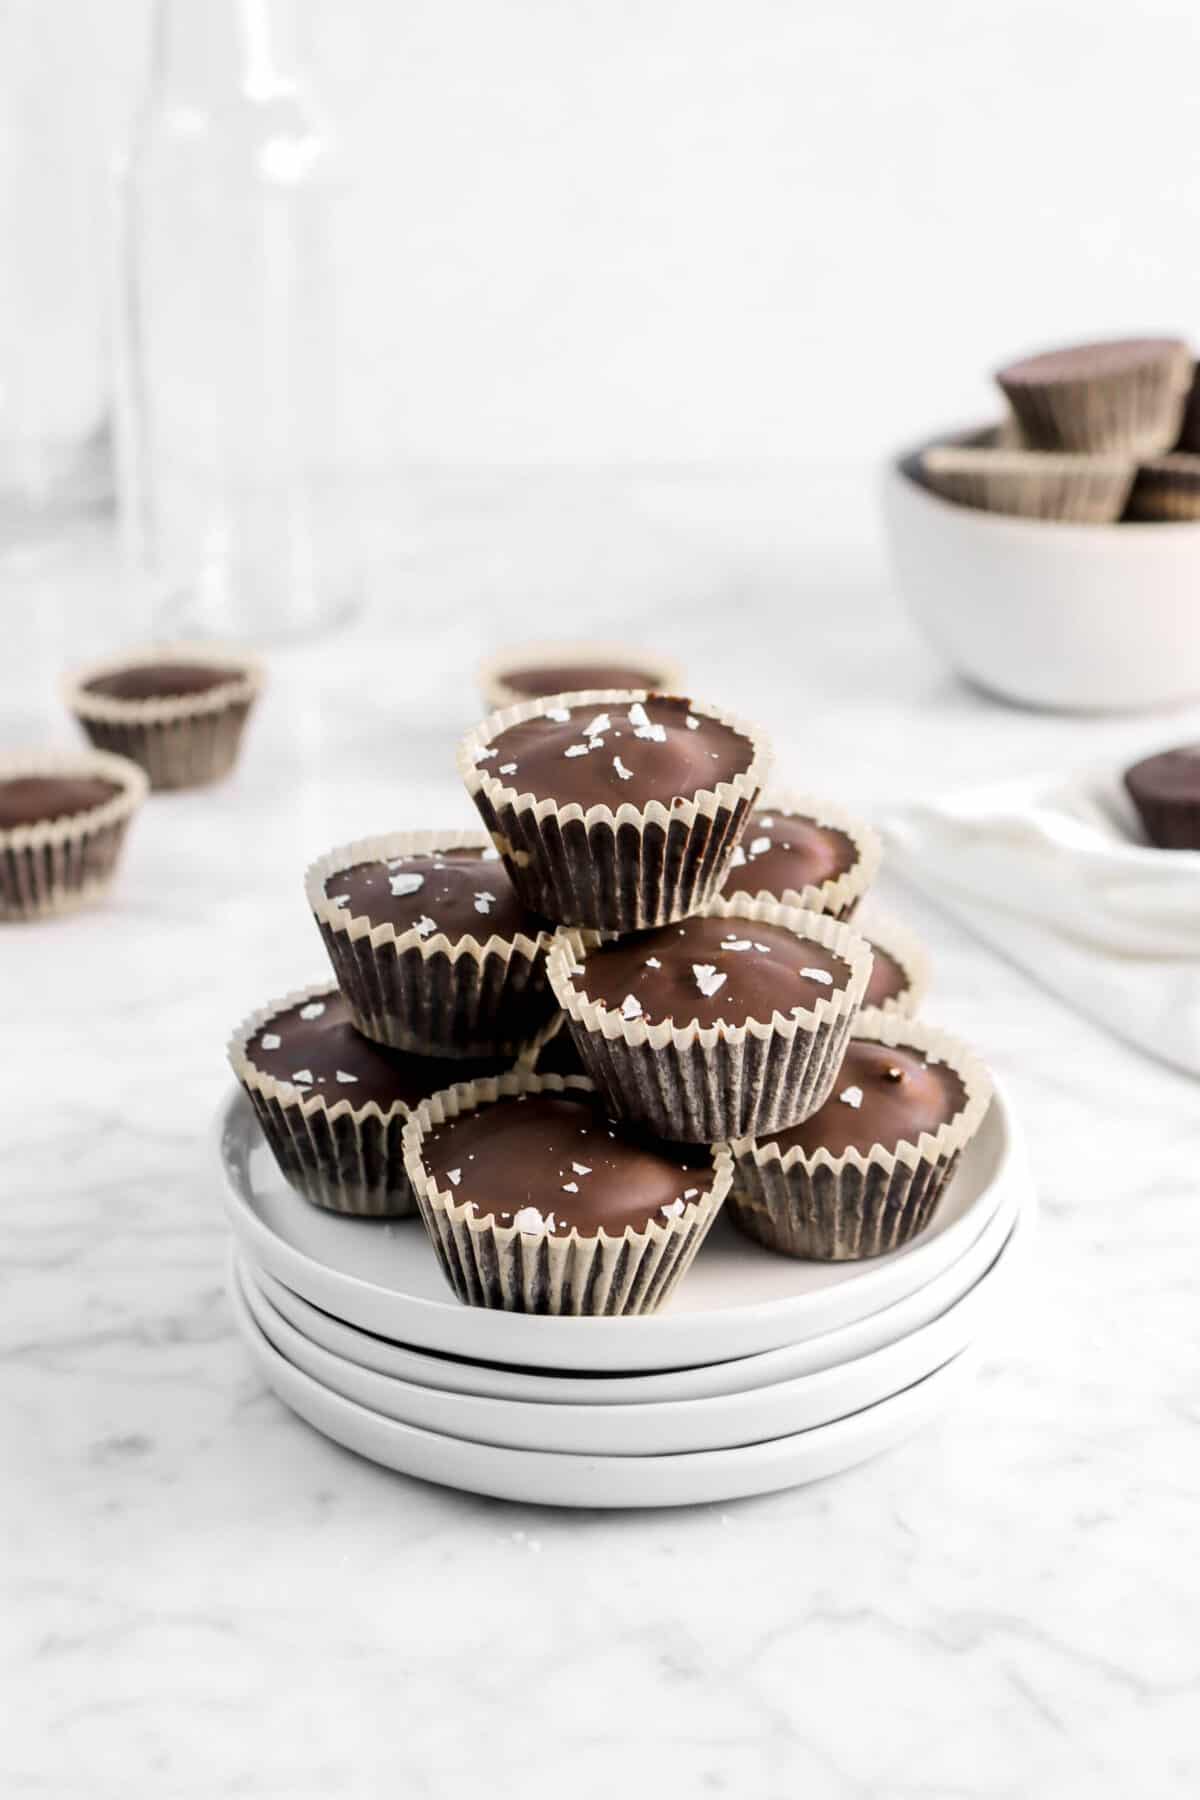
Welcoming in this October Friday with these healthier Homemade Dark Chocolate Peanut Butter Cups. A salty, sweet, and nutty peanut butter based filling stuffed between 2 layers of rich dark chocolate, then finished off with a light sprinkle of flaky sea salt. It’s SO much better than the candy you can buy at the store, just a little healthier, and way more fun to make. Honestly, there’s nothing not to love about these peanut butter cups. Perfect for absolutely everything… From Halloween, to your Thanksgiving dinner, to a stocking stuffer on Christmas morning. These will even be great as back-to-school treats! Okay, even just when you really must have a deliciously sweet peanut butter filled chocolate cup. SO. GOOD.
About The Recipe
I think one of our October staples to have around the house have always been peanut butter cups, whether that be store-bought or homemade.
There’s just something about the Halloween season that needs chocolate and peanut butter! But, I might be a little biased… peanut butter cups are basically my favorite Halloween candy.
In fact, this recipe has been in our family for 40 years!
My mom and her mother actually came up with this recipe, and we have been making it pretty much every October since that day.
Of course, the recipe has evolved slightly and we now use dark chocolate, but you can honestly use whatever kind of chocolate you prefer!
It’s kinda like a mix-and-match, but with candy… So, that just makes it a million times better.


Oh, and you don’t need any specialty equipment to make this recipe! No molds, no fancy machines, just a few kitchen and pantry staples and you’re set!
But, just a warning, these little cuties are so messy. Chocolate tends to get everywhere! So, be sure not to wear your favorite clothes and wear an apron! I learned the hard over many, many years.
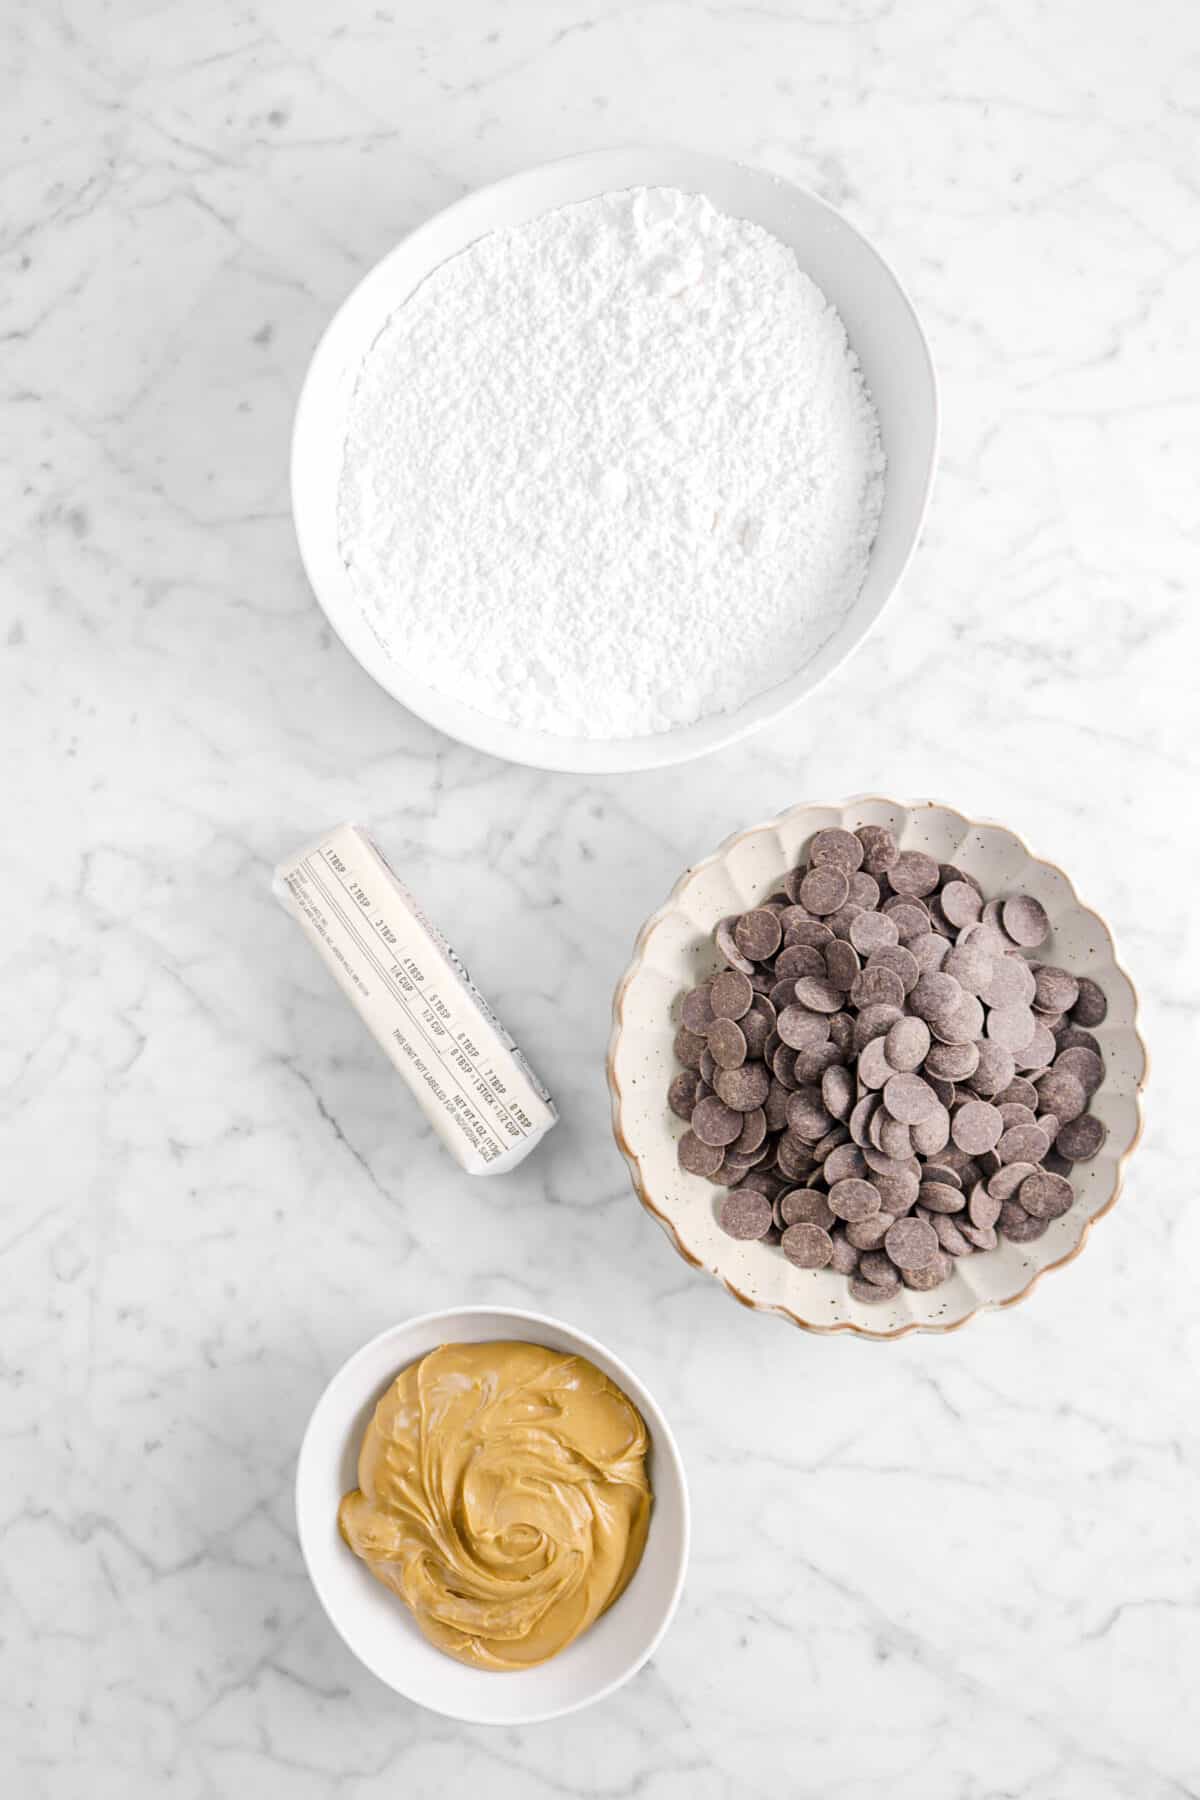
Ingredients
- Peanut Butter
- Unsalted Butter
- Powdered Sugar
- Chocolate
Instructions
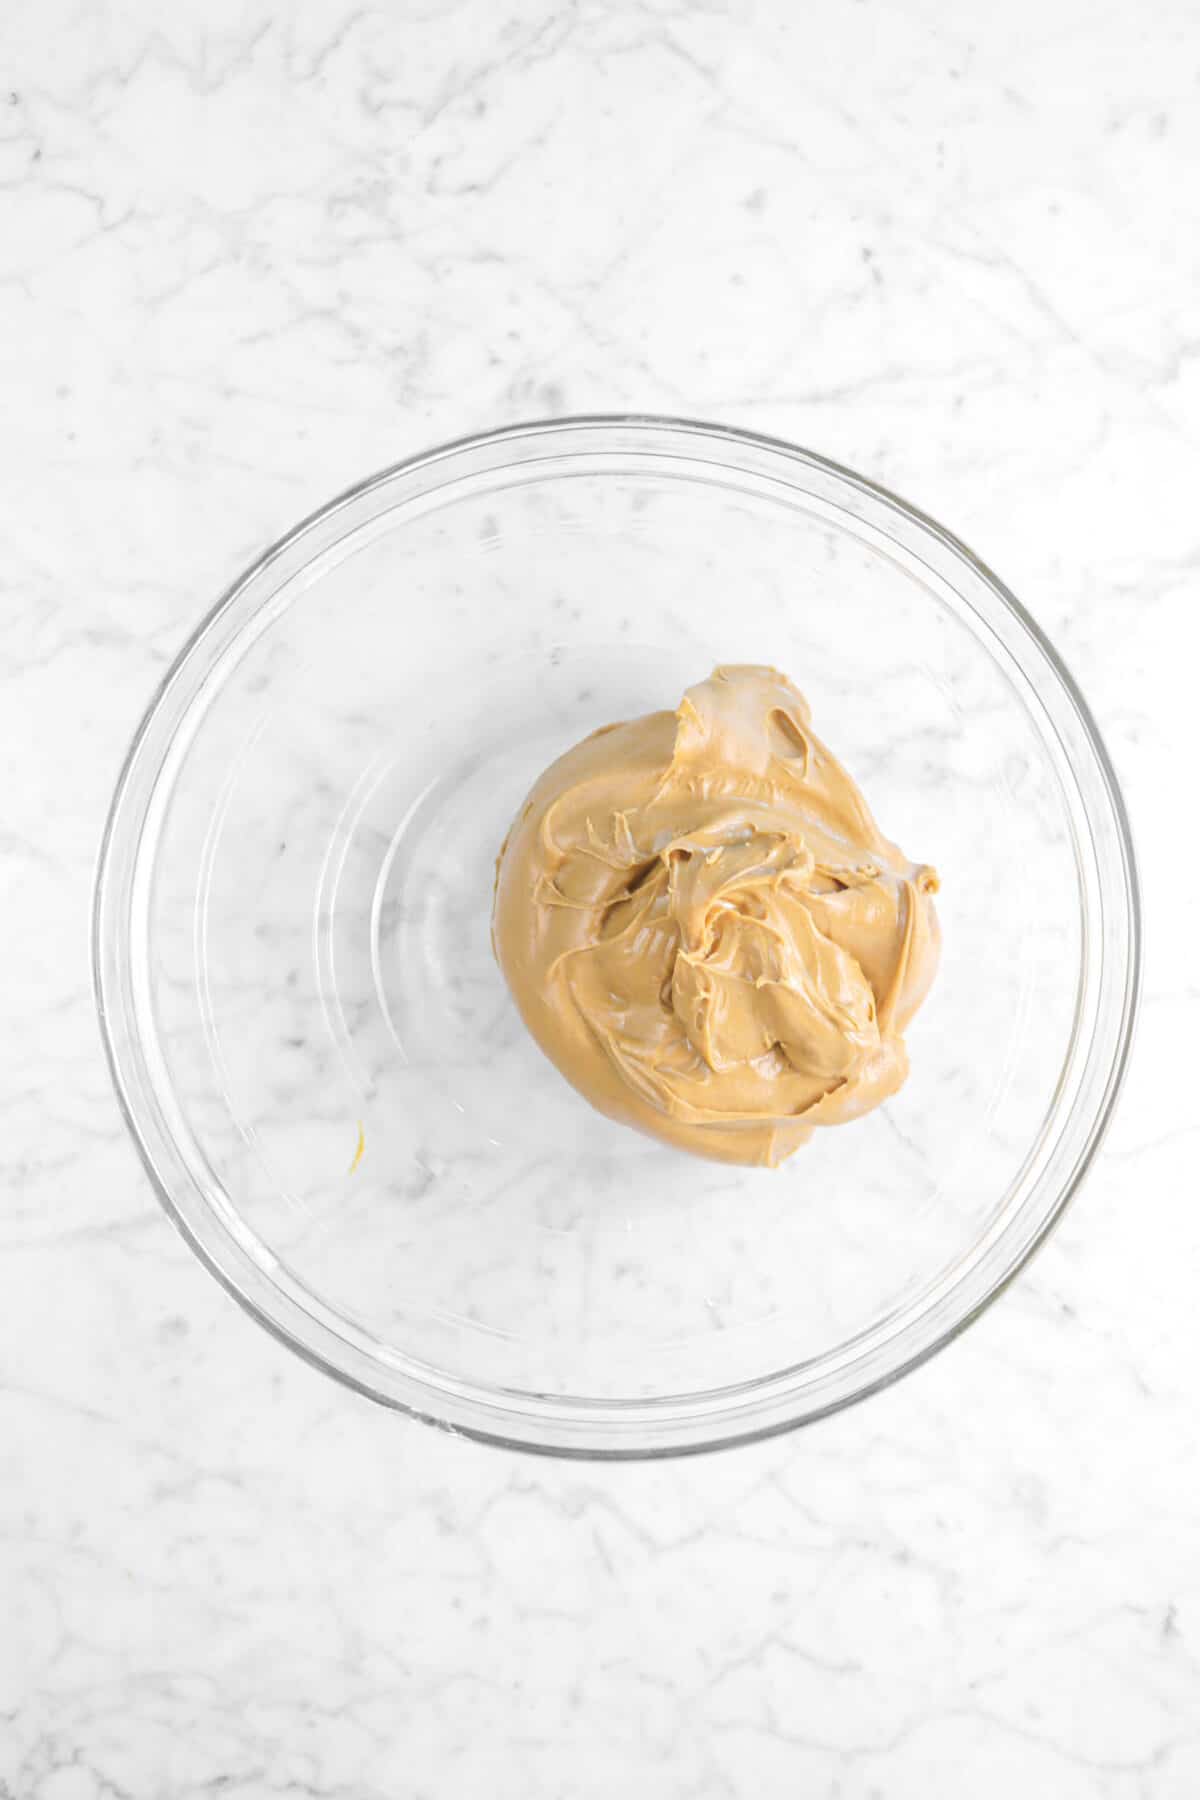
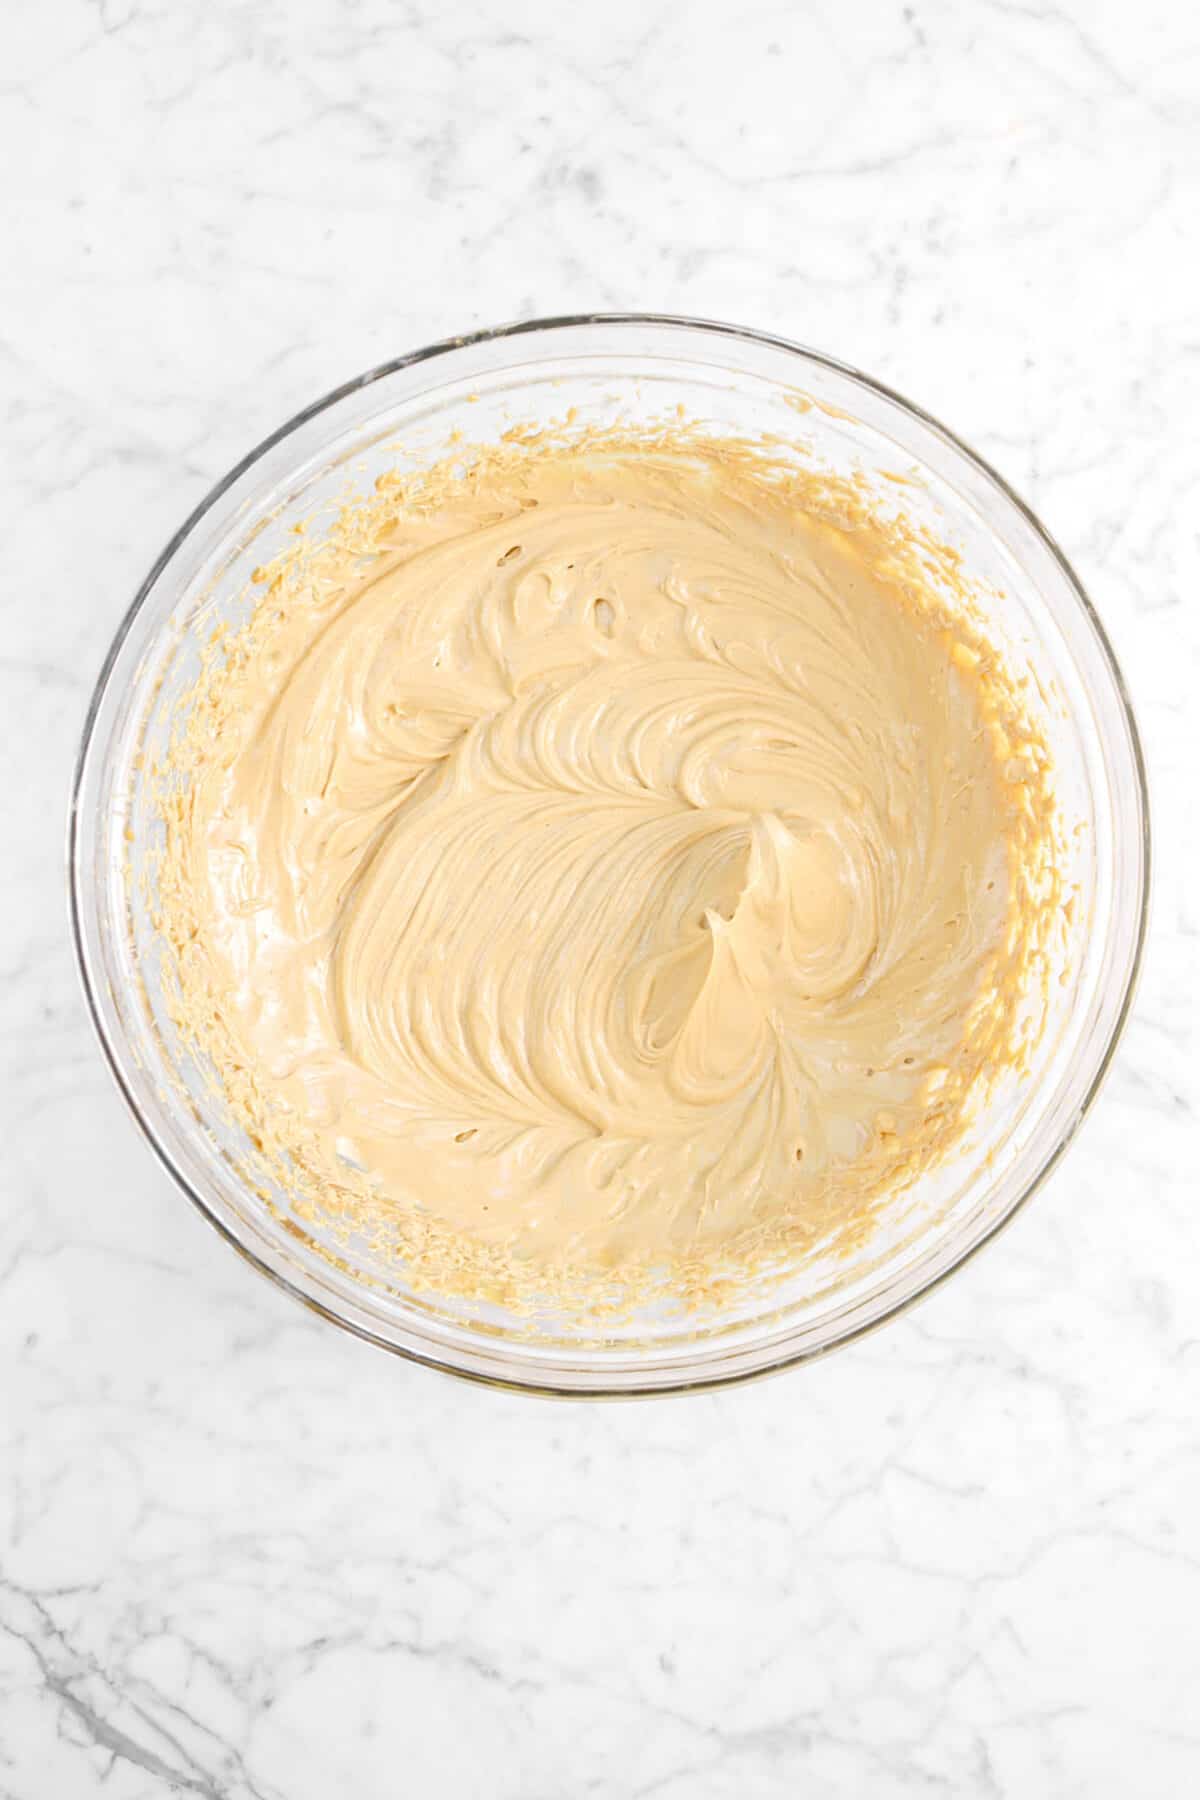
Place peanut butter and butter in a large bowl. Using a hand mixer, beat them together on a high speed until smooth.
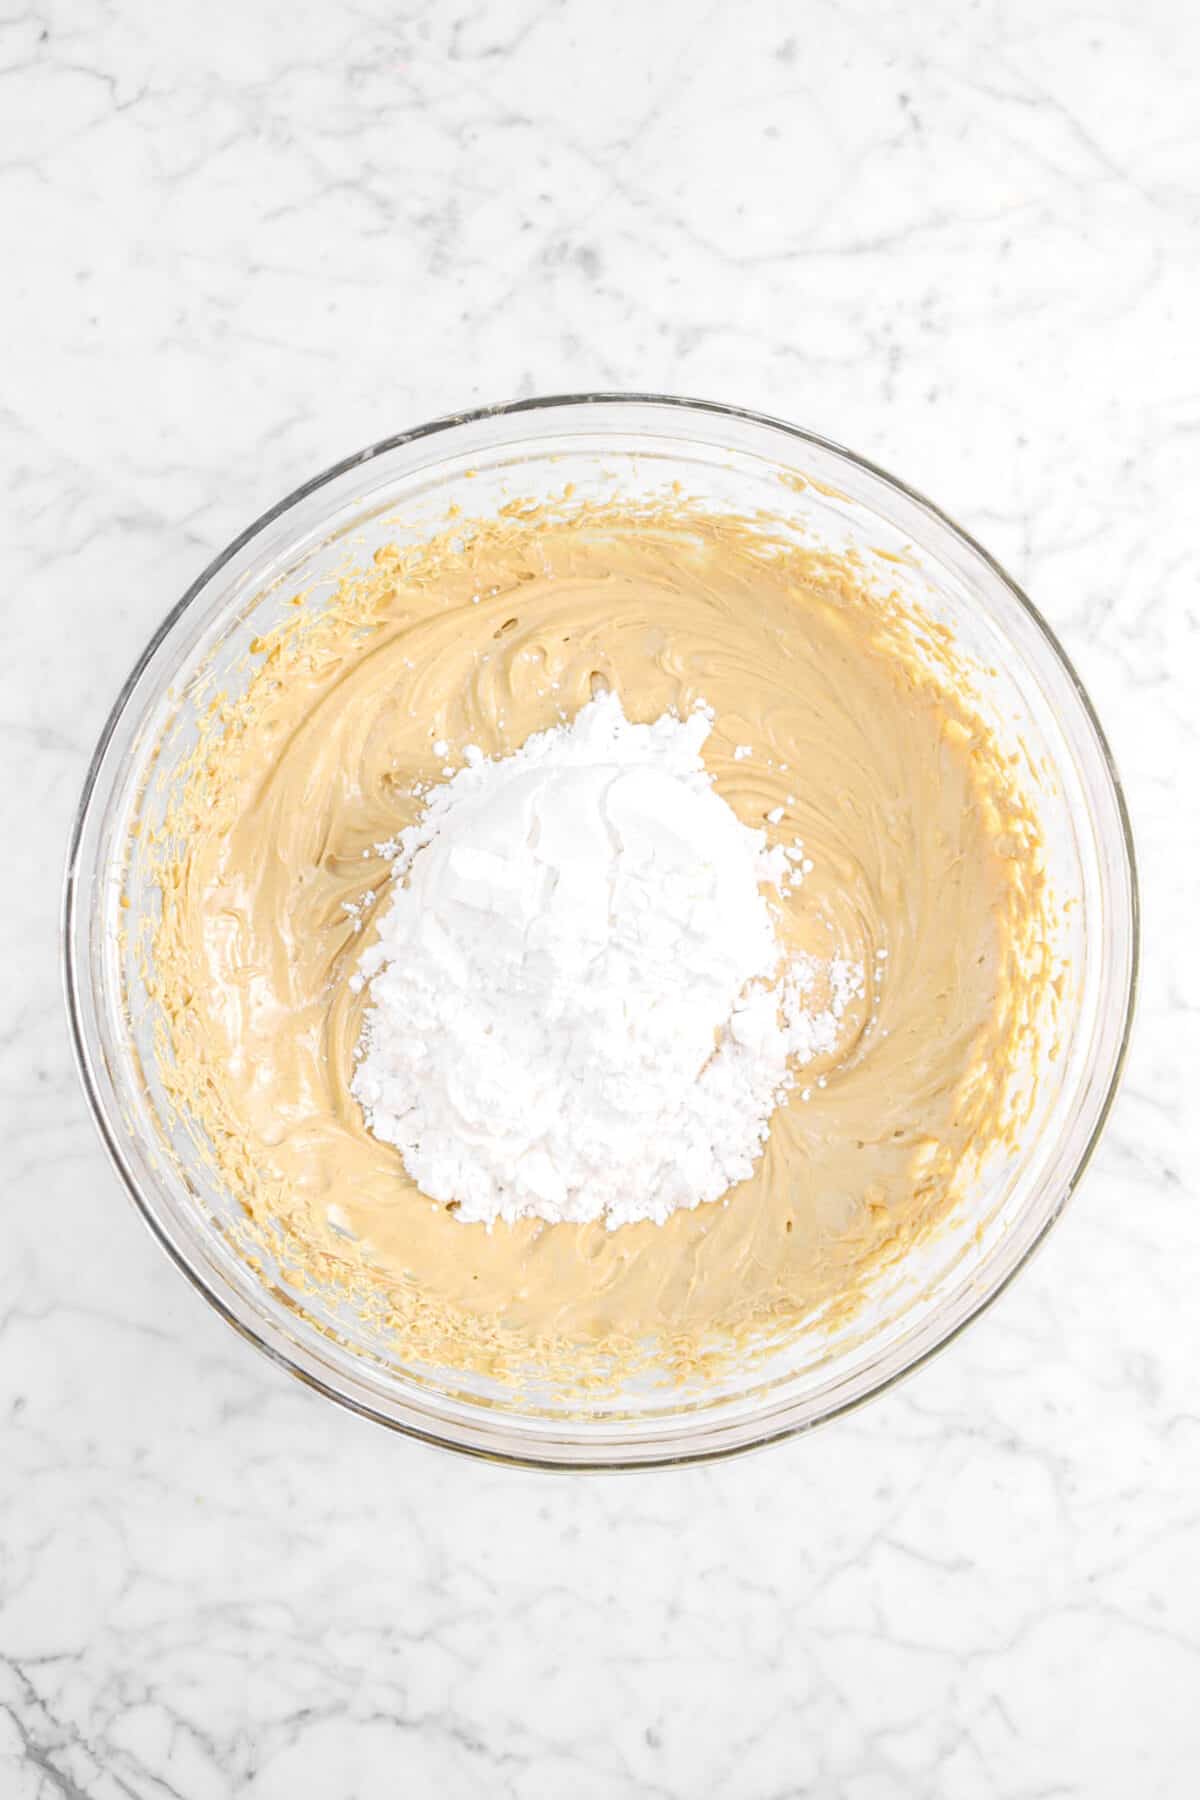
Mix in the powdered sugar 1 cup at a time.
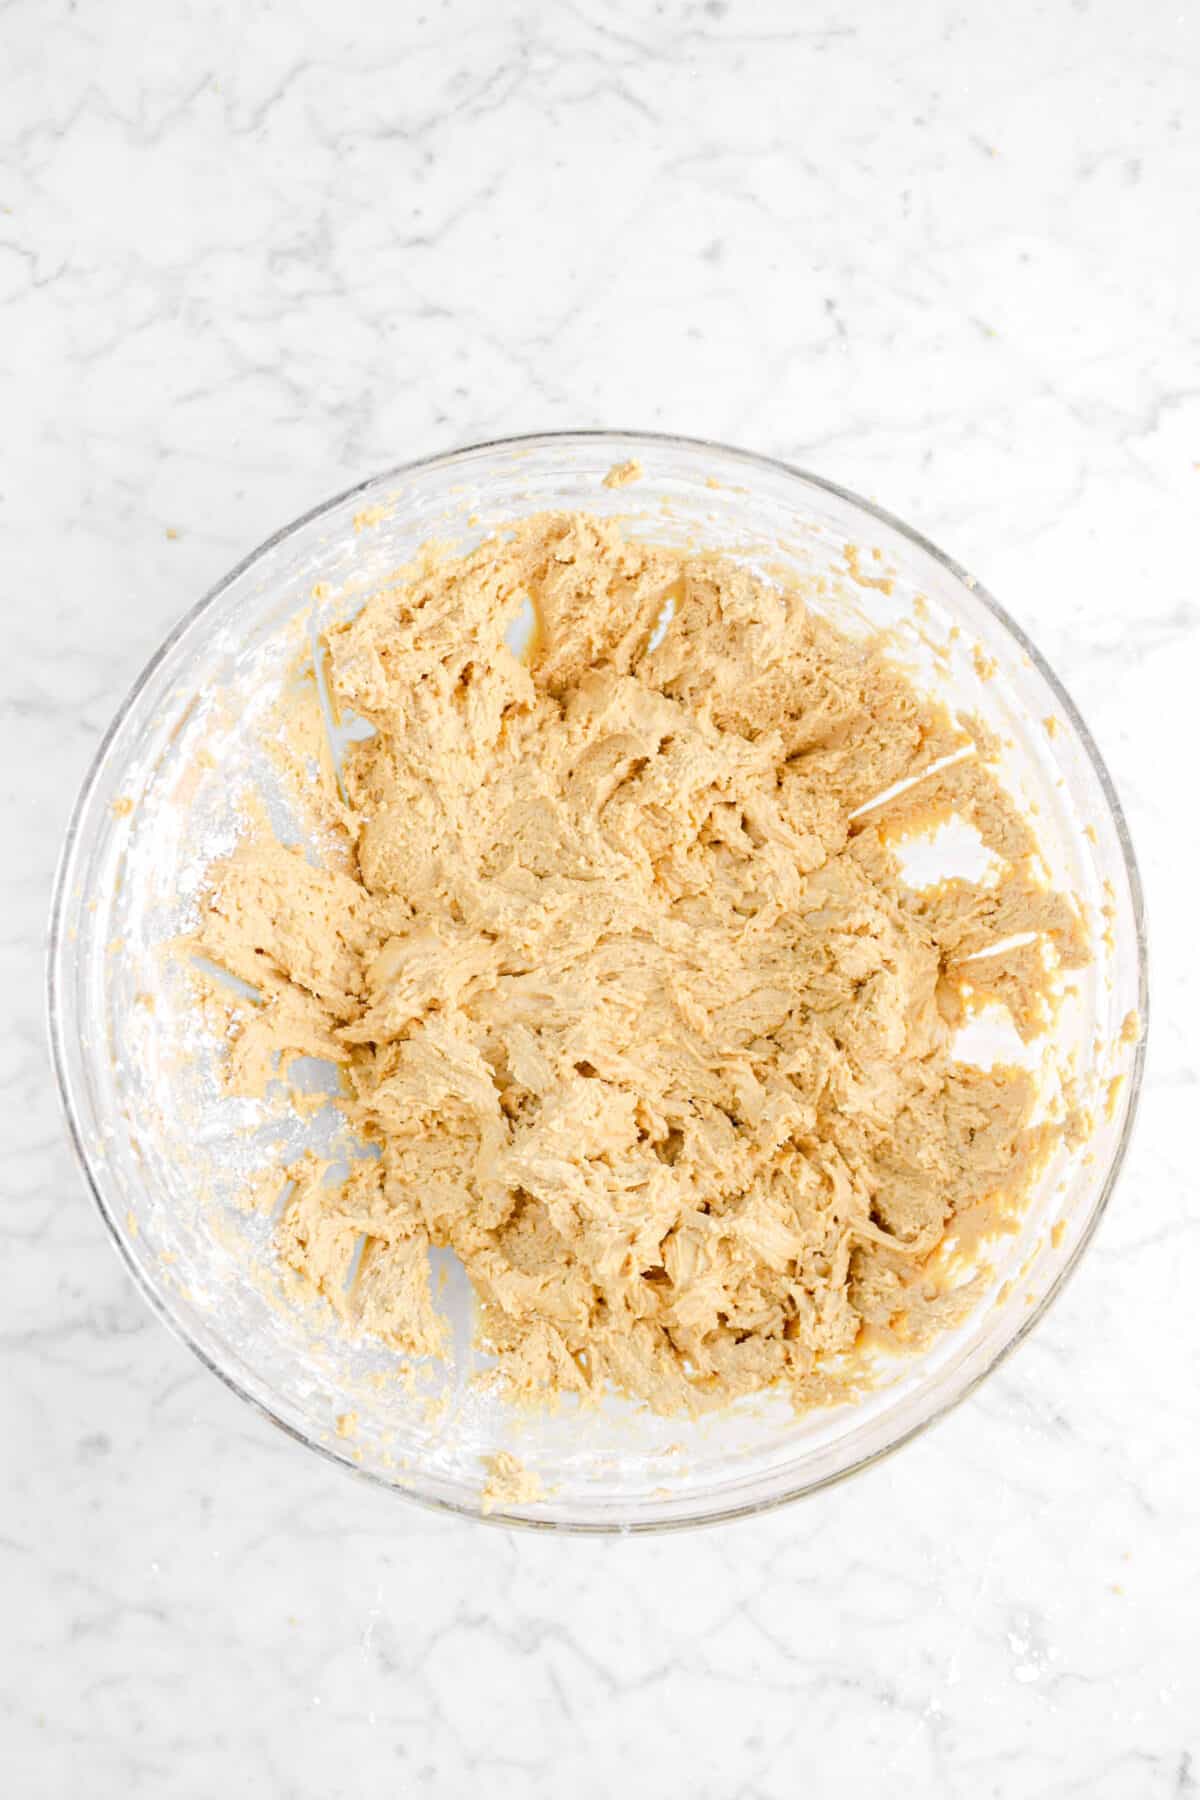
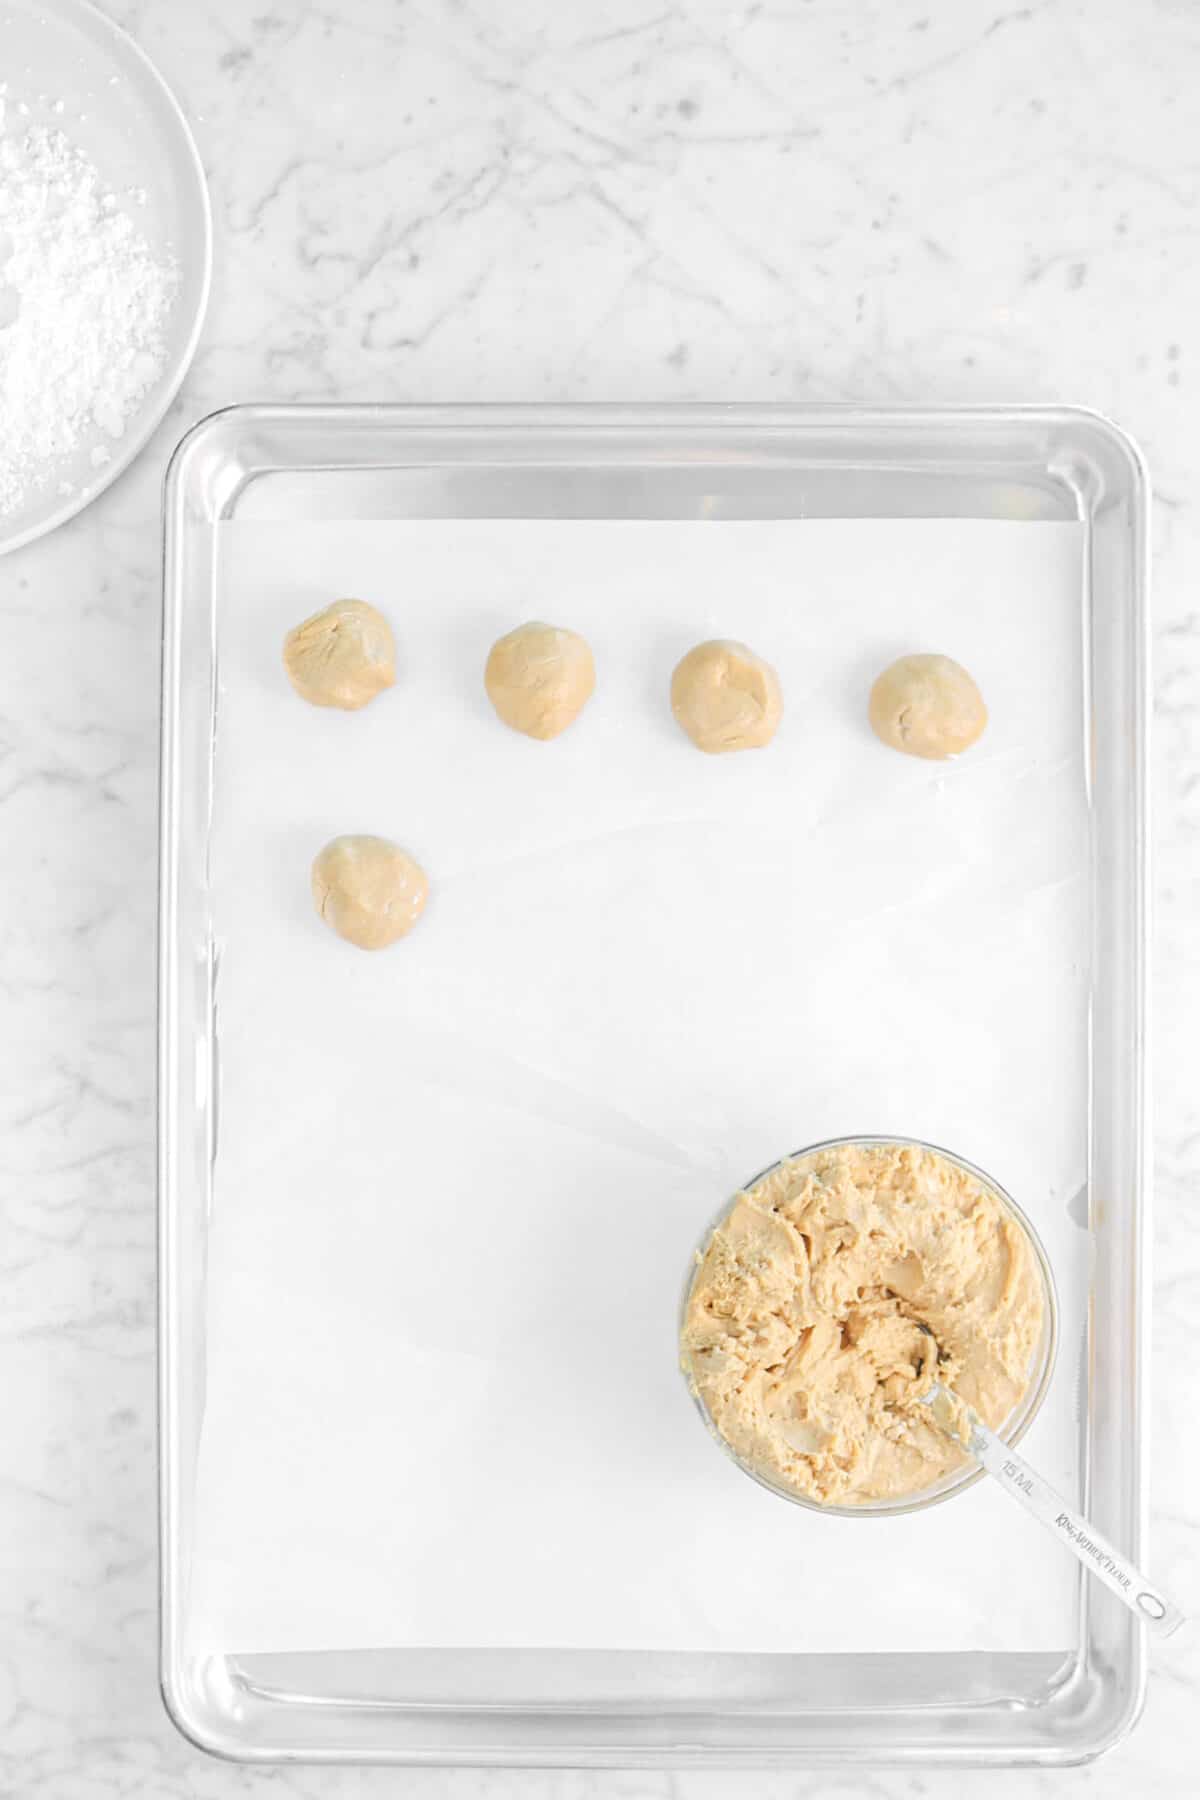
Cover and let sit in the fridge for about 10-15 minutes. Take out of the fridge and, using a 1 Tablespoon measurement, gently form into balls. You will need to lightly coat your hands with powdered sugar to keep the filling from sticking to you. Set the balls onto a lined sheet pan and set in the fridge when no more filling remains.
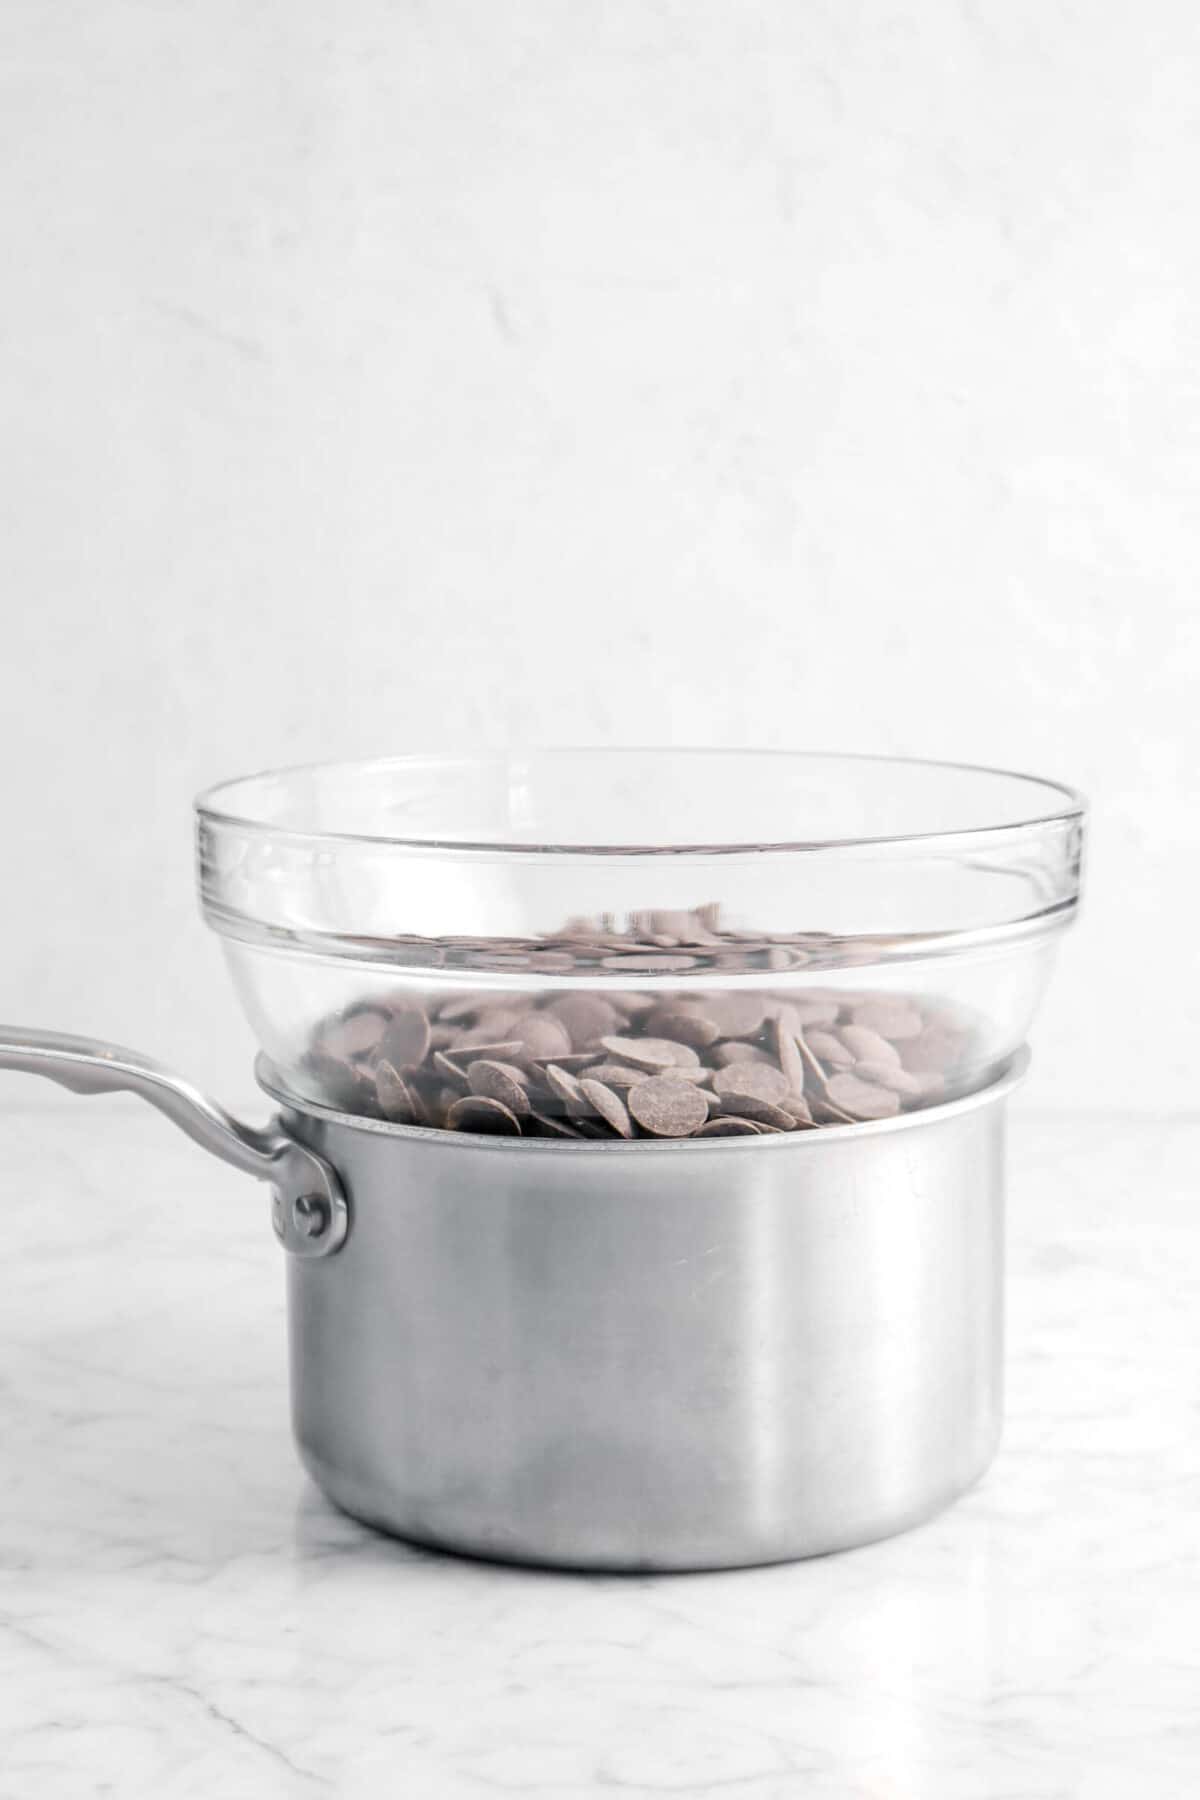
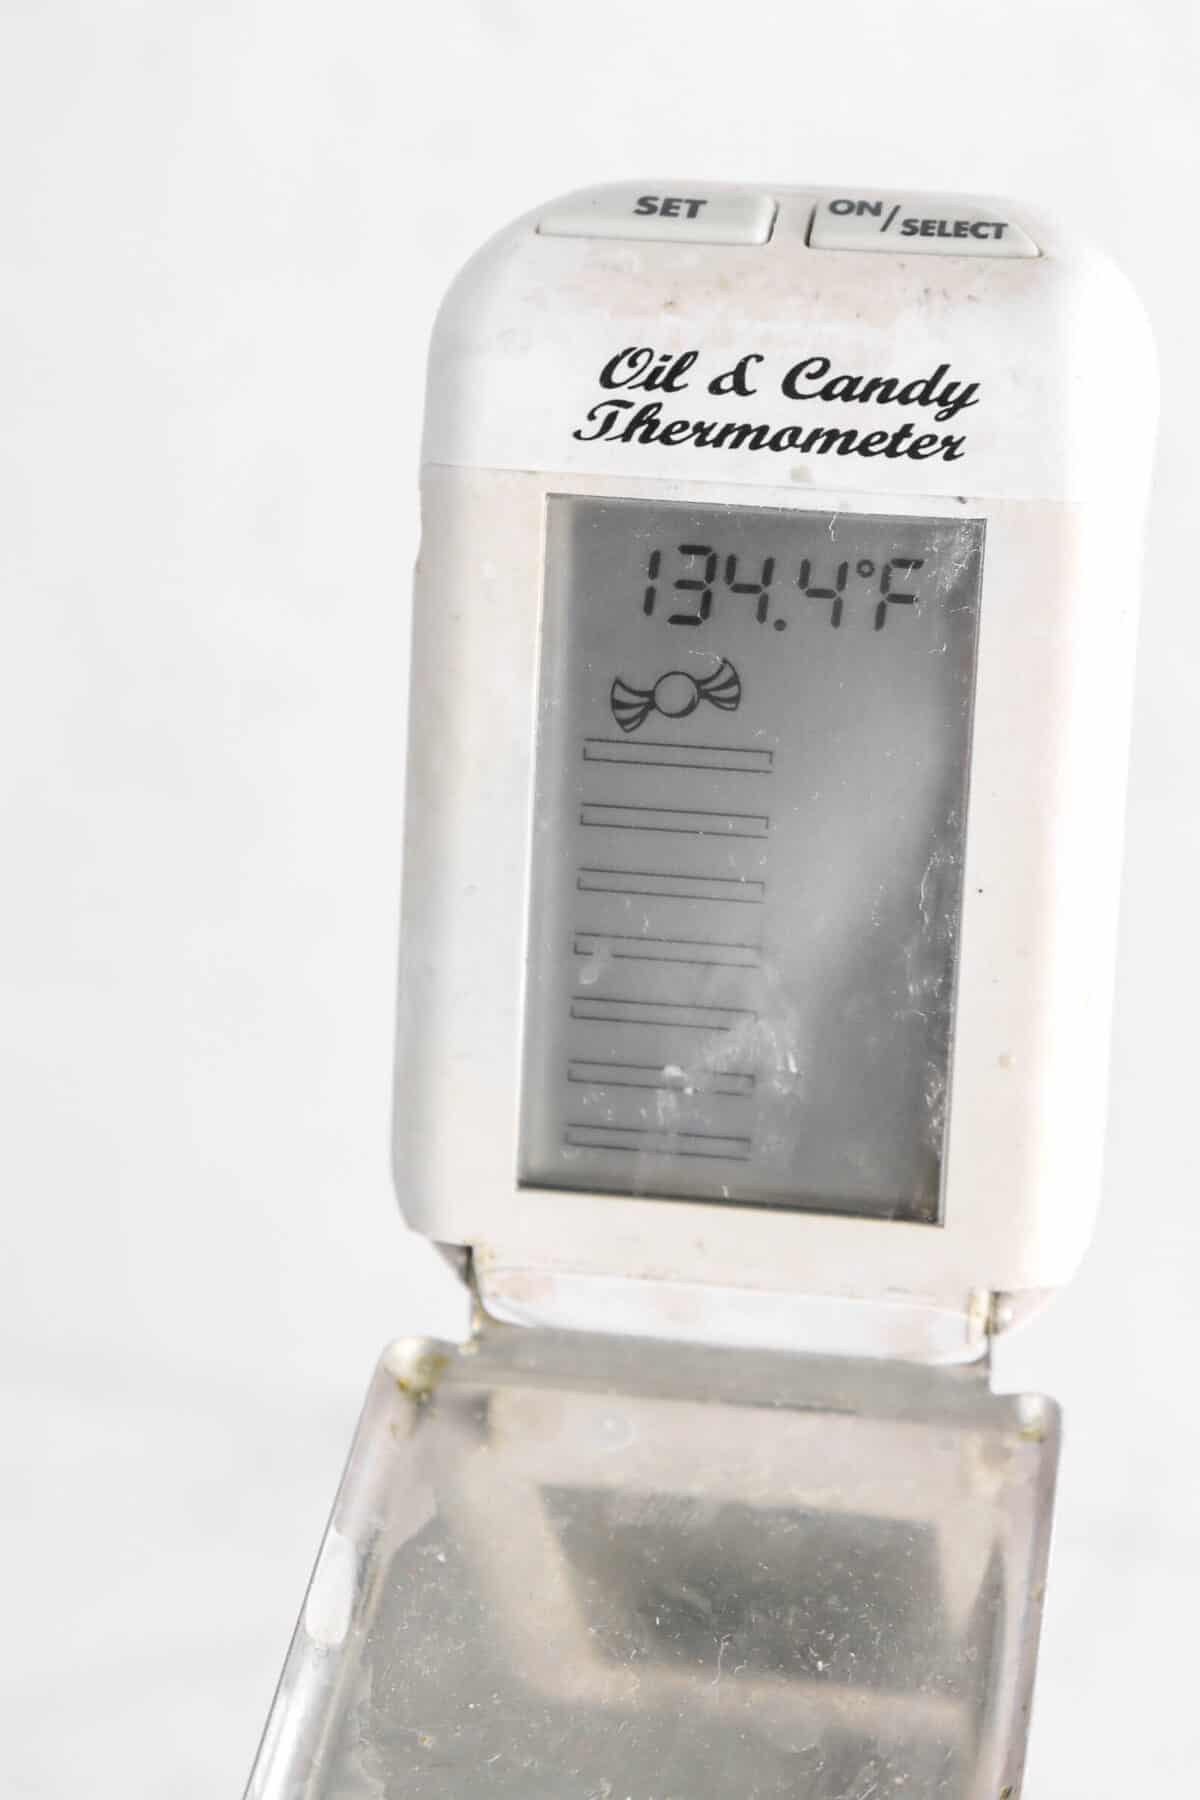
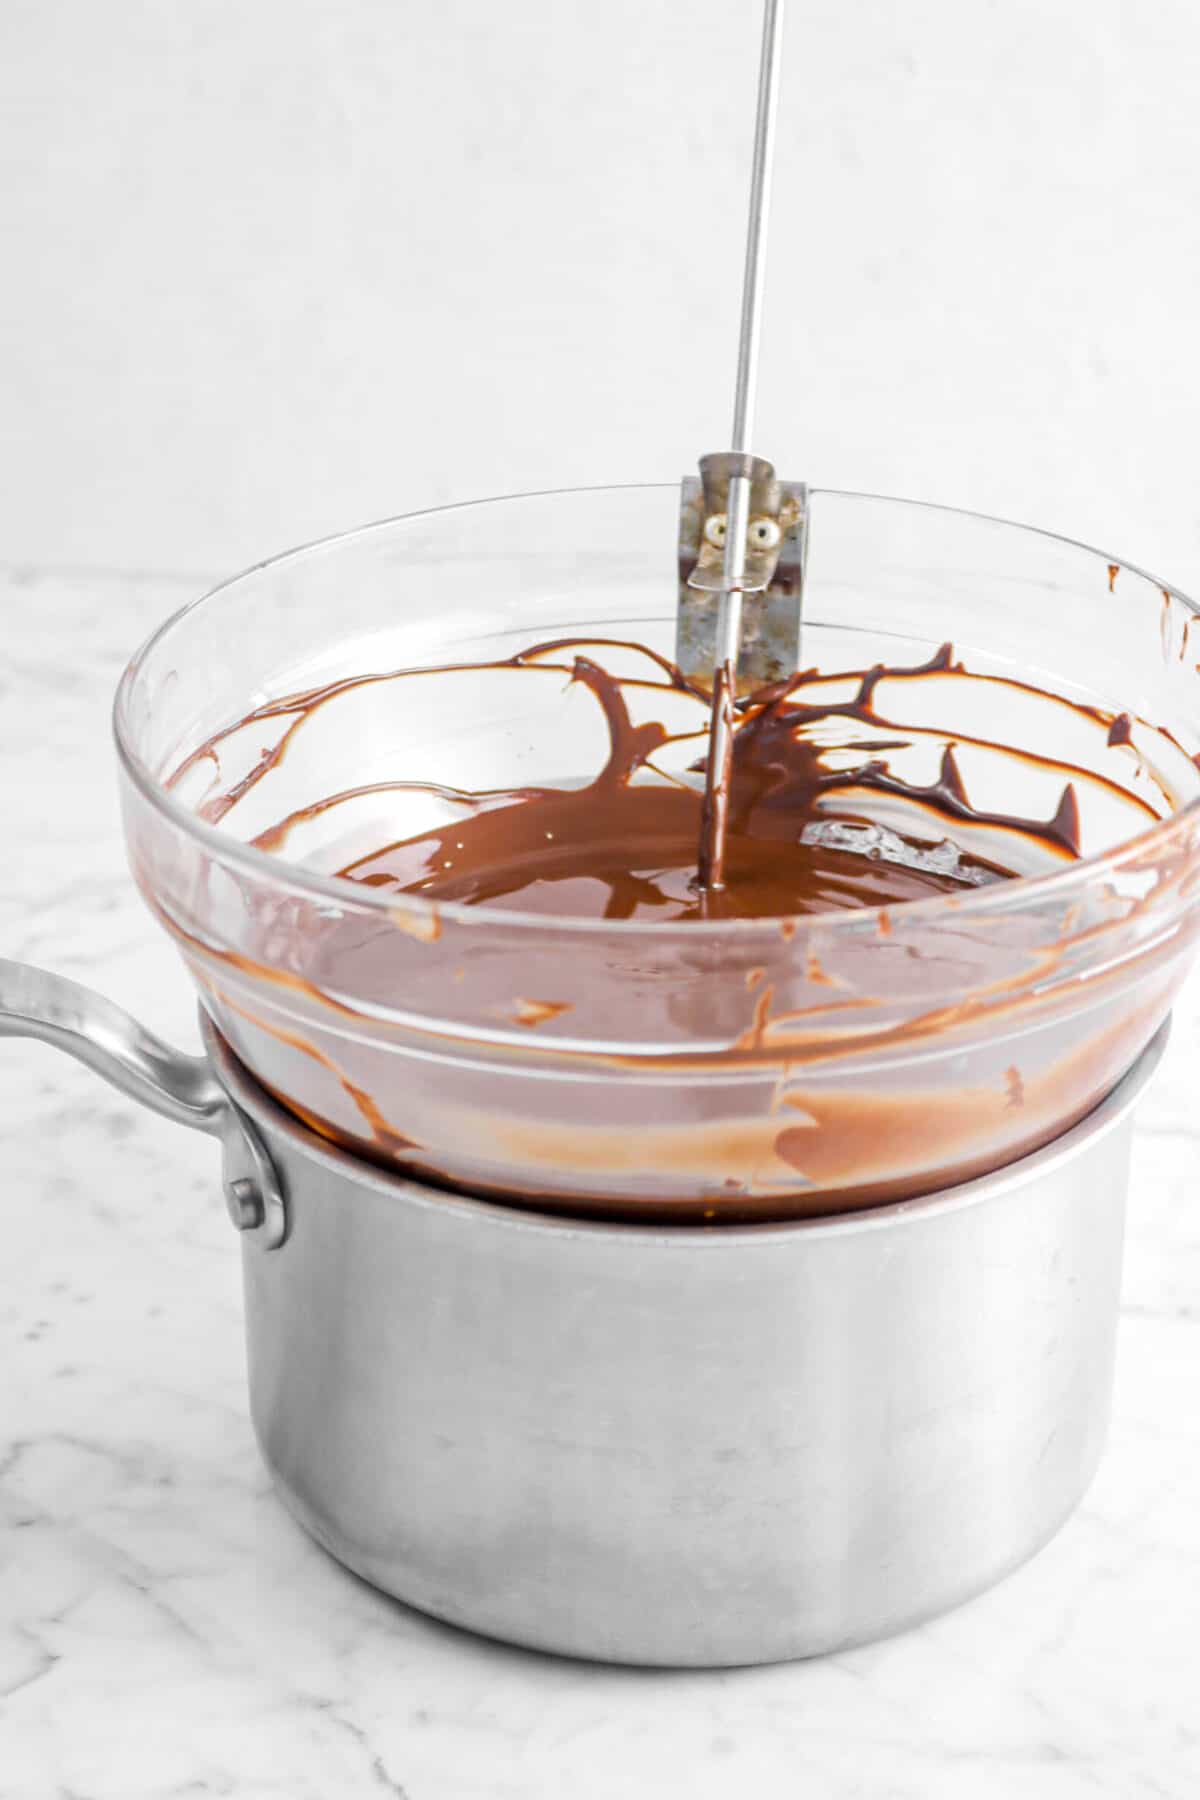
Using the bain-marie technique, we are going to temper the chocolate! Don’t worry. This isn’t as scary or unapproachable as you may think. First pour a small amount of water into a small pot and place the glass bowl of chocolate over it. Set over low heat and heat until anywhere between 131-136 degrees Fahrenheit.

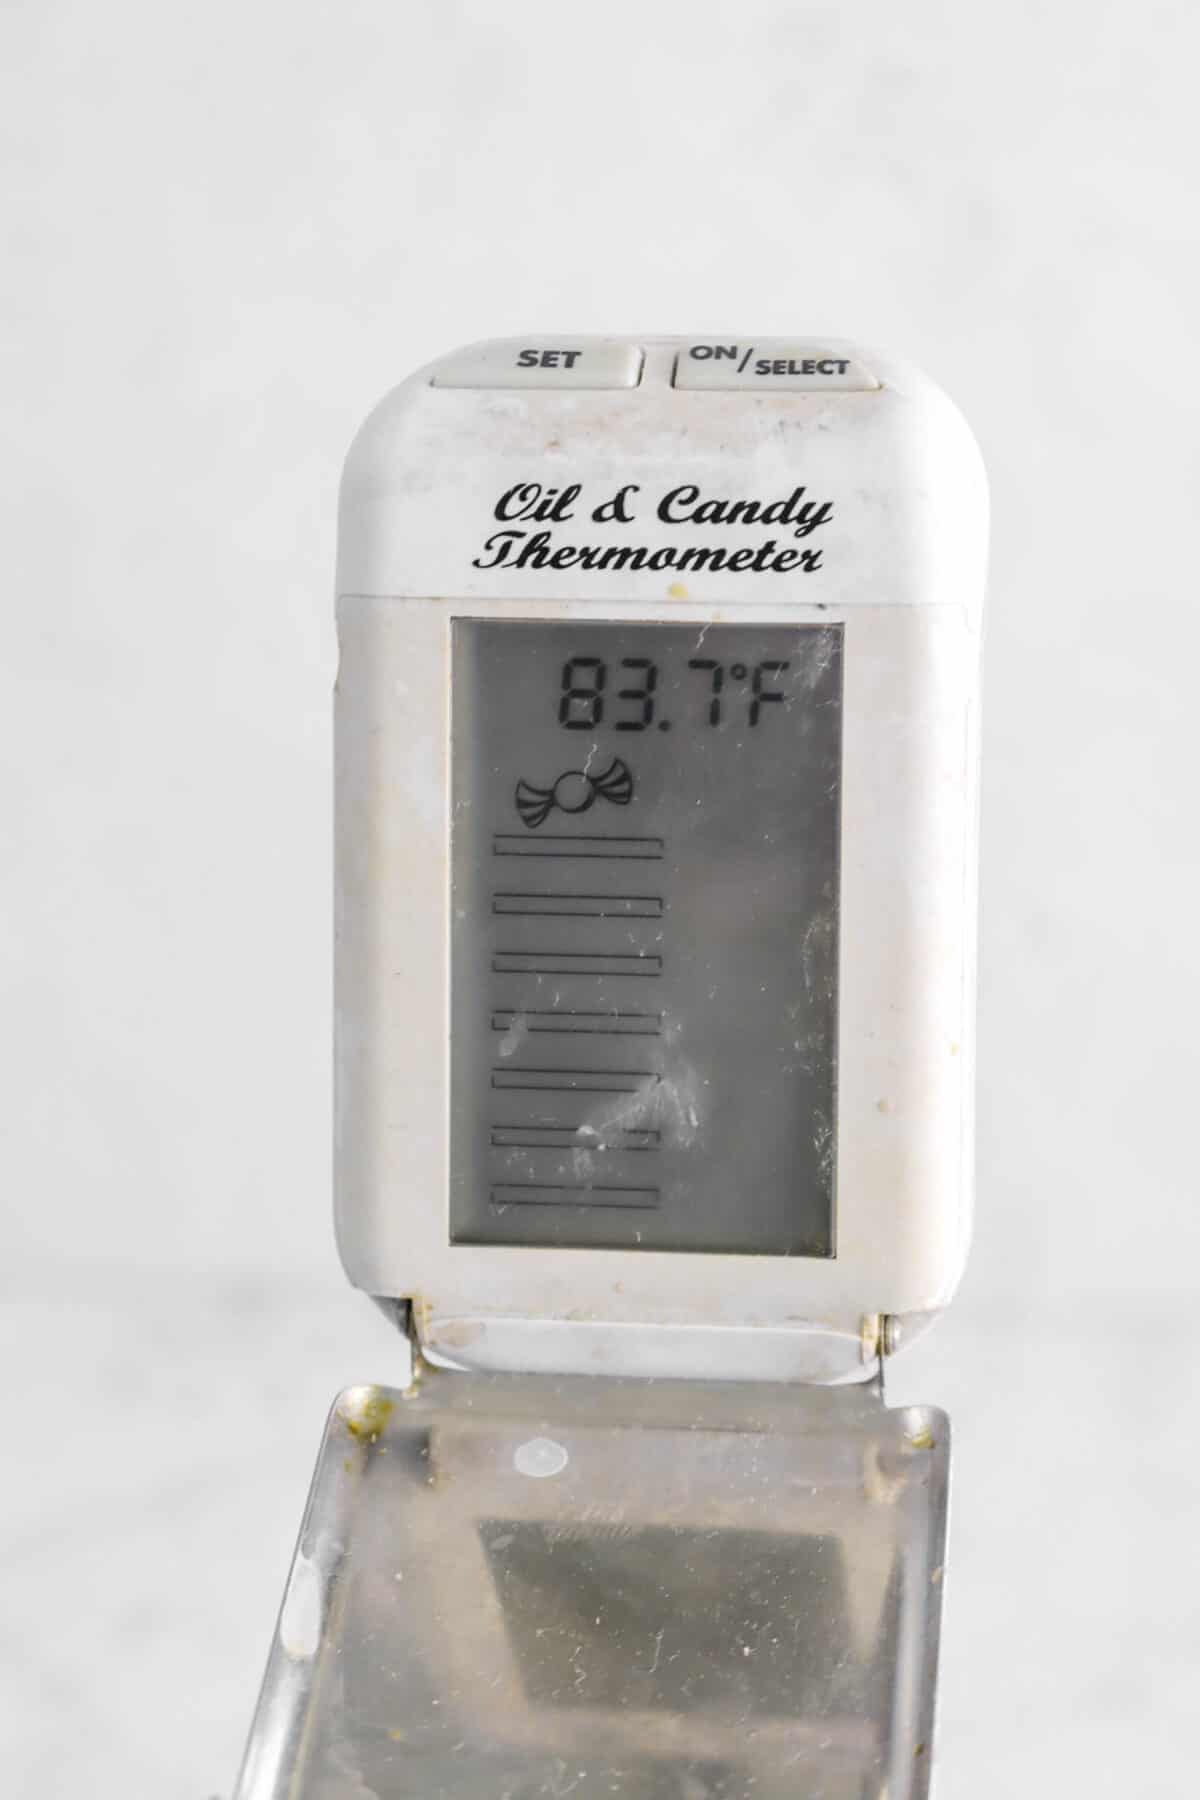
Stirring constantly, let the chocolate cool to anywhere between 82-84 degrees Fahrenheit.
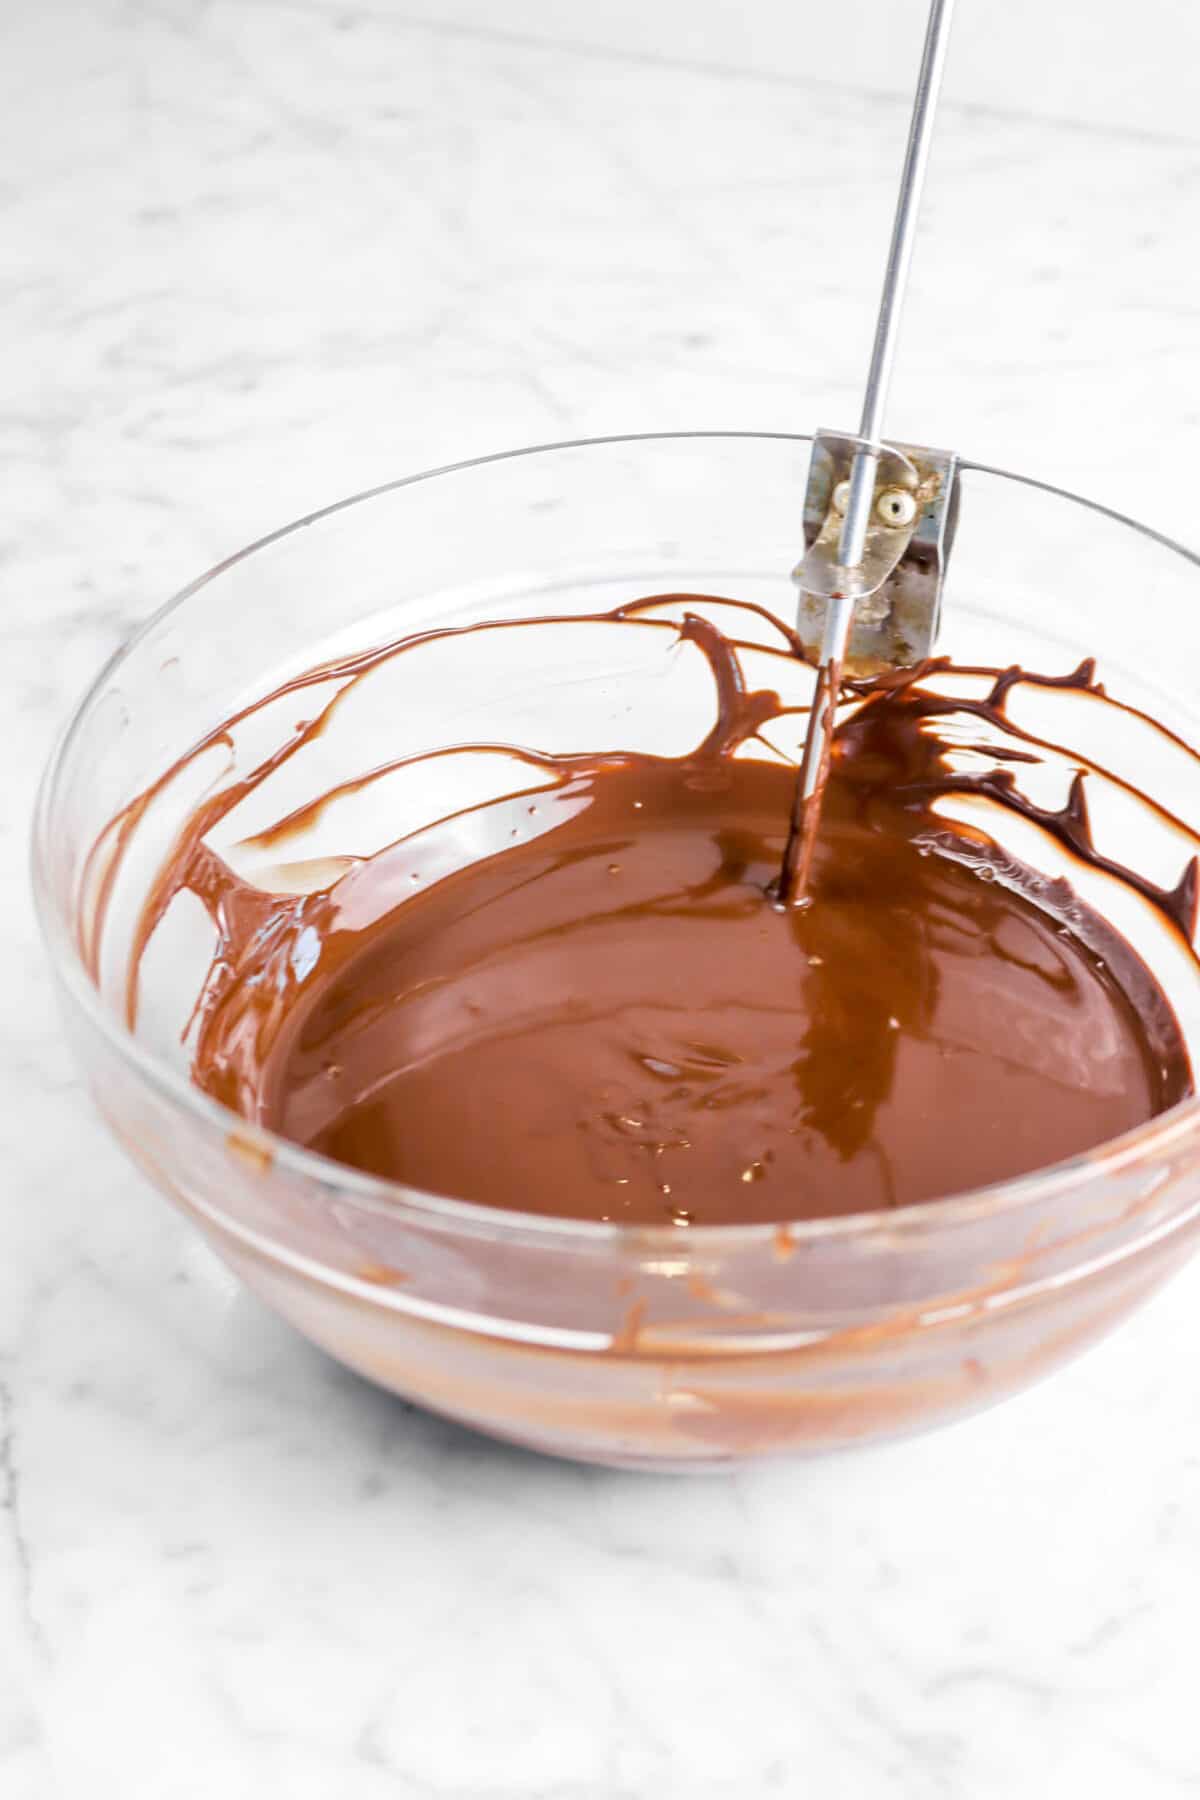
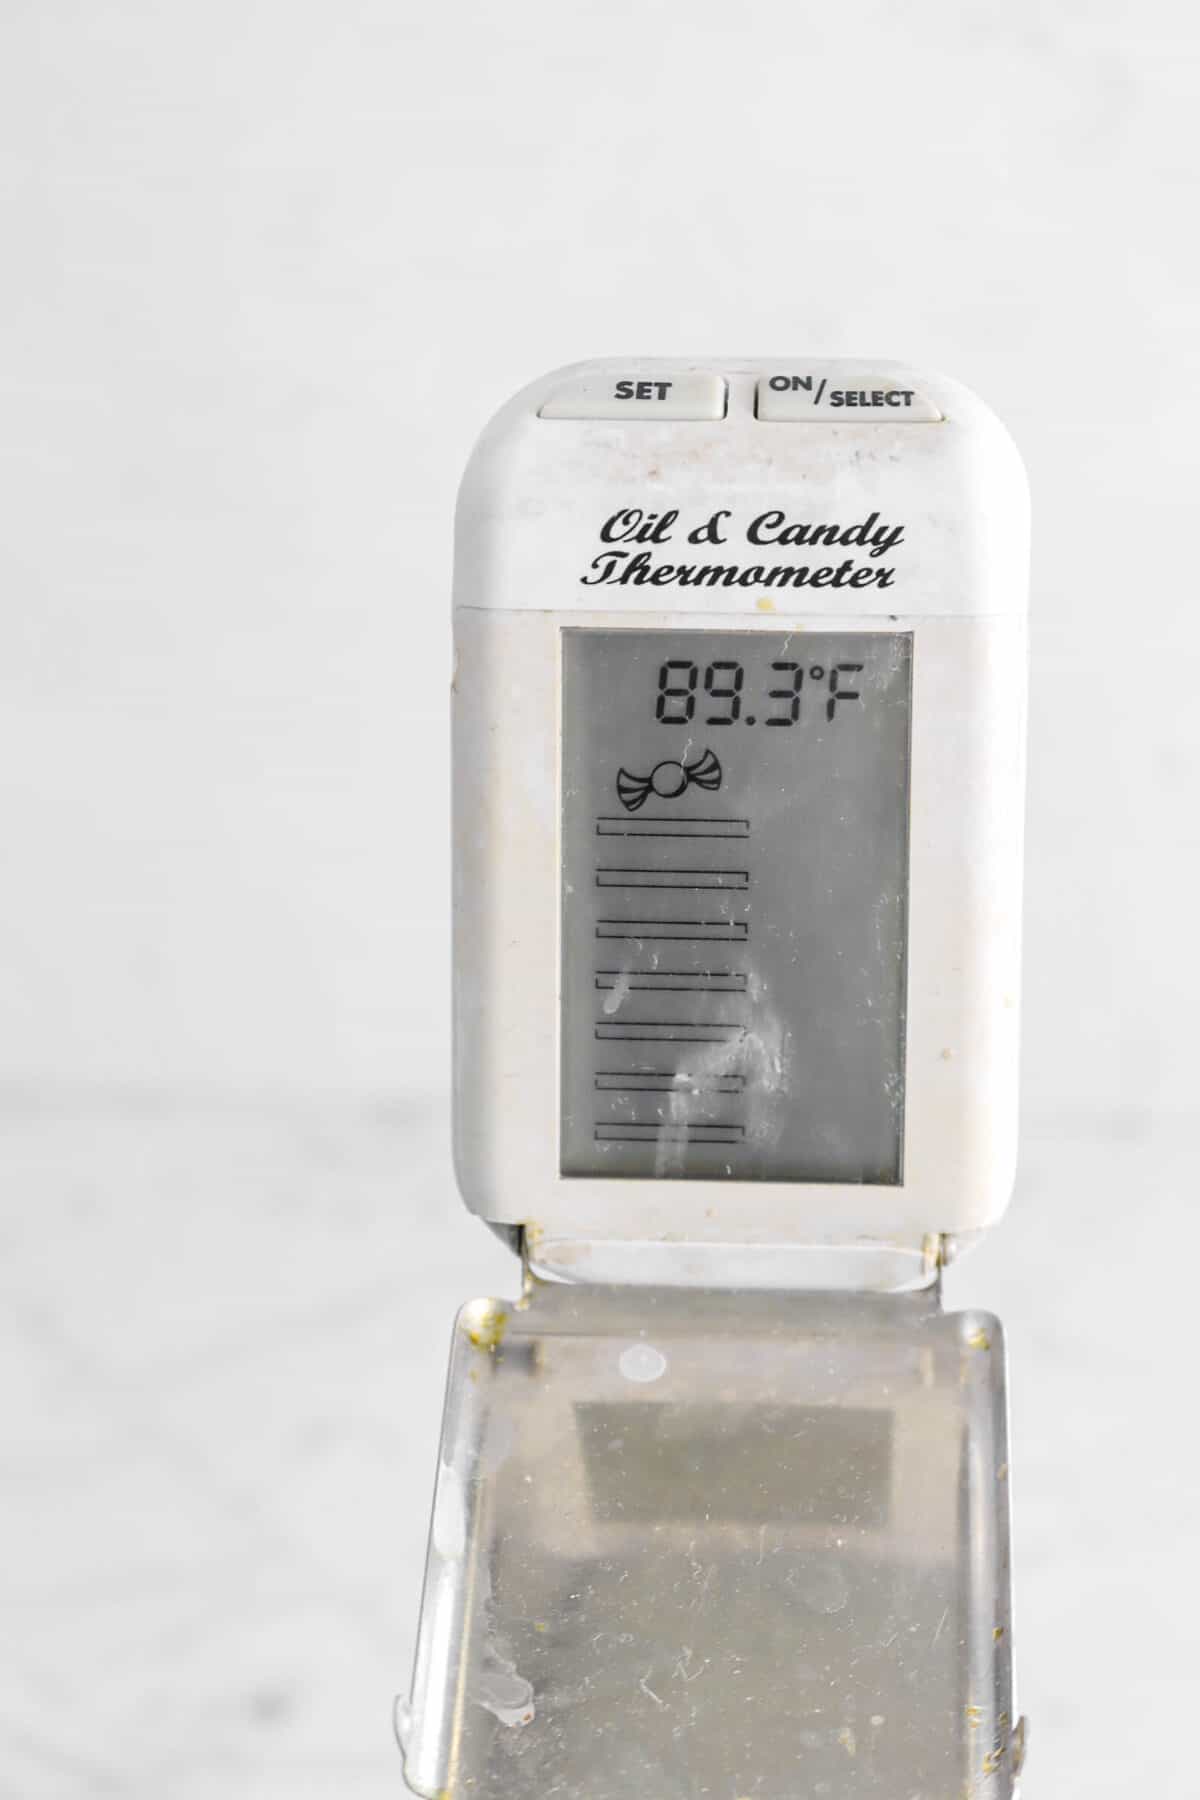
Place the glass bowl back over the pot, letting heat slowly until 88-90 degrees. You need to keep the temperature in this range to keep the chocolate tempered!
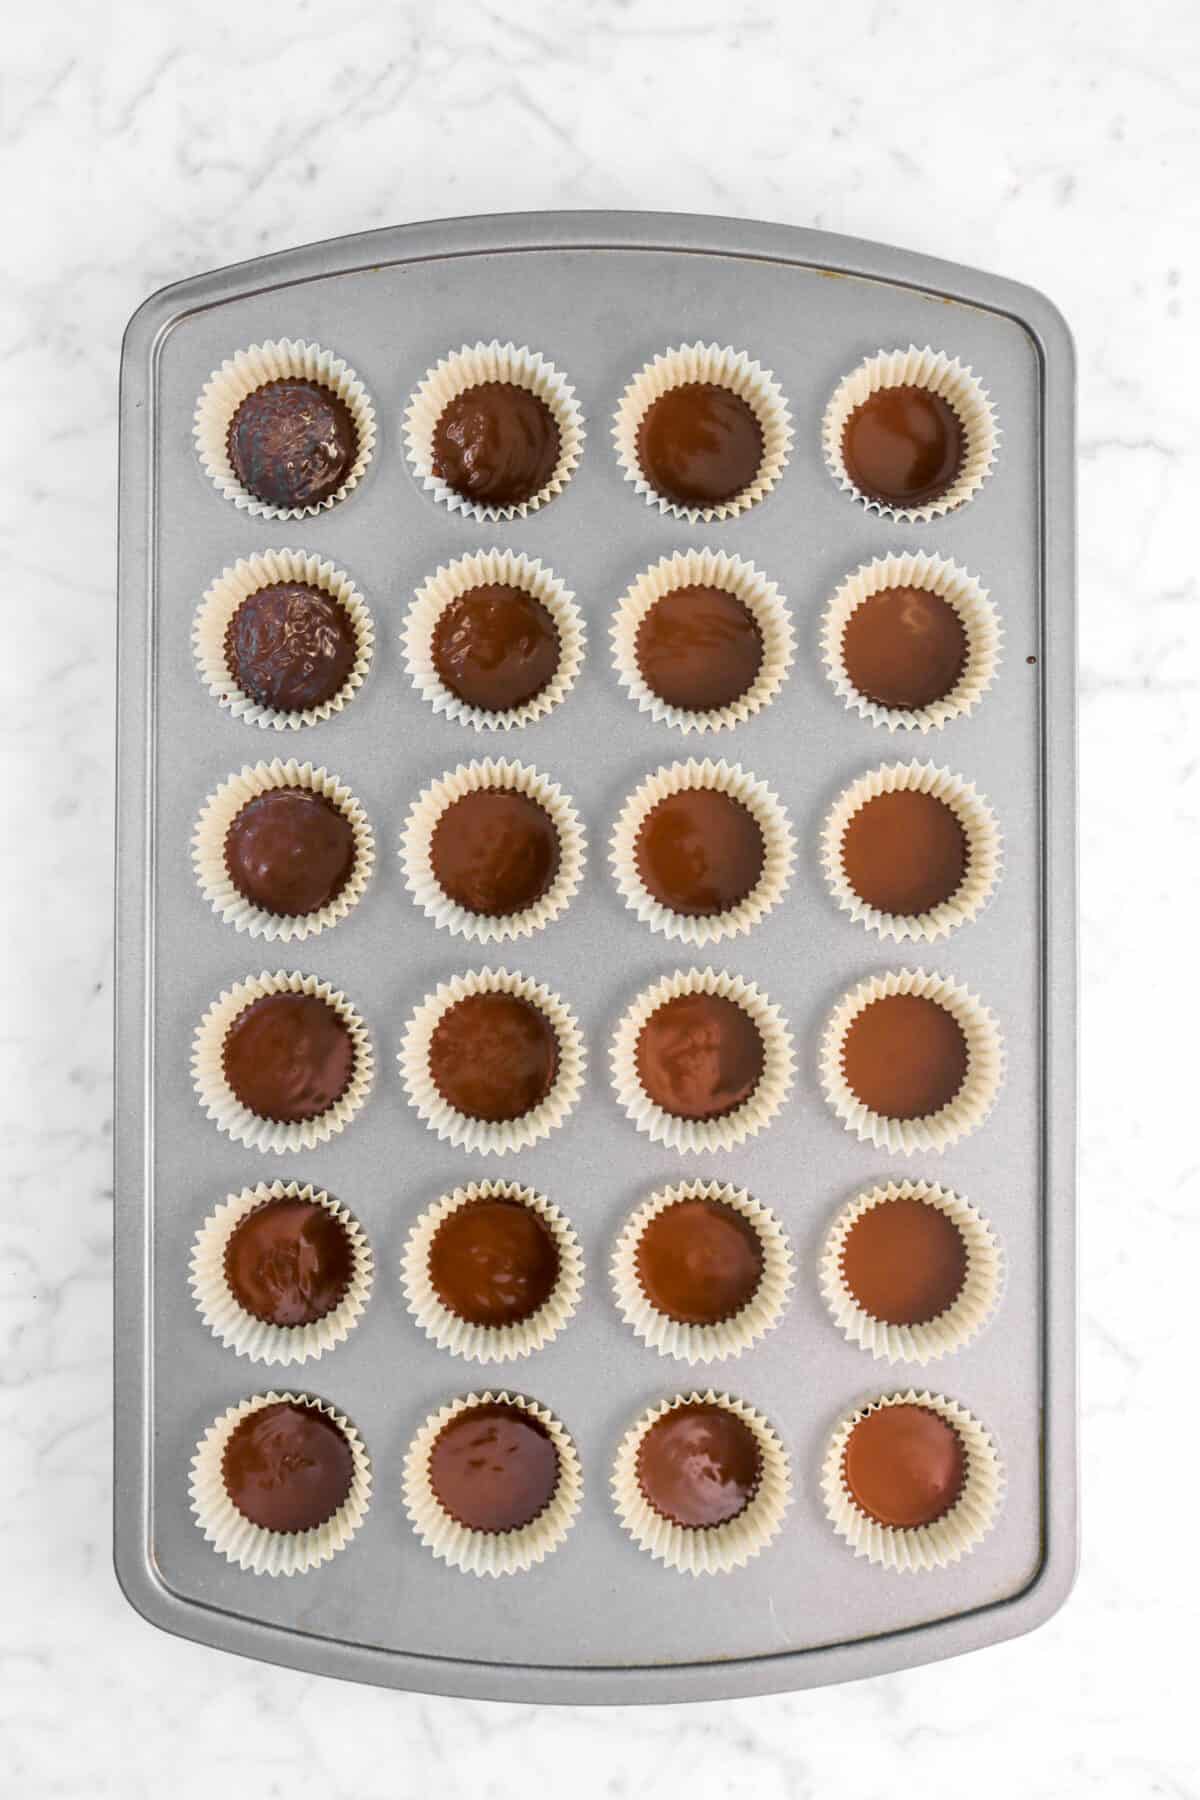
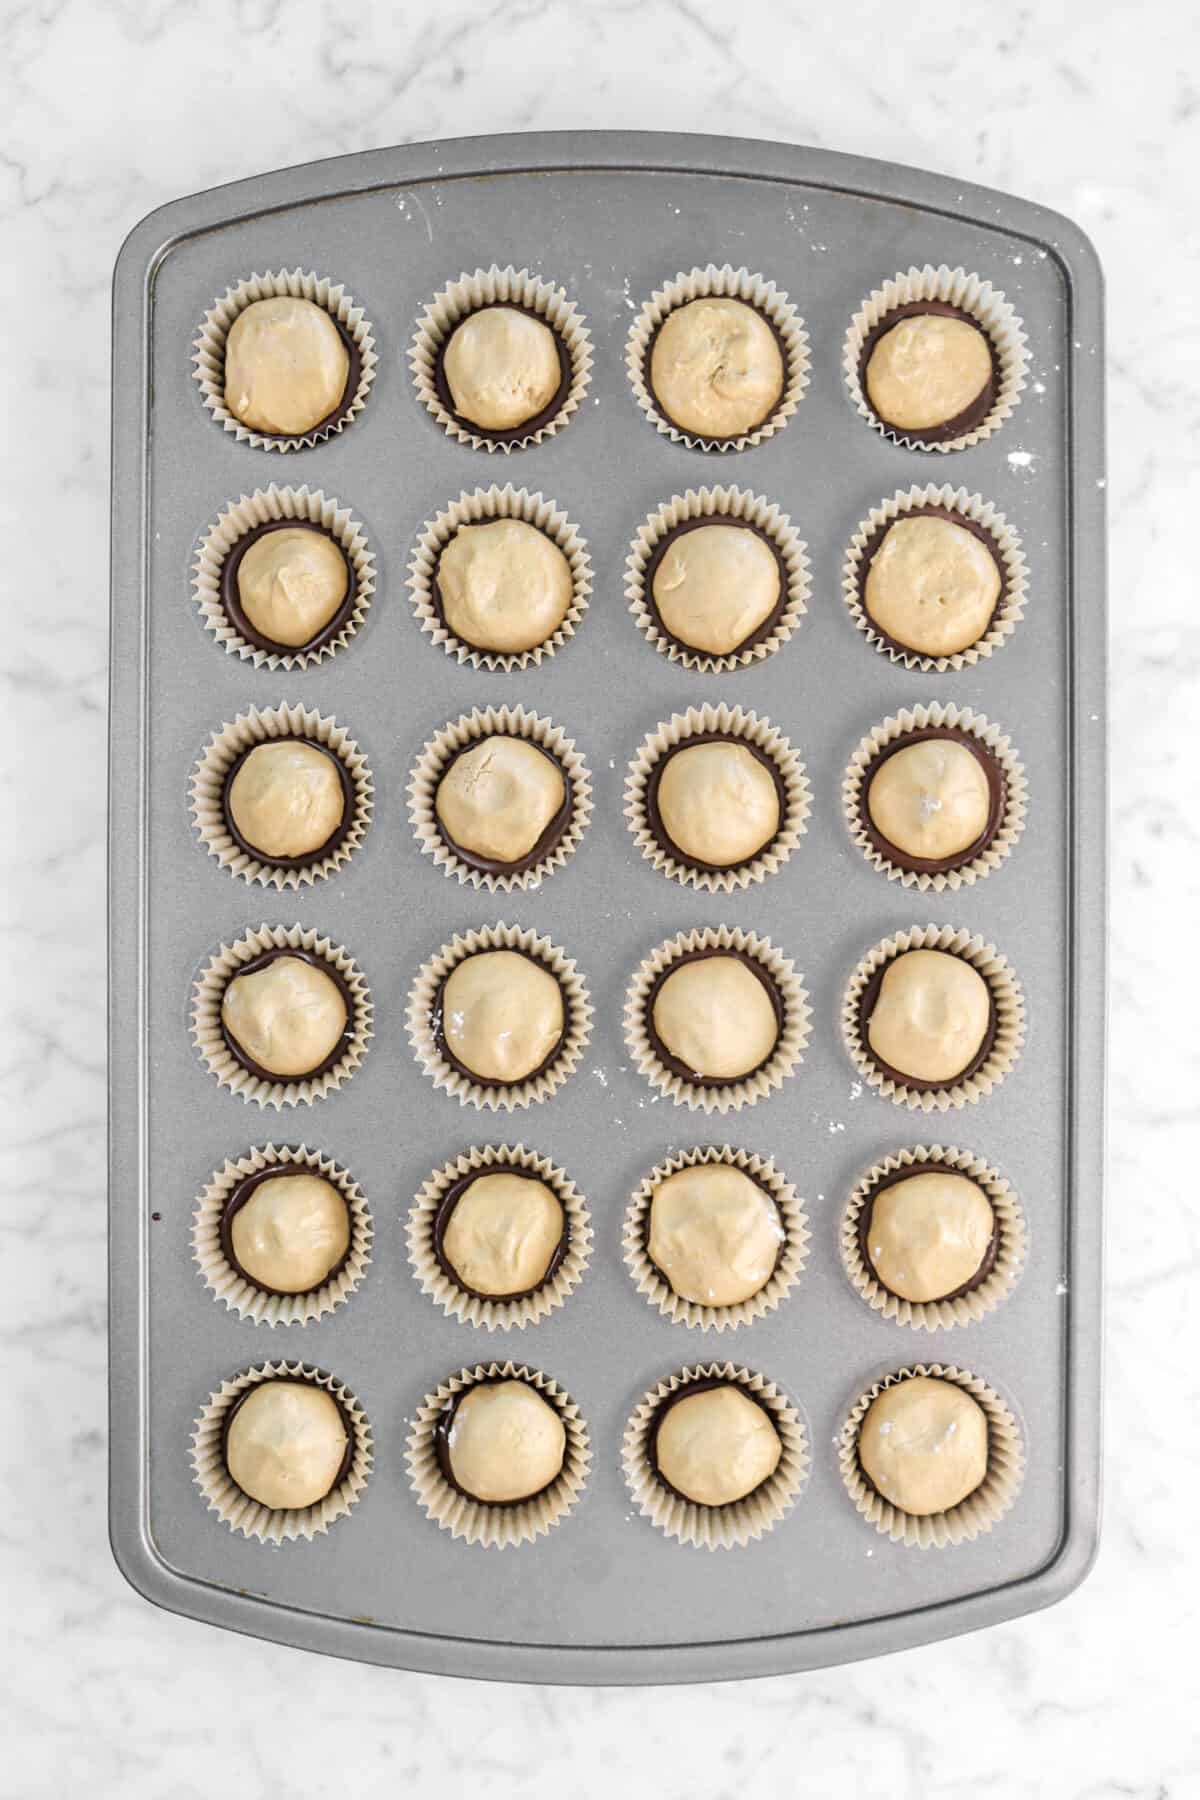
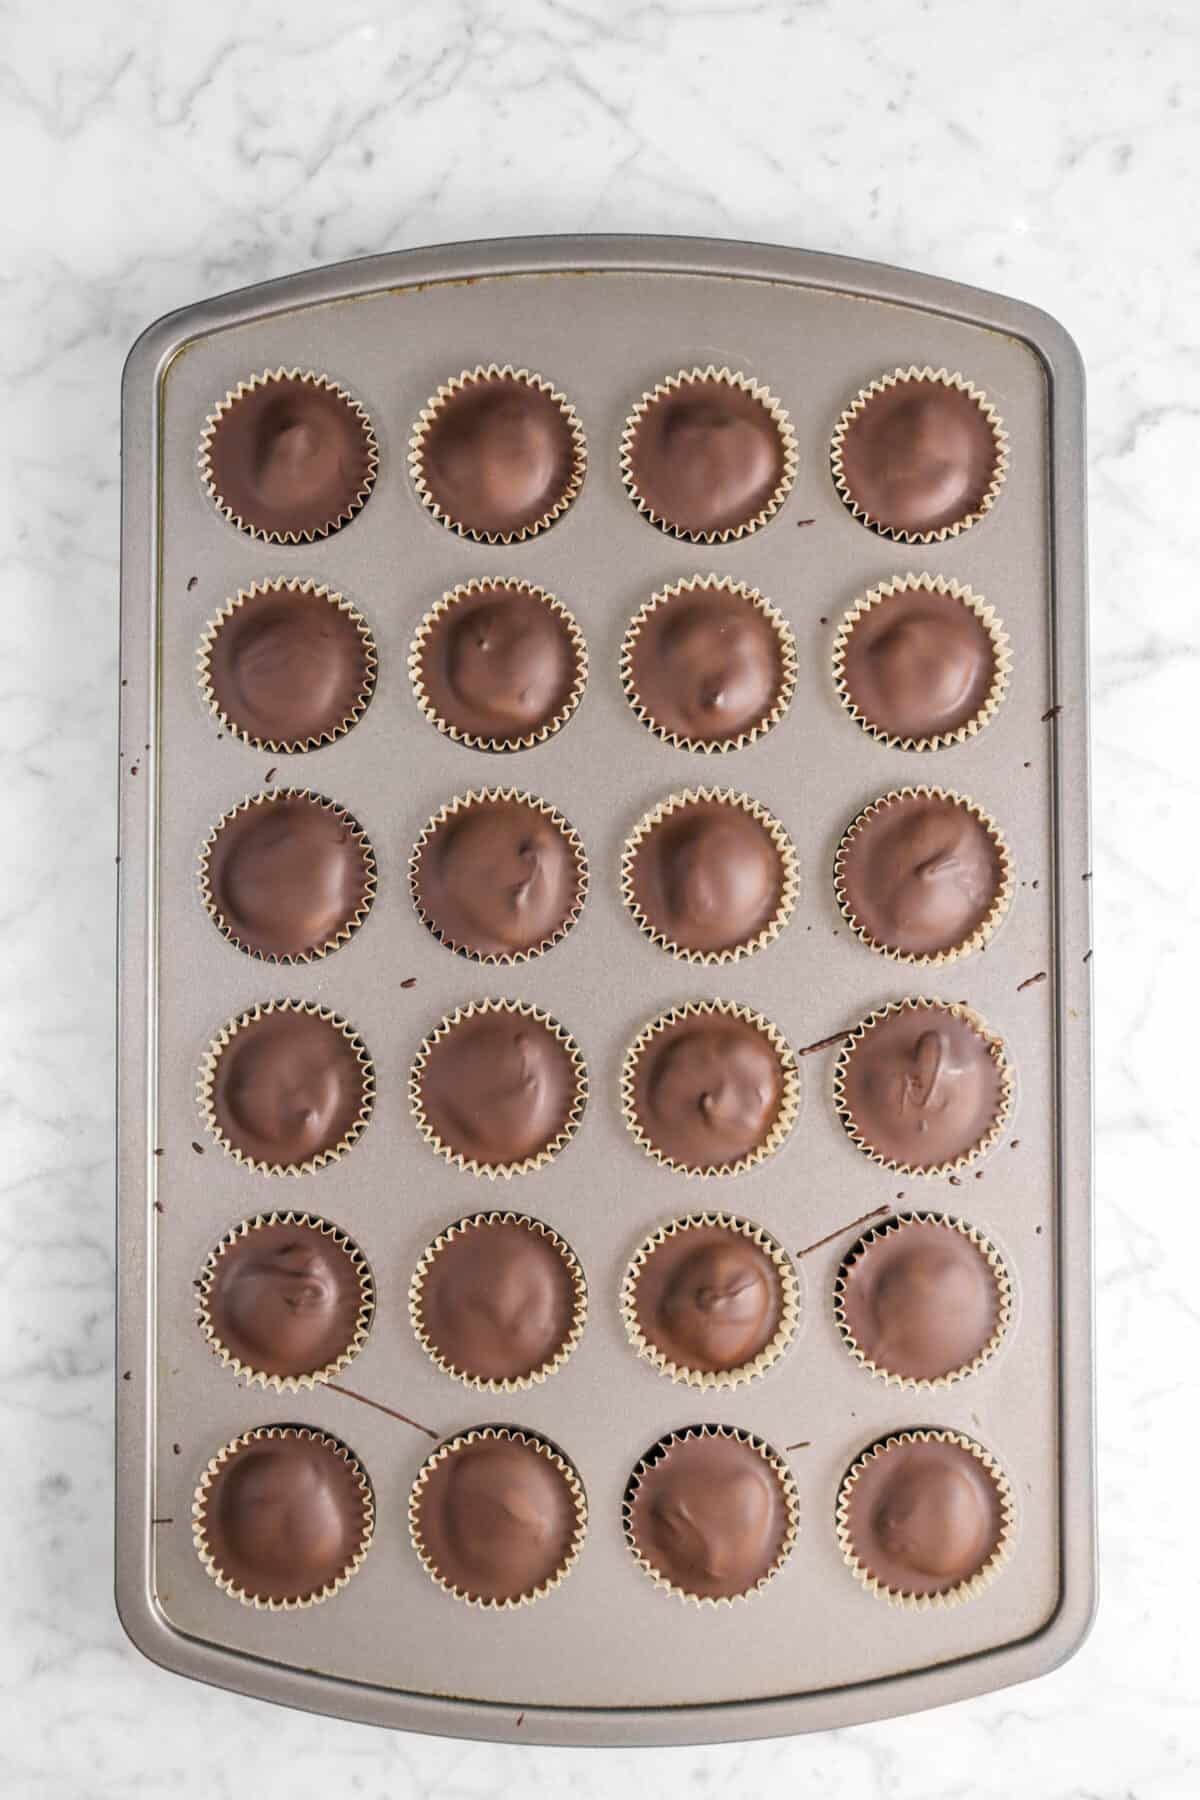
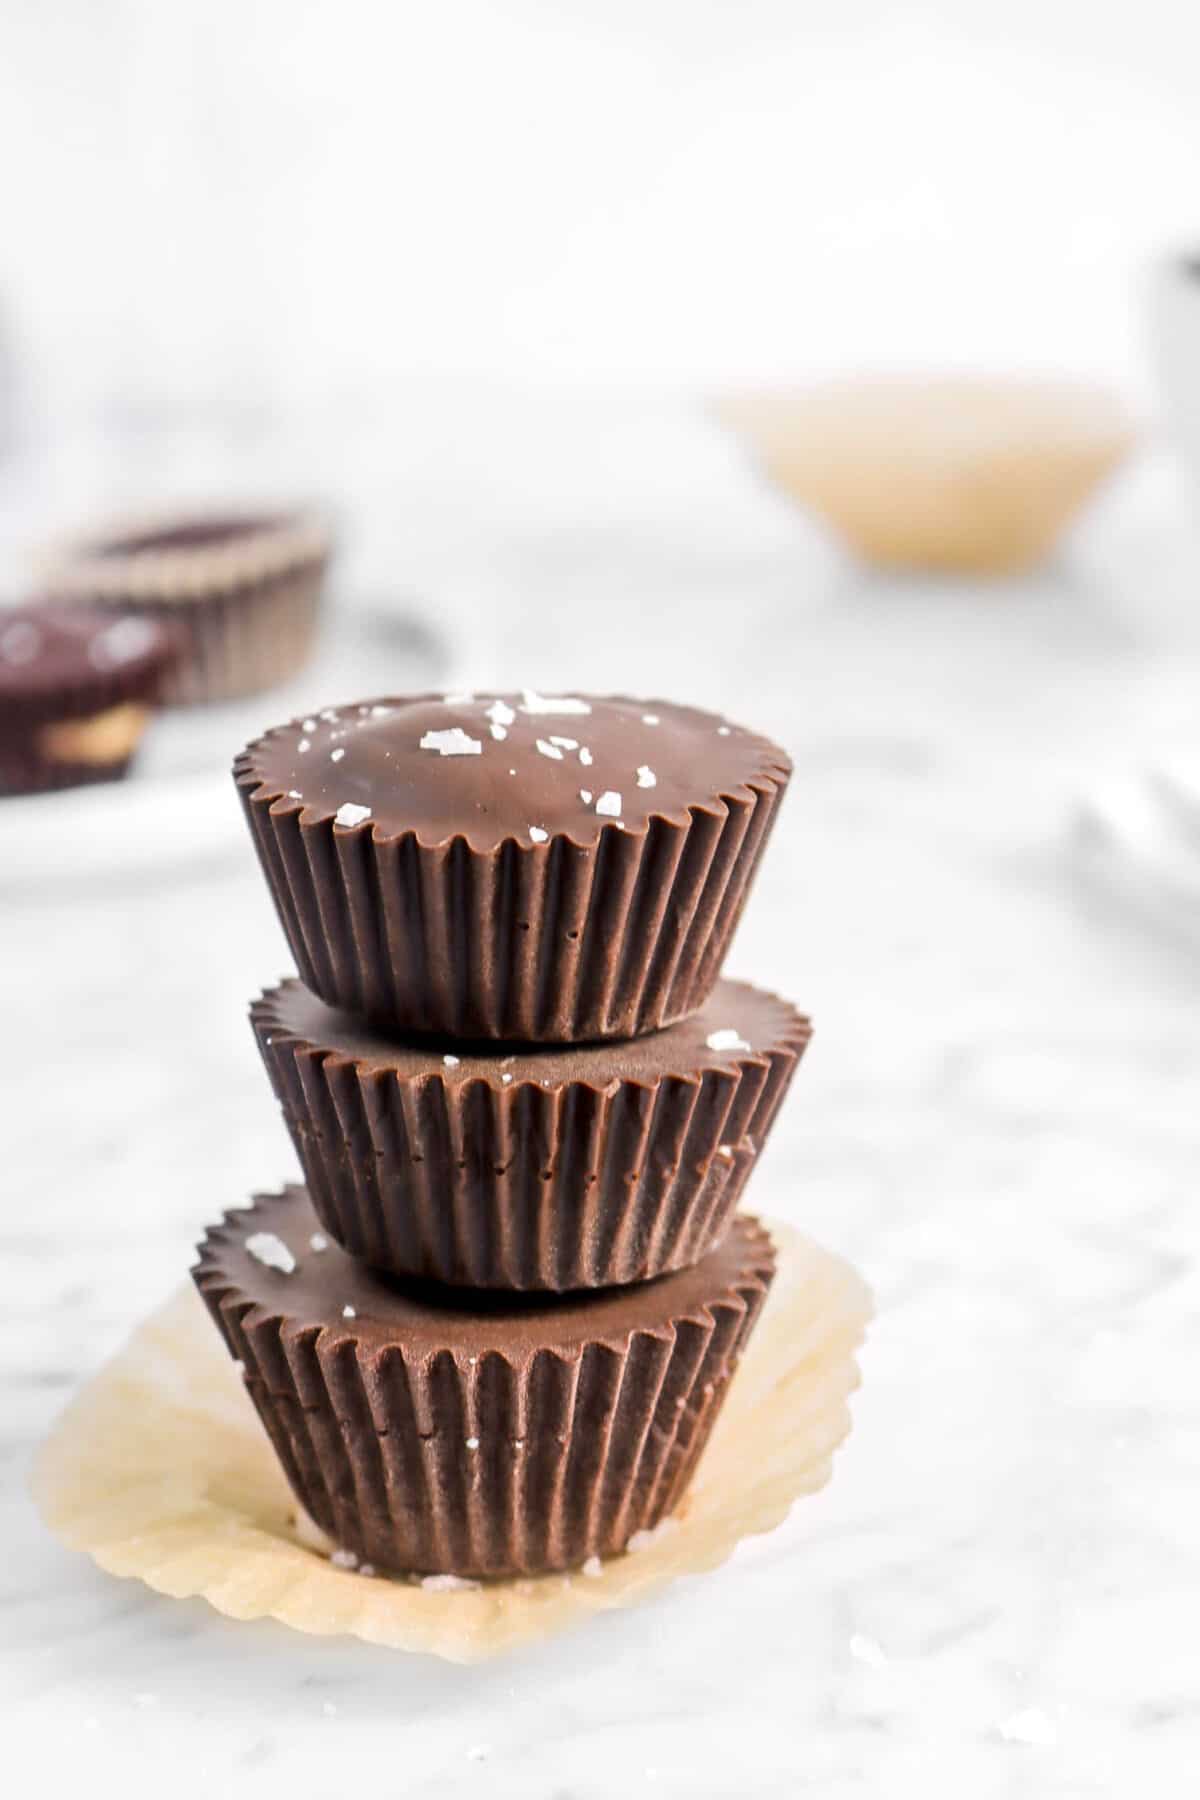
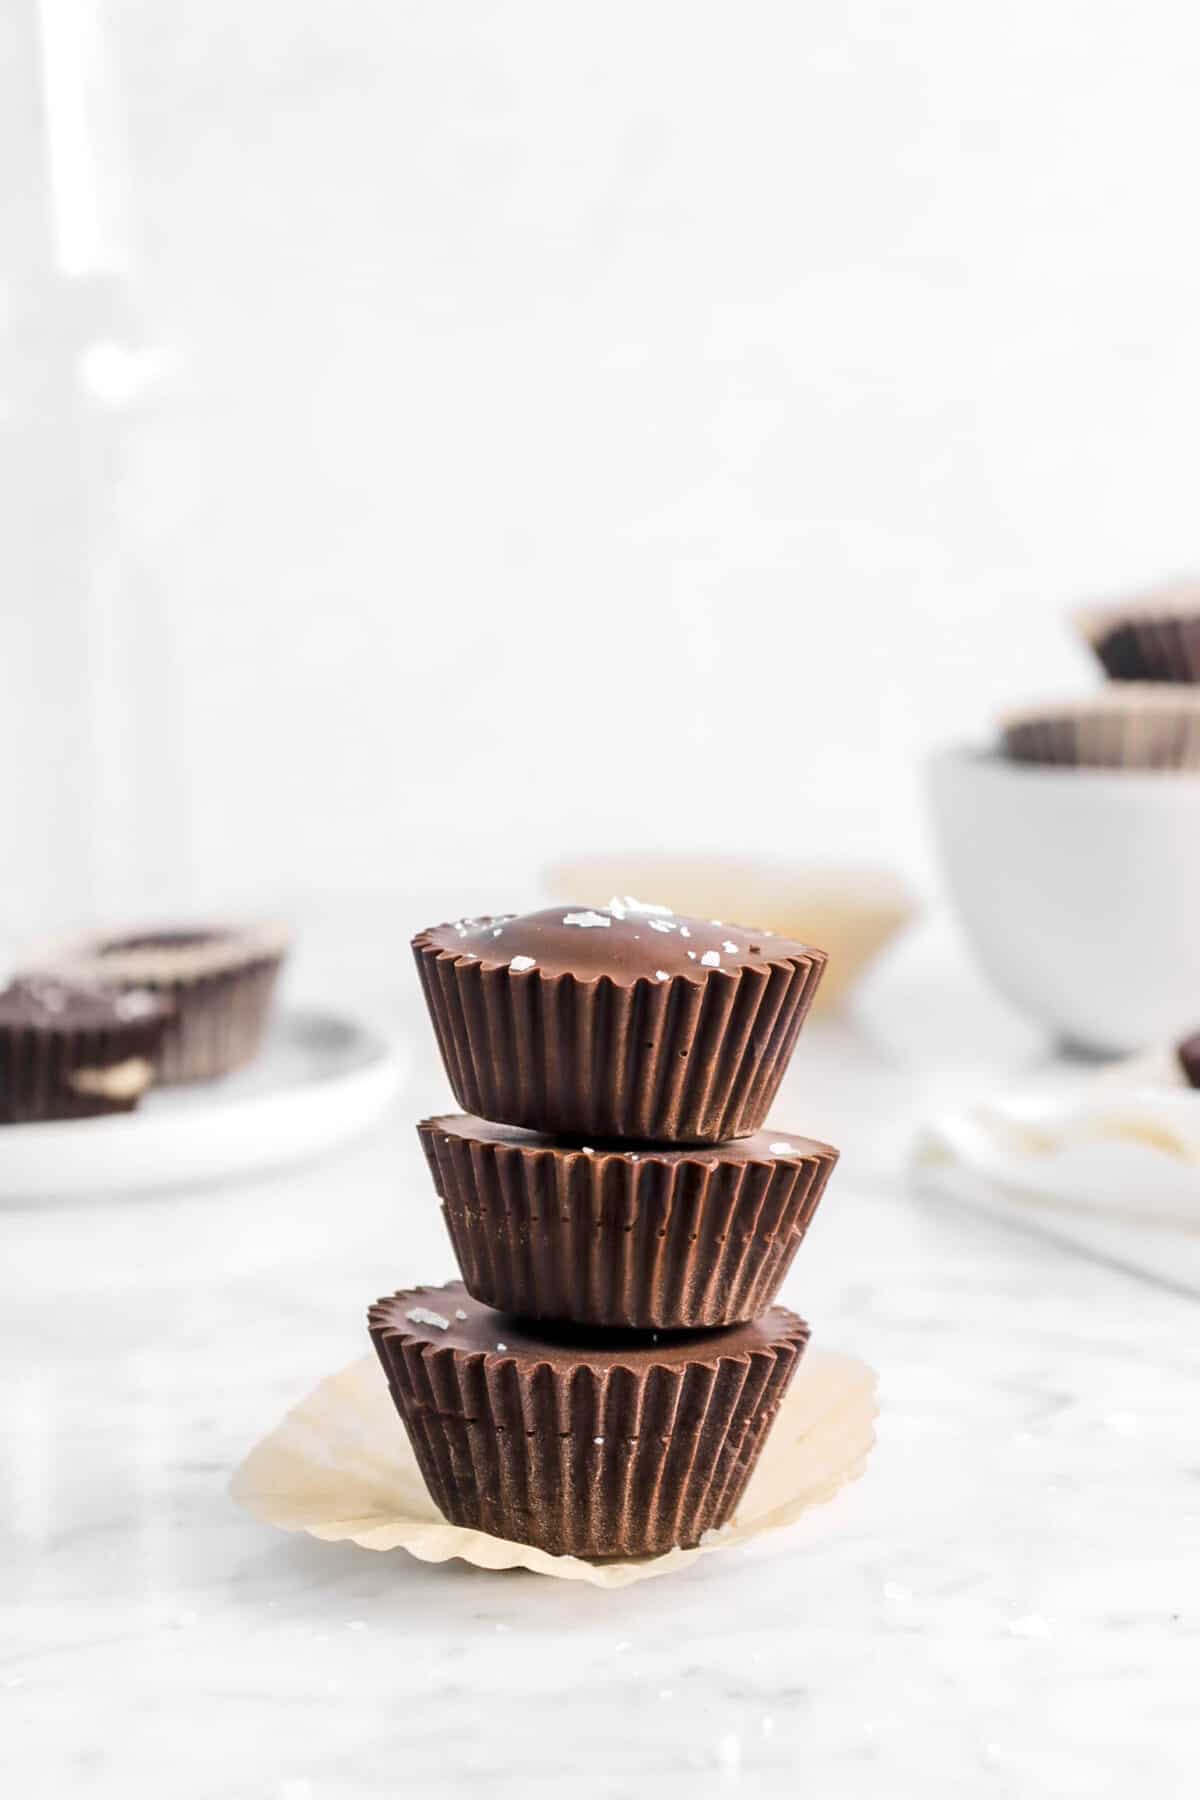
Using a 1/2 Tablespoon, pour in the tempered chocolate into lined muffin pans. Put one peanut butter ball in the middle of each. Pour another 1/2 Tablespoon over the top and gently tap down. Place in the freezer for about 5-10 minutes, or until set! (optional) Finish with flaked sea salt.

What To Do With Peanut Butter Cups…
So, the best thing about these chocolate peanut butter cups is that they are just like the candy you buy in the store! The options are limitless to what you can do with them. From stirring them into some Vanilla Ice Cream, to baking them into your favorite Fudge Brownie Recipe, to just eating them as is.
No matter what you do, they will always be delicious!
How To Store
You can keep these candies at room temperature in an air-tight container for about 7-9 days. You could also store them in the fridge or freezer! Just make sure to set them out ahead of time so they have time to thaw or come to room temperature.
When you make these Homemade Dark Chocolate Peanut Butter Cups, leave a comment down below! We love hearing from you and answering any questions you might have! Also, be sure to tag us on social media and hashtag it #BakersTable.

Homemade Dark Chocolate Peanut Butter Cups
Ingredients
- ¼ cup salted butter, room temperature
- 1 cups smooth peanut butter
- 1½ cups powdered sugar, sifted + extra to dust hands with
- 3½ cups chocolate chips, bittersweet
Instructions
Peanut Butter Filling
- Beat butter and peanut butter until smooth.
- Add in powdered sugar, 1 cup at a time, beating well until combined.
- Dust hands with powdered sugar.
- Scoop out 1 Tablespoon peanut butter mixture at a time and form into a ball.
- Place on a parchment lined baking sheet.
- Put in refrigerator until chocolate is tempered.
Tempered Chocolate
- Place chocolate in a glass bowl and place over a pot of simmering water.
- Stir until chocolate melts and temperature is between 131℉/55℃ and 136℉/58℃.
- Remove from heat and cool, stirring constantly, to between 82℉/28℃ and 84℉/29℃.
- Place back over warm water and raise temperature to between 88℉/31℃ and 90℉/32℃. Hold at this temperature.
Assembly
- Spoon ½ Tablespoon tempered chocolate in the bottom of a candy mold or candy paper.
- Place peanut butter ball on top of chocolate.
- Top with another ½ Tablespoon chocolate.
- Place completed candies in freezer for 5-10, or until set. Remove immediately.
Notes + Tips!
- You can use any kind of chocolate you like, but tempering temperatures are different for white, milk and dark. You can find a guide for tempering white chocolate in our peppermint bark recipe.
- You could use almond butter instead of peanut butter!
- Vegan chocolate and butter can be used to make this recipe vegan.
- The peanut butter filling may become greasy as it comes to room temperature. Be sure to keep it in the fridge!
- When working with the filling, keep your hands lightly coated in powdered sugar.
- This recipe could also be made into jumbo sized peanut butter cups by using normal sized muffin liners and pans.
- Don’t skip tempering the chocolate! It’s the only way to really get that crisp, shiny chocolate.
- Keep in mind, the temperature for the chocolate will keep going up after you take it off the heat. Always take it off when it starts getting close to temper!
- The best way to set these candies is definitely in the freezer! But, you can leave them out on the counter to set.