Homemade Peppermint Bark
This post may contain affiliate links, please visit our privacy policy for details.
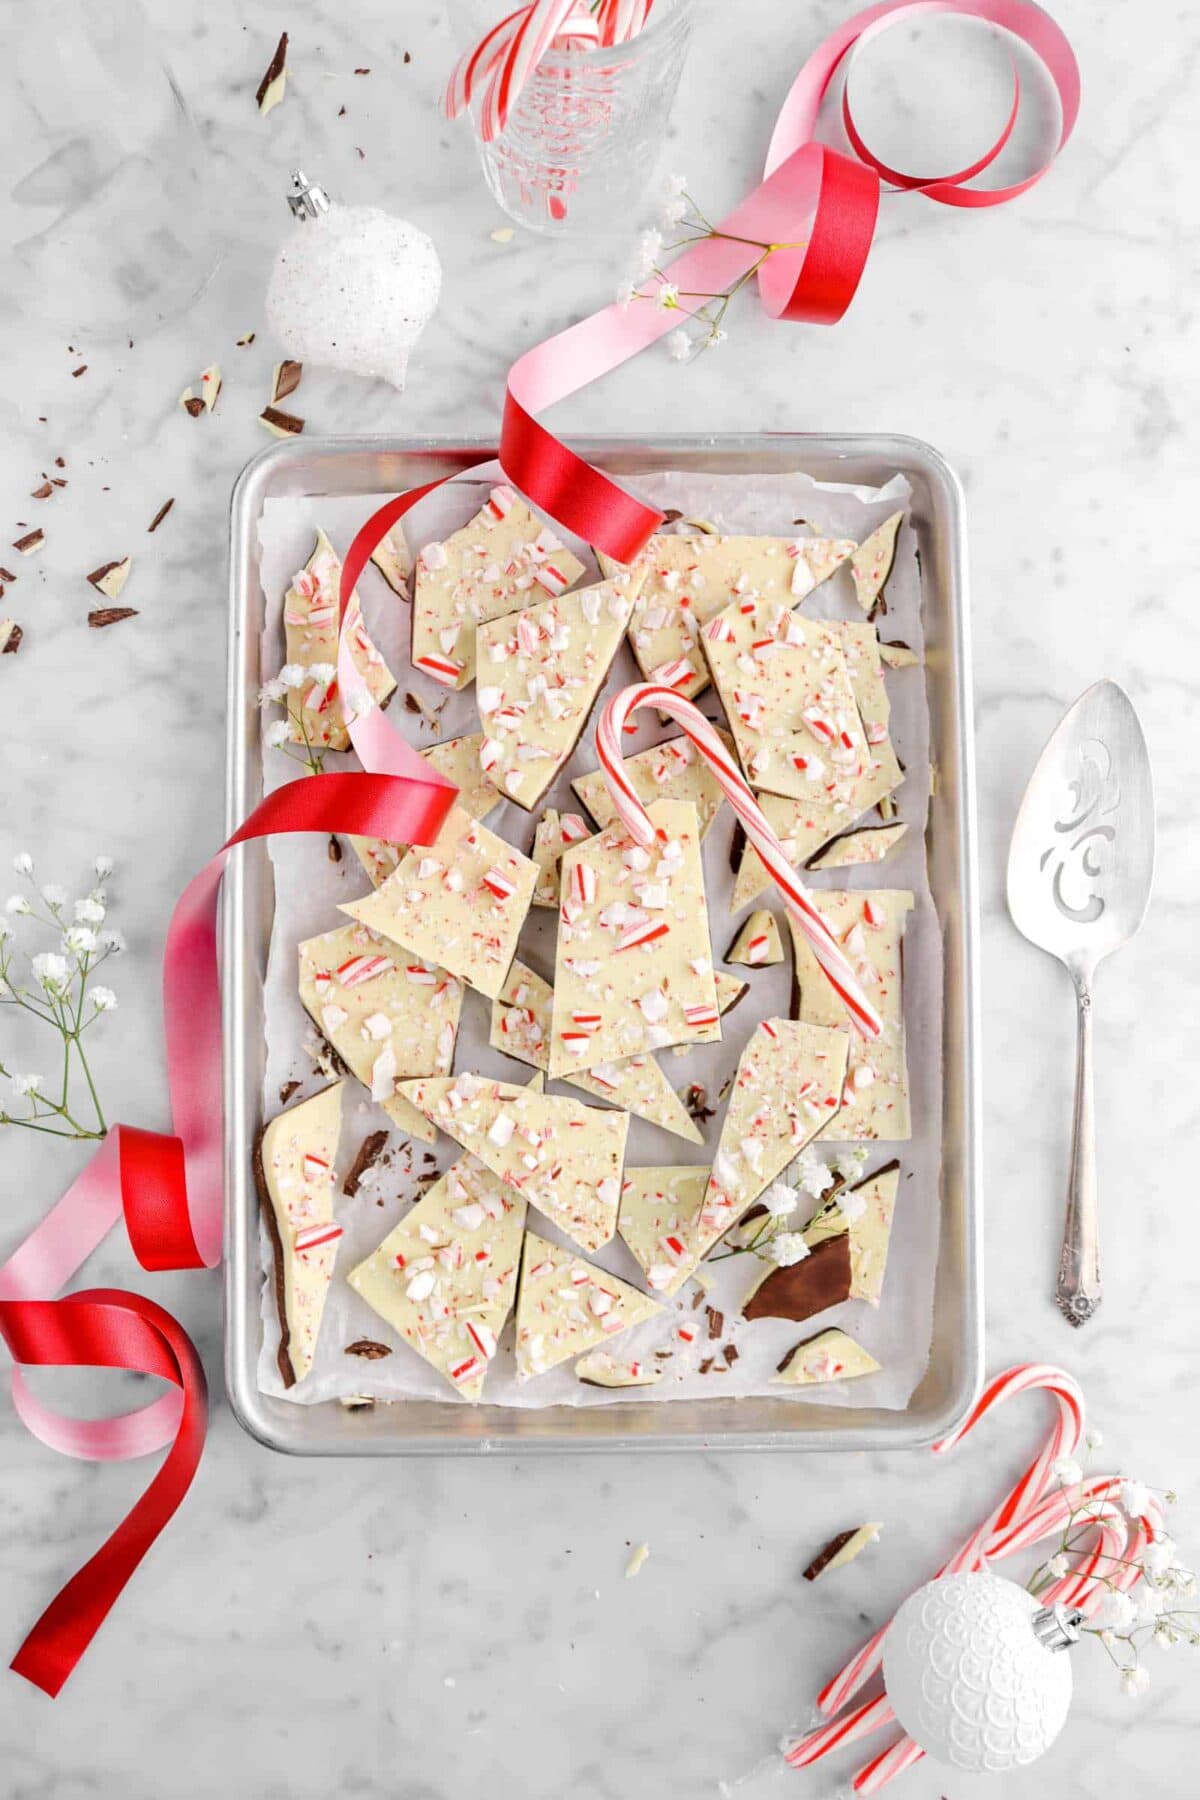
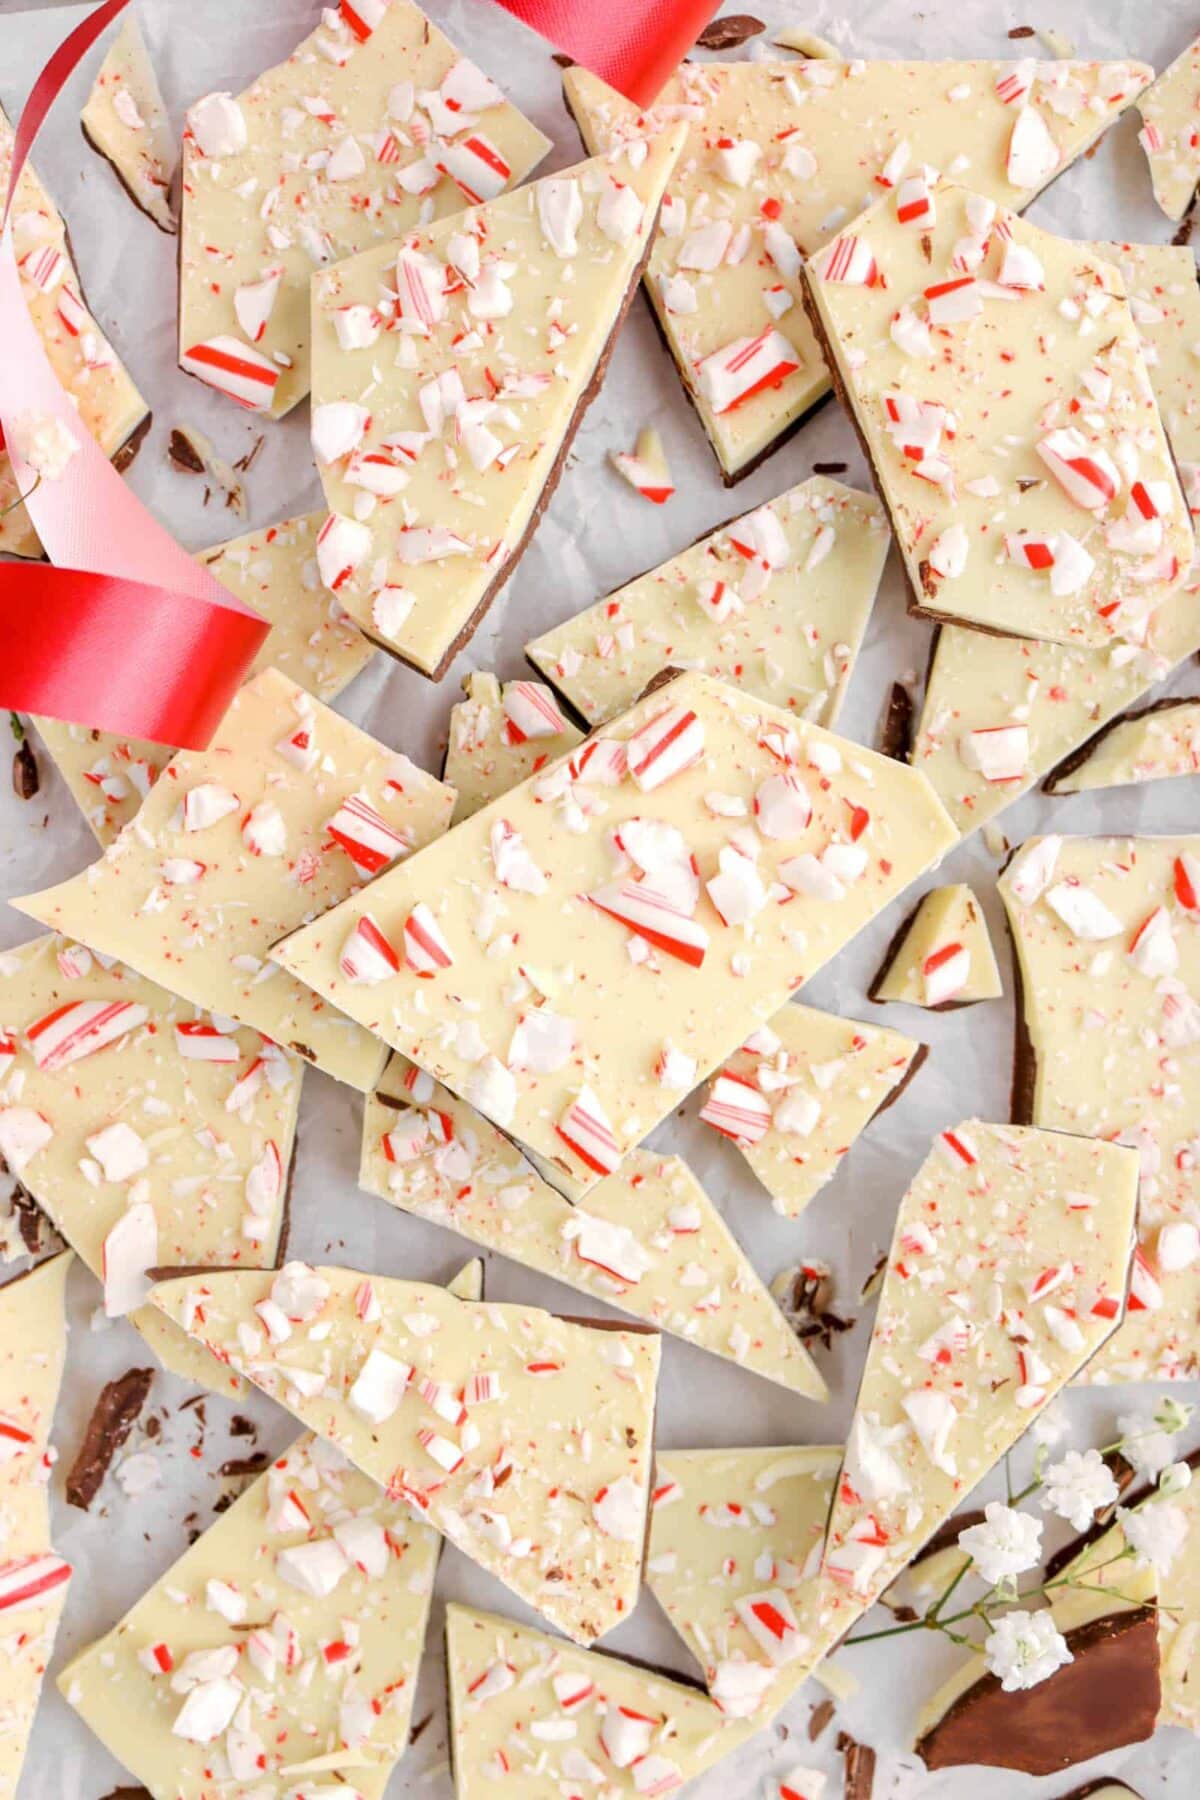
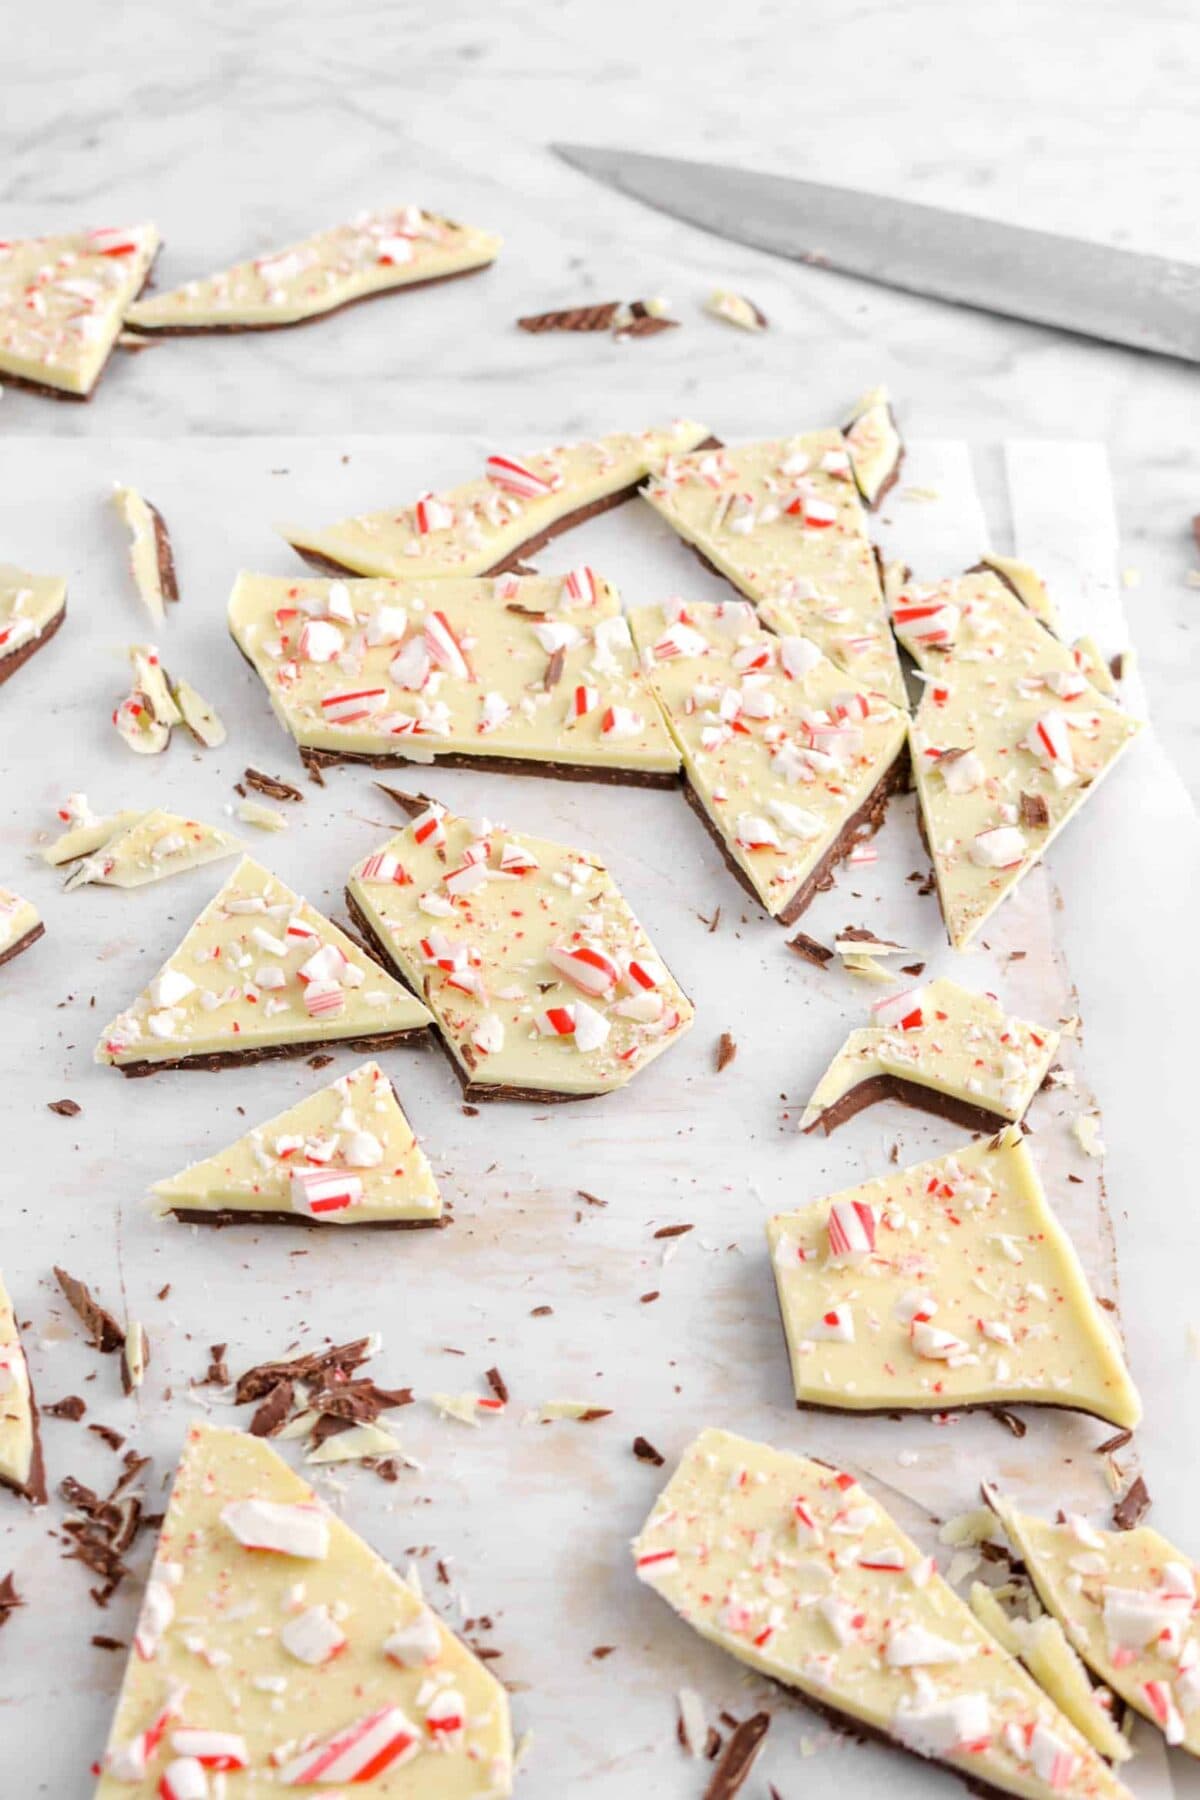
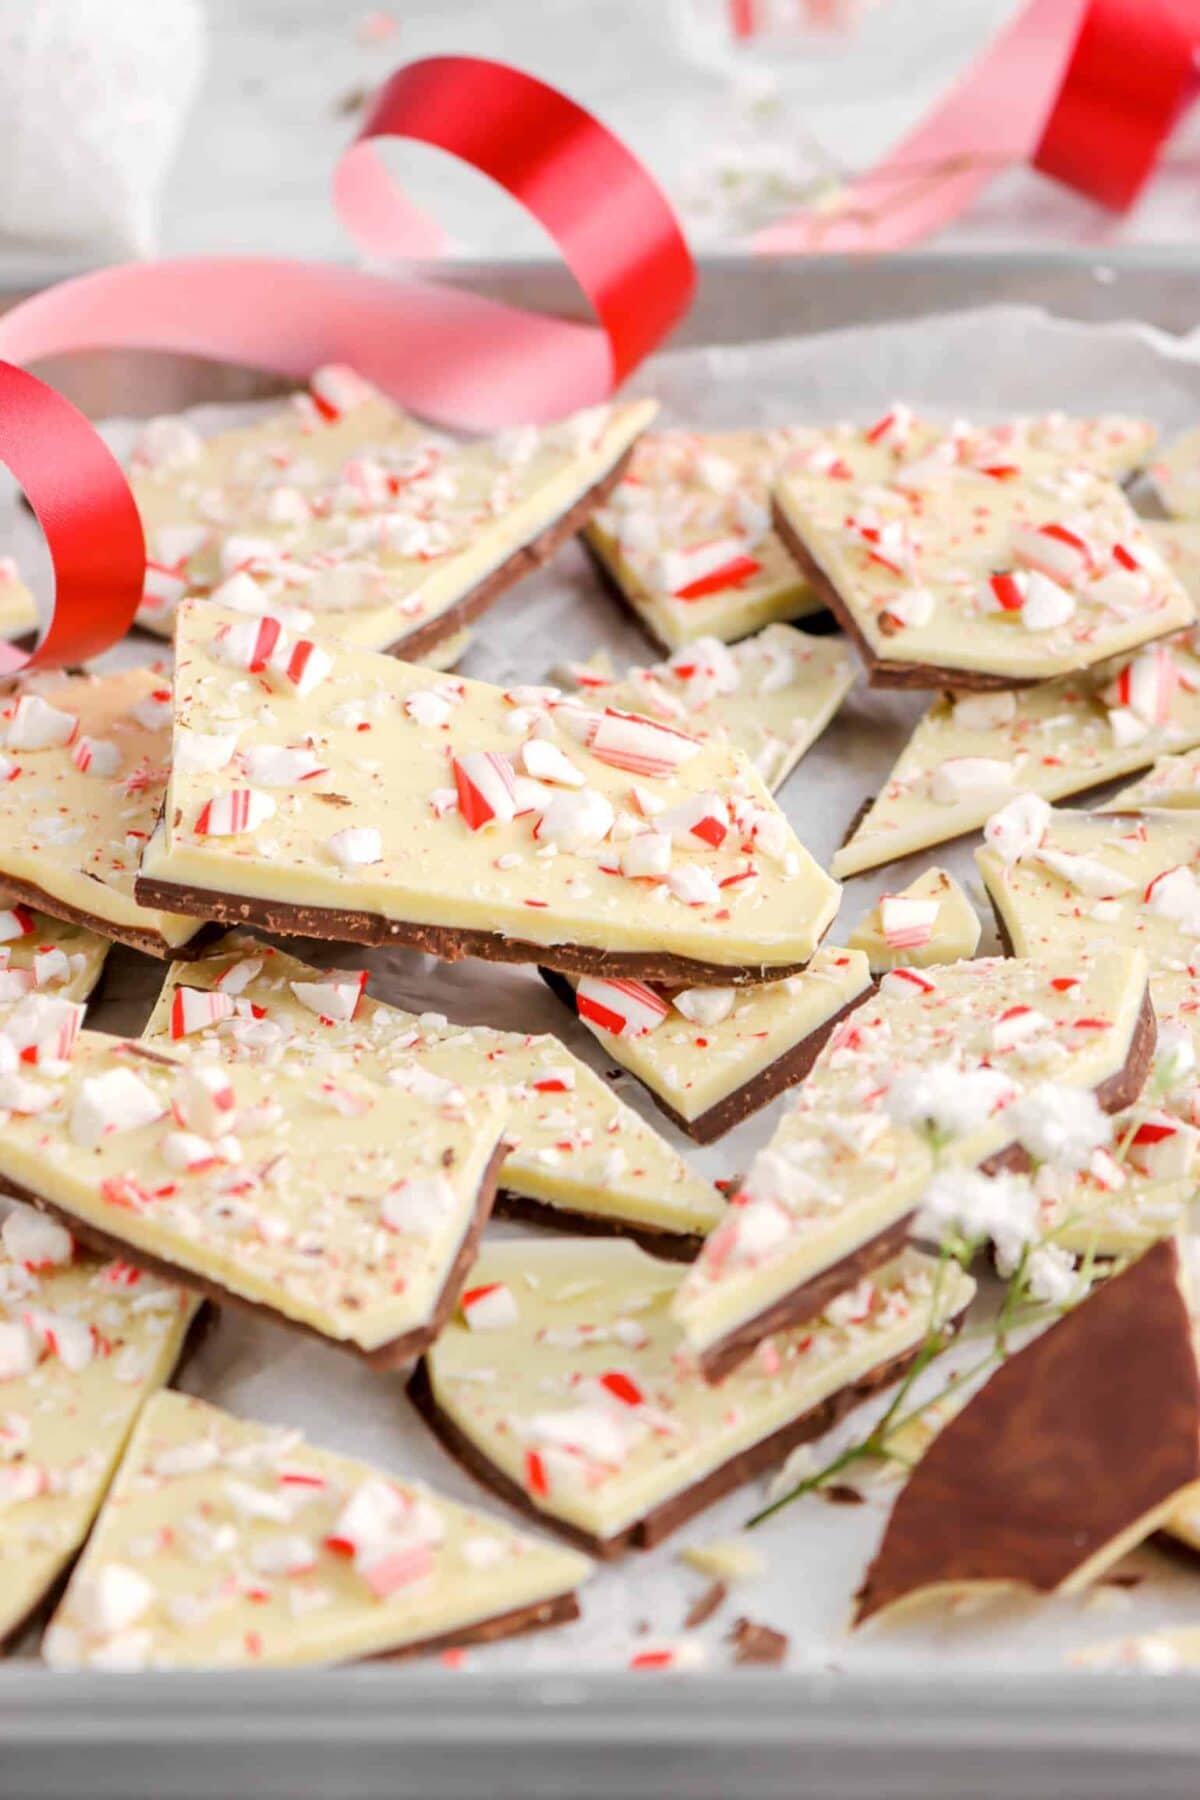
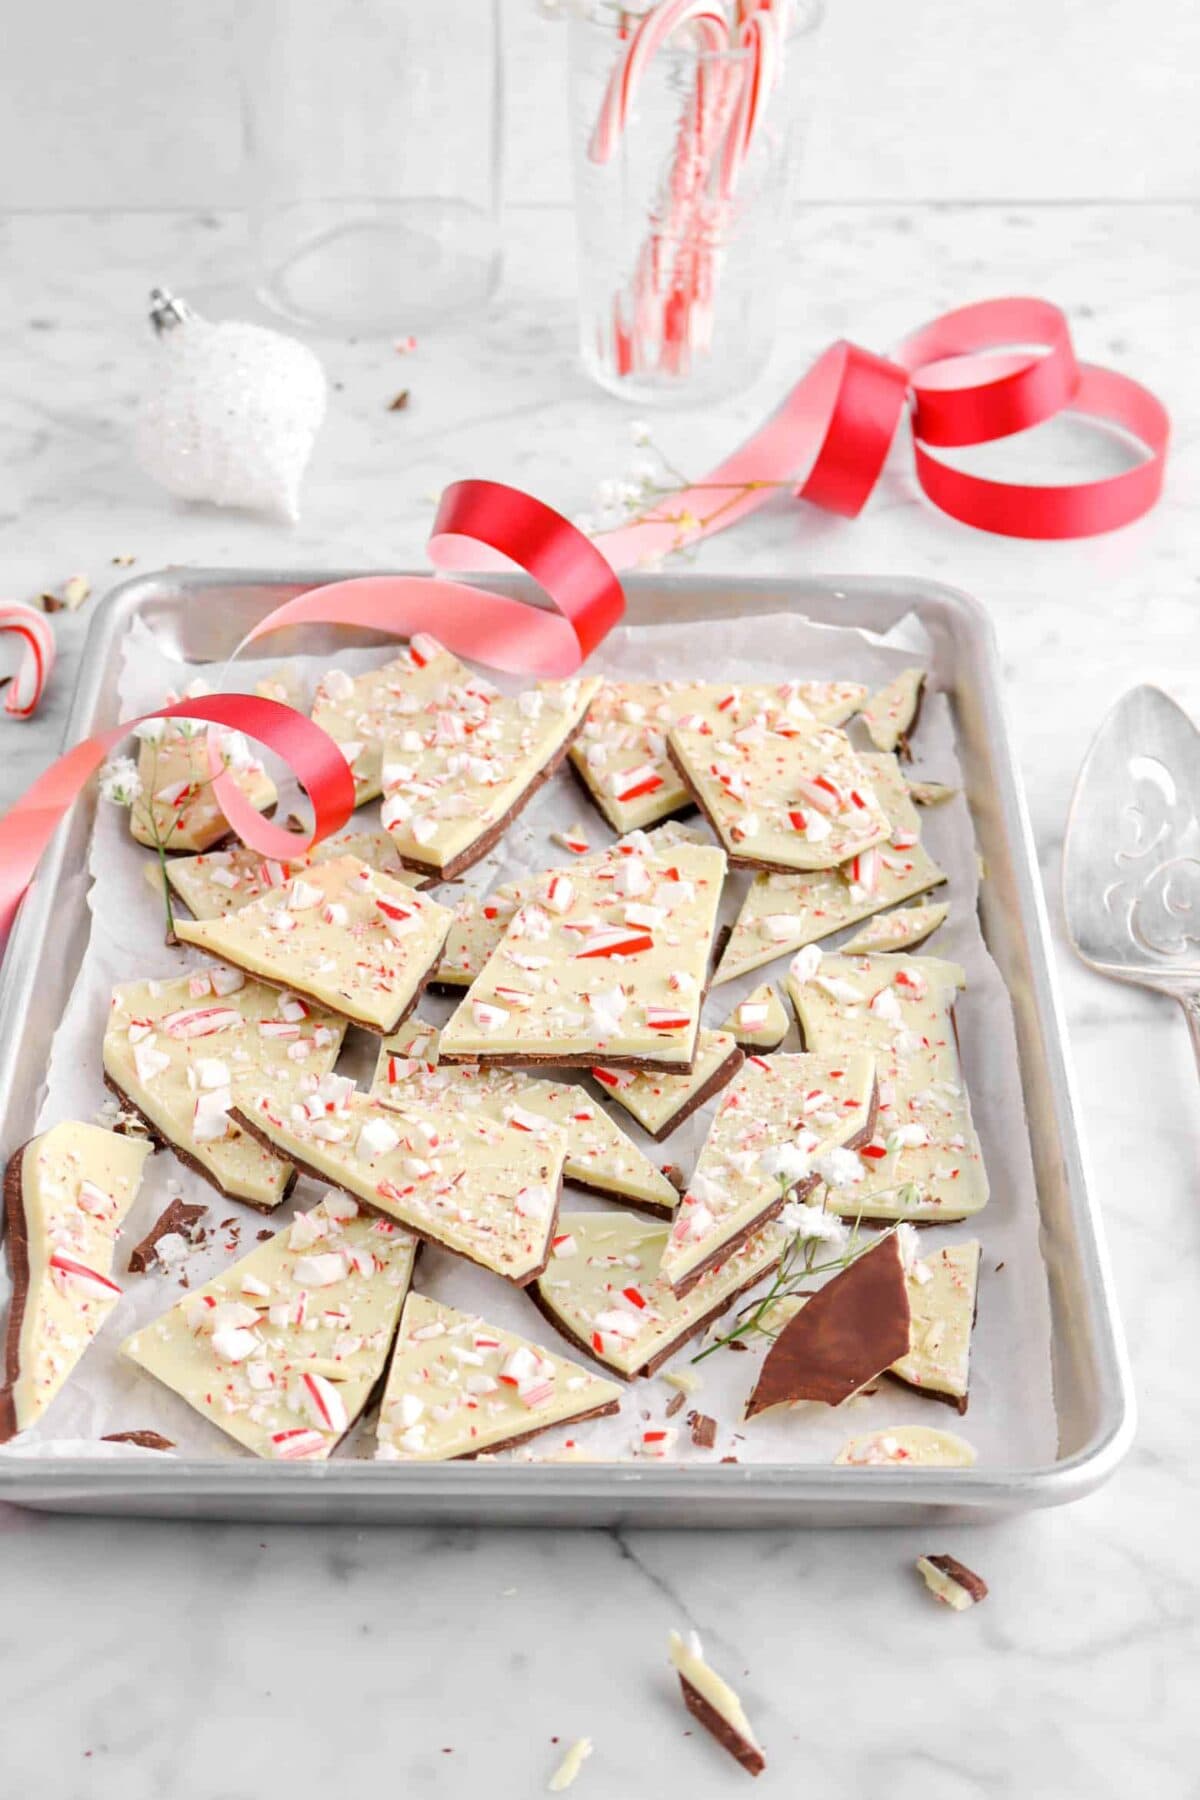
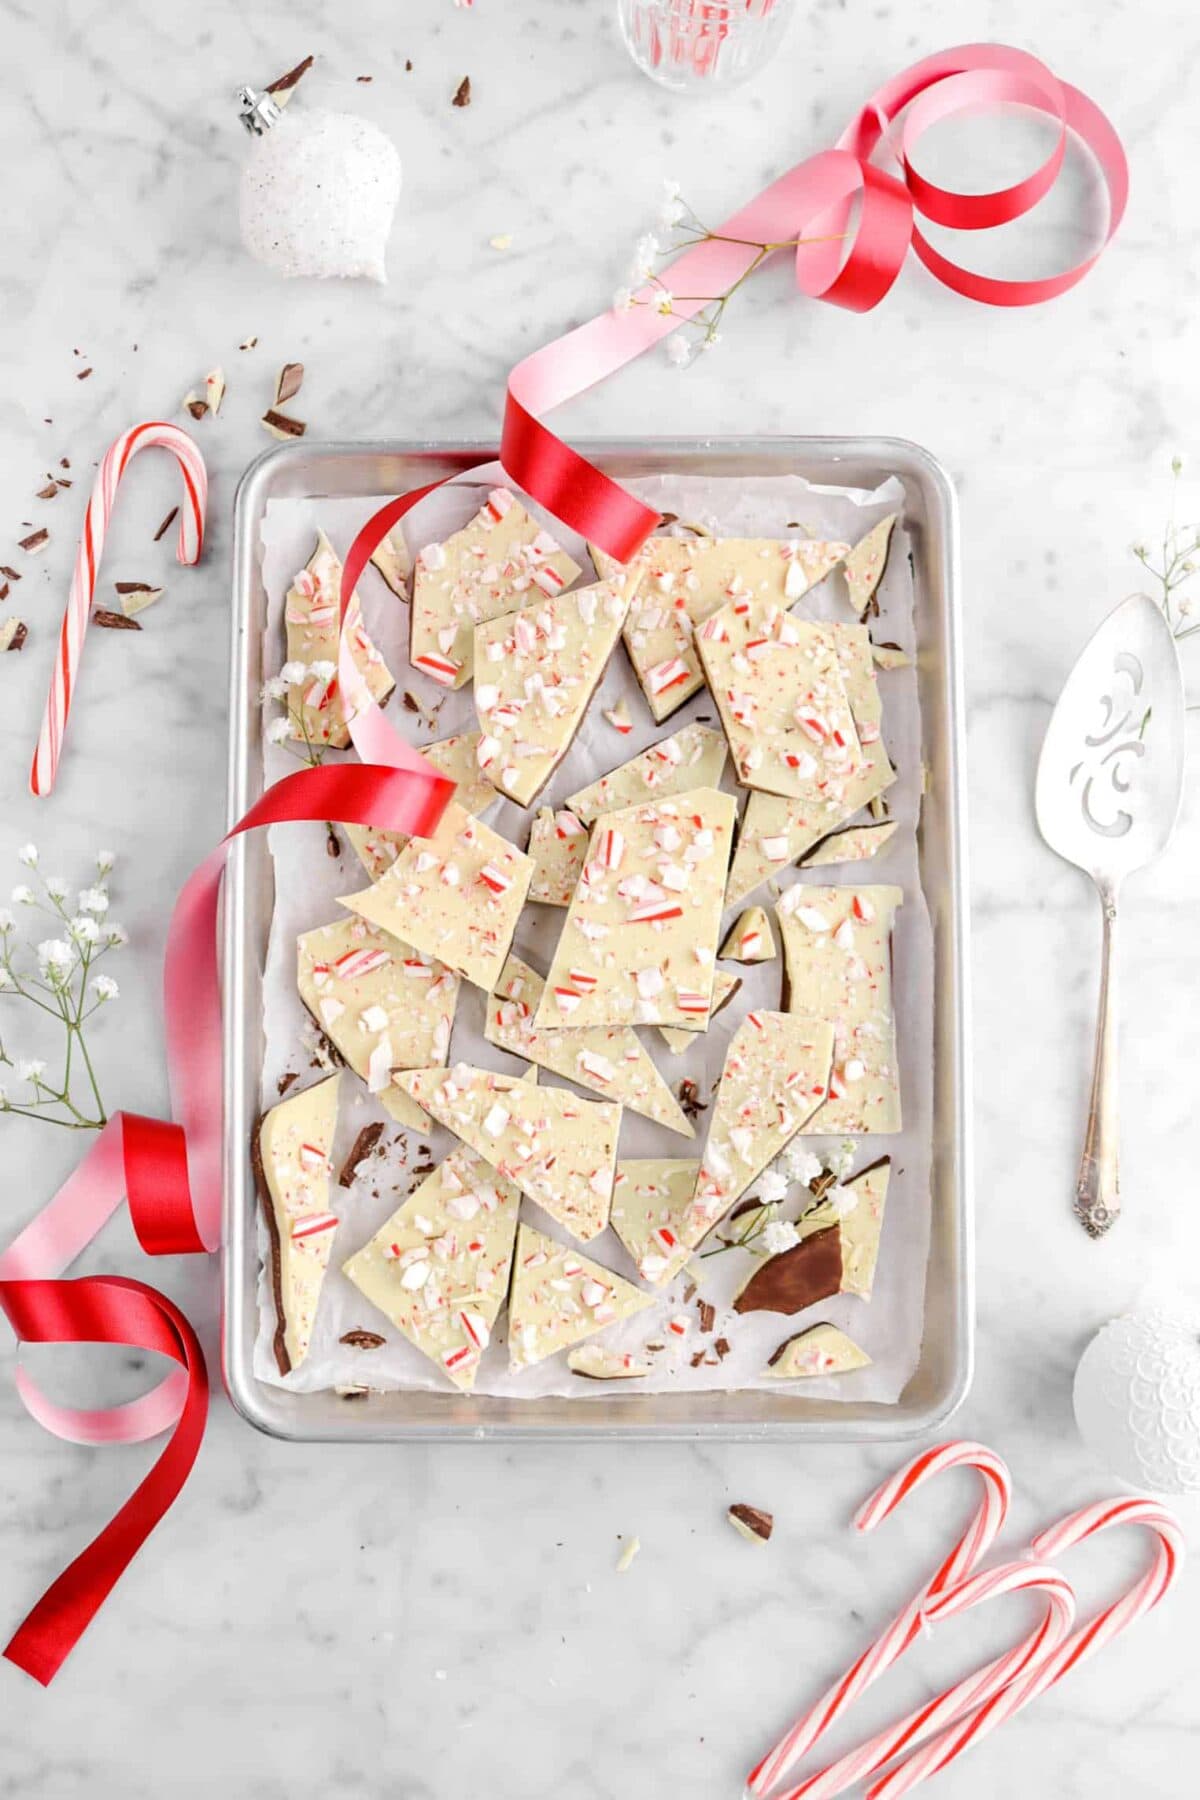
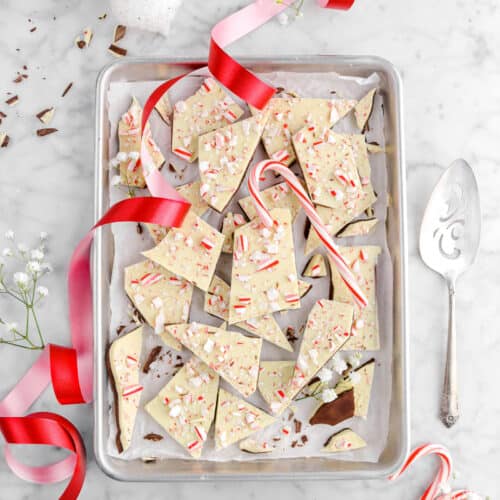
Celebrate the holidays with easy Homemade Peppermint Bark! Dark and white chocolates infused with peppermint oil create a crisp treat with a satisfying snap. Topped generously with crushed candy canes, each bite offers a perfect balance of melt-in-your-mouth delicious chocolate and peppermint. Tempering the chocolate ensures firmness and that classic snap, making it ideal for gifts or festive desserts.
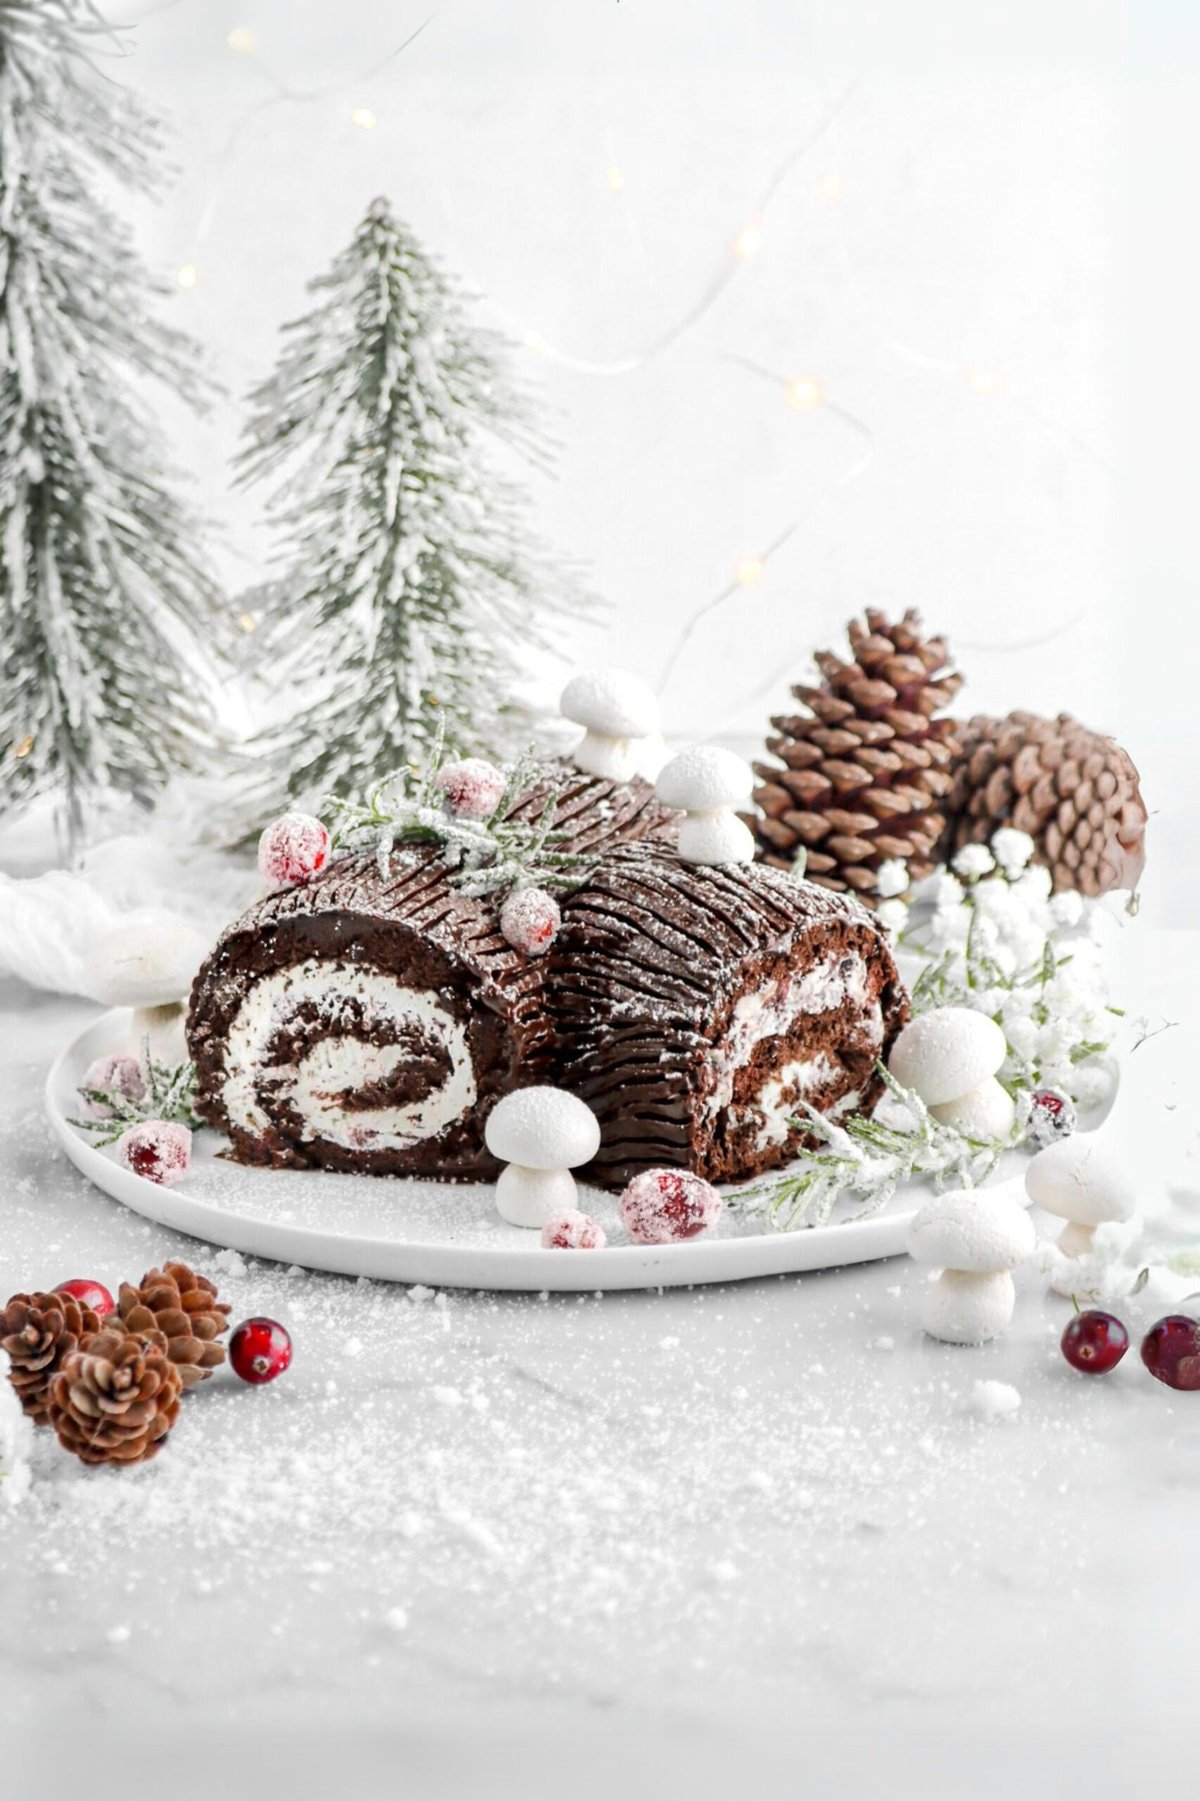
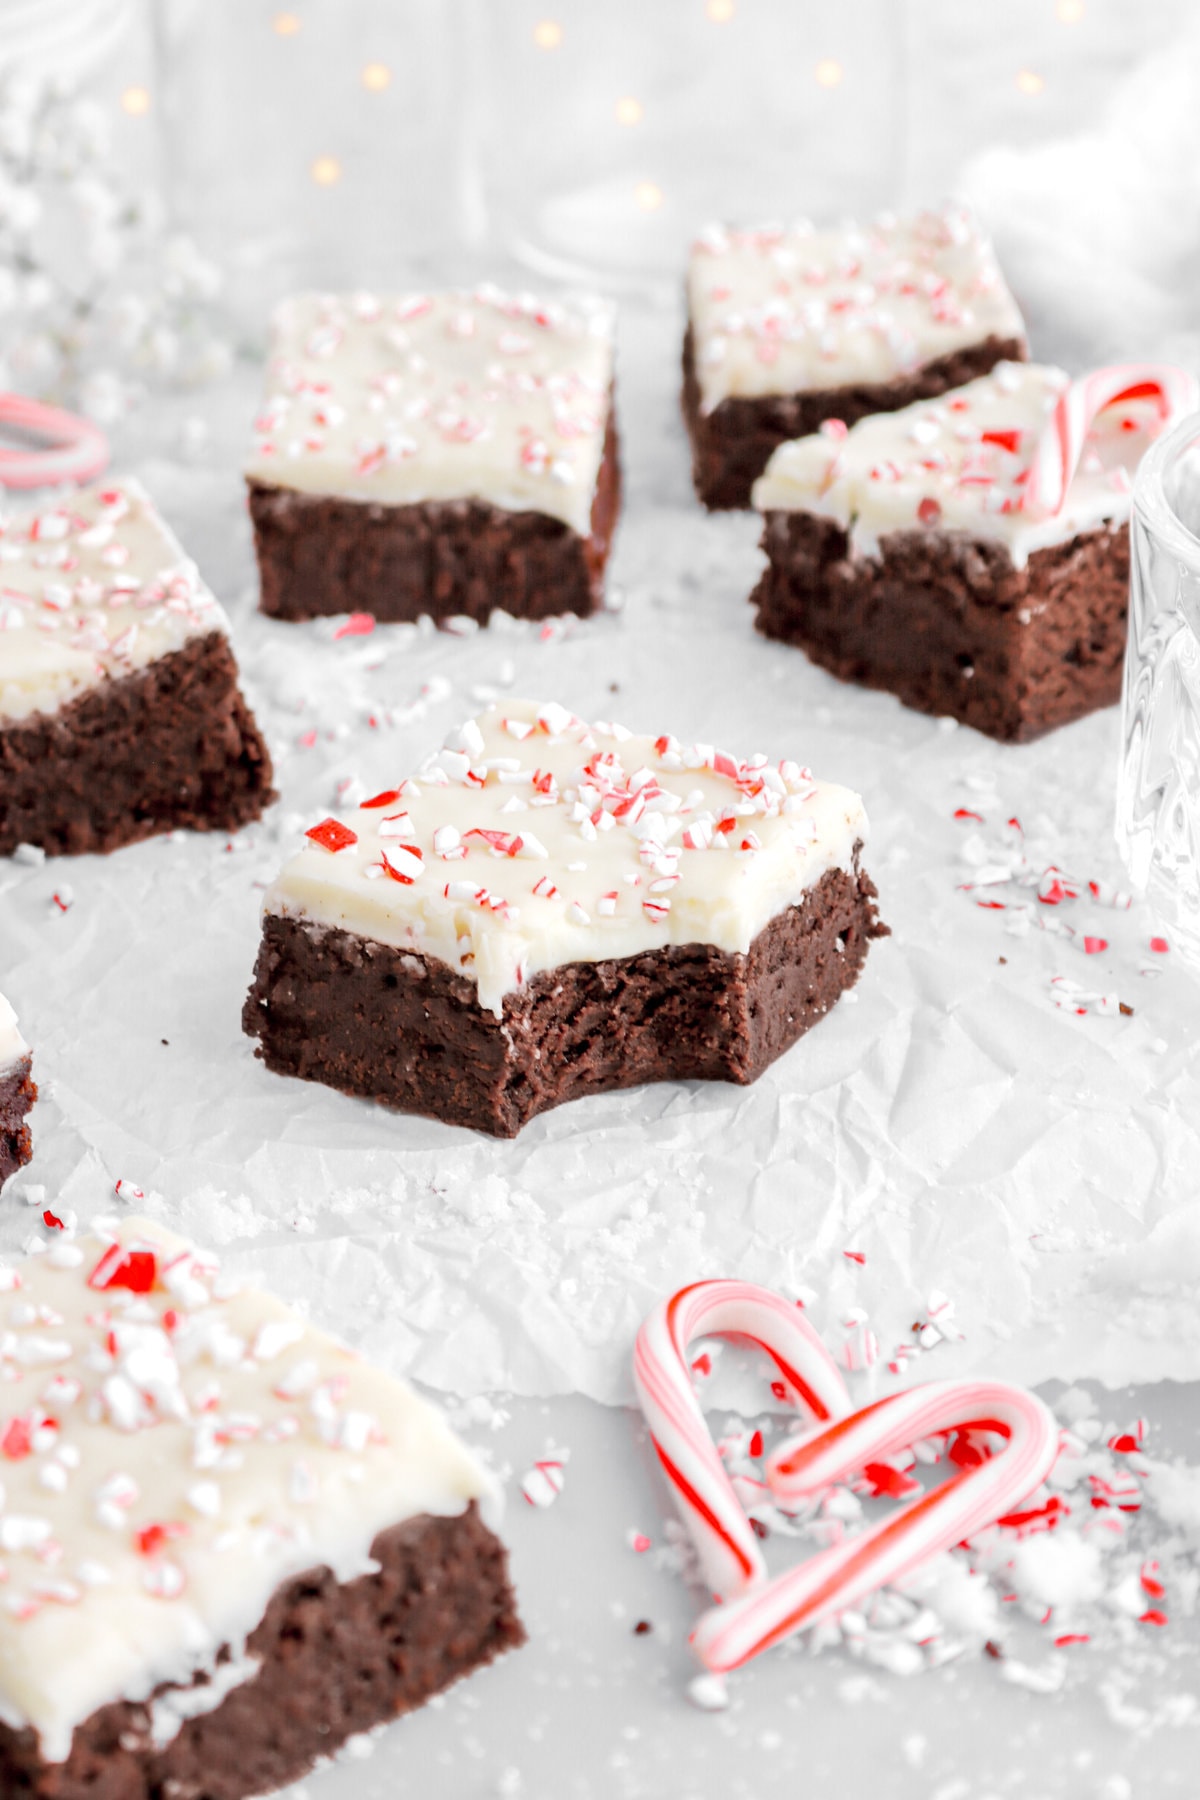
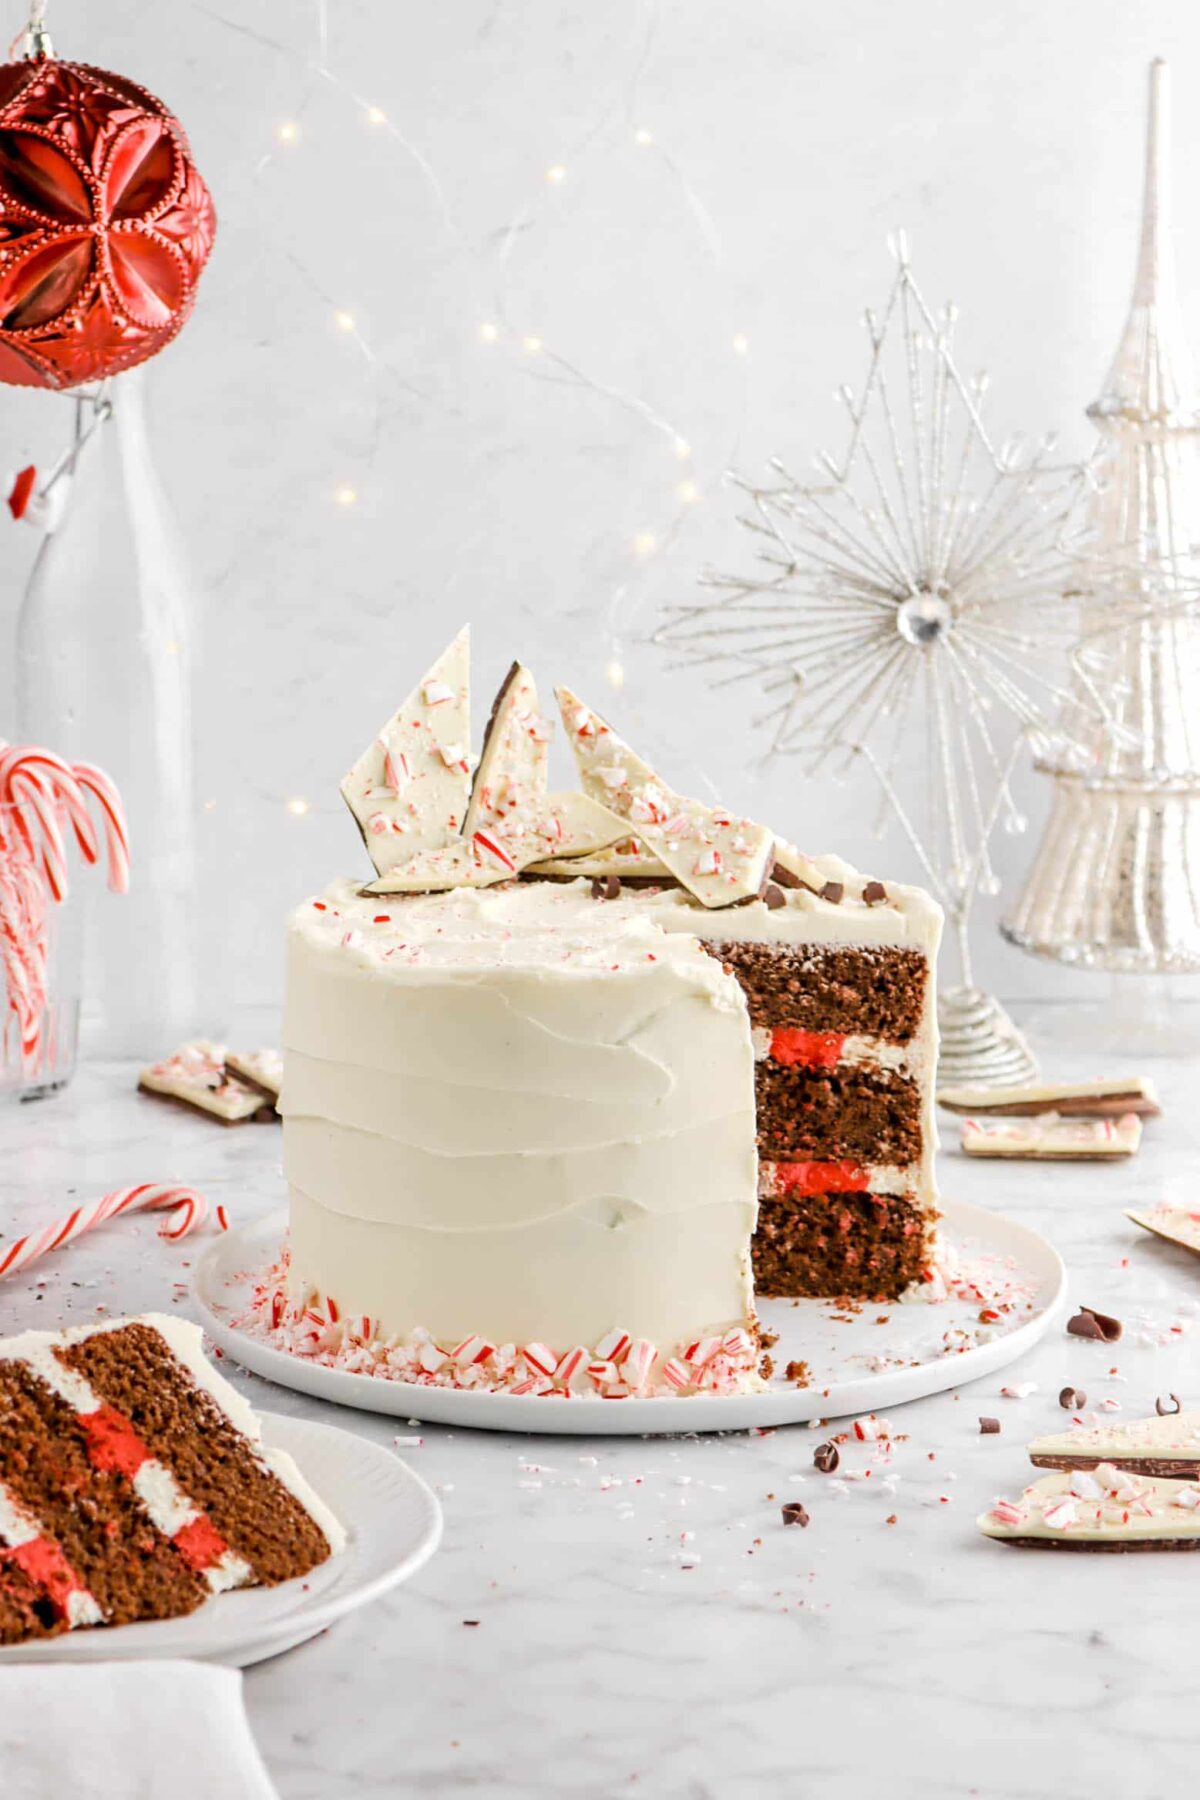
Chocolate and peppermint are a classic combo found so many desserts like peppermint bark cupcakes, fudgy double chocolate brownies, triple chocolate peppermint cookies, peppermint white chocolate cake, and more. This recipe strikes the perfect balance, creating a peppermint bark that’s just right.
It took three attempts to perfect: the first was too thick, and the second had issues with the chocolate separating. But on the third try, it came out beautifully. This homemade peppermint bark is better than any store-bought version, with a perfect chocolate and peppermint flavor that’s delicious and melt-in-your-mouth. It’s an ideal last-minute Christmas gift!
Why You’ll Love This Peppermint Bark
- Classic Flavor Combination: The combination of rich chocolate and refreshing peppermint is a classic pairing, especially during the holiday season.
- Festive Appearance: Our peppermint bark features a layer of dark chocolate topped with white chocolate and sprinkled with crushed candy canes, making it look festive and perfect for holiday celebrations.
- Ease of Preparation: It’s simple to make at home, requiring only a few ingredients and minimal effort.
- Texture Contrast: The smooth, creamy chocolate layers contrasted with the crunchy candy cane pieces provide a delightful texture experience.
- Versatility: Peppermint bark can be enjoyed on its own, used as a topping for other desserts, or even given as a homemade gift, making it versatile and practical.
- Crowd-Pleaser: Its universally loved flavors and festive look make peppermint bark a popular choice at holiday parties and gatherings, appealing to a wide range of tastes.
- Shelf Life: Peppermint bark has a relatively long shelf life when stored properly, allowing it to be made in advance and enjoyed throughout the holiday season.
- Customizability: It can be easily customized with different types of chocolate, additional toppings like nuts or dried fruits, and varying levels of peppermint intensity to suit individual preferences.

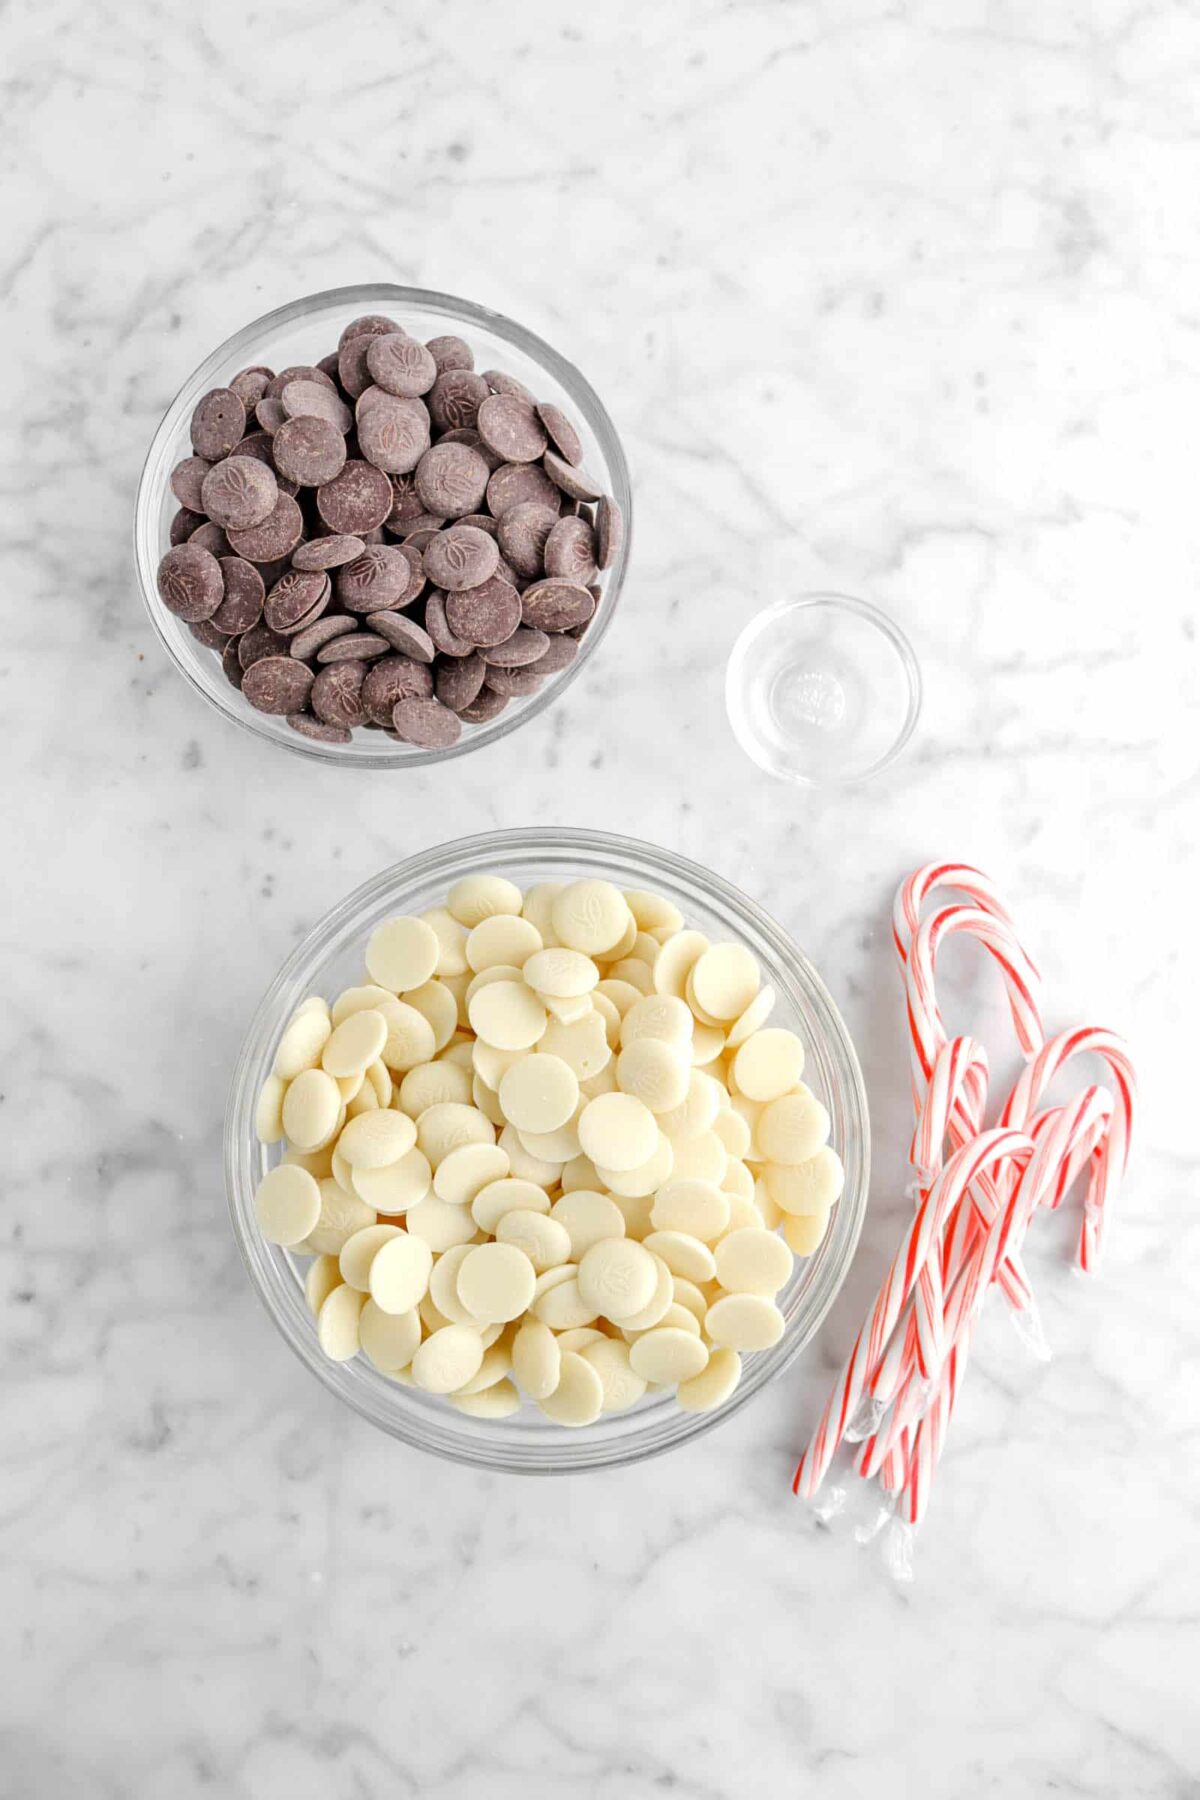
Ingredients
(Full ingredient amounts and instructions can be found in the recipe card at the bottom of the post)
- Melted or tempered dark chocolate
- Melted or tempered white chocolate
- Peppermint Oil
- Candy Canes
How To Make Peppermint Bark
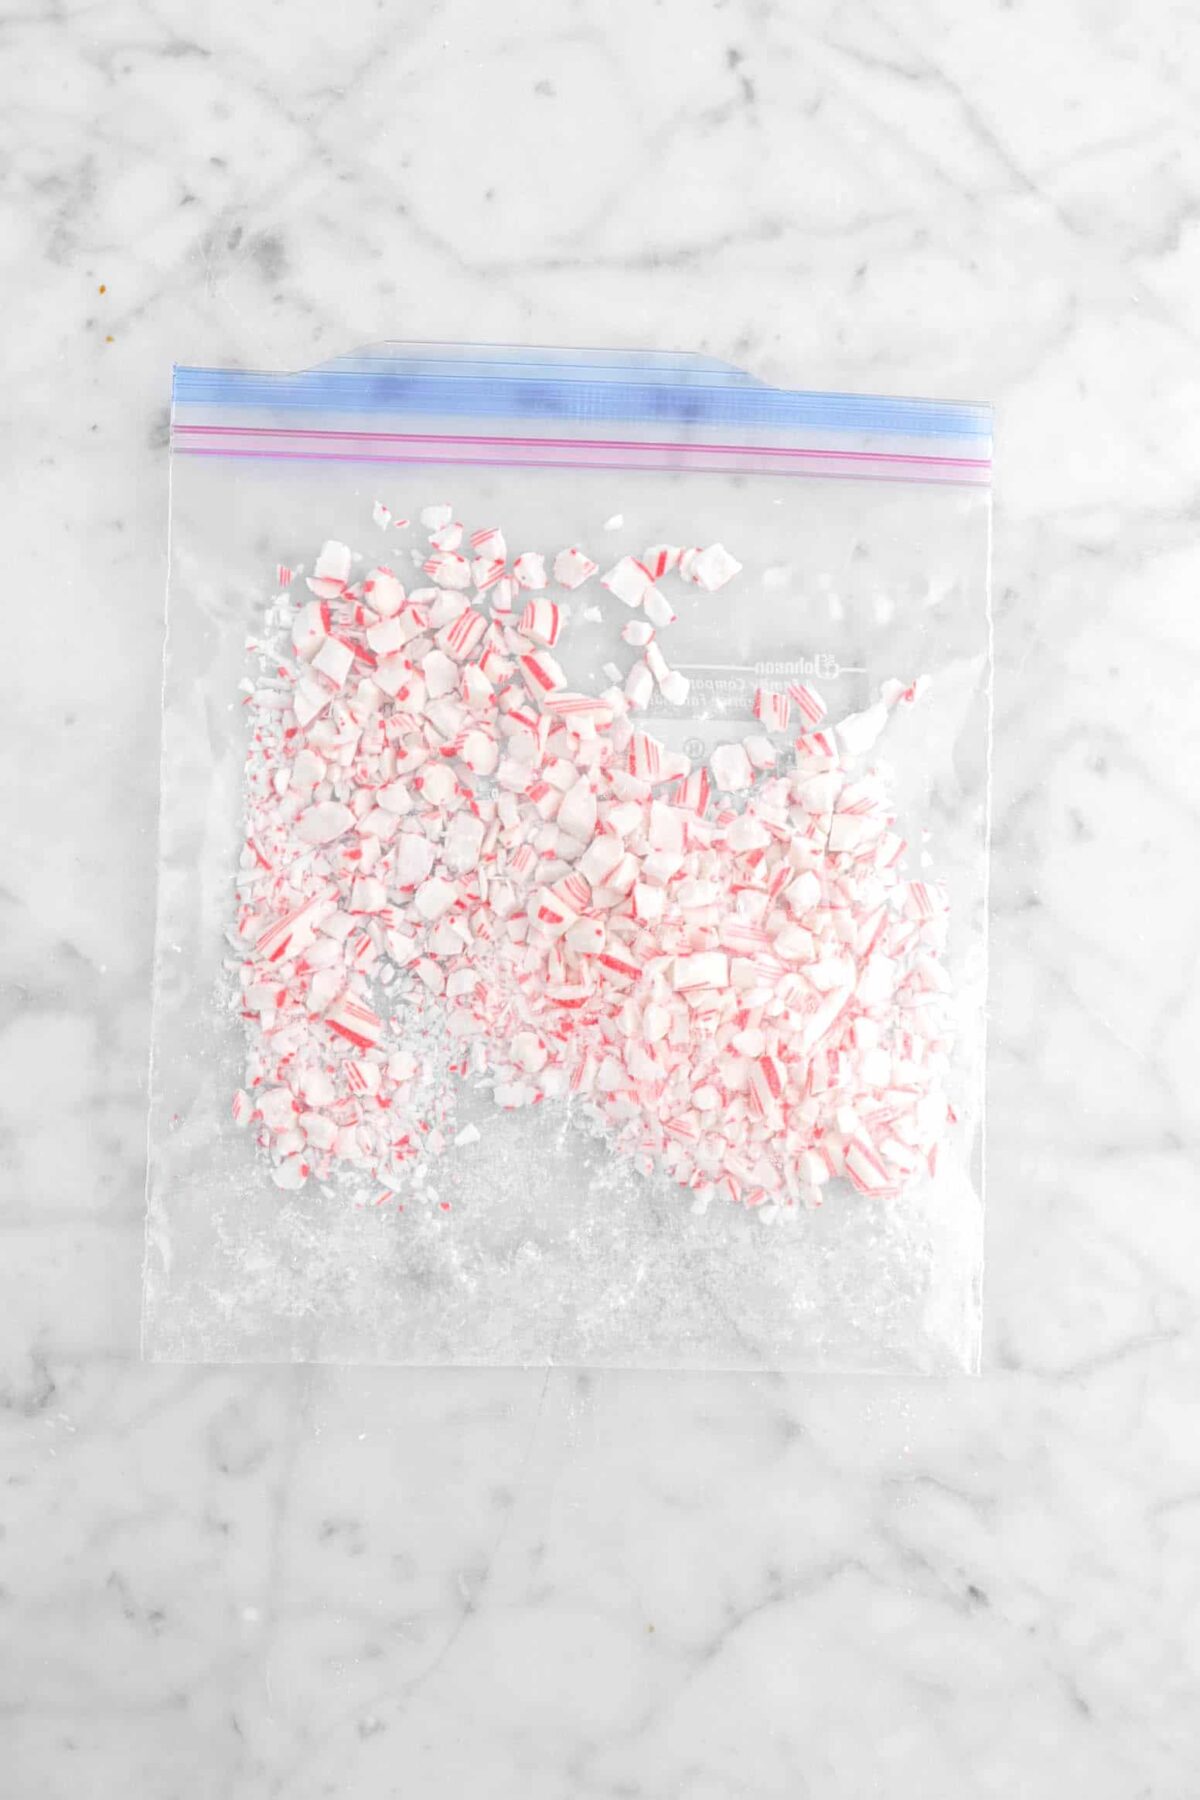
Crush candy canes in a zip top bag and set aside.

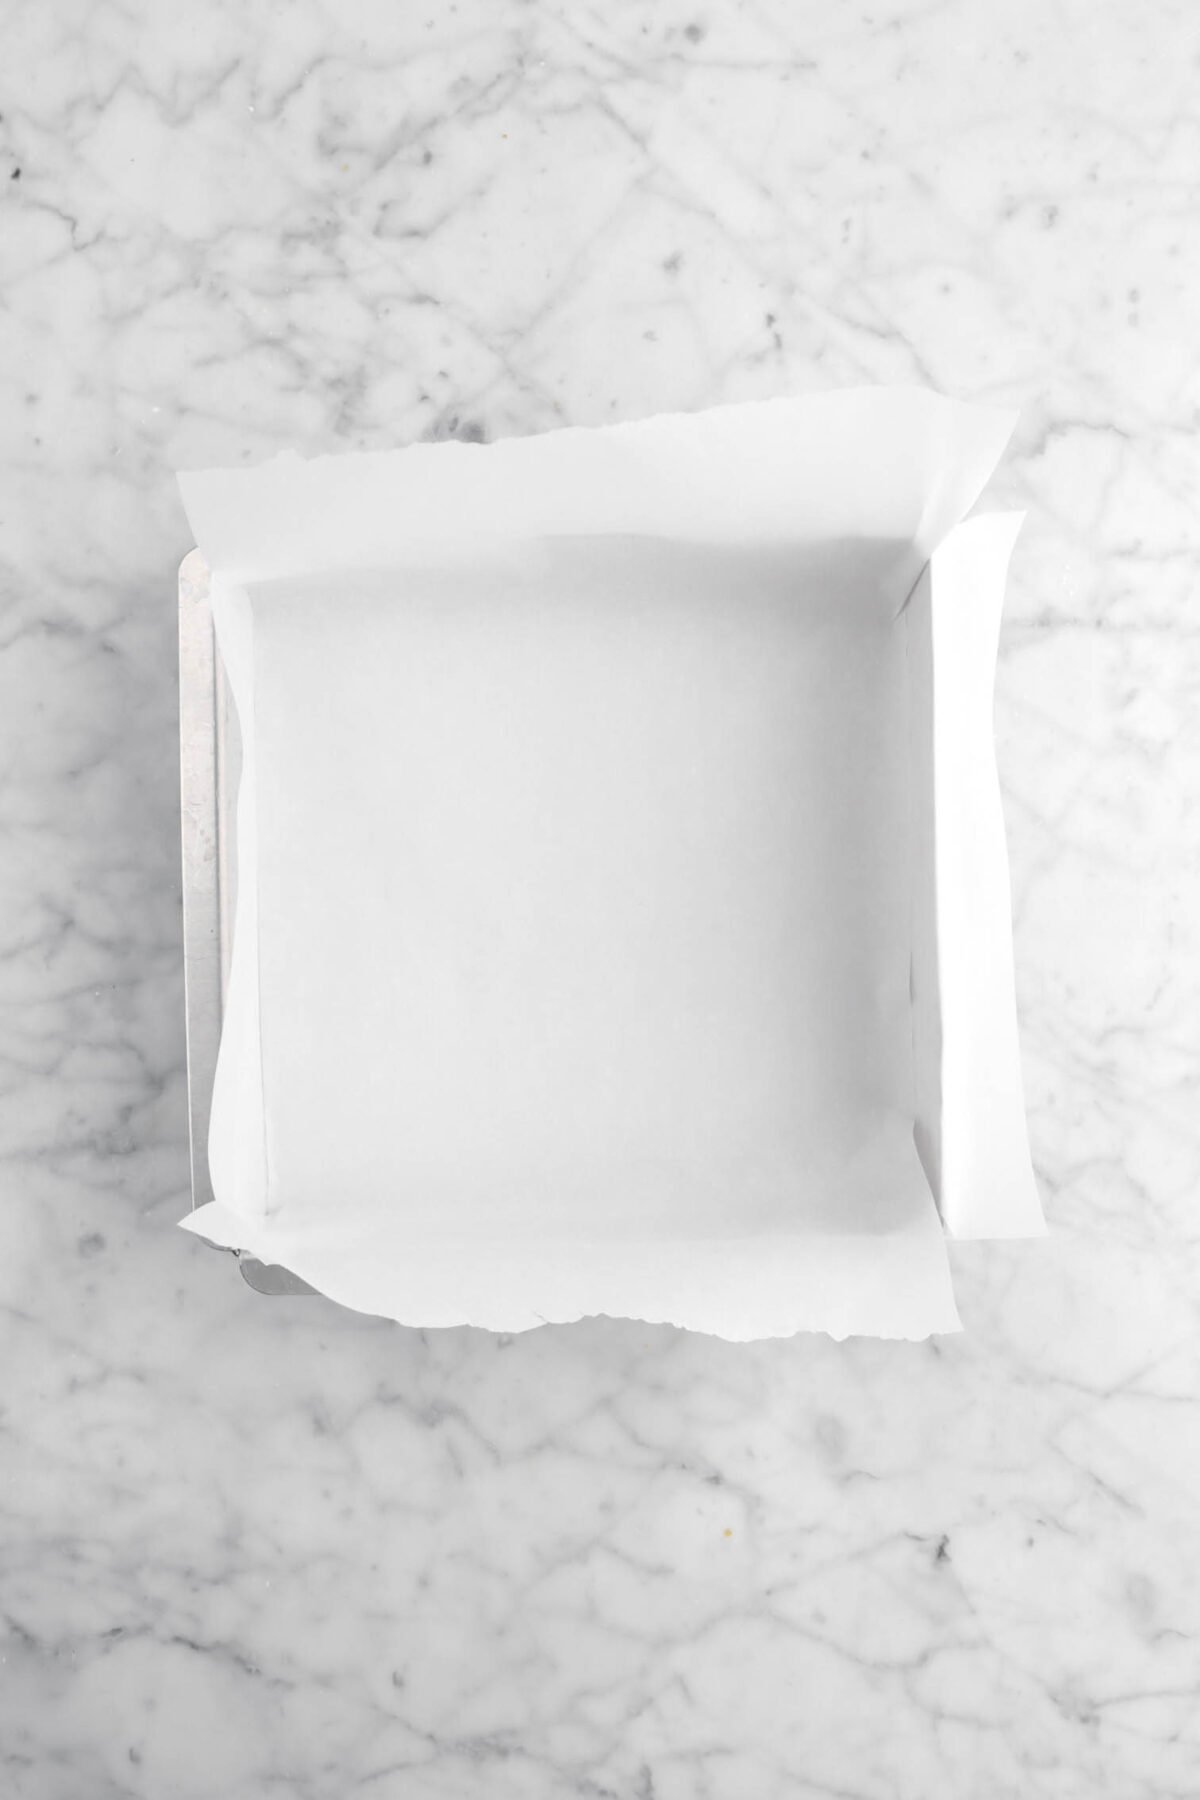
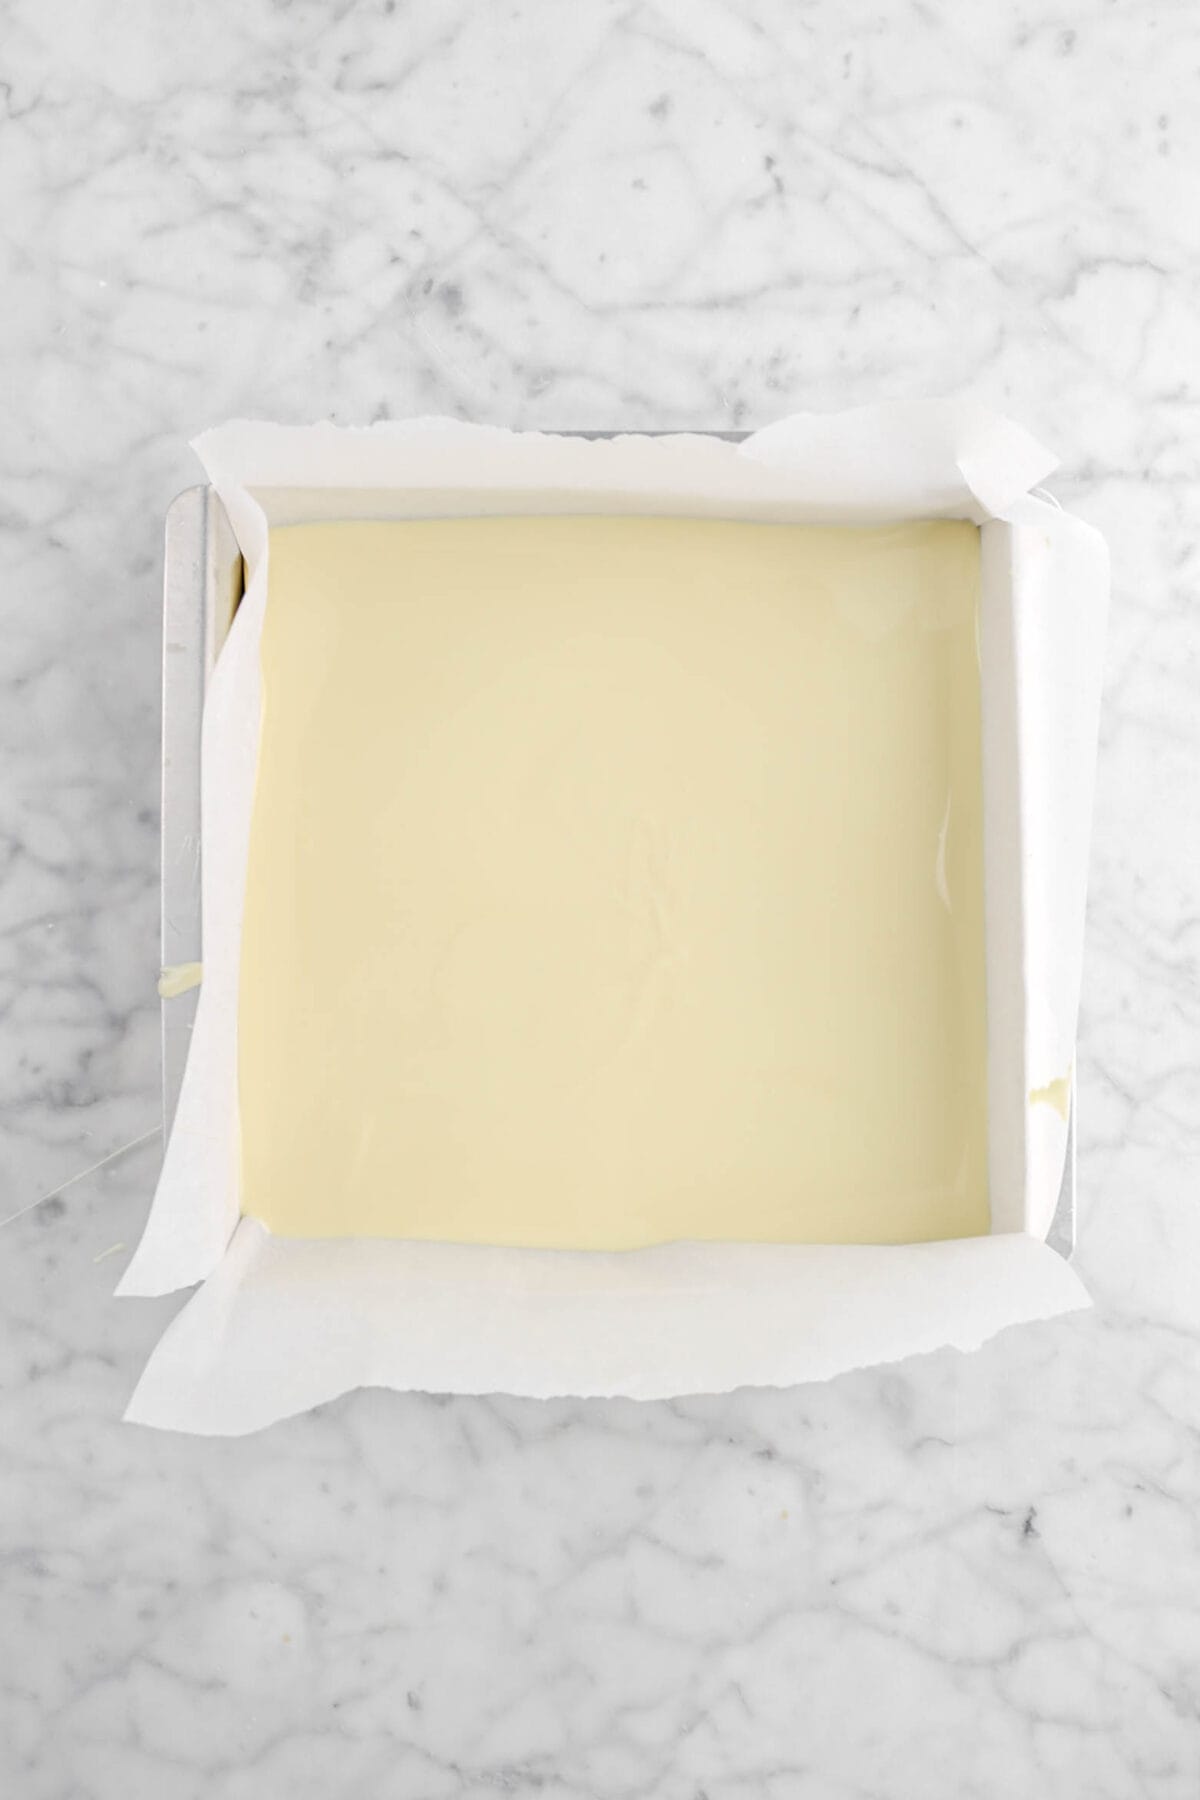
Line a 9 inch square cake pan with parchment paper.
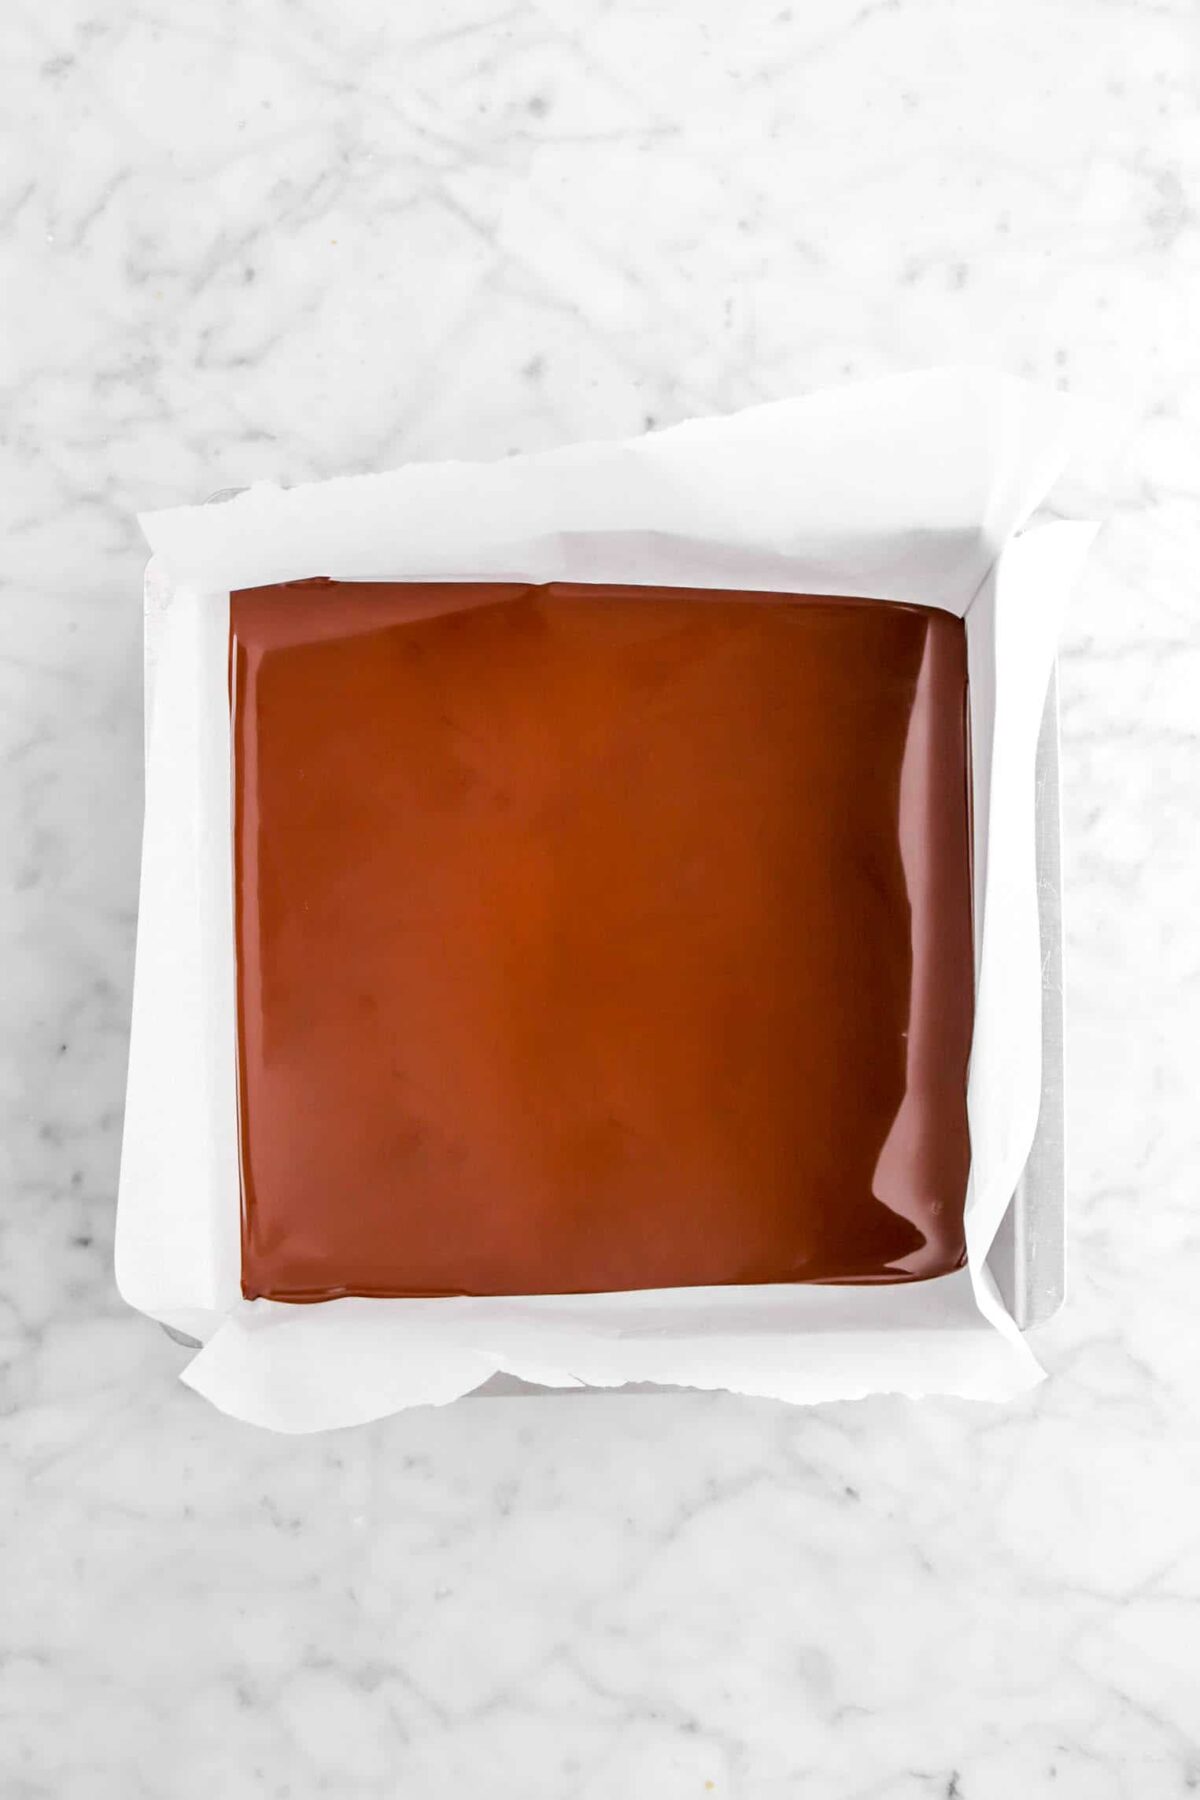
Pour melted or tempered chocolate into lined pan and let it sit until just set, but not hardened.
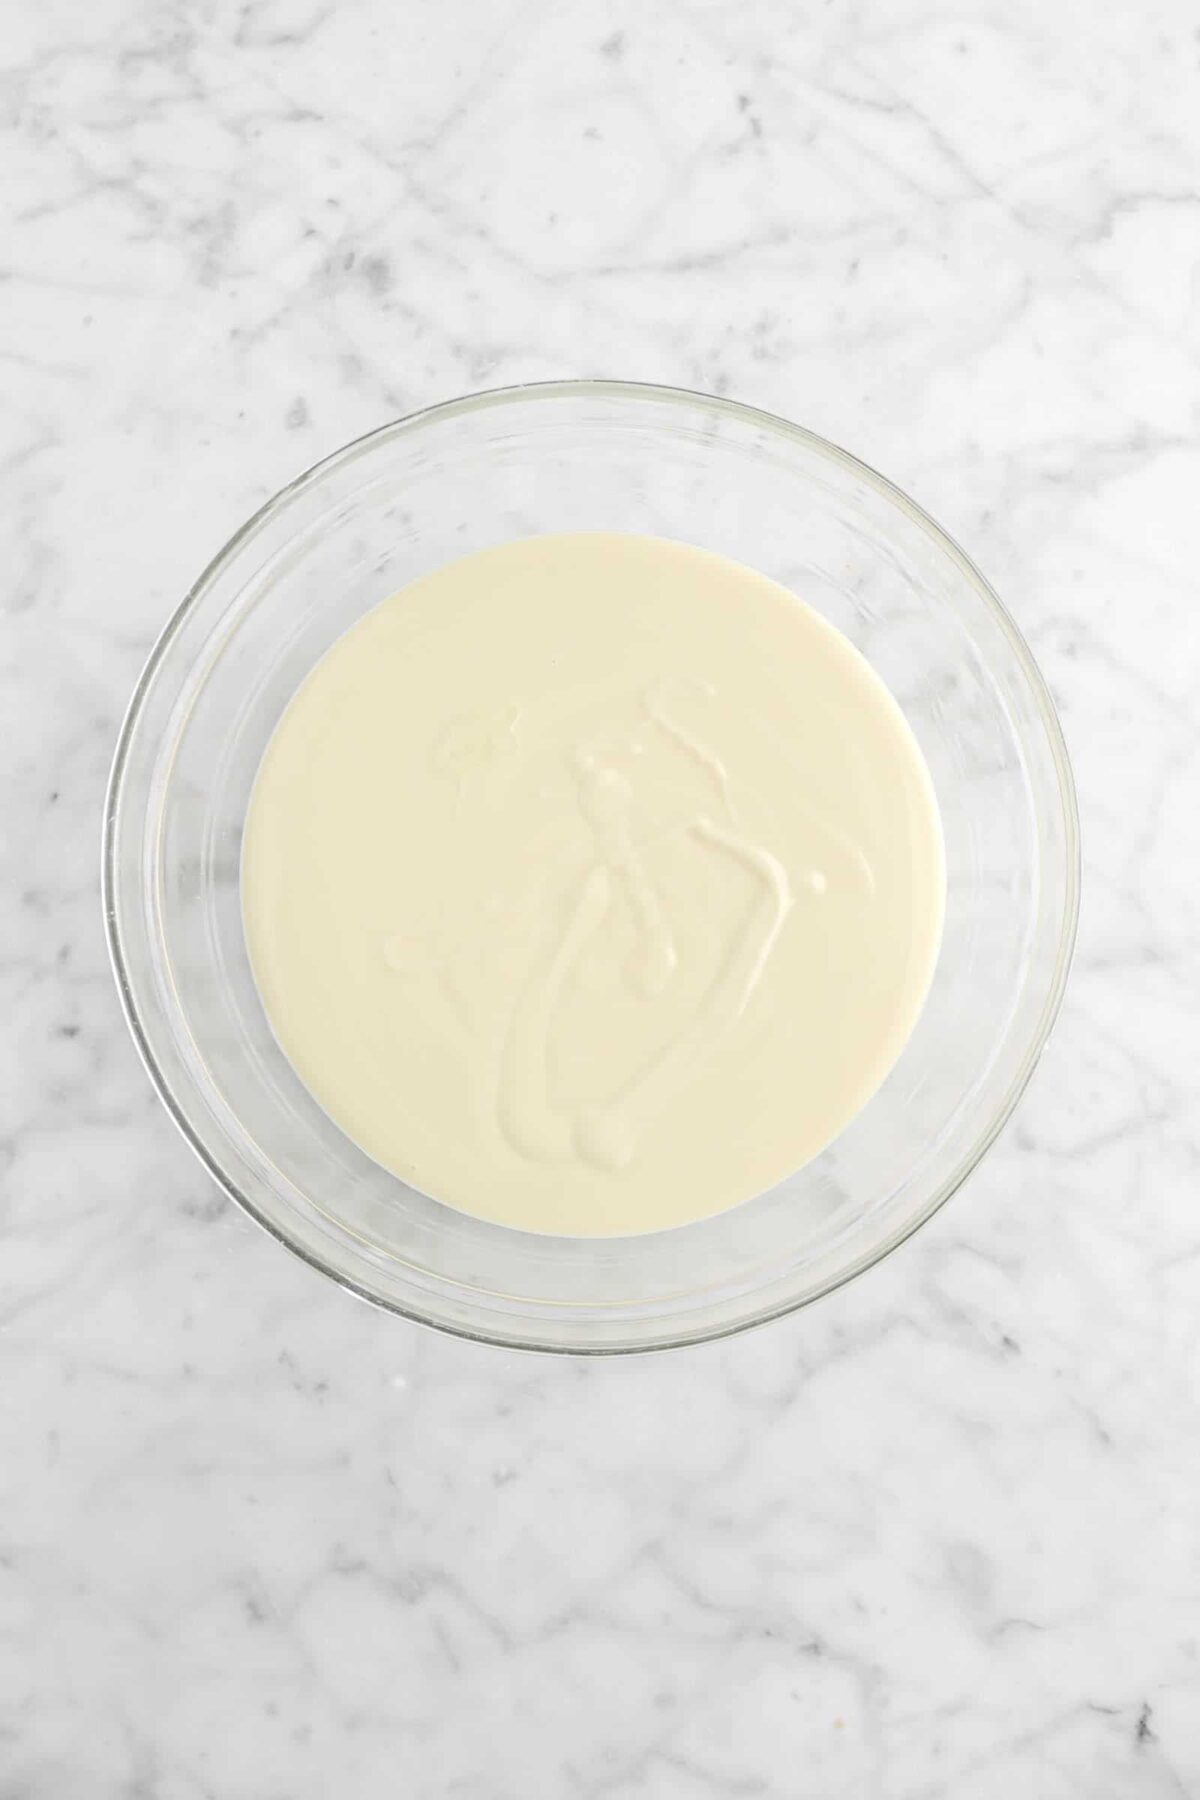
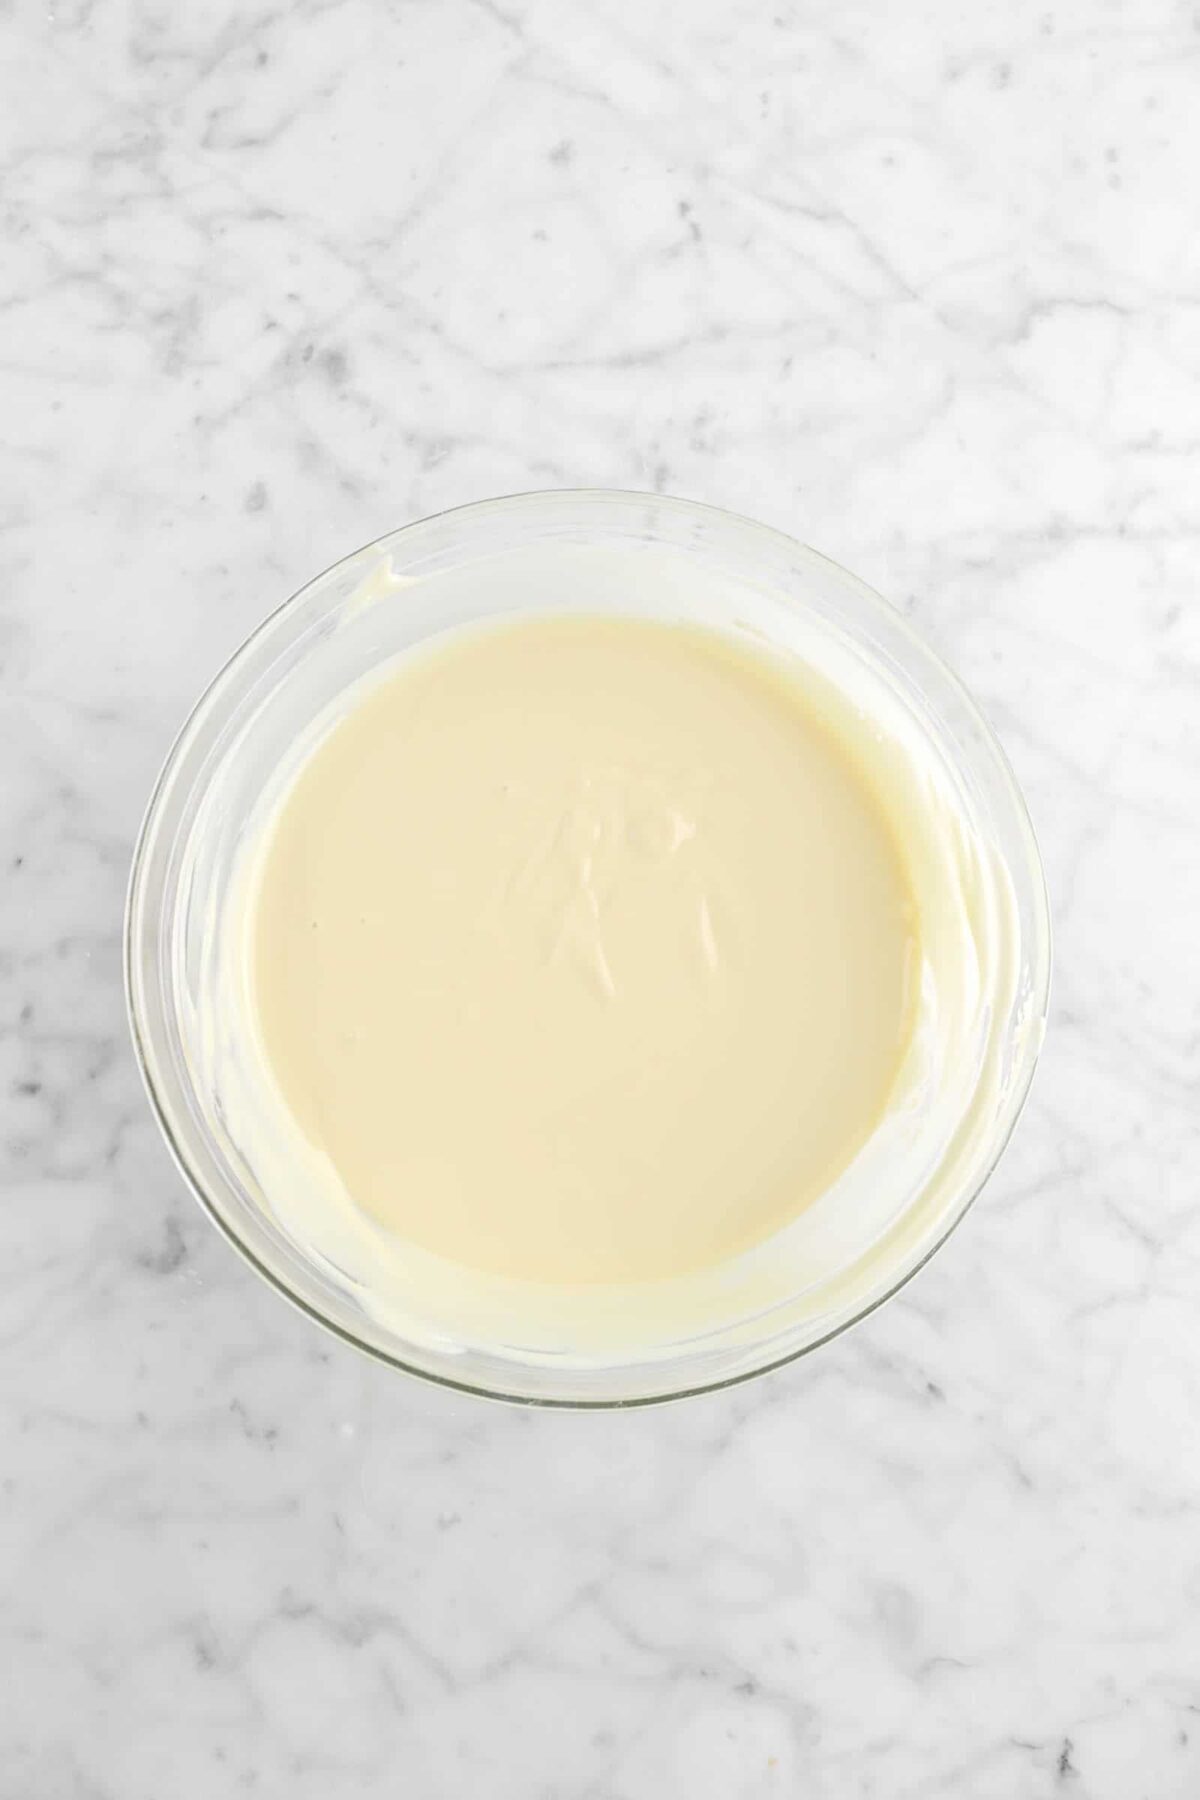
Stir the peppermint oil into white chocolate.
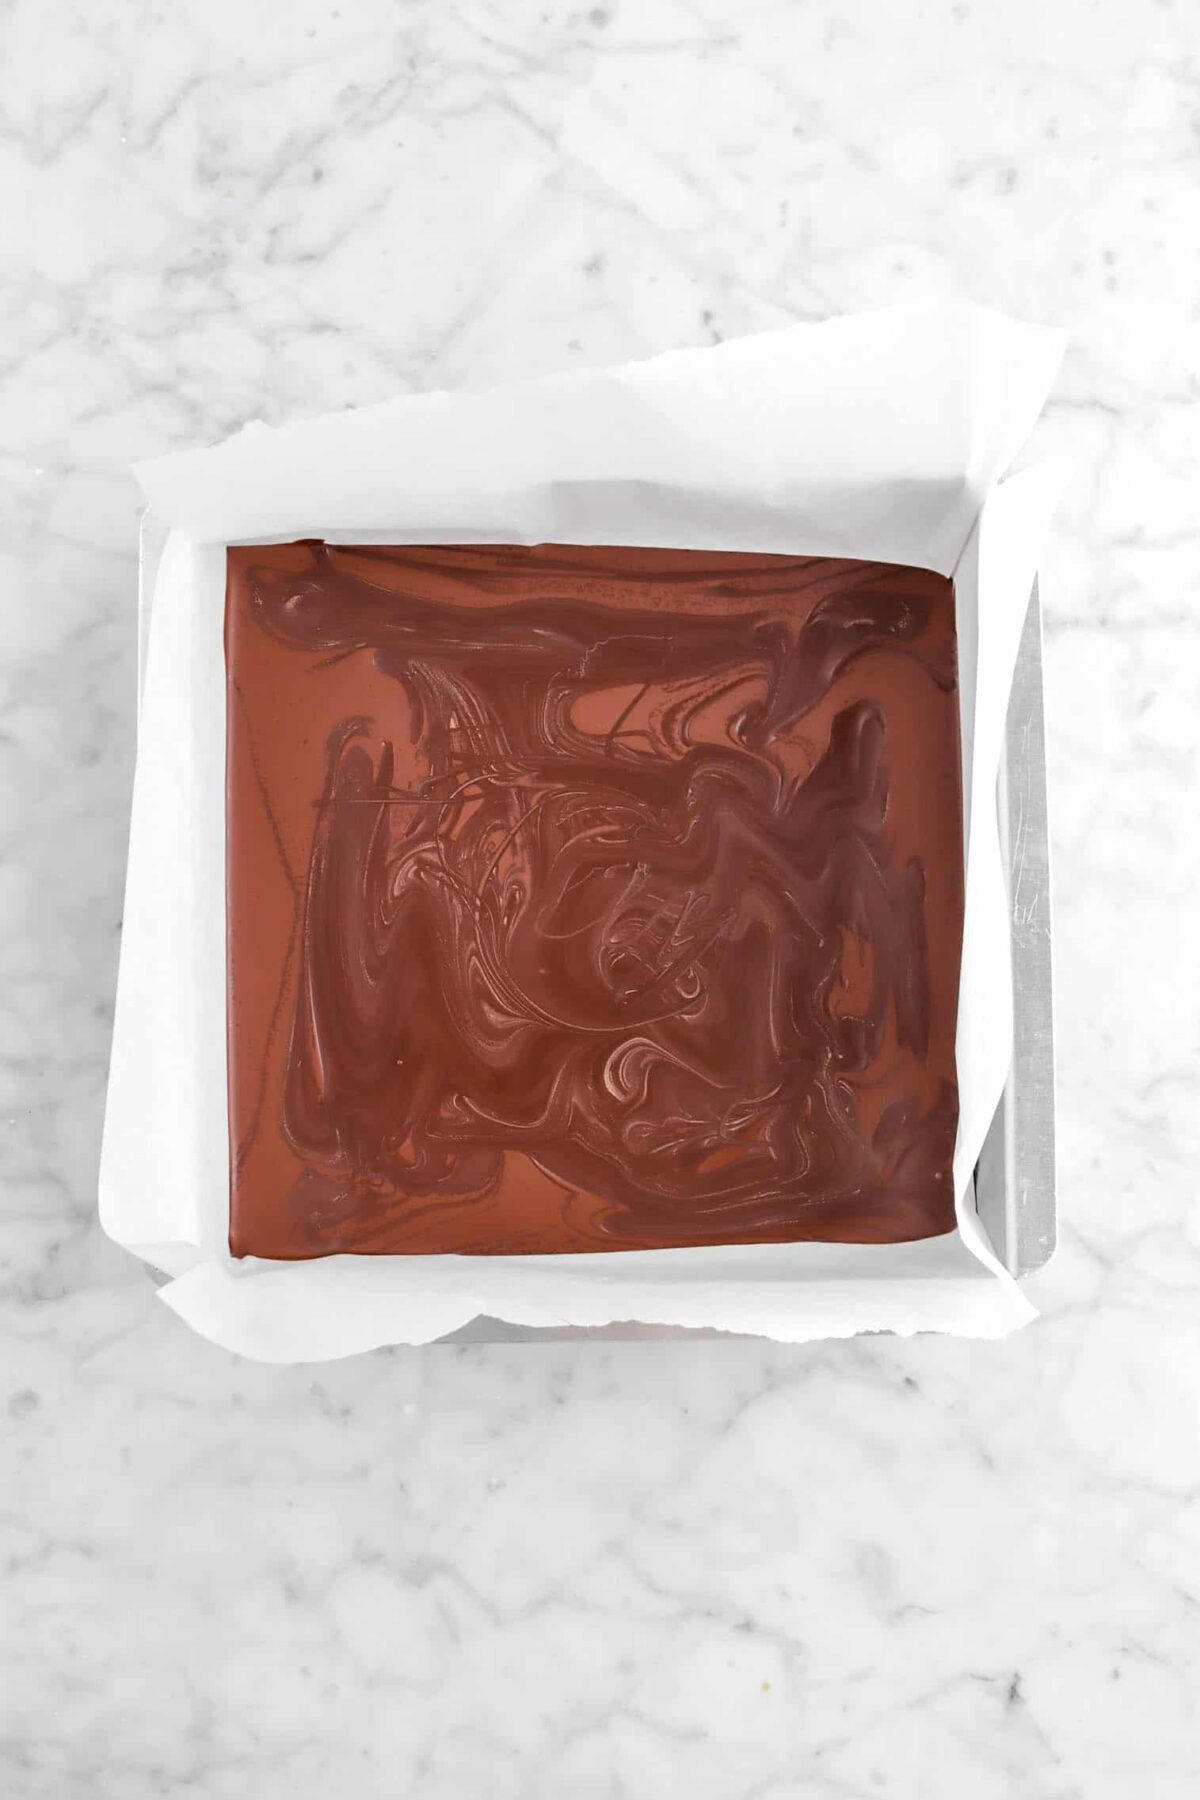
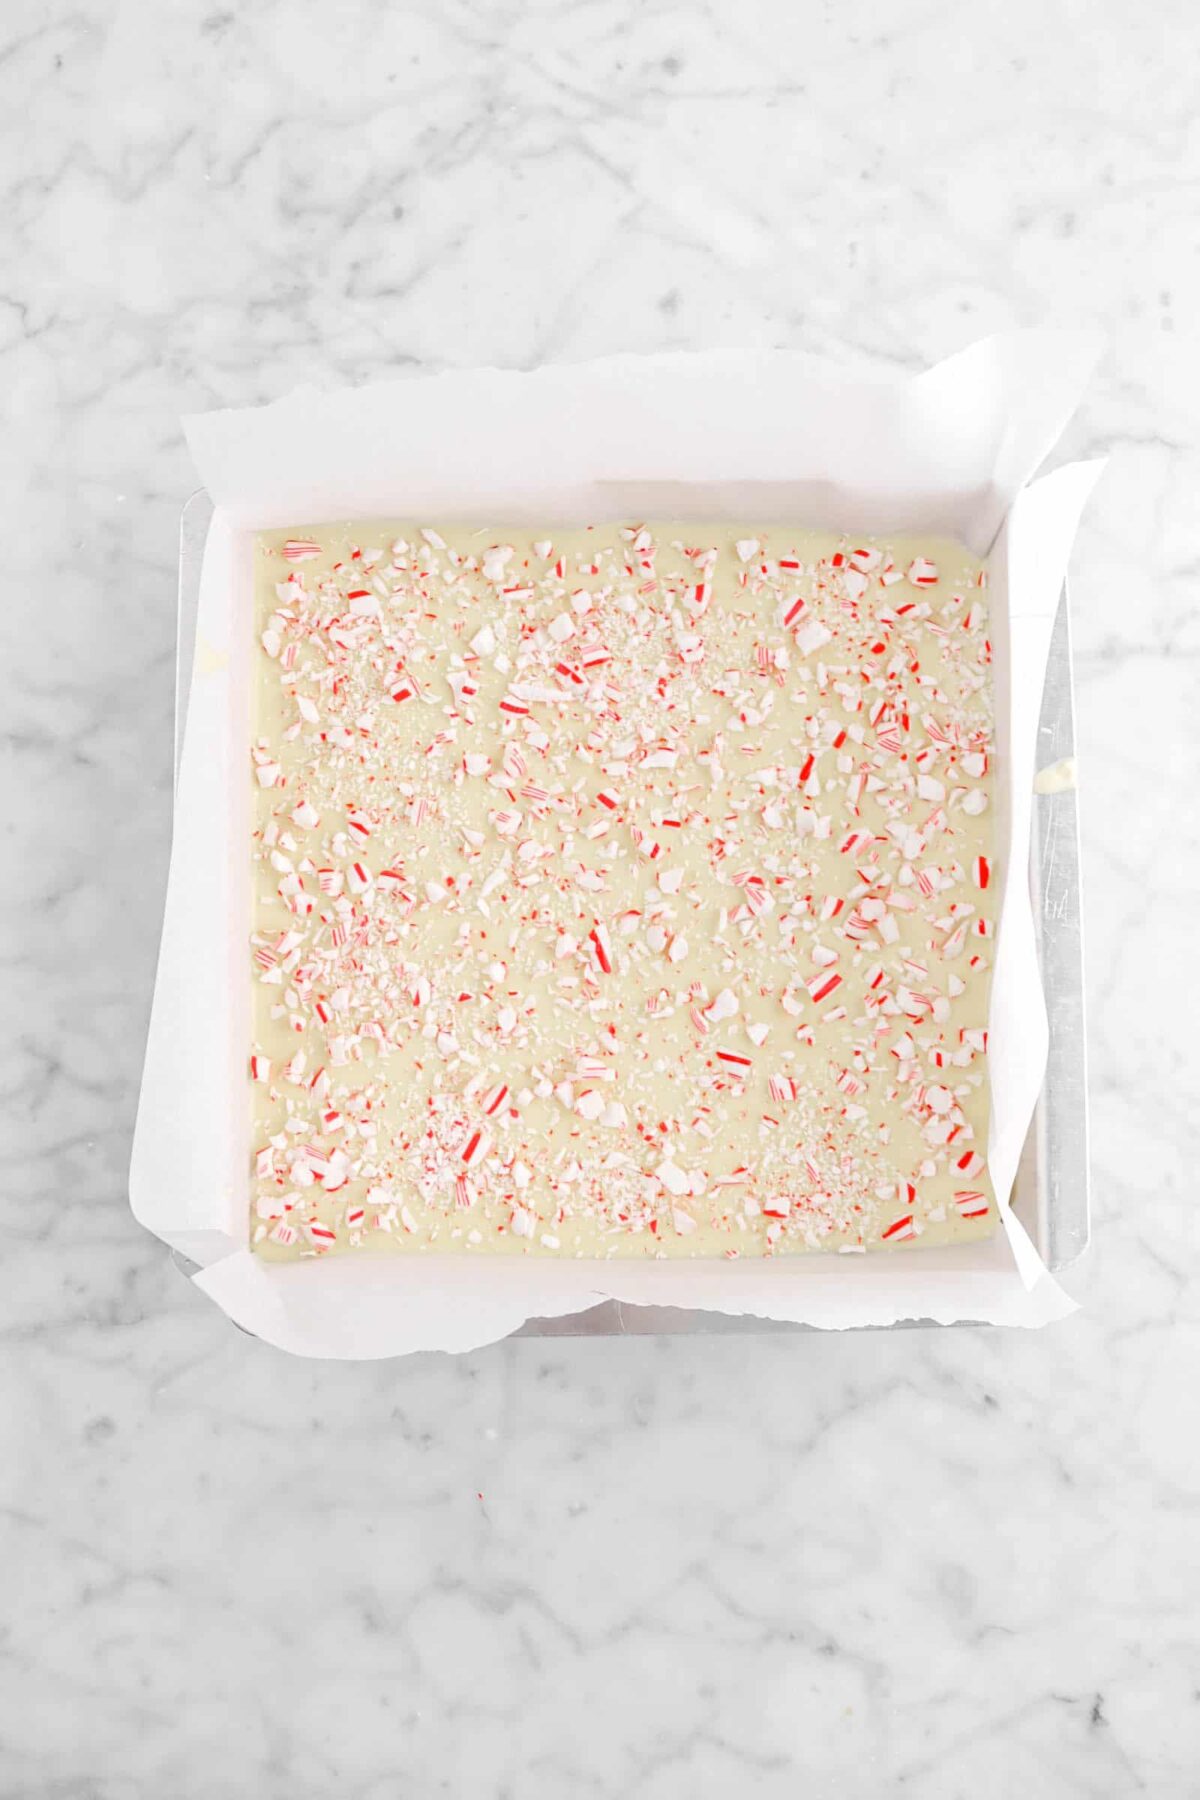
Pour the white chocolate over the dark chocolate and tilt the pan to coat the top. Let sit until just starting to set. Sprinkle the top with crushed candy canes. Let sit out at room temperature until fully set.
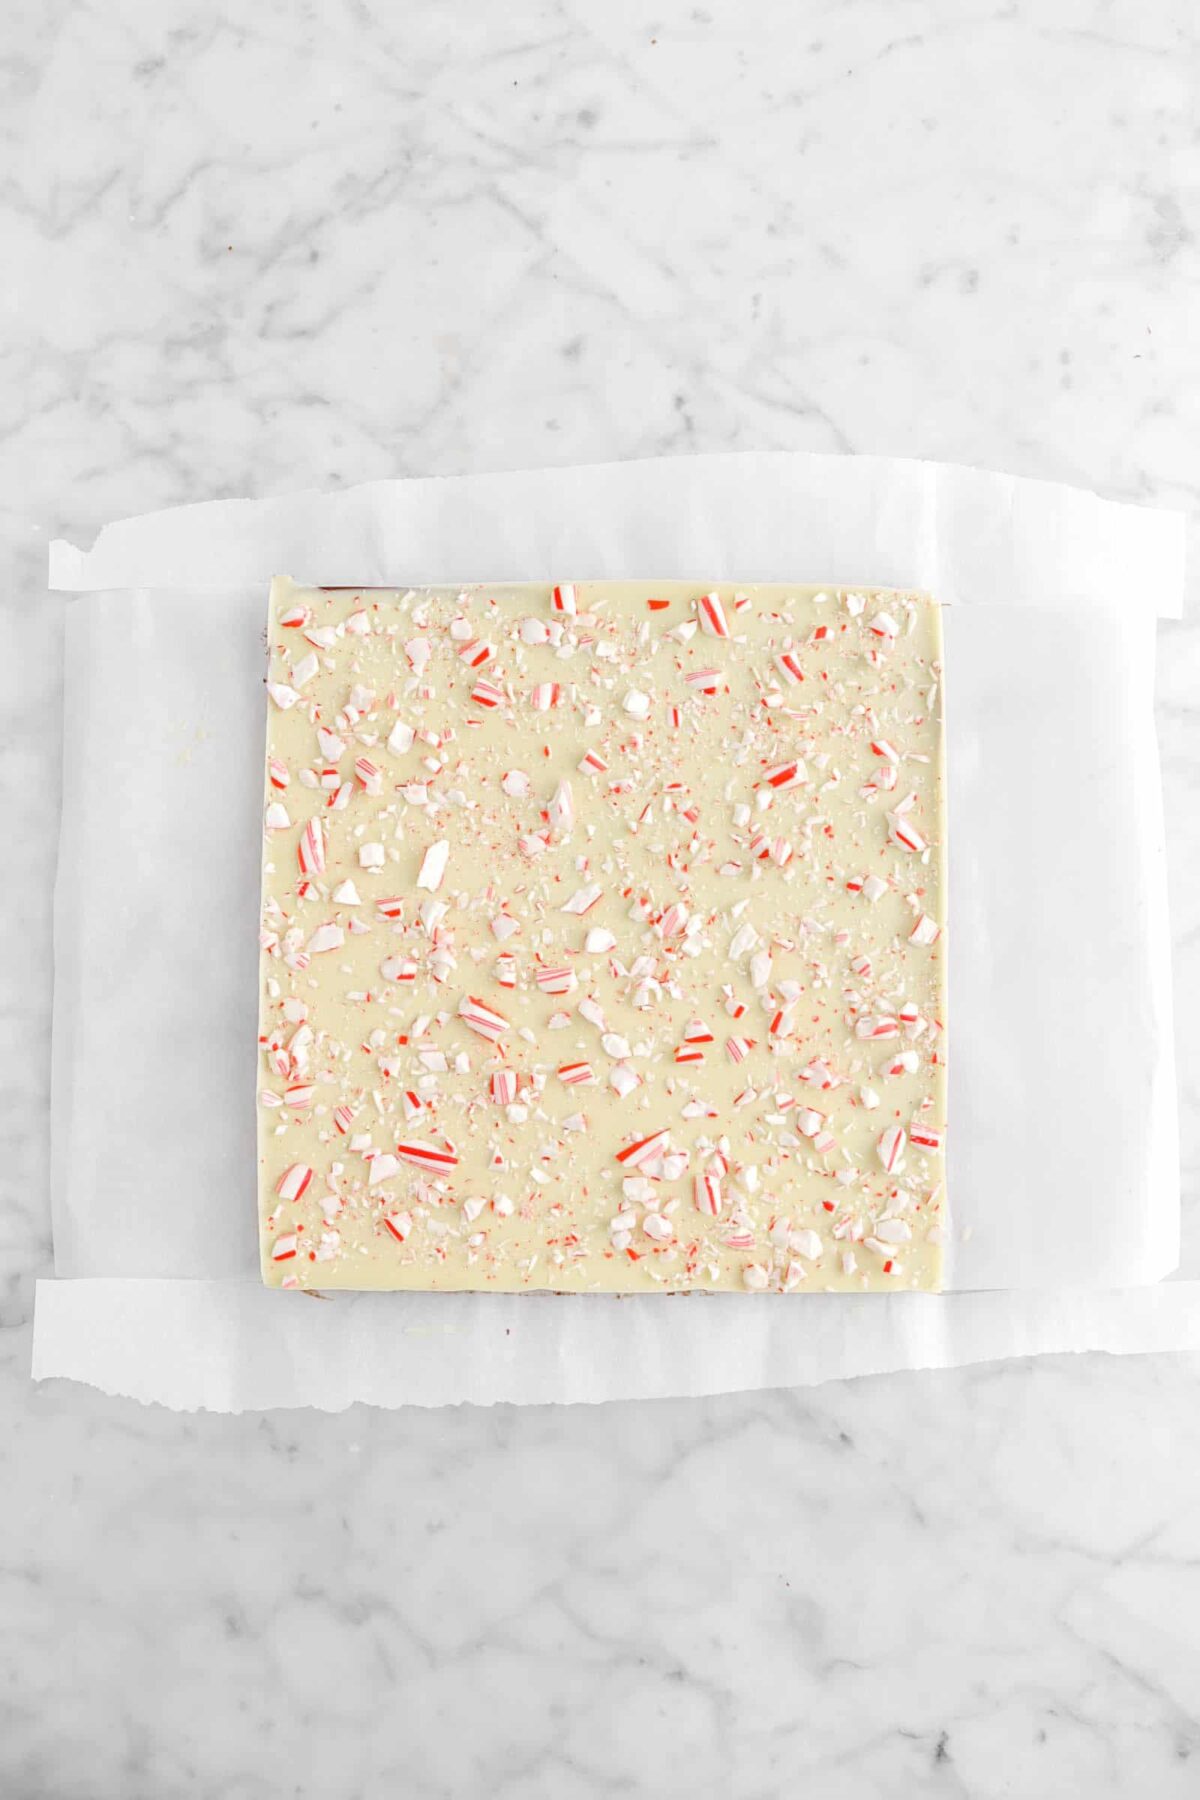
Lift the peppermint bark out of the pan and cut into triangles. Serve!
How To Temper Chocolate
If you would like to temper your chocolate rather than melt it, we’ve got you covered. In three simple steps, you can temper chocolate perfectly every time!
- Place the dark chocolate in a glass bowl and place over a pot of simmering water (this technique is called a baine-marie). Stir until the chocolate melts and temperature is around 124℉/51℃, but no higher 130℉/54℃.
- Remove from heat and cool, stirring constantly, to between 82℉/28℃ and 84℉/29℃.
- Place back over warm water and raise temperature to between 88℉/31℃ and 90℉/32℉. Hold at this temperature.
Now, you’ve successfully tempered the dark chocolate! Once tempered, pour into the lined pan and get a new bowl. You need to temper the white chocolate. It’s the same steps as above, but with different temperatures.
- For white chocolate, you will need to heat it over a baine-marie to (ideally) 114℉/46℃, but no higher than 121℉/49℃.
- Take it off the heat and, stirring constantly, cool it to between 79℉/26℃ and 81℉/27℃.
- Place back over the baine-marie and heat to between 82℉/28℃ and 84℉/29℃.
Your white chocolate is now tempered! For this specific recipe, you will need to stir in some peppermint oil right after the white chocolate is tempered. Then, pour it over the dark chocolate and let set!
What Kind of Chocolate Should I Use?
For this recipe, you need to use high quality dark chocolate. No candy melts, no chocolate chips. We used a dark chocolate (64%) for the bottom layer, but you can also use a bittersweet (about 63%). If you are tempering the chocolate, do not use anything darker or lighter. If you do, the temperatures will not be accurate.
When it comes to white chocolate, you need to be a lot more careful. It also needs to be a high quality chocolate. No palm or kernel oils. It needs to be pure cocoa butter. You can actually tell, not just by the ingredients of the white chocolate if it’s pure, but by the color! Fake white chocolate will be a snow/pure white, whereas real white chocolate will be a much yellow in color. Kind of cool, right?
Tempered Chocolate or Melted Chocolate
With this recipe, you can really use either, but it’s genuinely much better with tempered chocolate! With tempered chocolate, you will have a much harder set, which results in a much snappier/crispier chocolate. It’s also more resistant to heat! So, it’s less likely to melt in your hands. The downside to tempered chocolate is that it is more difficult to do than just melting chocolate.
With just melted chocolate, the only real upside to it is how simple it is! It doesn’t have the same qualities as tempered and it will melt in your hand. So, it’s up to you, but tempered is really the best way to go with this recipe.
How To Store
Once the peppermint bark is set and cut, you can easily store this in an airtight container or zip top bag and keep at room temperature for up to one month.
Variations
- Triple Layer Peppermint Bark: Instead of starting with dark chocolate, try starting with the white chocolate! Then, a dark chocolate layer before finishing with another! white chocolate layer. You could even have two layers of dark chocolate, if you’d like! It will be seriously delicious either way.
- Use different chocolate candies: This is a fun way to jazz up peppermint bark and make it special! You can use mini M&M’s or even peppermint M&M’s .
- Snow White Bark: Love white chocolate? Make a white chocolate only peppermint bark for sweet twist on the classic.
- Dark Chocolate Bark: Love dark chocolate more than white? Try using only dark chocolate for this recipe!
More Recipe To Enjoy:


When you make this Homemade Peppermint Bark, leave a comment down below! We love hearing from you and answering any questions you might have! Also, be sure to tag us on social media and hashtag it #BakersTable.
Homemade Peppermint Bark
Ingredients
- 1 cup tempered or melted dark chocolate
- 1 cup tempered or melted white chocolate
- 1/16 teaspoon peppermint oil
- 4 candy canes, crushed
Instructions
- Crush candy canes in zip top bag. Set aside.
- Line a 9-inch pan with parchment paper. Set aside.
- Pour dark chocolate into prepared pan.
- Allow to cool until just set, but not hardened.
- Add peppermint oil to white chocolate.
- Pour over dark chocolate, tilting the pan to cover evenly.
- Allow to cool until just starting to set.
- Sprinkle with peppermint candy.
- Allow to harden completely.
- Lift peppermint bark from pan and, using a sharp knife, cut into triangles.
Notes + Tips!
- You can use crushed candy canes, crushed peppermint candies, or store-bought crushed peppermint for the topping.
- The best way to crush candy canes is in a resealable bag with either a rolling pin, meat tenderizer (or any kind of mallet, really), or even the bottom of a metal measuring cup!
- If you don’t have peppermint oil, you can omit it, but the peppermint bark won’t have a lot of mint flavor.
- Be sure to use a good quality chocolate for this recipe.
- If you’re tempering the chocolate, remember to have everything prepped before hand. It can be a little difficult, as timing is everything with this recipe.
- When spreading the dark chocolate layer, use a rubber spatula or an offset spatula to get it perfectly level. Also, tap it on the counter a few times!
- Don’t use a white chocolate that has been made with anything other than cocoa butter. No palm kernel oil or palm oil.
- Be sure to pour the white chocolate on top of the dark before the dark chocolate hardens completely or it won’t adhere and your bark will separate when you try to cut it.
- Setting times will depend on temperature in your kitchen! The colder it is, the faster it sets. The warmer it is, the slower it sets. Keep this in mind!
- Do NOT refrigerate this peppermint bark!
- This recipe is naturally Gluten-Free and can be made vegan if vegan white chocolate is used.
Tools You May Need (affiliate links)
– Still Hungry? –
Here are a few recipes may like!


