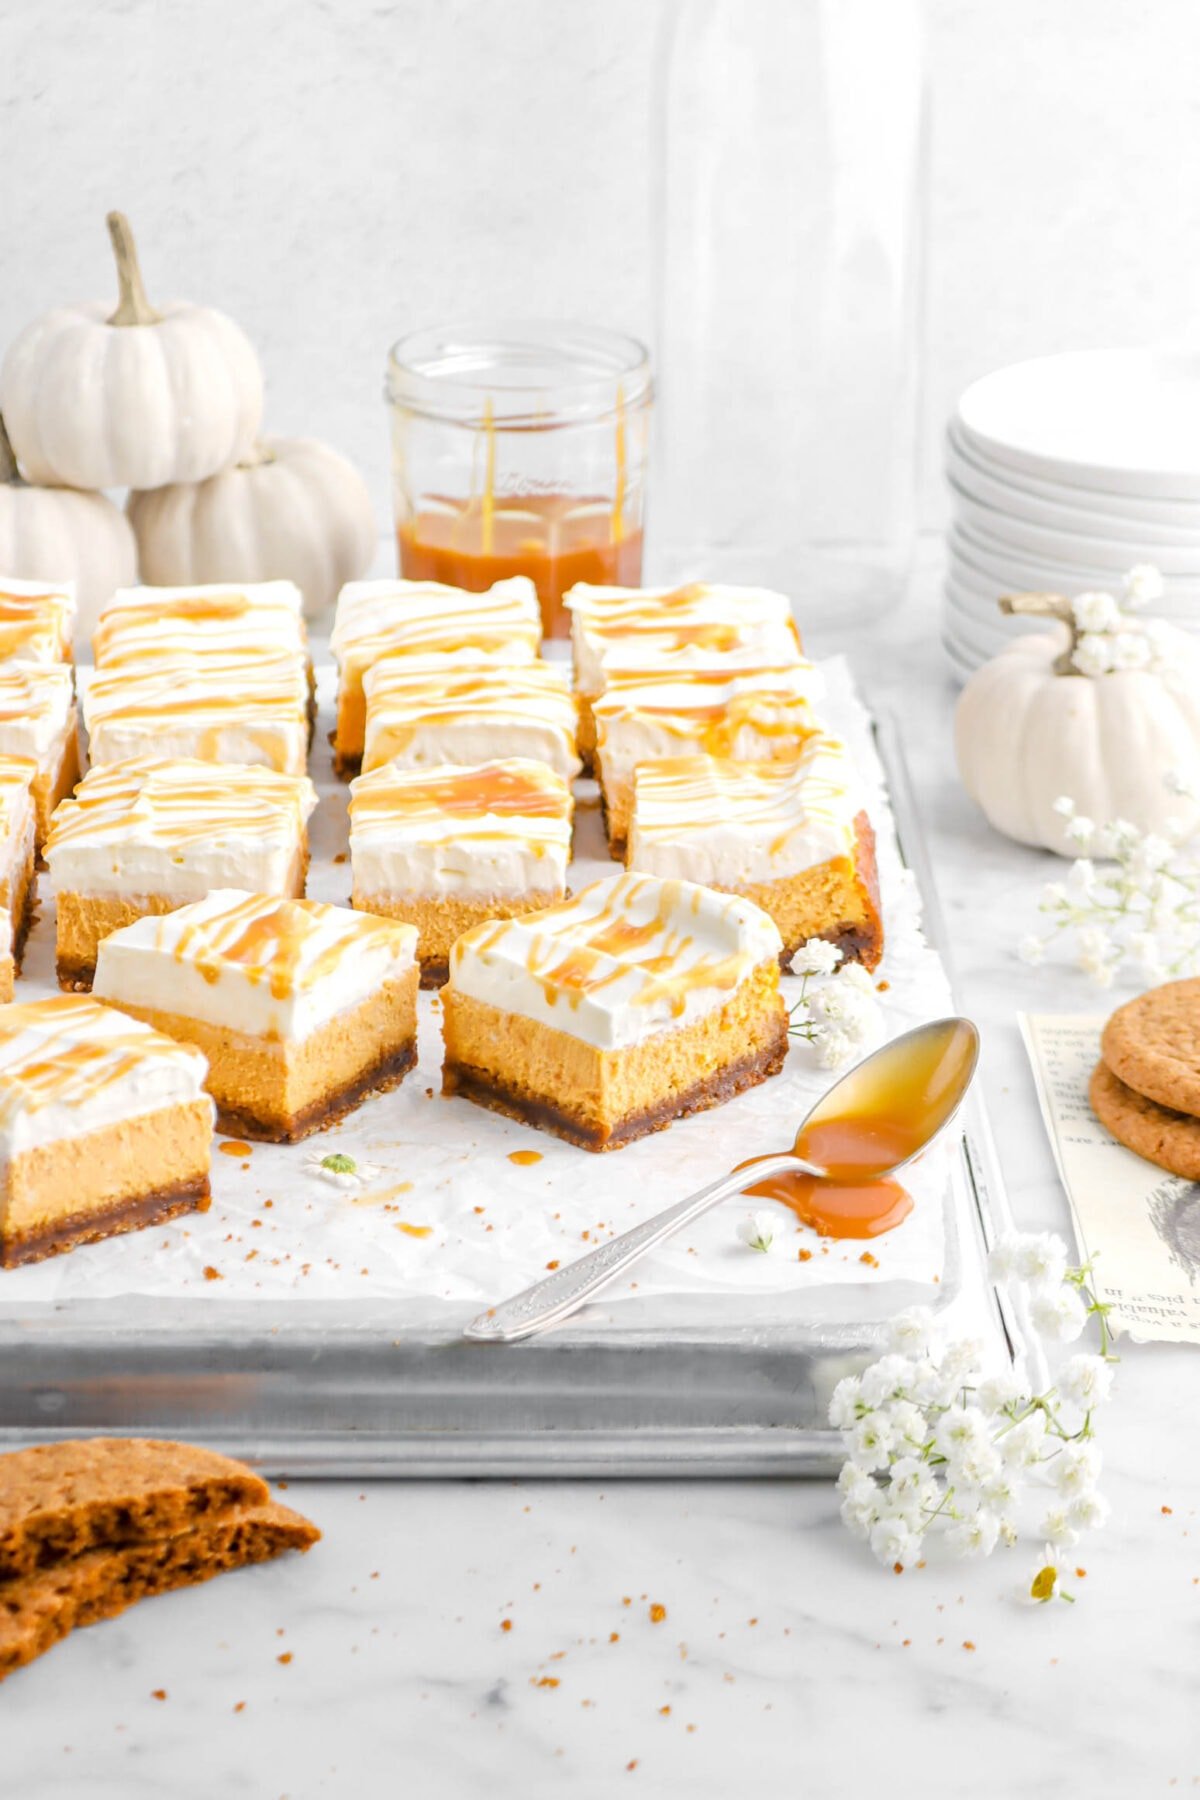
Maple Pumpkin Cheesecake Bars with Gingersnap Crust
This post may contain affiliate links, please visit our privacy policy for details.
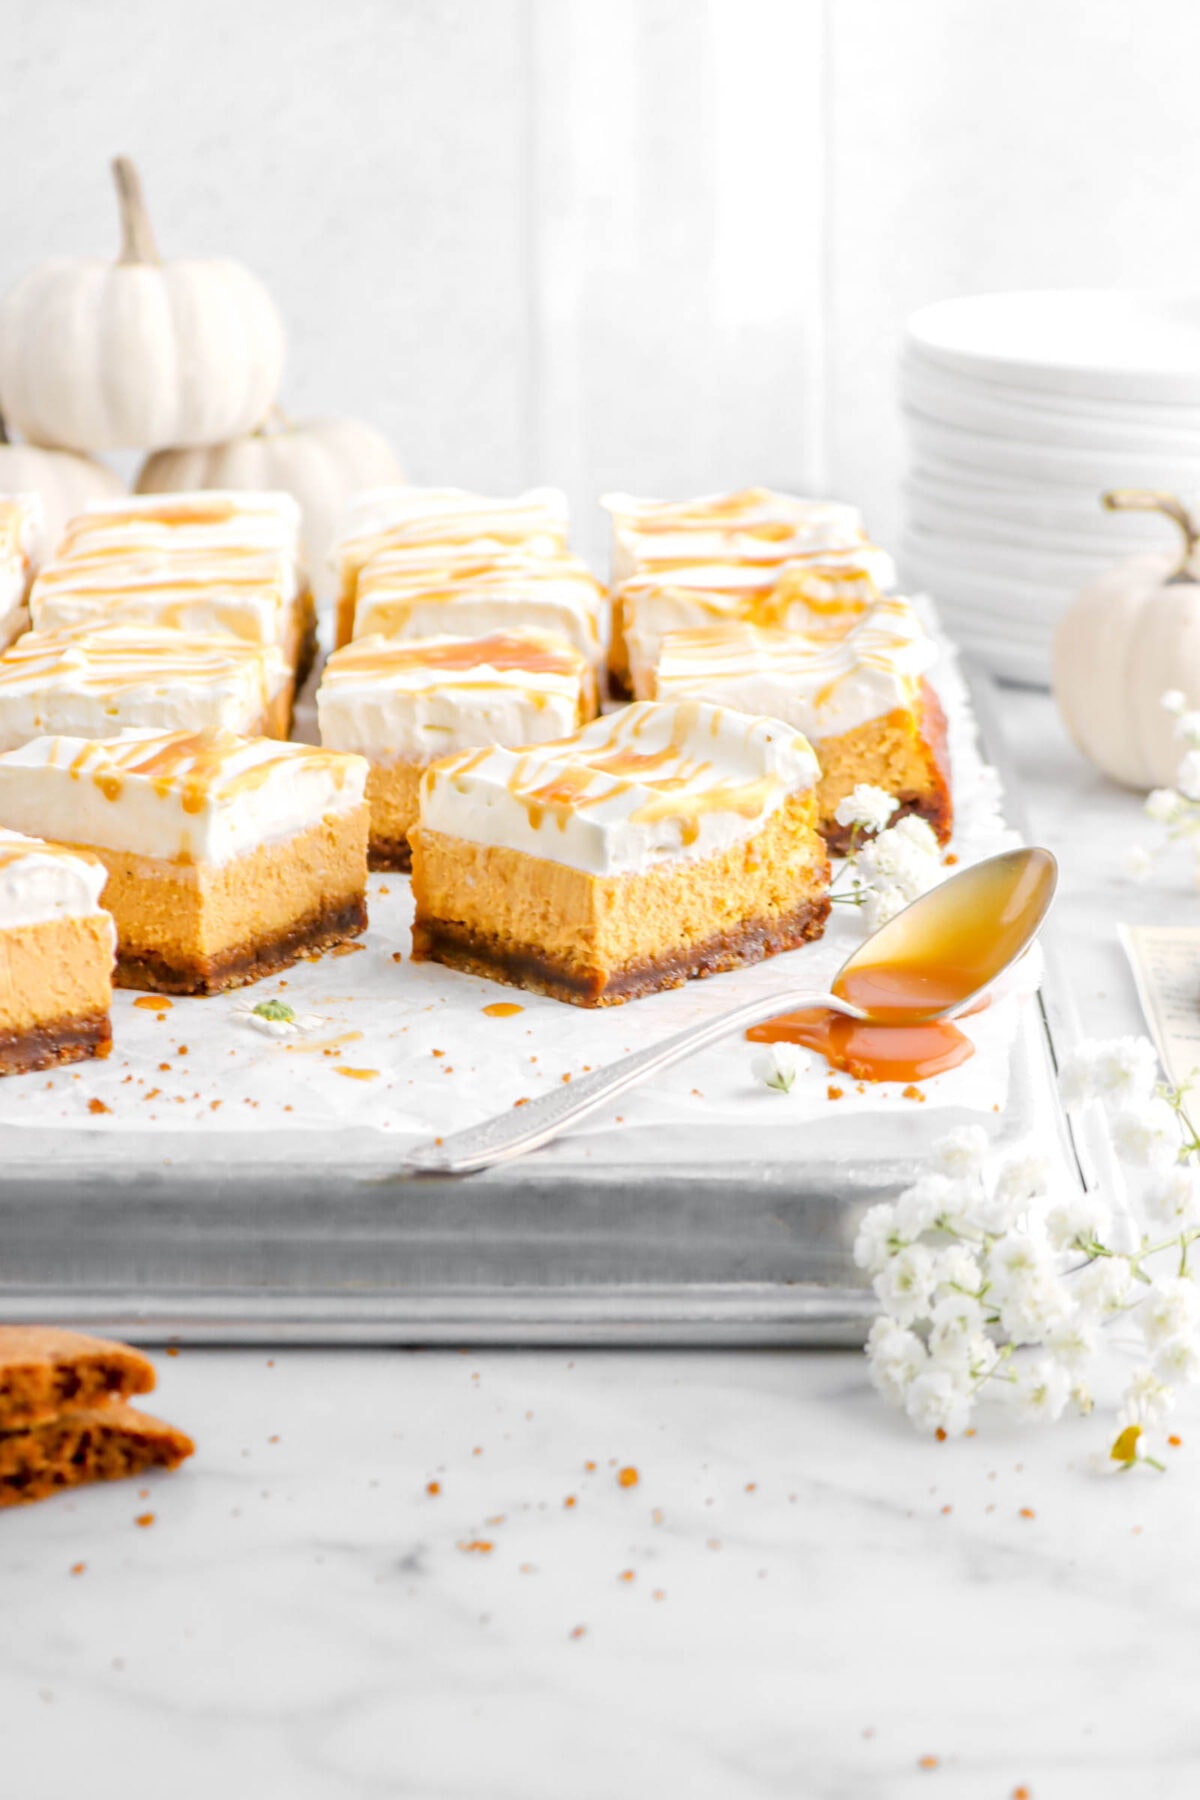
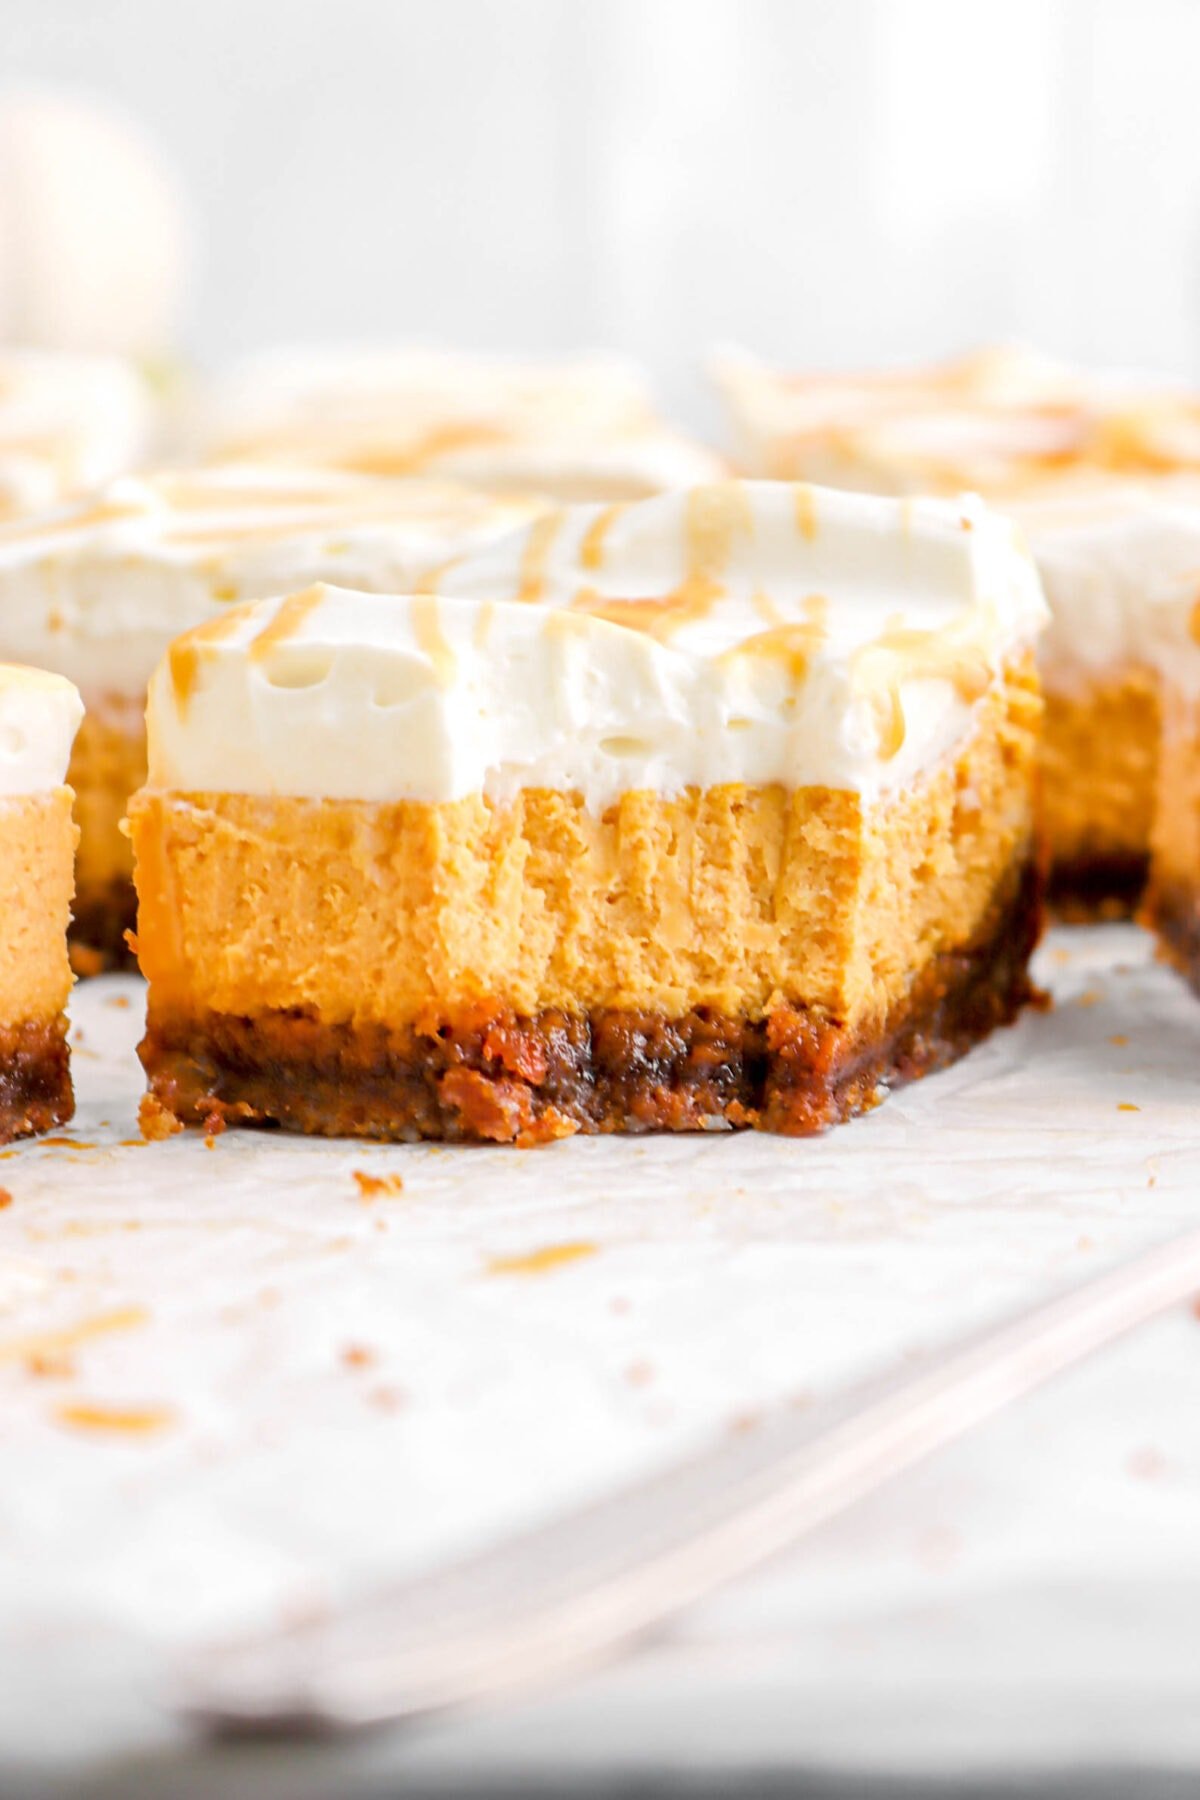
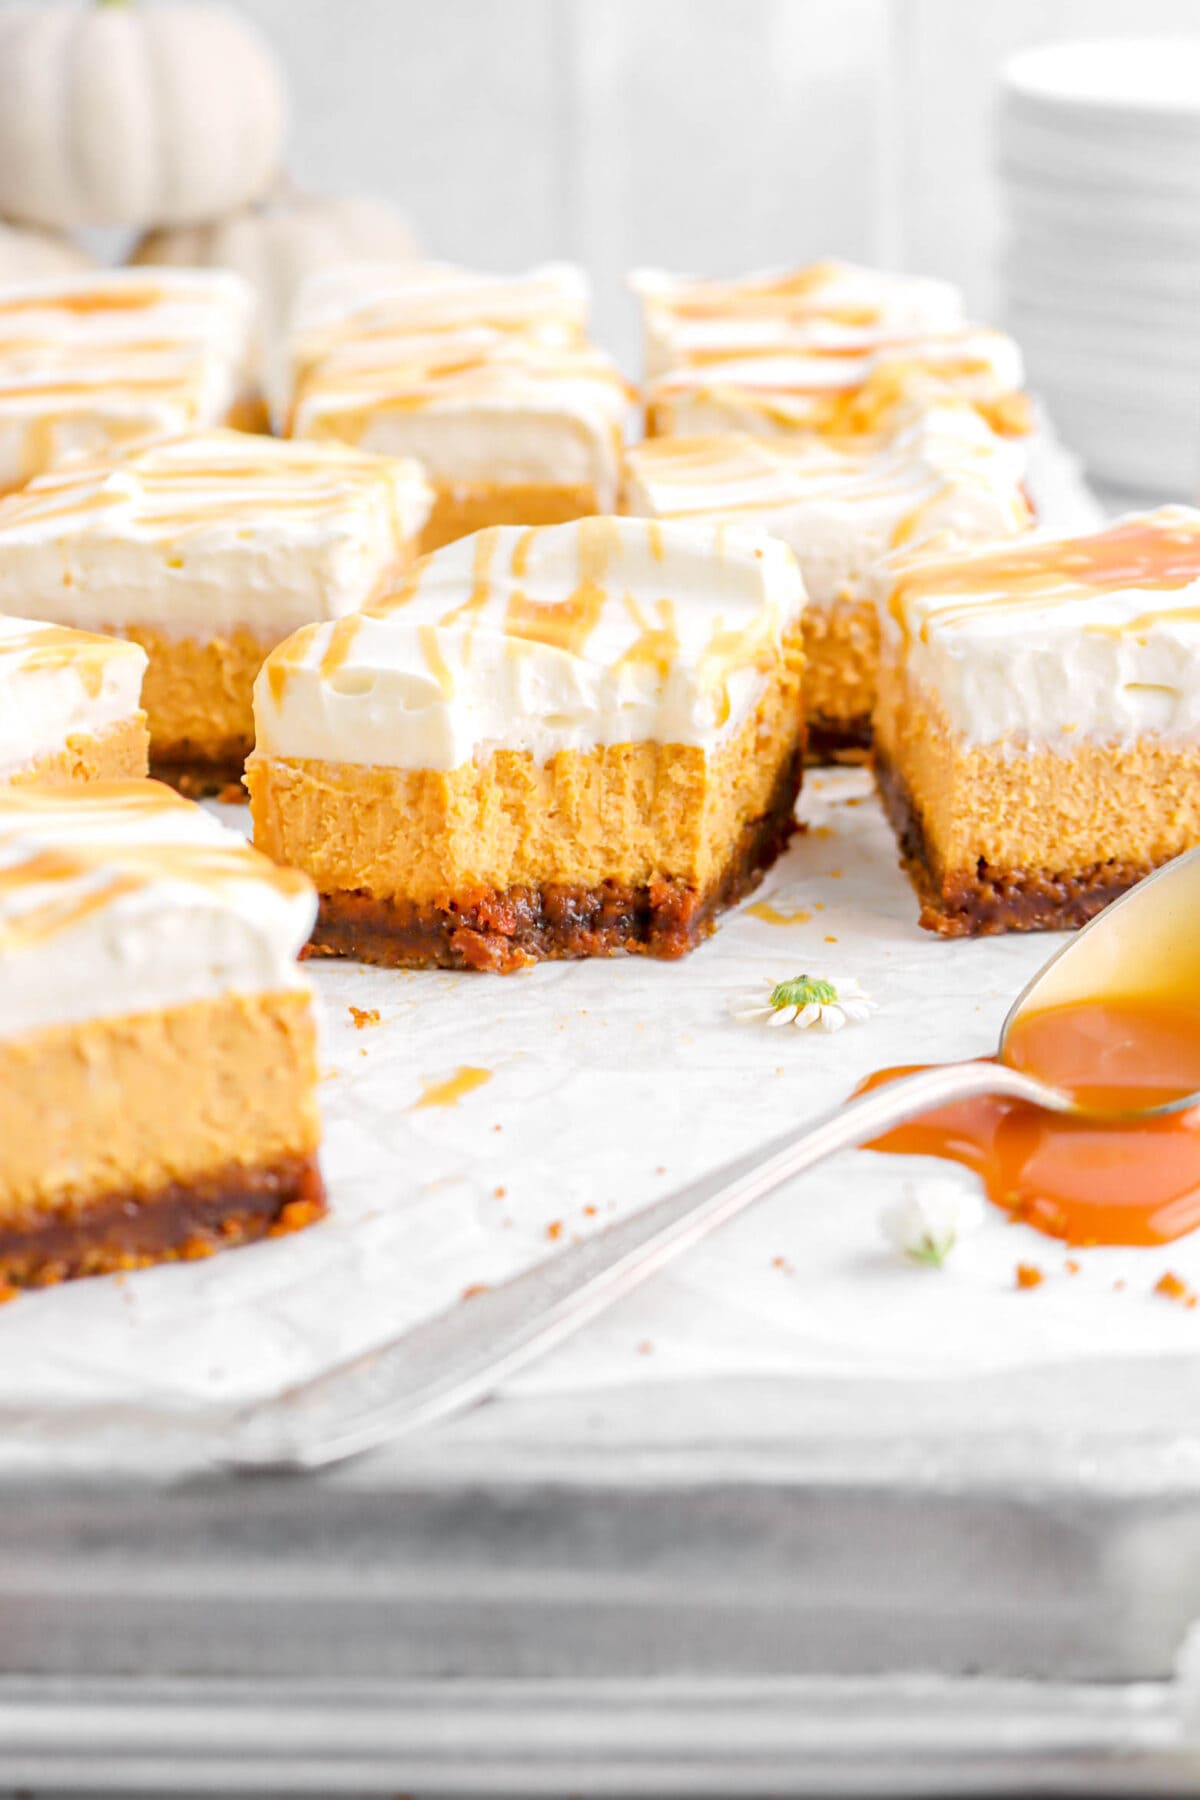
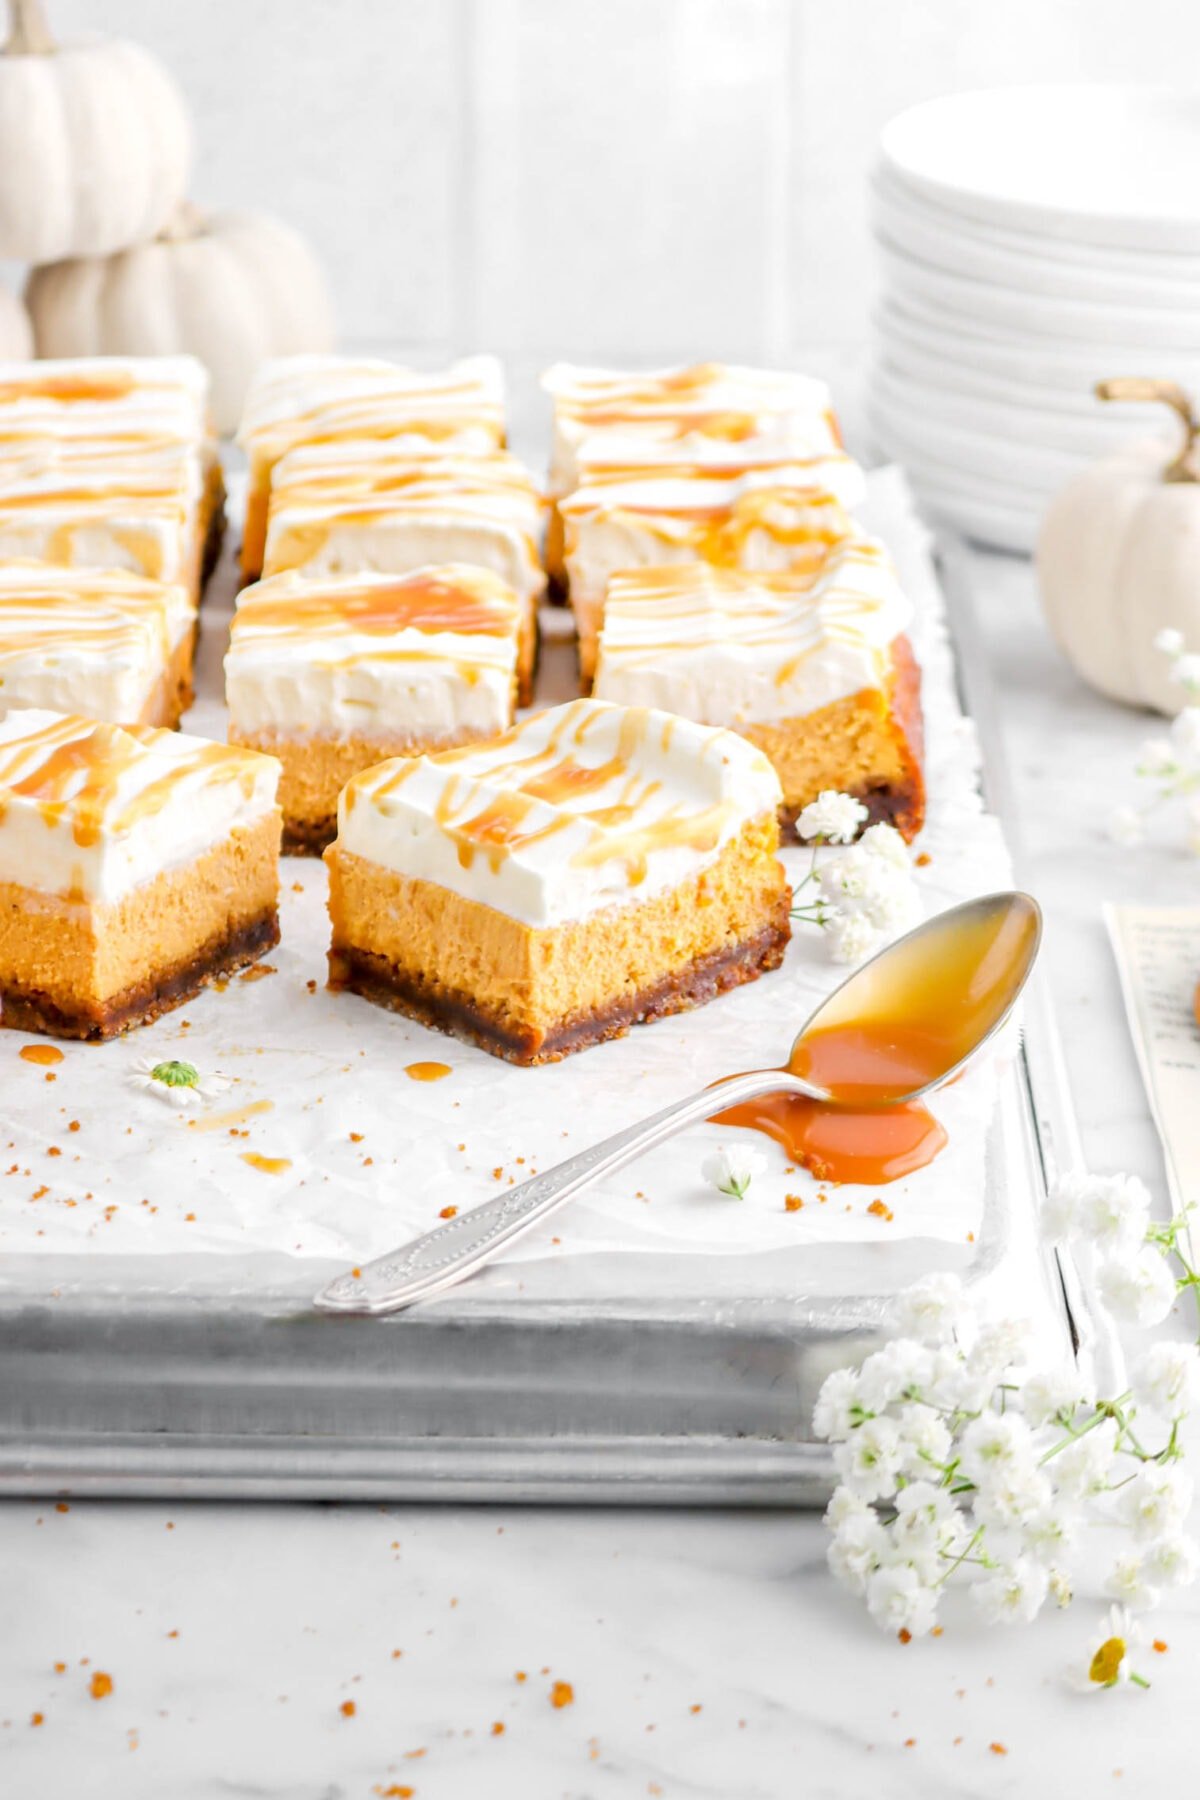
Maple Pumpkin Cheesecake Bars…with Gingersnap Crust, of course! It’s the best of everyone’s favorite Fall flavors, combined into one deliciously easy cheesecake. Sweet maple cheesecake, mixed with pumpkin puree, and poured over a homemade gingersnap cookie crust that’s perfectly spiced and buttery. The best part, though? There is no water-bath needed to make this recipe! Oh, yes. It’s super simple, but oh so delicious. Every bite is perfectly balanced between pumpkin and maple, tangy, with subtle ginger and molasses undertones. There is no better cheesecake to bake to celebrate the Fall season! So. GOOD.
About The Recipe
Pumpkin season is here and I am loving it! There’s no better way to enjoy this Wednesday then with a slice of cheesecake, you know? Though, originally, my mom and I planned on sharing this recipe last week! But when we were testing, it didn’t quite come out just how we wanted.
Our original idea was just pumpkin cheesecake with a graham cracker crust. It was good, but not as special as we were wanting it to be.
So, we started thinking about it, as we often do, and started to come up with different flavors to go with this cheesecake.
The first thing we changed was the crust! With our Gingersnap Cookies fresh in mind, the crust changed from graham cracker to the gingersnaps in almost an instant.
Though, there was one little thing still in the back of our minds. The cheesecake was good, but we felt like it didn’t have enough depth to it. It was pumpkin-y and very tangy from the cream cheese, but that’s about it. It needed another element.
Something to help sweeten the cheesecake, as well as add flavor.
Which brings us to adding the maple syrup! It’s one of my absolute favorite flavors and we had just enough for the recipe. We also changed the sugar to brown sugar to really help bring out a molasses undertone.
All together, it created the pumpkin cheesecake of our DREAMS!
Seriously, it is SO good and so easy to make. My favorite part (other than getting to eat it, of course!)? You don’t need a water-bath to make this cheesecake!
Just dump everything into a pan and bake. It’s really THAT simple. Perfect for Fall weekends, Halloween, or even Thanksgiving dessert!
Reasons You Will Love These Maple Pumpkin Cheesecake Bars
- Full of flavor!
- Tangy, sweet, pumpkin-y, and subtly spiced.
- A real crowd pleaser!
- The perfect make-ahead dessert for the holiday’s.
- No water-bath needed to bake this cheesecake.
Equipment Needed
- Food Processor
- Mixing Bowls
- Rubber Spatula
- 9×13 Inch Cake Pan
- Stand Mixer
Ingredients
(Full ingredient amounts and instructions can be found in the recipe card at the bottom of the post)
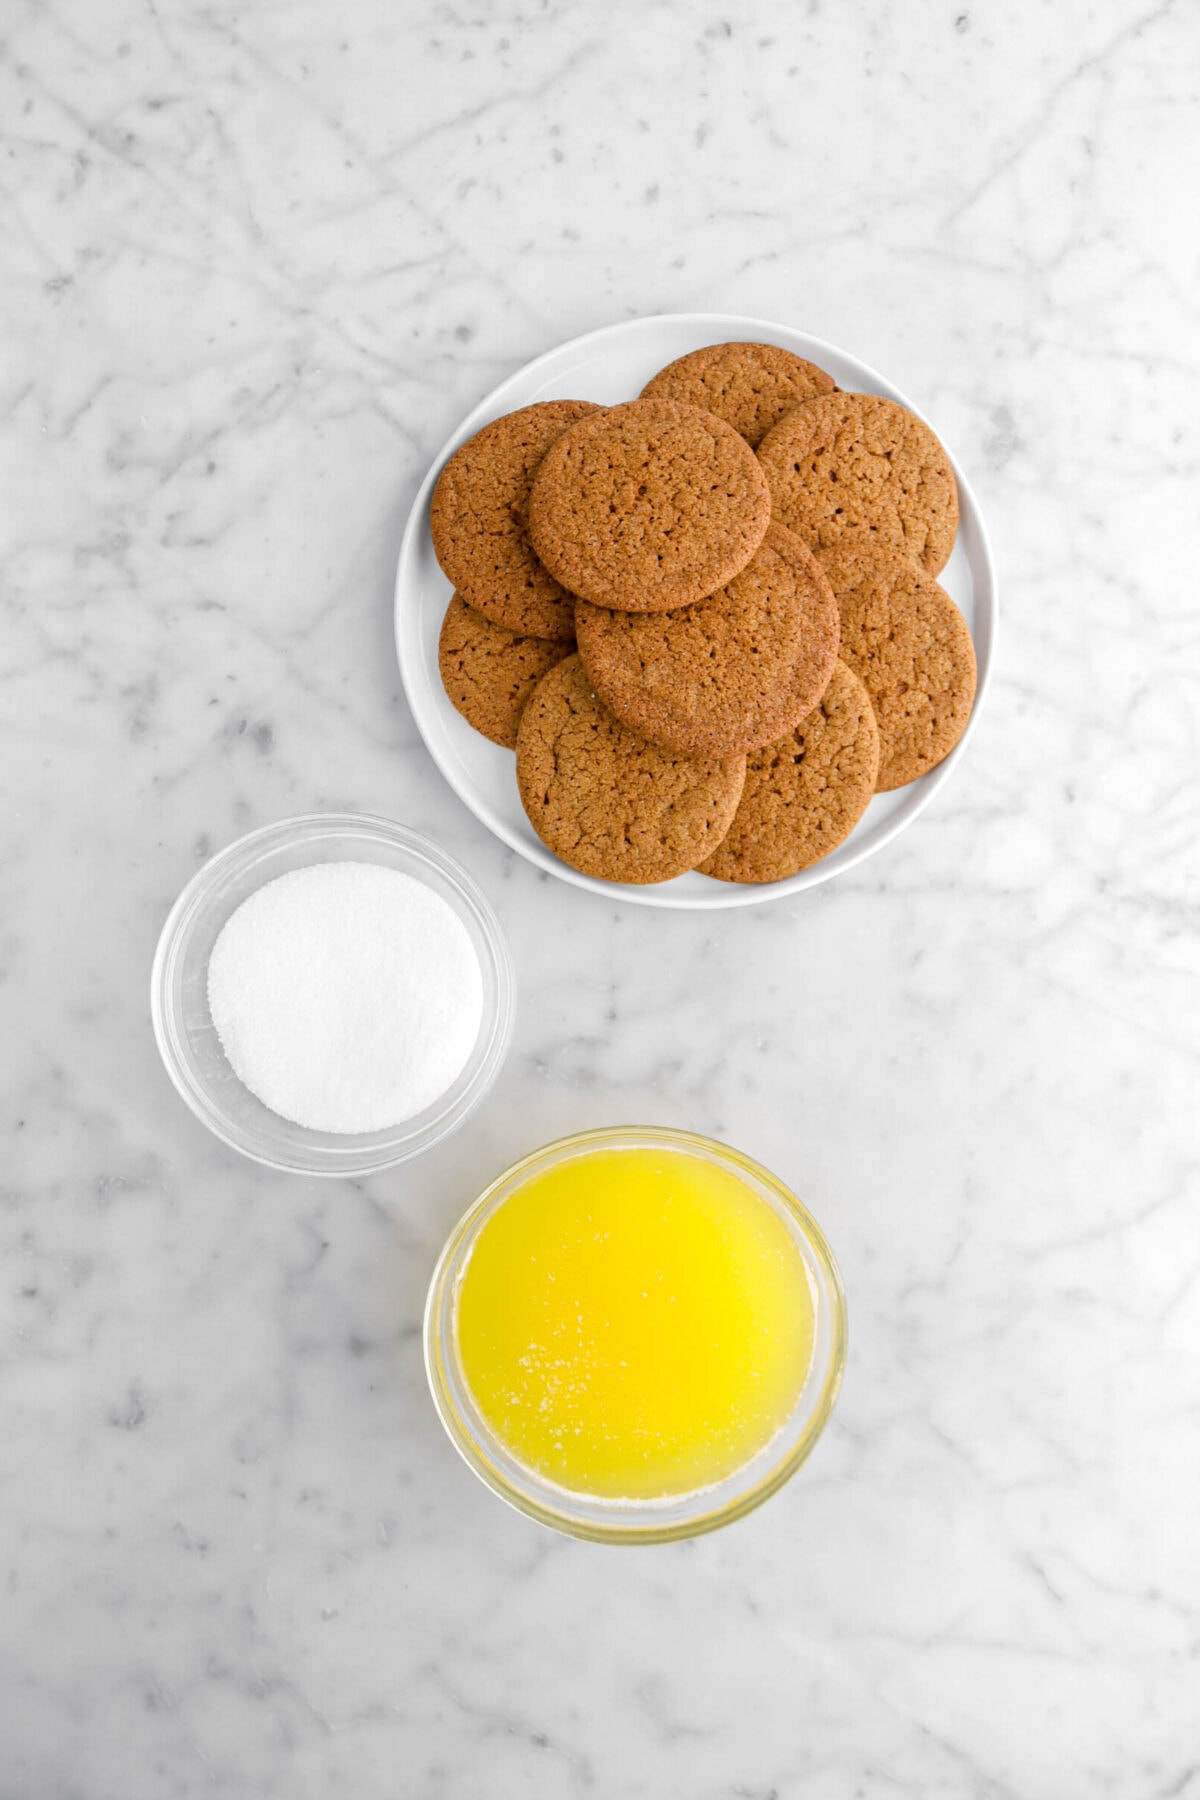
For The Crust:
- Gingersnap Cookies
- Granulated Sugar
- Melted Butter
For The Cheesecake:
- Cream Cheese
- Brown Sugar
- Large Eggs
- Egg Yolk
- Maple Syrup
- Vanilla Extract
- Heavy Cream
- Pumpkin Purée

How To Make Maple Pumpkin Cheesecake Bars
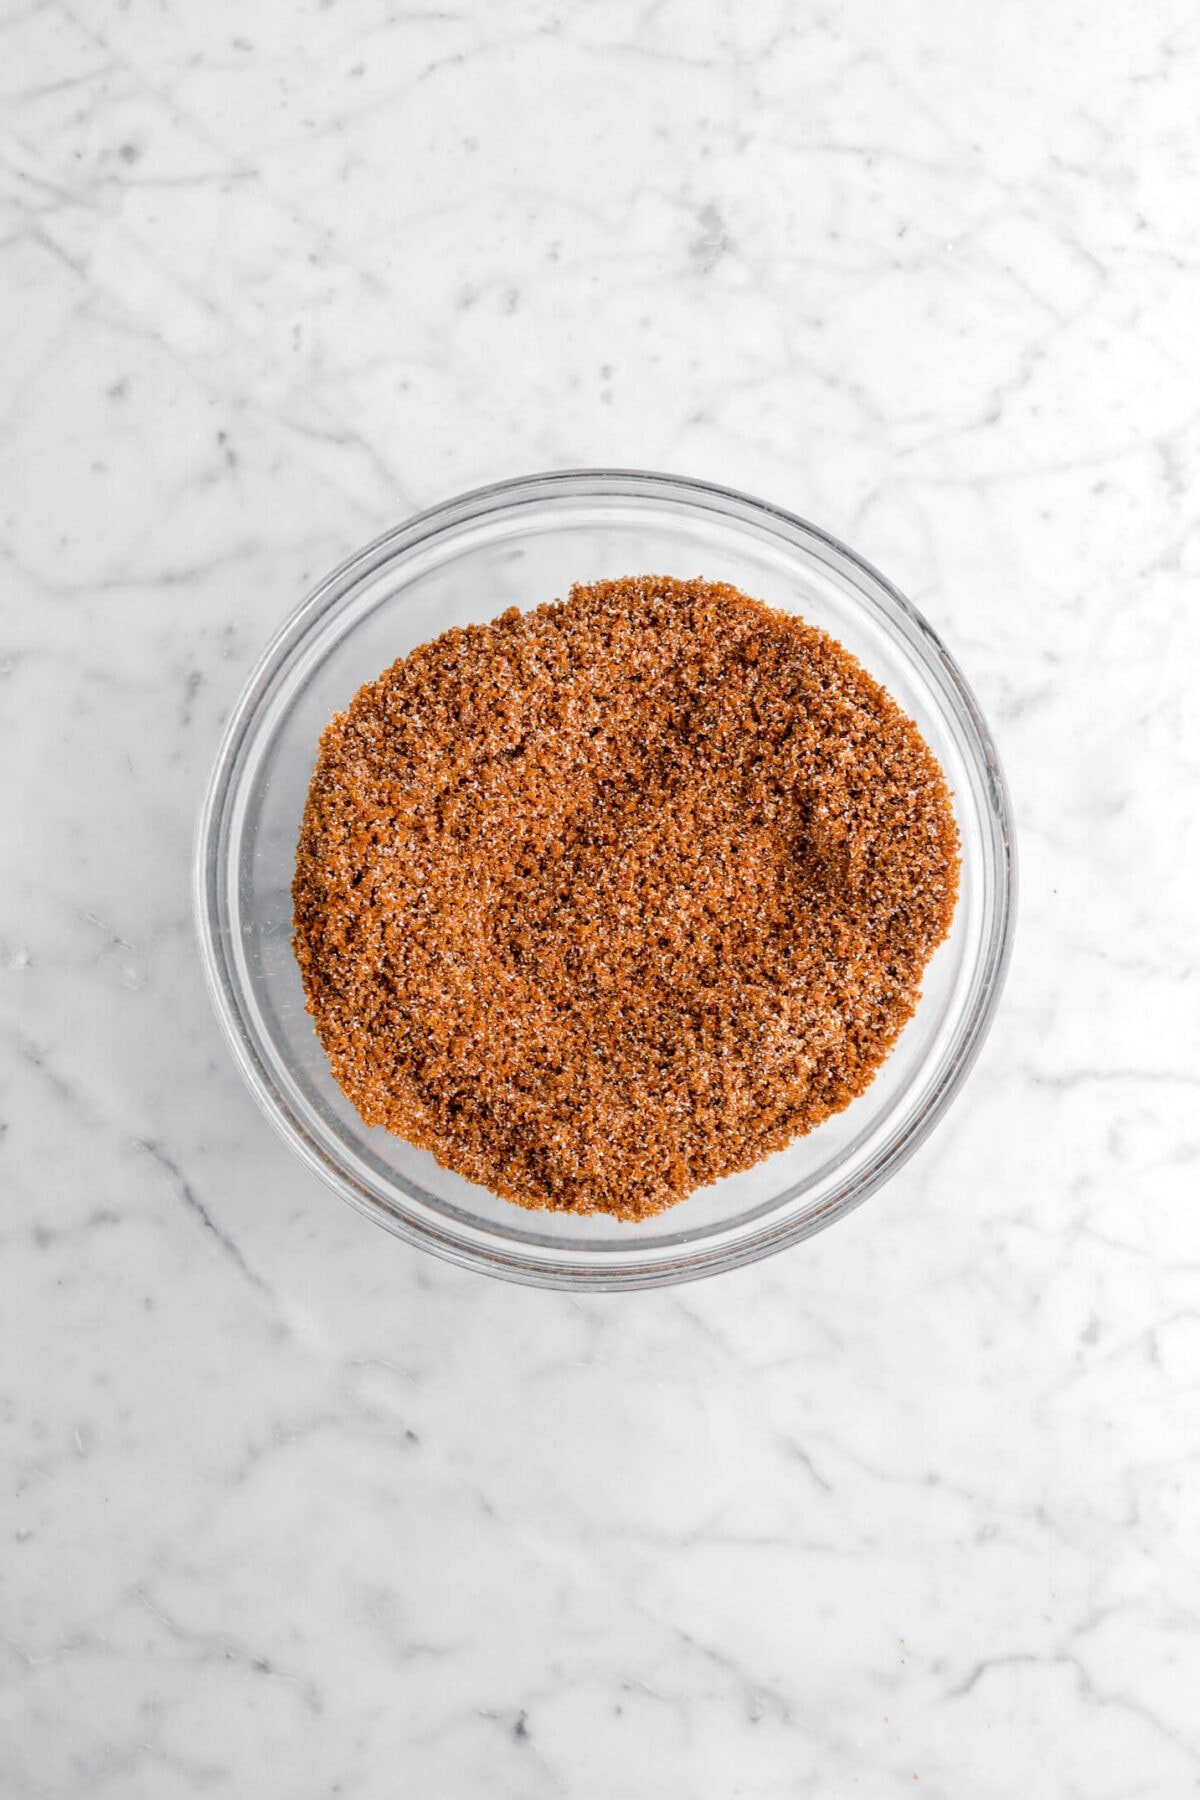
Step 1: Make the crust
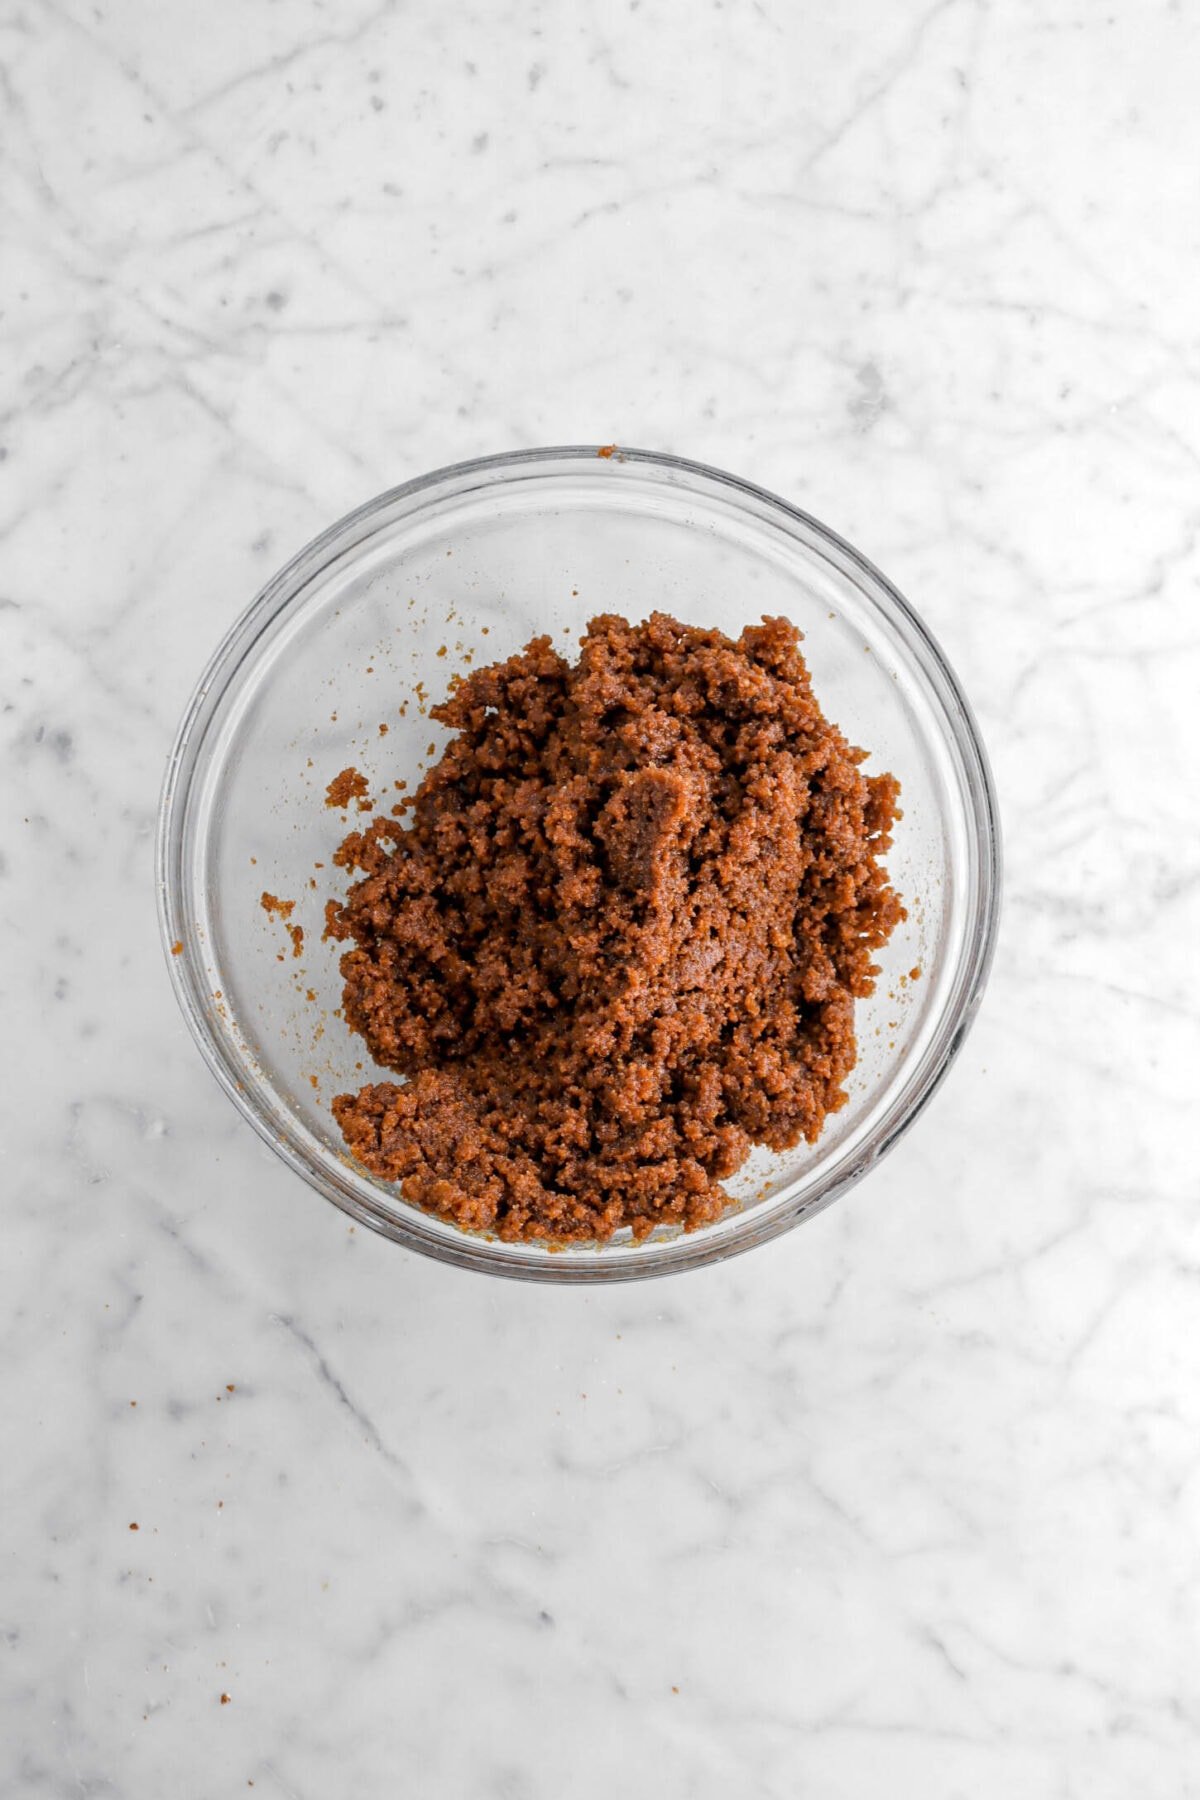
In a medium bowl, combine cookie crumbs and sugar.

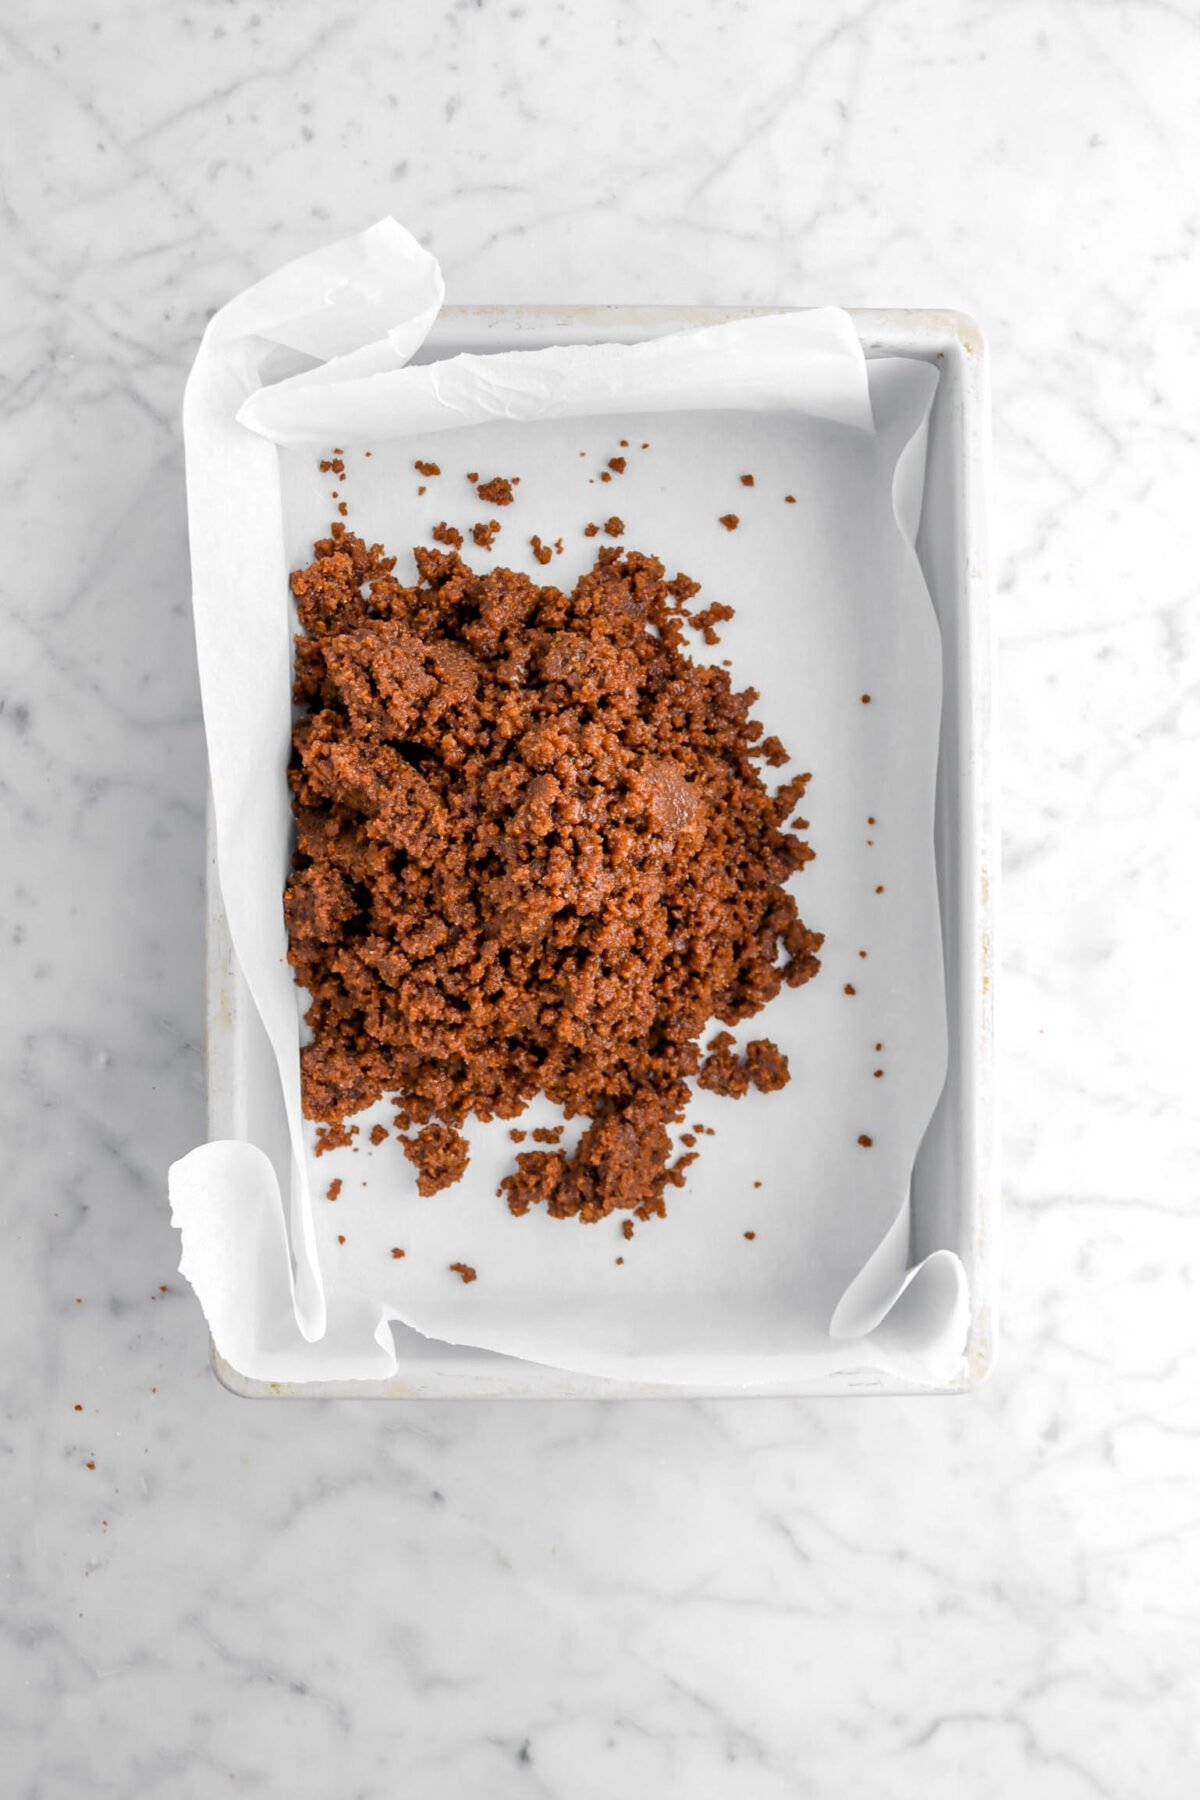
Add the melted butter and mix thoroughly (*note, the images below are much wetter than need be. We mistakenly grabbed the wrong amount of butter. Yours should be much drier).
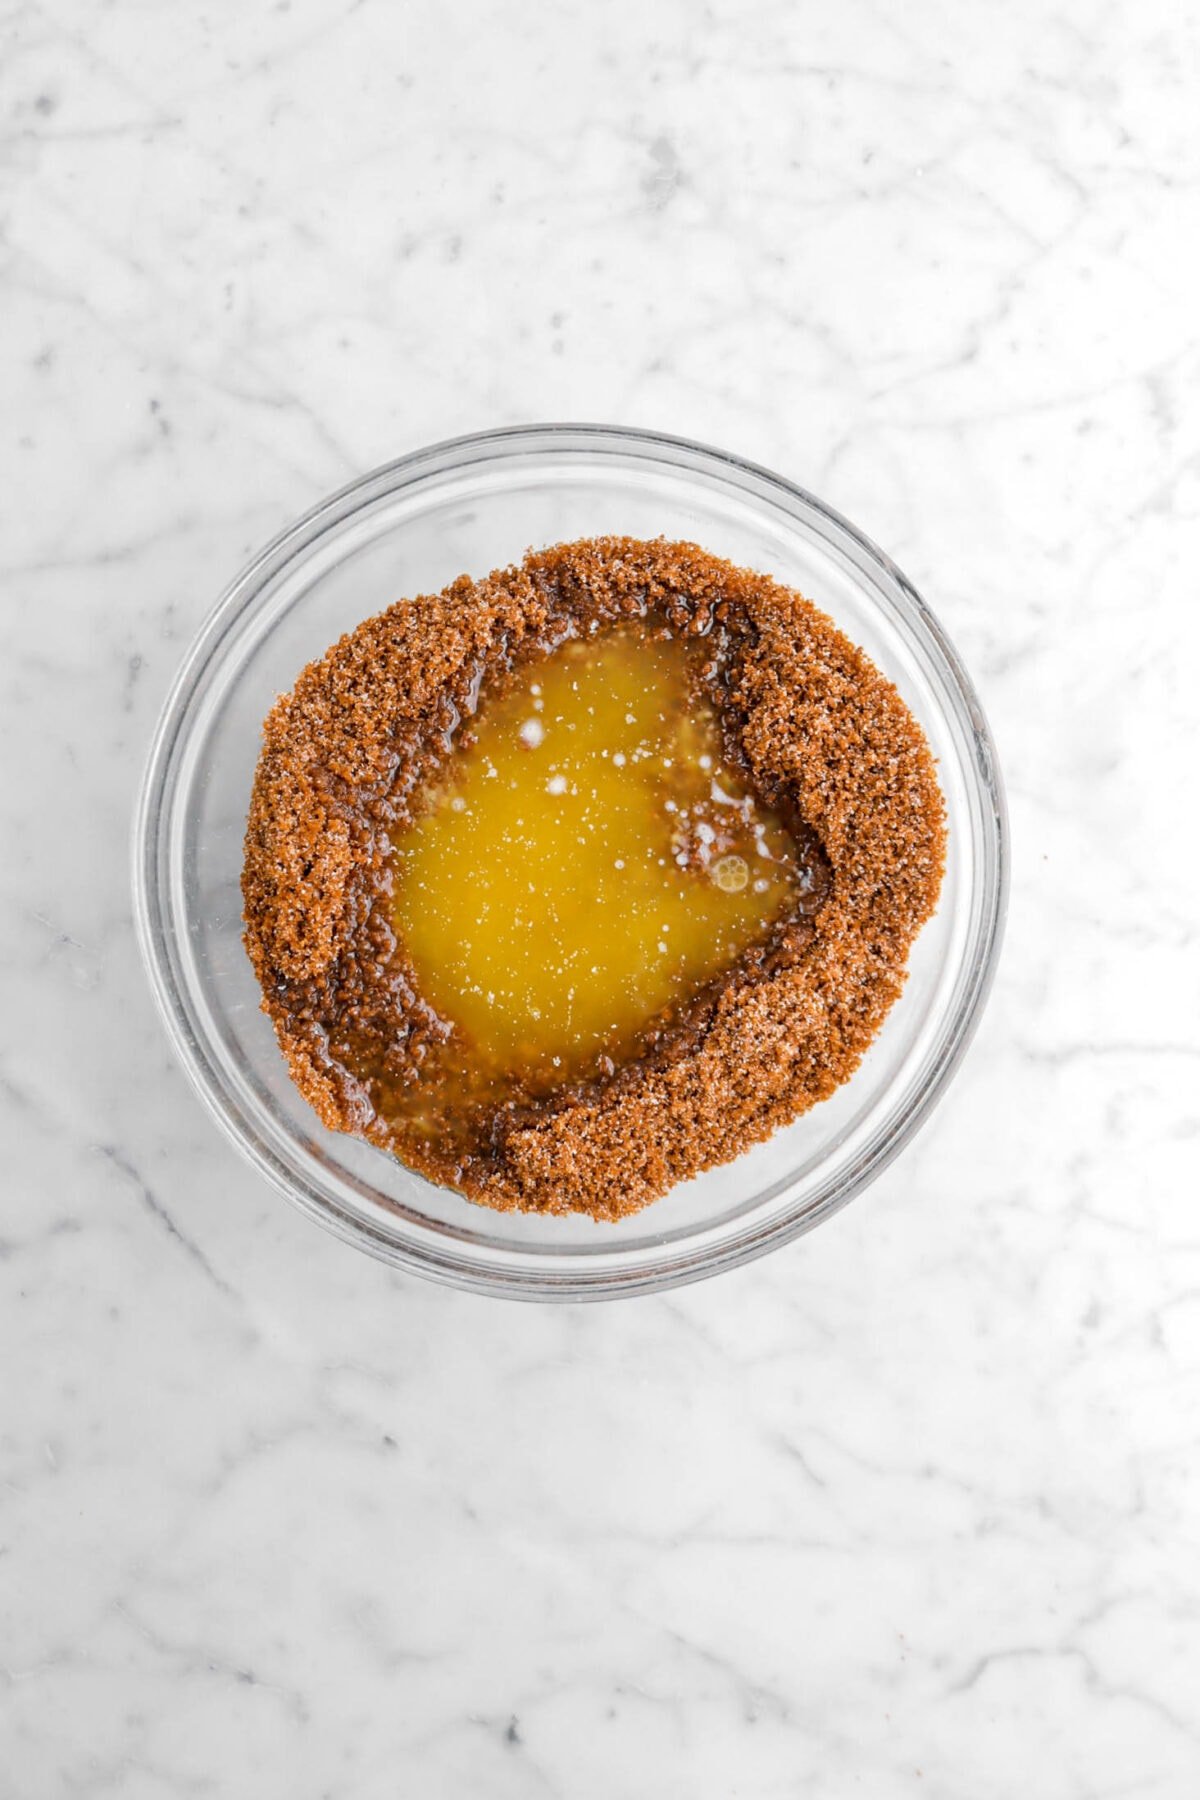
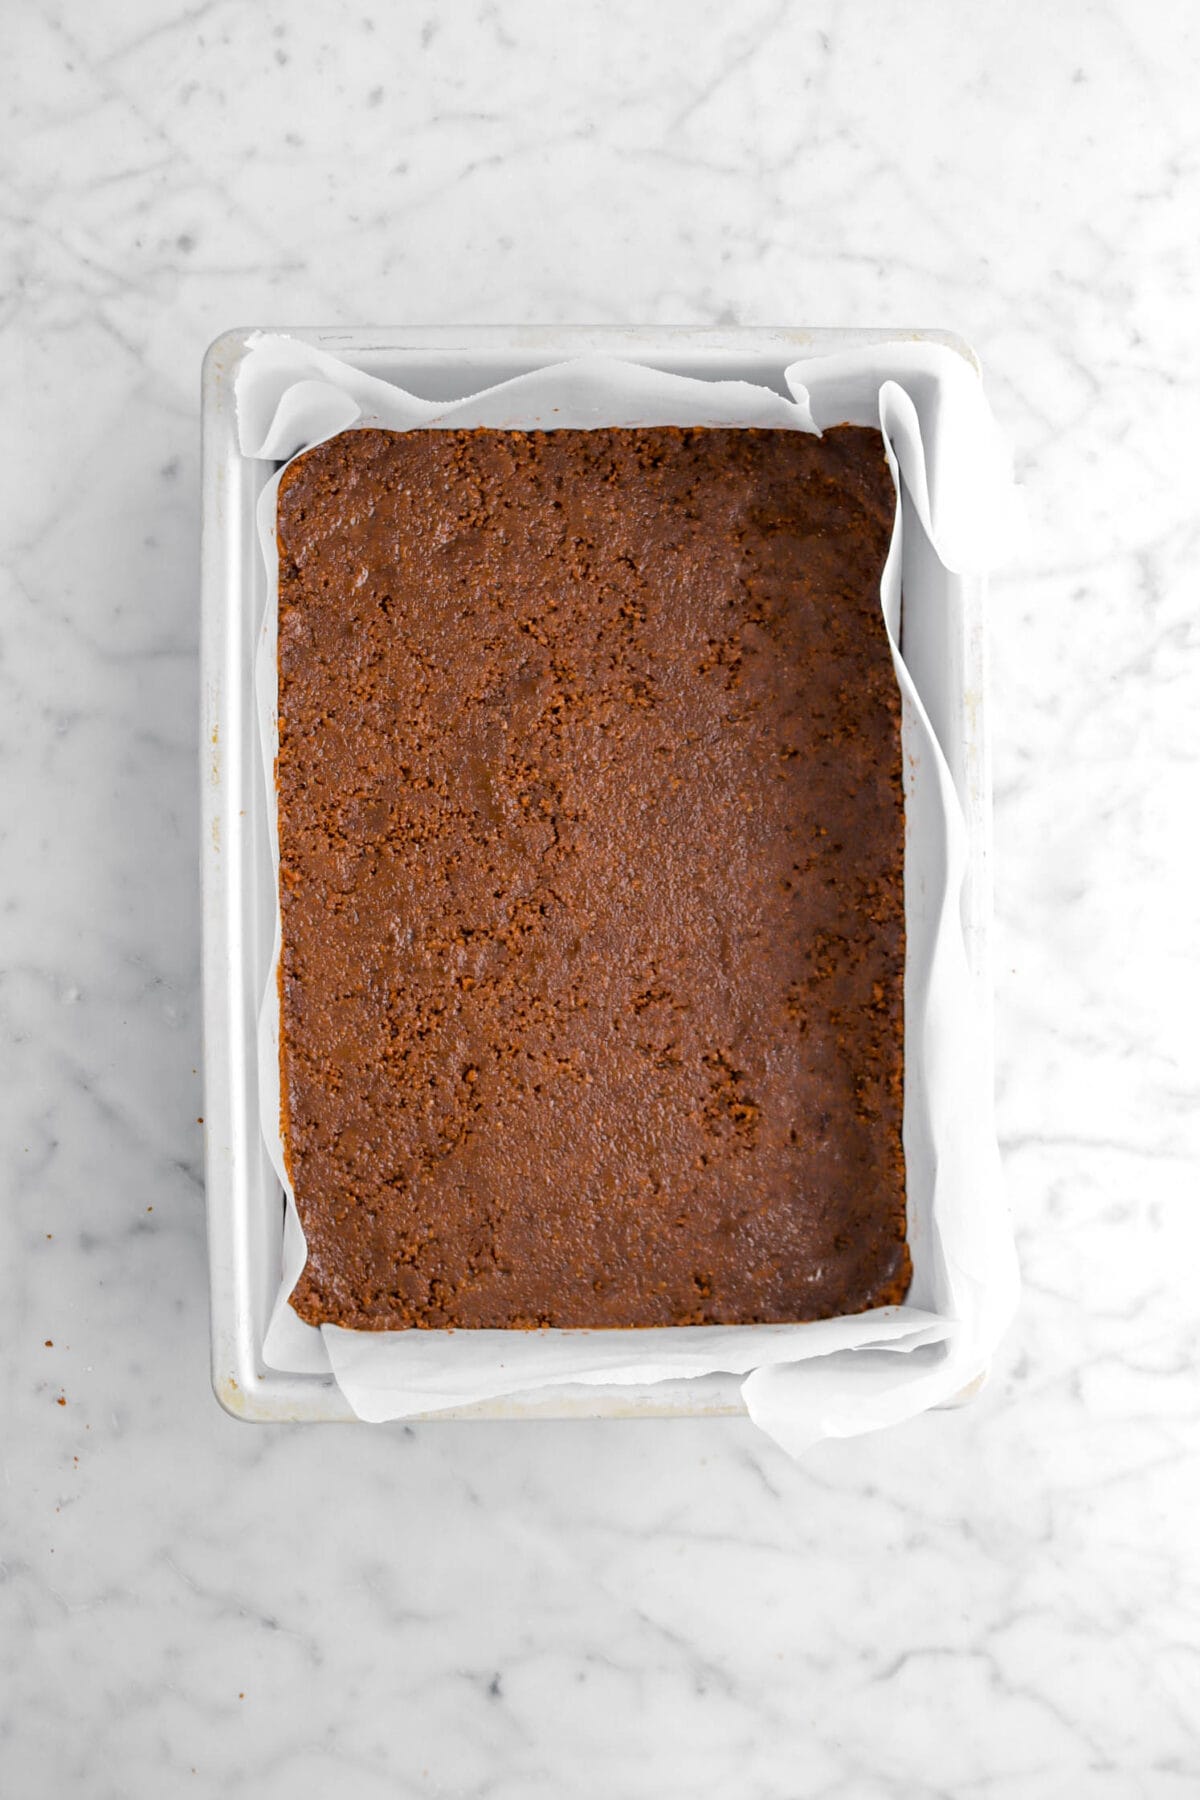
Press into bottom of lined pan. Set aside.
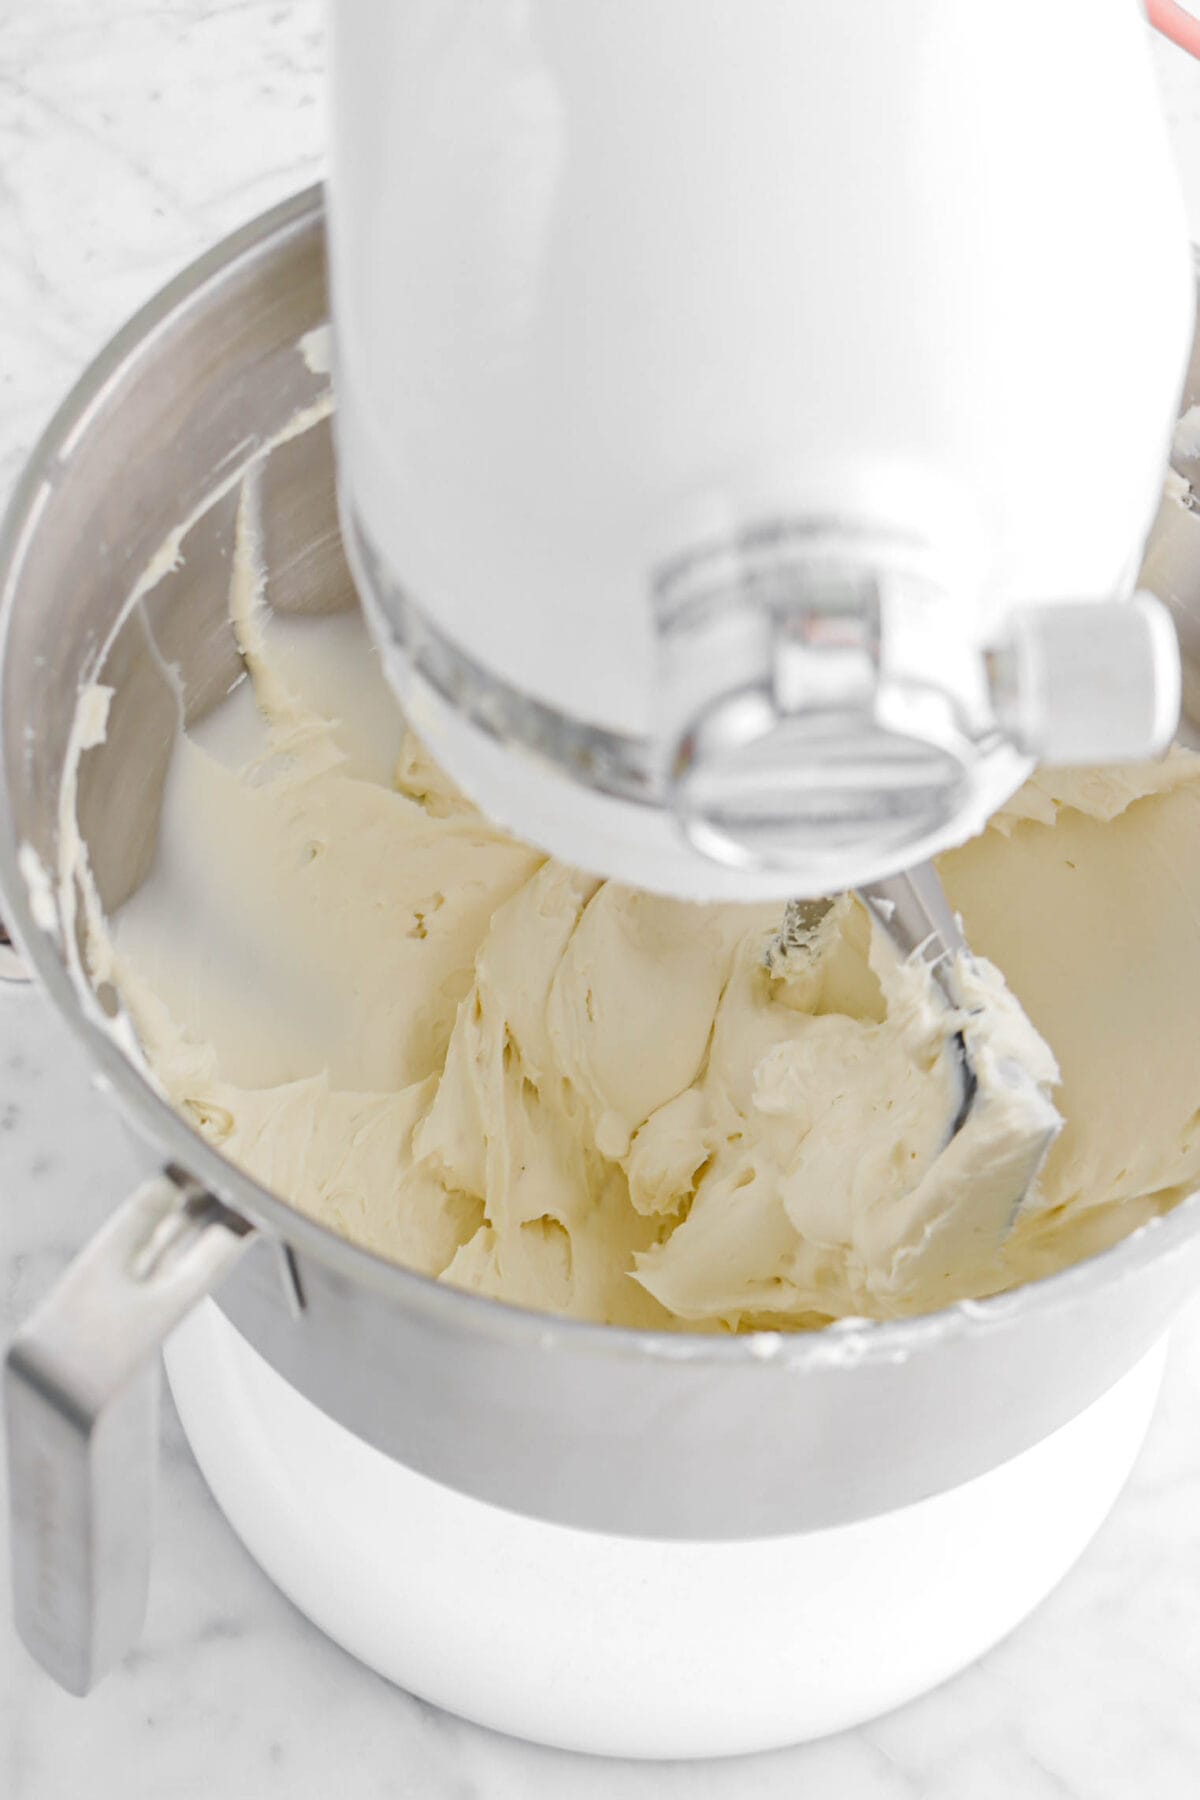
Step 2: Make the cheesecake
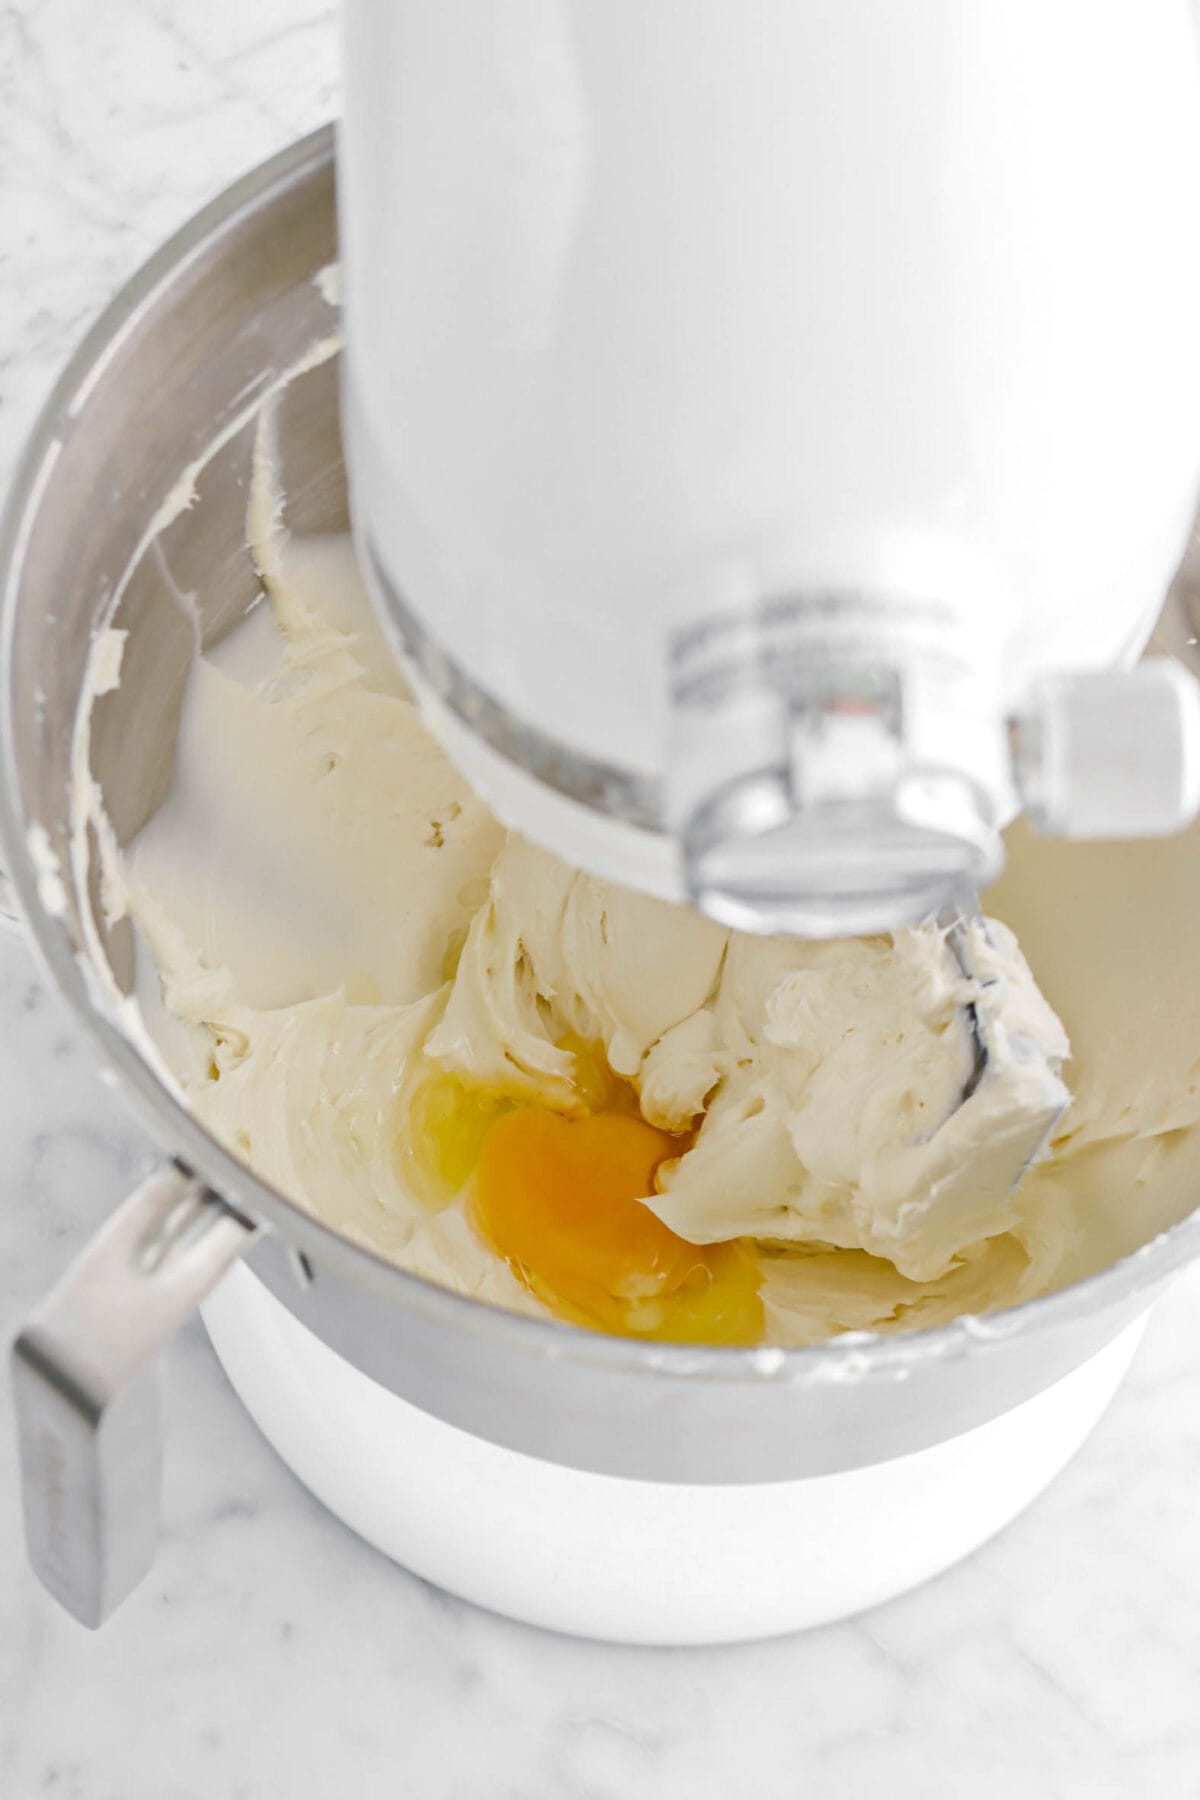
With an electric mixer, beat cream cheese, sugar, and salt until light and fluffy, 3-4 minutes.

Beat in eggs and yolk, one at a time.

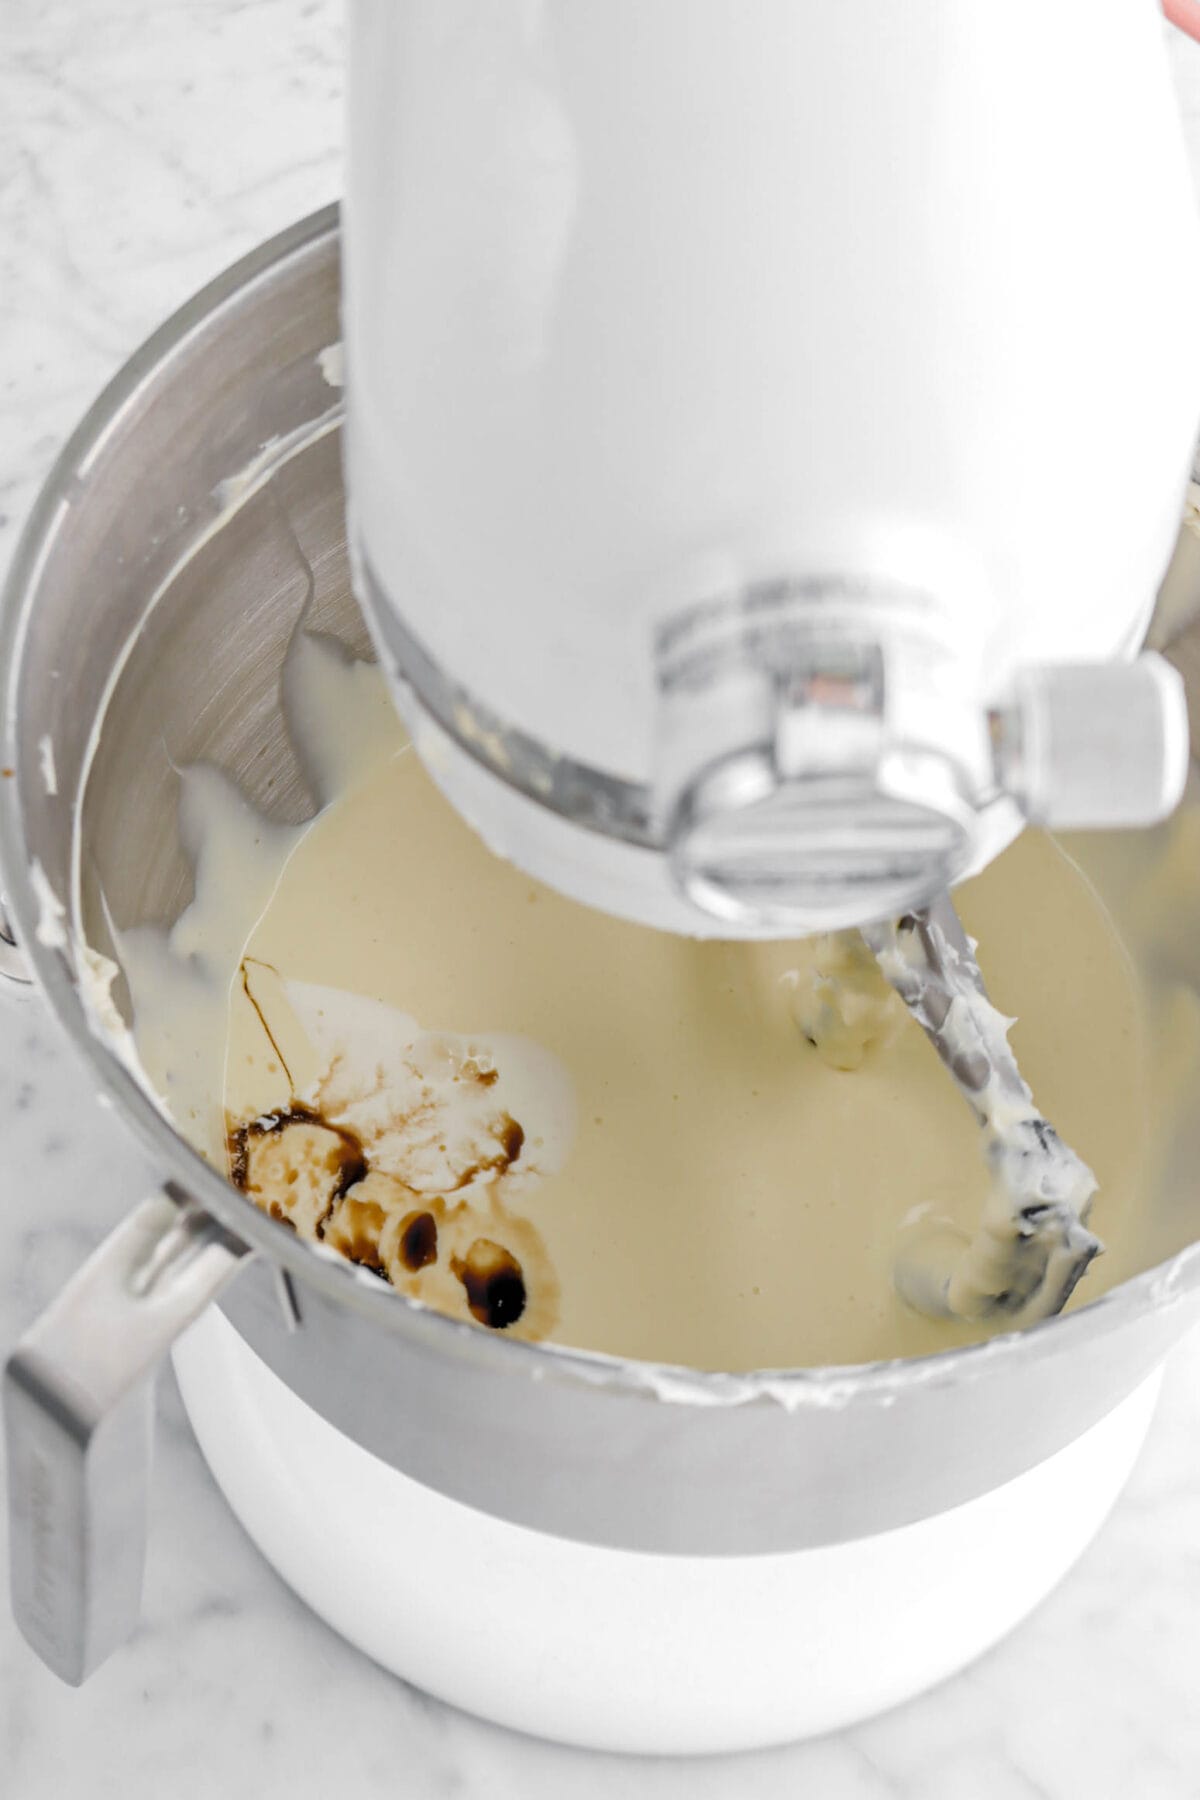
Mix in the maple syrup, vanilla, and heavy cream.

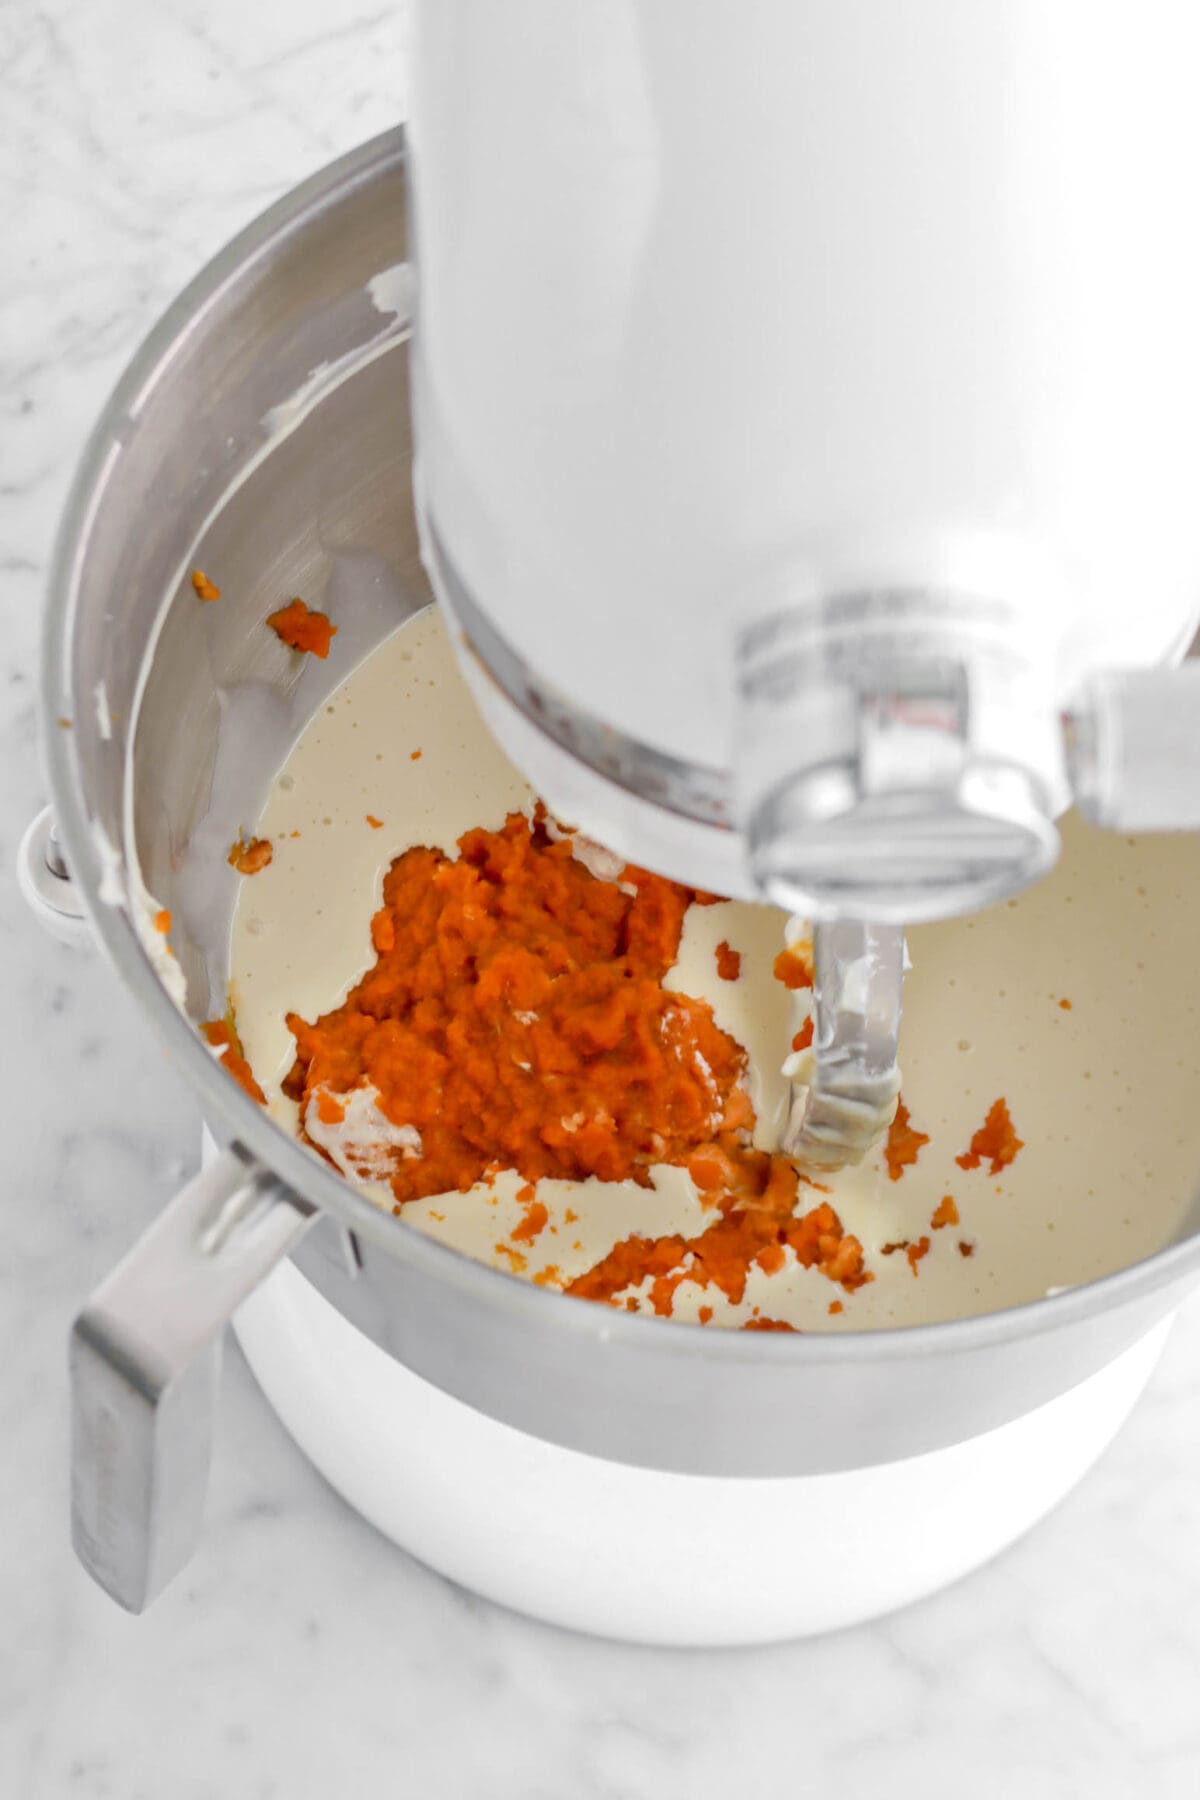
Stir in the pumpkin.
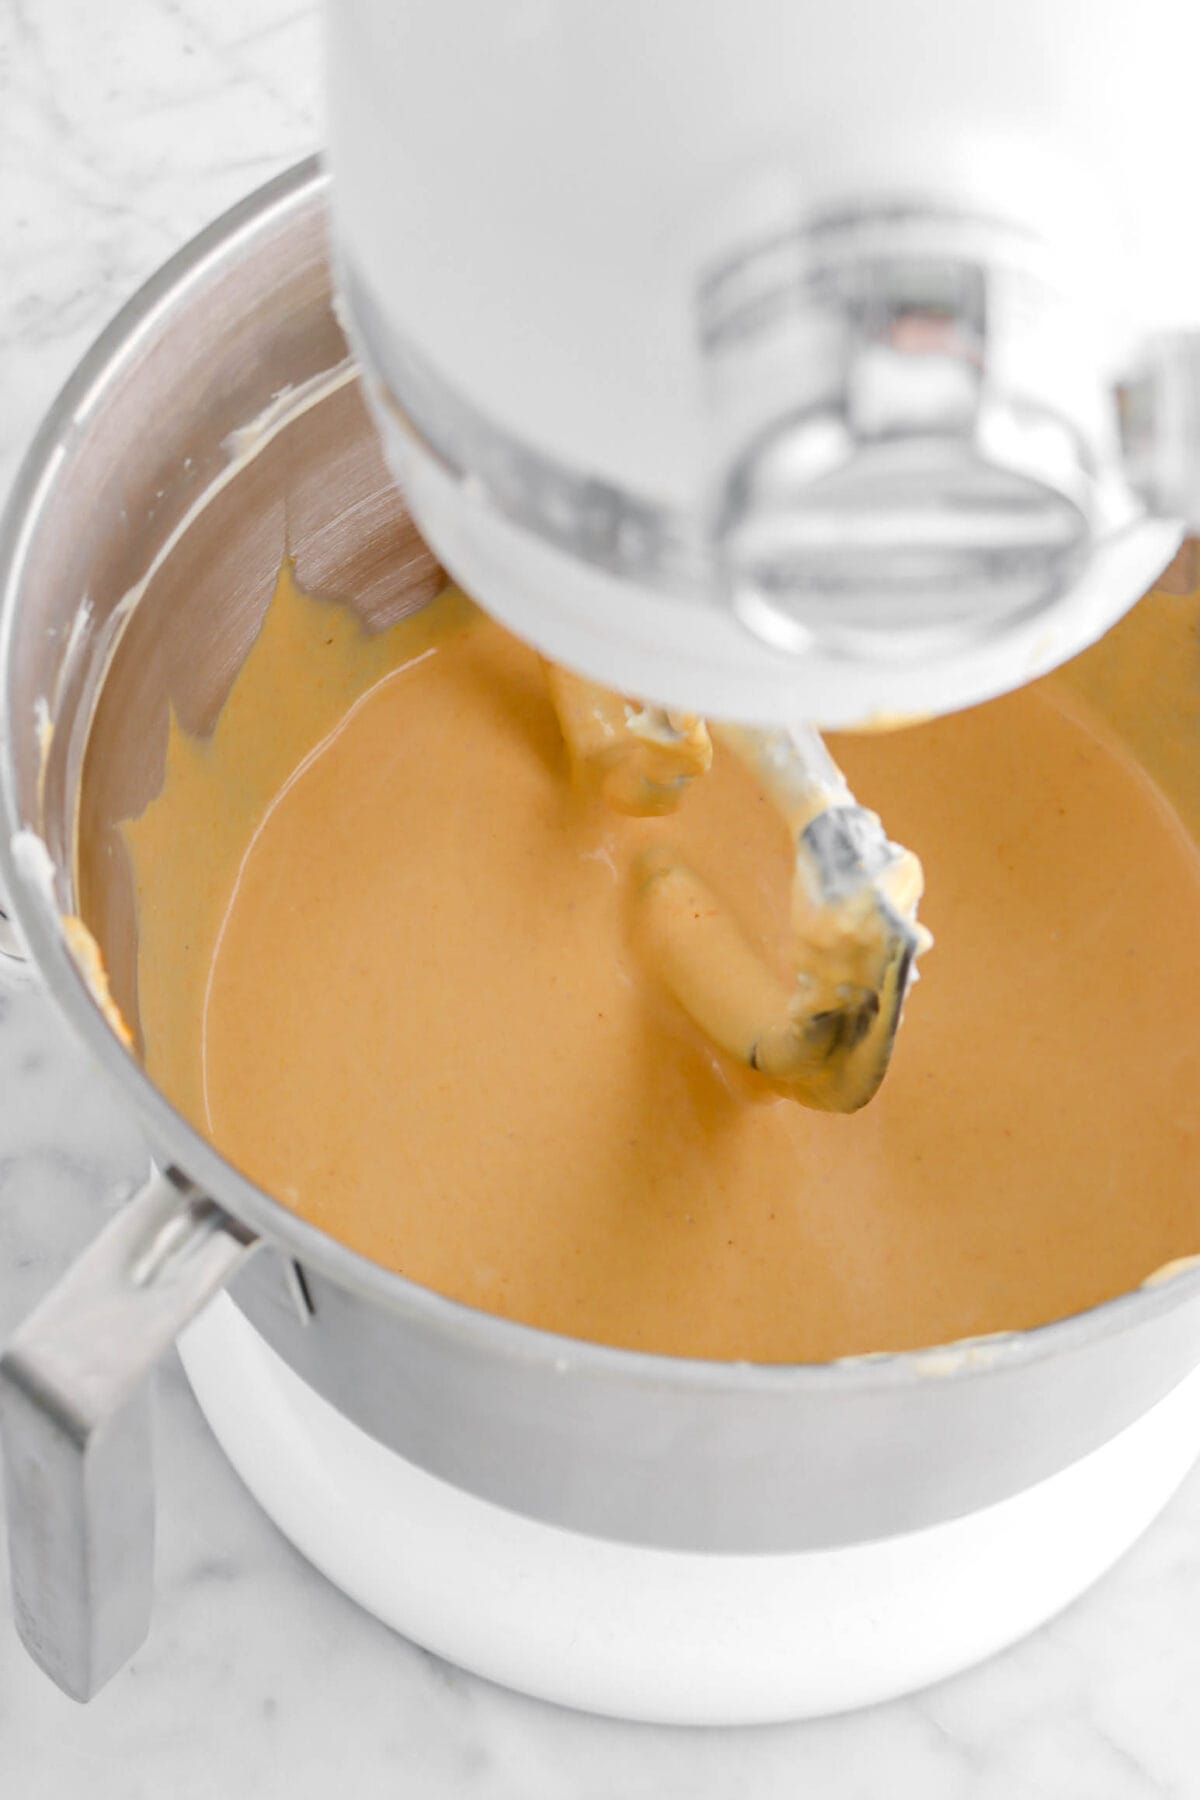
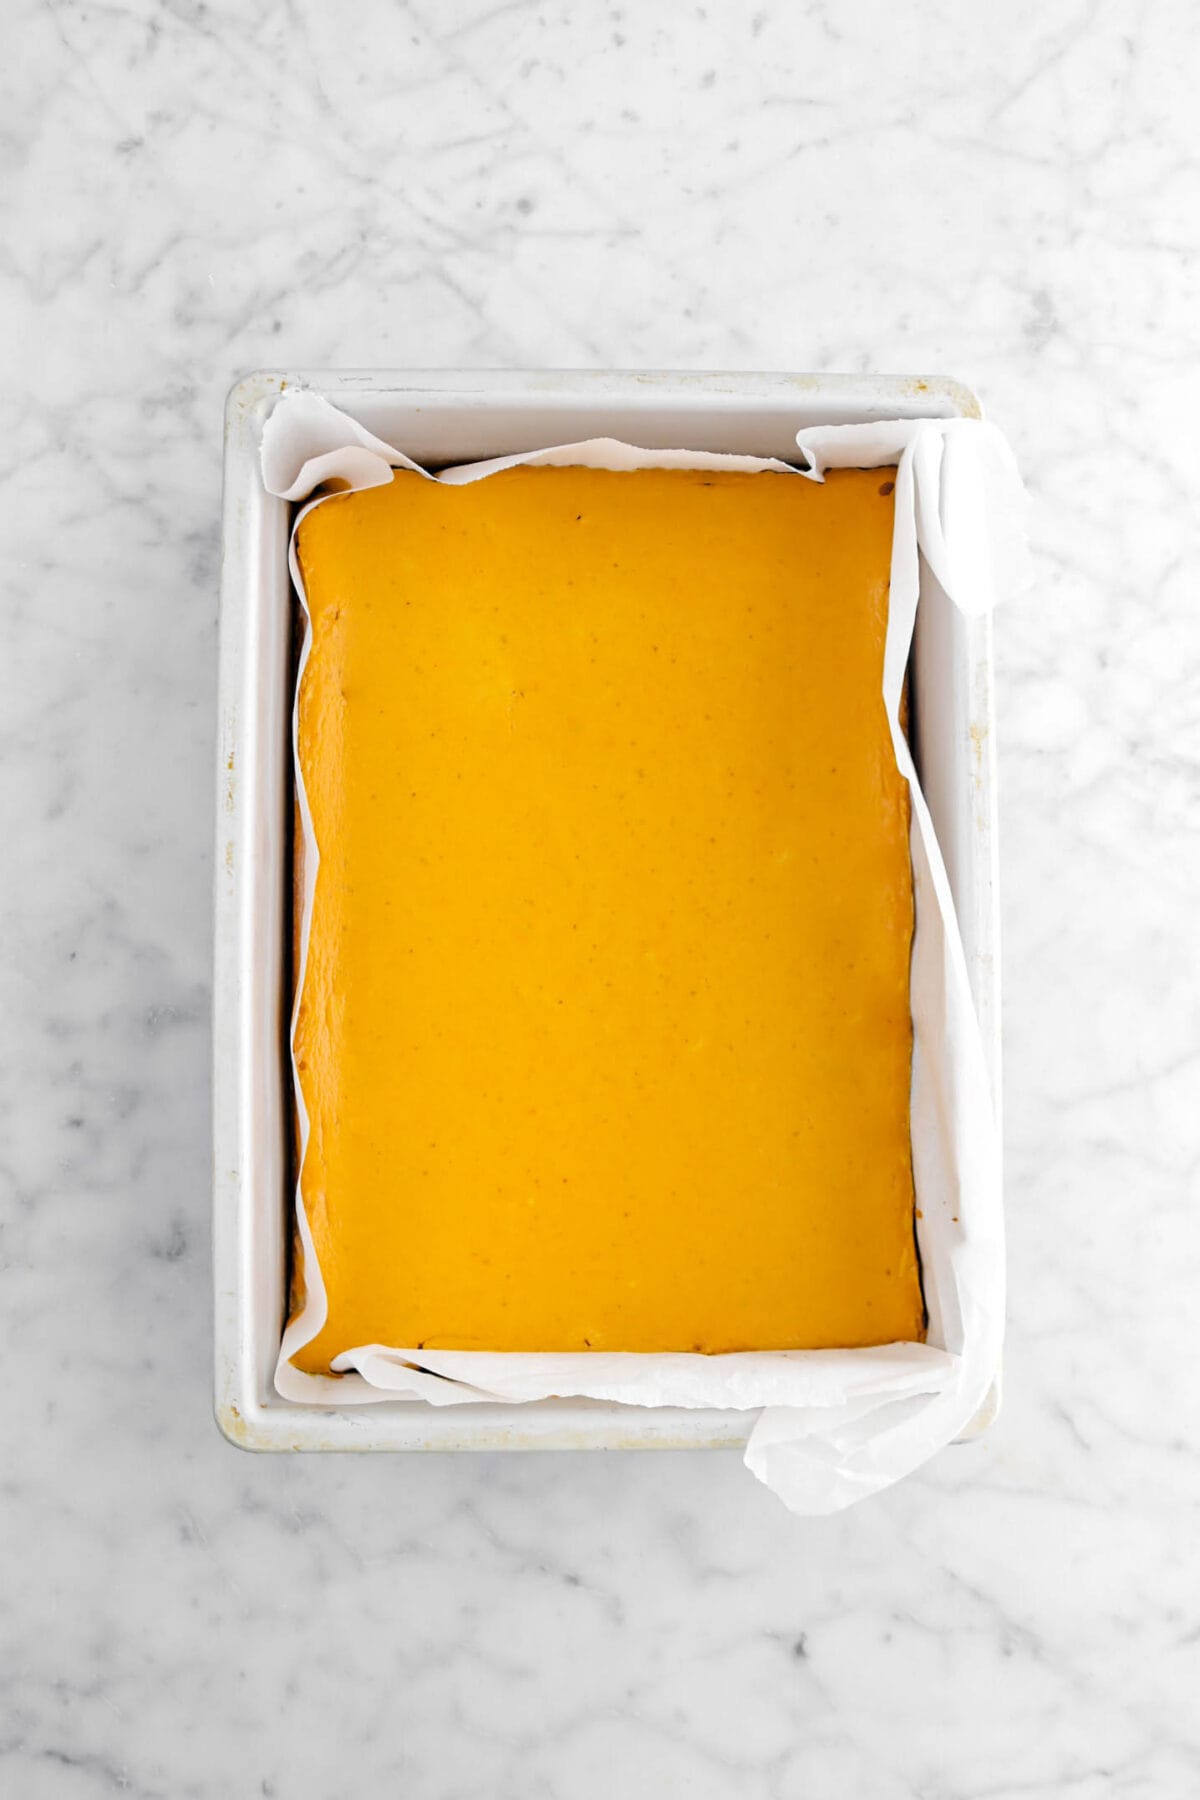
Step 3: Bake
Pour cheesecake into prepared crust. Bake for 45 minutes, or until the cheesecake is set. Allow to cool completely before refrigerating for 4 – 6 hours, or overnight.

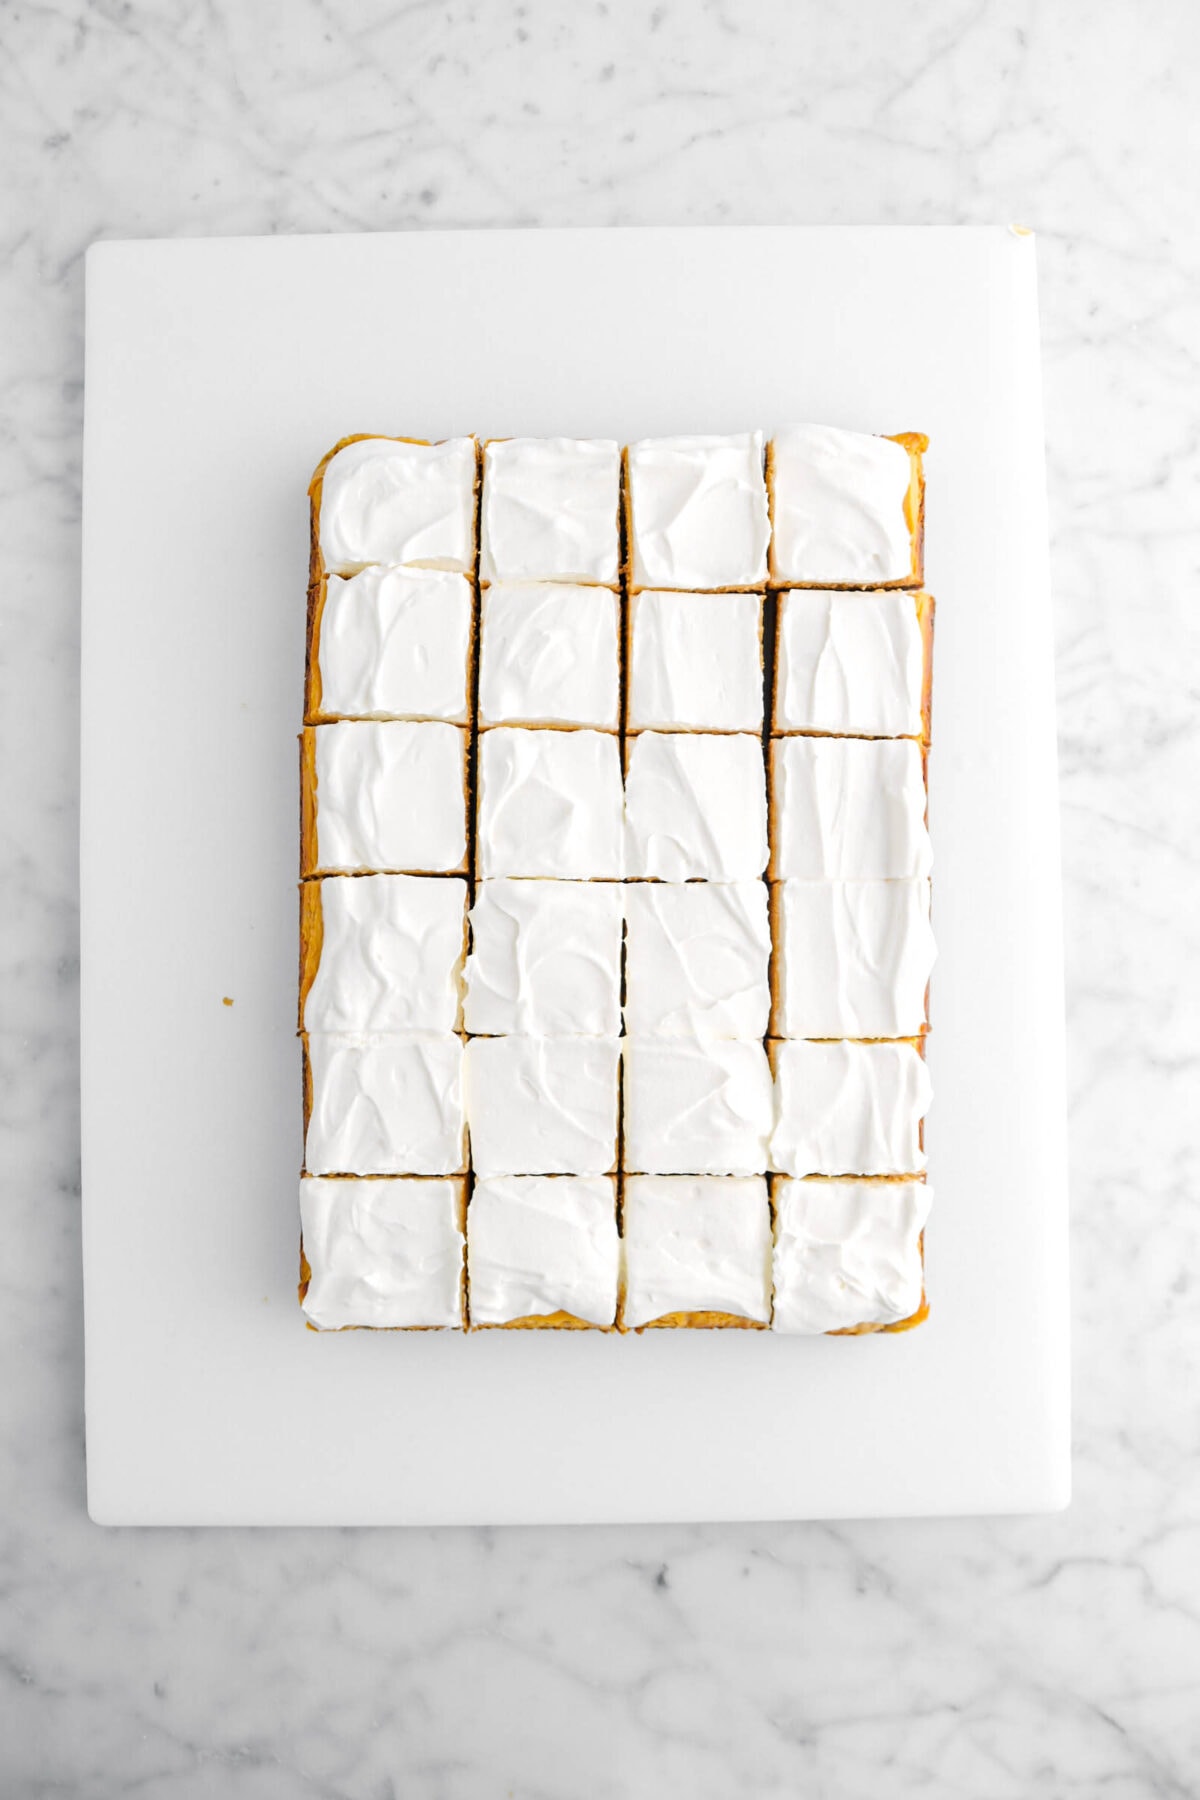
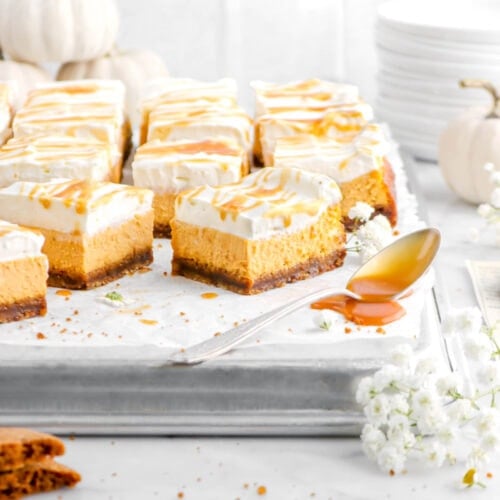
Step 4: Slice
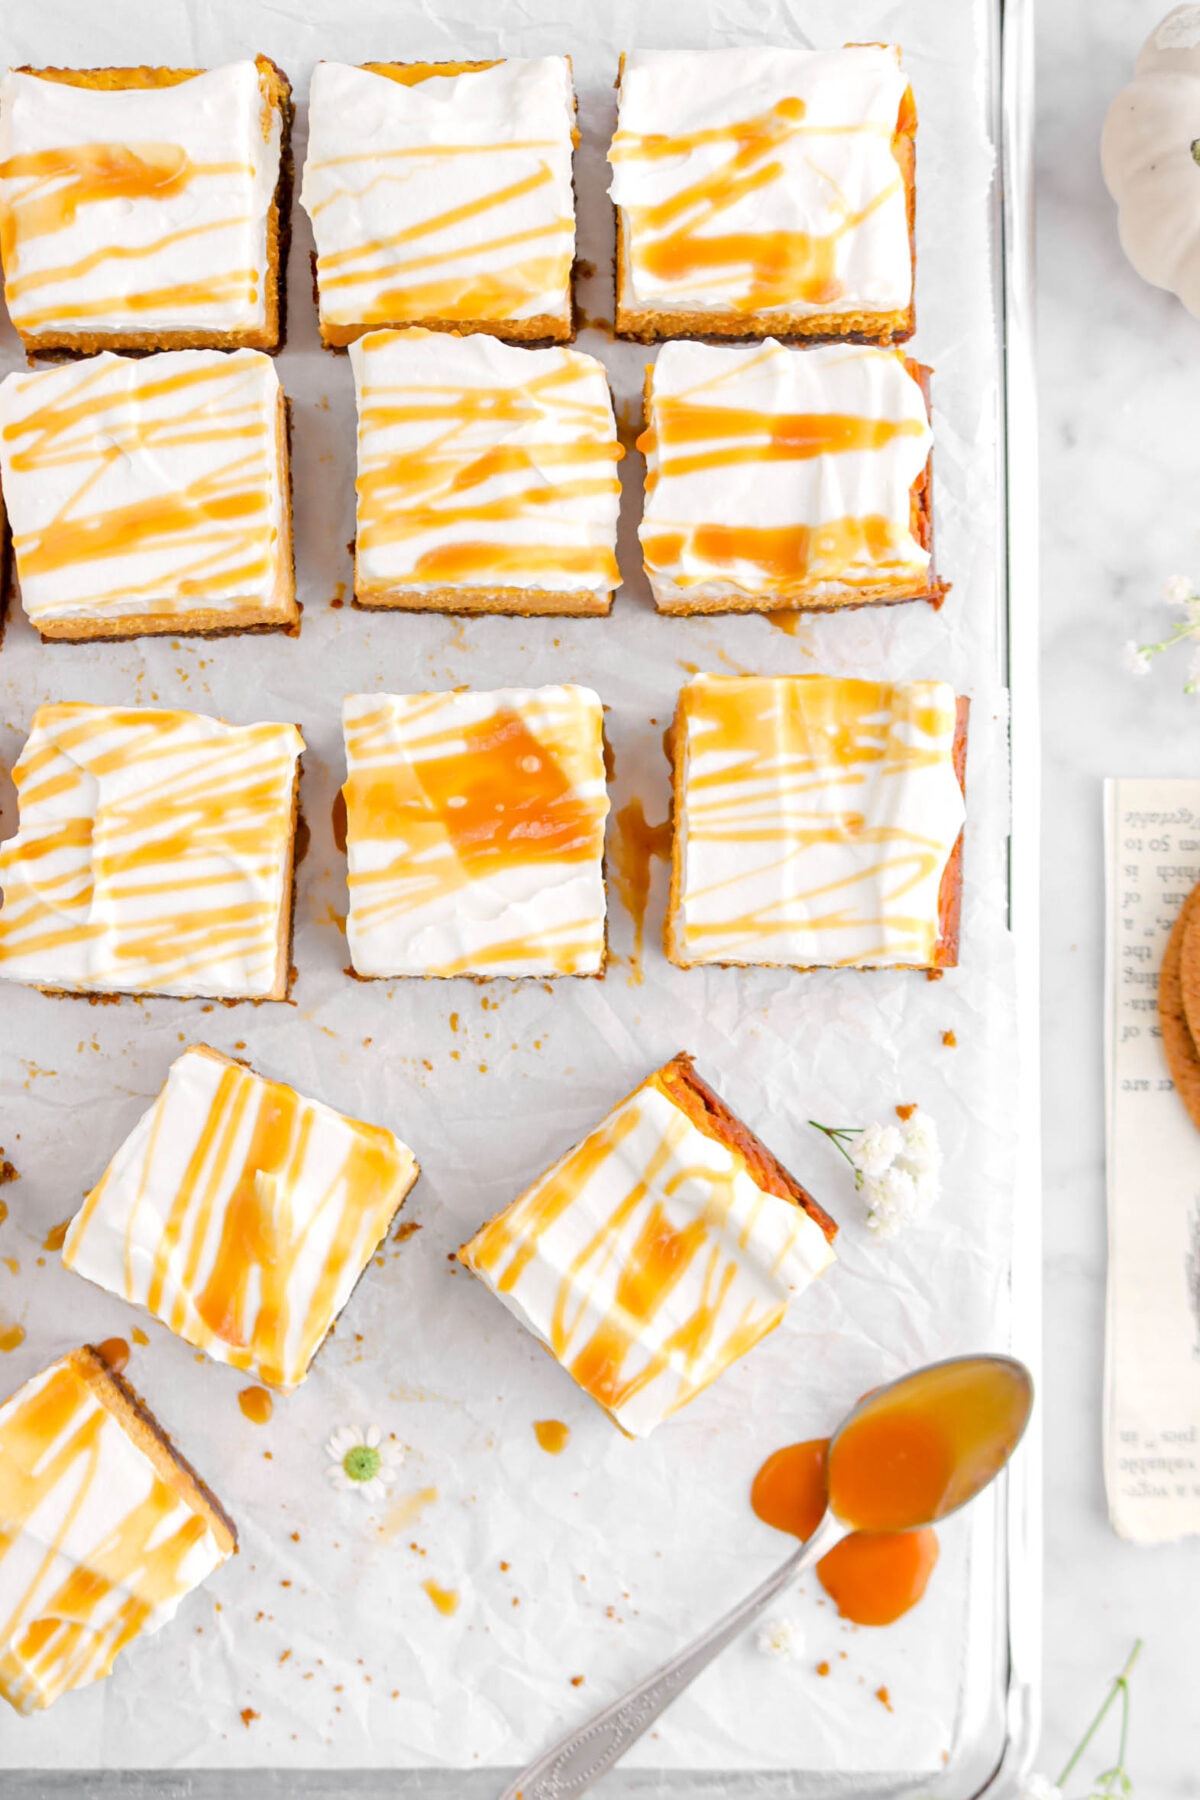
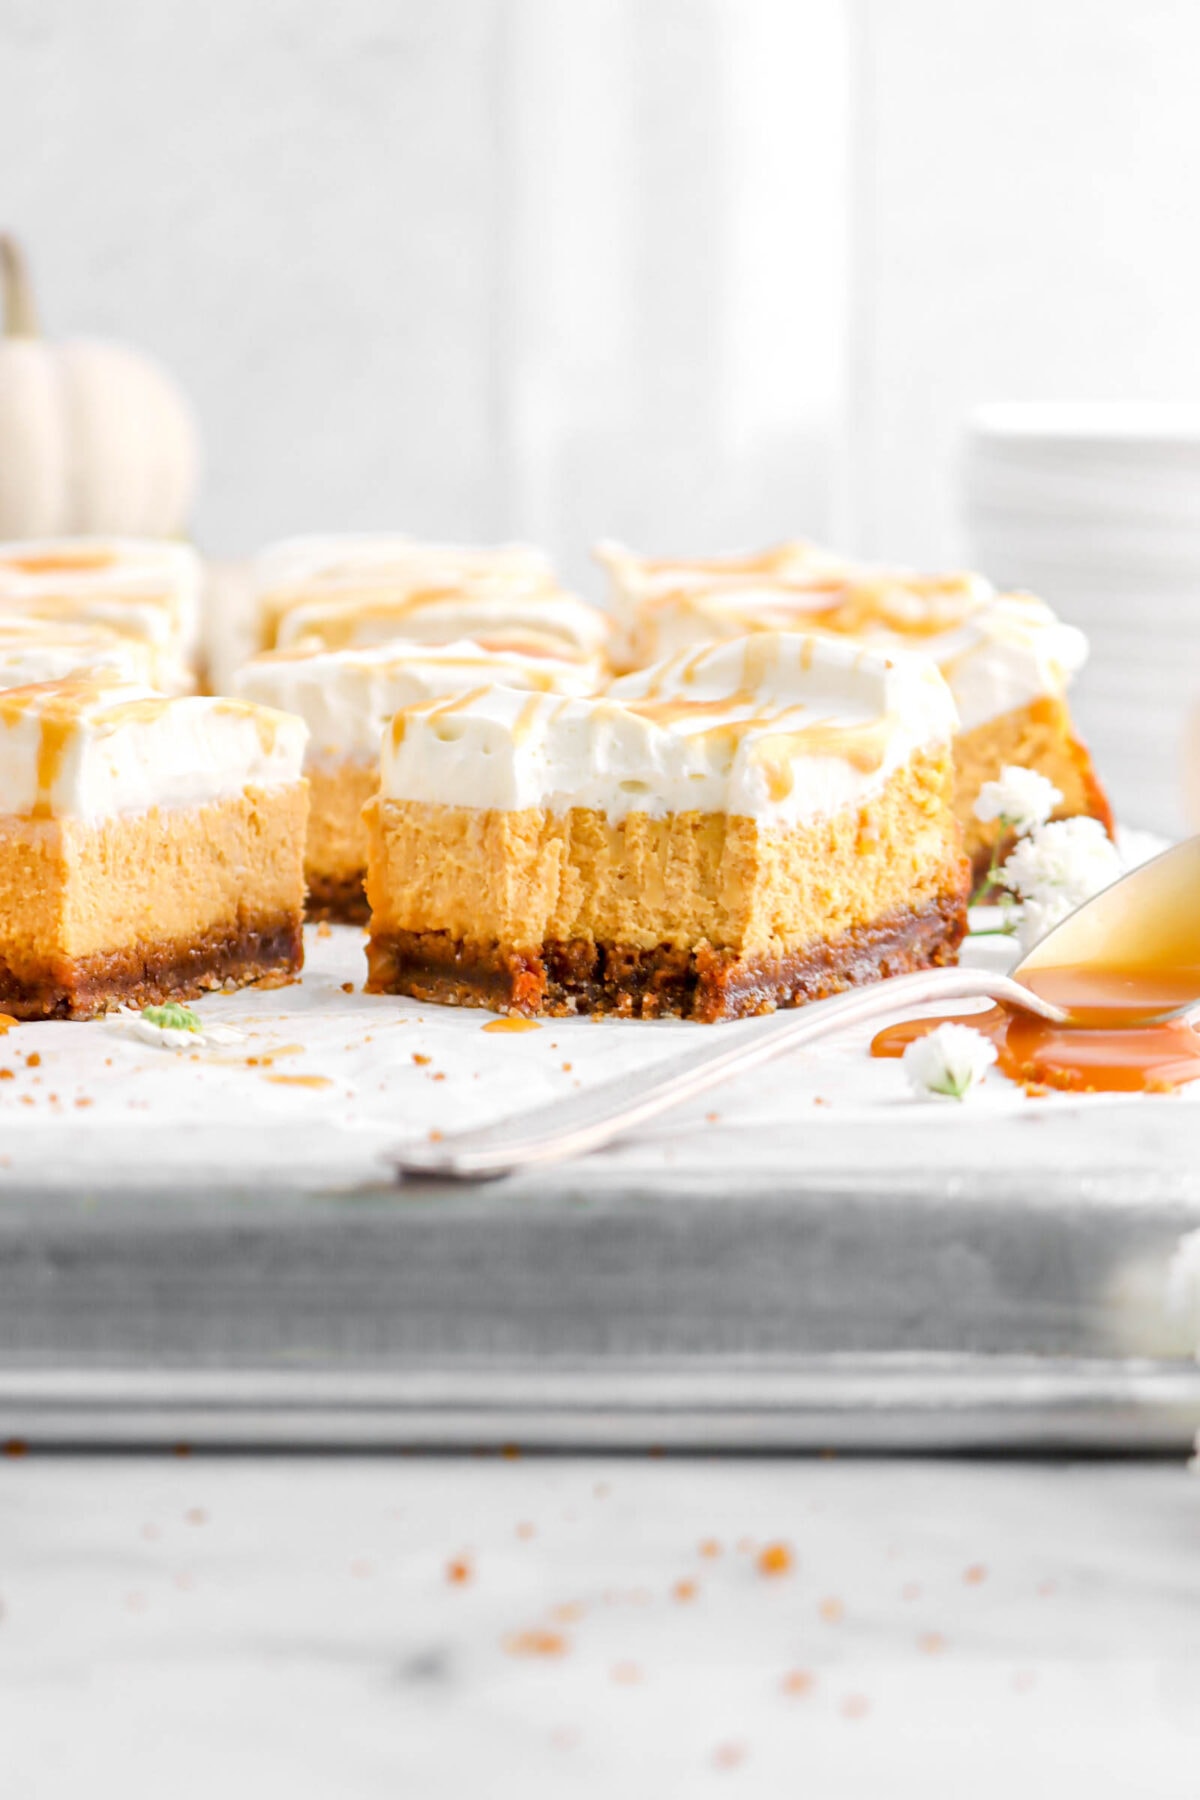
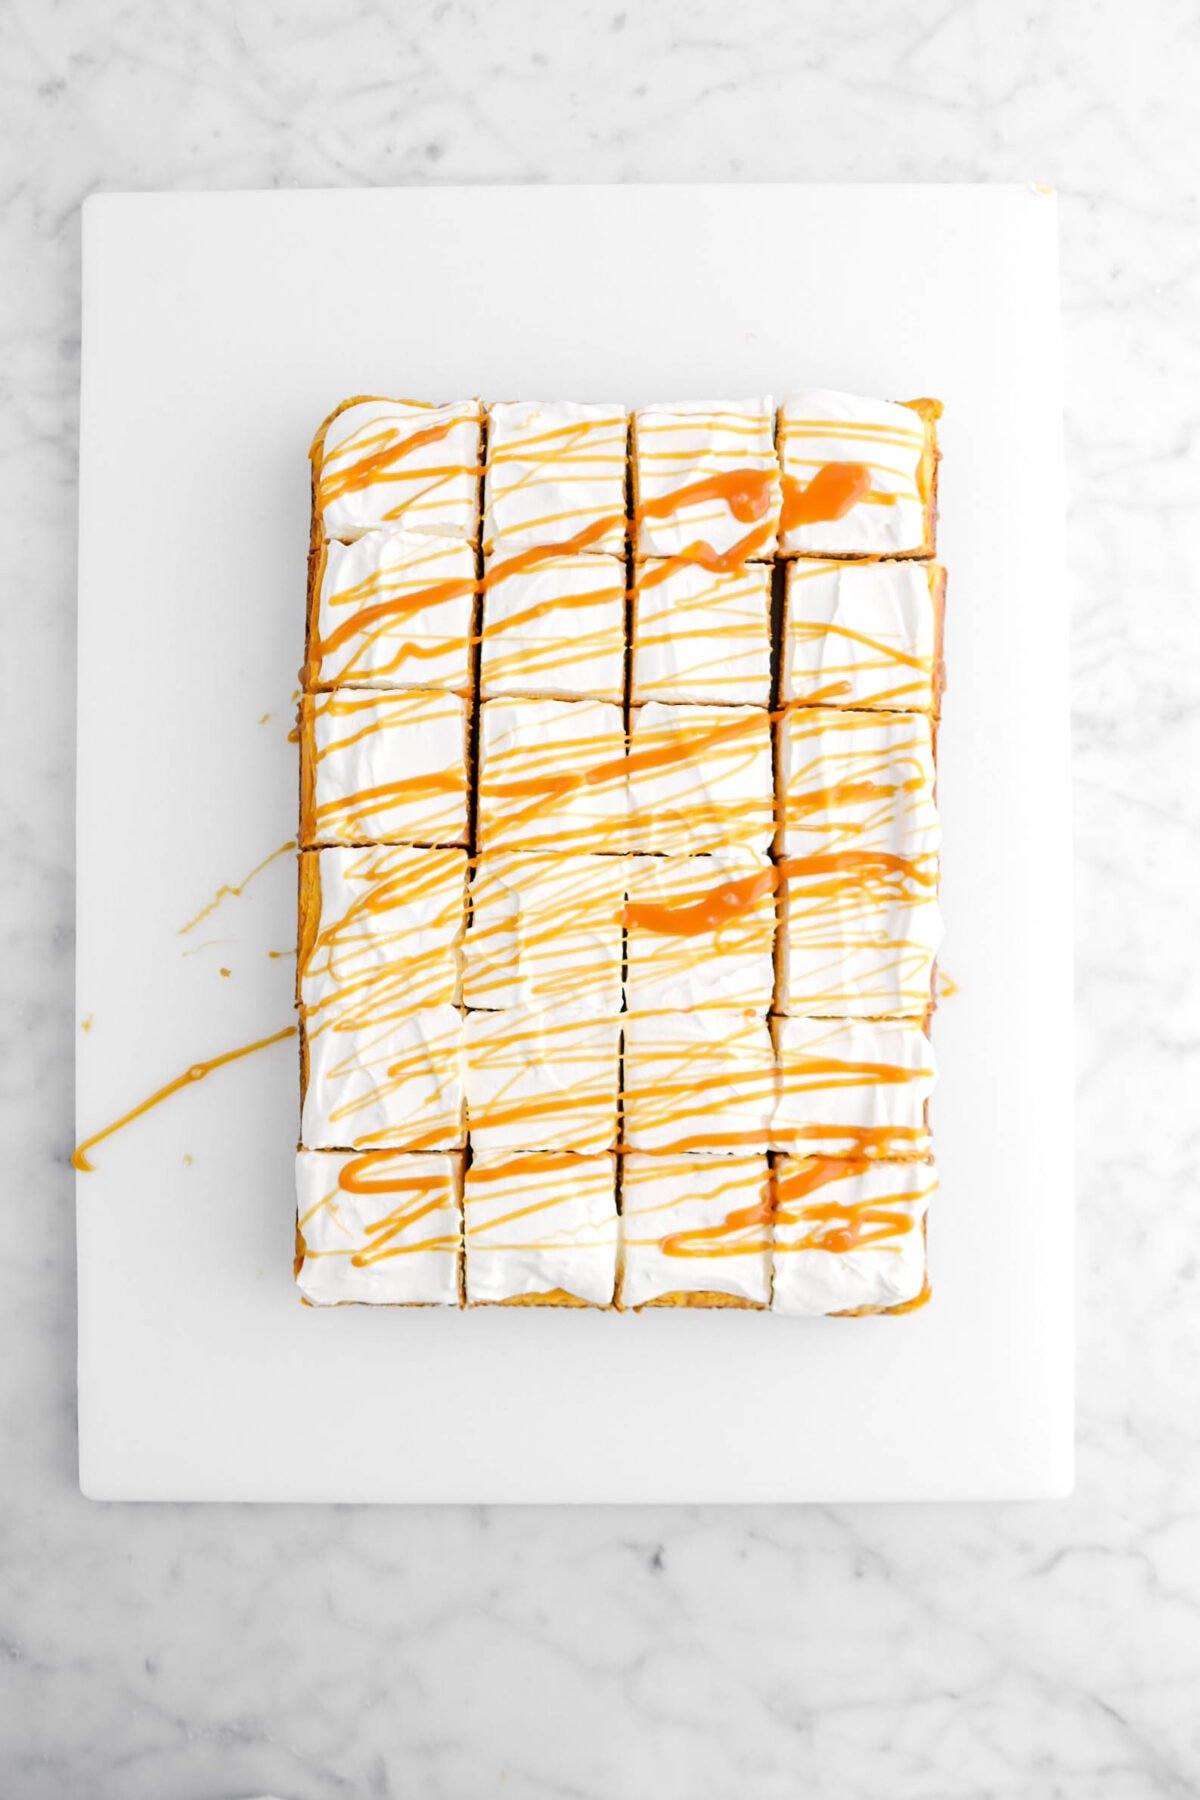
After refrigerating and right before you’re ready to serve, lift the cheesecake out of the pan. Top, if desired, with Chantilly Cream and Caramel Sauce. Slice into bars.
Maple Pumpkin Cheesecake Bars FAQ’s
What are the white dots in my cheesecake? With a pumpkin cheesecake, it can be super easy to spot when a cheesecake wasn’t properly mixed. The white dots are simply cheesecake that didn’t get fully incorporated when mixing. It’s always best to use a rubber spatula and scrape down the sides of the bowl often to help prevent this!
Why is my crust greasy? Too much butter being added to the crust causes it to be greasy. We figured this out the hard way! Though, there is a remedy. After pressing the cookie crust into the pan, you can place a paper towel over the top and gently press down to absorb any excess grease. Repeat as many times as needed.
Why did my cheesecake crack? Since this cheesecake is baked without a water-bath, cracking can be expected to happen on the edges while baking! Alternatively, the cheesecake may not have been tapped down before baking and therefore, air bubbles can cause some cracking. Even the oven door being opened before the cheesecake was done baking can cause cracking! There are a few things that can happen, but there’s not much to worry about because it will still be delicious.
How can I cover cracks in my cheesecake? The wonderful thing about this cheesecake is that, if it cracks, you can very easily cover it up! Use Chantilly cream, caramel sauce, or just a few well placed decorations like cookies or edible flowers to hide them!
Why did my cheesecake stick to the pan? If the pan wasn’t properly lined, some of the cheesecake can seep out and cause the bars to stick. It’s always best to run a thin bladed knife around the edge on the outside of the parchment paper before lifting out of the pan to help keep the bars from sticking!
How do I get clean slices? The best way to achieve clean, even slices is to wipe your knife after each cut! This keeps excess cheese cake, crumbs, or toppings from being dragged through each slice.
Why is there little/no maple flavor? This is caused by using a maple syrup that wasn’t strong enough. You need to use pure Grade B (or as known as Grade A Robust) for this recipe.
Topping Ideas
One of the best things about cheesecakes is that, while they’re delicious on their own, they’re even BETTER with toppings! Here are a few of our favorite things to top/decorate these cheesecake bars with.
- Chantilly Cream
- Caramel Sauce
- Maple Syrup
- A light dusting of cinnamon or pumpkin pie spice
- Vanilla Ice Cream
- Gingersnap Cookies
- Chopped Nuts (like pecans or walnuts!)
- Fall-Themed Sprinkles
How To Store
Once this cheesecake is made, it can be refrigerated for up to 3 days. Once sliced, it’s best to be kept in a container with a lid or zip top bag and refrigerated. If there are toppings, the cheesecake bars will not last as long.
You can also freeze the cheesecake for up to 2 months! Once it has been refrigerated overnight, lifted out, and sliced place the slices in a freezer safe zip-top bag. Just be sure to allow the cheesecake to come to room temperature before serving!
Expert Tips
- 2 cups of pumpkin purée is equal to a single 15 ounce can.
- Make sure you have pumpkin puree and NOT pumpkin pie filling.
- You will need Grade B (or, Grade A Dark Robust or Grade A Very Dark/Strong) Maple Syrup for this recipe. You can find what grade it is by checking the label.
- If you do not have a food processor to grind the cookies, you can place them in a zip top bag and crush them with a rolling pin.
- When grinding the cookies, be sure there are no large chunks!
- Depending on whether you use homemade or store-bought gingersnap cookies, the amount of butter needed may vary. For our homemade cookies, it takes about 4 Tablespoons of melted butter, as our gingersnaps are not as dry as store-bought.
- The amount cookies needed will also depend on if using our recipe or store-bought. Store-bought cookies tend to be much smaller than ours. Therefore, you will most likely need more than the 16 cookies listed in the recipe card.
- When packing down the crust, it’s best to use the bottom of a metal measuring cup to ensure a tight and even pack.
- Be sure to mix the cream cheese and eggs VERY well. Scrape down the sides and beater blade often to ensure no lumps.
- Once the eggs are added, try not to beat or mix too much. Eggs will retain air and give extra (and unwanted) lift to this cheesecake. That causes cracks!
- If you suspect air bubbles in your filling, tap the cake pan against your counter a few times!
- Once the cheesecake is done, let it cool completely before covering with aluminum foil and placing in the fridge overnight.
- If the cheesecake does not pull away from sides of pan after cooling, run a thin-bladed knife dipped in hot water around the edge of the parchment paper to loosen it.
When you make these Maple Pumpkin Cheesecake Bars with Gingersnap Crust, leave a comment down below! We love hearing from you and answering any questions you might have! Also, be sure to tag us on social media and hashtag it #BakersTable.
Maple Pumpkin Cheesecake Bars With Gingersnap Crust
Ingredients
Crust
- 4 cups gingersnap cookie crumbs, (about 16 cookies)
- ½ cup granulated sugar
- 4 Tablespoons salted butter, melted
Cheesecake
- 3 cups cream cheese, room temperature
- ¼ cup brown sugar
- ¼ teaspoon salt
- 3 large eggs, room temperature
- 1 large egg yolk, room temperature
- ¼ cup strong maple syrup
- 1⅔ teaspoons vanilla extract
- 6 Tablespoons heavy cream
- 2 cups pumpkin purée
Topping
- Chantilly Cream, optional
- Caramel Sauce, optional
Instructions
Crust
- Heat oven to 325℉.
- Line a 9 inch x 13 inch pan with parchment paper. Set aside.
- In a medium bowl, combine cookie crumbs and sugar.
- Add butter.
- Mix thoroughly.
- Press into bottom of prepared pan. Set aside.
Cheesecake
- With an electric mixer, beat cream cheese, sugar, and salt until light and fluffy, 3-4 minutes.
- Beat in eggs and yolk, one at a time.
- Mix in syrup, vanilla, and cream.
- Stir in pumpkin.
- Pour into prepared crust.
- Bake for 45 minutes, or until set.
- Allow to cool completely before refrigerating for 4-6 hours, or overnight.
- Before serving, lift from pan and top, if desired, with Chantilly cream and caramel sauce.
- Cut into 24 even squares.
Notes + Tips!
- 2 cups of pumpkin purée is equal to a single 15 ounce can.
- Make sure you have pumpkin puree and NOT pumpkin pie filling.
- You will need Grade B Maple Syrup for this recipe. Grade A is not strong enough. You can find what grade it is by checking the label.
- If you do not have a food processor to grind the cookies, you can place them in a zip top bag and crush them with a rolling pin.
- When grinding the cookies, be sure there are no large chunks!
- Depending on whether you use homemade or store-bought gingersnap cookies, the amount of butter needed may vary. For our homemade cookies, it takes about 4 Tablespoons of melted butter, as our gingersnaps are not as dry as store-bought.
- The amount of cookies needed will also depend on if using our recipe or store-bought. Store-bought cookies tend to be much smaller than ours. Therefore, you will most likely need more than the 16 cookies listed in the recipe card.
- When packing down the crust, it’s best to use the bottom of a metal measuring cup to ensure a tight and even pack.
- Be sure to mix the cream cheese and eggs VERY well. Scrape down the sides and beater blade often to ensure no lumps.
- Once the eggs are added, try not to beat or mix too much. Eggs will retain air and give extra (and unwanted) lift to this cheesecake. That causes cracks!
- If you suspect air bubbles in your filling, tap the cake pan against your counter a few times!
- Once the cheesecake is done, let it cool completely before covering with aluminum foil and placing in the fridge overnight.
- If the cheesecake does not pull away from sides of pan after cooling, run a thin-bladed knife dipped in hot water around the edge of the parchment paper to loosen it.
Tools You May Need (affiliate links)
– Still Hungry? –
Here are a few recipes may like!


Thanks for your wonderful recipes! Is it possible to reconfigure the layout of the recipe cards so it will print out on fewer pages? Currently whenever I attempt to print one of these (I like to have the paper in front of me rather than my phone), it takes 5 sheets of paper.
Thanks!
Hi Vicki! I re-worked the recipe card for the print page and I hope this makes things a little bit easier to print. You can turn off the notes and the nutrition label to make it one page. Hope this helps and thanks for letting us know 🥰 x, Caylie
Thanks, Caylie!! That was perfect!! I appreciate the quick response and fix! I’ve found that I don’t like to use the recipe on my phone because my hands are usually full of flour/batter etc. If I print it out, I can put it into a plastic sleeve and not worry about splatters, etc. Thanks again!!