Chocolate Pumpkin Cupcakes
This post may contain affiliate links, please visit our privacy policy for details.
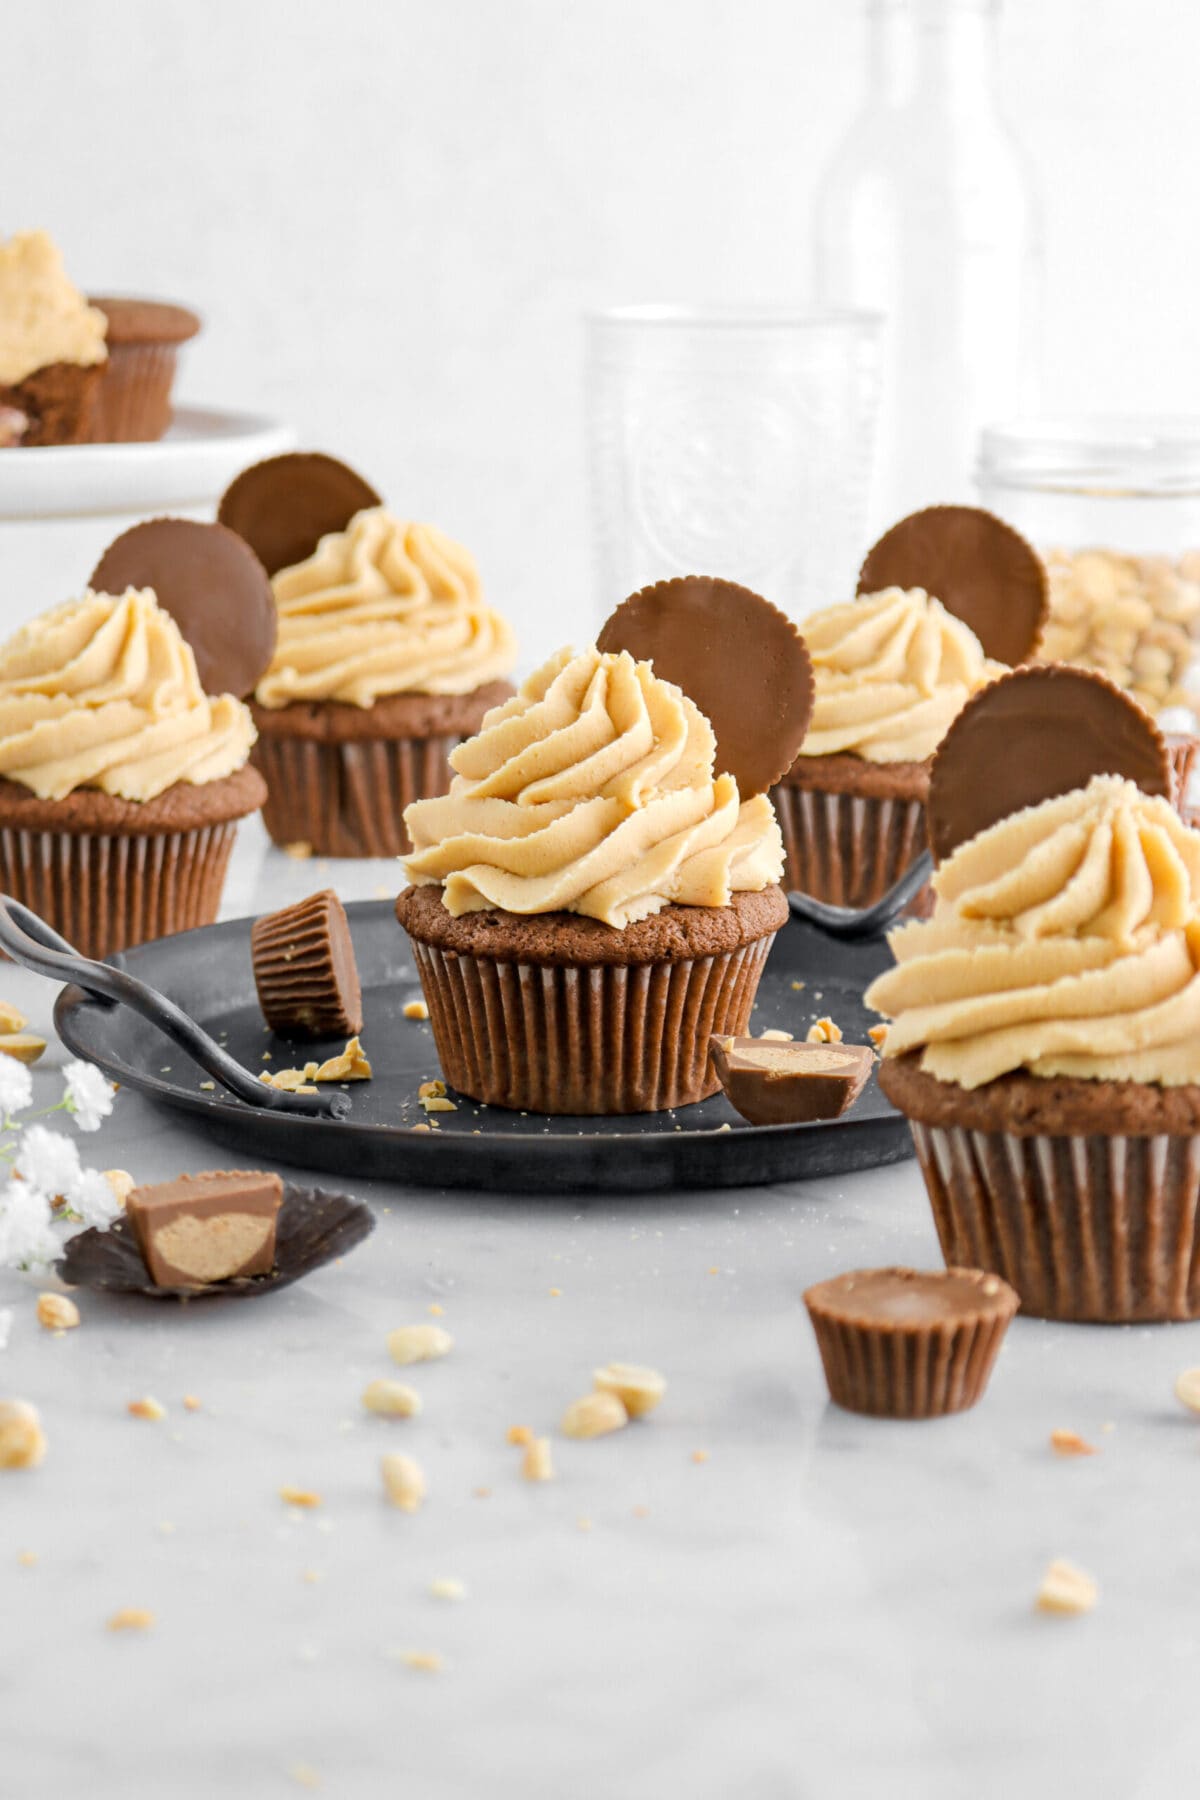
These extra moist Chocolate Pumpkin Cupcakes are everything you could want in a single cupcake…and MORE! A simple, stir-together cupcake made with cocoa powder and pumpkin puree, and frosted with the easiest buttercream. Bonus? These cupcakes can be made to look like Jack o’Lanterns for Halloween or cute little pumpkins for Fall/Thanksgiving!

If you’ve enjoyed our pumpkin chocolate chip muffins, then you will love today’s cupcakes! We will be using a similar base recipe, just without the chocolate chips, and adding in some cocoa powder. YUM!
4 Reasons You Will Love These Chocolate Pumpkin Cupcakes
- Unique Flavor Comb0: The blend of chocolate and pumpkin creates a deliciously rich and moist cupcake, allowing the chocolate flavor to truly shine!
- A New Way To Enjoy Pumpkin: Pumpkin cupcakes are a classic fall treat, but add some cocoa powder and now we have a delicious twist on a seasonal favorite!
- Easy To Make: This is such a simple recipe! All you need is a bowl and a whisk to mix it up.
- Fun To Decorate: Whether you’re getting ready for a Halloween bash, enjoying a cozy fall weekend, or planning your Thanksgiving menu, this recipe can be made to match ANY occasion.

How to Make & Assemble Chocolate Pumpkin Cupcakes
There are 2 parts to these cupcakes:
- Chocolate pumpkin cupcakes
- Colored vanilla buttercream
First, we need to make the cupcake batter. It comes together in just minutes — you don’t even need an electric mixer! Simply whisk together the dry ingredients, whisk together wet ingredients, then whisk the wet and dry together.
This batter is actually very similar to our carrot cake cupcakes!


The baking: Spoon 3 Tablespoons of cupcake batter into 12 cupcake liners. We highly recommend using a large cookie scoop to ensure each cupcake is the same size.
Baking Ahead of Time?
If you’re prepping desserts for the holiday season, these cupcakes are a perfect make-ahead treat! Once baked and cooled, place the cupcakes in a freezer safe zip-top bag and freeze for up to 3 months unfrosted.
Here’s what the cupcakes look like after baking:

Next step, the frosting. These chocolate pumpkin cupcakes are so utterly delicious that you don’t even need the frosting…but let’s be serious, if you’re making cupcakes, you just gotta frost them! Especially when it’s with homemade frosting.
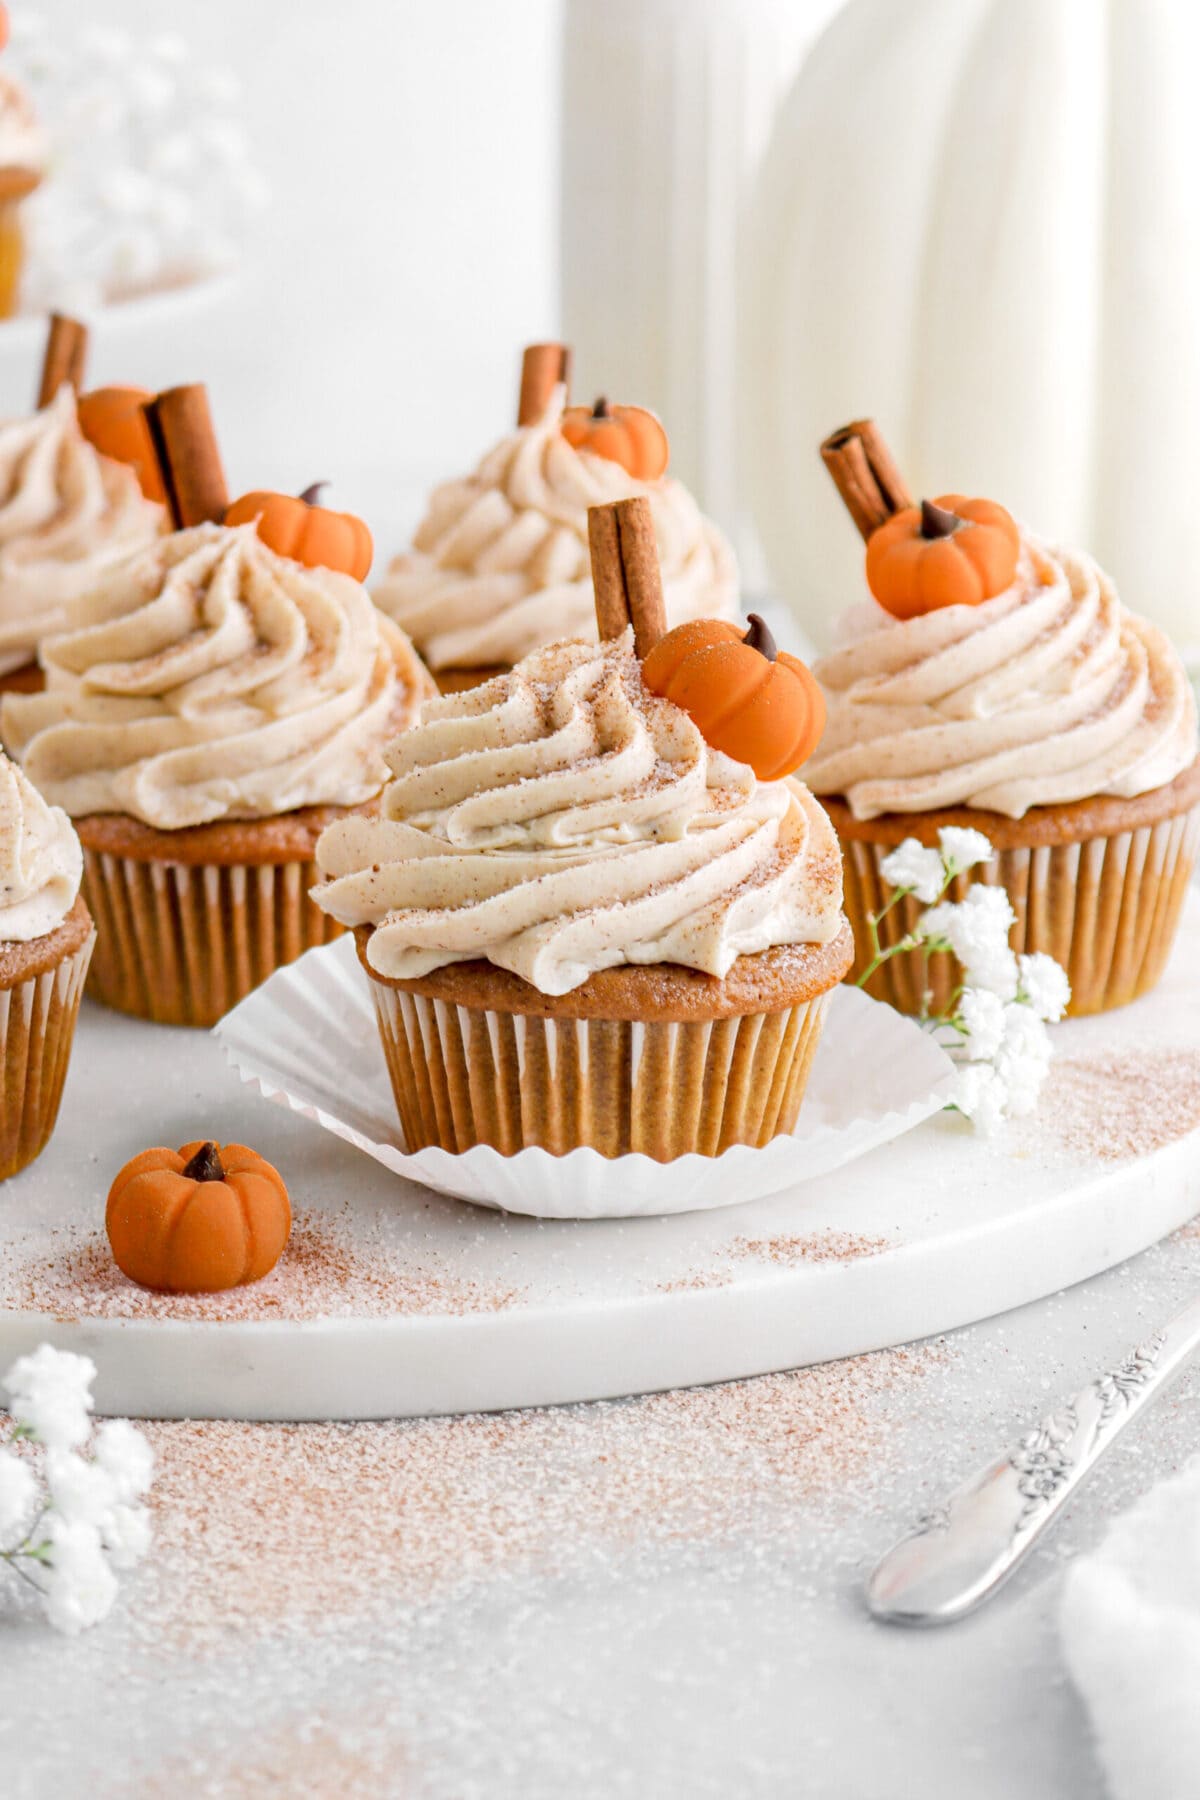
The frosting I used to top these cupcakes is our classic american buttercream colored with food dye in three seperate colors: orange, brown, and green. If you want to make Jack o’Lanterns, dye a little bit of your frosting black!
When dividing the frosting, you will need three bowls. The majority of the frosting needs to be orange. So, be sure to put it in the largest bowl. From there, you can use two smaller bowls for the green and brown. I found I needed a little bit more green than brown, but honestly – half and half should work just fine.
For the orange frosting, I used an 804 Ateco piping tip. I started on the edges and piped a curved line, following the shape of the cupcake. Then, filled in the center with two more lines of frosting. It’s important to pipe in a slight curve, following the cupcake. Never pipe from one side to the other. This might result in a more stripe-look rather than pumpkin. Always start on the sides, then fill in.
Then, I used a 862 Ateco French star tip with the brown frosting to pipe the “stem”. This went on the top center of each cupcake. Remember, pipe outwards and NOT upwards!
Finally, I used two tips for the green. To create vines, I used a small round/tube piping tip. For the leaves/grass, I used a small leaf piping tip. You can find both tips I used in this piping set.

These cupcakes are such a fun baking project for any age! Over the weekend, I personally whipped up a batch of these cupcakes with my younger cousins and they had a BLAST! Especially when it came to the decorating.
If you have young kids around this holiday season, be sure to get them involved with this super simple recipe! They will love it, trust me.

When you make these Chocolate Pumpkin Cupcakes, leave a comment down below! We love hearing from you and answering any questions you might have! Also, be sure to tag us on social media and hashtag it #BakersTable.
Happy baking!
x, Caylie

Chocolate Pumpkin Cupcakes
Ingredients
Cupcakes
- 1¾ cups all-purpose flour
- 2 cups granulated sugar
- ¾ cup Dutch process cocoa powder, sifted
- 2 teaspoons baking powder
- ⅔ teaspoon salt
- 2 large eggs
- 1 cup whole milk
- ½ cup vegetable oil
- 2 teaspoons vanilla extract
- 1 cup pumpkin purée
Frosting
- 1½ cups unsalted butter, room temperature
- 4 cups powdered sugar, sifted
- ⅝ teaspoon salt
- 1 teaspoon vanilla extract
- 2 Tablespoons whole milk
- orange, green, and brown food coloring
Instructions
Cupcakes
- Heat oven to 350℉/177℃.
- Line 2 muffin pans with cupcake liners, or spray with baking spray.
- In a large bowl, whisk flour, sugar, cocoa powder, baking powder, and salt together. Set aside.
- In a medium bowl, whisk pumpkin, eggs, milk, oil, and vanilla together.
- Pour wet ingredients over dry ingredients.
- Mix well, but don't over beat.
- Use a 3 Tablespoon scoop to portion batter into prepared pans.
- Bake for 18-20 minutes, or until cupcakes test done.
Frosting
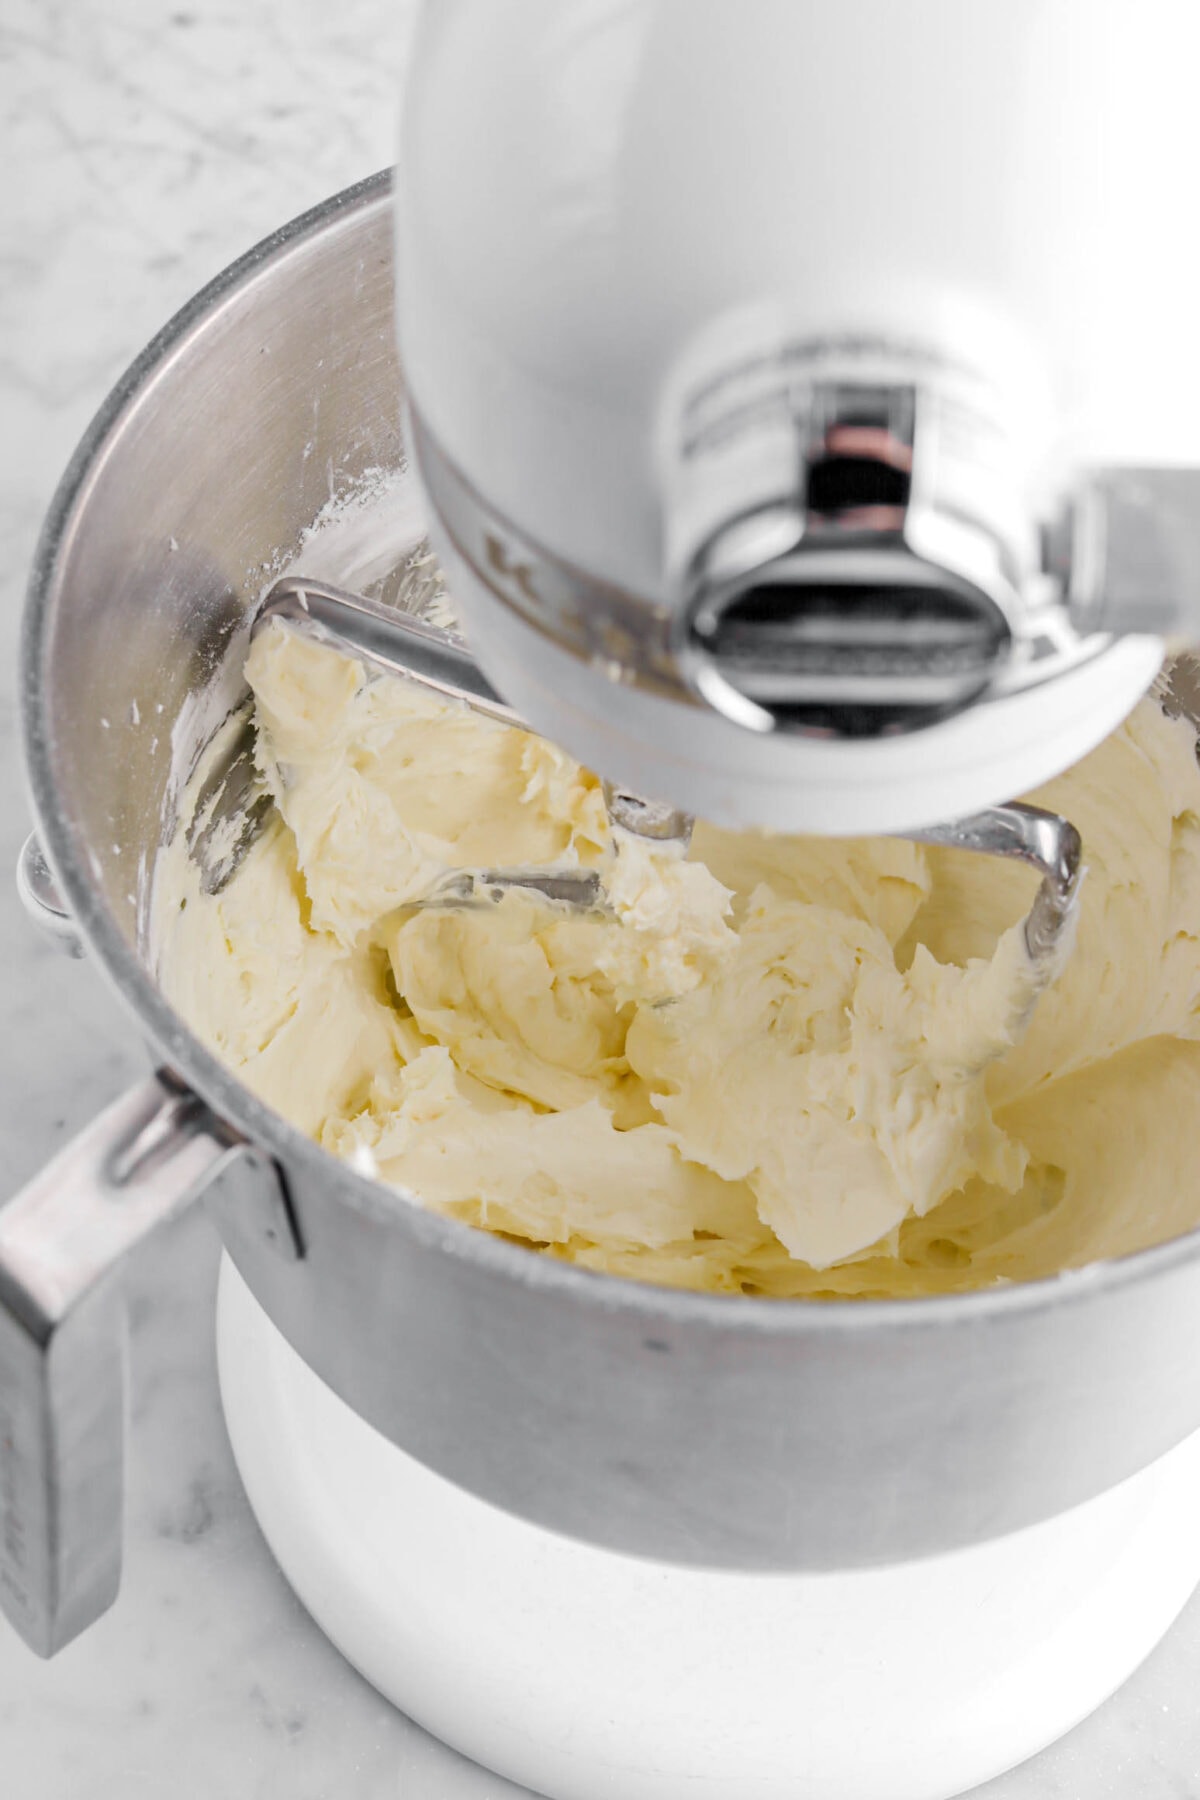
- In a stand mixer fitted with the flat beater, beat butter, powdered sugar, and salt until smooth and creamy, about 2-3 minutes.
- Add vanilla and milk.
- Beat until light and fluffy, about 2-3 more minutes.
- Divide frosting into 3 bowls.
- Color with orange, green, and brown food coloring with orange being the most, then green, then brown.
- Spoon into piping bags fitted with desired tips.
Decorating
- Starting at the bottom of the cupcake, pipe a curved line upward, creating one side of the pumpkin. Continue piping curved lines, overlapping slightly, to form the pumpkin shape.
- At the top of the cupcake, pipe a small, upright line of brown frosting to create the stem.
- With the green frosting, add vines and grass to each pumpkin.
Notes + Tips!
- Make Ahead/Freezing Instructions: These cupcakes can be made ahead 1 day in advance, covered, and stored at room temperature. The buttercream (colored or not) can also be made 1 day in advance, covered, and stored in the refrigerator until ready to use. Leftover cupcakes keep well covered tightly in the refrigerator for 3 days. Frosted and unfrosted cupcakes can be frozen up to 3 months.
- Pumpkin: We strongly recommend using canned pumpkin puree (not homemade!) in this recipe. We’ve found canned provides a better, sweeter flavor. Just be sure it’s 100% pure pumpkin puree and not pumpkin pie filling.
- Cocoa Powder: Use Dutch-process, not natural cocoa powder for a deeper and richer flavor.
- Room Temperature: All refrigerated items (milk, eggs, etc) should be at room temperature (around 70℉) to ensure the batter (and the frosting!) mixes together easily and evenly.
- Mini Cupcakes: For 40ish mini cupcakes, bake for about 10-12 minutes (or until done) at the same oven temperature.
- Steady Hand: To achieve clean and precise piping, use a piping bag with a sturdy tip. If you are unfamiliar/not confident in your piping skills, try piping on parchment paper before decorating your cupcakes.
- Perfect Pumpkin Shape: To create a realistic pumpkin shape, start by piping the left and ride side the cupcake to create two curves. Fill in following the curves of the cupcake, being sure to overlap slightly with each line of frosting.
- Add Some Sparkle: For a festive touch, sprinkle some edible glitter or sugar crystals on top of the frosting.
Tools You May Need (affiliate links)
– Still Hungry? –
Here are a few recipes may like!


