Mini Key Lime Pie
This post may contain affiliate links, please visit our privacy policy for details.
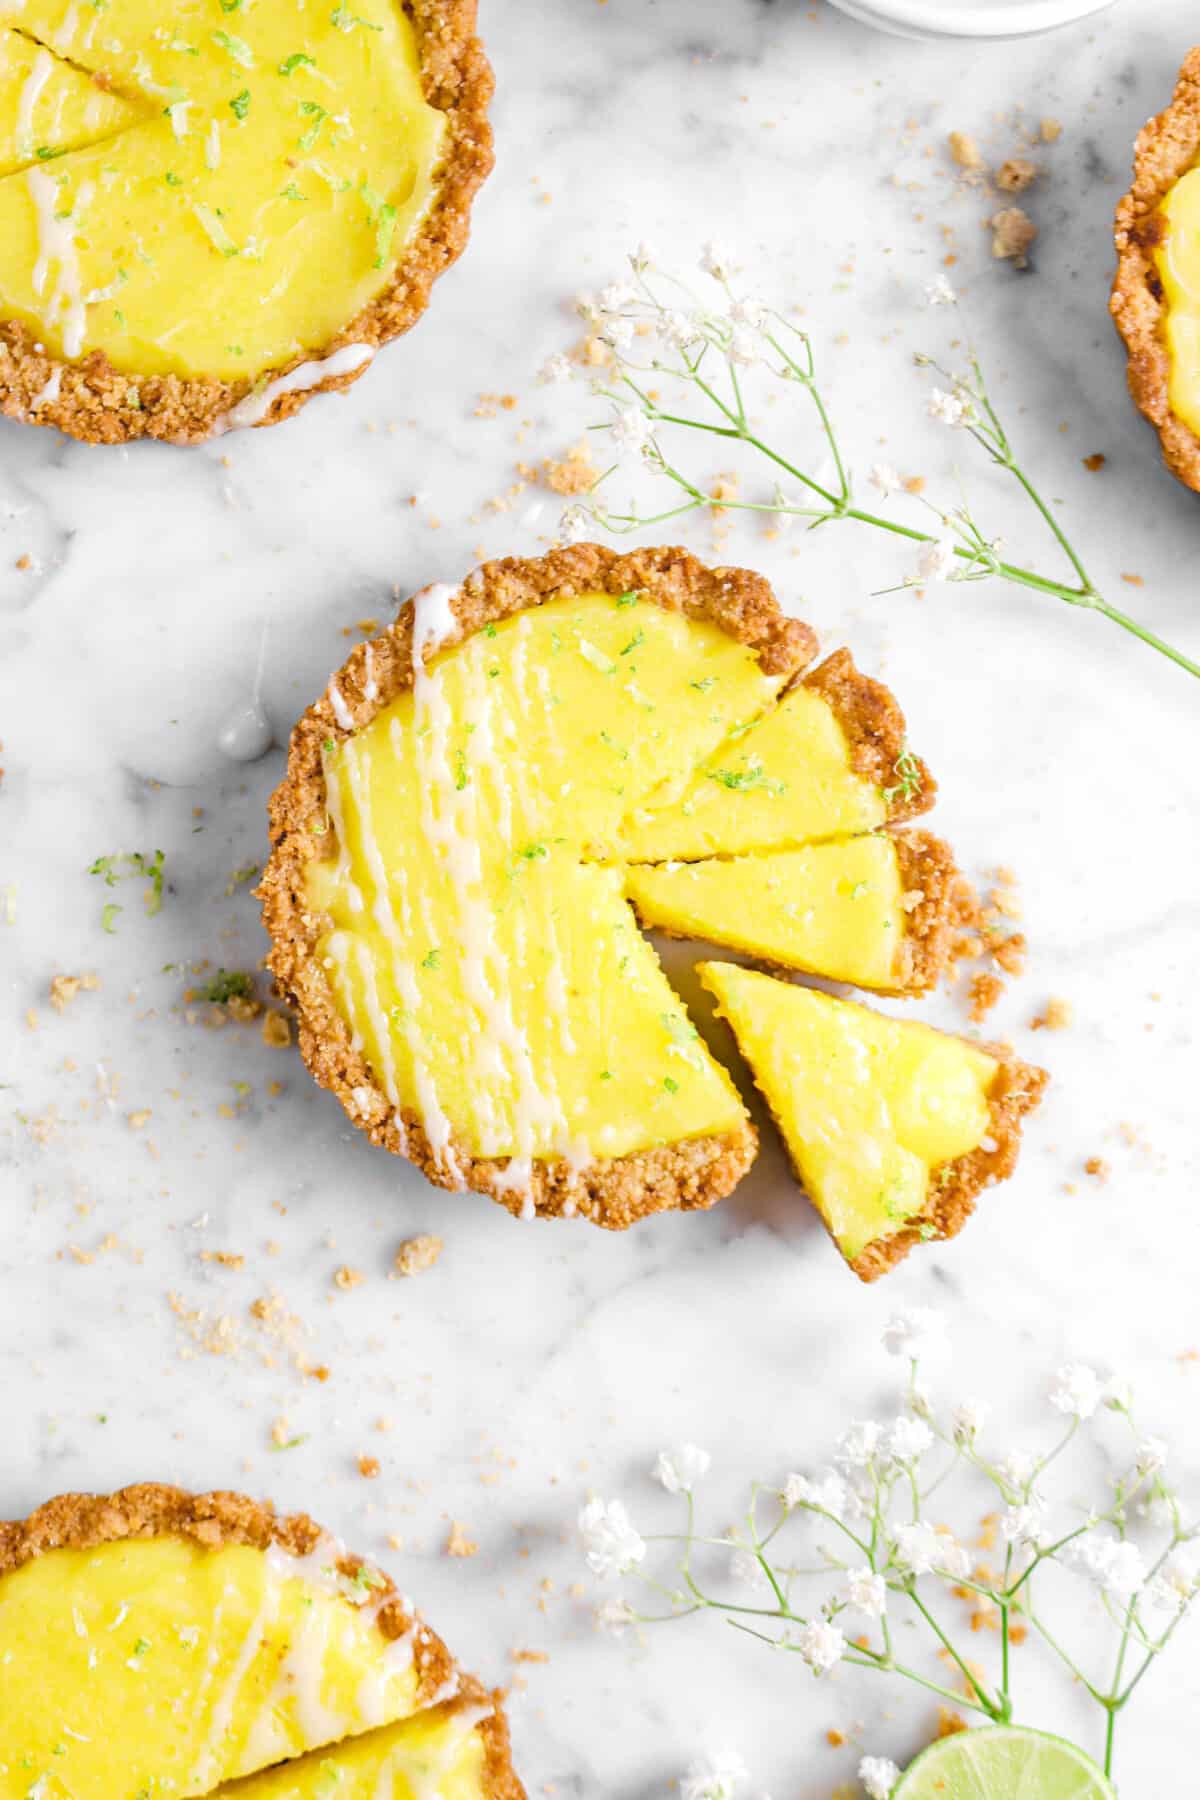
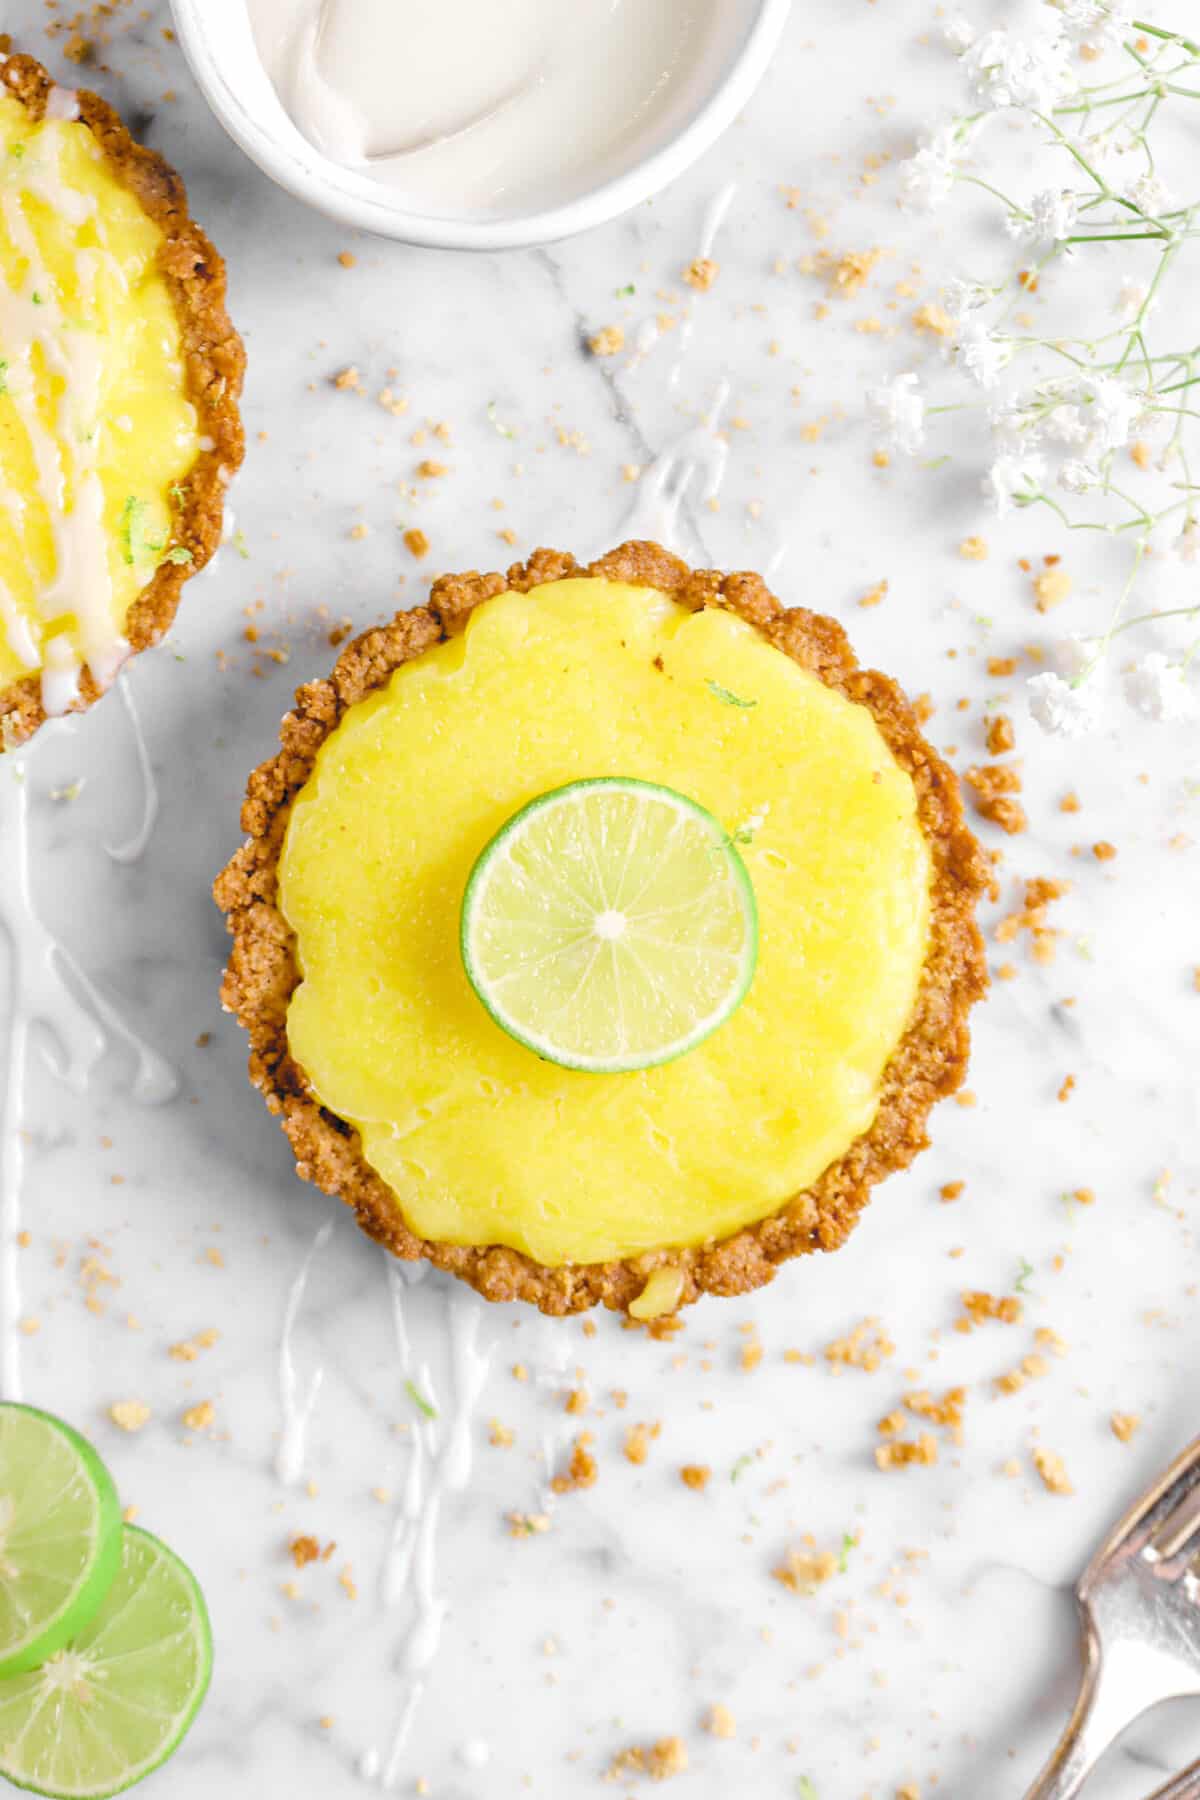
Sweet, buttery, citrusy, and oh so creamy, these Mini Key Lime Pies is definitely not your average pie! The crust is a mix of honey graham crackers, a bit of sugar, and and some salted butter. The creamy filling is made with only a few base ingredients…key lime zest, key lime juice, sugar, butter, and some egg yolks. This filling is really quite simple to make! All you need to do is cook it a little, until it’s thick, and then spoon it into the delicious crust! From there, refrigerate until the pies are set. It’s worth the trouble, promise! Then, top each mini pie with anything! From meringue, to Chantilly Cream, or keep it simple and make a sweet key lime drizzle to go on top. Trust me, this key lime pie is extra special. Every bite is sweet, citrusy, creamy, and bursting with fresh summer flavors. It feels so tropical. It is the perfect spring and summer pie!
About The Recipe
Happy Wednesday and happy citrus season! We are getting into the spirit with all things citrusy. And, after a bit of thinking on what we want to do next, it just dawned on us that we didn’t have a key lime pie recipe here on Bakers Table!
I mean, we lived in Florida for 10 years. I think we definitely need a a key lime pie, don’t you think?

I’m gonna be honest, there was once a period of time when I said I would not eat a key lime pie. I know! It sounds awful. But, hear me out. It just wasn’t a pie that interested me when I was growing up. I could never understand why key lime pie (and all things citrus) were (seemingly) everyone’s favorite. Seriously, If you’re going to enjoy a slice of pie, why not make it a slice of French Silk Pie or even Chocolate Chip Brownie Pie? Yes, that was my thinking as a kid. Legitimately. I was and always have been an absolute chocoholic.
I could never really get into key lime pie as a kid. It wasn’t until my brother ordered one somewhere and made me try a bite.
Still, I am a chocoholic, but I have to say… it was pretty good! So, from that moment forward I could understand the hype…but we just never got around to making some. Until now!

Oh! If I forgot to mention, key lime pie just so happens to be my brother’s all-time favorite dessert. He loves anything with citrus and he always asks my mom and me to make a some more citrus-y desserts. Especially key lime pie. With Spring quickly approaching, and a few holiday’s ahead, we finally decided to listen to Ian and make these cute little pies!
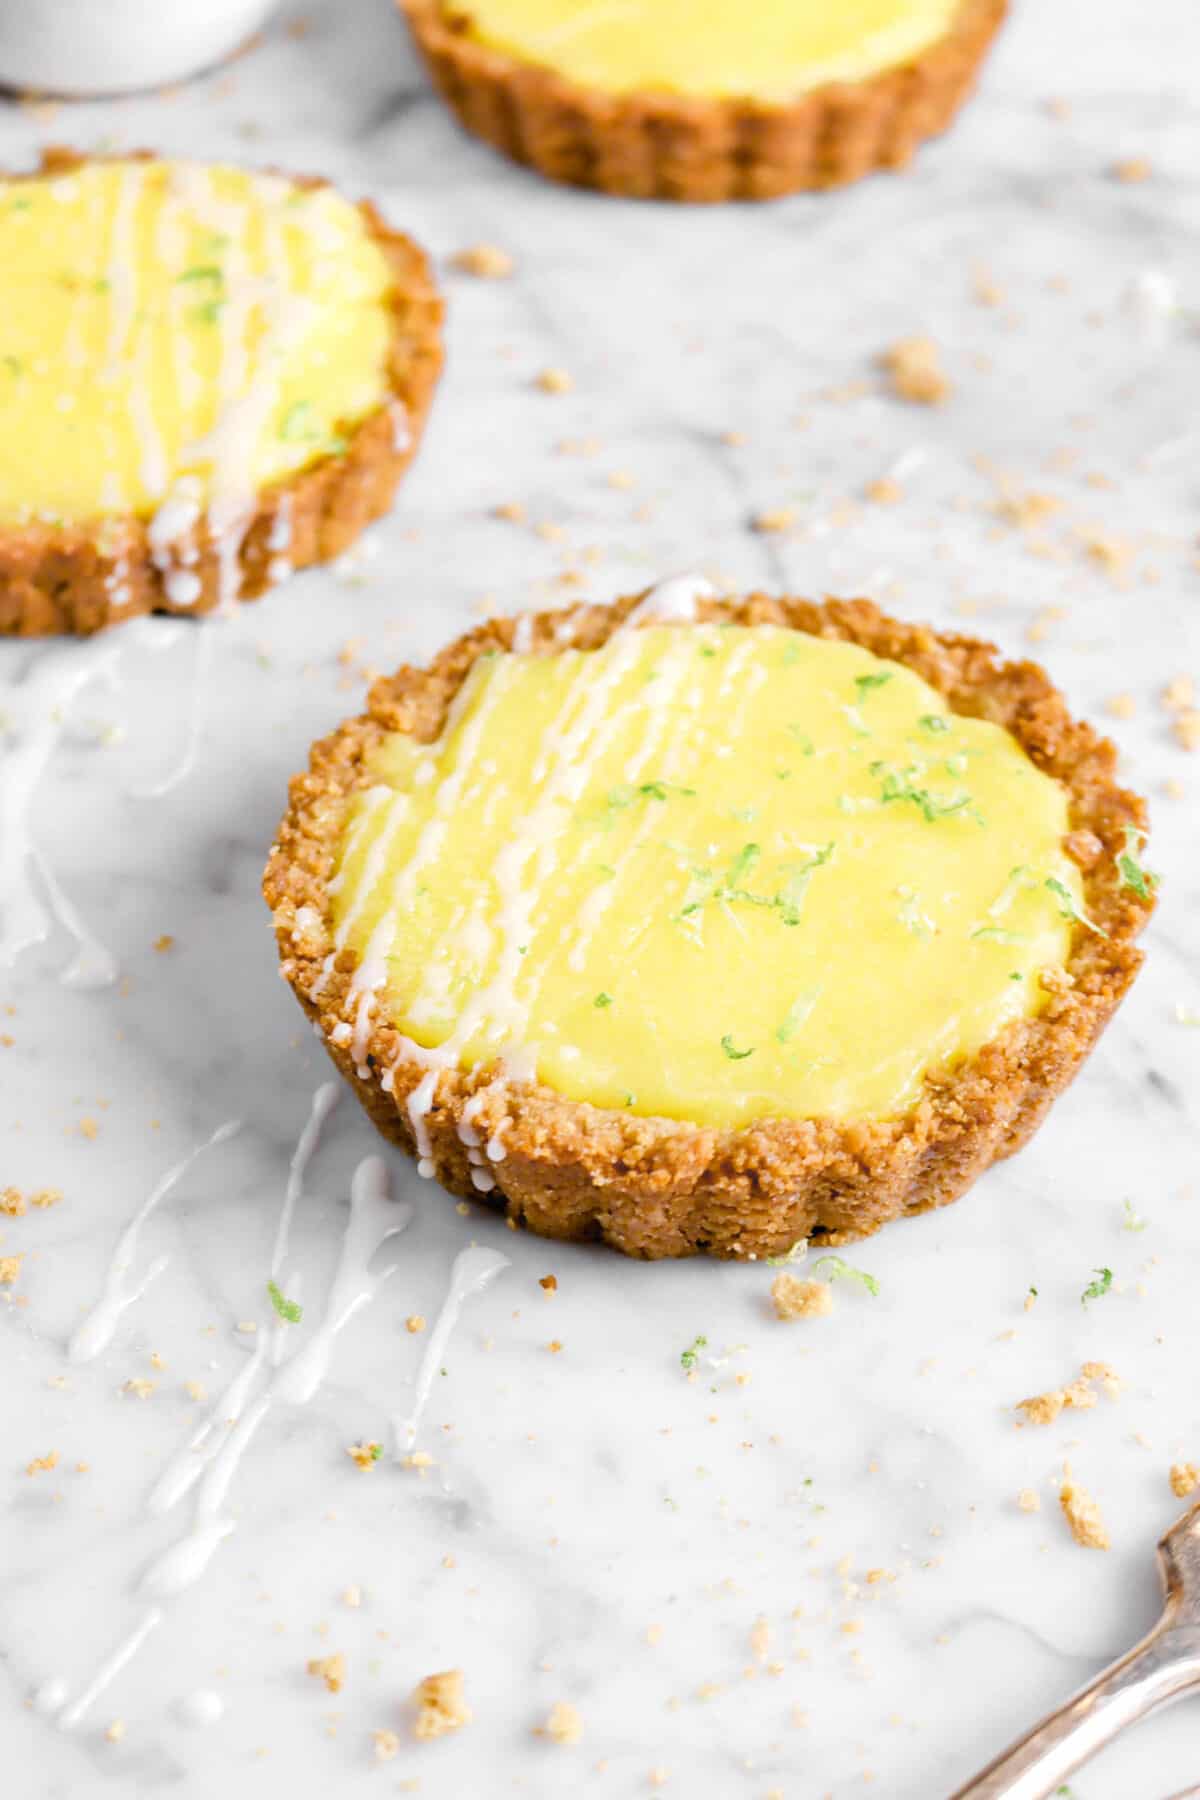
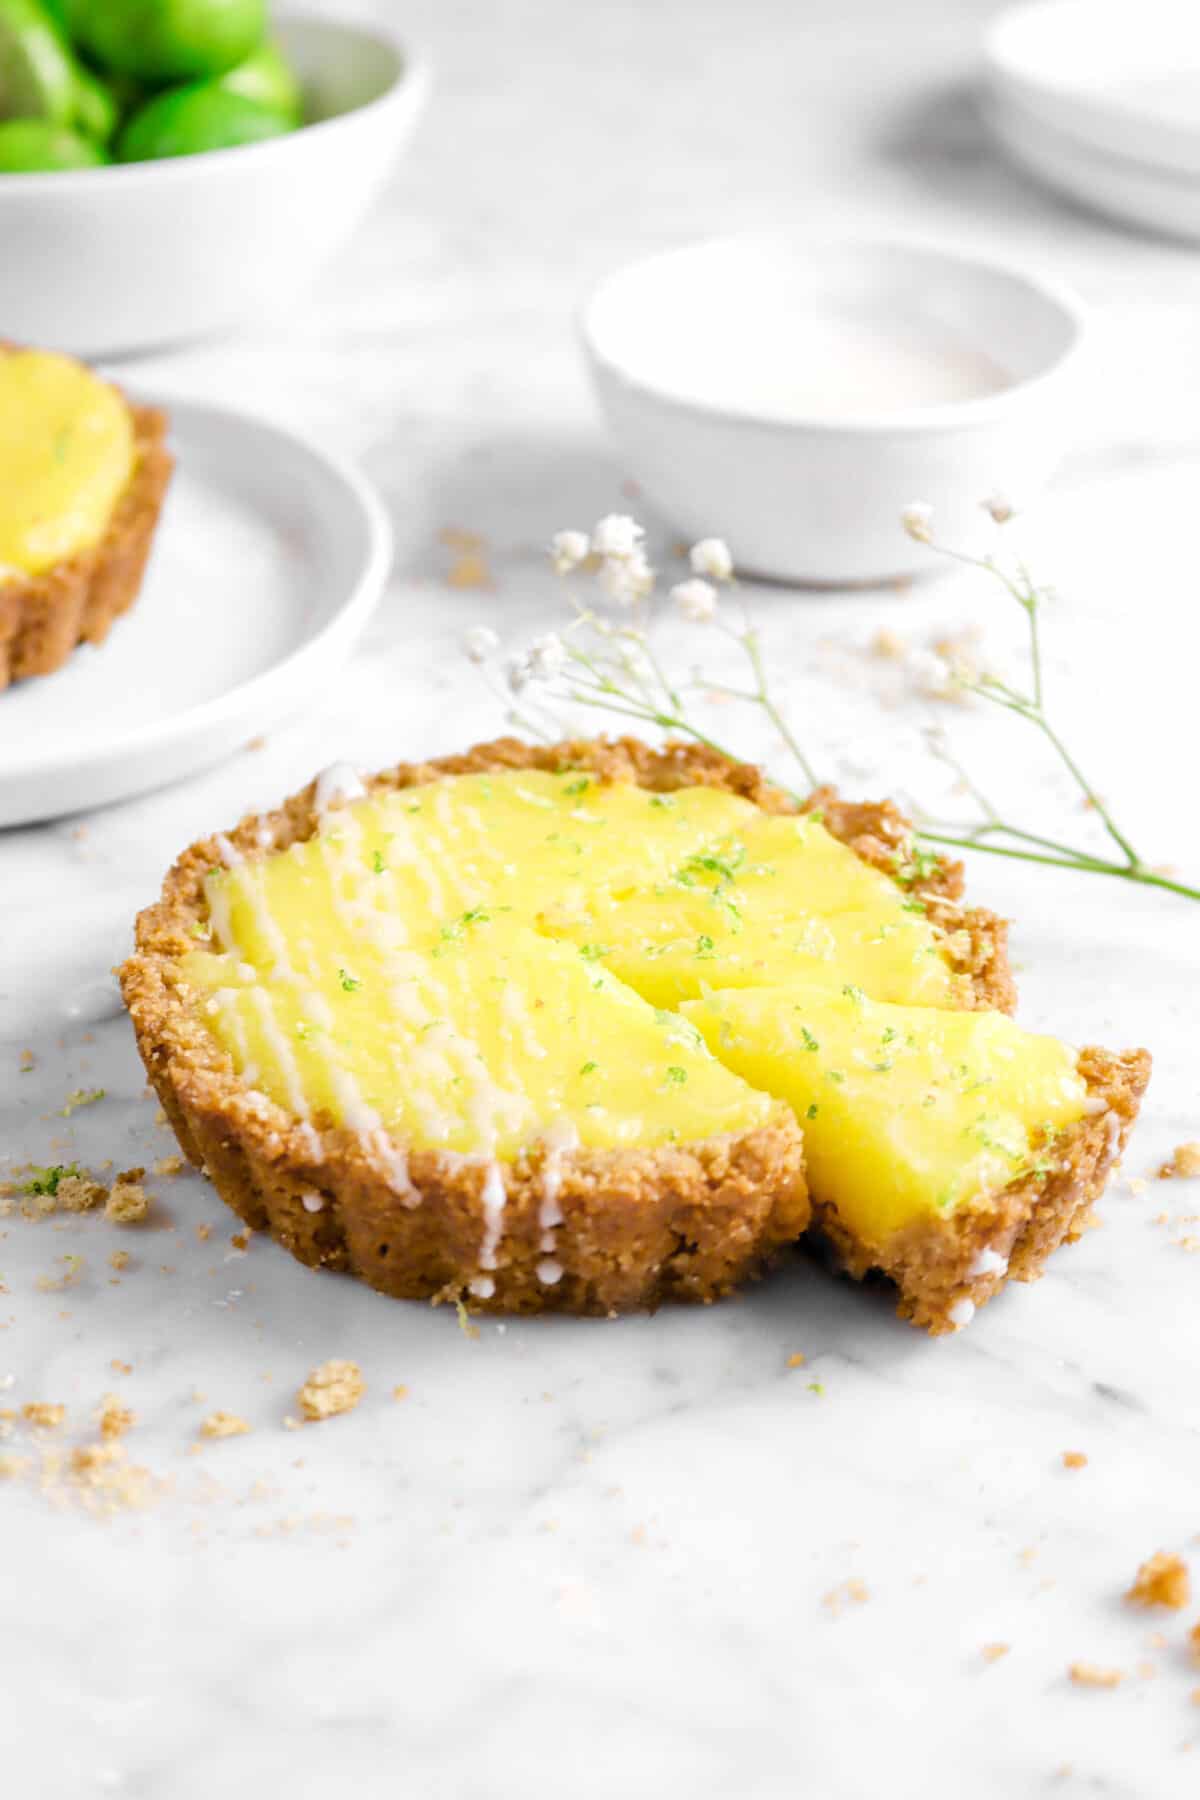
Which, is also what makes them super special. Each pie is the perfect individual sized dessert!
And putting them together was actually an easier feat than I imagine. The hardest thing is trying not to tire your arms out while squeezing the seemingly infinite amount of key limes. Okay, maybe i’m being dramatic. It takes about ten, but still. They’re so small! Using a juicer definitely saved the day.
And, I can positively say that these pies are so worth the tired arm!

Smooth, light, creamy, tangy, sweet, buttery, crunchy… I could go on! These pies are the perfect treat for any occasion and holiday.
Ingredients
For The Crust:
- Graham Cracker Crumbs
- Sugar
- Salted Butter
For The Filling:
- Egg Yolks
- Sugar
- Key Lime Zest
- Key Lime Juice
- Butter

Instructions
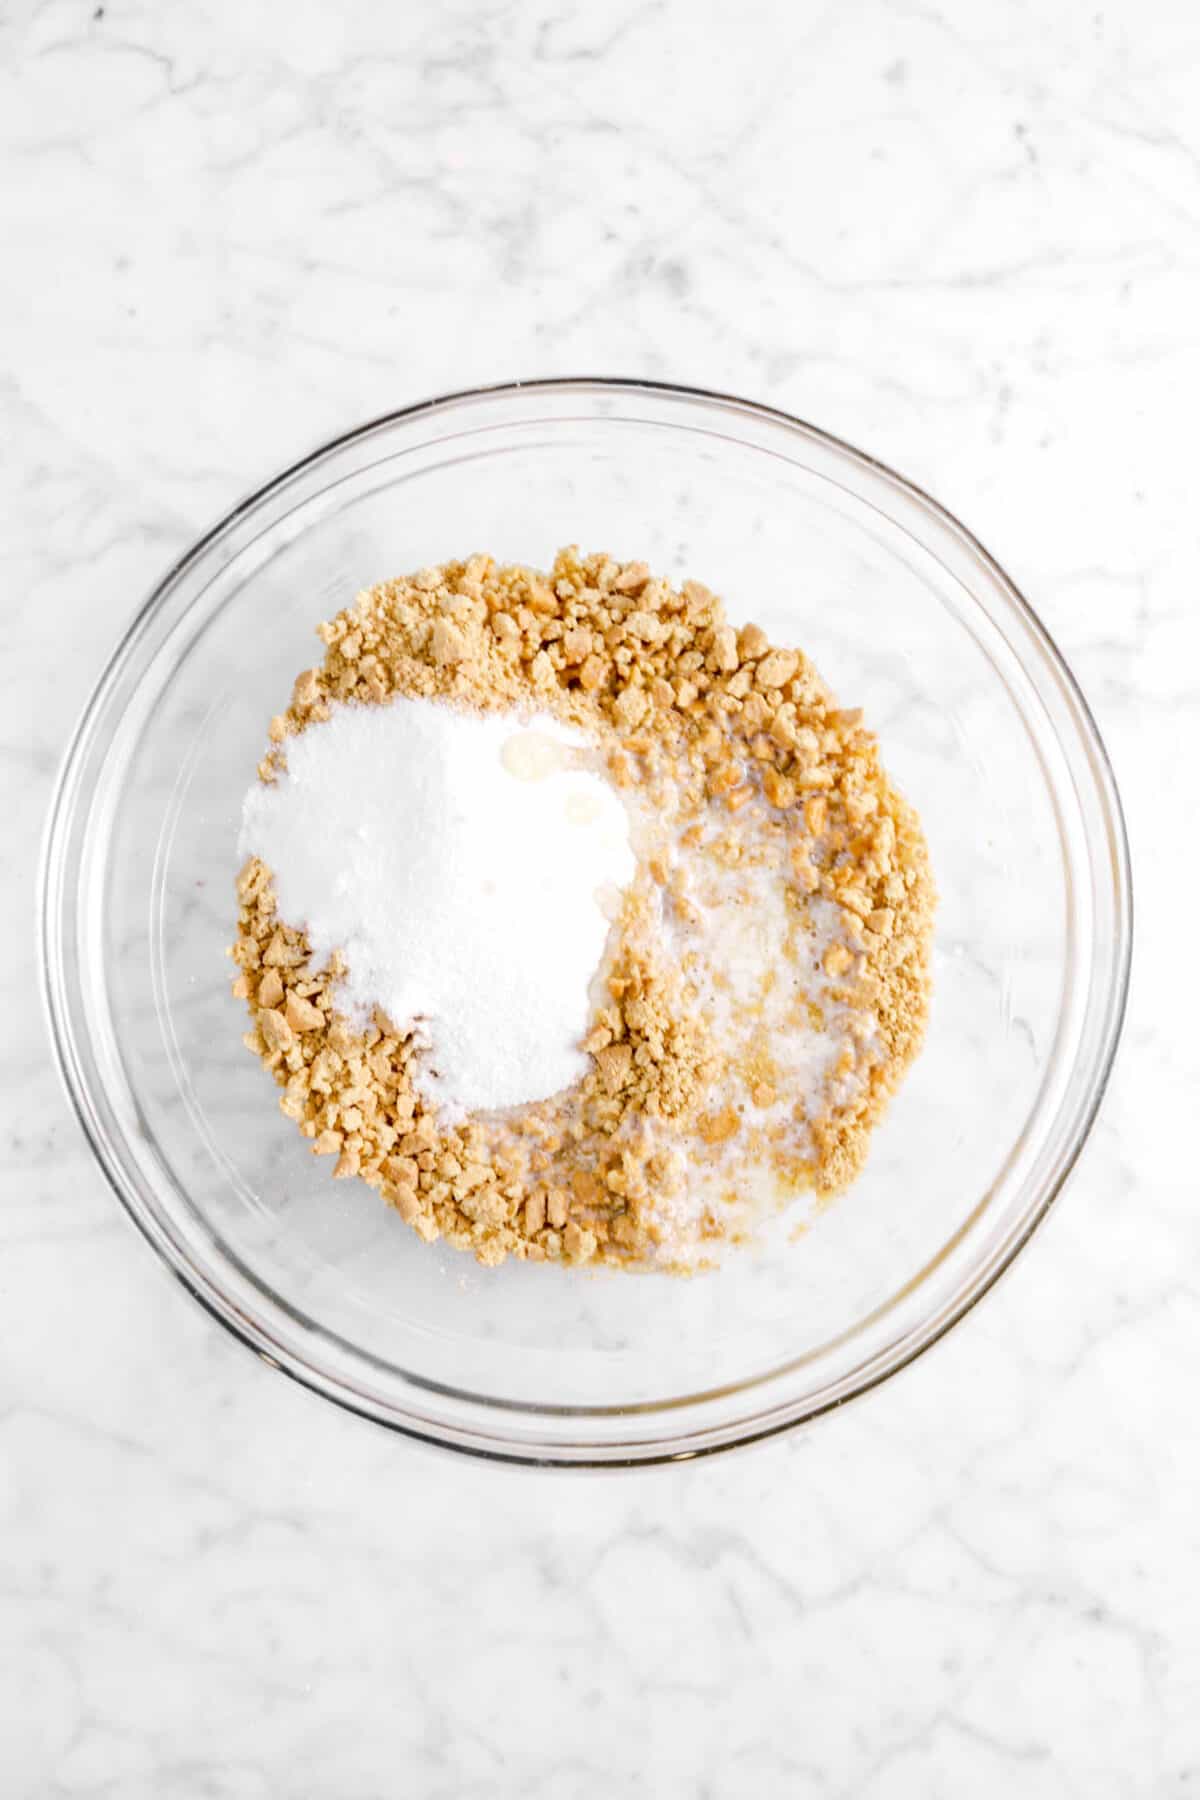
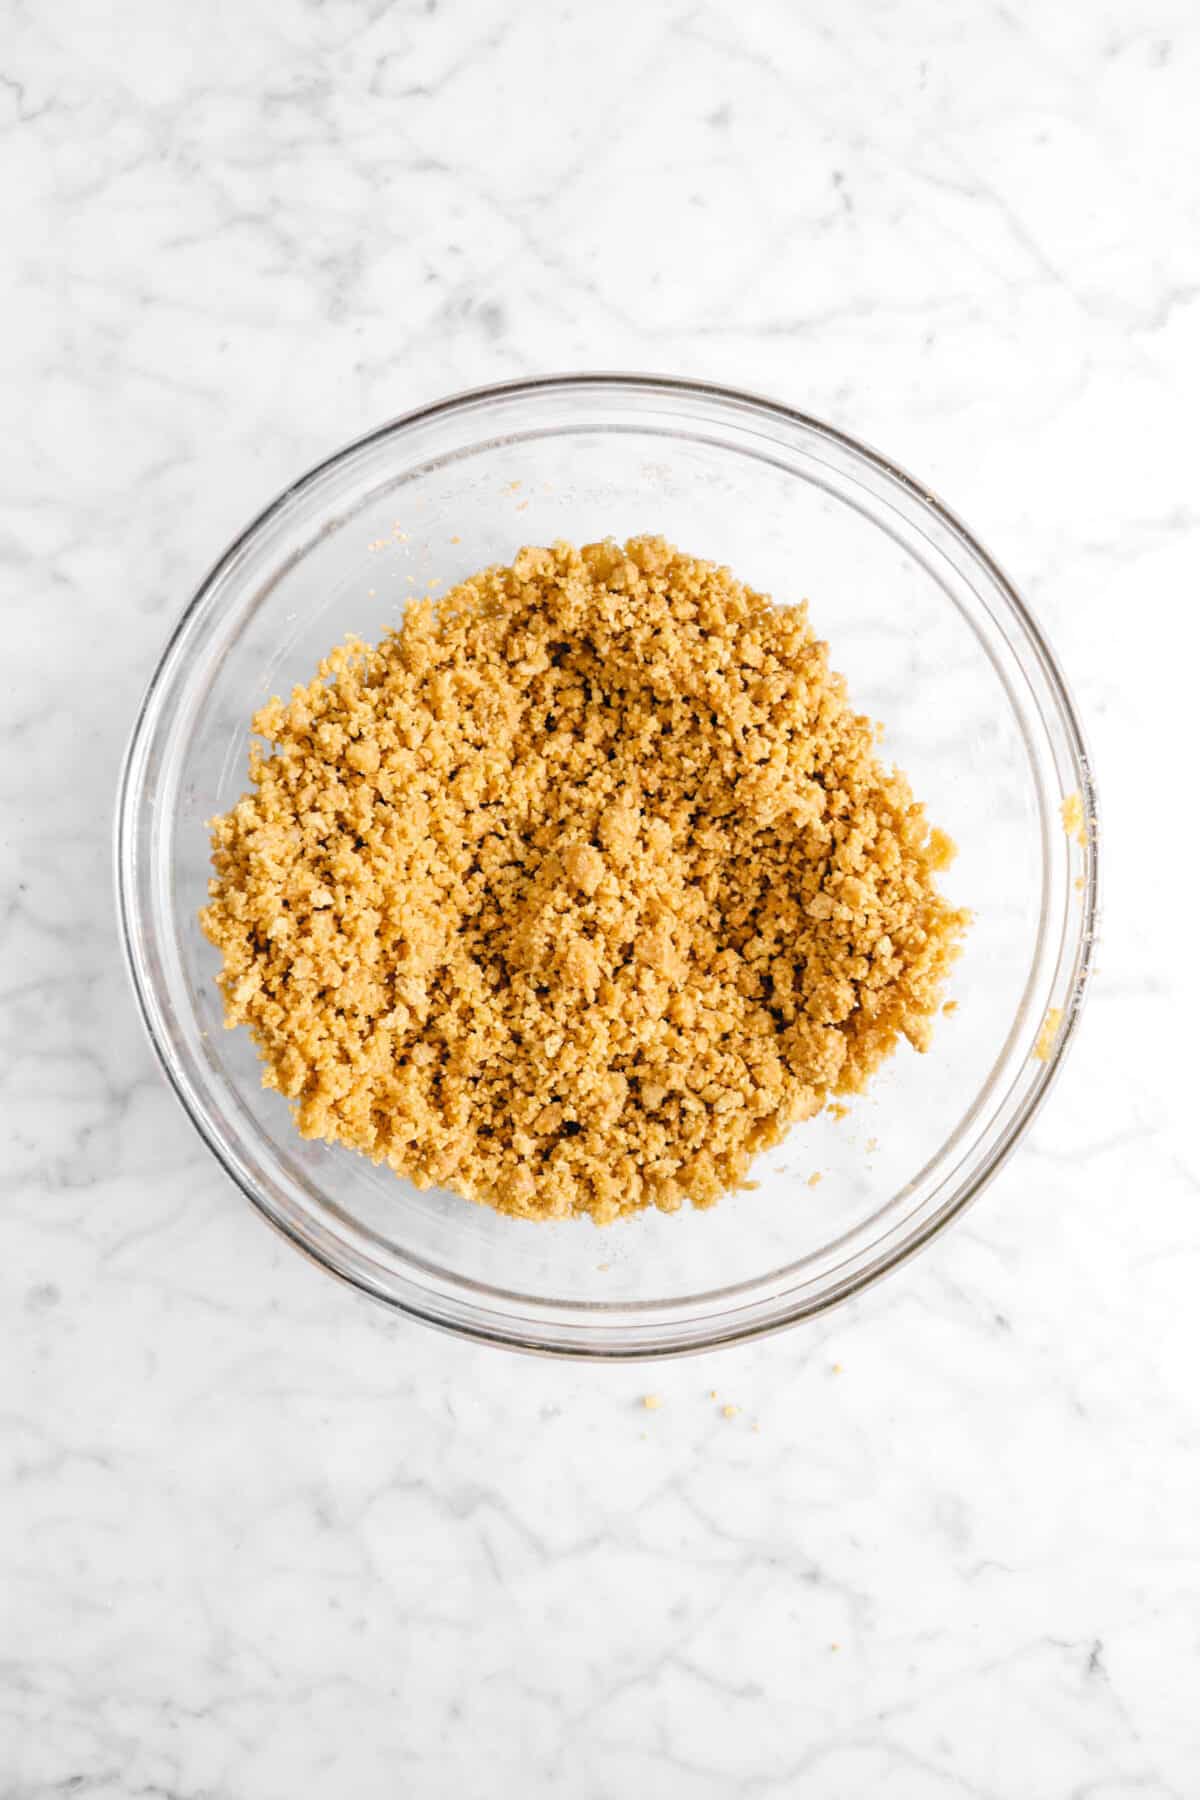
In a large bowl, combine the graham cracker crumbs, sugar, and butter.
Spoon out a little less than 1/2 cup per tart shell in the pan. Press down evenly. Bake at 350℉ for 5 minutes, or until lightly browned. Let cool.


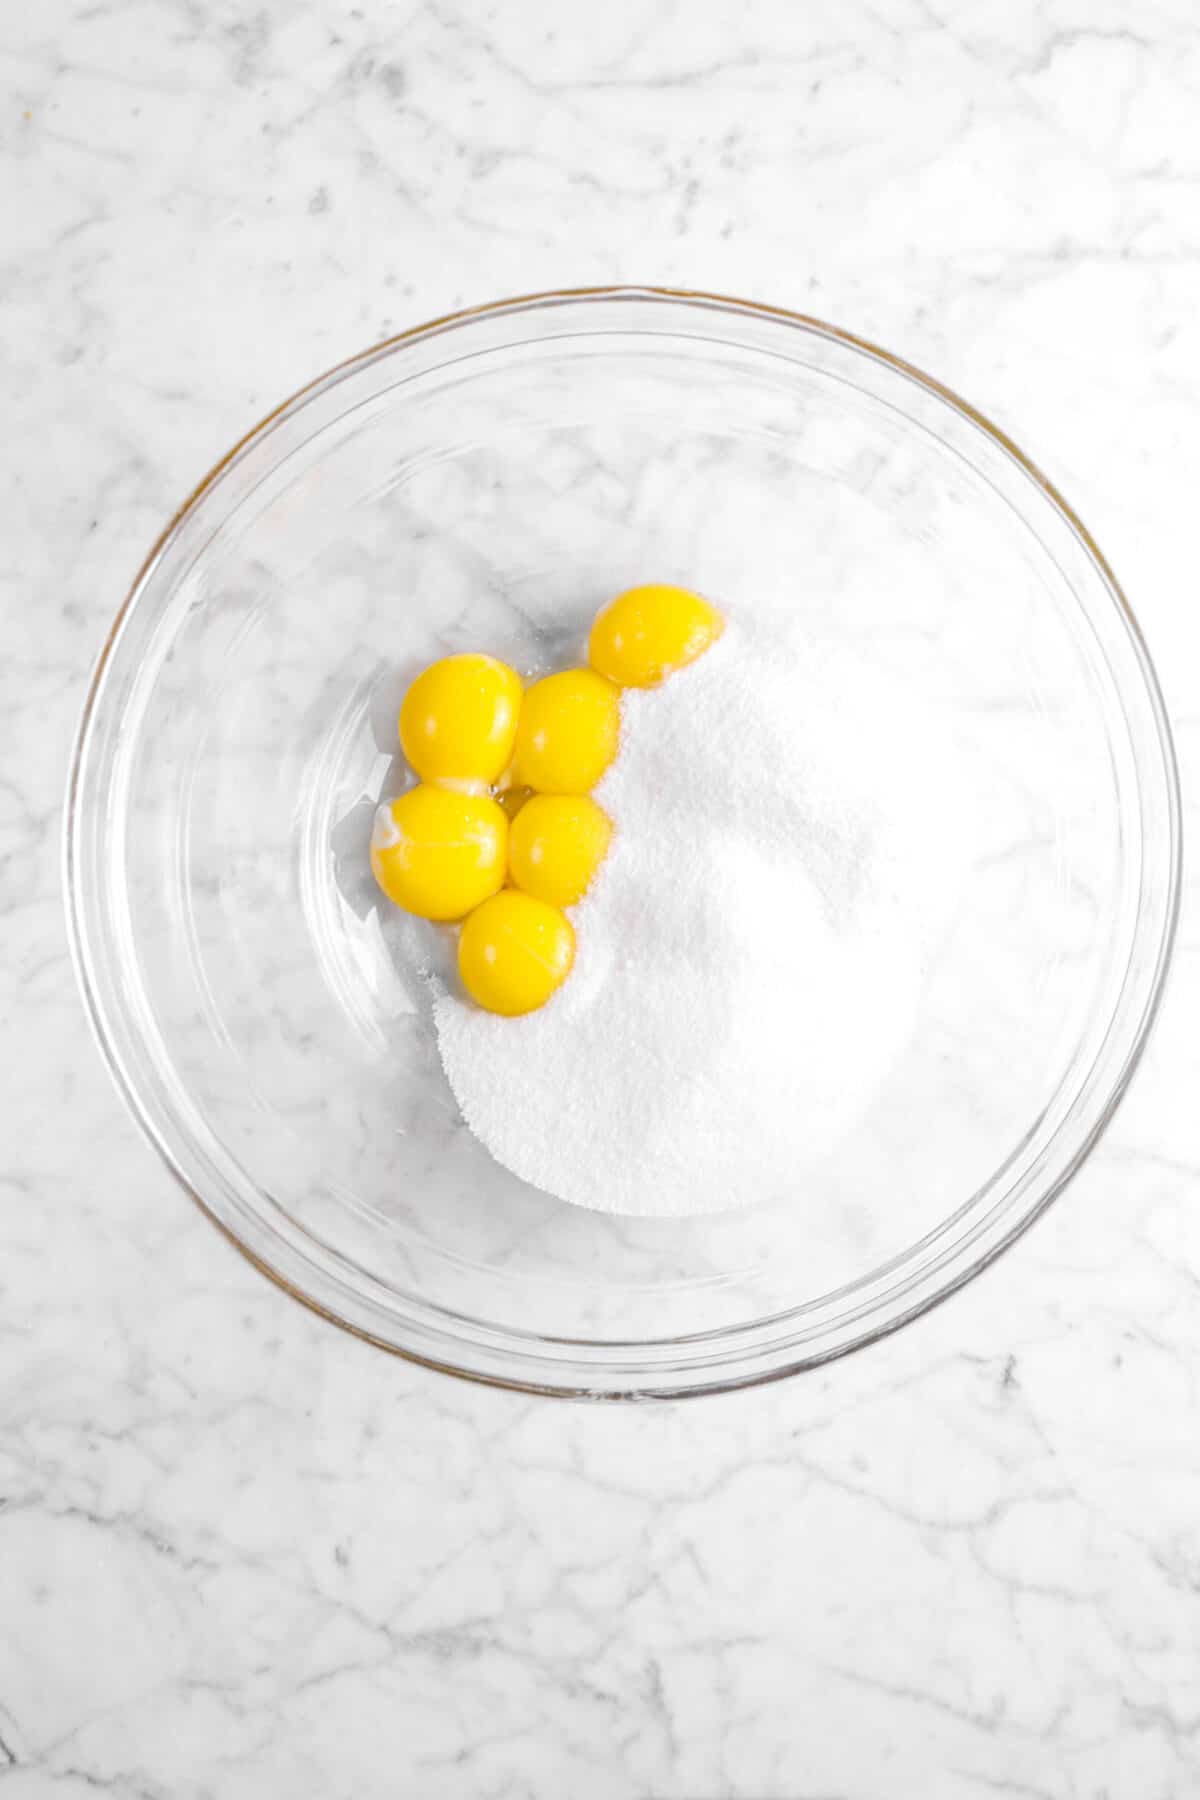
Mix together the egg yolks and sugar in a large bowl.

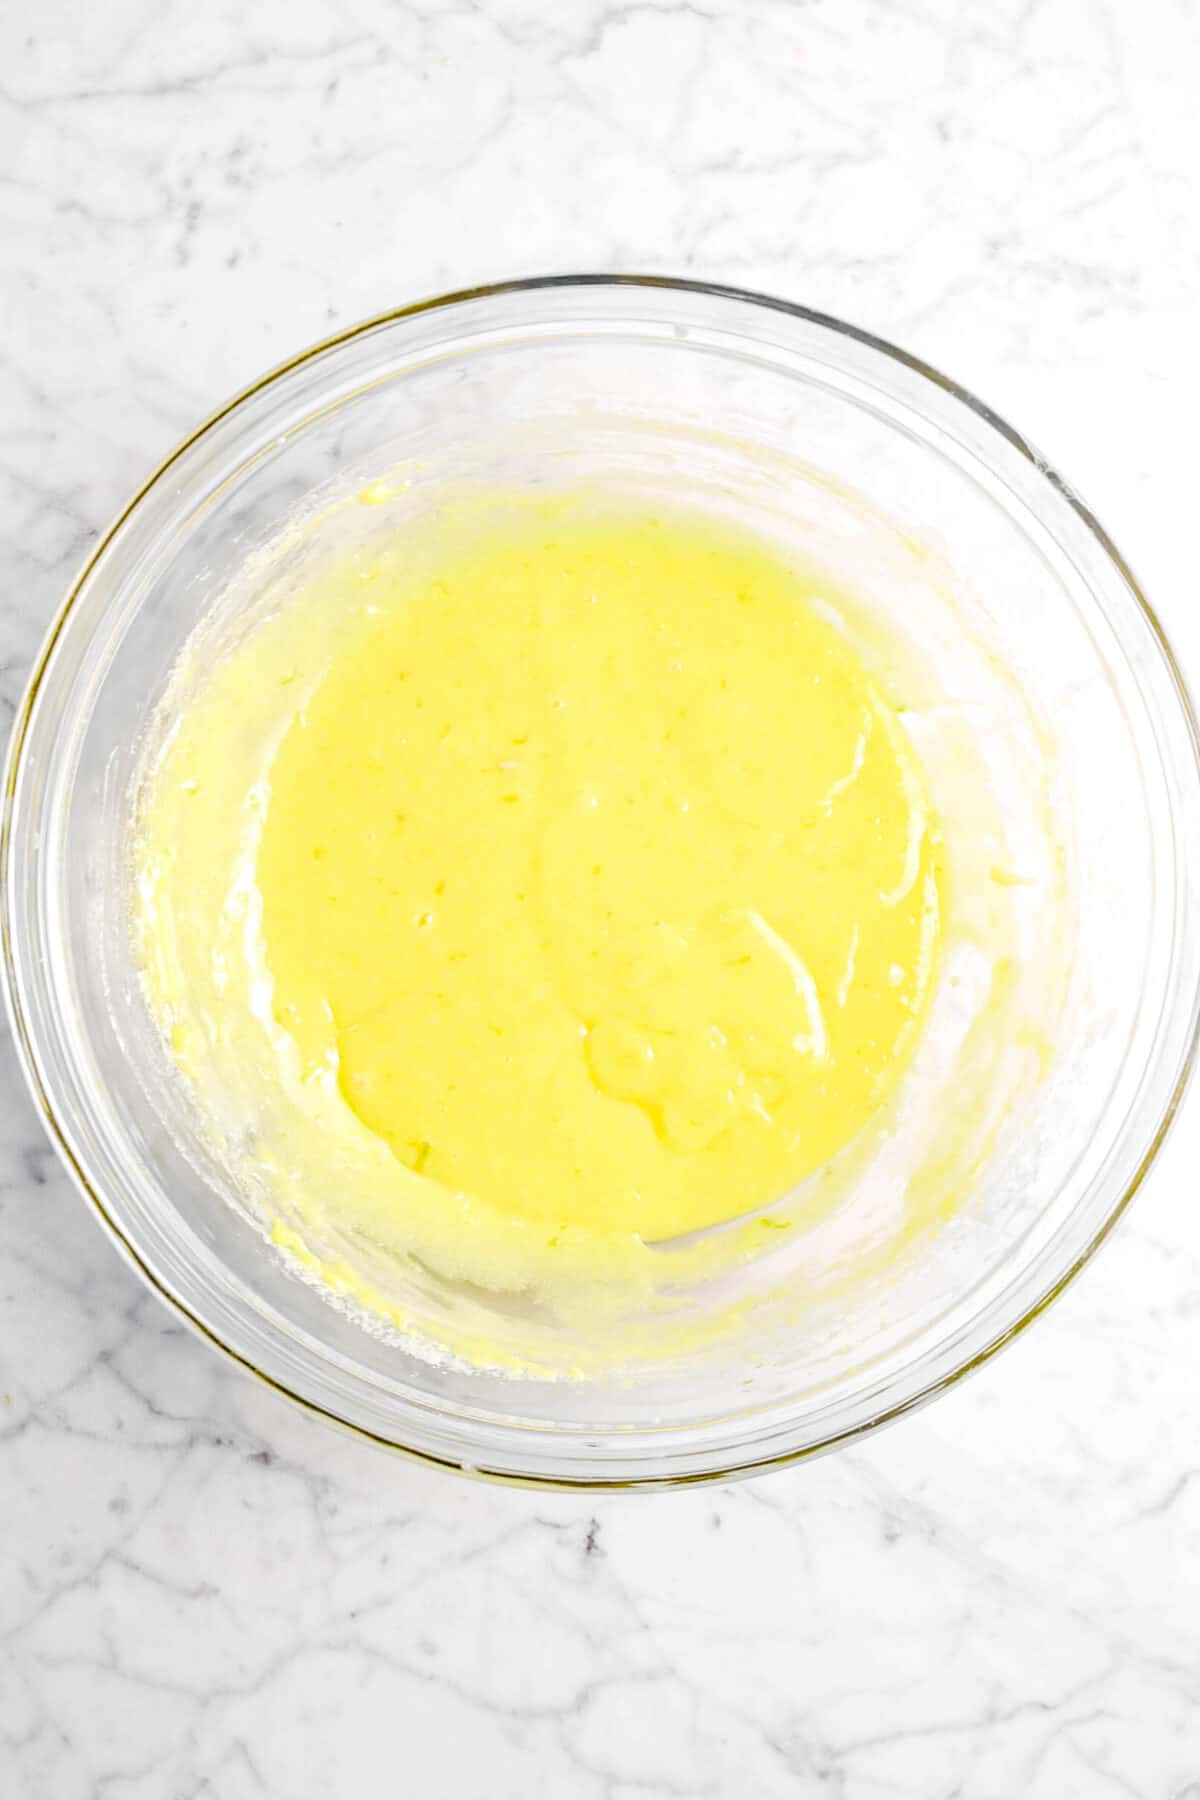
Stir in the key lime juice and zest.


Place the bowl over a pot that’s 1/4 way full of water. This is called a double boiler. Heat over medium low heat and stir constantly until the mixture reaches 180℉. The filling should be thick and about the consistency of jello. This may take 15-20 minutes.
Strain the filling into a clean bowl through a sieve. This is to make sure you don’t have any cooked eggs or seeds from the key limes!


Place butter into the custard and let melt. Stir in.


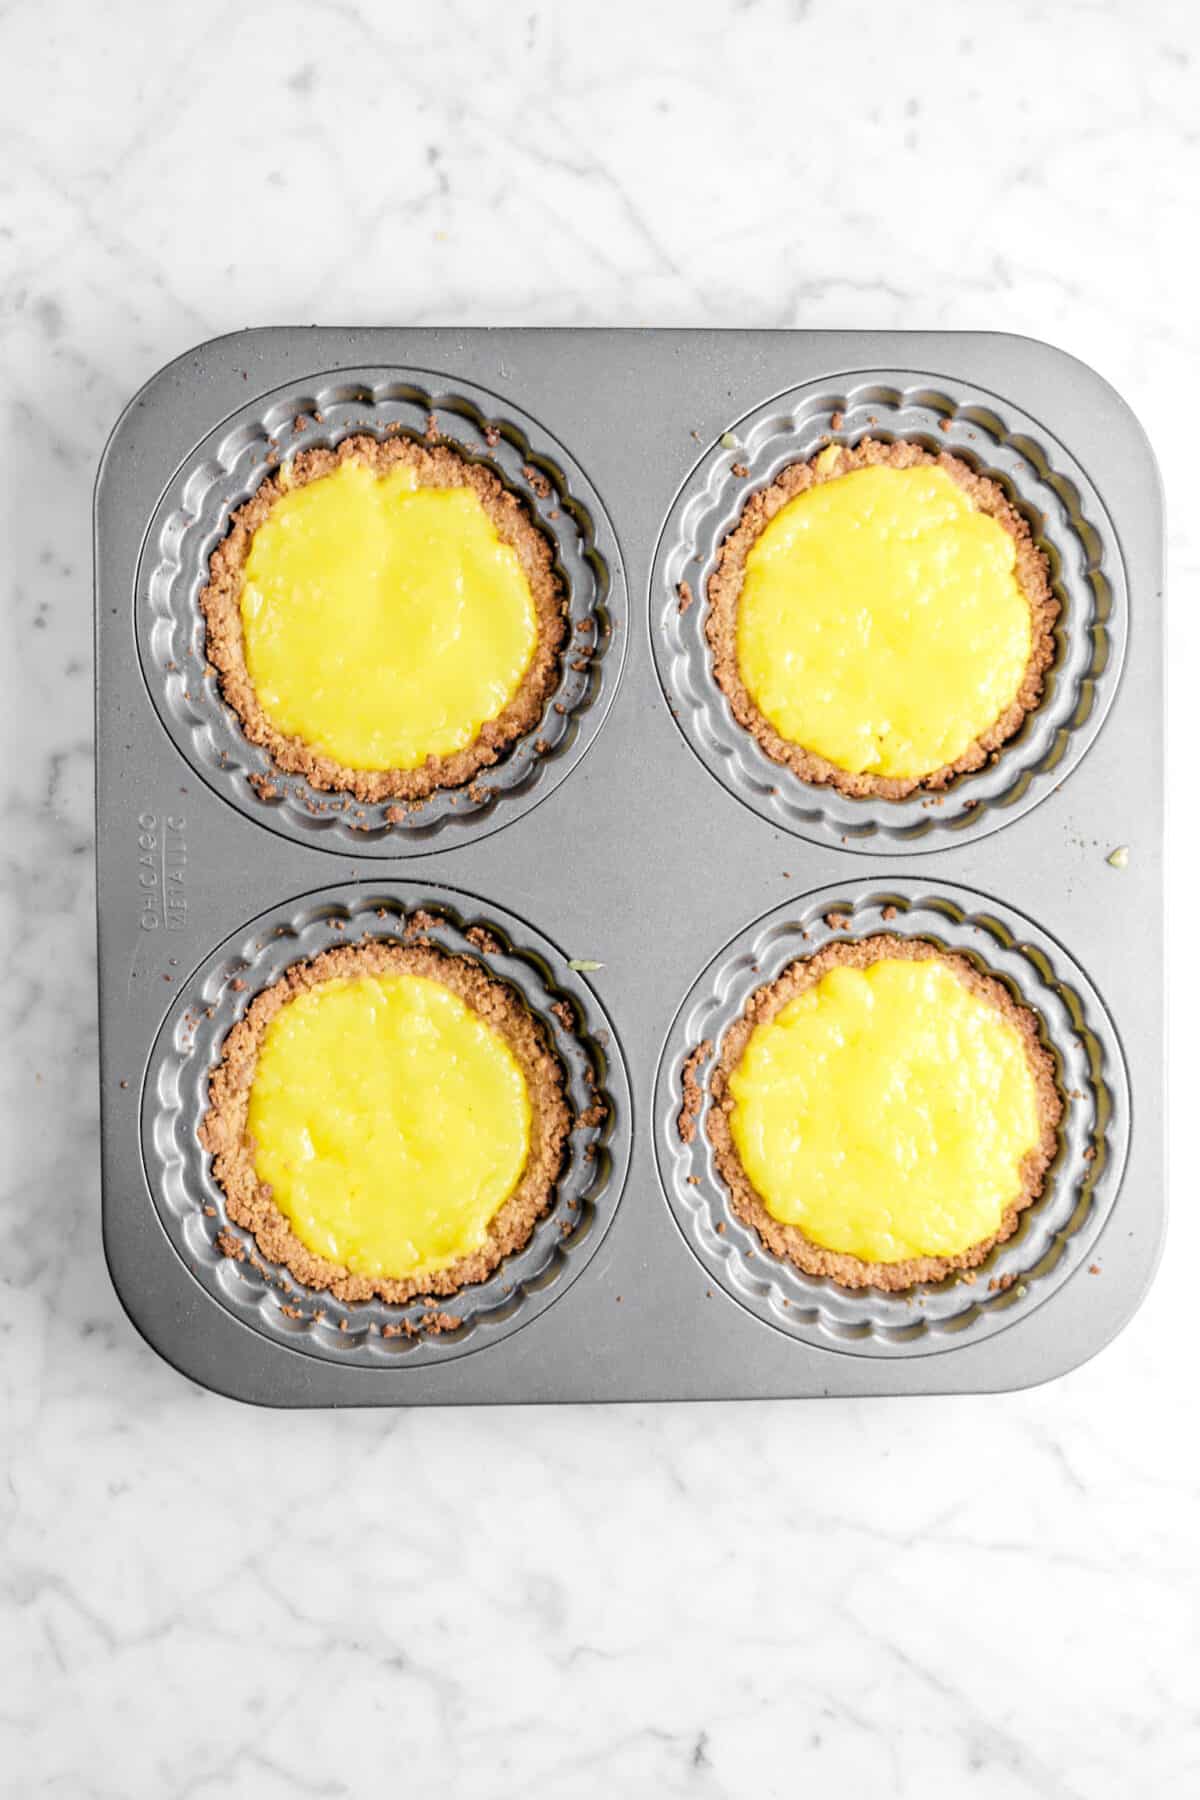
Transfer the filling into the crusts and cover with plastic wrap. Make sure the plastic wrap touches the custard! Place in the fridge for 15 minutes, or until set. Take them out of the pan and serve!
Topping Ideas
The best thing with a key lime pie is to keep it simple. But, here are a few of the best simple toppings. Let us know in the comments how you decorated them!
- Chantilly Cream
- Lime Zest
- Meringue
- Candied Lime Slices
What To Serve With These Mini Key Lime Pies
From ice cream to some other citrus desserts, we have you covered! These recipes are some of our favorites to make alongside these sweet treats.
How To Store
Keep these tarts in a lidded container in the fridge if you plan to eat them in the next few days. If not, Go ahead and freeze them! Place each mini pie in a sealable freezer save bag and keep in the fridge for a few months.
To thaw, leave out on the counter and allow it to come to room temperature.
When you make these Mini Key Lime Pies, leave a comment down below! We love hearing from you and answering any questions you might have! Also, be sure to tag us on social media and hashtag it #BakersTable.
Mini Key Lime Pies
Ingredients
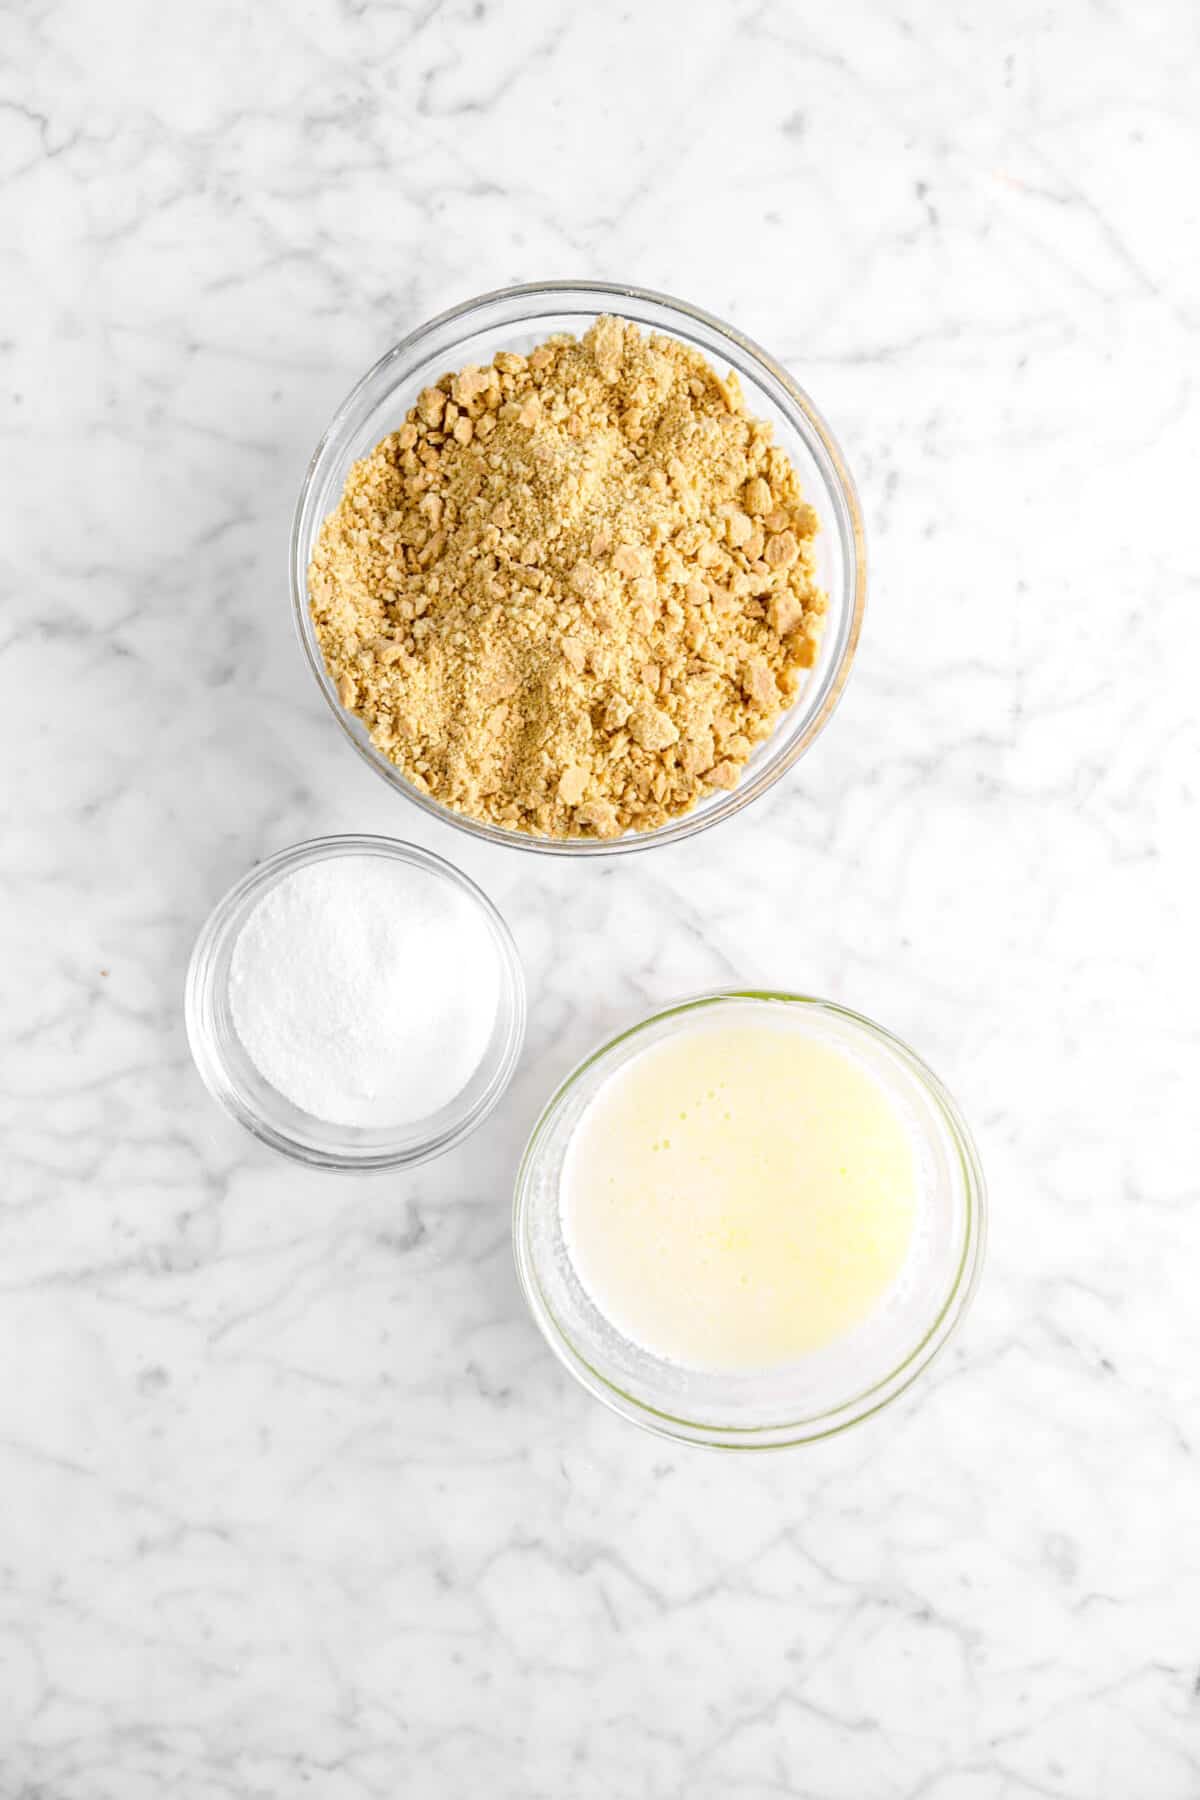
Graham Cracker Crust
- 2 cups graham cracker crumbs
- ¼ cup granulated sugar
- ½ cup salted butter, melted
Filling
- 1 cup granulated sugar
- 8 large egg yolks
- ½ cup lime juice
- 1 Tablespoons lime zest
- 7 Tablespoons salted butter, chopped
Instructions
Graham Cracker Crust
- Preheat oven to 350℉/177℃.
- In a medium bowl, combine graham cracker crumbs and sugar.
- Add melted butter and mix thoroughly.
- Divide evenly into individual pans.
- Press across the bottom and up the sides.
- Bake for 5 minutes.
- Remove from oven and allow to cool.
Filling
- Whisk together sugar, egg yolks, lime juice, and lime zest in a medium heat proof bowl.
- Place over a pot of simmering water.
- Cook and stir until curd reaches 180℉/82℃.
- Remove from heat and strain through a fine mesh sieve.
- Whisk in butter.
- Divide evenly into prepared crusts.
- Cover with plastic wrap, making sure it touches the top of the curd.
- Refrigerate until cool.
Notes + Tips!
- Don’t have access to key limes? Use regular limes instead!
- To substitute unsalted butter for the salted: add ⅛ teaspoon salt to both the crust and the filling.
- Make sure there are no large chunks of graham cracker in the crumbs.
- A tart tamper or small measuring cup will greatly help when pressing down the crust. Just remember, it’s a little crumbly, so it might fall off the side once or twice when you’re pressing.
- The Graham cracker crumbs absorb the butter pretty quick so, try and work as fast as you can!
- When making the custard, the temperature is more than likely to go up and down. Don’t worry! As you stir, the air cools it down.
- The custard needs to be at 180℉/82℃. The consistency will be a lot like jello! One of the best tests you can do to see if it’s properly done is pick up a little bit of the filling, place it back on top, and see if it melts back into the custard or stays separate. If it stays separate, it’s ready!
- Straining the custard is a very important step. It’s strains out any cooked egg, zest, or seeds that might be in the custard.
- Bury the butter into the custard and let it melt. It’s the easiest way! Just use a whisk to mix it in.
- Another way to get the custard into the shells is to cover the custard with plastic wrap and put into the fridge and let it cool completely. From there, you can pipe it into the tart shells.
can this be made with a ginger snap crust instead of graham cracker crust?
Hi Lisa! This recipe should work well with a gingersnap crust. If you give it a try, let us know how it goes! x, Caylie