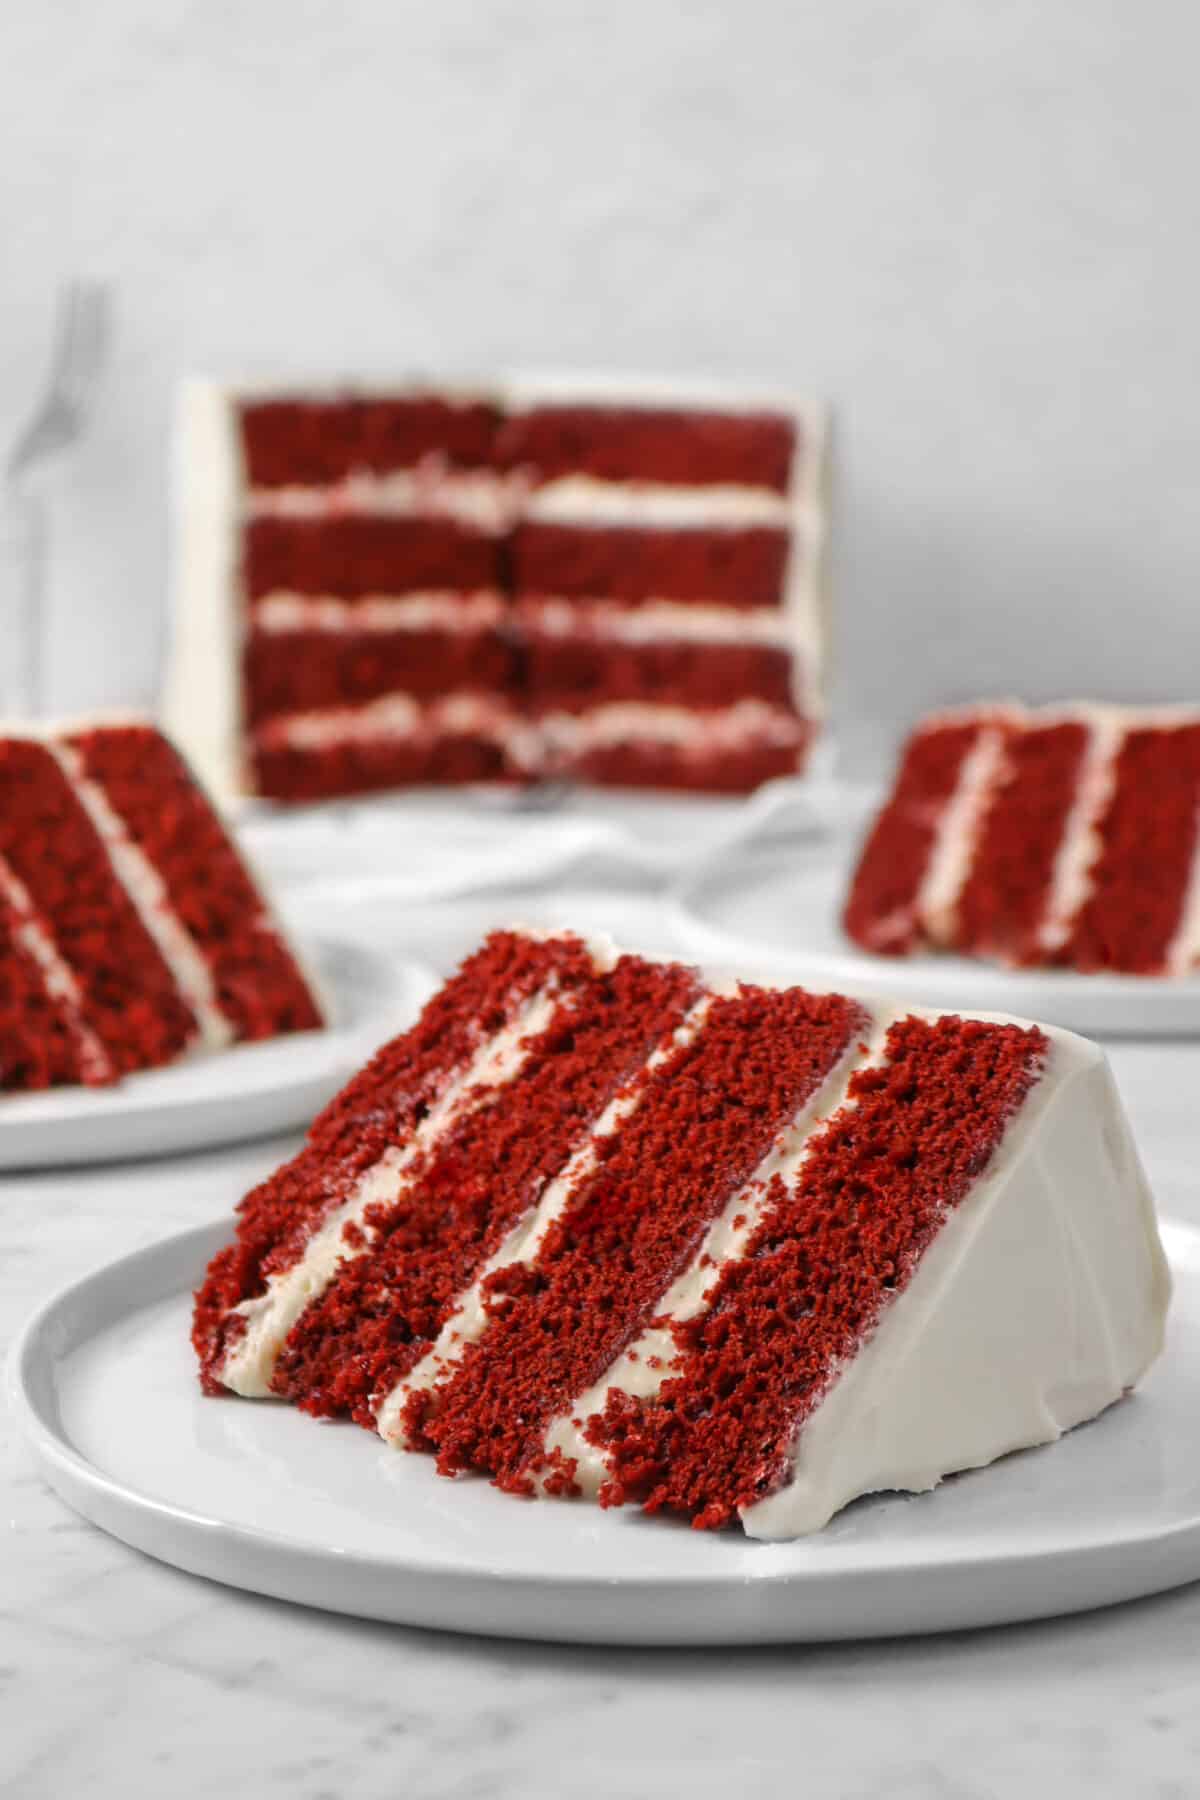
Red Velvet Cake with Cream Cheese Frosting
This post may contain affiliate links, please visit our privacy policy for details.
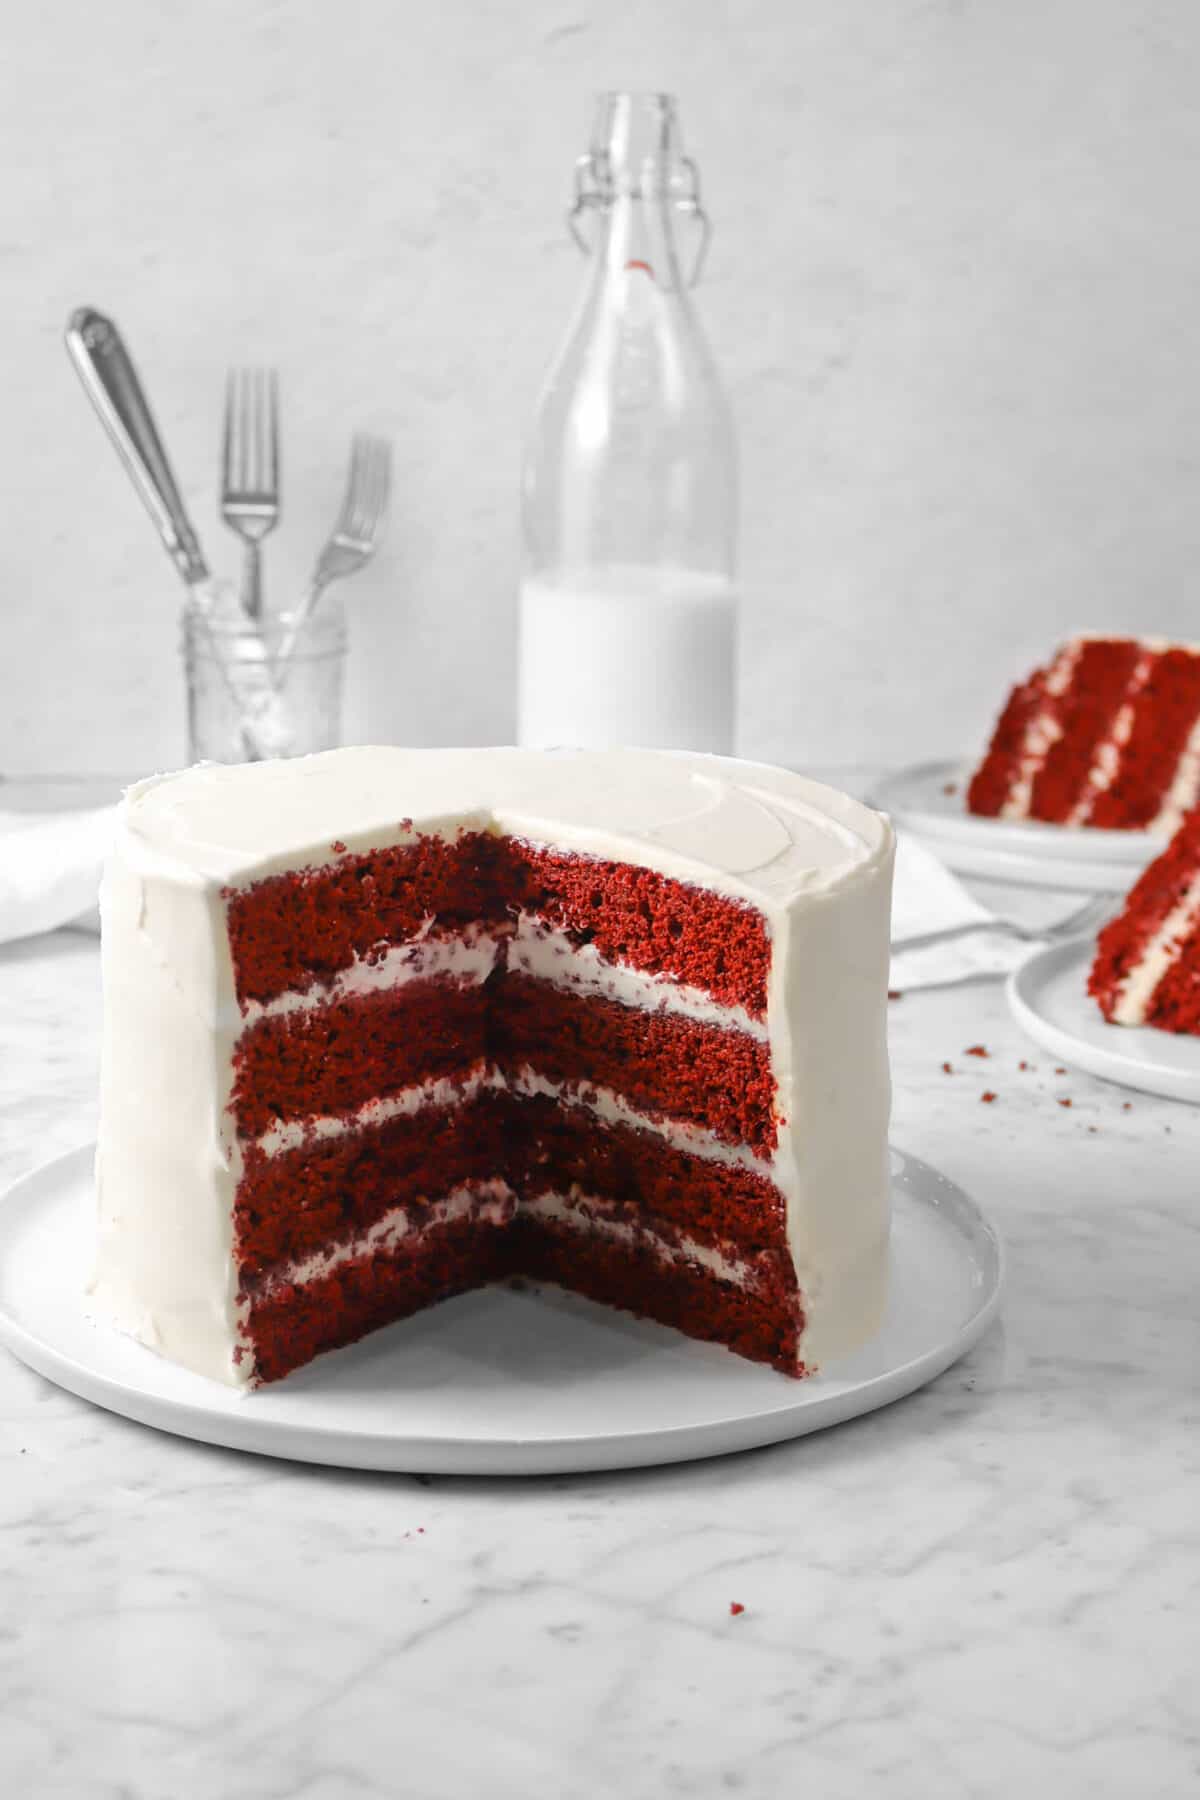
This iconic Red Velvet Cake keeps things simple and focuses on flavor. Everyday ingredients like all purpose flour, cocoa powder, and buttermilk come together to create a moist, flavorful cake that is enhanced by the addition of a tangy cream cheese frosting. It is effortless elegance in every bite!
What Makes This Recipe So Special?
There’s something undeniably special about a homemade Red Velvet Cake. While its origins may be northern, its Southern soul shines through in its vibrant color, rich flavors, and velvety texture.
Today, I’m sharing my mom’s version of her great grandmother’s Red Velvet Cake recipe. It’s a testament to both the art and the enduring legacy of baking in the South, much like this Southern Holiday Nut Cake, this Chess Pie, or this Old Fashioned Peach Cobbler.
My mom spent years perfecting this recipe, adjusting the amount of buttermilk until she got a very subtle tang that really complements the chocolate flavor, tweaking the red food coloring until she got the vibrant red she wanted, and finding just the right amount of cocoa powder for that perfect hint of chocolate. The result? A moist, decadent masterpiece that’s sure to become a favorite in your own kitchen.
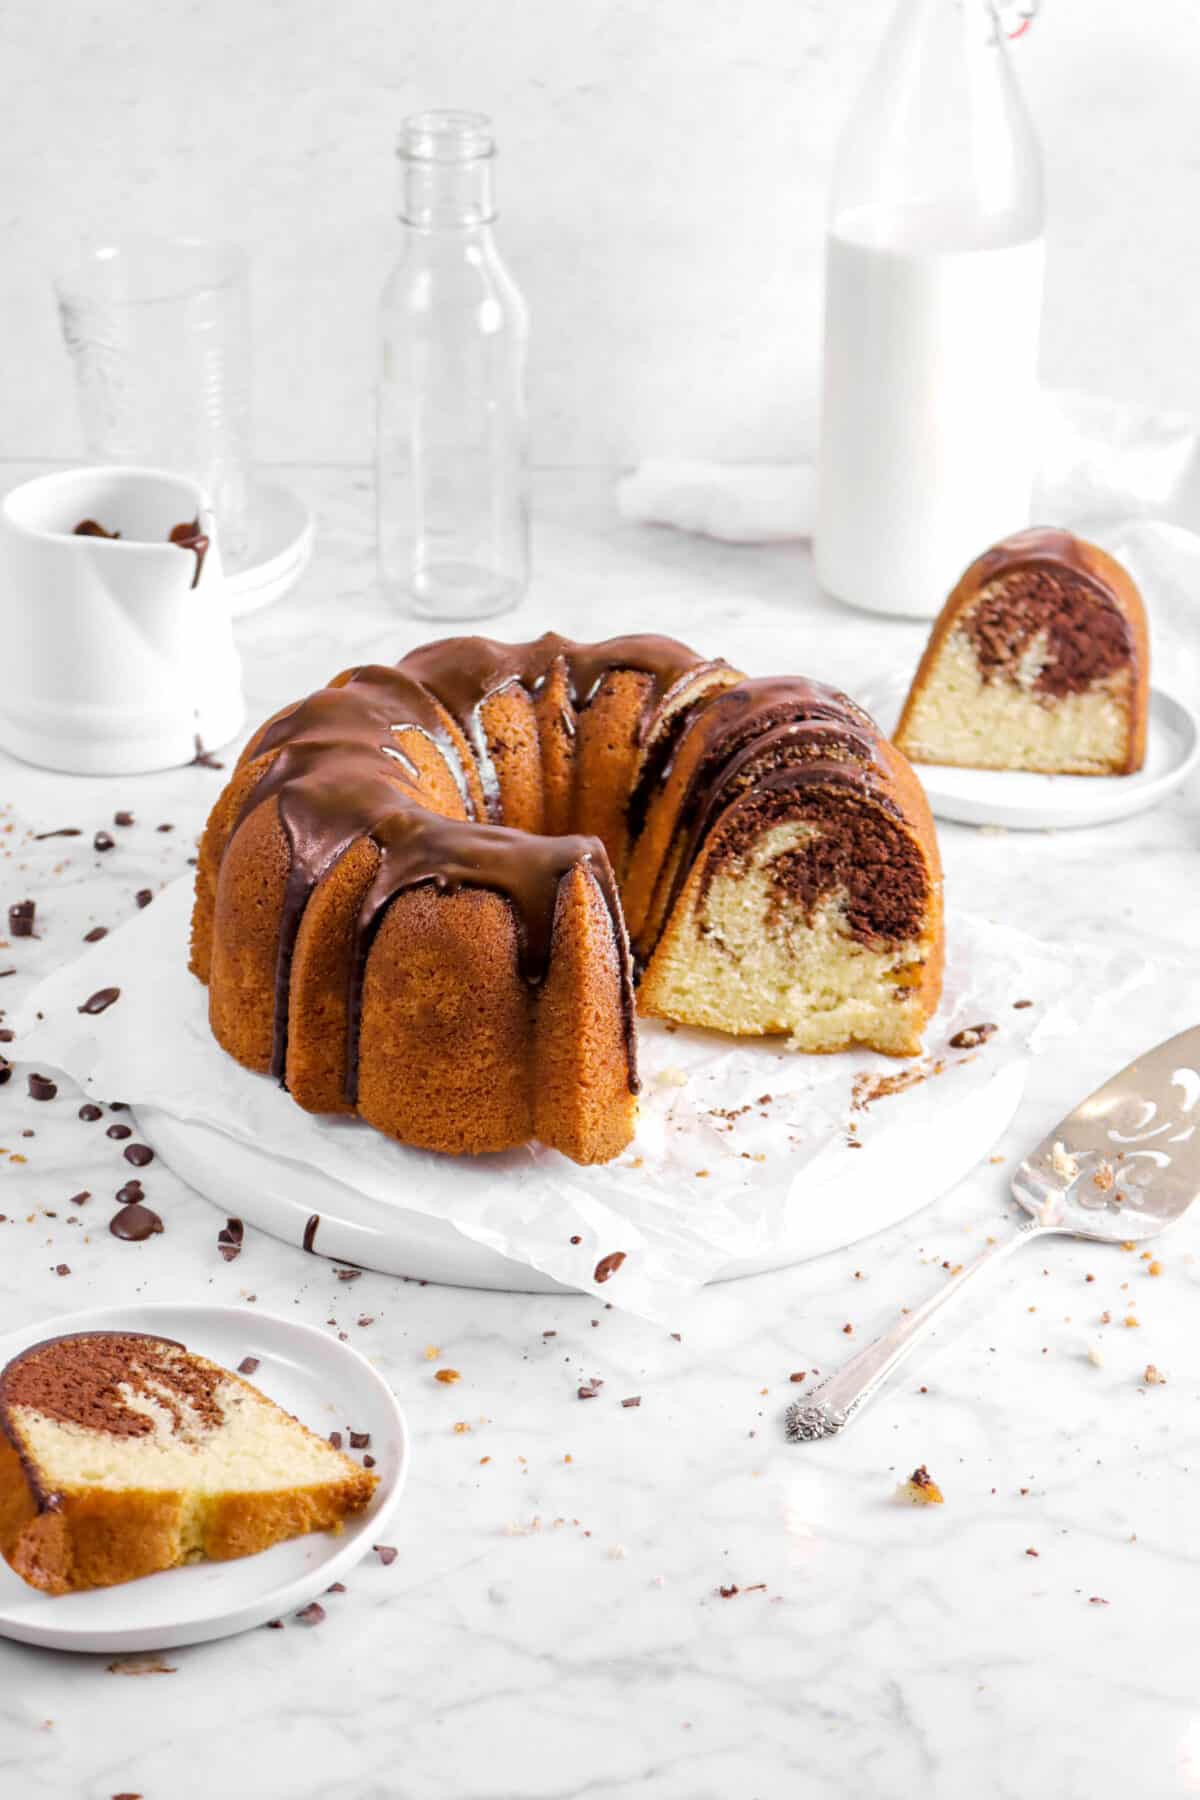
My mom was so happy with the current version of this cake that she decided to create a few more red velvet recipes like this beautiful gluten free Flourless Red Velvet Fallen Soufflé Cake, these yummy Red Velvet Waffles, and this stunning Red Velvet Bundt Cake with Cream Cheese Icing. I also happen to know that she has another couple of red velvet recipes already written and ready to go!
Here’s Why You’ll Love This Red Velvet Cake with Cream Cheese Frosting!
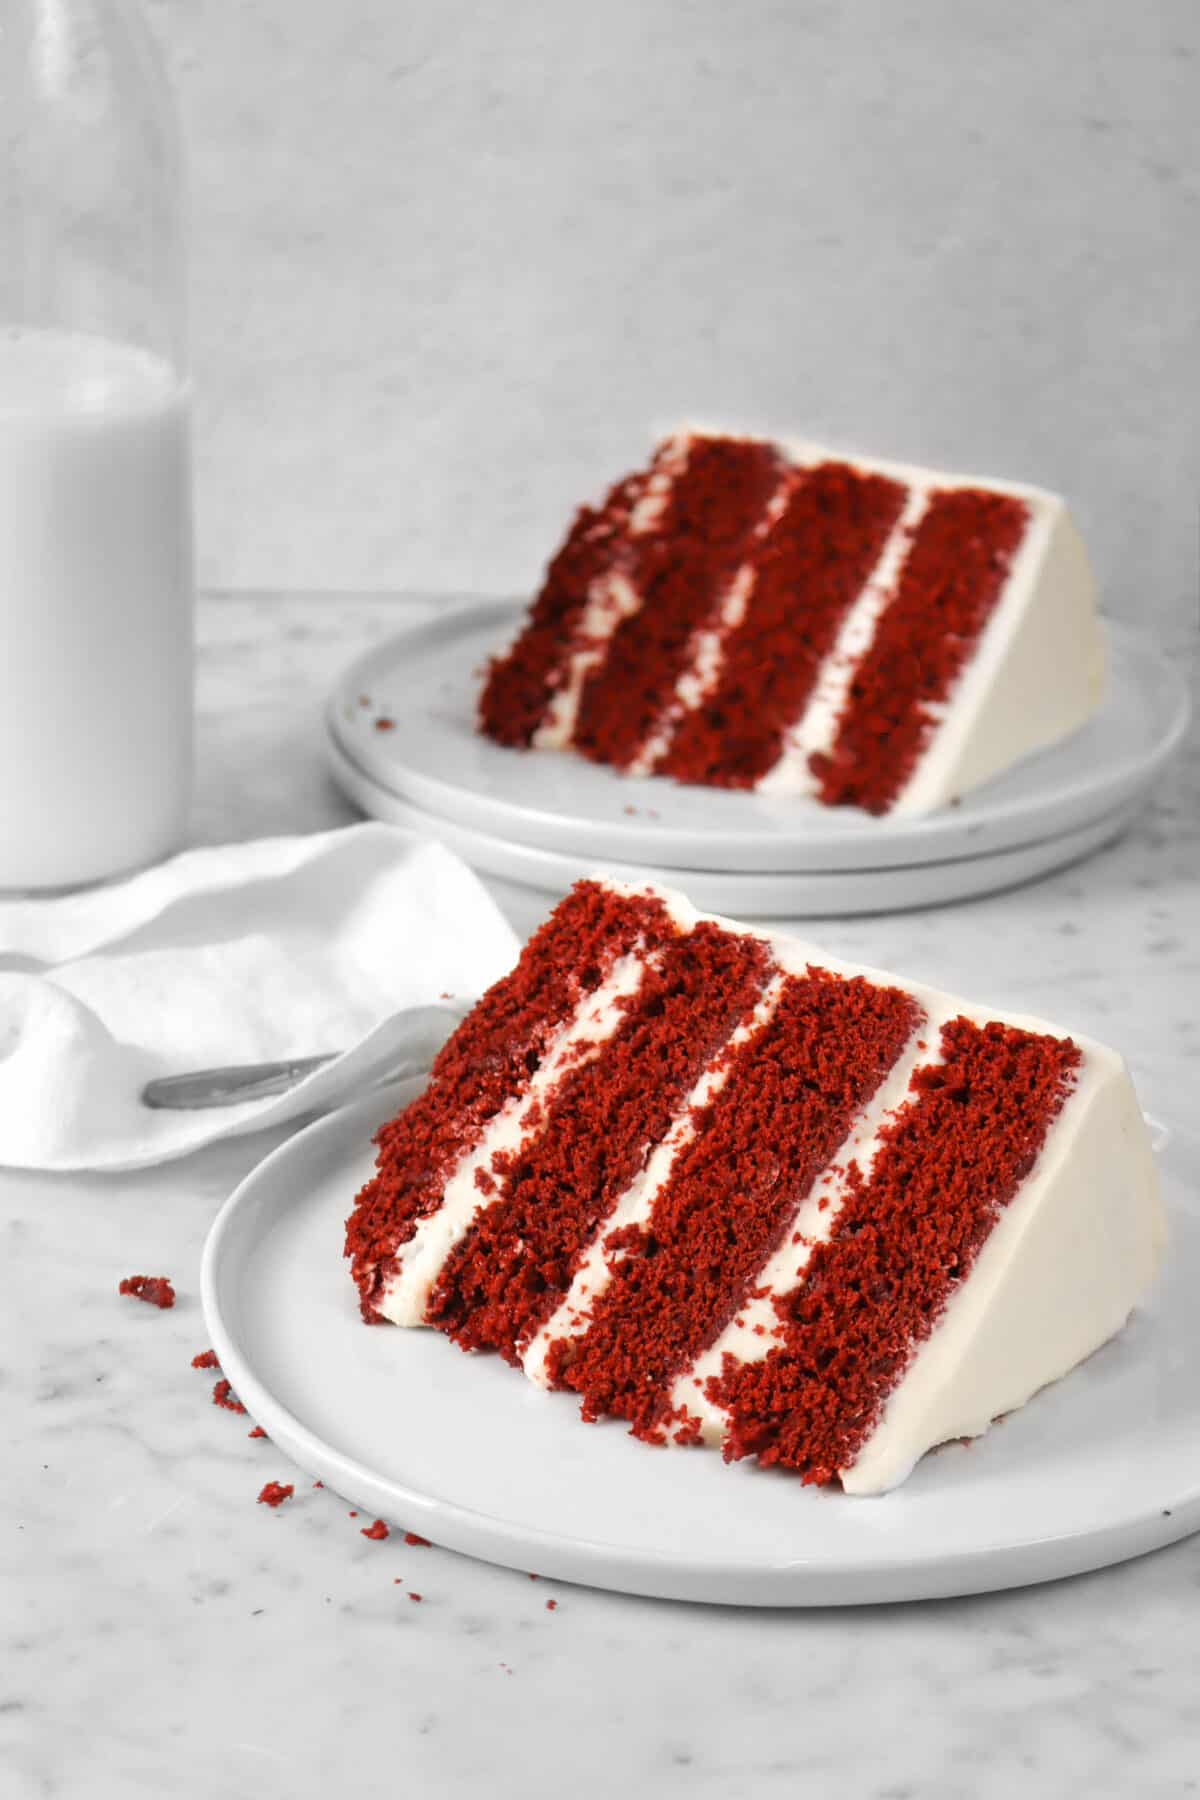
- Classic and comforting. The combination of rich, chocolaty cake with tangy cream cheese frosting is a timeless favorite.
- Stunning red color. The vibrant red color is synonymous with Red Velvet Cake and instantly creates a festive and eye-catching dessert.
- Balanced flavors. The cocoa and buttermilk in this cake are perfectly balanced with the tangy cream cheese frosting, creating a complex and satisfying flavor profile.
- Years of testing, refinement, and tweaking. From my great great grandmother all the way to my mom, this recipe has been reworked, tweaked, and edited over decades.
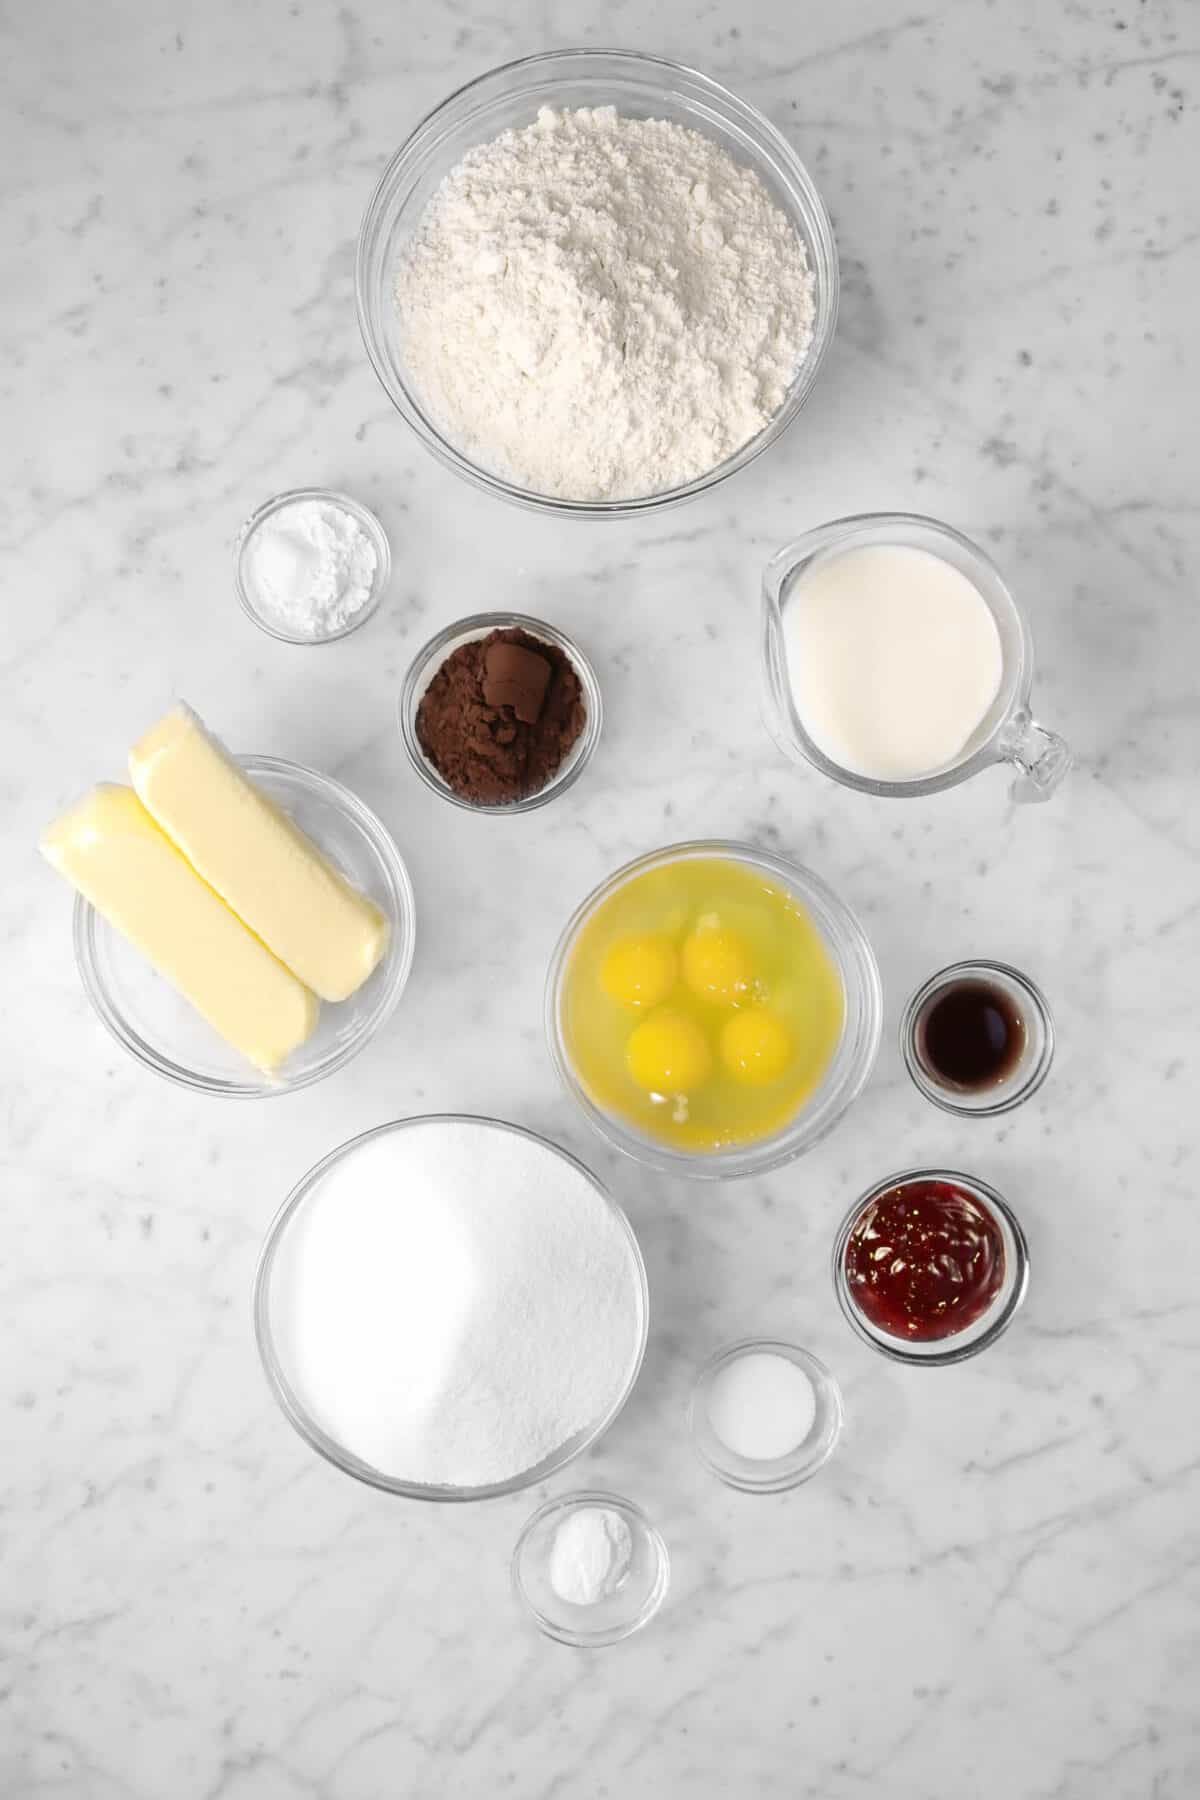
Ingredients
For the cake:
- All-Purpose Flour – We wanted a moist, tender cake but one with enough structure to hold its shape without going to pieces. That’s where the all purpose flour comes in. It has the perfect amount of protein to create that structure.
- Baking Powder and Baking Soda – The leavenings used in this batter, baking powder and baking soda each make their own contributions to the texture and structure. Baking powder both starts and finishes the process of rise in this cake, starting as soon as it is mixed with liquid and continuing more robustly once it is in the oven. Baking soda reacts with the acidity in the vinegar and the buttermilk to give the rise a boost while also neutralizing enough of the acidity to keep the cake from tasting sour.
- Salt – Just a bit of salt enhances the flavor and balances the sweetness.
- Natural Process Cocoa Powder – The ingredient that gives this cake its “velvet” appearance, cocoa powder also adds a light chocolate flavor to this cake.
- Unsalted Butter – With a bright, fresh flavor that adds not only richness, unsalted butter also adds moisture and flavor and allows us to control the level of salt.
- Granulated Sugar – Because it adds the perfect amount of sweetness, granulated sugar is the best choice here. It also helps with the texture and structure of the cake.
- Eggs – An incredibly hard worker in this cake, eggs add leavening, structure, and richness!
- Buttermilk – The main purpose of buttermilk in this cake is to help with rise. It helps give it a light fluffy texture, and it contributes to flavor as well.
- Vanilla – Adding a subtle undertone, vanilla extract is the perfect choice to enhance the flavor.
- Red Food Coloring – This is what gives Red Velvet Cake it’s iconic color. Gel food color is the best choice.
- Distilled Vinegar – You must used distilled vinegar, not apple cider, wine, or champagne vinegars. It brings out the red color and contributes to the tenderness.
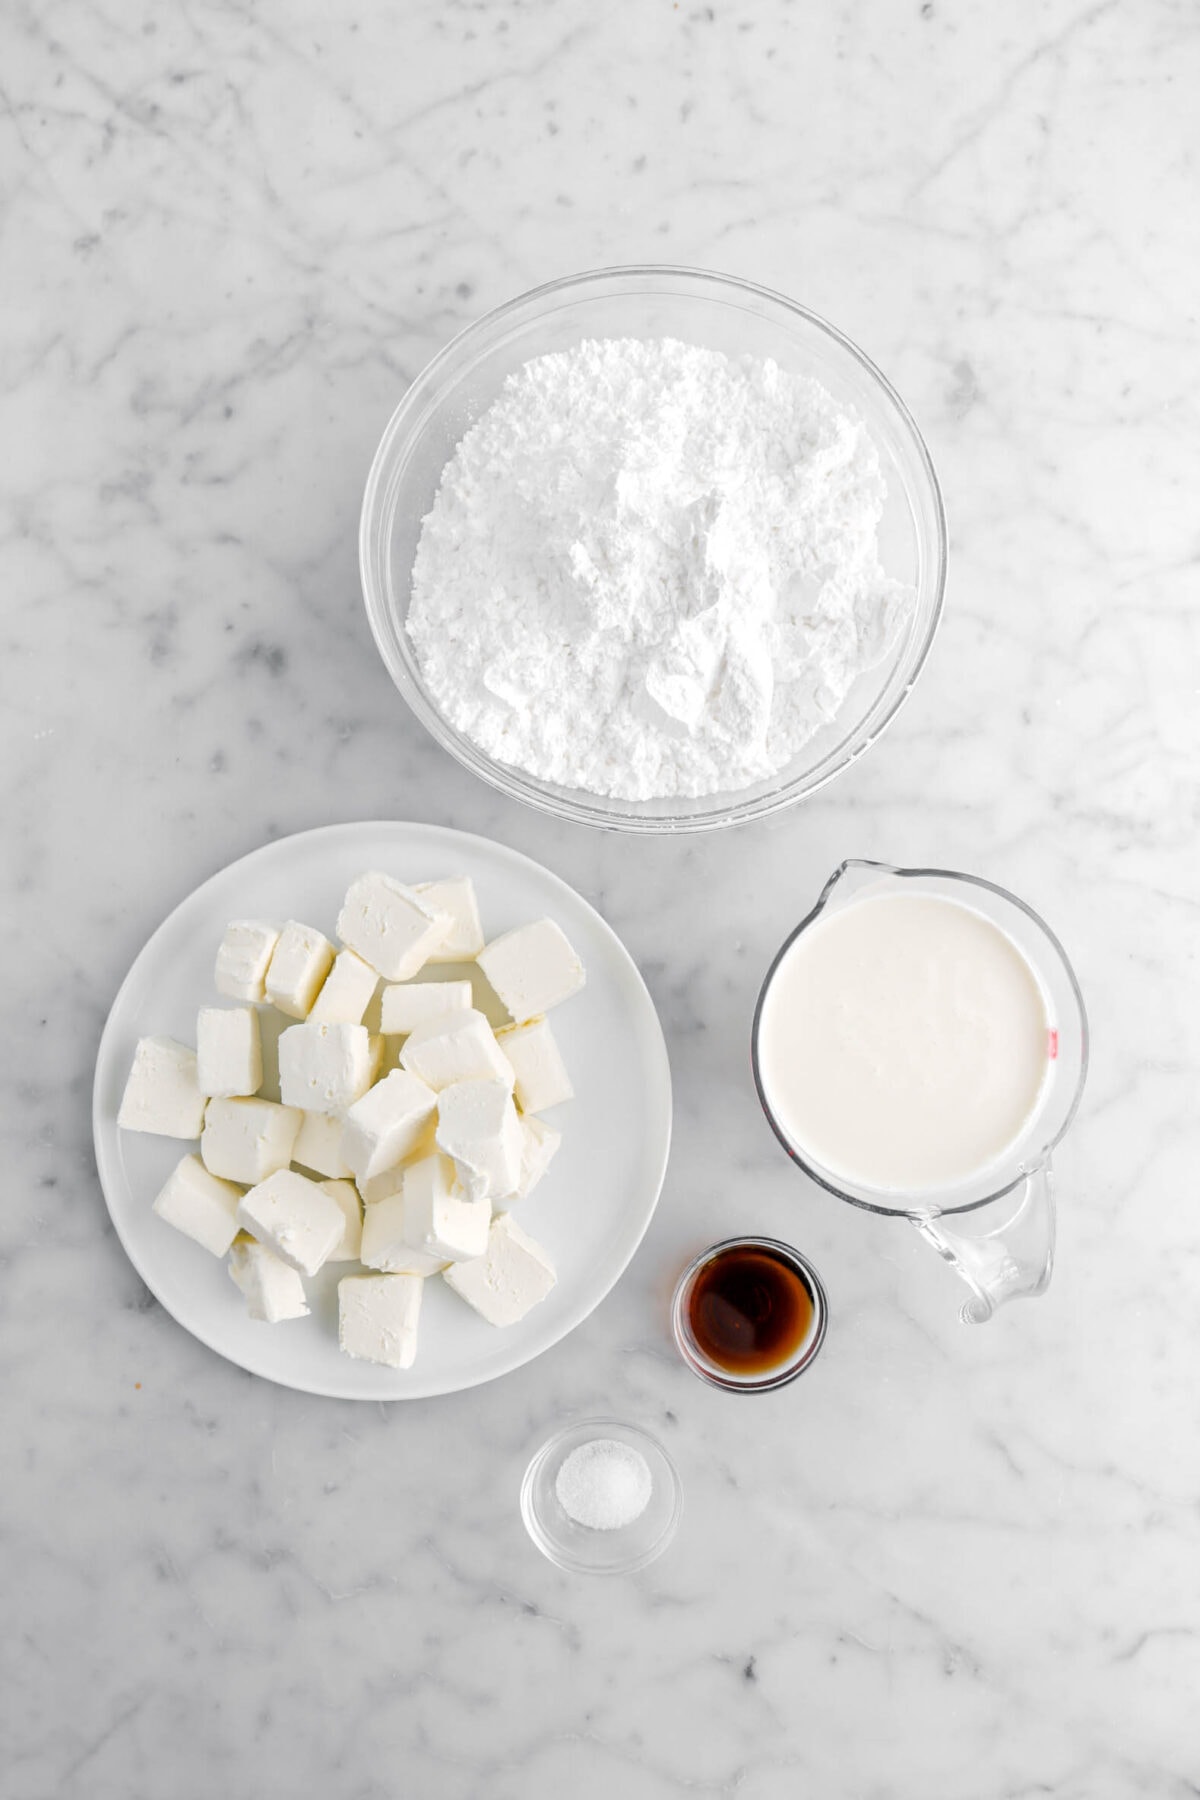
For the frosting:
- Heavy Cream – The higher fat content makes the whipped cream sturdier and helps it hold its peaks.
- Cream Cheese – This is, after all, cream cheese frosting. The cream cheese gives this frosting just the right amount of tang, while also adding richness and creaminess.
- Vanilla Extract – This serves the same function it does in the cake. It provides a subtle undertone that enhances and rounds out the flavors.
- Salt – Just a bit of salt is all you need to kick up the flavor and cut some of the sweetness.
- Powdered Sugar – Because it melts easily, powdered sugar ensures a smooth icing. It sweetens as well.
How To Make This Red Velvet Cake with Cream Cheese Frosting (Step-by-Step!)
Step 1: :Make the cake batter
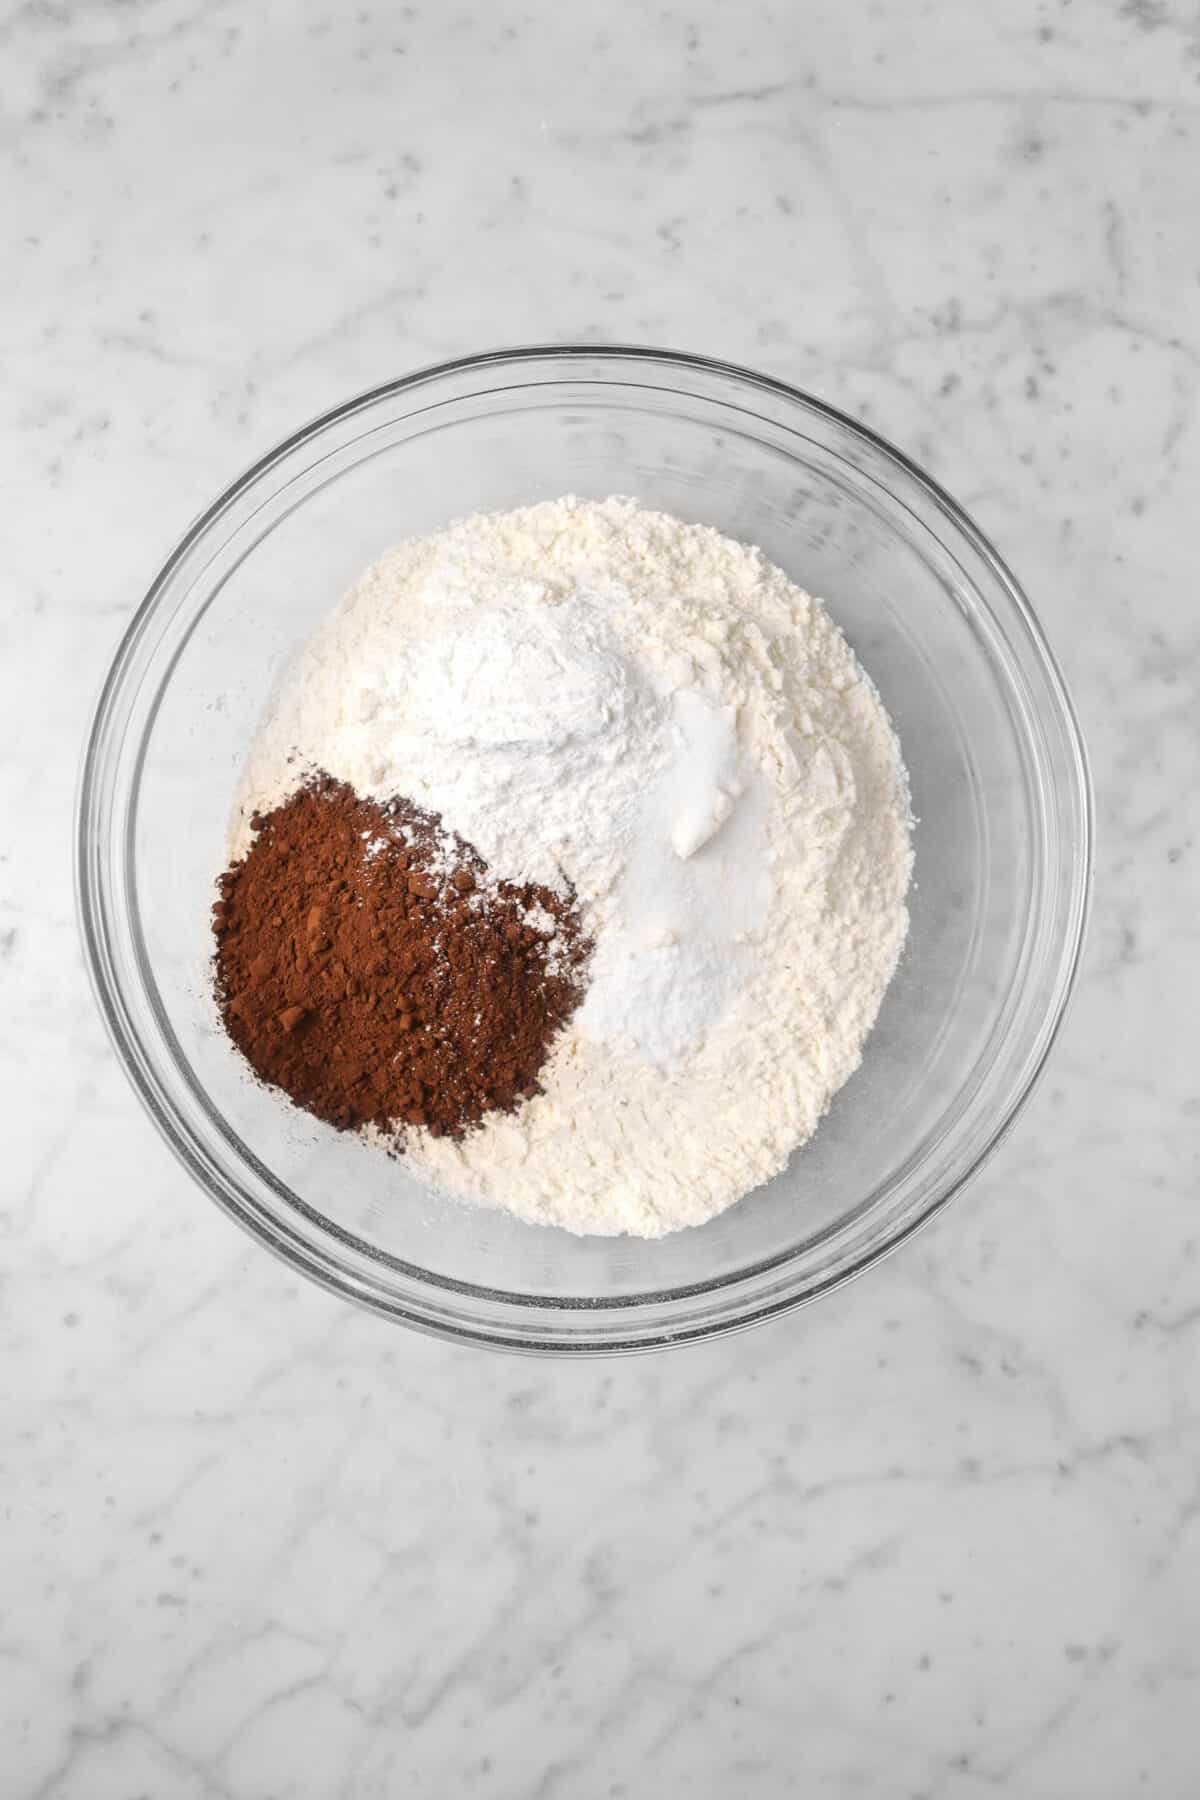
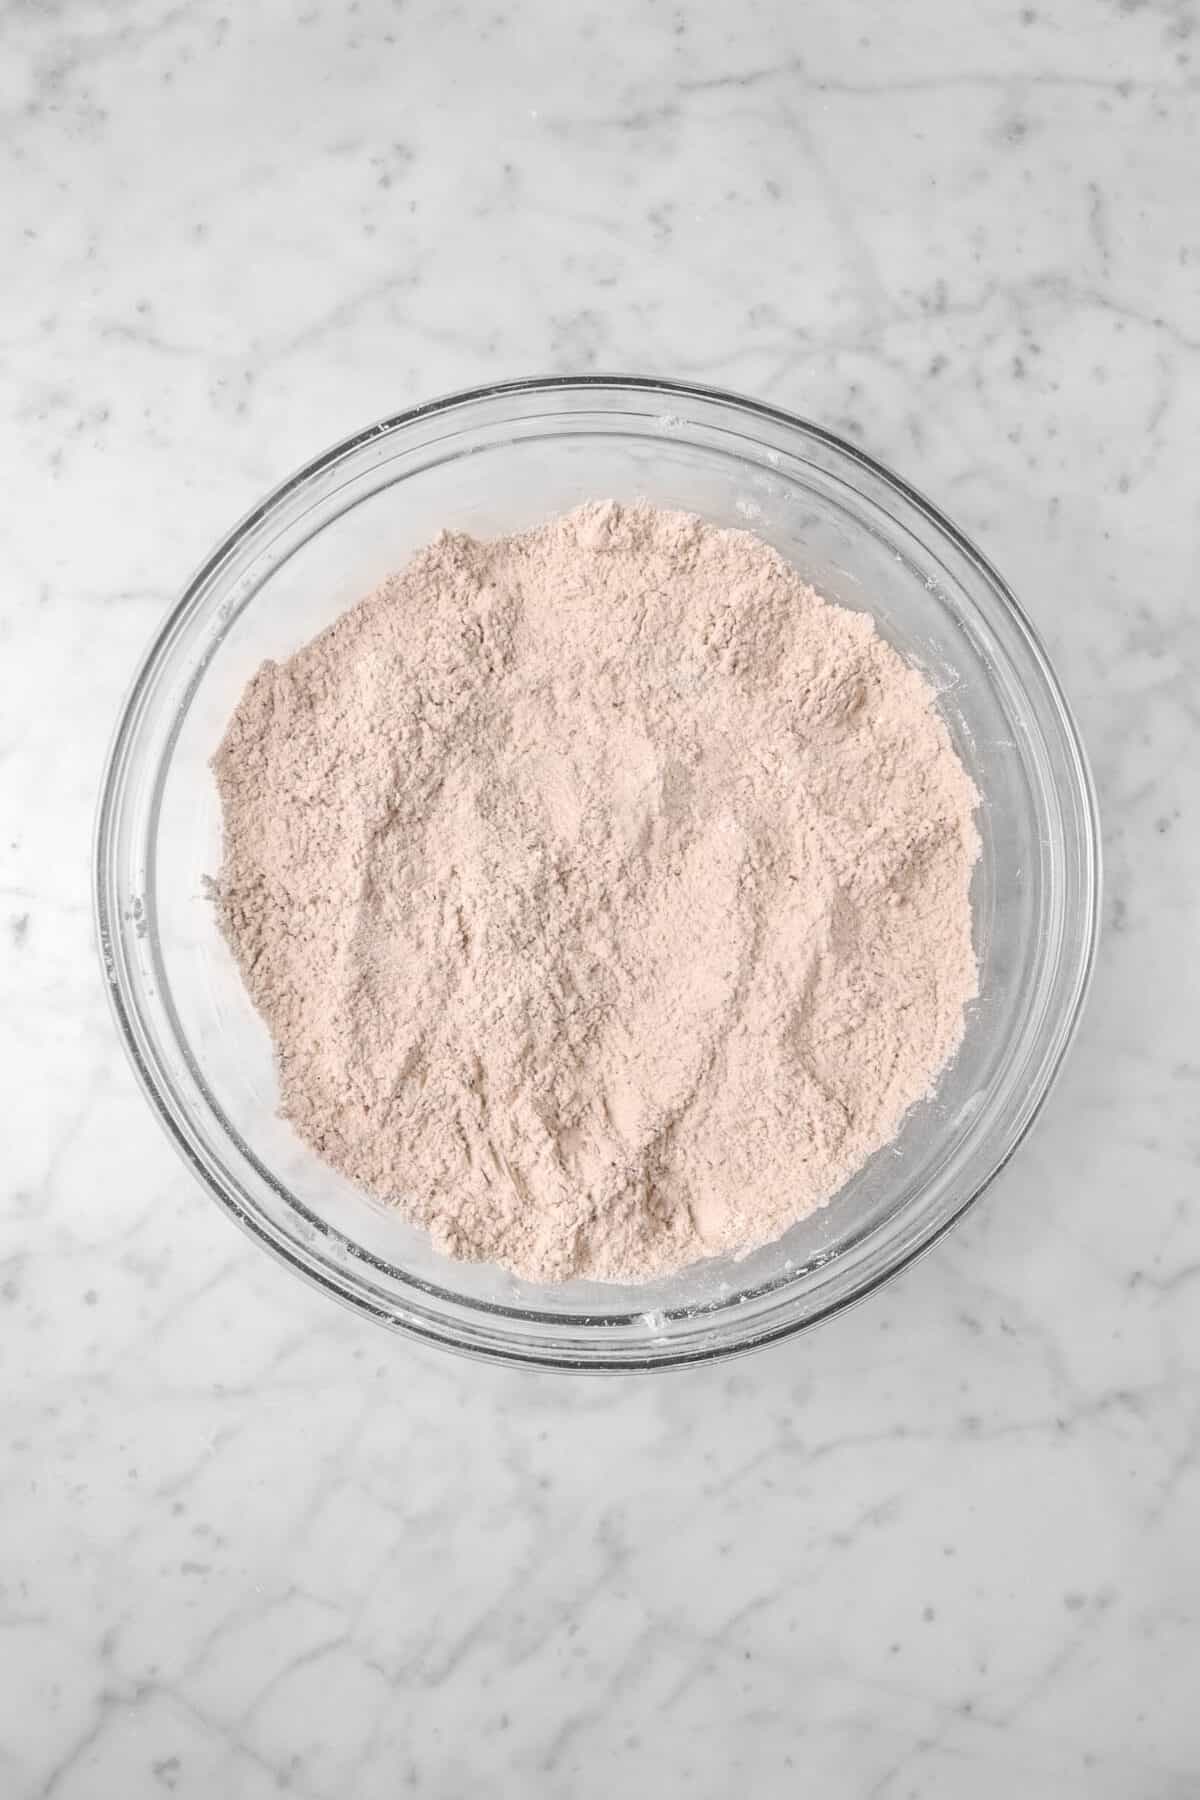
In a large bowl, whisk together the flour, baking powder, baking soda, salt, and cocoa powder.
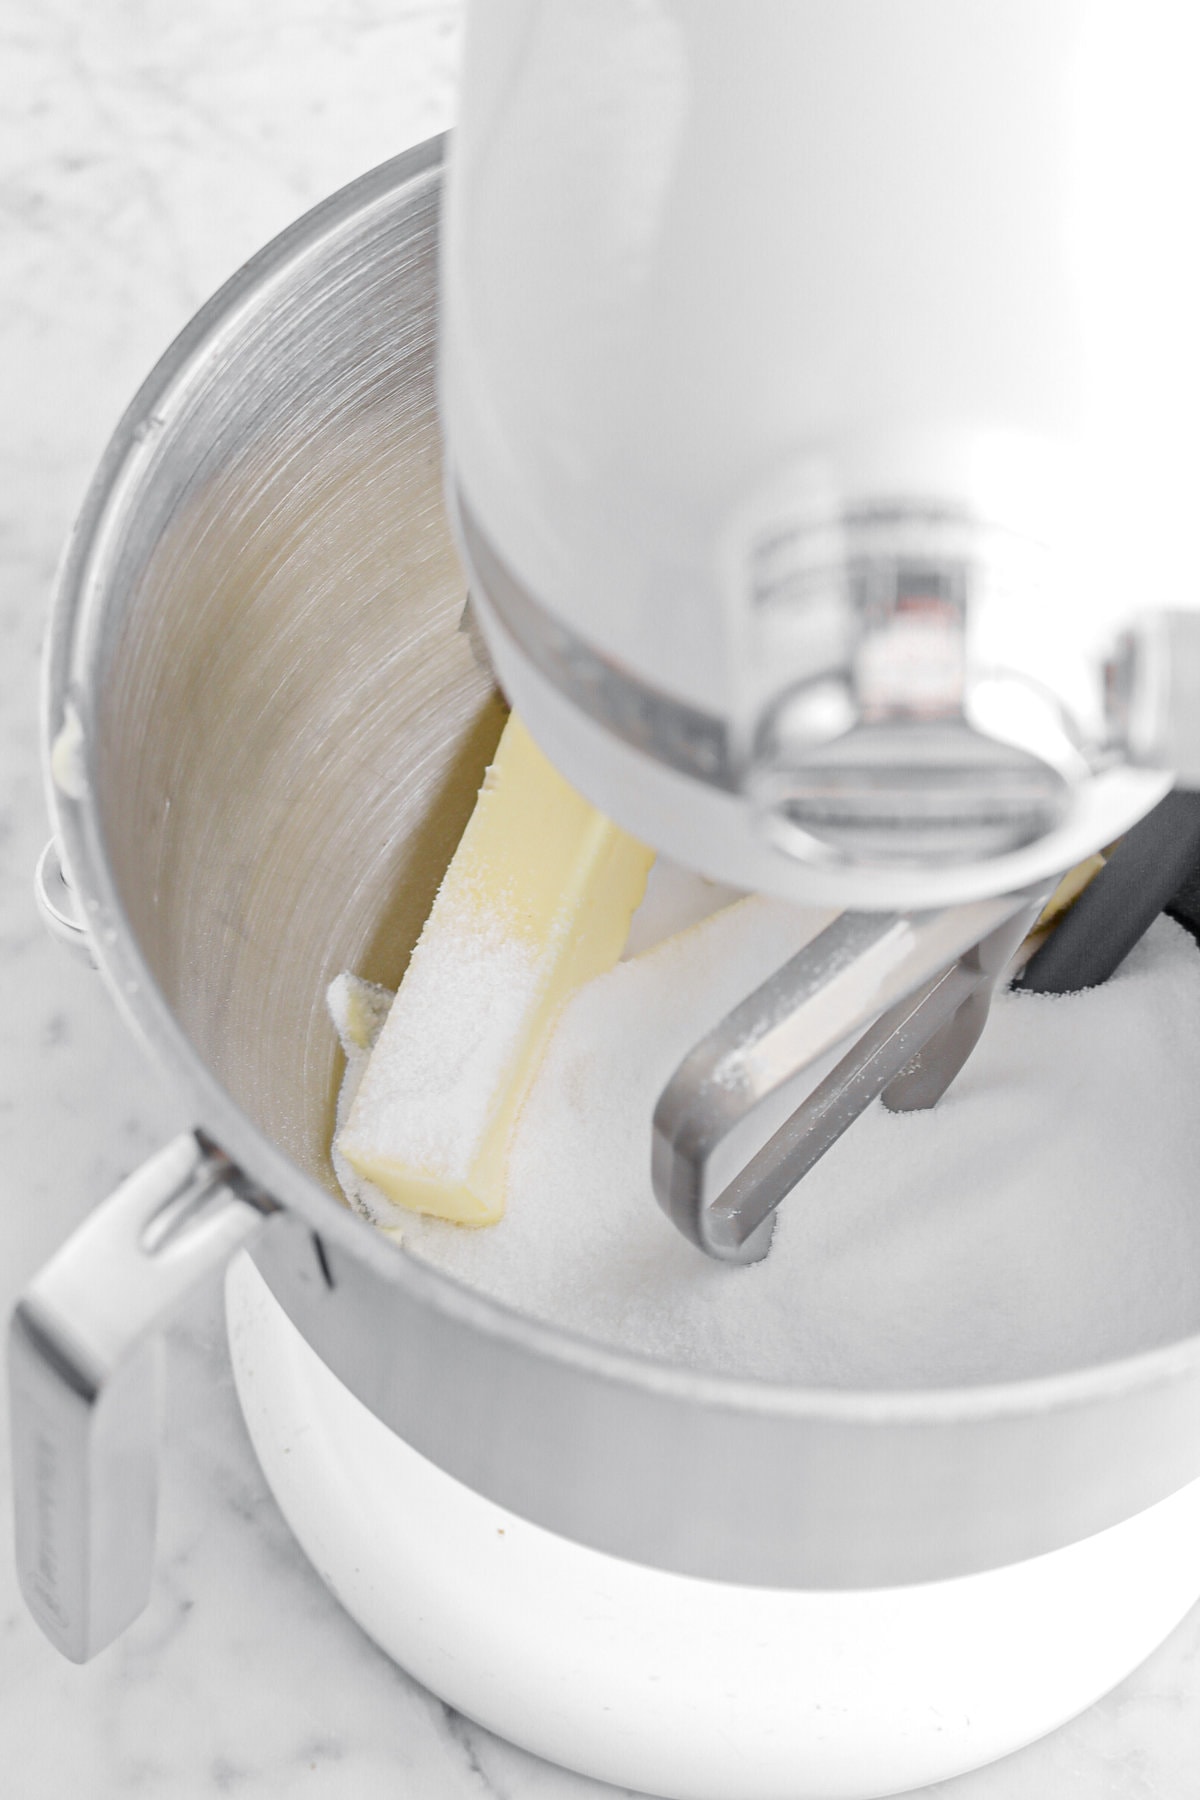
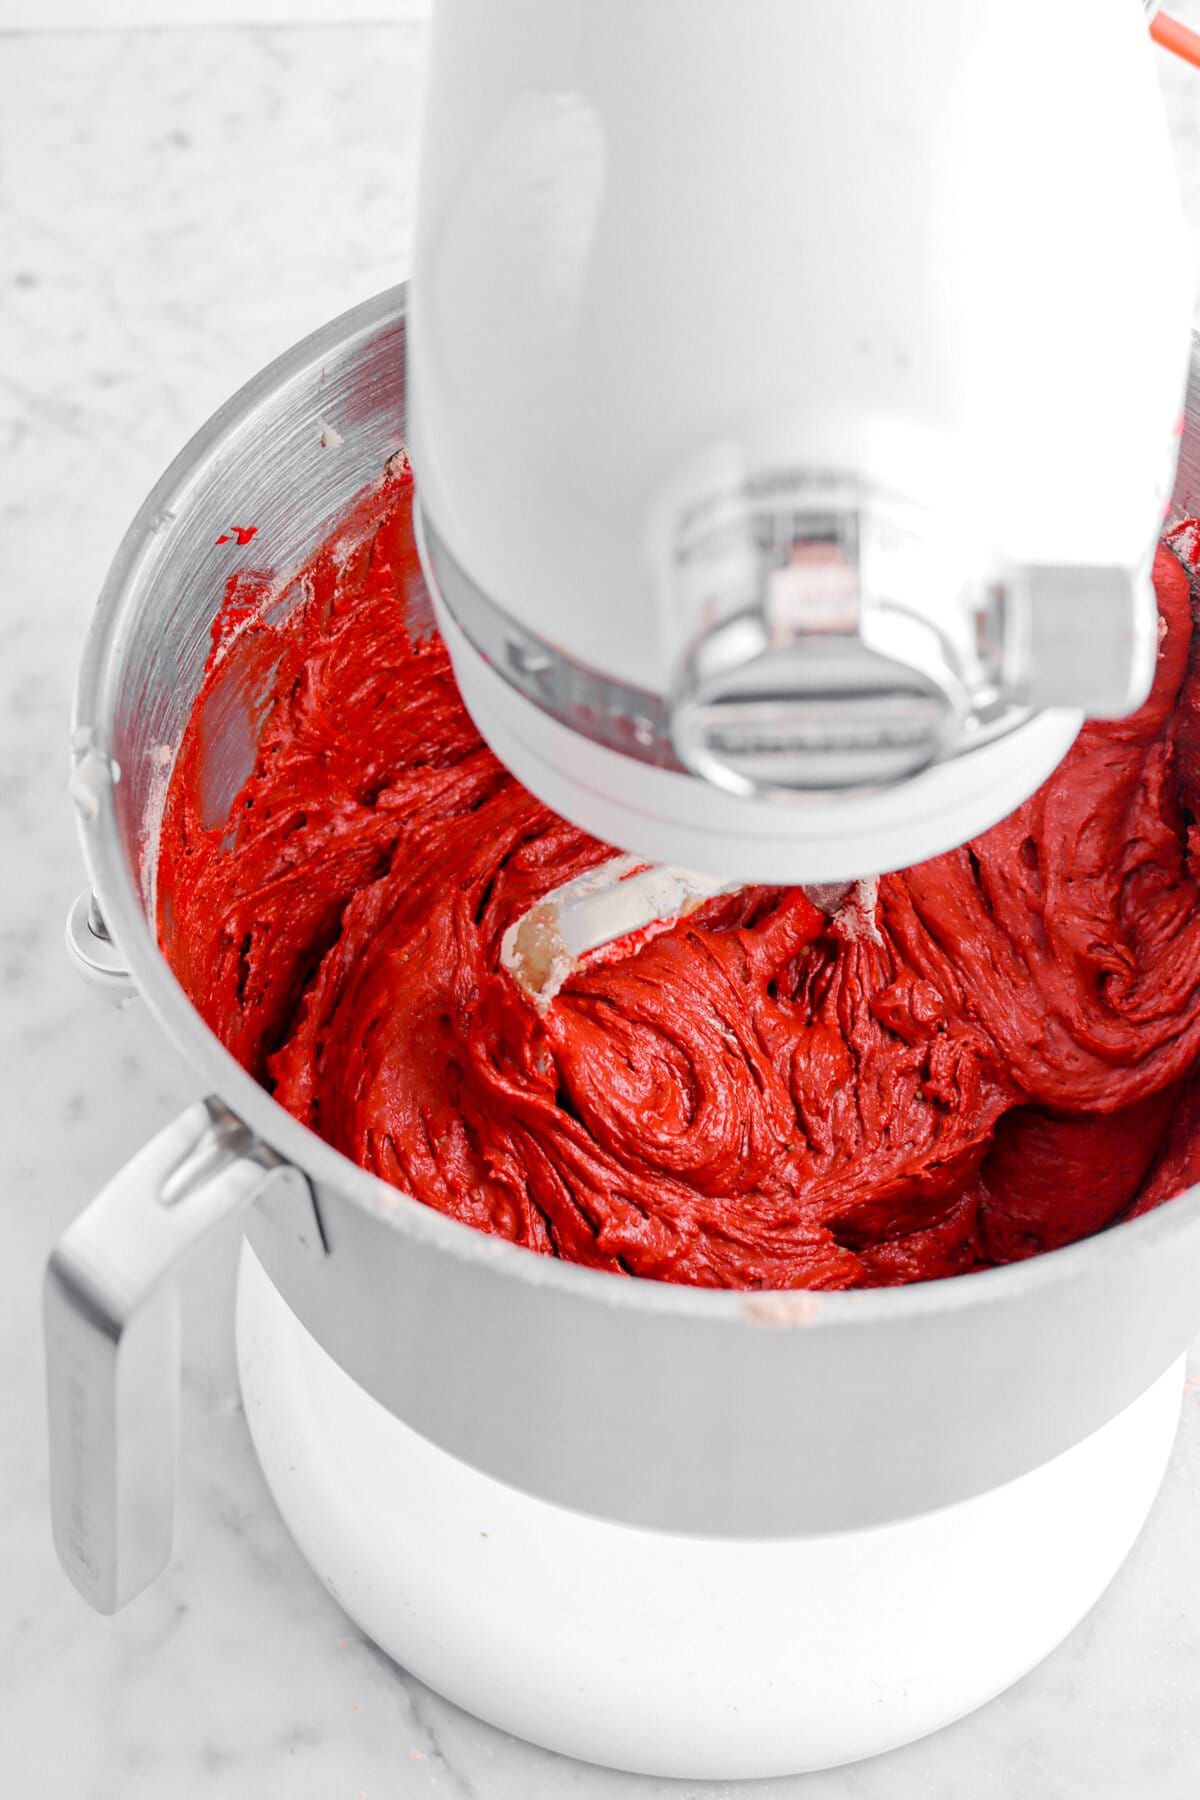
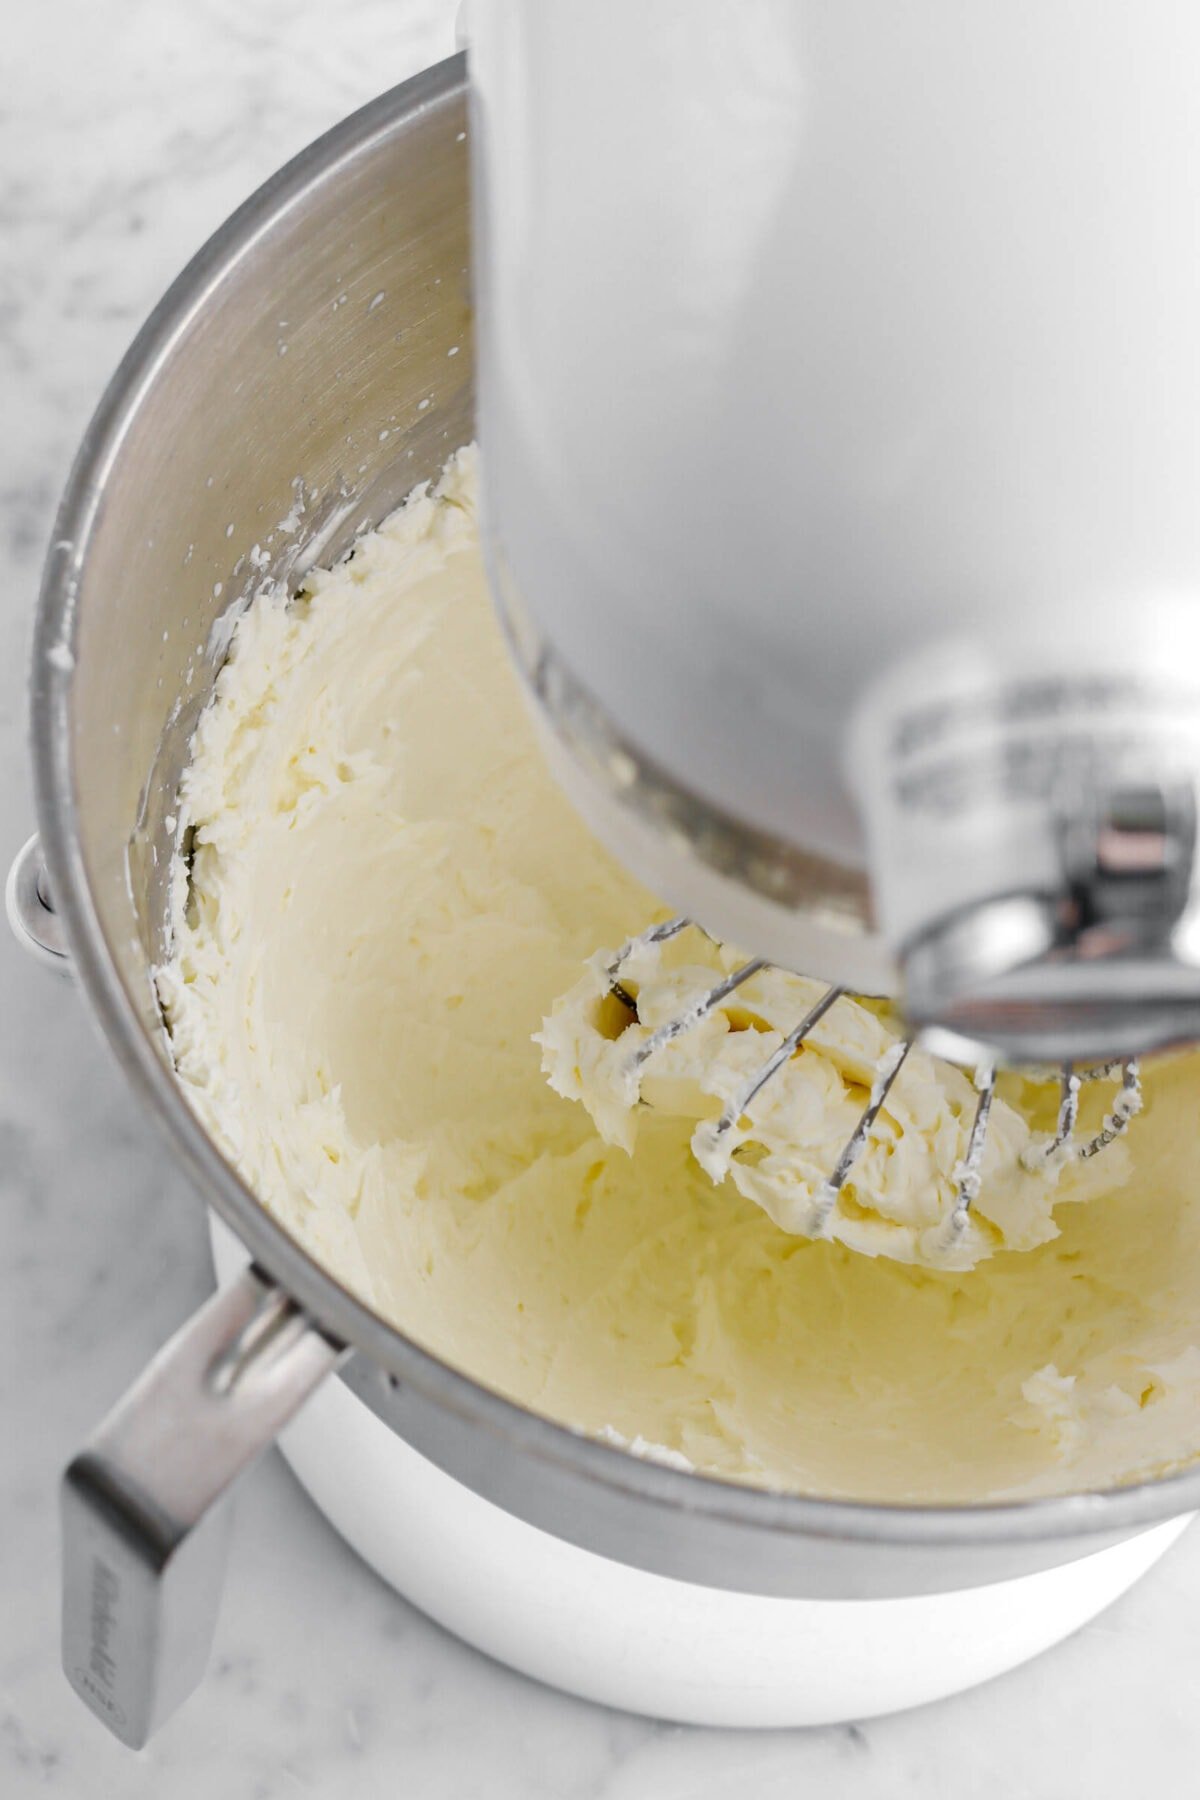
Beat butter and sugar in a mixer for about 2-3 minutes, or until the mixture becomes light and fluffy.

Add the food coloring and mix well.


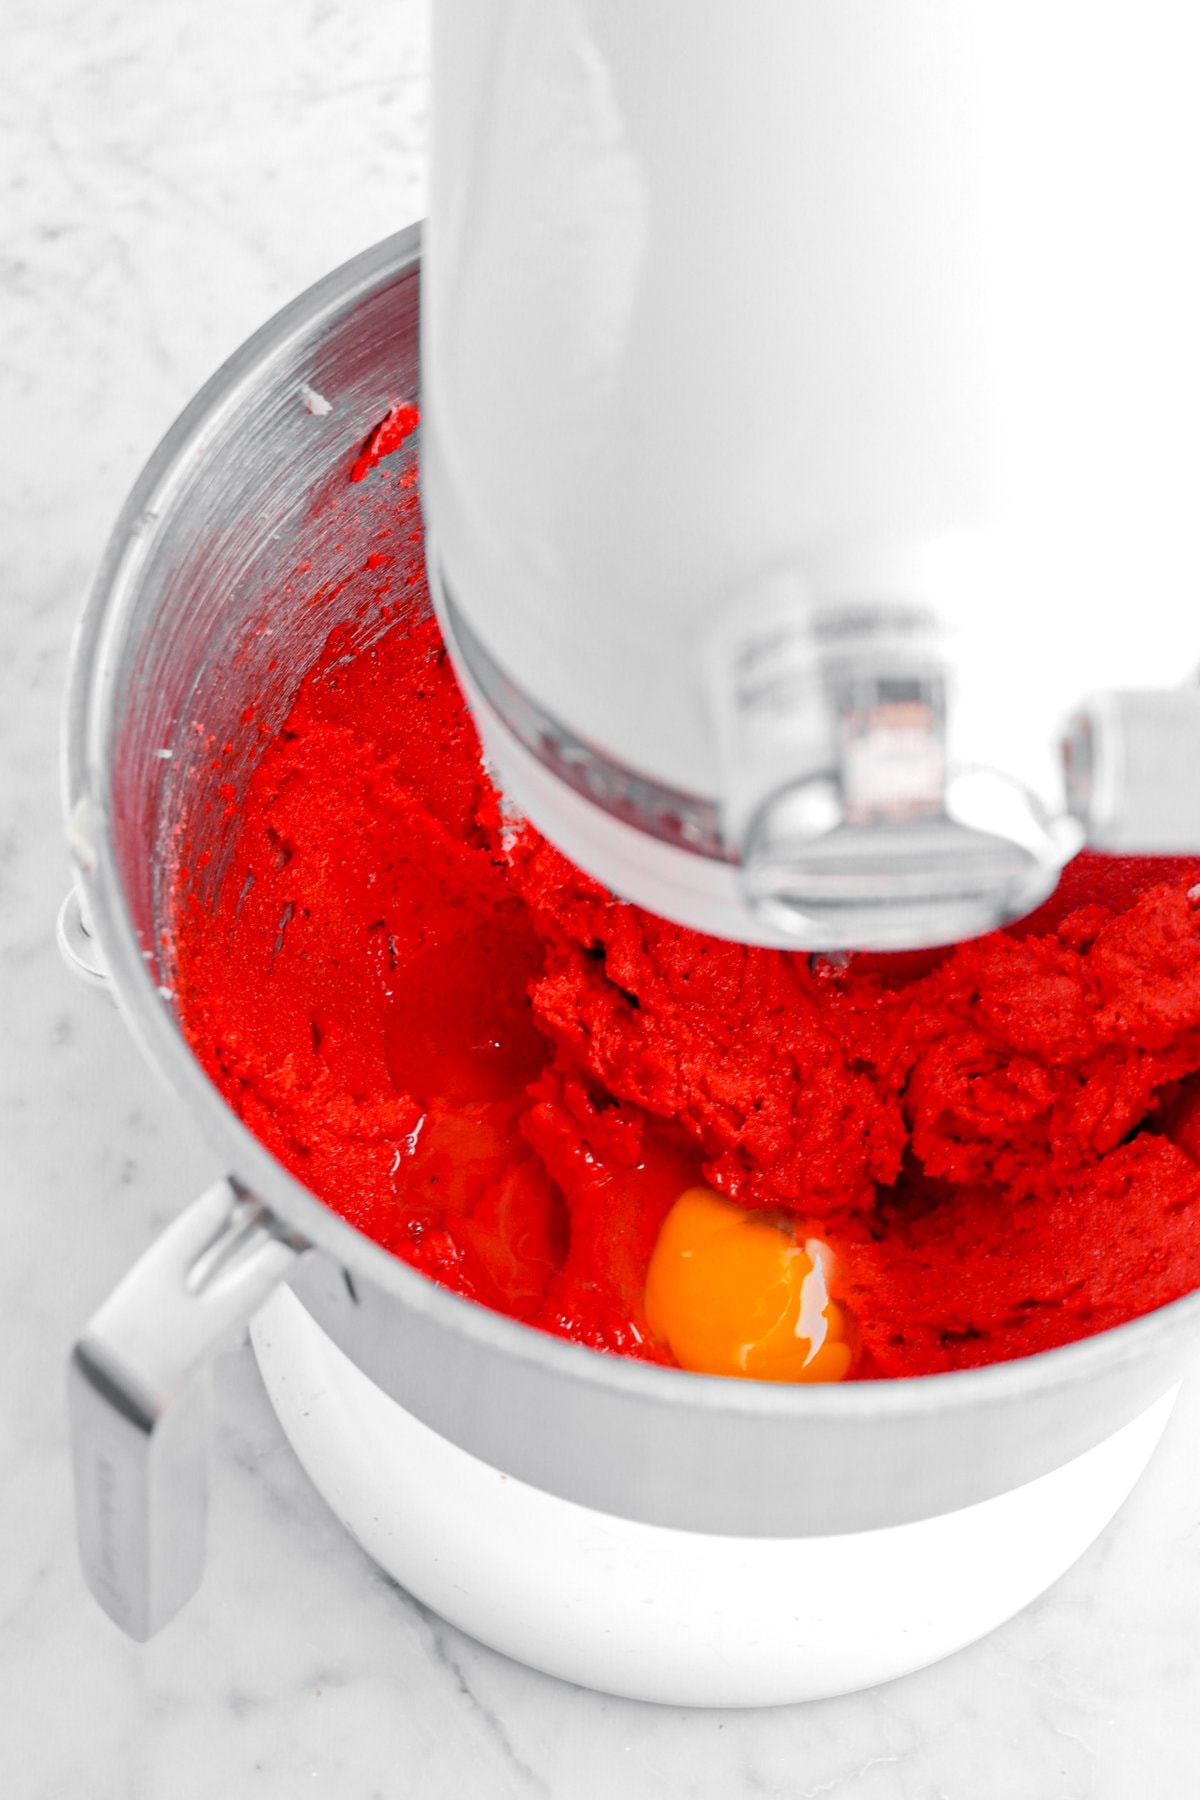
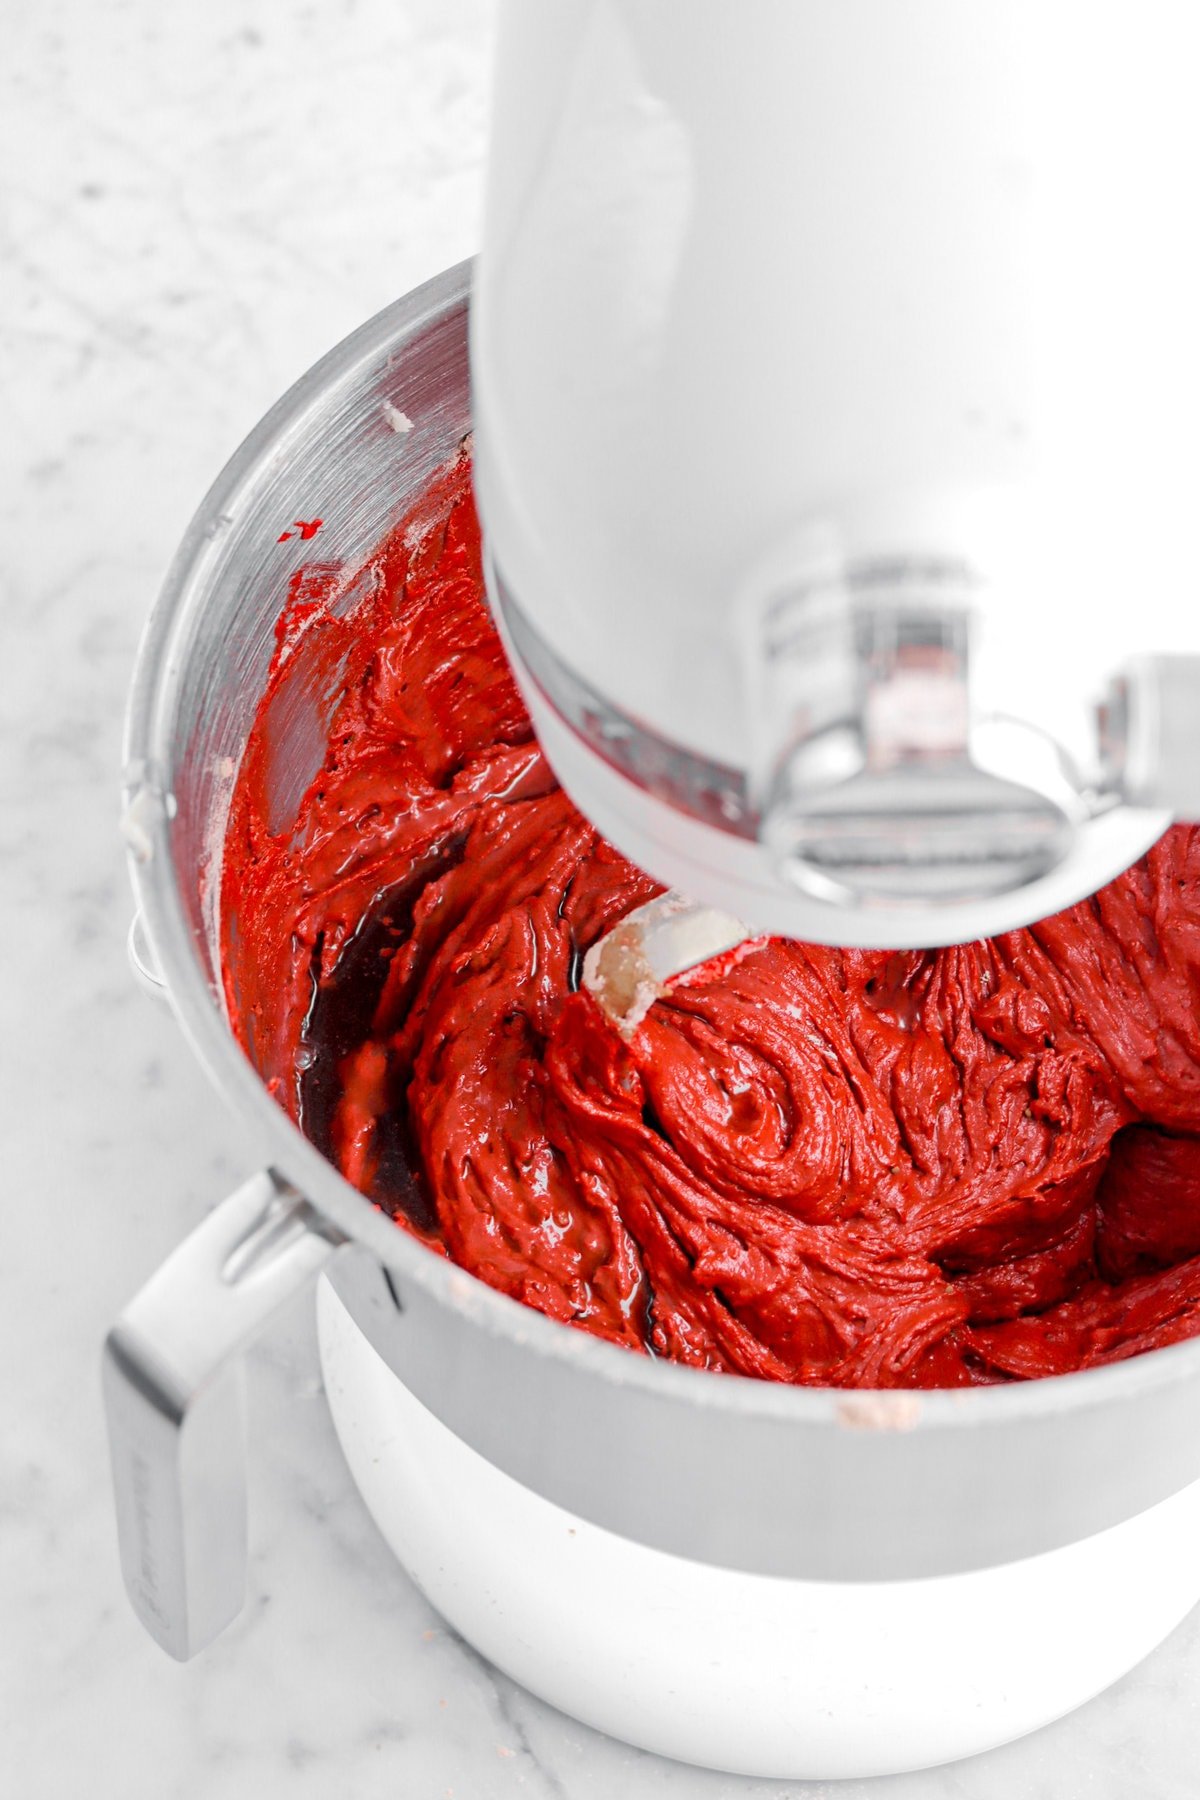
Add eggs, one at a time, beating well after each addition.
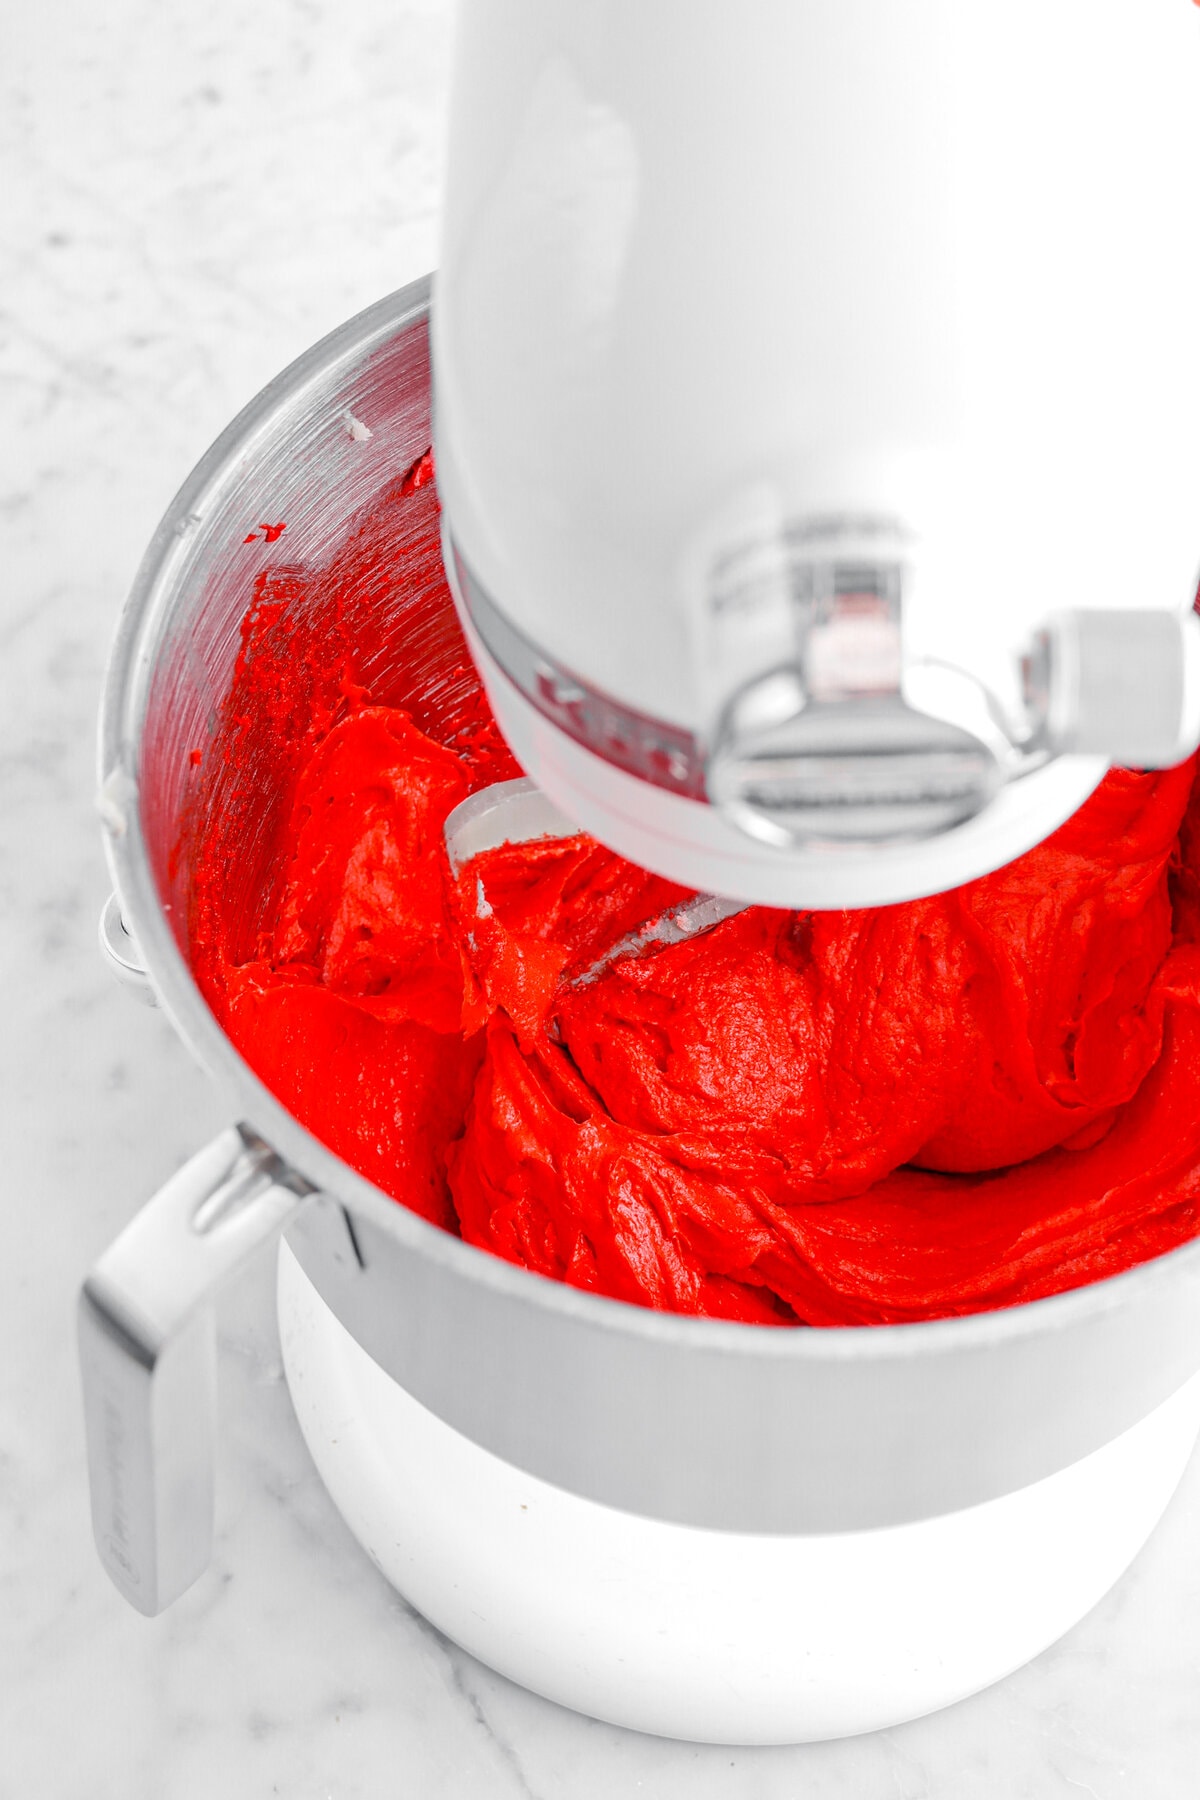
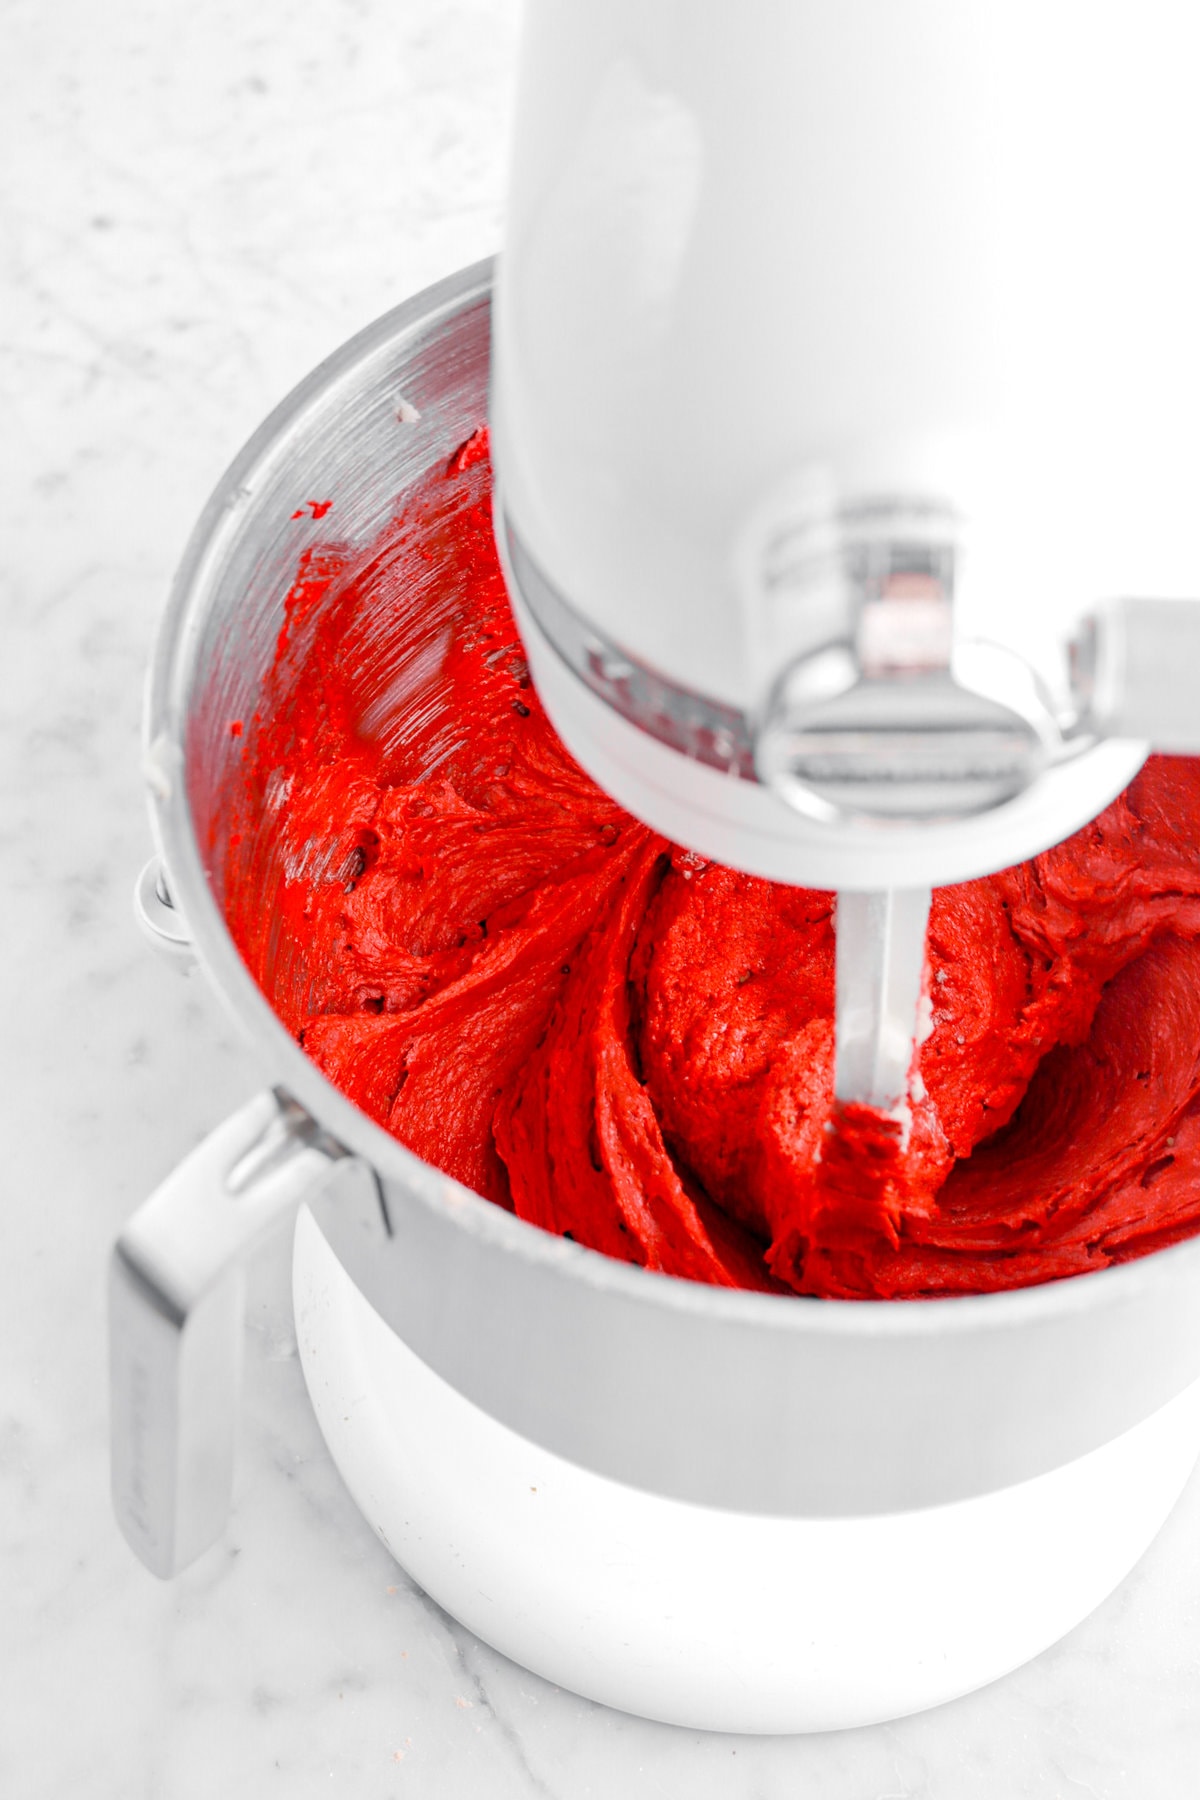
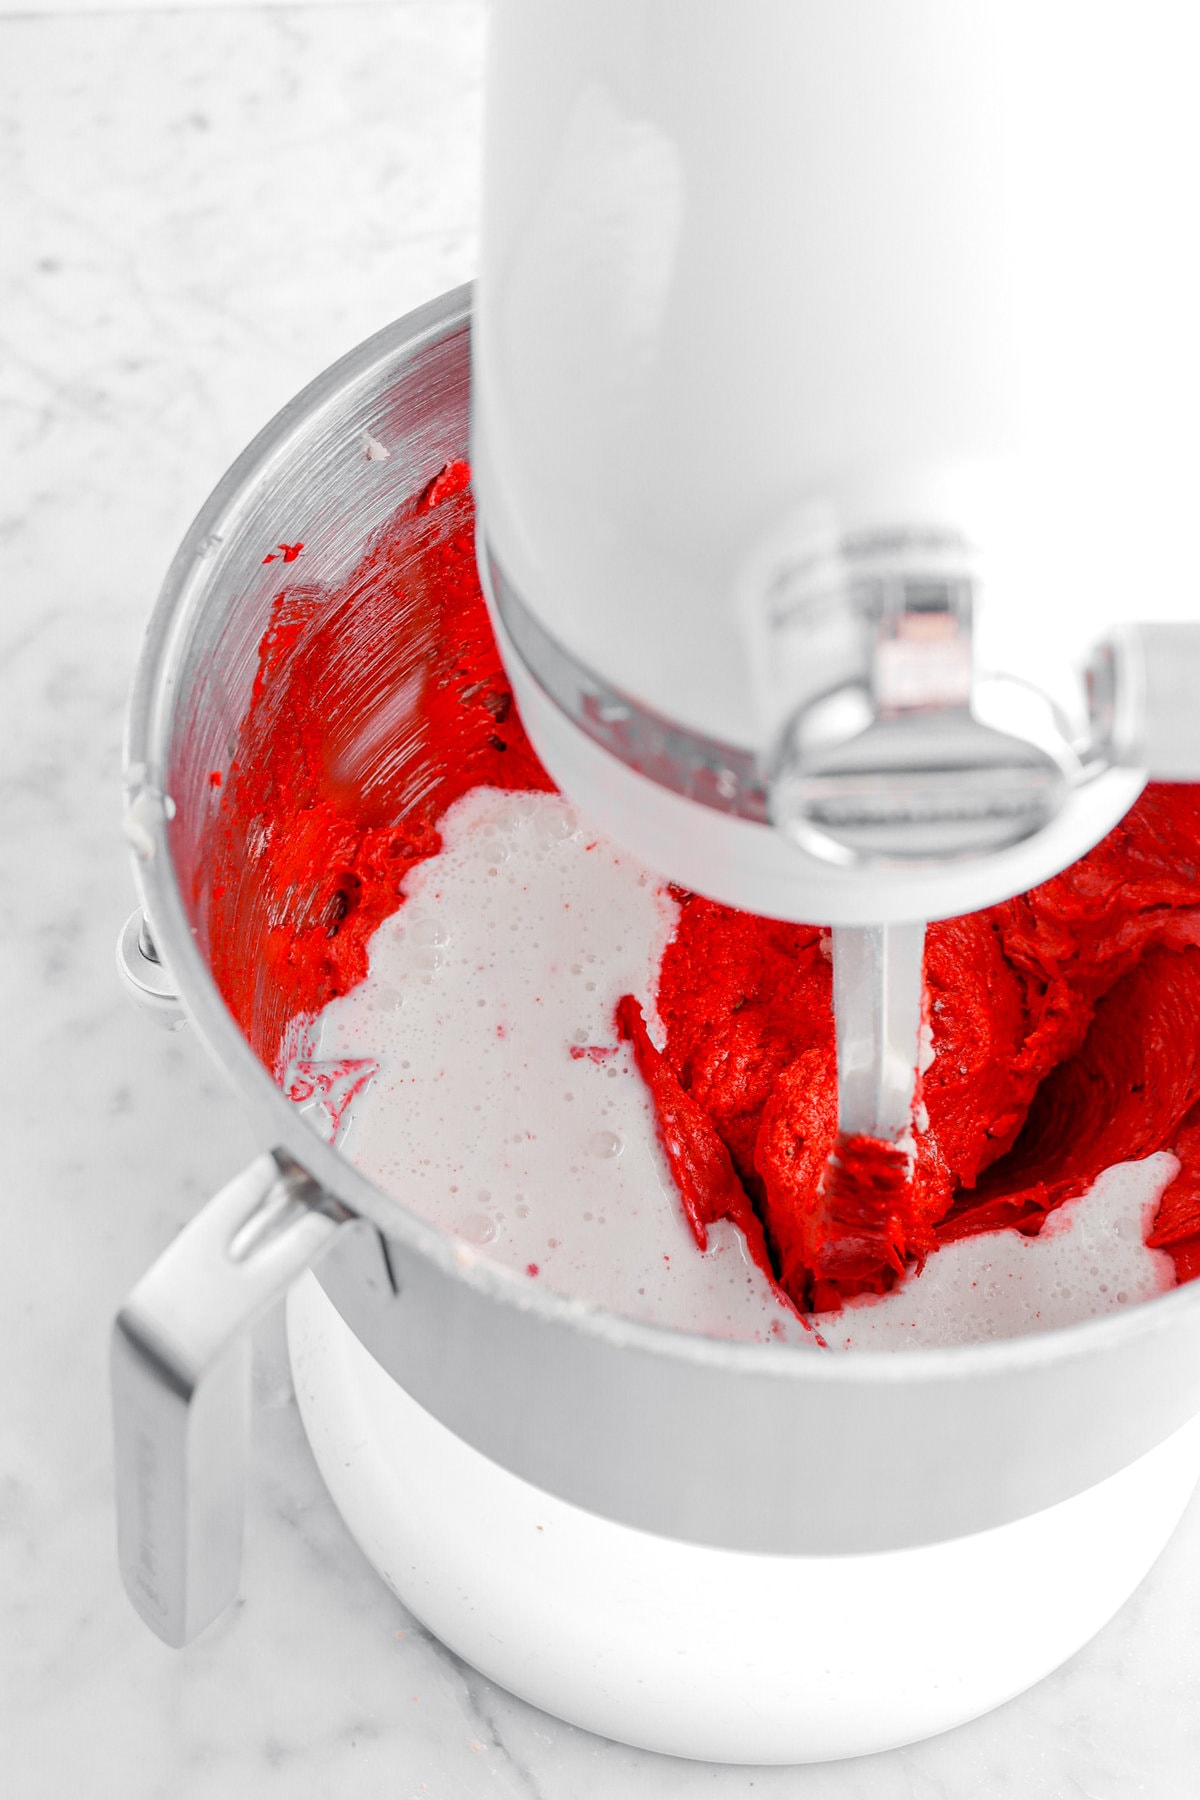
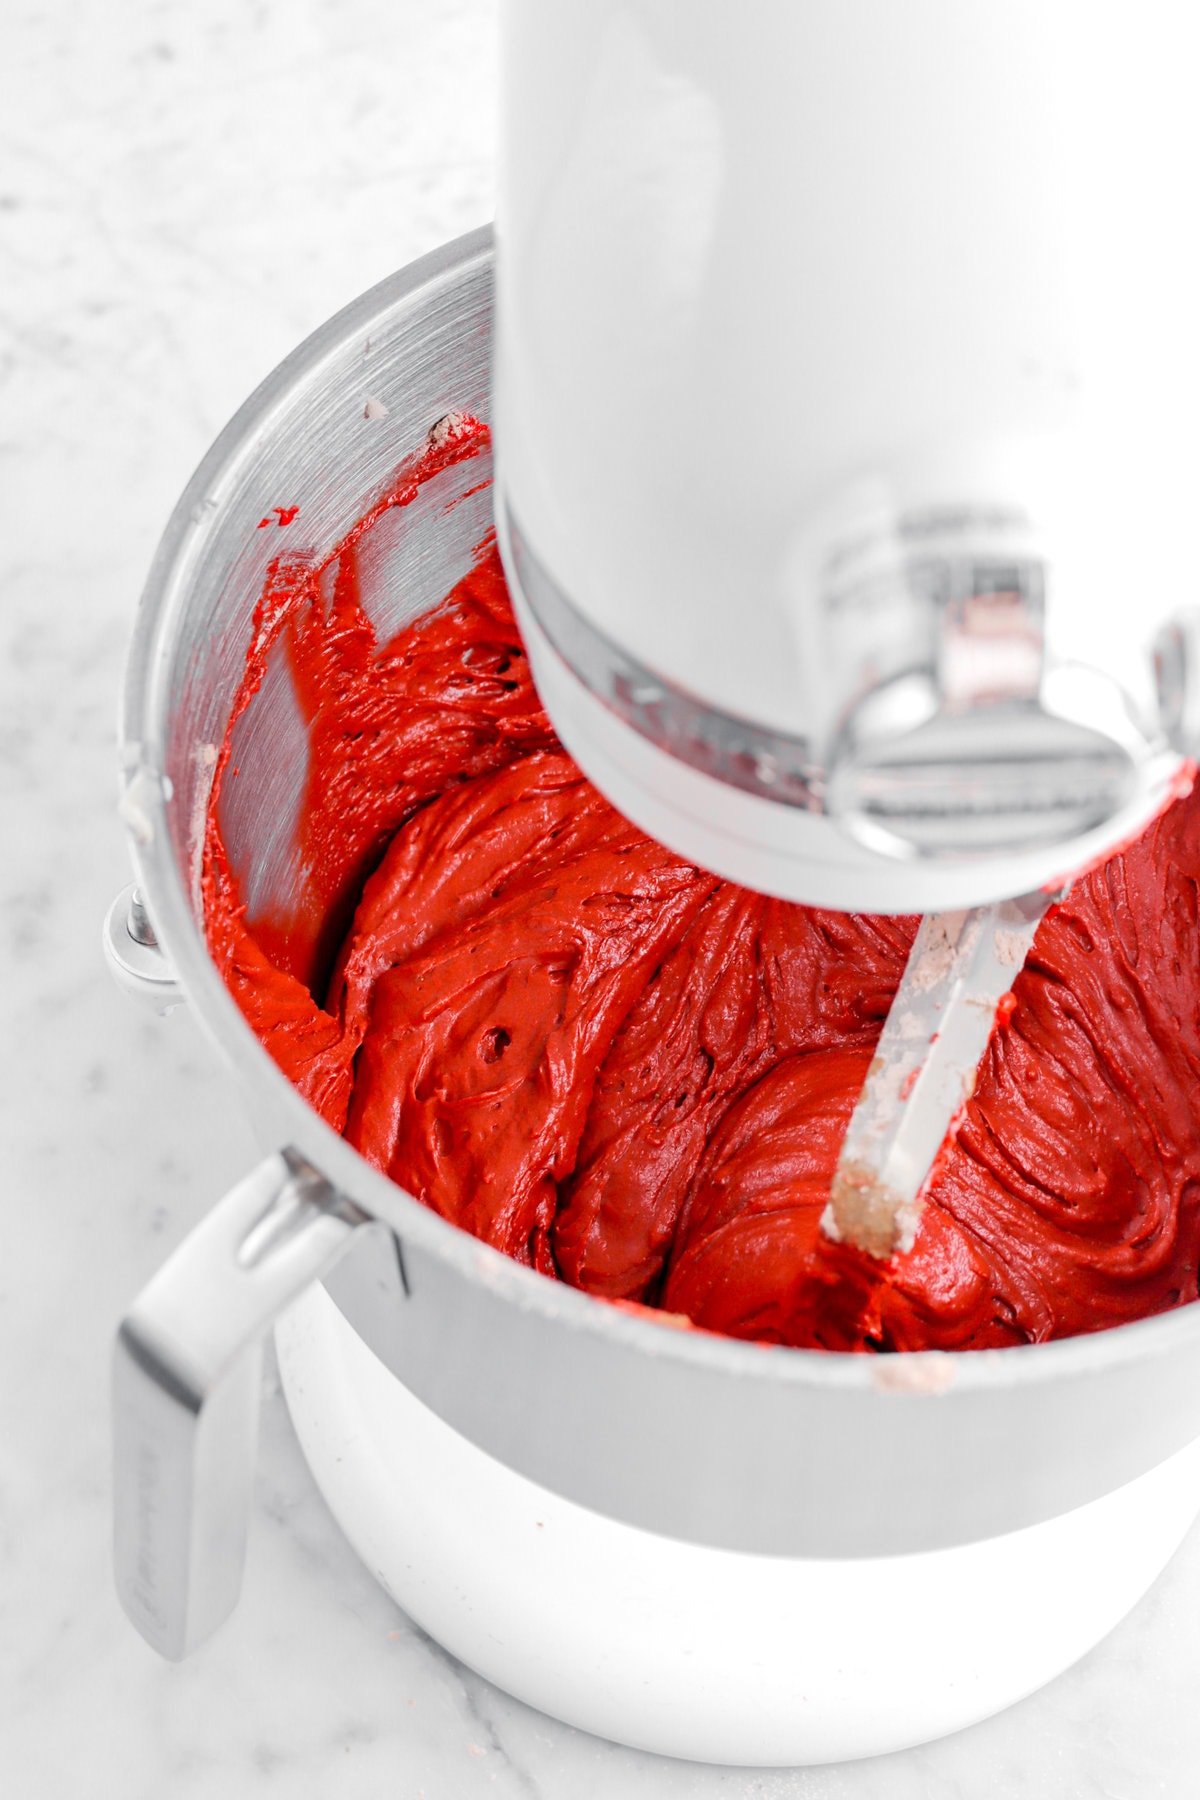
Add flour mixture alternately with buttermilk, beginning and ending with flour mixture.

Stir the vanilla and vinegar into the cake batter.
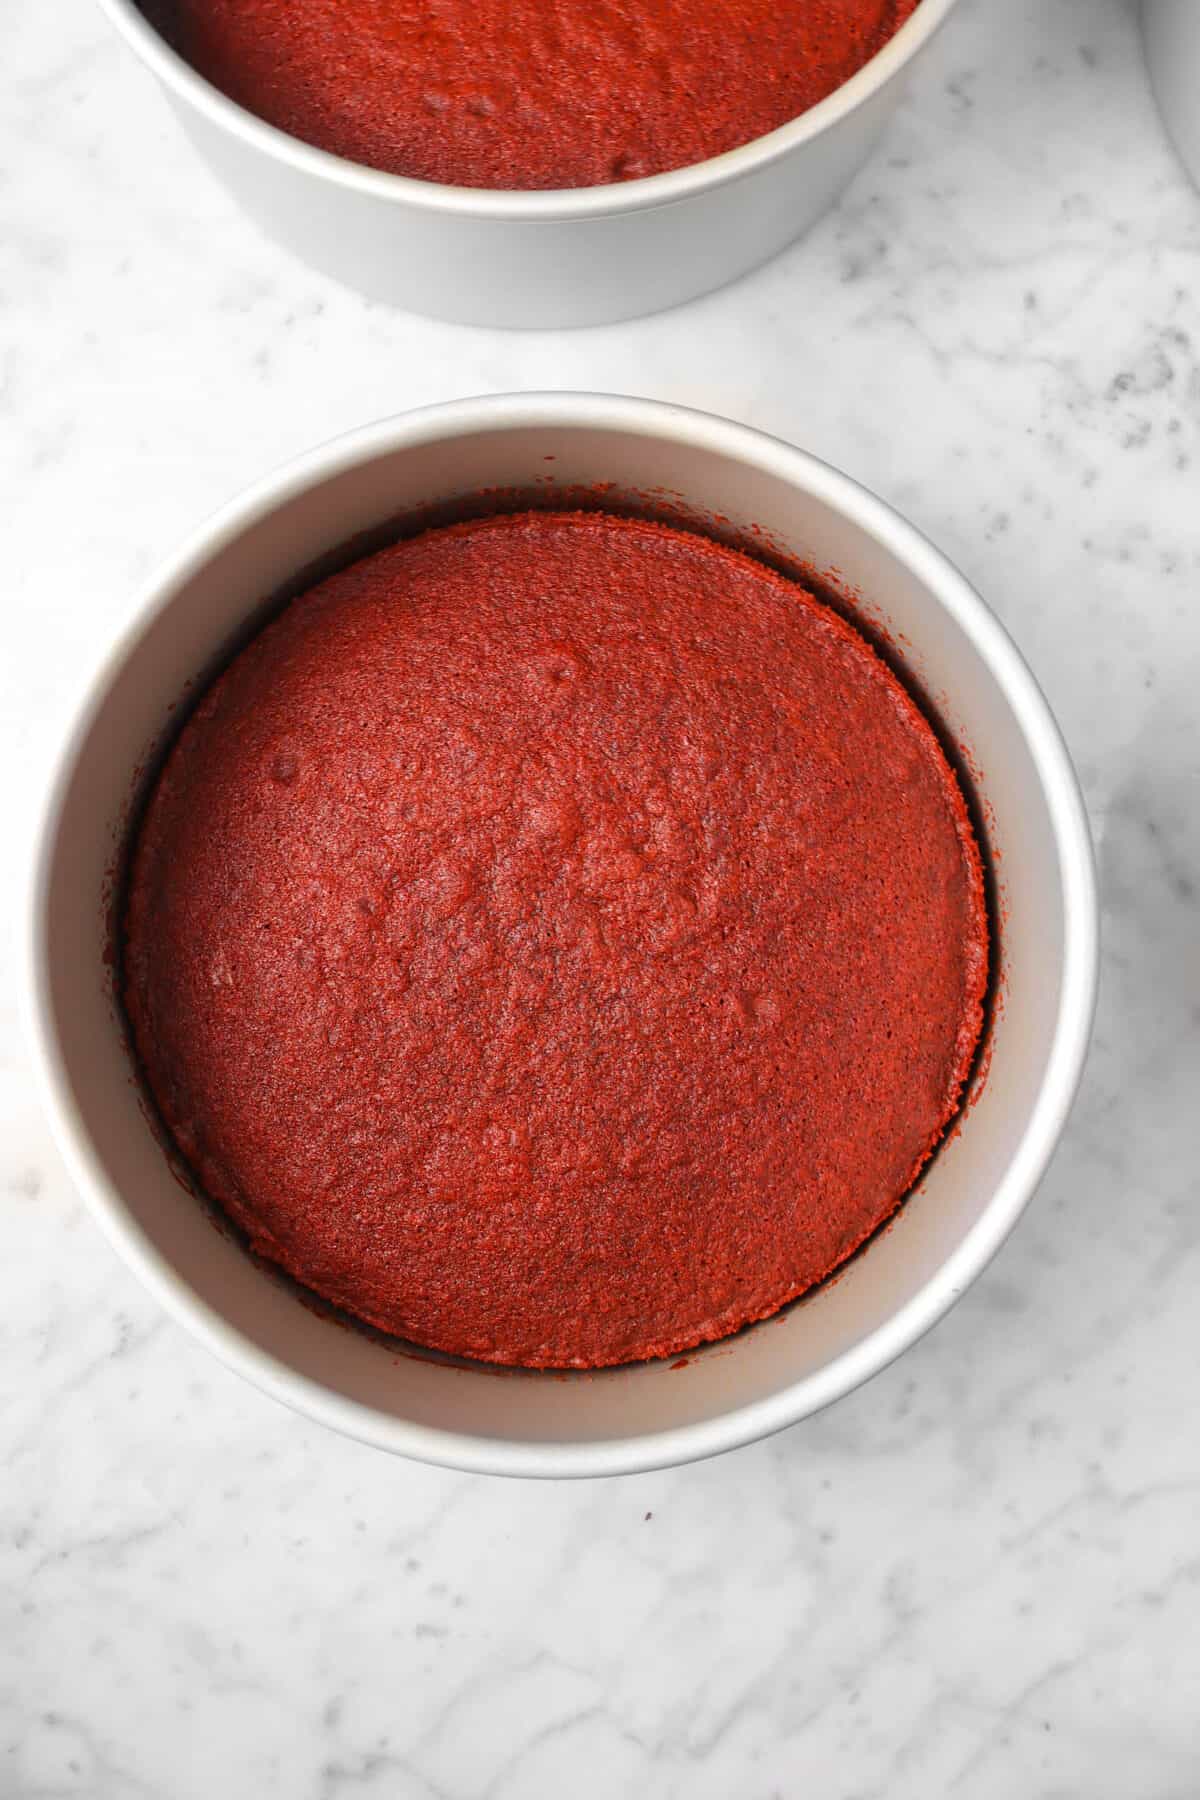
Step 2: Portion and bake
Divide the batter evenly among the pans.
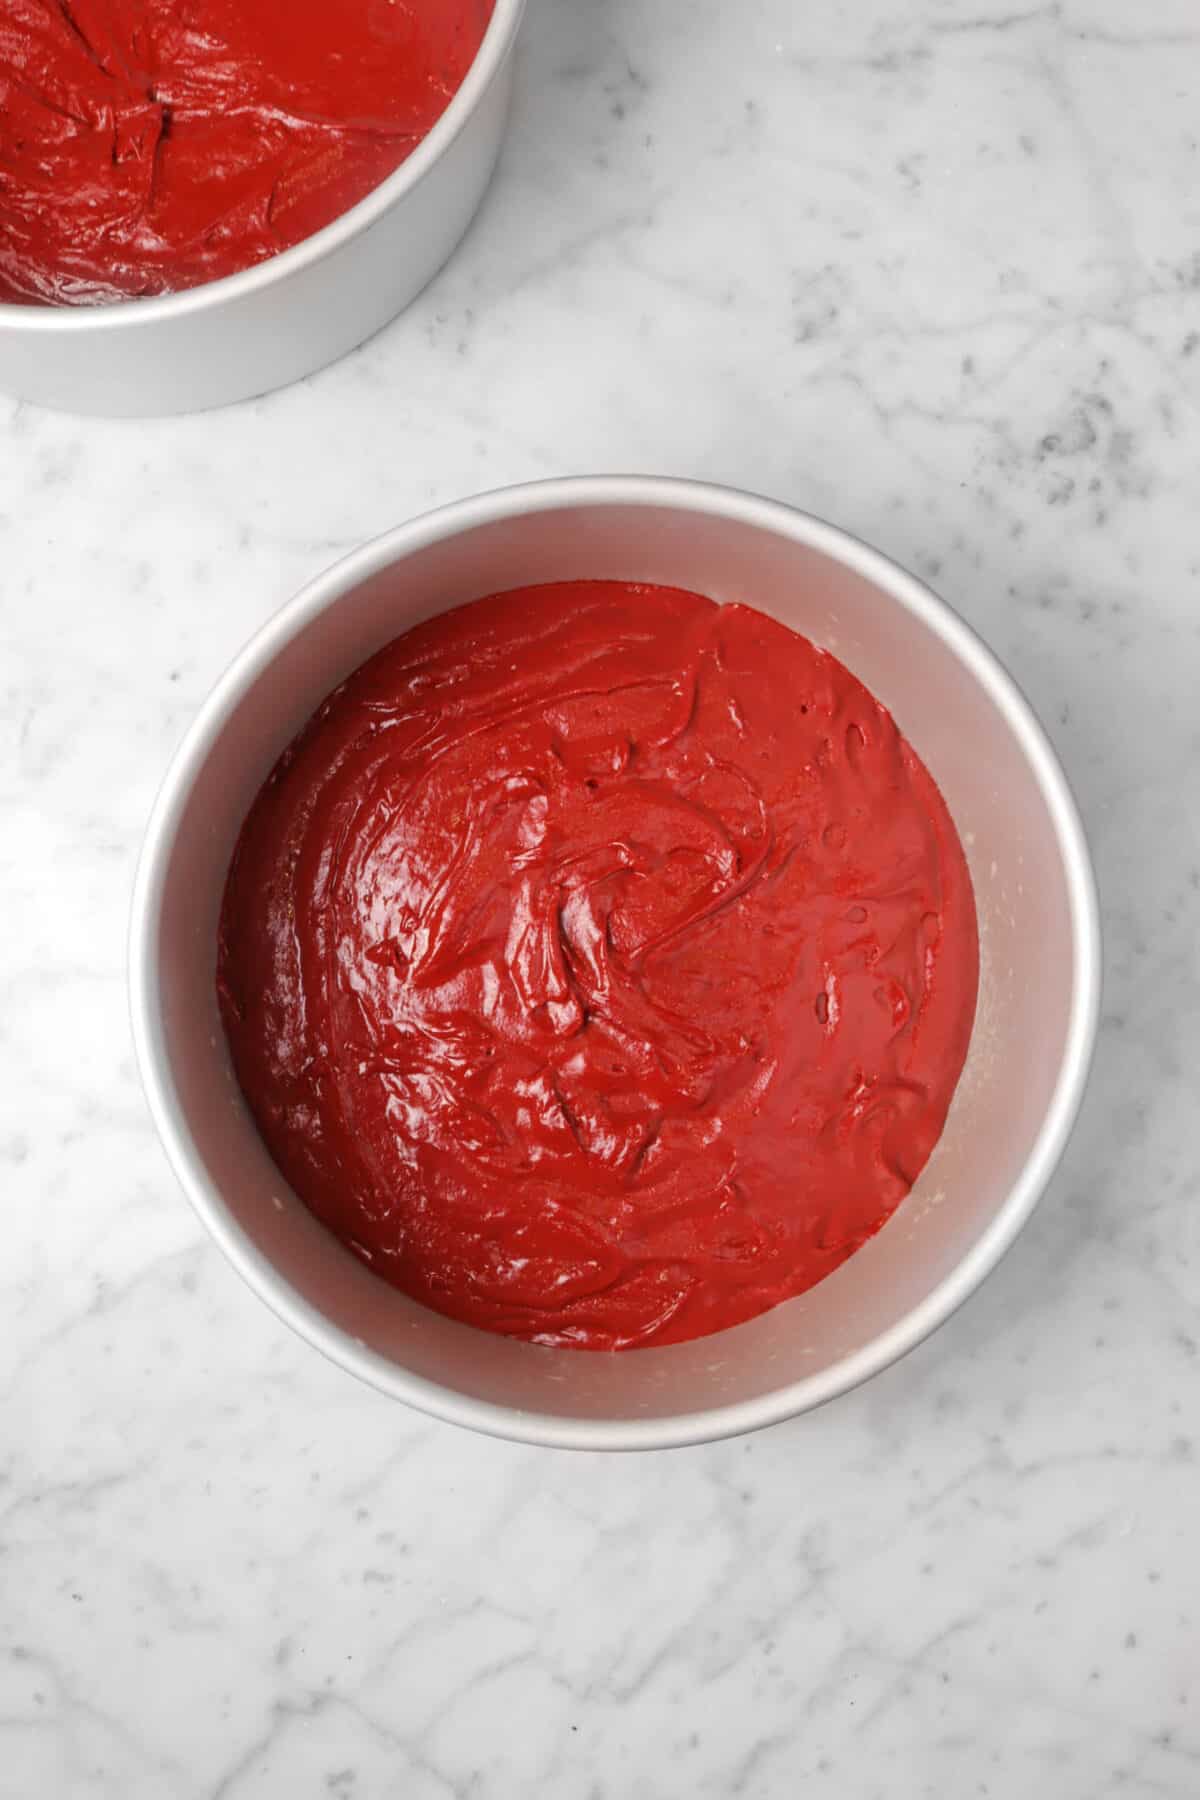
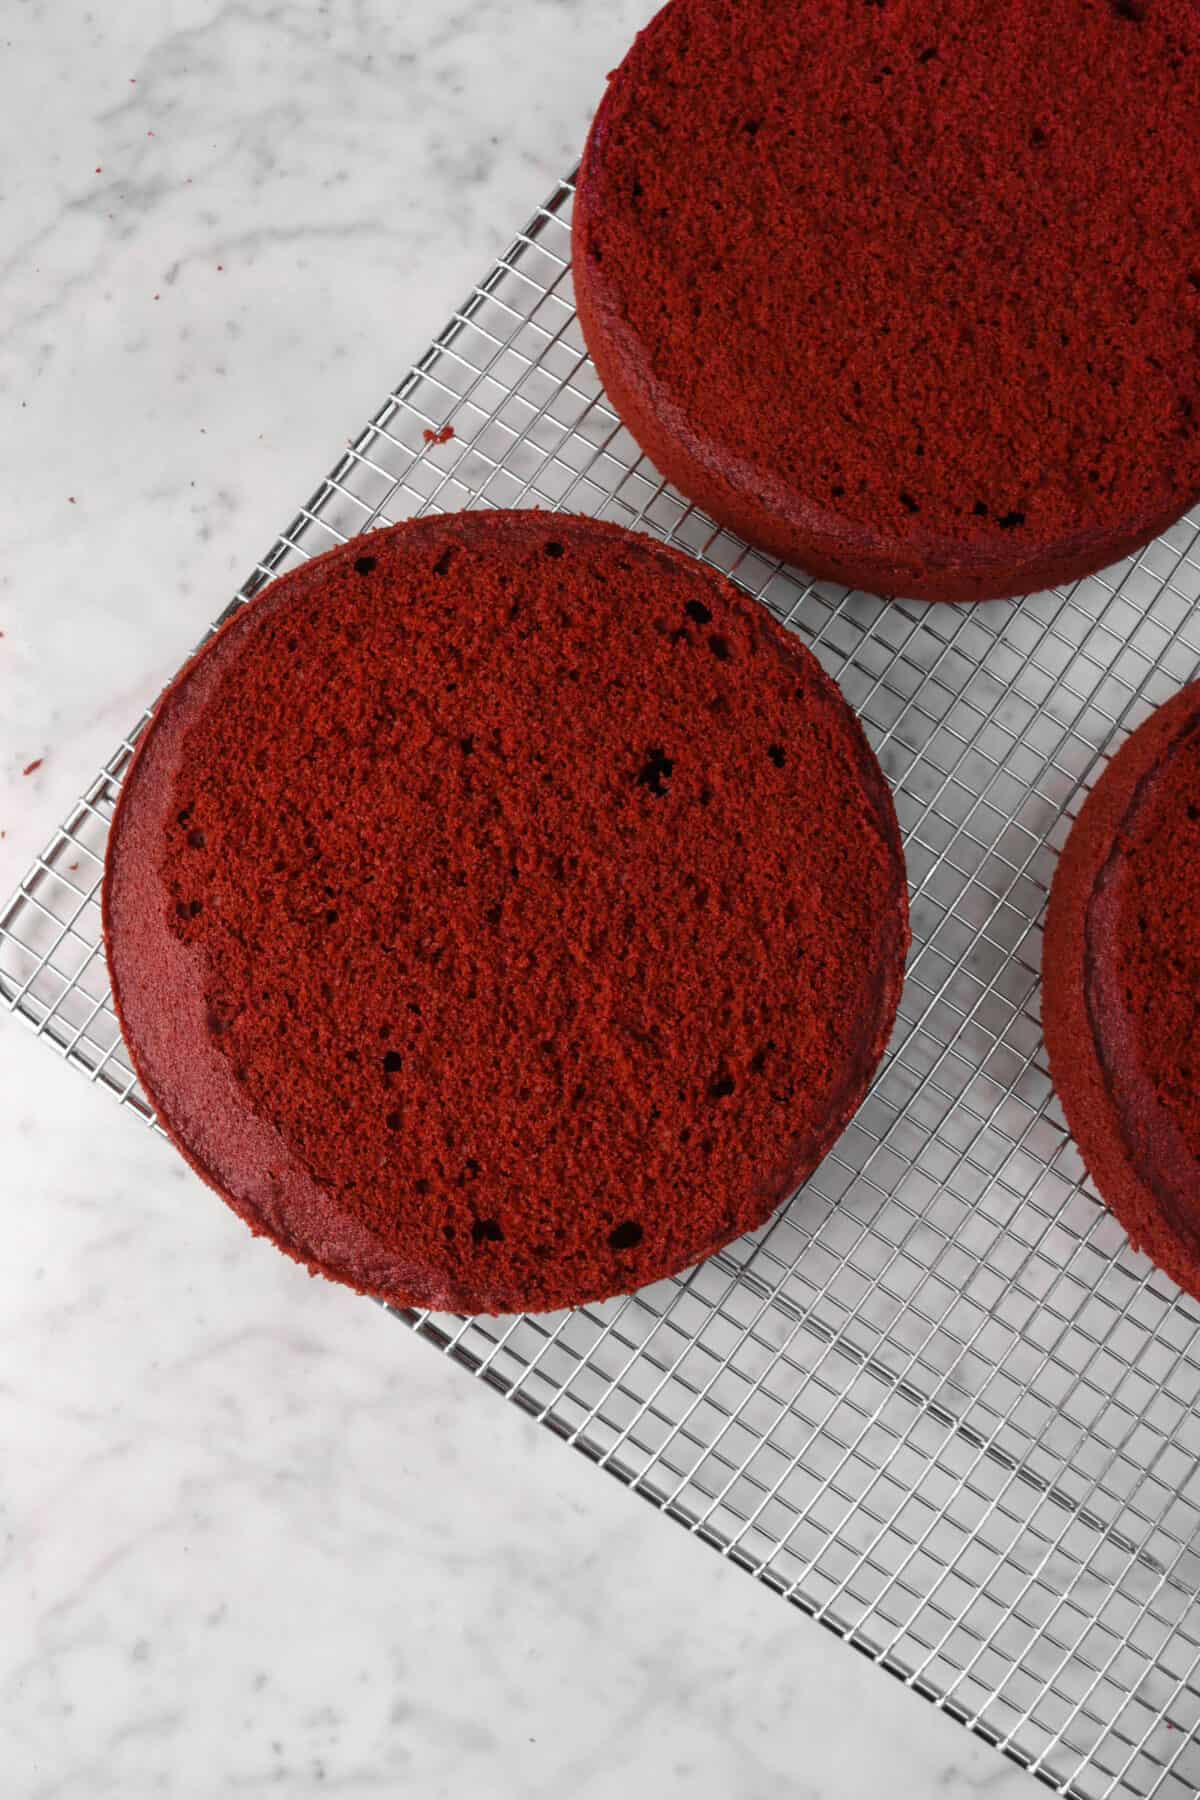
Bake at 350℉ for 20 minutes or until done.
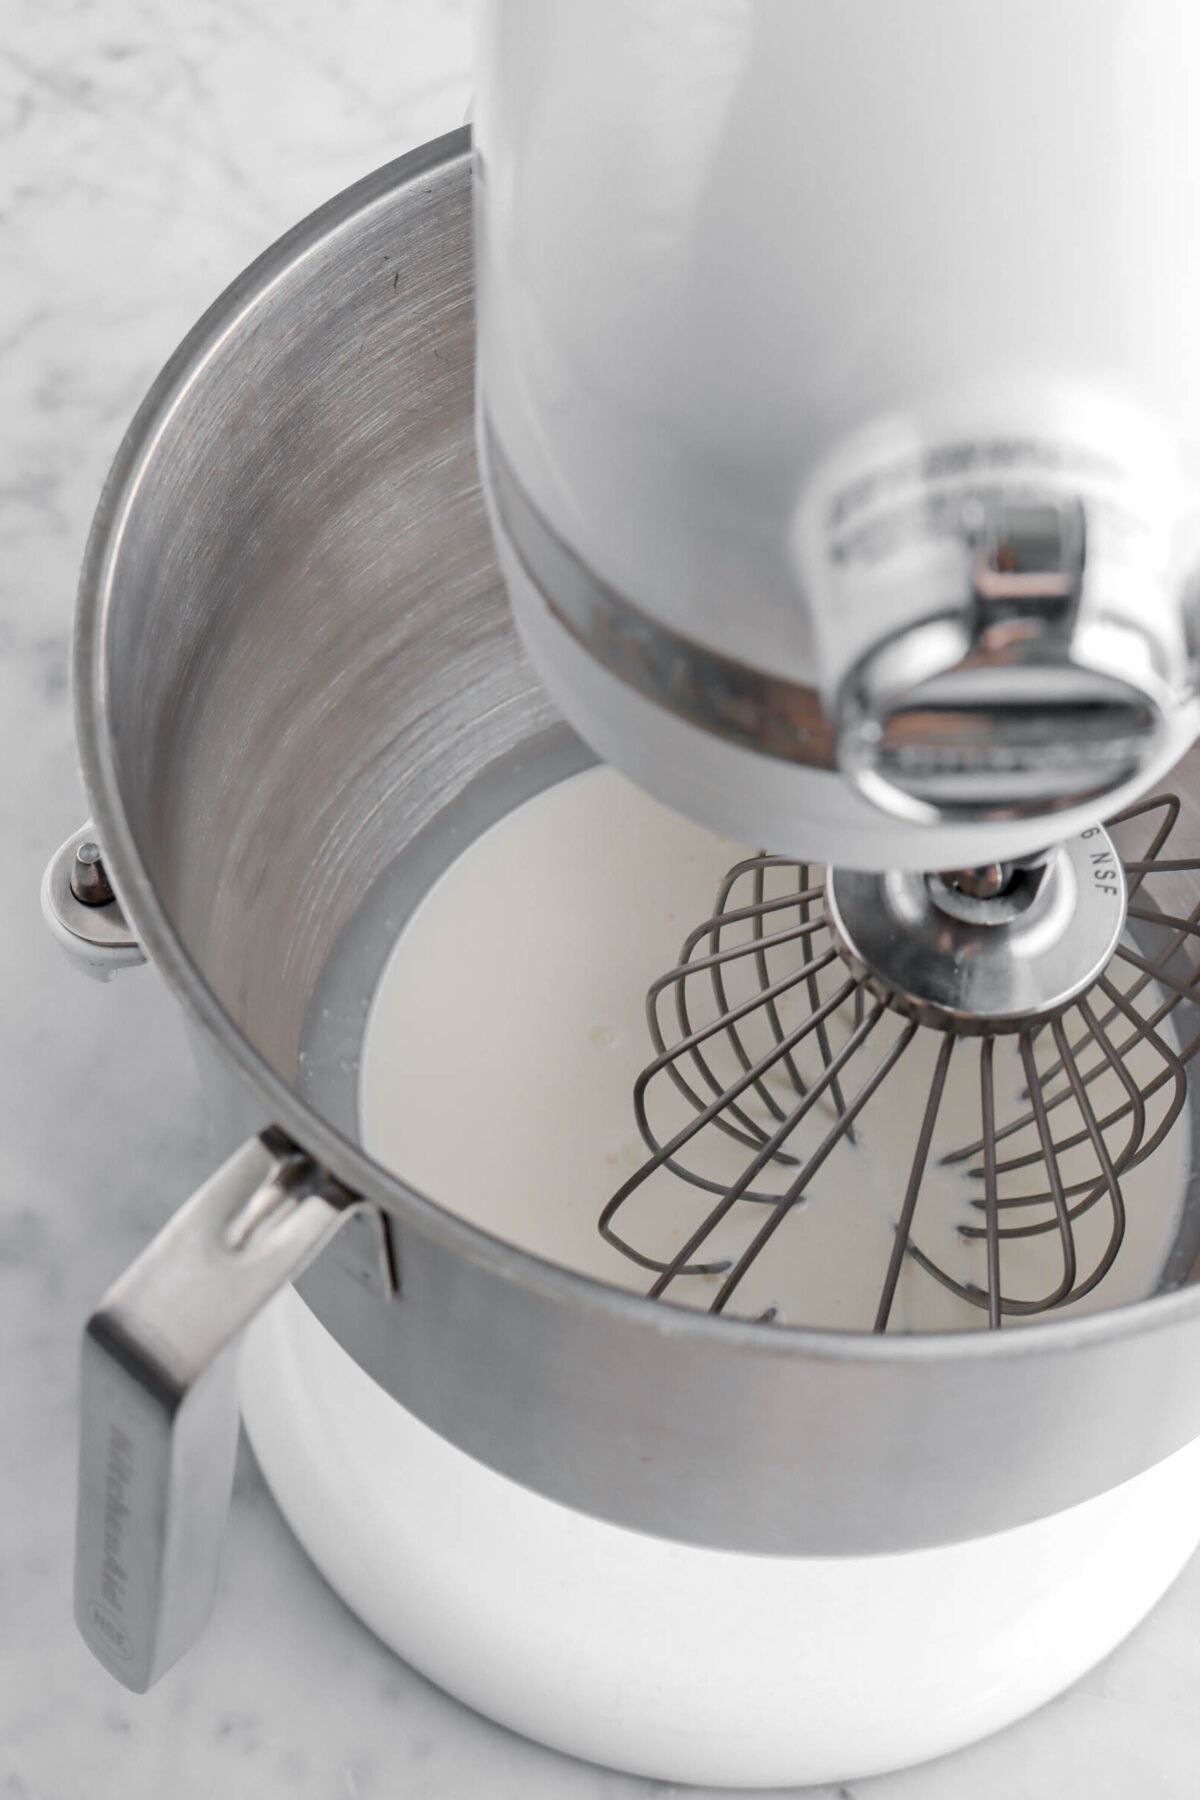
Step 3: Make the frosting
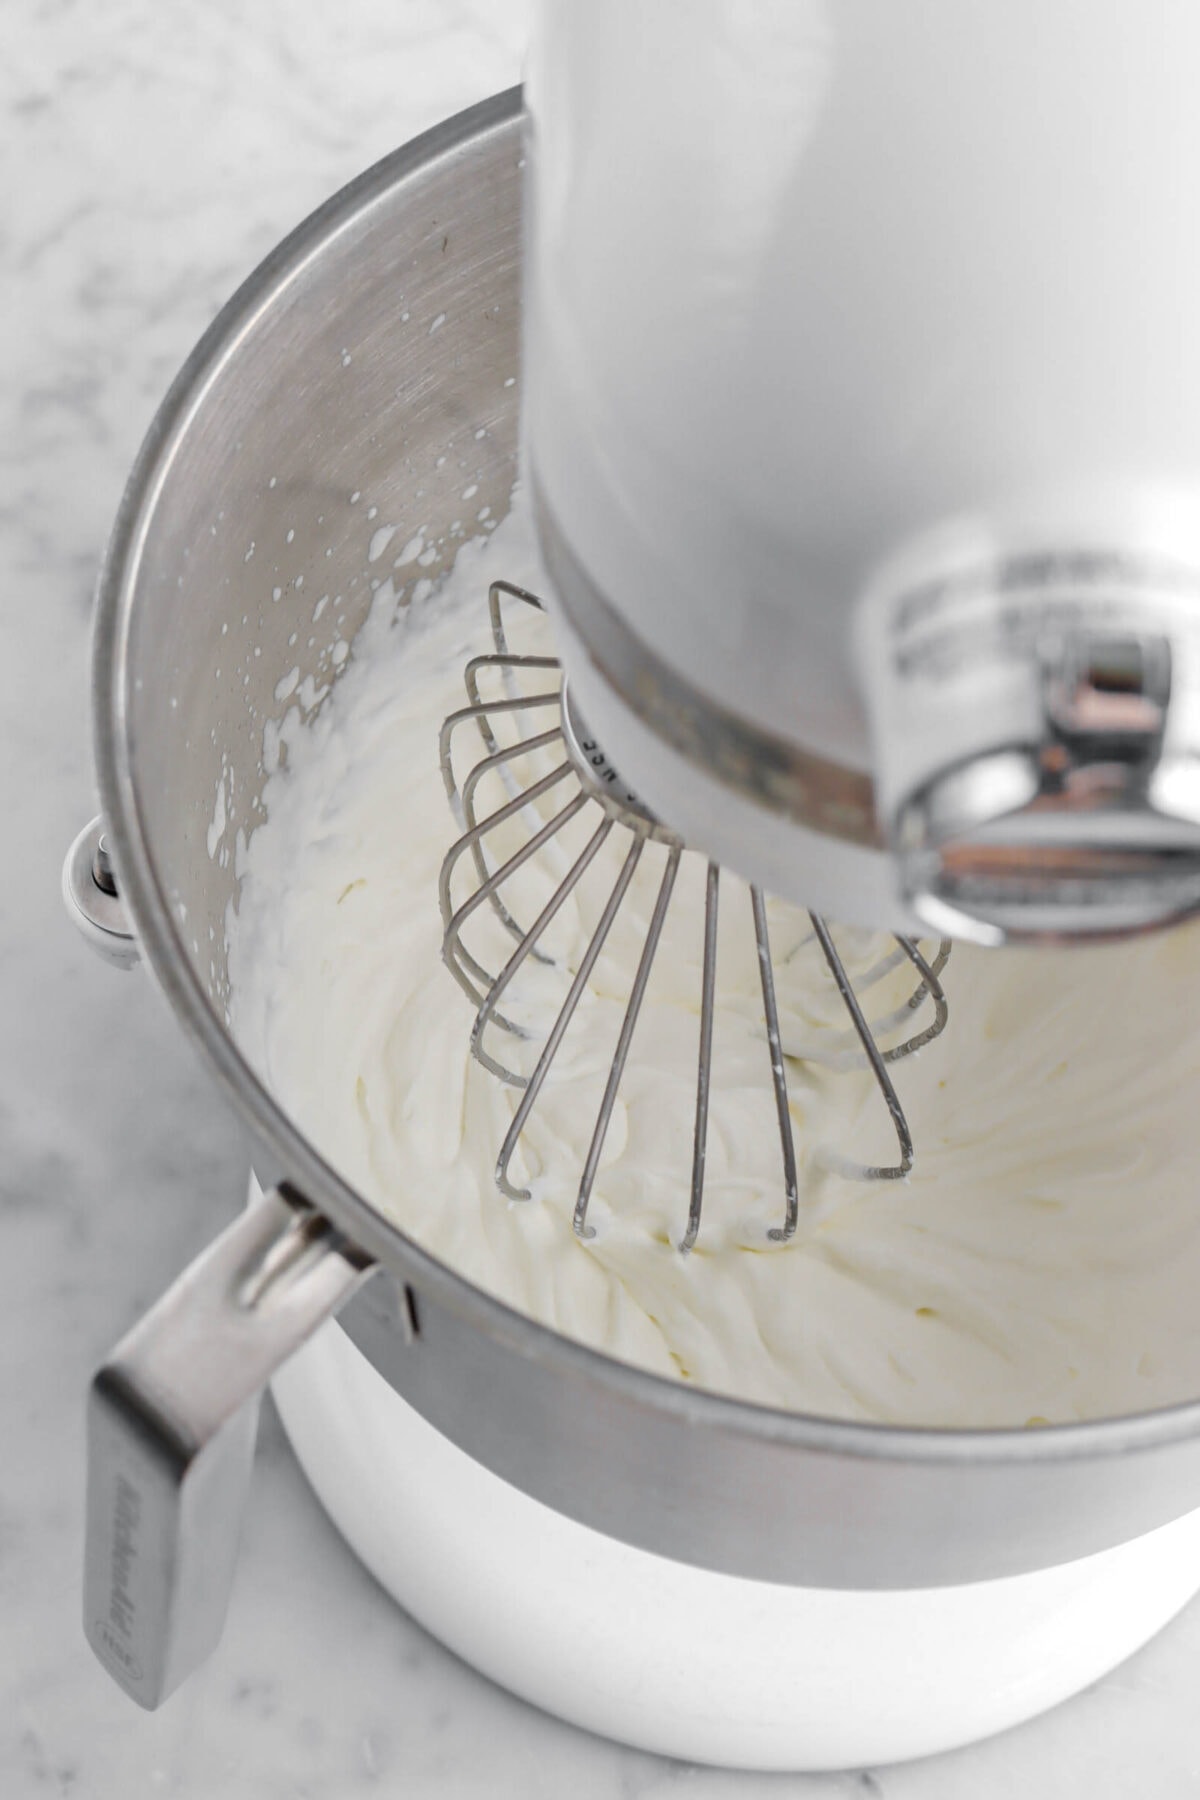
Beat heavy cream with an electric mixer fitted with the whisk attachment until stiff peaks form.
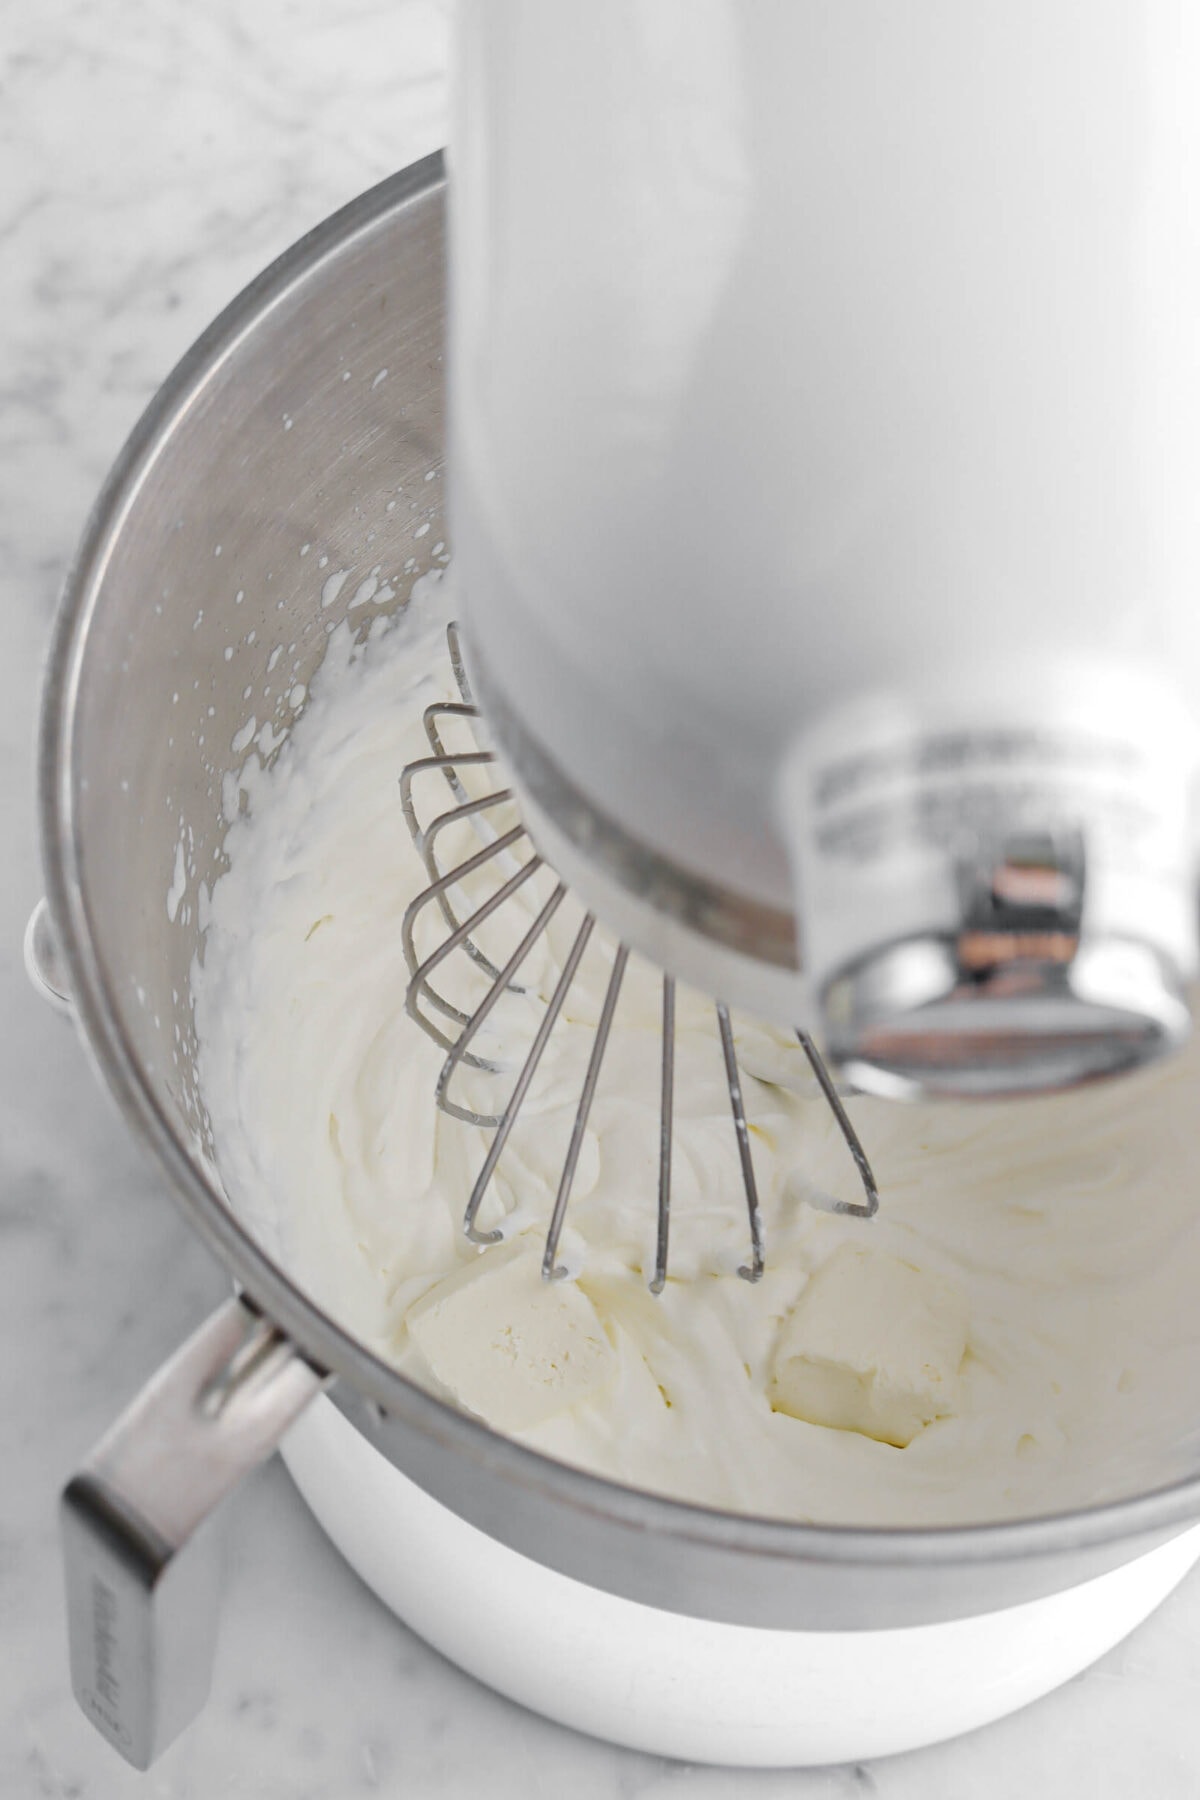
Add the cream cheese, one cube at a time, until incorporated.
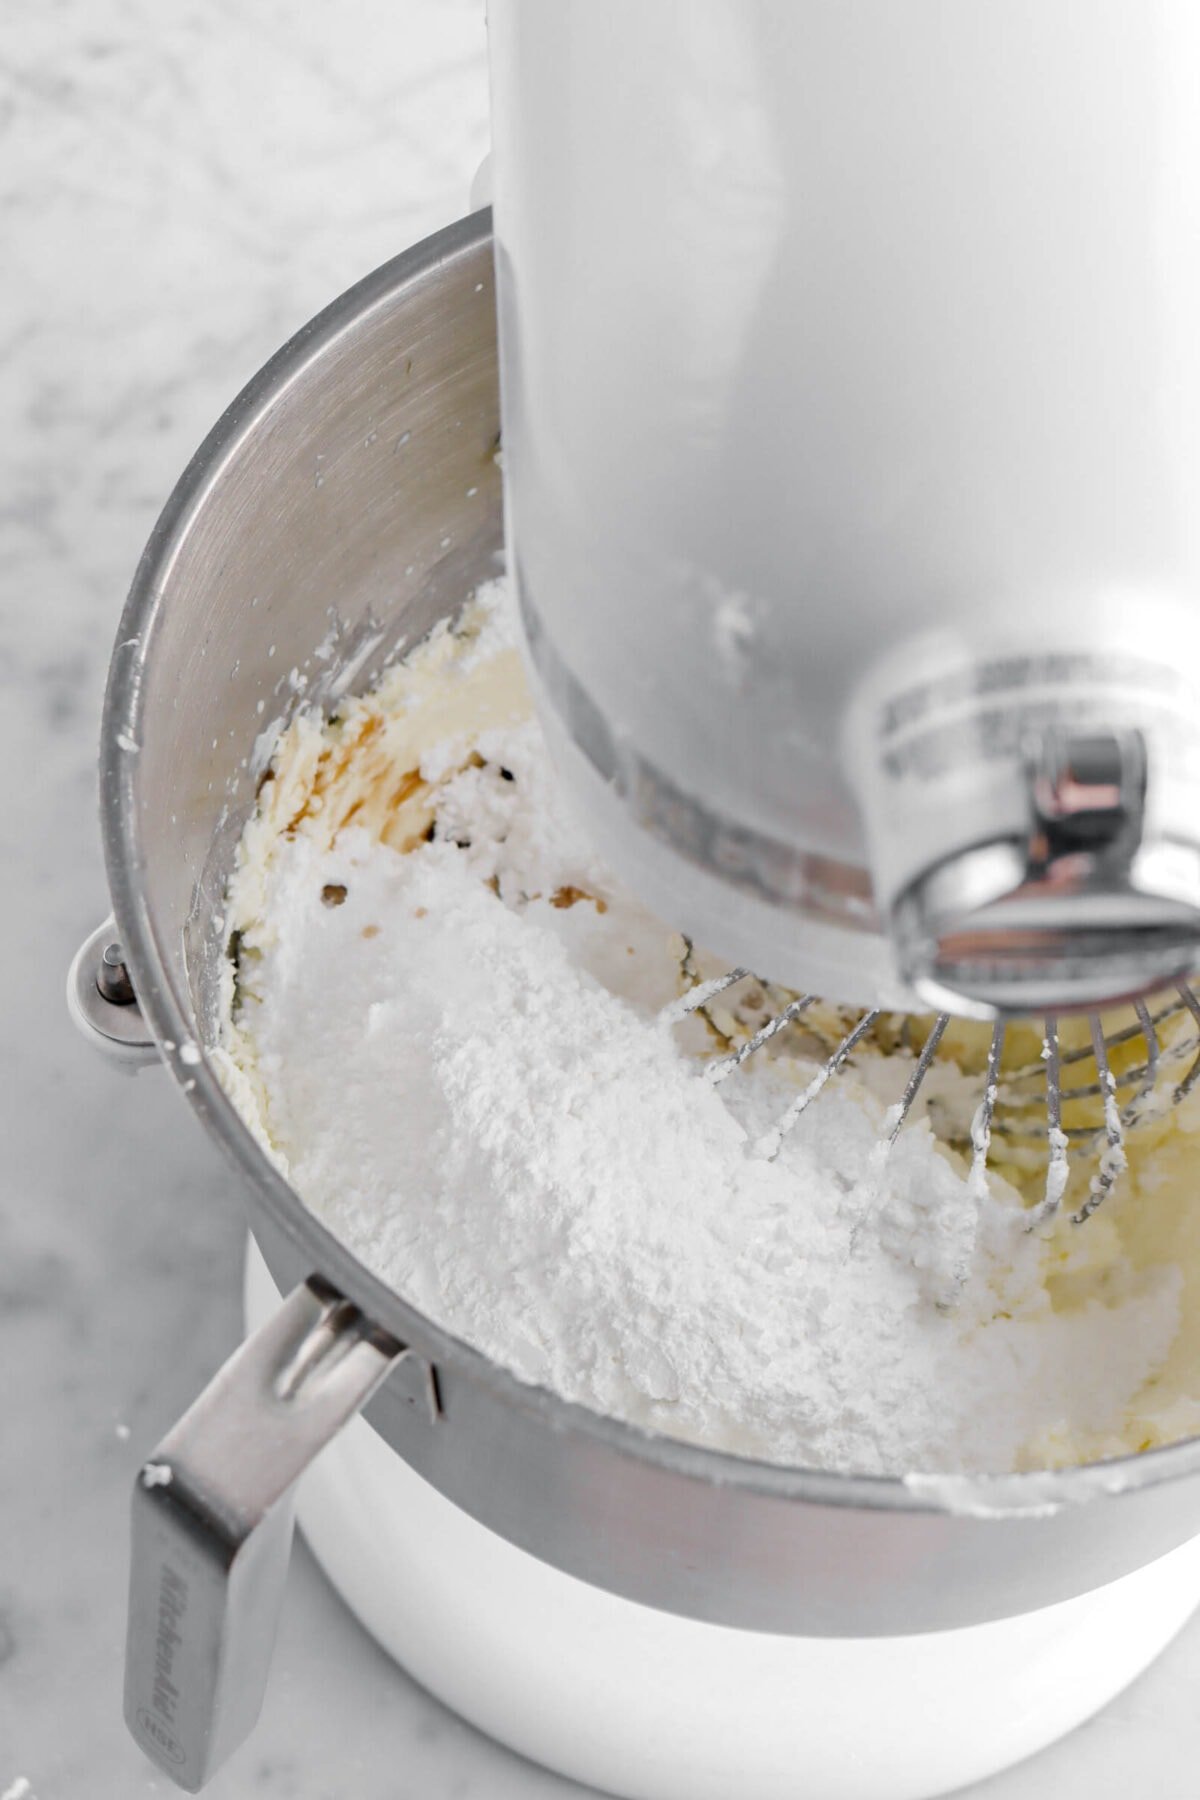
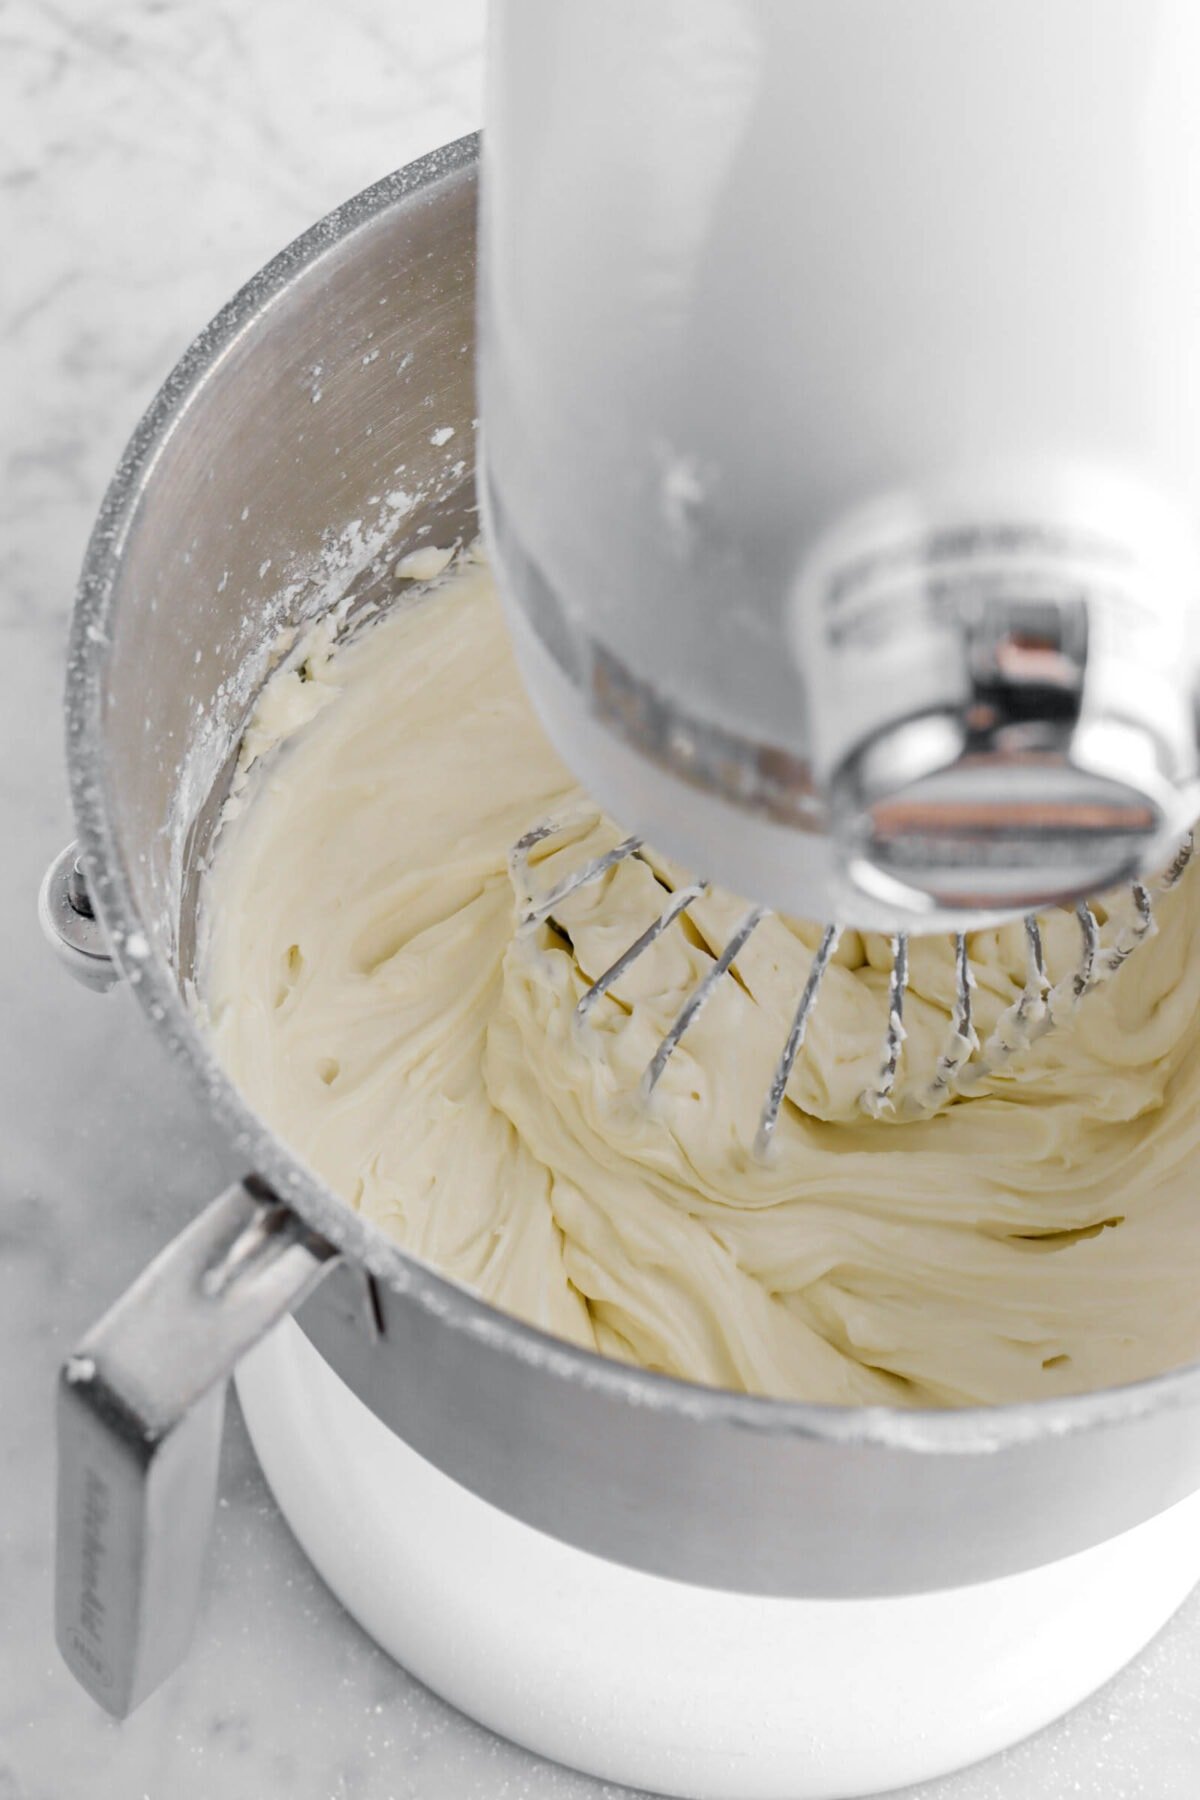
Mix in vanilla, salt, and powdered sugar. Beat until light and fluffy, about 2-3 minutes.
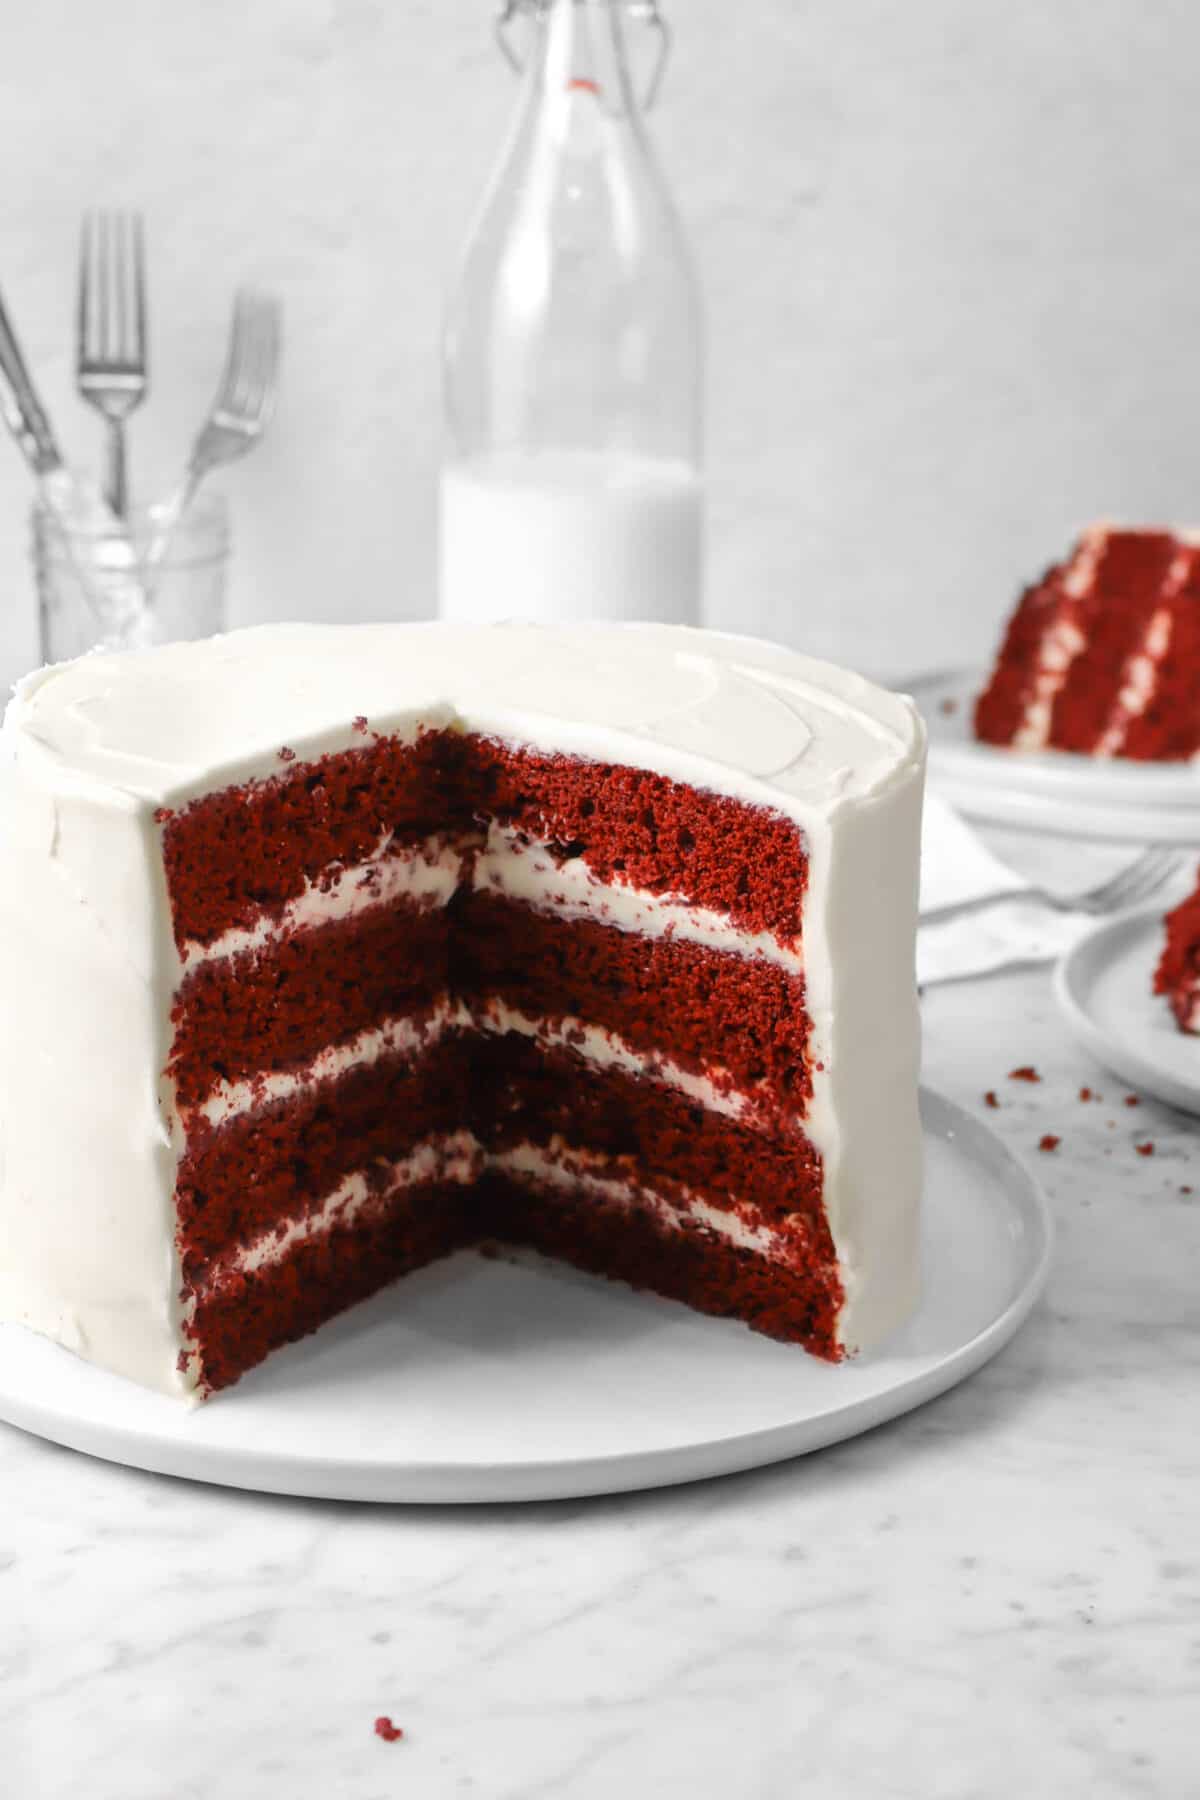
Step 4: Assembly
Once the cake layers are cooled, use a serrated knife or cake leveler to level the layers, if necessary.
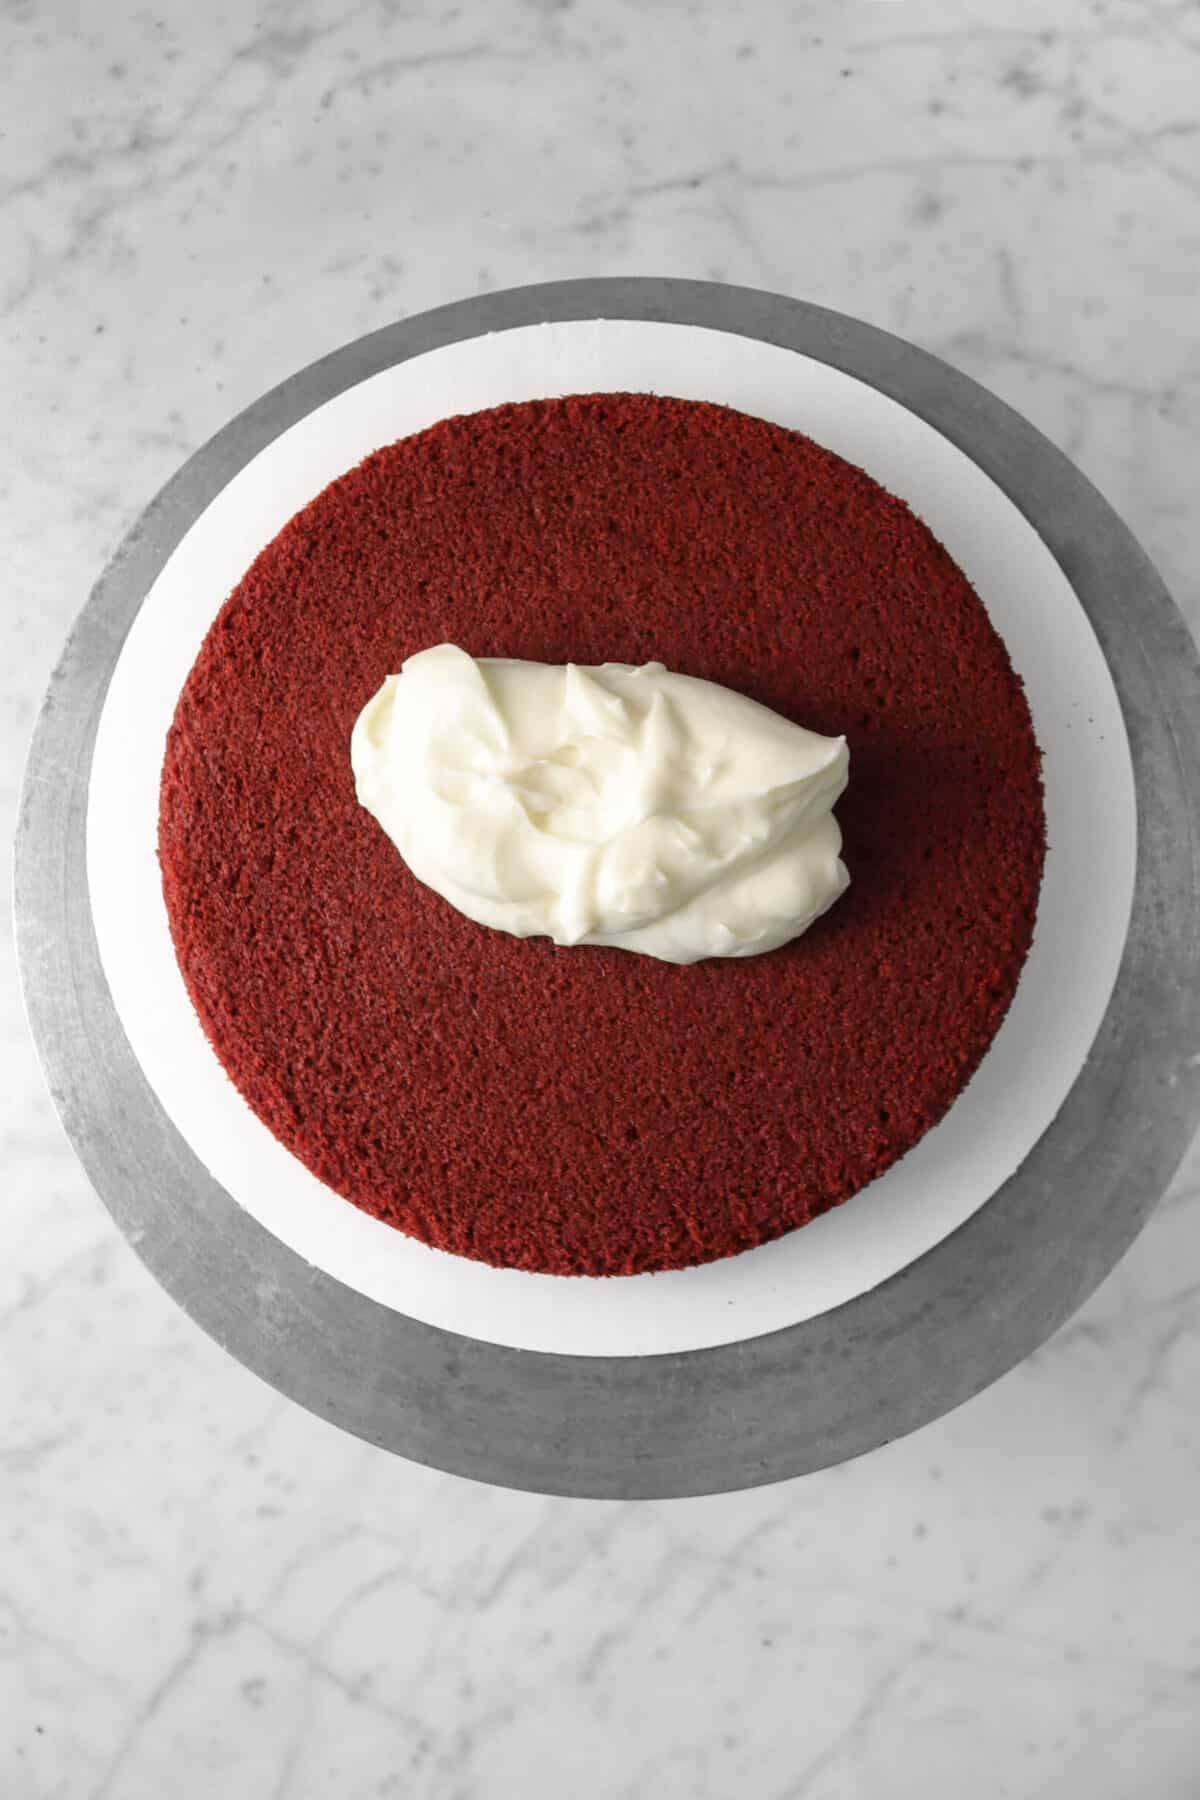
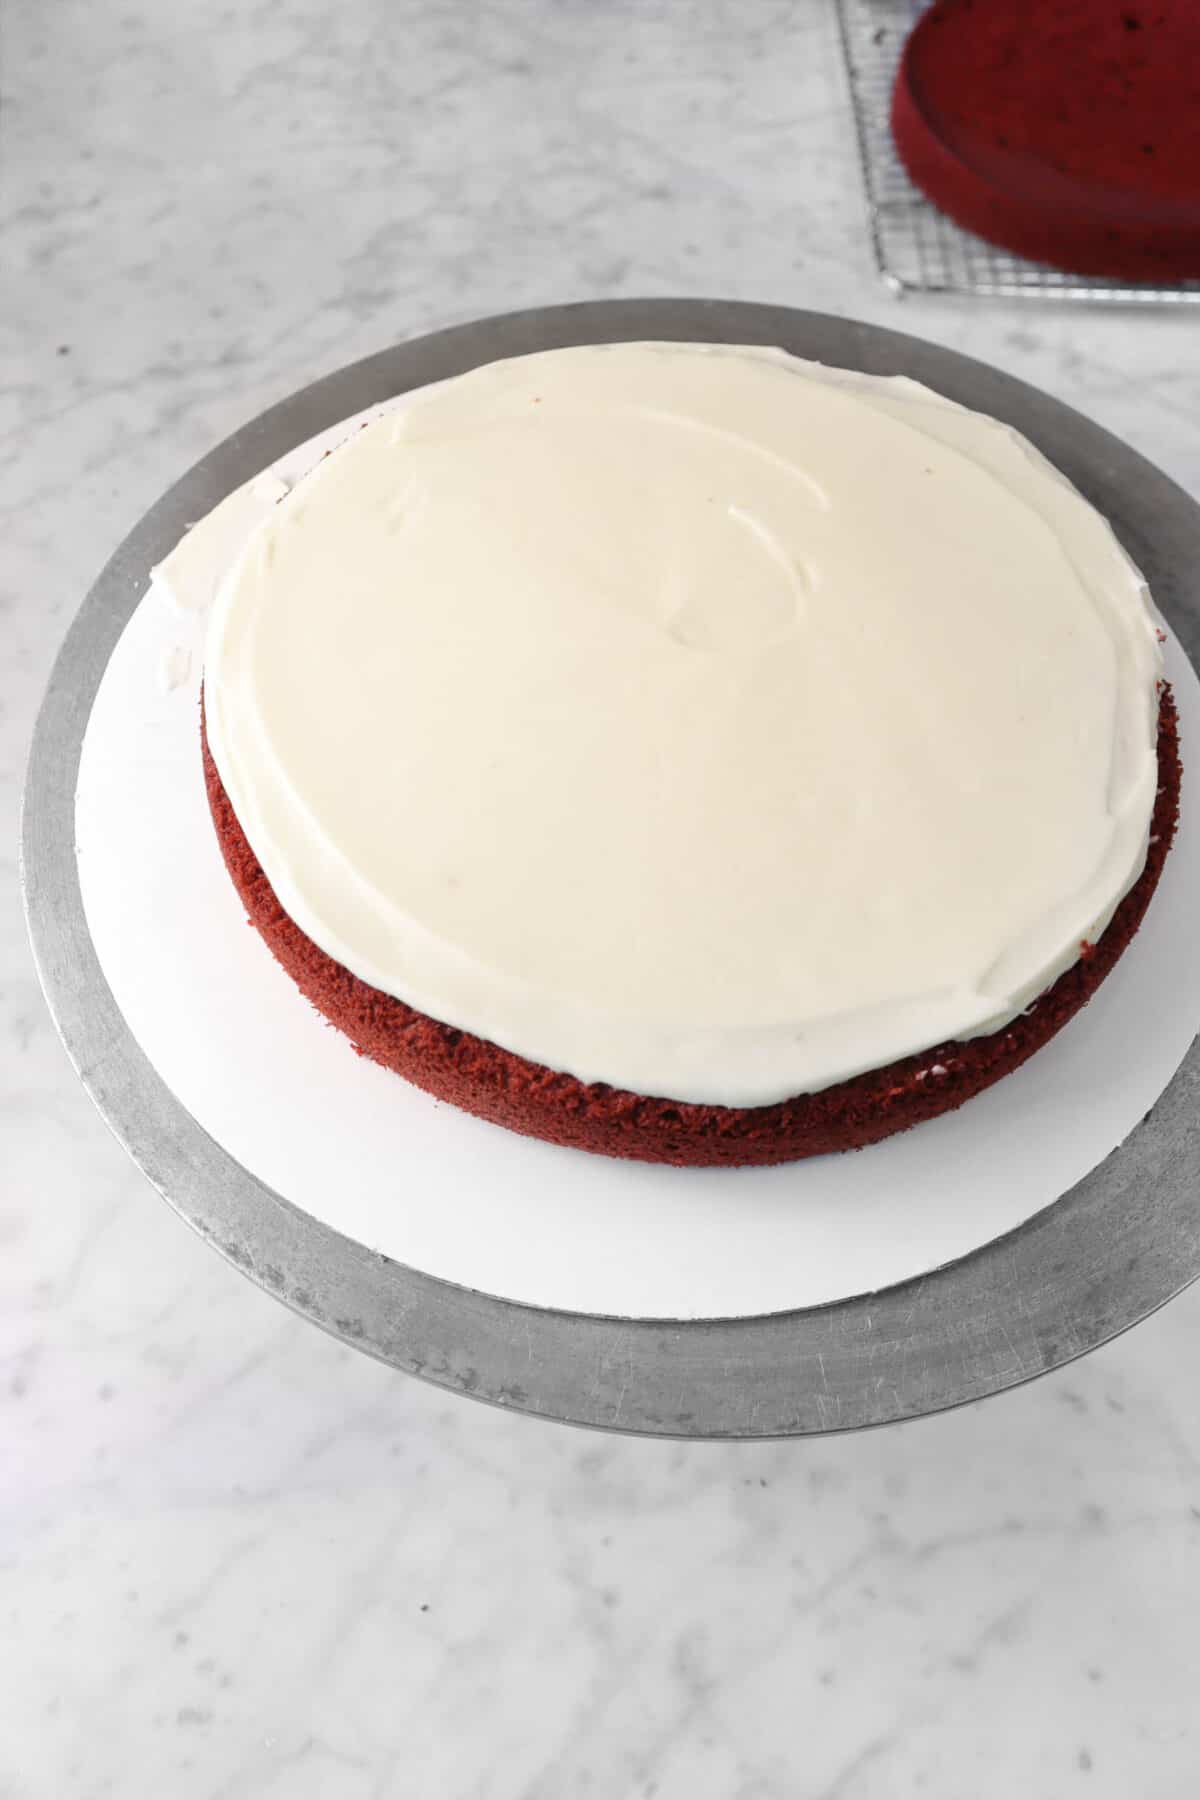
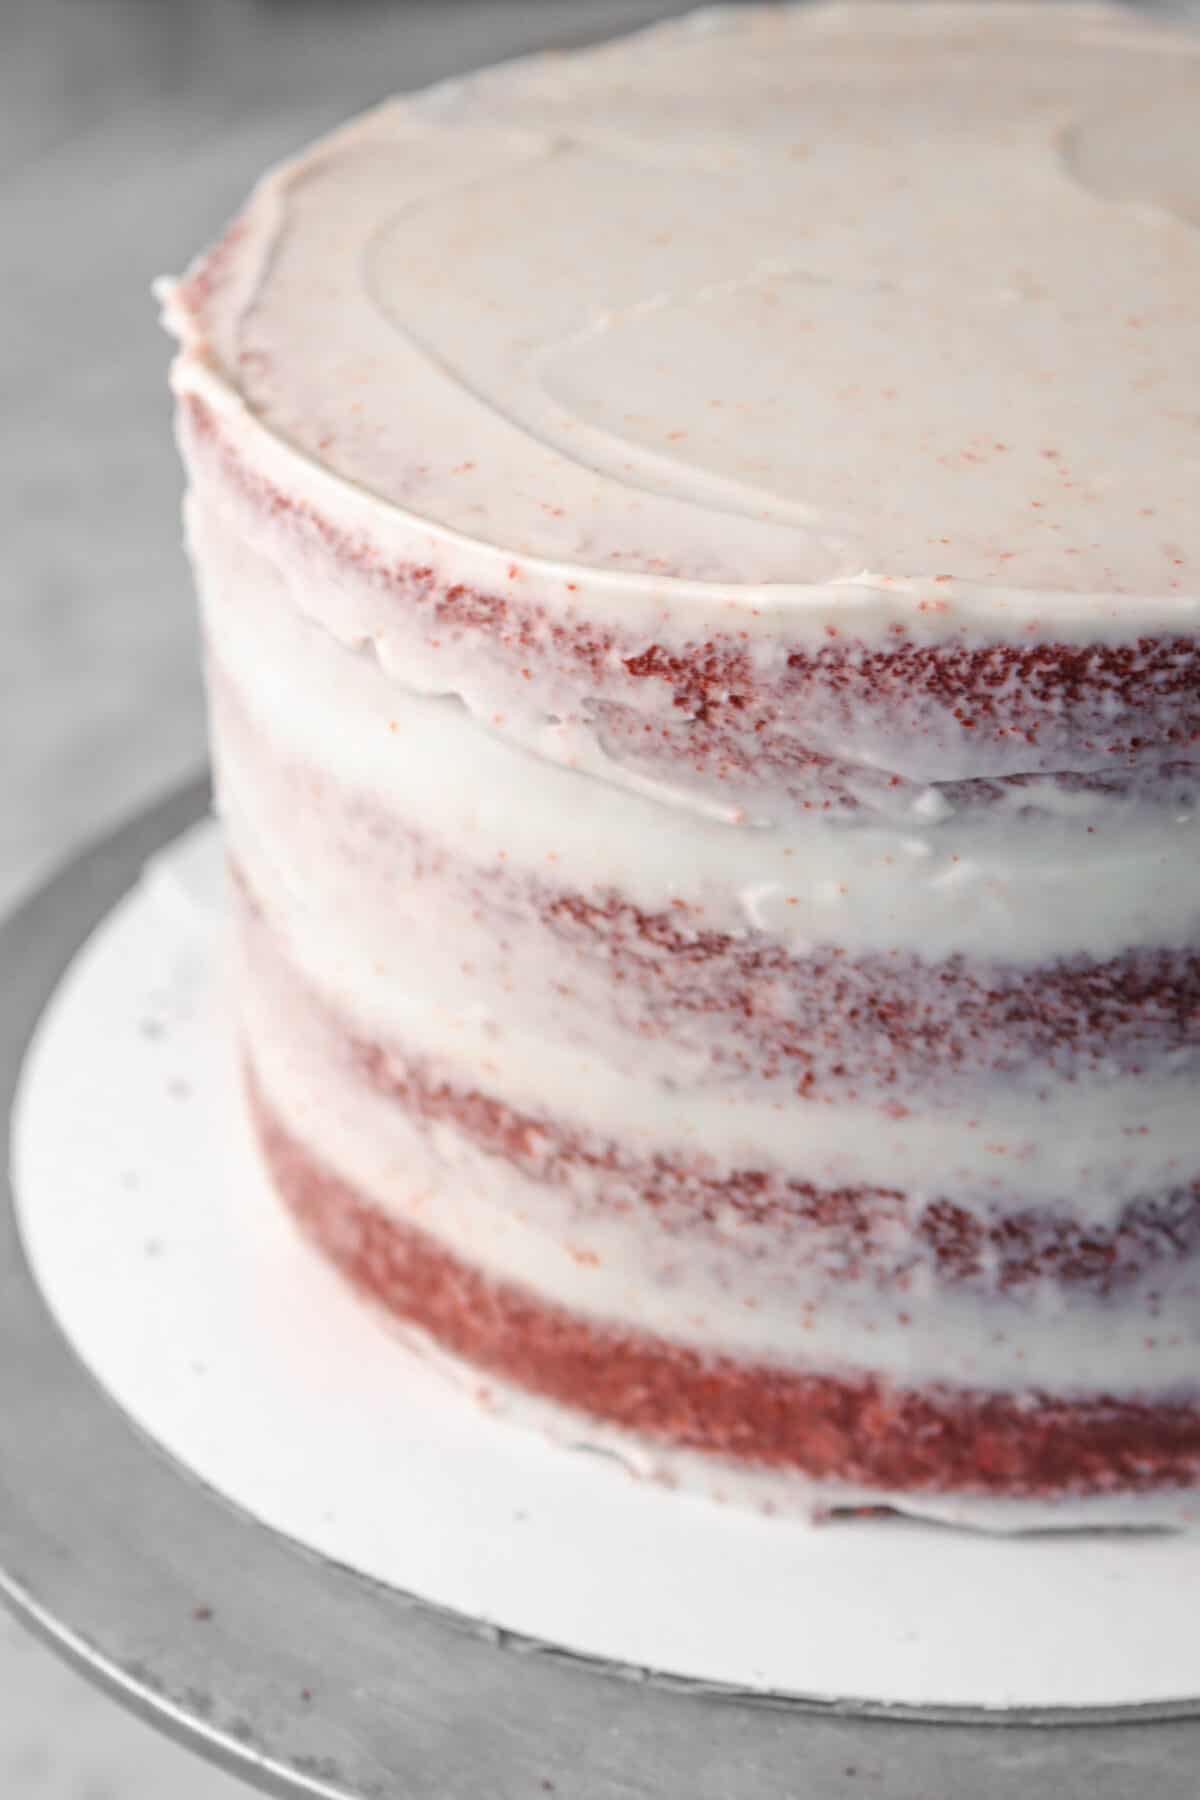
Place 1 cake layer on a cake board and place that on a revolving cake stand. Add about 1/2 cup of the cream cheese frosting. Spread along the top until smooth and level. Repeat these steps with the rest of the layers. Spread a thin layer of frosting around the sides. Place the cake and the frosting into the fridge for a few minutes.
After the frosting on the cake has had time to set, take the frosting and the cake back out of the fridge. Spread remaining frosting onto cake and decorate as desired!

FAQ’s and Troubleshooting
Why is my cake not red enough?
We’ve tried a number of different food colorings over the years. A good gel food color is the best. Grocery store brands are too liquid-y and don’t work very well with this cake.
Why did my cake come out dry?
If your cake is dry, it’s either over mixed or over baked. Make sure you don’t beat the cake batter after you add the dry ingredients. Use an oven thermometer to ensure your oven is cooking at the proper temperature, and keep an eye on the cake. So many factors can affect baking time including the temperature outside, the humidity, even air pressure.
Why didn’t my cake rise?
If your cake layers didn’t rise, the first thing to do is check the expiration dates on both the baking powder and baking soda. If that’s not the problem, you could be baking at the wrong temperature. Make sure to use an oven thermometer to ensure accuracy. And last, but not least, did you open the oven before the cake had time to set?
Why is my frosting lumpy?
Your frosting could be lumpy if you didn’t beat the cream cheese in thoroughly or because you didn’t sift the powdered sugar. You can try beating longer to see if it smooths out. Just be careful not to beat too long. The friction in the bowl can heat up the frosting and then you will have a runny mess.
What can I do with leftover cake?
If you just have the cake leftover from leveling, you could crumble it up and use it around the bottom of the cake for decoration. Or you could layer it with some custard (pudding), some whipped cream and maybe some fruit for a quick and easy trifle like this gingerbread trifle or this summer berry trifle. If you have leftover cake that has already been frosted, it would make terrific cake pops or even truffles!
Craving more cake-y goodness? Here are a few recipes you might like.
When you make this Red Velvet Cake with Cream Cheese Frosting, be sure to leave a comment down below! We love hearing from you and answering any questions you might have! Also, be sure to tag us on social media and hashtag it #BakersTable.
Happy Baking! x, Caylie

Red Velvet Cake with Cream Cheese Frosting
Ingredients
Cake
- 3 cups all purpose flour
- 1 Tablespoon baking powder
- ¾ teaspoon baking soda
- 1 teaspoon salt
- ¼ cup natural process cocoa powder, sifted
- 1 cup unsalted butter, room temperature
- 2 cups granulated sugar
- 4 large eggs, room temperature
- 1 cup buttermilk, room temperature
- 1 teaspoon vanilla extract
- 1½ Tablespoons red food coloring
- 1 Tablespoon distilled vinegar
Cream Cheese Frosting
- 3 cups heavy cream, cold
- 1 Tablespoon vanilla extract
- 24 ounces cream cheese, cold, cut into 1 inch cubes
- ⅜ teaspoon salt
- 6 cups powdered sugar, sifted
Instructions
Cake
- Heat oven to 350℉/177℃.
- Spray four 8-inch round pans with baking spray. Set aside.
- In a large bowl, whisk together flour, baking powder, baking soda, salt, and cocoa powder. Set aside.
- In the bowl of a stand mixer fitted with the paddle attachment, beat butter and sugar until light and fluffy, about 2-3 minutes.
- Mix in food coloring.
- Add eggs, one at a time, beating well after each addition.
- Add flour mixture alternately with buttermilk, beginning and ending with flour mixture.
- Stir in vanilla and vinegar.
- Divide batter evenly among pans.
- Bake 20 minutes, or until cake tests done.
Frosting
- Beat heavy cream with an electric mixer fitted with the whisk attachment until stiff peaks form.
- With mixer running, add cream cheese, one portion at a time.
- Mix in vanilla, salt, and powdered sugar.
- Beat until light and fluffy, about 2-3 minutes.
Assembly
- Level cake layers, if necessary, using a serrated knife of cake leveler.
- Place one cake layer on disposable cake board or serving platter.
- Place on turntable. (If you don't have one, it's ok; but if you do, it will make it much easier to frost cakes.)
- Spoon about ½ cup of frosting in center of cake layer.
- Spread evenly over surface, leaving about ¼ inch unfrosted around the edges.
- Repeat with second layer.
- Top with final layer of cake.
- Spread a thin layer of frosting on the top and sides of the cake (crumb coat).
- Refrigerate until set, about 20-30 minutes. (Put the frosting in the fridge, too!)
- Remove from refrigerator.
- Frost and decorate, as desired.
Notes + Tips!
- This cake can be stored, covered in the refrigerator for about 4-5 days. Just set it out a few minutes before you are ready to serve.
- You can freeze the individual cake layers by wrapping well with plastic wrap and placing in a freezer safe zip top bag or container. The layers should keep for 2-3 months.
- You can also freeze the entire frosted cake, or slice and freeze the slices. Just make sure to wrap well and store in a freezer safe container. It should keep well for 2-3 months. Make sure you thaw in the refrigerator. You can set it out a few minutes before you are ready to serve.
- Room temperature is about 70℉/21℃.
- Use an oven thermometer to ensure accurate cooking temperatures.
- The butter and the eggs should be at room temperature. So, make sure to set them out prior to baking.
- Check the expiration dates on your baking soda and baking powder!
- Make sure to use distilled vinegar.
- The amount of food coloring used is based on the gel food color linked to in Equipment. If you use food coloring from the grocery store, you will likely need a lot more to get the right color.
- Don’t have baking spray? Don’t worry! You can grease the pans and then dust lightly with flour.
- The easiest way to portion the batter is to use a scale. You need about 13 ounces per pan.
- When making the frosting, make sure the heavy cream and cream cheese are cold!
- Despite the recipe amounts provided, the actual amount of frosting to use in-between layers and around the cake is up to you. If you like more frosting, feel free to use all the frosting. Like less, just store the excess in the fridge for later use!
Thank You for sharing this with us today.
Will try this recipe. What kind of mixer are you using?
Hi Tiffany! It’s an Ankarsrum, but you can use a KitchenAid or whatever you have. You could even do it with a handheld mixer. I hope you like the recipe!
Is soo good thanks for sharing this recipe