Santa’s Glove Peppermint Sugar Cookies
This post may contain affiliate links, please visit our privacy policy for details.
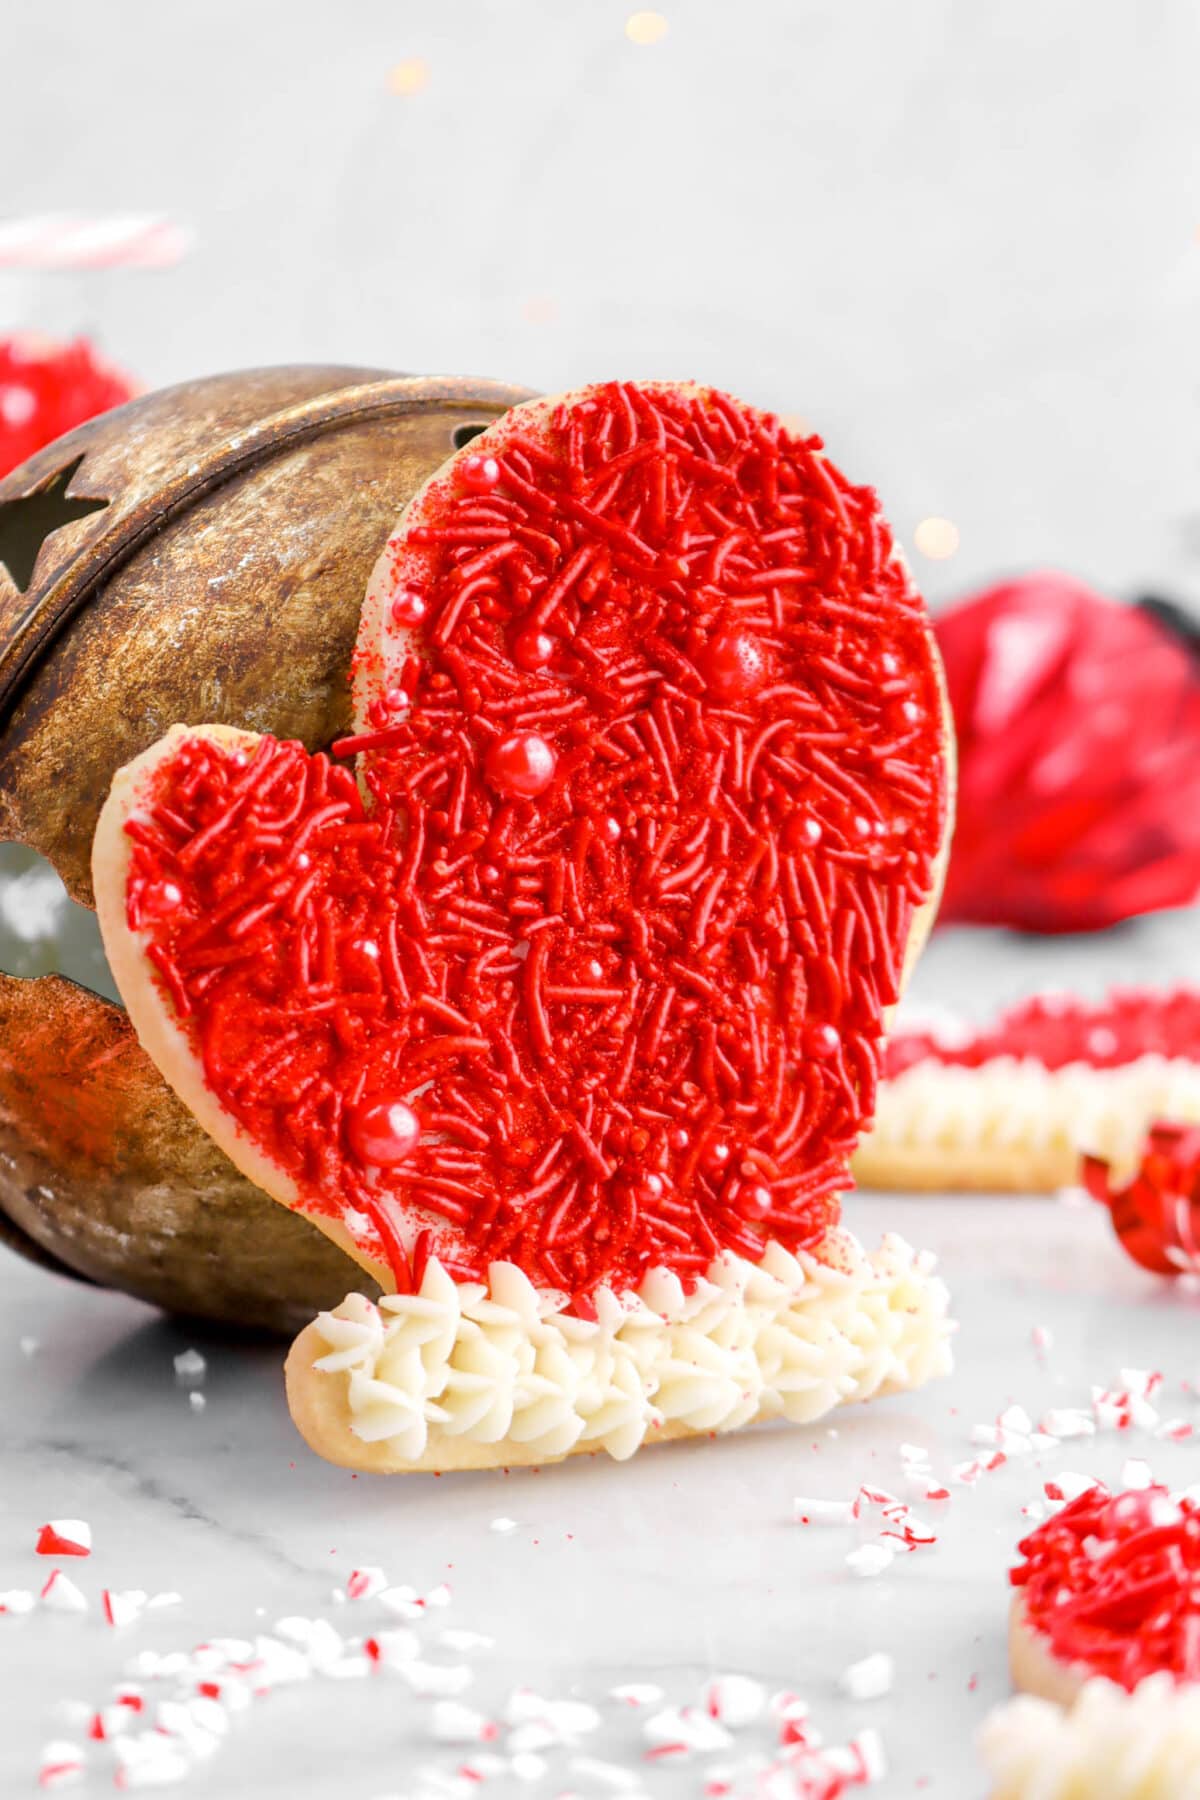
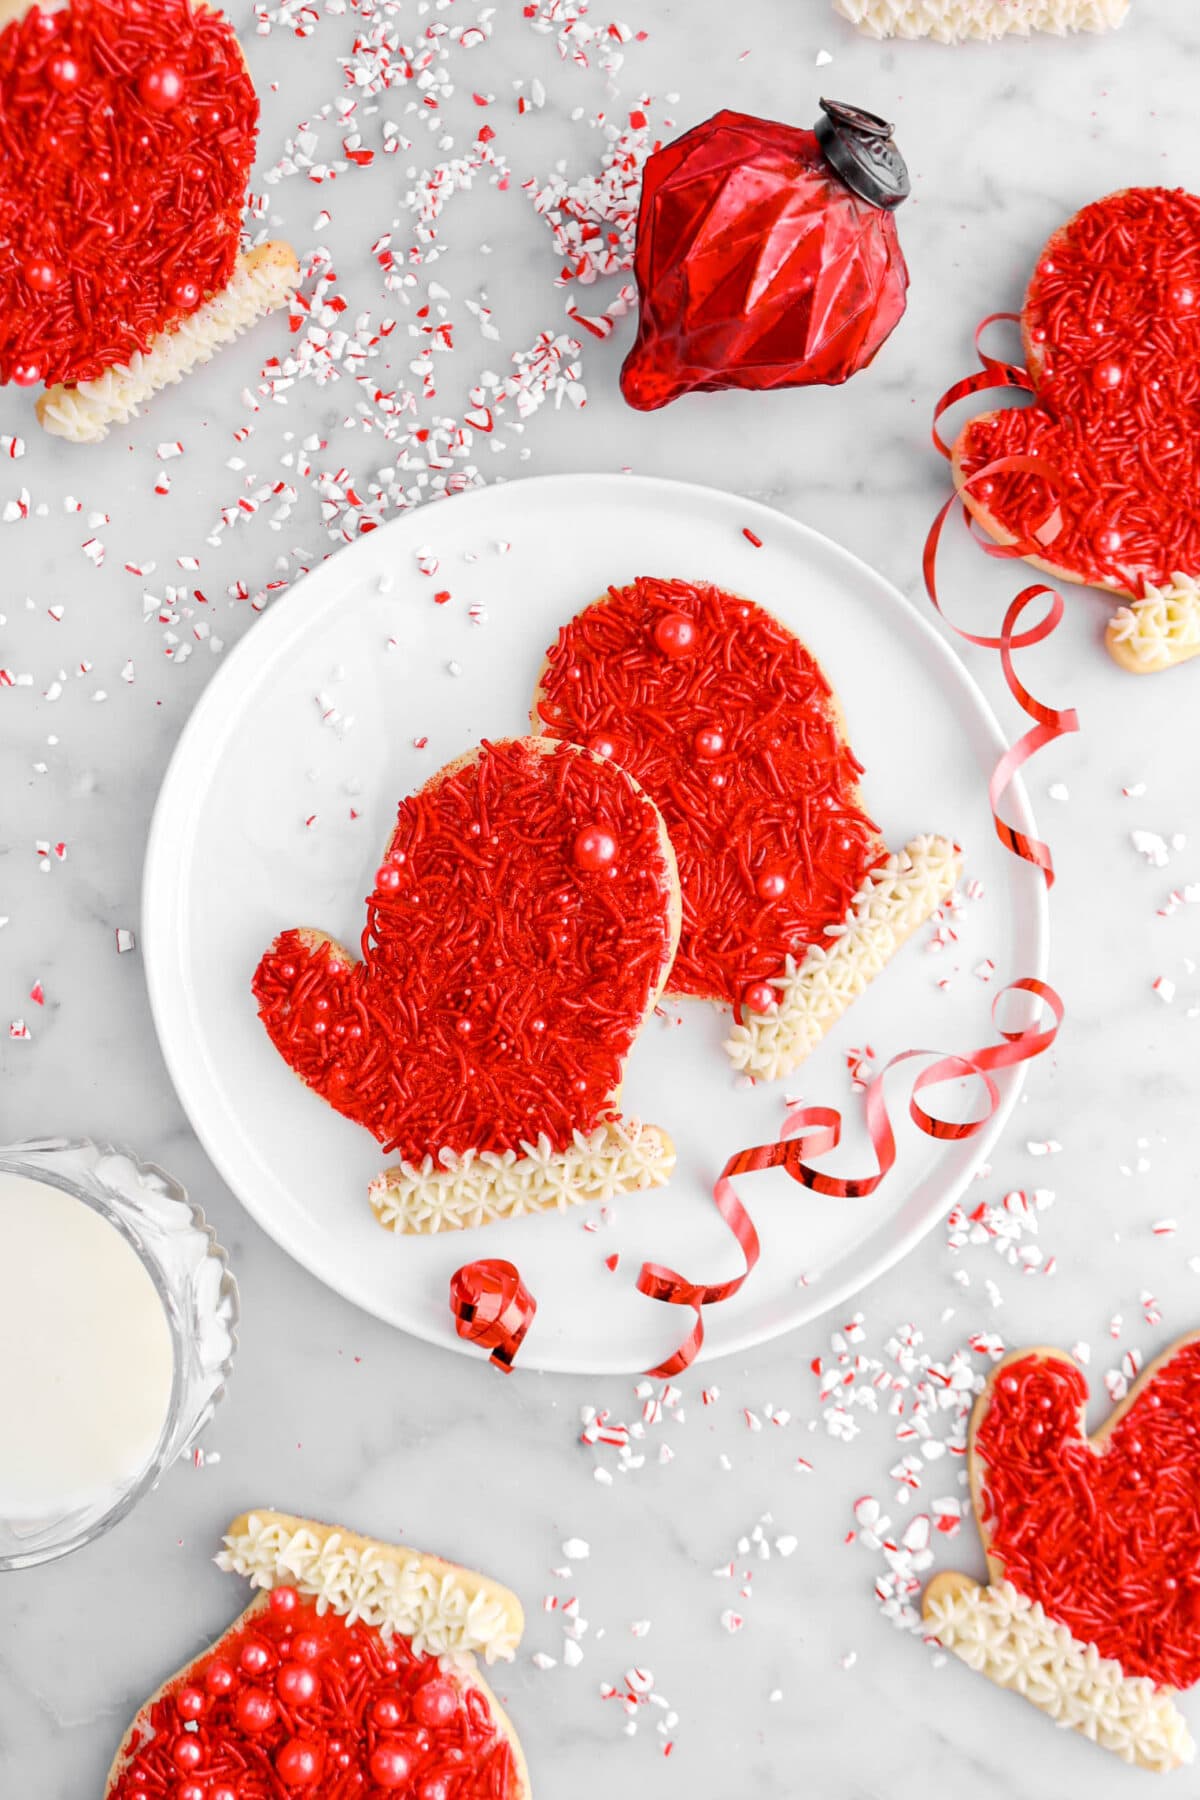
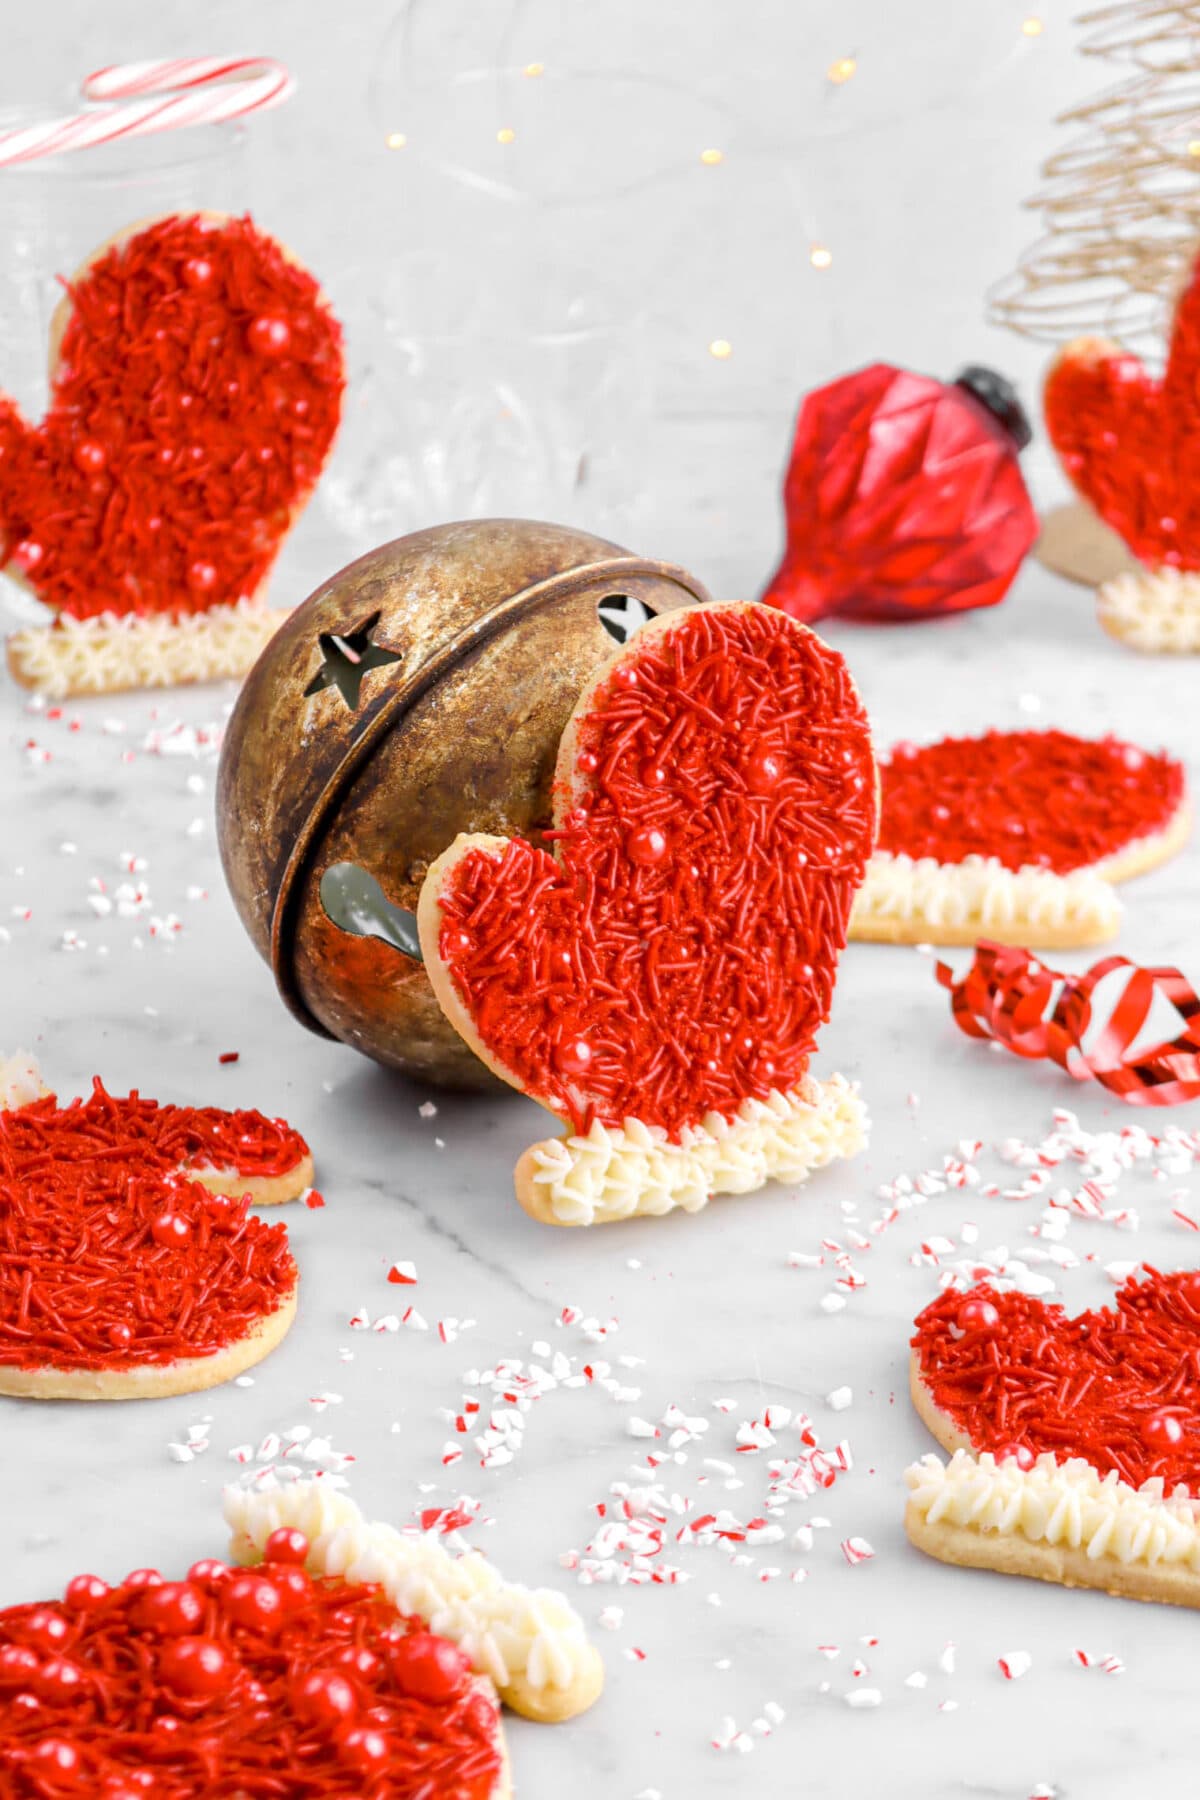
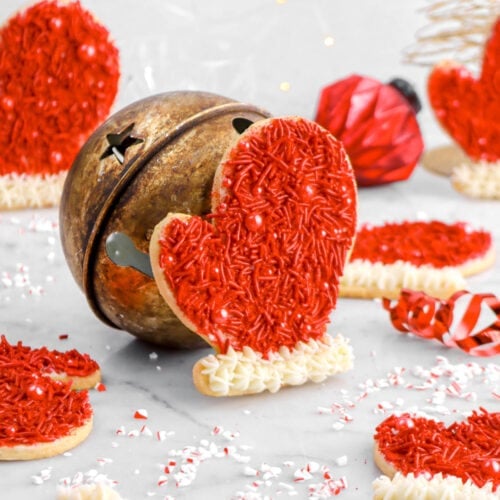
These sweet Santa’s Glove Peppermint Sugar Cookies are the cutest cookie to bake this holiday season! An easy to make sugar cookie lightly flavored with peppermint, frosted with the simplest vanilla buttercream, and finished with a variety of red sprinkles to really make these cookies look their absolute best. Every bite is sweet, peppermint-y, and just melts in your mouth. Be sure to serve these delicious cookies with a glass of cold milk on Christmas Eve, wrap up for gifts this holiday season, or just enjoy them by the plateful this weekend! Simply delicious.

About The Recipe
It is cookie SEASON and I could not be more excited to share these sugar cookies. After you all enjoyed our Cinnamon Roll Sugar Cookies so much last week, my mom and I thought it would be fun to make something really special and extra festive!
To be honest, the inspiration behind these cookies actually came from digging around in our box of cookie cutters. We have a whole box dedicated JUST to Christmas shaped cookie cutters!
So, while digging through it, we found lots of cutters we had forgotten about…like this glove shape! The idea came us almost immediately and it’s different from any cookie we’ve done on the blog before. I mean, does it get any more festive than peppermint and Santa’s gloves?
Oh, and do you want to know the best part? It’s just a simple sugar cookie, which means it’s SUPER easy to make + minimal ingredients!
It’s a great recipe to have friends and family help make…especially when it comes to decorating!
From decorating Santa’s glove to making something entirely your own…these cookies are a great way to get everyone in the kitchen and enjoy time together.
So, whether you are looking for the perfect cookie to bake on Christmas Eve, something for your cookie box, or just a delicious treat for the weekend, these cookies are the perfect treat!
Reasons You Will Love These Peppermint Sugar Cookies
- Perfect for Christmas Eve or giving as gifts!
- Pepperminty without being TOO much.
- Super simple to make and fun to decorate.
- A recipe the whole family can help make!
- Can really be cut into any shape.

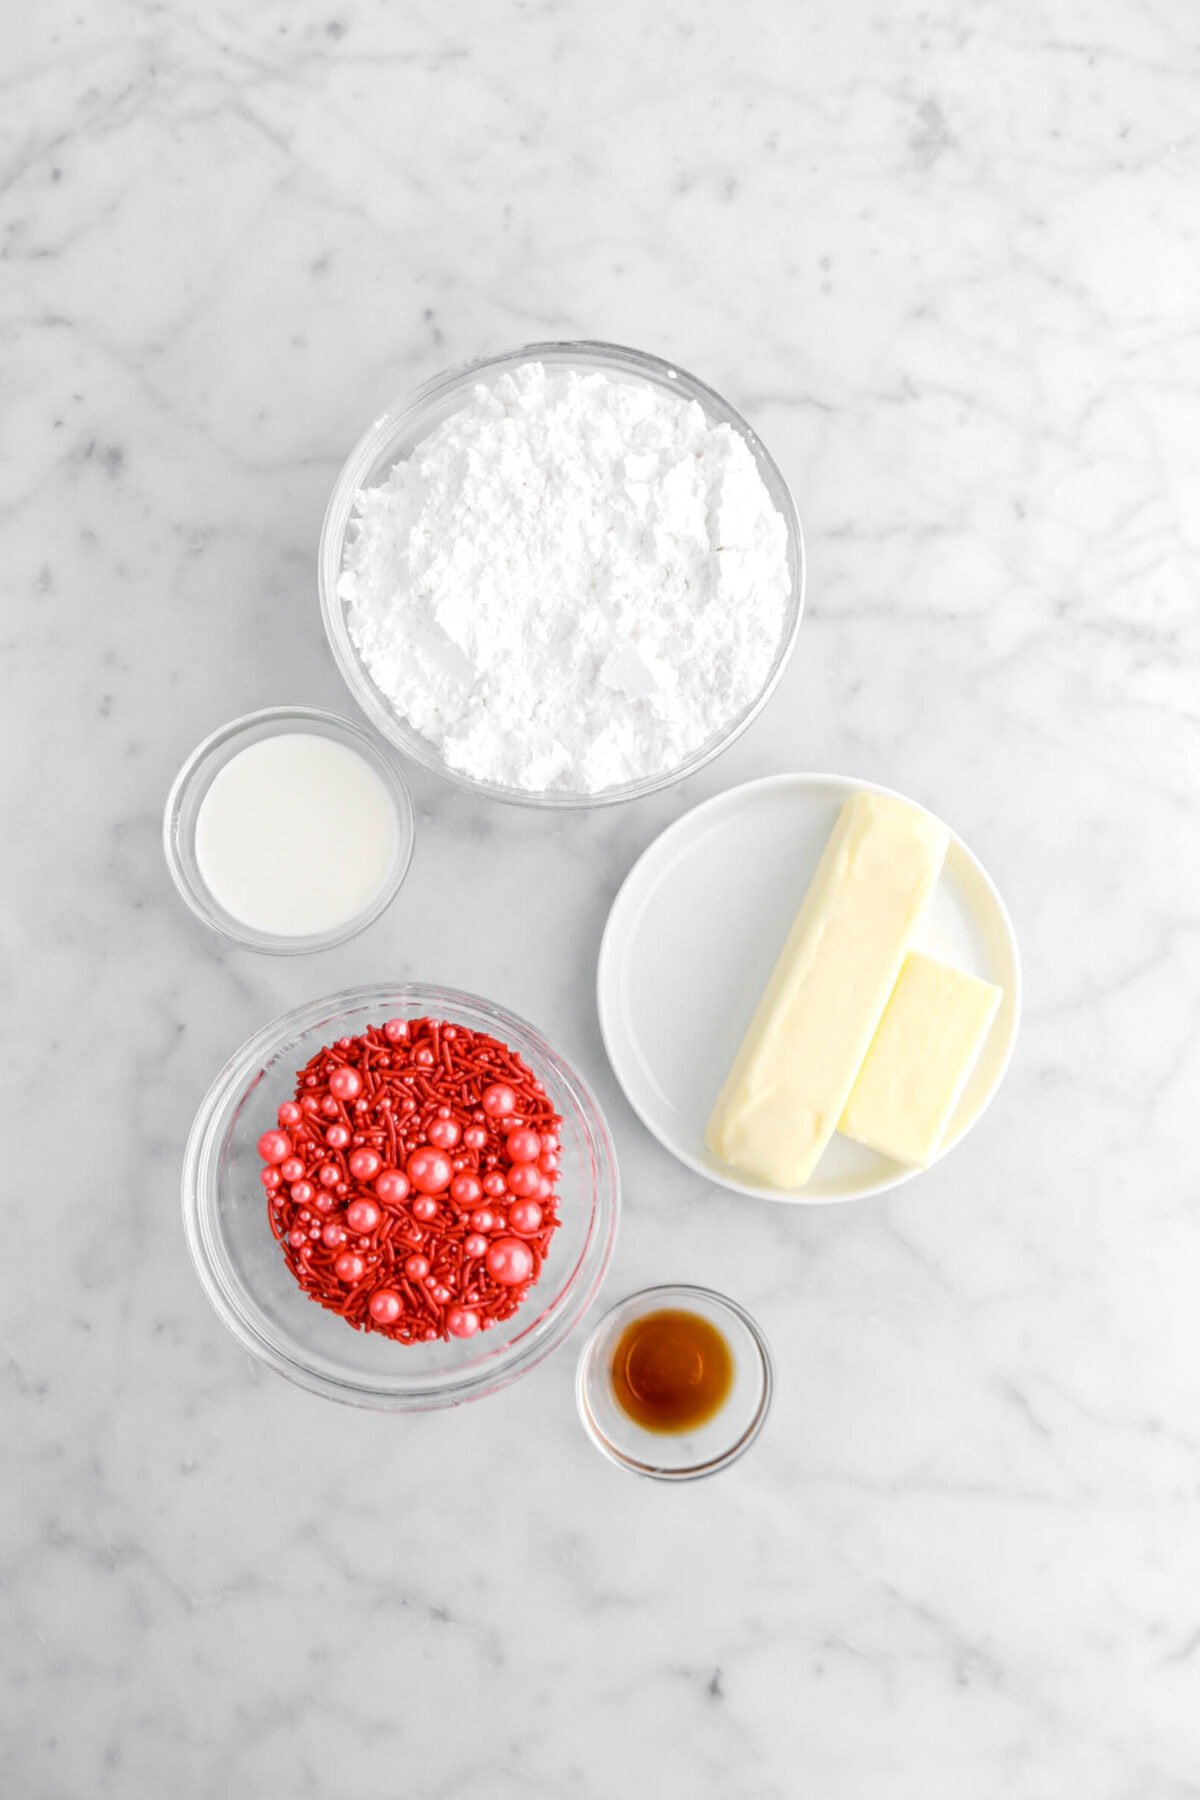
Ingredients
(Full ingredient amounts and instructions can be found in the recipe card at the bottom of the post)
For The Cookie:
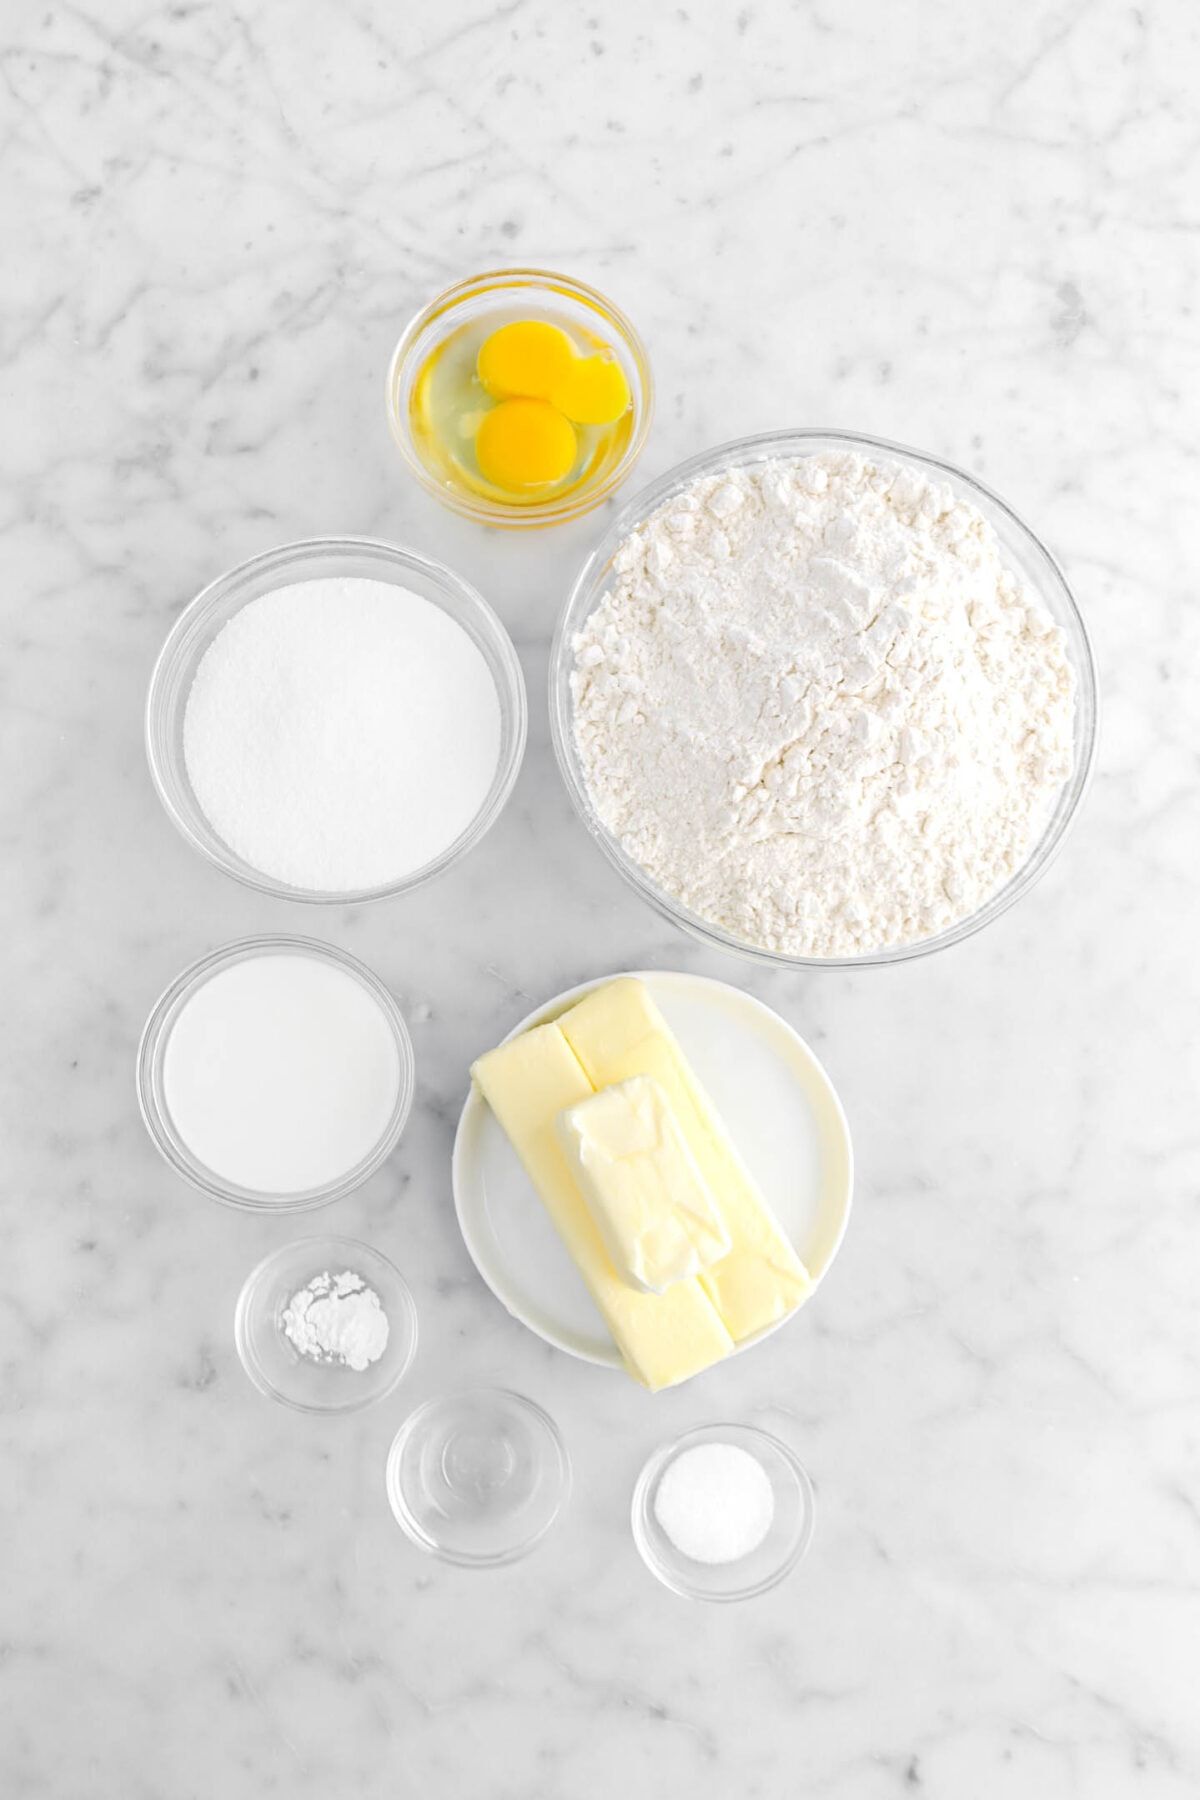
- All-Purpose Flour – has just the right amount of protein for these cookies. It adds strength to the dough by absorbing liquid and forming gluten.
- Salt – enhances flavor.
- Baking Powder – is the leavening that we used. It is essential to create lift and give these cookies an irresistible texture.
- Unsalted Butter – adds moisture and flavor and allows us to control the level of salt.
- Granulated Sugar – makes these cookies perfectly sweet and crunchy.
- Large Eggs – are a binding agent that also helps the cookies structurally.
- Whole Milk – hydrates the flour and keeps the cookies from collapsing once they’re cool.
- Peppermint Extract – for that perfect Christmas flavor!
For The Decoration:
- Salted Butter – has the perfect amount of salt for a buttercream frosting!
- Powdered Sugar – keeps the texture smooth and spreadable.
- Vanilla Extract – adds a sweet undertone to the frosting.
- Heavy Cream – keeps this frosting thick and rich to hold on to all of those fun decorations!
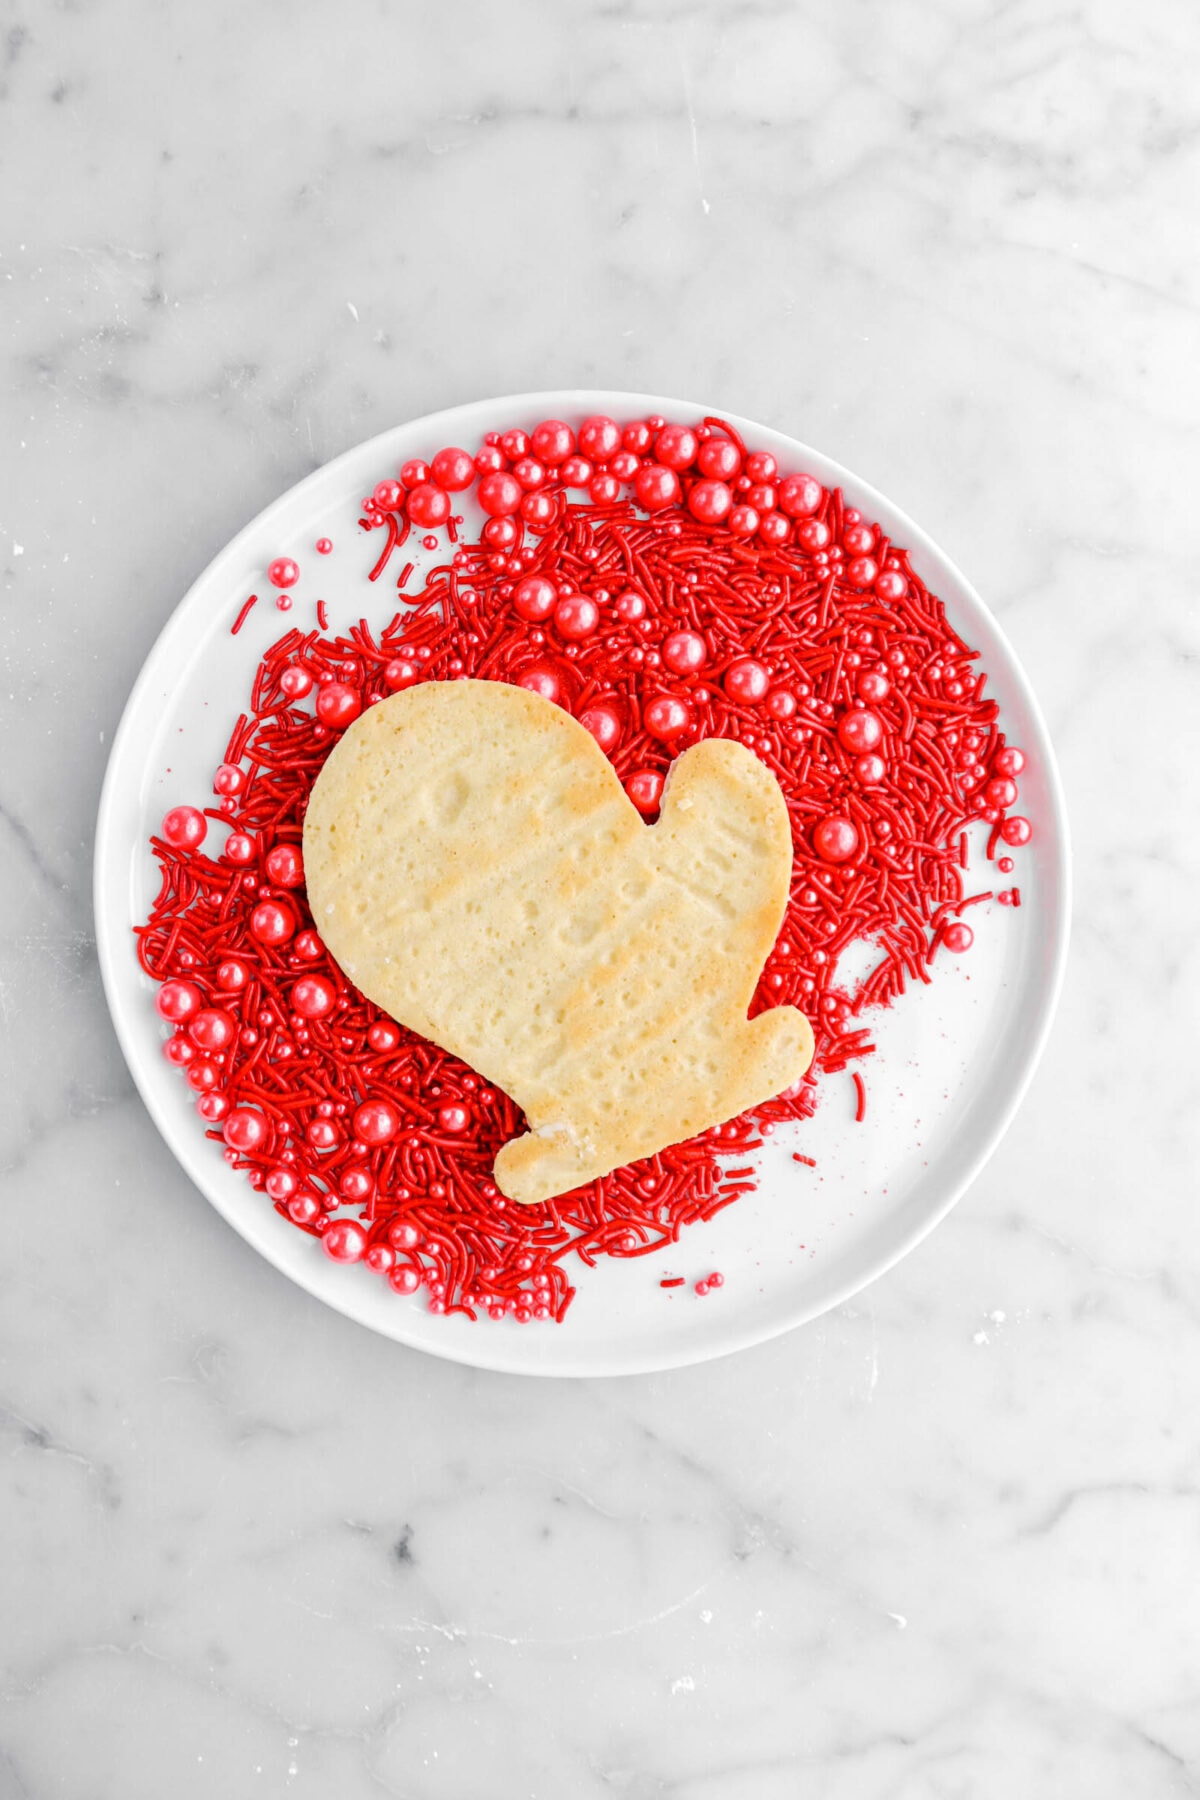
- Assorted Red Sprinkles – are the fun decorations!
How To Make Peppermint Sugar Cookies
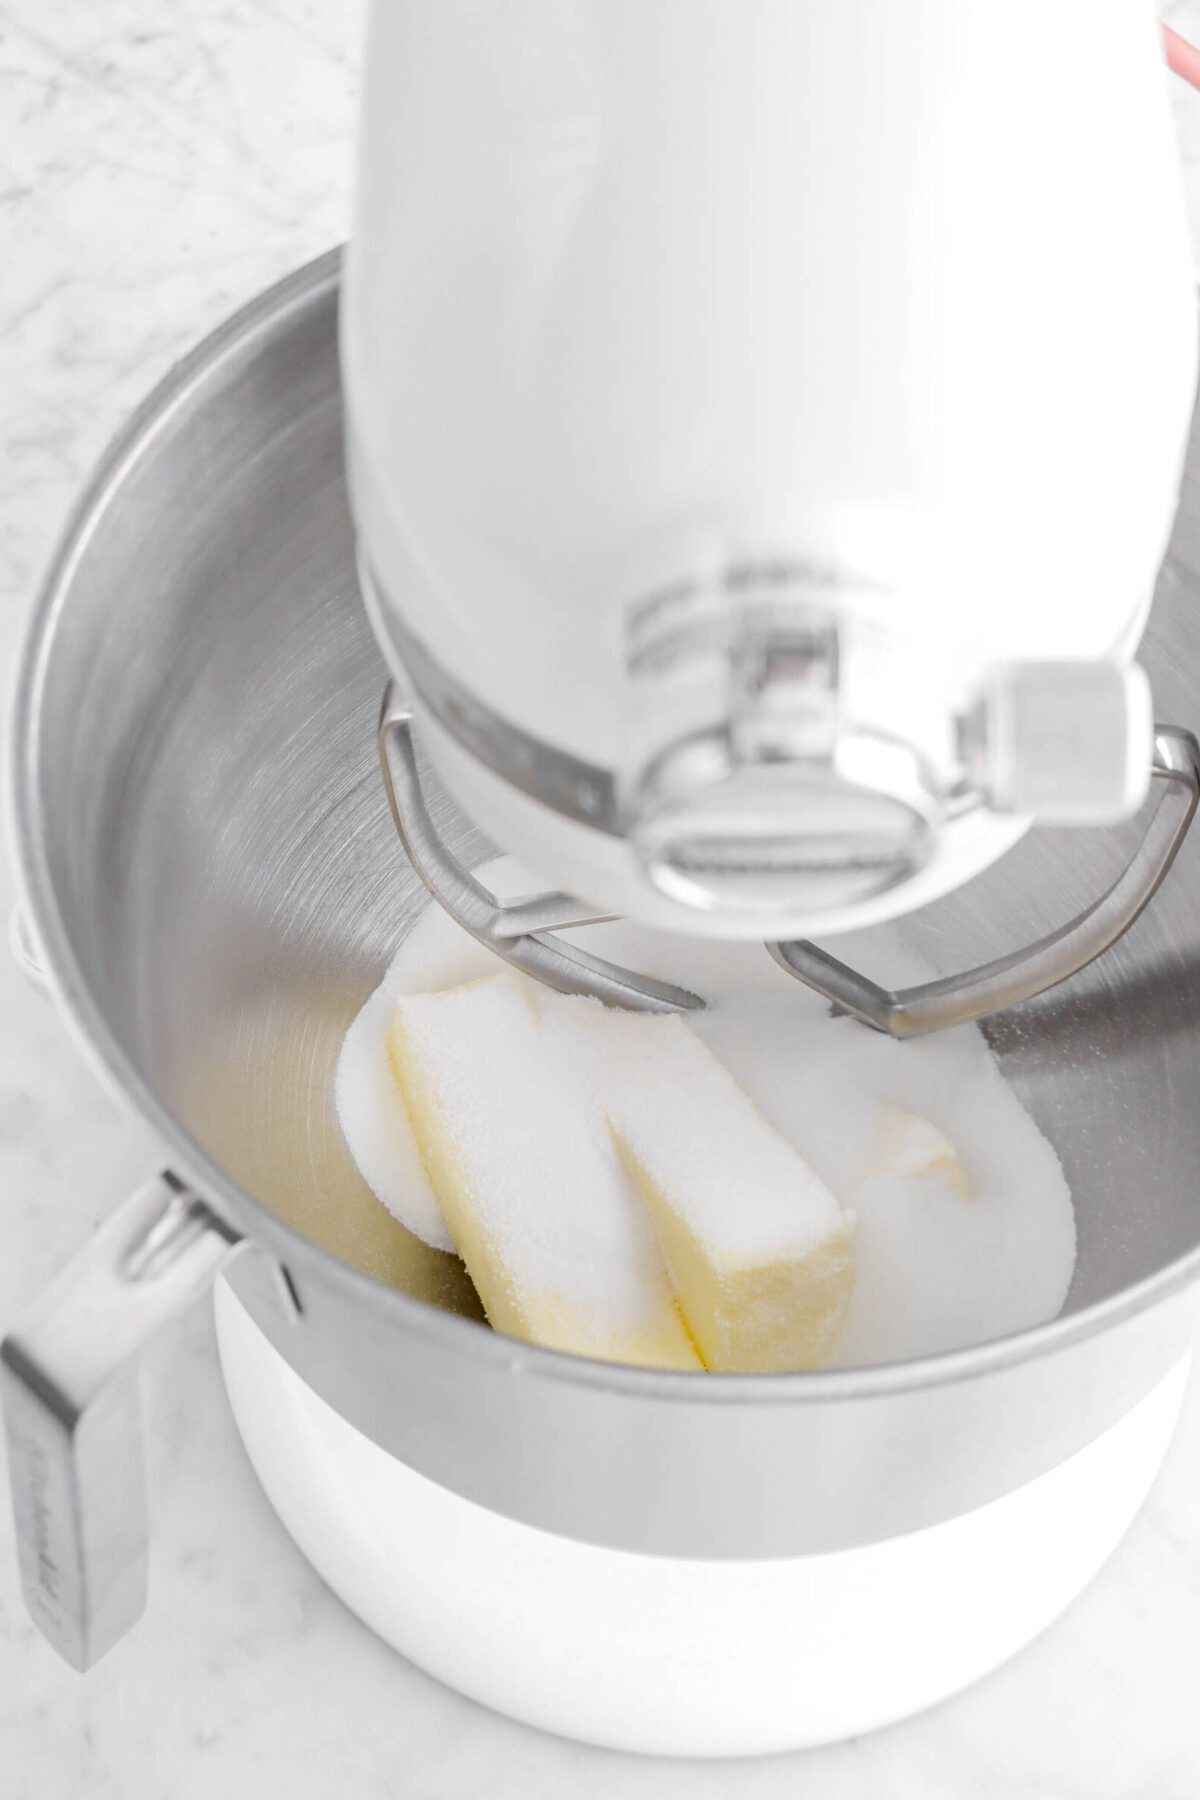
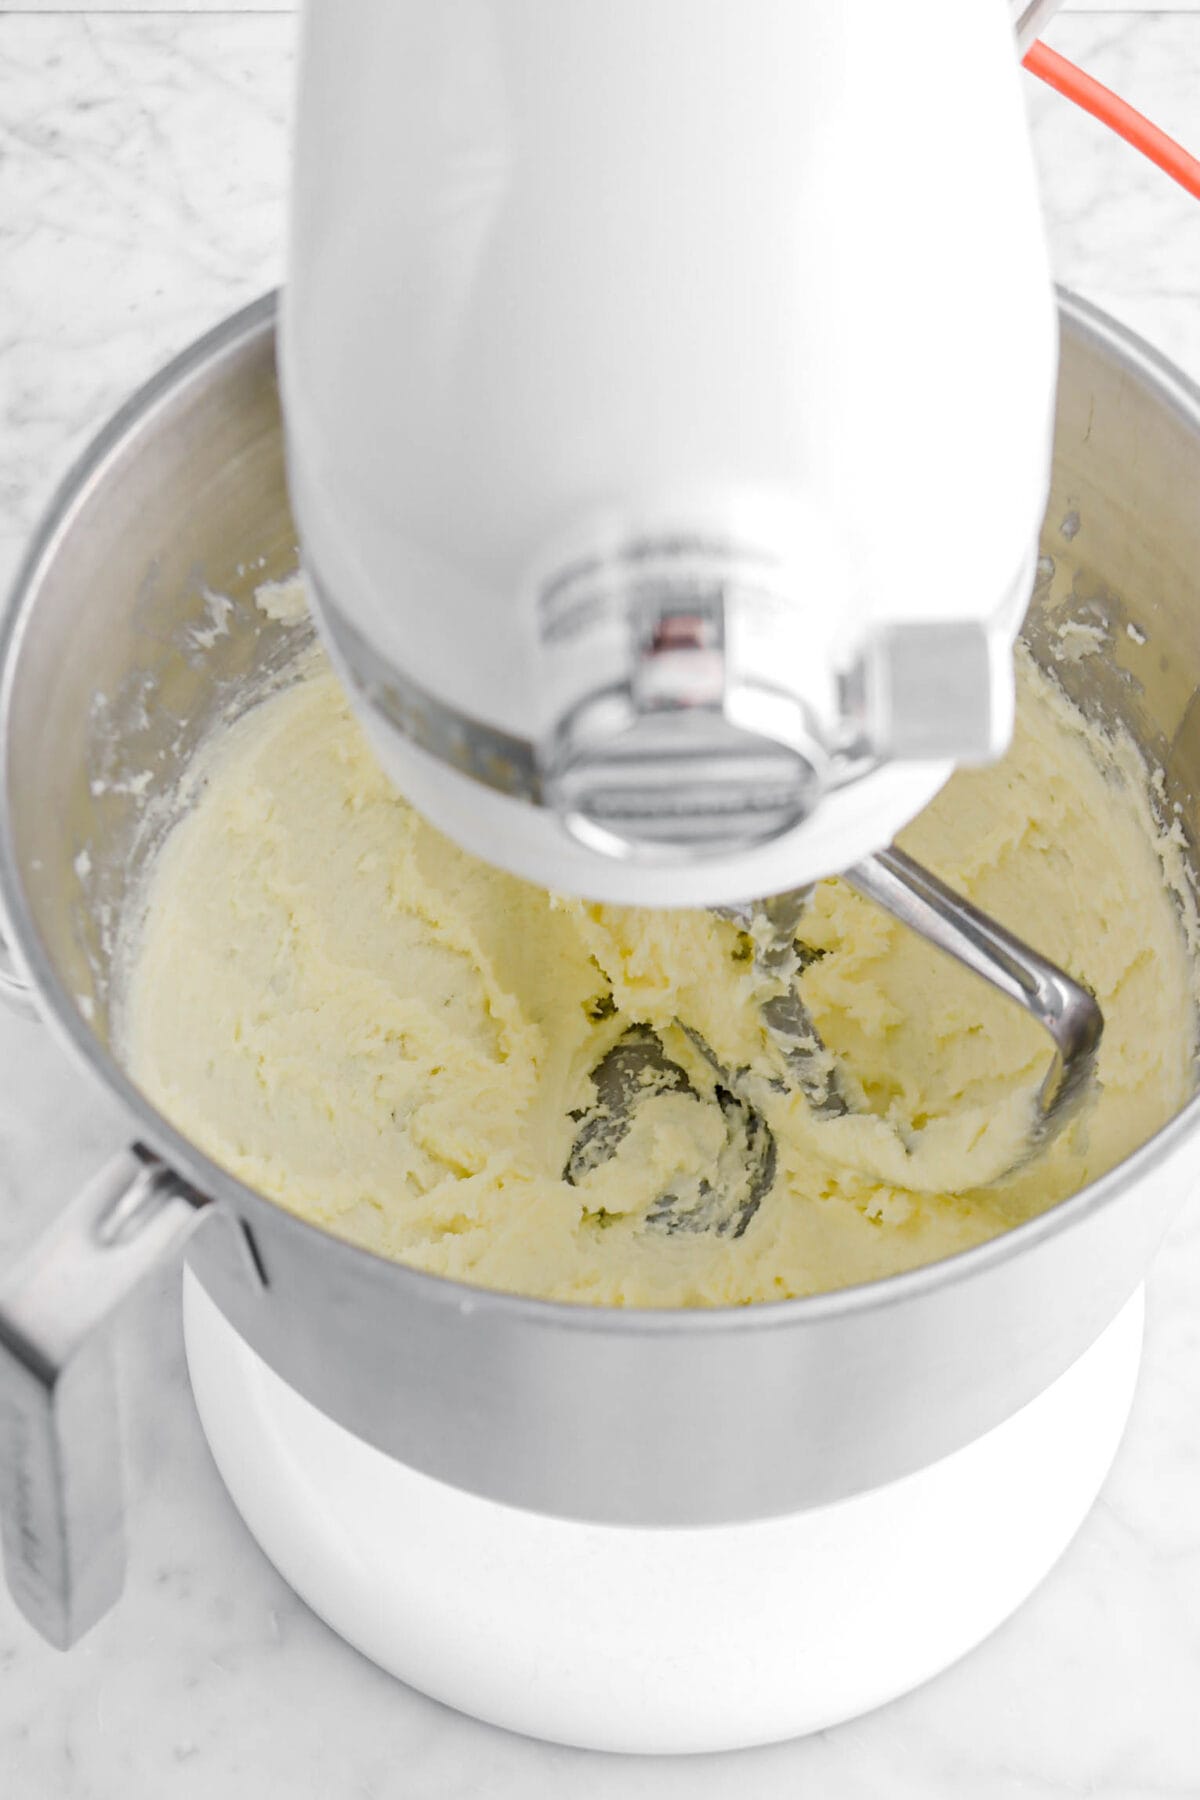
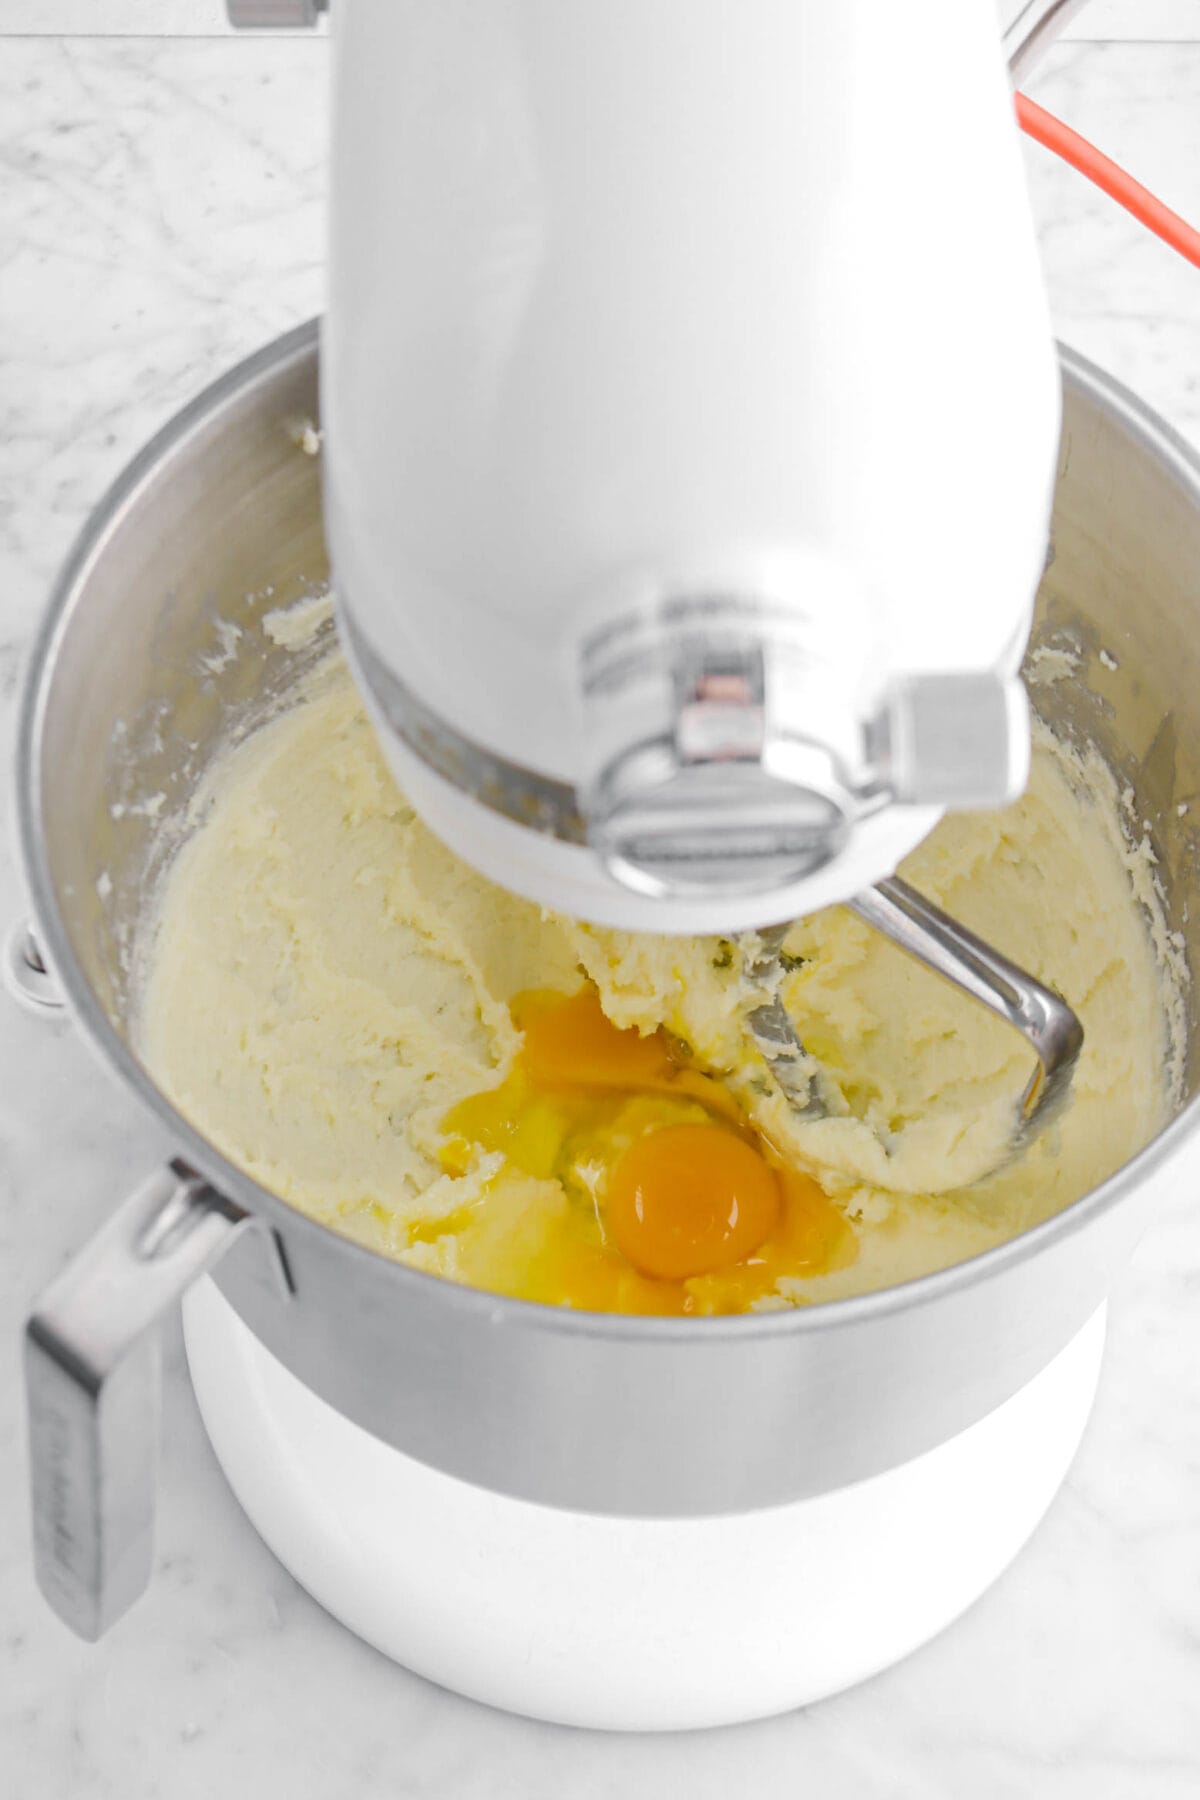
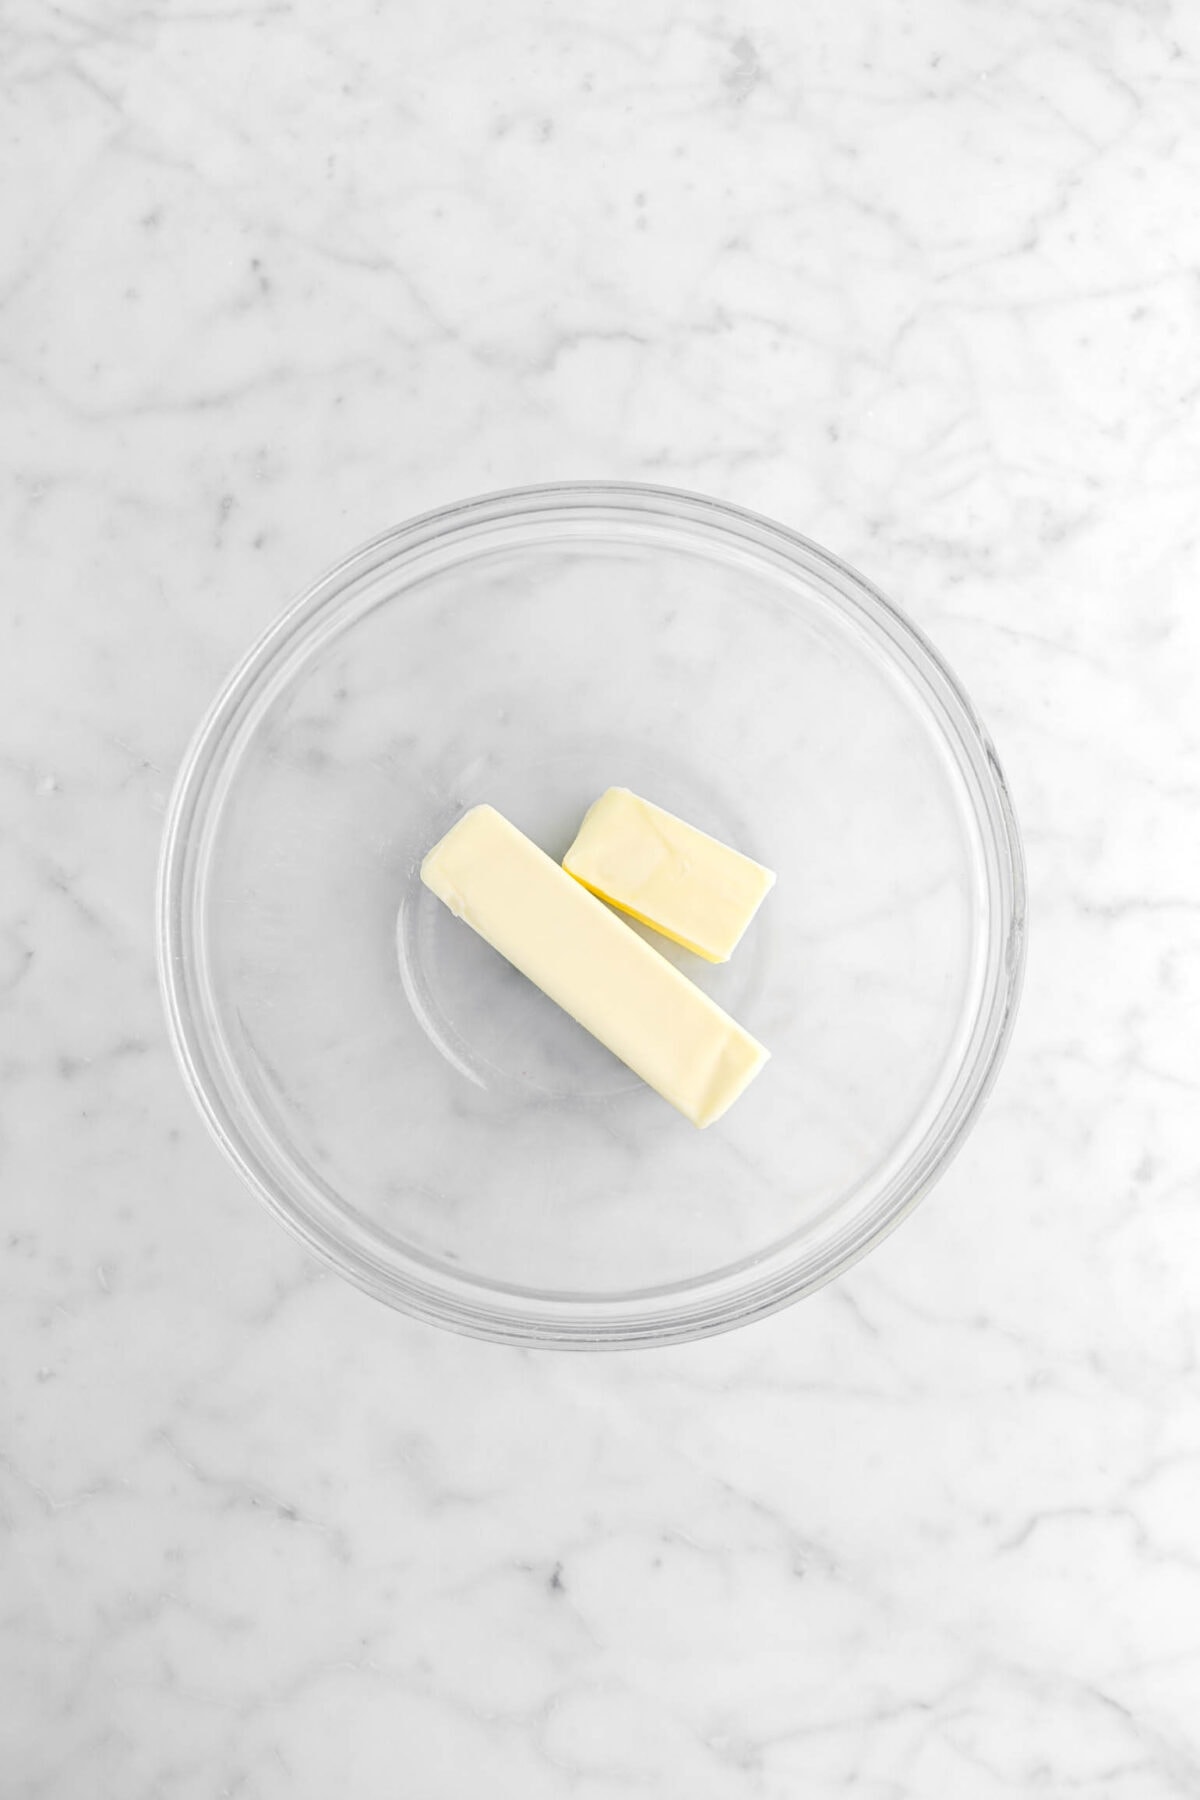
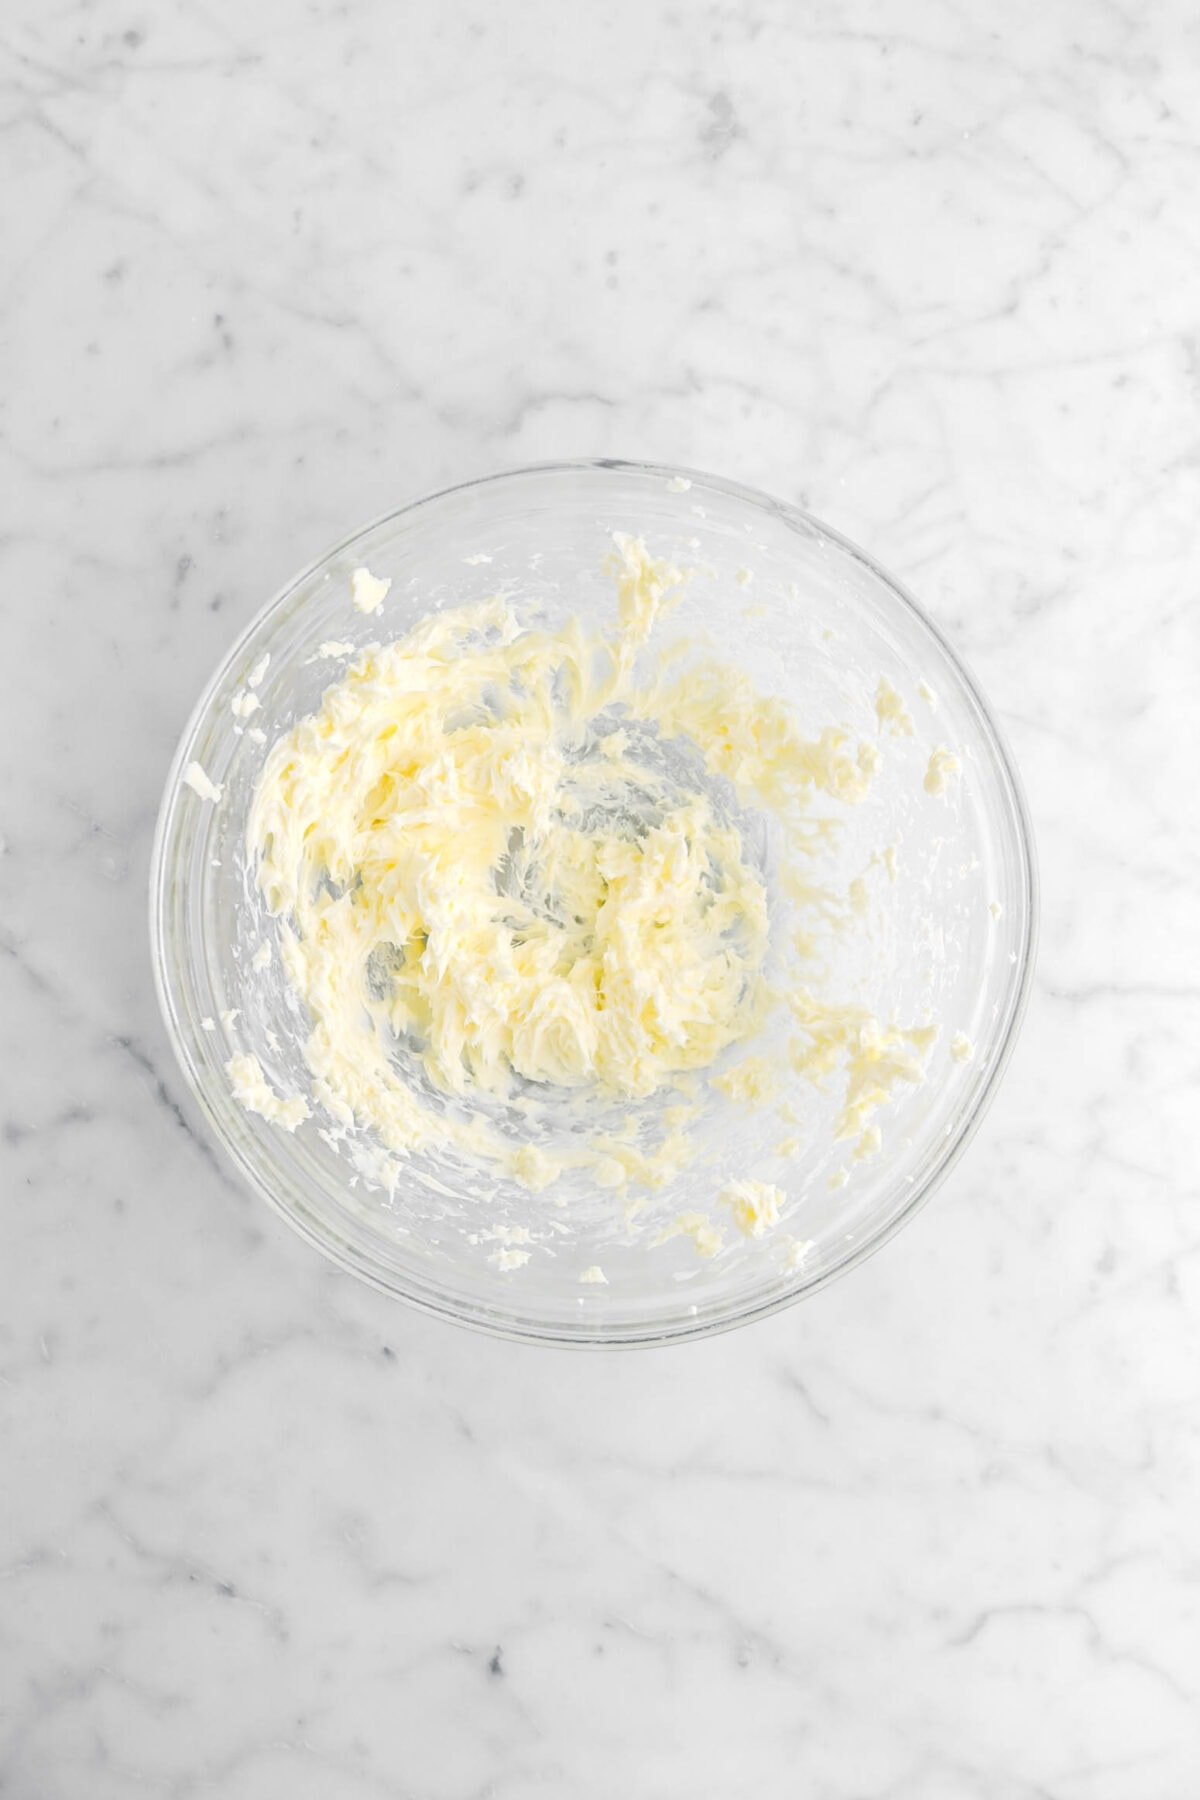
Step 1: Make cookie dough
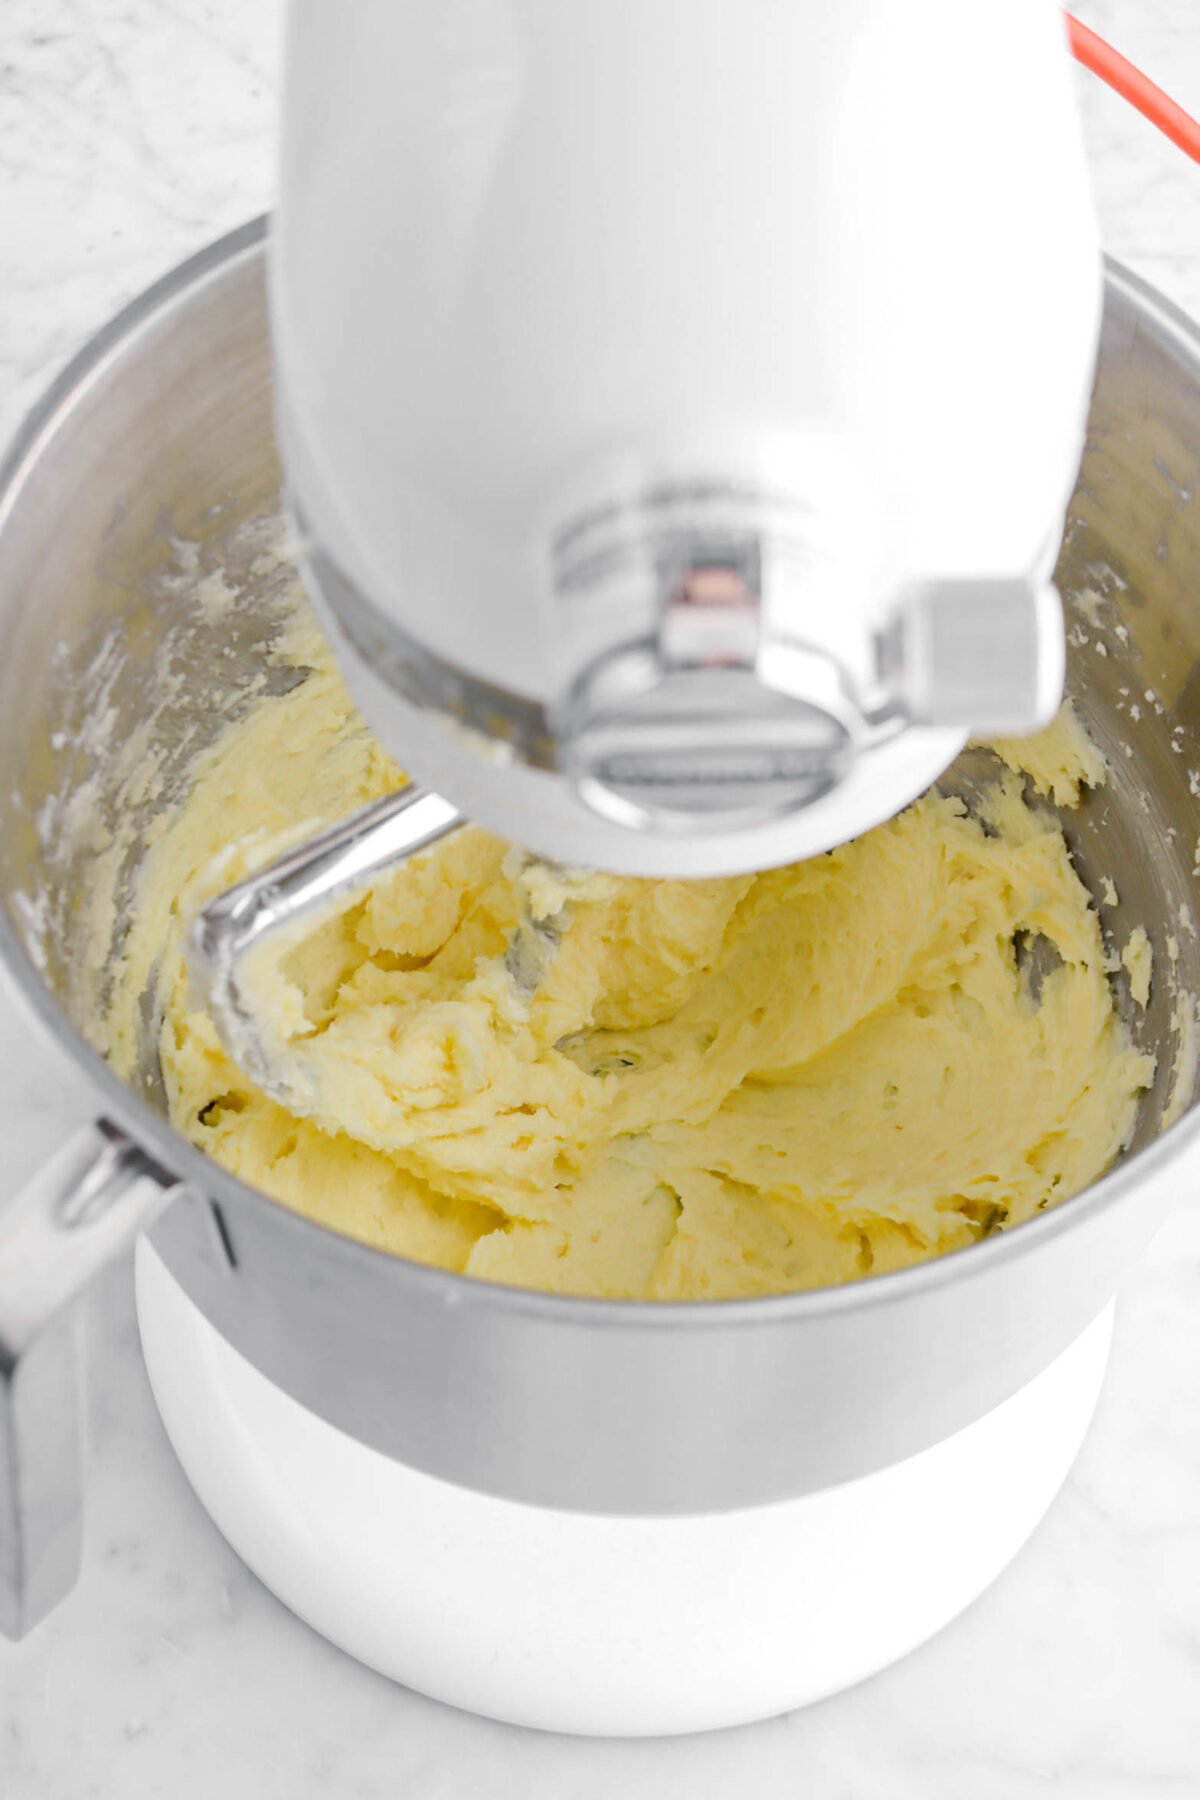
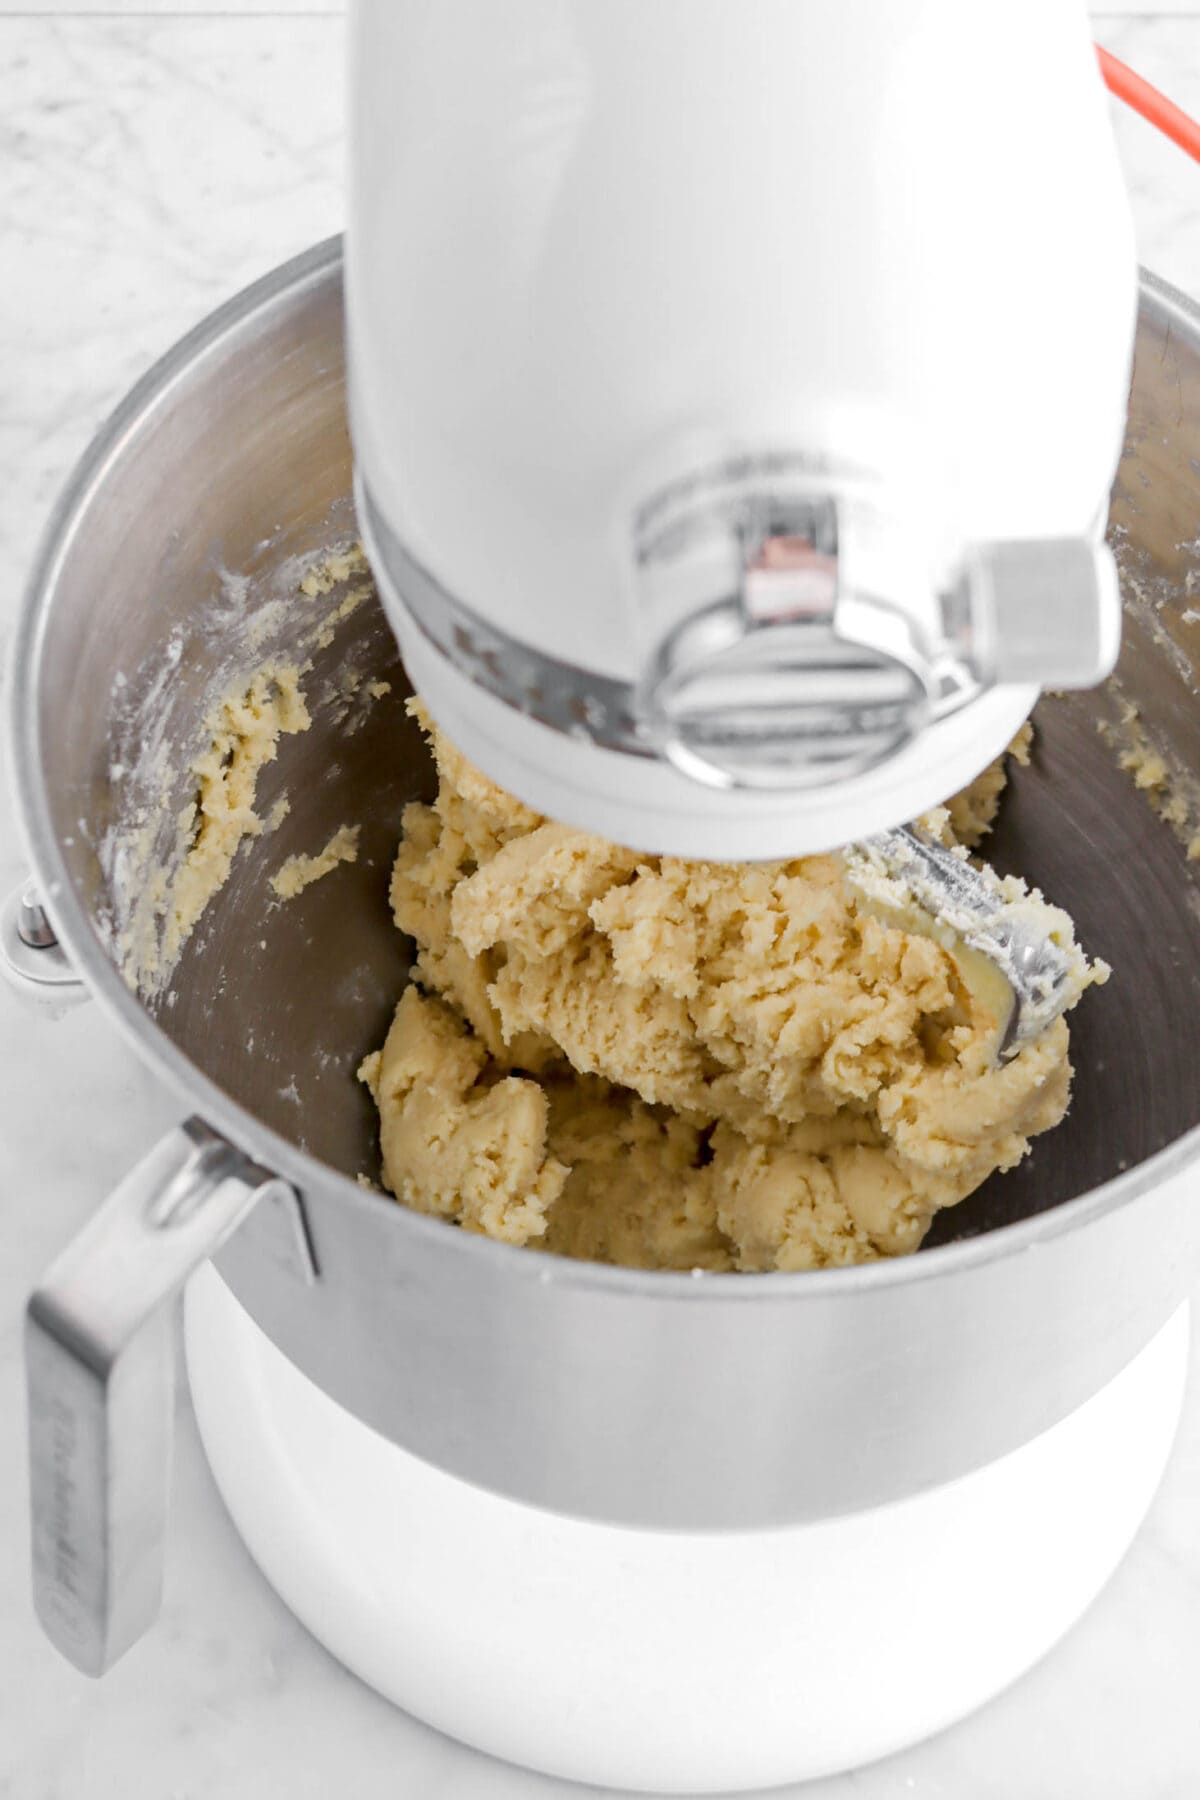
With an electric mixer, beat butter and sugar just until combined, about 1-2 minutes.
Beat in egg and egg yolk.
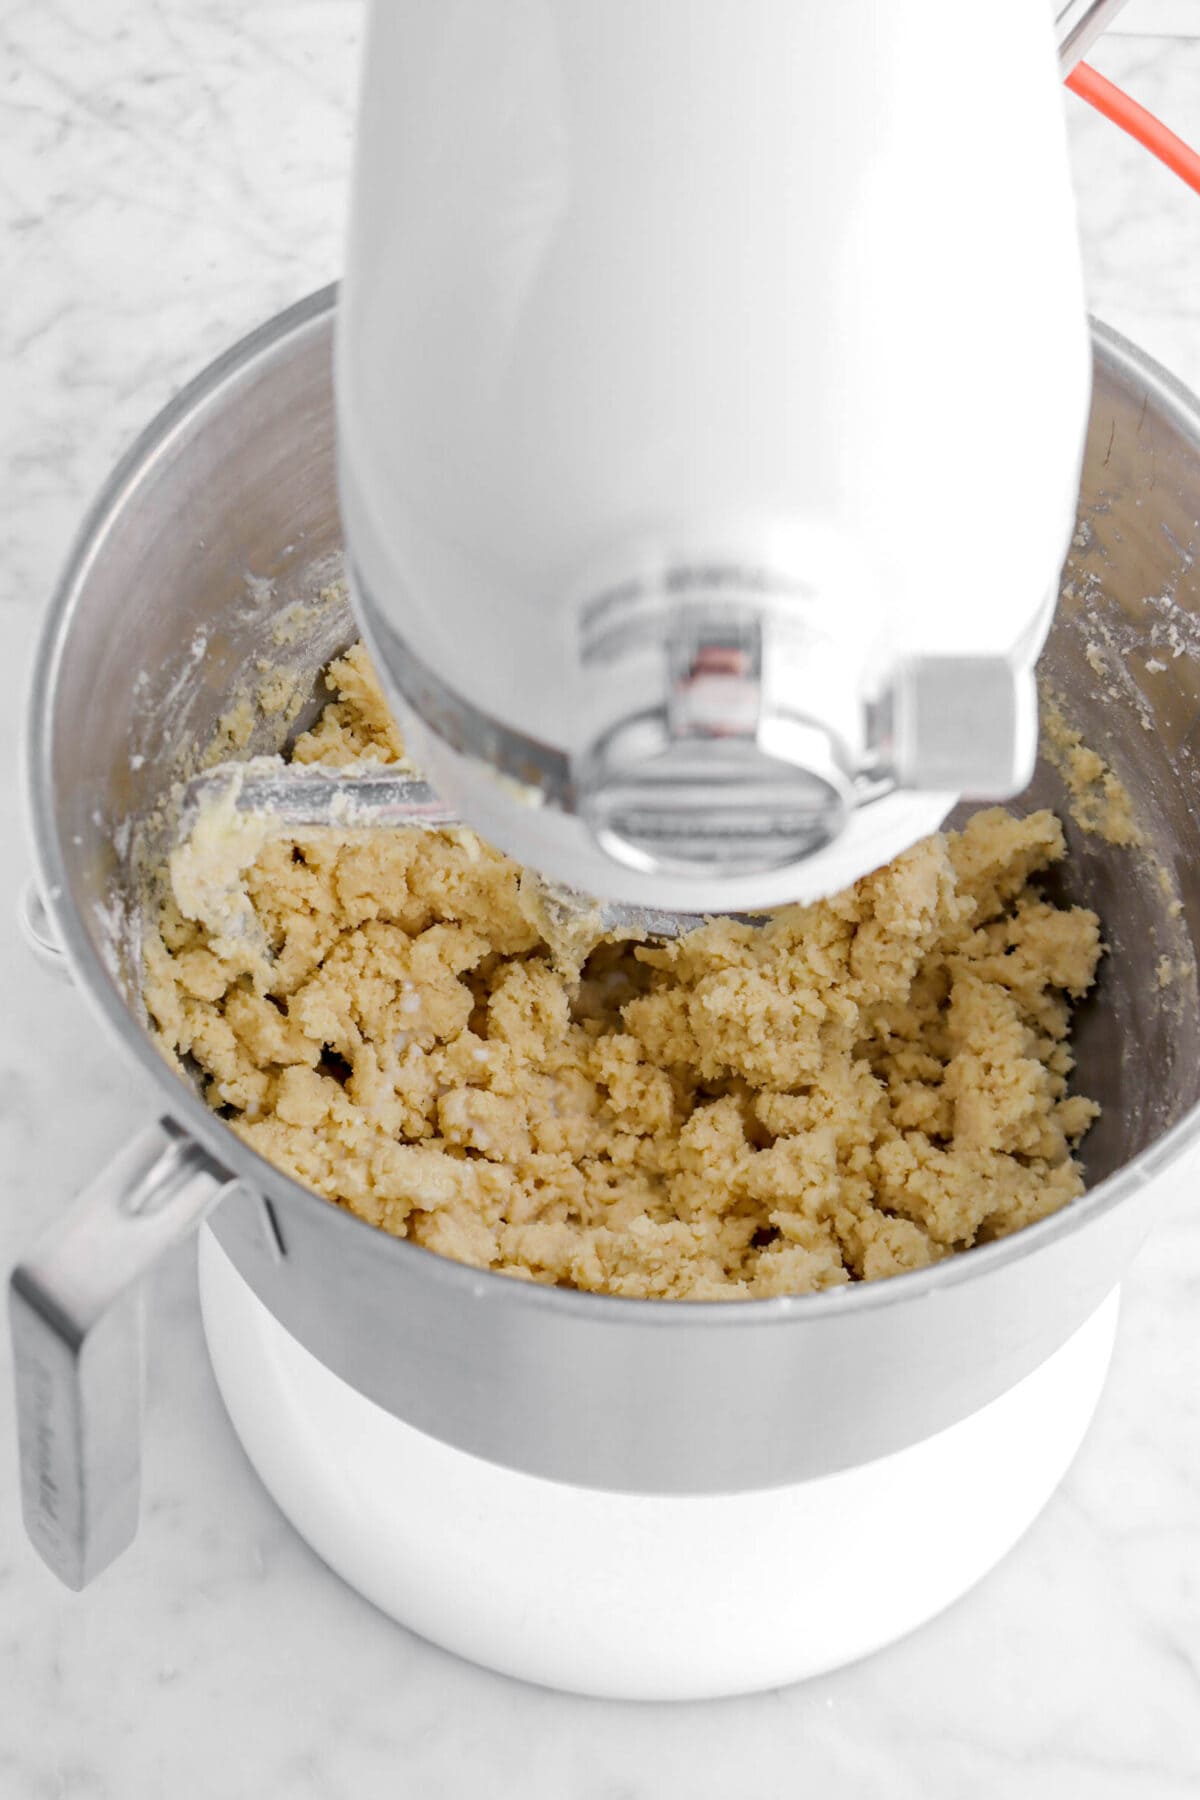
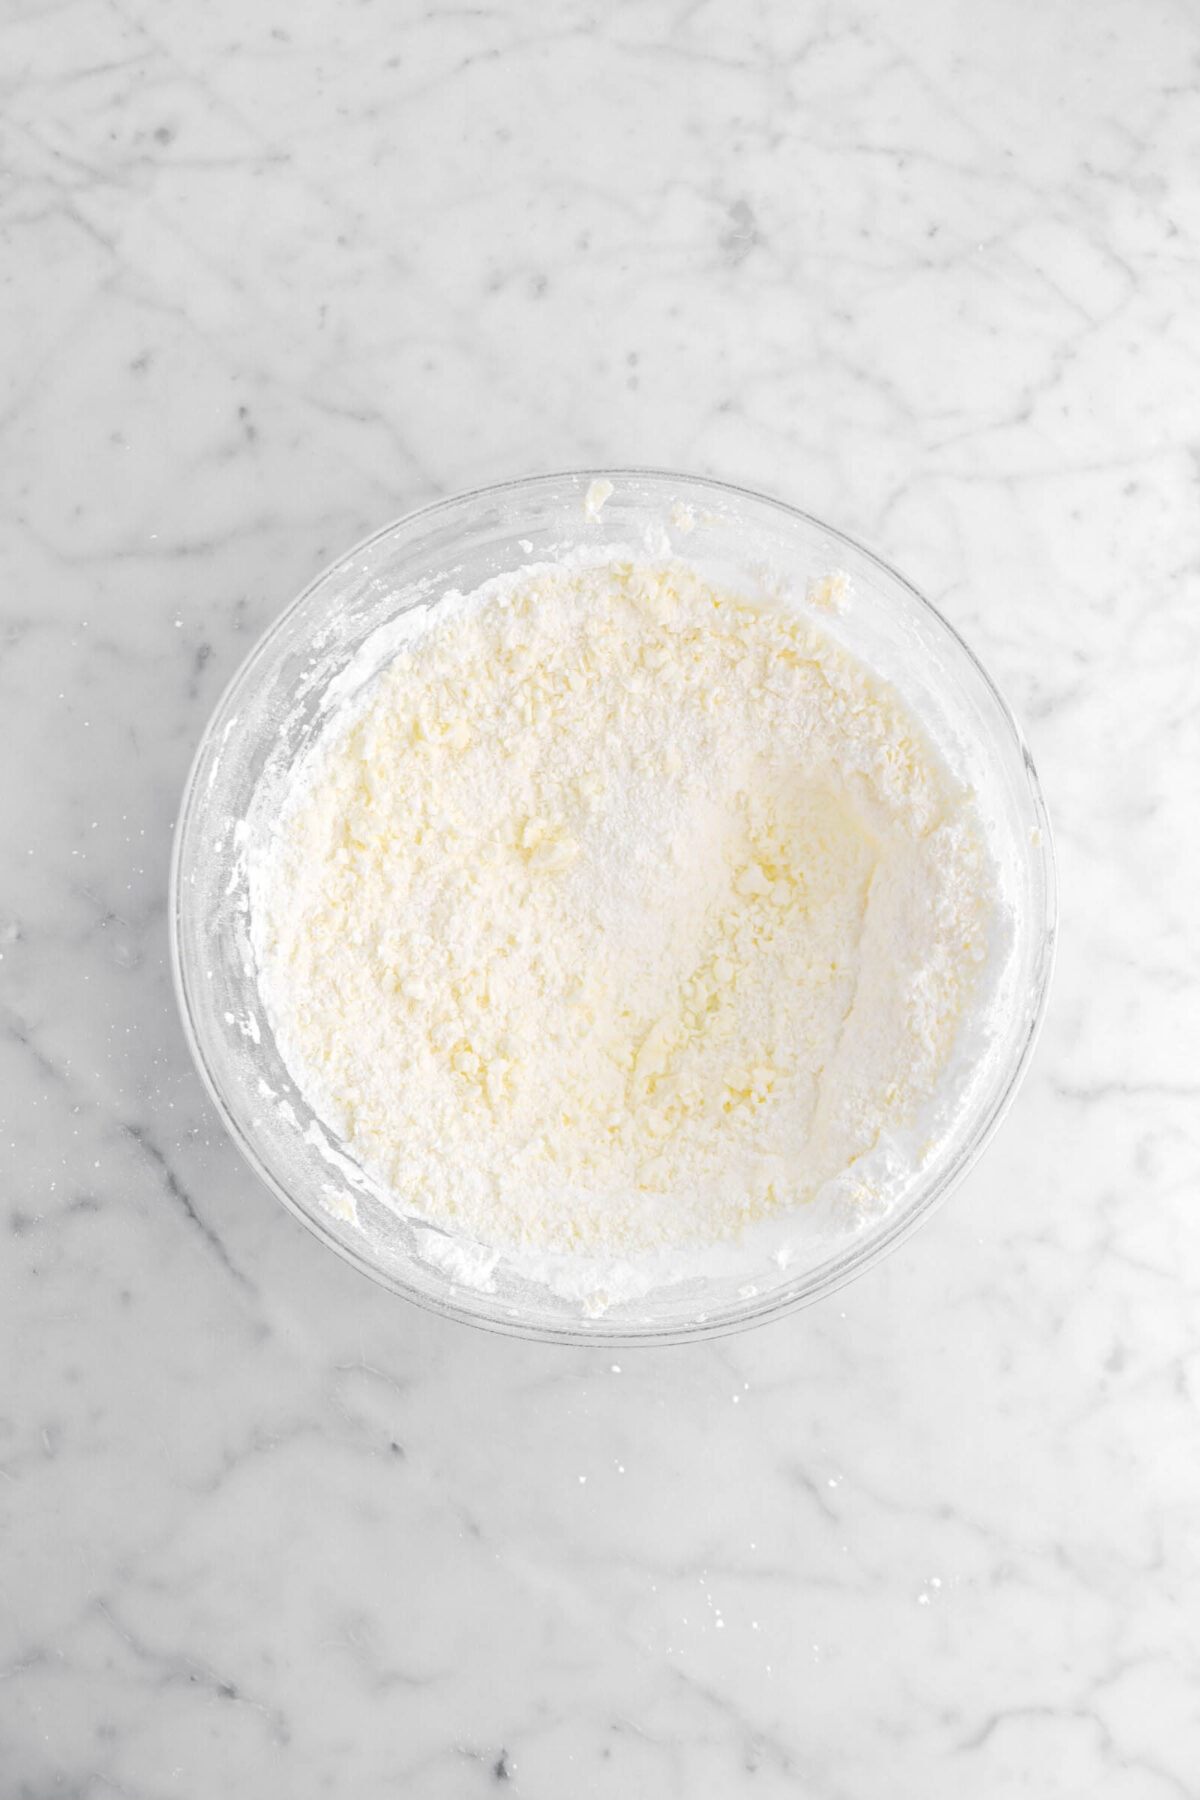
Stir in flour, salt, and baking powder just until mixed.
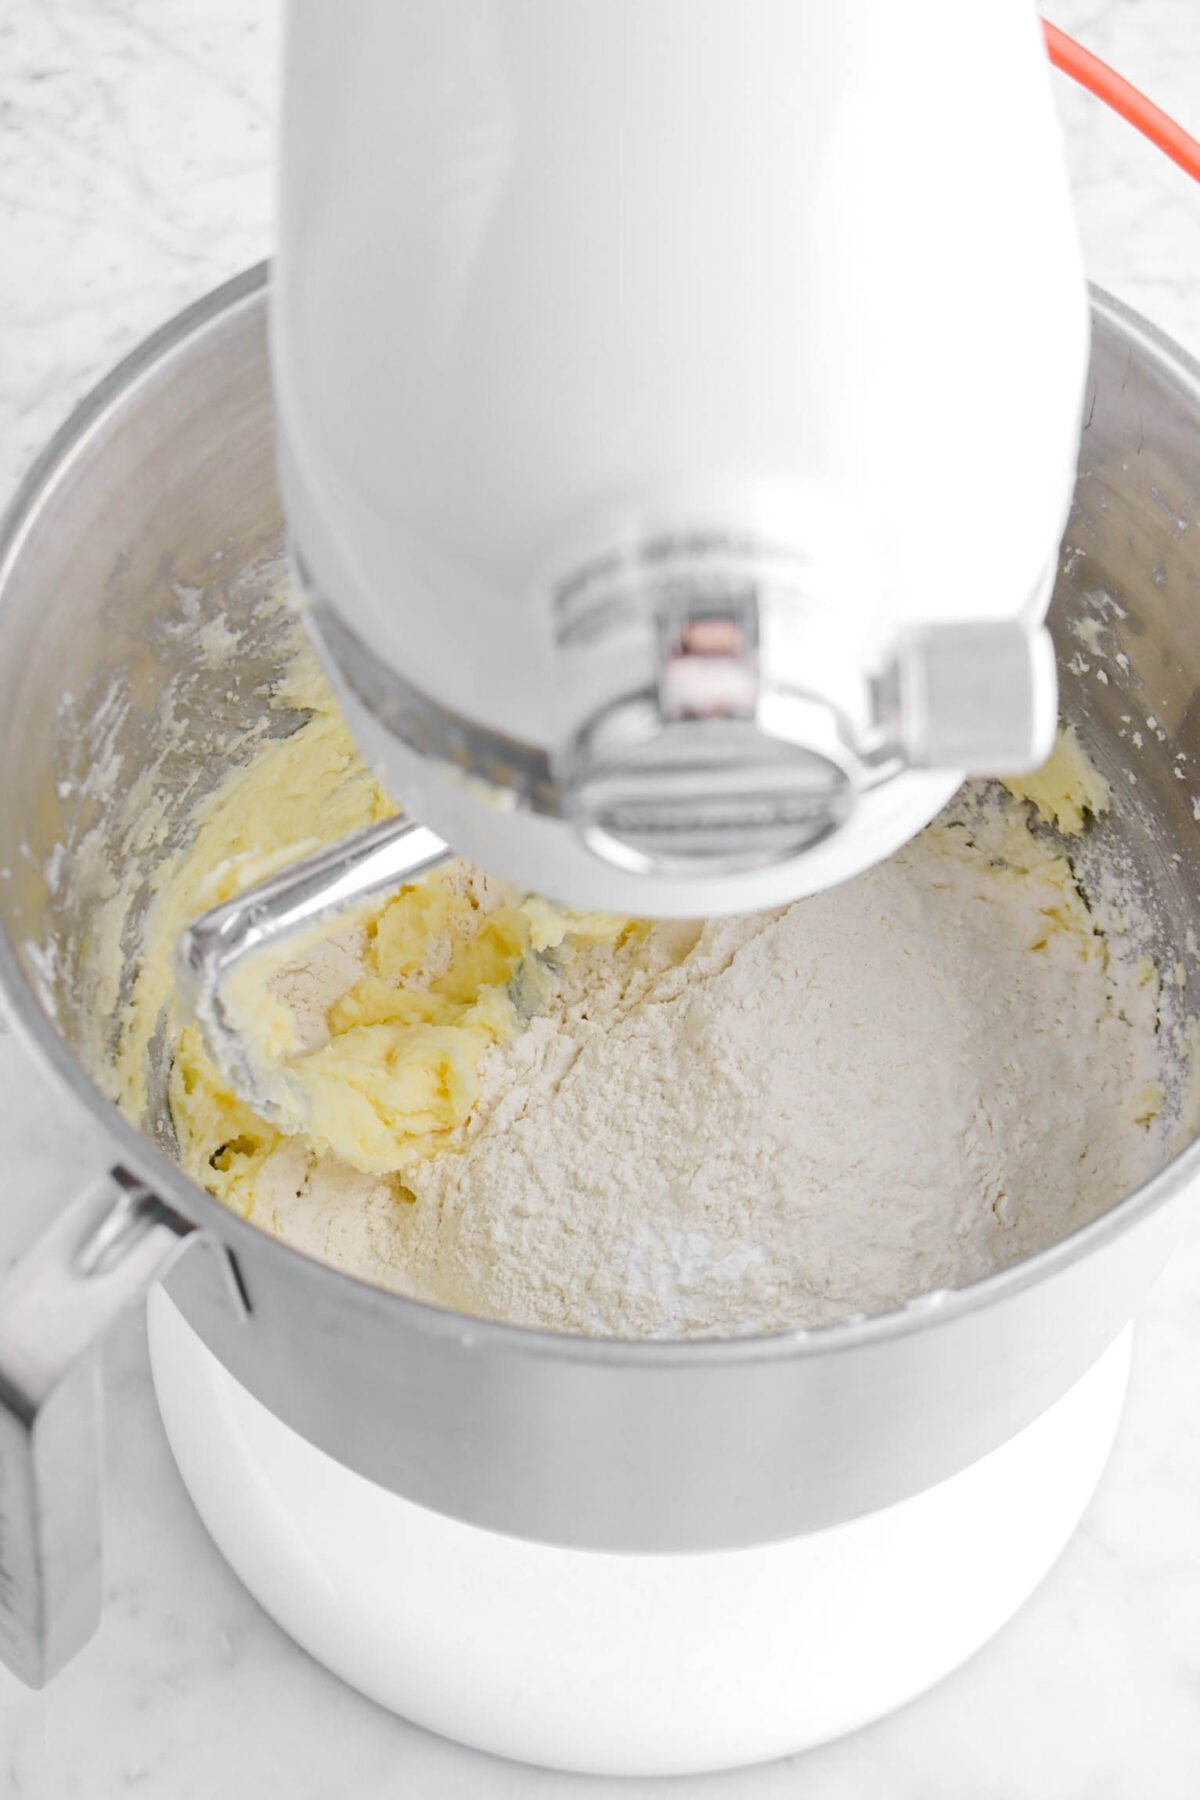
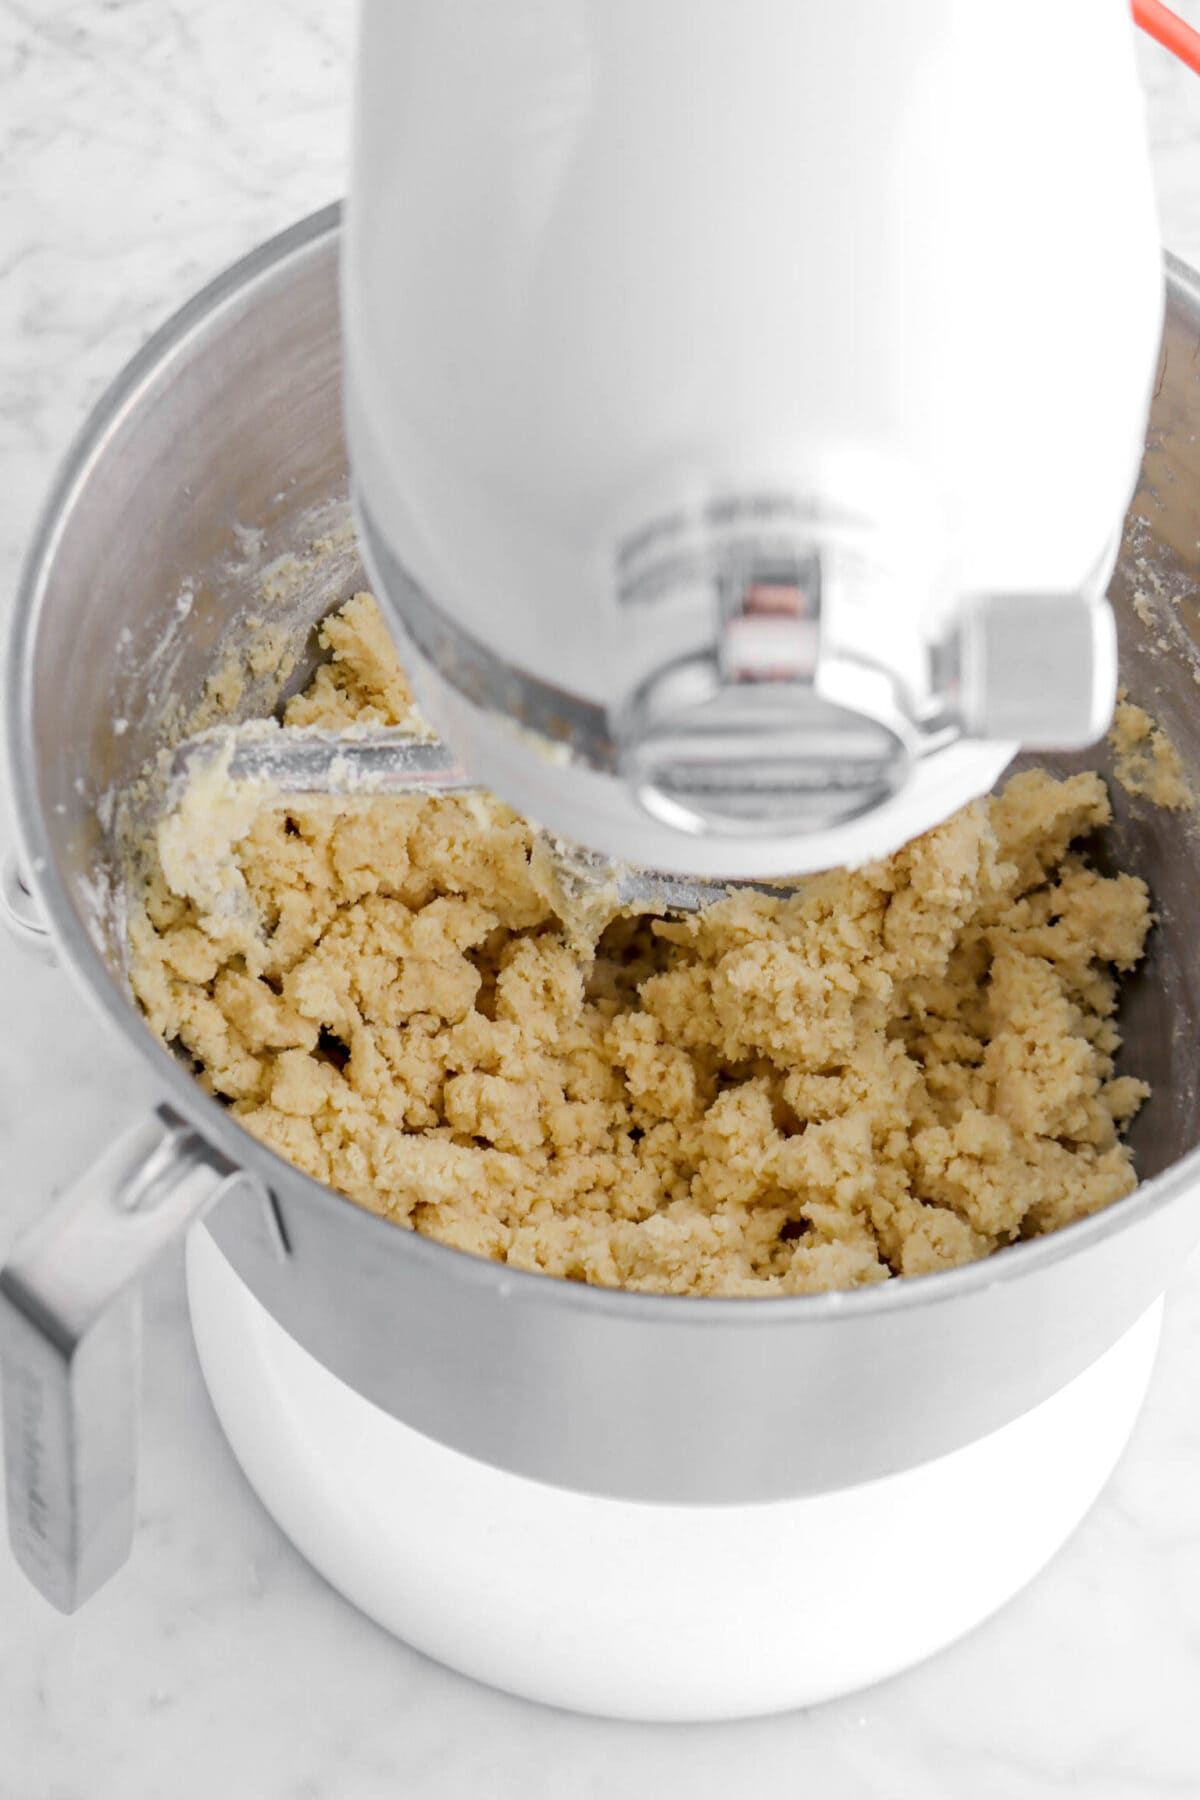
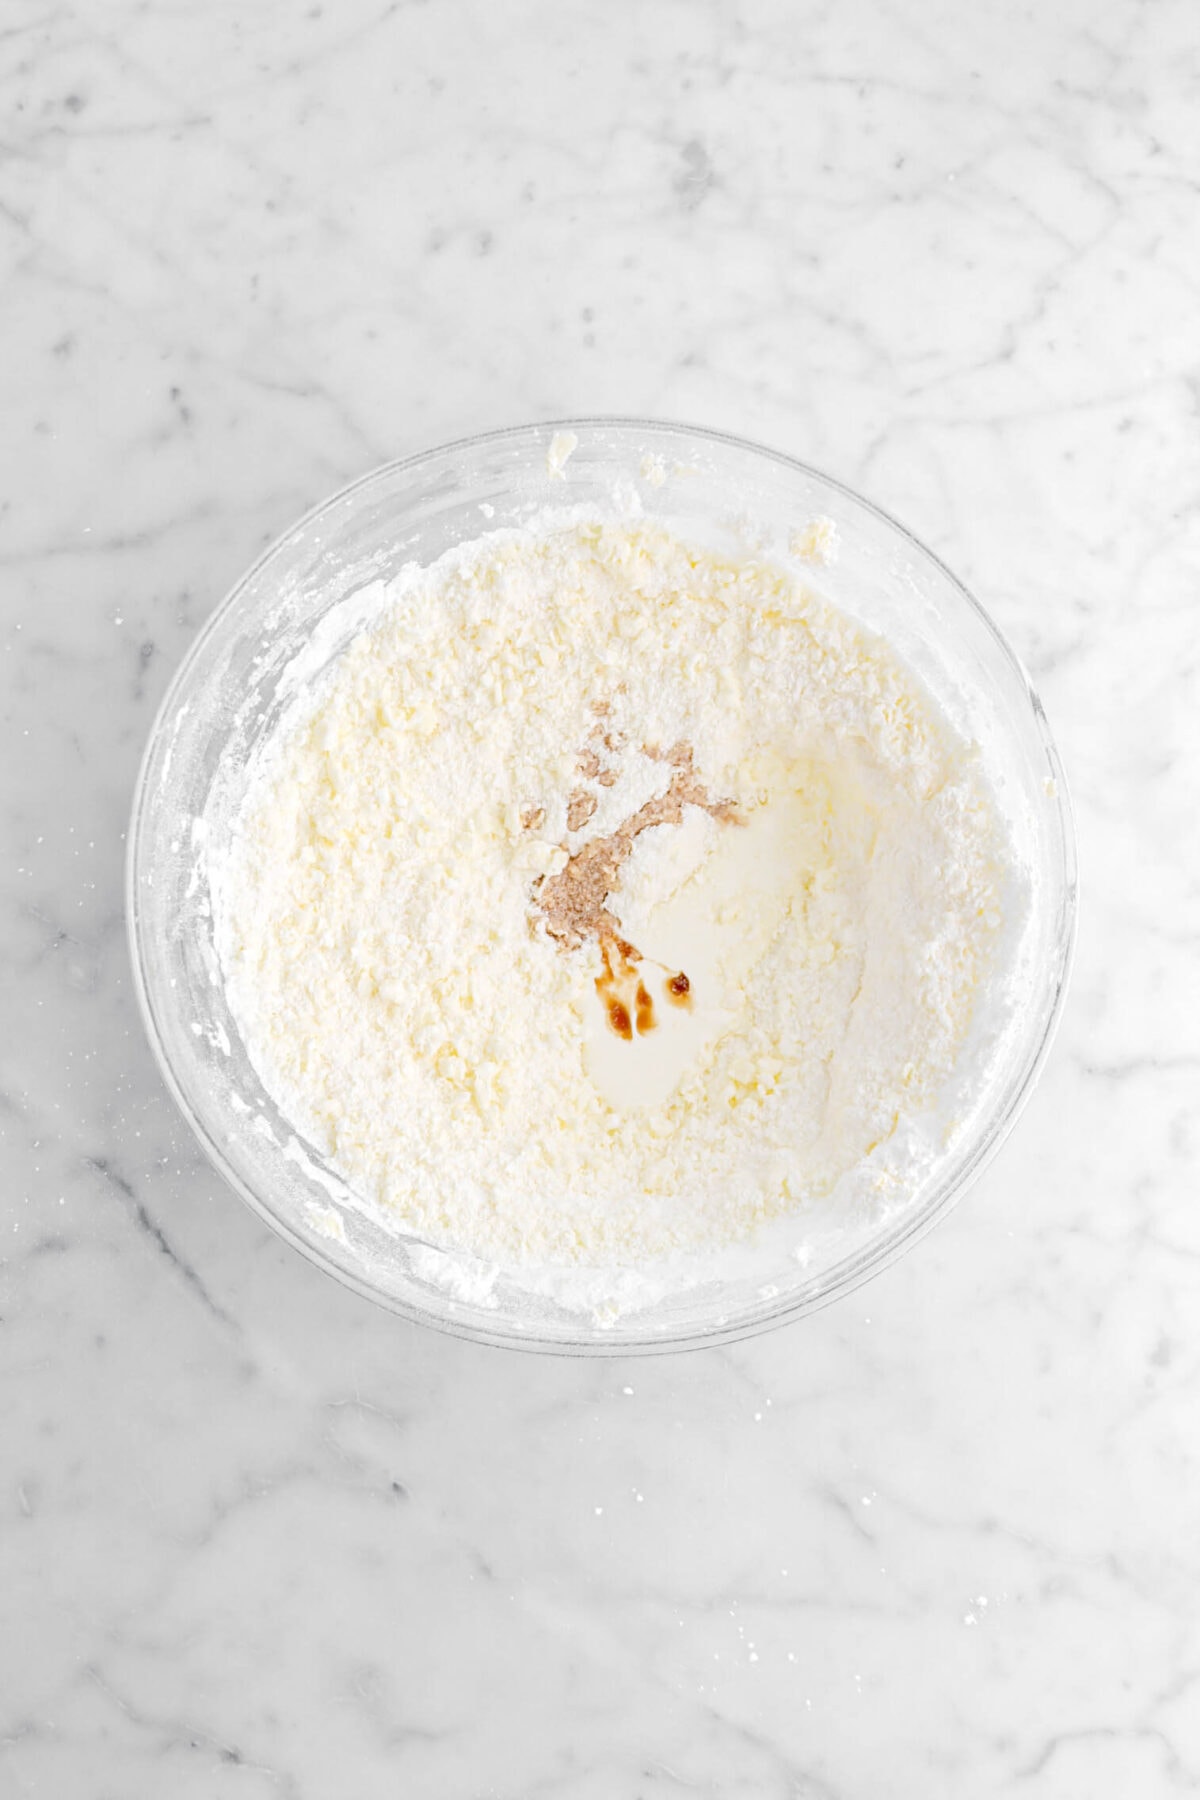
Mix in milk and peppermint extract.
Step 2: Roll out dough and cut
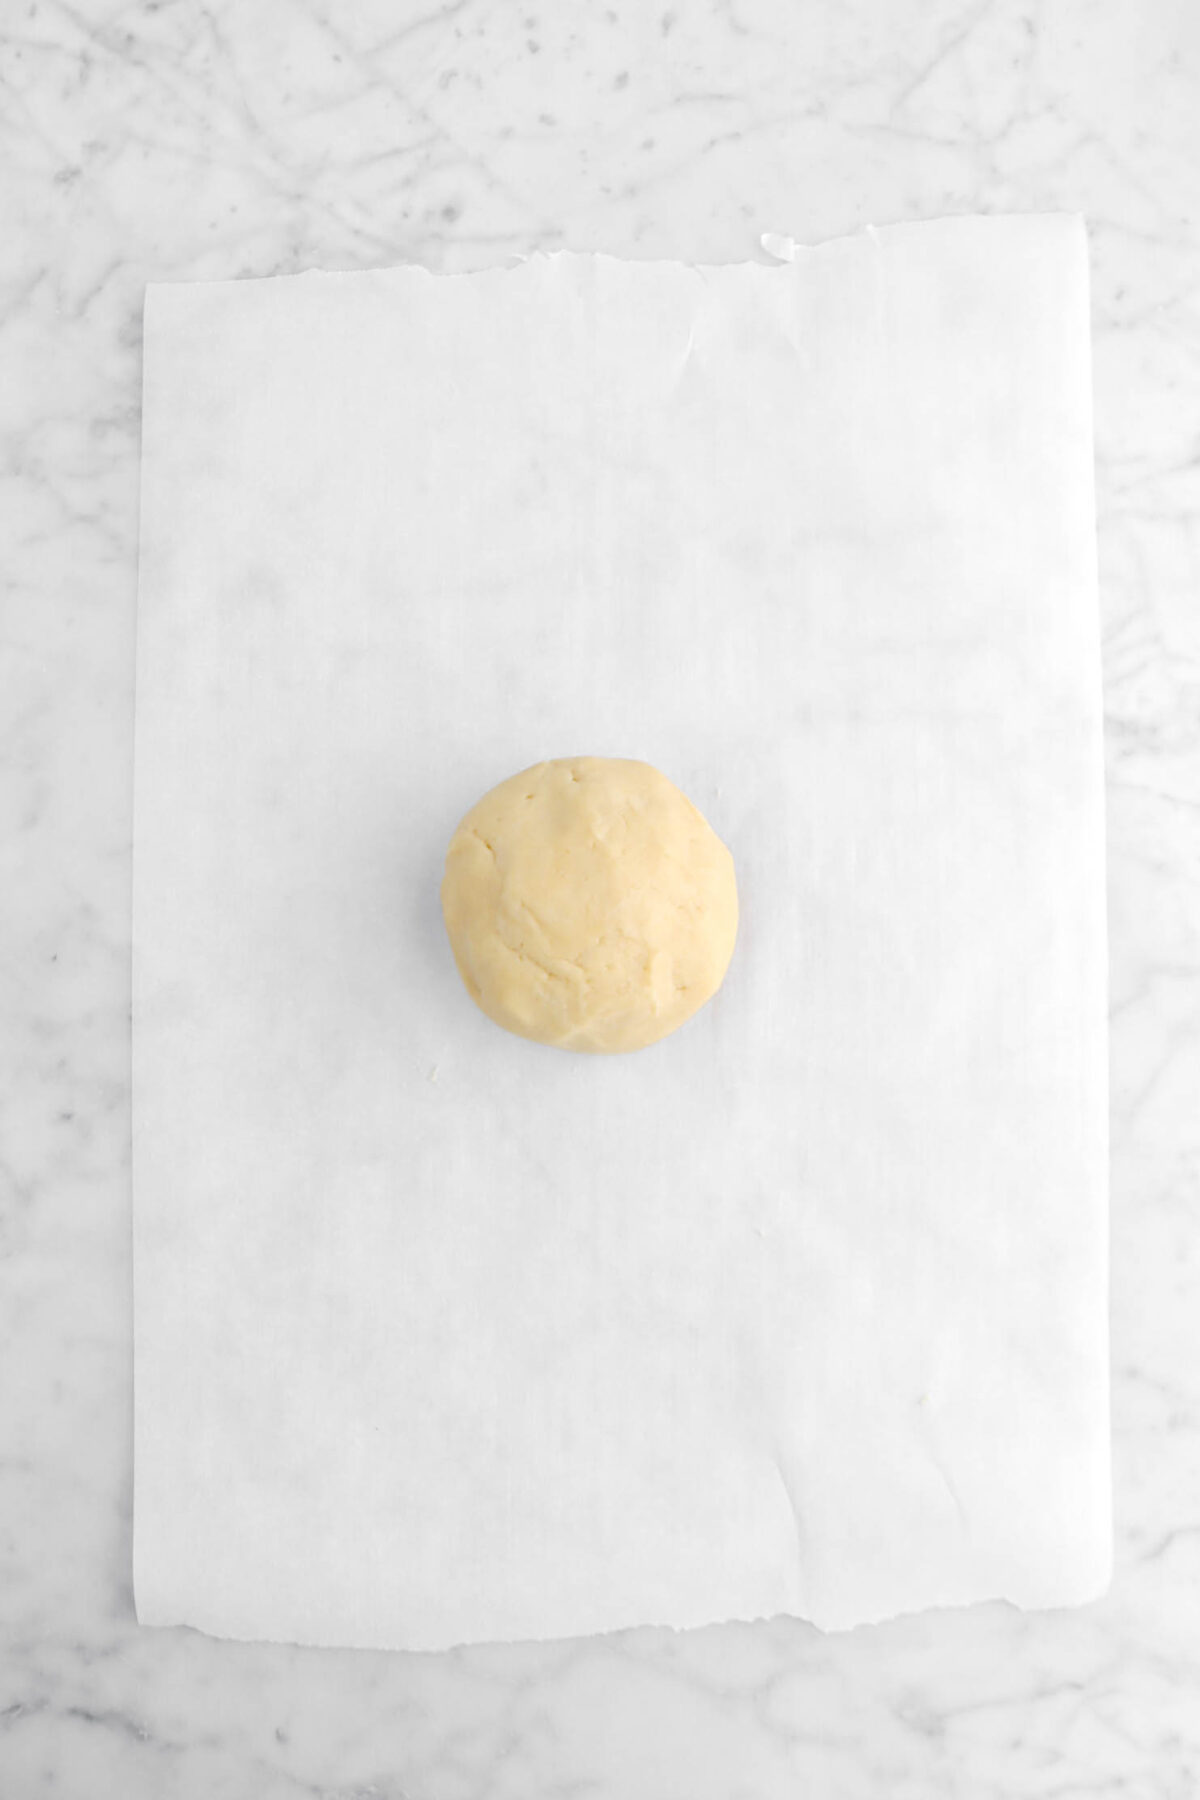
Divide the dough in half. Wrap half in plastic wrap and set it aside. On a piece of parchment, roll other half of dough into a rectangle that is 3/16″ thick.

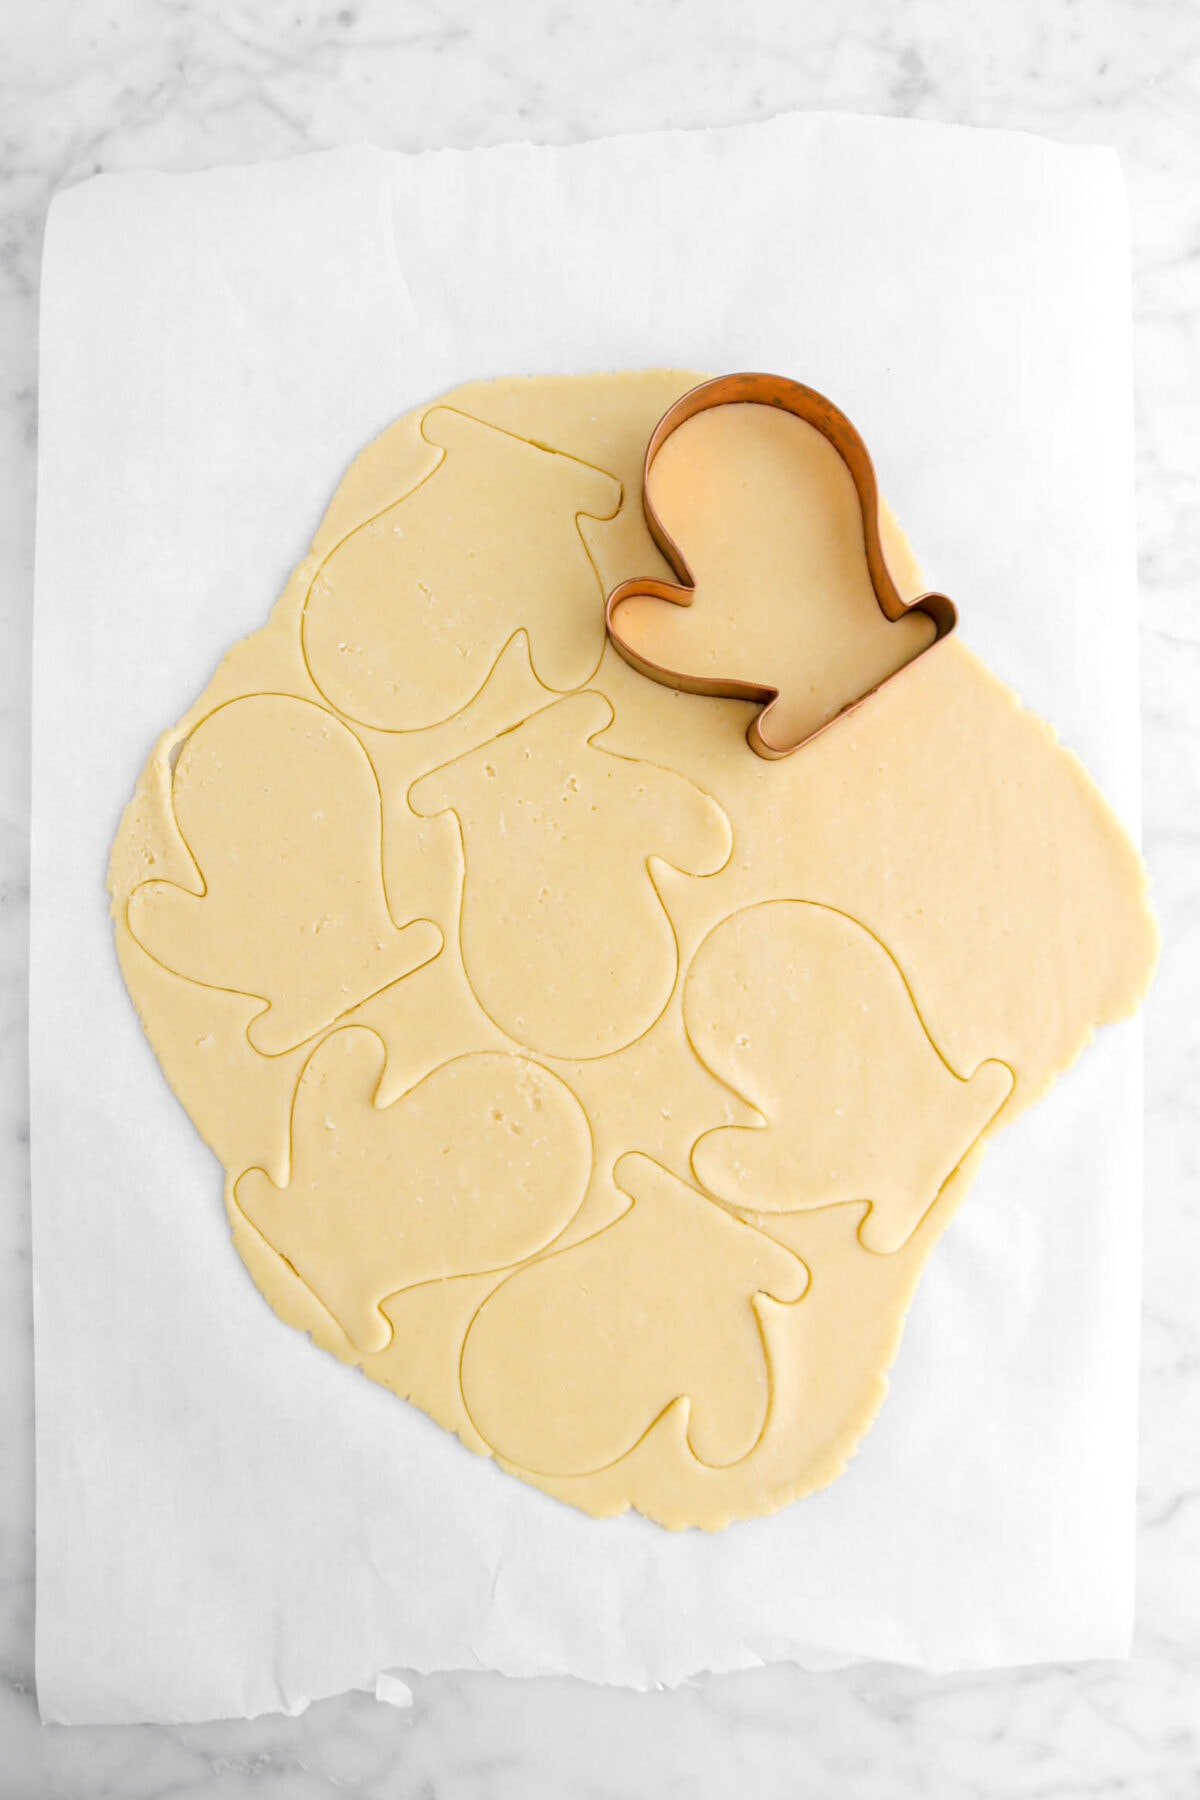
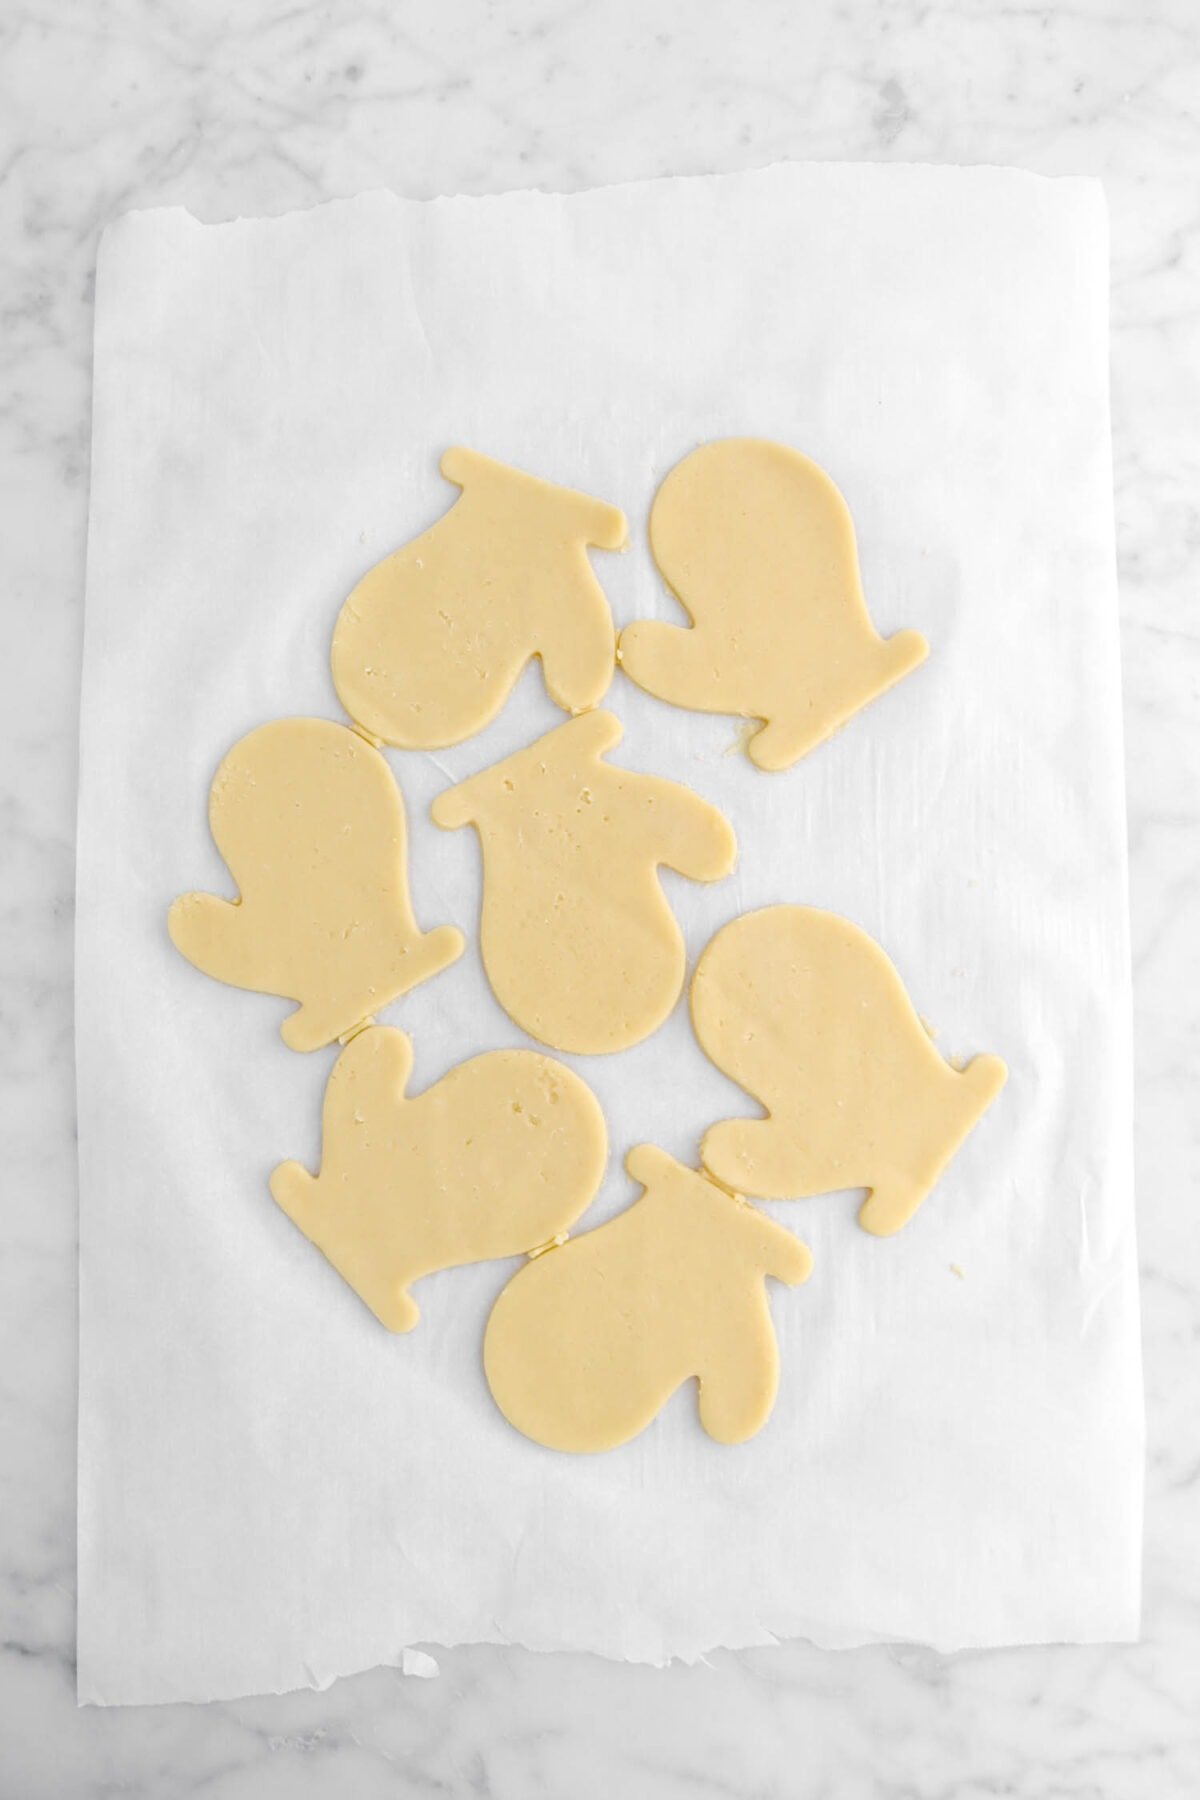
Use a cookie cutter to cut shapes as closely together as possible. Remove the excess dough and place the cut dough on a sheet pan. Place in the freezer for 10 minutes.
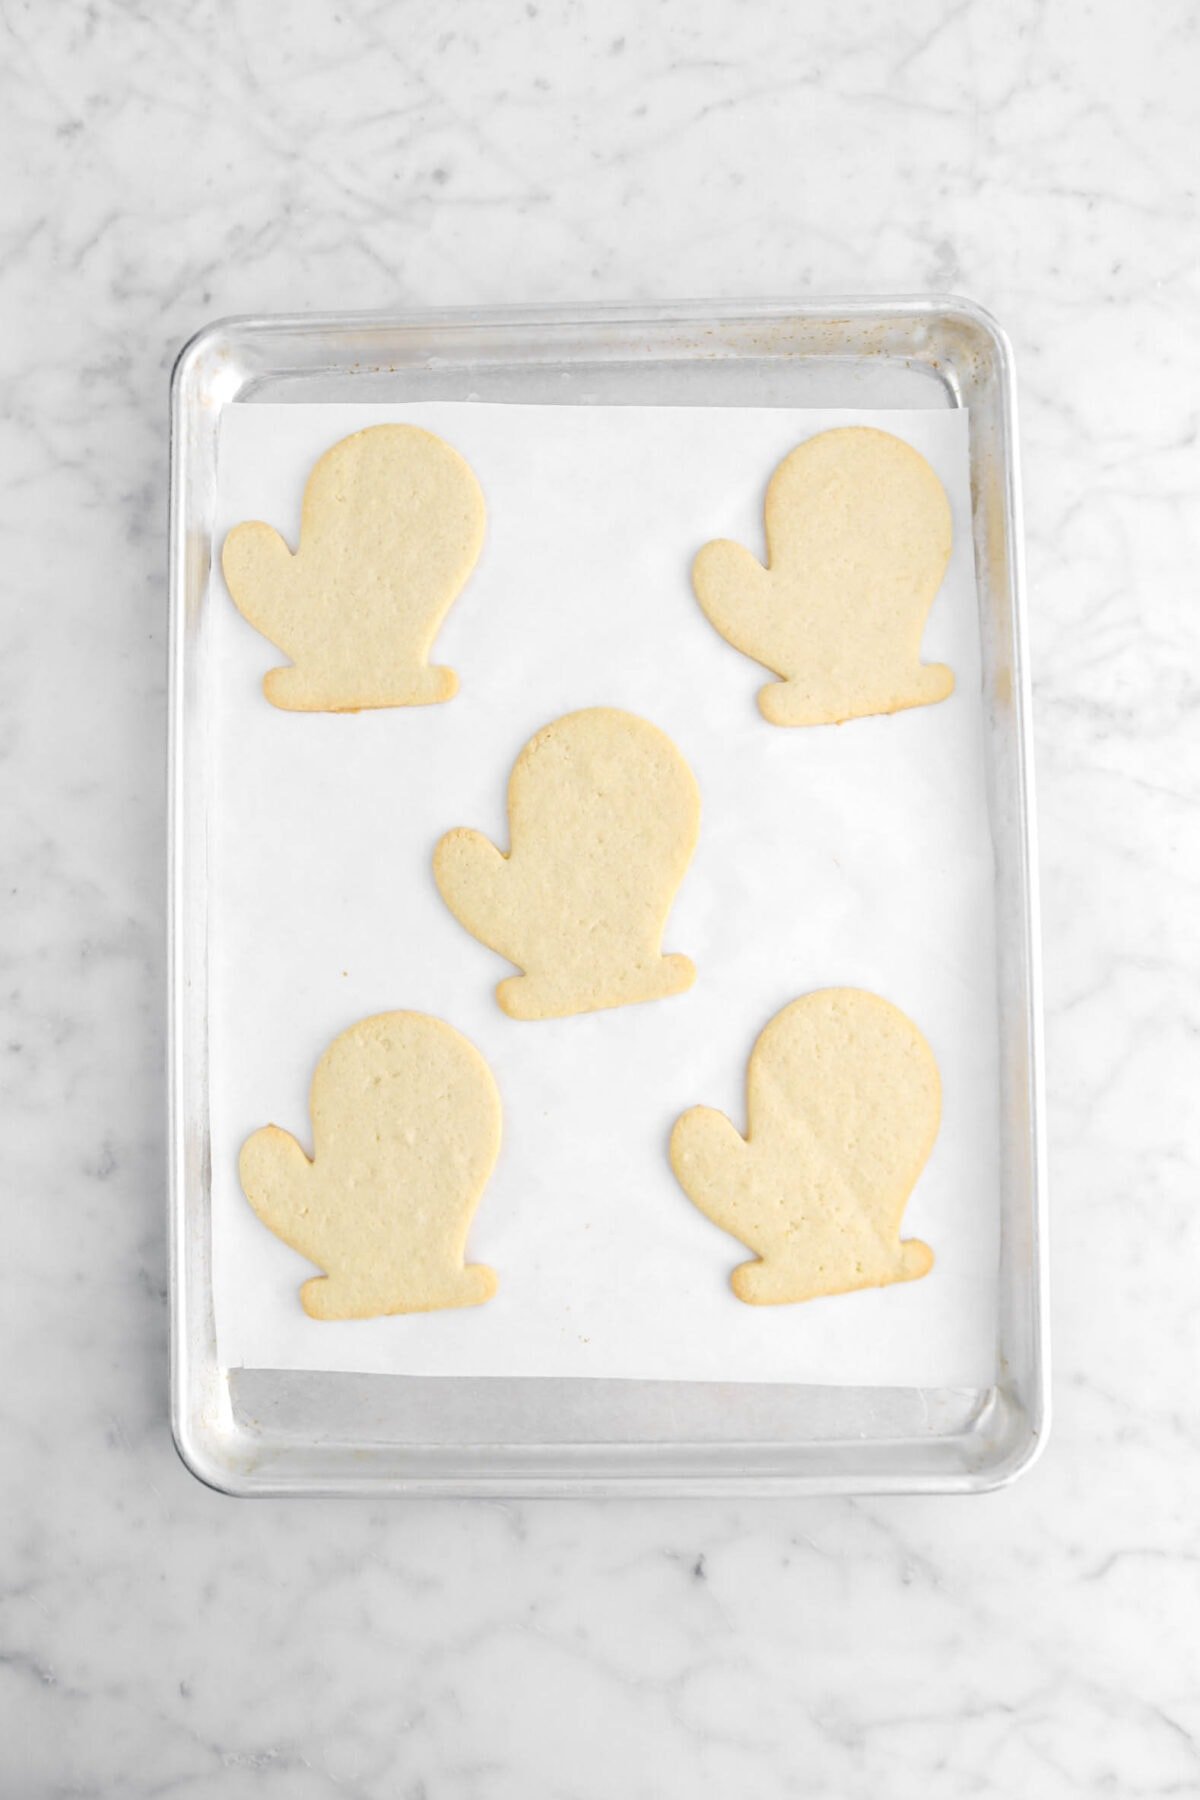
Step 3: Bake
Remove cutouts from parchment and place on prepared pans. Bake for 15 minutes, until edges just start to brown. Repeat these steps with the other half of dough.

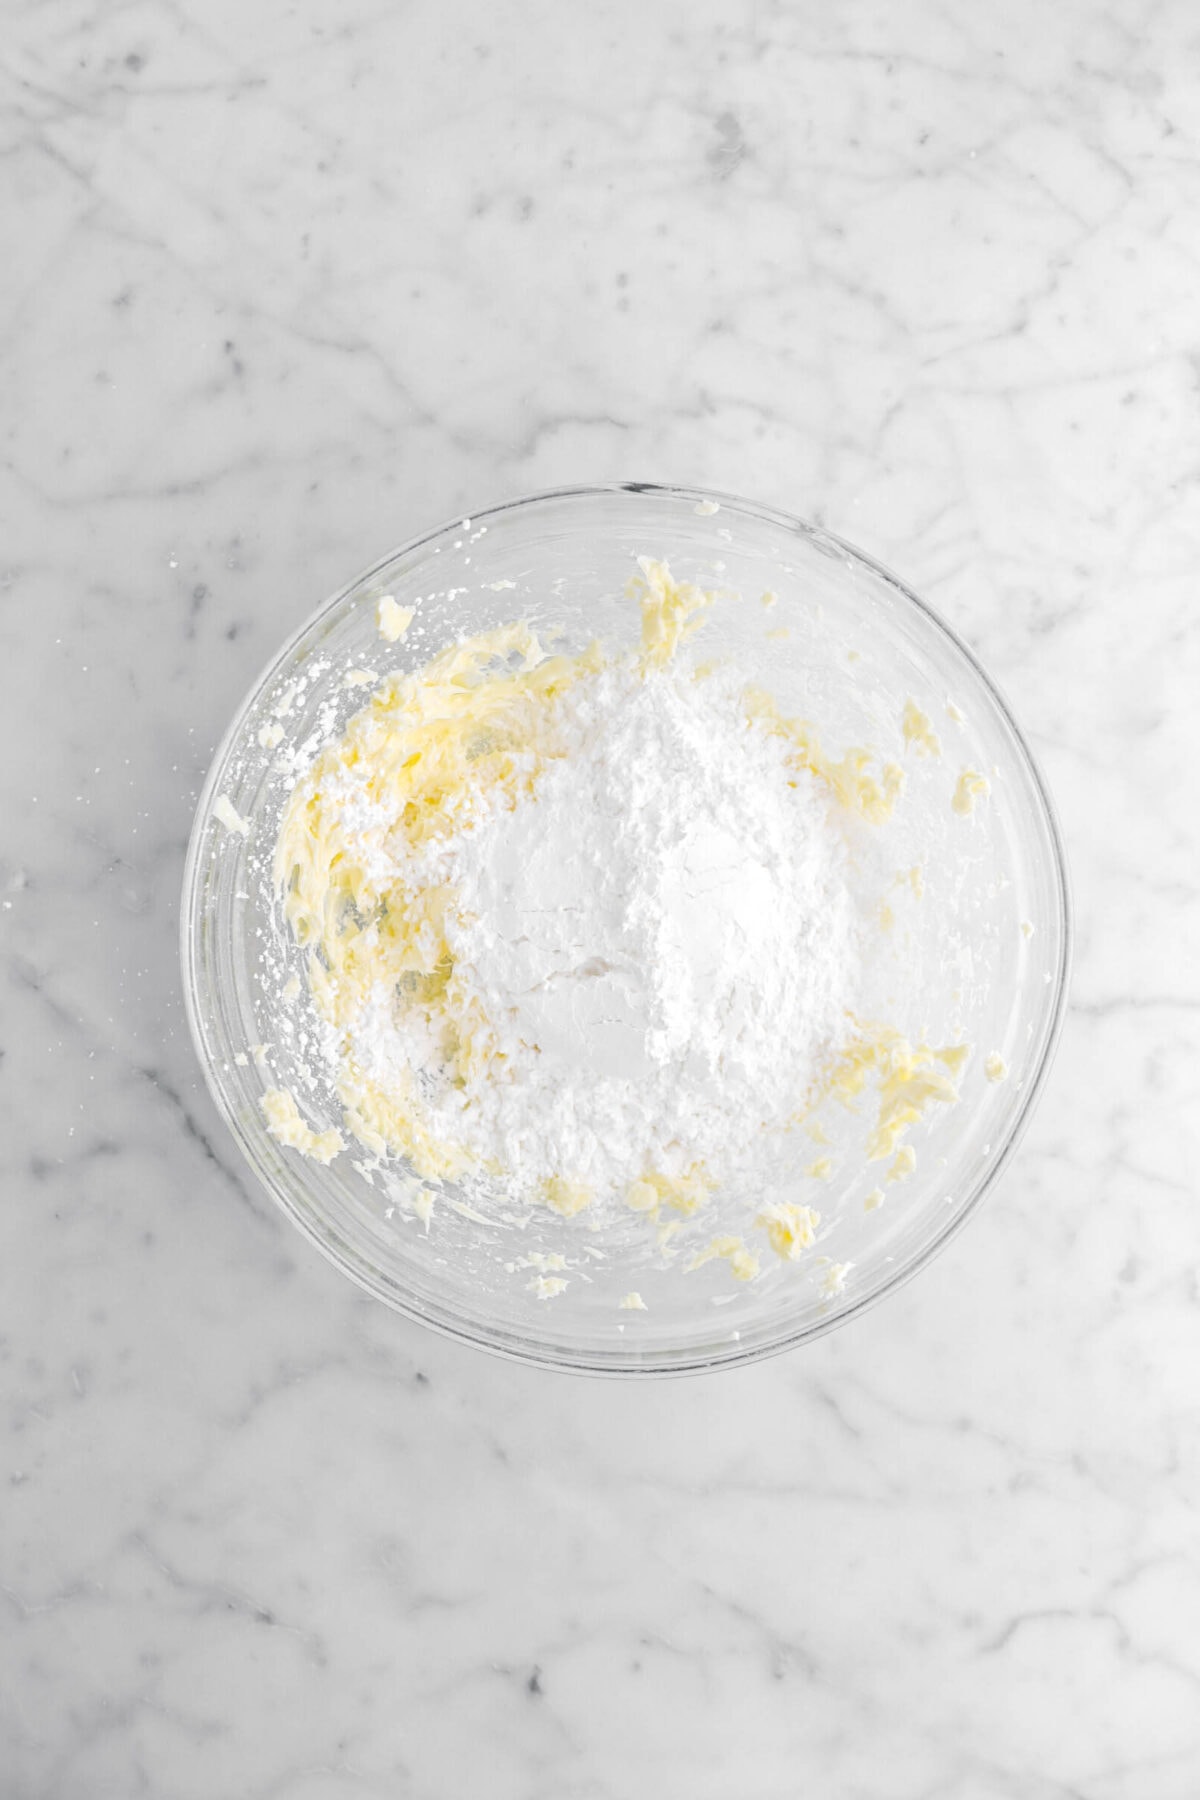
Step 4: Make the buttercream
In a medium bowl, using an electric mixer, cream butter.
Beat in powdered sugar.
Add vanilla and cream. Beat until light and fluffy.

Step 5: Decorate
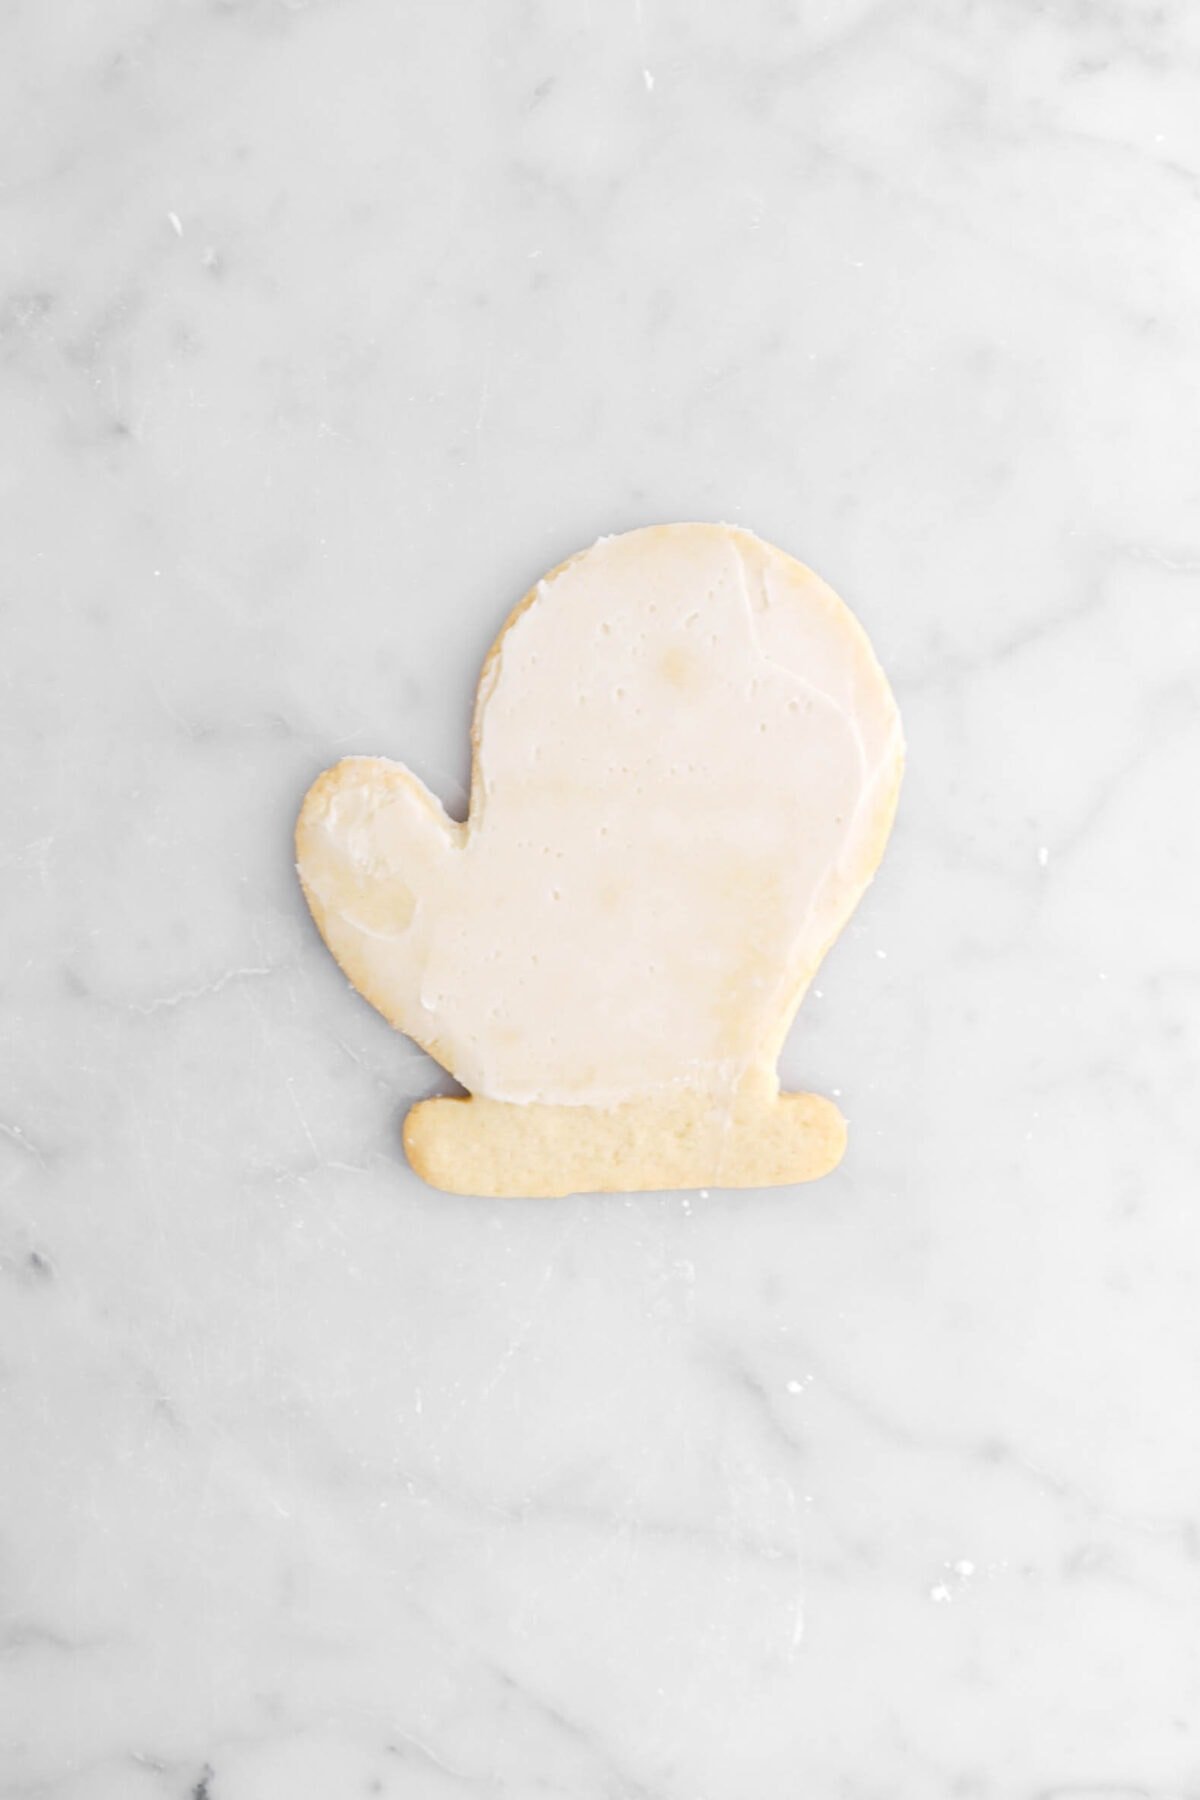
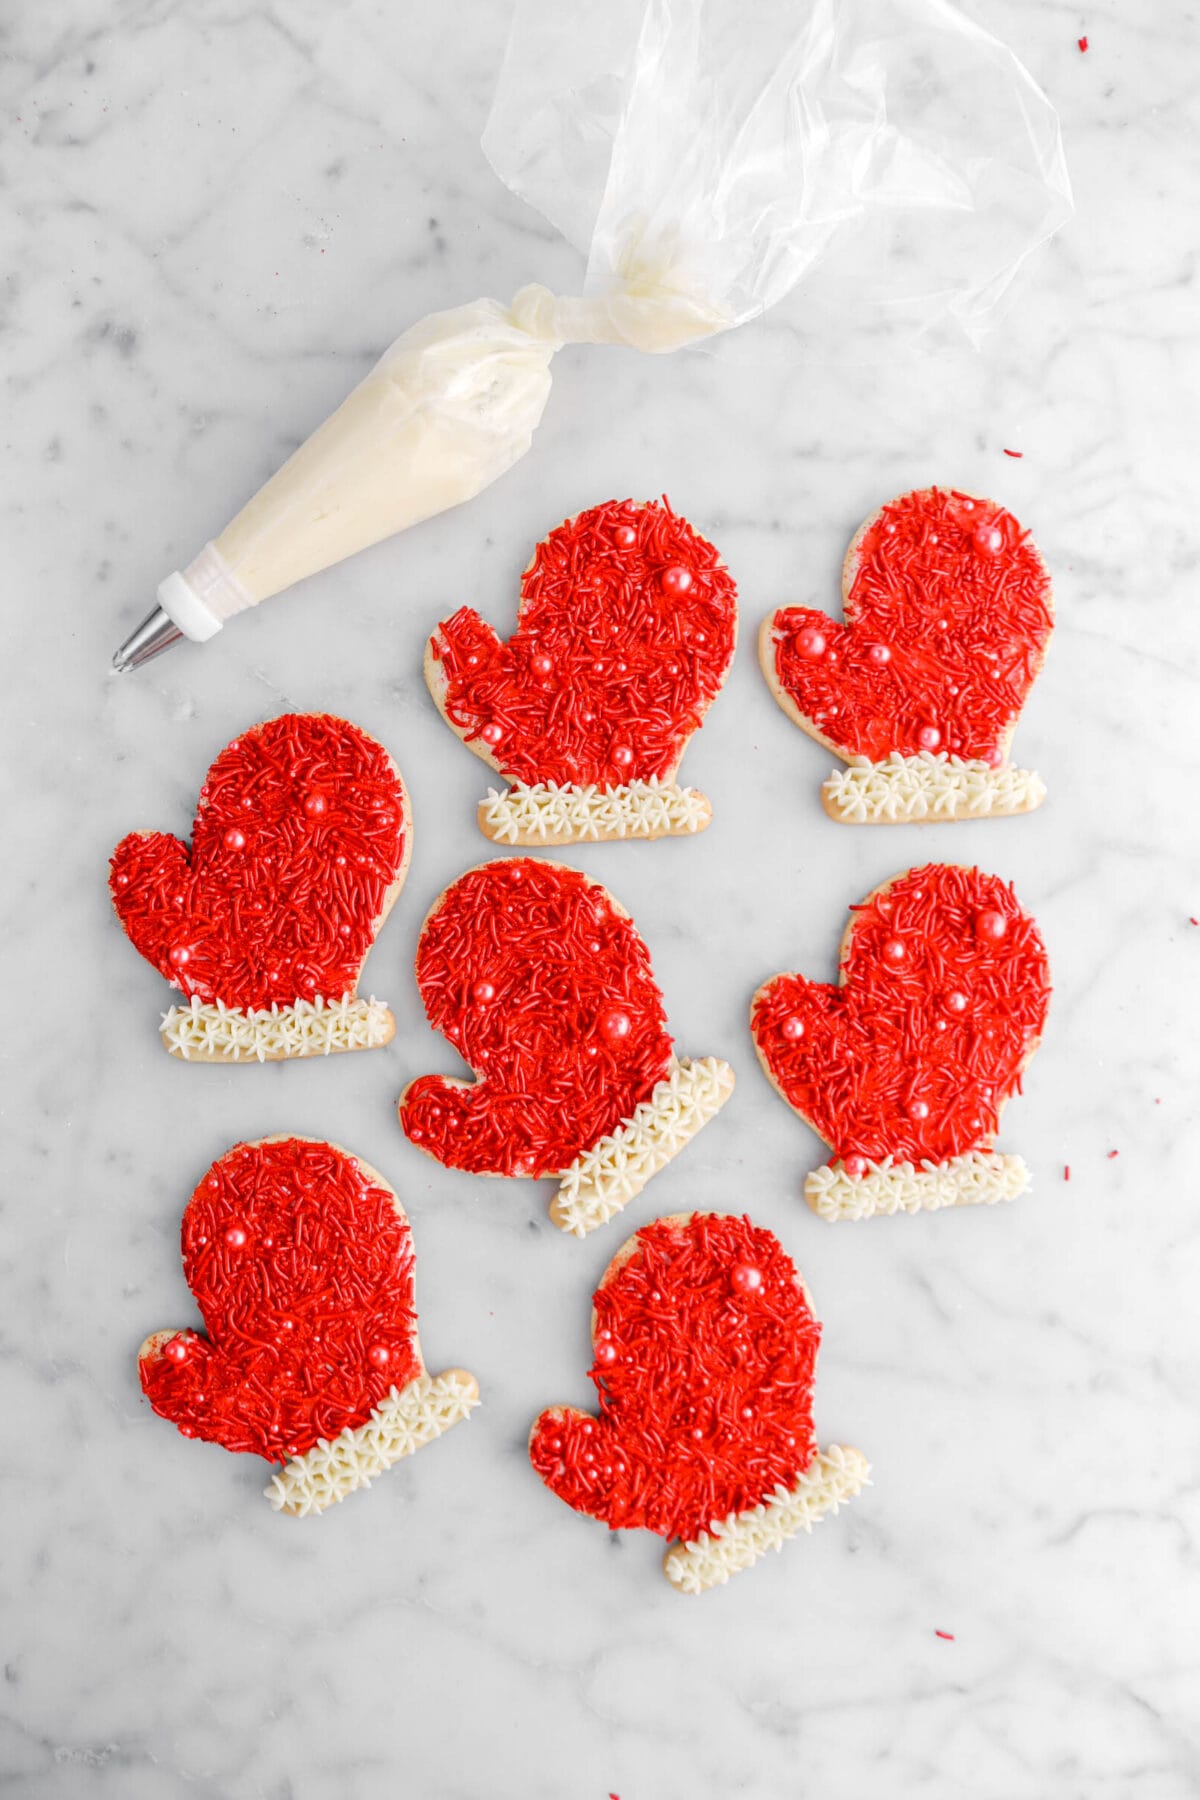
Spread a thin layer of the buttercream on cooled cookies, making sure that the buttercream is only on the glove, leaving the bottom unfrosted.

Top or press with red assorted sprinkles.
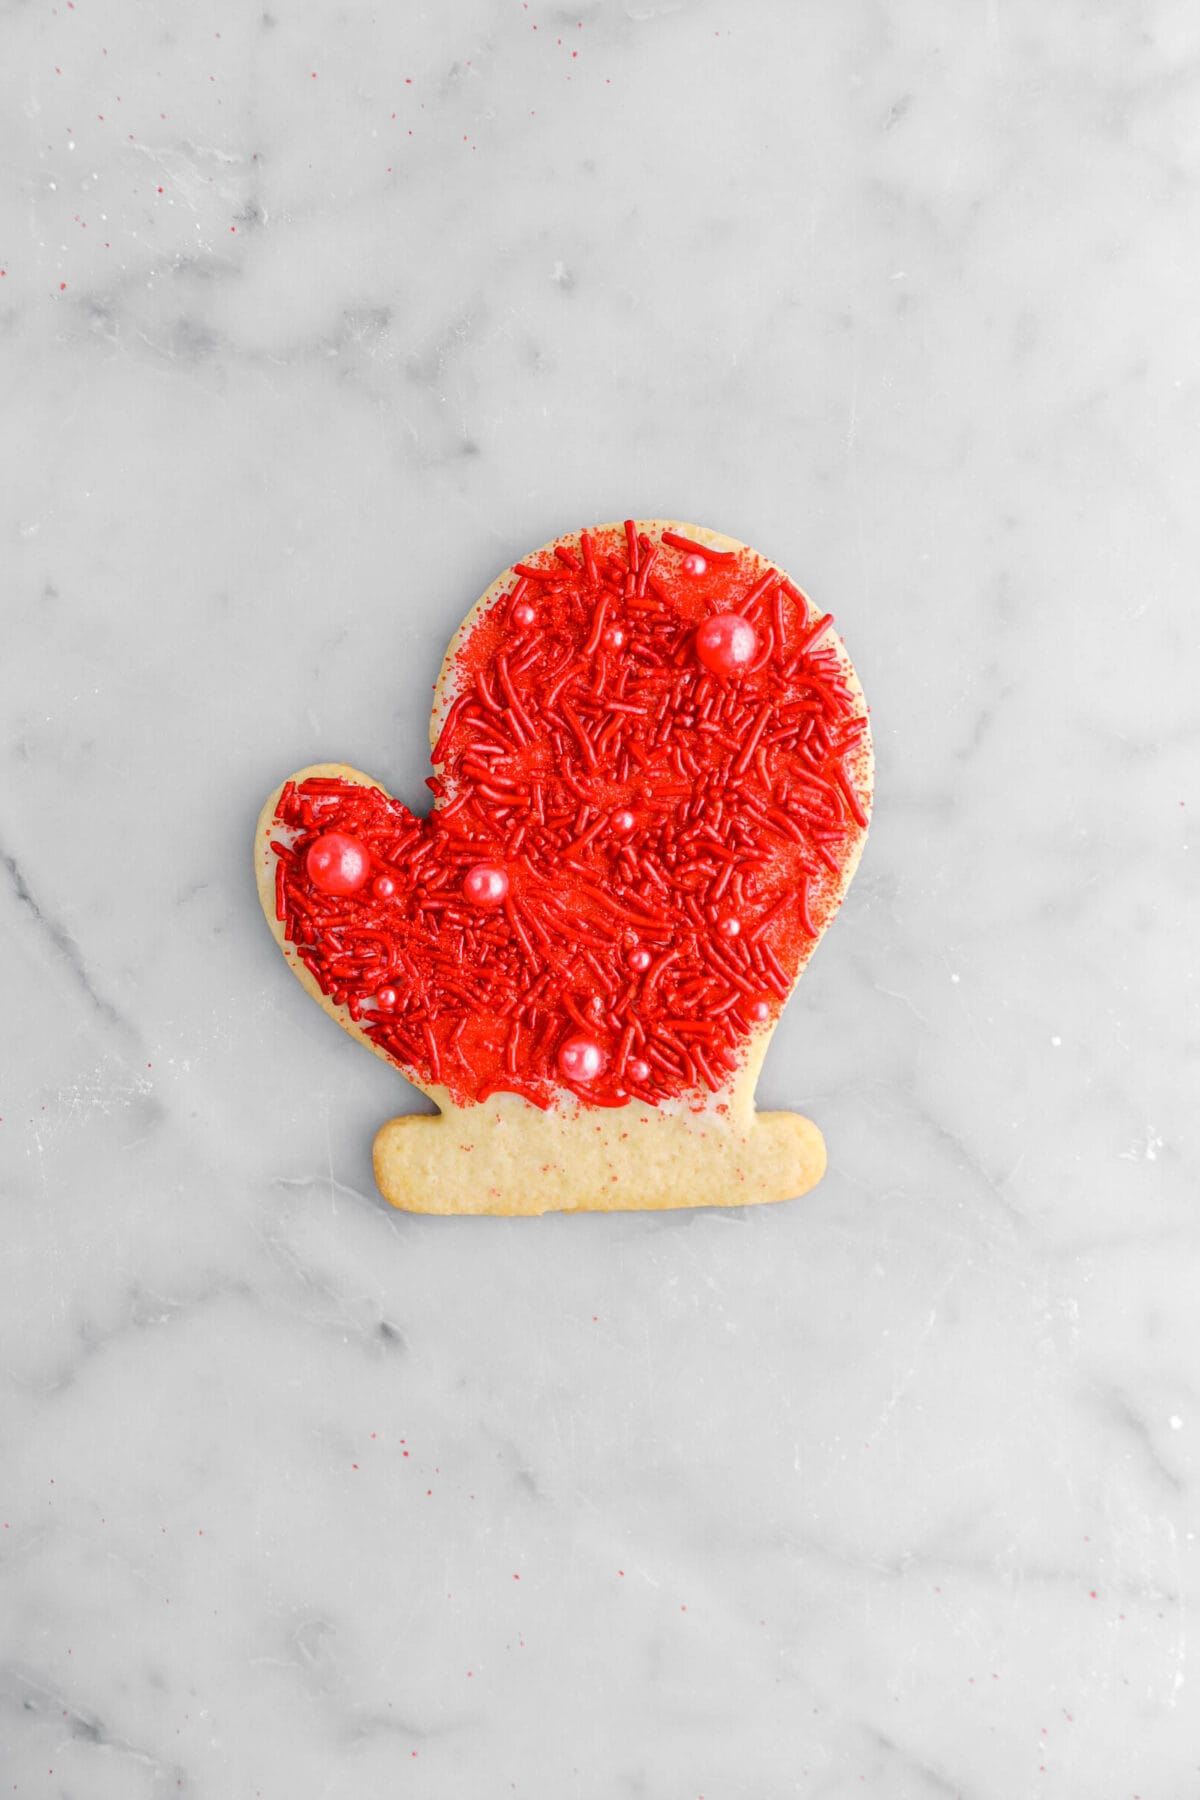
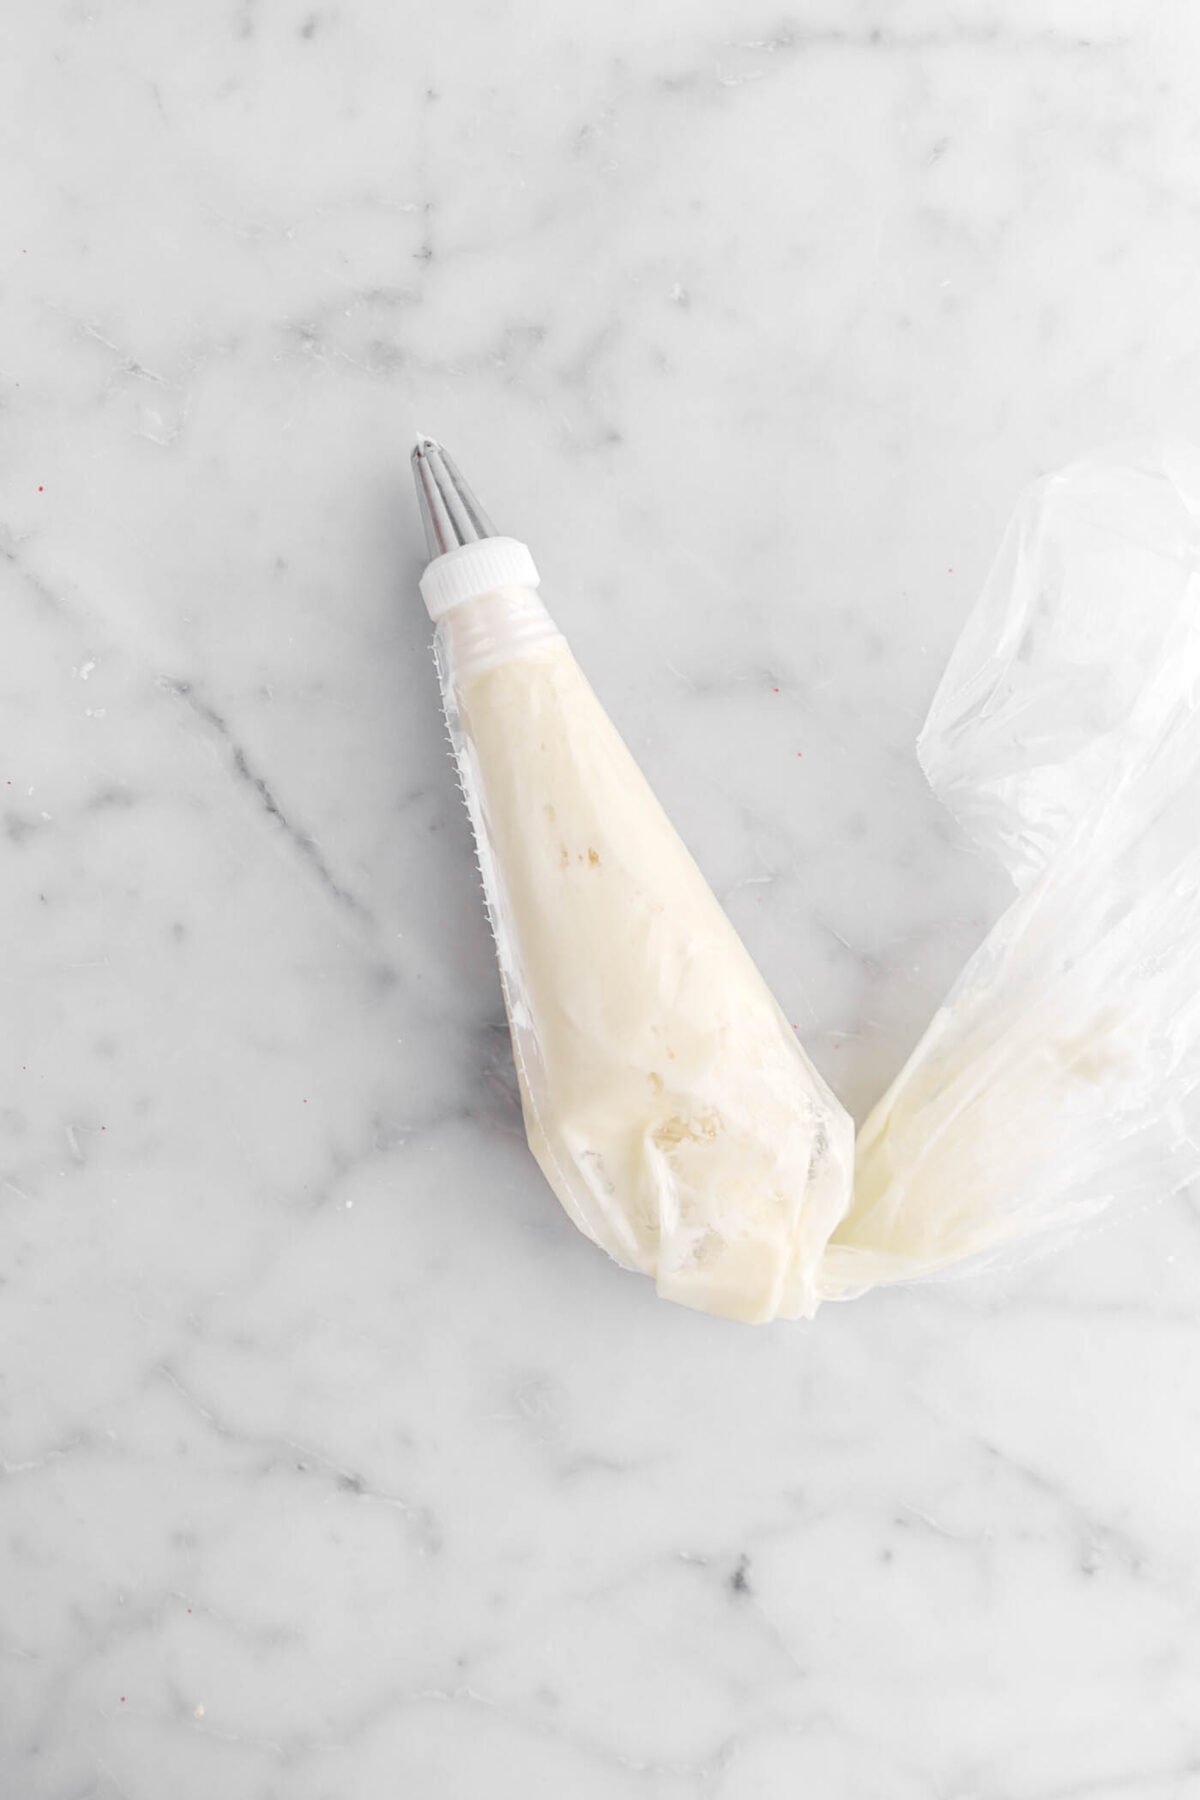
Place remaining frosting in piping bag with a #34 piping tip. Pipe “fur” at bottom of each cookie.
Other Ways To Decorate These Cookies
My favorite part about these cookies? You can almost do ANYTHING with them! Change the shape or how they’re decorated, use different sprinkles, color the buttercream, or flood them with royal icing. The important thing is to have FUN! Be as colorful or classic as you wish. Remember to share pictures on social media and tag us so we can see what you make! If you’re looking for ideas, here’s a quick list of things you can do to change up these cookies.
- Color your frosting with food coloring for fun colors!
- Pipe the frosting for more decorative elements.
- Use a range of sprinkles! From classic Christmas colors to rainbow. Whatever makes you happiest!!
- Sanding sugar is a GREAT way to add color AND texture to these cookies.
- Royal icing is also a wonderful way to decorate these cookies!
How To Store
Since these cookies are frosted with buttercream, it’s best to keep these cookies in an airtight container (or zip top bag) and in the fridge for about 3-5 days. You can also freeze these cookies after you bake them, but before before decorating (you can also freeze the decorated cookies, if need be!). They will keep for 2-3 months, if undecorated. If decorated, about a month.
You can also store the divided dough, wrapped in plastic wrap, in the fridge for up to 24 hours, if needed!

When you make this Santa’s Glove Peppermint Sugar Cookies, leave a comment down below! We love hearing from you and answering any questions you might have! Also, be sure to tag us on social media and hashtag it #BakersTable.
Santa’s Glove Peppermint Sugar Cookies
Ingredients
Cookies
- 4 cups all purpose flour
- ¾ teaspoon salt
- ⅛ teaspoon baking powder
- 1¼ cups unsalted butter, room temperature
- 1 cup granulated sugar
- 1 large egg, room temperature
- 1 large egg yolk, room temperature
- ¼ cup whole milk
- ¼ teaspoon peppermint extract
Buttercream Frosting
- ¾ cup salted butter, room temperature
- 2 cups powdered sugar, sifted
- ½ teaspoon vanilla extract
- 1 Tablespoon heavy cream
To Finish
Instructions
Cookies
- Heat oven to 350℉.
- Line 3 sheet pans with parchment paper. Set aside.
- With an electric mixer, beat butter and sugar just until combined, about 1-2 minutes.
- Beat in egg and egg yolk.
- Stir in flour, salt, and baking powder just until mixed.
- Mix in milk and peppermint extract.
- Divide dough in half.
- Wrap half in plastic wrap and set aside.
- On a non-stick surface (marble, parchment, silicone), roll other half of dough into a rectangle that is 3/16 inch thick.
- Use a cookie cutter to cut shapes as closely together as possible.
- Remove excess dough.
- Place cut dough, still on parchment, on a baking sheet.
- Freeze for 10 minutes.
- Remove cutouts from parchment and place on prepared pans.
- Bake for 15 minutes, until edges just start to brown.
- Allow to cool on pans.
- Repeat with other half of dough.
- Gather and re-roll scraps. Repeating the steps above until no more dough remains.
Buttercream Frosting
- In a medium bowl, using an electric mixer, cream butter.
- Beat in powdered sugar.
- Add vanilla and cream.
- Beat until light and fluffy.
- Spread thin layer on glove half of cooled cookies, leaving the bottom unfrosted.
- Top with decorative sprinkles.
- Place remaining frosting in piping bag with a #34 piping tip.
- Pipe "fur" at bottom of each cookie. See photos above.
Notes + Tips!
-
- Room temperature is about 70℉/21℃.
- Be careful not to over mix the cookie dough!
- When cutting the cookies, try to get each cut as close as you can to each other! The less excess dough you have, the less you have to re-roll.
- While these cookies don’t technically need to be refrigerated before baking, freezing the cookie dough REALLY helps when moving the cookies to the baking sheet! If they aren’t chilled, they may tear/rip.
- Bake times may vary depending on the thickness you rolled your dough/the size of your cutter. The cookies should be done after about 15 minutes of bake time, but be sure to check on them! You can tell the cookies are done once the edges just start to brown.
- Let the cookies cool ENTIRELY before frosting/decorating!
- I found that sprinkling the sprinkles on top of each cookie really helped keep it even.
- I used a #34 piping tip for the “fur” at the bottom of each cookie! If you don’t have piping tips, you can decorate the bottom with white sprinkles.
Tools You May Need (affiliate links)
– Still Hungry? –
Here are a few recipes may like!


