Peppermint Bark Cupcakes
This post may contain affiliate links, please visit our privacy policy for details.
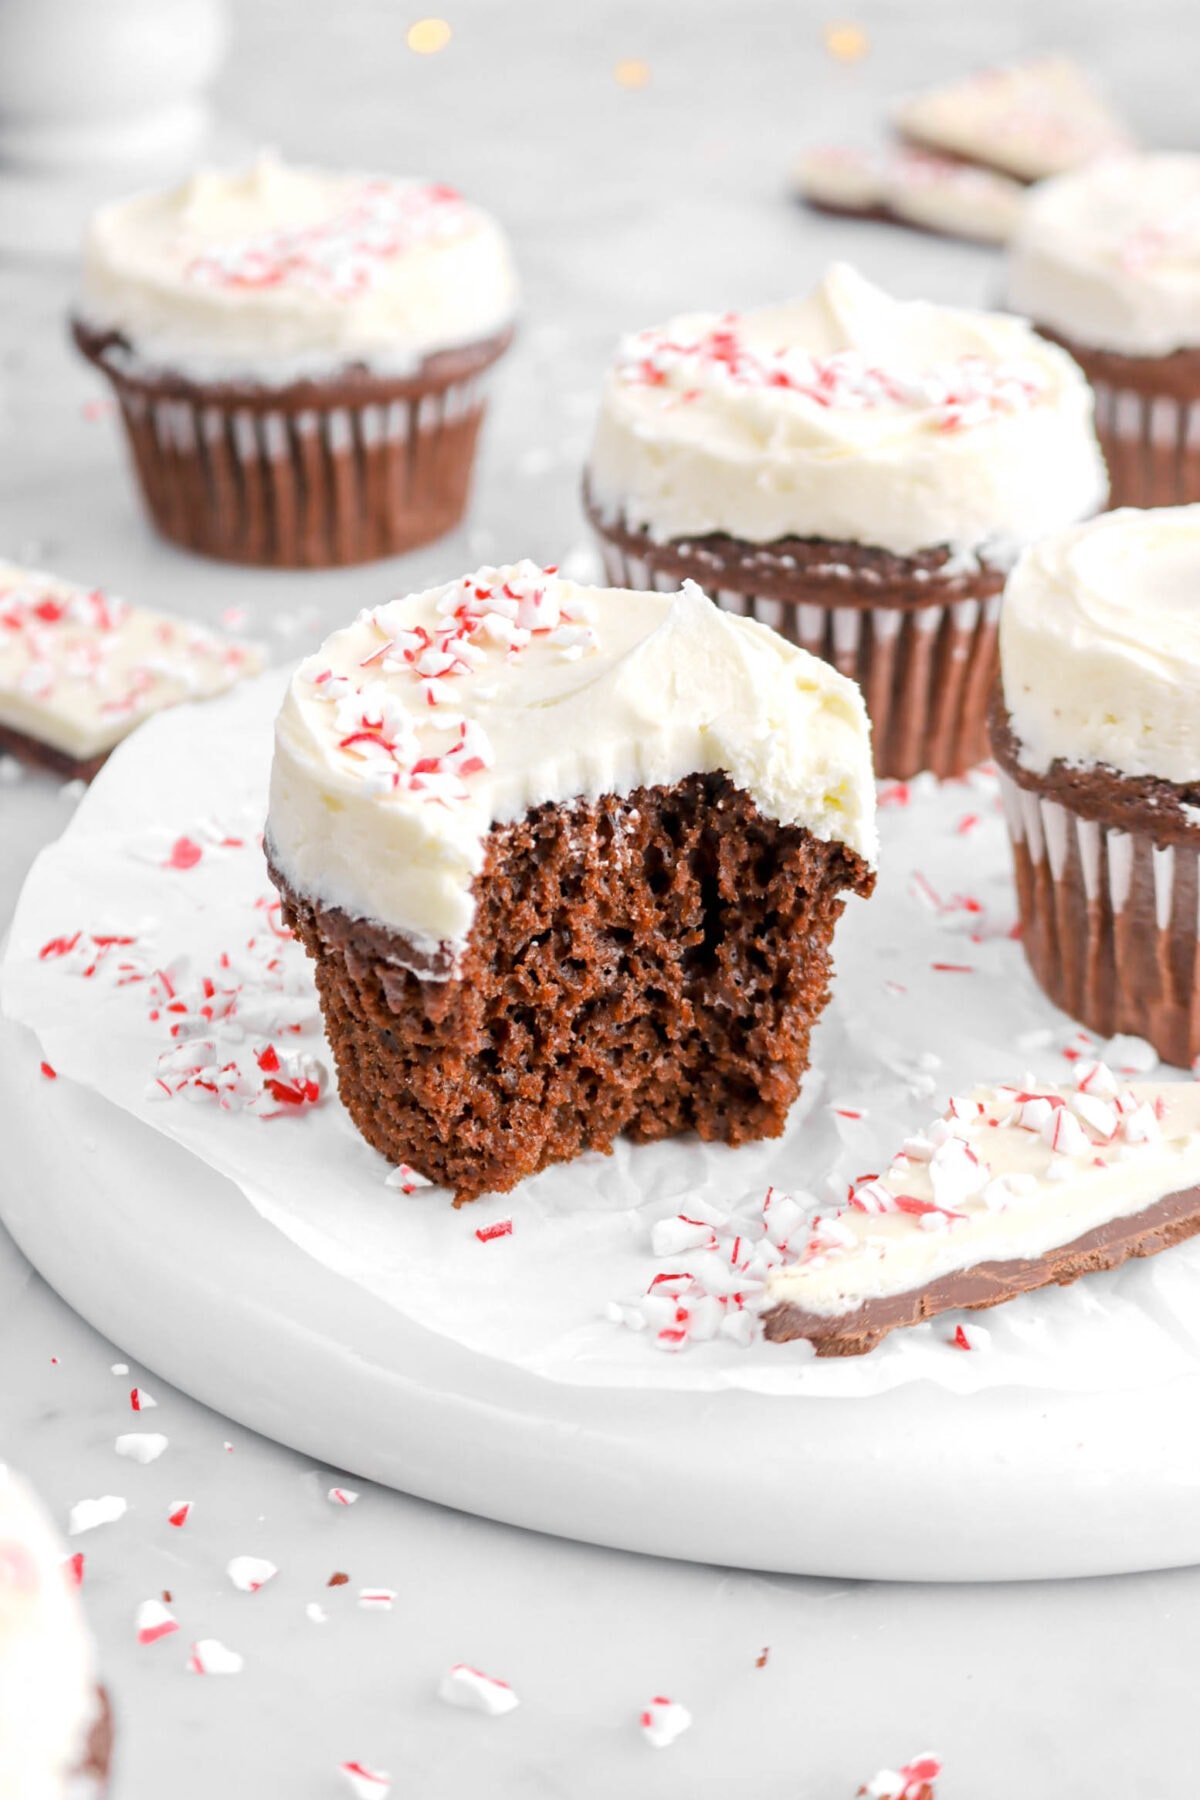
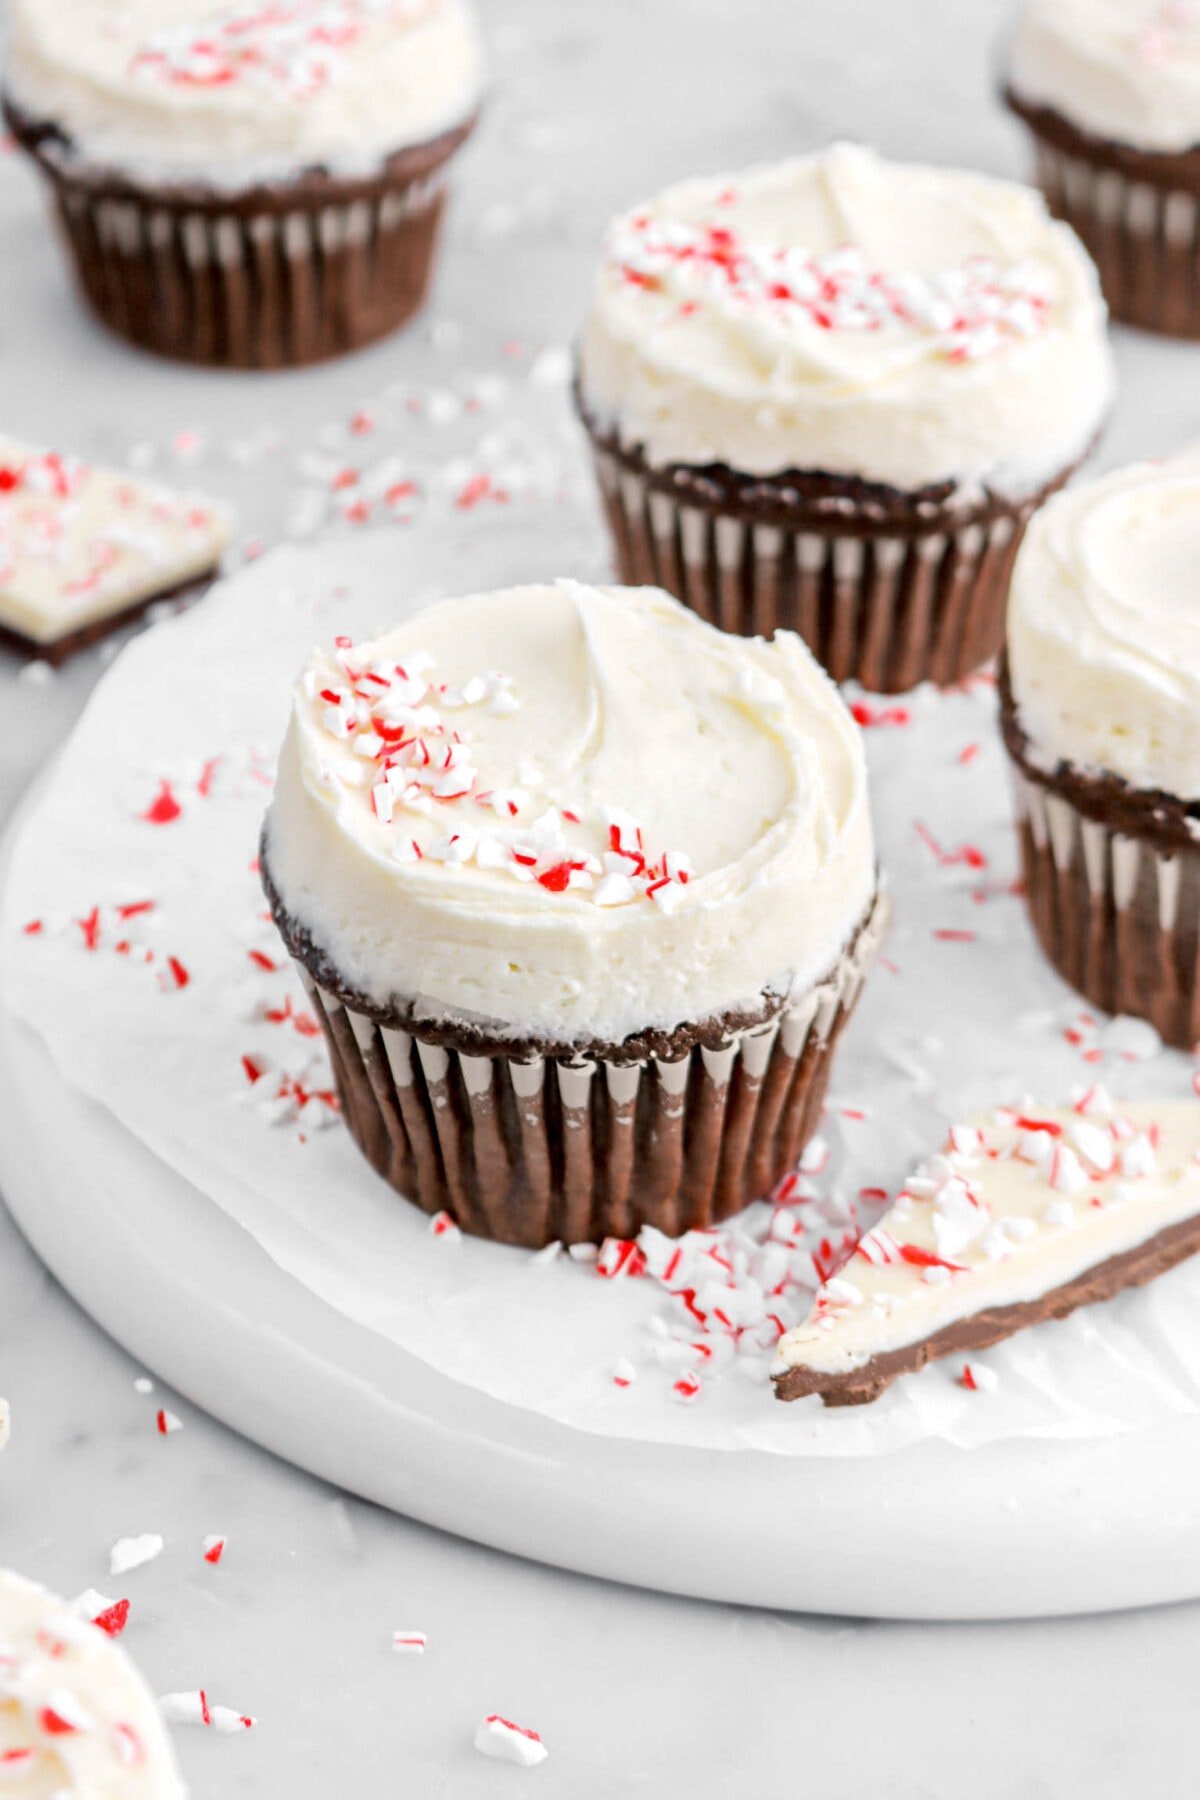
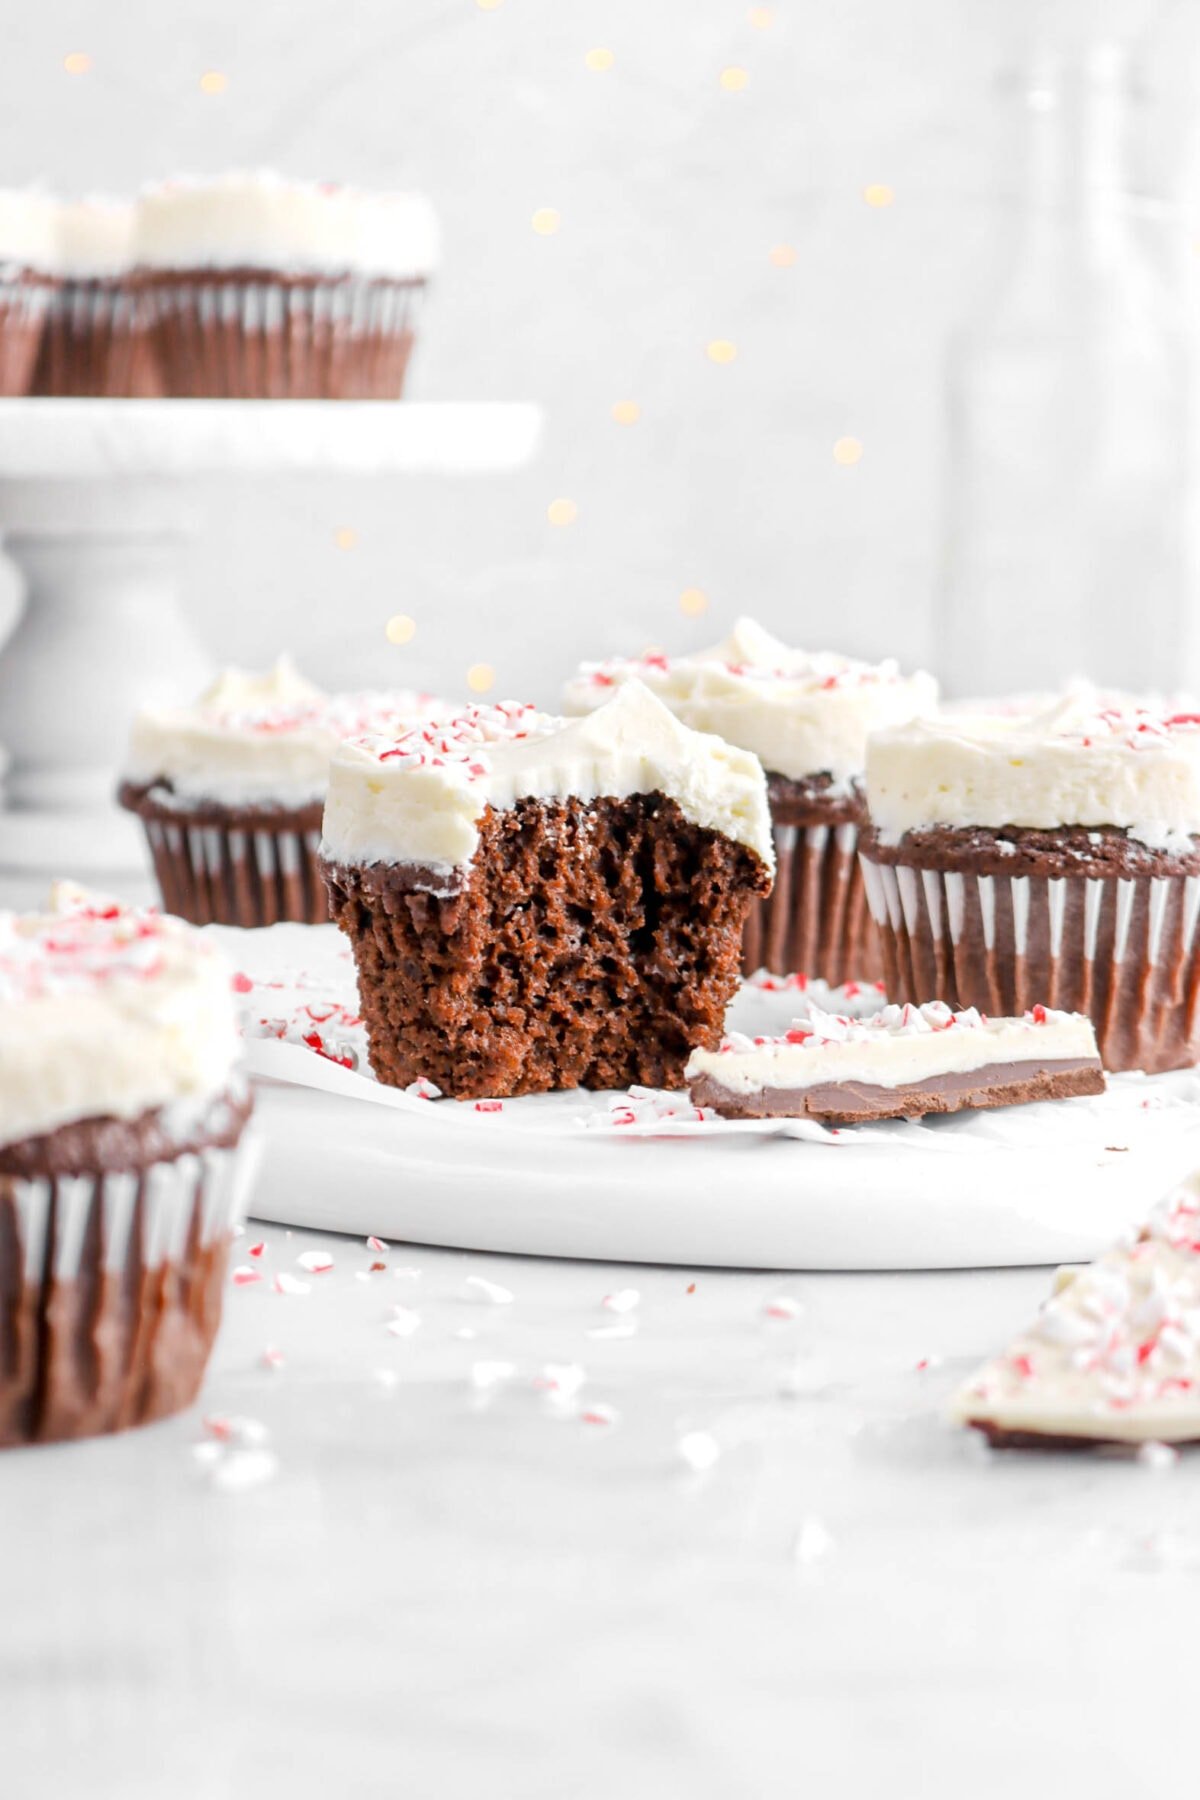
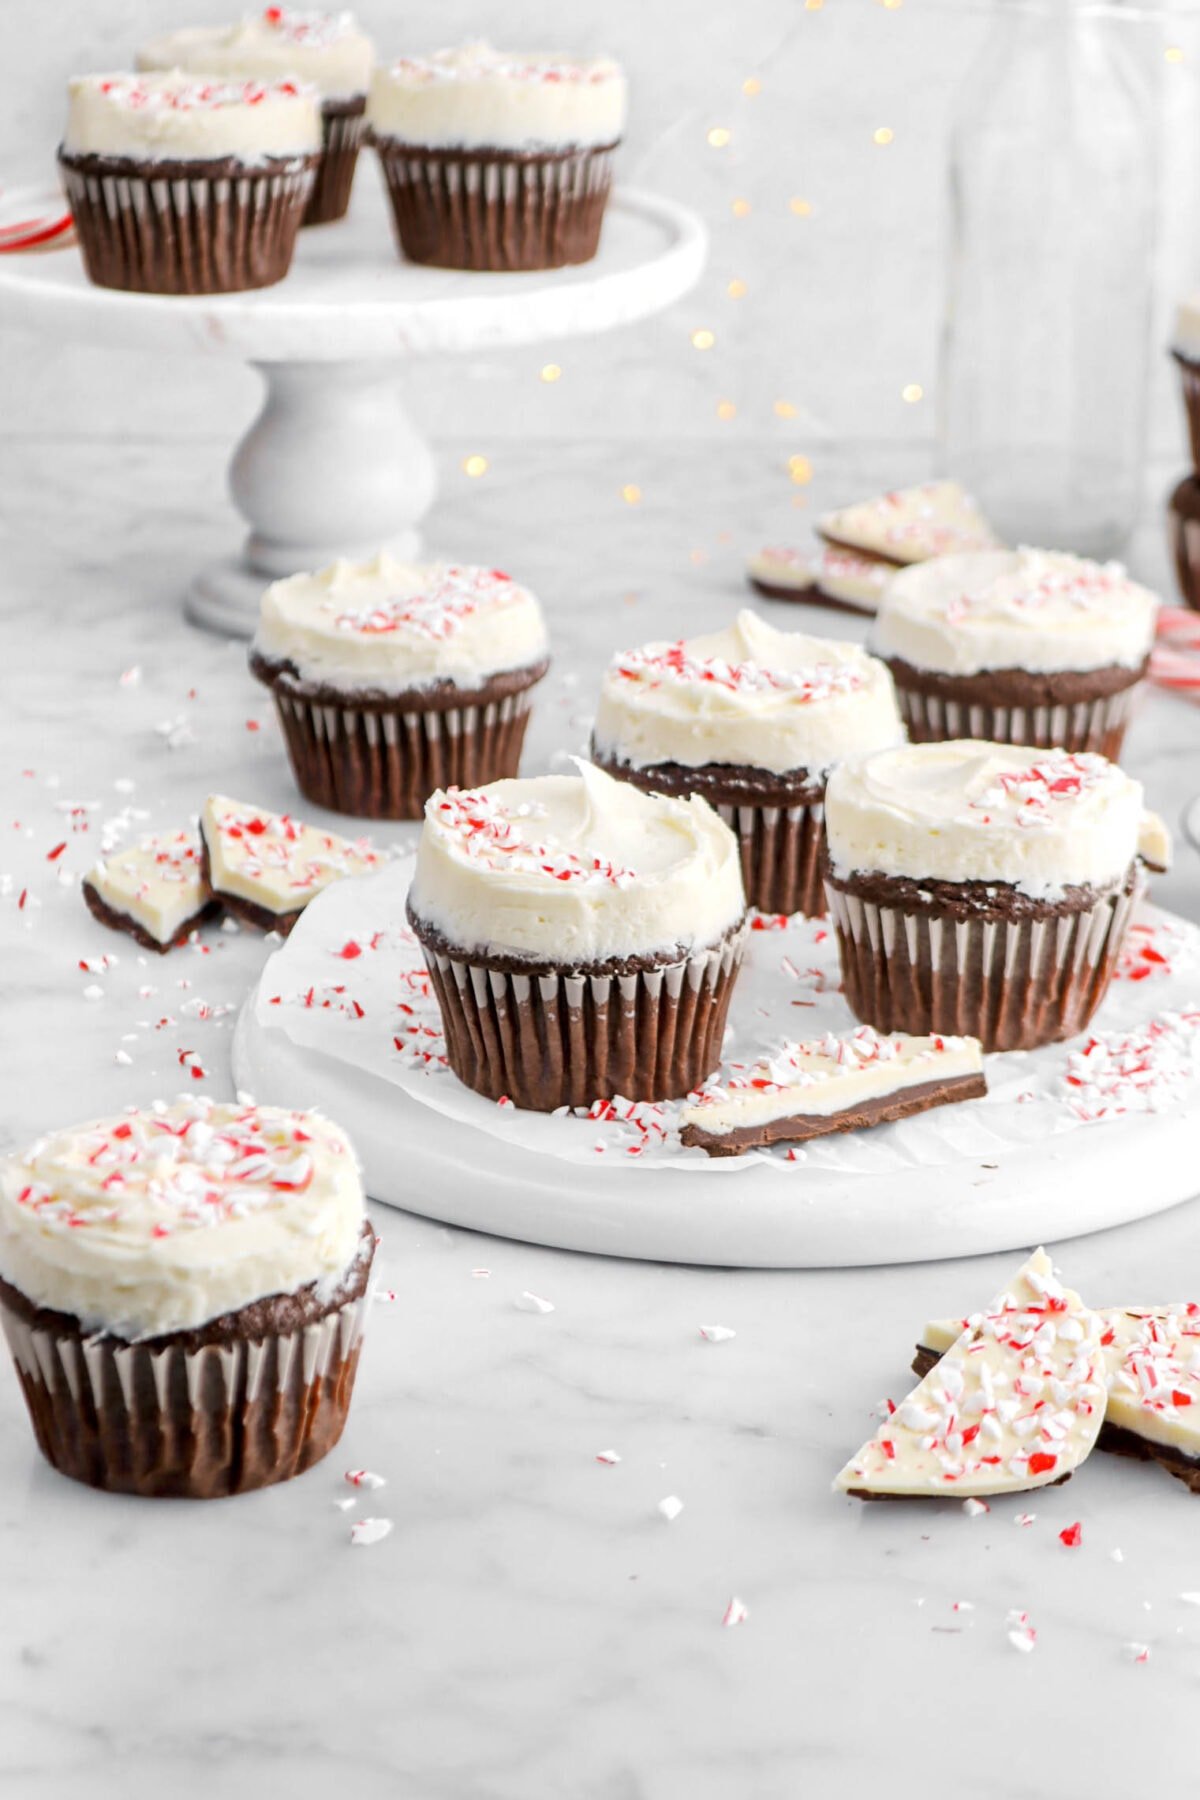
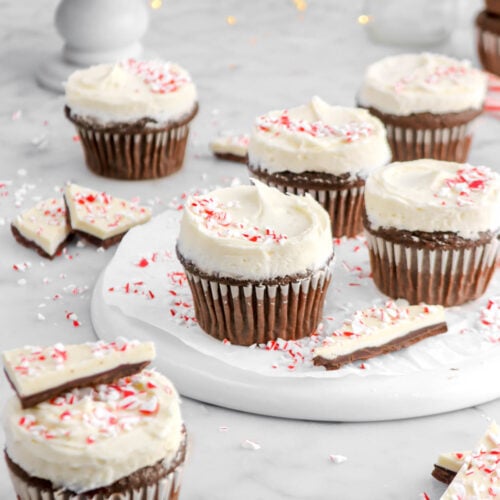
Making the holiday season bright with these Peppermint Bark Cupcakes! Extra chocolate-y cupcakes made with pantry staple ingredients, but made using a technique called “blooming” to really bring out the most chocolate flavor in every bite. Then, after baking, each cupcake is frosted with the most delicious white chocolate peppermint frosting and finished with crushed candy canes. It really does taste and look just like peppermint bark! Give as gifts or serve during Christmas for a delicious treat that is sure to be a hit.

About The Recipe
I am a sucker for peppermint bark. It’s the truth! I absolutely adore it and whenever this time of year comes around, it’s a must-make. We published our recipe for the bark last year and it was a HUGE hit!
So, when my mom and I were discussing recipes for this week, we wanted to do something peppermint bark inspired, especially since we’ve been making so many gingerbread recipes (Gingerbread Scones, Gingerbread Loaf Cake, and Gingerbread Ice Cream to name a few!).
This felt like a refreshing break!
A simple chocolate cupcake (yum!) finished with a white chocolate peppermint frosting (double YUM!). The cupcake itself light, fluffy, and moist, but full of deep chocolate flavor…with only the use of cocoa powder!
Then, the frosting is fluffy, but perfectly sweet from the white chocolate and just enough peppermint extract to make it minty, but not toothpaste-like.
Oh, and what peppermint bark isn’t complete without the crushed candy canes?
This is truly the perfect cupcake for Christmas!
Reasons You Will Love These Peppermint Bark Cupcakes
- Only uses cocoa powder in the cupcakes, but still has an intense chocolate flavor!
- Taste JUST like peppermint bark.
- Perfect for gifting or serving as dessert during Christmas.
- A real crowd-pleaser.
- Can be made in advance!
Ingredients
(Full ingredient amounts and instructions can be found in the recipe card at the bottom of the post)
For The Cupcakes:
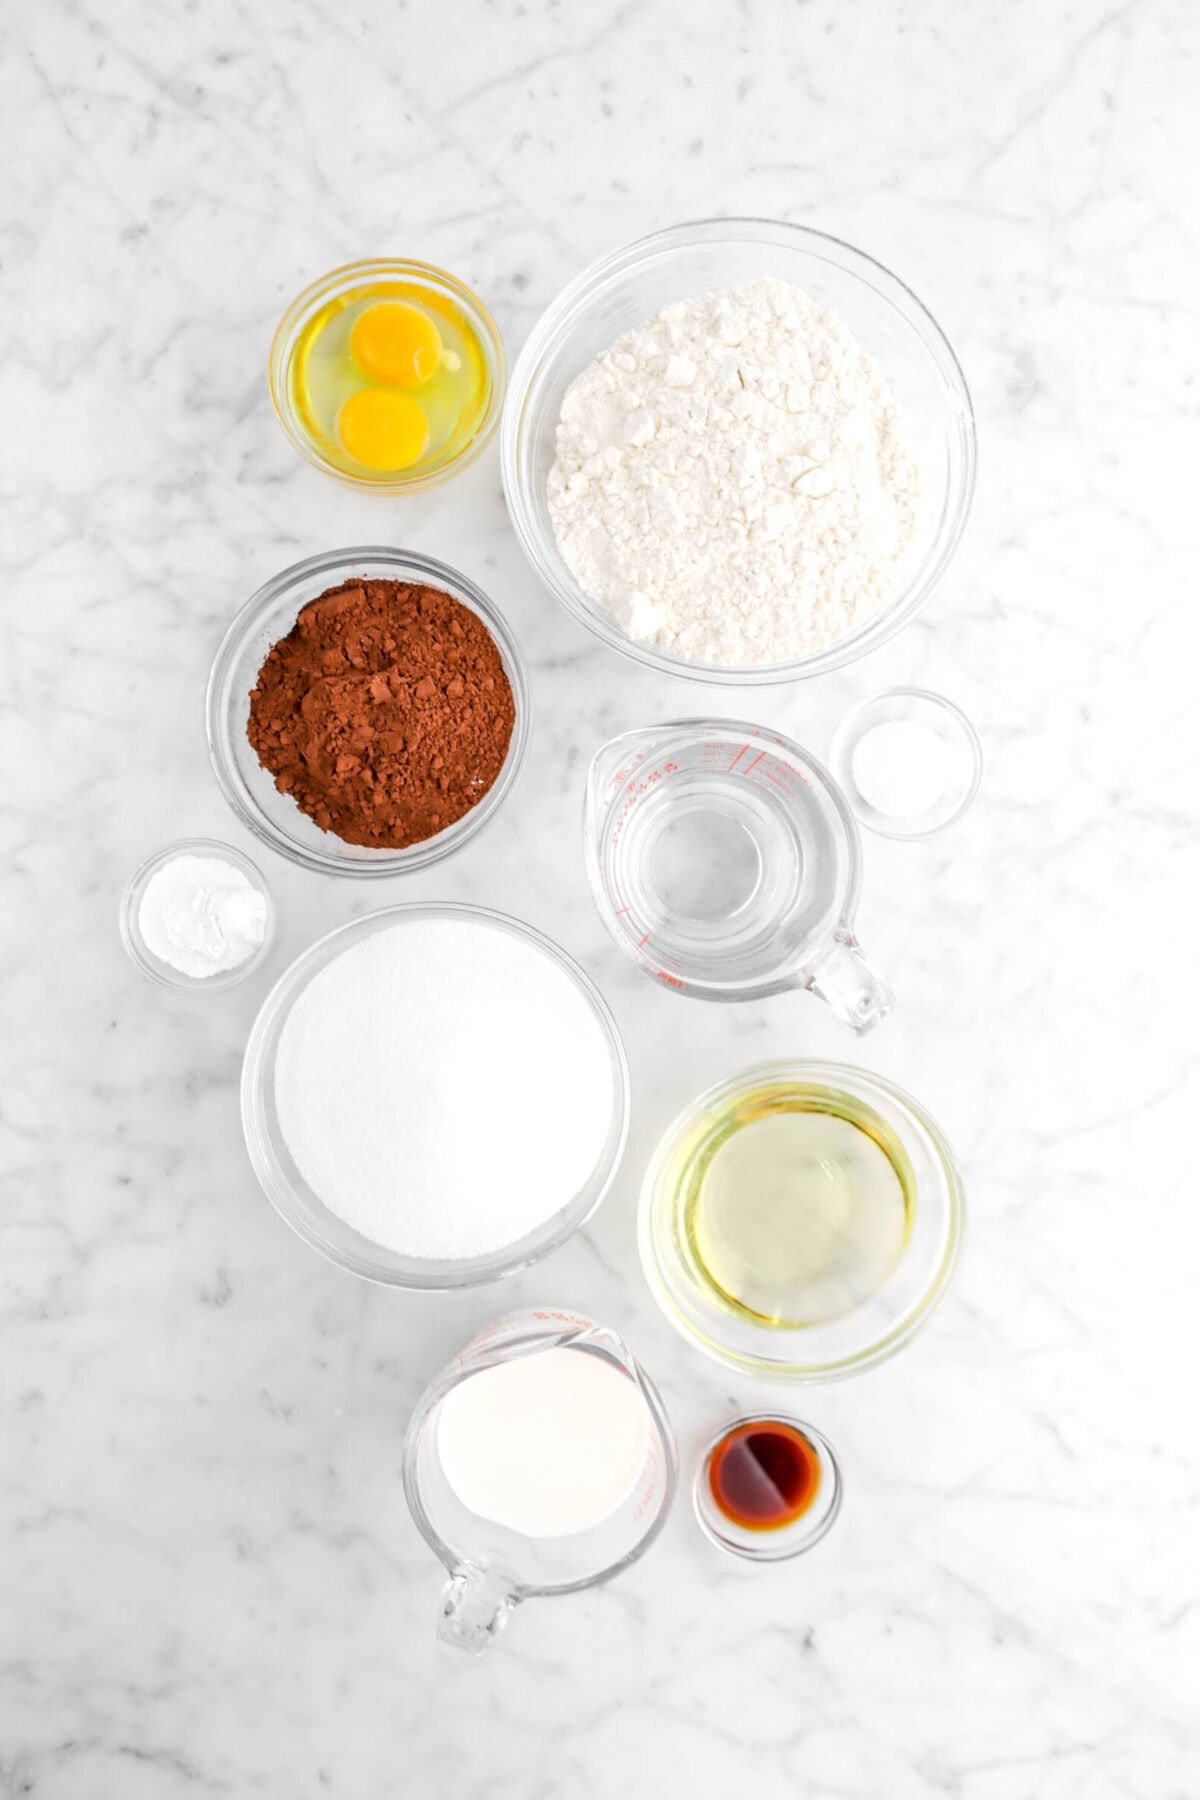
- Natural Process Cocoa – This is what gives these cupcakes it’s deep chocolate-y goodness. For the best flavor, use a high quality cocoa powder!
- Boiling Water – Our secret addition to help bring out all the flavors in the cocoa and intensify the flavor.
- All-Purpose Flour – No cake flour required! All you need is regular unbleached all-purpose flour to give these cups the most tender crumb.
- Granulated Sugar – The perfect amount to sweeten these delicious cupcakes.
- Baking Powder – To give these cupcakes the perfect amount of lift!
- Baking Soda – Since cocoa powder is an acidic ingredient, using a dash of baking soda helps keep these cupcakes fluffy and gorgeous.
- Salt – Just a dash to balance out the sugar and bring out the flavor.
- Large Egg – Use large, room temperature eggs for the best result.
- Large Egg Yolk – To give these cupcakes just a little more richness.
- Vegetable Oil – No need to worry about butter with these cupcakes! Vegetable oil gives these cupcakes a tender and moist texture.
- Whole Milk – An essential in cake baking!
- Vanilla Extract – Just a splash because, let’s be honest, every cake is better with vanilla!
For The Frosting:
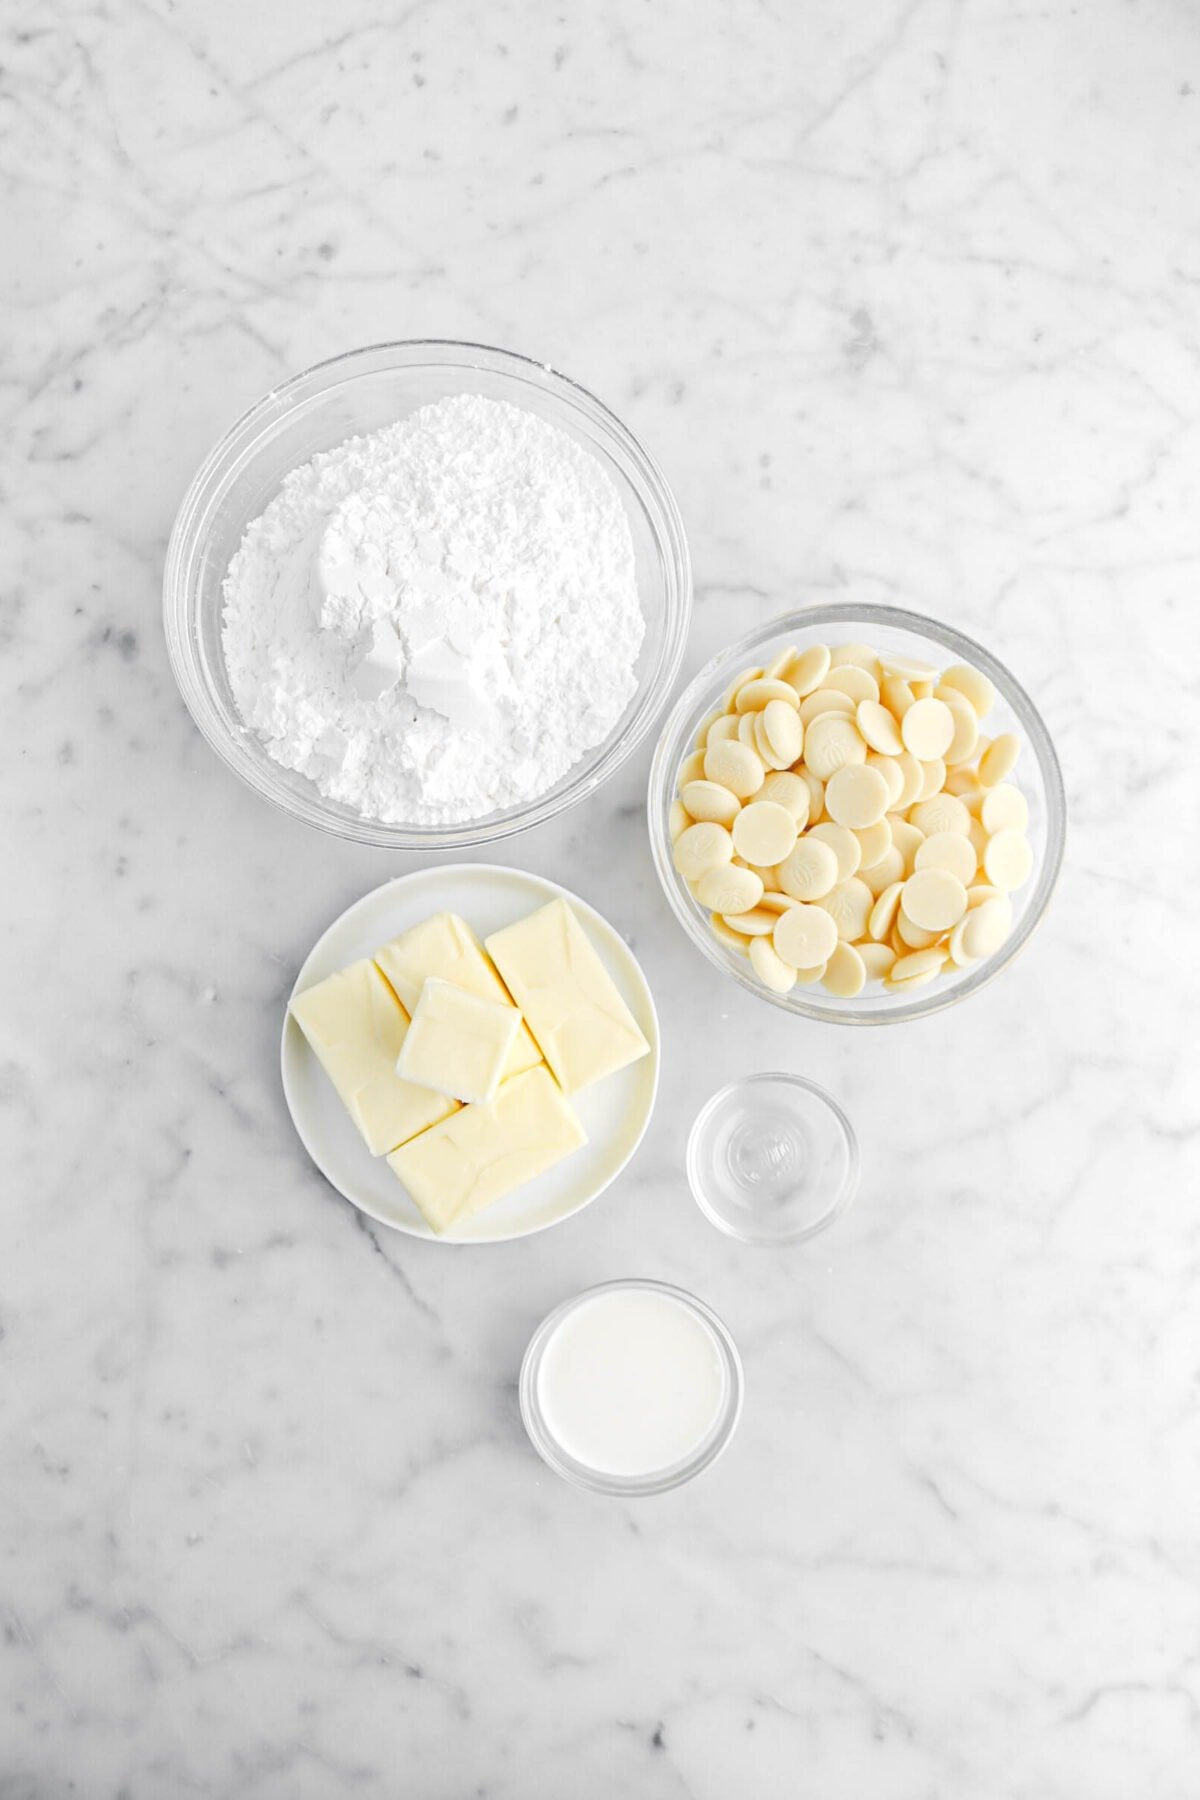
- White Chocolate – For the best results, use a high quality white chocolate! This adds sweetness and flavor to the buttercream.
- Salted Butter – A MUST for buttercreams, as the salt in the butter helps balance out some of the sweetness. Just remember to set it out early enough for it to come to room temperature!
- Powdered Sugar – Remember to sift the powdered sugar to ensure no lumps in your frosting.
- Peppermint Extract – Just a splash to really make this frosting taste like peppermint bark!
- Heavy Cream – All you need is a splash heavy whipping cream to make this frosting silky smooth.
How To Make Peppermint Bark Cupcakes
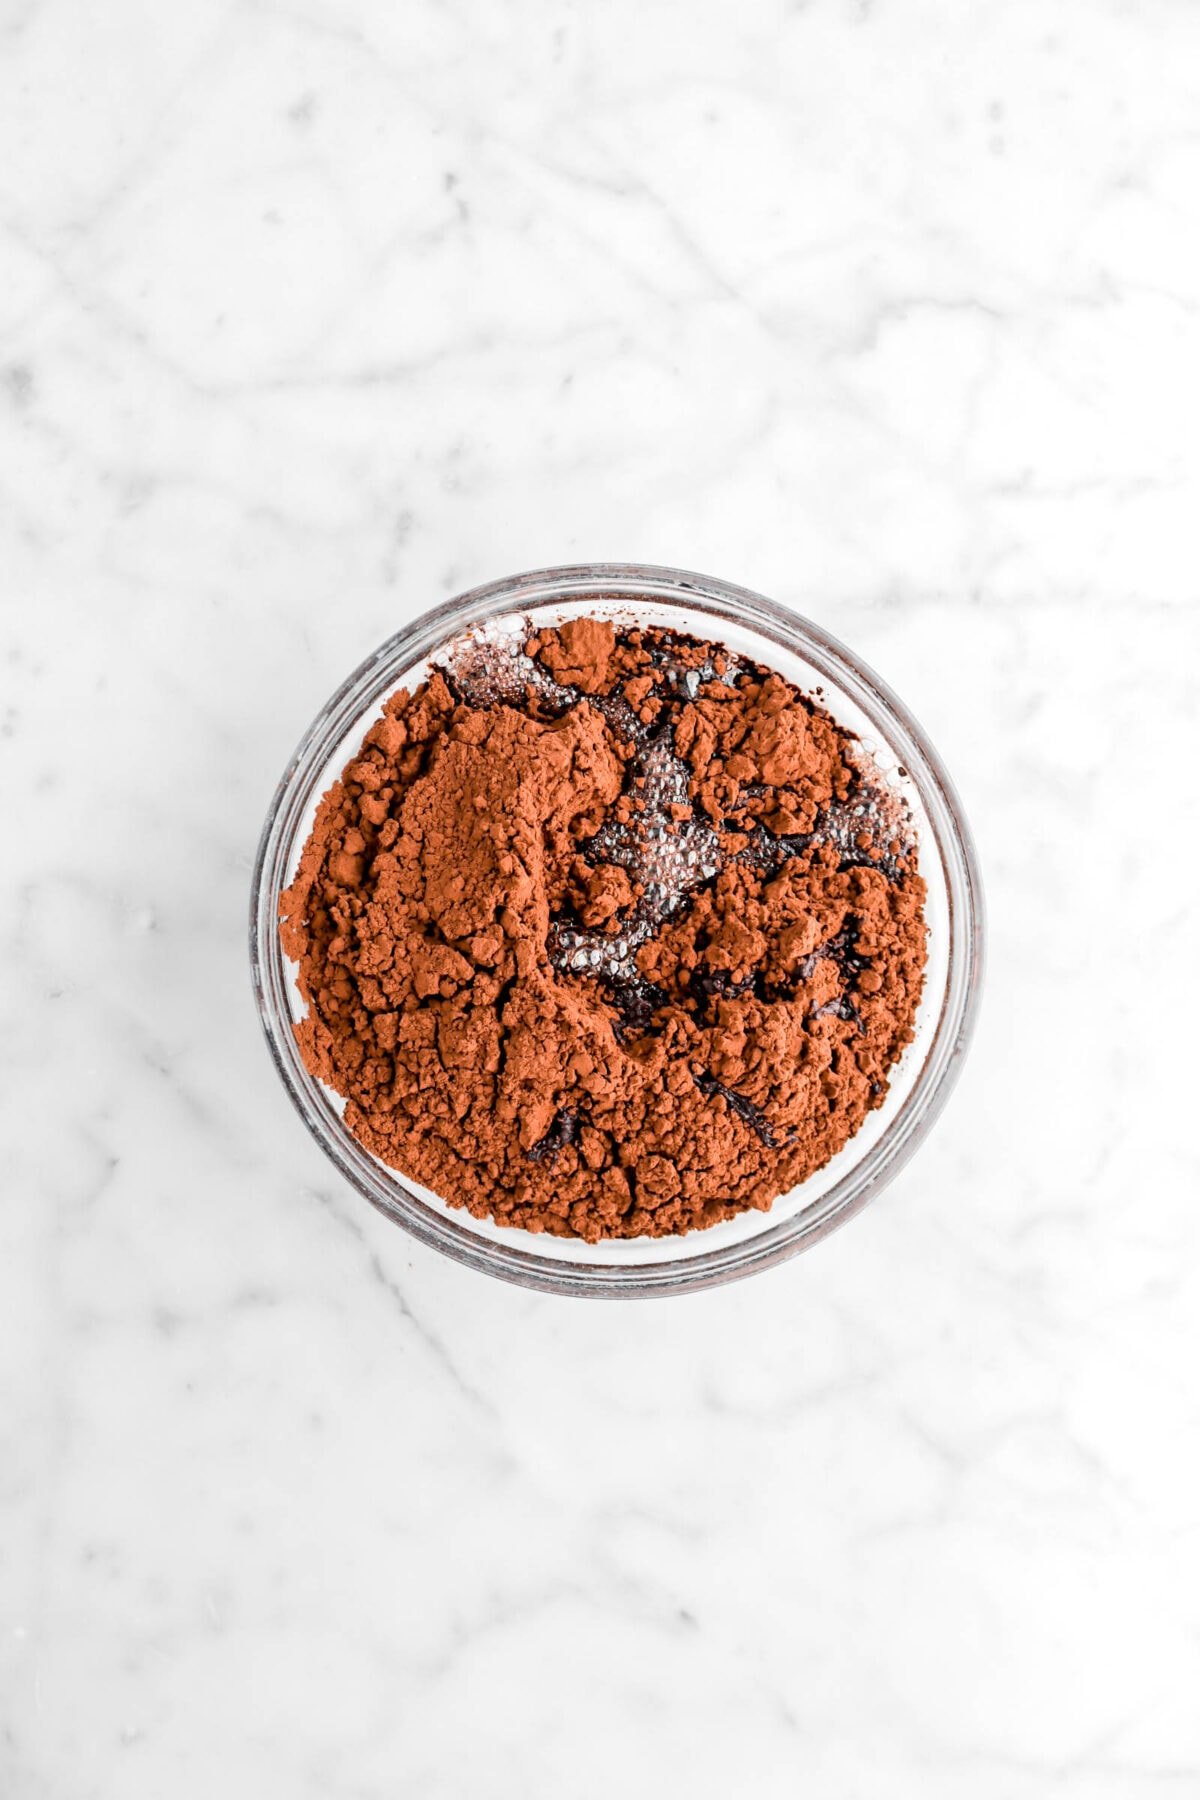
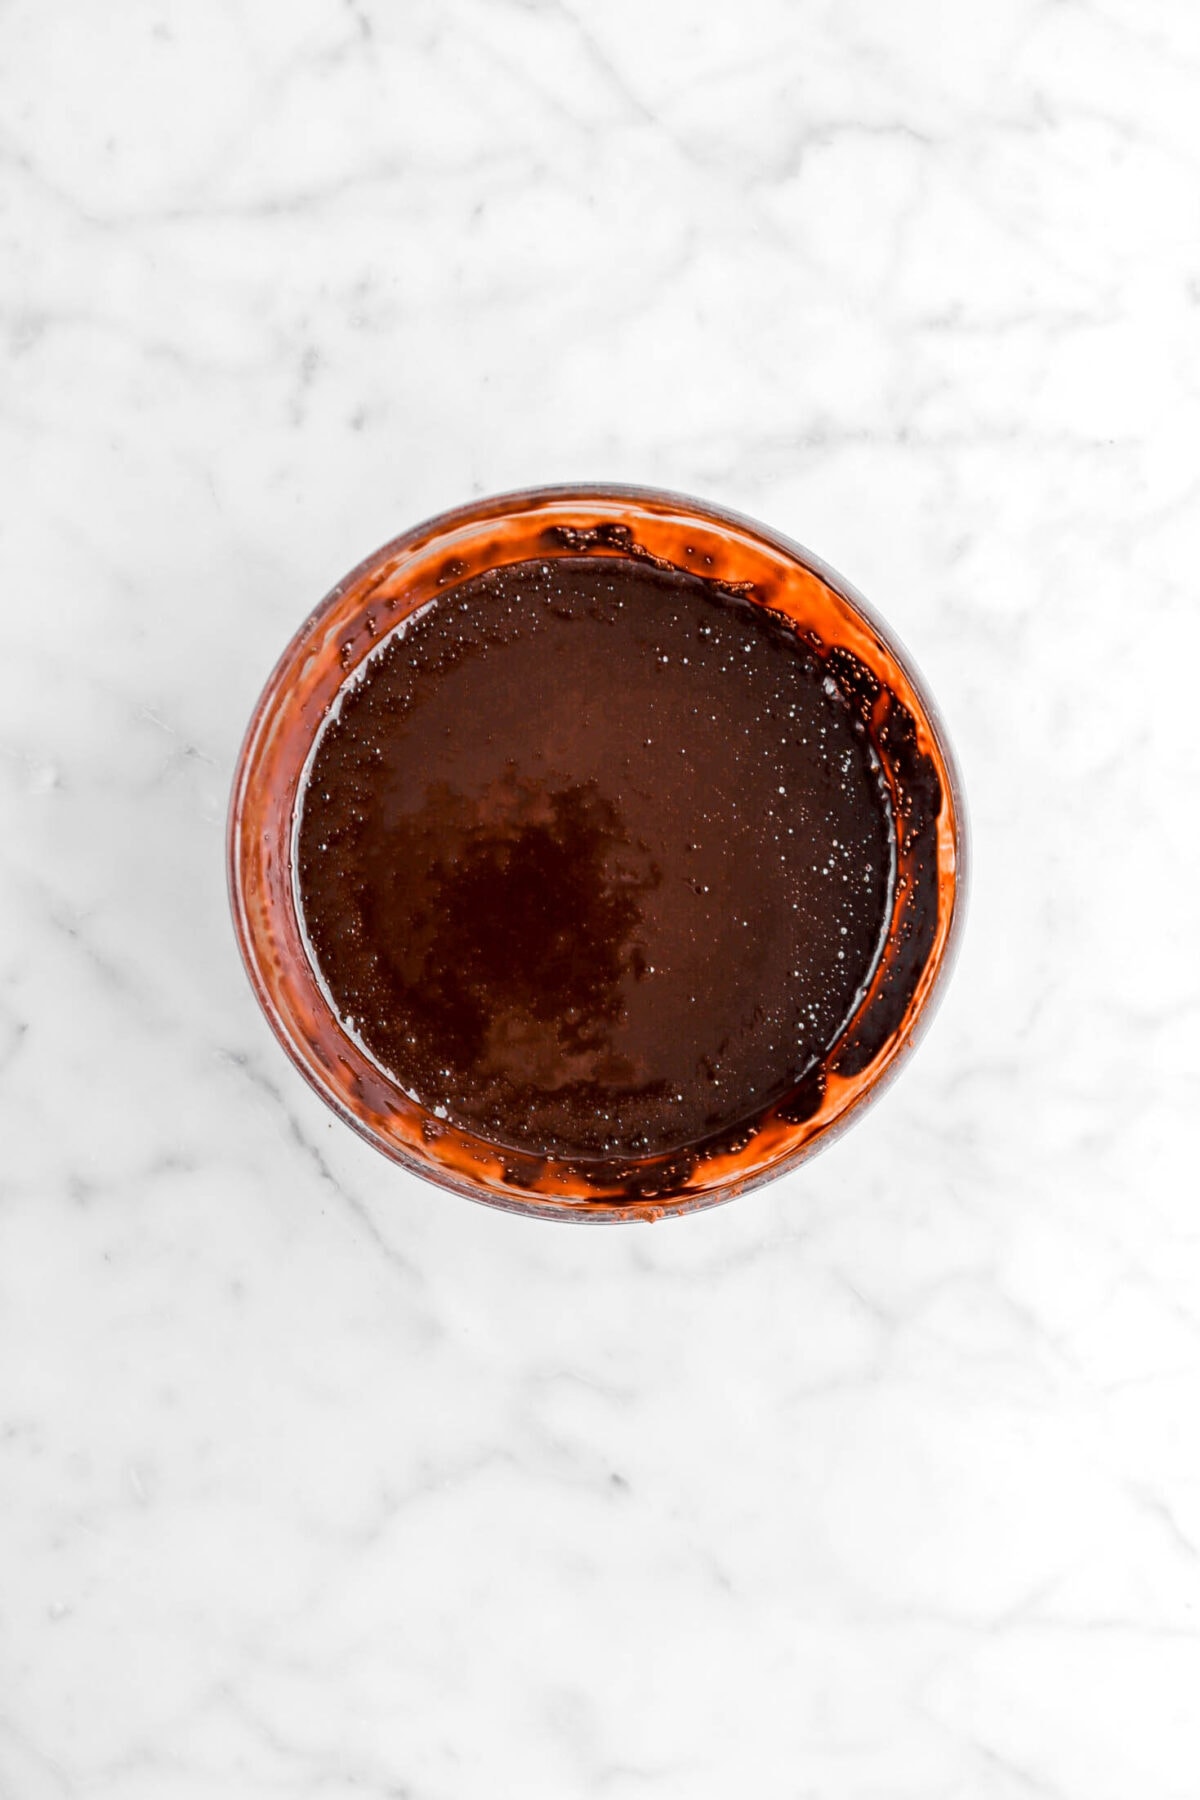
Step 1: Bloom the cocoa
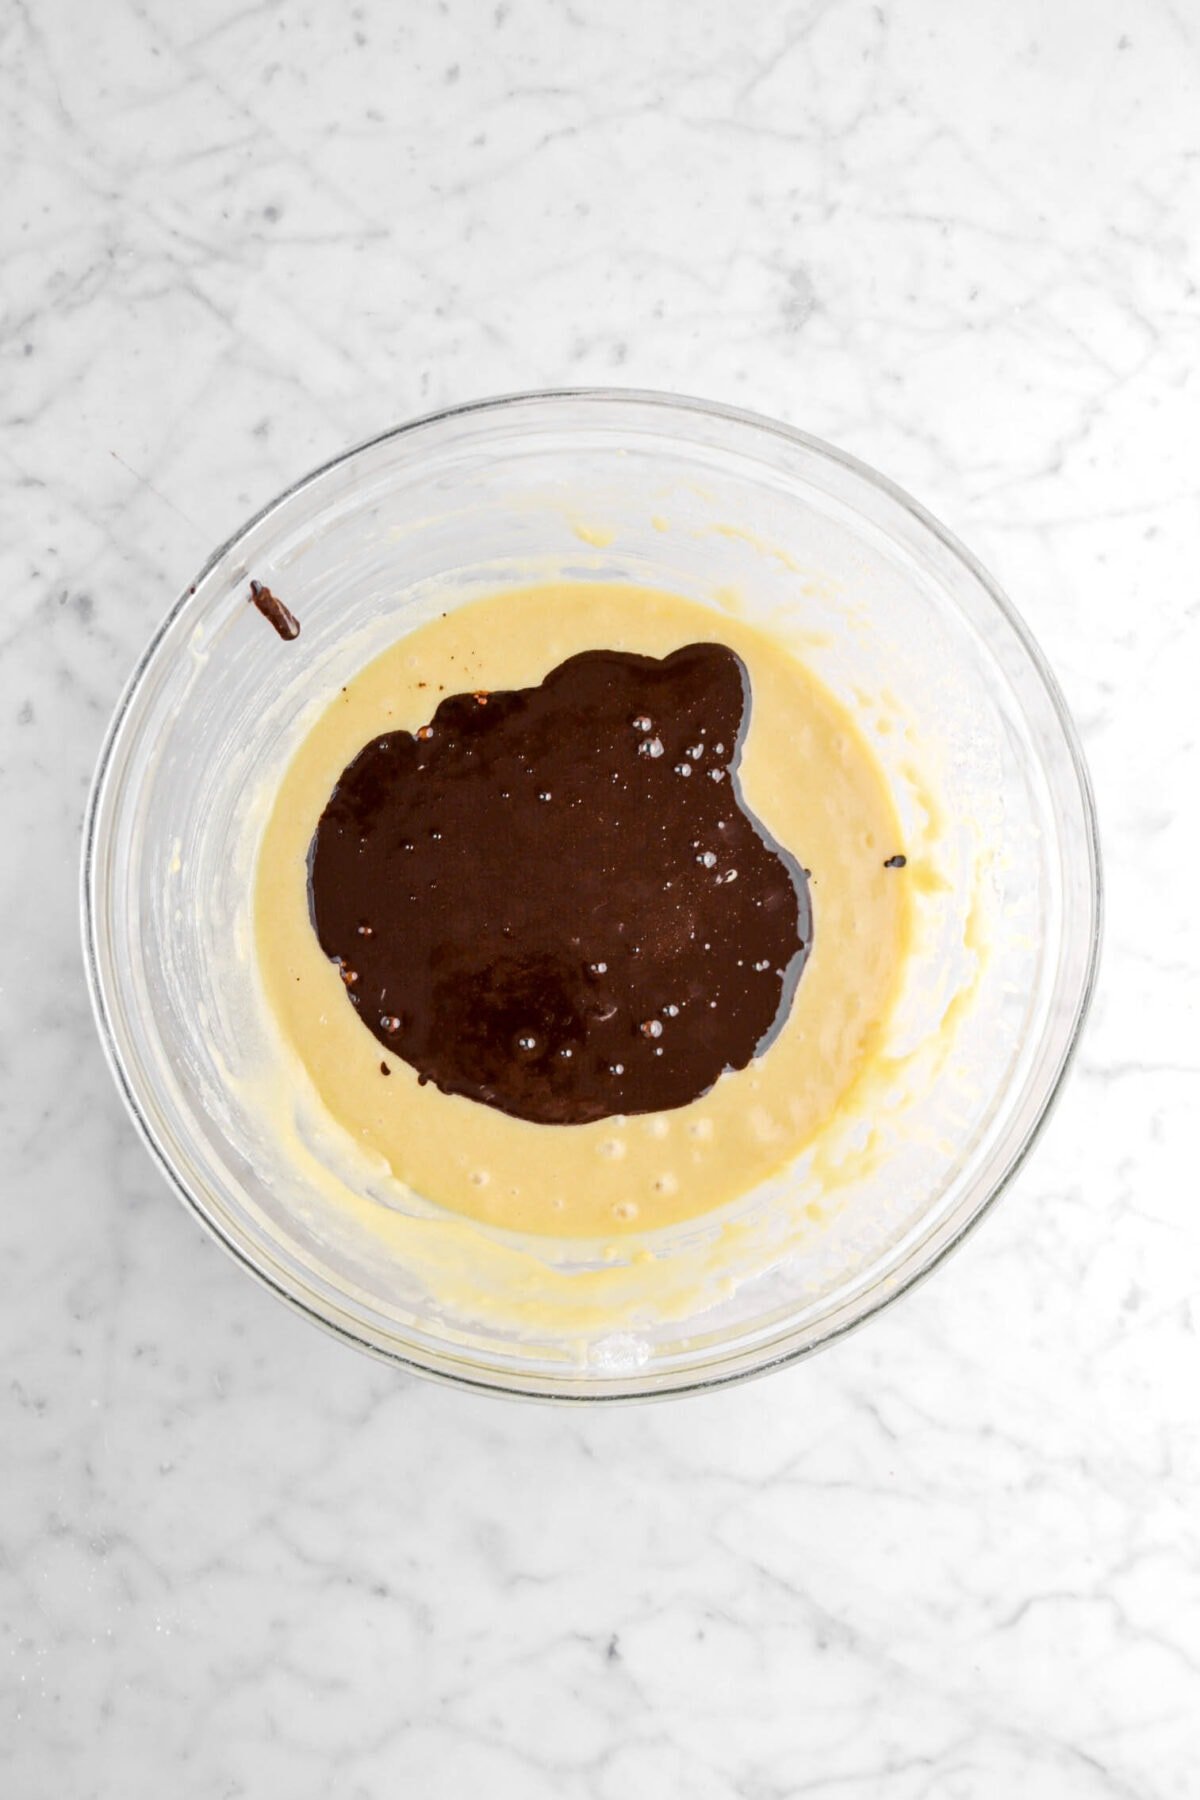
In a small bowl, whisk together cocoa and boiling water. Set aside.
Step 2: Make the batter
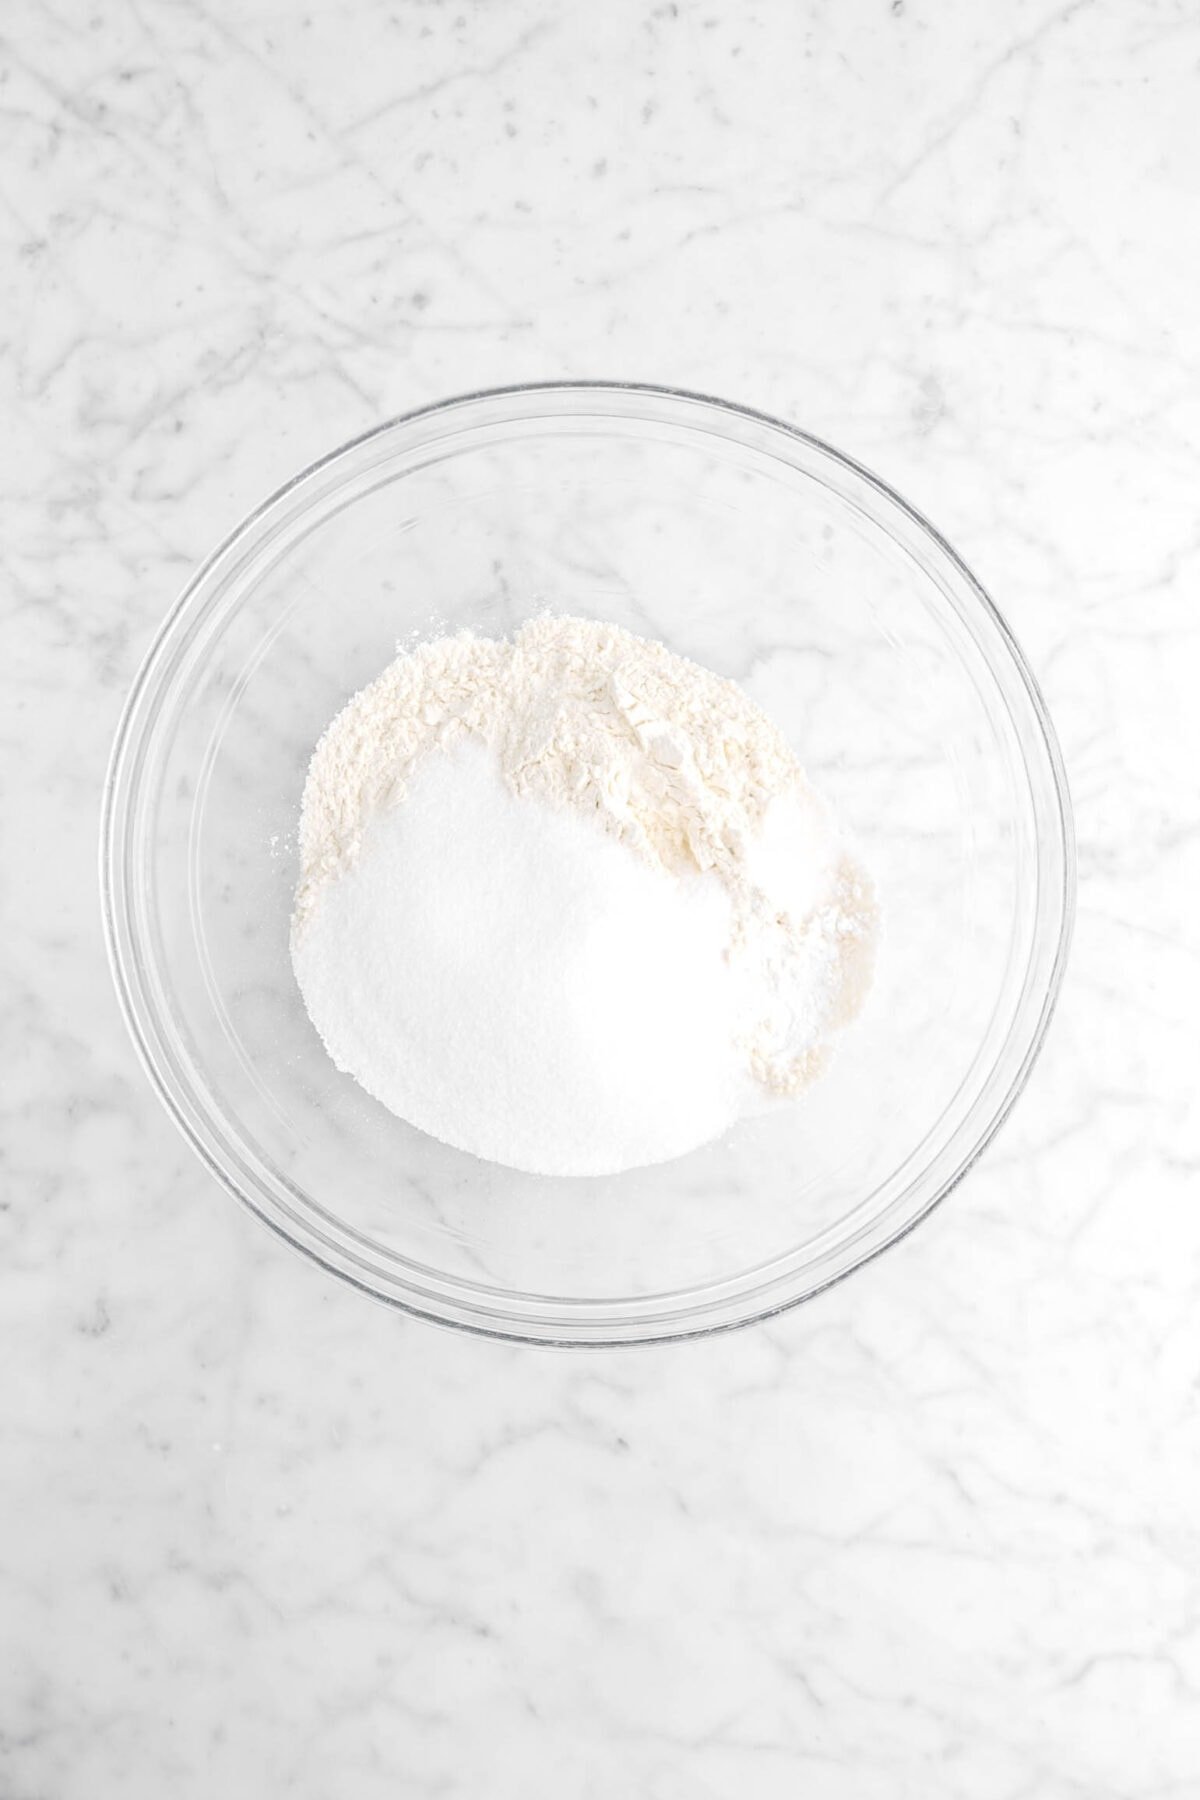
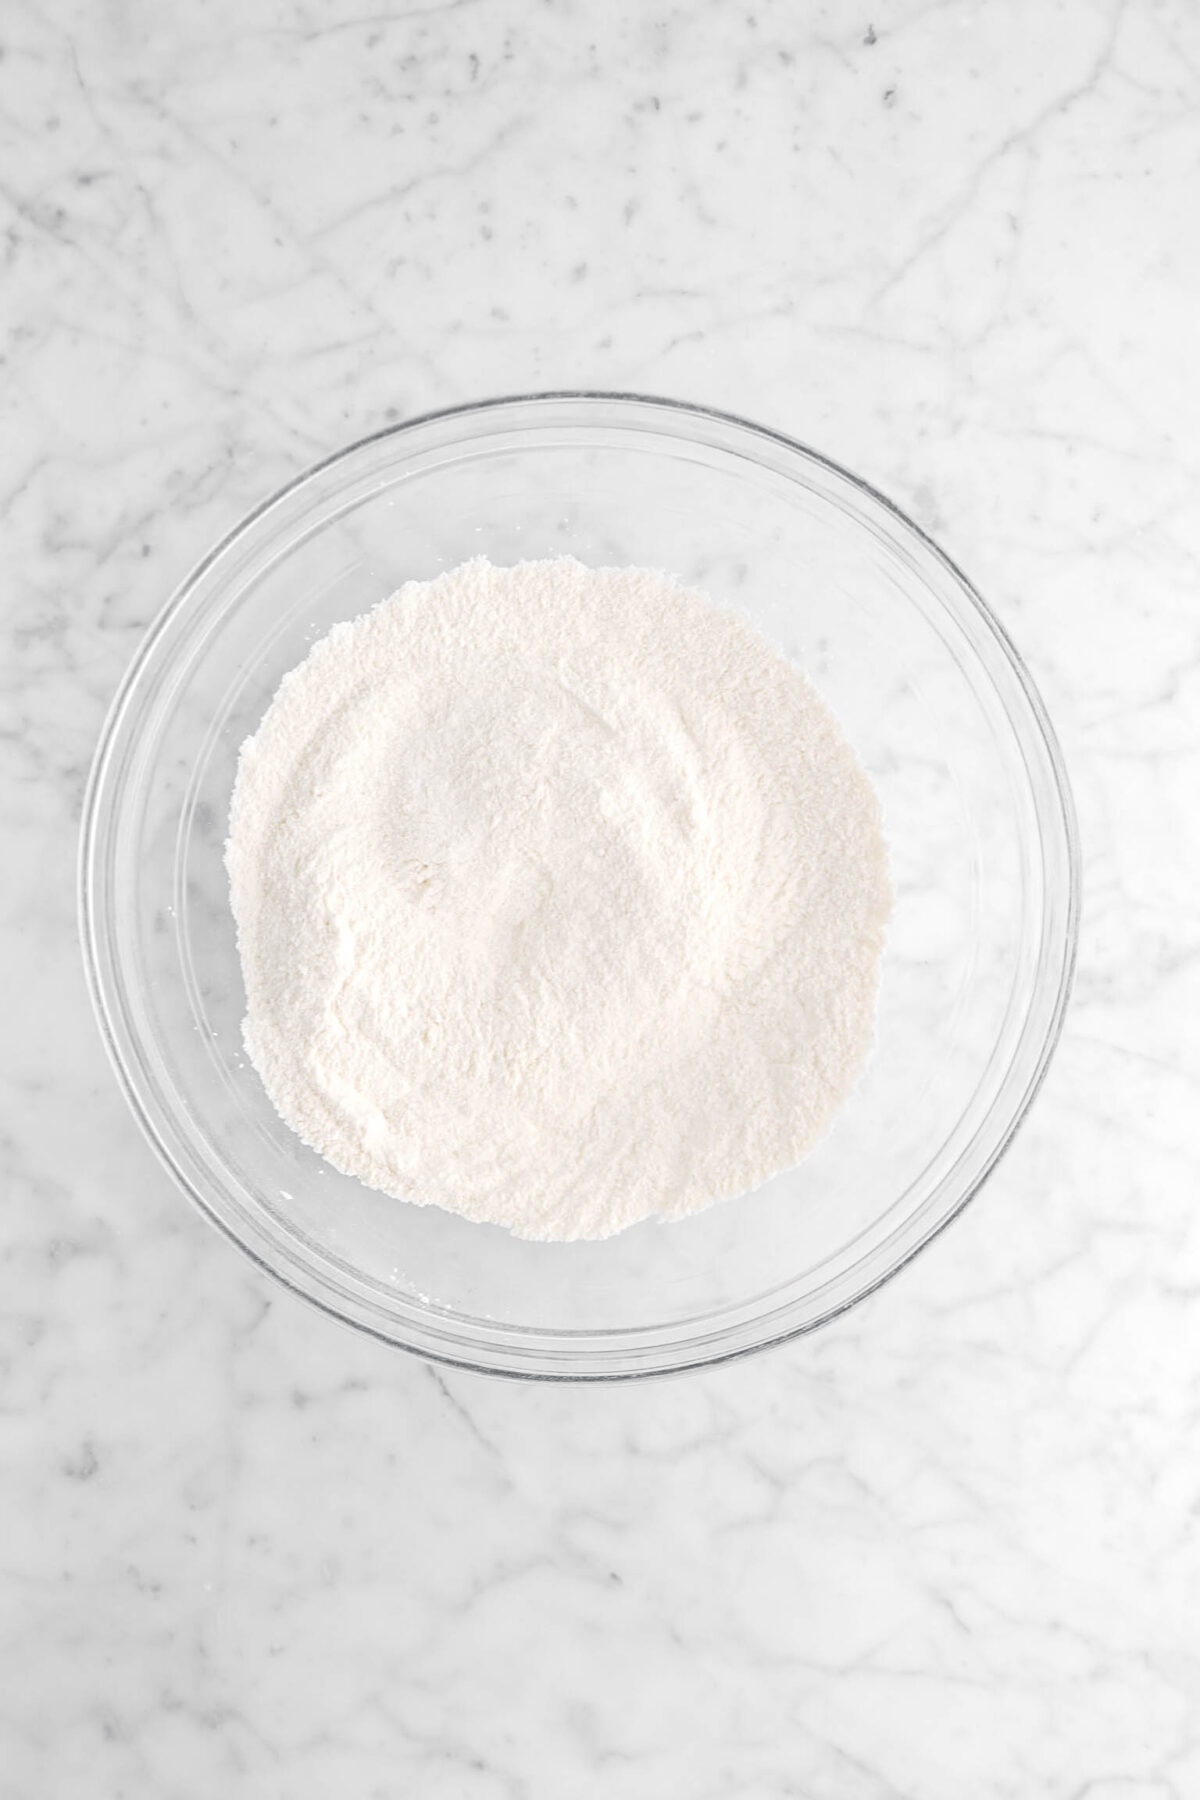
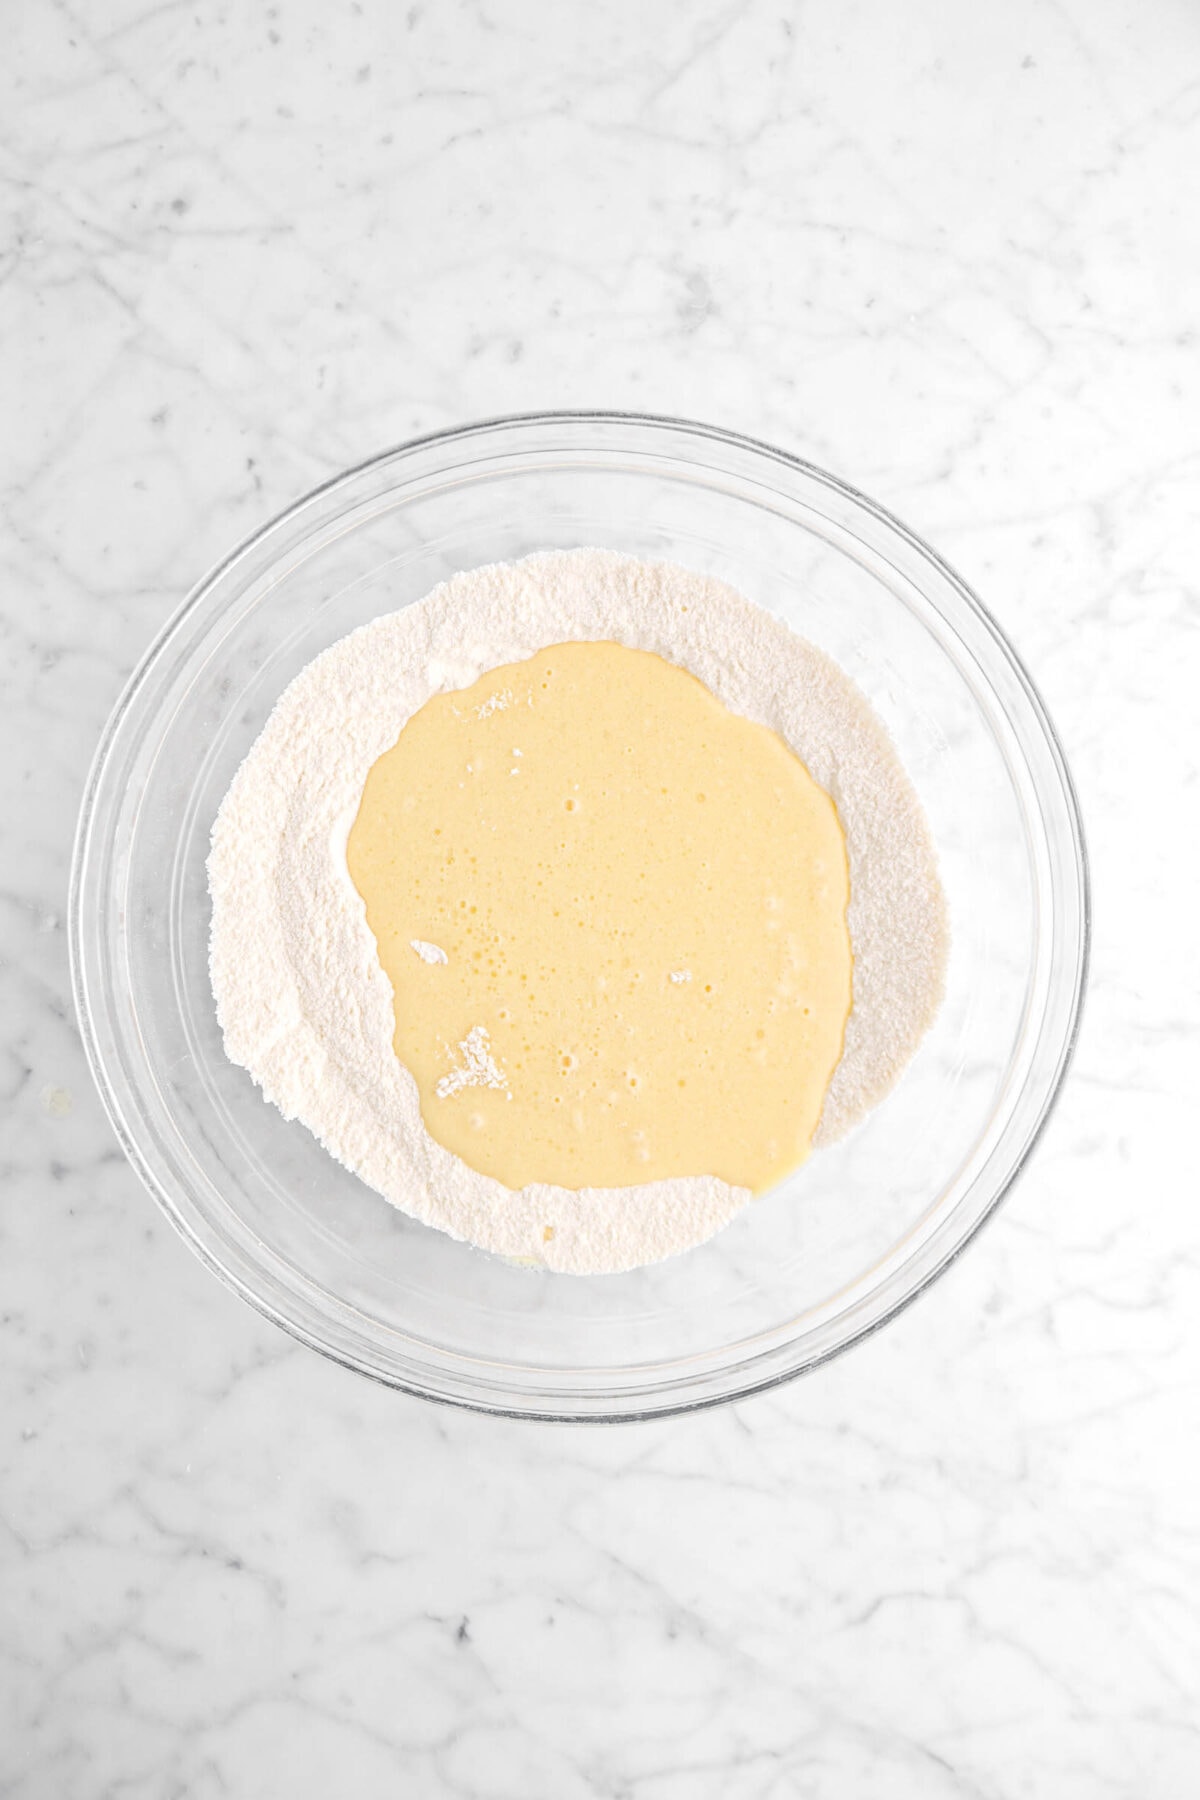
In a large bowl, whisk together flour, sugar, baking powder, baking soda, and salt. Set aside.
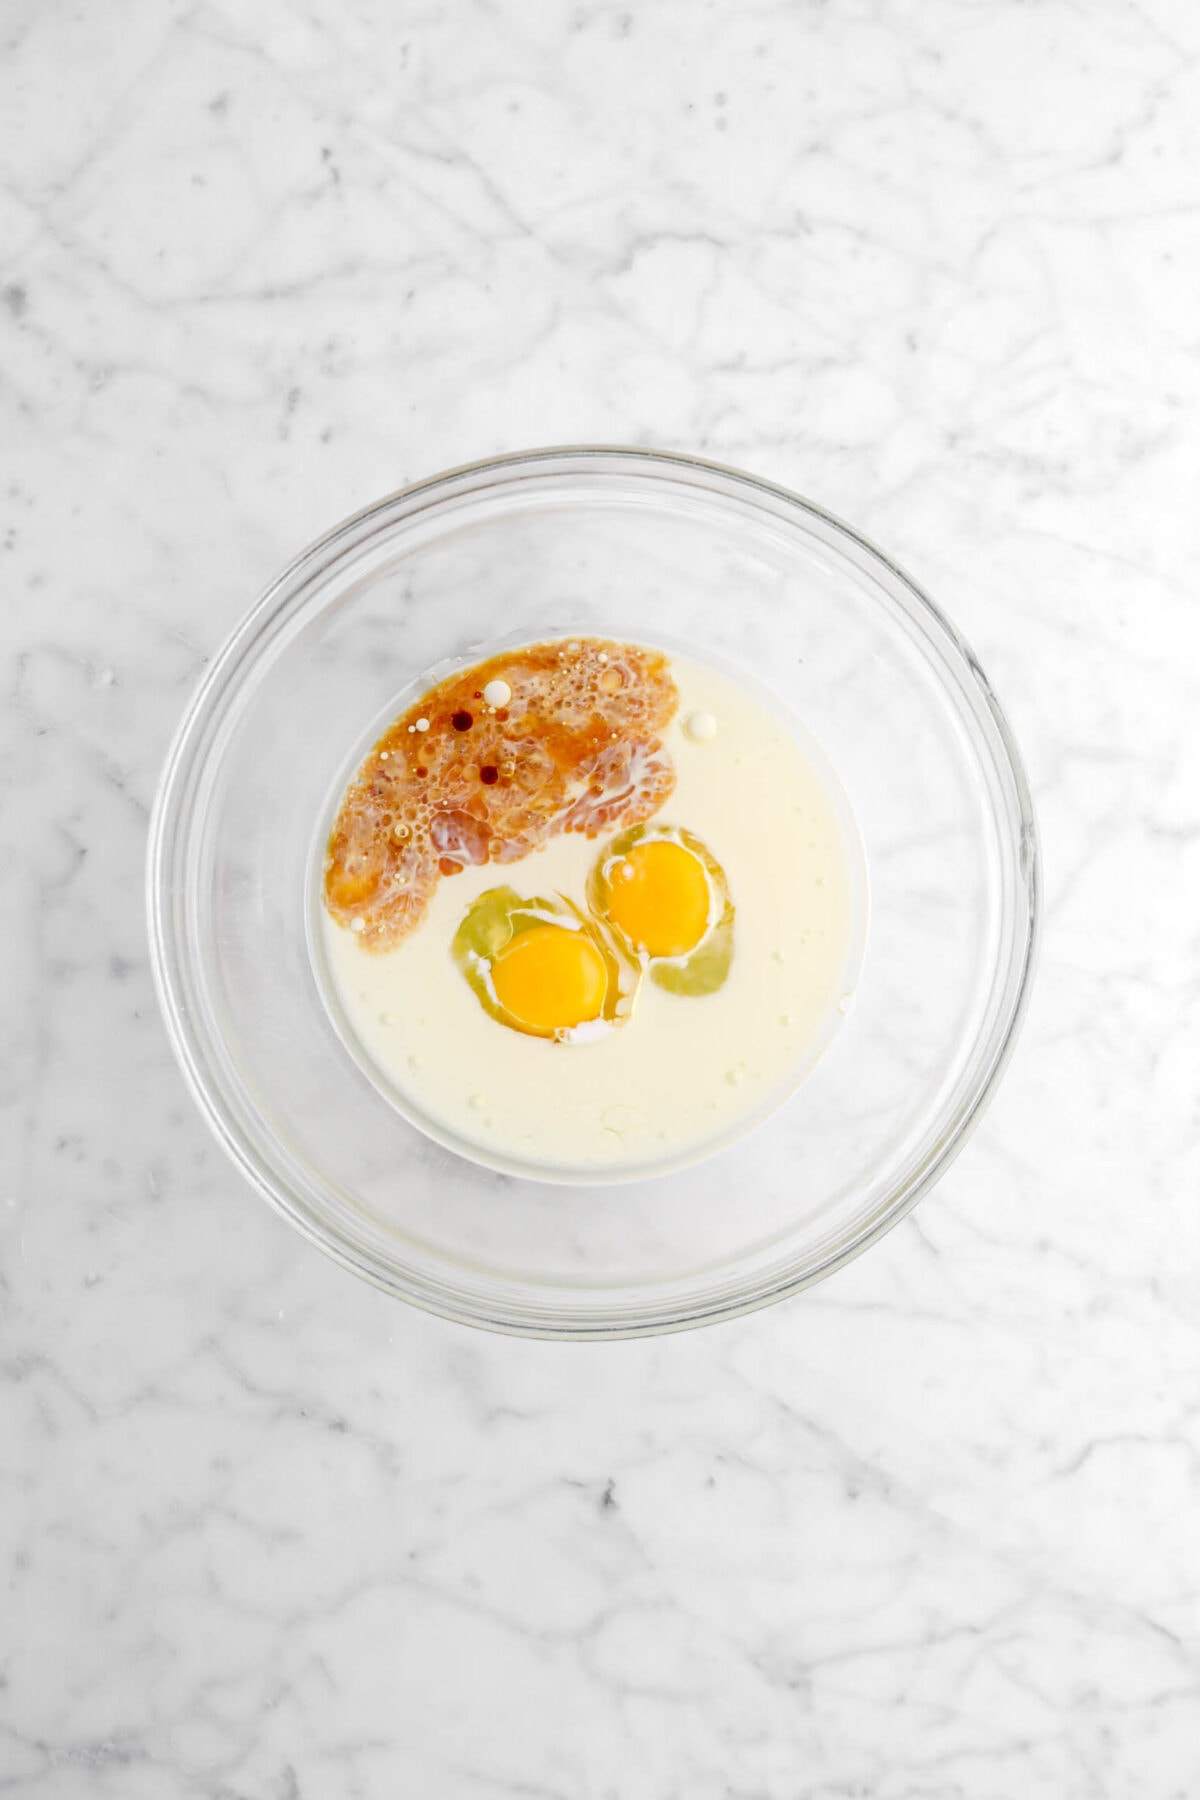
In a medium bowl, whisk together egg, egg yolk, oil, milk, and vanilla.

Pour wet ingredients over dry ingredients. Whisk only to blend.
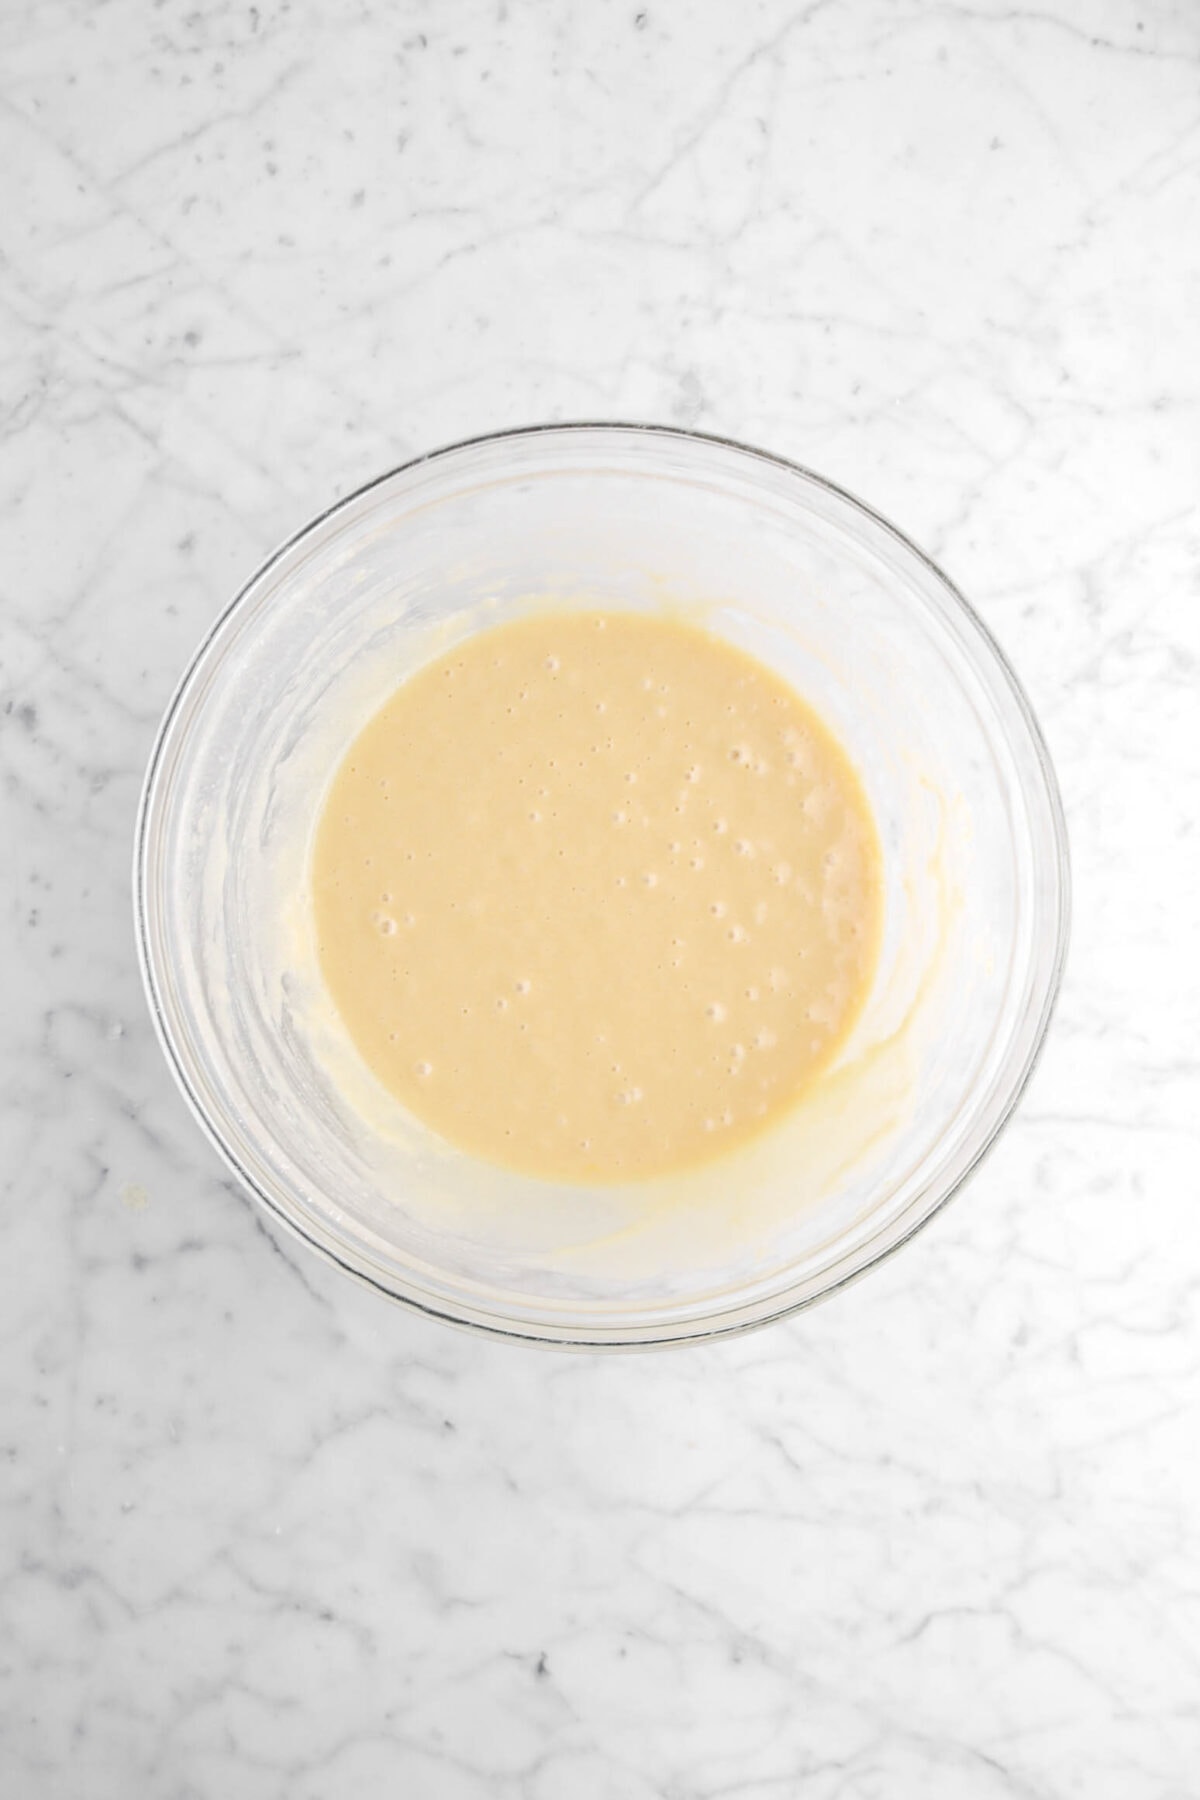
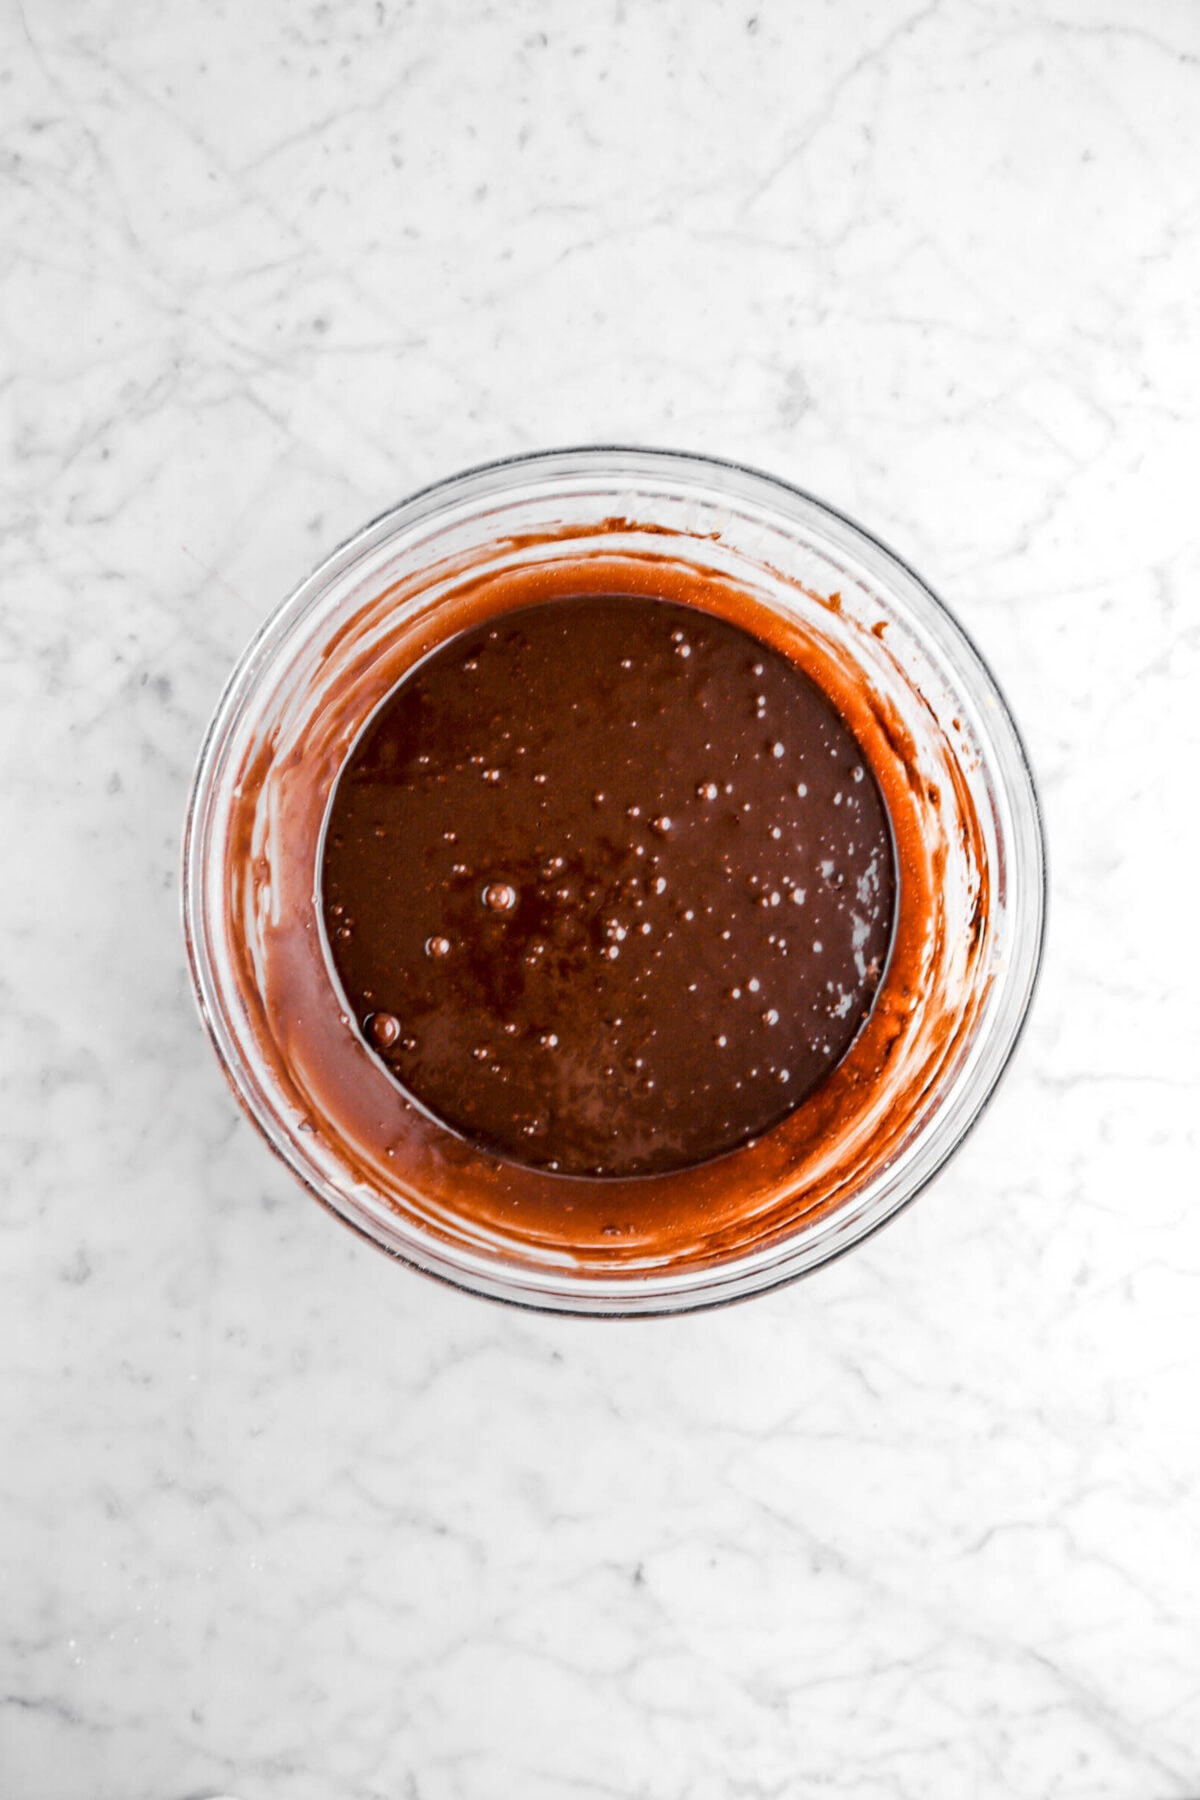
Stir in chocolate.
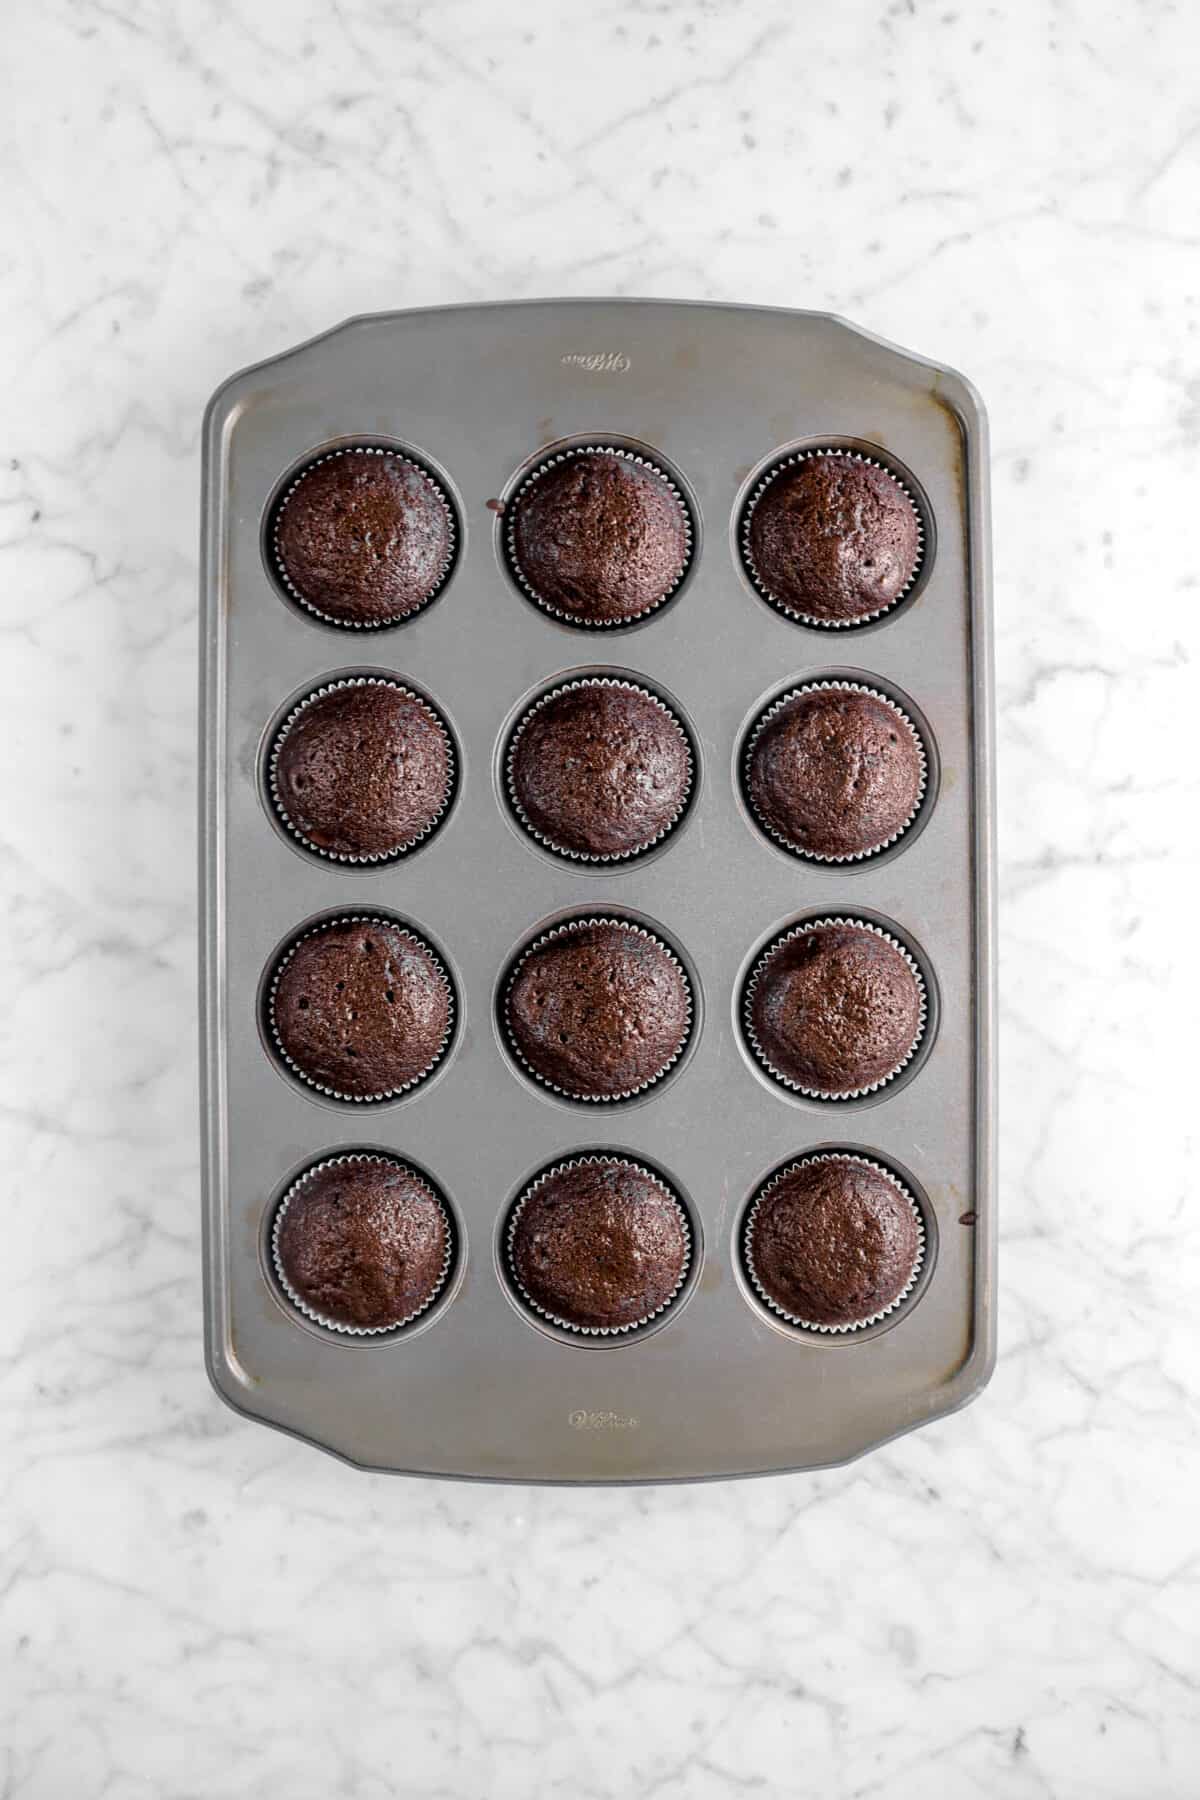
Step 3: Bake
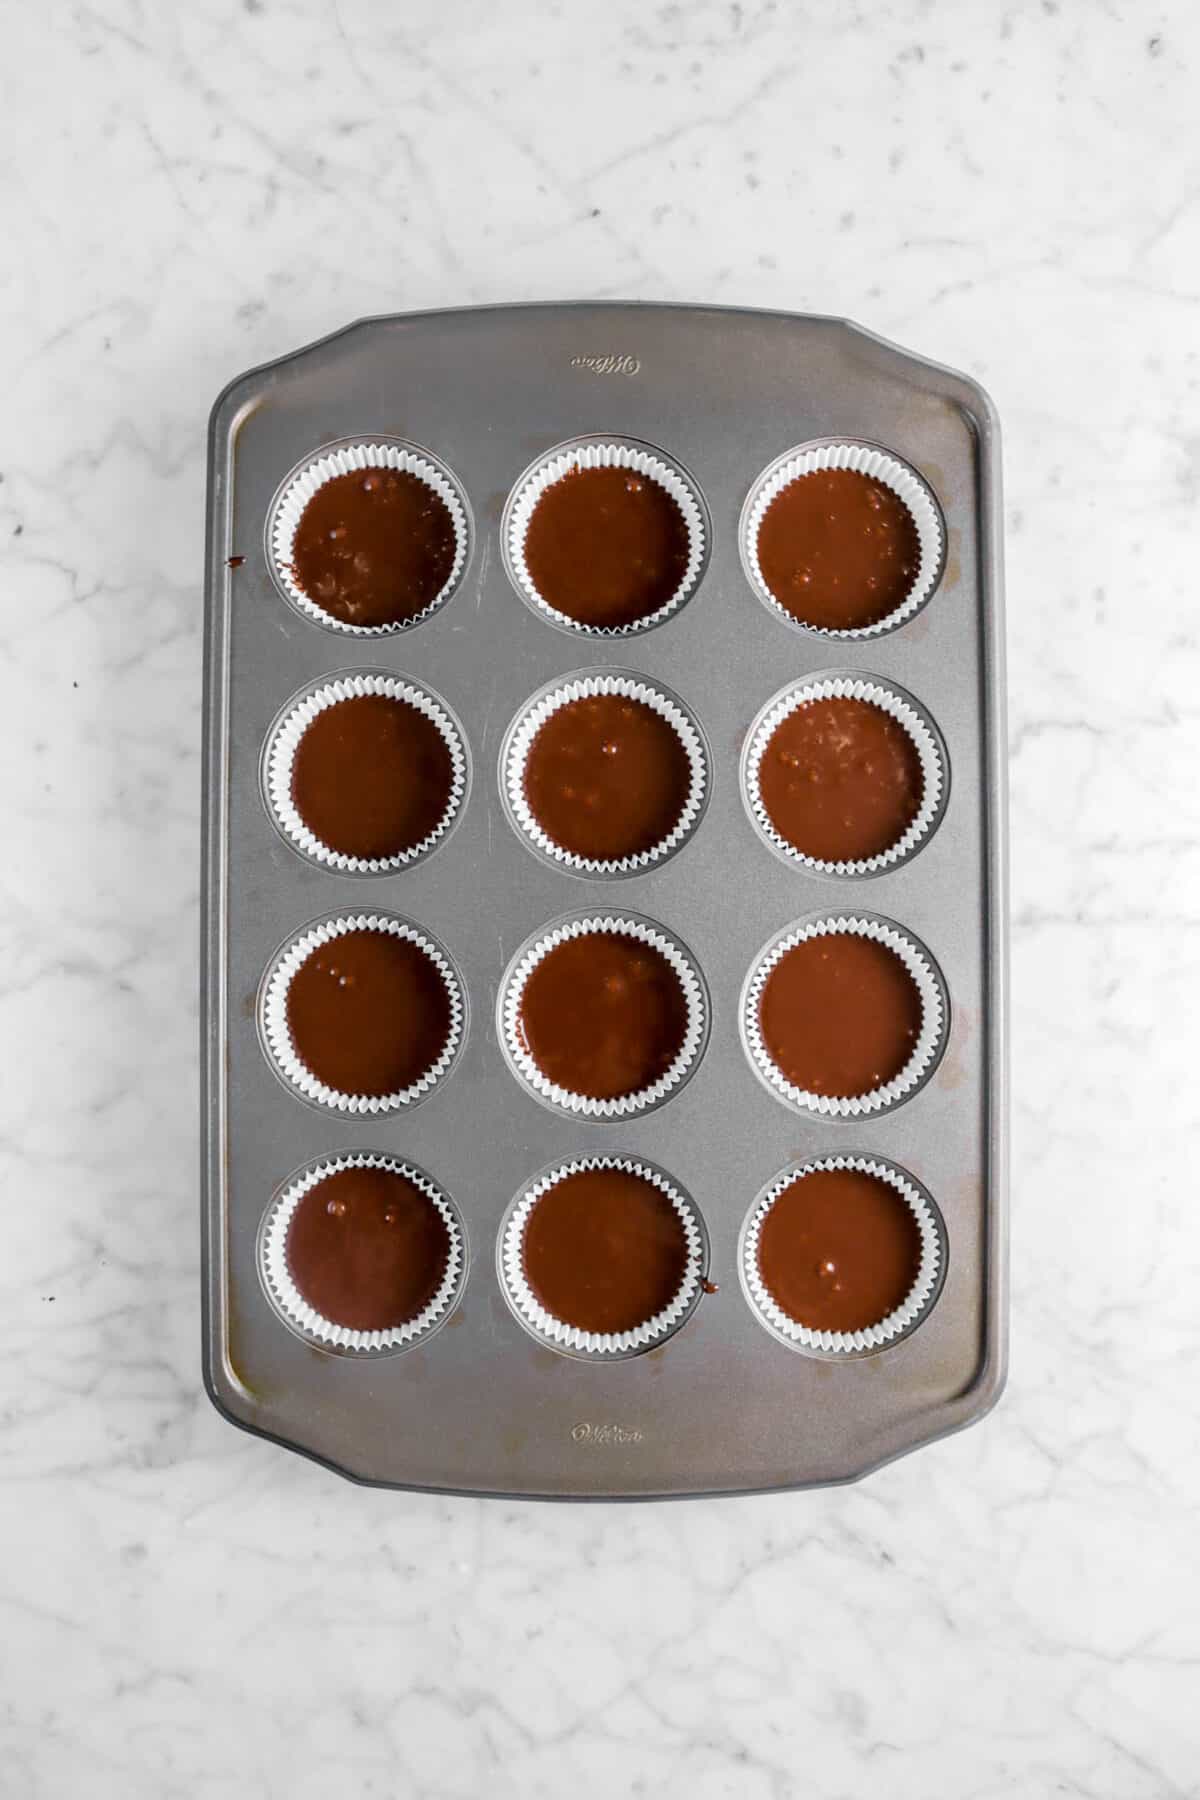
Fill prepared muffin cups ⅔ full. Bake for 18-20 minutes, or until done.
Step 4: Make the frosting
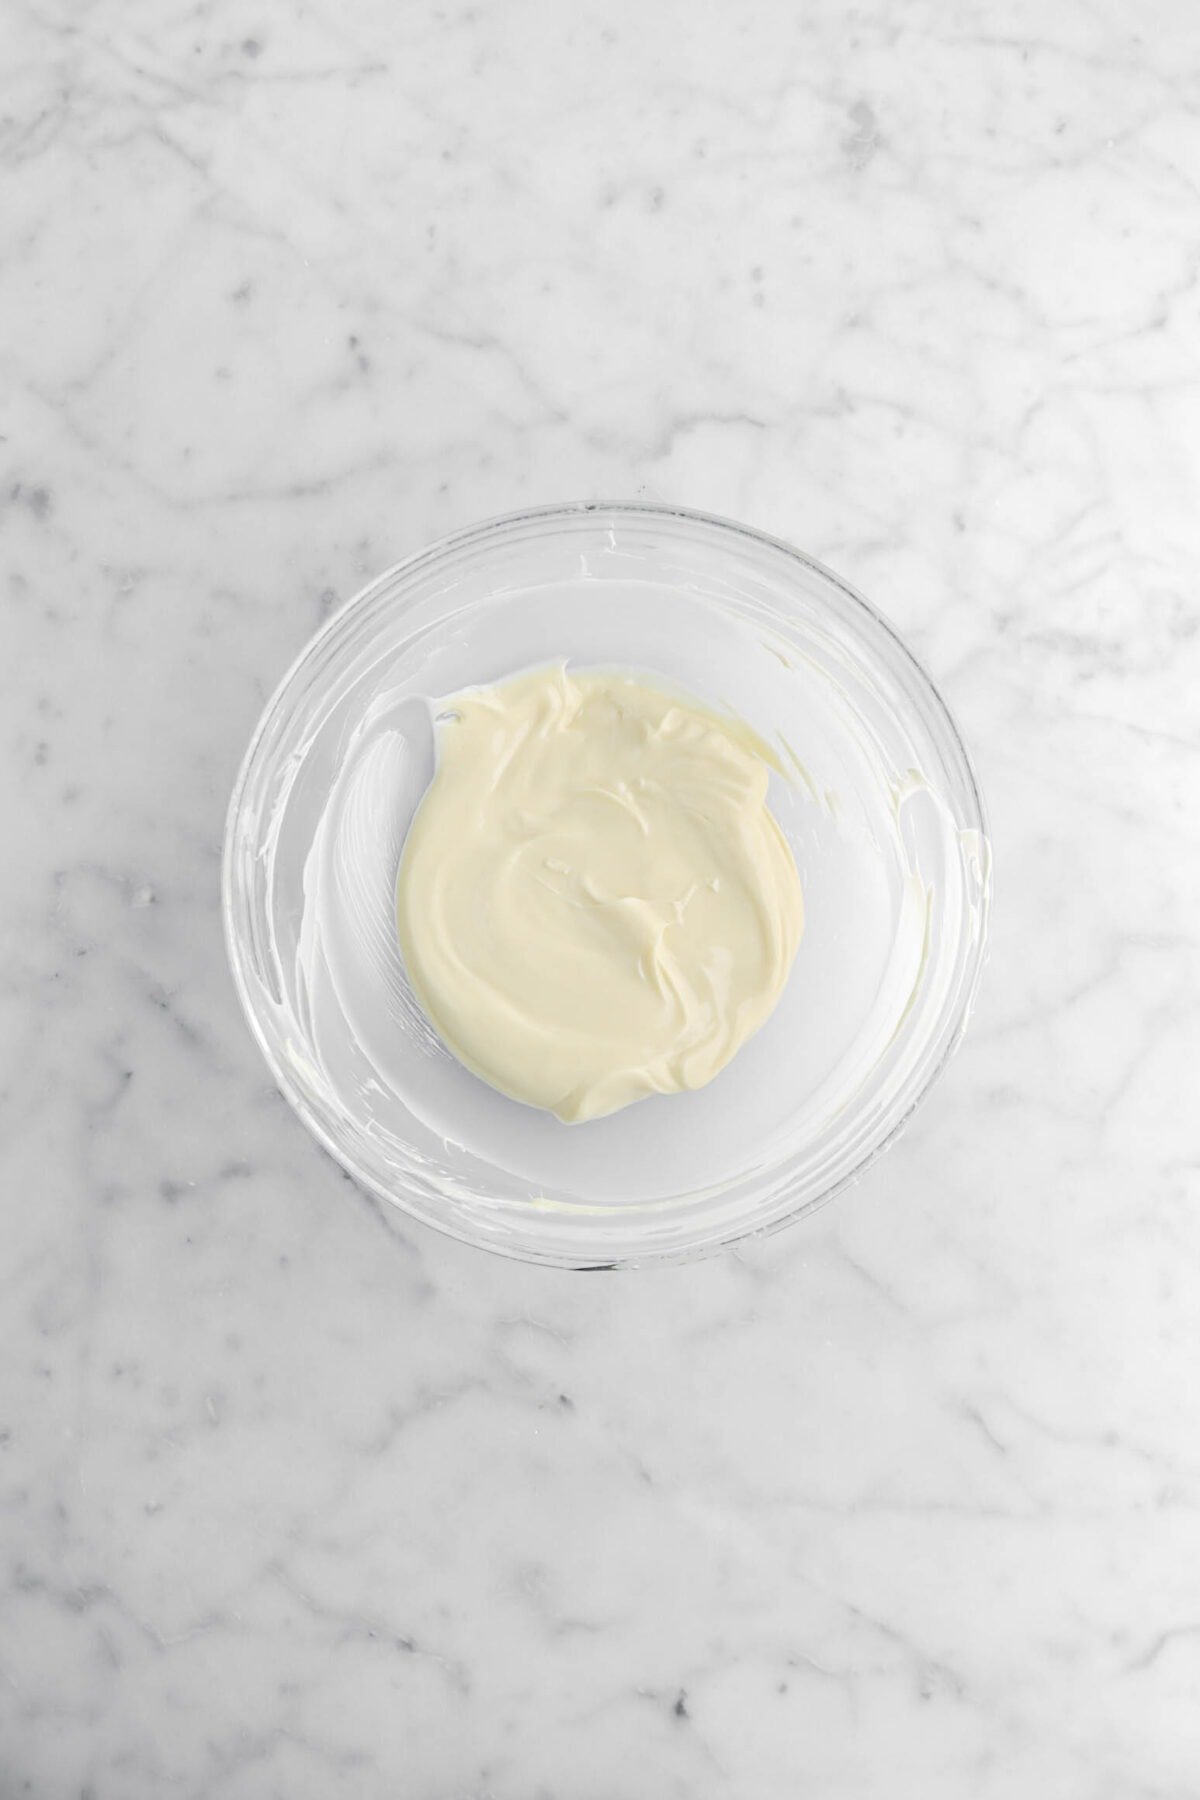
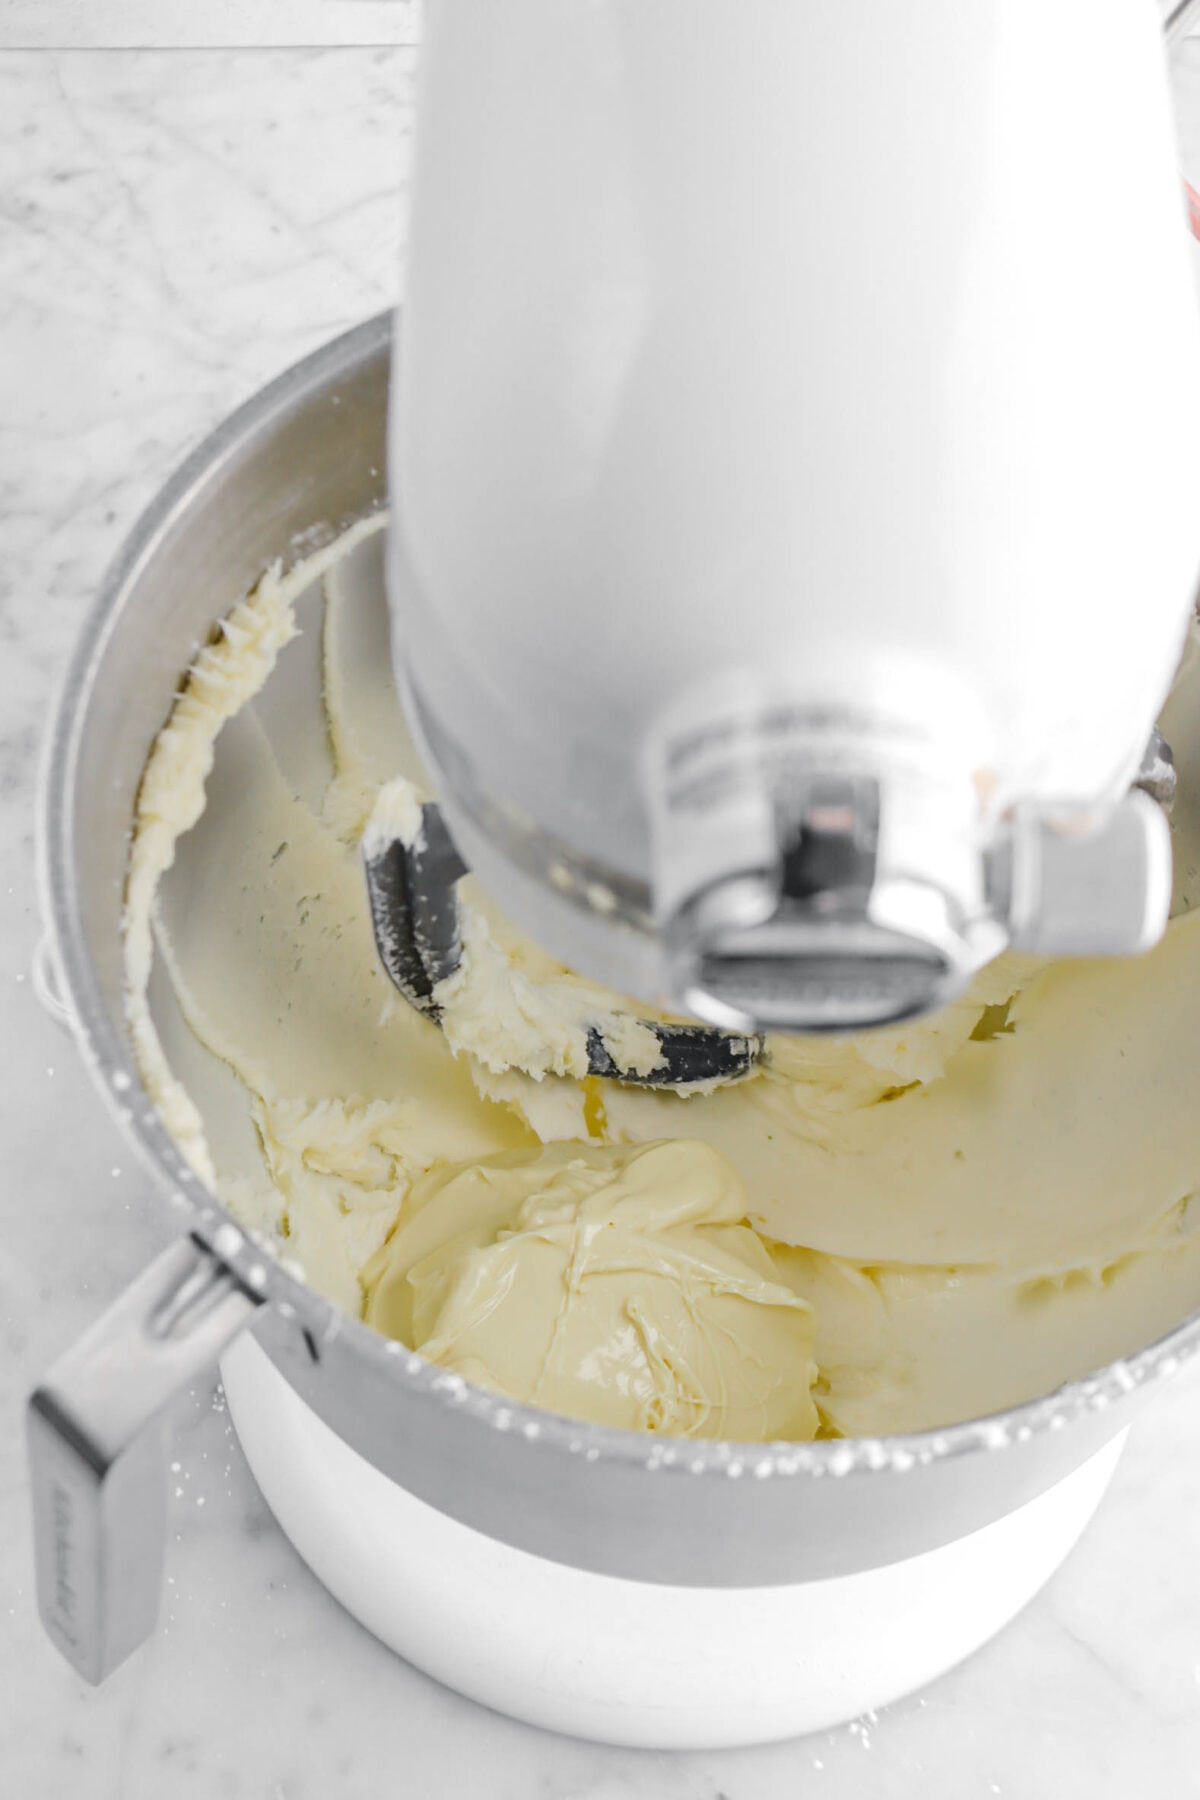
Place white chocolate in a microwave proof bowl. Microwave in 15 second increments, stirring well after each, until melted and smooth. Set aside.
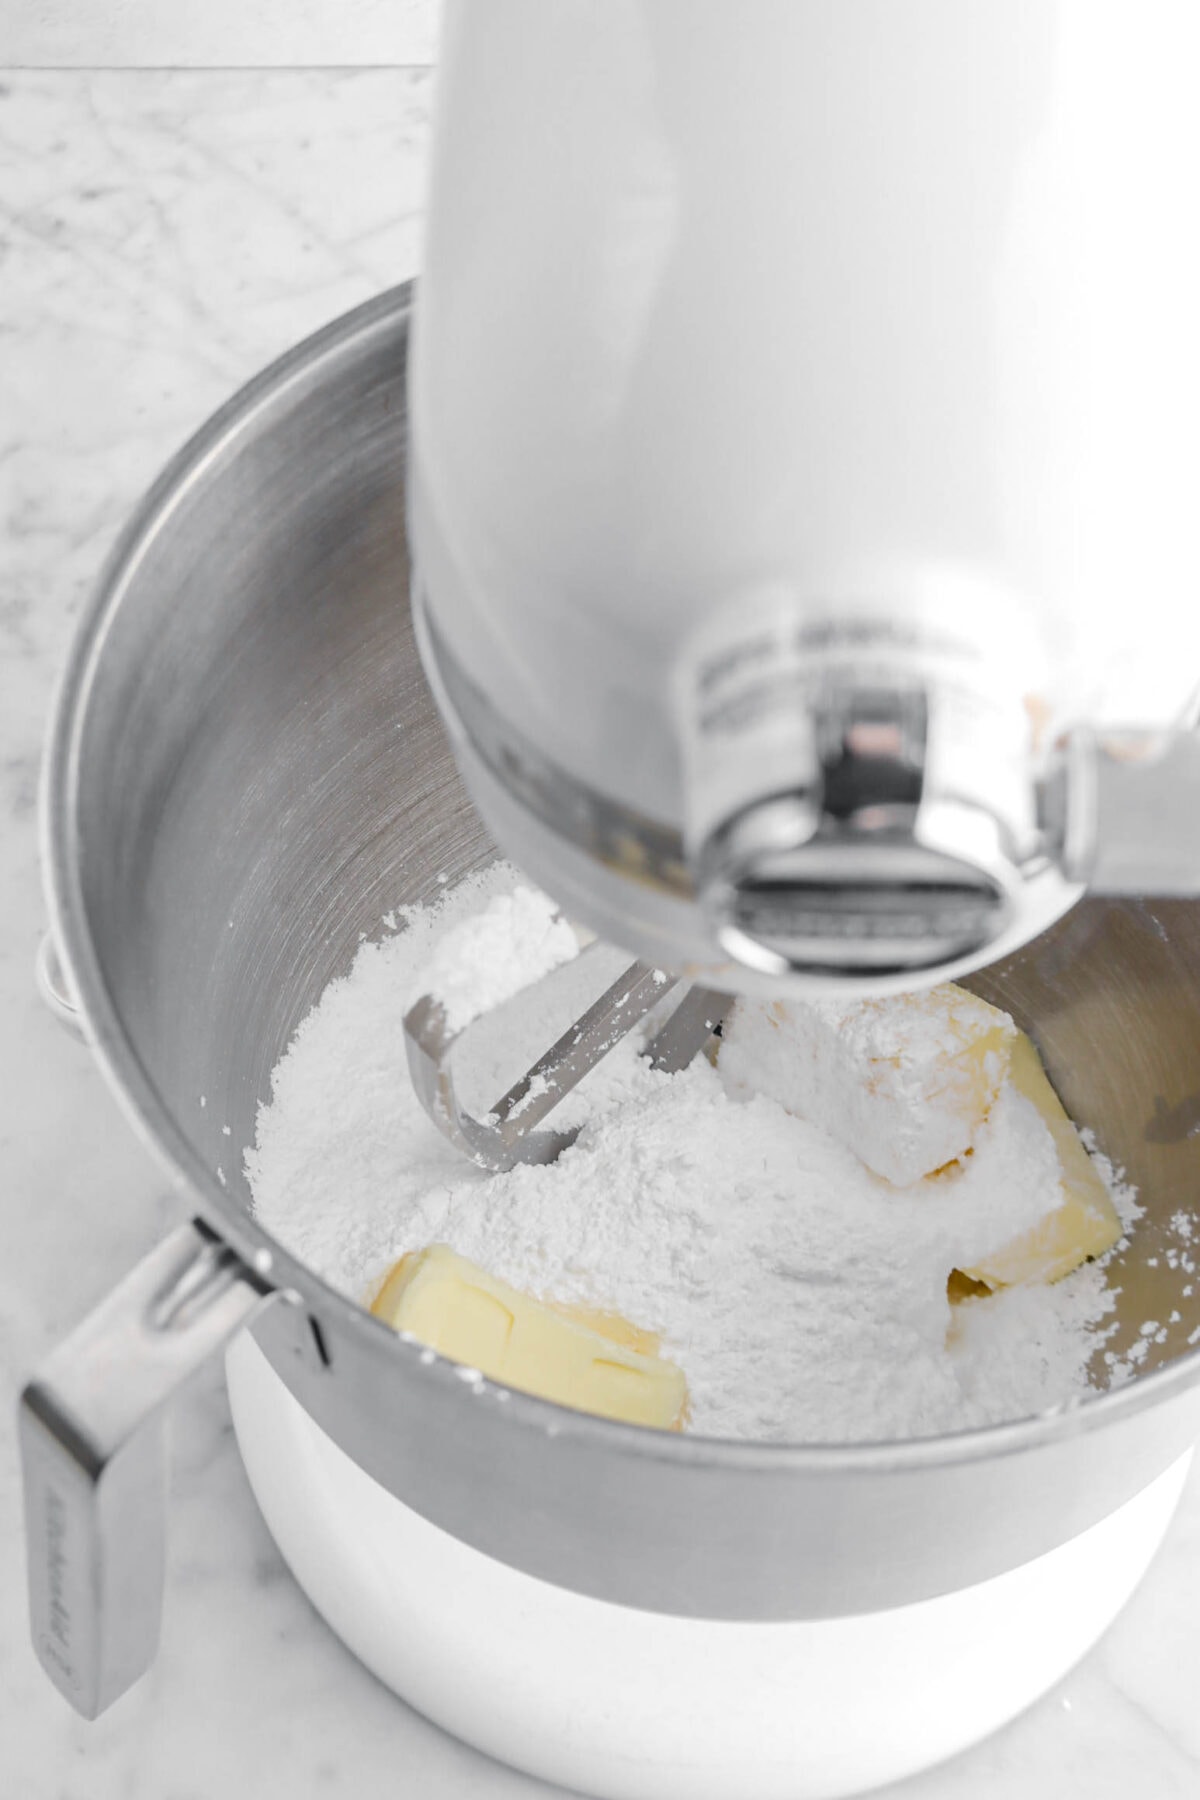
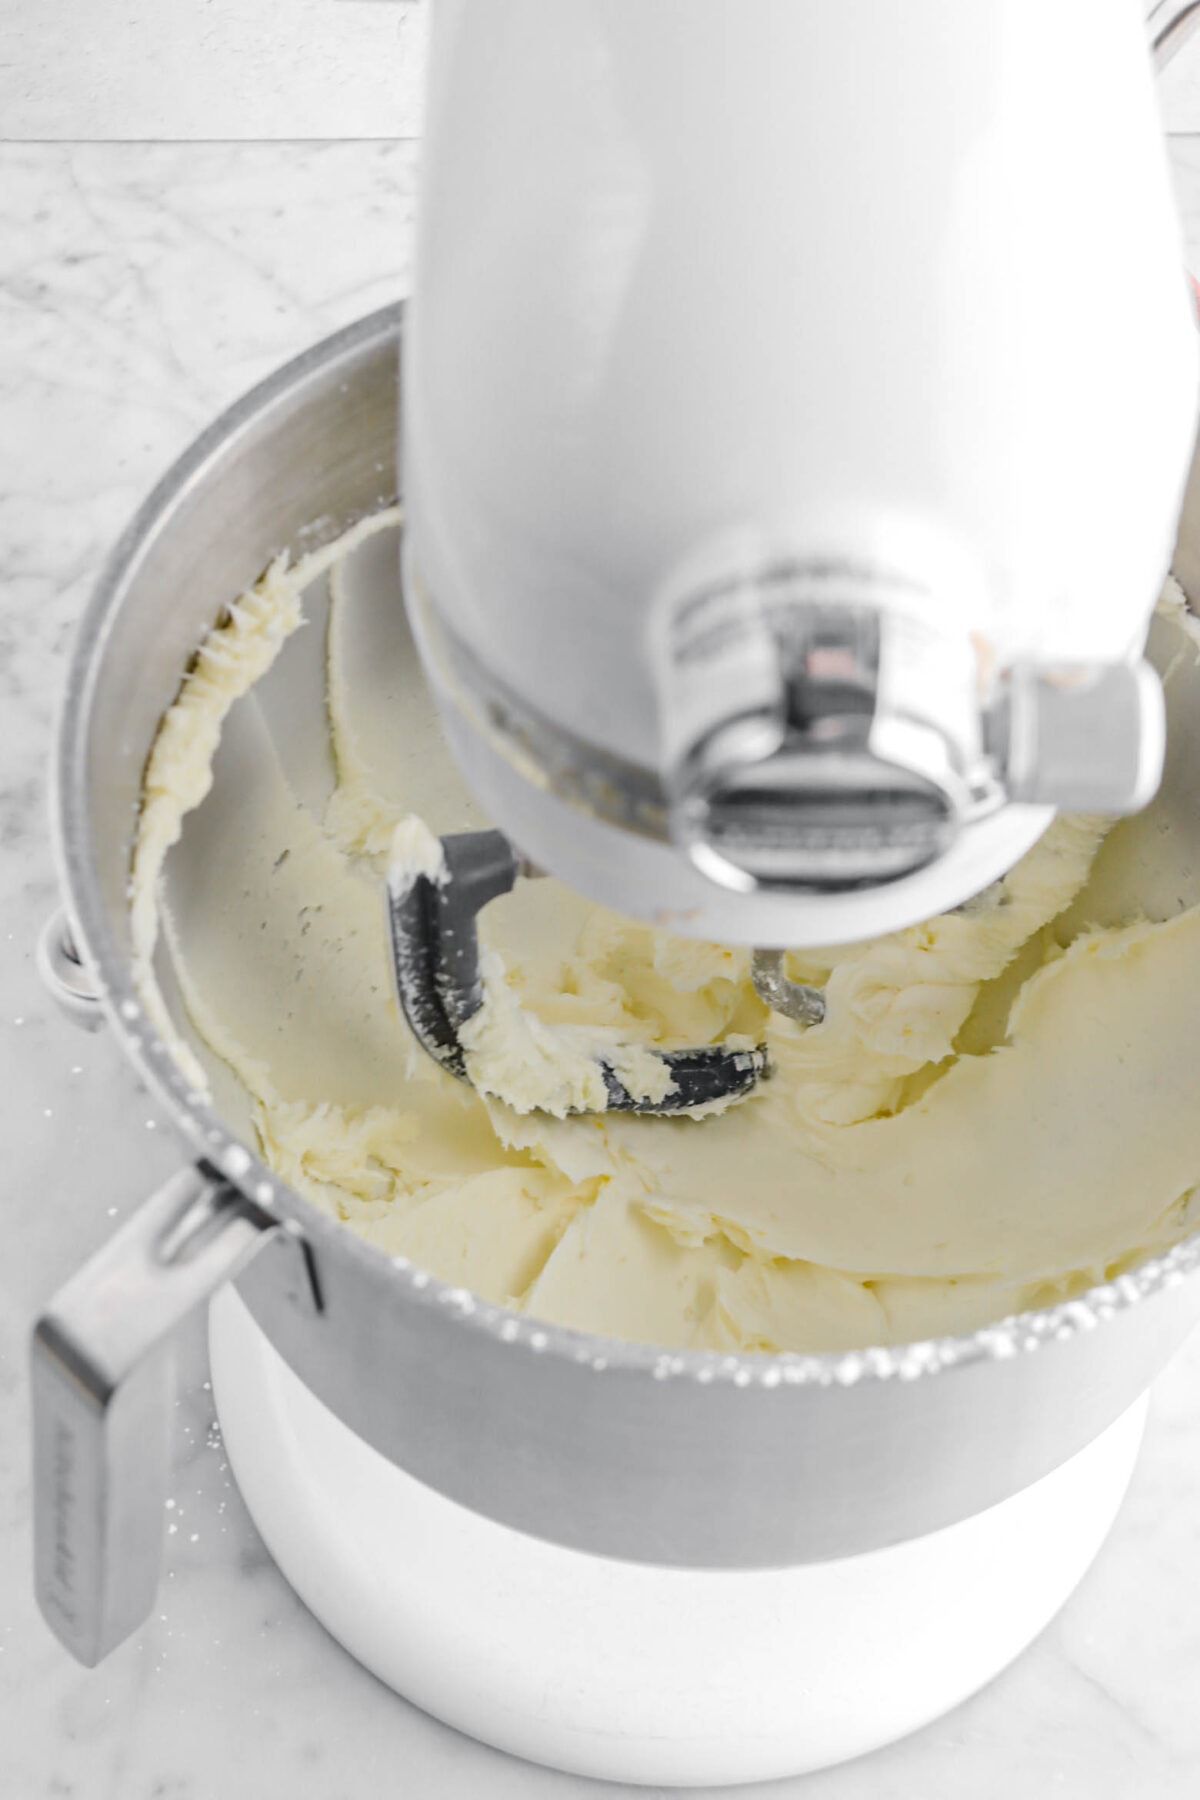
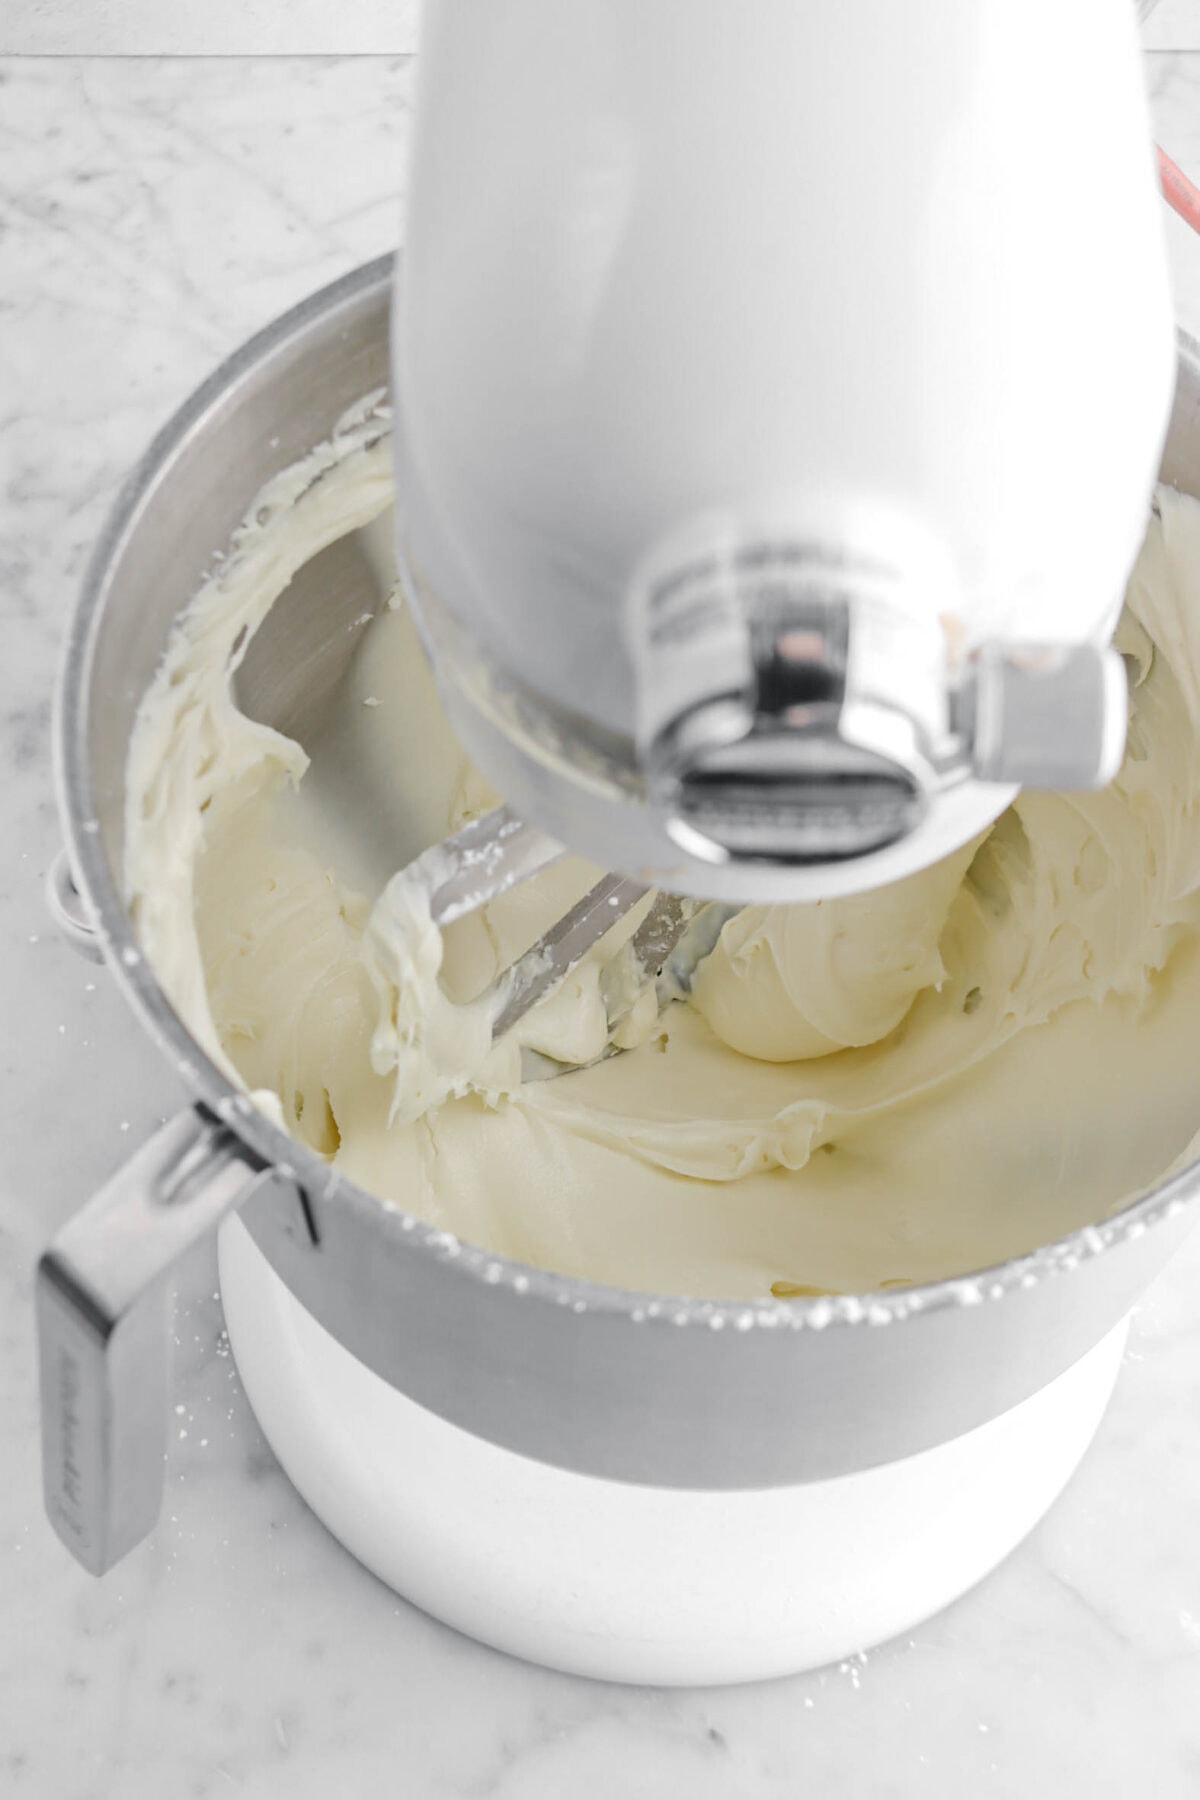
With an electric mixer, beat butter and powdered sugar until light and fluffy.
Stir in melted chocolate.
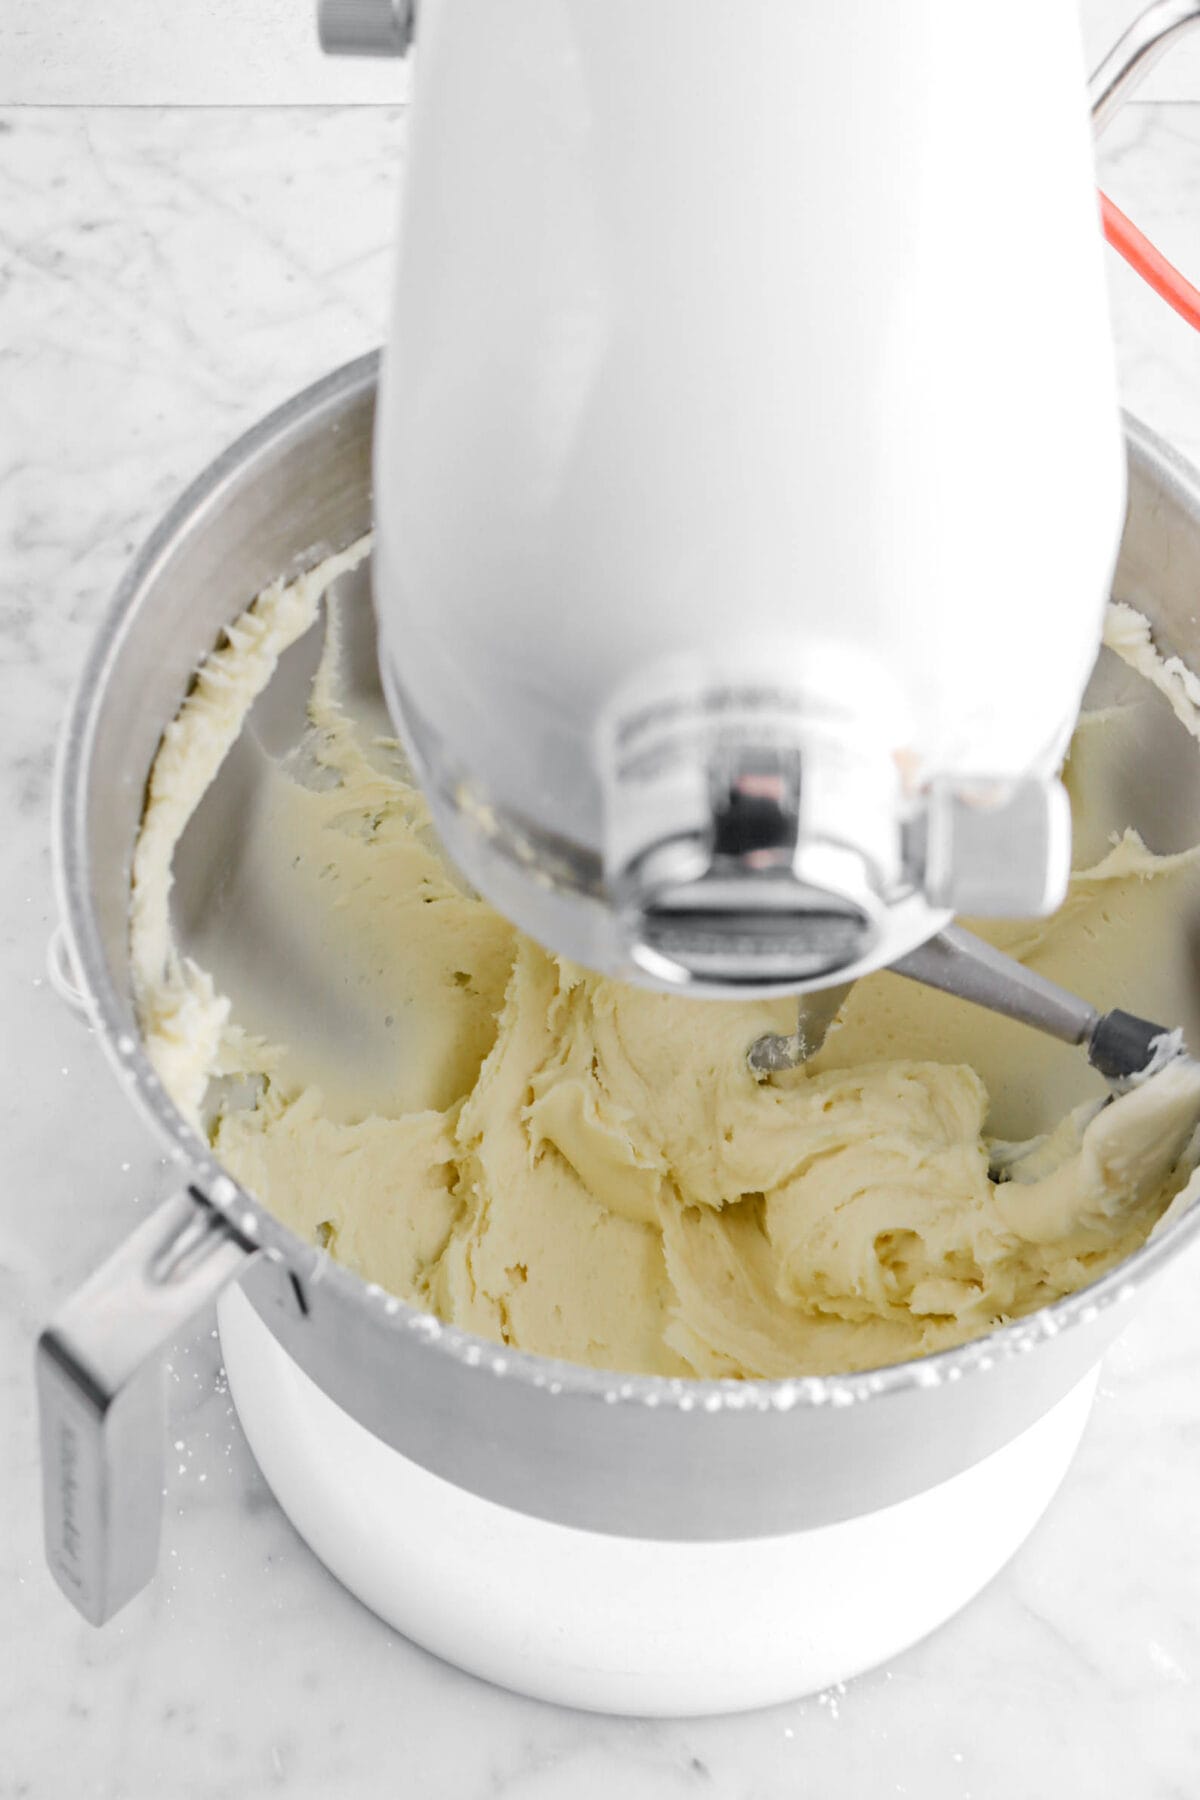
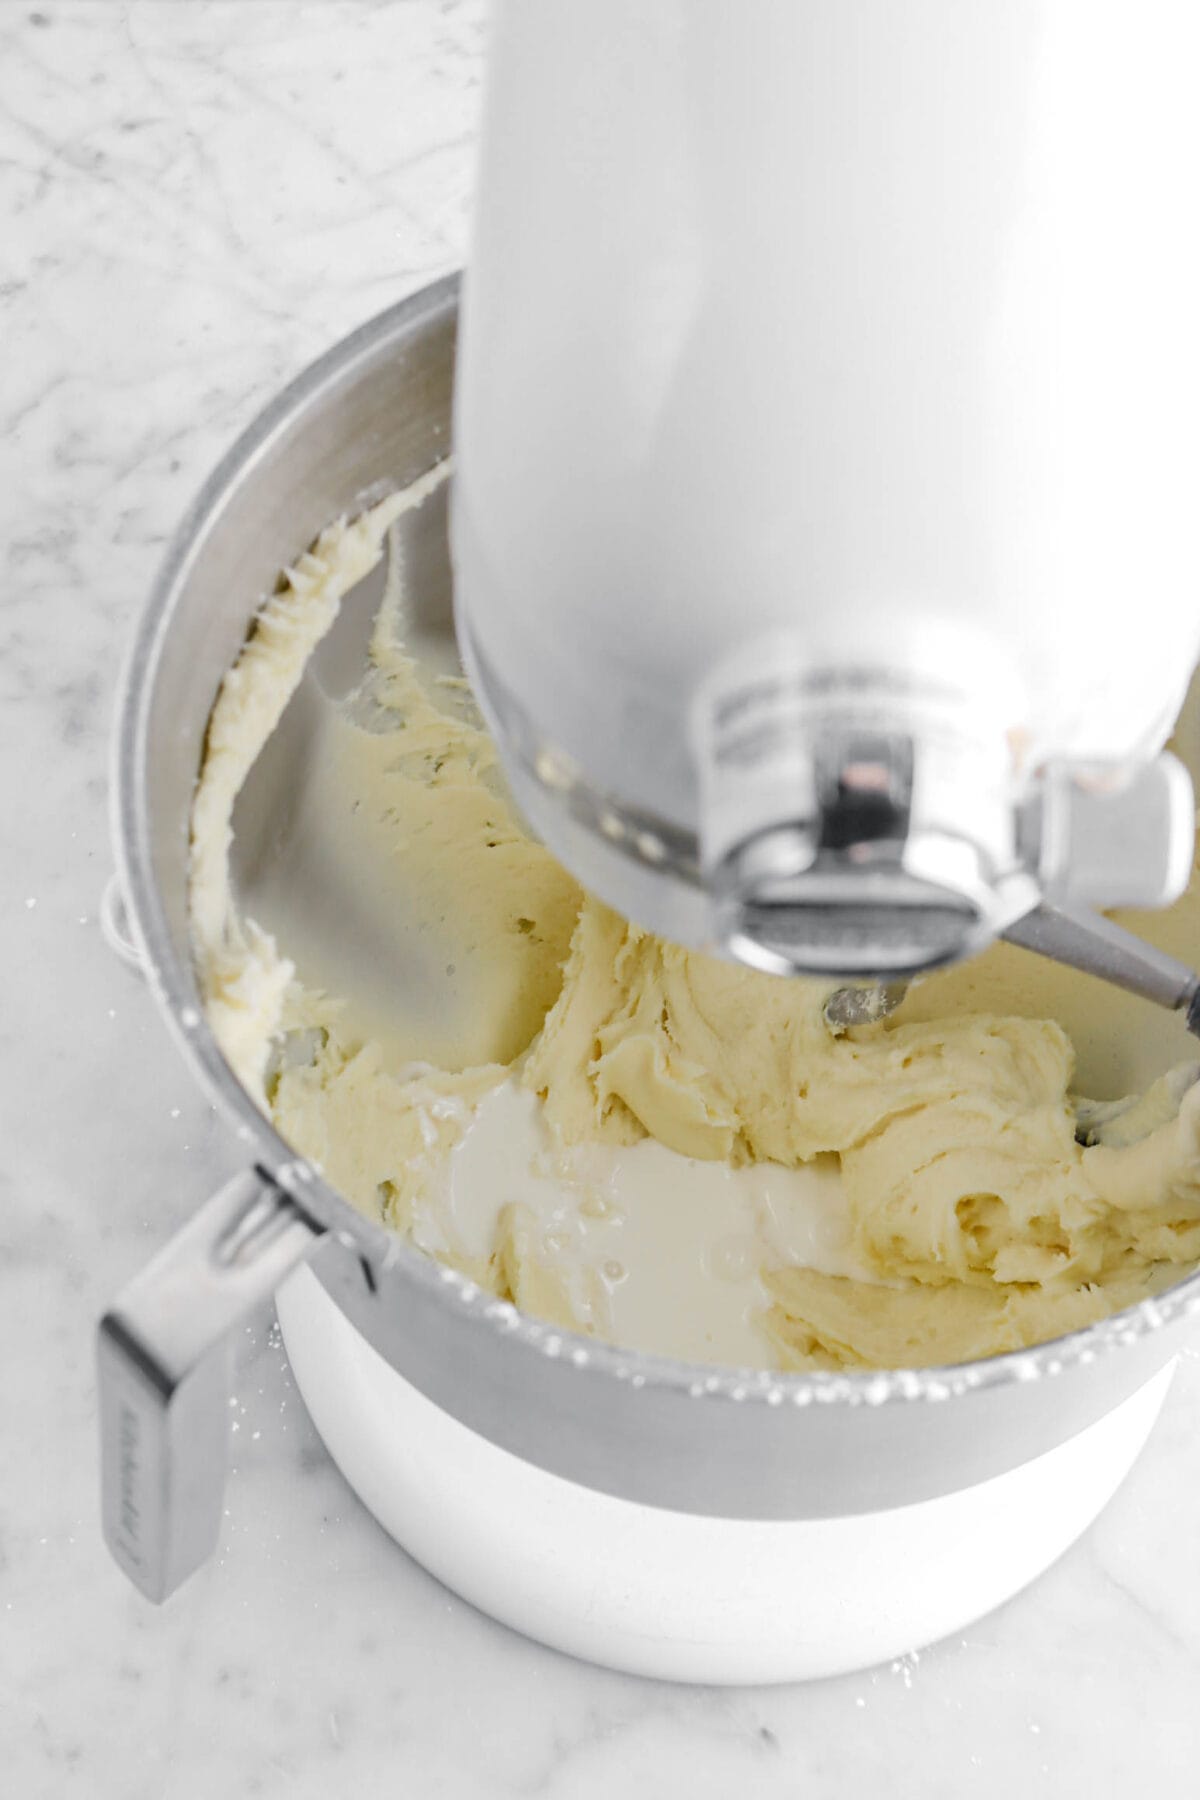
Mix in peppermint extract and cream. Beat until light and fluffy.
Step 5: Frost cupcakes
Spoon into a piping bag fitted with desired tip, if desired. Pipe or spread on top of cooled cupcakes. Top with crushed candy canes.
What Does Blooming The Cocoa Mean?
If you’ve not heard the term, “blooming”, you might be wondering what it means, as most of the time it means that the fat from the chocolate has come to the surface, but not in this case! To put it simply, it means to combine the cocoa powder with a hot liquid (boiling water) to intensify the flavor.
This is how we achieve extra chocolate-y cupcakes without having to add a lot of extra chocolate!
How To Achieve The Perfect Buttercream
There are are a few things you can do to make sure you get the creamiest, silkiest buttercream every single time! The first is making sure your butter is room temperature. This is super important! Another is sifting your powdered sugar. Lumps of powdered sugar = lumpy buttercream! Lastly, if you feel your buttercream is too thick, you can add a splash (1/2 – 1 Tablespoon) of whole milk or heavy cream. This will help loosen it a little.
Decorating Ideas
One of my favorite things is to decorate cakes and cupcakes! Especially during Christmas. There’s always so many fun and creative things you can do! So, here are a few ideas to help you make the most festive cupcakes.
- Make more frosting. The recipe below is really for only spreading the frosting onto the cupcakes like I did in the pictures. Feel free to make more that way you can pipe a swirl or whatever you wish on top of these cupcakes!
- Dye the frosting. Break out the red food dye! It’s Christmas and these are peppermint bark cupcakes. Feel free to dye ½ of the frosting red and place both the white and red frosting into a piping bag to create a gorgeous red and white swirl as you pipe!
- Use candy! If you’ve got mini candy canes or even some peppermint bark, top these cupcakes with them!
- Top with sprinkles. Sprinkles are my go-to this time of year. Leave the frosting white and find some colorful Christmas sprinkles to really add a pop of festive cheer to each cupcake!
How To Store
If you have cupcakes leftover, the best way is to definitely refrigerate them! If placed in a lidded and airtight container, the cupcakes should last up to a week. You can also freeze these cupcakes for up to 1 month!
Looking for more recipes like this? Here are a few you may like: Gingerbread Sheet Cake, Peppermint Bark Layer Cake, White Christmas Cake, Gingerbread Trifle, Vanilla Christmas Tree Cakes
When you make these Peppermint Bark Cupcakes, leave a comment down below! We love hearing from you and answering any questions you might have! Also, be sure to tag us on social media and hashtag it #BakersTable.
Peppermint Bark Cupcakes
Ingredients
Cupcakes
- ½ cup natural process cocoa, sifted
- ⅝ cup boiling water
- 1¼ cups all purpose flour
- 1⅛ cups granulated sugar
- 1½ teaspoons baking powder
- ⅓ teaspoon baking soda
- ⅝ teaspoon salt
- 1 large egg, room temperature
- 1 large egg yolk, room temperature
- ⅓ cup vegetable oil
- ⅝ cup whole milk, room temperature
- 1¼ teaspoons vanilla extract
Frosting
- ¾ cup white chocolate
- 9 Tablespoons salted butter, room temperature
- 1⅛ cups powdered sugar, sifted
- 1/16-⅛ teaspoon peppermint extract
- 1⅛ Tablespoons heavy cream
- crushed candy canes, for topping (optional)
Instructions
Cupcakes
- Heat oven to 350℉/177℃.
- Line muffin tin with paper liners, or spray with baking spray. Set aside.
- In a small bowl, whisk together cocoa and boiling water. Set aside.
- In a large bowl, whisk together flour, sugar, baking powder, baking soda, and salt. Set aside.
- In a medium bowl, whisk together egg, egg yolk, oil, milk, and vanilla.
- Pour wet ingredients over dry ingredients.
- Whisk only to blend.
- Stir in chocolate.
- Fill muffin cups ⅔ full.
- Bake for 18-20 minutes, or until done.
Frosting
- Place white chocolate in a microwave proof bowl.
- Microwave in 15 second increments, stirring well after each, until melted and smooth. Set aside.
- With an electric mixer, beat butter and powdered sugar until light and fluffy.
- Stir in melted chocolate.
- Mix in peppermint extract and cream.
- Beat until light and fluffy.
- Spoon into a piping bag fitted with desired tip, optional.
- Pipe or spread on top of cooled cupcakes.
- Top with crushed candy canes (optional).
Notes + Tips!
- Room temperature is about 70℉/21℃.
- Remember to preheat your oven.
- Make sure you’re baking soda and baking powder are in-date!
- Do not over-mix the batter.
- To ensure each cupcake is the same size, use a large cookie scoop (3 Tablespoons)!
- If you’re unsure the cupcakes are done baking, poke the middles with a toothpick or cake tester. If it comes out clean, then they’re done! If there’s still batter on it, the cupcakes may need to be baked 2-3 minutes more.
- When melting the chocolate for the frosting, do not leave it long! If it gets too cold, remelt the chocolate before adding it.
Tools You May Need (affiliate links)
– Still Hungry? –
Here are a few recipes may like!


