Dark Chocolate Peppermint Layer Cake with White Chocolate Peppermint Frosting
This post may contain affiliate links, please visit our privacy policy for details.
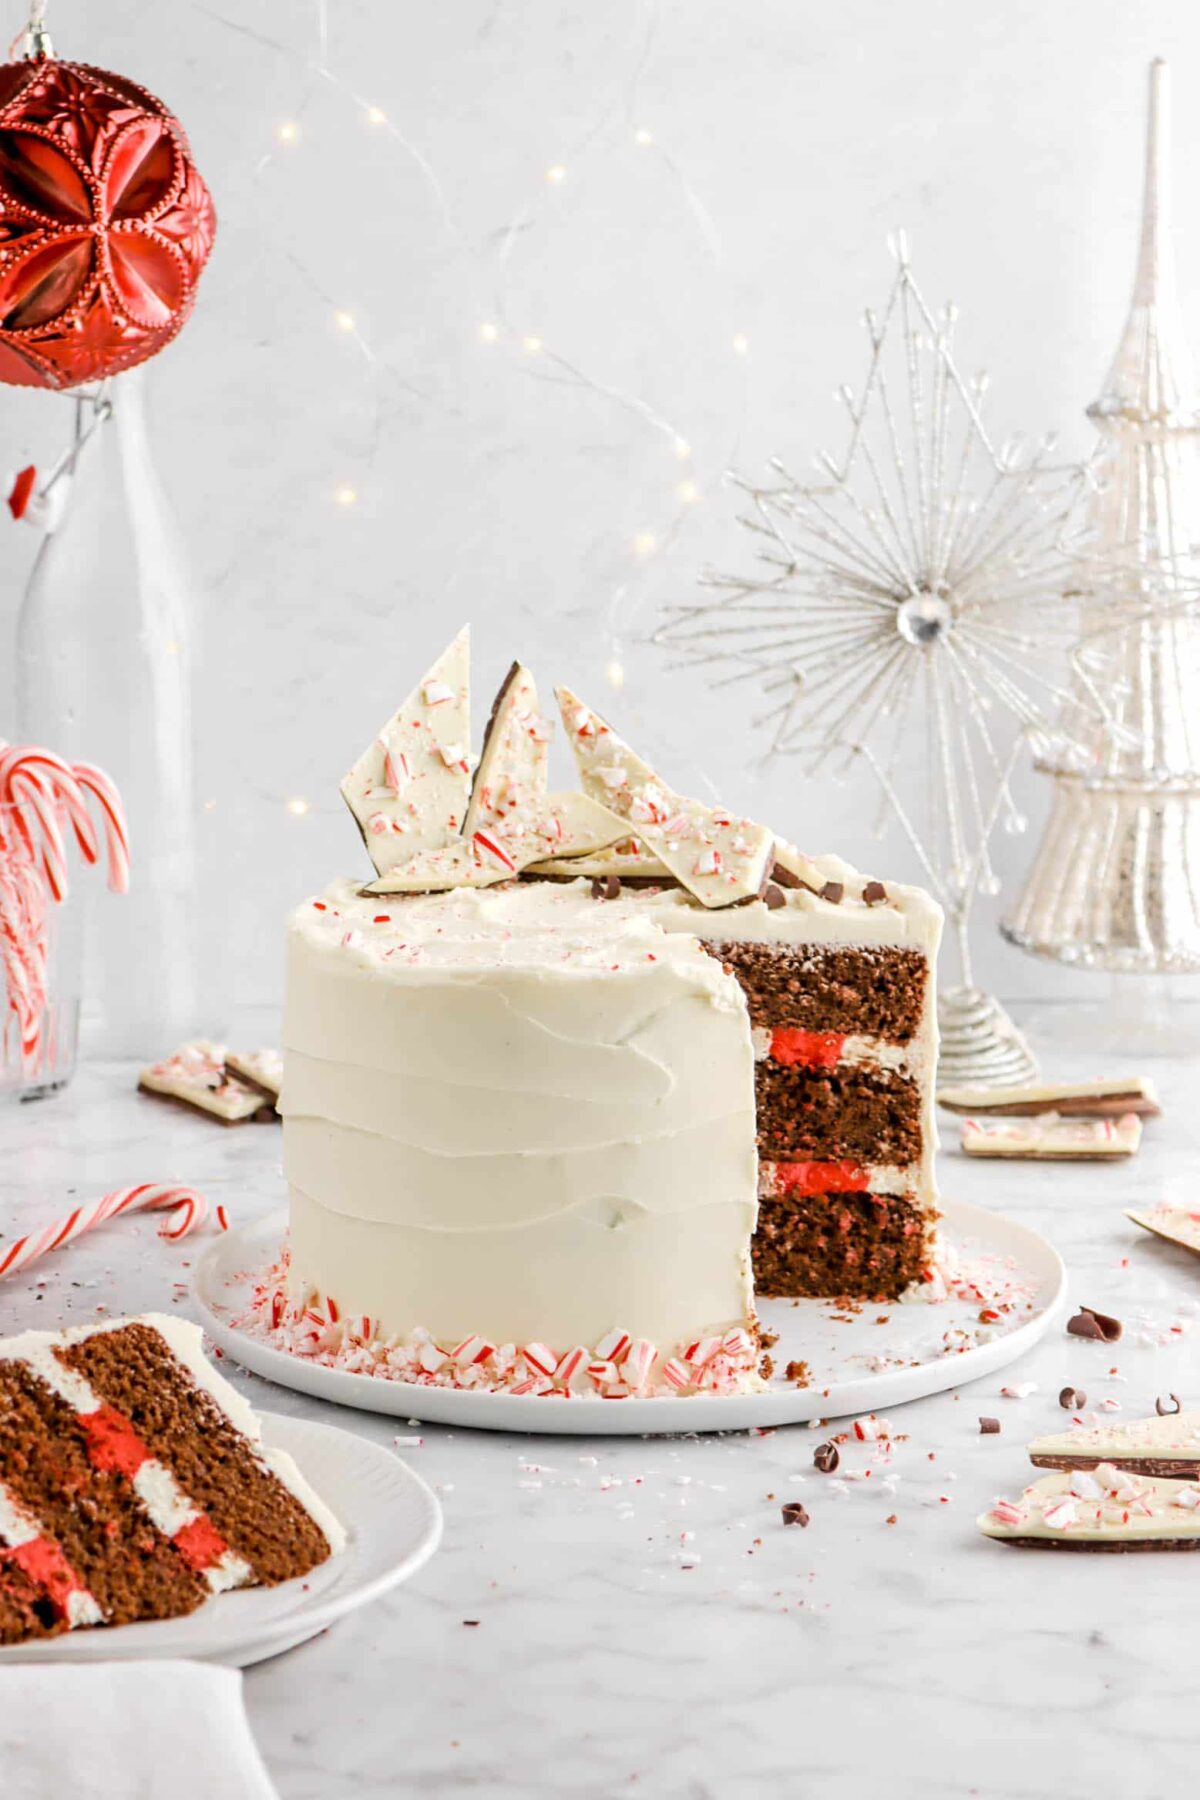
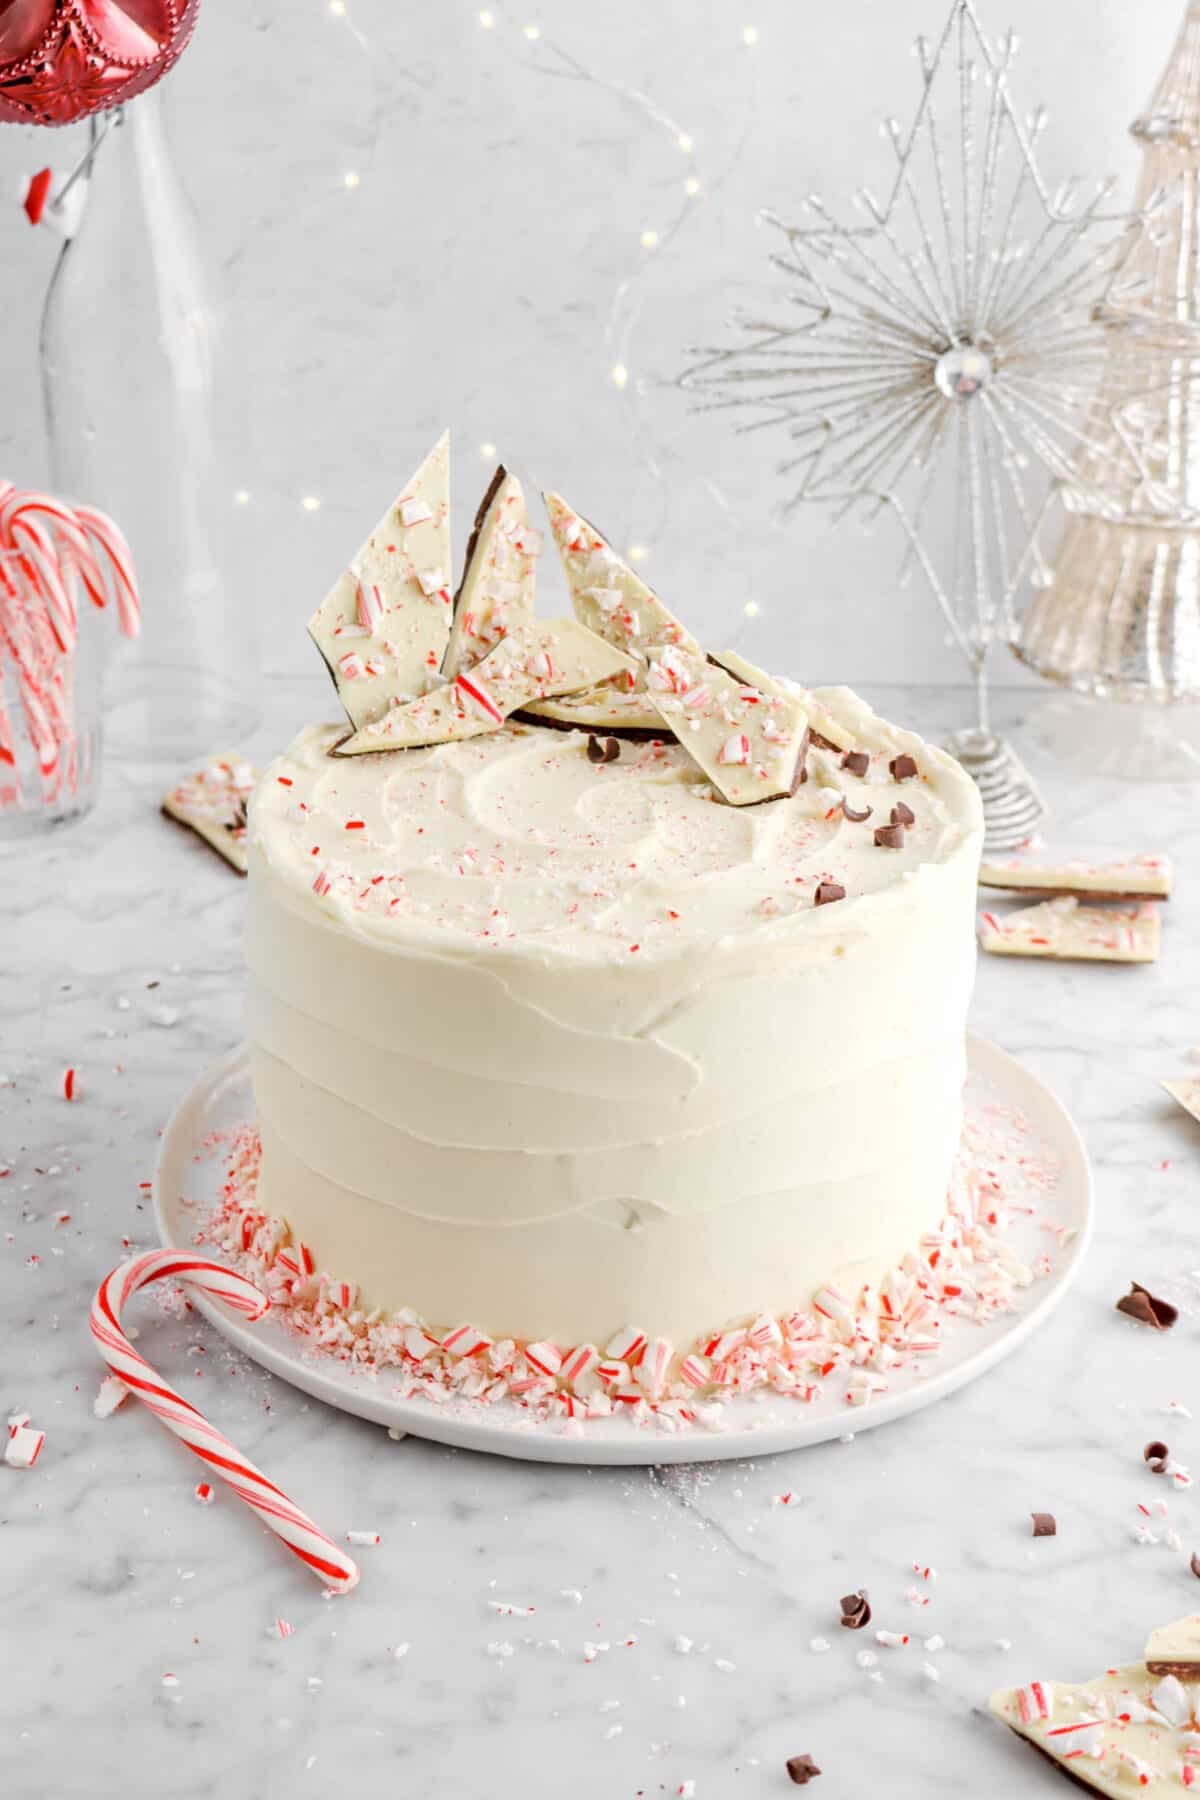
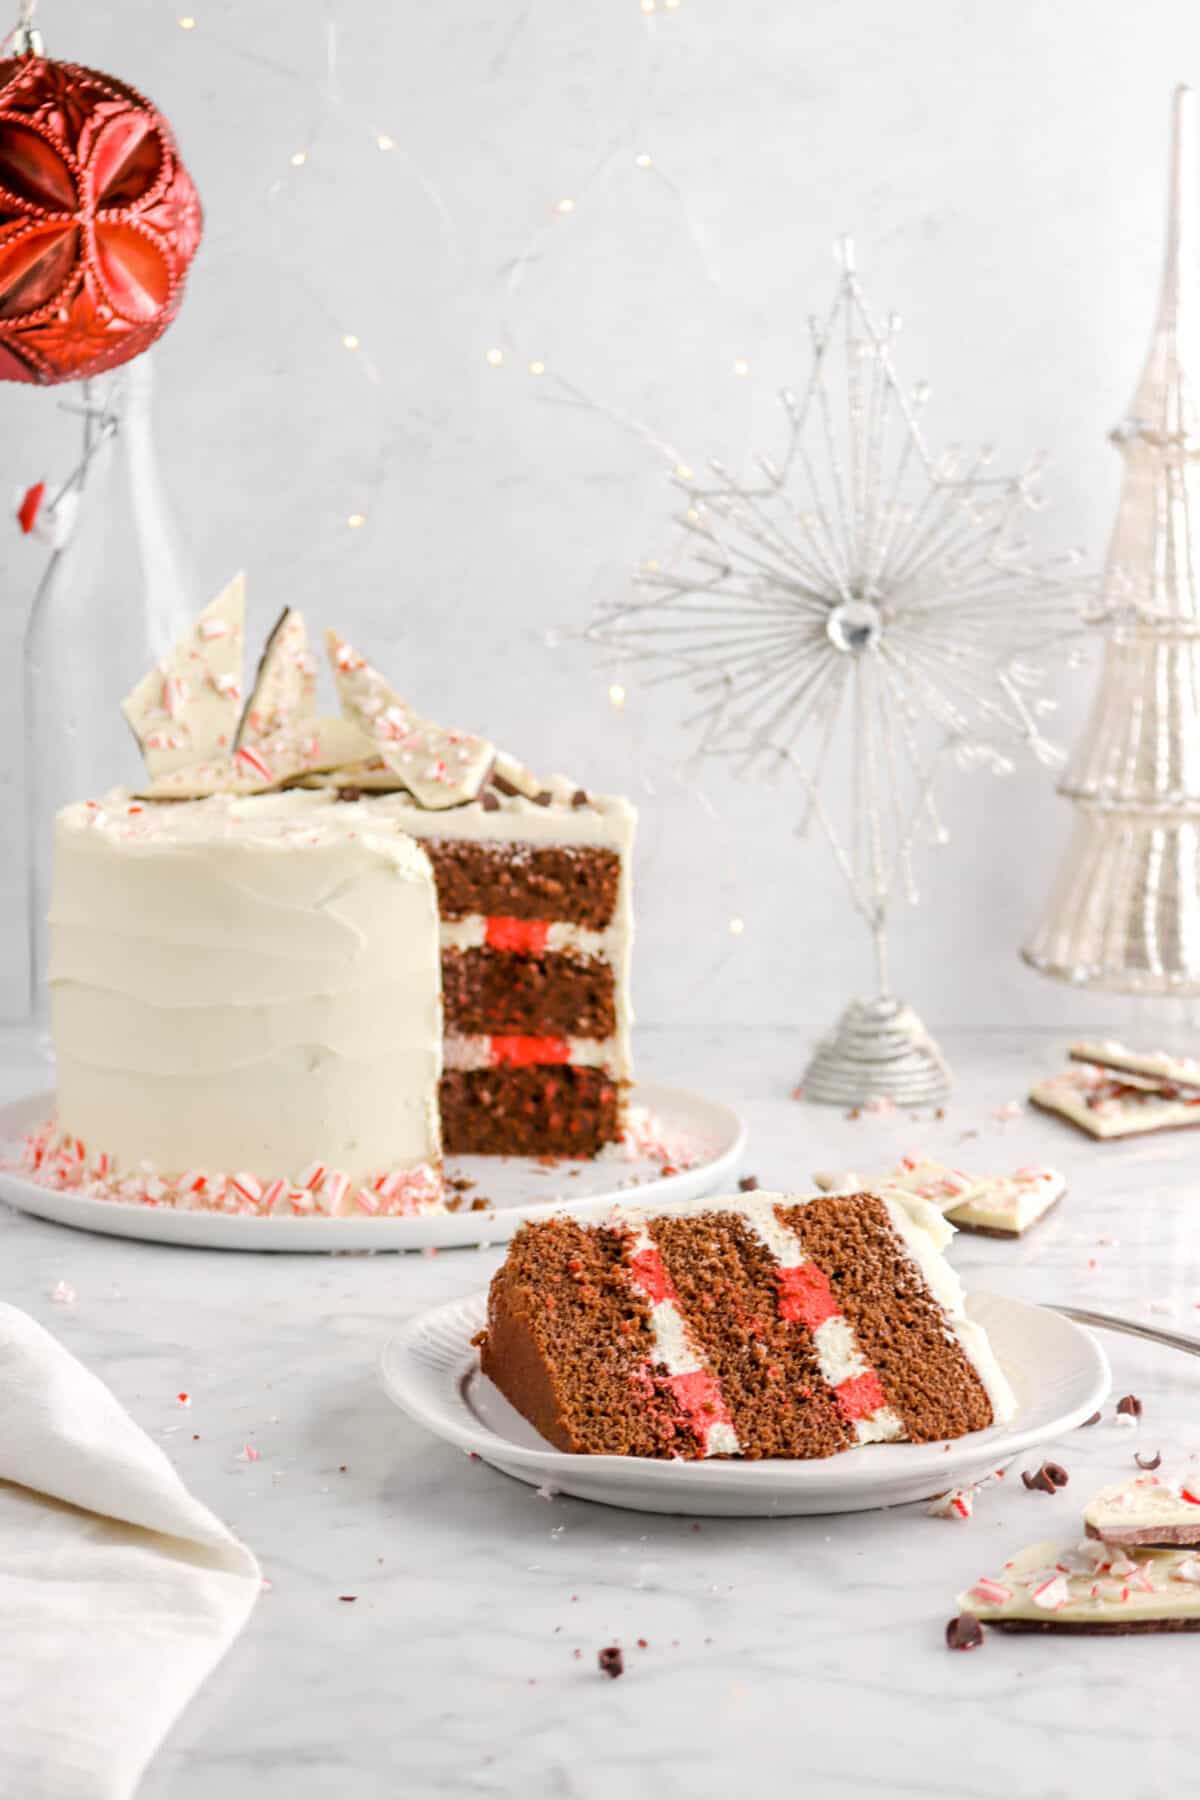
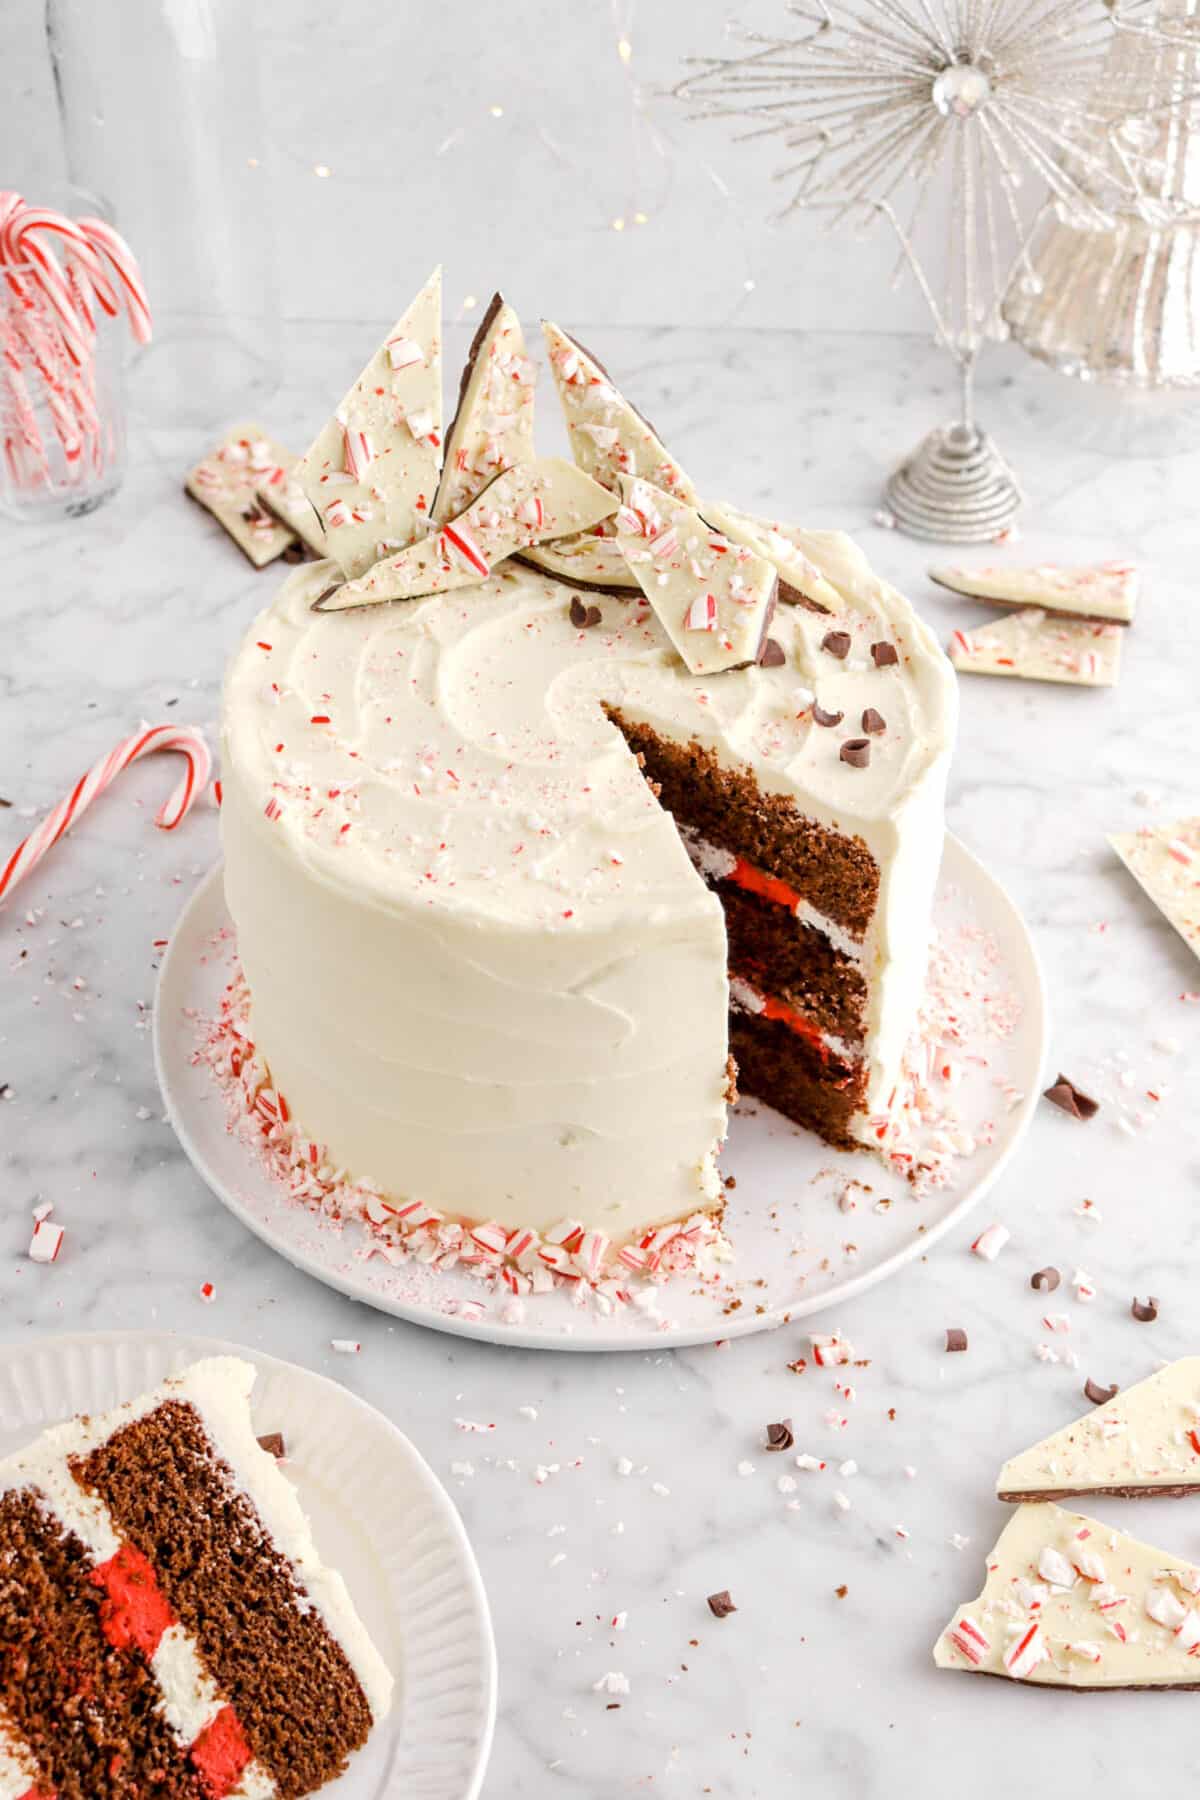
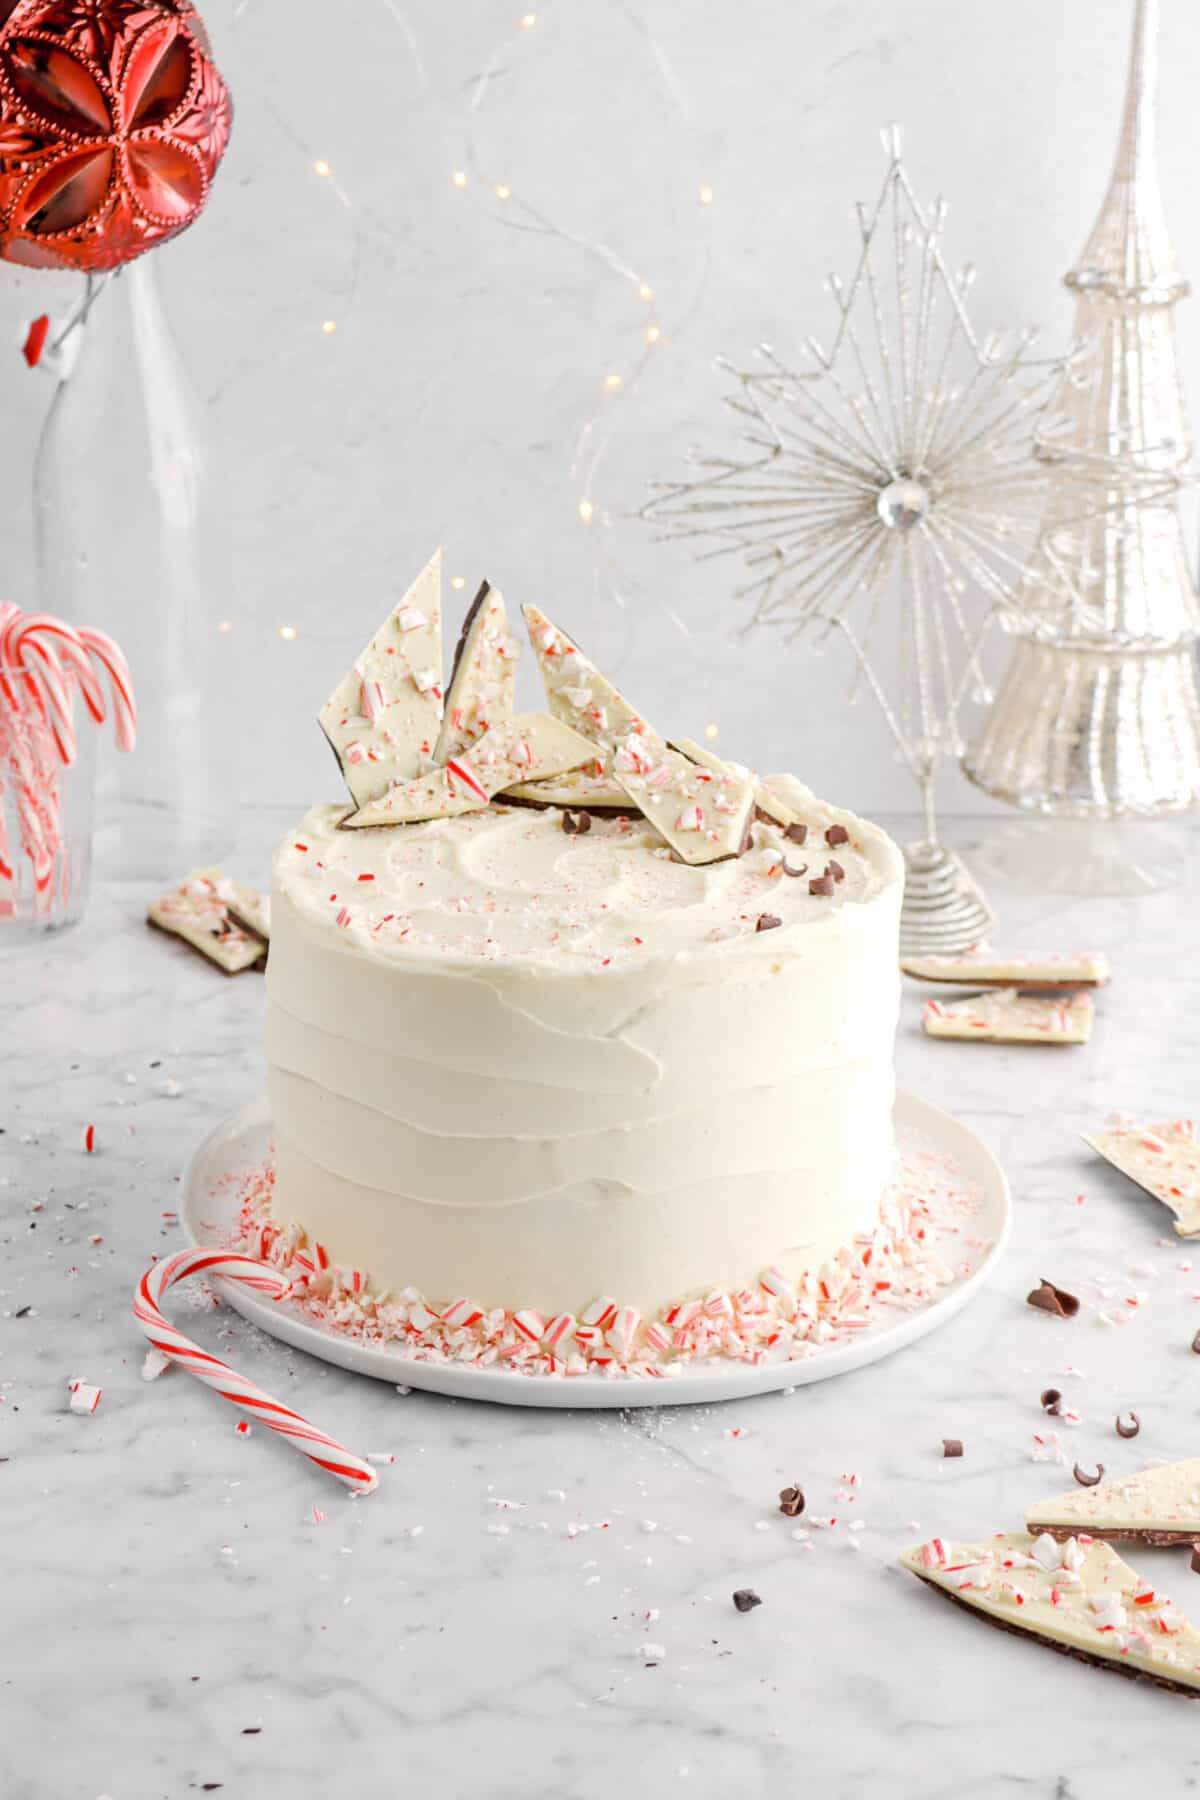
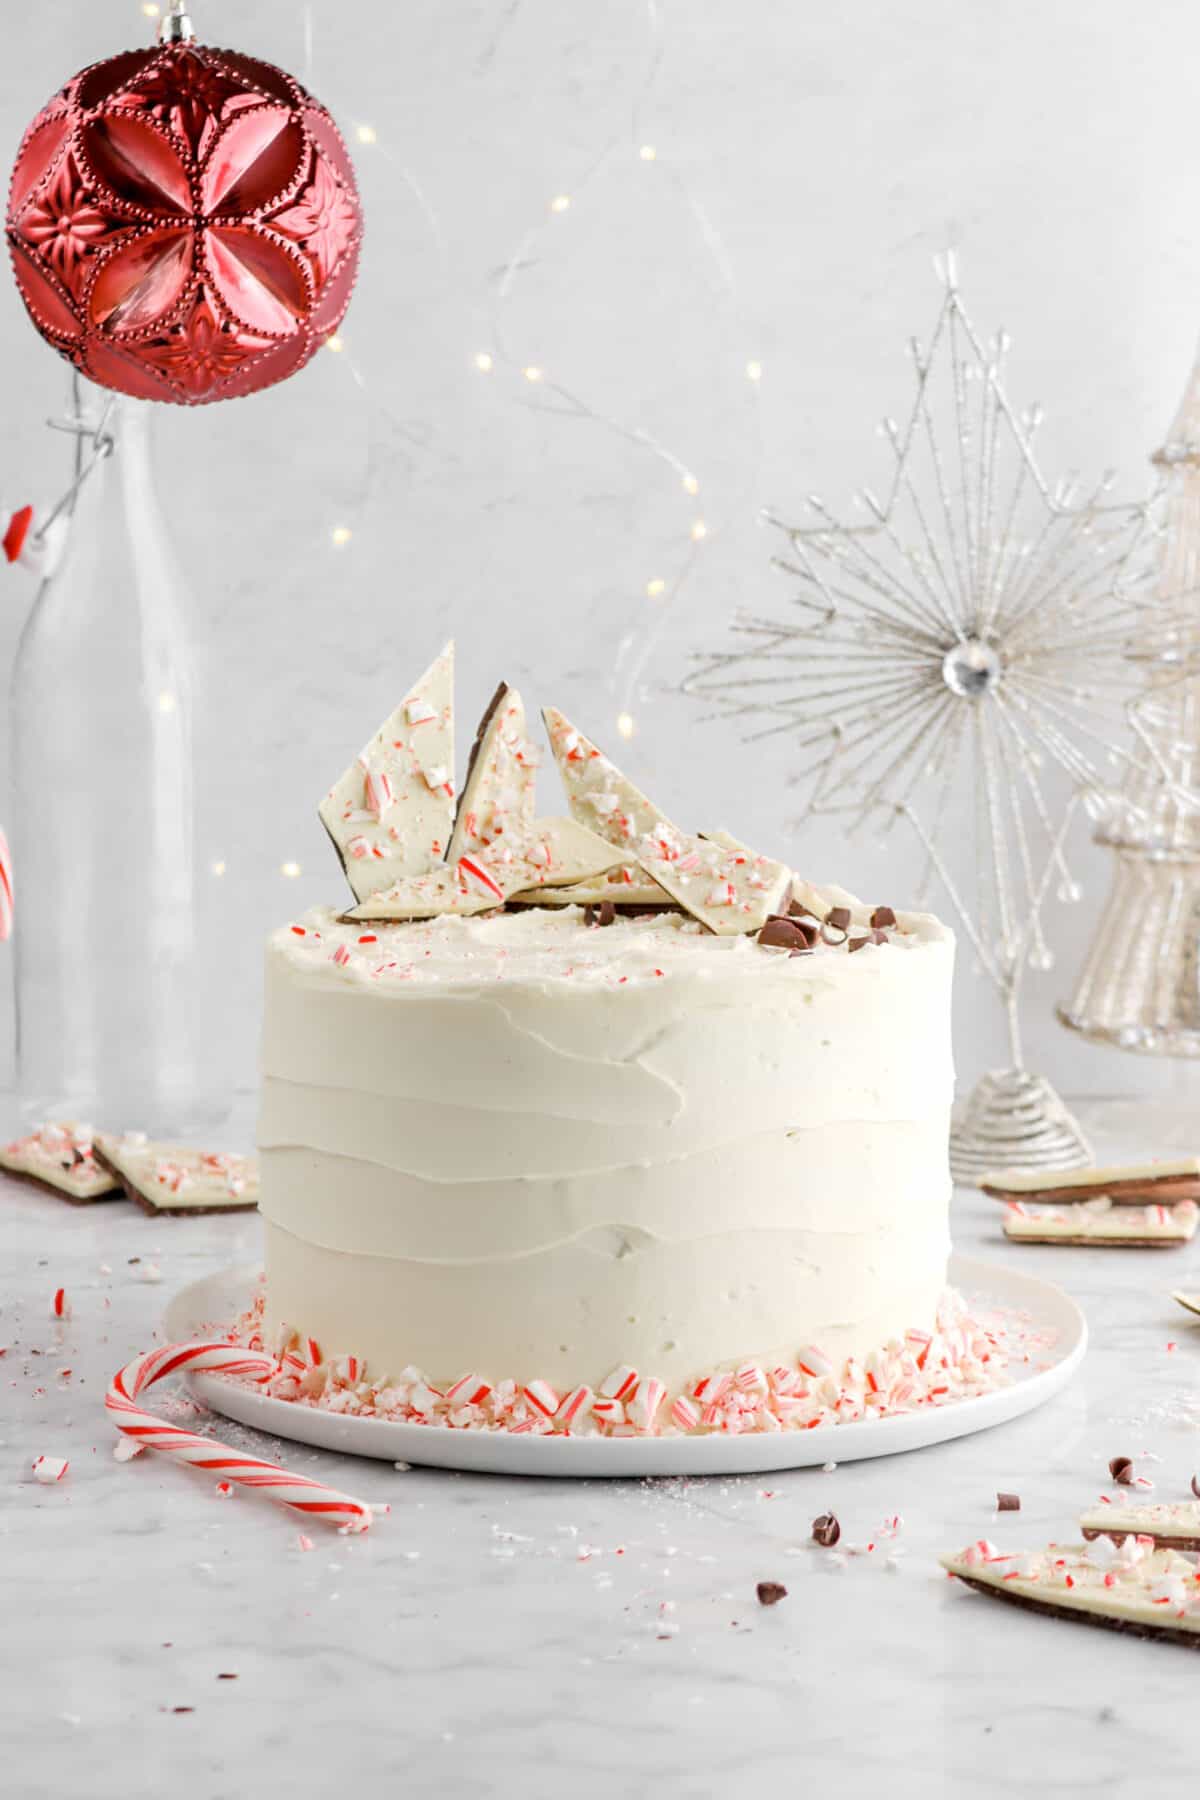
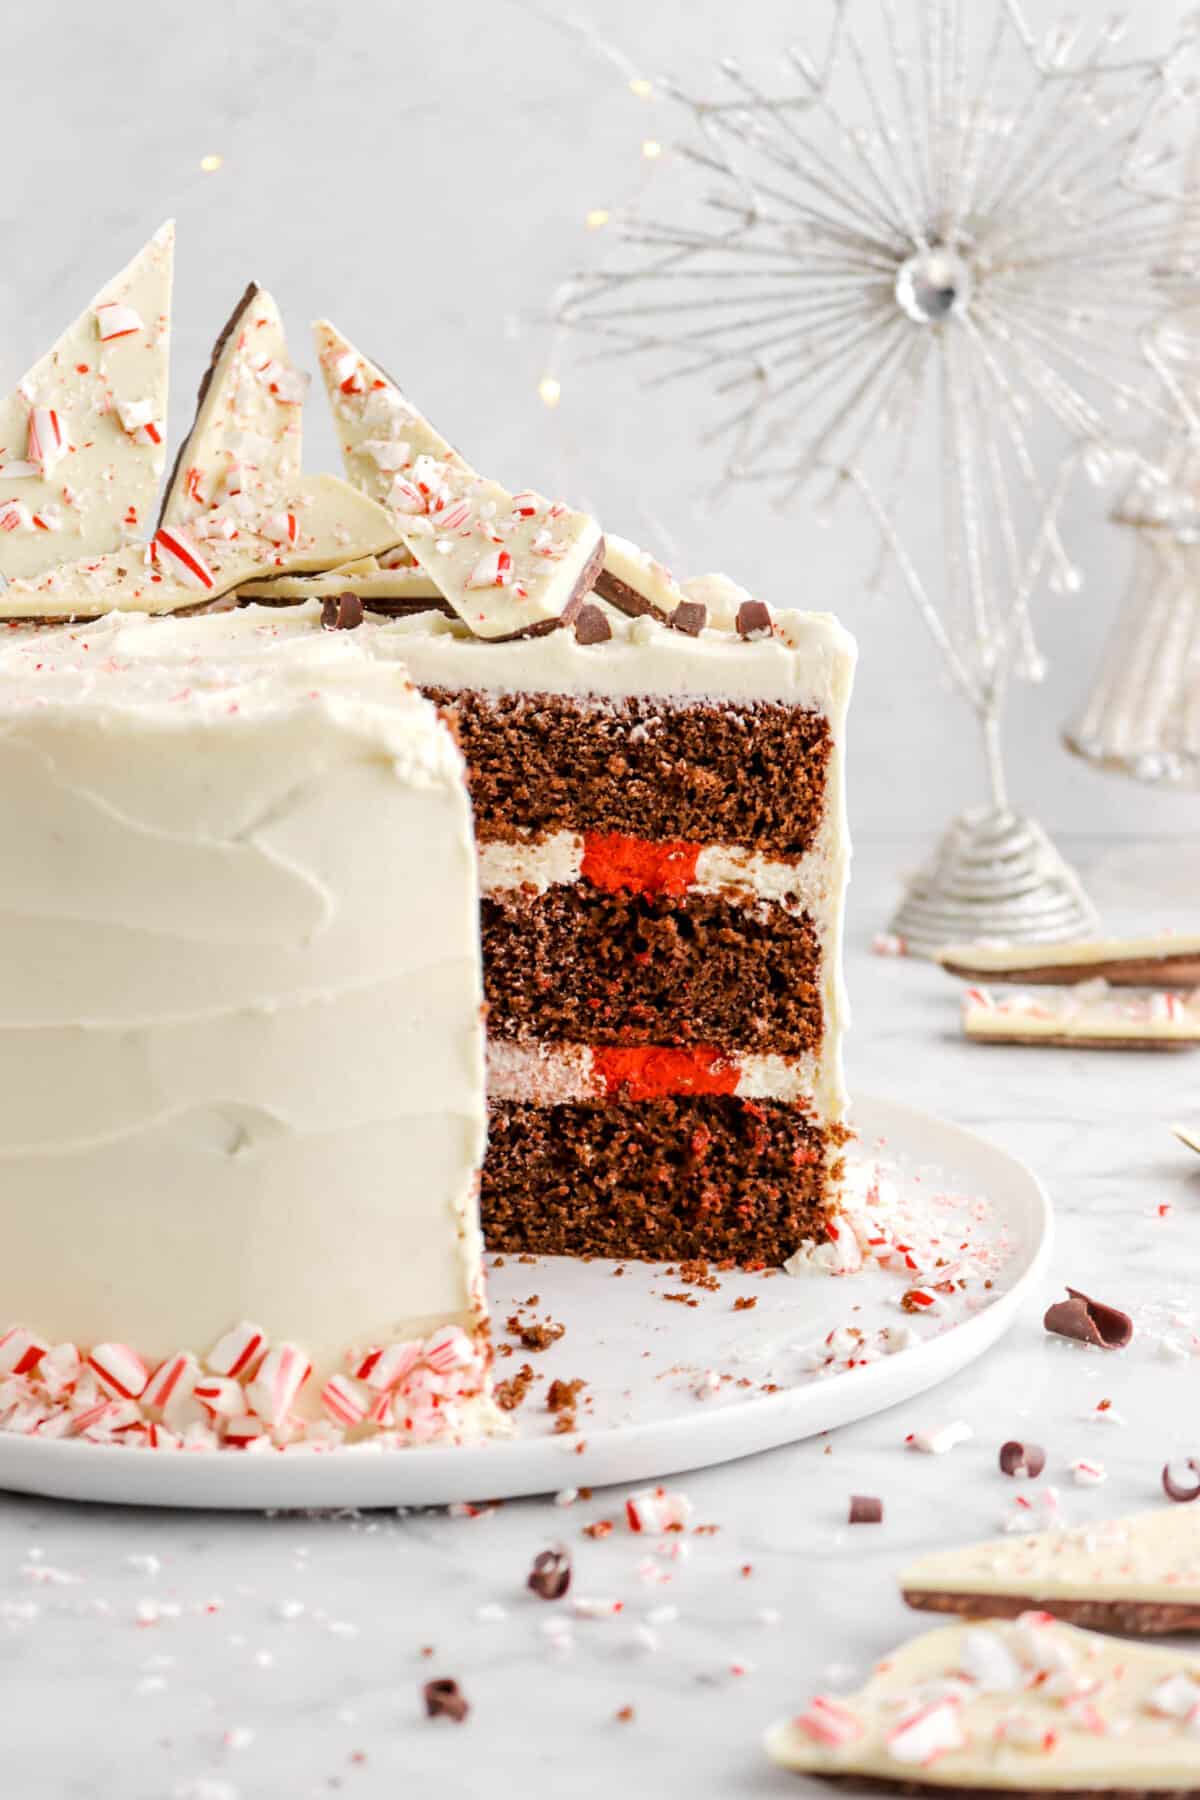
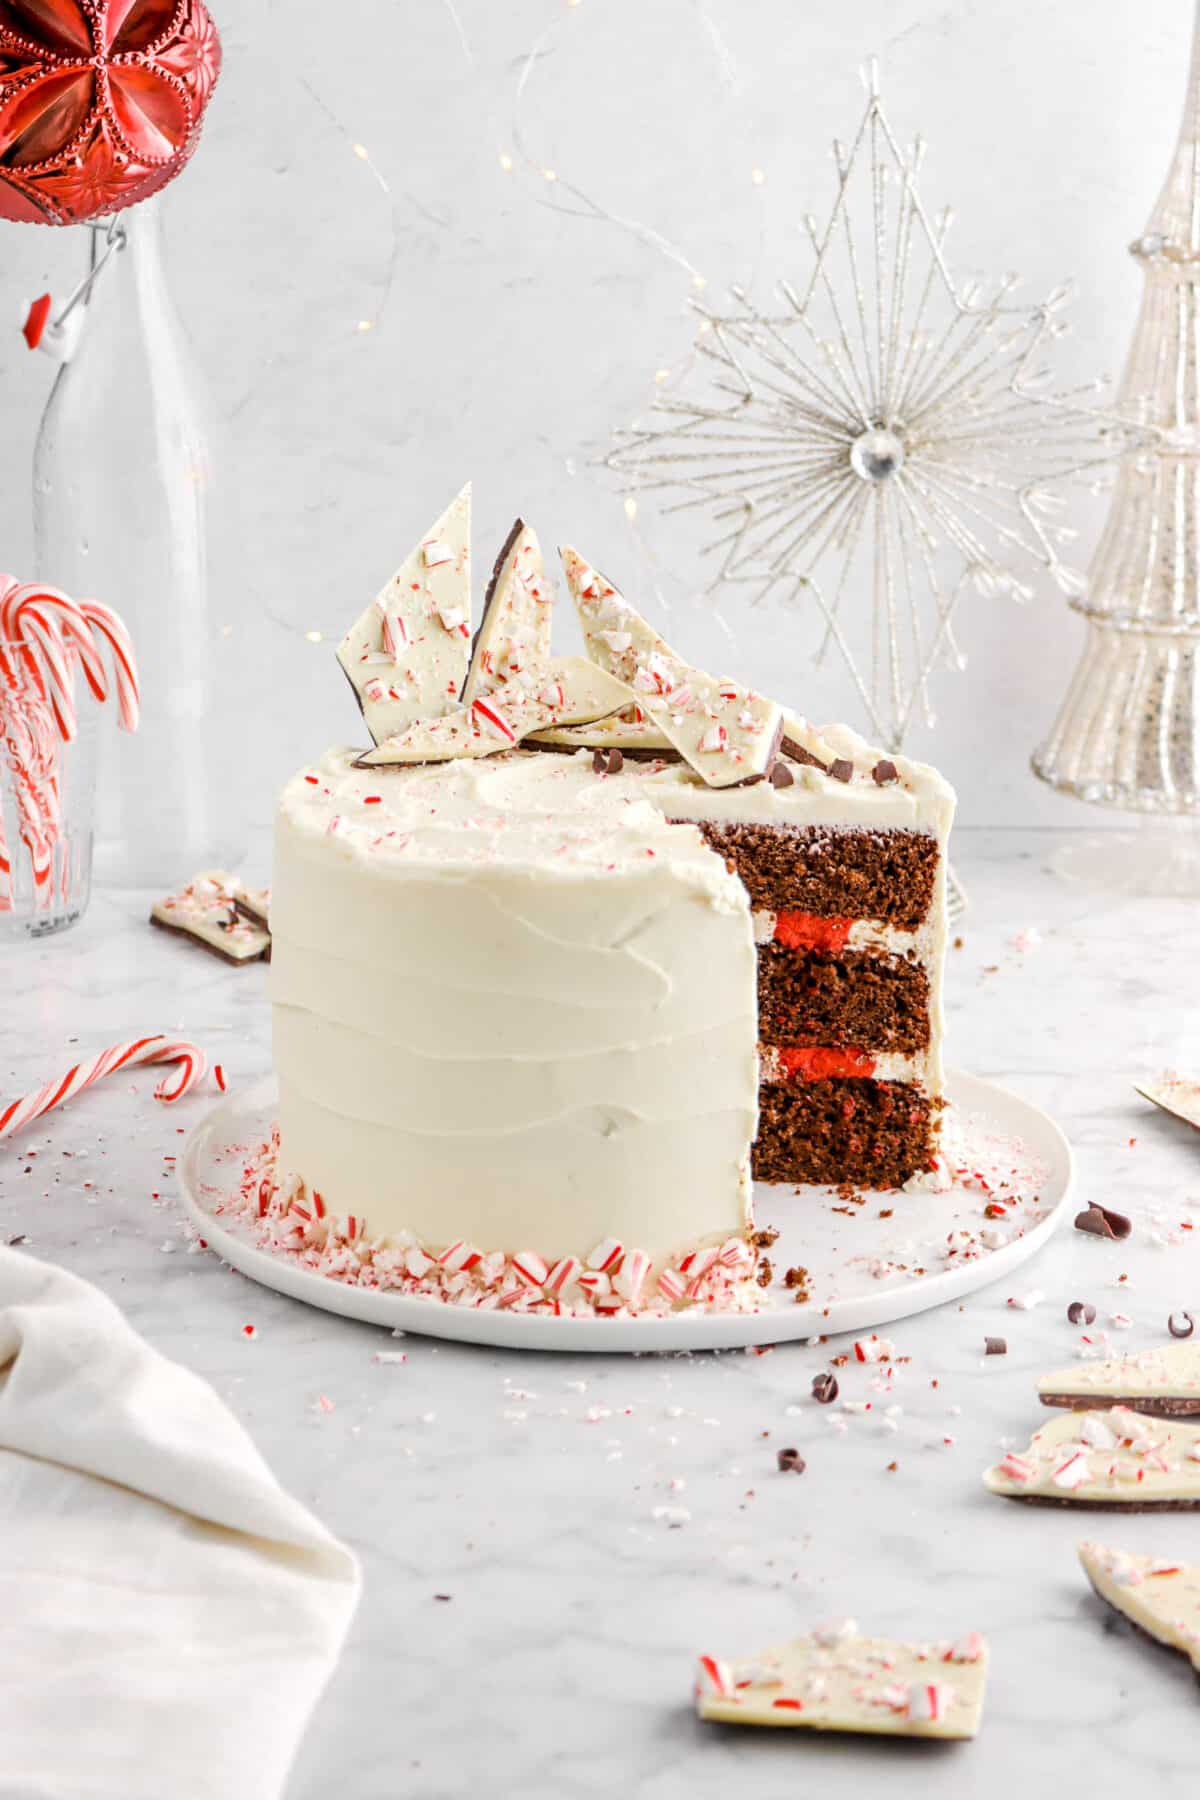
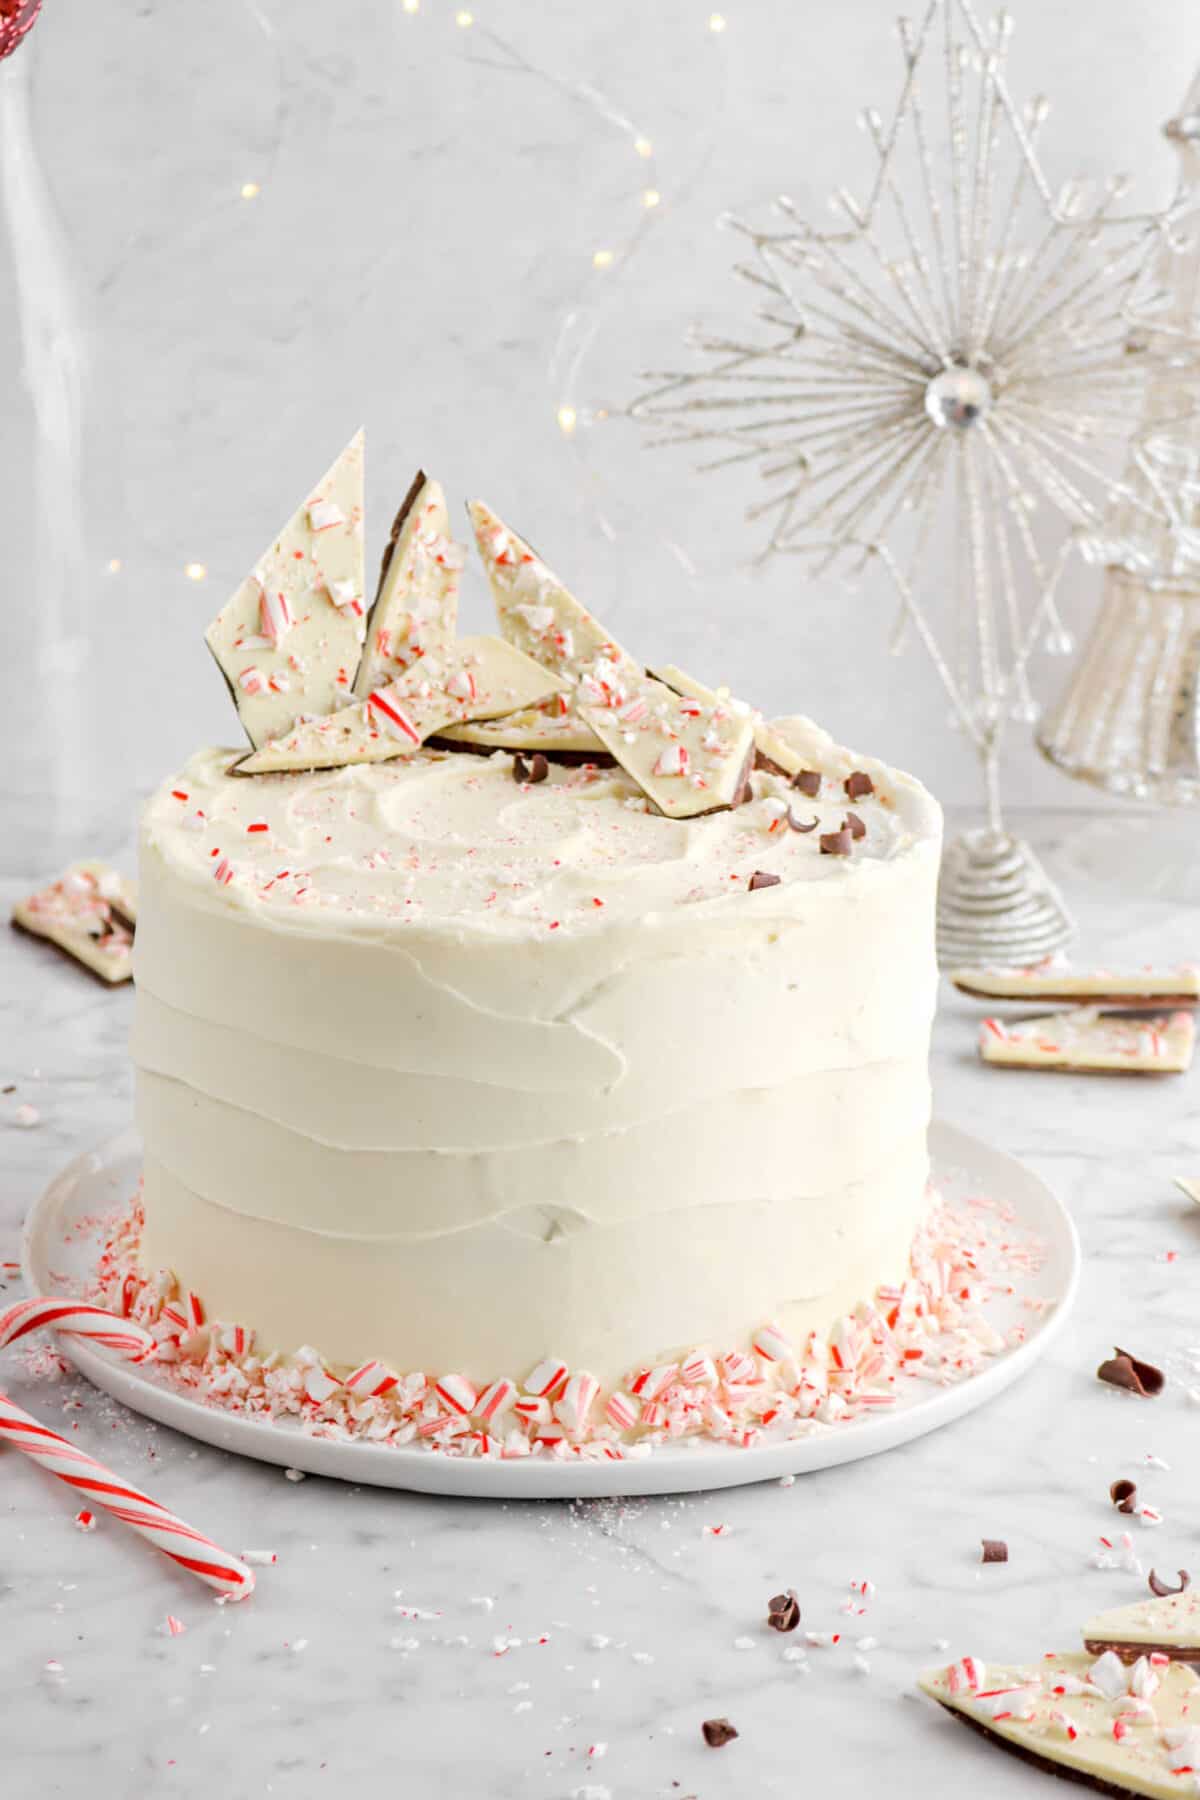
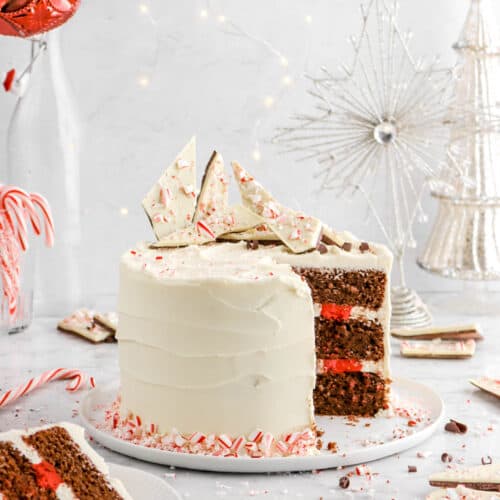
Dark Chocolate Peppermint Layer Cake with White Chocolate Peppermint Frosting. Taking some inspiration from the simplest, but most delicious Christmas/Winter flavors with this DELICIOUS chocolate peppermint layer cake. Picture your favorite peppermint bark, but made into a deliciously decadent cake! Each layer of fluffy, rich, moist, and extra chocolate-y cake is covered with an incredible, roll your eyes back good peppermint frosting. It’s sweet and creamy, without tasting too minty. Oh, and did I mention the frosting on the inside of the cake is red and white to look like a candy cane? There’s soo much to love here! After baking and layering the cake, it’s then topped with beautifully simple white chocolate peppermint buttercream frosting…and plenty of crushed candy canes, of course! Every bite is sweet, minty, light and fluffy, and truly delicious. The perfect cake to enjoy any day during the winter, but especially on Christmas!
About The Recipe
If you’ve been looking for a show-stopping dessert to make this Christmas, look no further than this Dark Chocolate Peppermint Layer Cake with Peppermint Frosting! It’s not only incredibly festive, but actually super simple with a hidden design in the middle…an easy candy cane pattern, sandwiched in-between layers of moist chocolate cake layers.
This idea has been something my mom and I have been wanting to bake since last year! But, we had just run out of time. So, the cake got set aside for this year…and then we promptly forgot about it. We’ve been trying to get so many new recipes up now that it’s December.
And, just to be honest…It’s been a busy week! Phew, it’s been a busy few MONTHS. The holiday’s are always so much fun, but a lot of work. We stumbled upon the recipe (with my rough sketch of a photo) tucked away in our recipe ideas folder a few days ago and we knew we had to make it immediately! Because, this recipe couldn’t wait another year to share.
The day we test baked this cake, it actually turned out perfectly the first time! It was an immediate hit amongst our family, as we had put a splash of peppermint oil in the chocolate cake to make things a little different.
But we actually made a few changes to our original recipe idea right after the cake was baked. The other day, we had made fresh batch of peppermint bark to take photos of for the blog and, since we all loved it so much, we decided to turn our standard buttercream frosting into a white chocolate buttercream!
The first attempt at the buttercream…let’s just say didn’t go right. We let the white chocolate cool too much and, when we tried to stir it in, we had just chunks of white chocolate. We tried to save it, but it was just a mess. So, we tried again and worked much quicker!
It turned out beautifully the second try, but we had to make even more because I decided to do a hidden design in the cake…which took up most of the frosting I had planned to use to decorate the outside with. But it was worth it!
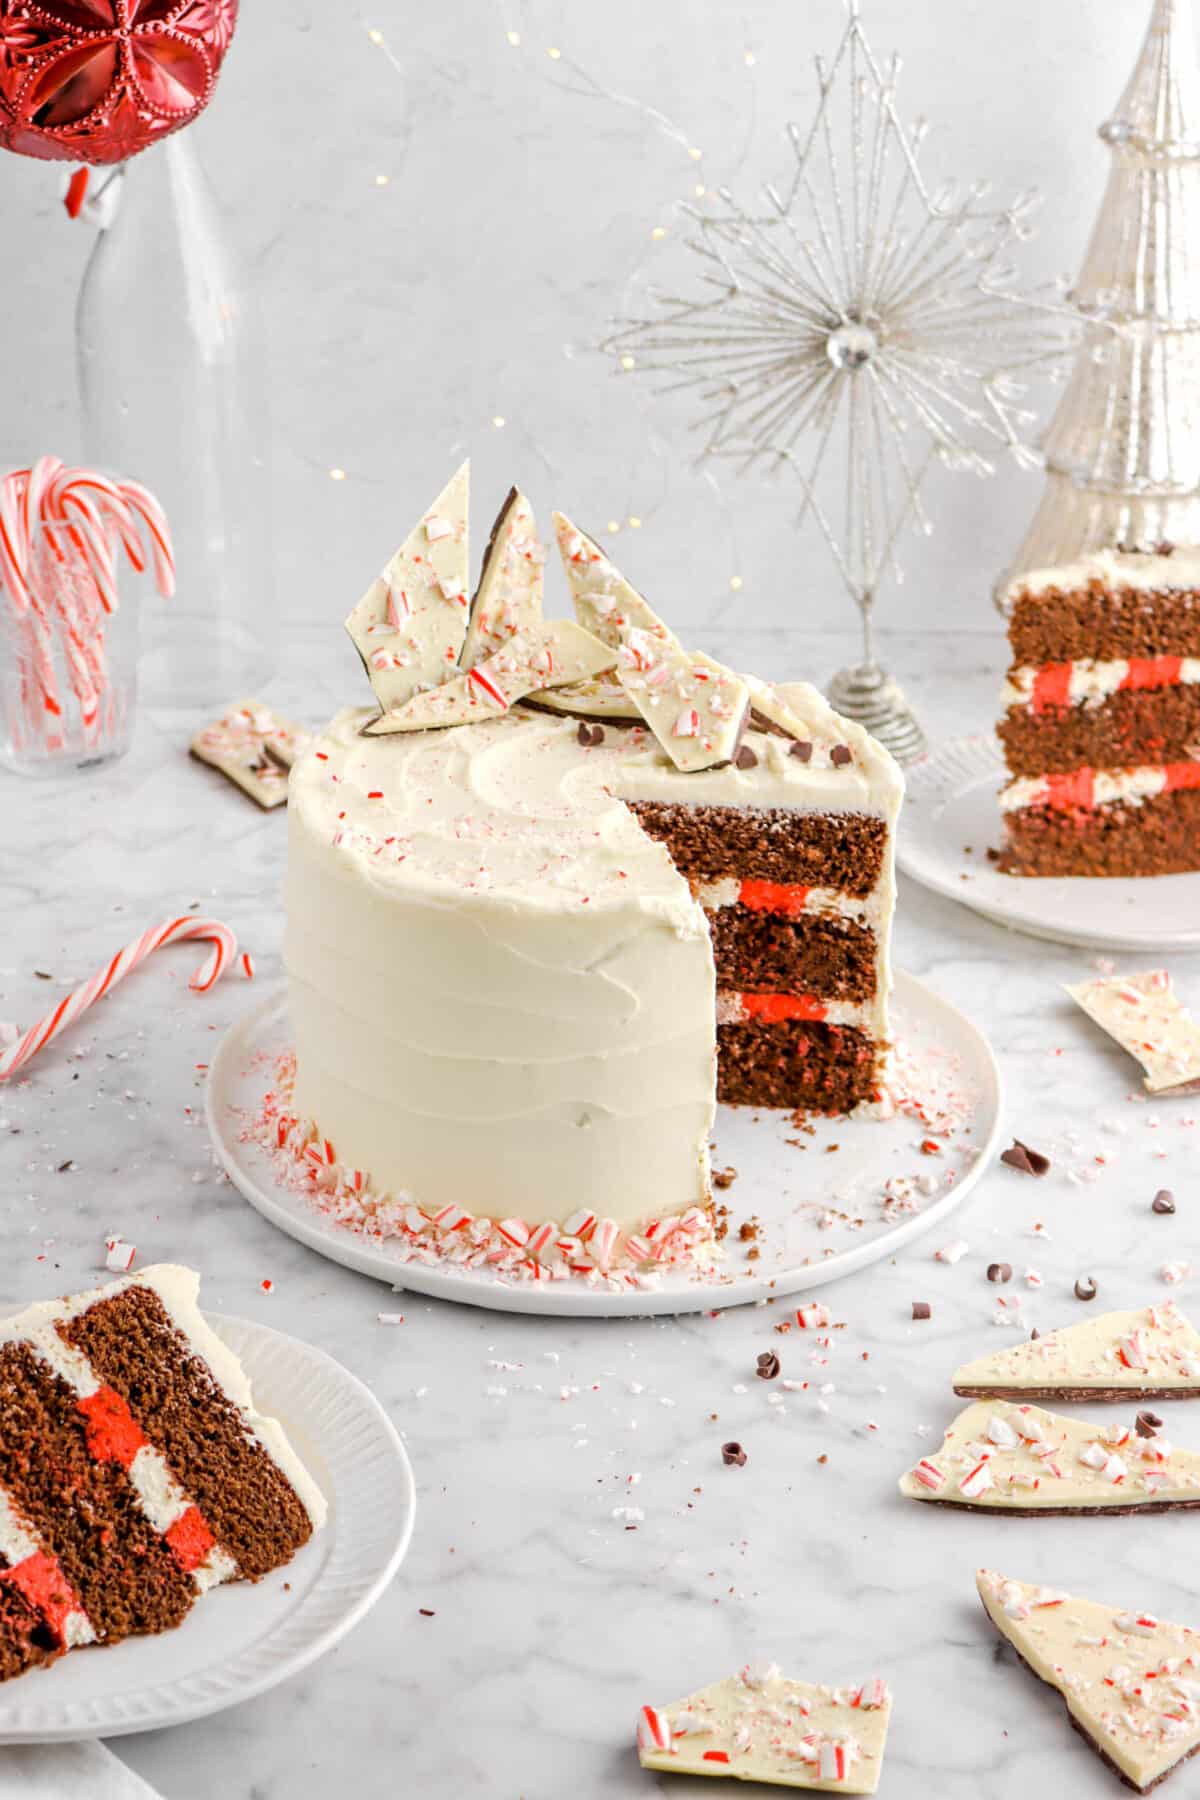
Not only is this a stunning Christmas cake, but every very bite is chocolate-y, moist, perfectly minty, and oh so pretty! Especially when you use peppermint bark and candy canes to decorate.
Reasons You Need To Bake This Chocolate Peppermint Cake
- It’s an absolute Christmas show-stopper…with minimal effort!
- It tastes just like peppermint bark.
- The cake is the perfect celebration of Christmas/Winter.
- It’s actually SO much easier to make than you think.
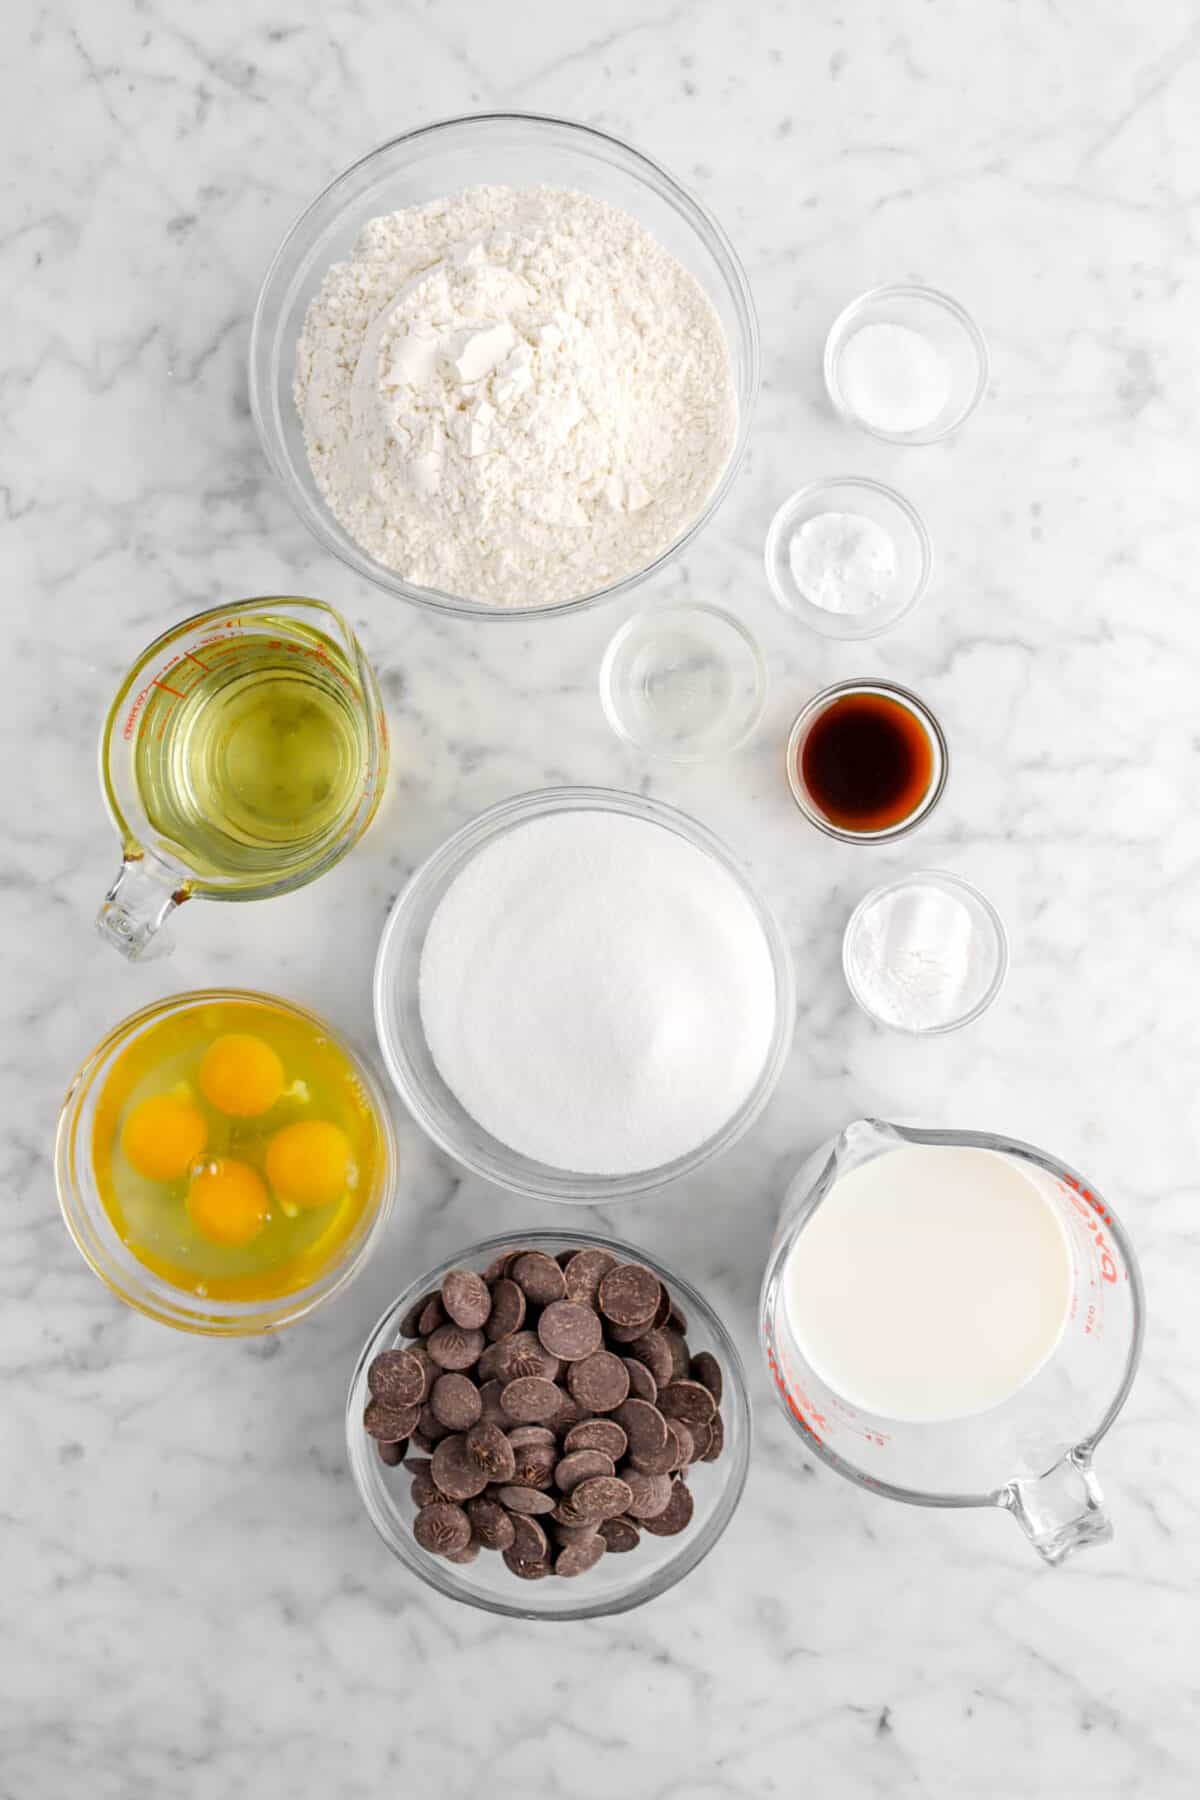
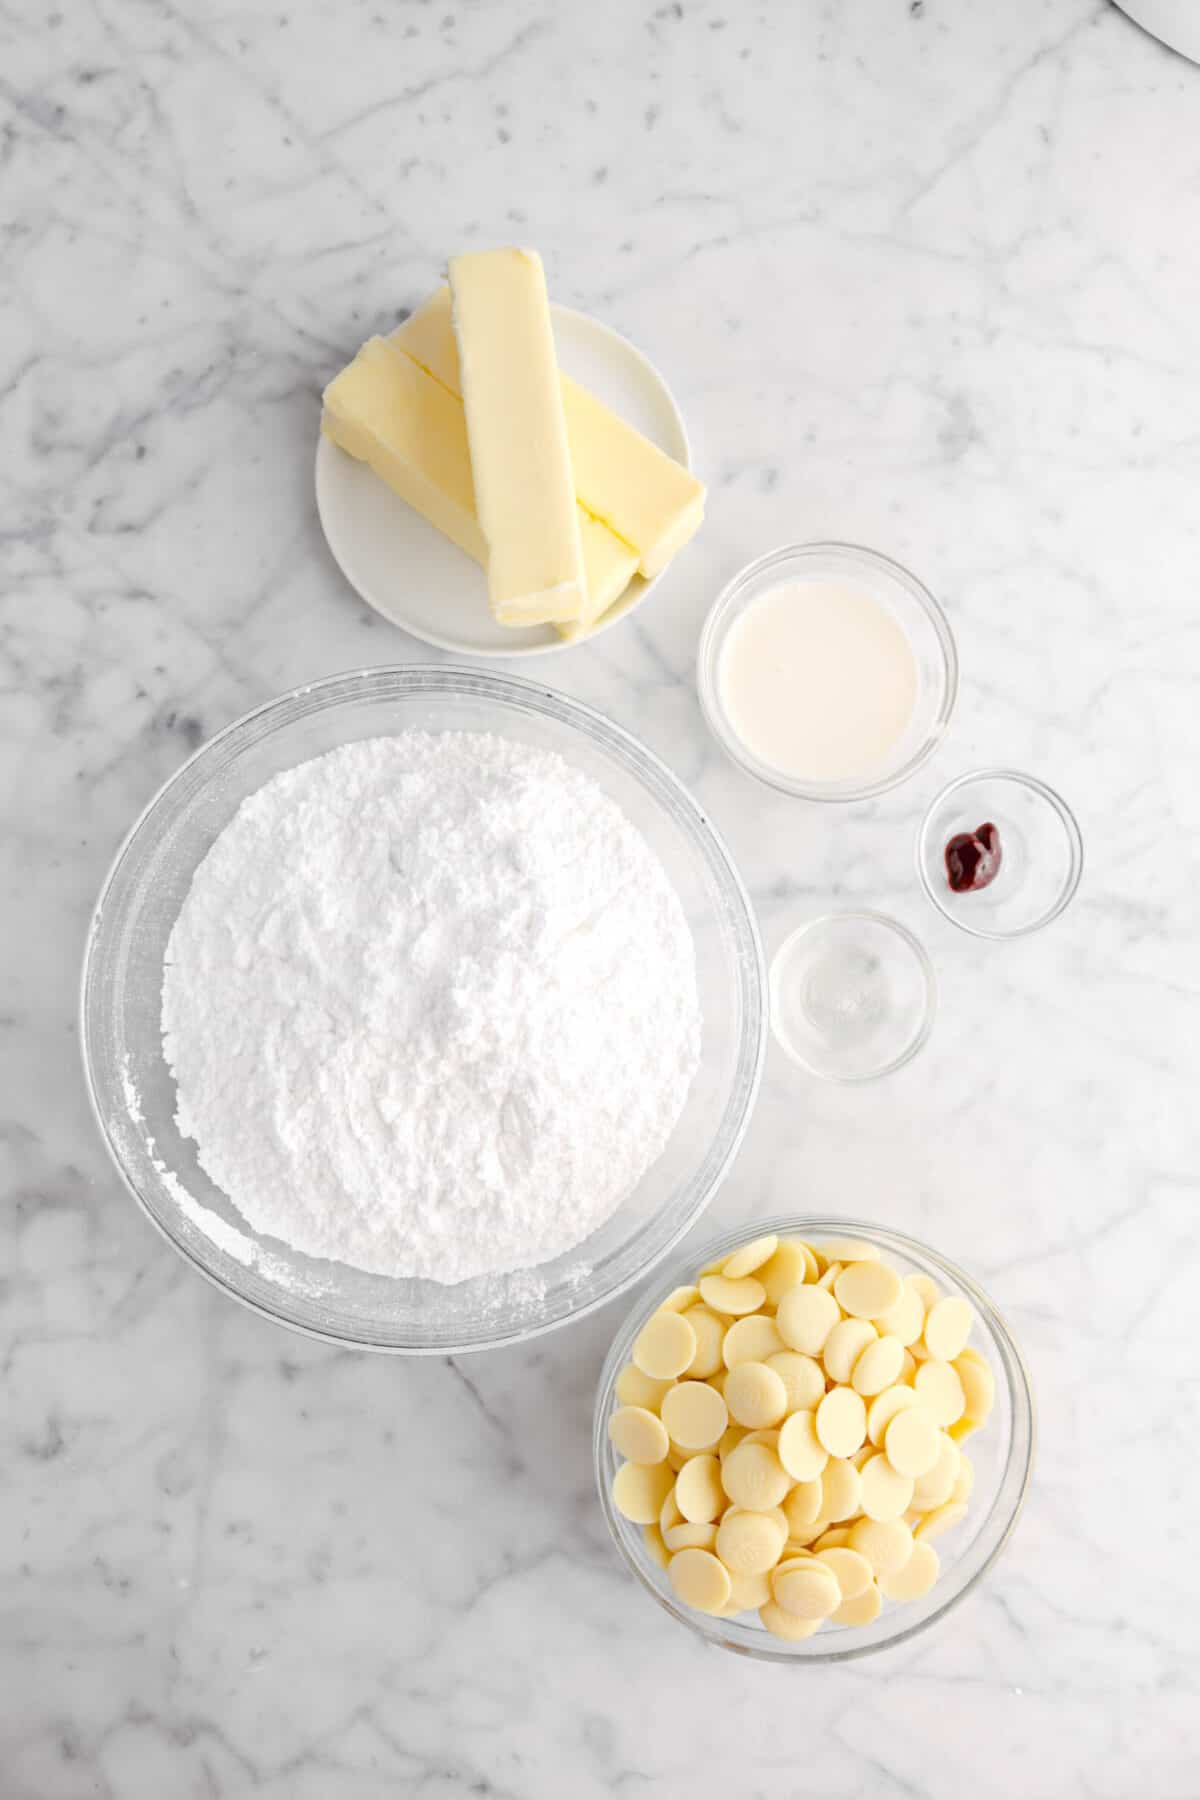
Ingredients
(Full ingredient amounts and instructions can be found in the recipe card at the bottom of the post)
For The Cake:
- All-Purpose Flour
- Granulated Sugar
- Baking Powder
- Baking Soda
- Salt
- Large Eggs
- Vegetable Oil
- Whole Milk
- Vanilla Extract
- Peppermint Oil
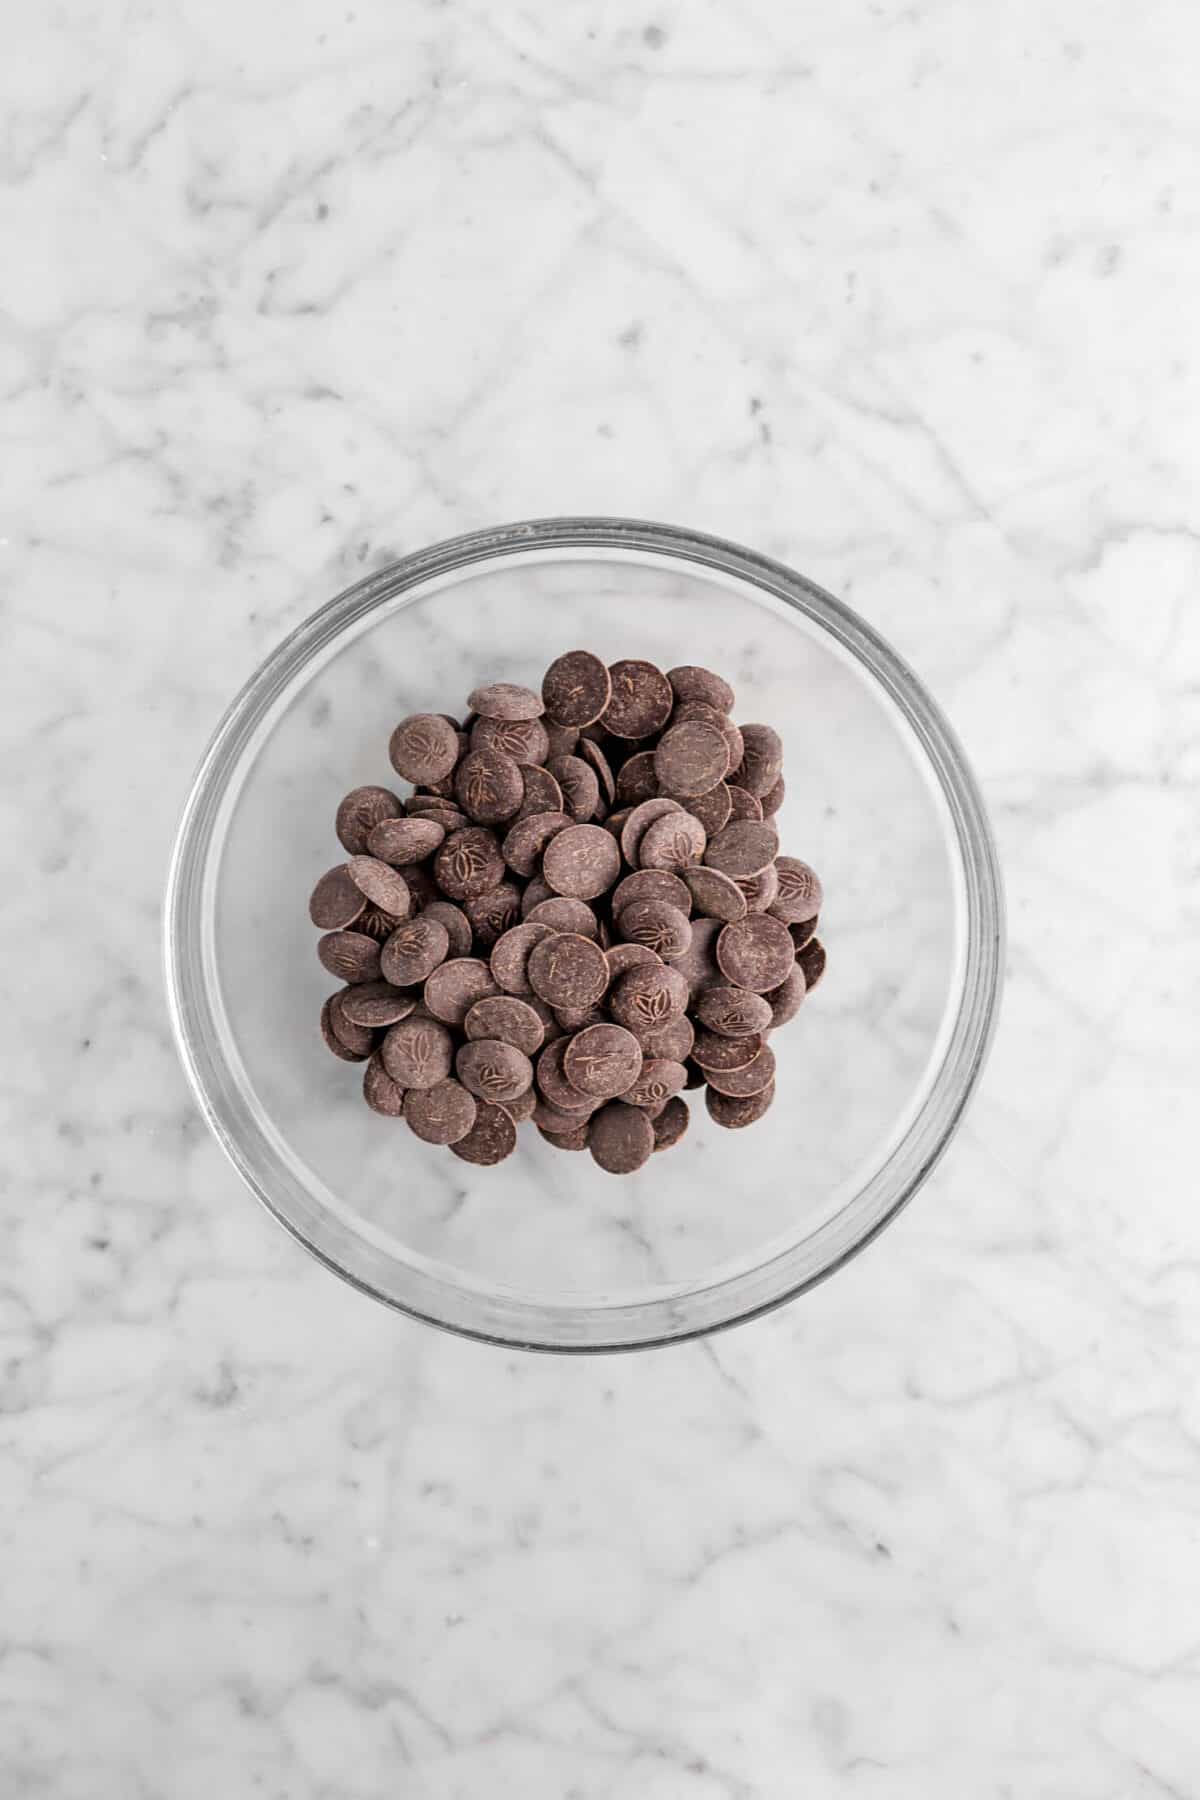
- Dark Chocolate
For The Frosting:
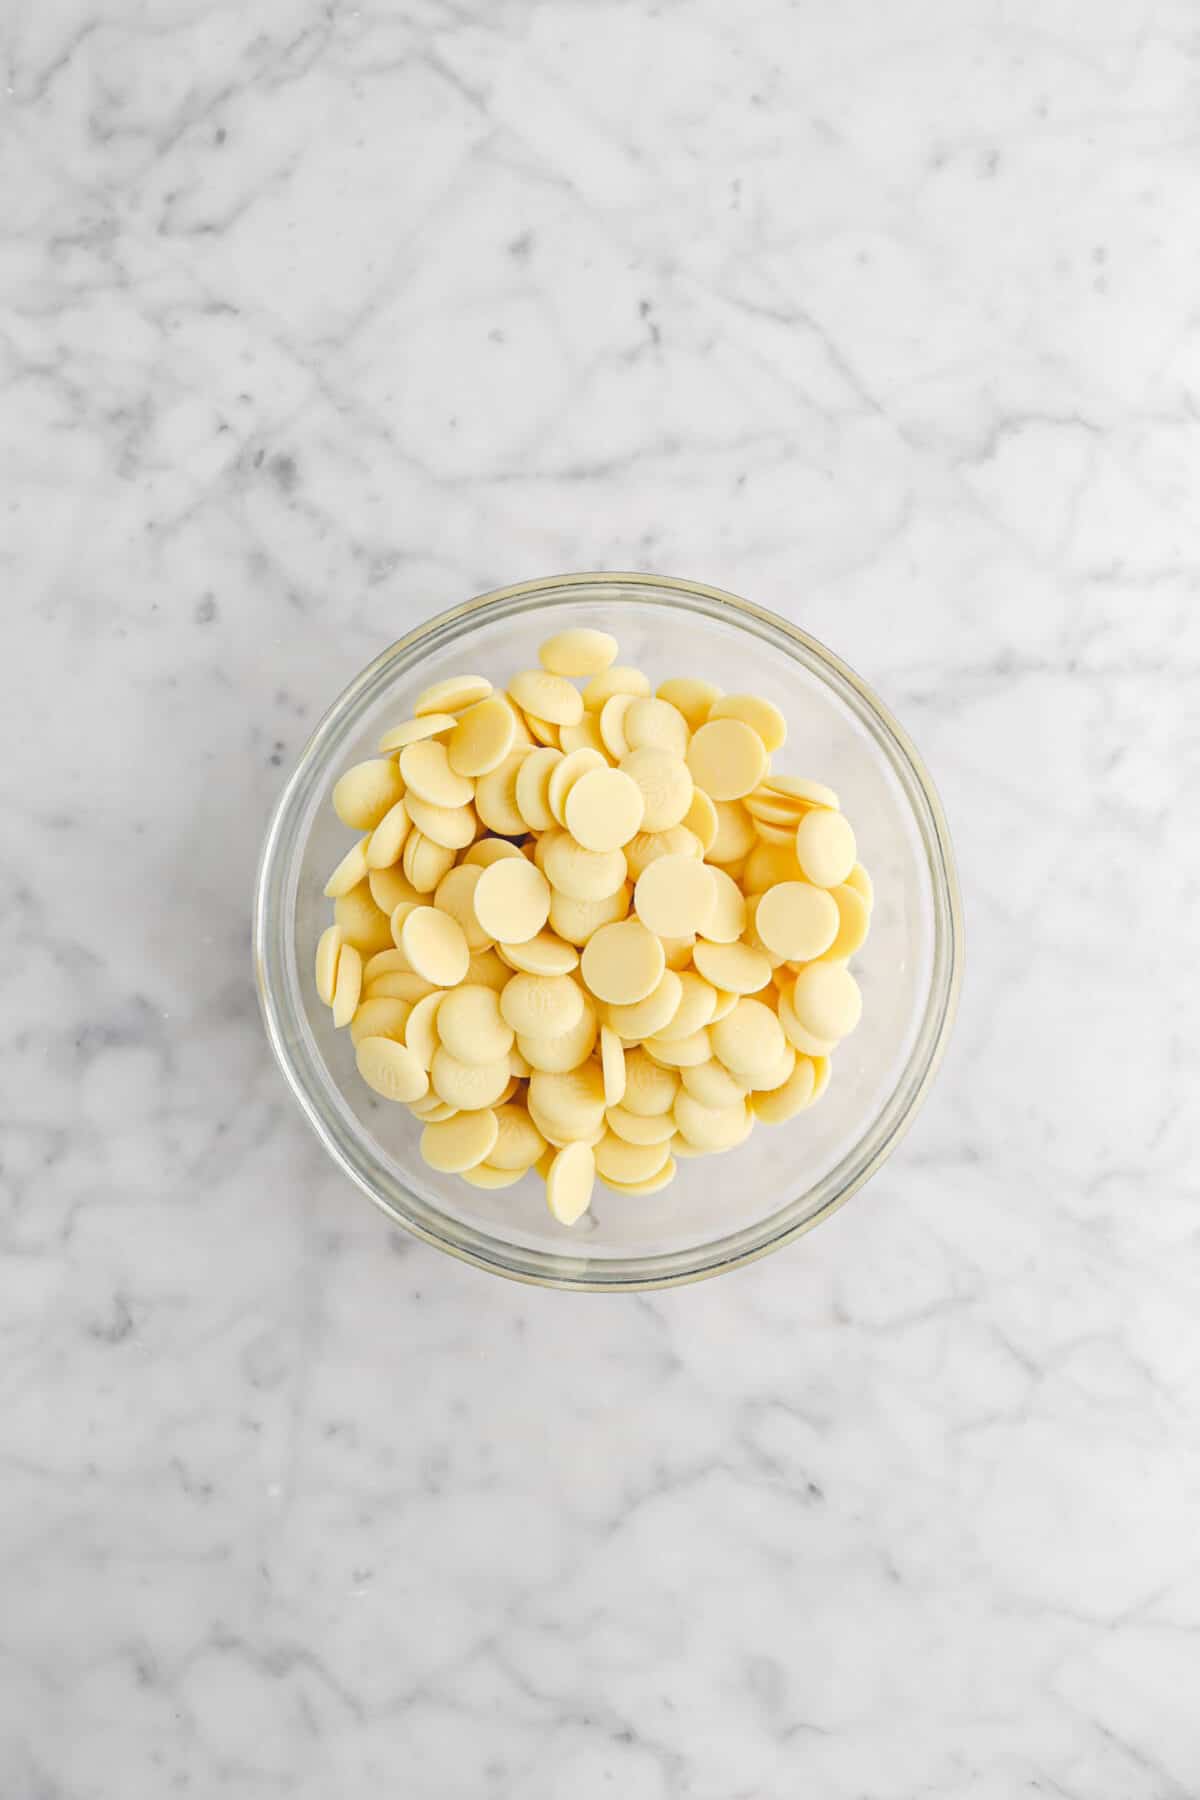
- White Chocolate
- Salted Butter
- Powdered Sugar
- Peppermint Oil
- Heavy Cream
- Red Food Dye
How To Make This Chocolate Peppermint Cake
Step 1: Make The Cake
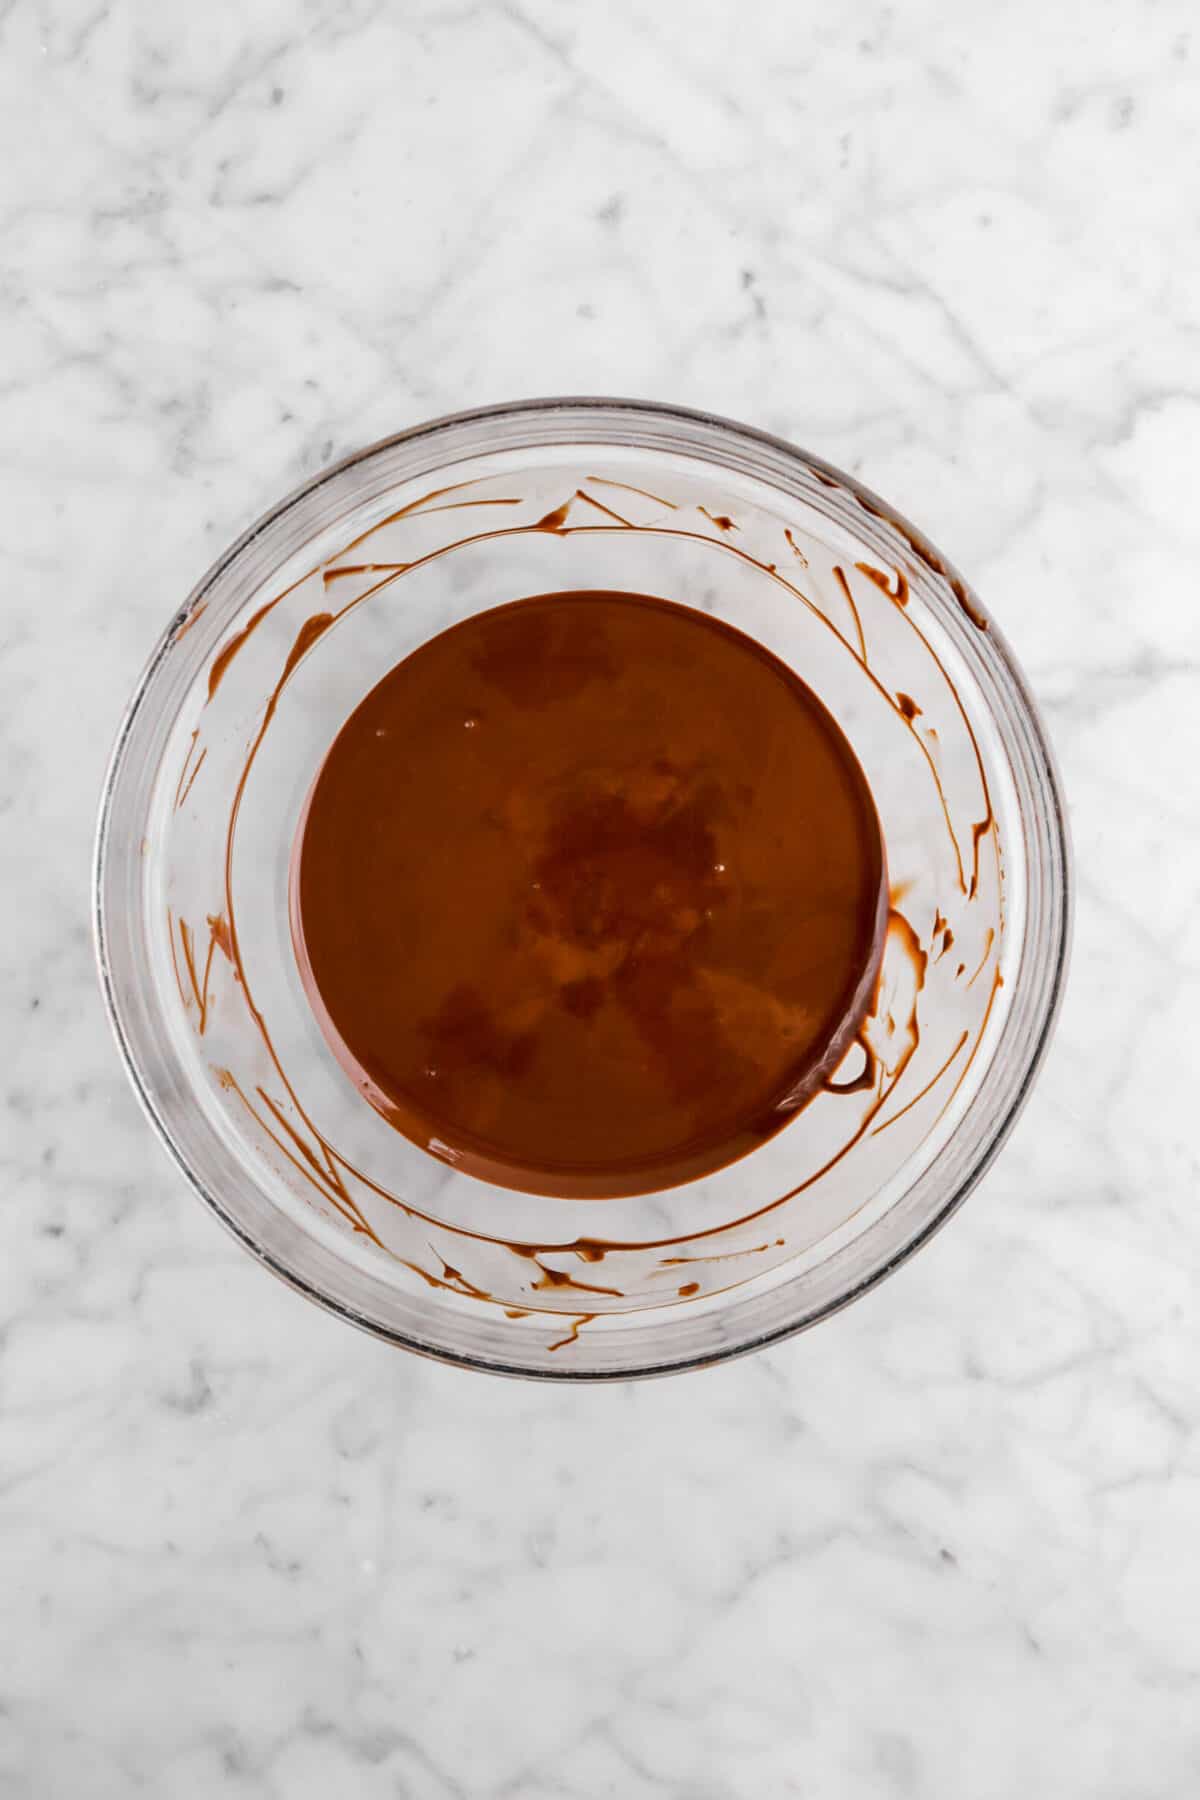
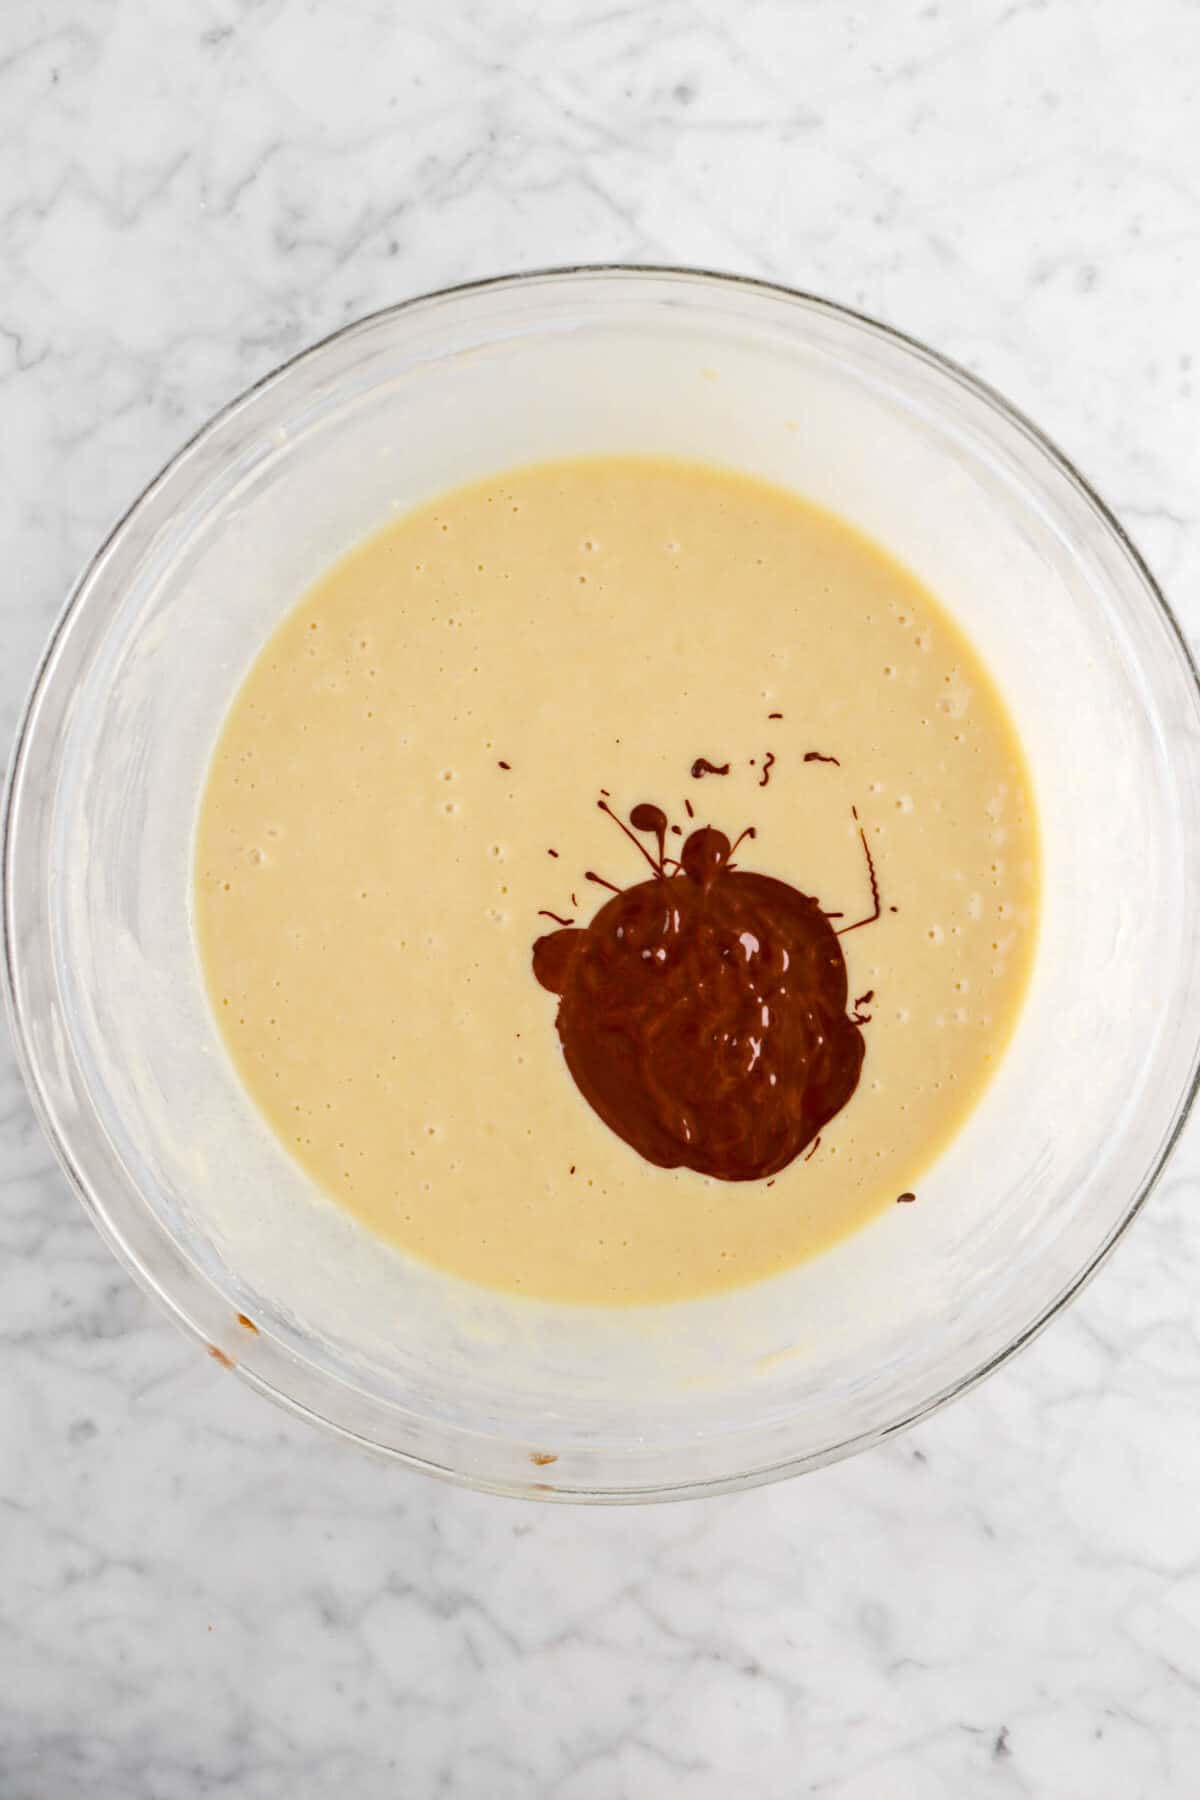
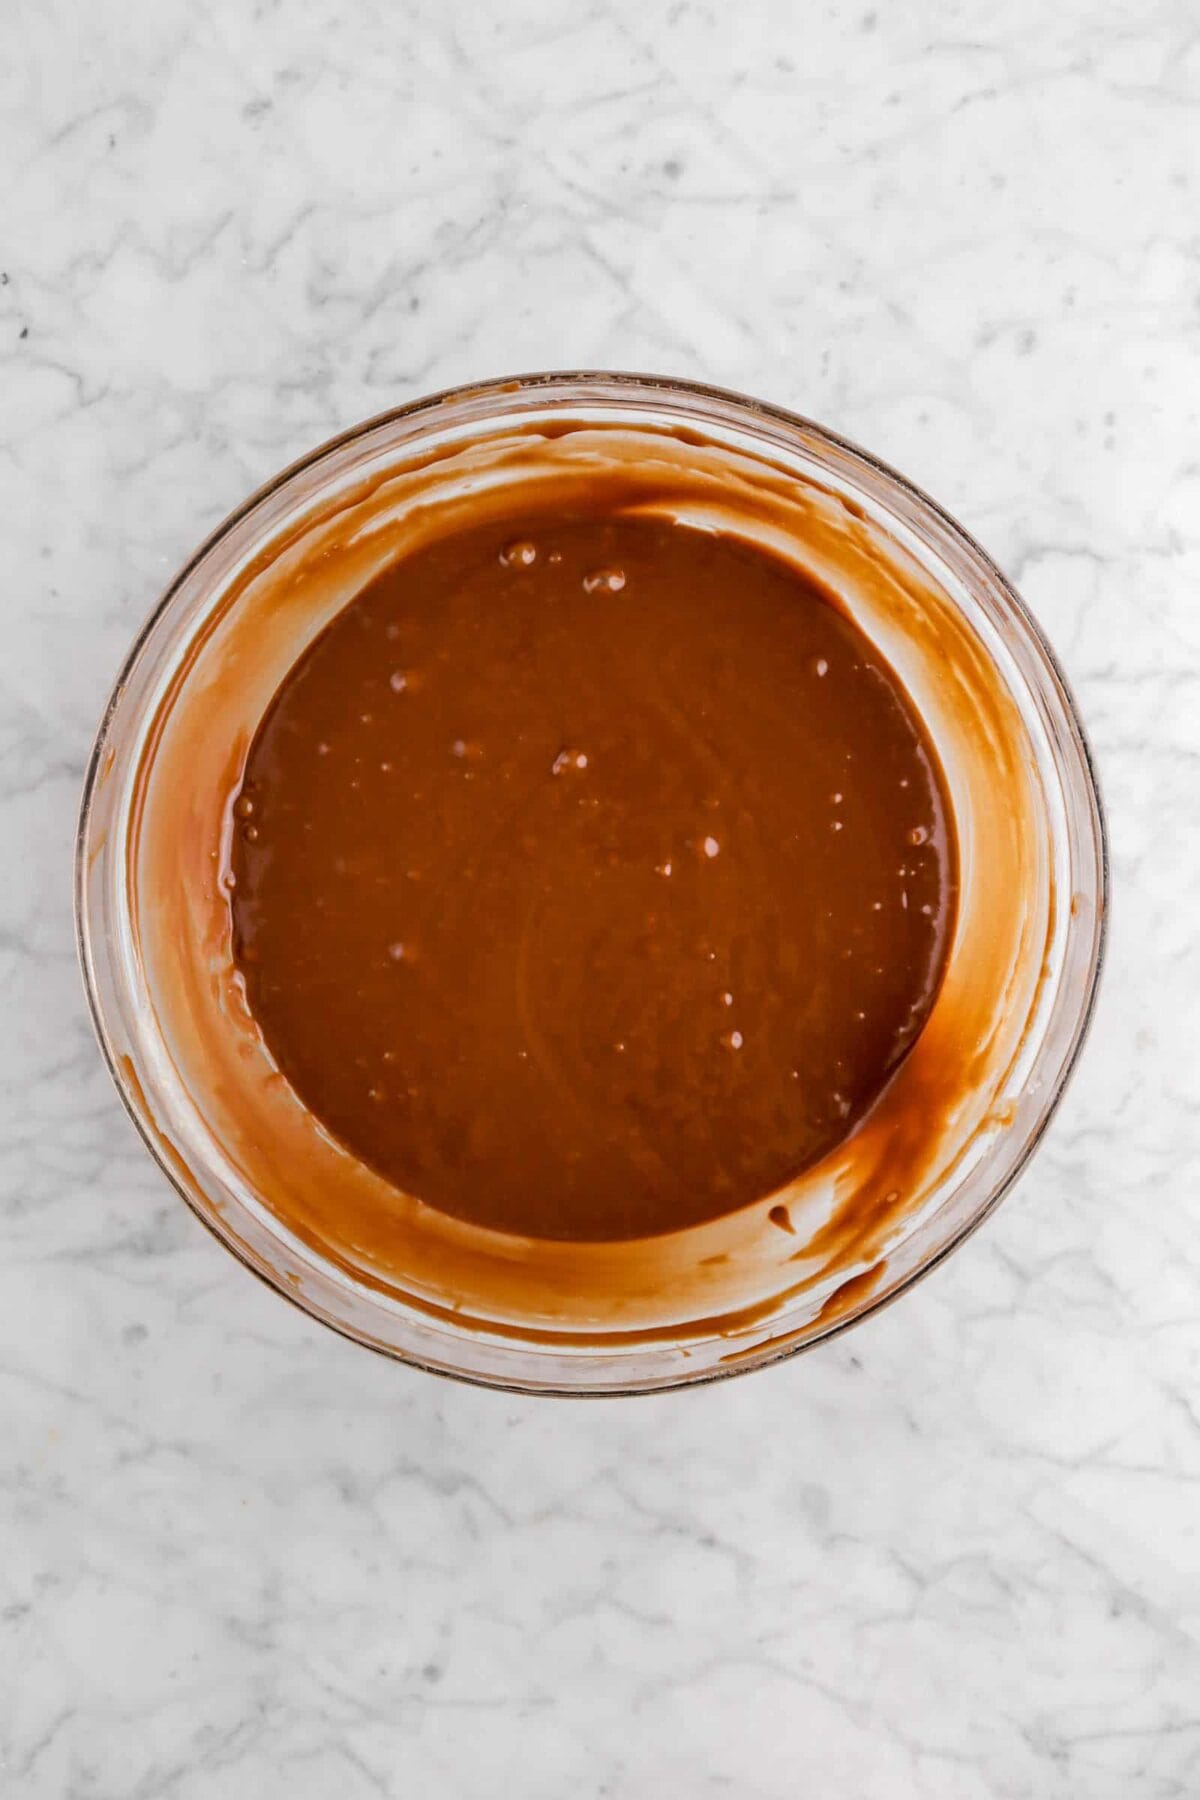
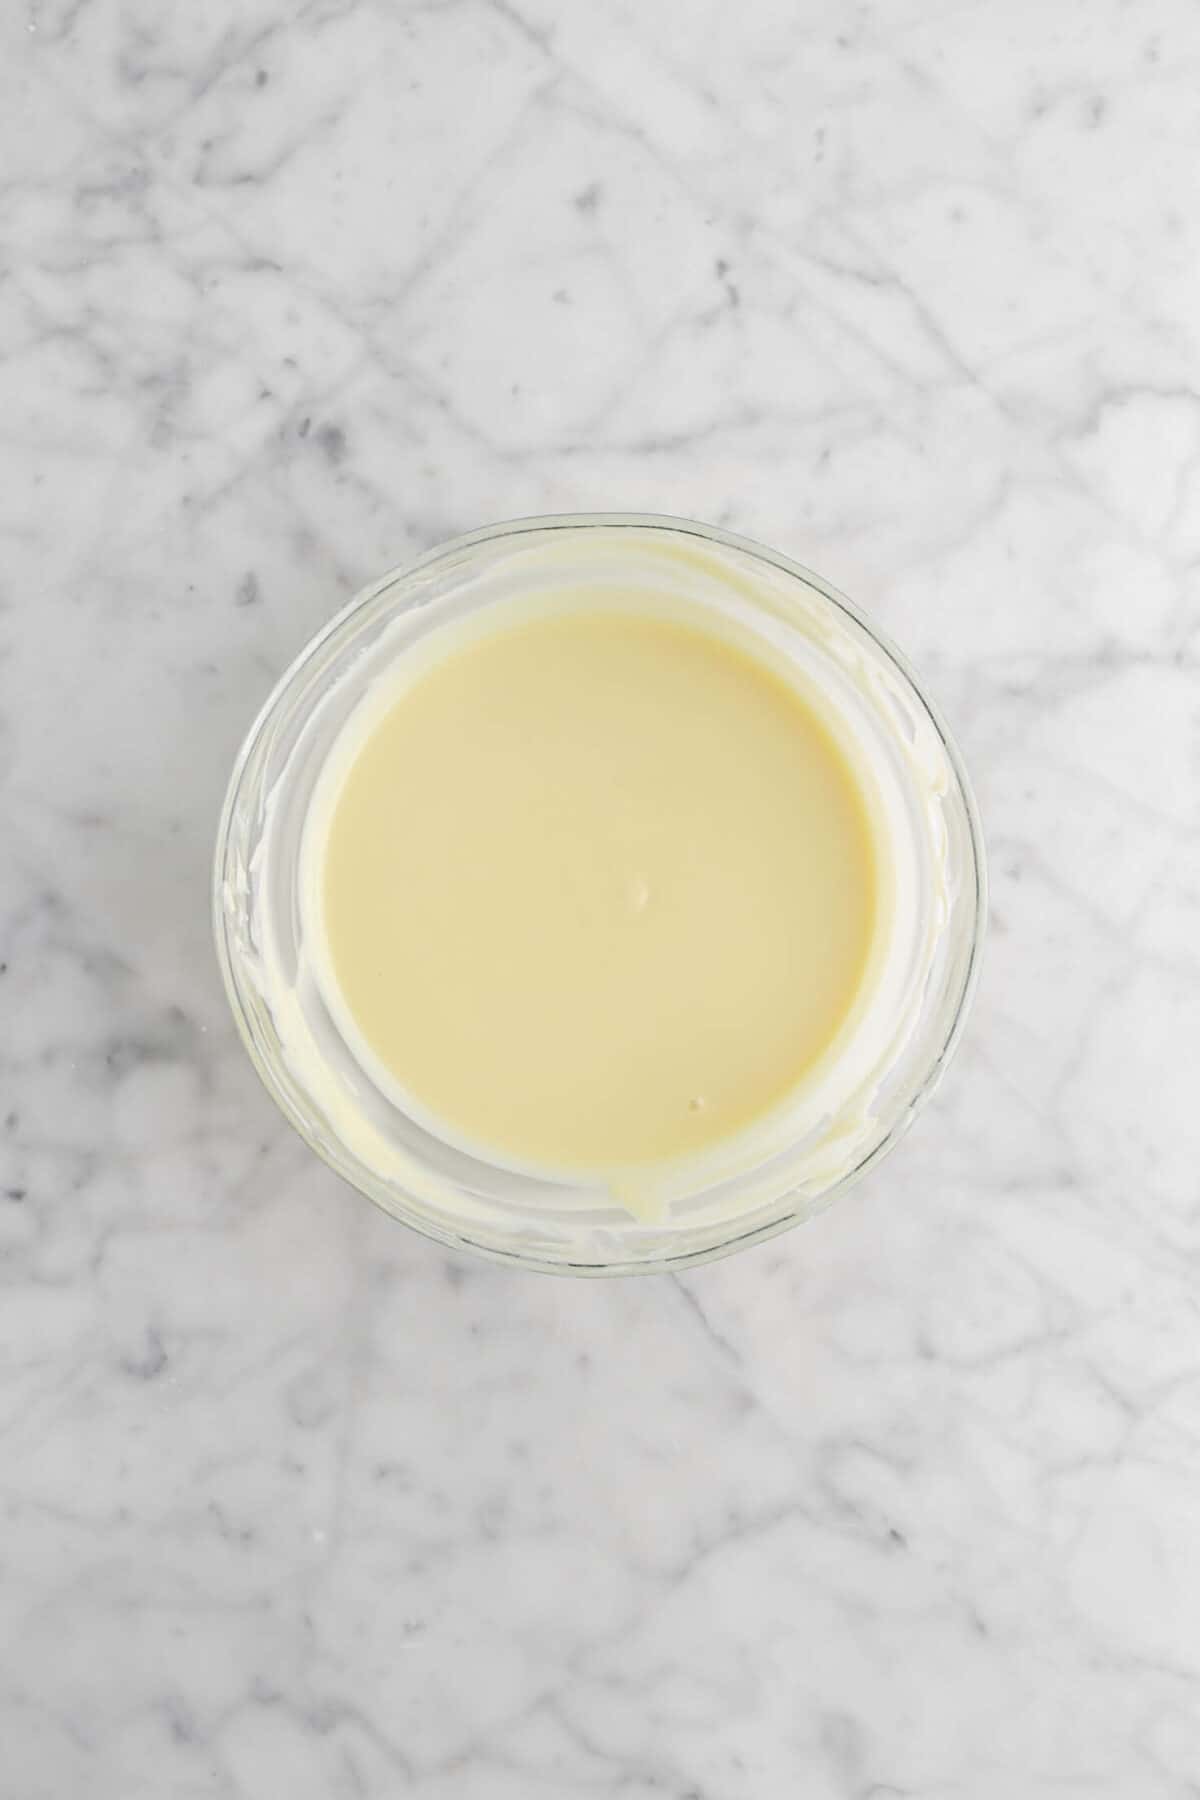
Melt the dark chocolate in microwave safe bowl on 15 second intervals, stirring after each, until smooth. Set aside.
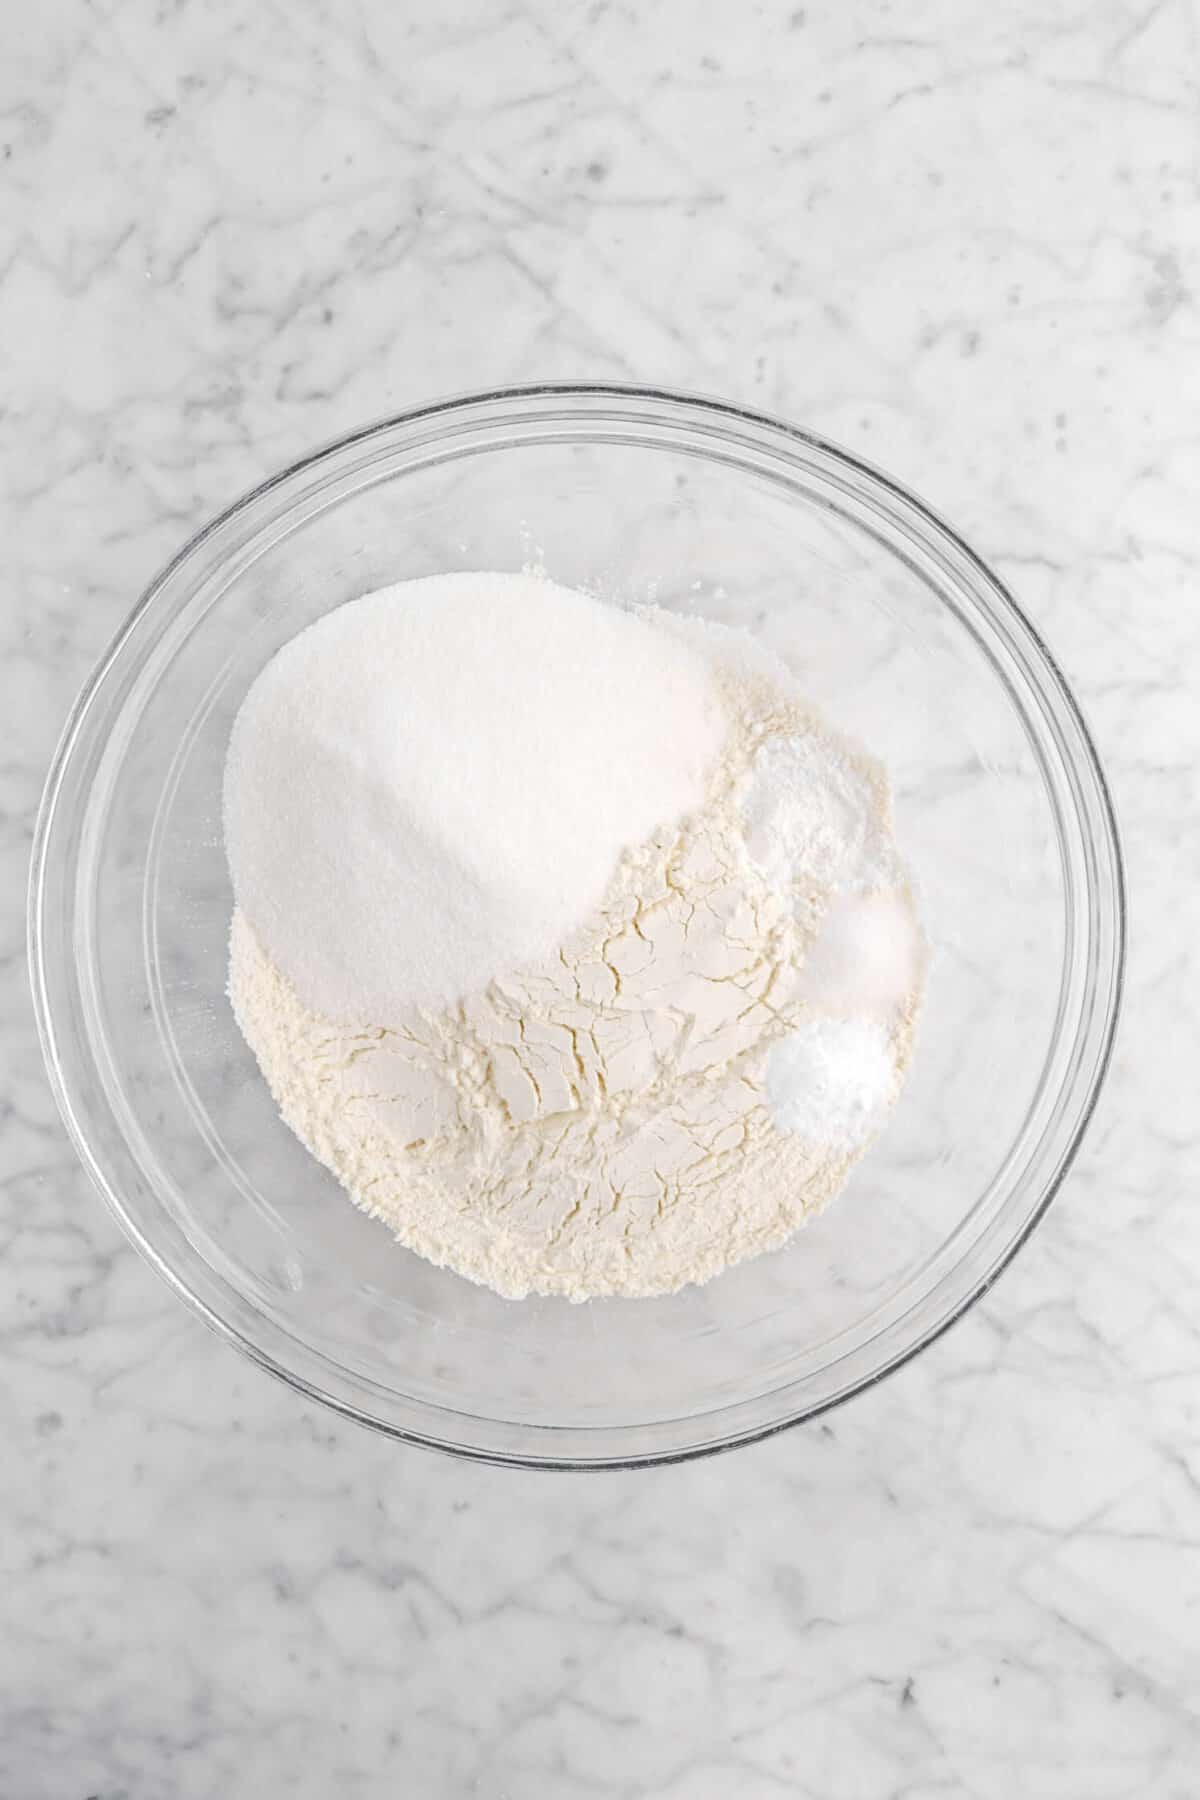
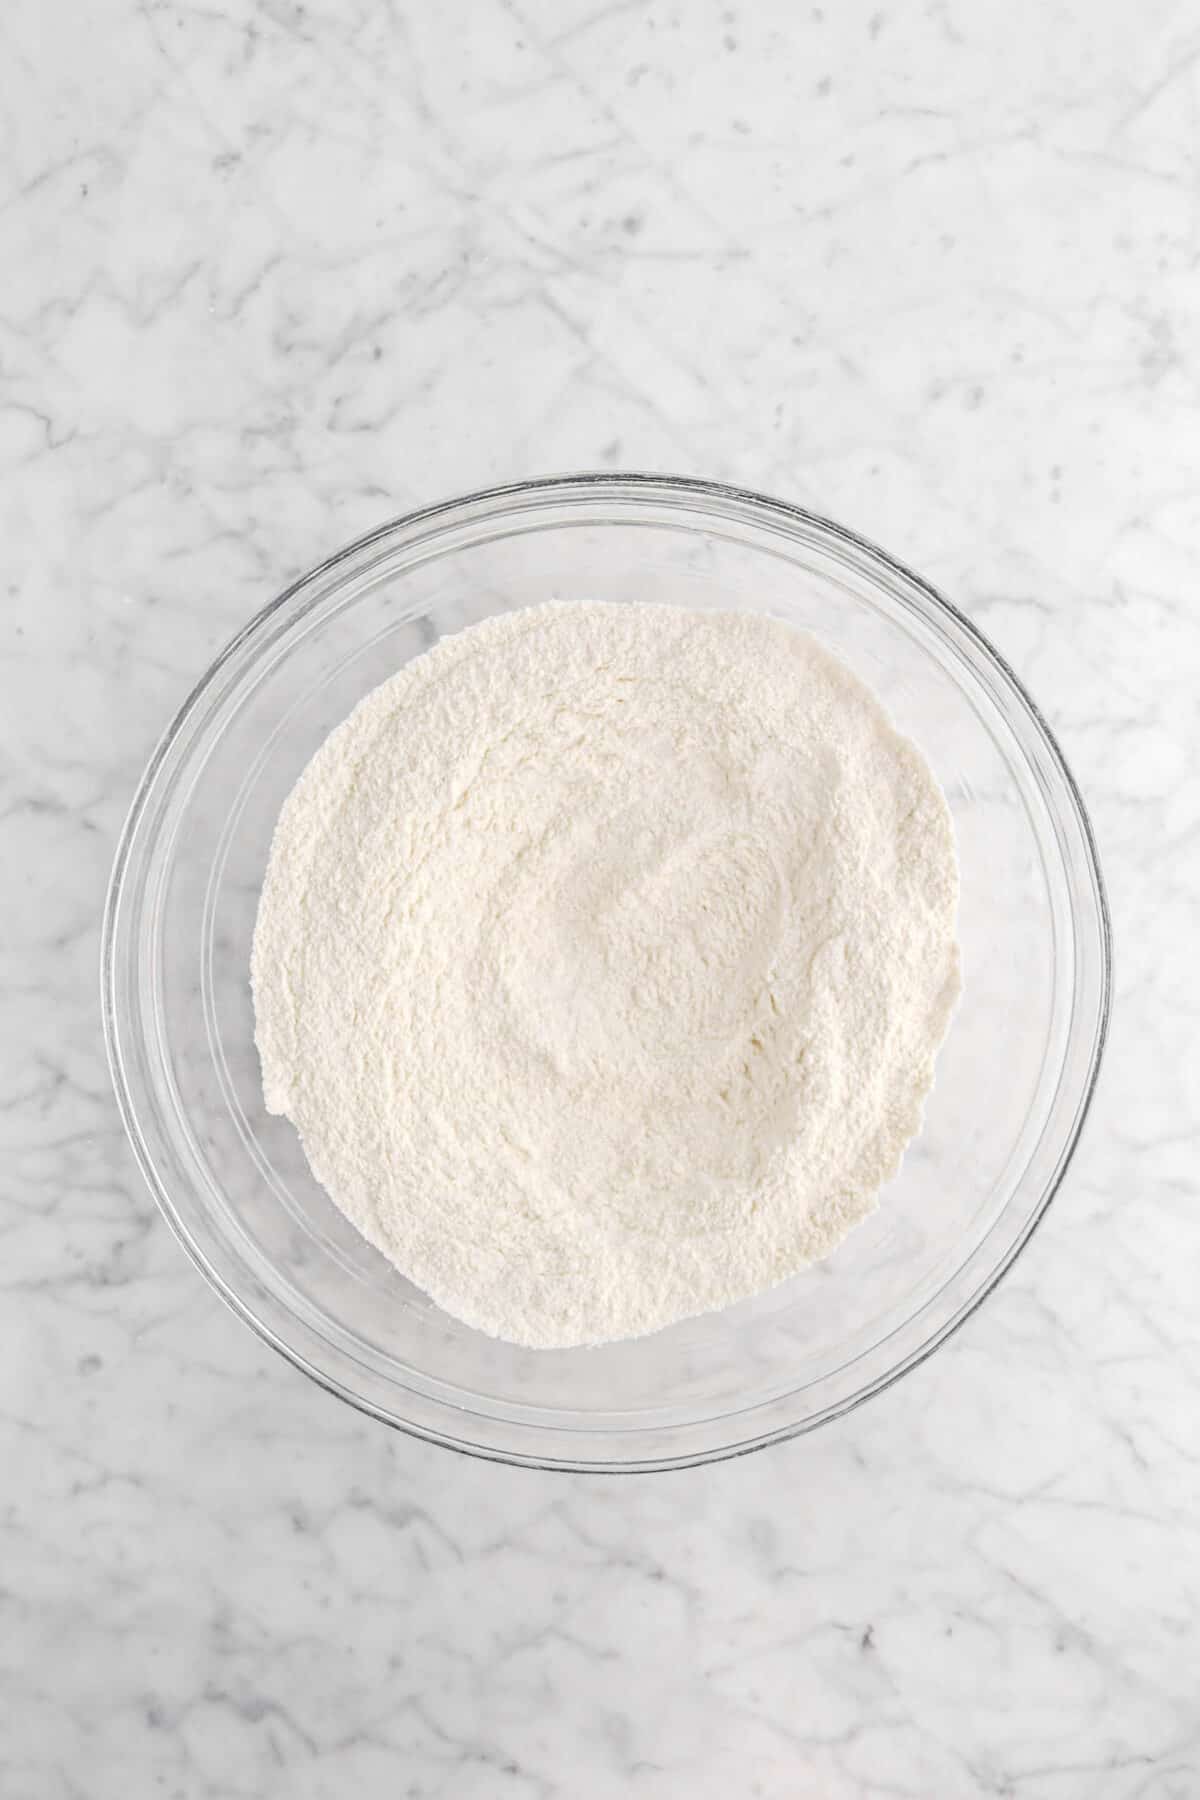
In a large bowl, whisk together the flour, sugar, baking powder, salt, and baking soda. Set aside.
In a medium bowl, whisk together the eggs, vegetable oil, milk, vanilla and peppermint extracts.

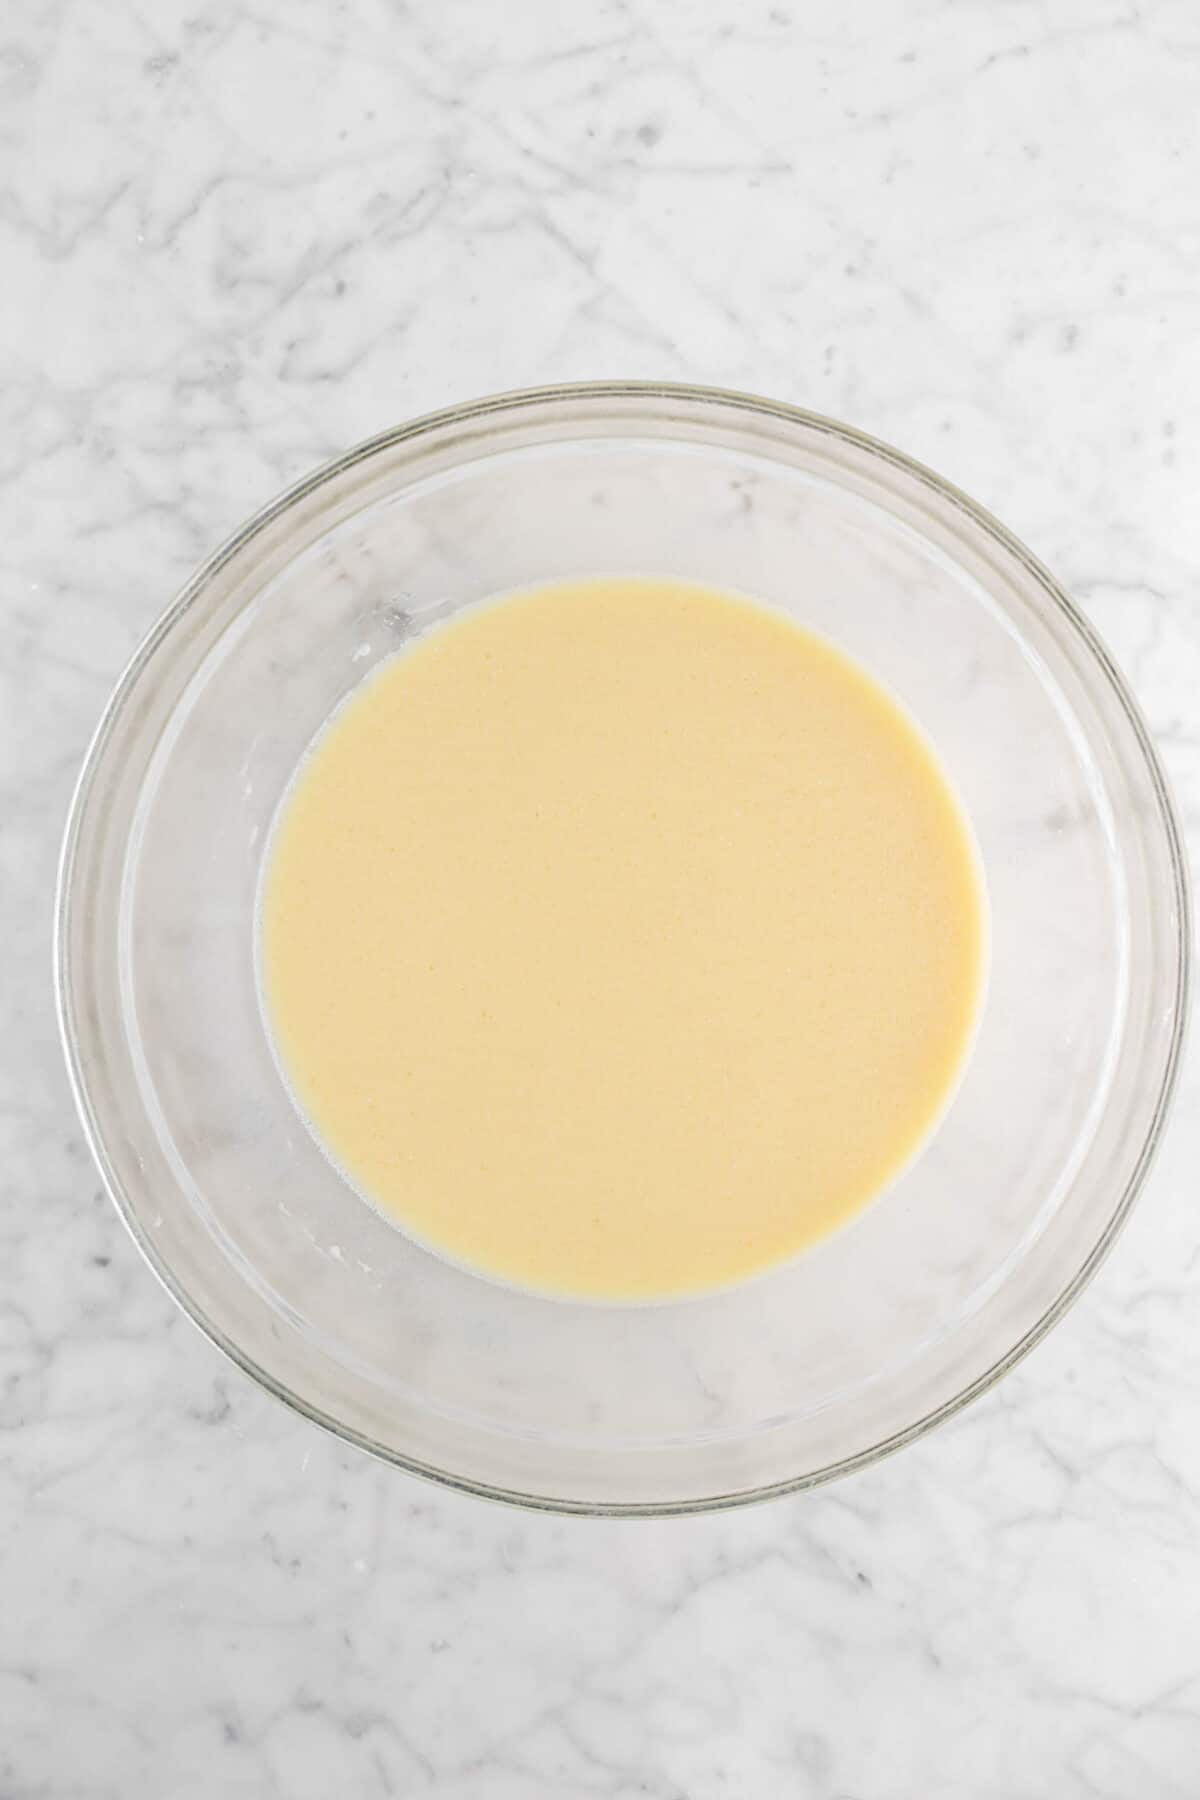
Pour wet ingredients into dry ingredients and whisk until smooth, about 1-2 minutes.
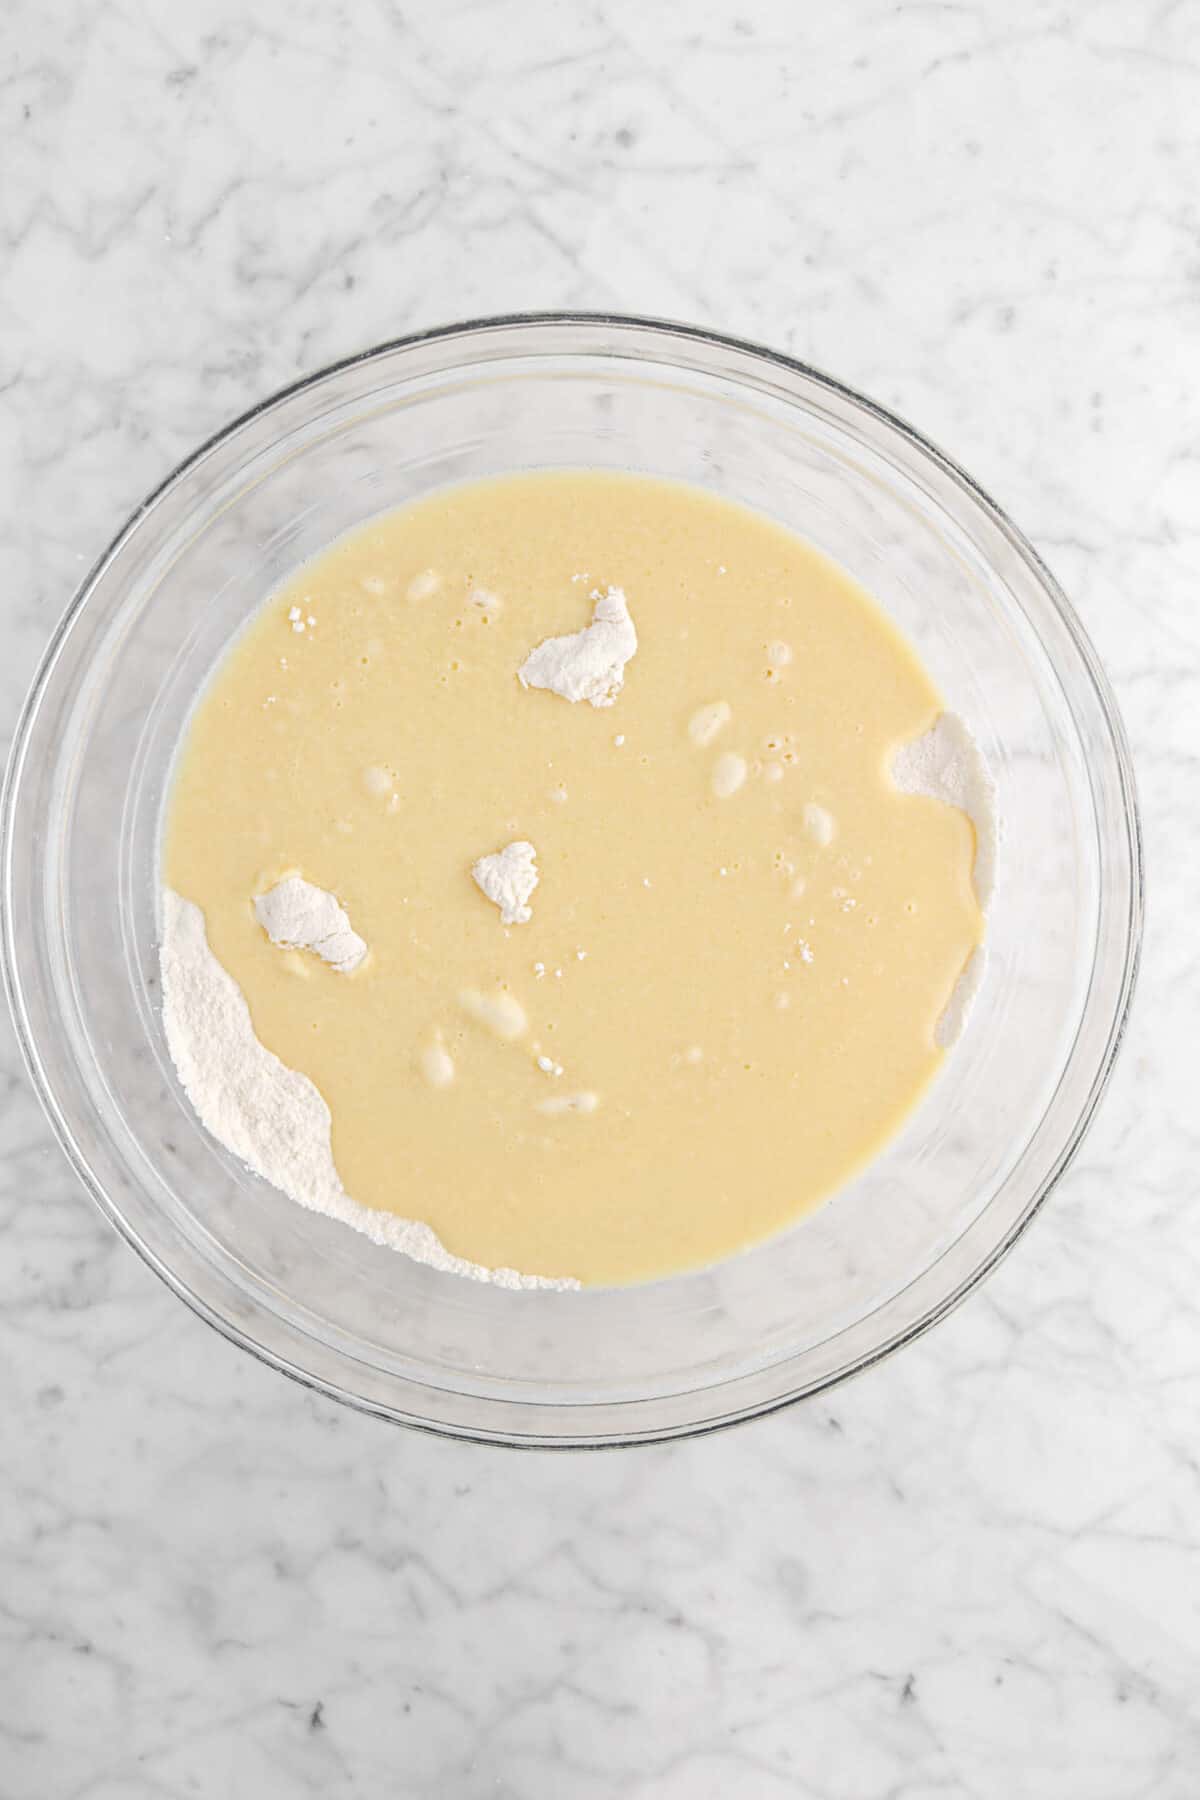
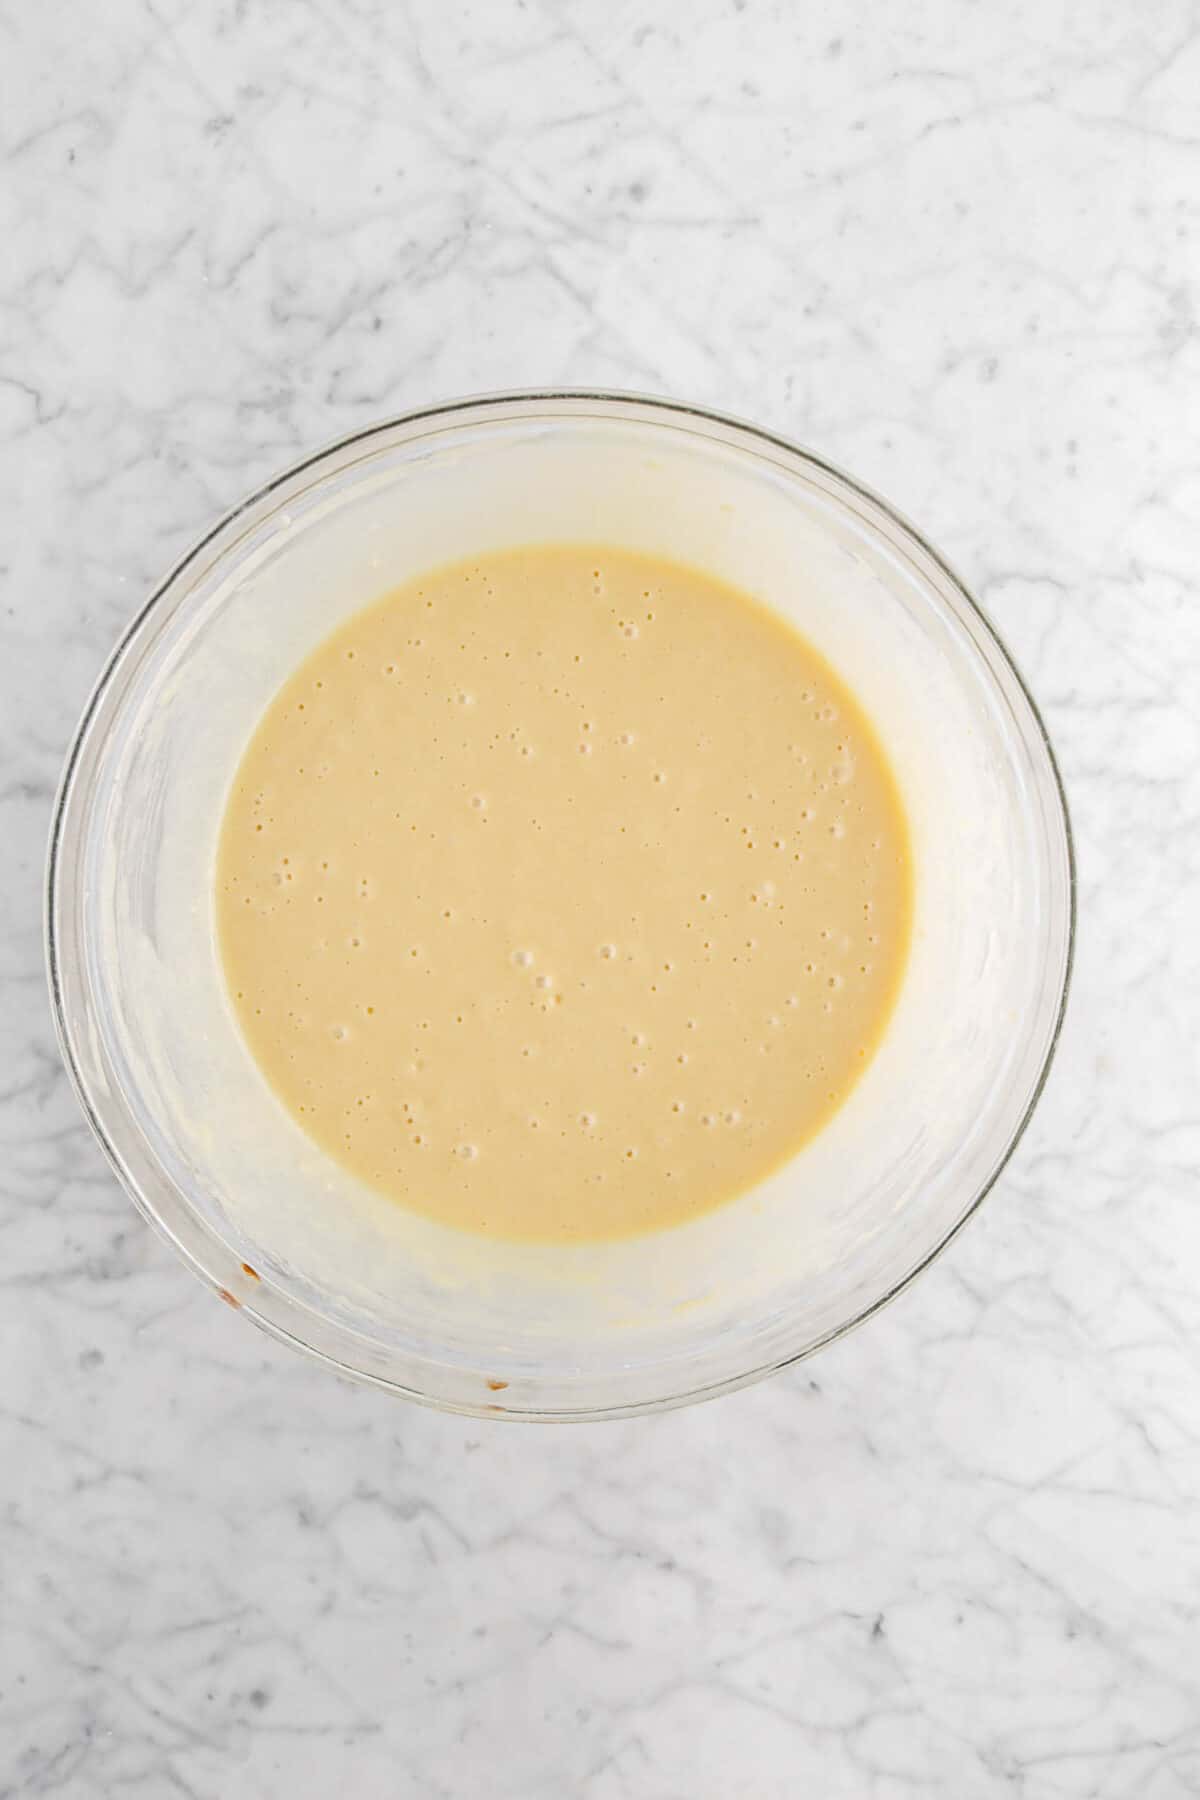
Fold in the chocolate.
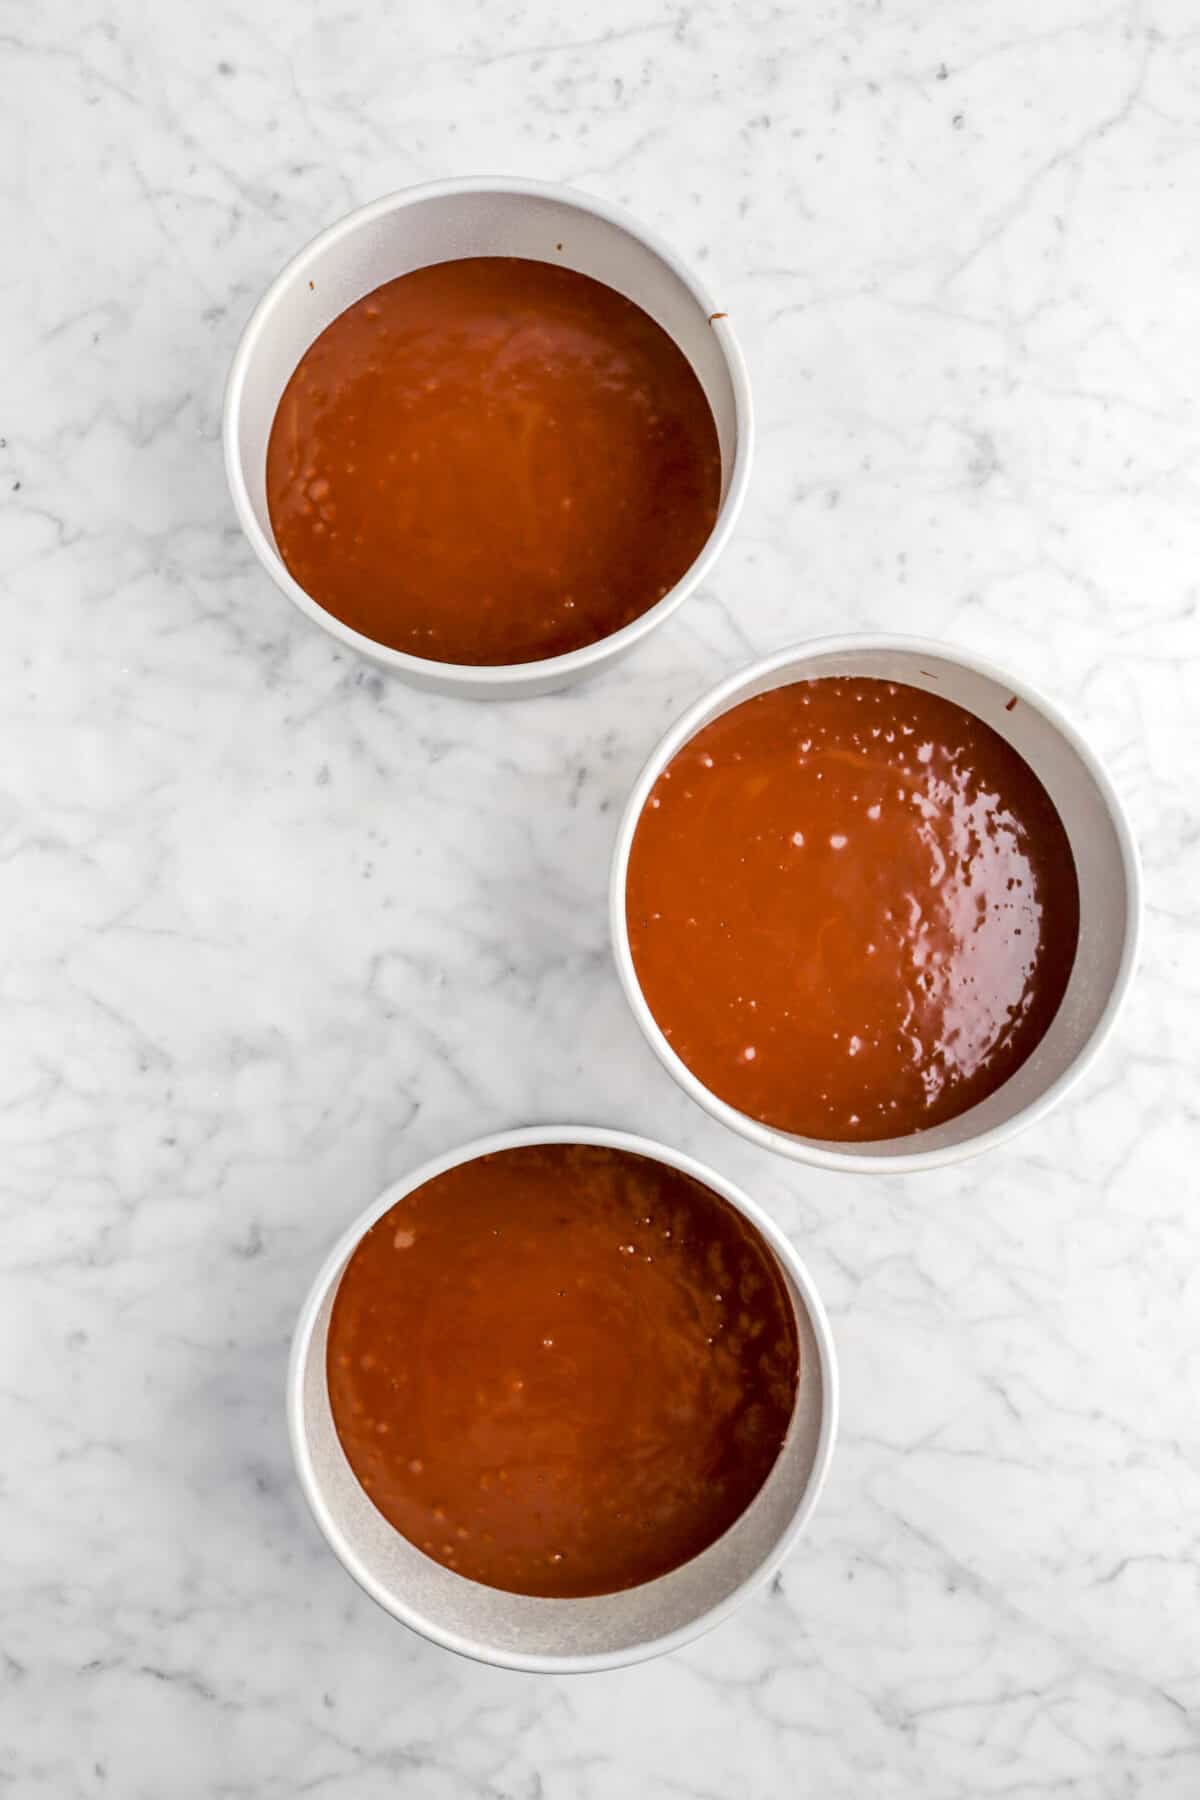
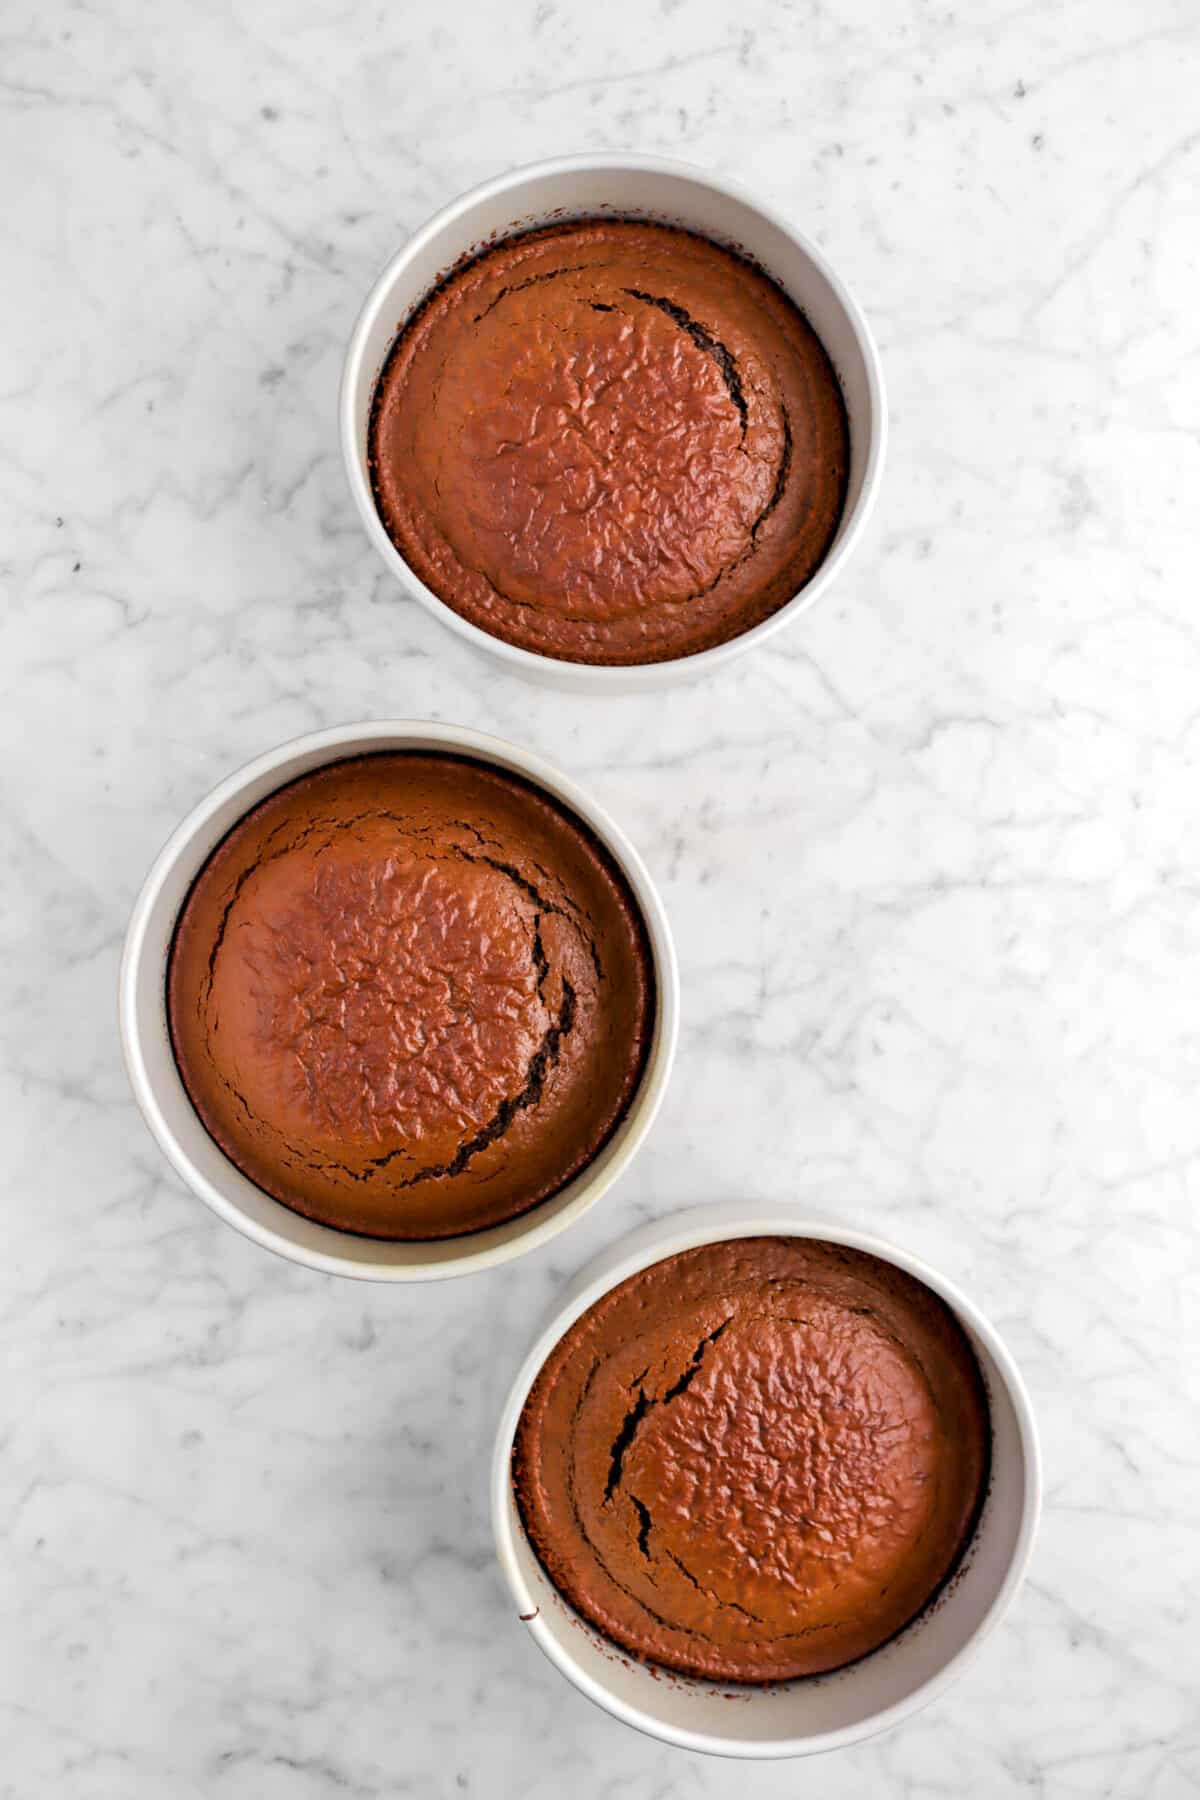
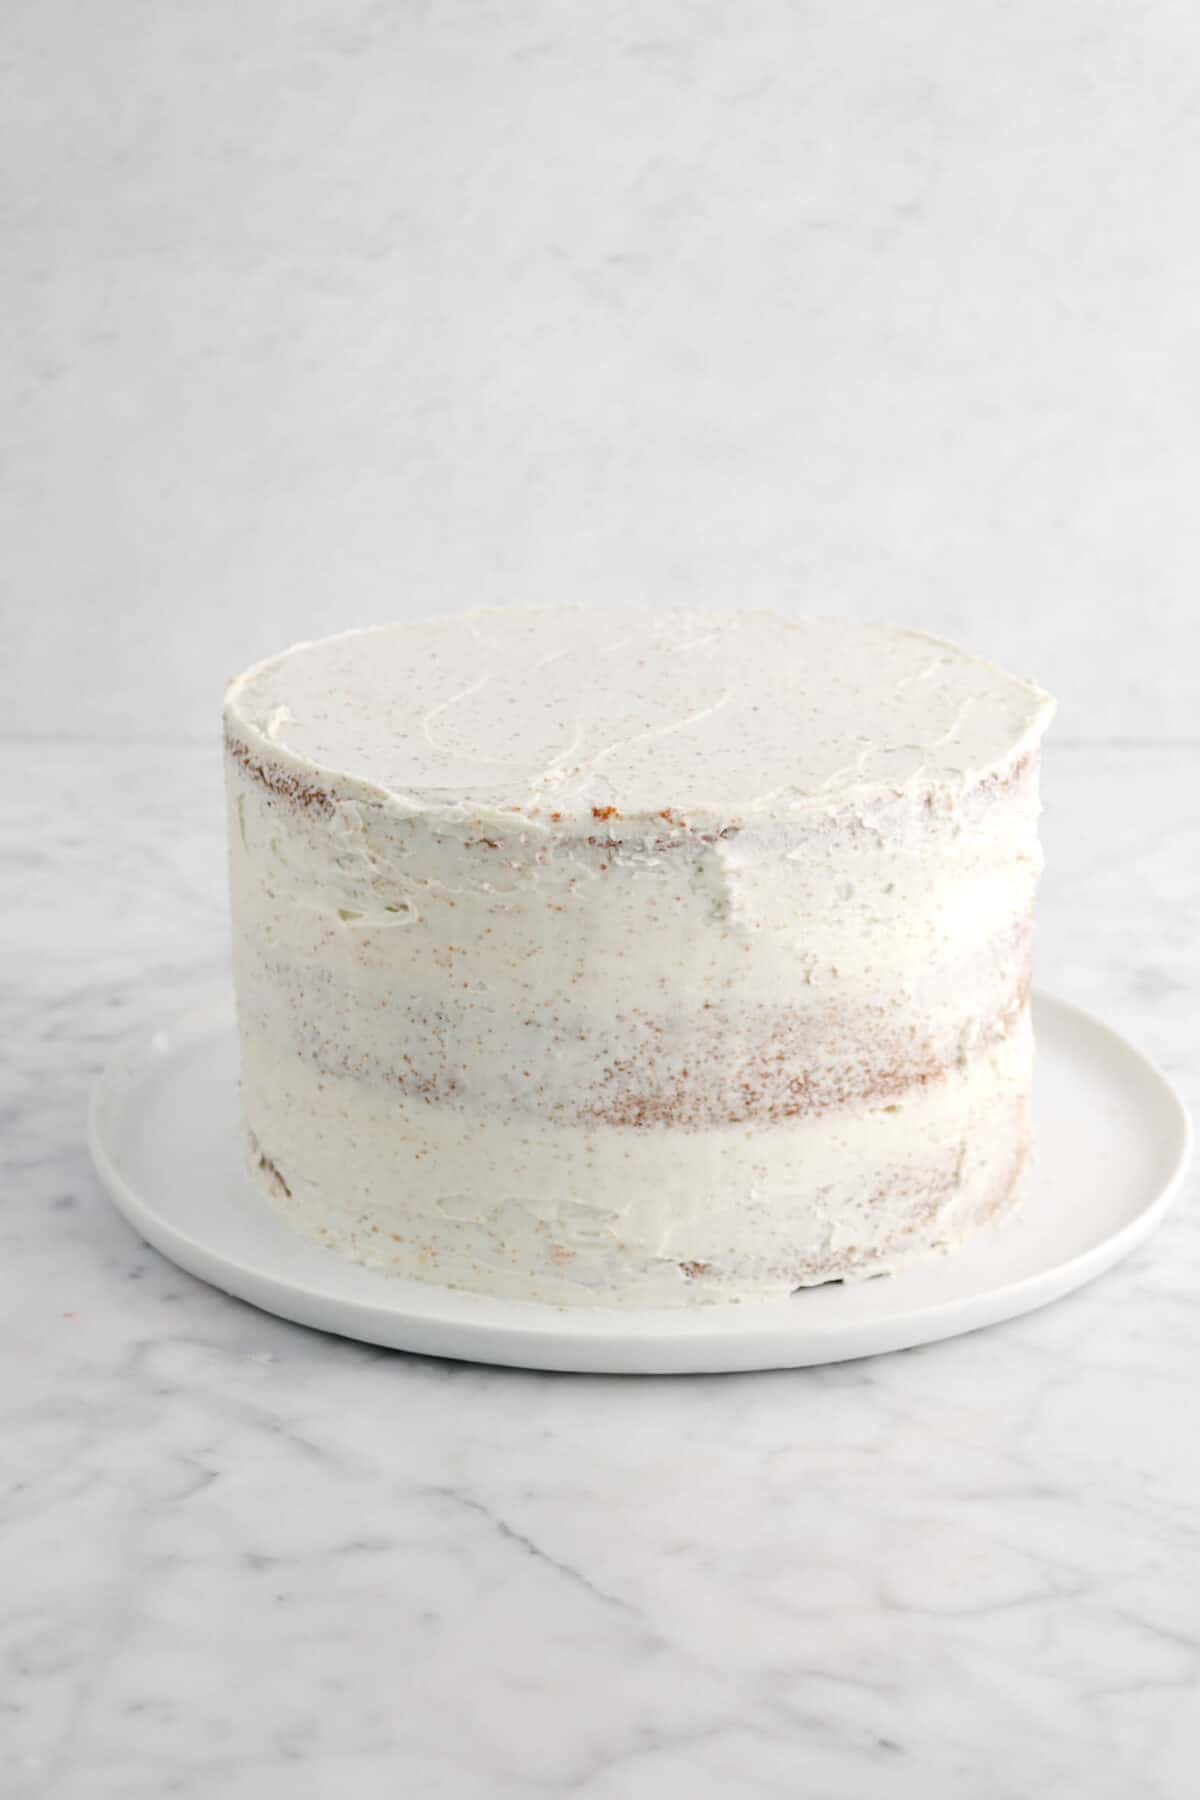
Pour into prepared pans and bake for 20-25 minutes until cakes test done. Let cake cool in the pans before turning out. Level cakes, if needed.
Step 2: Make The Frosting
Melt the white chocolate in a microwave safe bowl in 15 second intervals, stirring after each, until smooth. Set aside.
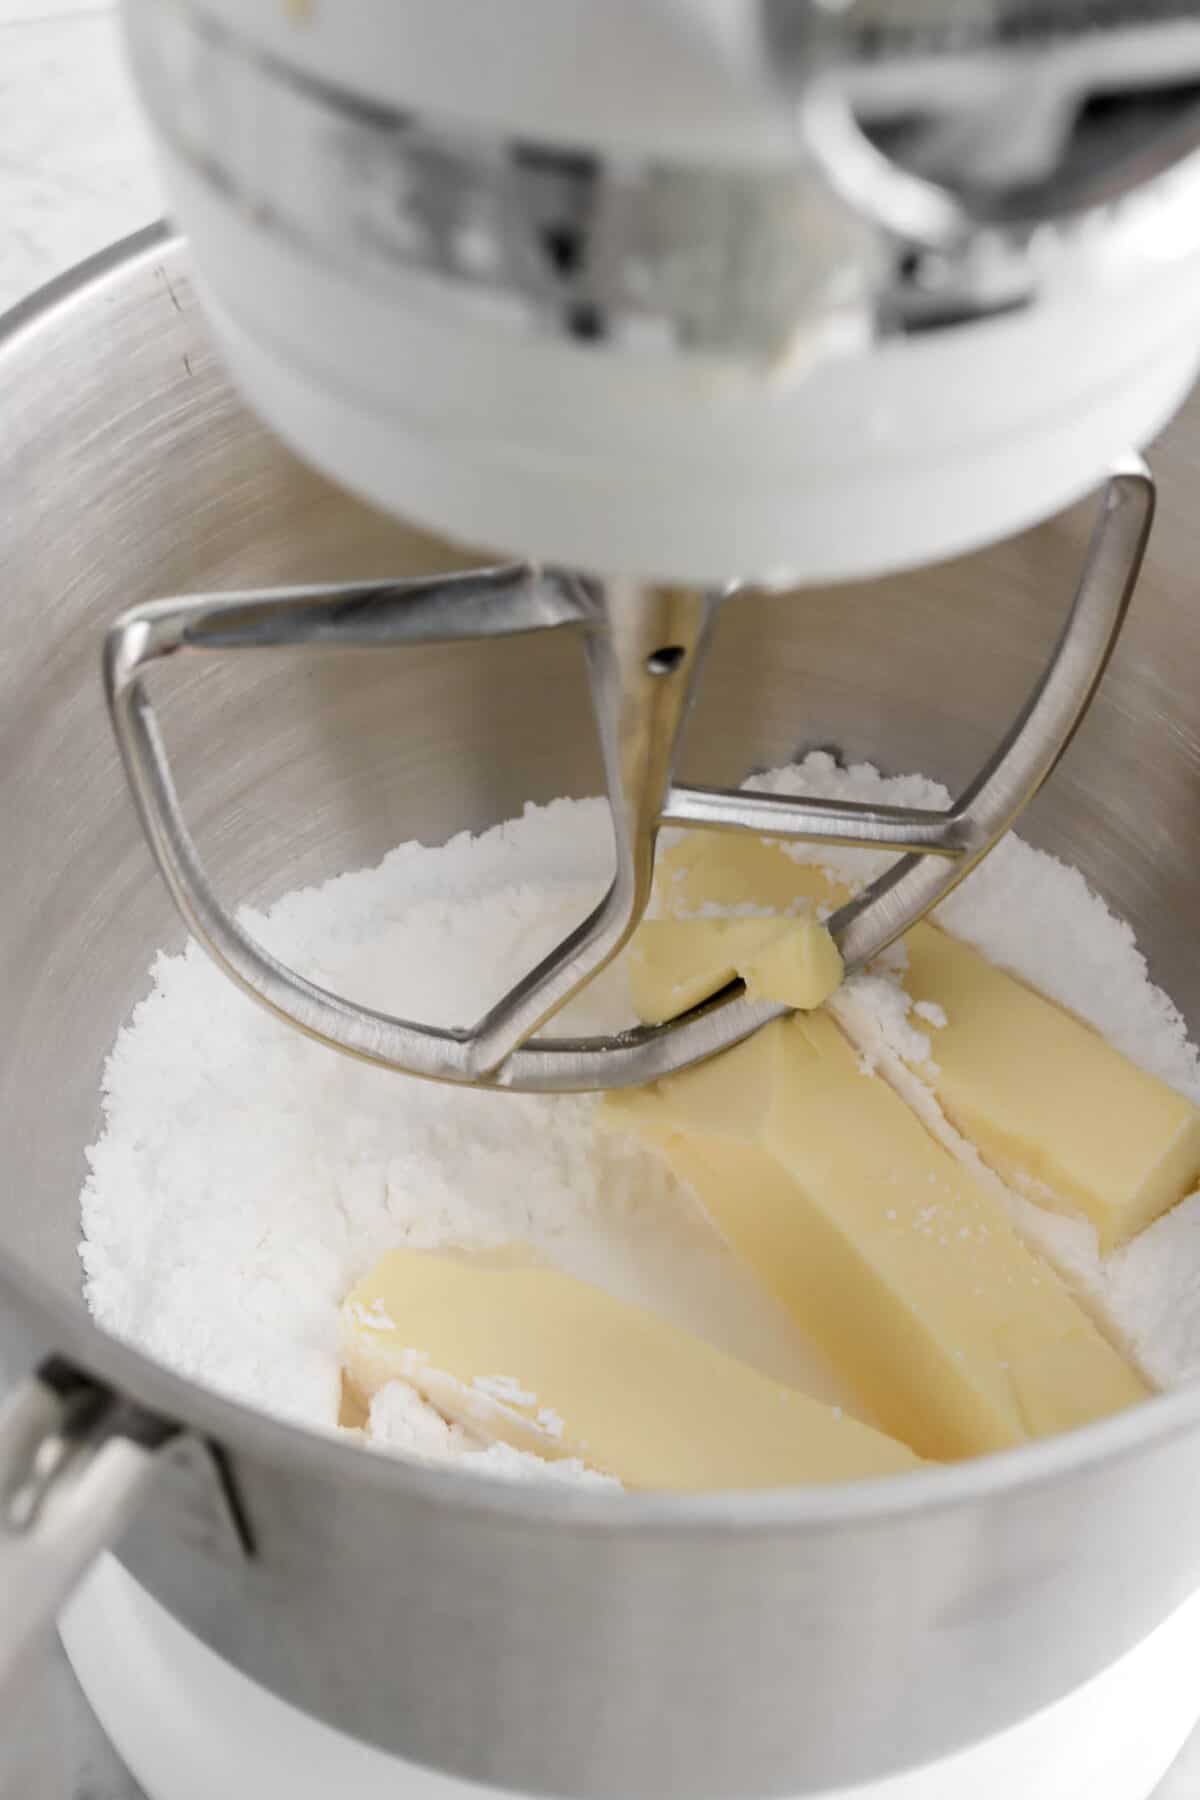
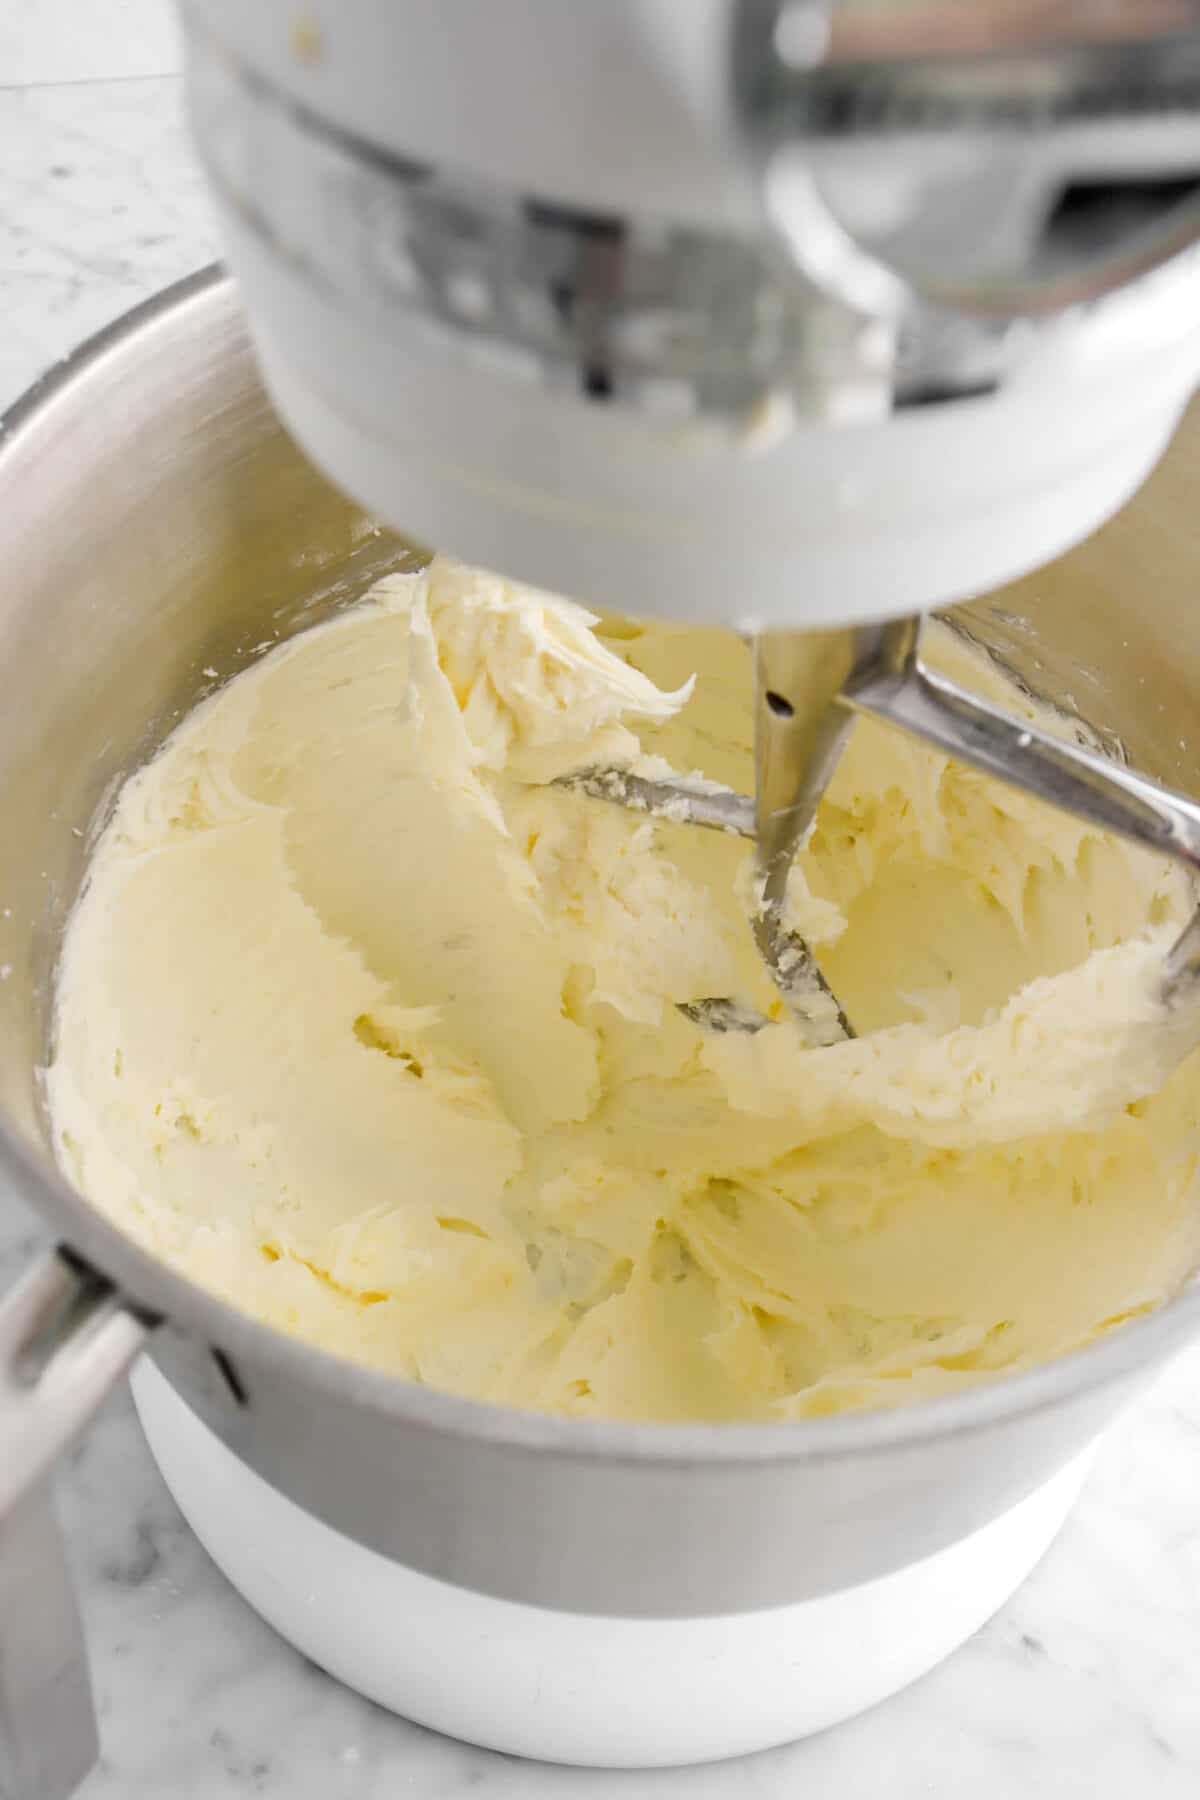
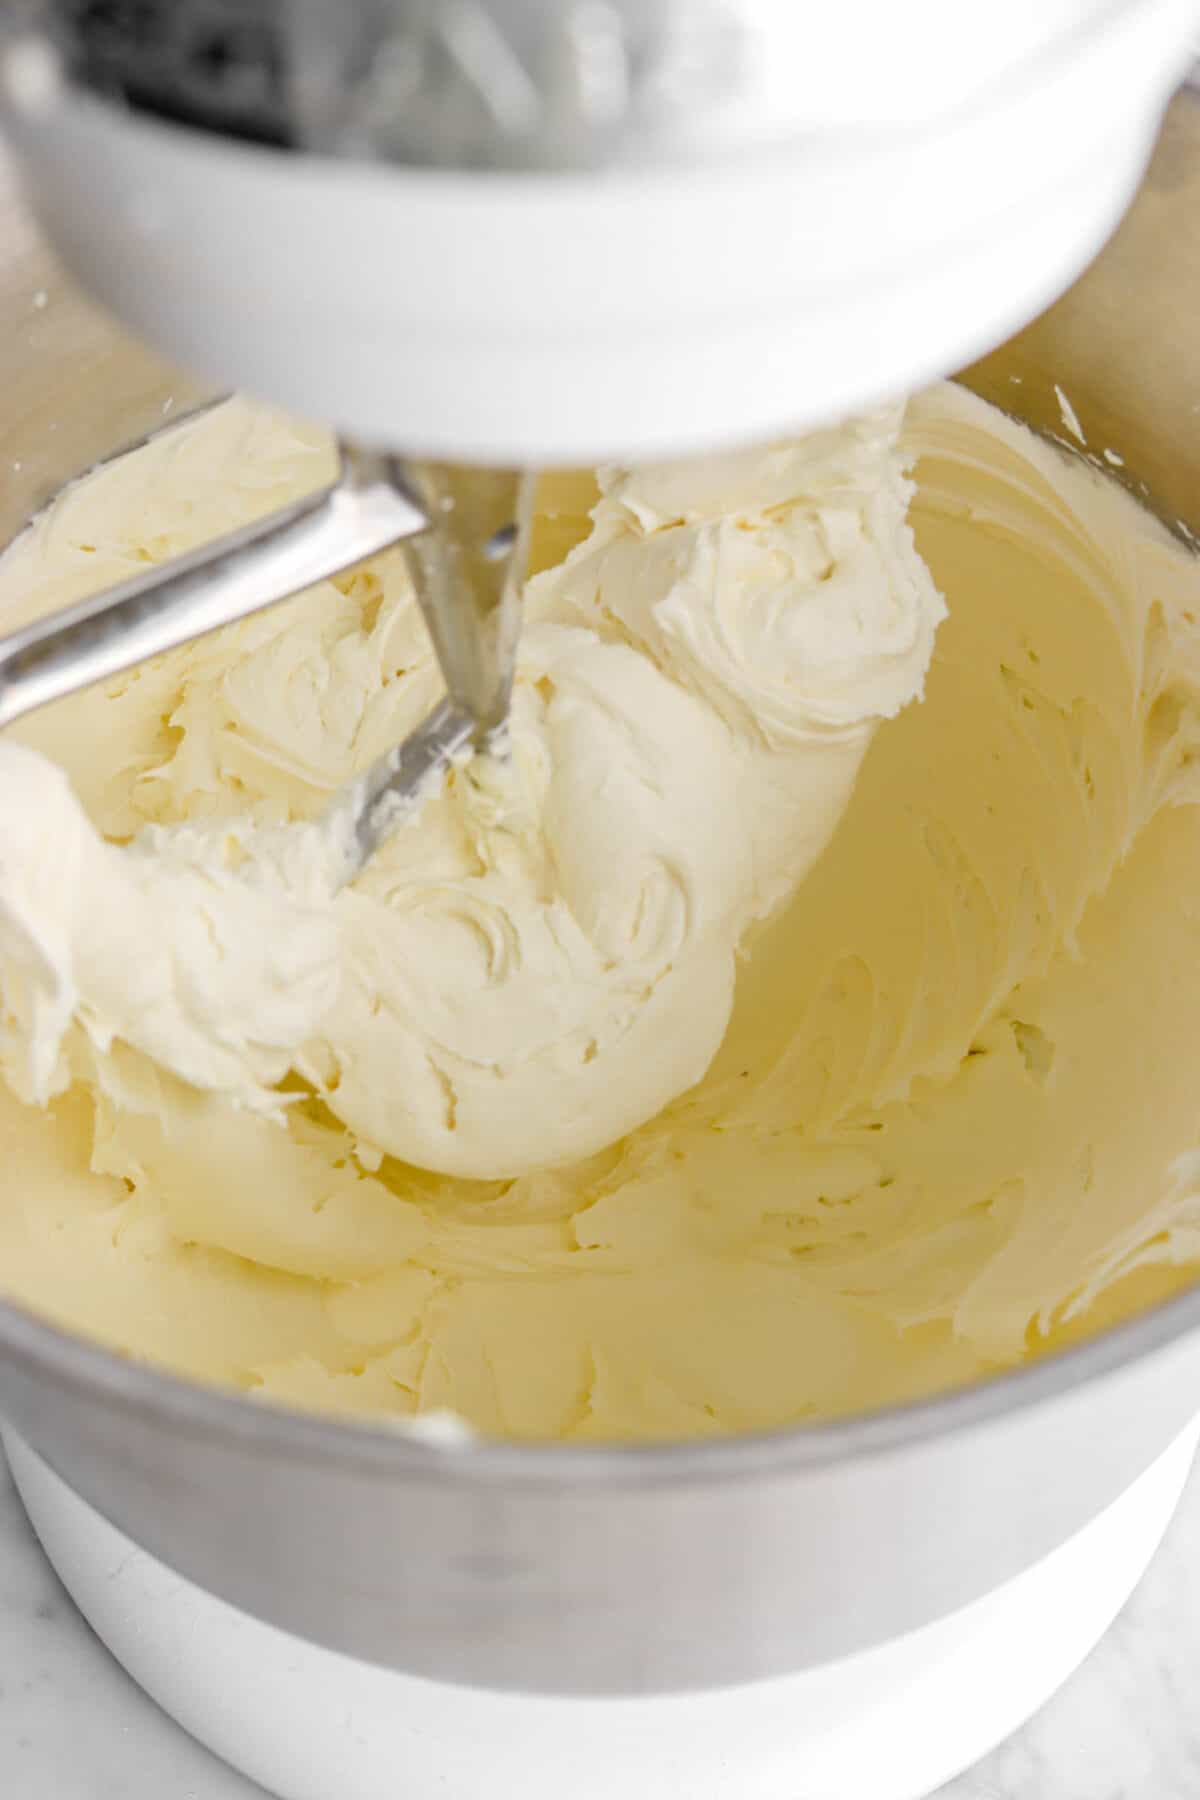
Beat the butter and powdered sugar at high speed of an electric mixer until creamy, about 1-2 minutes.
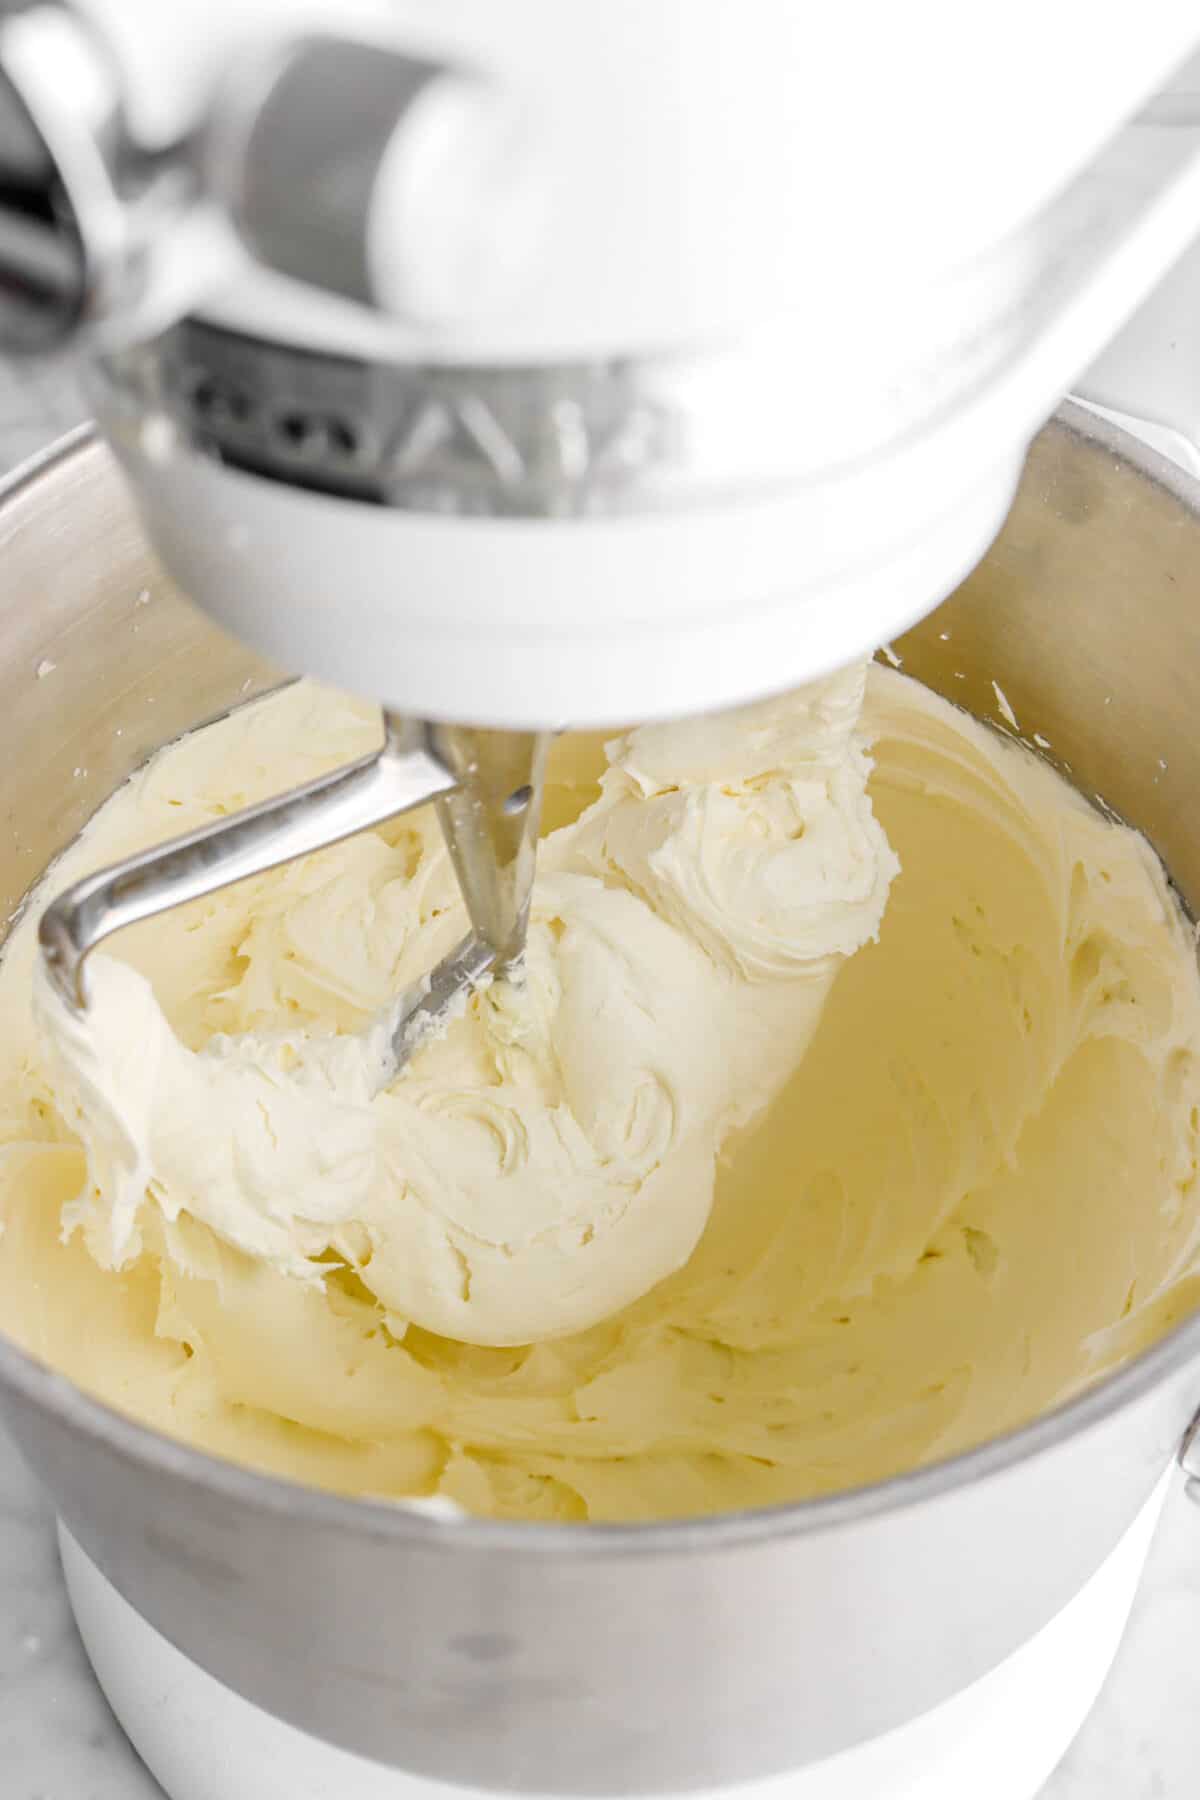
Beat in white chocolate and peppermint extract.
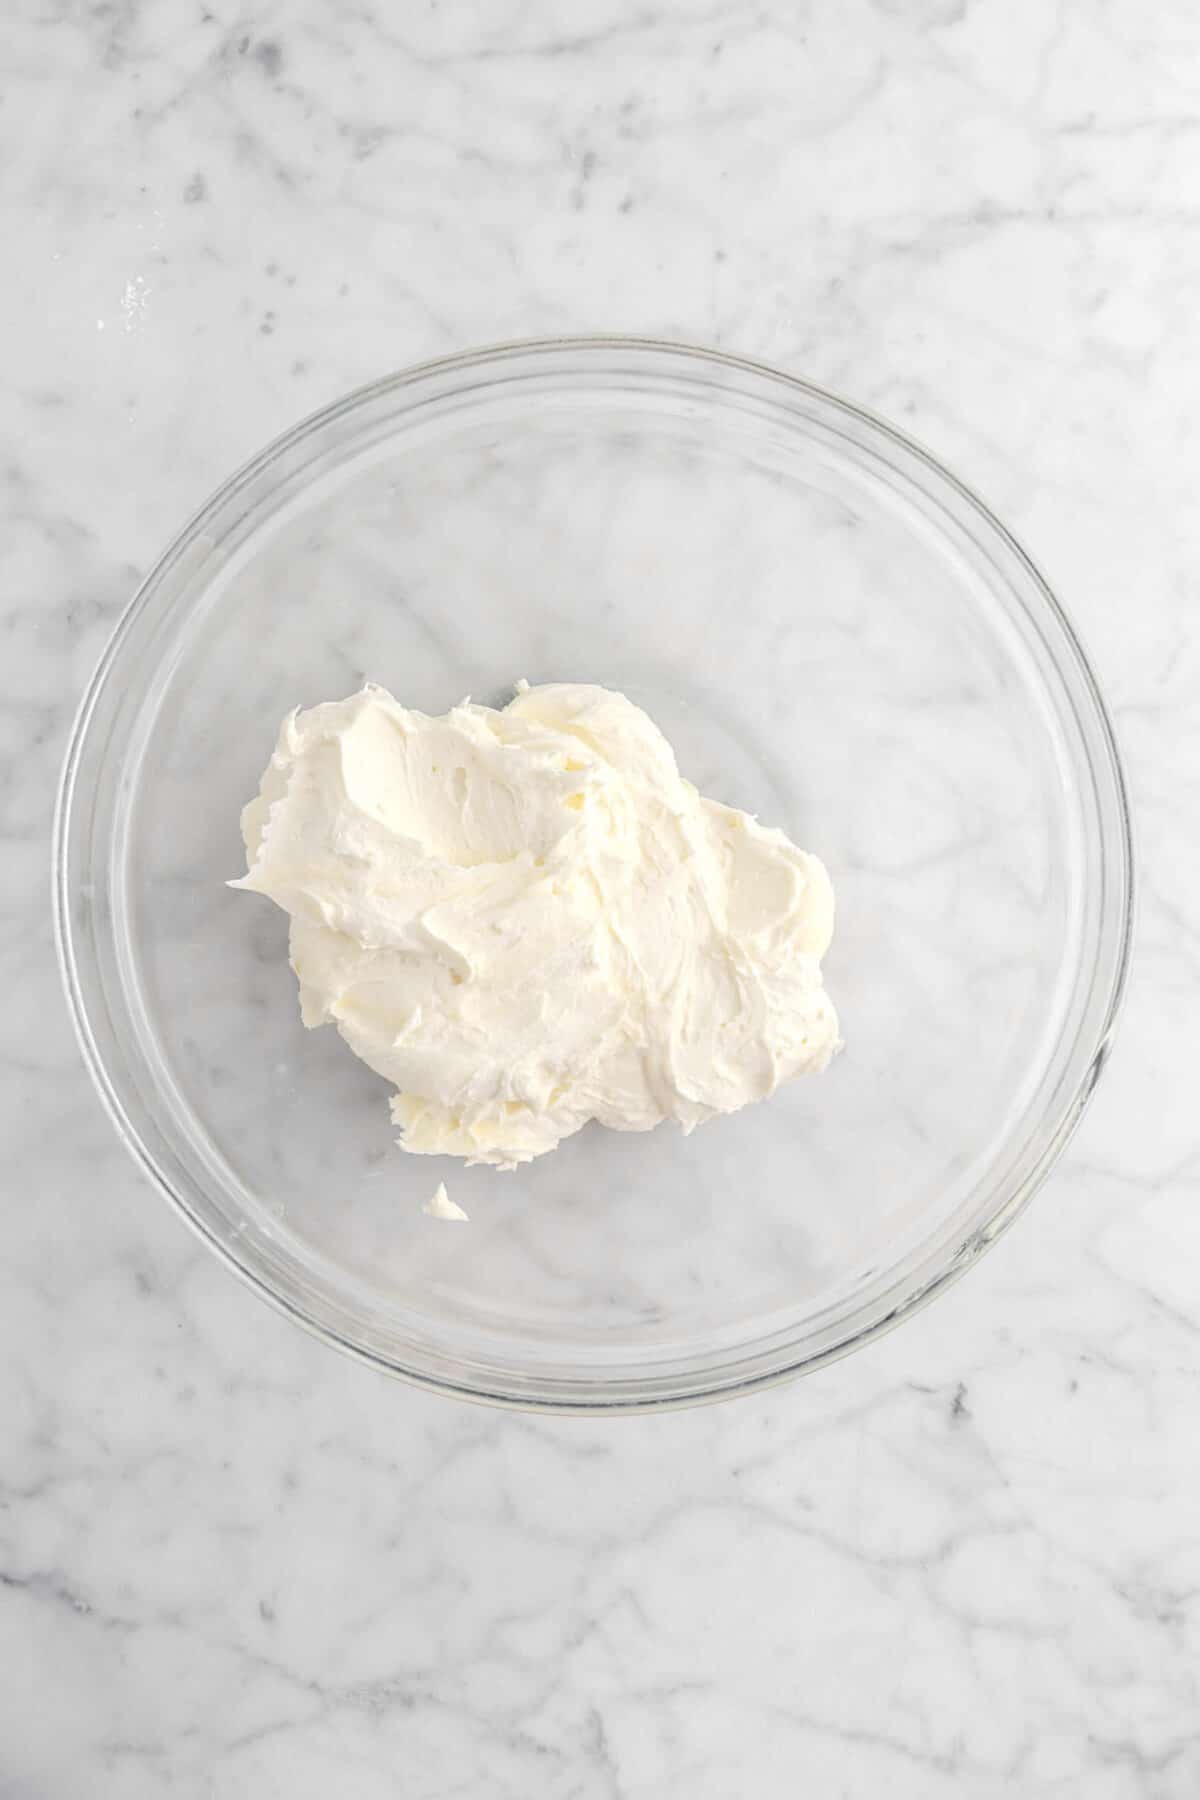
Add heavy cream and beat until light and fluffy.

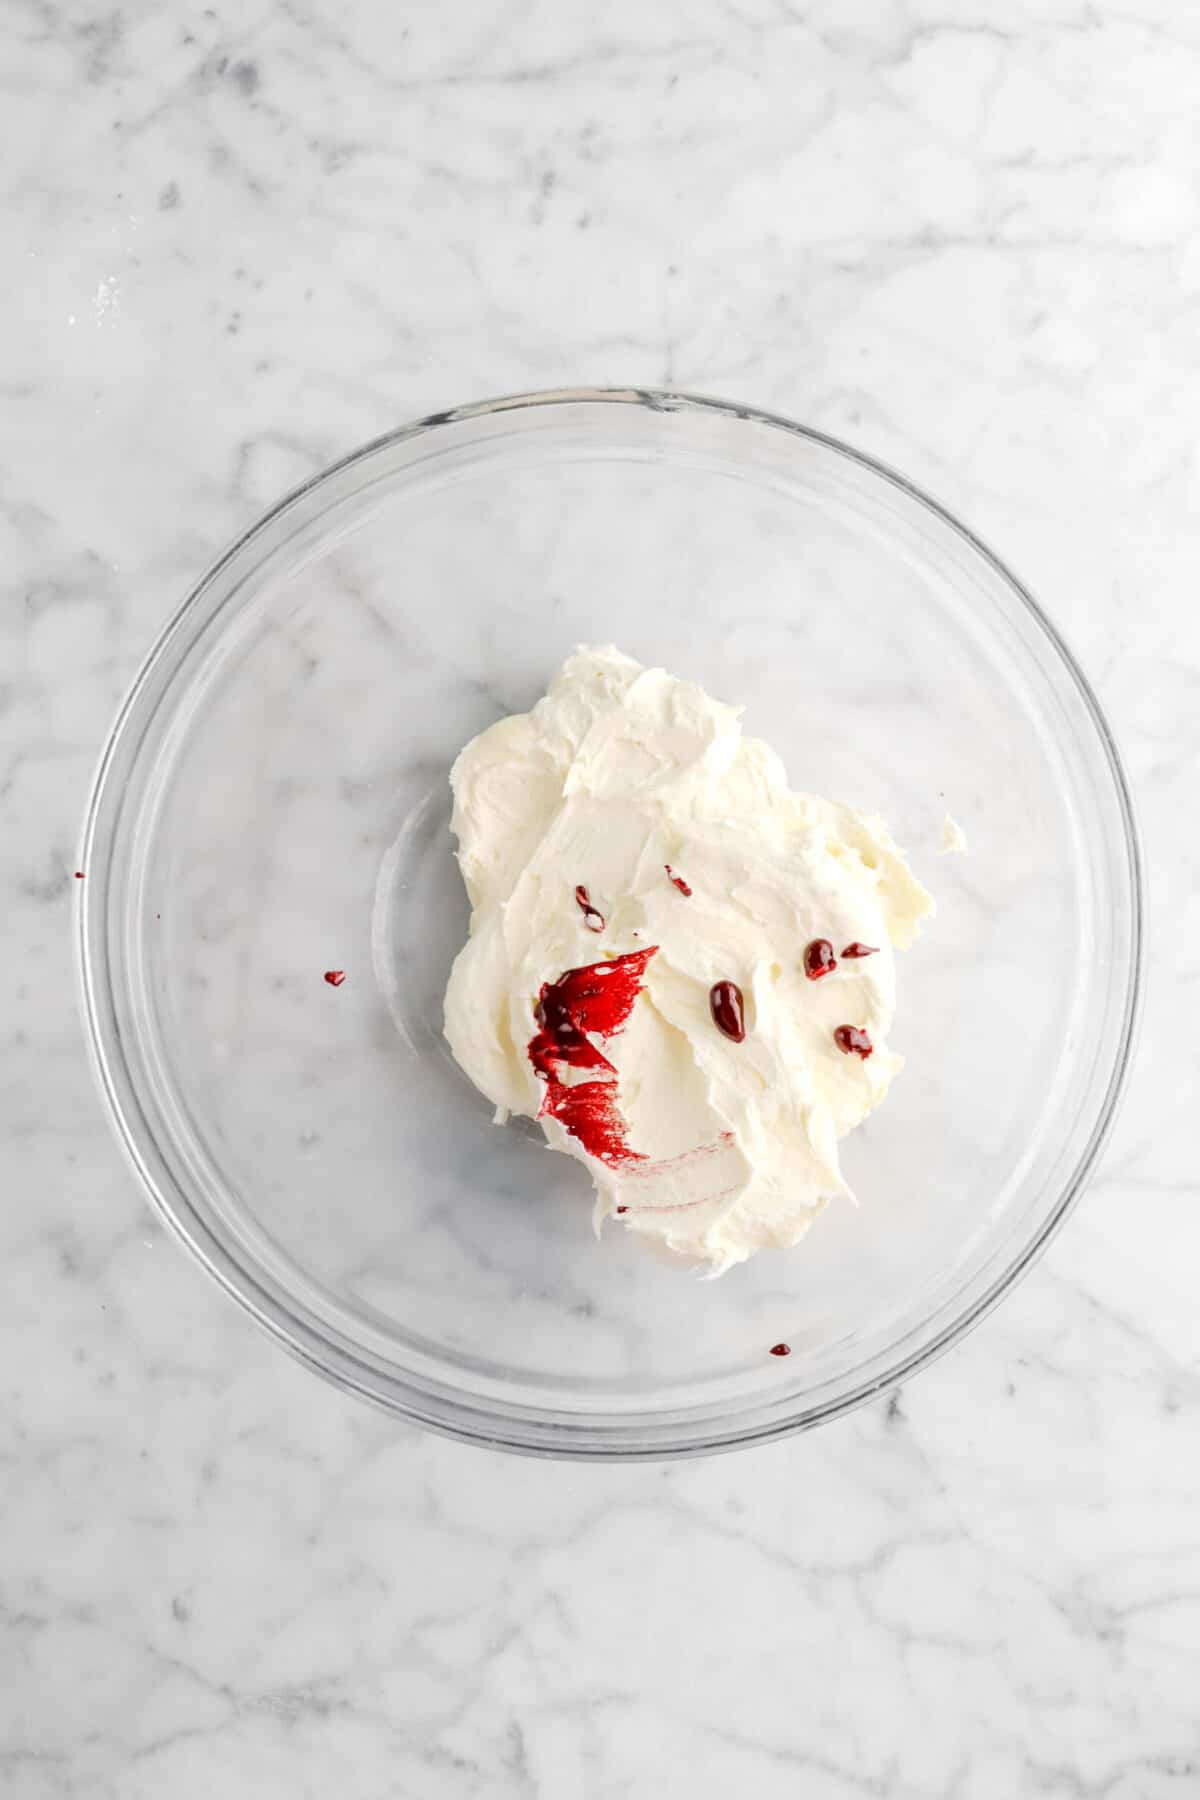
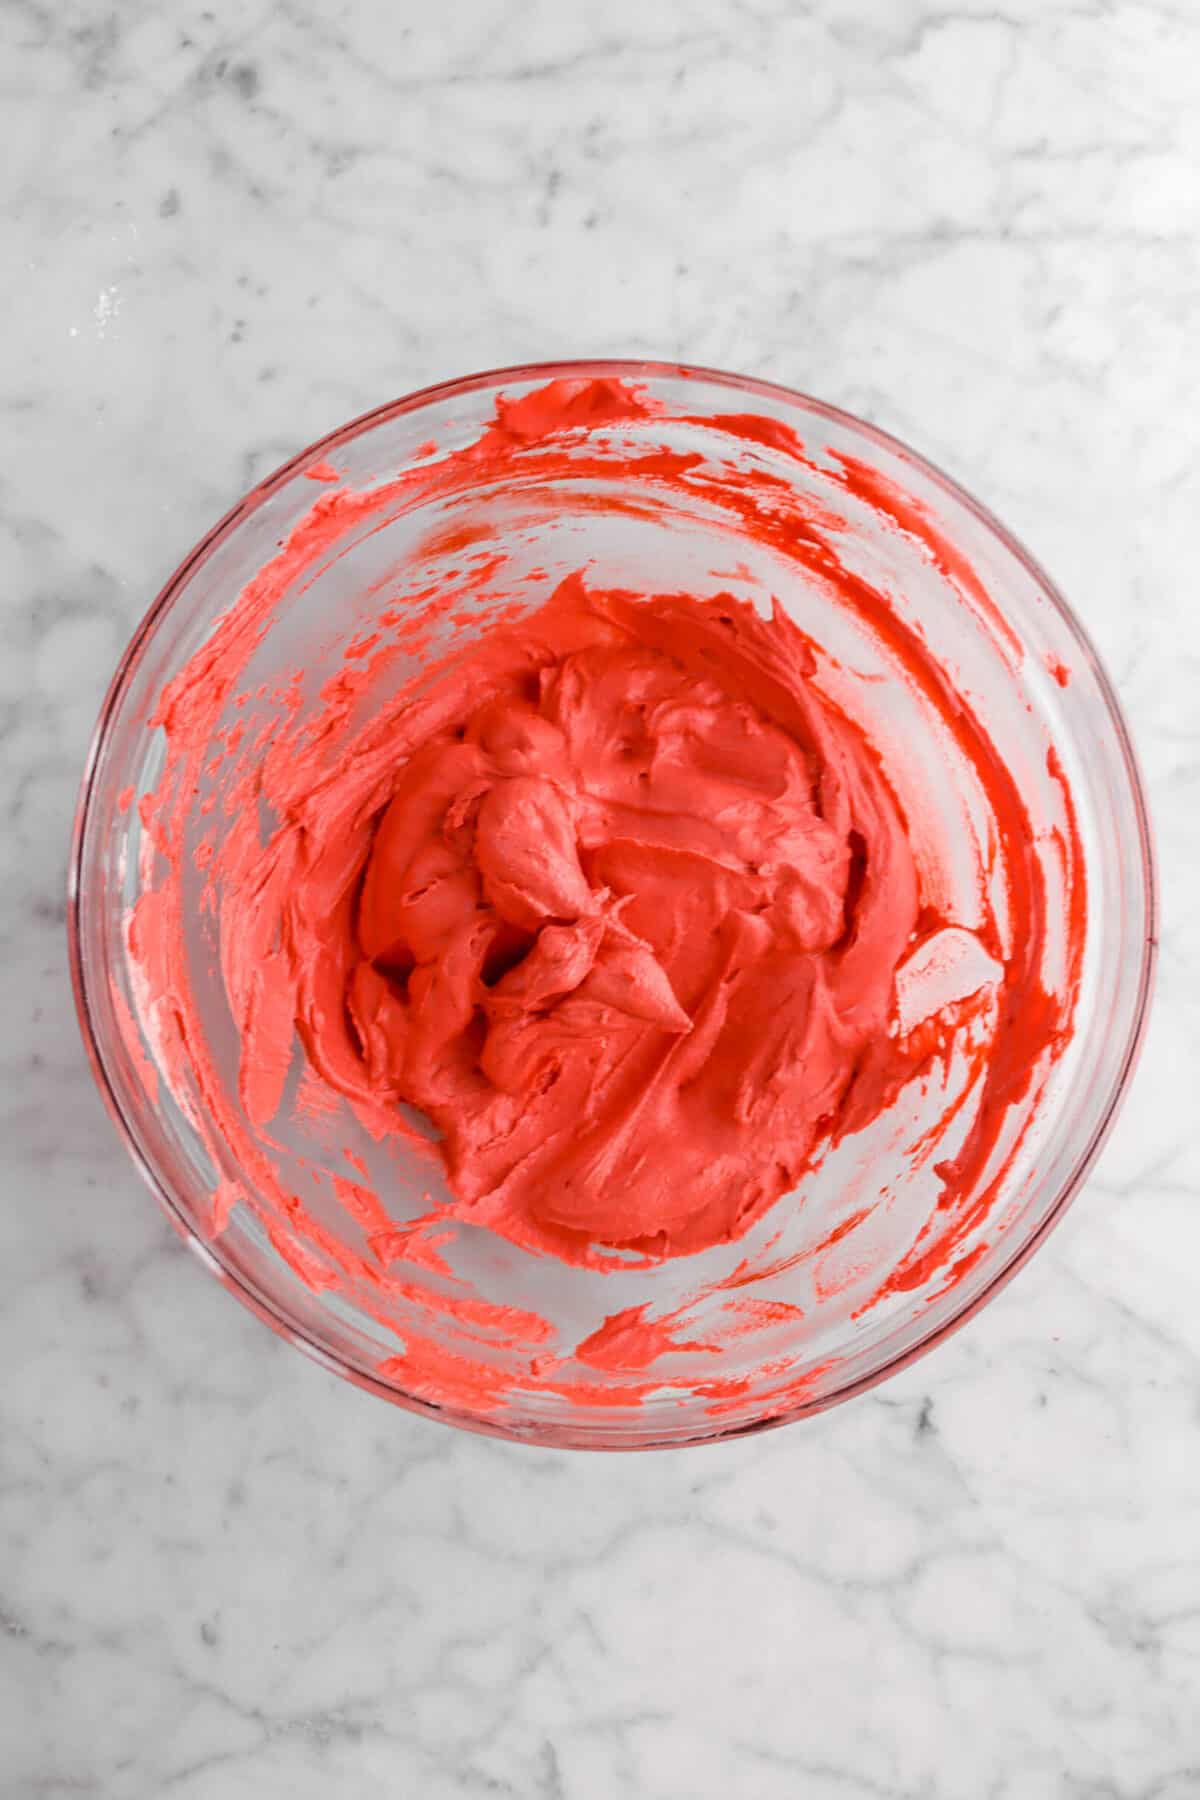
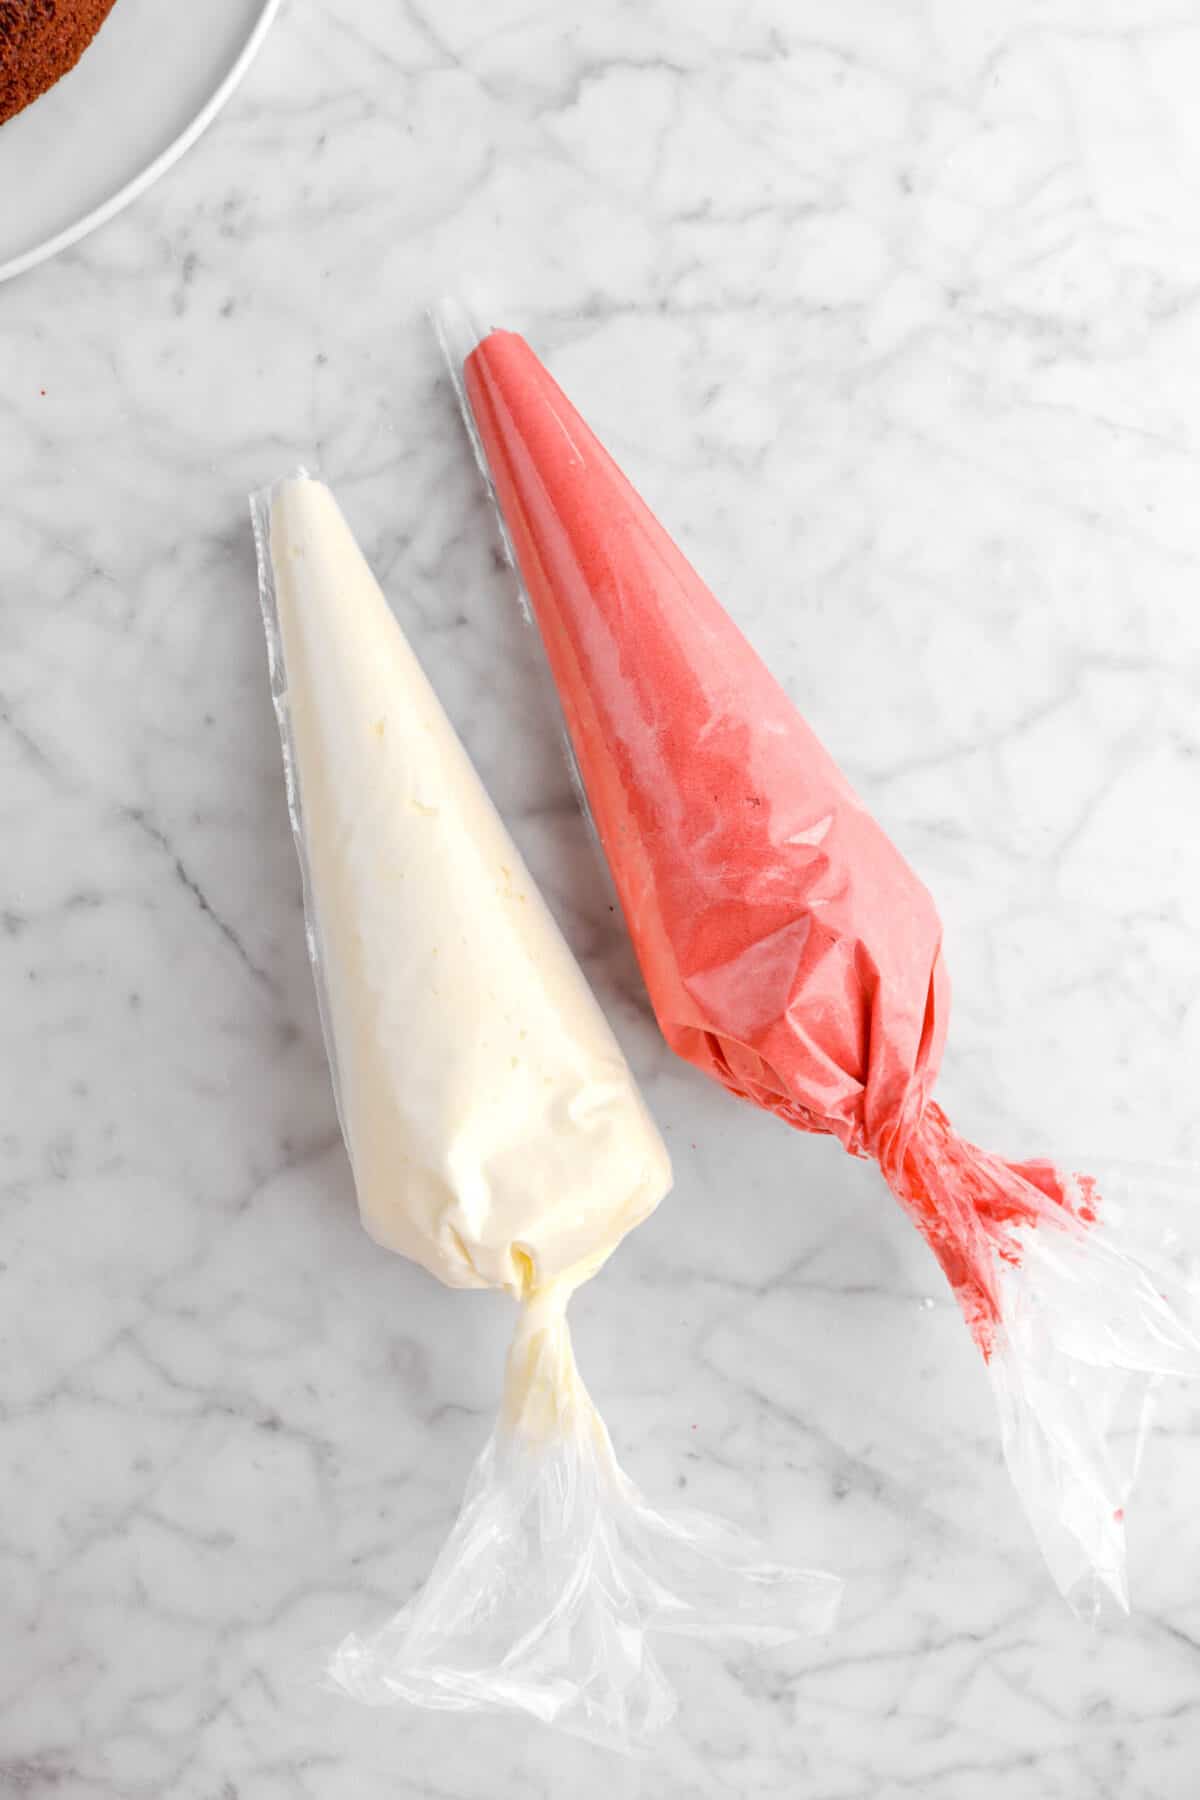
Spoon 1/4 of frosting in a small bowl. Add red food coloring and mix well. Spoon red frosting into piping bag. Spoon white frosting into separate piping bag.
Step 3: Layering & Decorating The Cake
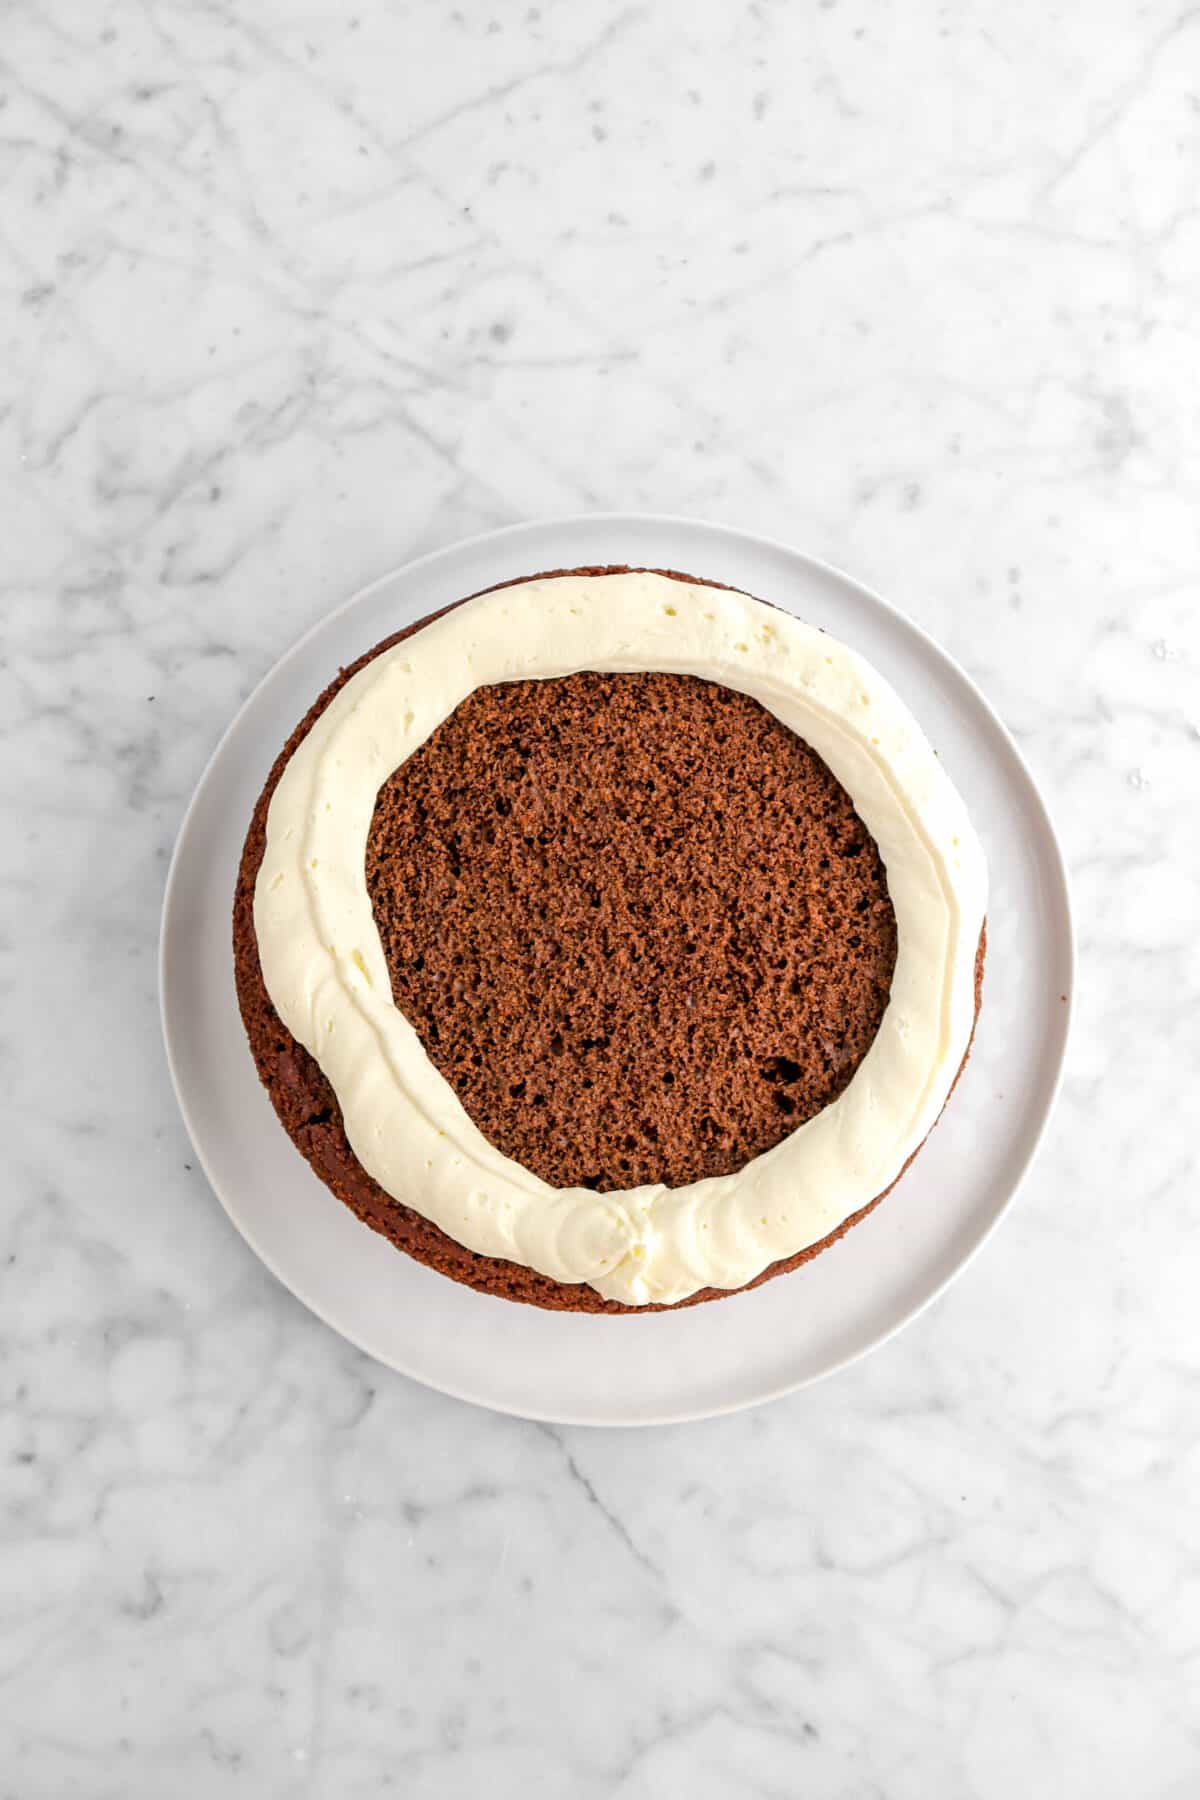
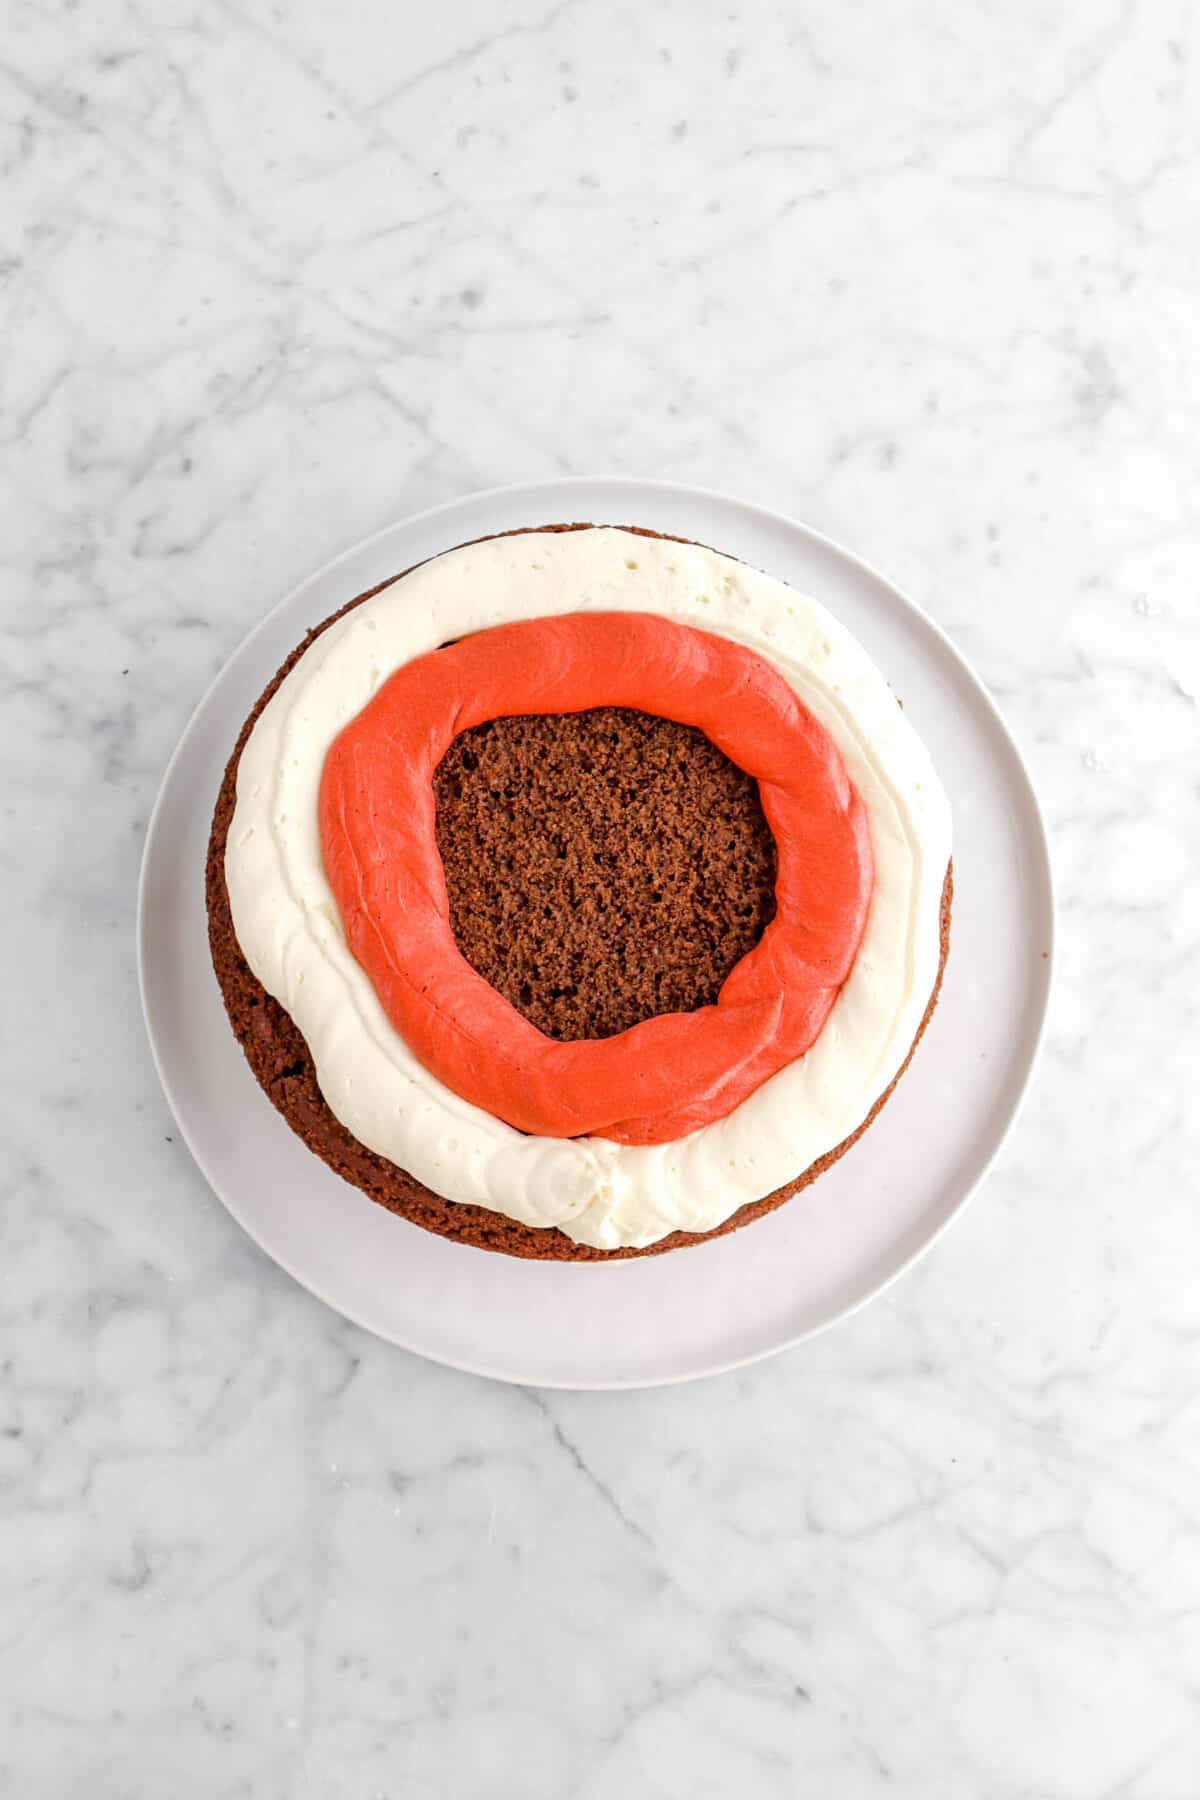
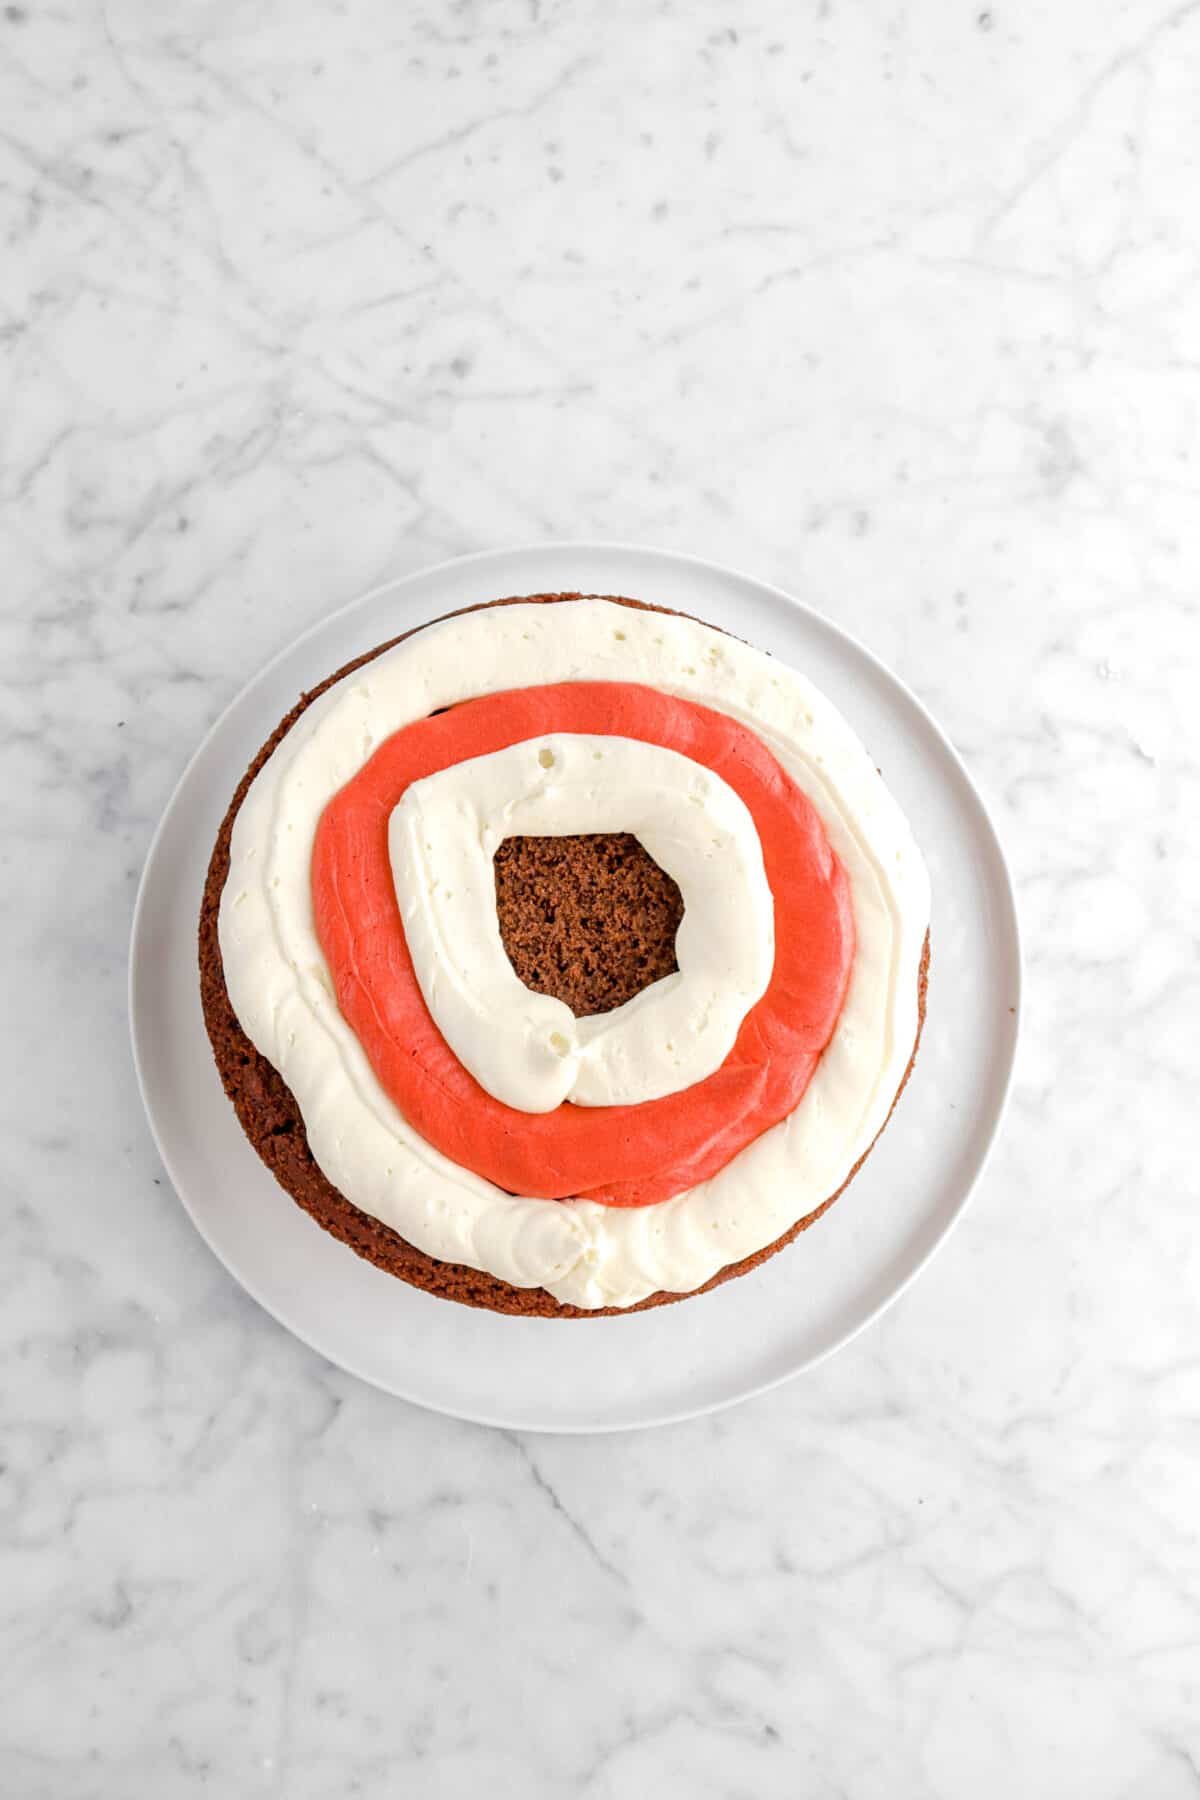
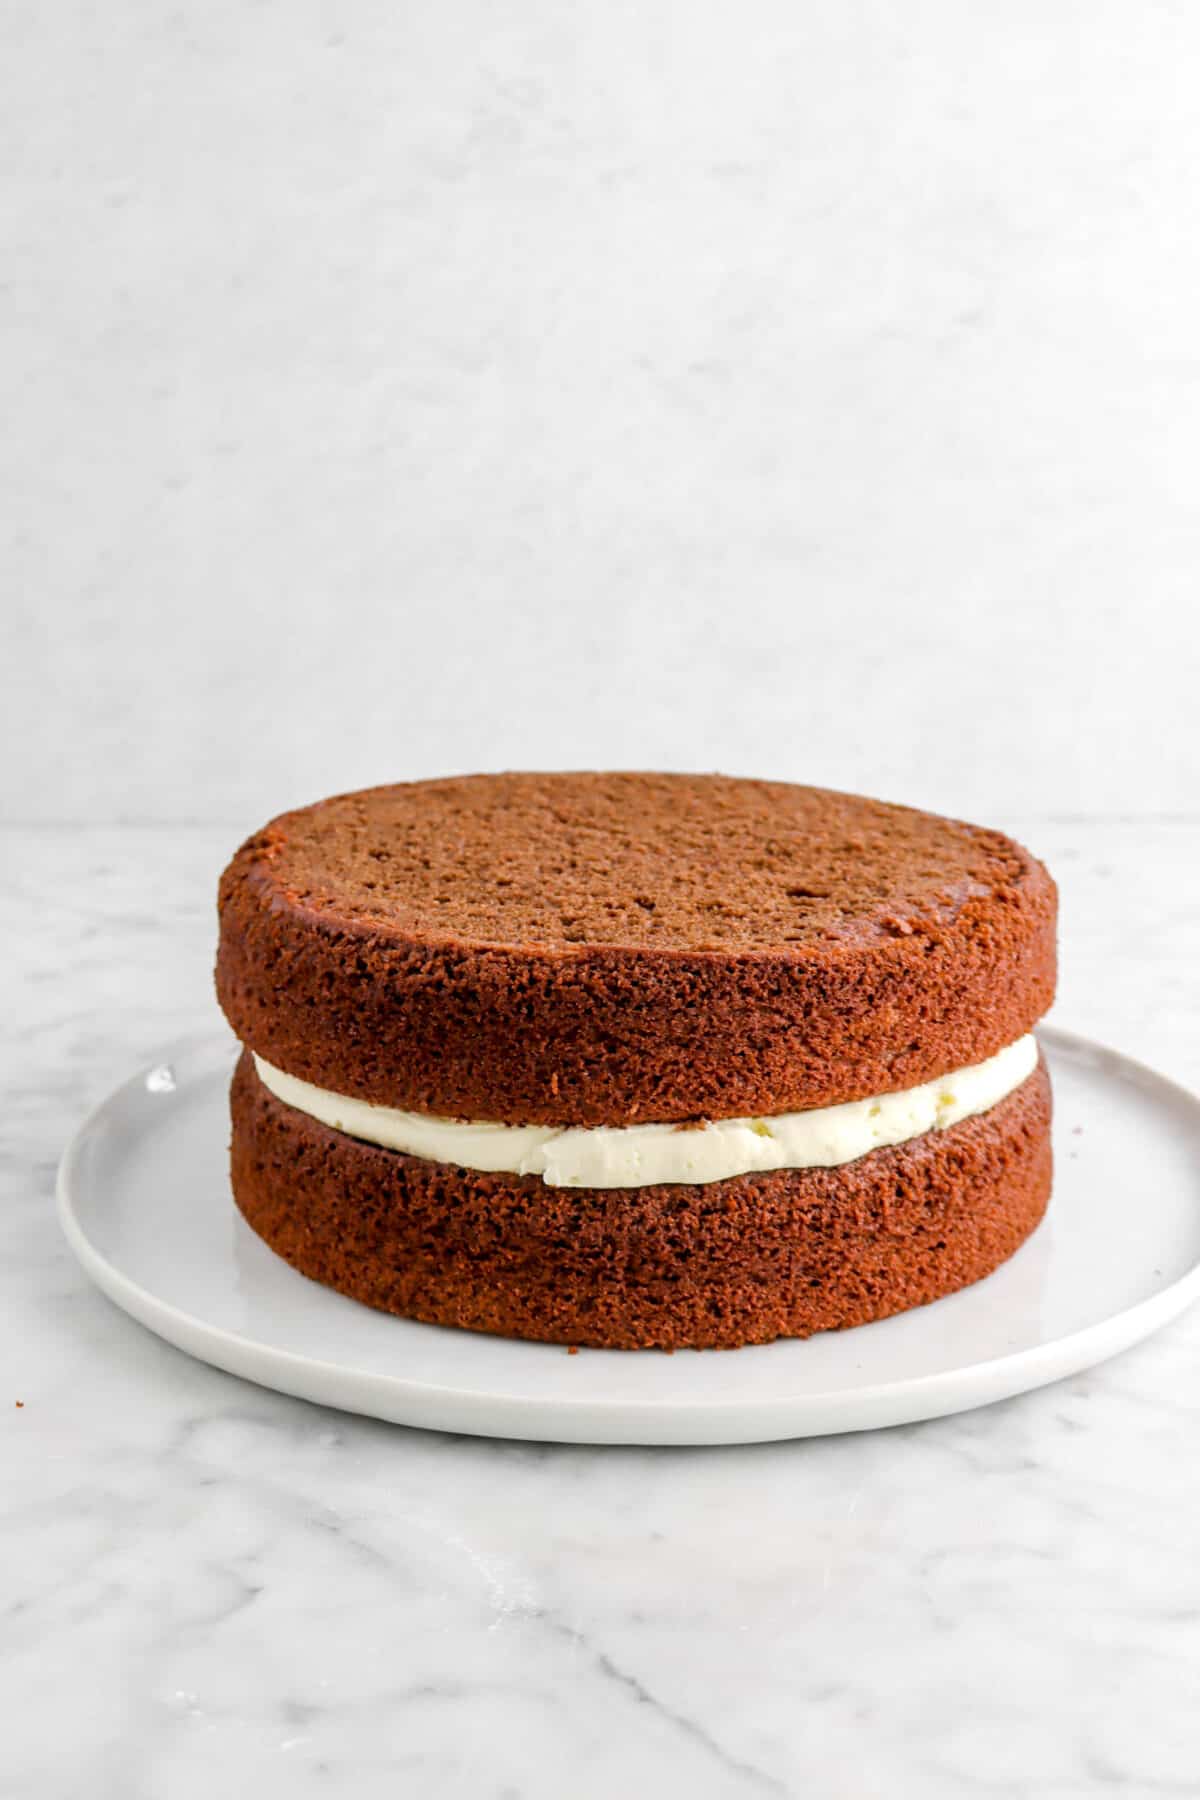
Place one layer of cooled cake on cake plate. Starting with the outer edge of the cake, pipe a ring of white frosting all the way around. Pipe a ring of red frosting on the inside of the white frosting. Repeat until filled.
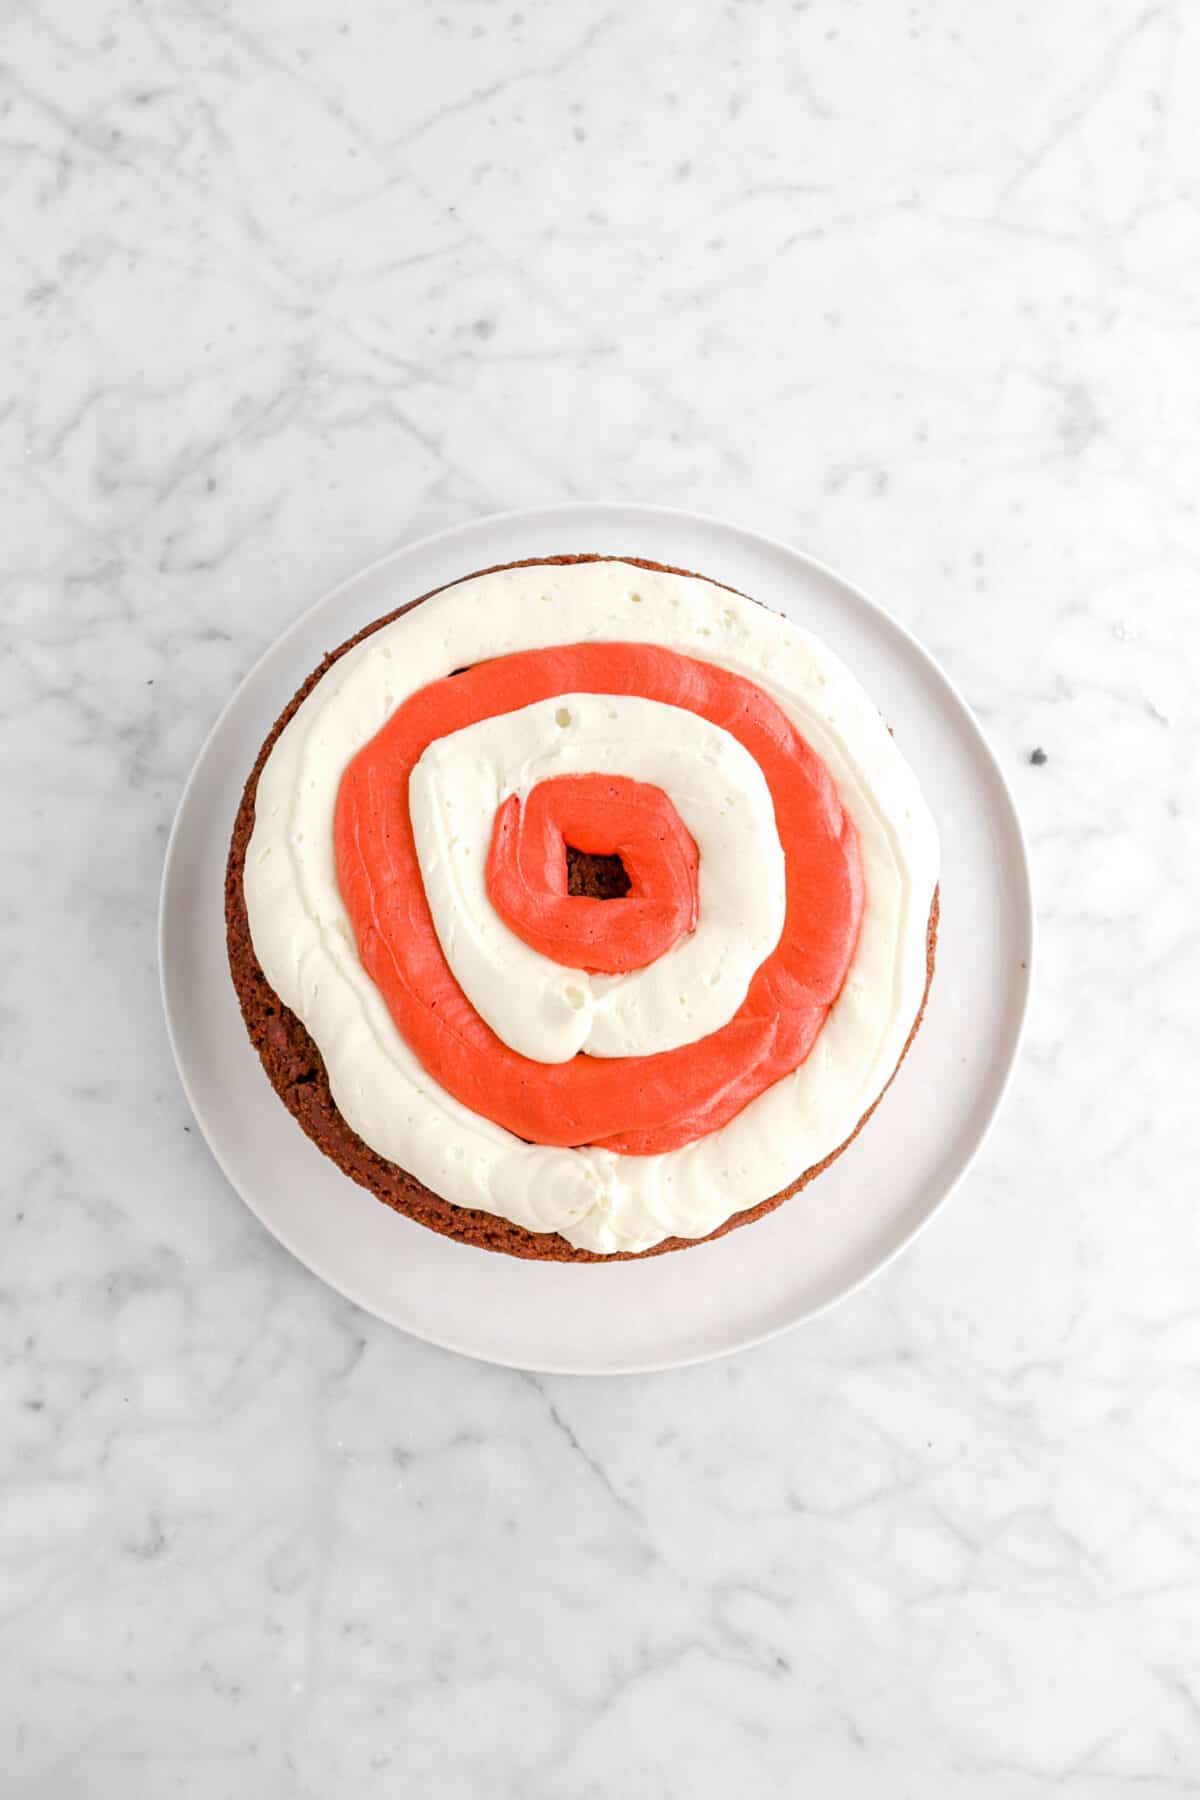
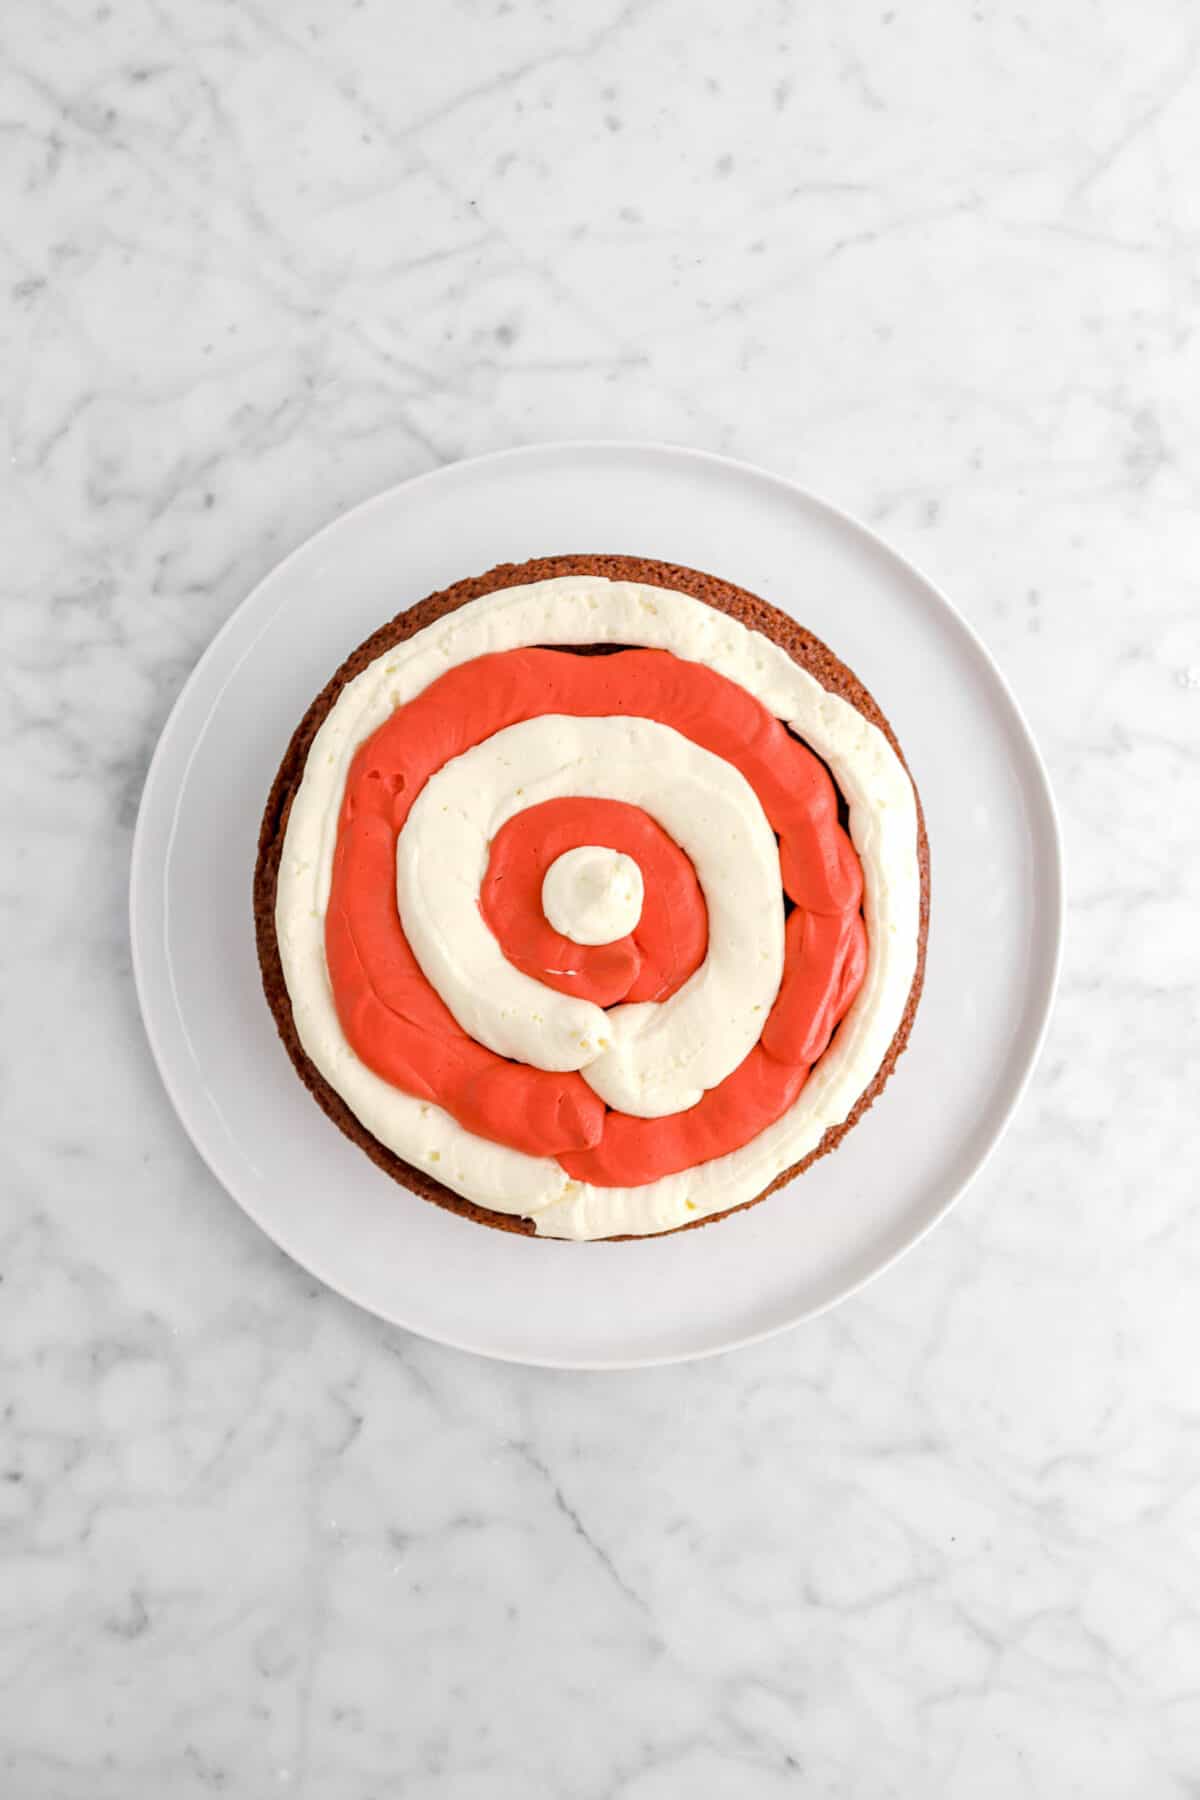
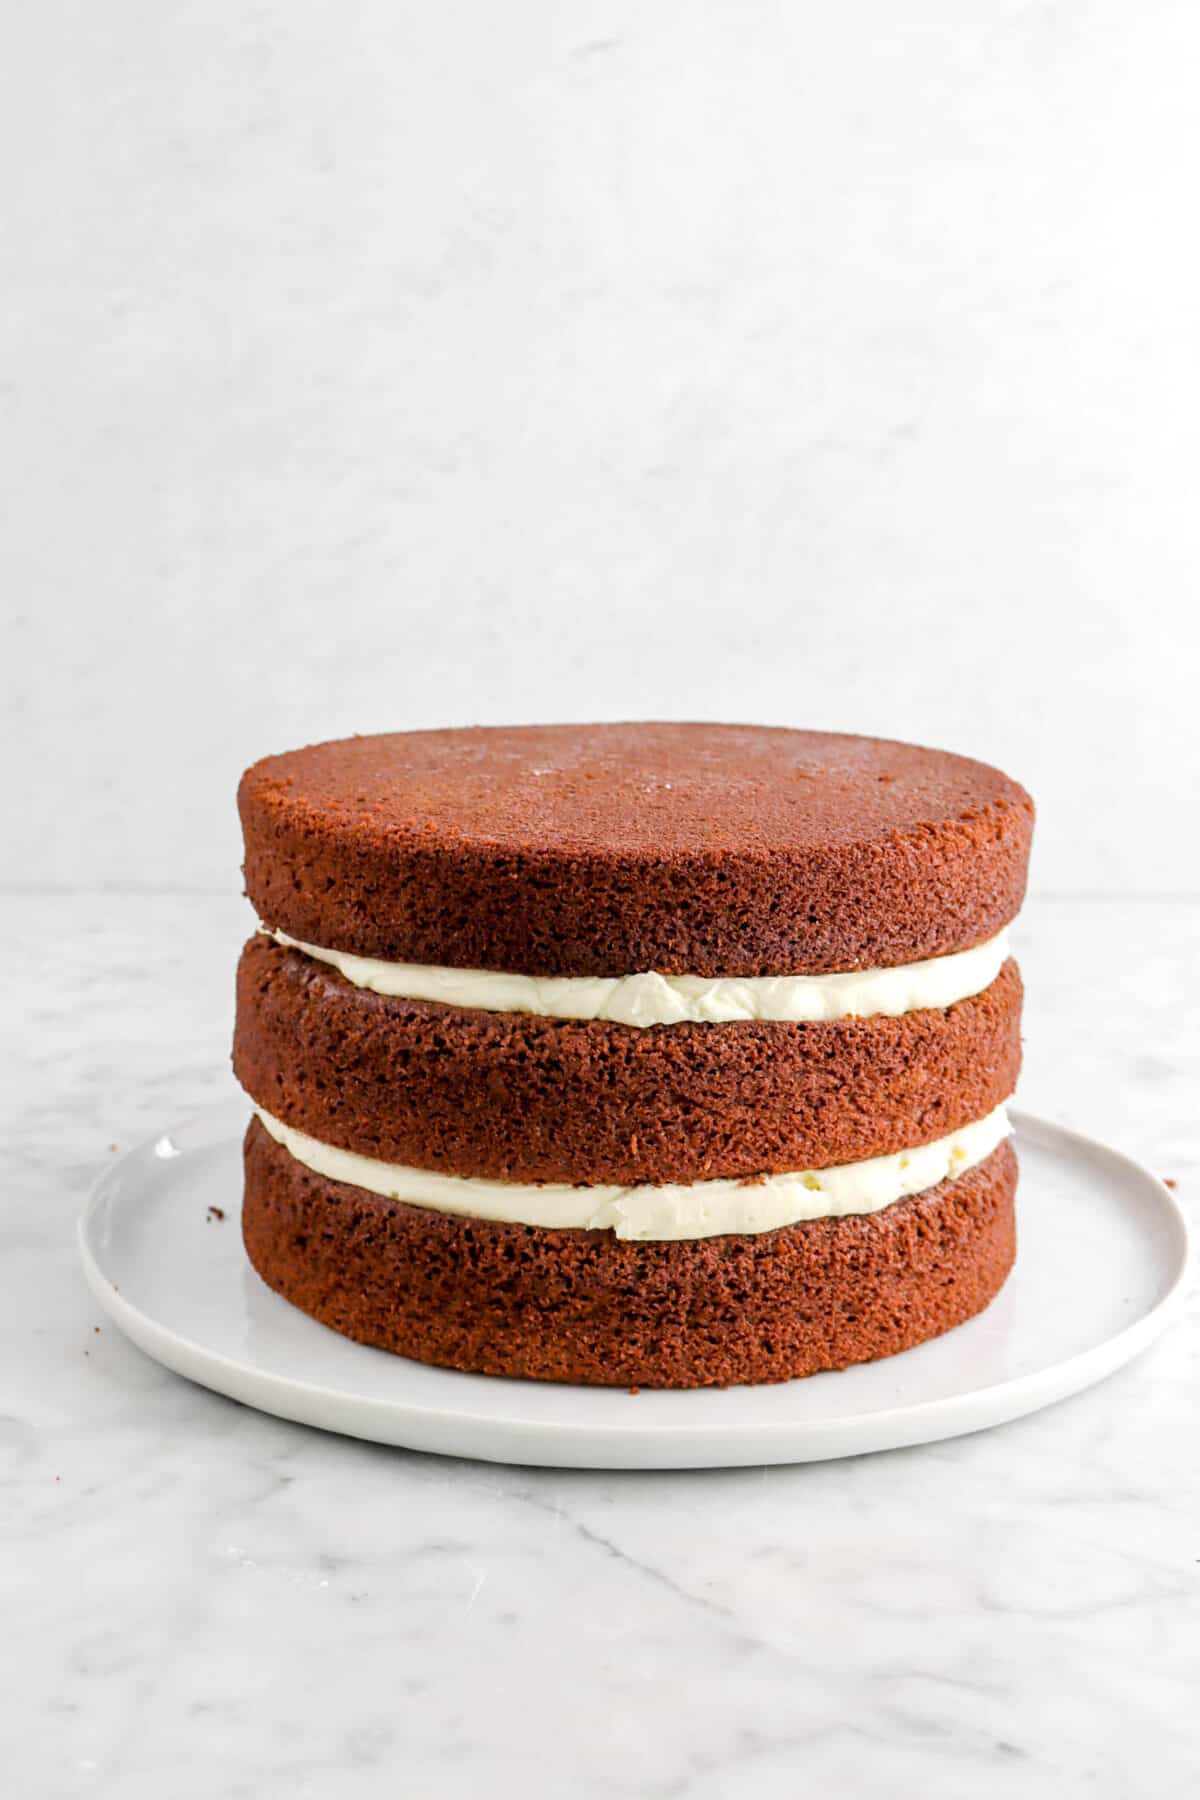
Place second cake layer on top of frosting. Repeat pattern above and place third cake layer on top.
With 1/3 – 1/2 of the remaining of white frosting, spread crumb coat around the cake. Refrigerate for 10 minutes, or until crumb coat has hardened. Frost cake as desired.
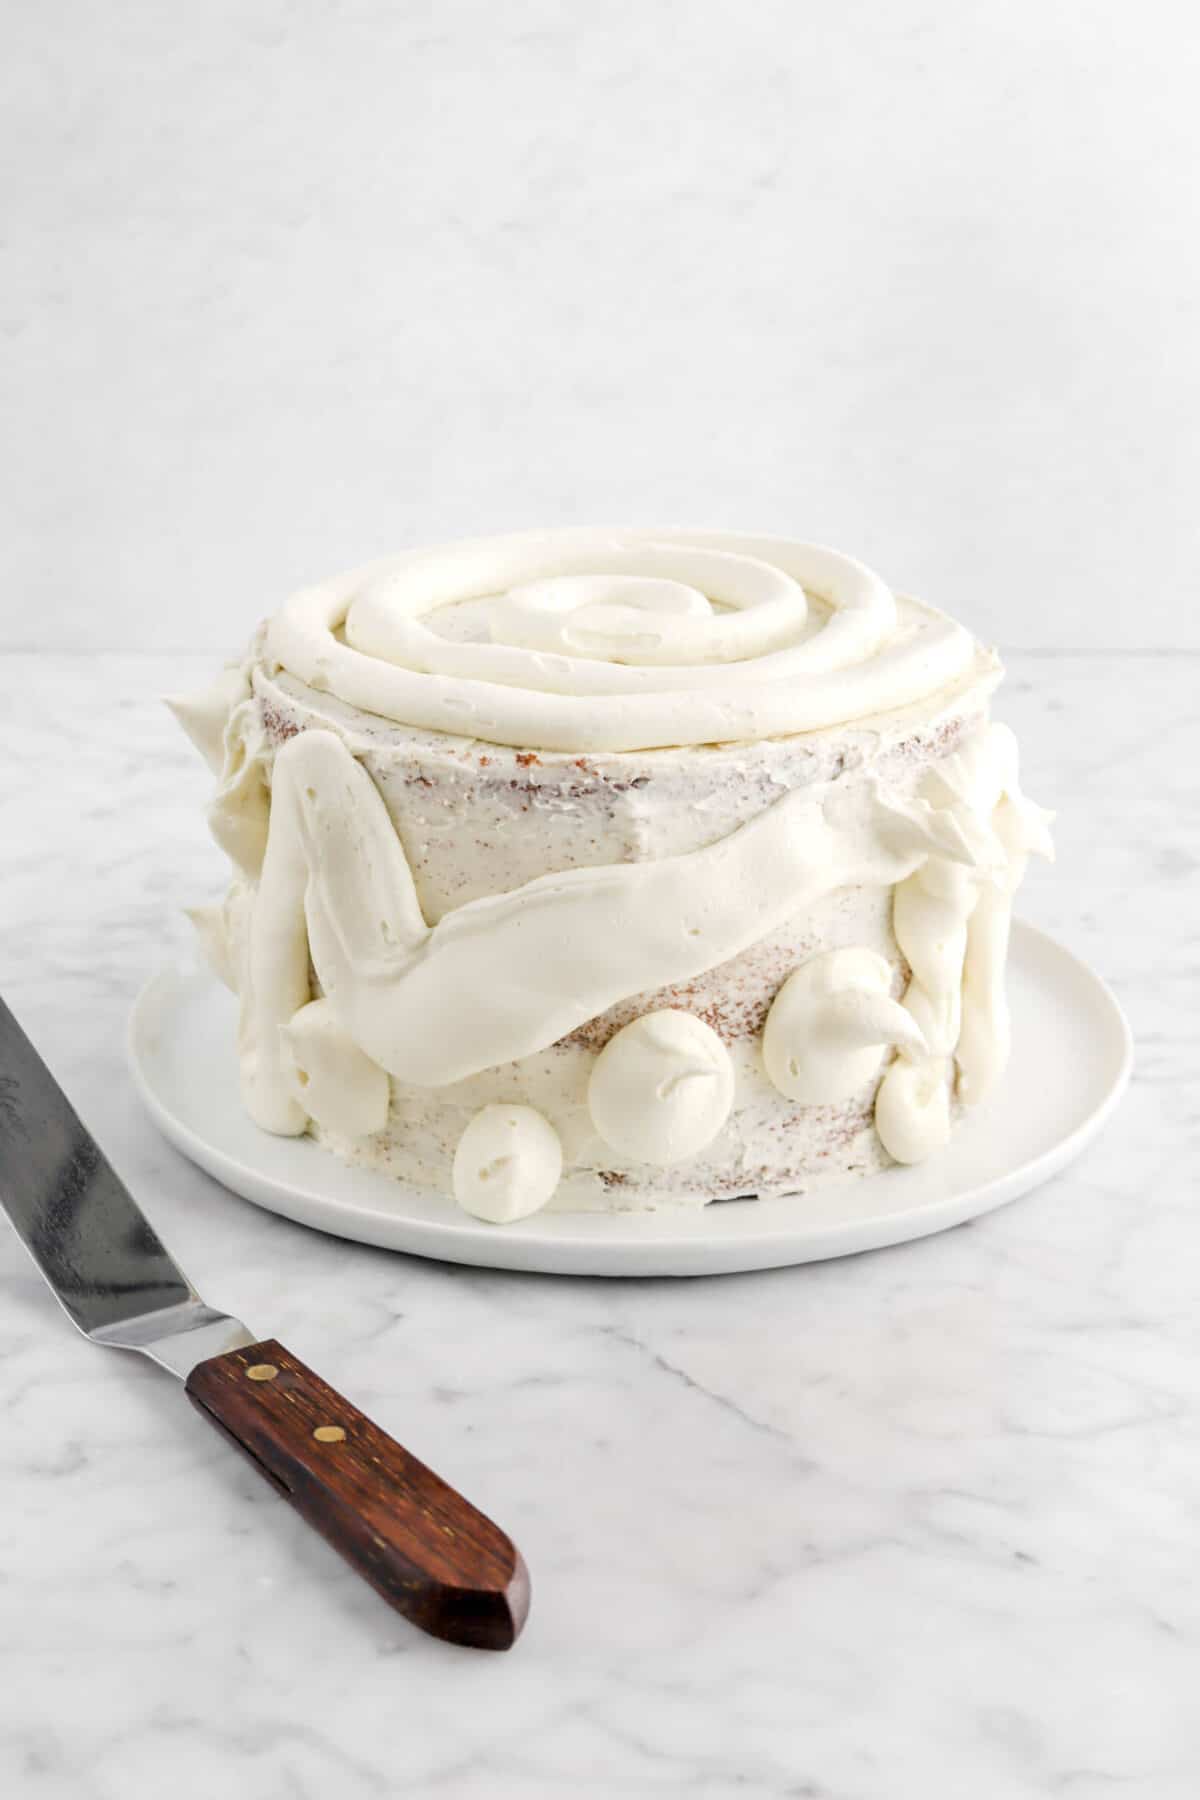
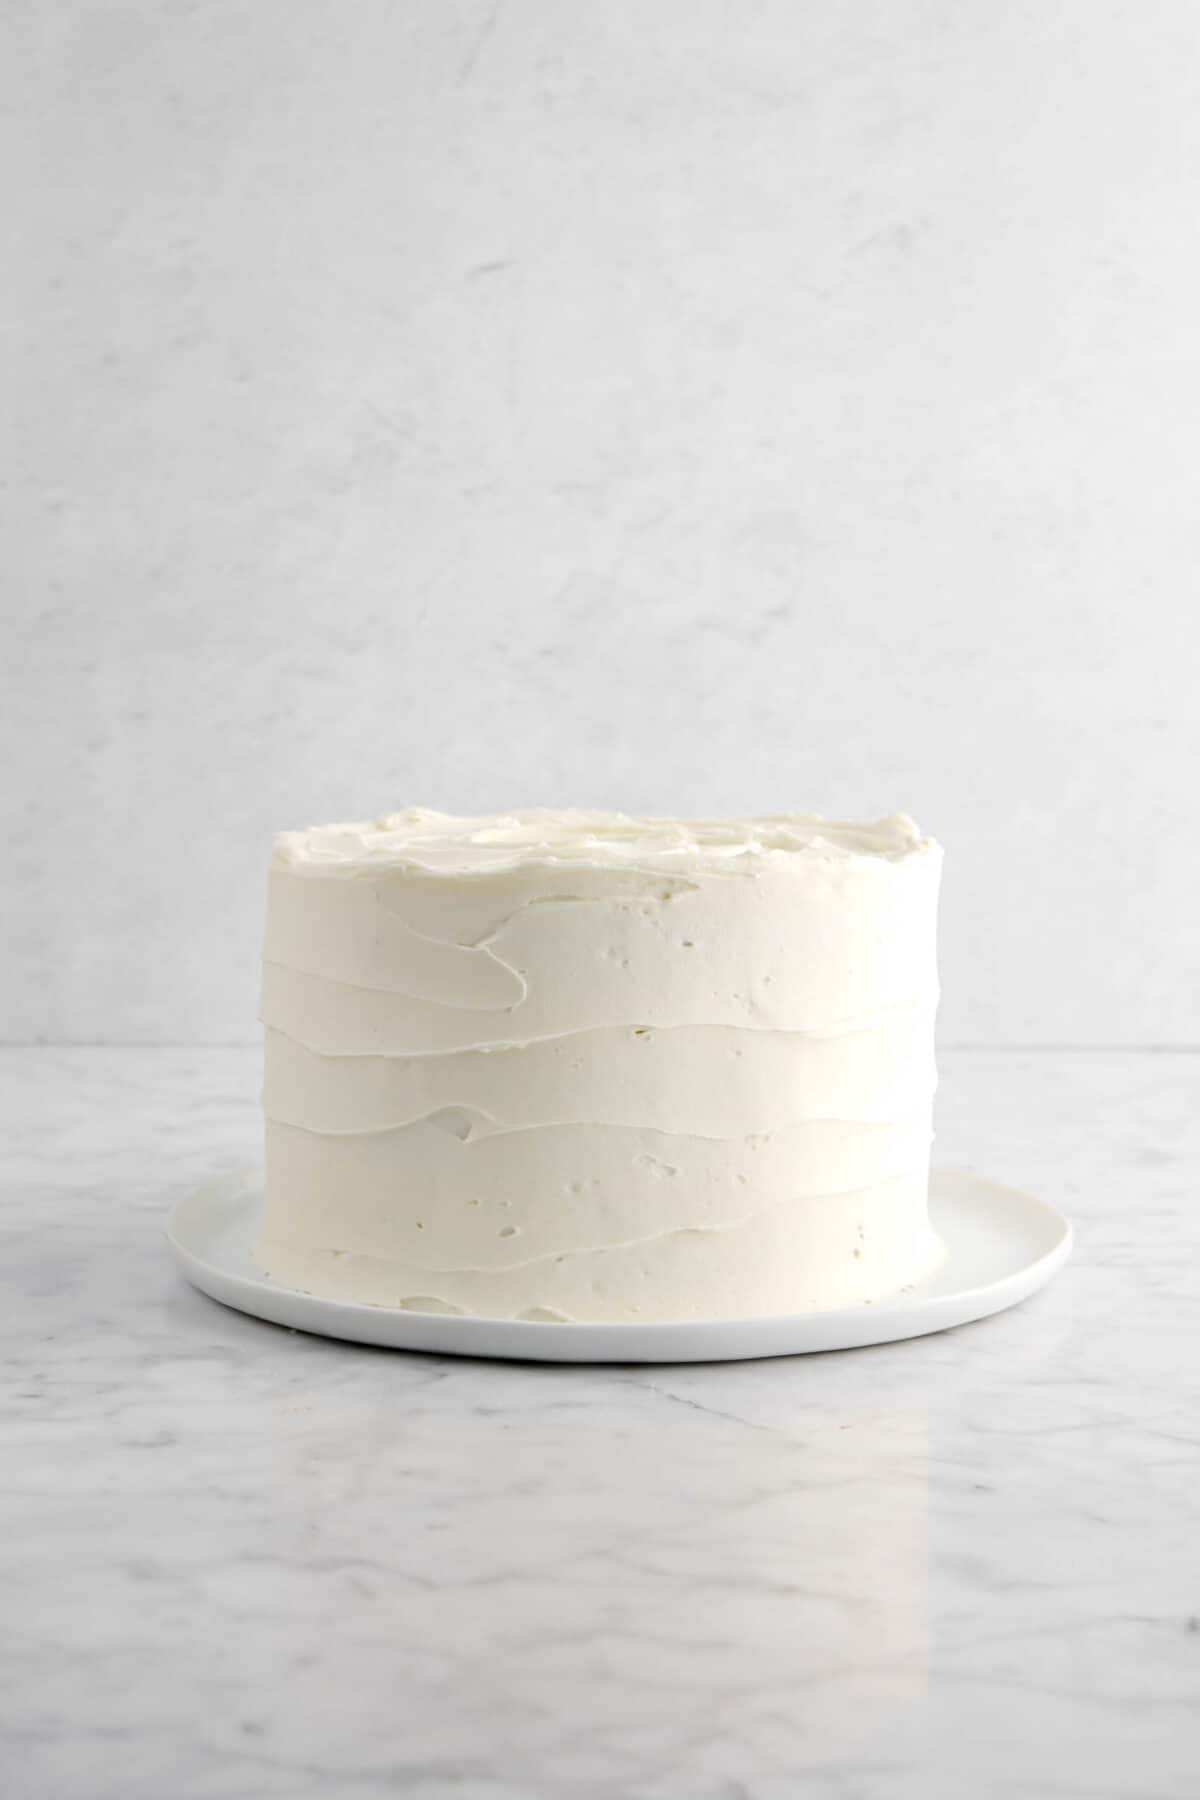
Decorate cake with crushed candy canes and peppermint bark.
How To Achieve The Perfect Buttercream
There are are a few things you can do to make sure you get the creamiest, silkiest buttercream every single time! The first is making sure your butter is room temperature. This is super important! Another is sifting your powdered sugar. Lumps of powdered sugar = lumpy buttercream! Lastly, if you feel your buttercream is too thick, you can add a splash (1/2 – 1 Tablespoon) of whole milk or heavy cream. This will help loosen it a little.
Decorating Ideas
- Dye about 1/2 of the frosting red and use it to decorate the outside the cake! You can do a number of things with this. Stripes like a candy cane, swirled within the white frosting, just frost this cake as a solid red, or use some of the red frosting to pipe red and white swirls on top of your cake!
- Stick candy canes on top the cake after frosting! If you don’t have peppermint bark, this is a great (and super cute!). way to decorate this cake.
- Use chocolate candies or even sprinkles.
- If you love piping, try piping a Christmas tree, ornament, or even a present on the front of the cake!
How To Store
Since this is a layer cake, you actually have a few ways to store this cake!
First, you can make the cake layers ahead of time. After baking (and cooling!) store the individual cake layers in freezer-safe zip top bags and freeze for up to a month. The frosting can be made about 1-2 days in advance, but it’s much easier to work with fresh!
If the cake is already assembled, you can leave this cake out on the counter, covered, at room temperature for about a day, but it’s really best kept in the fridge for up to 3 days. Another option is freezing the cake! You can freeze the cake as a whole or as individual slices. Just make sure to cover it!
When you make this Dark Chocolate Peppermint Layer Cake with White Chocolate Peppermint Frosting, leave a comment down below! We love hearing from you and answering any questions you might have! Also, be sure to tag us on social media and hashtag it #BakersTable.
Dark Chocolate Peppermint Layer Cake with White Chocolate Peppermint Frosting
Ingredients
Cake
- 1⅓ cups dark or bittersweet chocolate
- 3 cups all purpose flour
- 1½ cups granulated sugar
- 1 Tablespoon baking powder
- 1 teaspoon salt
- ¾ teaspoon baking soda
- 4 large eggs, room temperature
- 1 cup vegetable oil
- 1¼ cups milk
- 1 Tablespoon vanilla extract
- ¼ teaspoon peppermint oil
Frosting
- 3 cups white chocolate
- 2¼ cups salted butter, room temperature
- 4½ cups powdered sugar, sifted
- ⅜ teaspoon peppermint extract
- 1½ Tablespoons heavy cream
- ¼-½ teaspoon red food coloring
Instructions
Cake
- Heat oven to 350℉/177℃.
- Spray three 8-inch round cake pans with baking spray. Set aside
- Melt chocolate in microwave safe bowl on 15 second intervals, stirring after each, until smooth. Set aside.
- In a large bowl, whisk together flour, sugar, baking powder, salt, and baking soda. Set aside.
- In a medium bowl, whisk together eggs, vegetable oil, milk, vanilla extract and peppermint oil.
- Pour wet ingredients into dry ingredients.
- Whisk until smooth, 1-2 minutes.
- Fold in chocolate.
- Pour into prepared pans.
- Bake for 20-25 minutes until cakes test done.
Frosting
- Melt white chocolate in a microwave safe bowl in 15 second intervals, stirring after each, until smooth. Set aside.
- Beat butter and powdered sugar at high speed of an electric mixer until creamy, about 1-2 minutes.
- Beat in white chocolate and peppermint extract.
- Add heavy cream.
- Beat until light and fluffy.
- Spoon ¼ of frosting in a small bowl.
- Add red food coloring.
- Mix well.
- Spoon into piping bag.
Assembly
- Place one layer of cooled cake on cake plate (or board).
- Spoon ⅓ of remaining frosting in piping bag.
- Starting out outer edge of cake, pipe a ring of white frosting all the way around.
- Pipe a ring of red frosting on the inside of the white frosting.
- Repeat concentric circles until center is filled.
- Place second cake layer on top.
- Repeat frosting pattern.
- Top with 3rd layer.
- Frost entire outside cake with a thin layer of frosting (crumb coat).
- Set aside (or in refrigerator) to set.
- Frost entire cake.
Notes + Tips!
- Room temperature is about 70℉/21℃.
- To substitute unsalted butter in the frosting, add 1 teaspoon salt.
- Do not over-mix this cake!
- When melting the chocolate for the cake and frosting, do not leave it long! If it gets too cold, just remelt the chocolate before adding it to the cake or frosting.
- Piping the red rings in the middle of the cake are optional, but highly recommended!
- If you don’t want a lot of peppermint flavor, you can omit the peppermint oil from the cake.
- This cake is a little crumbly. Don’t skip the crumb coat!
- You may need to level your cake layers.
- You can decorate this cake however you want.
- If you don’t have piping bags, you can cut the corner of a zip top bag and use it as a piping bag.
Tools You May Need (affiliate links)
– Still Hungry? –
Here are a few recipes may like!


