Vanilla Christmas Tree Cakes
This post may contain affiliate links, please visit our privacy policy for details.
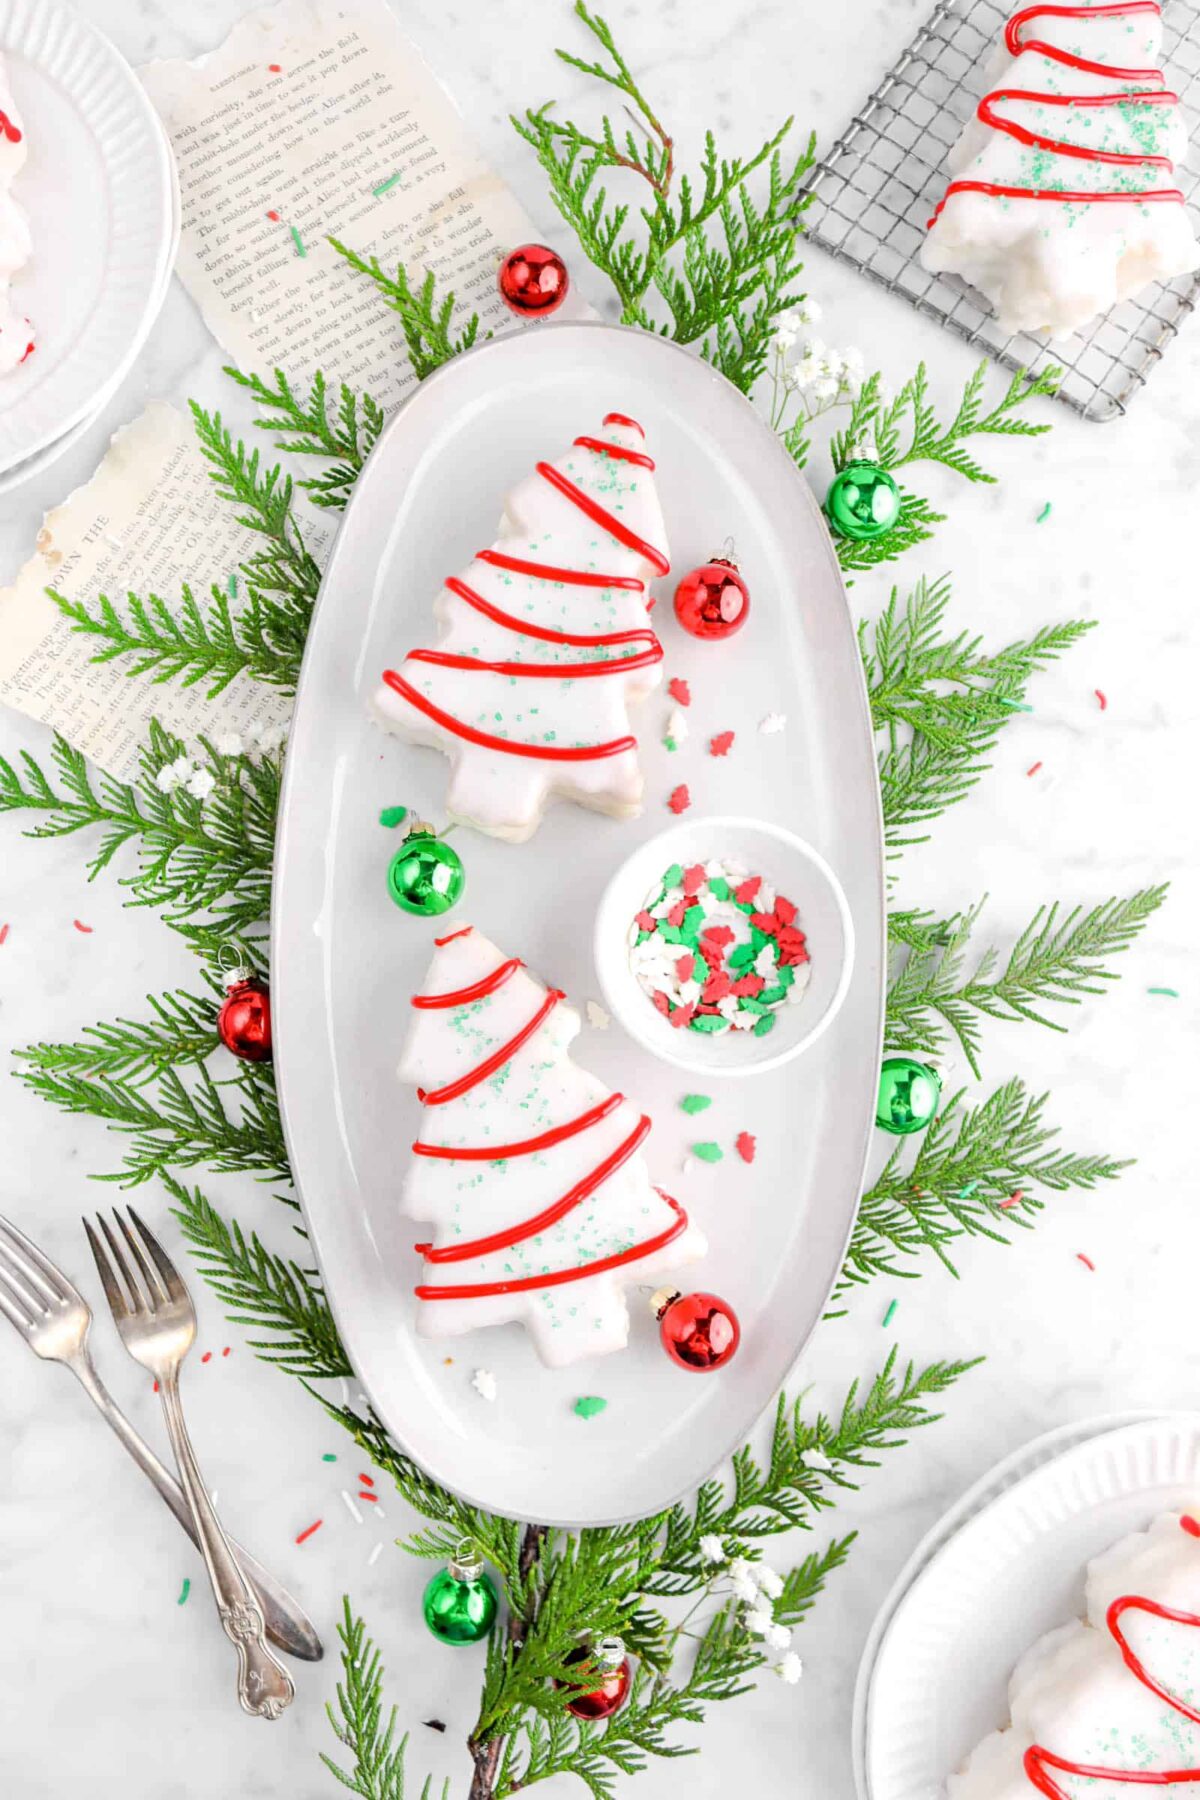
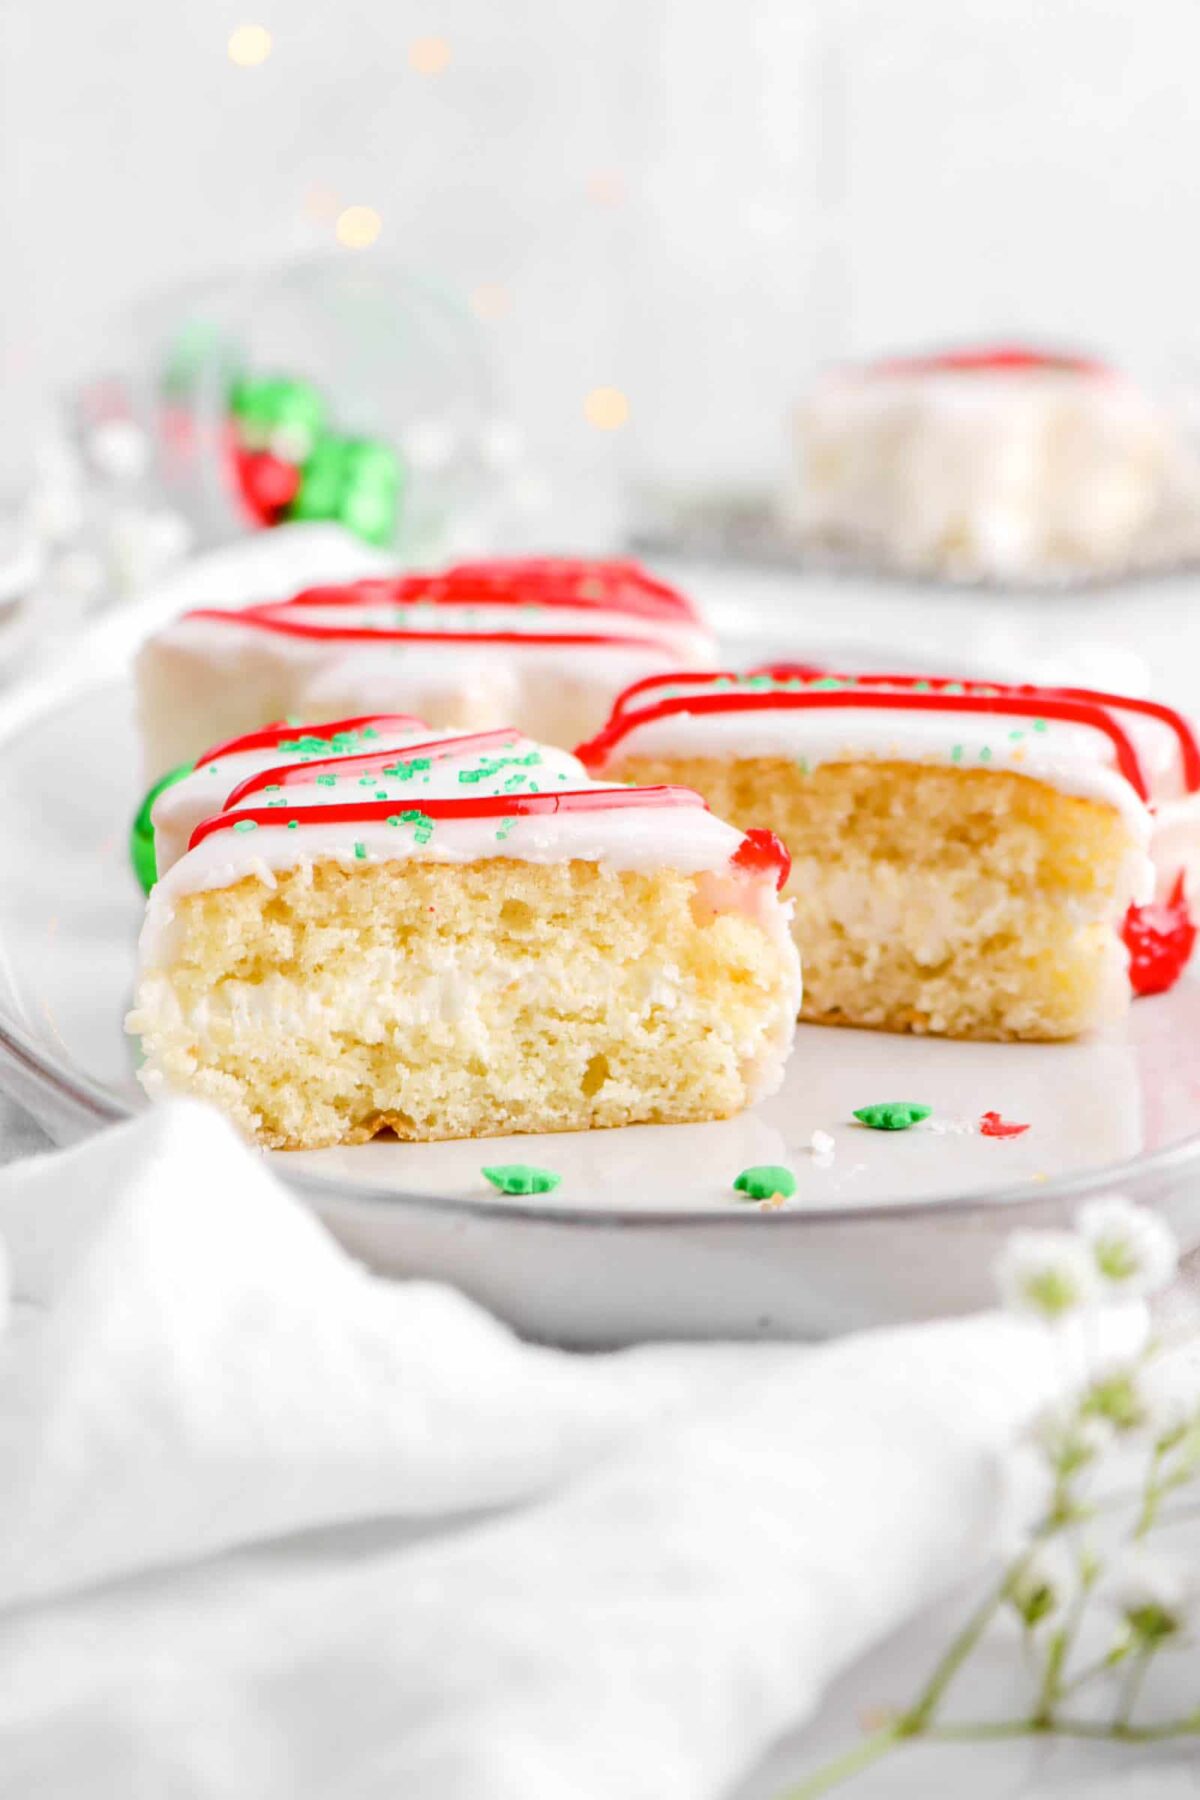
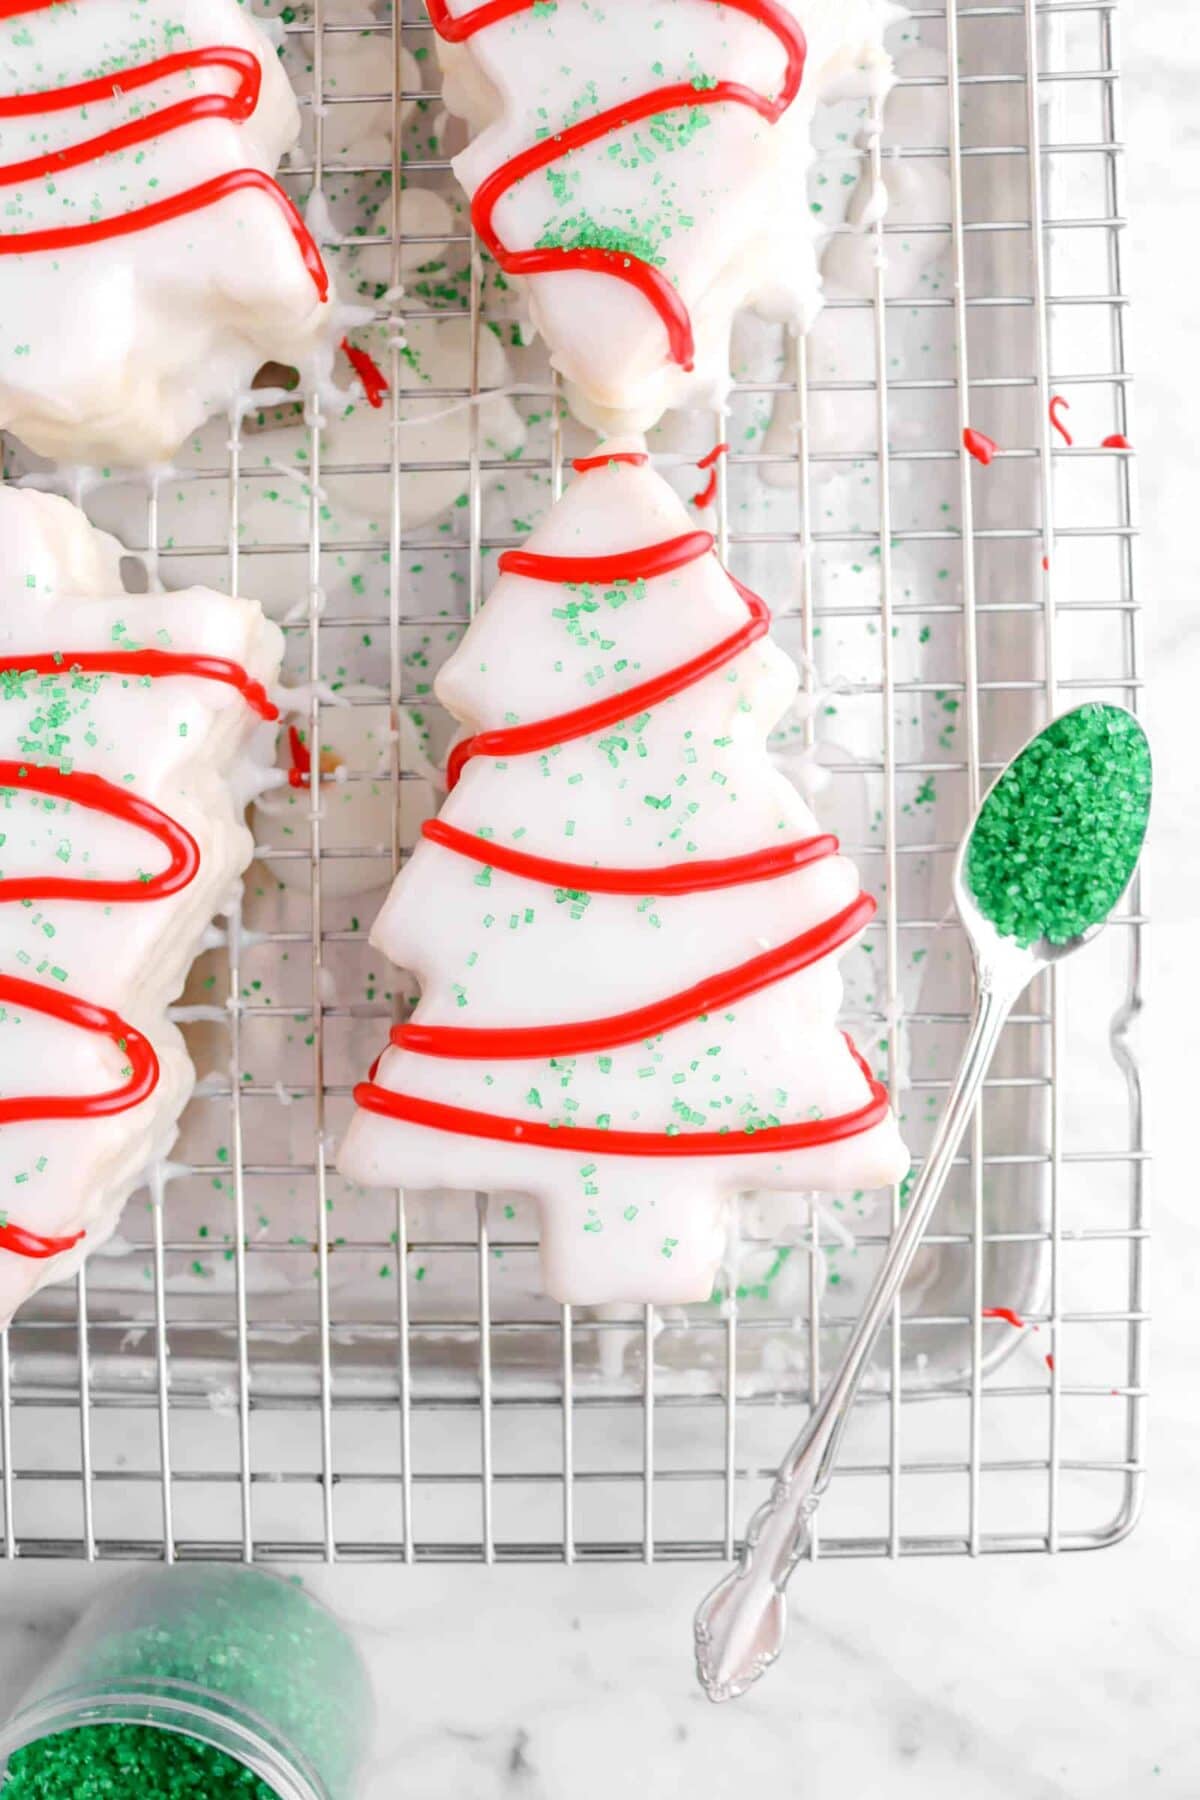
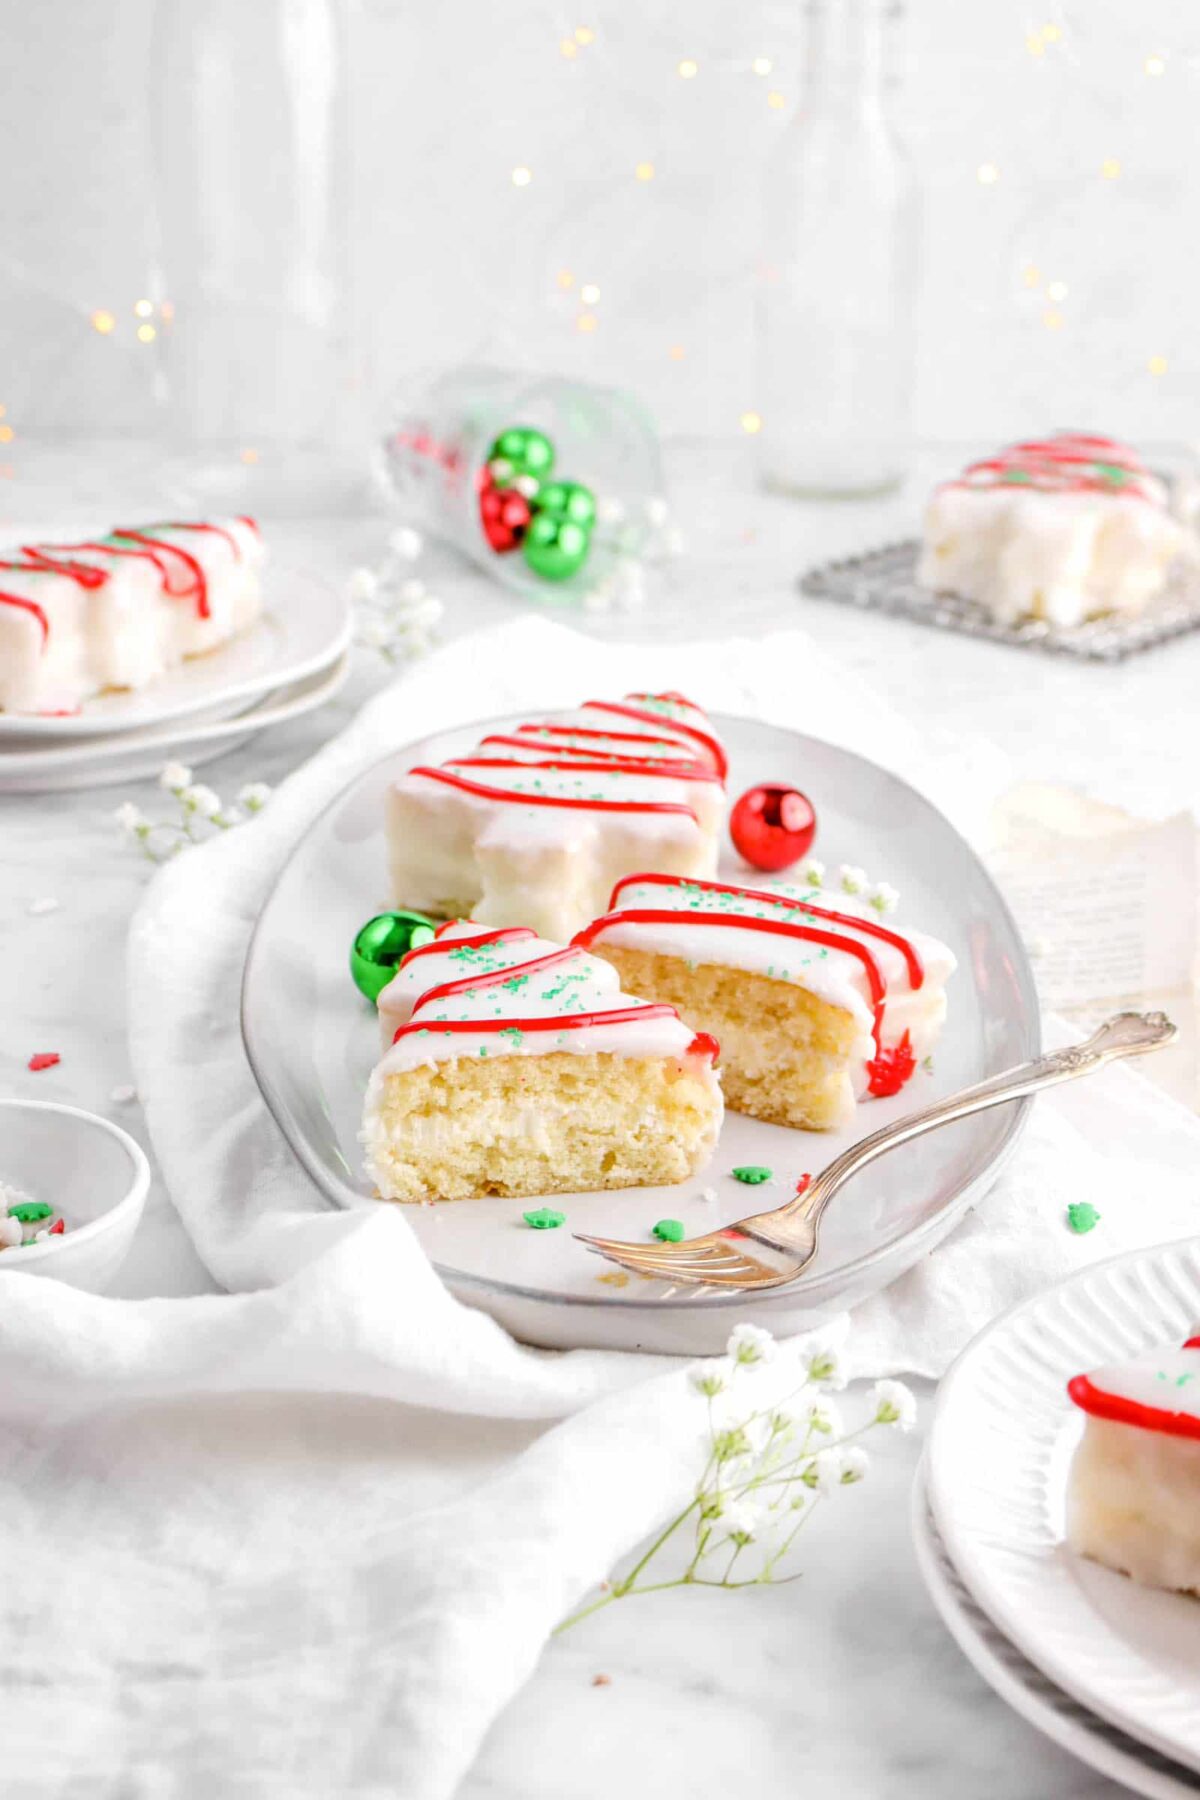
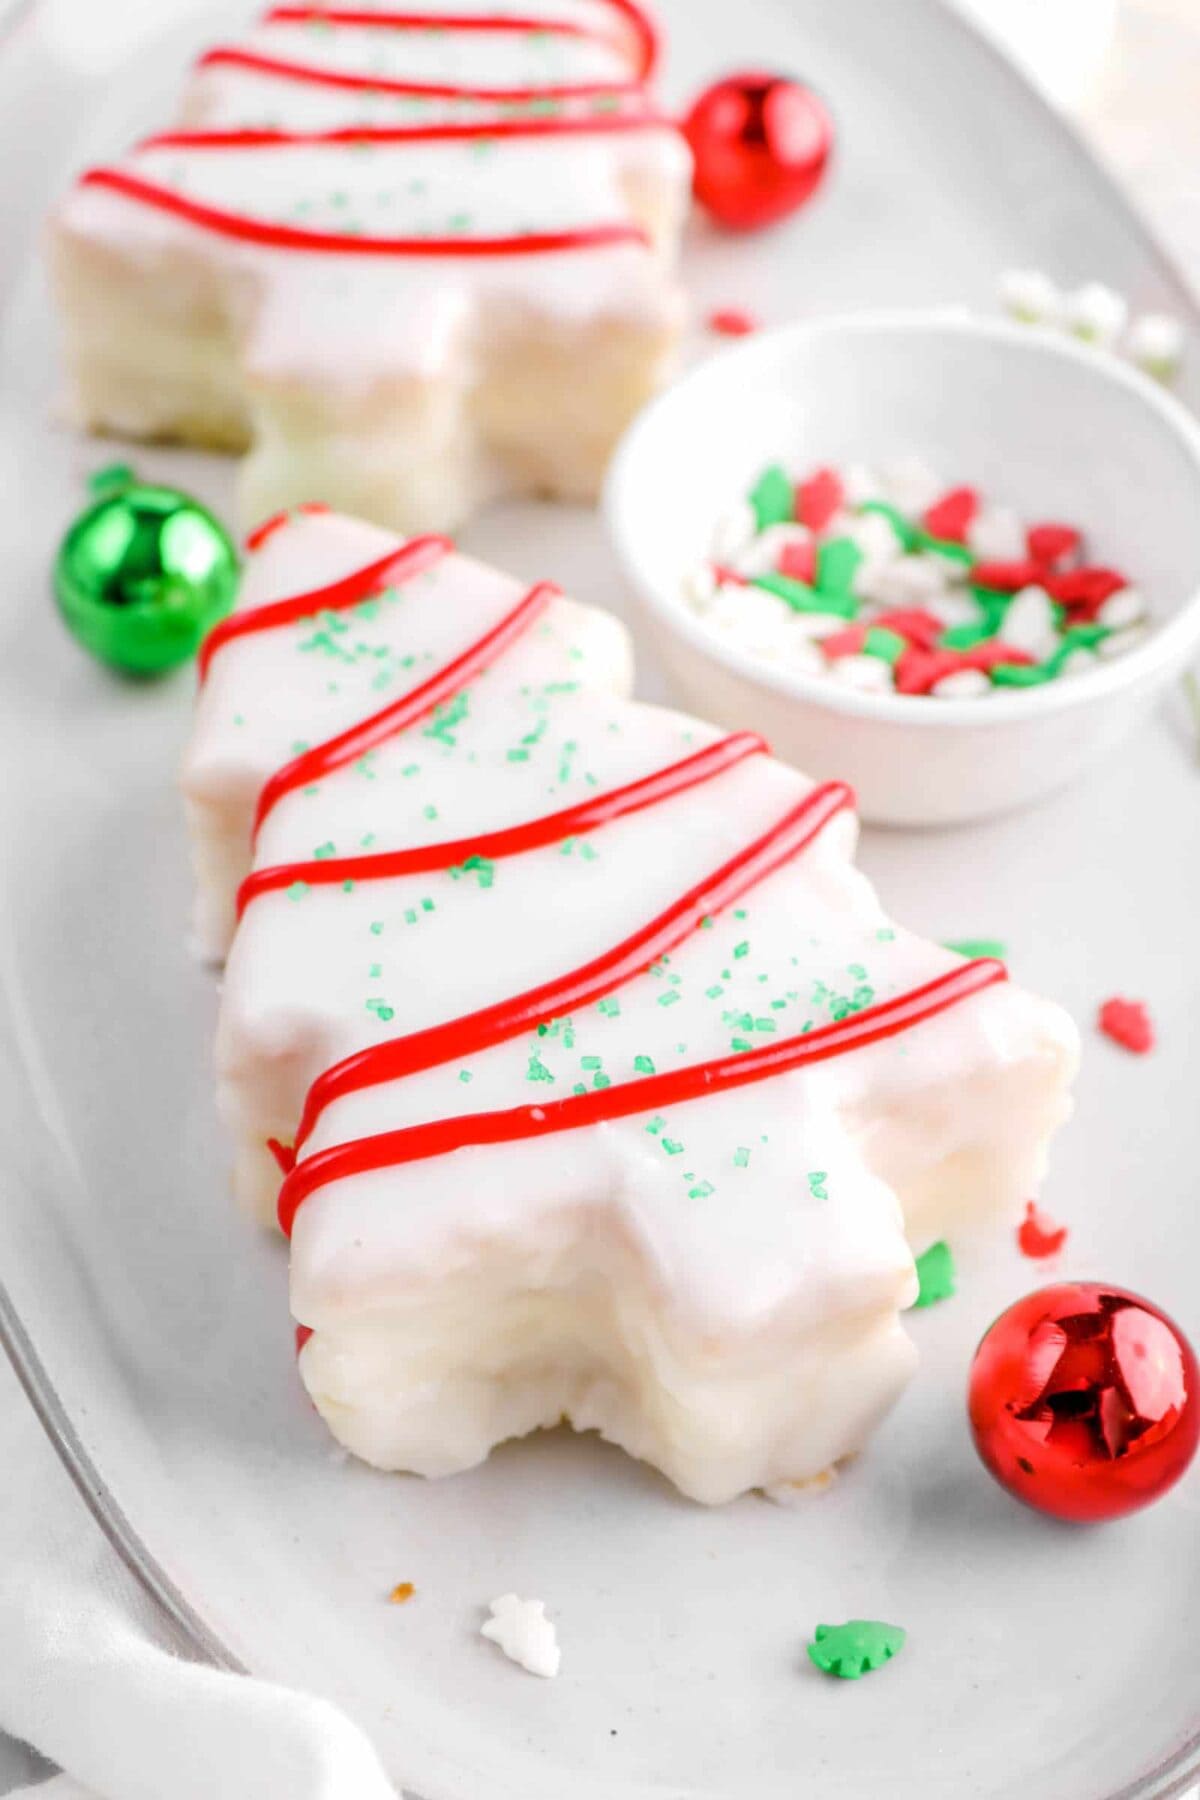
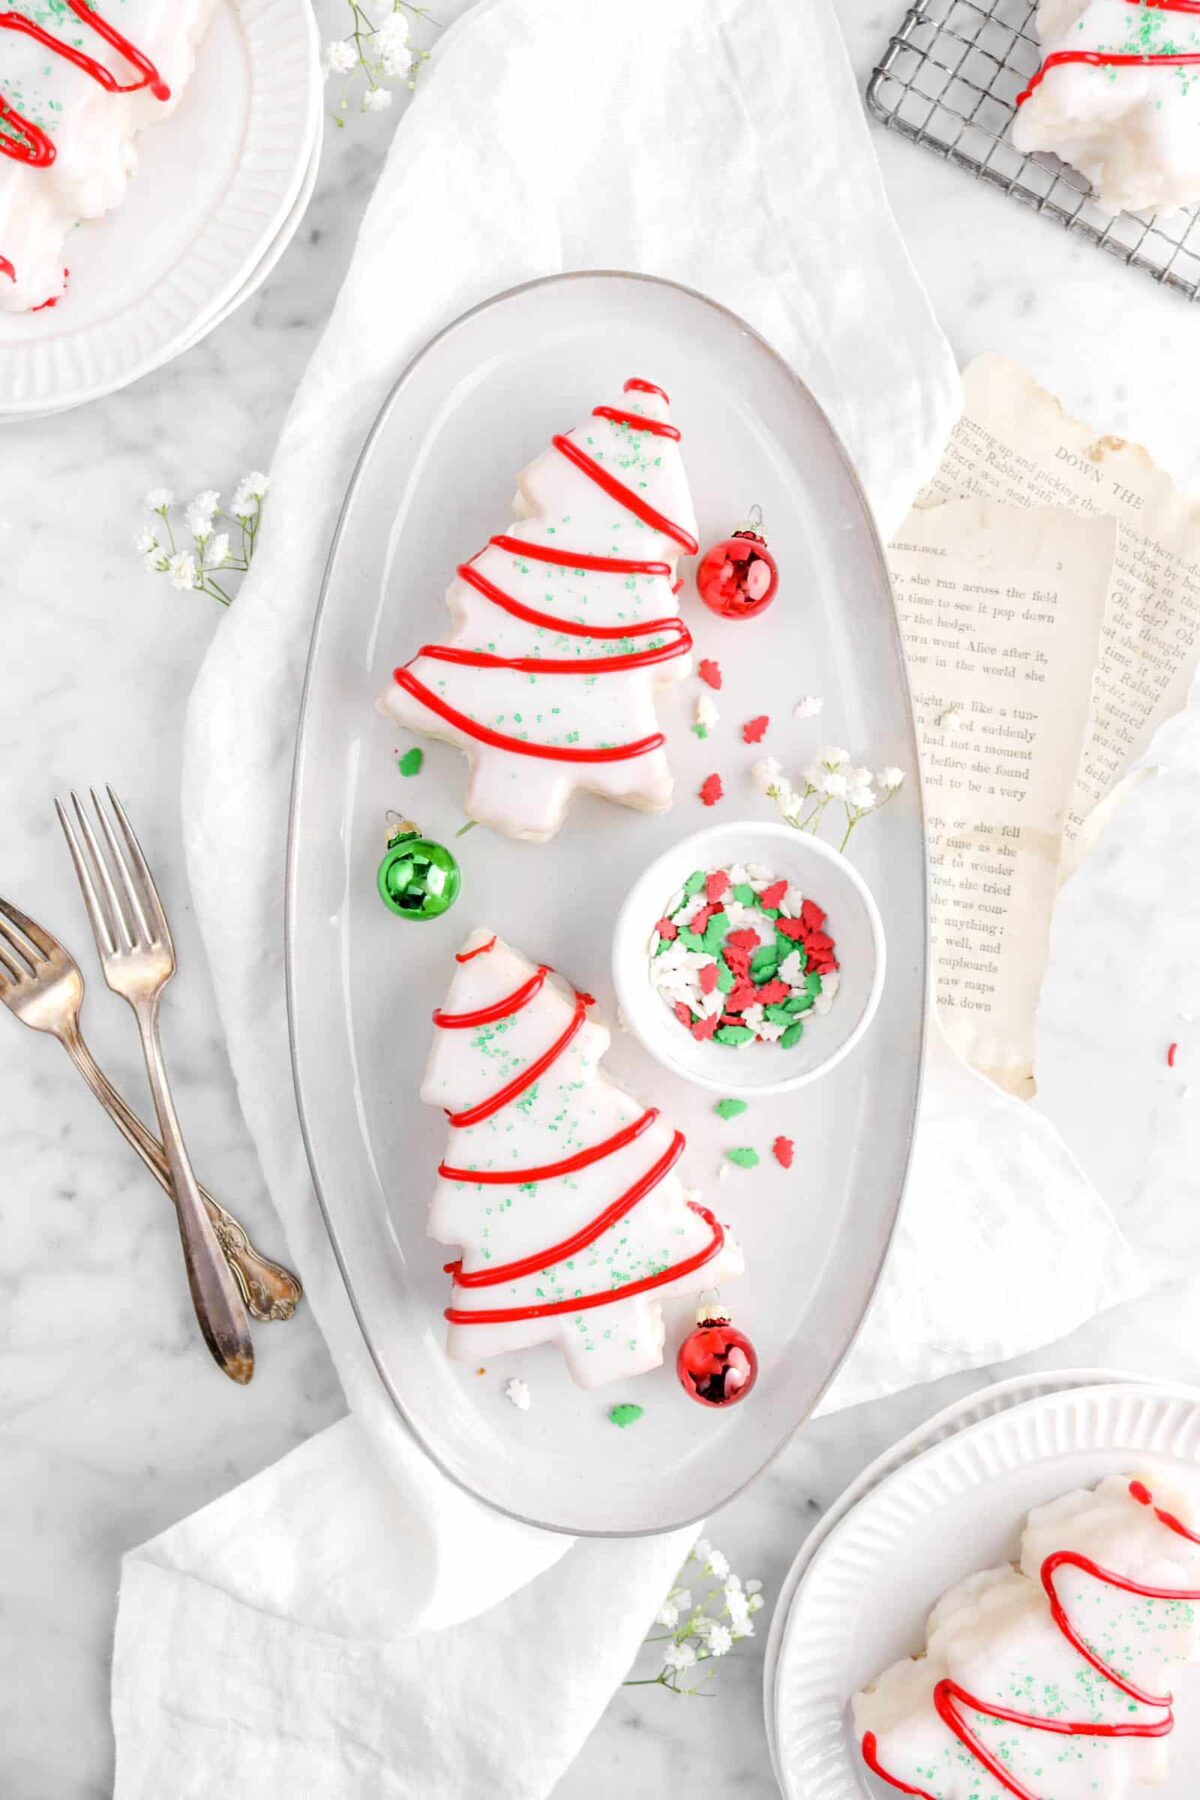
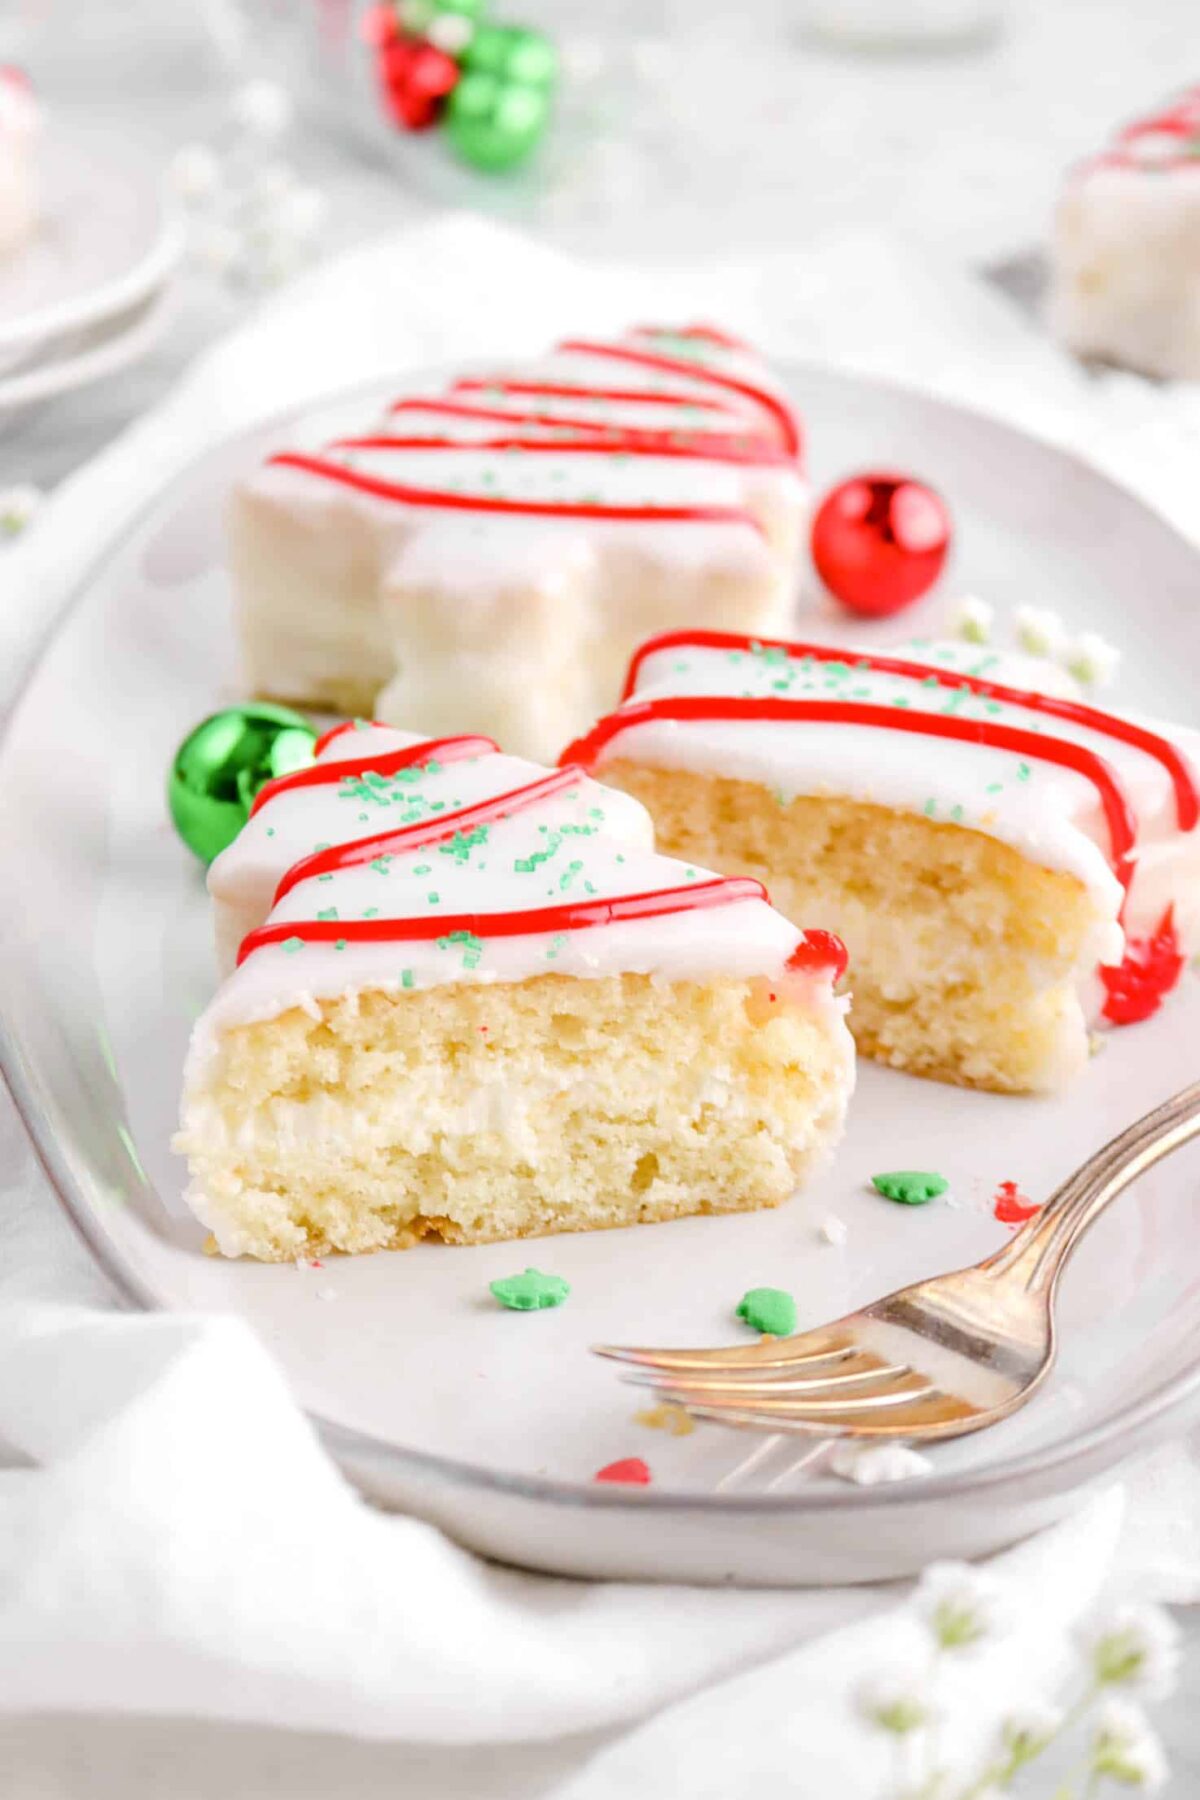
The cutest Vanilla Christmas Tree Cakes that are SO much better than store-bought! Picture a buttery vanilla cake layered with a sweet, rich, and creamy vanilla buttercream frosting in the center, then finished with the most delicious pourable vanilla fondant that is genuinely roll your eyes back good, but actually SO easy to make. Oh, and you can’t forget about that classic decoration! Simple, but effective red stripes with green course sugar. There’s just so much to love here! Every bite is sweet, extra vanilla-y, and truly so much better than the boxed ones in the store! Be sure to serve these cakes as a dessert (or a sweet snack!) at Christmas or even give them as gifts to your friends and family.
About The Recipe
It’s not Christmas without the classic Little Debbie Christmas Tree Cakes! And, while the ones at the store are nostalgic, there’s truly nothing better than homemade. They’re lighter, fluffier, and have SO much more flavor. Oh, and you can decorate them however you want! It’s pretty much a win-win situation because, not only are they delicious, but these cute little cakes make a great holiday gift for the Little Debbie cake lover in your life.
Actually, this recipe was inspired by my best friend. Back in November, he and I were texting back-and-forth as usual, but he asked me what my favorite thing to bake was. Naturally, I said cakes and cookies! He went on to tell me he was snacking on a Christmas Tree Cake, as they were one of his guilty pleasures. At first, it made me laugh! I had really forgotten about them, honestly. I hadn’t had one since I was little!
But, it got me thinking. I used to REALLY love them and so did my mom! I pitched the idea to her and she agreed that it would be something really fun to do.
We put the idea into our little ideas folder and got busy with Thanksgiving. Well, Thanksgiving has come and gone and…we got a little busy with other Christmas recipes! But, we’re finally sharing these delicious cakes with all of you!

Personally, I think the best part about these cakes is you don’t need any specialty molds. Just a big sheet cake pan and a cookie cutter. Honestly, you can cut these cakes into any shape you would like! Gingerbread people, ornaments, stars…the list goes on.
These cakes are truly so simple, but oh so nostalgic and taste even better than you remember!
Why You Should Make These Christmas Tree Cakes Rather Than Buy Them
- They’re actually SO easy to make.
- The cake doesn’t require any specialty molds or ingredients.
- You can cut them into any shape and decorate them however you please!
- They’re a great gift during the holiday’s.
- These cakes make for a great dessert or something sweet to snack on.
- Every bite is light, fluffy, moist, and just so delicious!
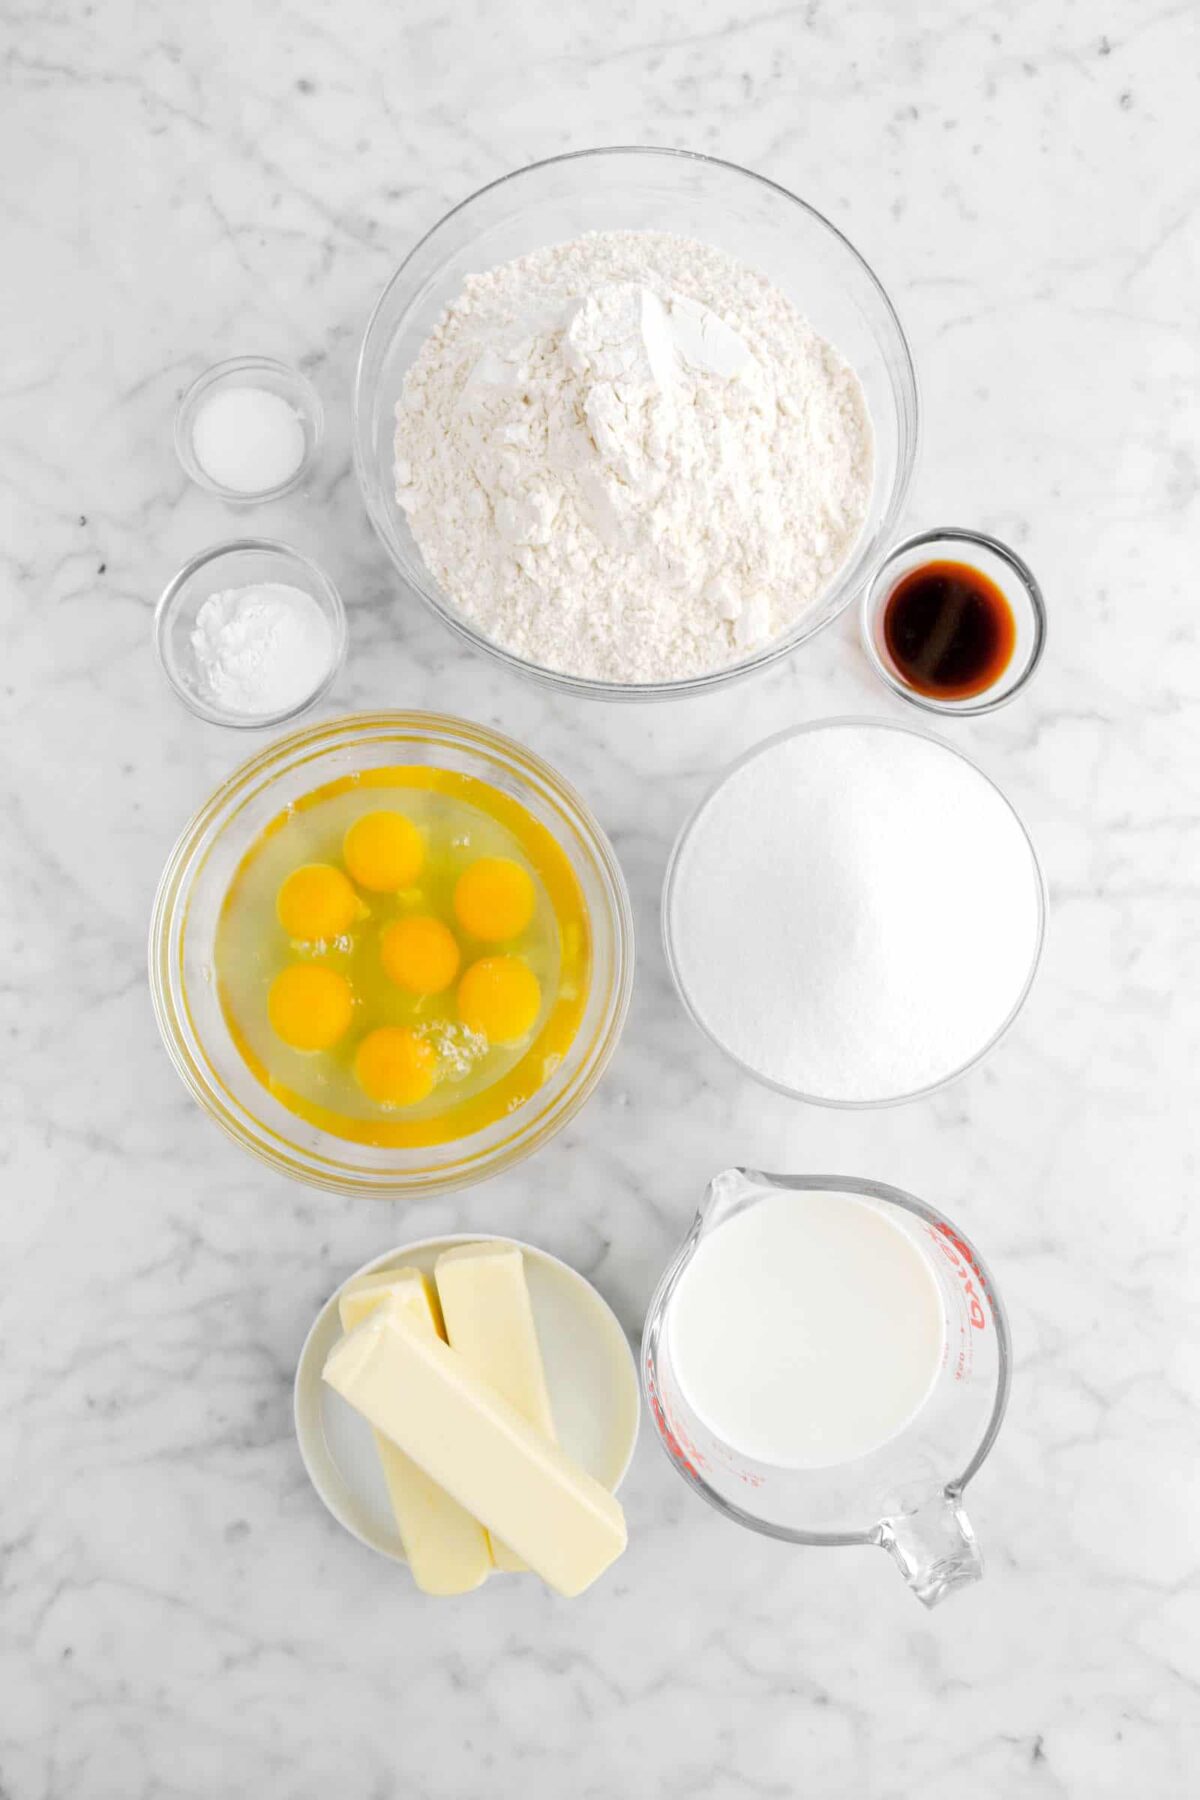
Ingredients
(Full ingredient amounts and instructions can be found in the recipe card at the bottom of the post)
For The Cake:
- All-Purpose Flour
- Baking Powder
- Salt
- Unsalted Butter
- Granulated Sugar
- Large Eggs
- Vanilla Extract
- Whole Milk
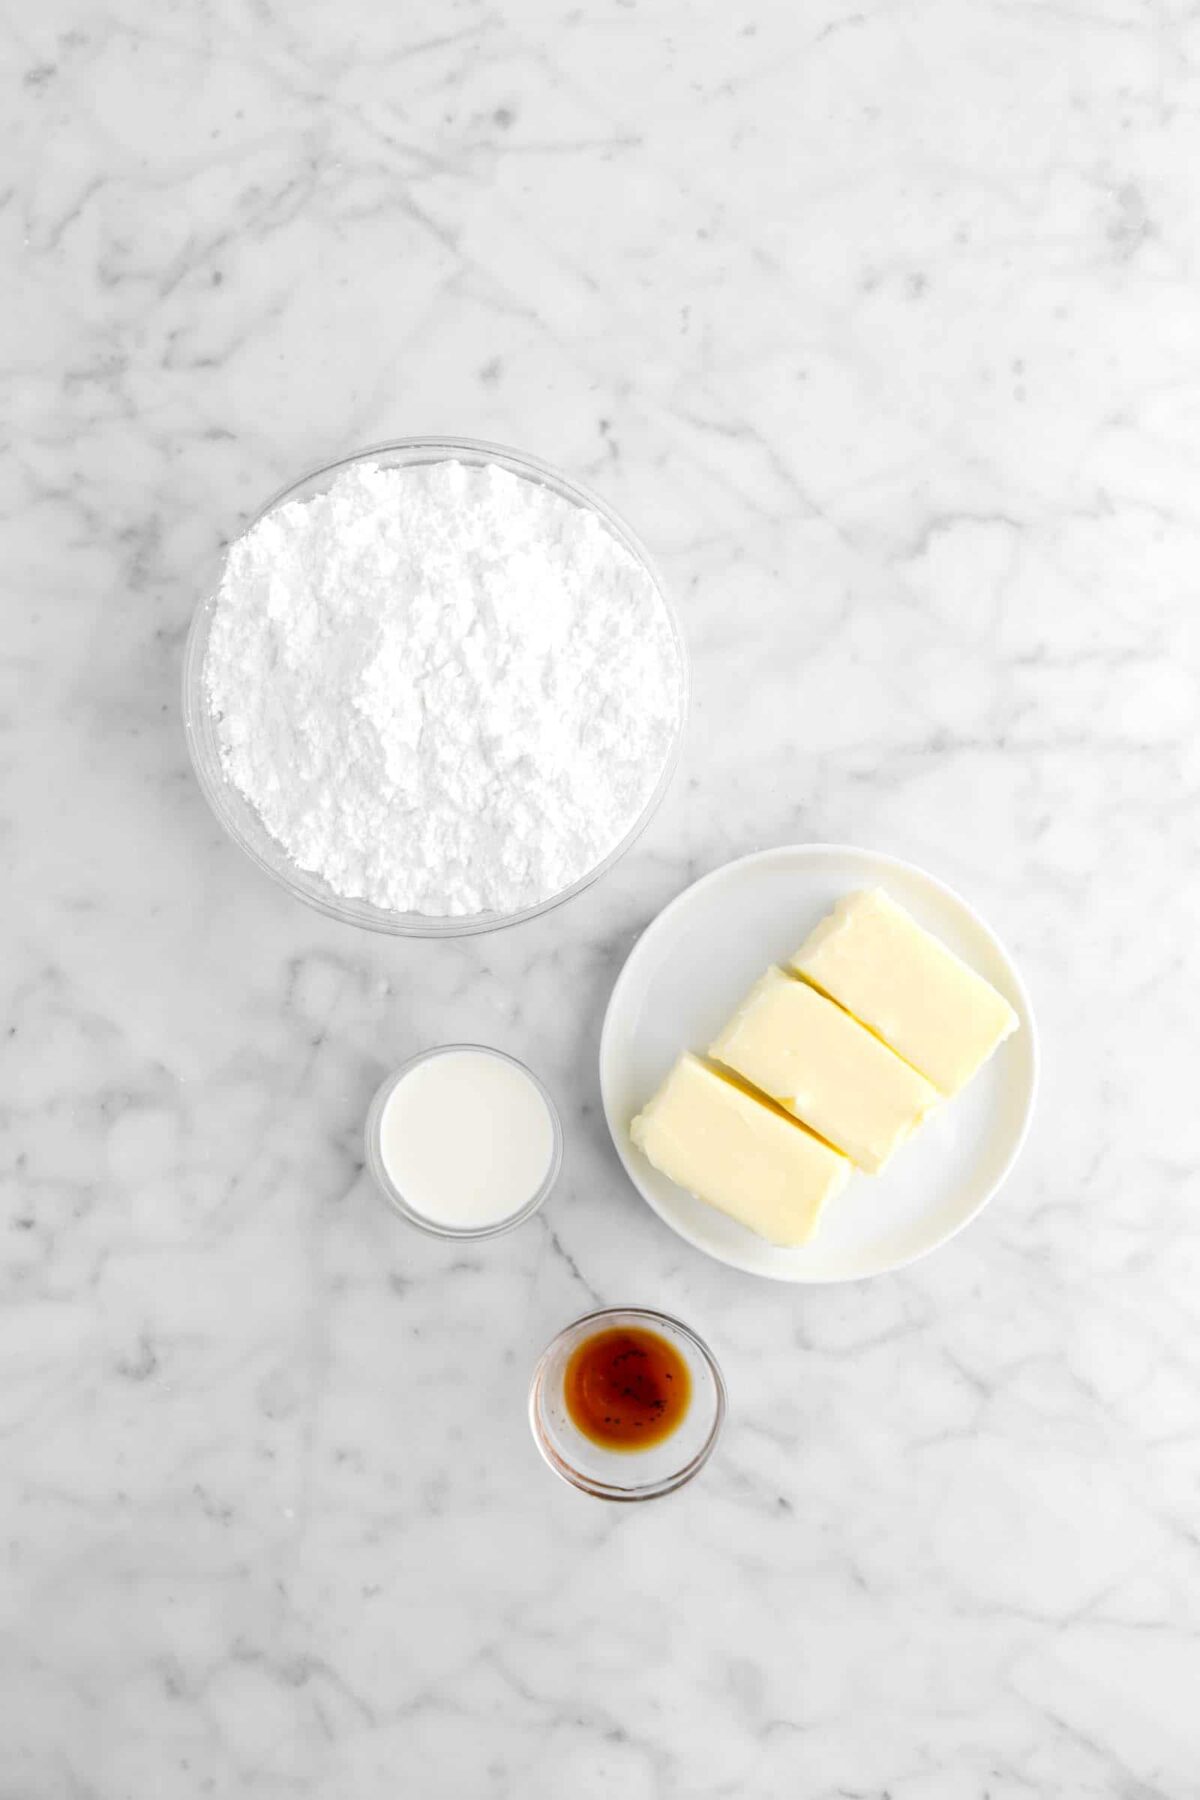
For The Buttercream Frosting:
- Salted Butter
- Powdered Sugar
- Heavy Cream
- Vanilla Extract
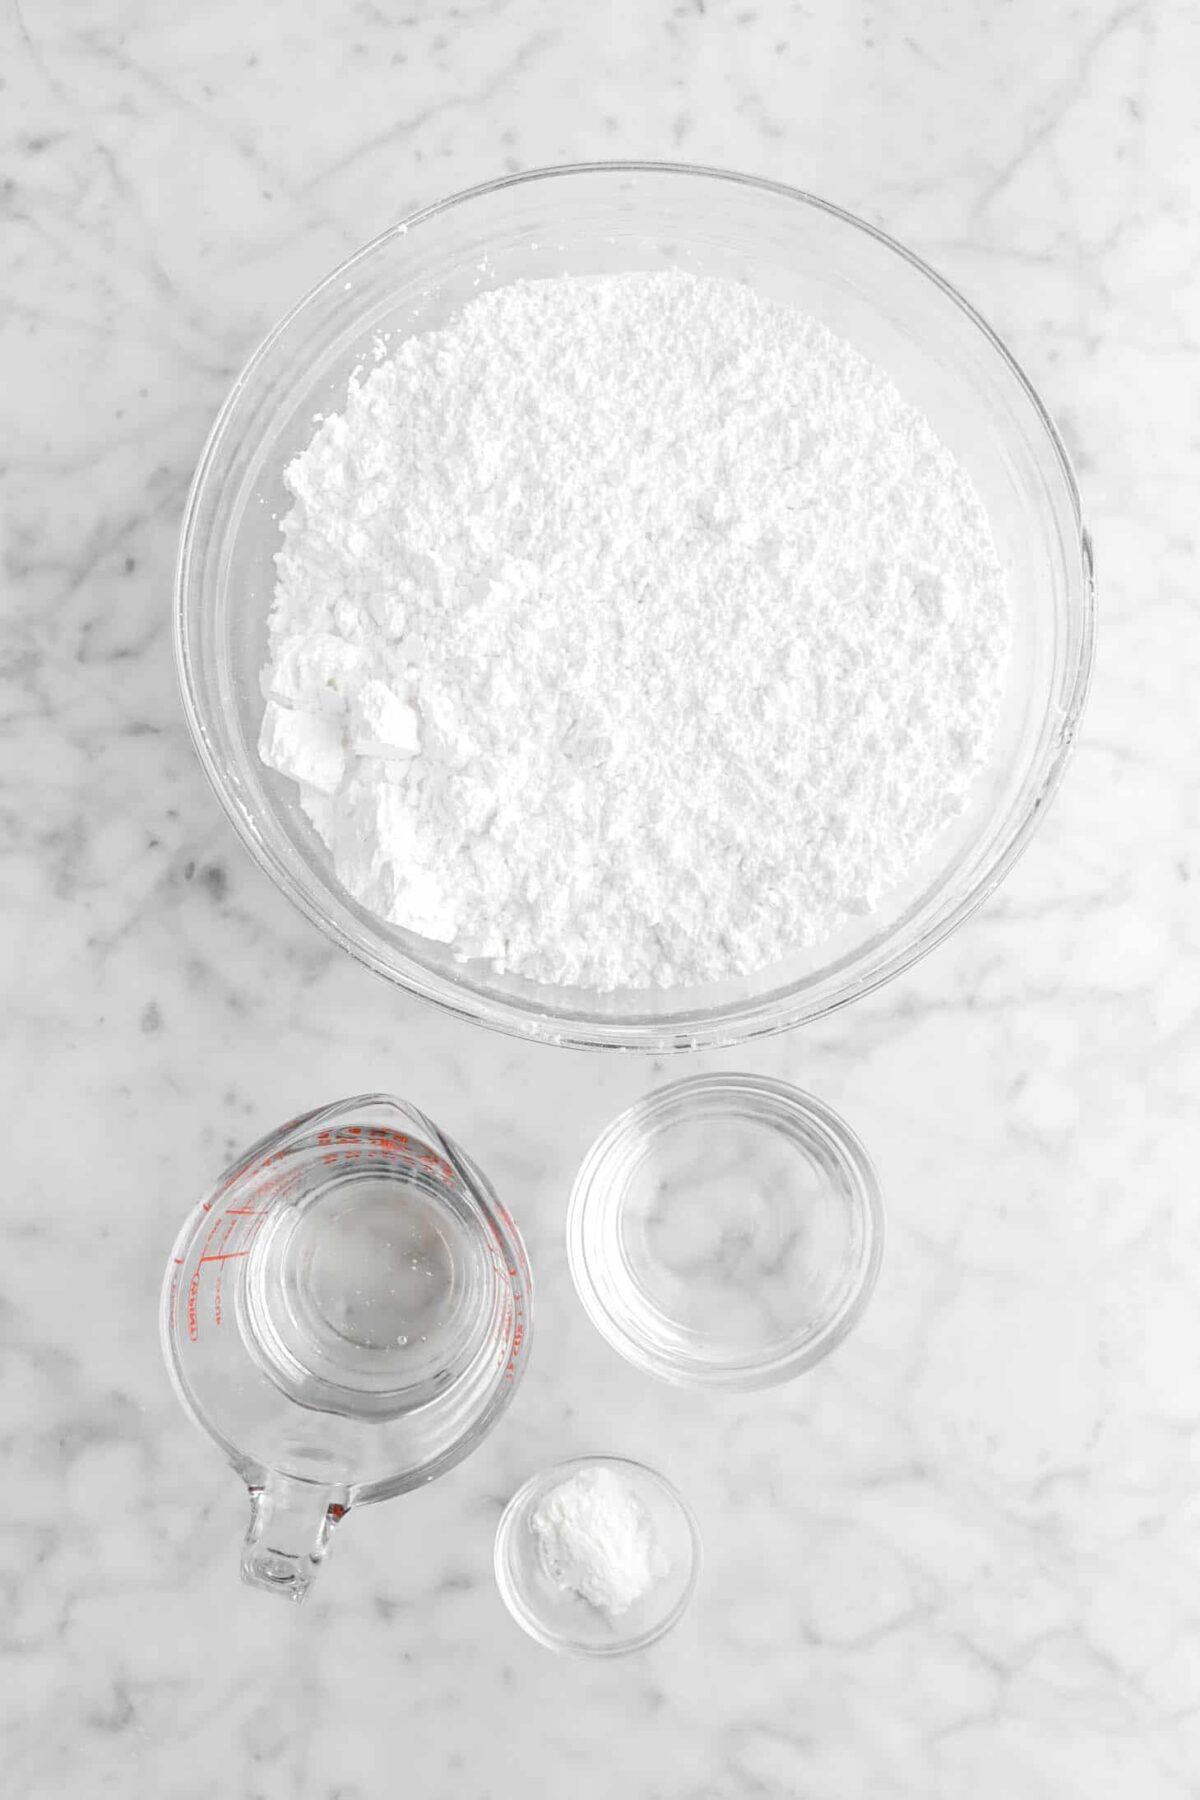
For The Pourable Fondant + Decoration:
- Powdered Sugar
- Corn Syrup
- Water
- Vanilla Powder
- Red Food Coloring
- Green Course Sugar
How To Make Christmas Tree Cakes
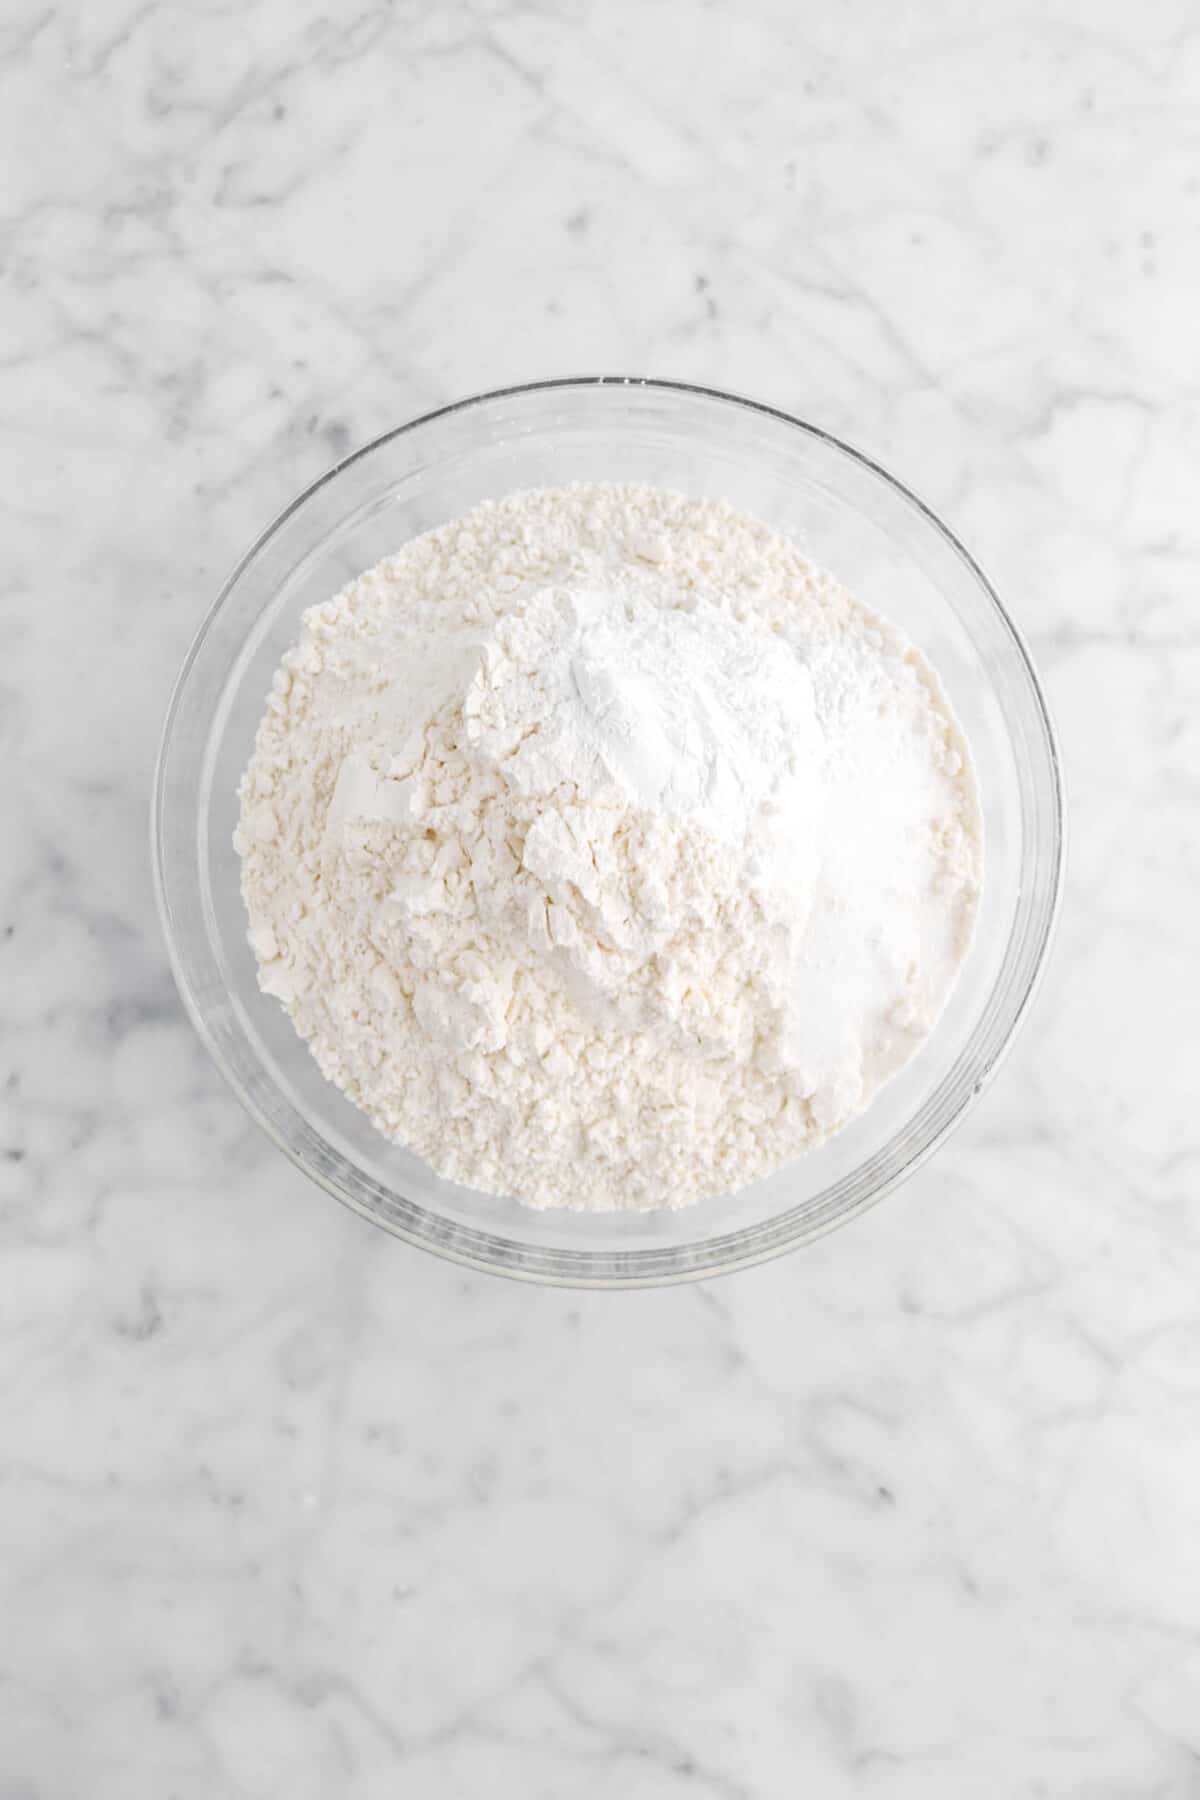
Step 1: Make the cake
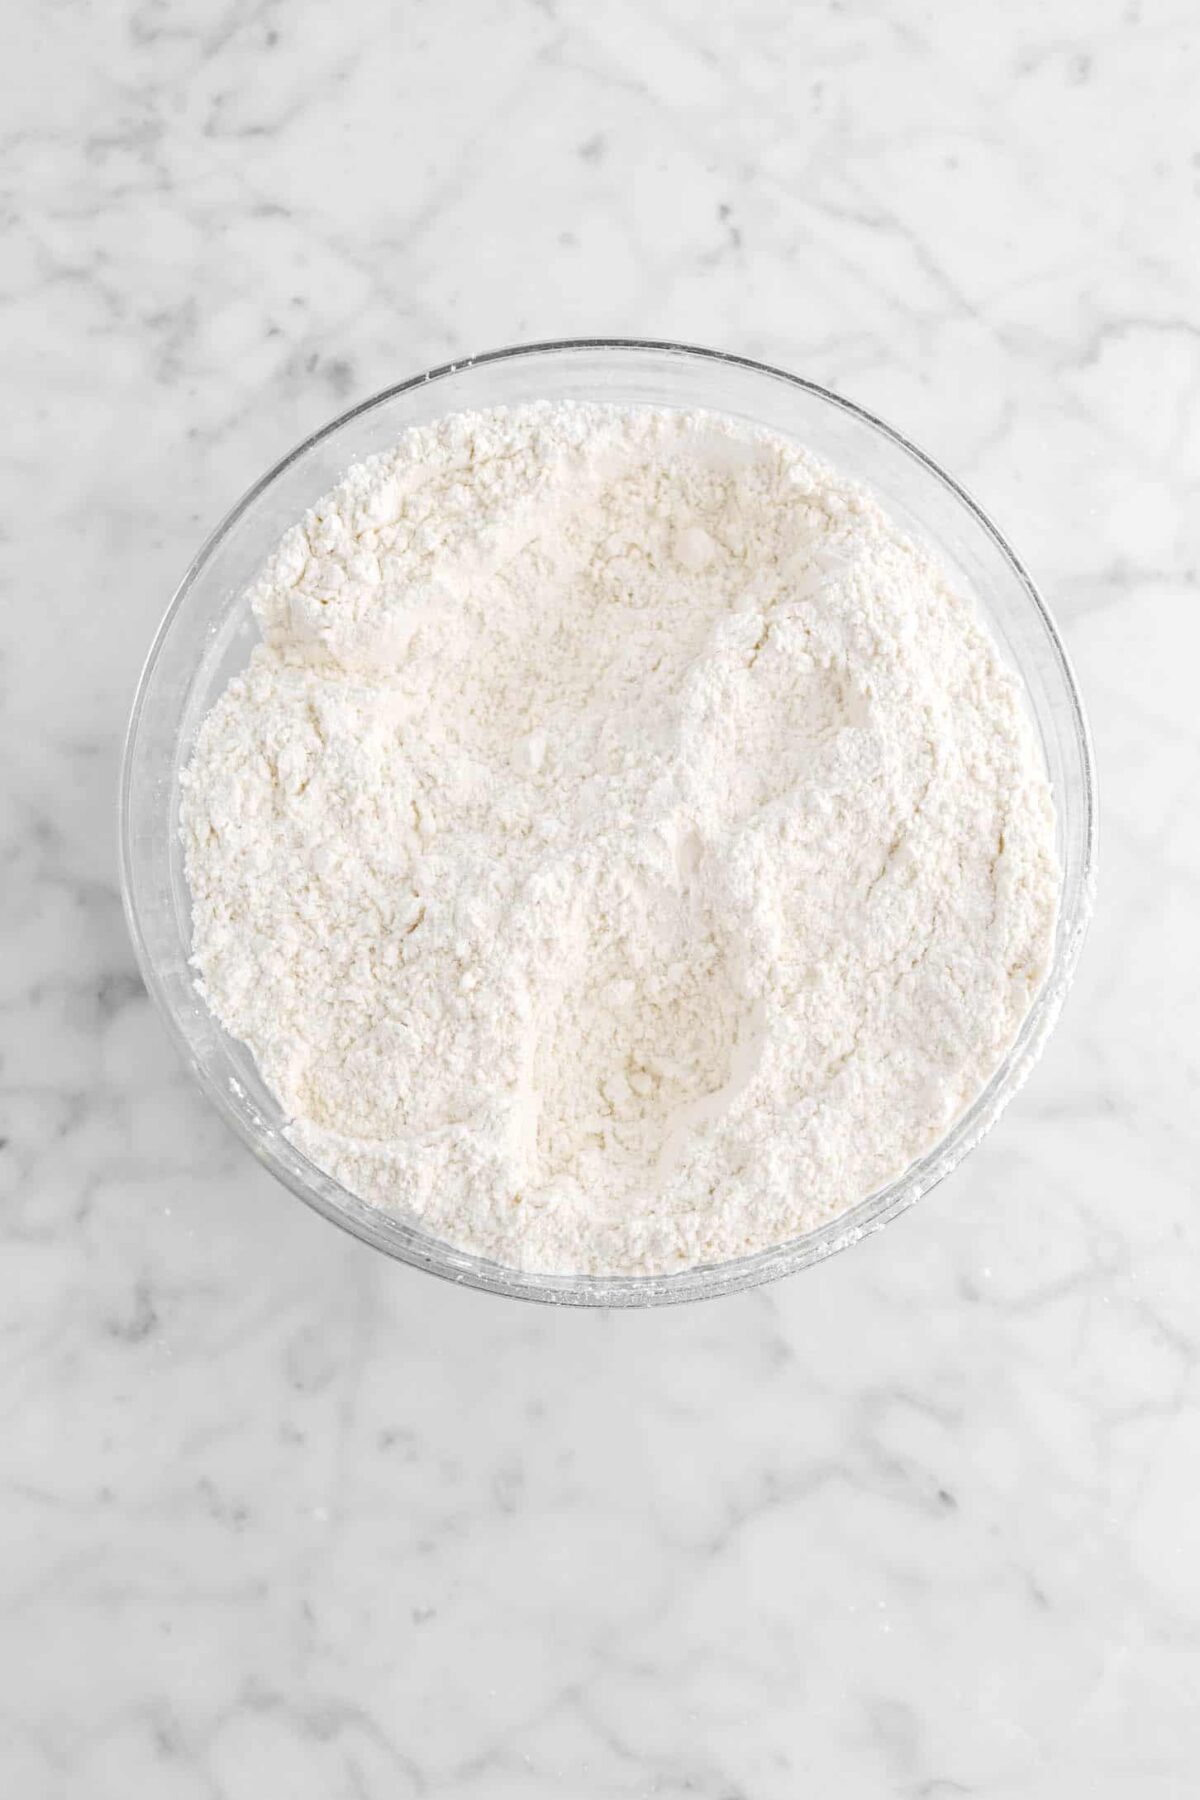
In a medium bowl, whisk together flour, baking powder, and salt. Set aside.
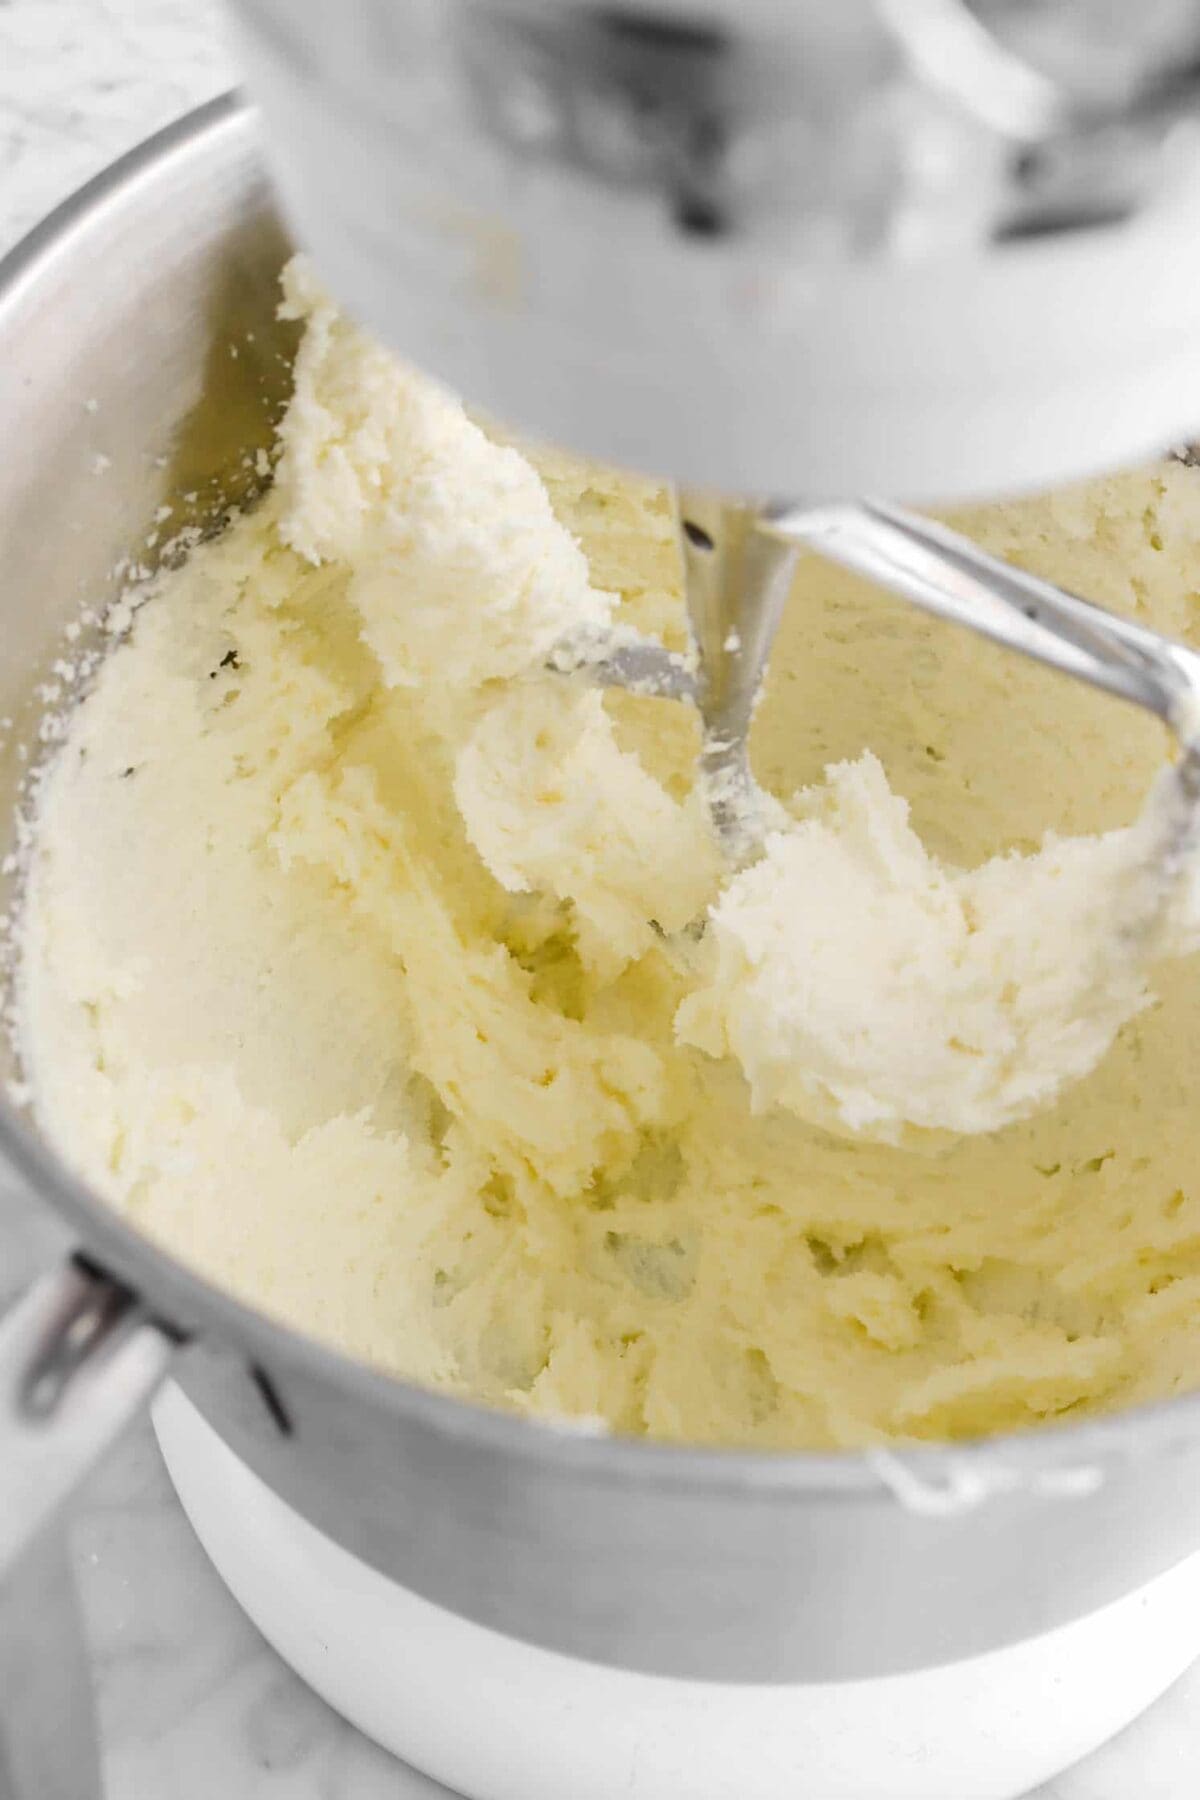
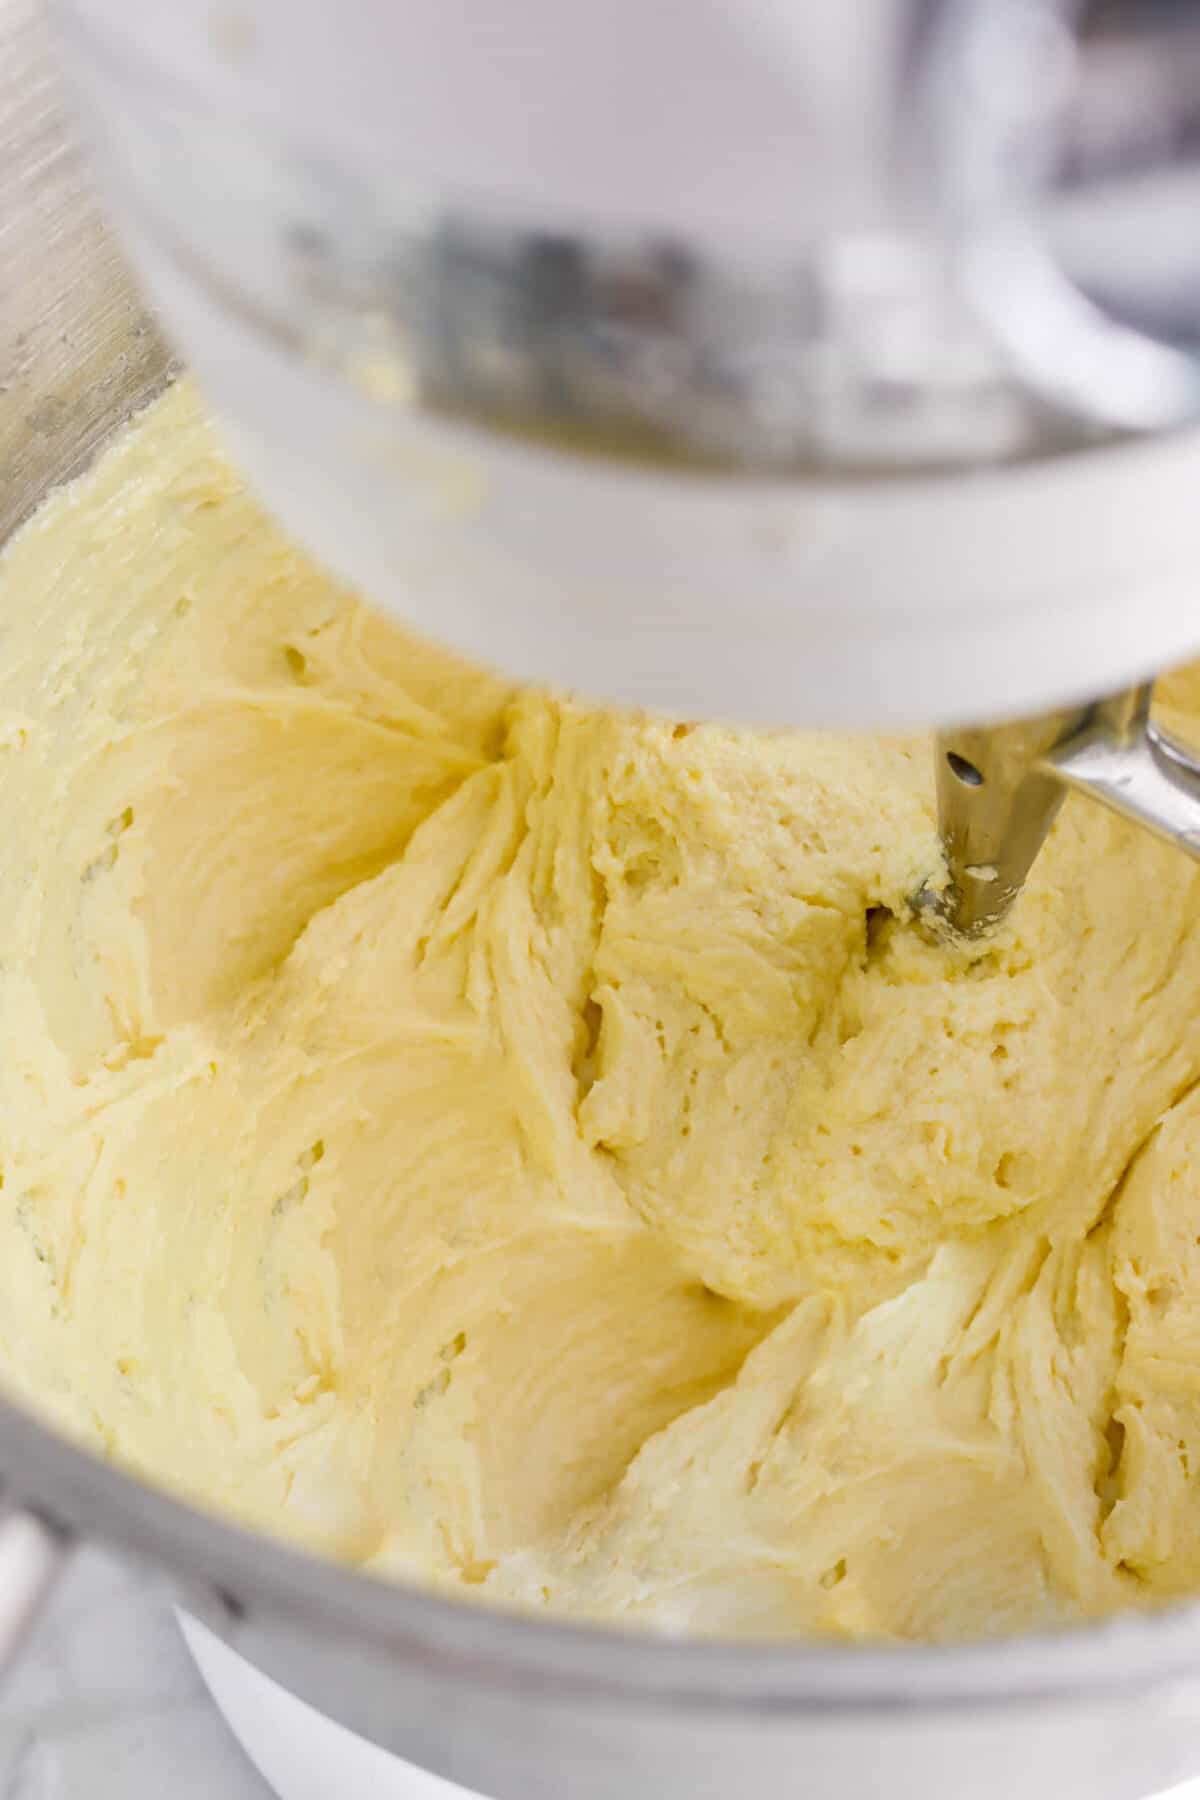
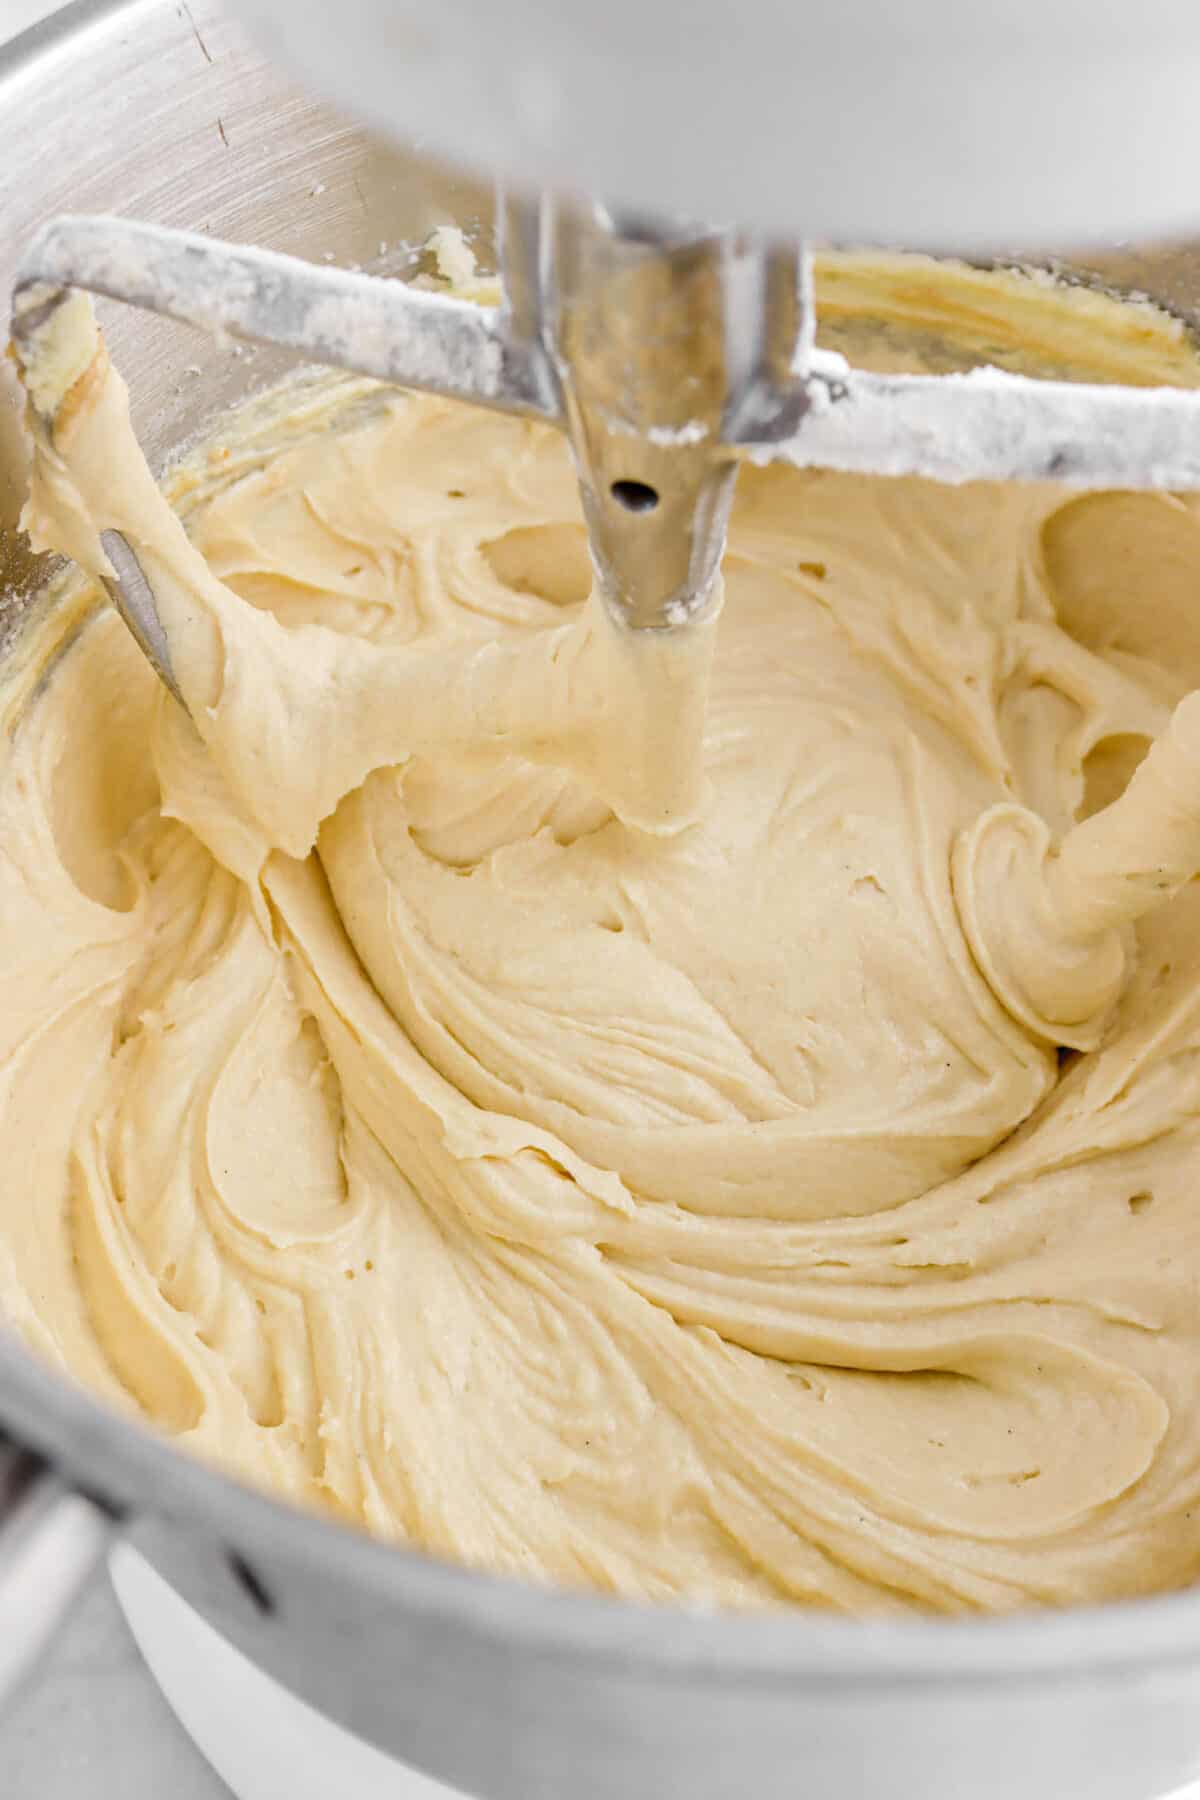
Cream butter in bowl of an electric mixer.


Beat in sugar until light and fluffy.

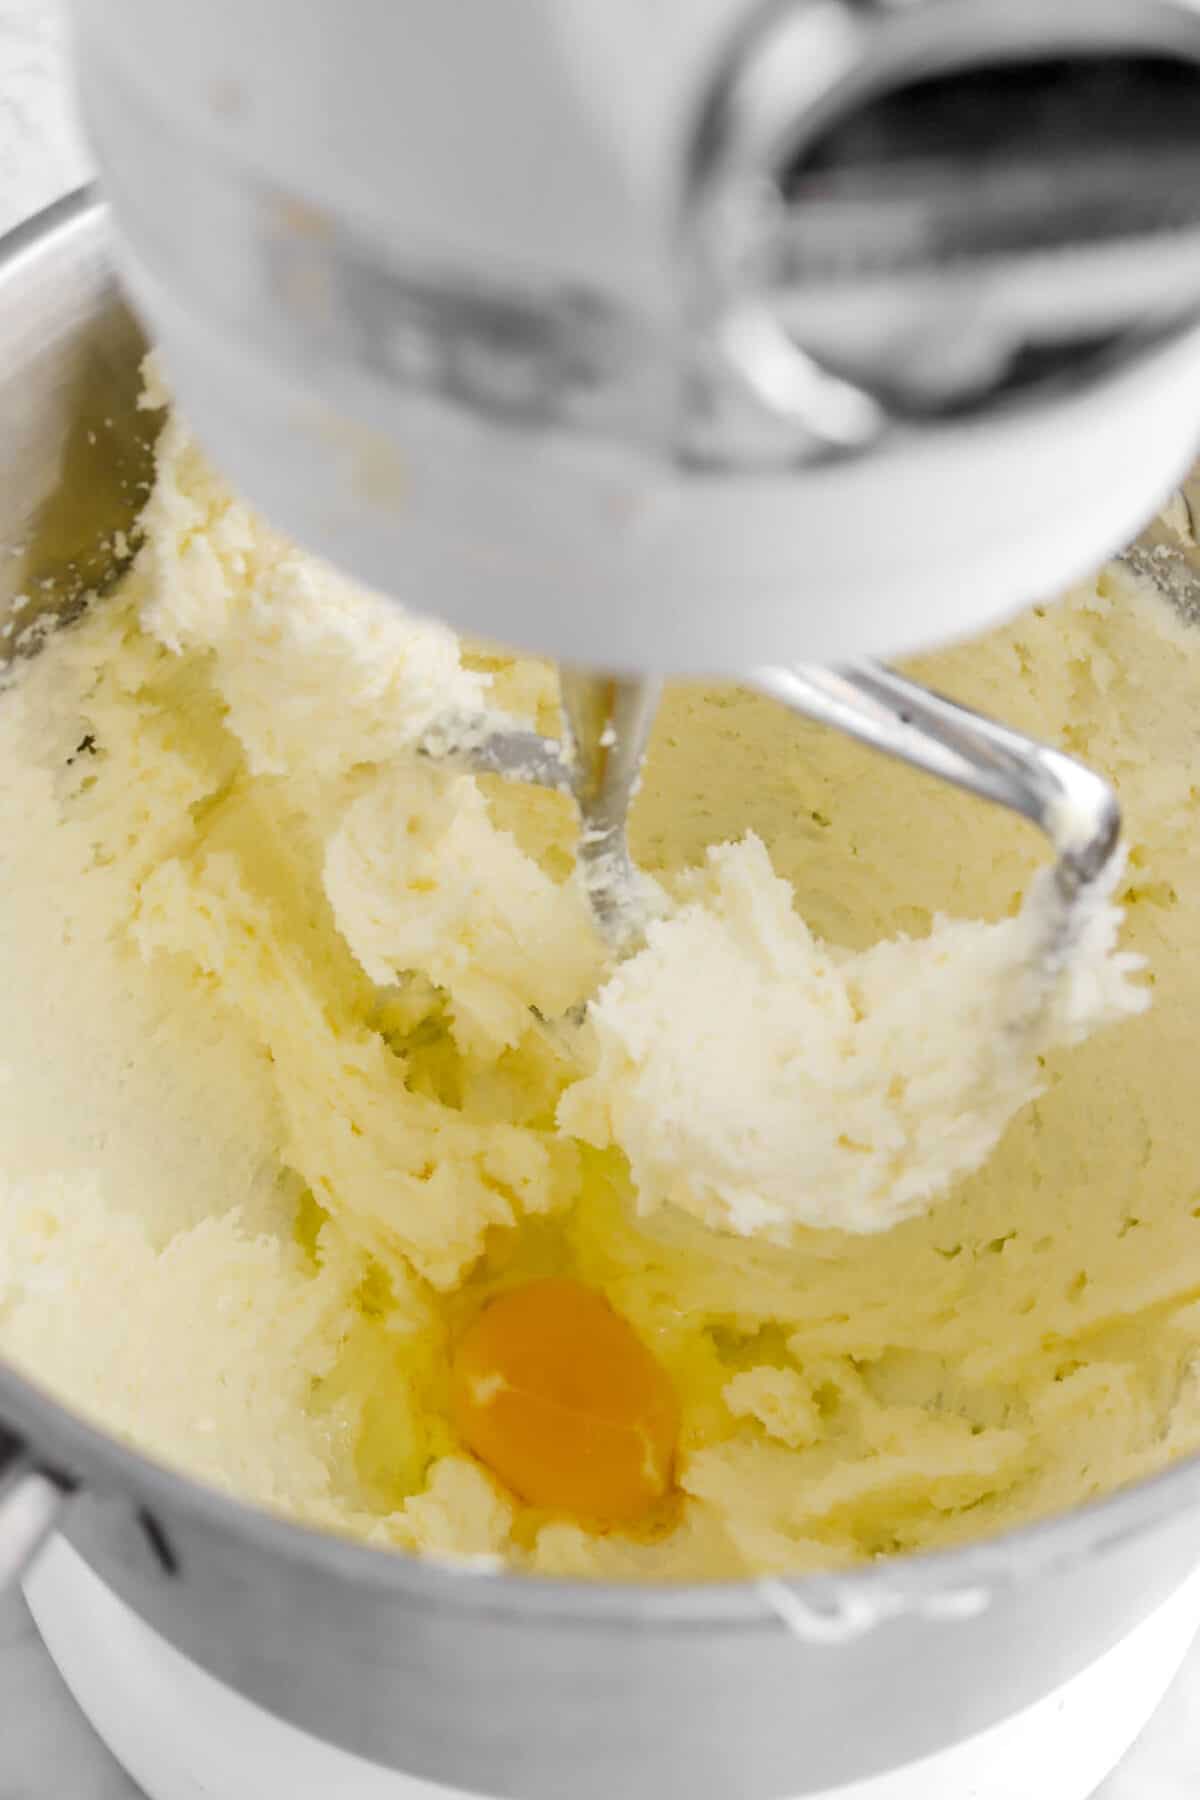
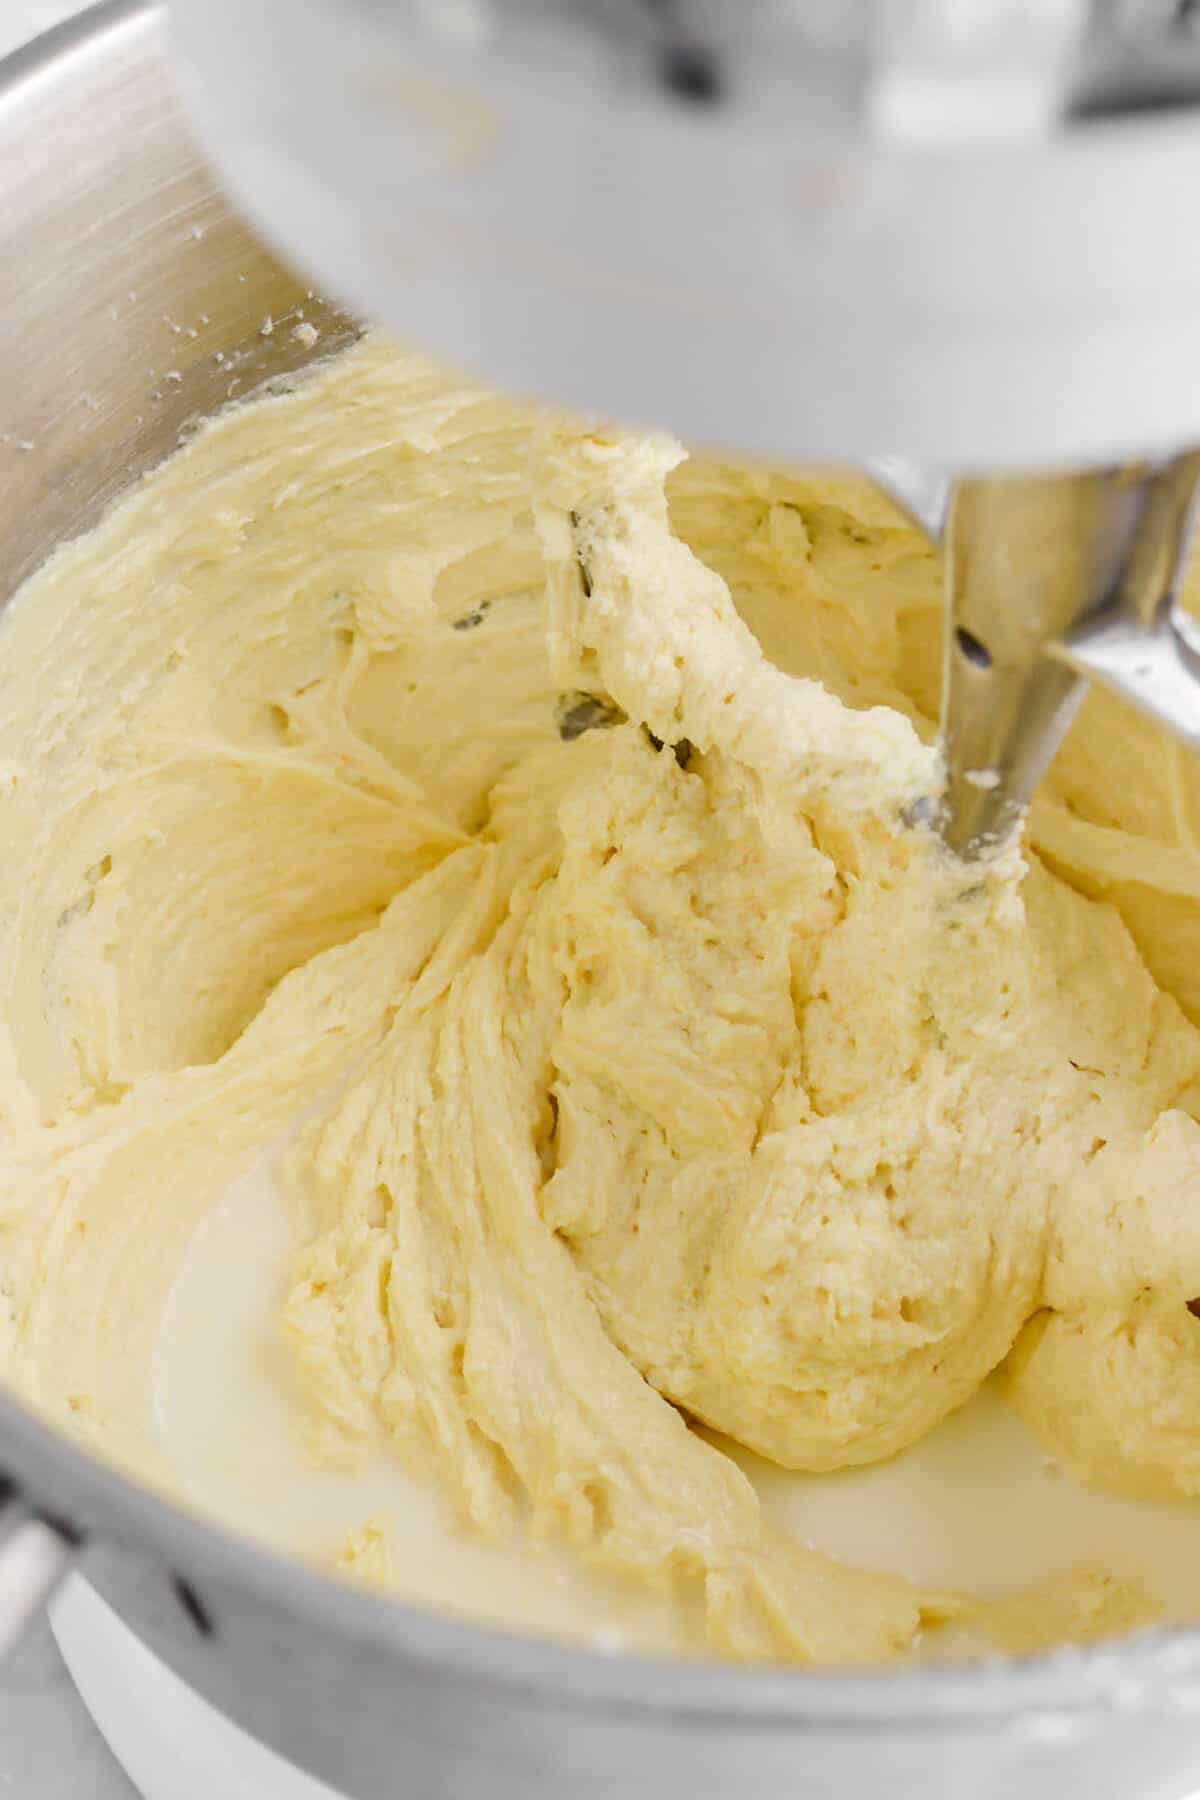
Add eggs, one at a time, beating well after each addition.
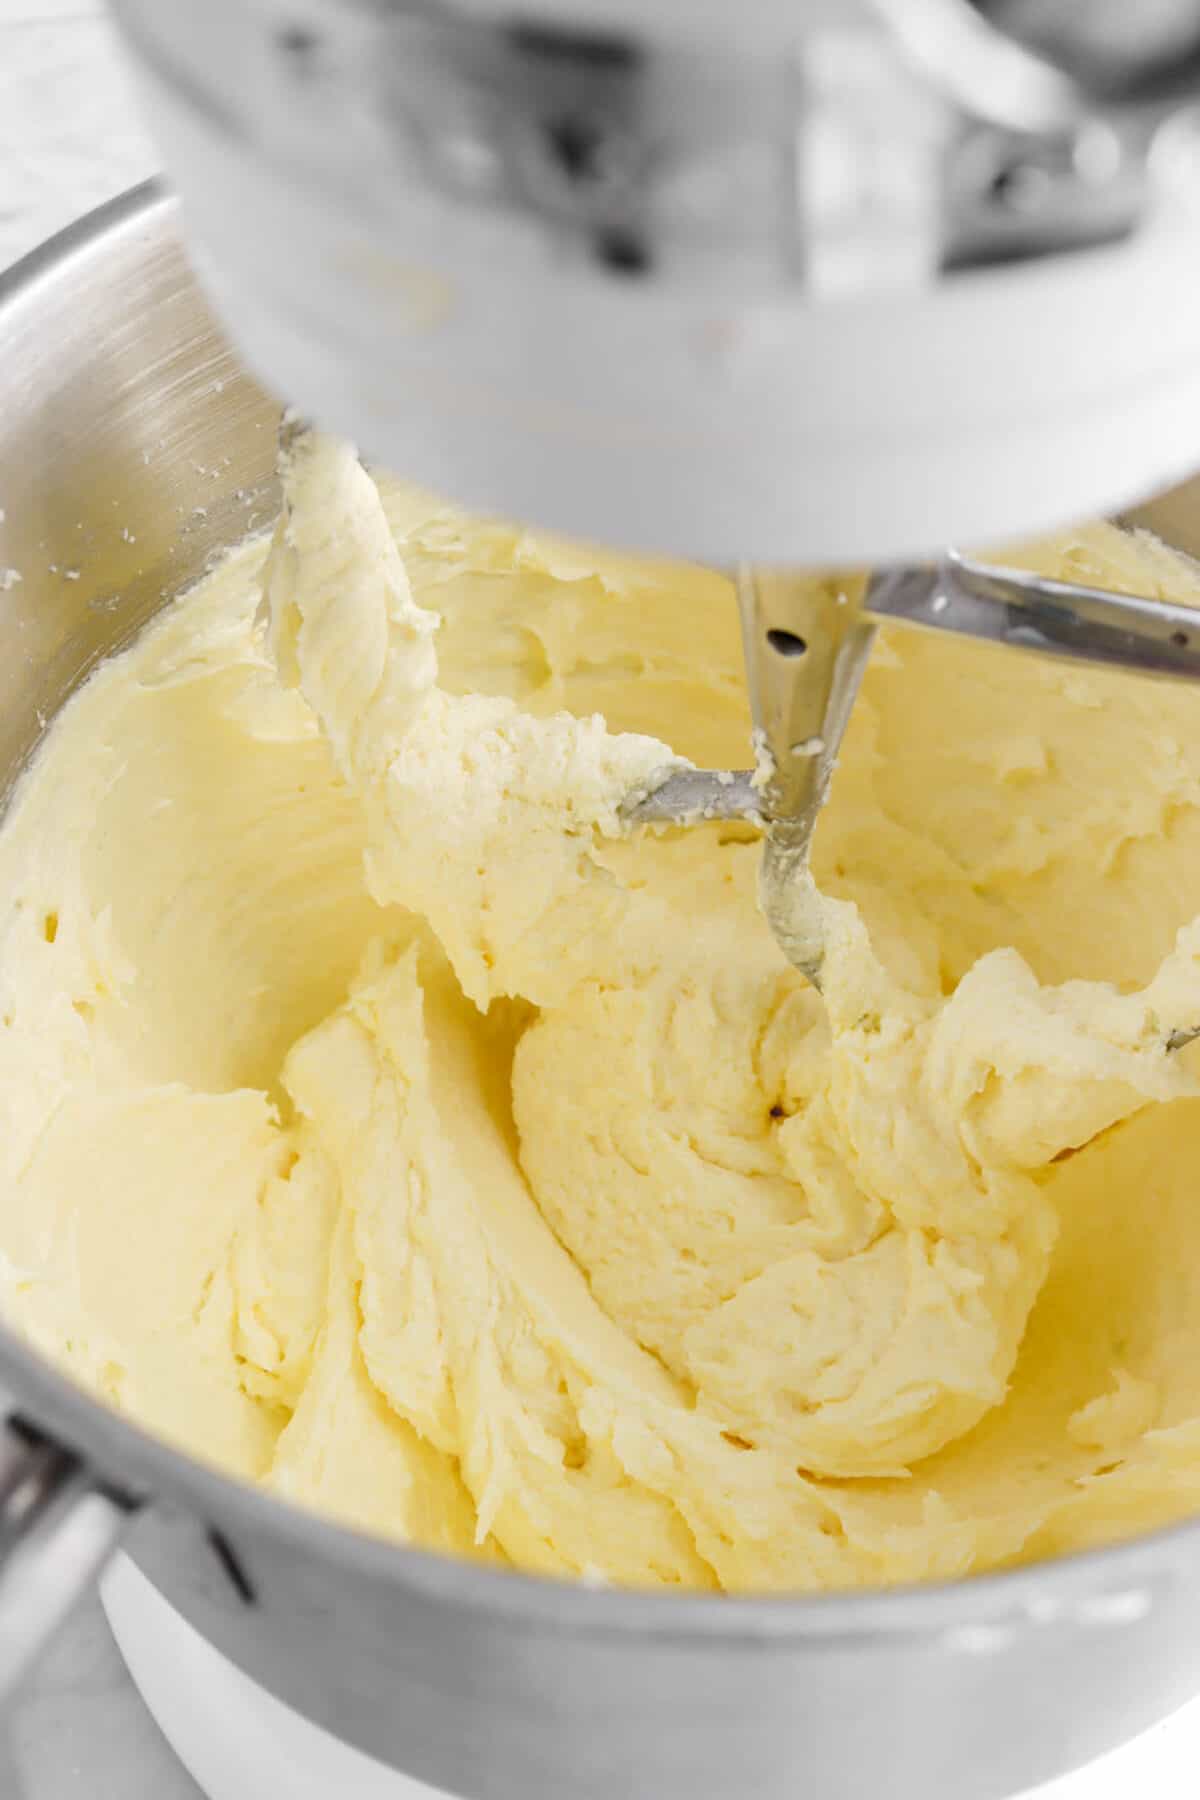
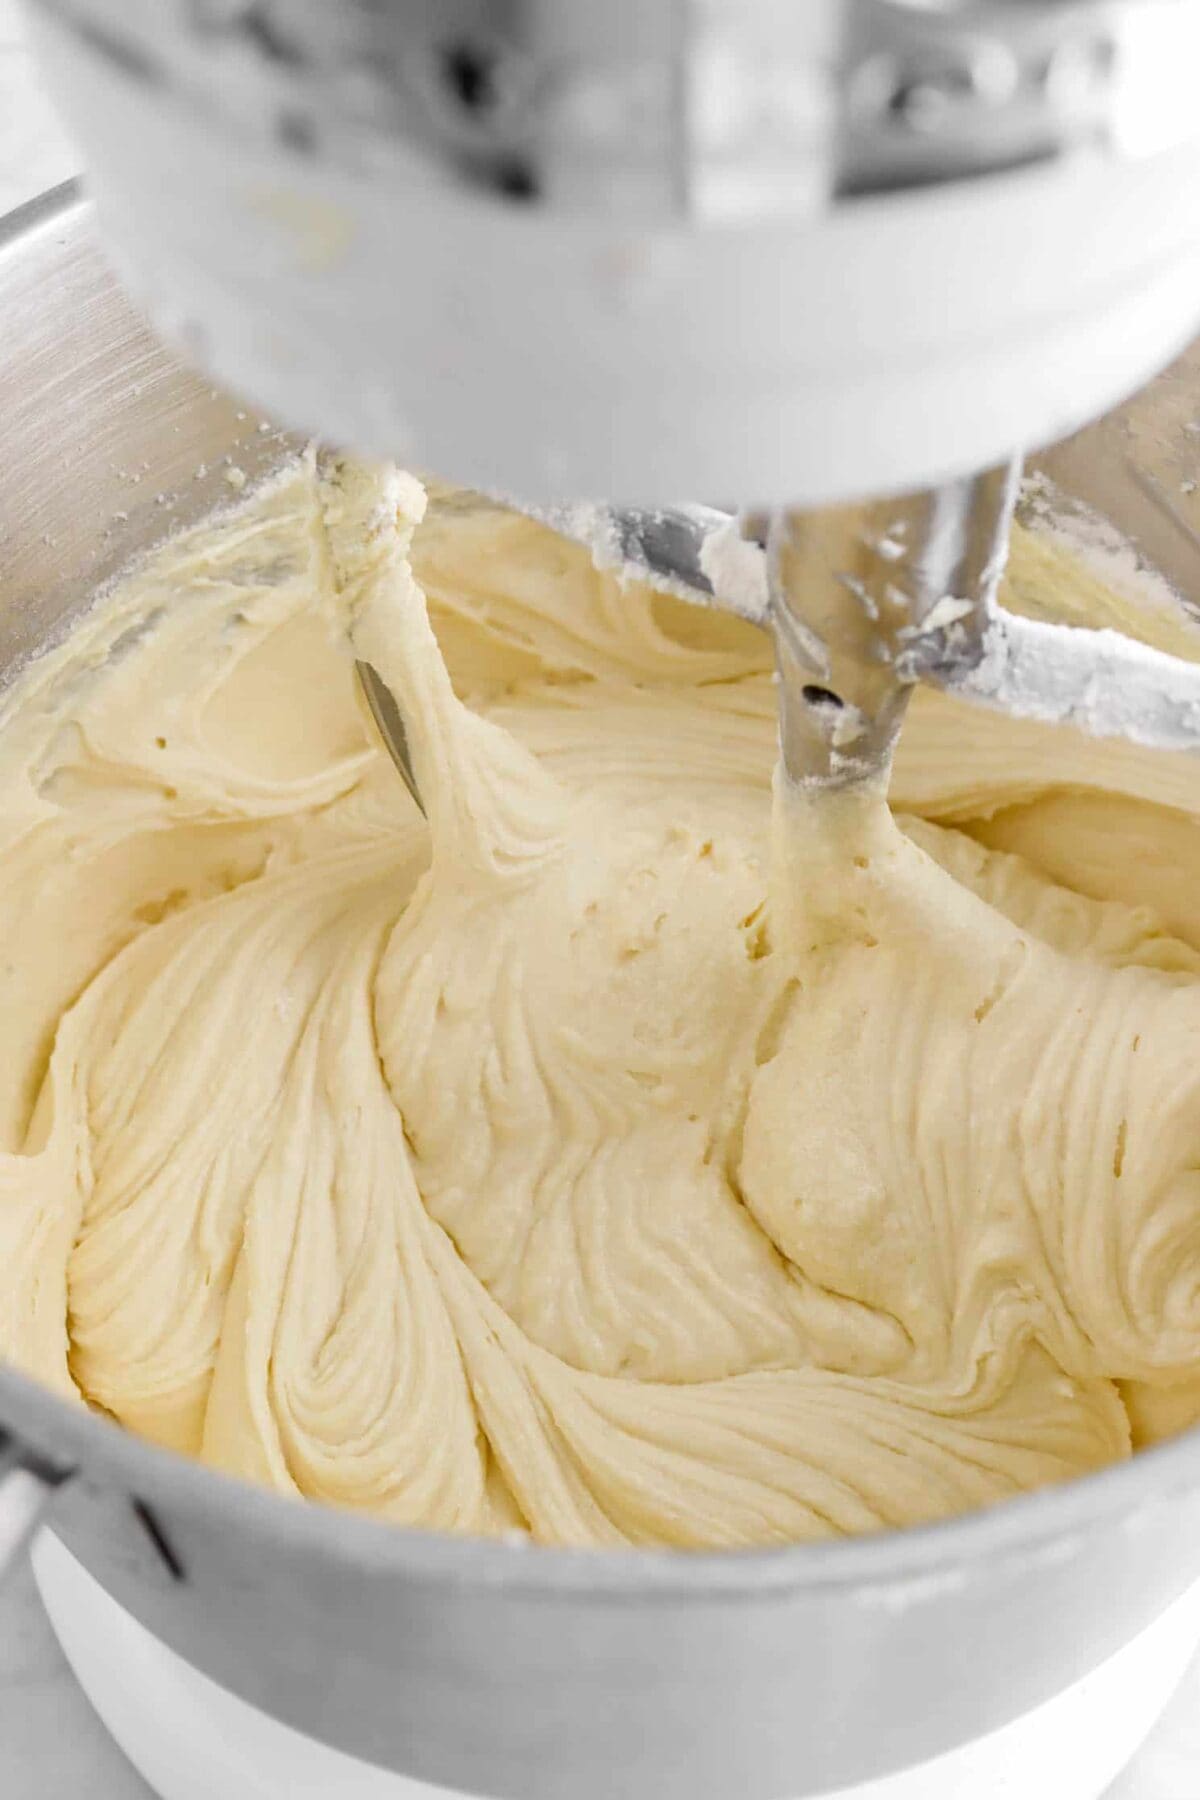
Add milk alternately with flour, beginning and ending with flour mixture.

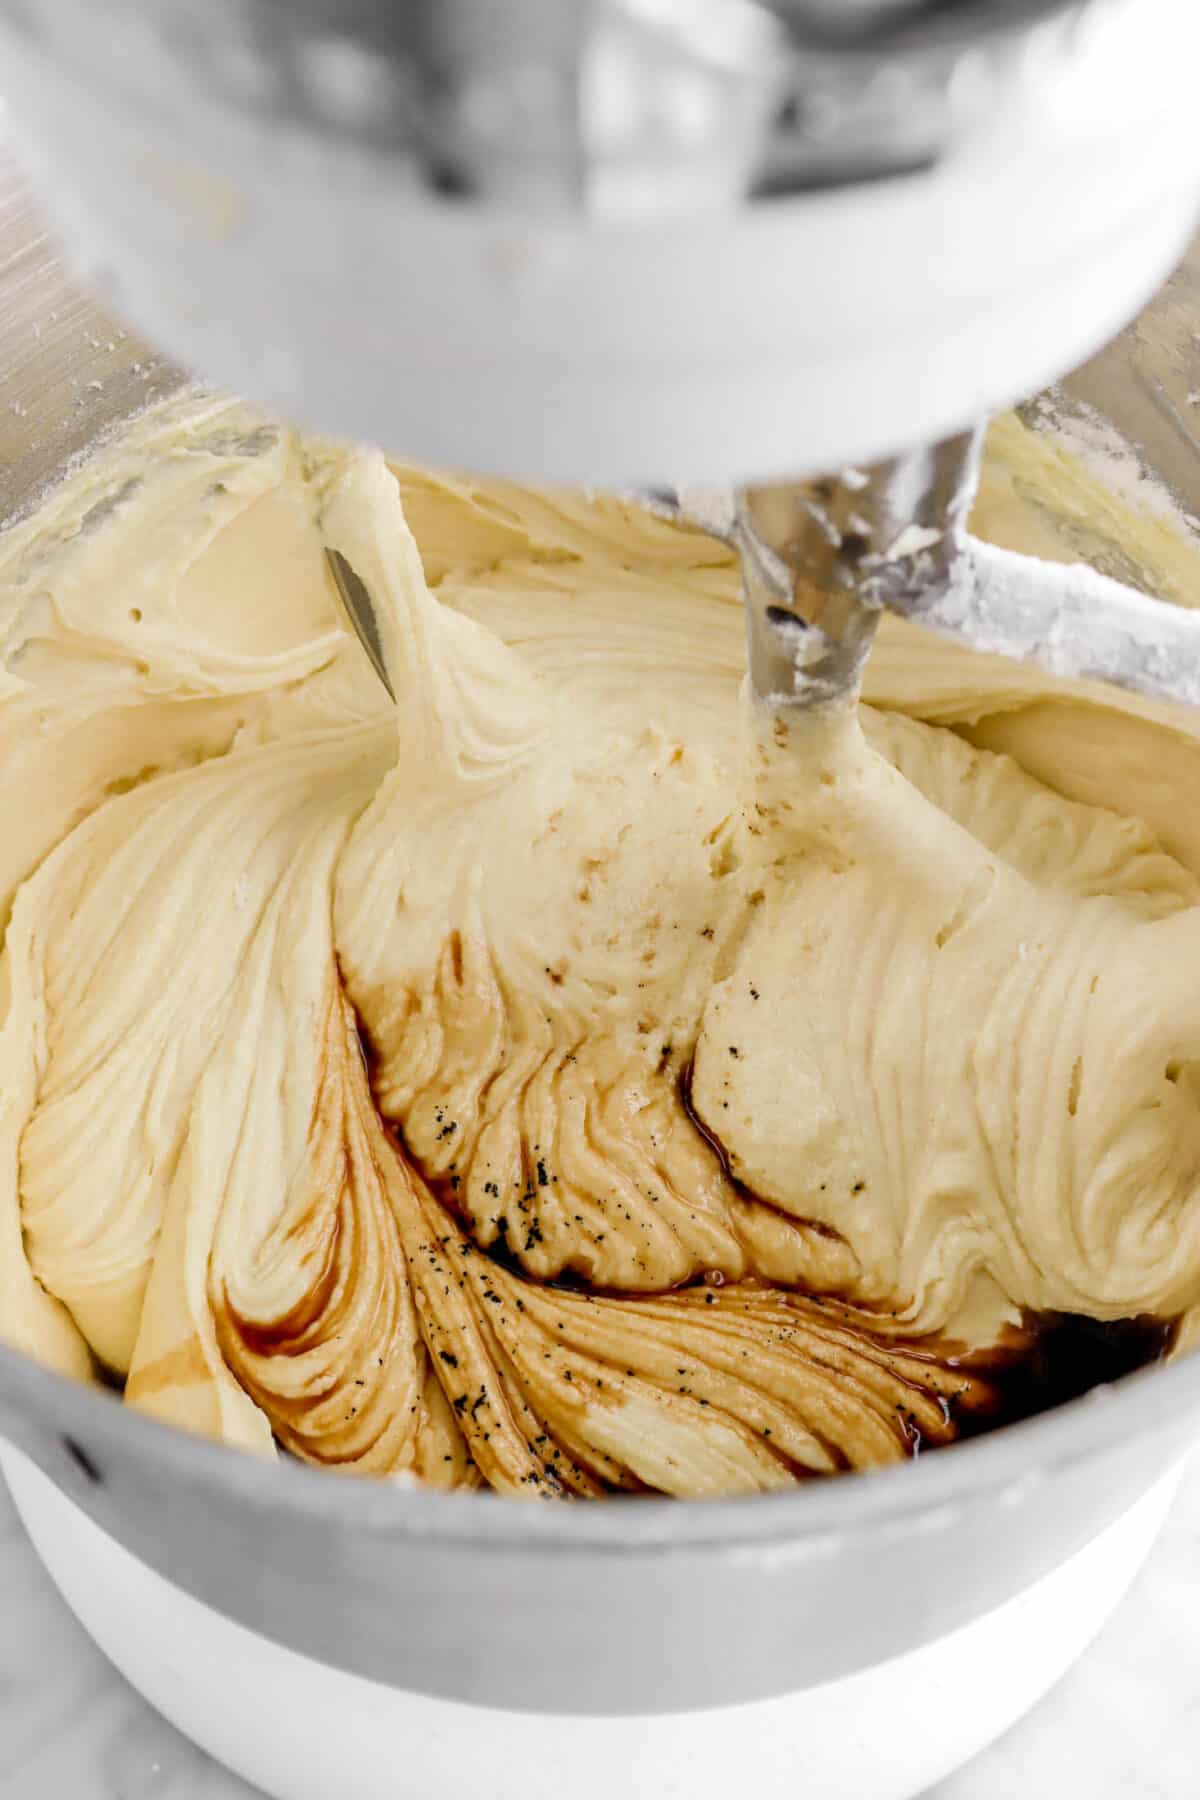
Stir in the vanilla.
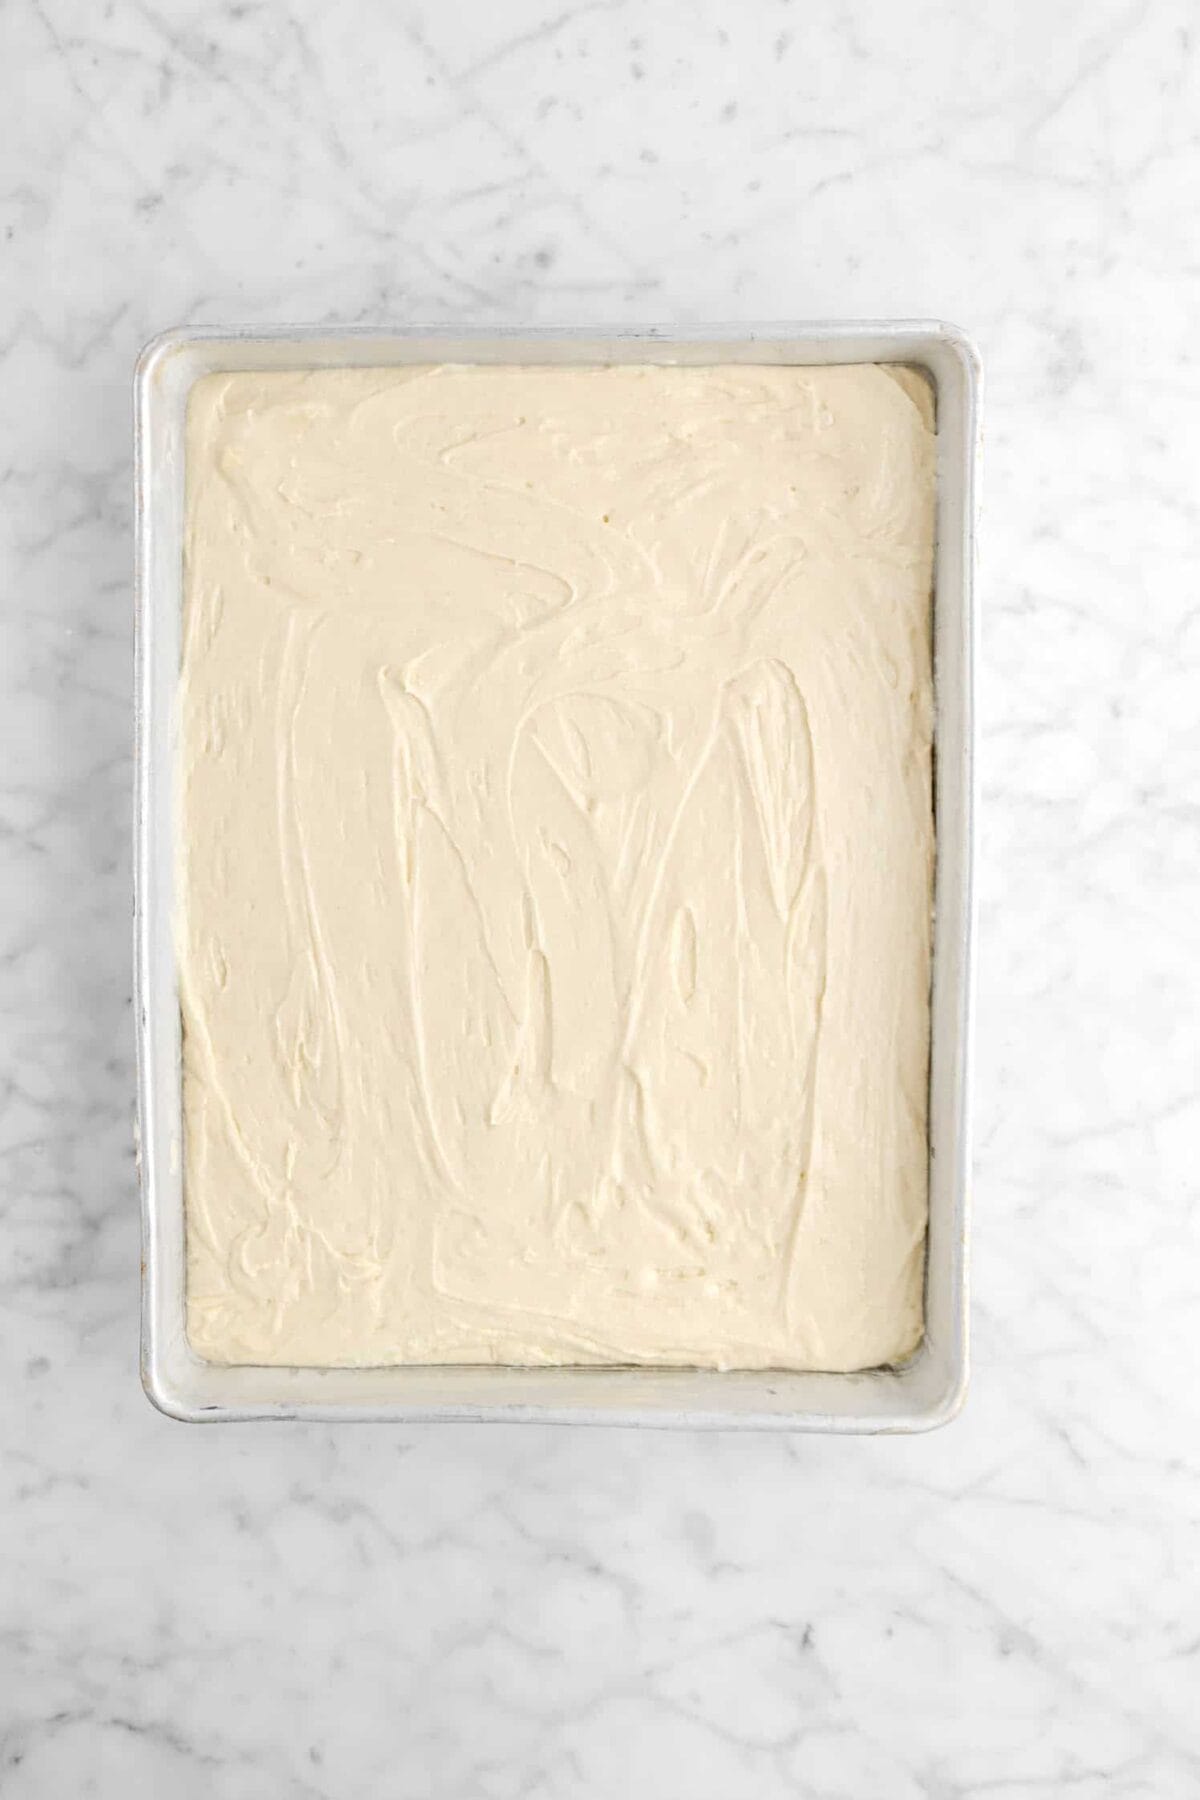
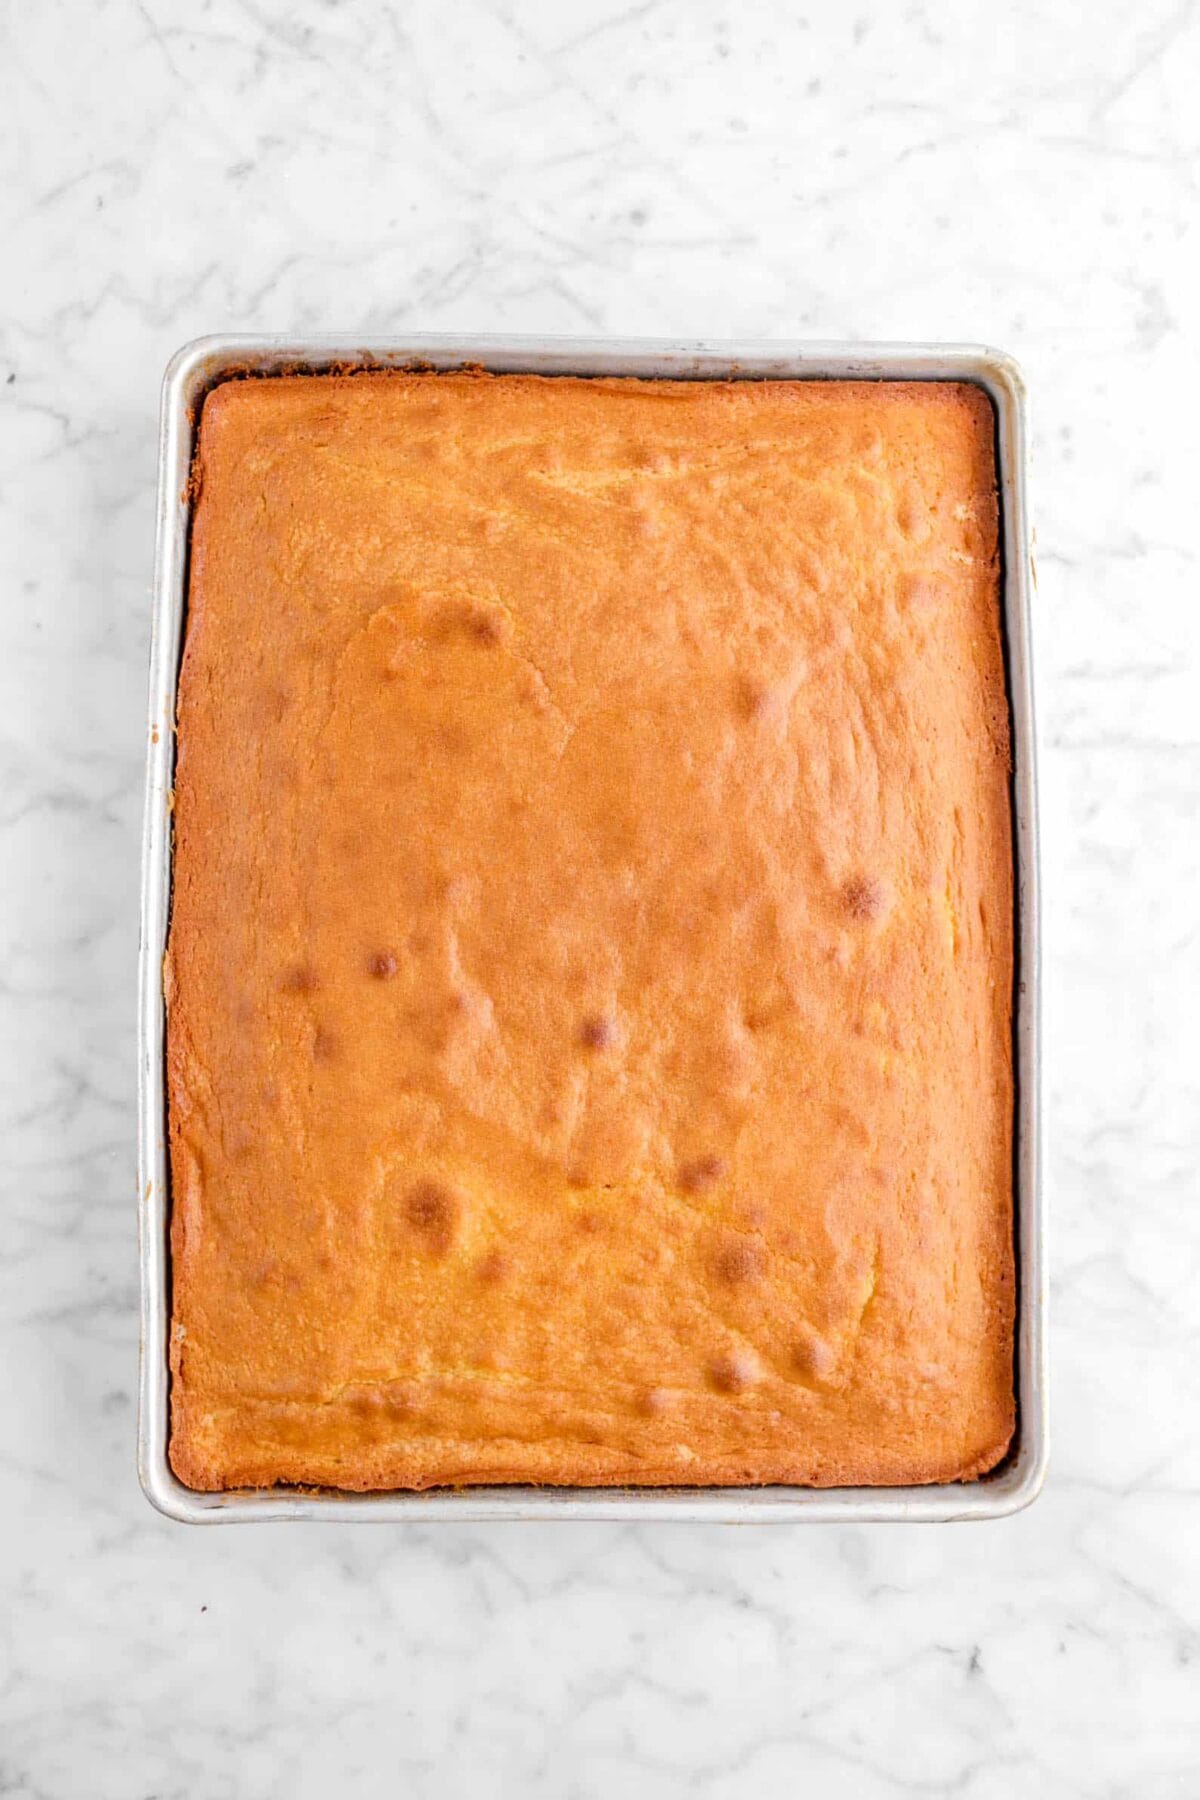
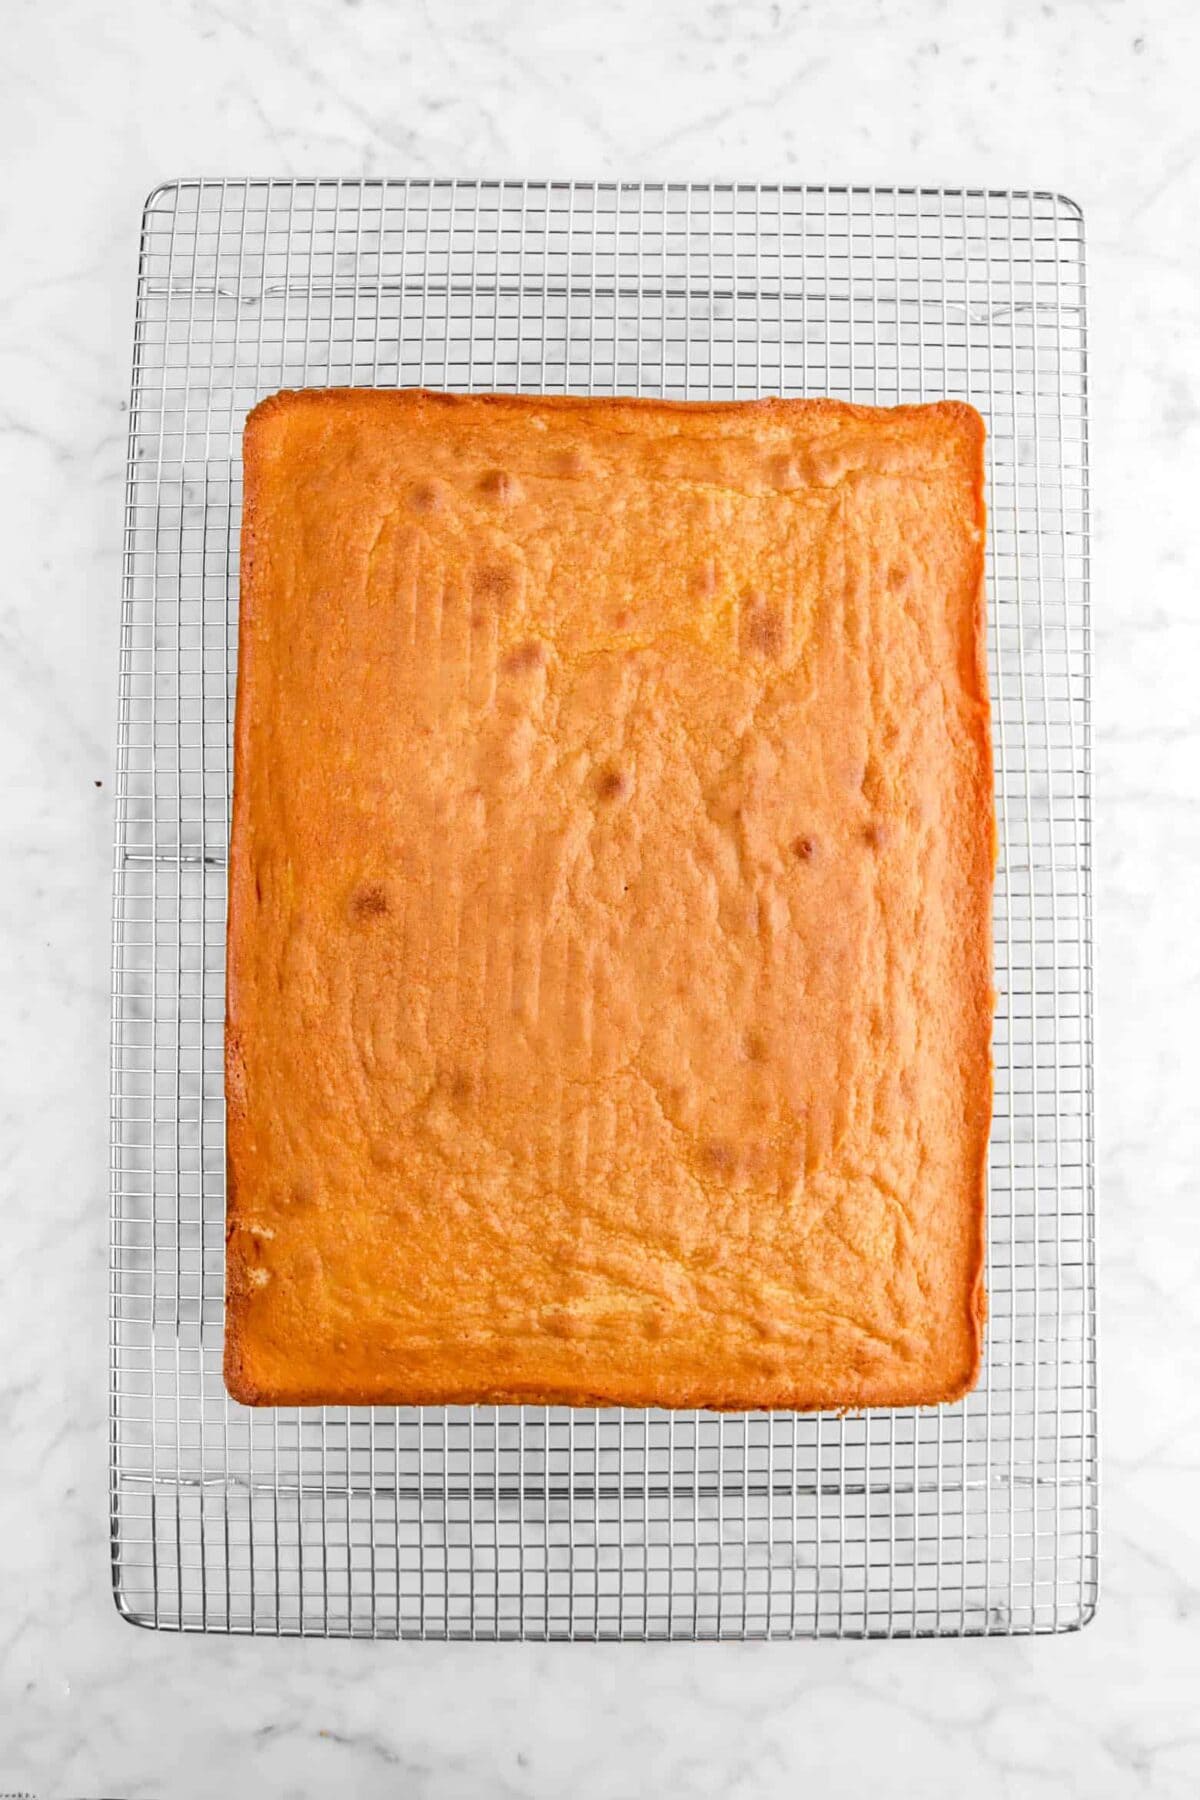
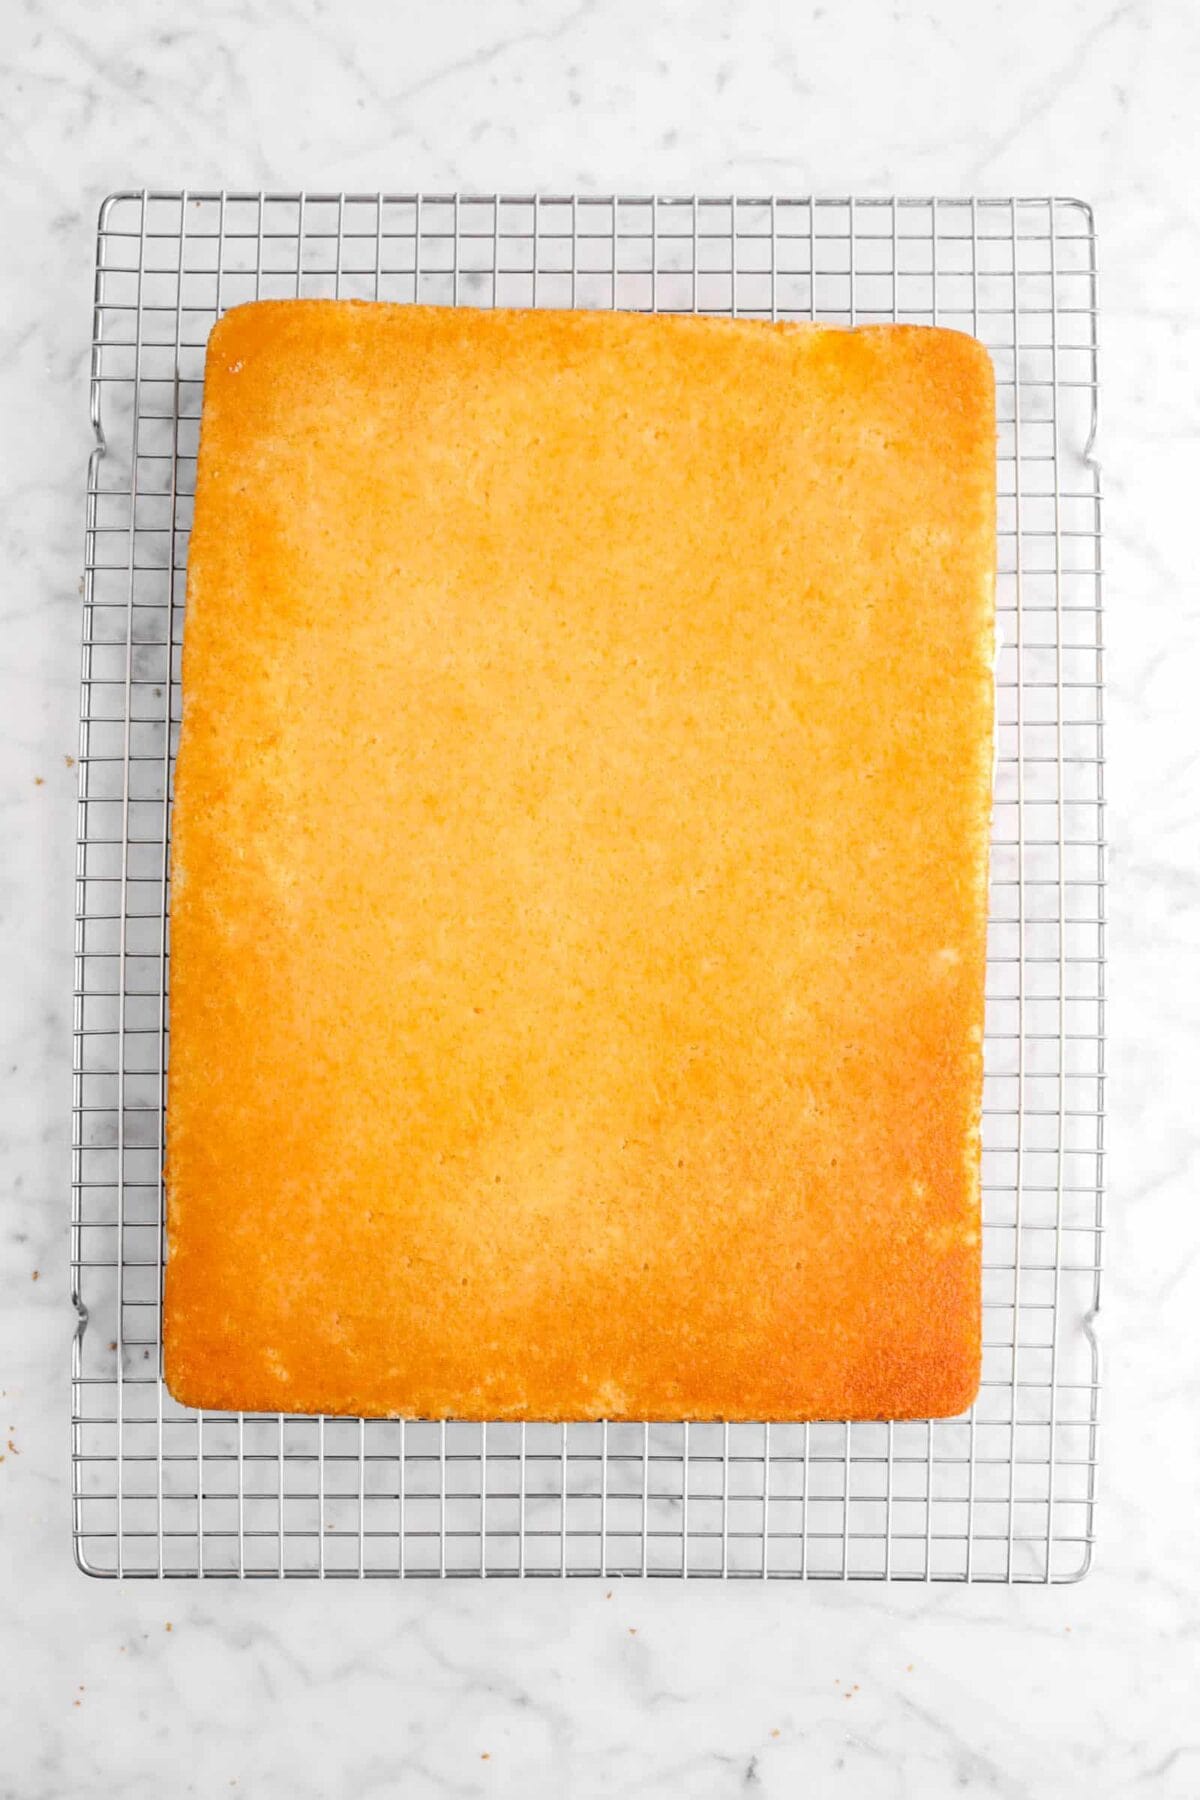
Spoon into prepared pan and bake at 350 degrees F for 20 minutes, or until done. Let cool in the pan.
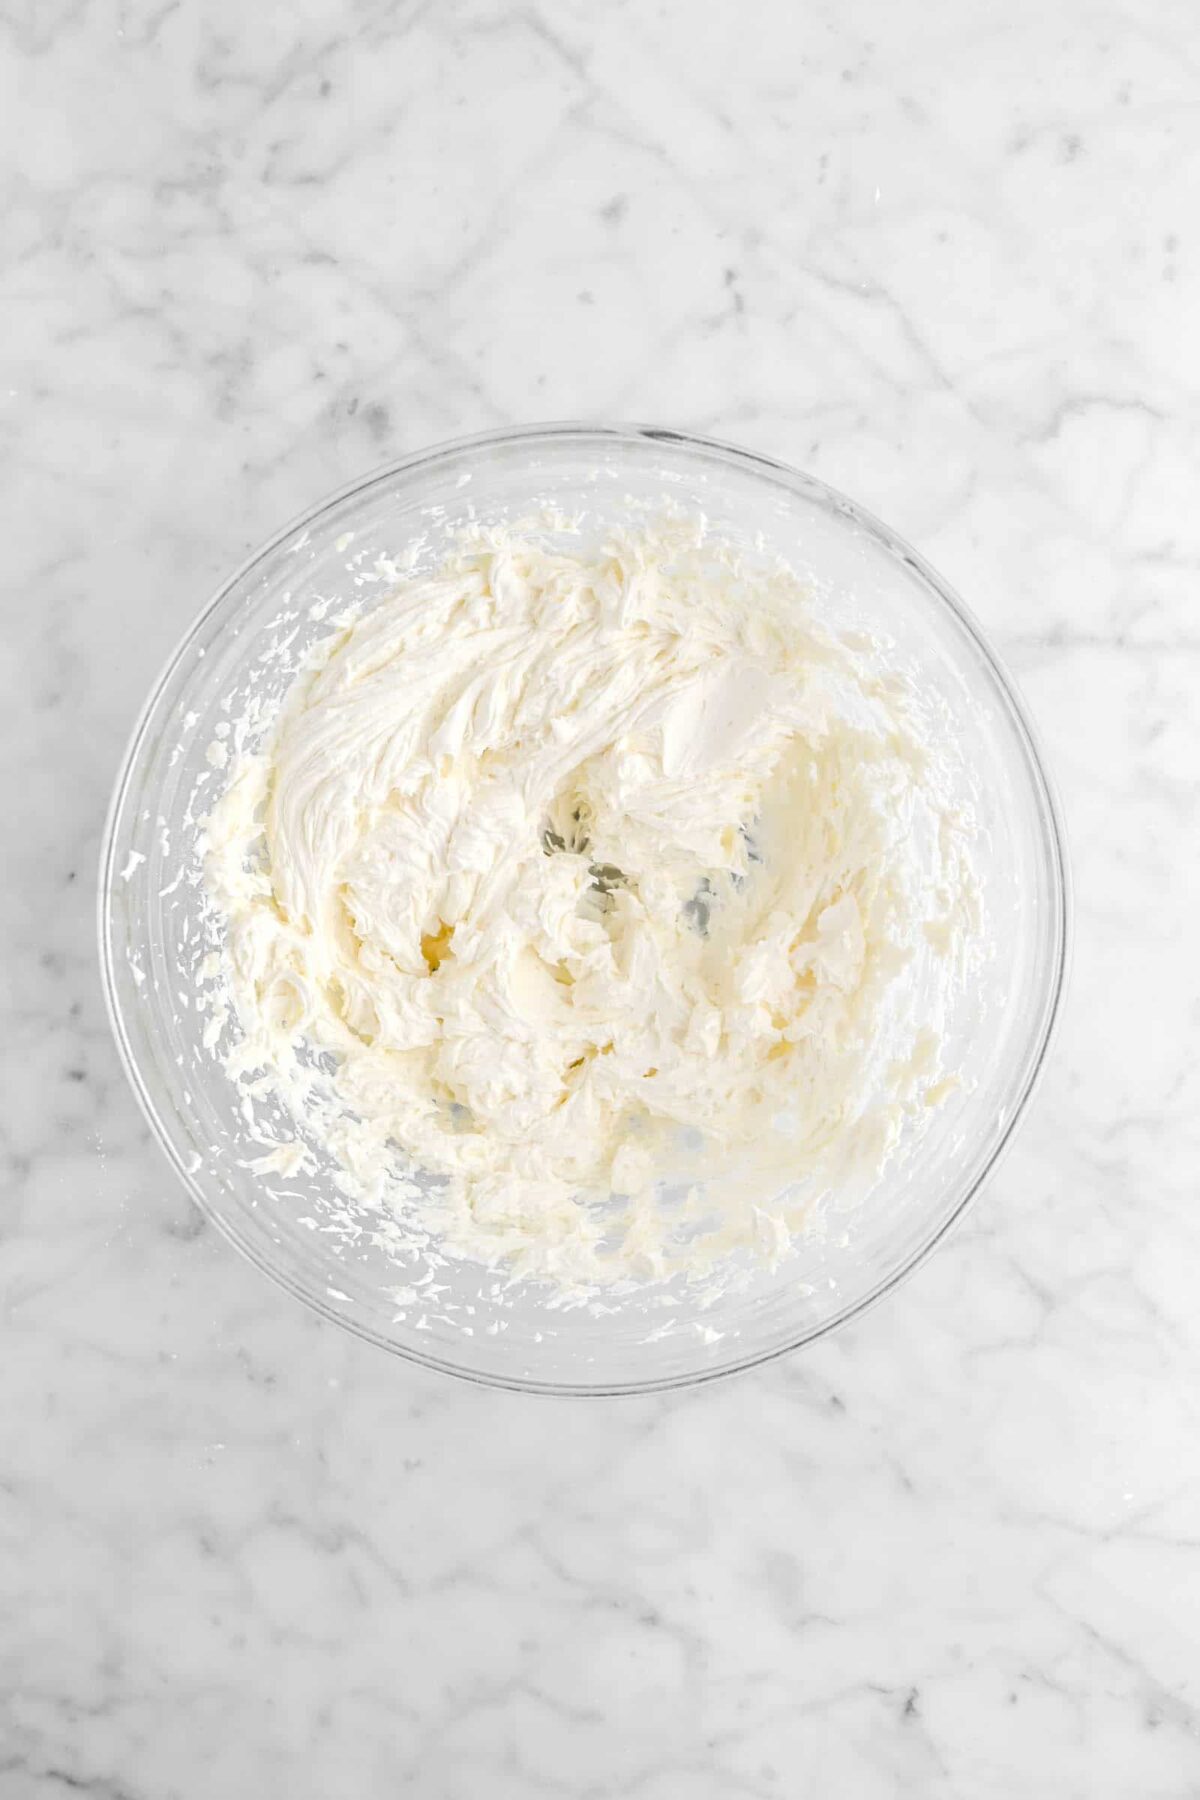
Step 2: Make the buttercream
Place the butter, powdered sugar, heavy cream, and vanilla in a bowl. Beat with an electric mixer until light and fluffy.

Step 3: Make the pourable fondant
Combine corn syrup and water. Heat in the microwave at 30 second intervals until the corn syrup has dissolved.
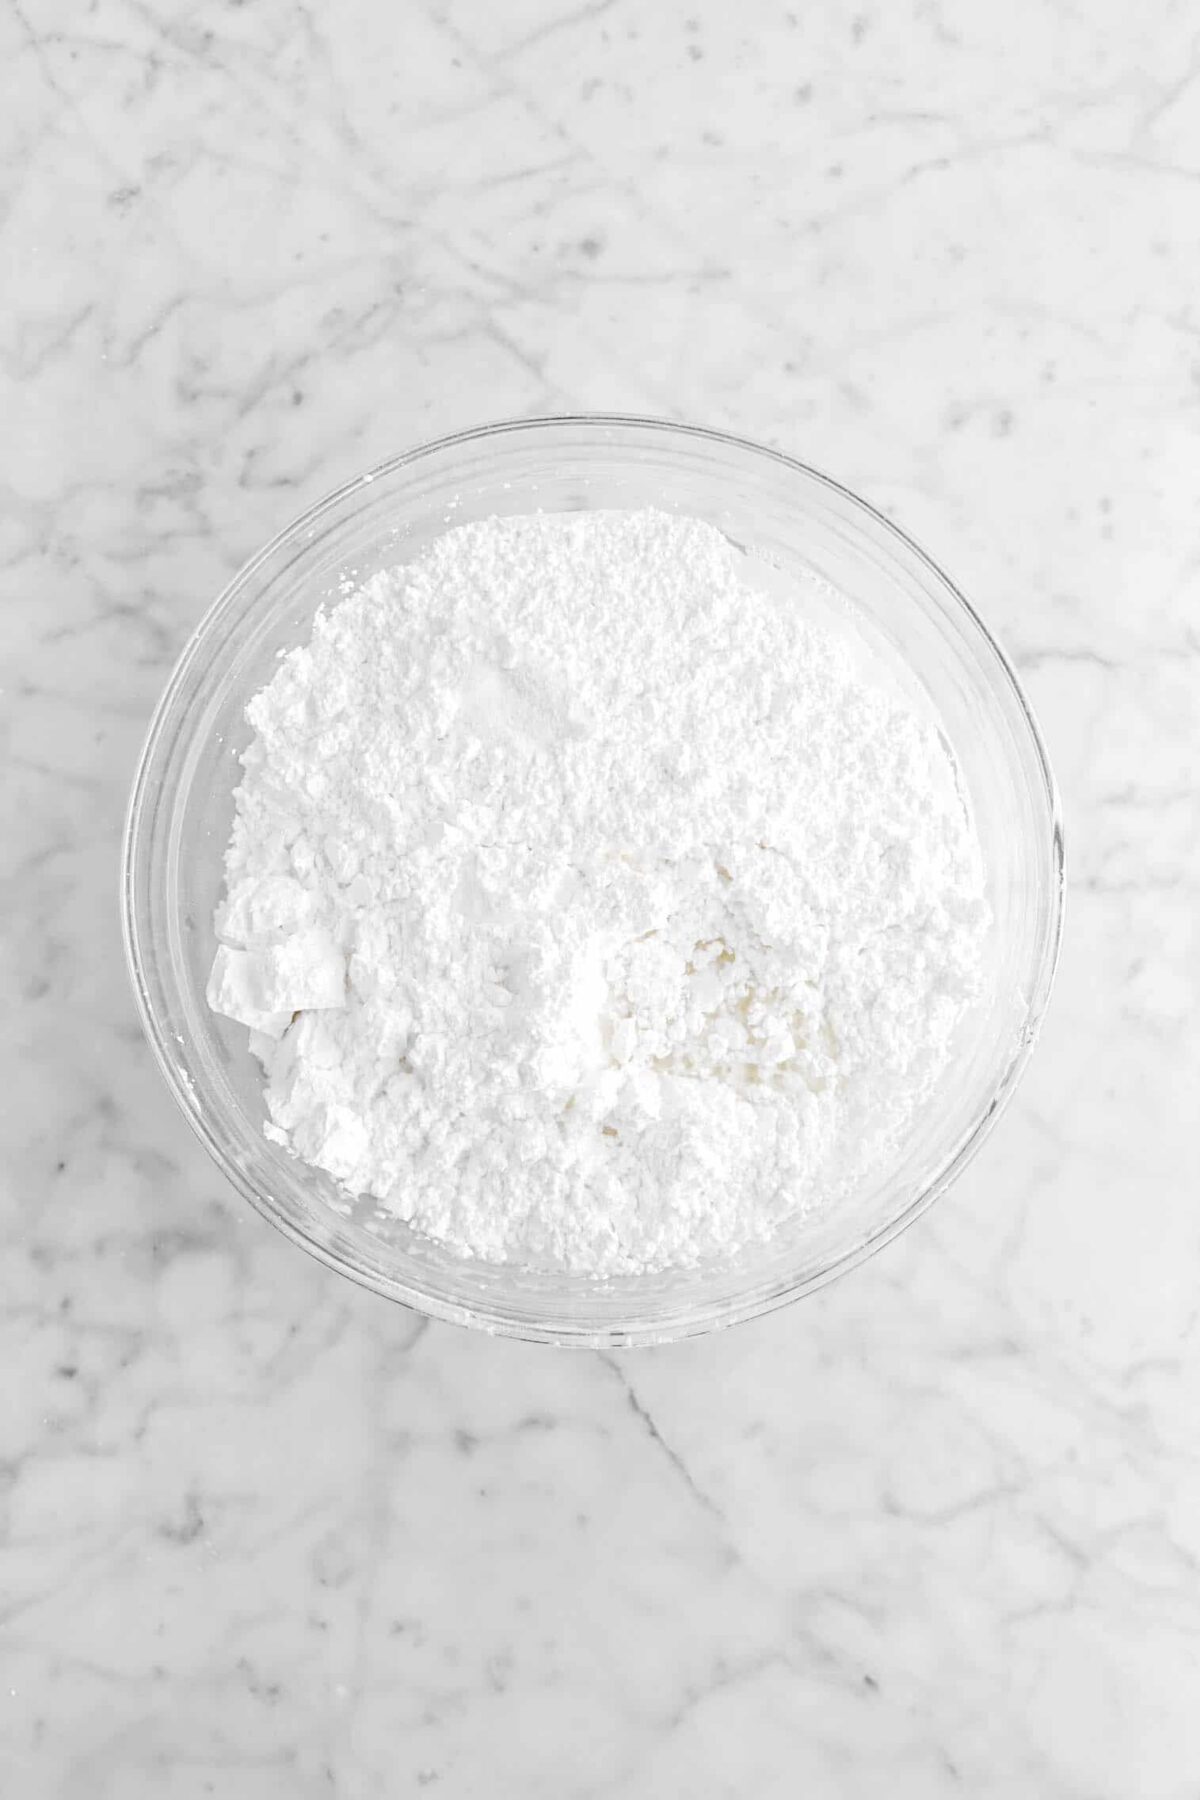
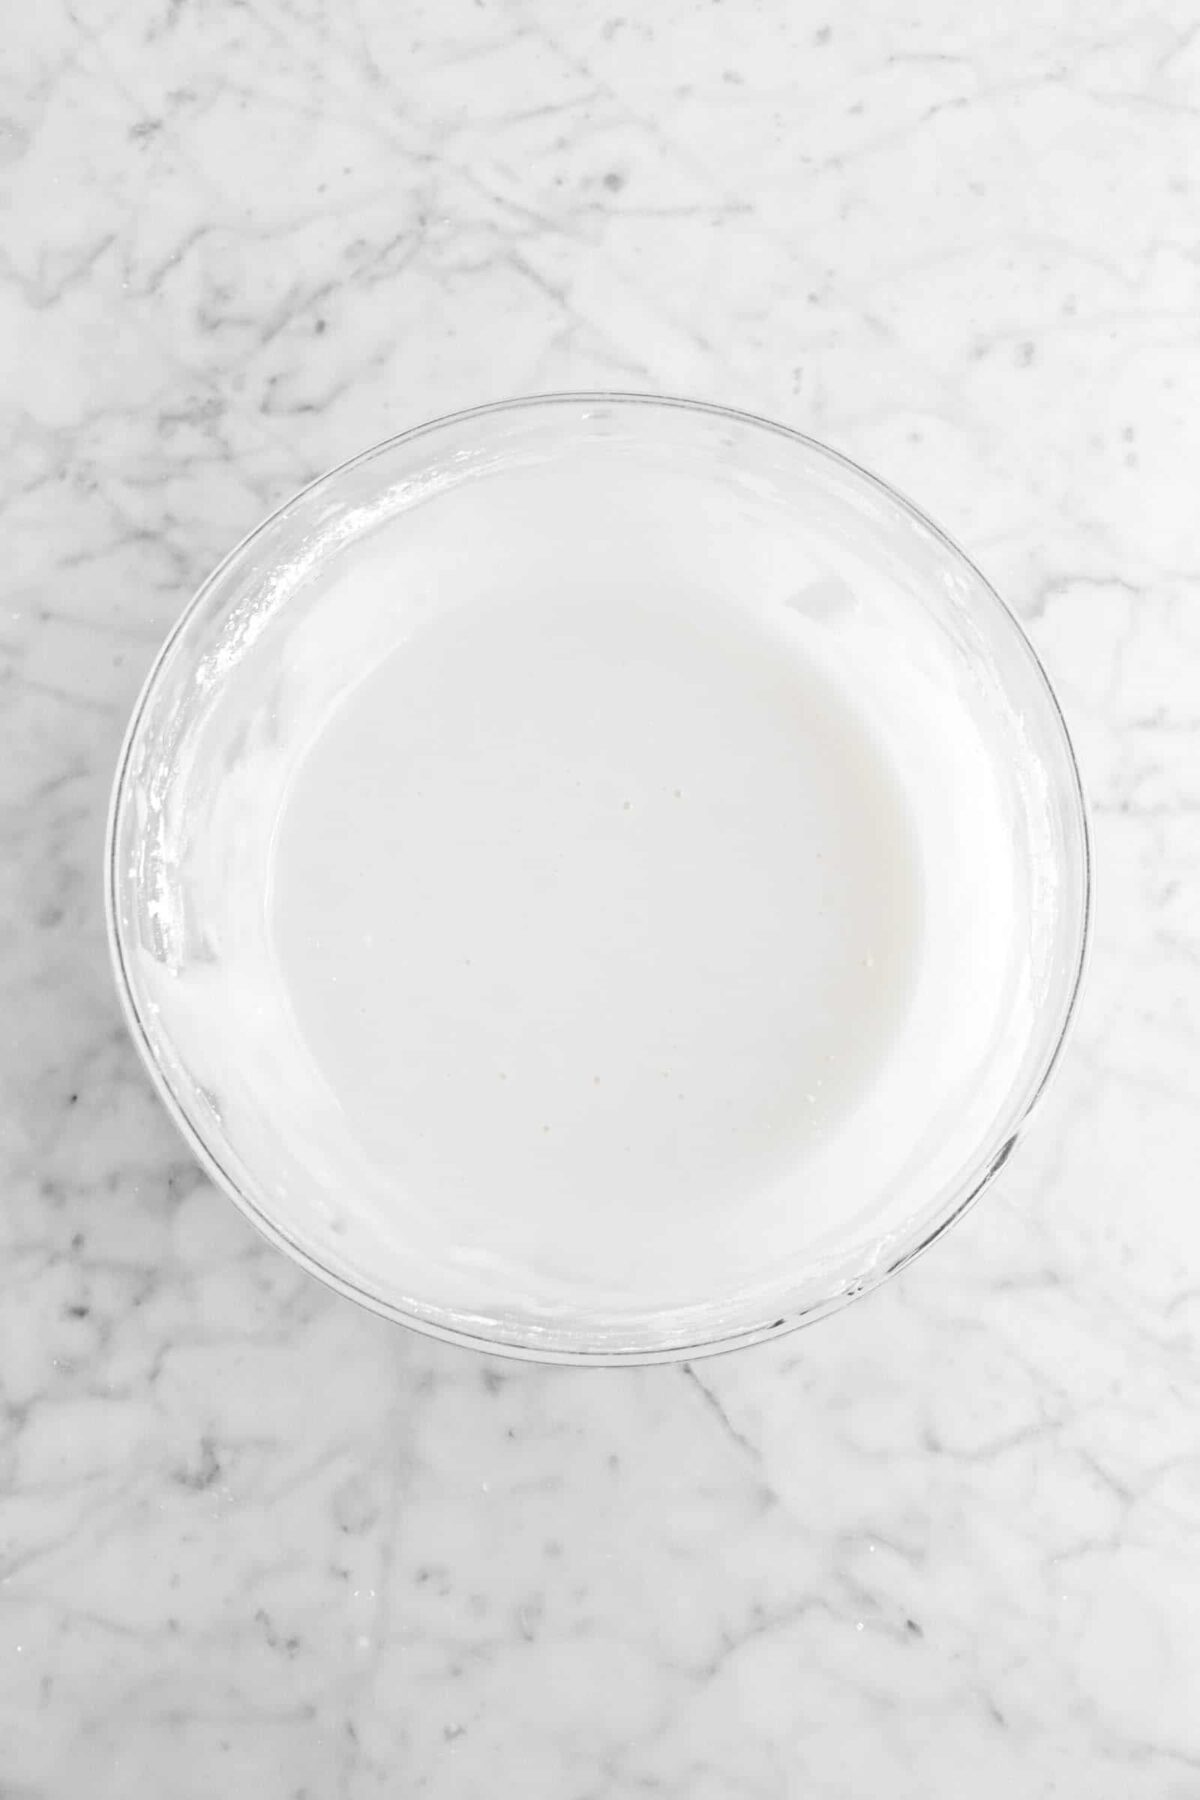
Combine powdered sugar, vanilla powder, and corn syrup in medium sized mixing bowl. Stir until smooth.
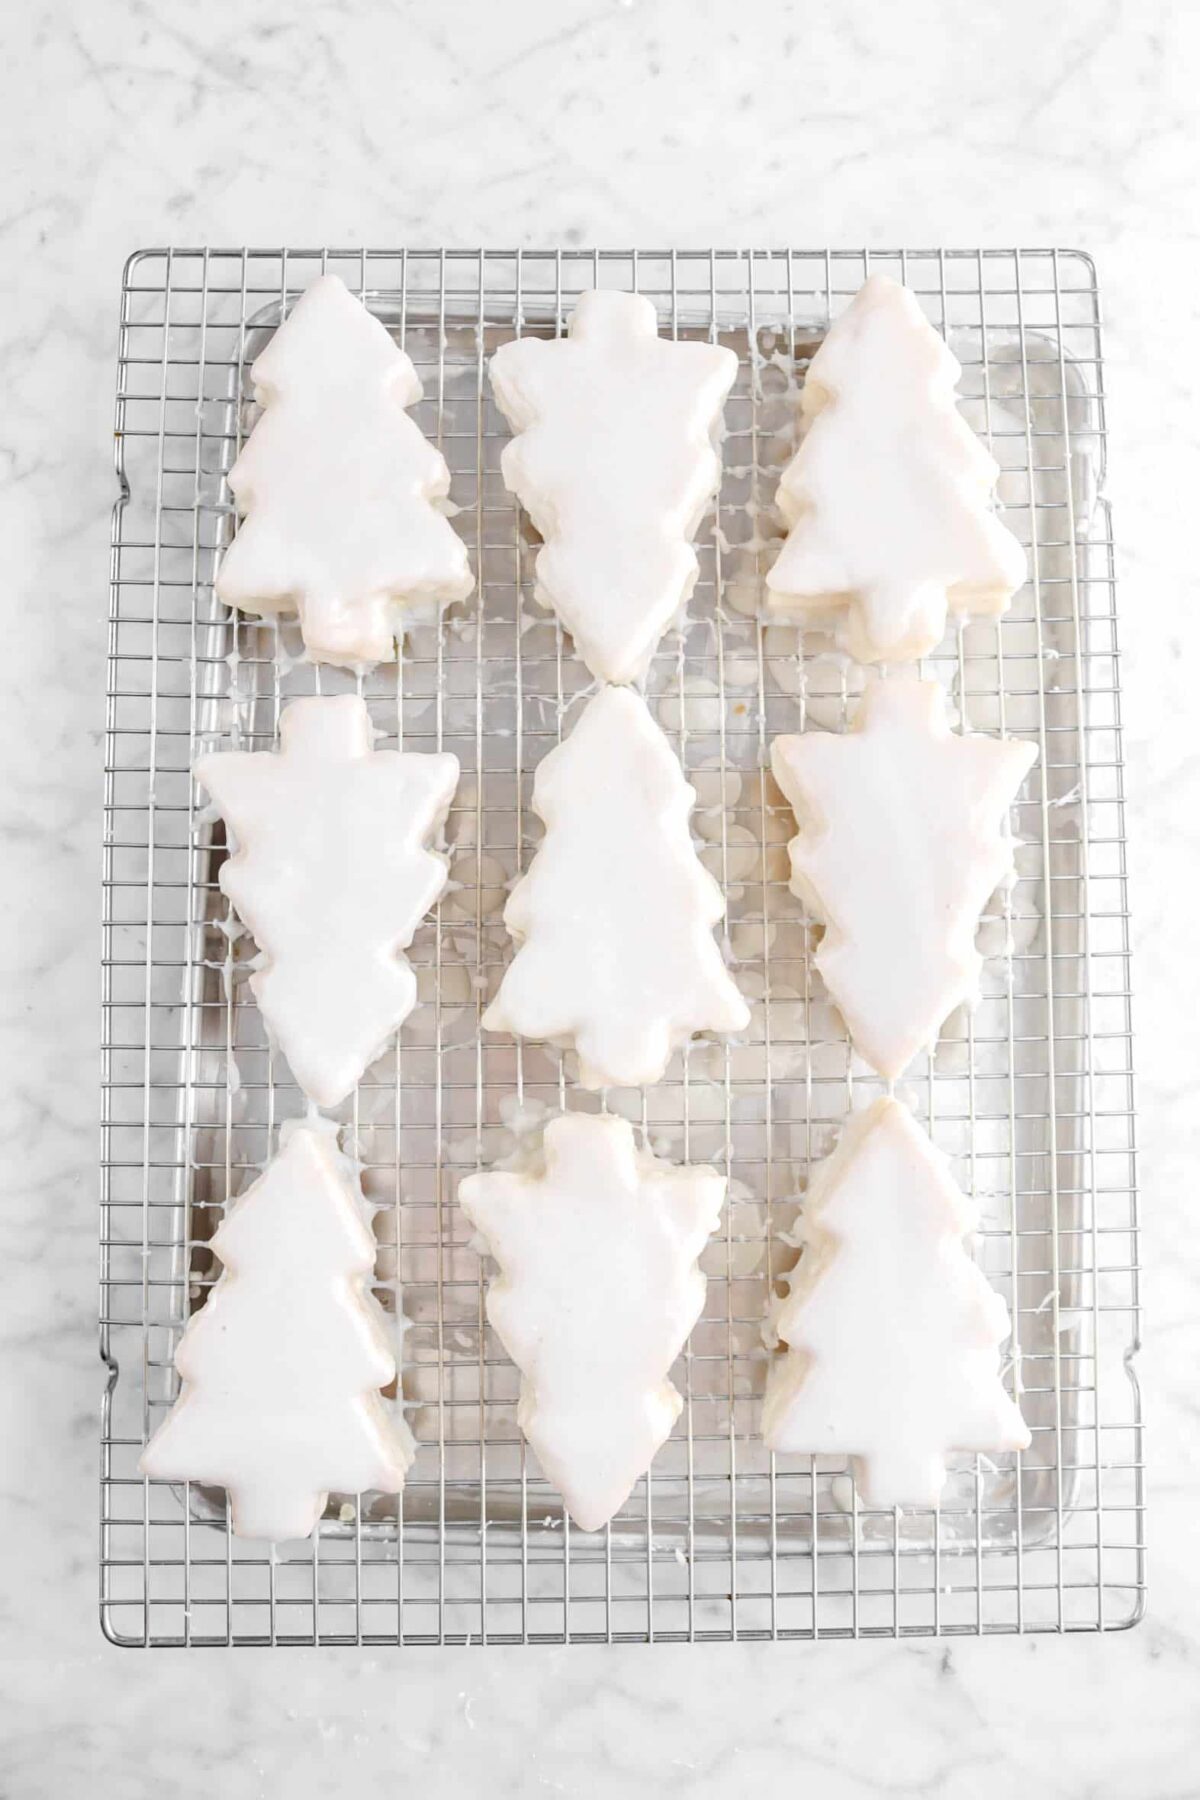
Step 4: Building the cakes
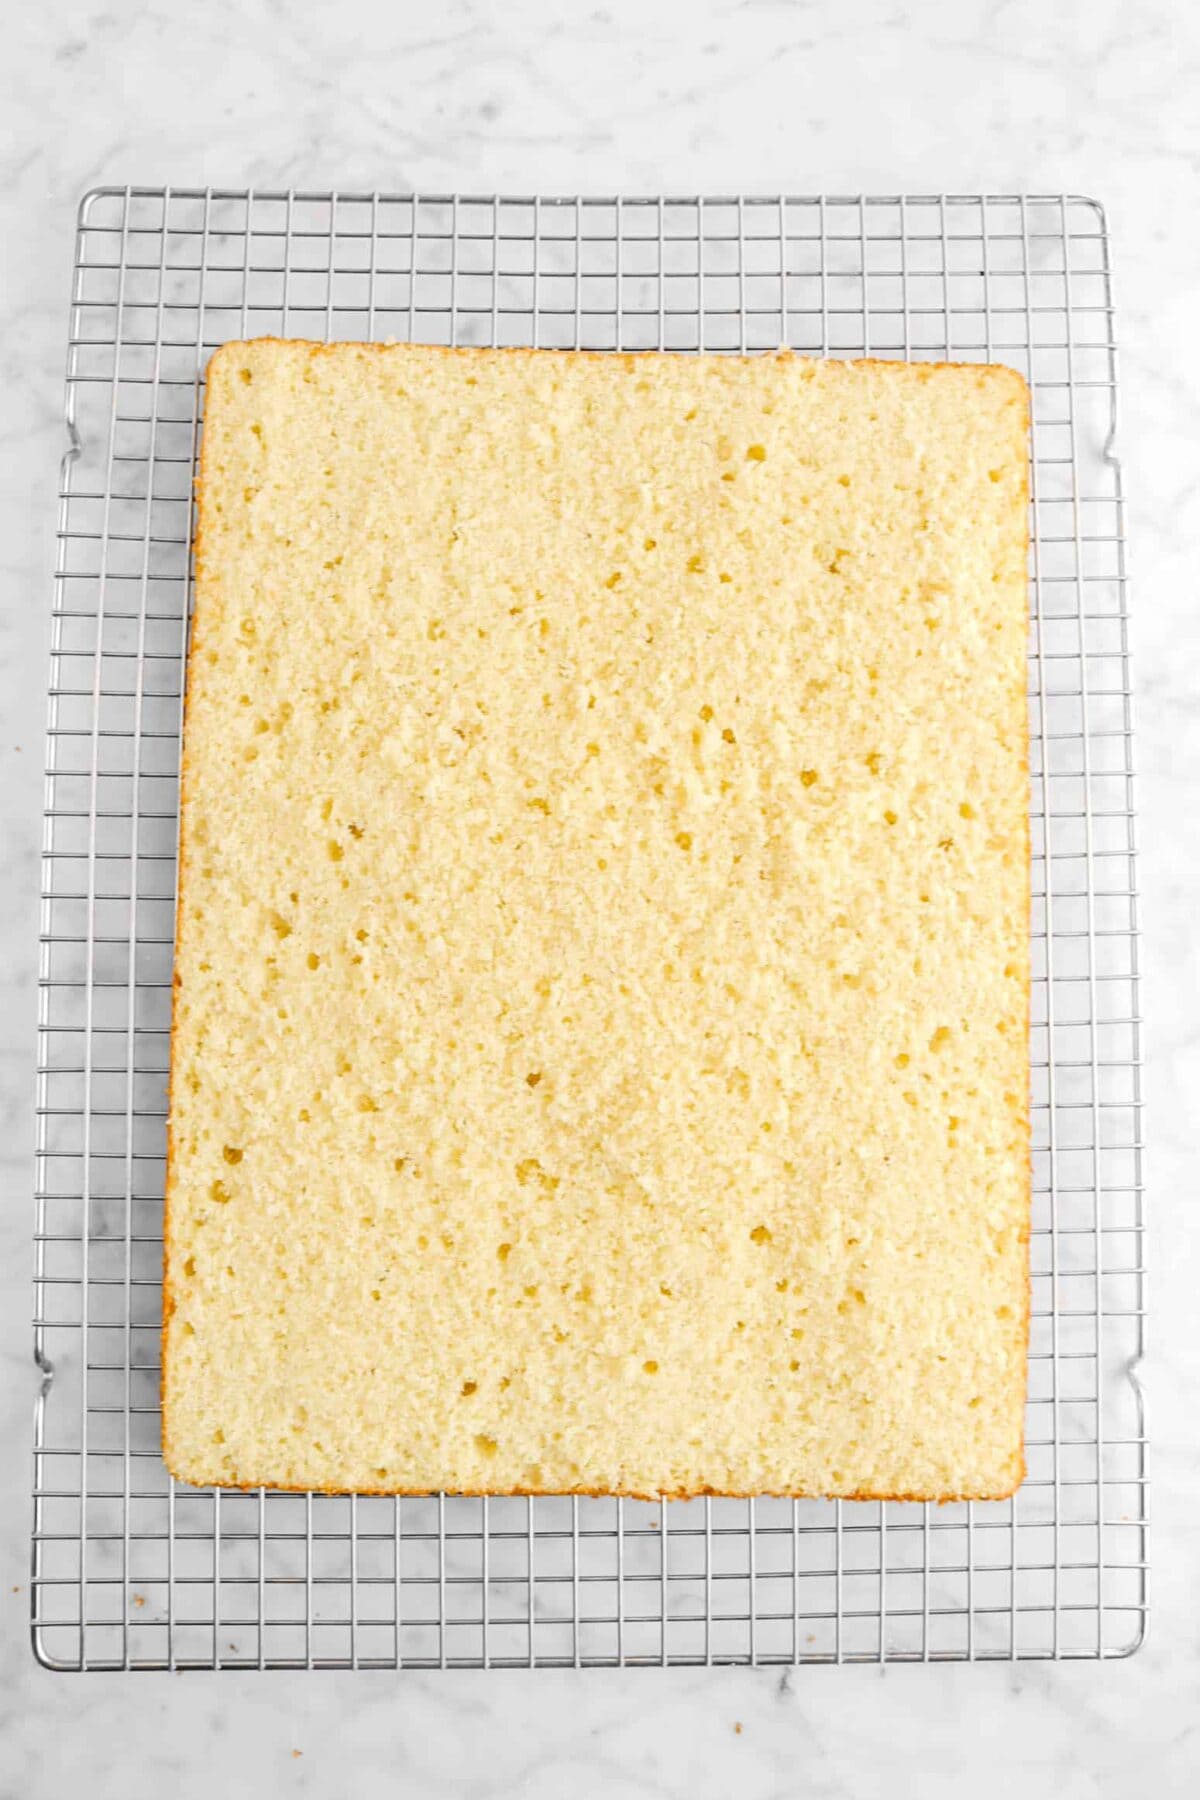
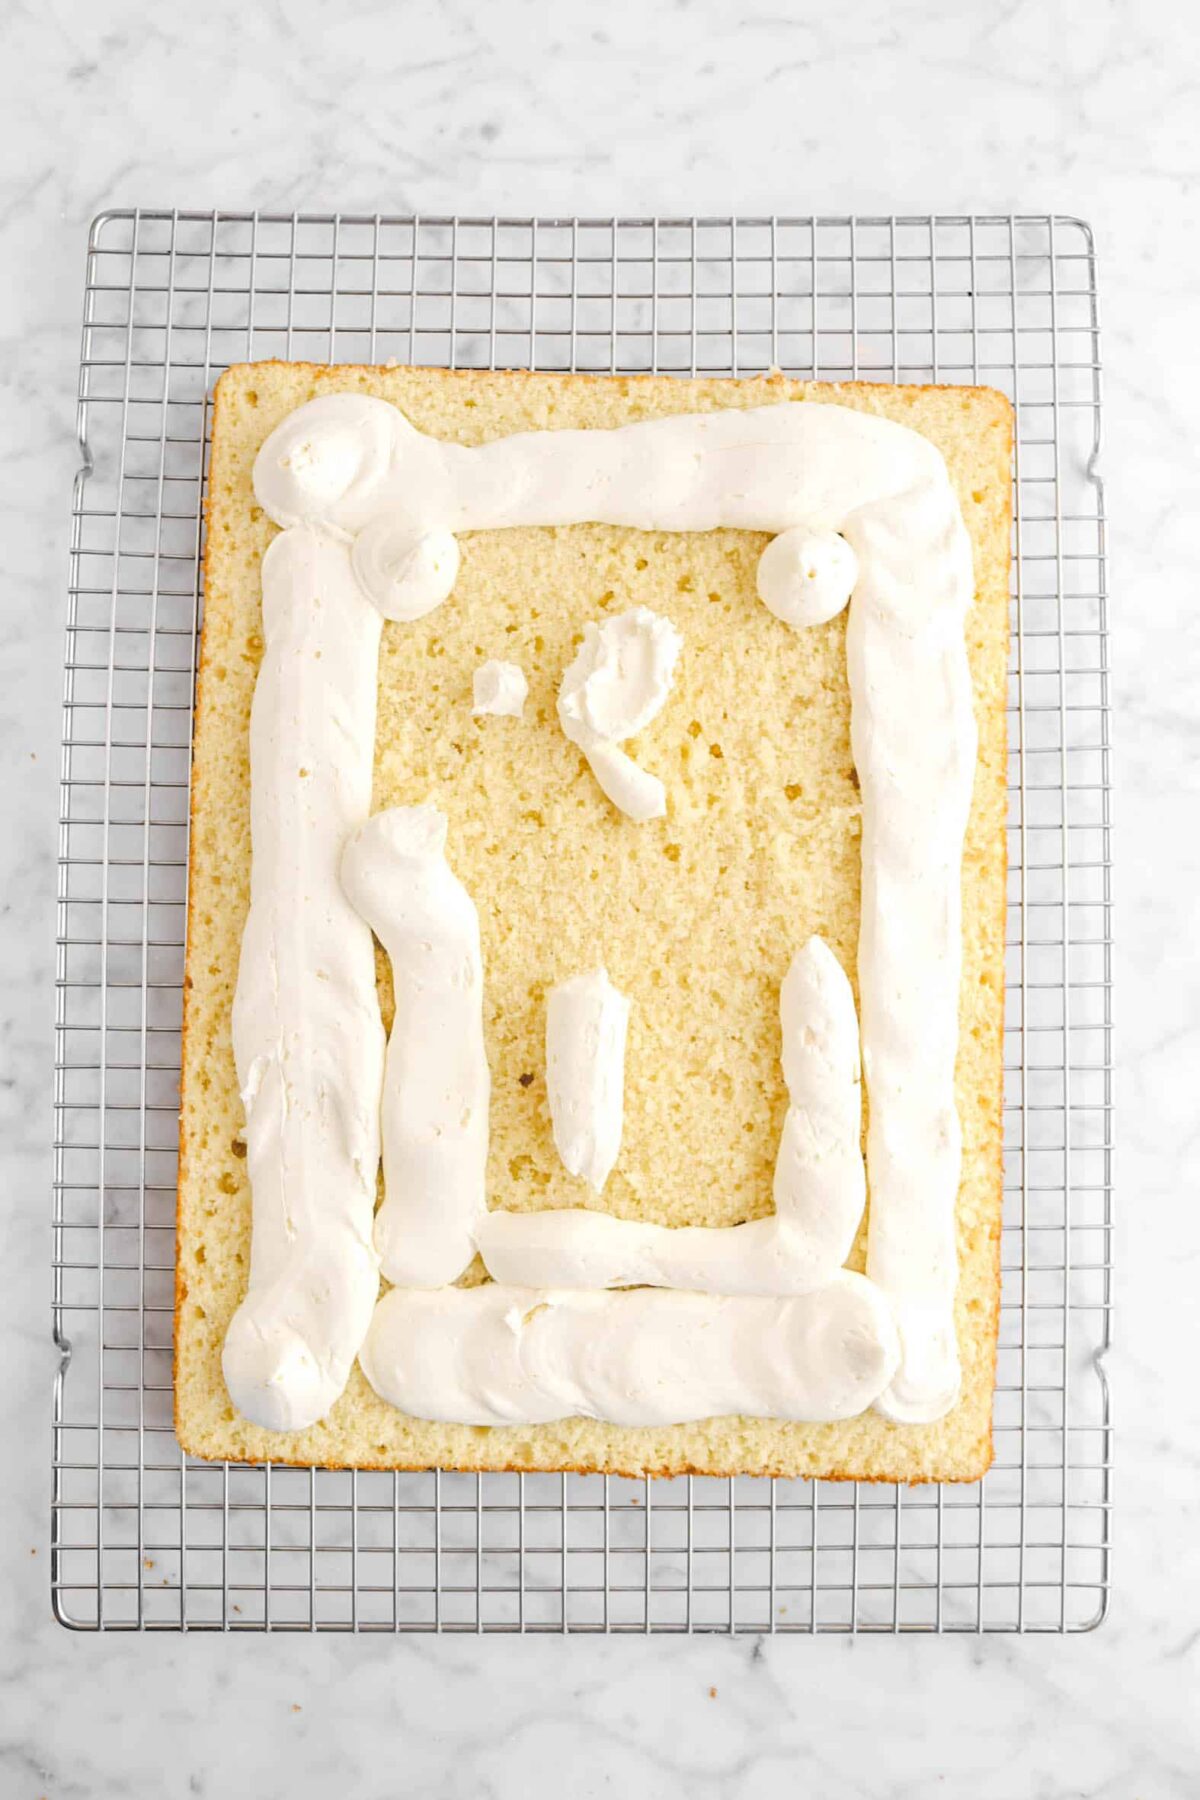
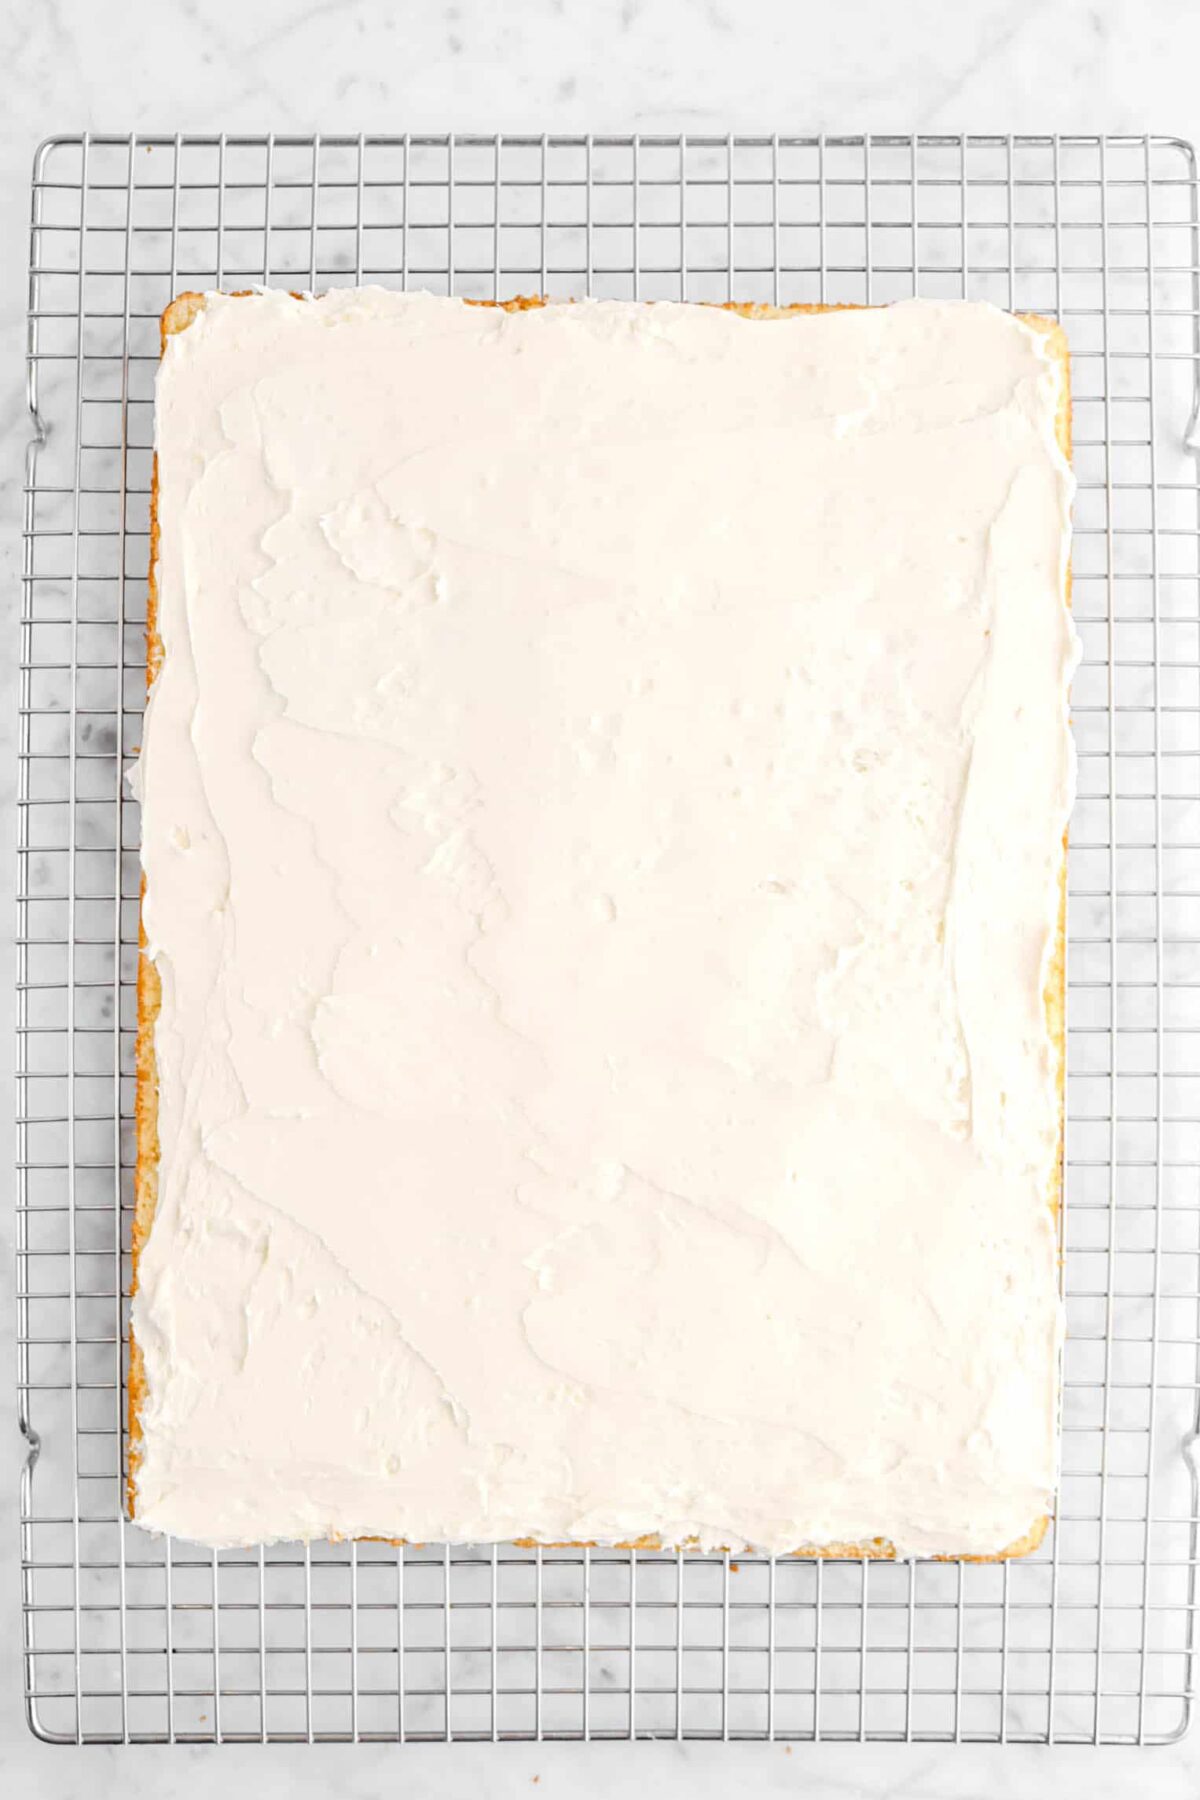
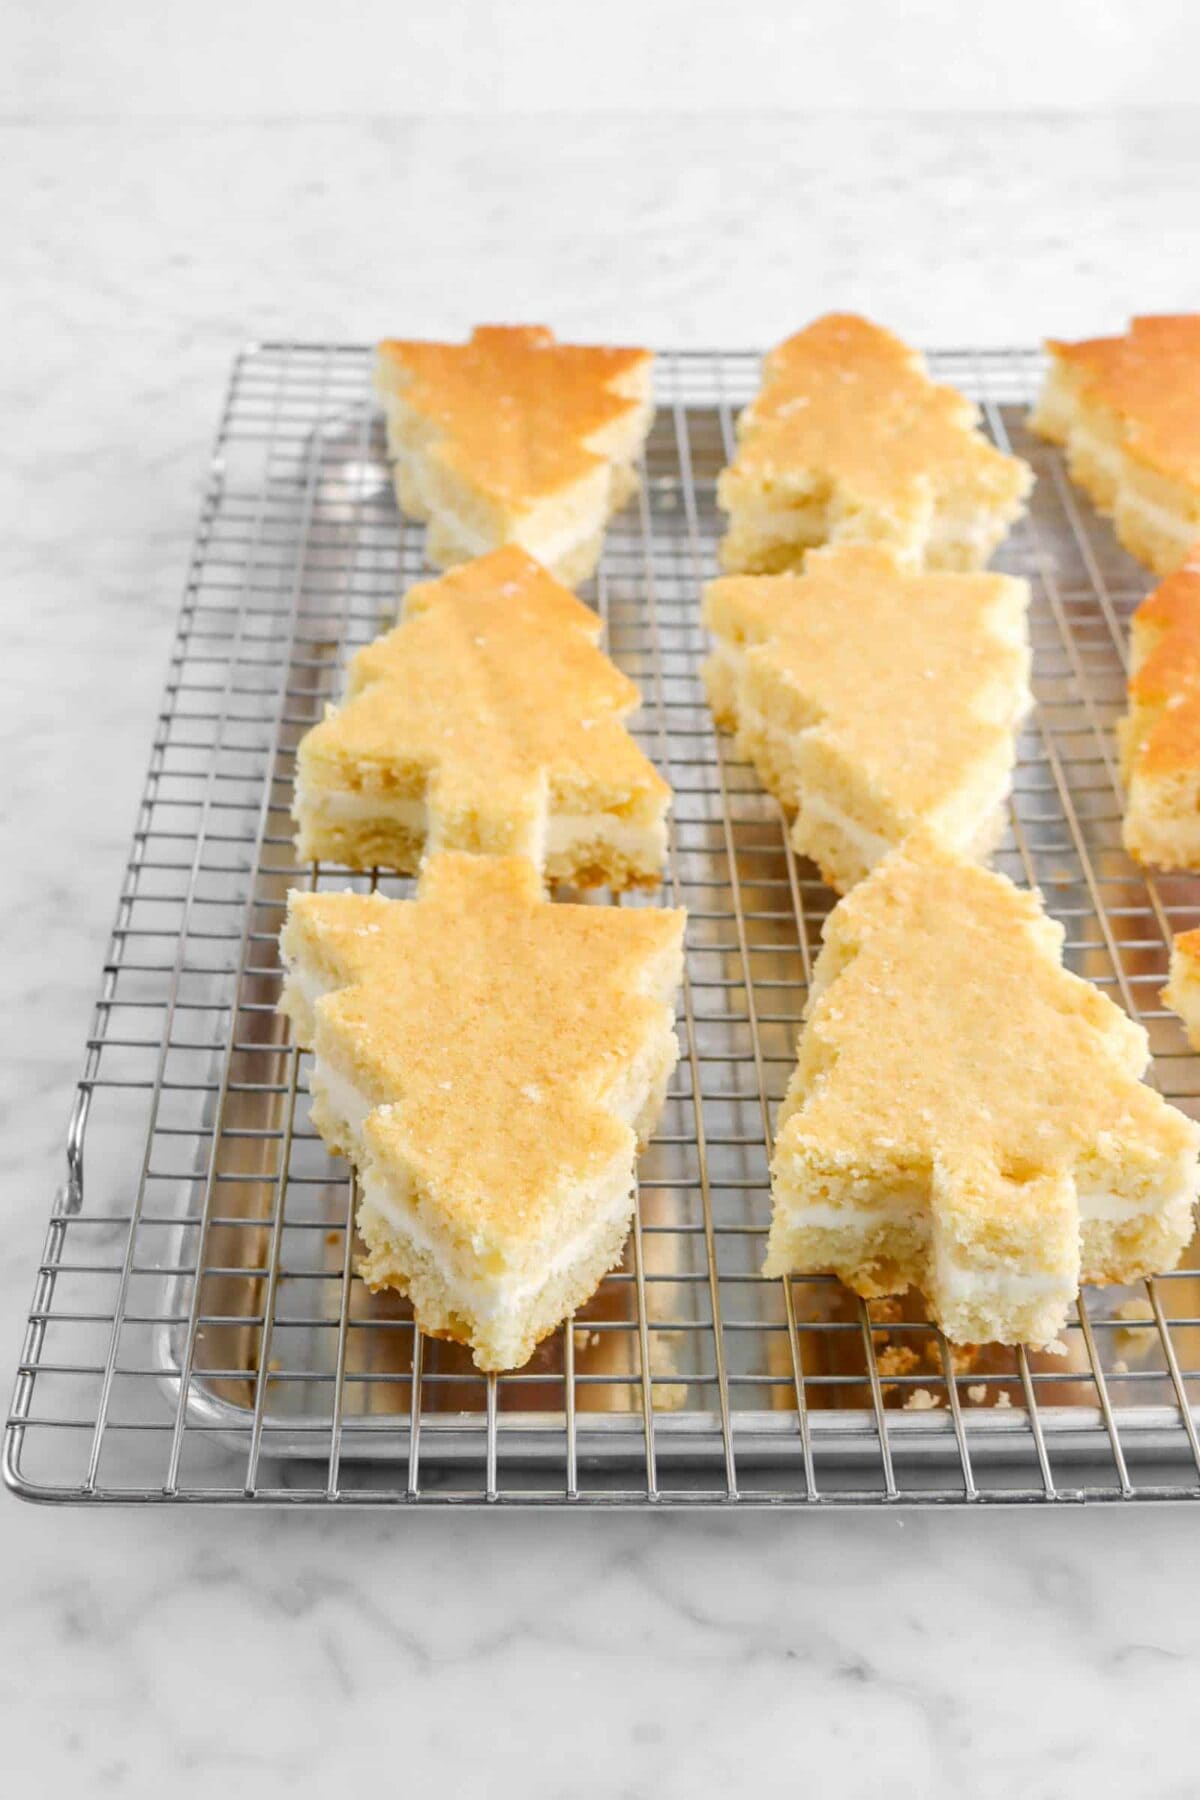
Turn cooled cake out onto wire cooling rack. Using a serrated knife or cake cutter, cut the cake in half horizontally. Slide top of cake carefully onto a sheet pan or cake board. Set aside. Dollop or pipe frosting on top of the bottom layer of cake. Spread evenly before placing the top half of the cake back on top.
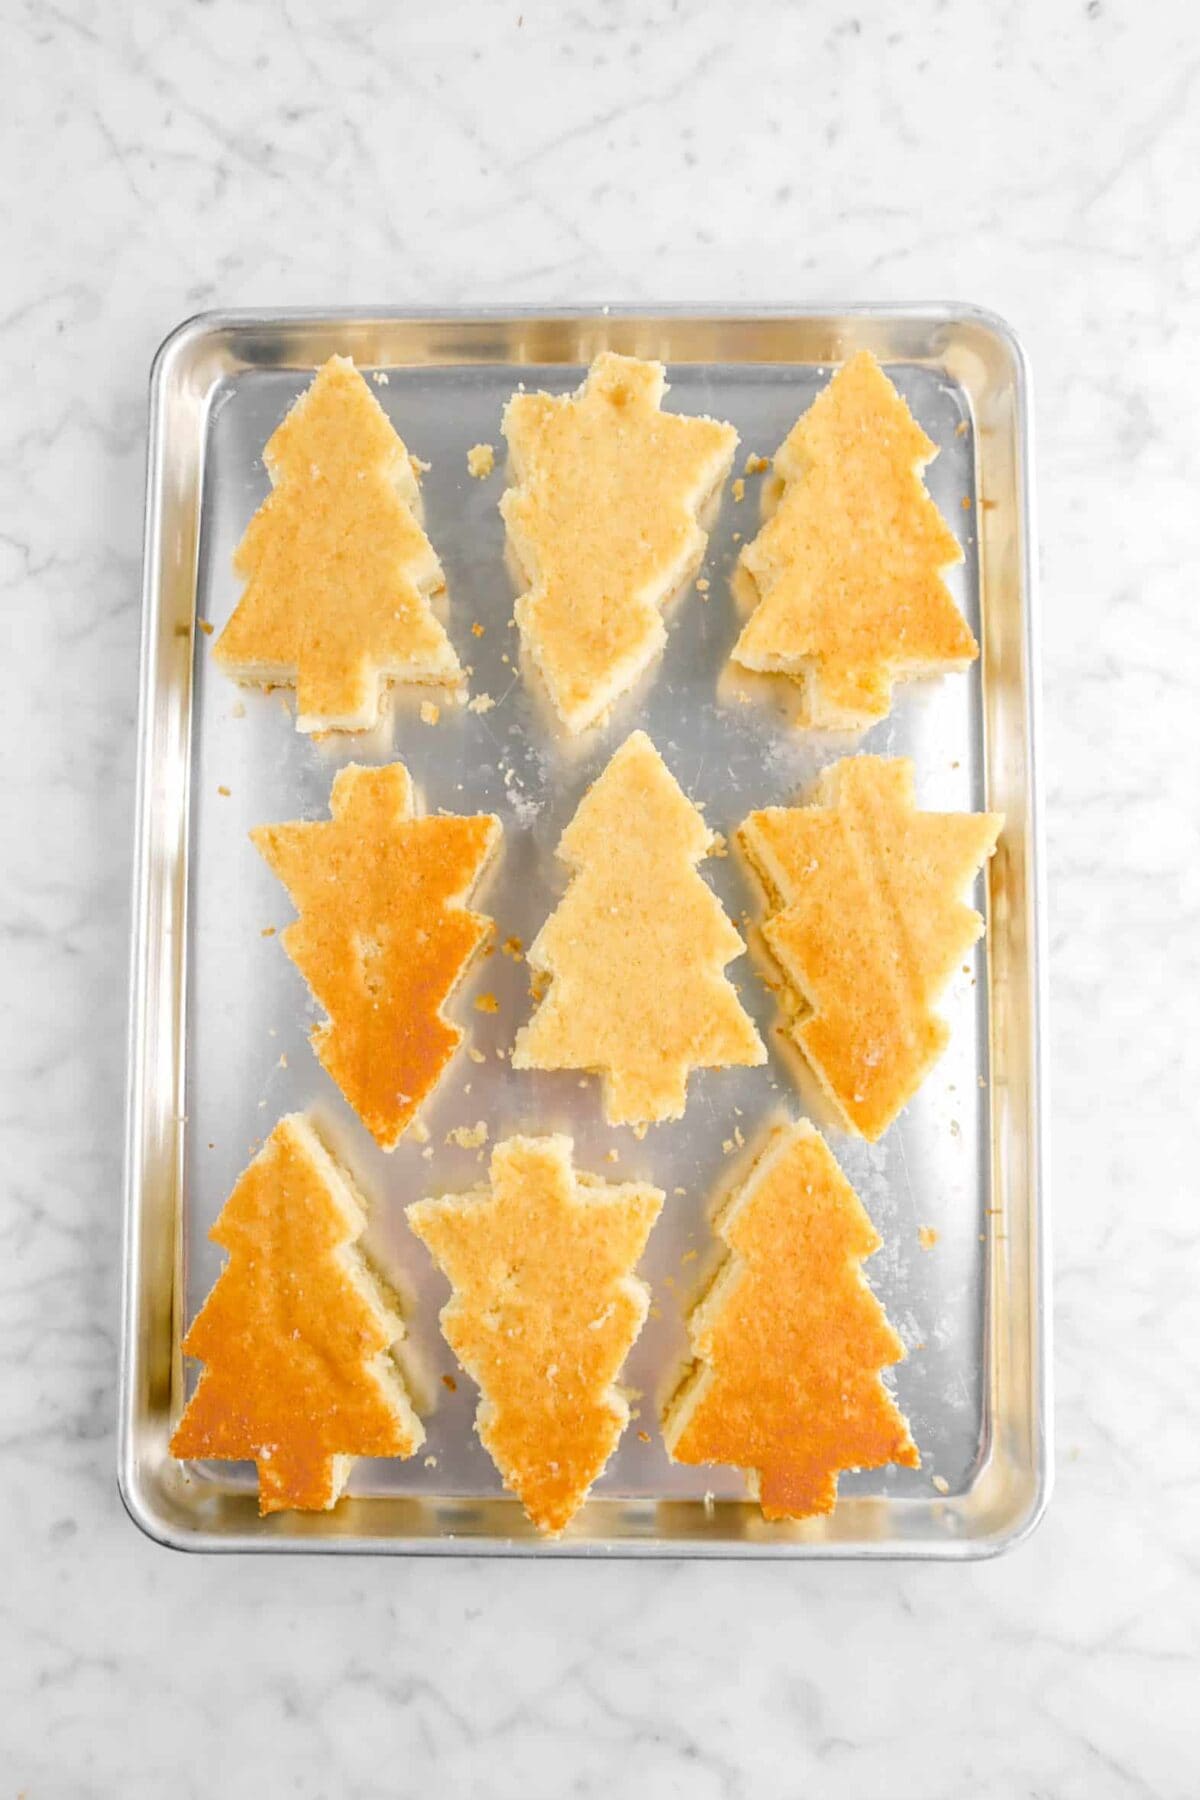
Using a cookie cutter, cut the cake into 9 Christmas trees. (Save the excess cake to make cake-pops!)
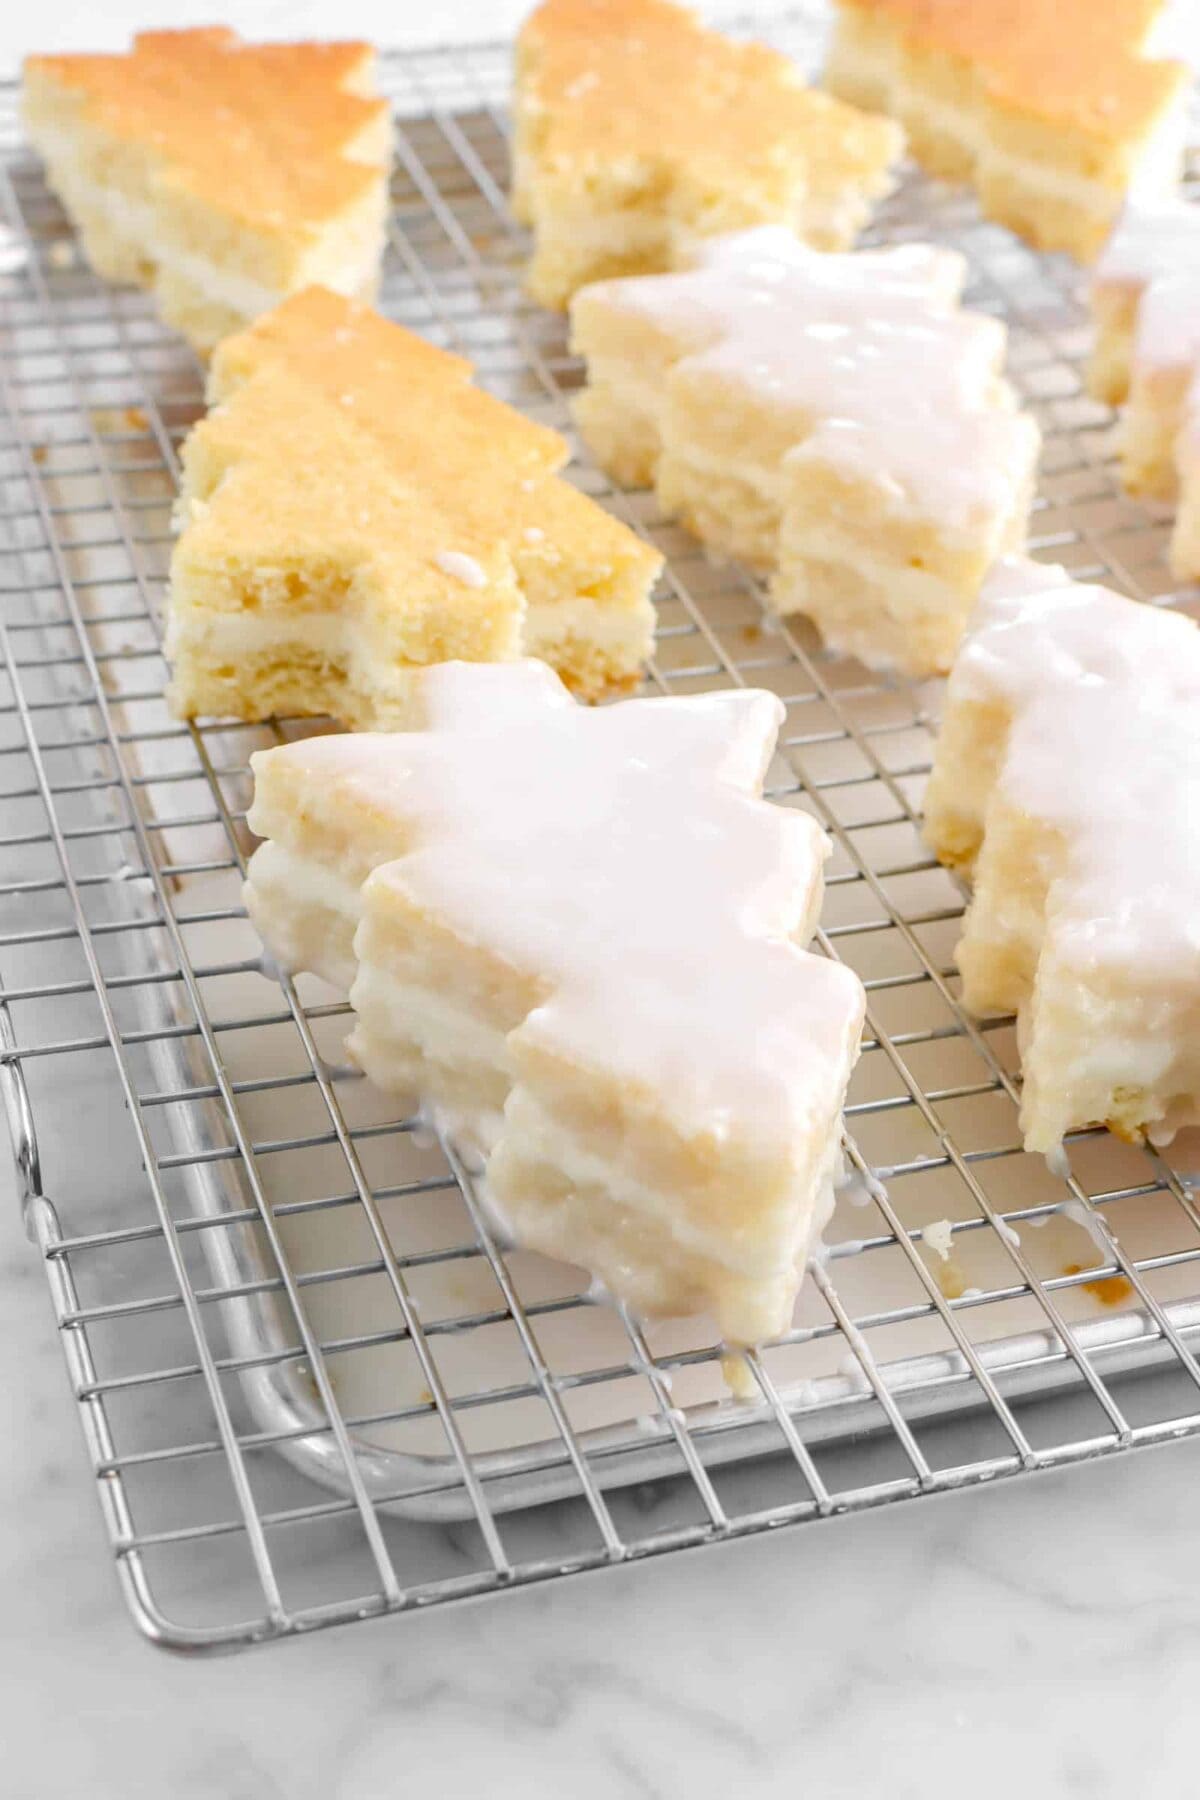
Step 5: Pour the fondant and decorate
Working with one cake at a time, spoon fondant around edges and down sides to cover. Fill in top. If you run out of fondant, scrape the fondant from the bottom of the pan back into the bowl, heat in the microwave for 15-20 seconds to loosen it back up, and strain through a fine mesh sieve. Repeat as many times as needed. The cakes may need more than one coat of fondant. Allow to dry completely.
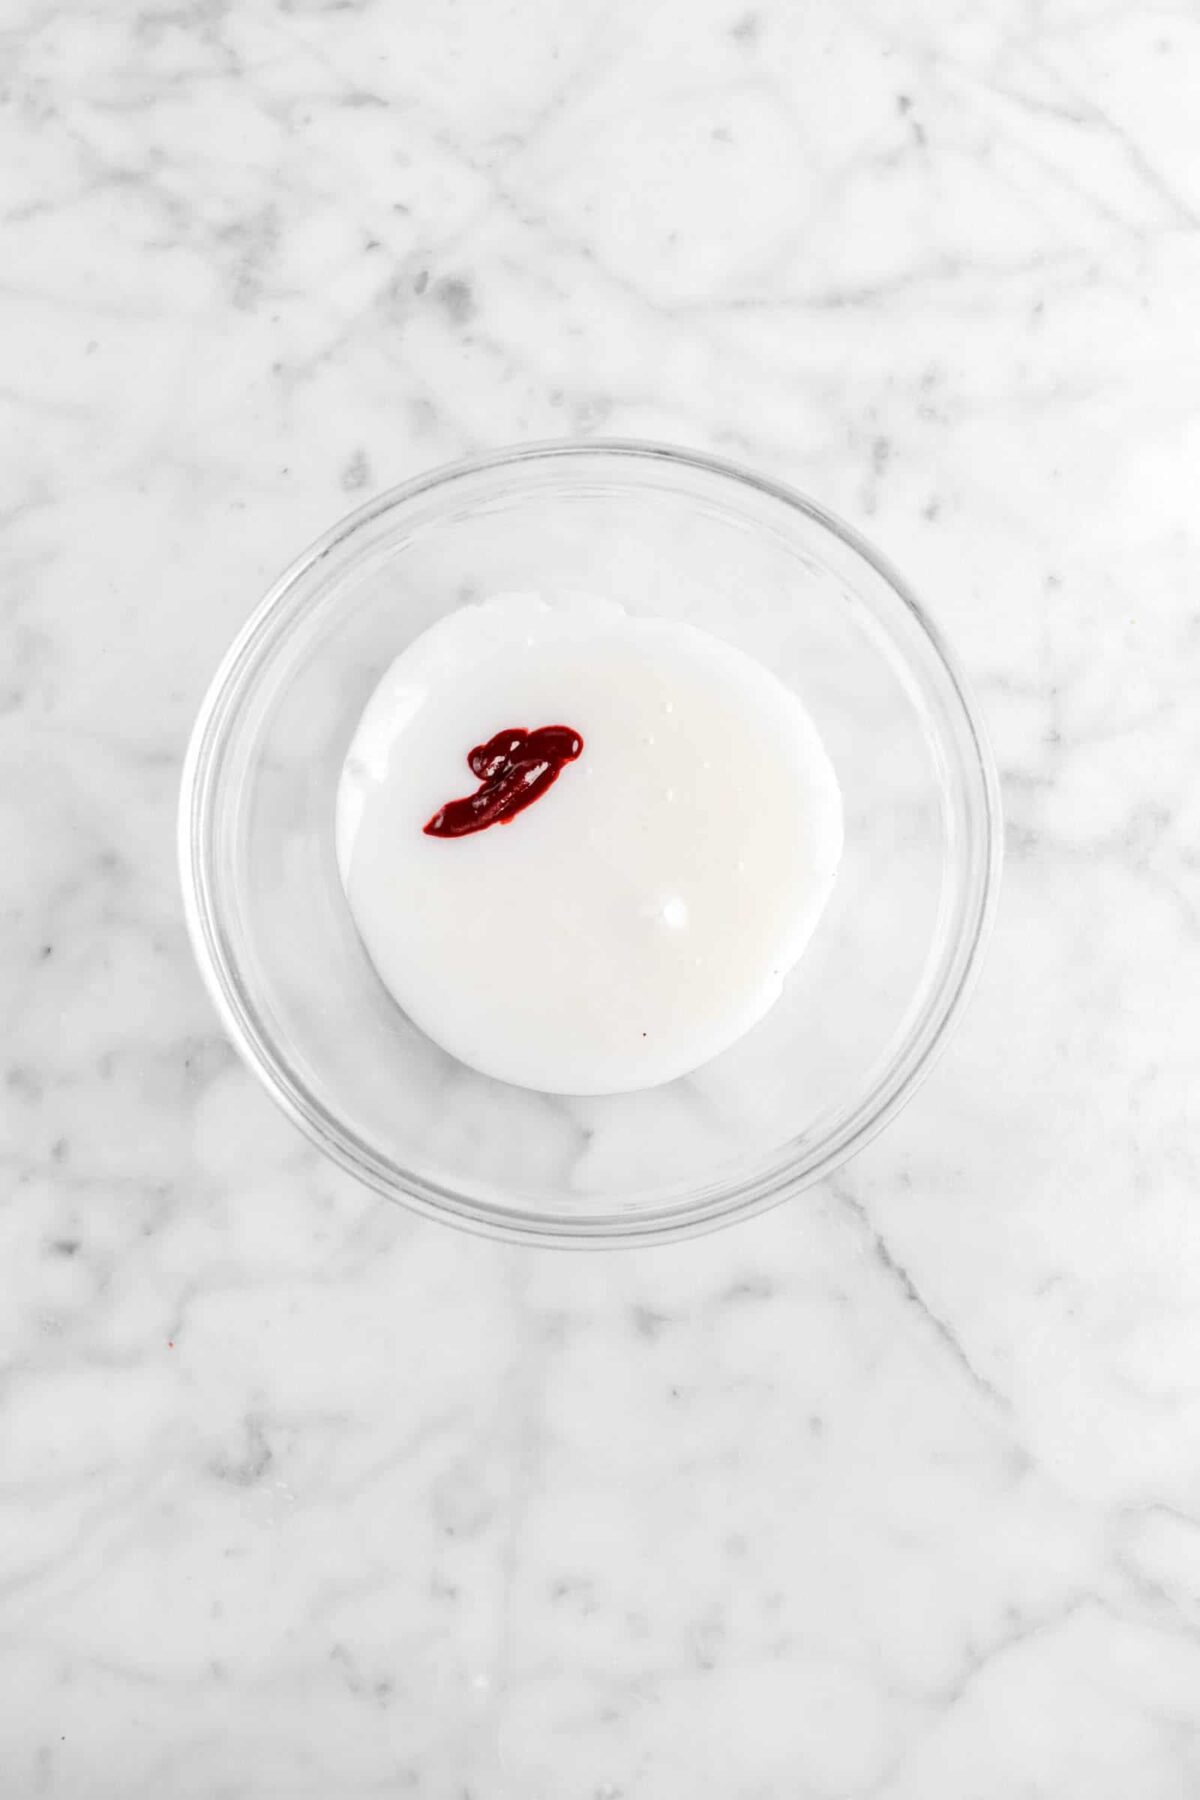
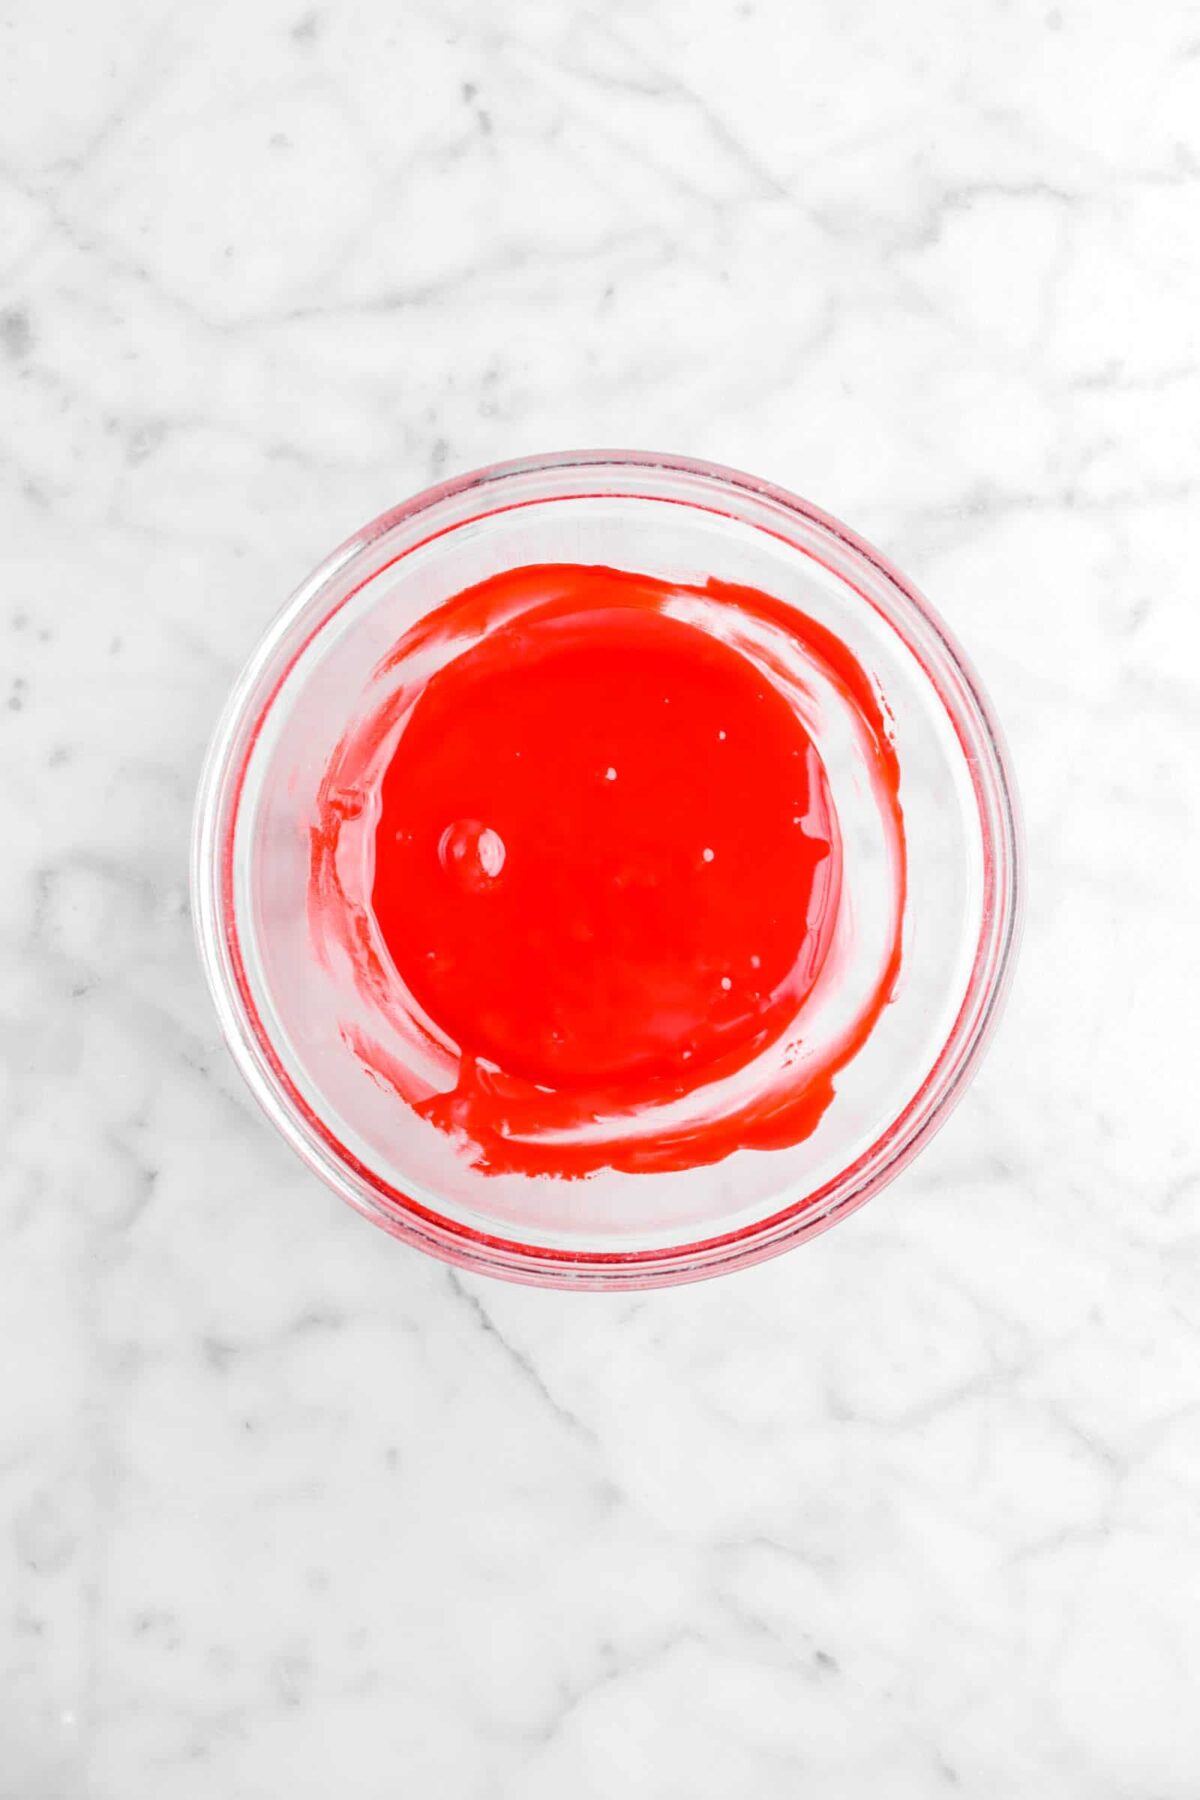
Spoon a small amount of remaining fondant into a small bowl with red food coloring and mix well. Place in a piping bag.
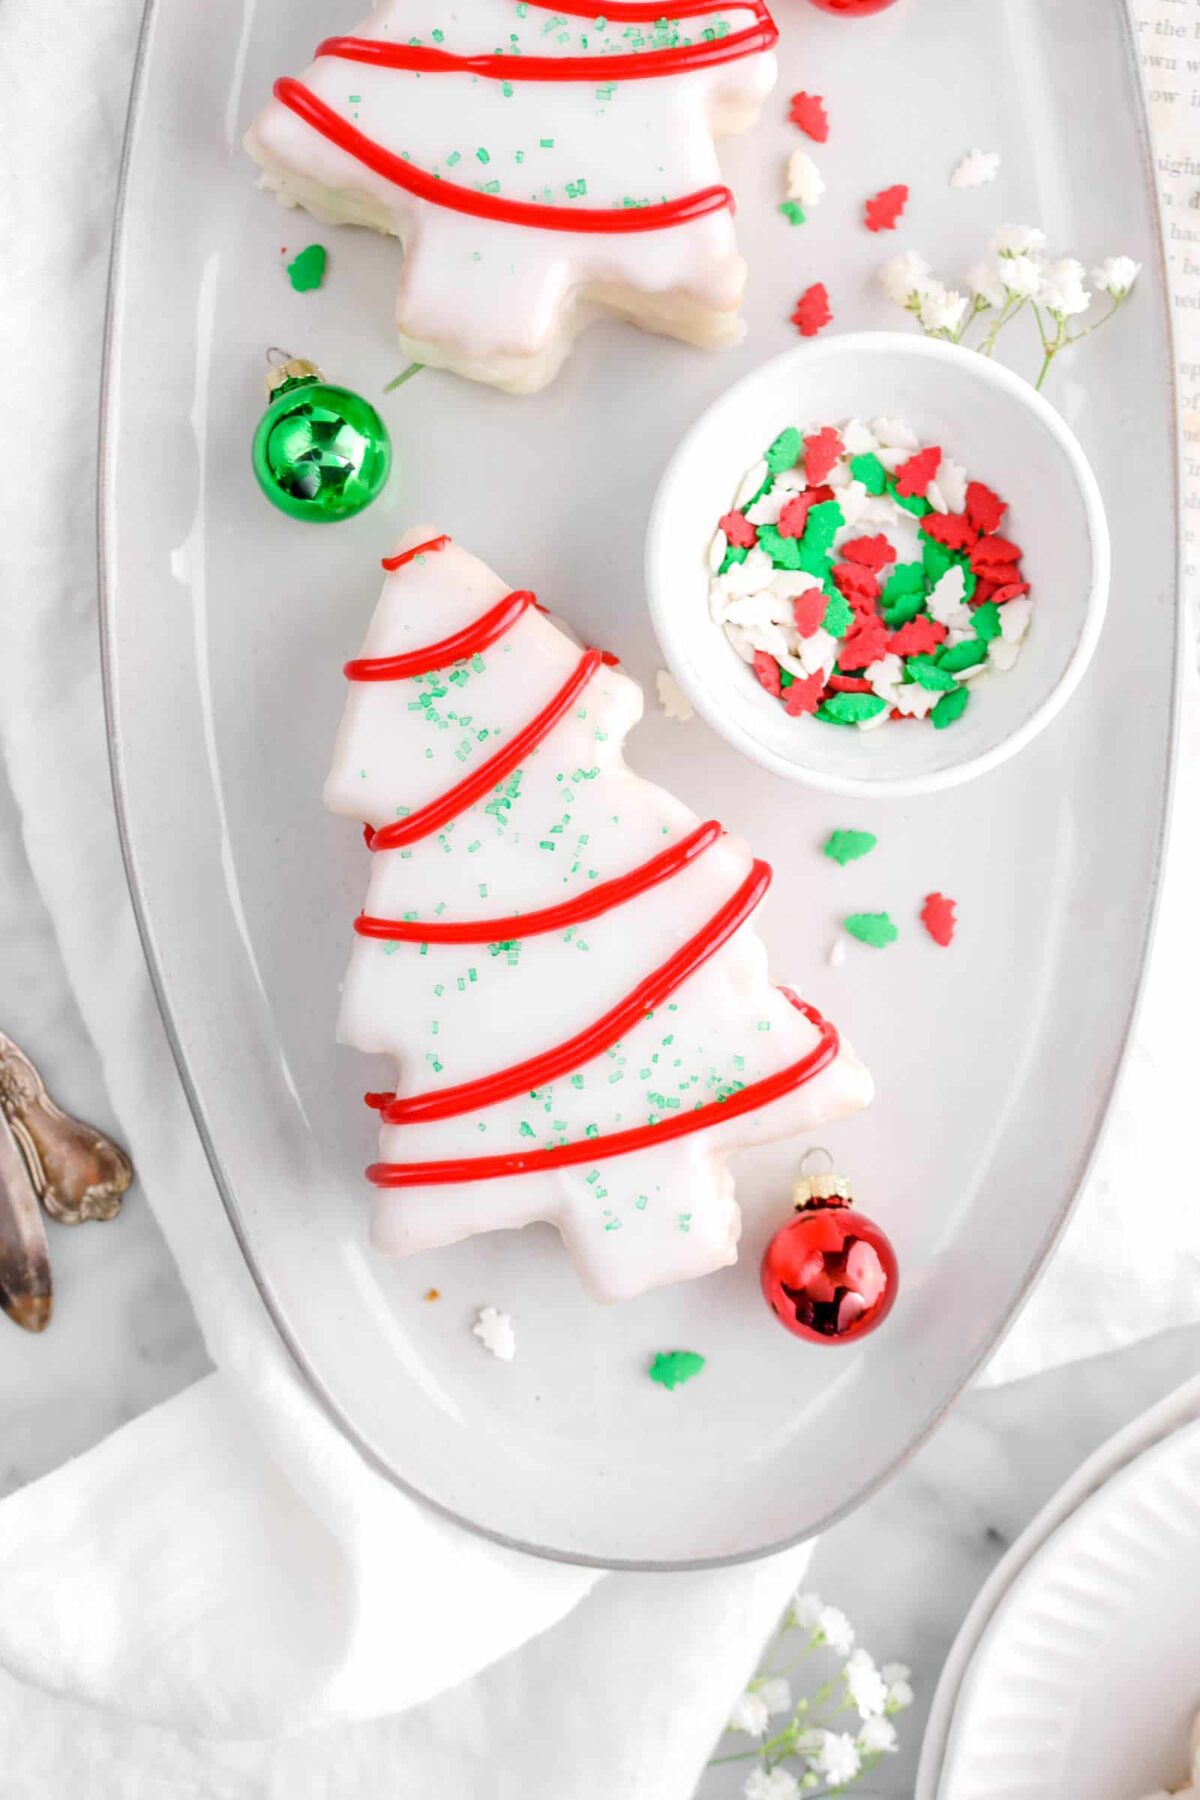
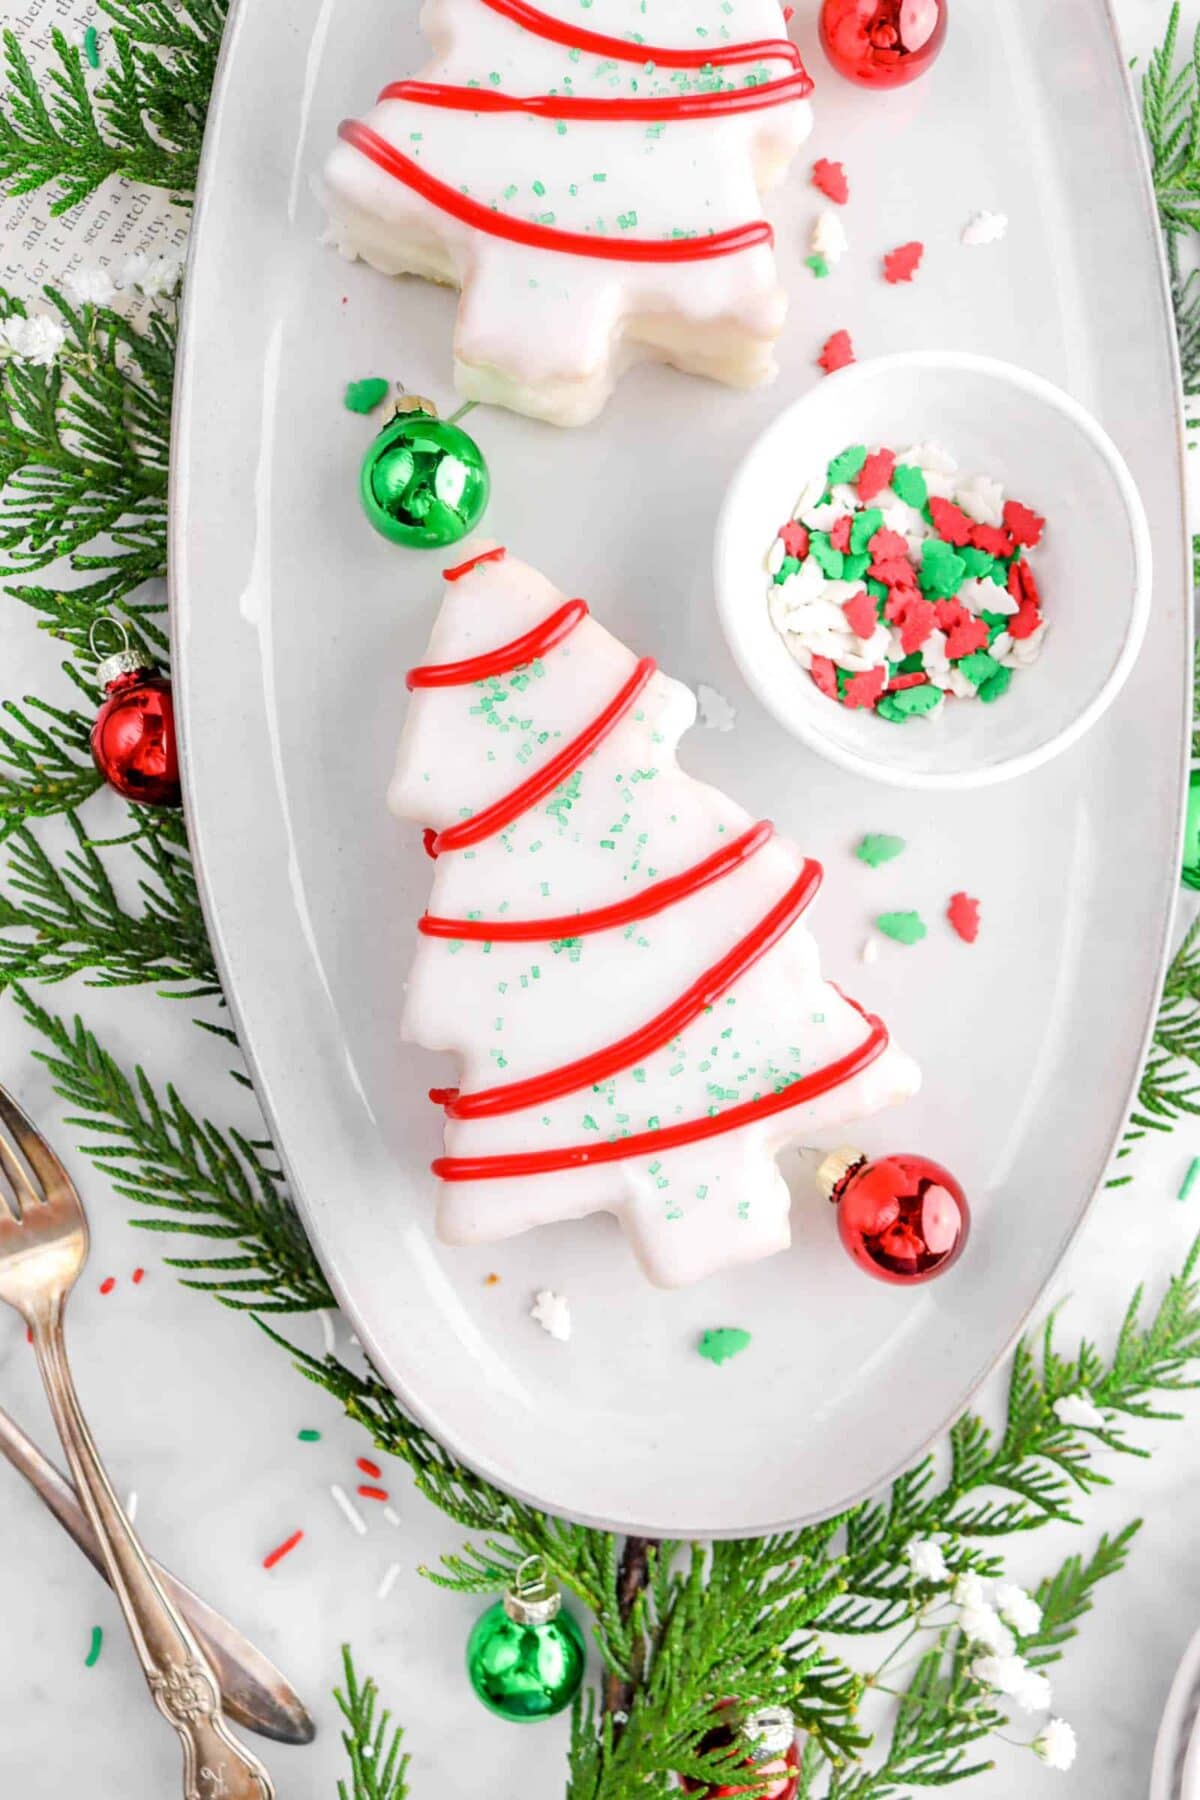
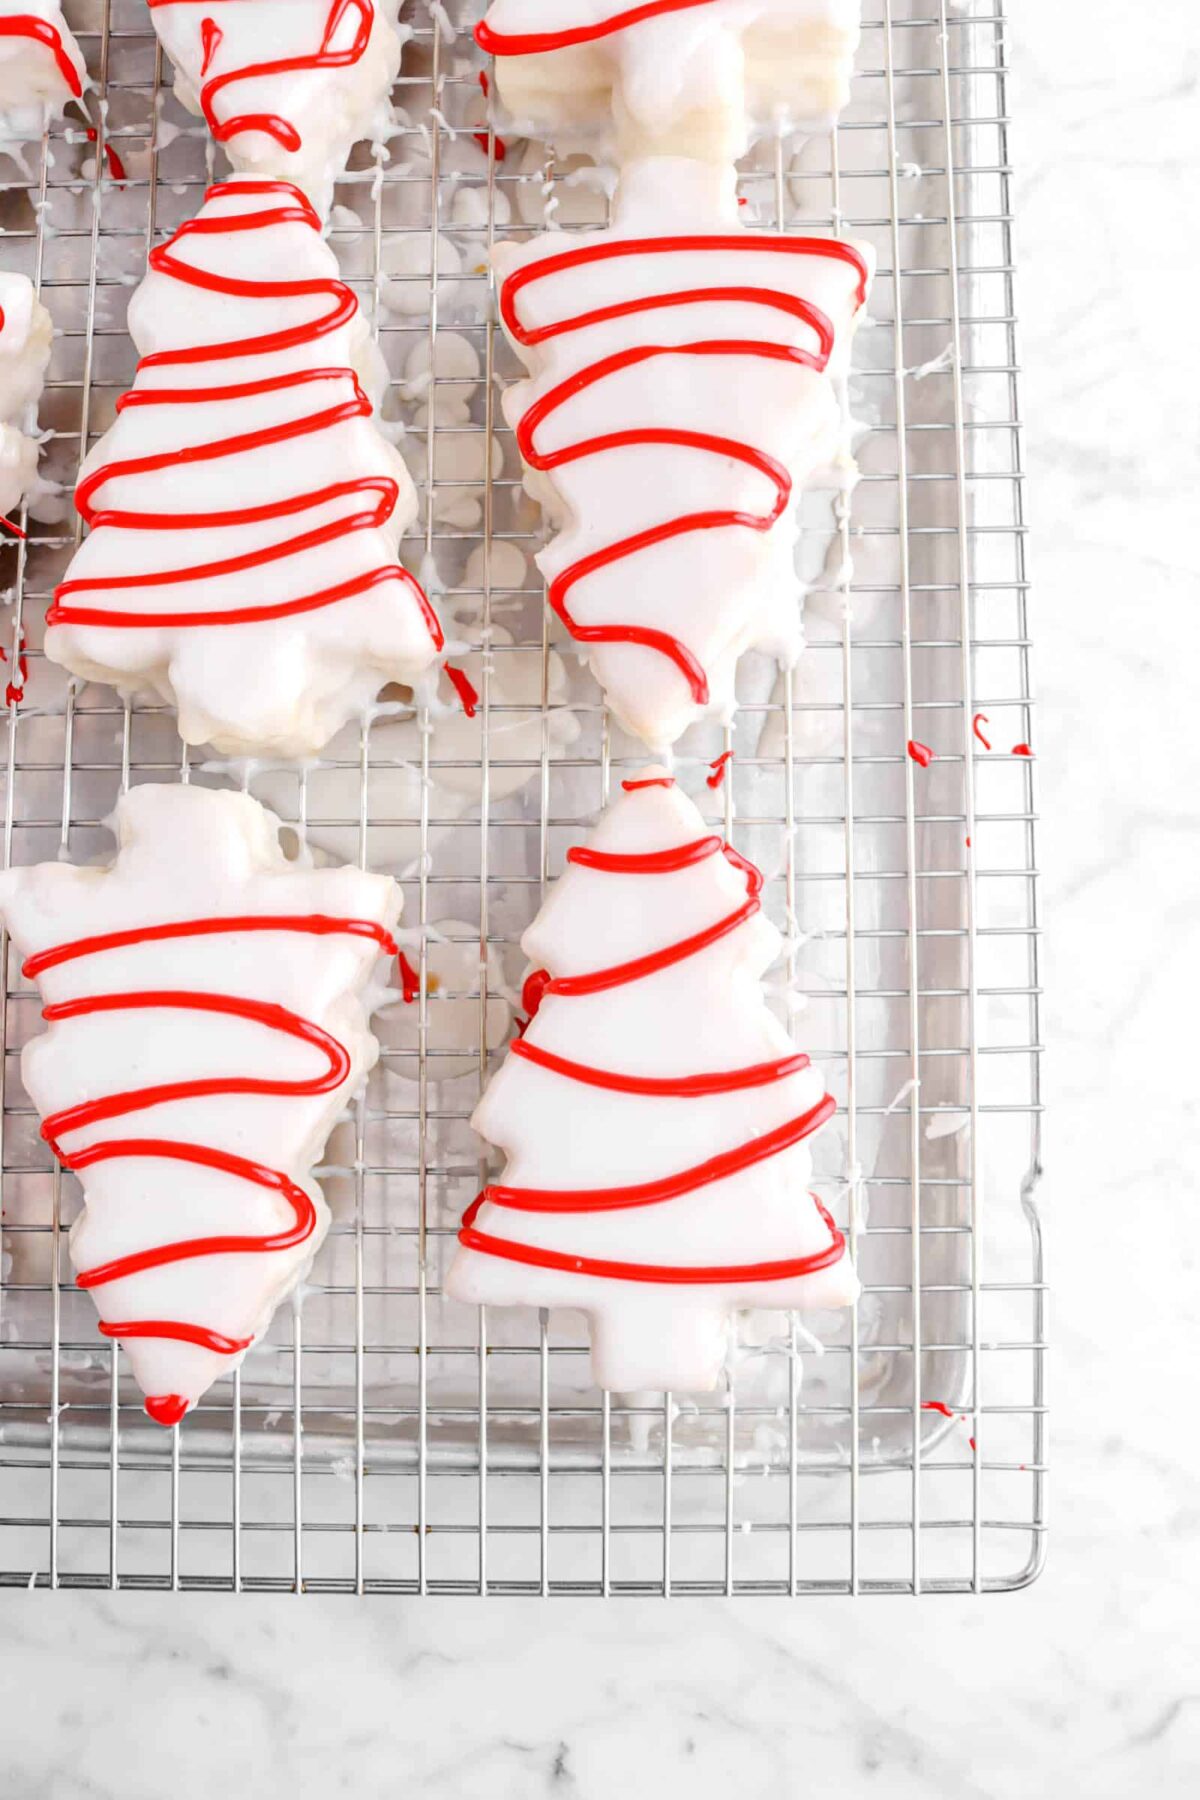
Pipe zig-zags across each tree. Sprinkle the top with green course sugar.
Pourable Fondant FAQ’s & Troubleshooting
My fondant is too thick! It won’t pour and rips the cakes.
Your fondant is simply too cold. You can easily remedy this by placing the fondant in the microwave and heating for 30 seconds as needed.
My fondant is lumpy.
This sounds like the powdered sugar wasn’t sifted before using. Try mixing with a whisk to beat out the lumps.
I need more fondant than stated in the recipe card!
The first time you run out of fondant can be a little freaky! Don’t worry. There’s no waste with this recipe and you don’t need to make more fondant. All you need to do is scoop the fondant from the bottom of your sheet pan and strain it through a really fine meshed sieve.
I don’t have vanilla powder. Can I use vanilla extract?
Absolutely! You will need to use 1 1/2 teaspoons of vanilla extract. Keep in mind that, if you use vanilla extract, the fondant won’t be perfectly white.
Decorating Ideas
The wonderful thing about these cakes is that, while they’re fun to decorate the traditional way, you can really do whatever you want! Here are a few different ways to decorate these cute little cakes.
- Use sprinkles rather than course sugar to decorate the top!
- Pipe however and whatever you want!
- Use any food dye colors you would like. Want a green tree with white stripes and colored ornaments? Divide the fondant accordingly and dye it the colors you desire!
- Cut into a different shape! Yep. You can really do whatever you wish with this recipe! Want ornaments? A snowman? Go for it! Just make sure your cutters aren’t too intricate that, when you go to remove the cake from the cutter, that it will rip. That mans, no small nooks and crannies that the cake can get stuck in!
How To Store
These cakes need to be kept in a zip top bag and stored in the refrigerator for about 3 days. Do not stack these cakes to store them! The fondant is will stick to the other cakes and ruin them. You can also freeze these cakes in a freezer safe zip top bag for up to one month!
Substitutions
- If you don’t have vanilla powder, you can use vanilla extract. Just remember that the fondant won’t be a pure white if extract is used.
- These cakes are really sweet! If you want them a little less sweet, substitute lemon juice for half the water in the fondant.
- Salted butter can be used in this recipe. Just omit the salt.
- You can use any color dye you wish, as well as any color course sugar.
When you make these Vanilla Christmas Tree Cakes, leave a comment down below! We love hearing from you and answering any questions you might have! Also, be sure to tag us on social media and hashtag it #BakersTable.

Vanilla Christmas Tree Cakes
Ingredients
Cake
- 3 cups all purpose flour
- 1 Tablespoon baking powder
- 1 teaspoon salt
- 1 cup unsalted butter, room temperature
- 1¾ cups granulated sugar
- 4 large eggs, room temperature
- 1 Tablespoon vanilla extract
- 1 cup whole milk, room temperature
Buttercream
- 1⅛ cups salted butter, room temperature
- 3 cups powdered sugar, sifted
- 1½ Tablespoons heavy cream
- ¾ teaspoon vanilla extract
Fondant
- 12 cups powdered sugar, sifted
- 1 cup corn syrup
- ¾ cup water
- 1½ teaspoons vanilla powder
To Finish
- red food coloring
- green coarse sugar
Instructions
Cake
- Heat oven to 350℉/177℃.
- Spray an 11-inch x 15-inch pan with baking spray. Set aside.
- In a medium bowl, whisk together flour, baking powder, and salt. Set aside.
- Beat butter with an electric mixer until creamy.
- Stream in sugar and continue beating until light and fluffy.
- Add eggs, one at a time, beating well after each addition.
- Add milk alternately with flour, beginning and ending with flour mixture.
- Stir in vanilla.
- Pour into prepared pan.
- Bake 20 minutes, or until done.
Buttercream
- Place butter, powdered sugar, heavy cream, and vanilla in a bowl.
- Beat with an electric mixer until light and fluffy.
Fondant
- Place powdered sugar and vanilla powder in a large bowl.
- Combine corn syrup and water.
- Heat until corn syrup has dissolved.
- Pour corn syrup mixture over powdered sugar mixture.
- Stir until smooth.
Assembly
- Place cooled cake on a wire rack over a sheet pan.
- Use a long serrated knife to cut cake in half horizontally.
- Slide top of cake onto the back of a sheet pan.
- Spoon frosting over cake.
- Spread evenly.
- Replace top layer of cake.
- Use a 5-inch Christmas tree cookie cutter to cut out Christmas tree shapes.
- Working with one cake at a time, spoon fondant around edges and down sides to cover.
- Fill in top.
- If you run out of fondant, scrape the fondant from the bottom of the pan back into the bowl, heat in the microwave for 15-20 seconds to loosen it back up, and strain through a fine mesh sieve. Repeat as many times as needed.
- Allow to dry completely.
- Color a small amount of remaining fondant with red food coloring, put in a piping bag, and pipe a zigzag on the trees.
- Top with green coarse sugar.
Notes + Tips!
- If you don’t have vanilla powder, you can use vanilla extract. Just remember that the fondant won’t be a pure white if extract is used.
- These cakes are really sweet! If you want them a little less sweet, substitute lemon juice for half the water in the fondant.
- You can substitute salted butter for the unsalted and vice versa. For the cake, if you use salted butter, reduce the salt to ⅝ teaspoon. For the buttercream, if you use unsalted butter, add ½ teaspoon salt.
- You can use any color dye you wish, as well as any color course sugar.
- Room temperature is about 70℉/21℃.
- Be sure to not over mix the cake batter.
- When cutting the cake in half, be very careful and go slowly with it! You will need a serrated knife to do this.
- Once the cake is cut in half, it is very fragile. You may need help moving it. We used a large cake spatula to help place the top layer of cake onto an upside down sheet pan.
- We actually highly recommend using an upside down sheet pan or cake board to place the top layer of cake on. This way, you can simply slide it back onto the frosted bottom layer.
- Remember to sift the powdered sugar for the fondant!
- The microwave is your friend with this fondant. Don’t be afraid to reheat as often as you need to!
- Do not waste the excess cake! After cutting, there tends to be a lot of cake leftover that can’t be used. No worries! Use that cake to make Christmas themed cake pops to be served alongside these.
Tools You May Need (affiliate links)
– Still Hungry? –
Here are a few recipes may like!


