Apple Slab Pie
This post may contain affiliate links, please visit our privacy policy for details.
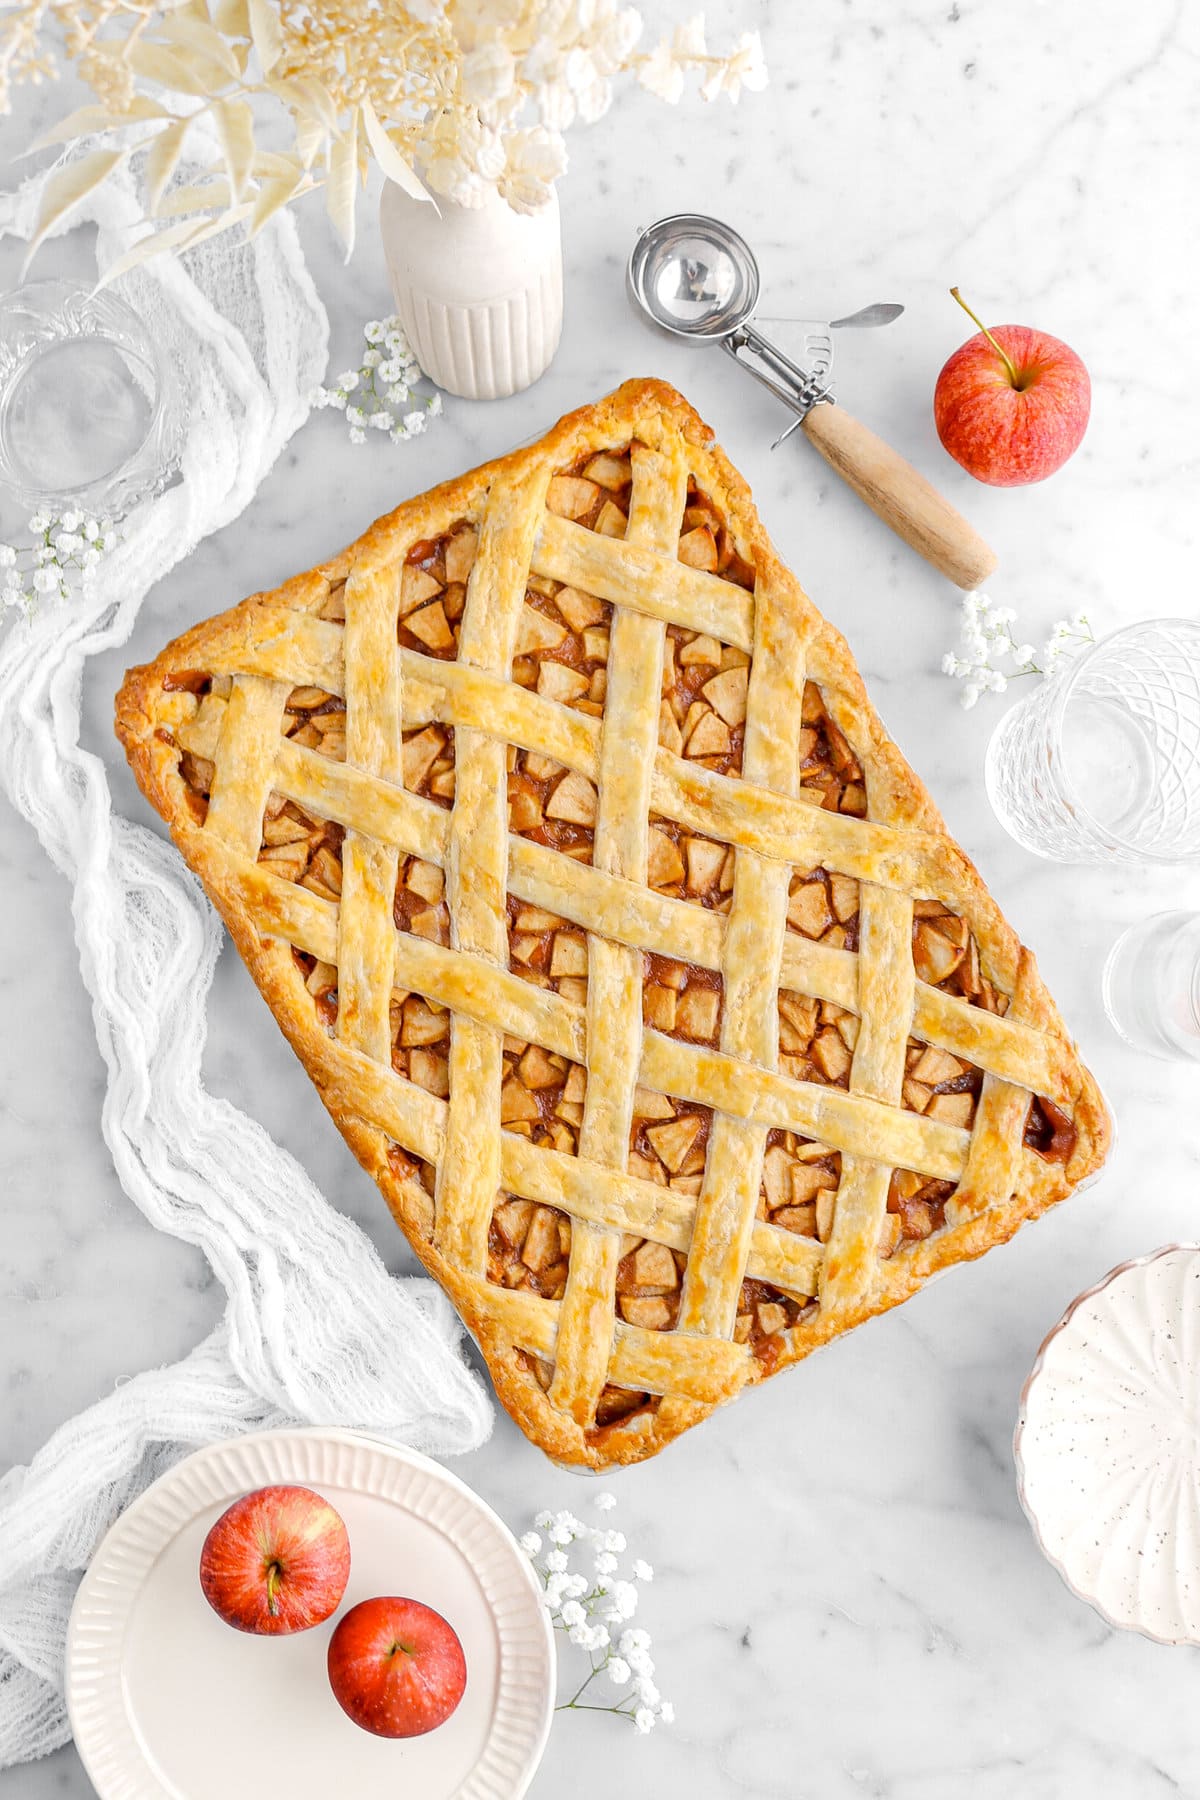
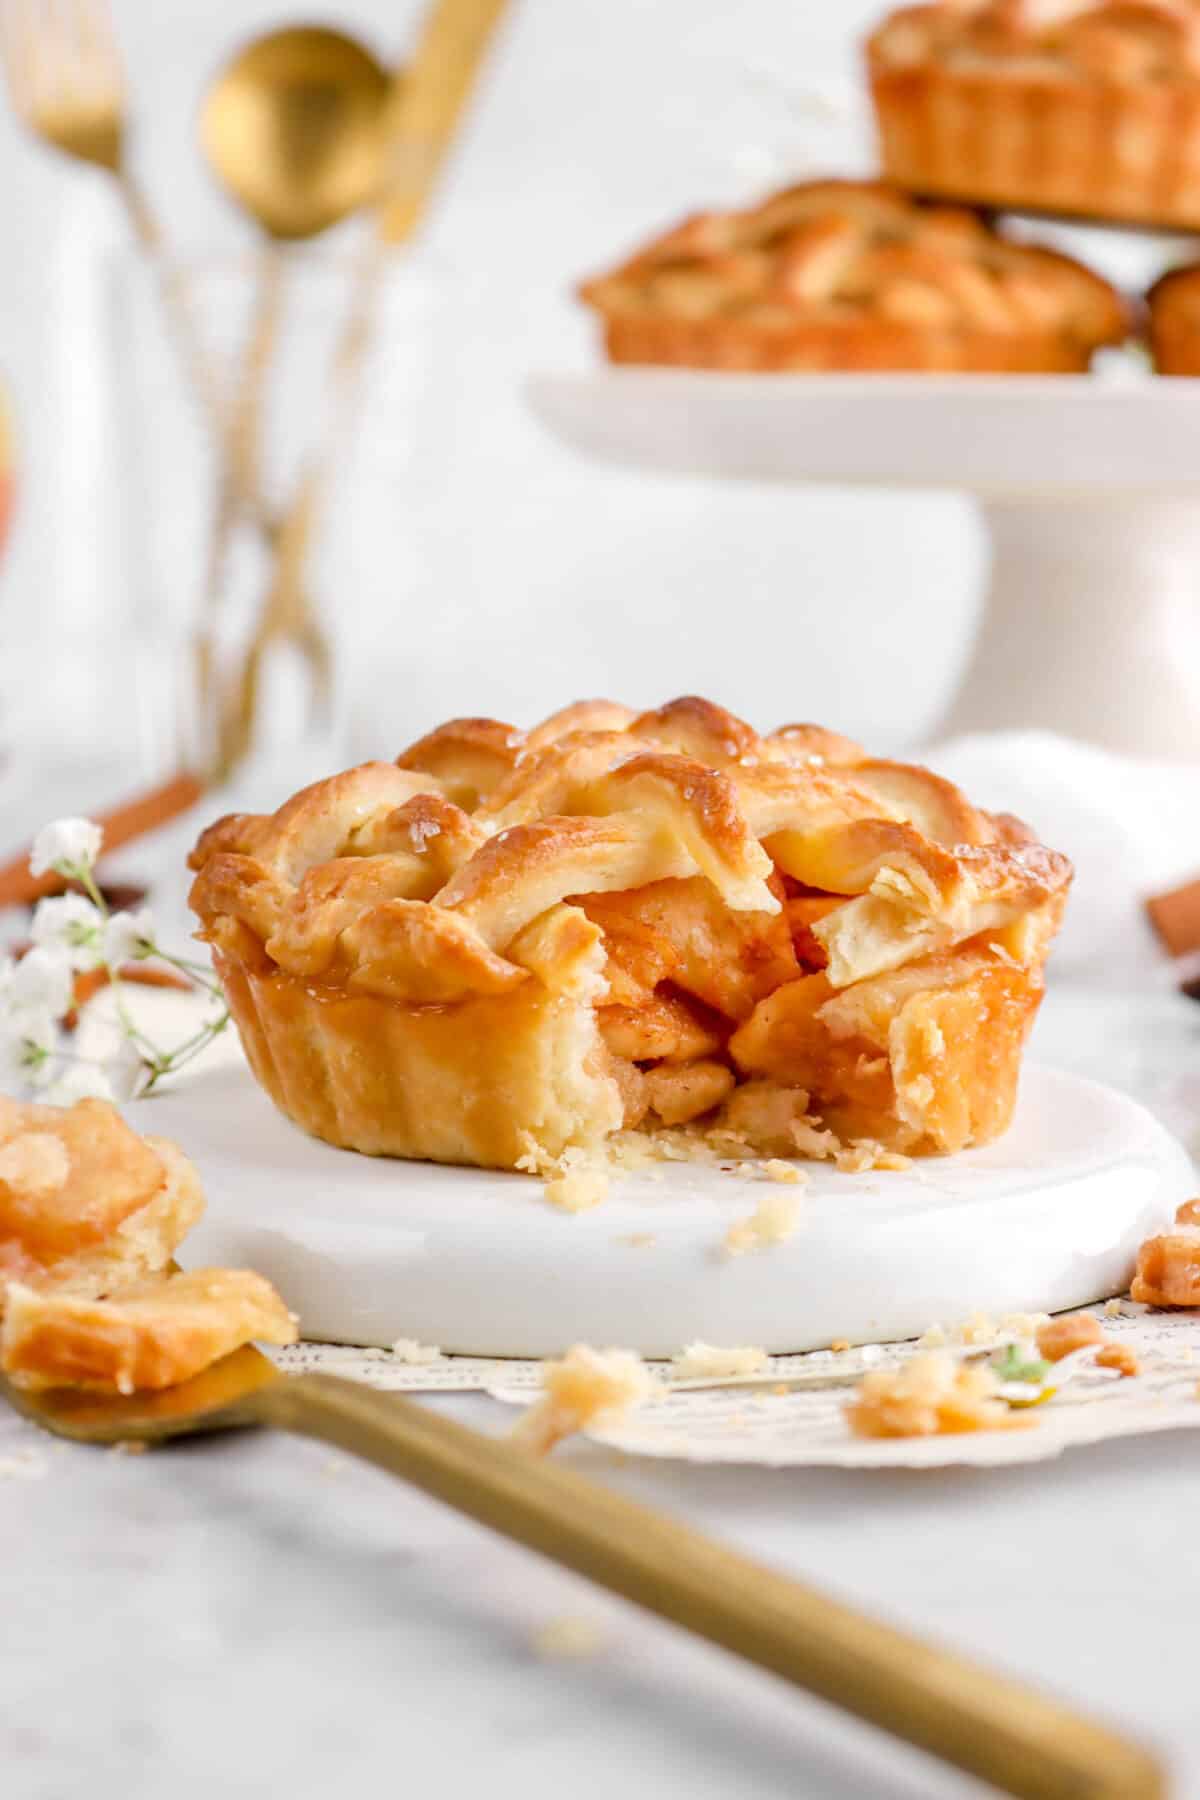
Craving apple pie without the hassle? Our Easy Apple Slab Pie is the answer! This recipe delivers a flaky crust, juicy spiced apple filling, and a simple lattice top. Perfect for beginners, it also feeds a crowd and bakes in half the time than a traditional pie!

Since owning a baking blog, one of the most common questions we get asked is…what’s your favorite dessert?!
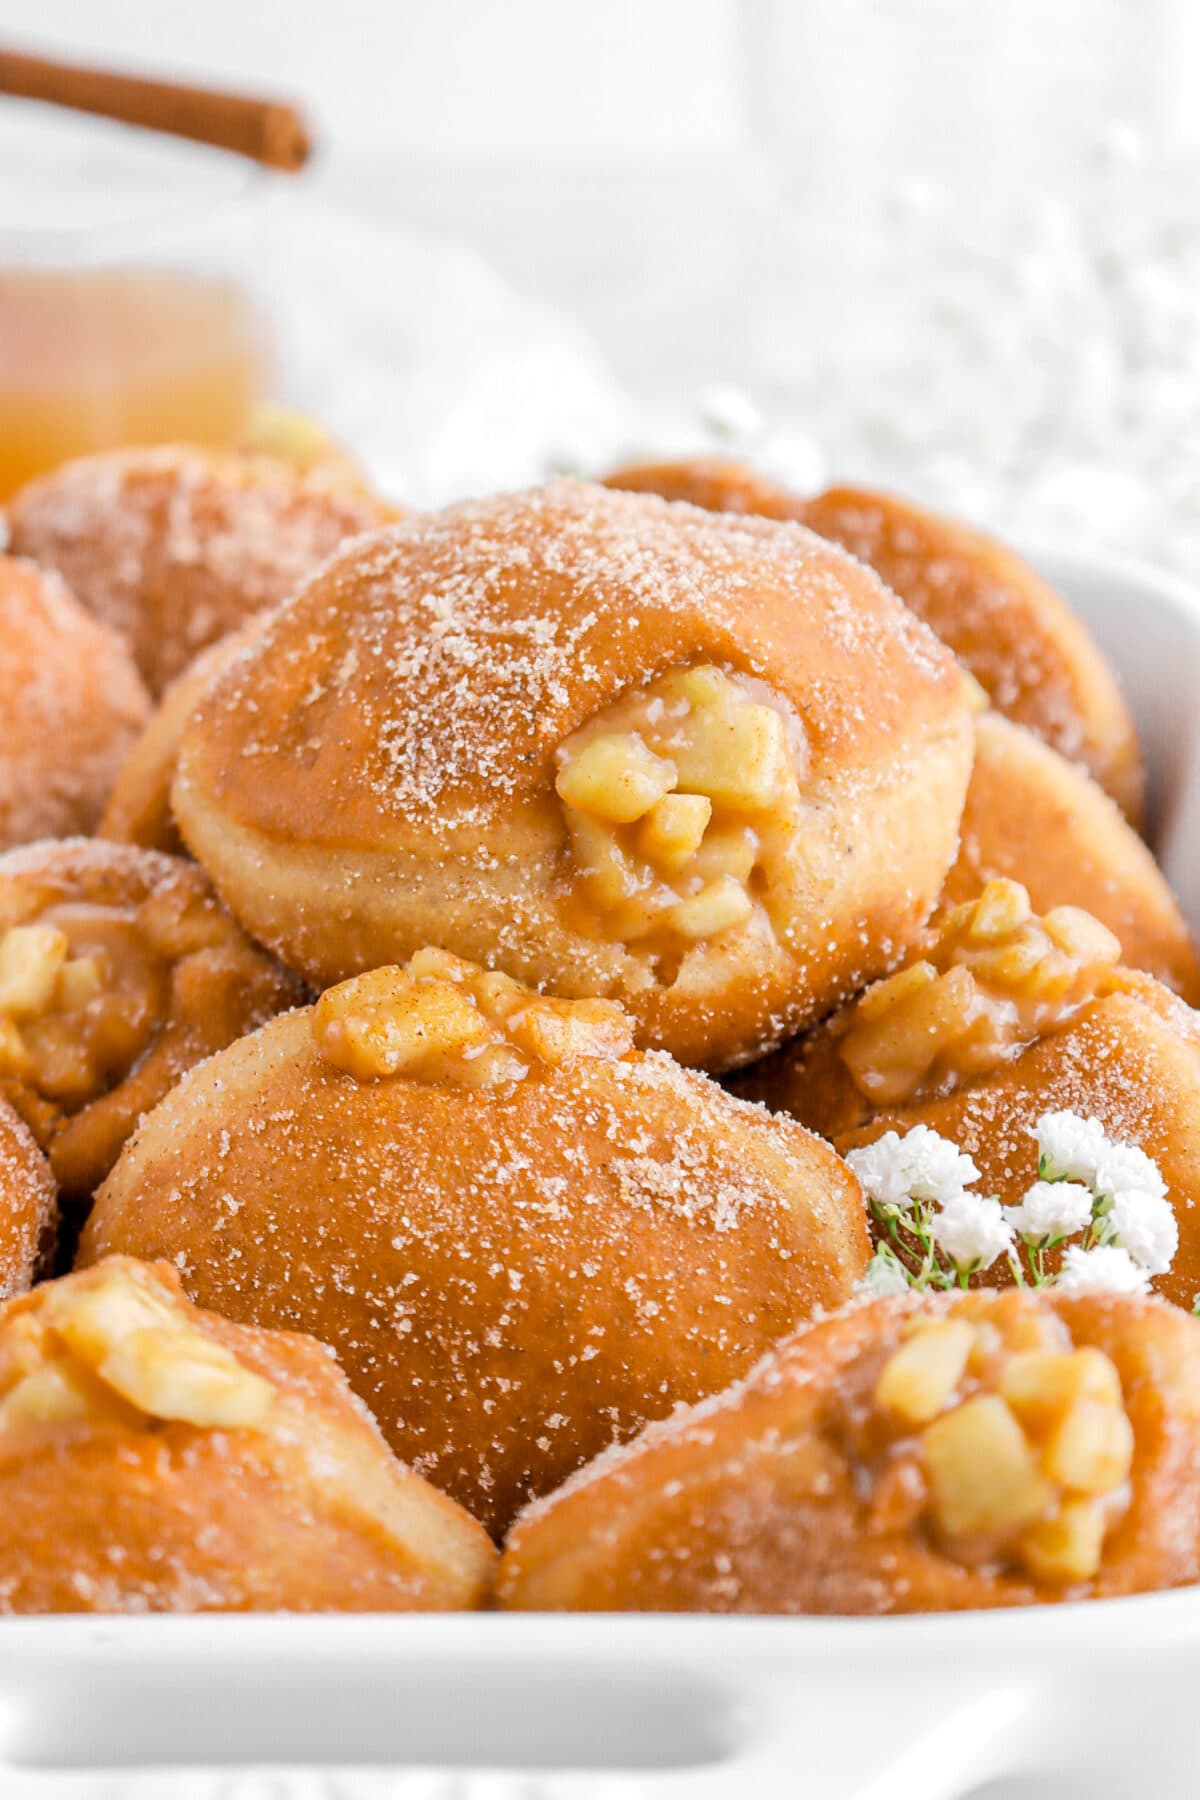
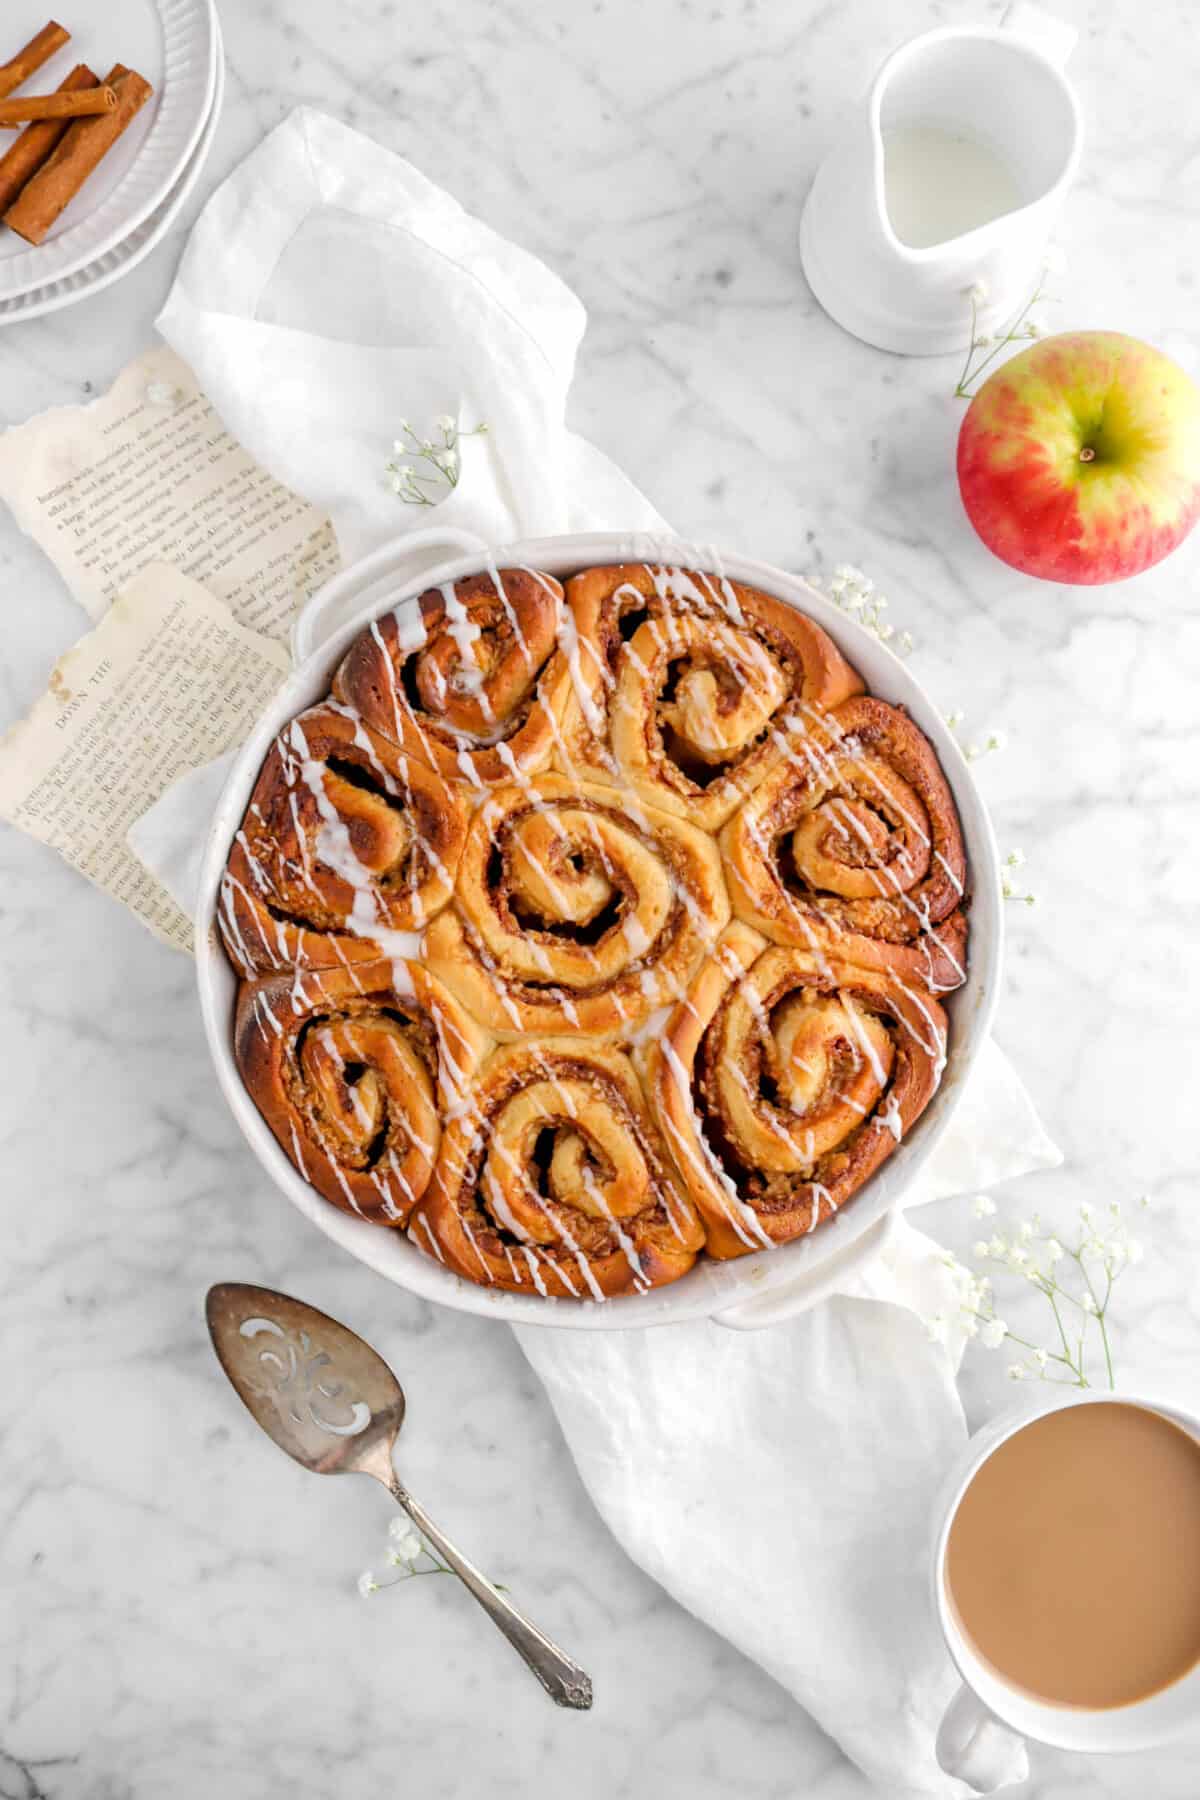
In all honesty, there is nothing better than a warm slice of homemade apple pie during the holiday season. It’s been a staple bake in our home for 40+ years! And even though my mom and I have shared so many variations of the classic dessert (Apple Pie Doughnuts, Apple Pie Cinnamon Rolls, and Apple Pie Coffee Cake to name a few…), this Apple Slab Pie might just be our favorite!
Reasons We Love This Apple Slab Pie (& You Will Too!)
- Cuts into 24 evenly sized bars! Which means, not only does it feed a crowd, but is is also so much easier to cut and serve!
- Takes less time to cool (and cook!) since it’s more shallow than a traditional pie.
- No need to par bake the crust. It comes out perfectly every time!
- Easier to freeze and store.
Let’s Make This Apple Slab Pie!
Let’s gather our ingredients! To create this delicious apple slab pie, we’ll need some tart Granny Smith apples for that perfect balance of sweetness and tang. Fresh apple cider adds a depth of flavor that truly elevates this recipe!
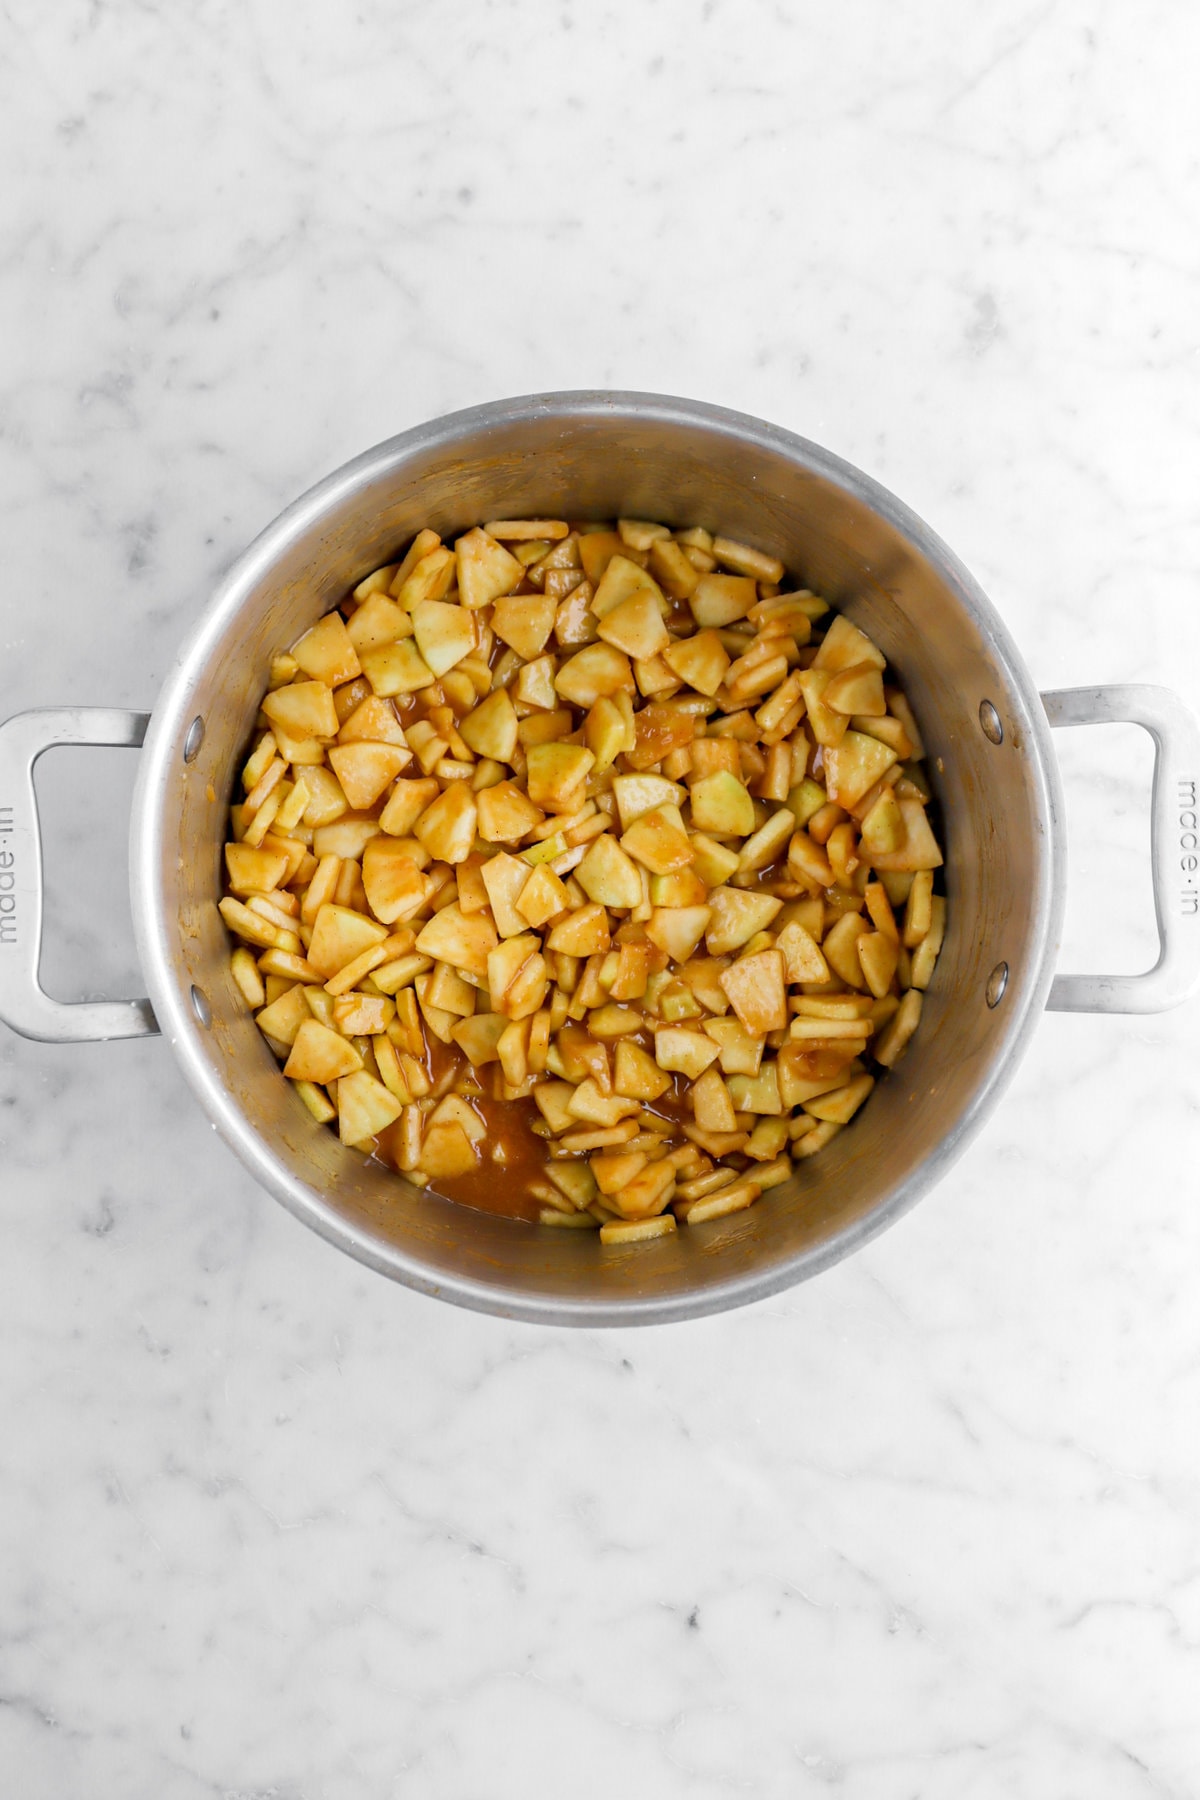
Then, combine all the ingredients in a 6 quart stock pot. Cook until syrup has formed and thickened slightly and apples are slightly tender. Set aside.

⊹ A Quick Tip! ⊹
For a more complex flavor, try doing a mix of apples for your filling! Granny Smith apples are a classic choice for their tartness and bakability, but consider pairing them with sweeter apples like Honeycrisp or Fuji for that perfect balance. For a touch of tang, Braeburn or Pink Lady apples can be wonderful additions!
3 Tips For The Perfect Pie Crust
Even though this pie dough has only four ingredients (flour, butter, sugar, and water), achieving a flaky and tender crust can be tricky. But with our recipe and a few tips we’ve learned along the way, you’ll be able to make a crust that’s both flaky and delicious!
- Remember, the fridge is a pie dough’s best friend! You really need to keep it cold to ensure the best results.
- Preheat the oven! I know this sounds simple, but when you put the cold dough into the hot oven, it creates steam. Therefore, flakier crust!
- Keep the butter chunks bigger and, when you’re rolling, if you see any chunks of butter on the edge, cut it off and place it back in the middle. Butter is your doughs best friend!

Follow Along With These Step-by-Step Photos
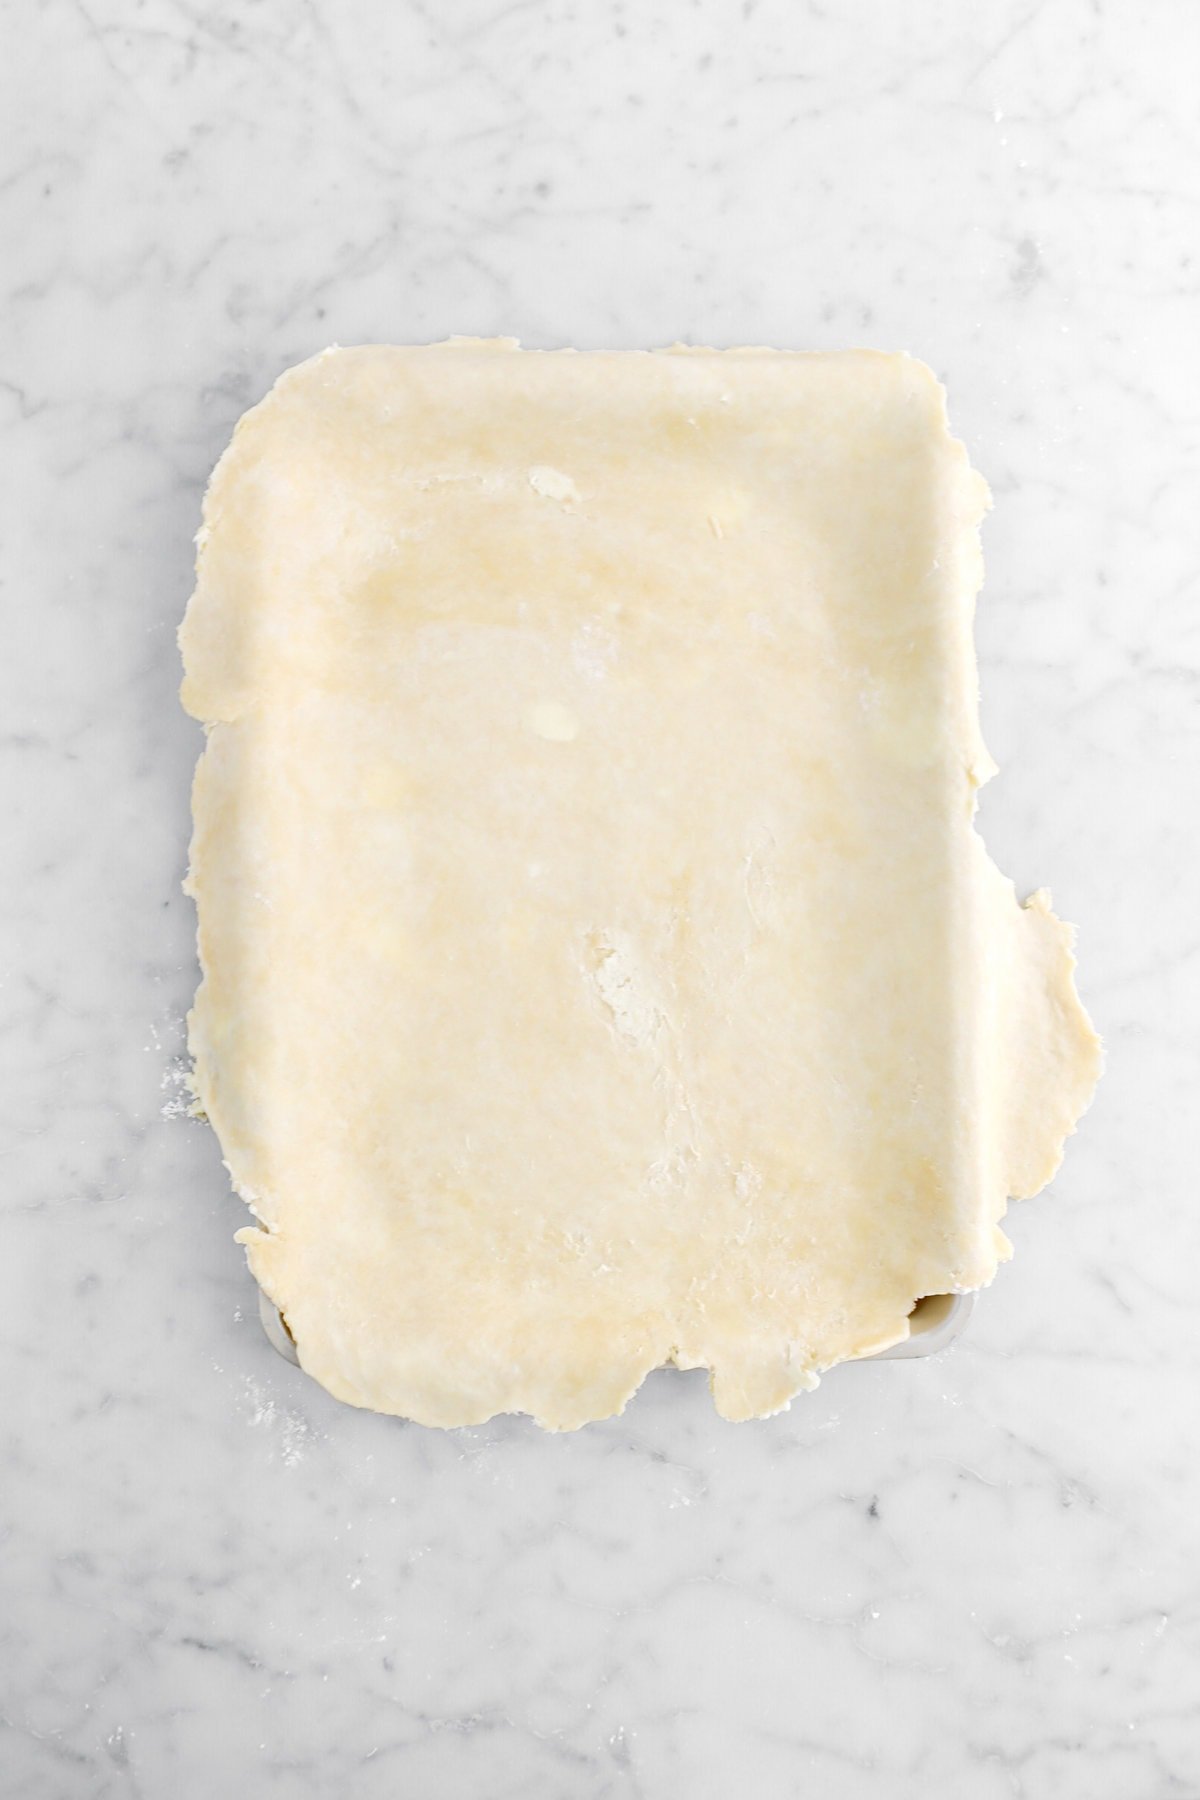
Our pie crust recipe makes enough for a double crusted pie. Start by rolling out your bottom pie crust (about a 15×20 inch rectangle ) and fitting it into a 10×15 inch jelly roll pan.

Next, spoon the apple filling to the crust. Now, I know you may be thinking that this is too much filling…but no worries! It should just be piled slightly above the edges.

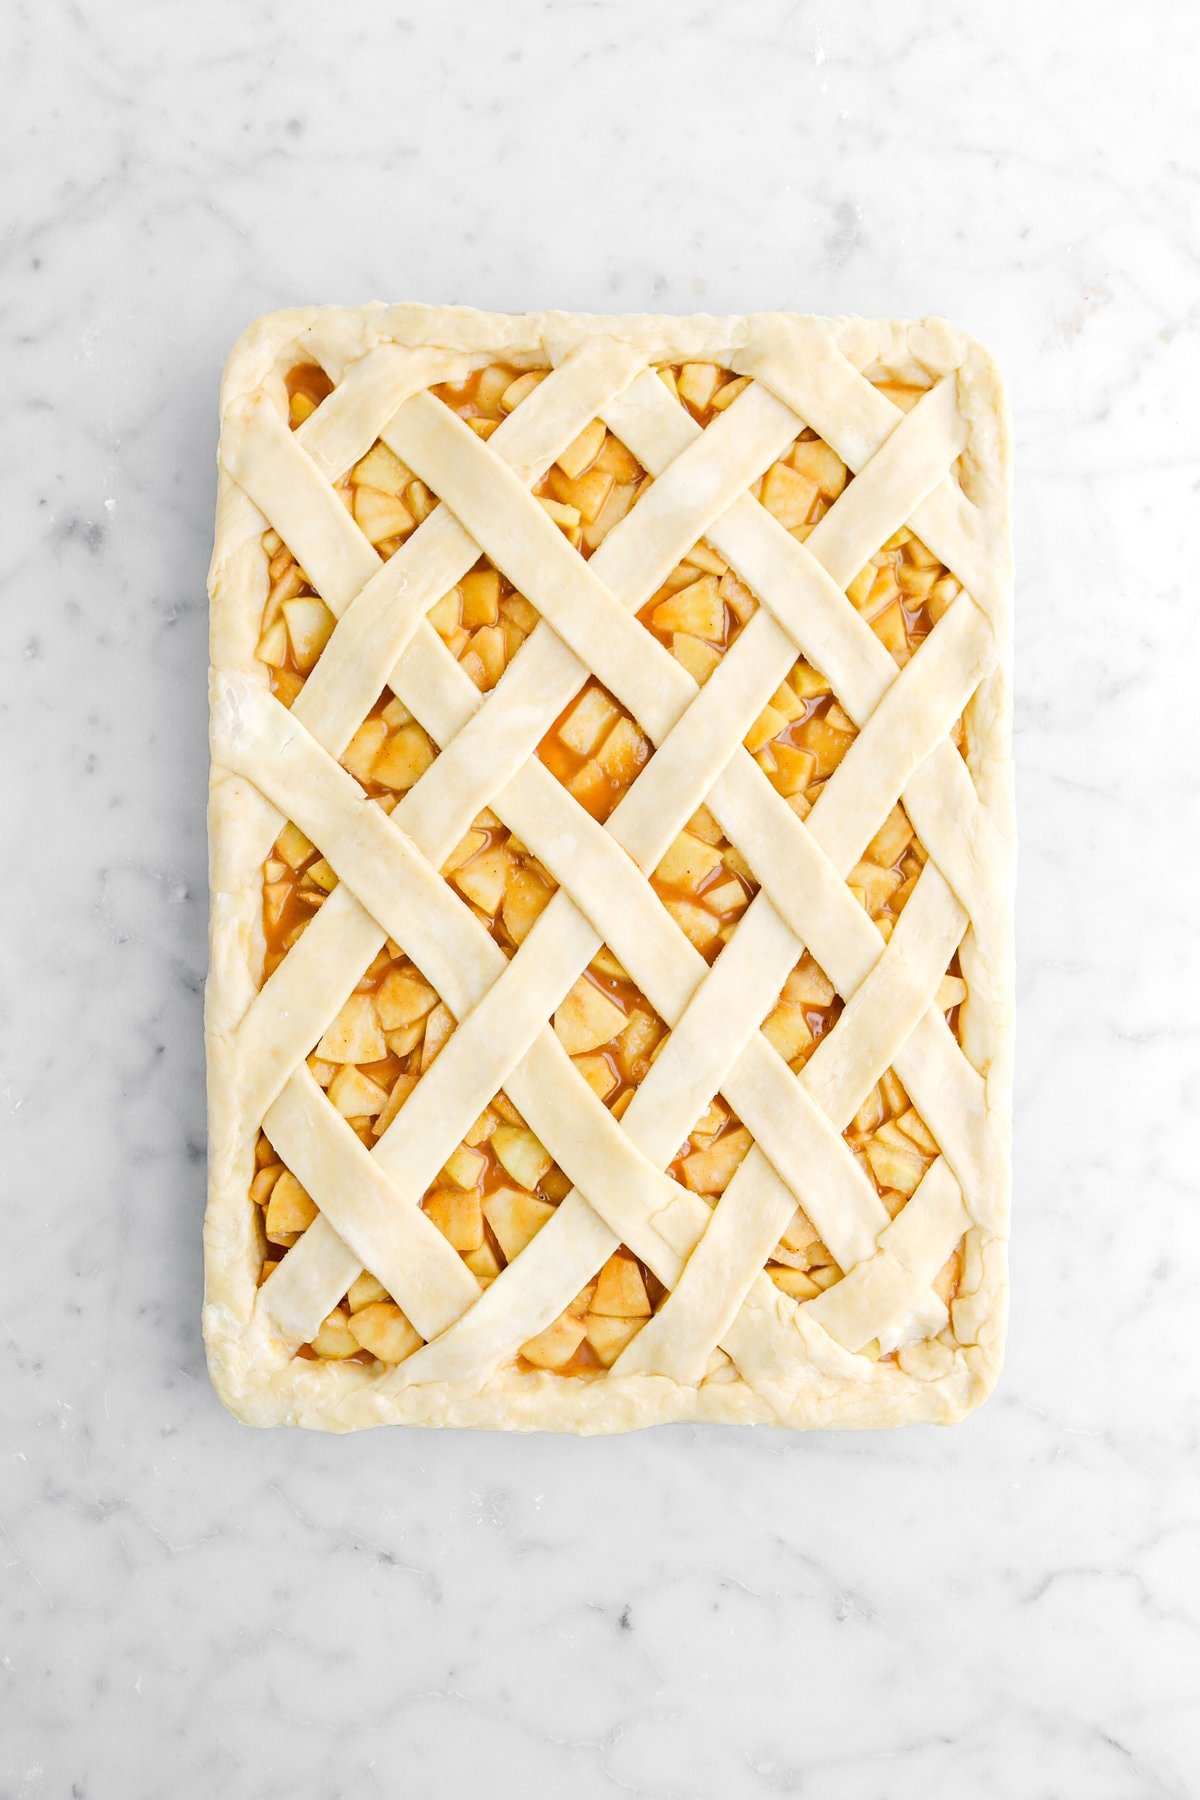
Take the remaining chilled pie dough out of the fridge and roll it out into a rectangle. Then with a pastry cutter, i cut 14 strips of pie dough to lattice the top. 7 strips going each way. Seal to the bottom crust.


Before baking, brush the top with an egg wash. This will allow help achieve that gorgeous, golden brown crust.
More Topping Options
If you prefer something a little less traditional, you can use thicker strips or a combination of strips and braided strips like we used on this cherry pie. You could also try something more creative by coloring your dough or cutting out seasonal shapes to decorate the top!
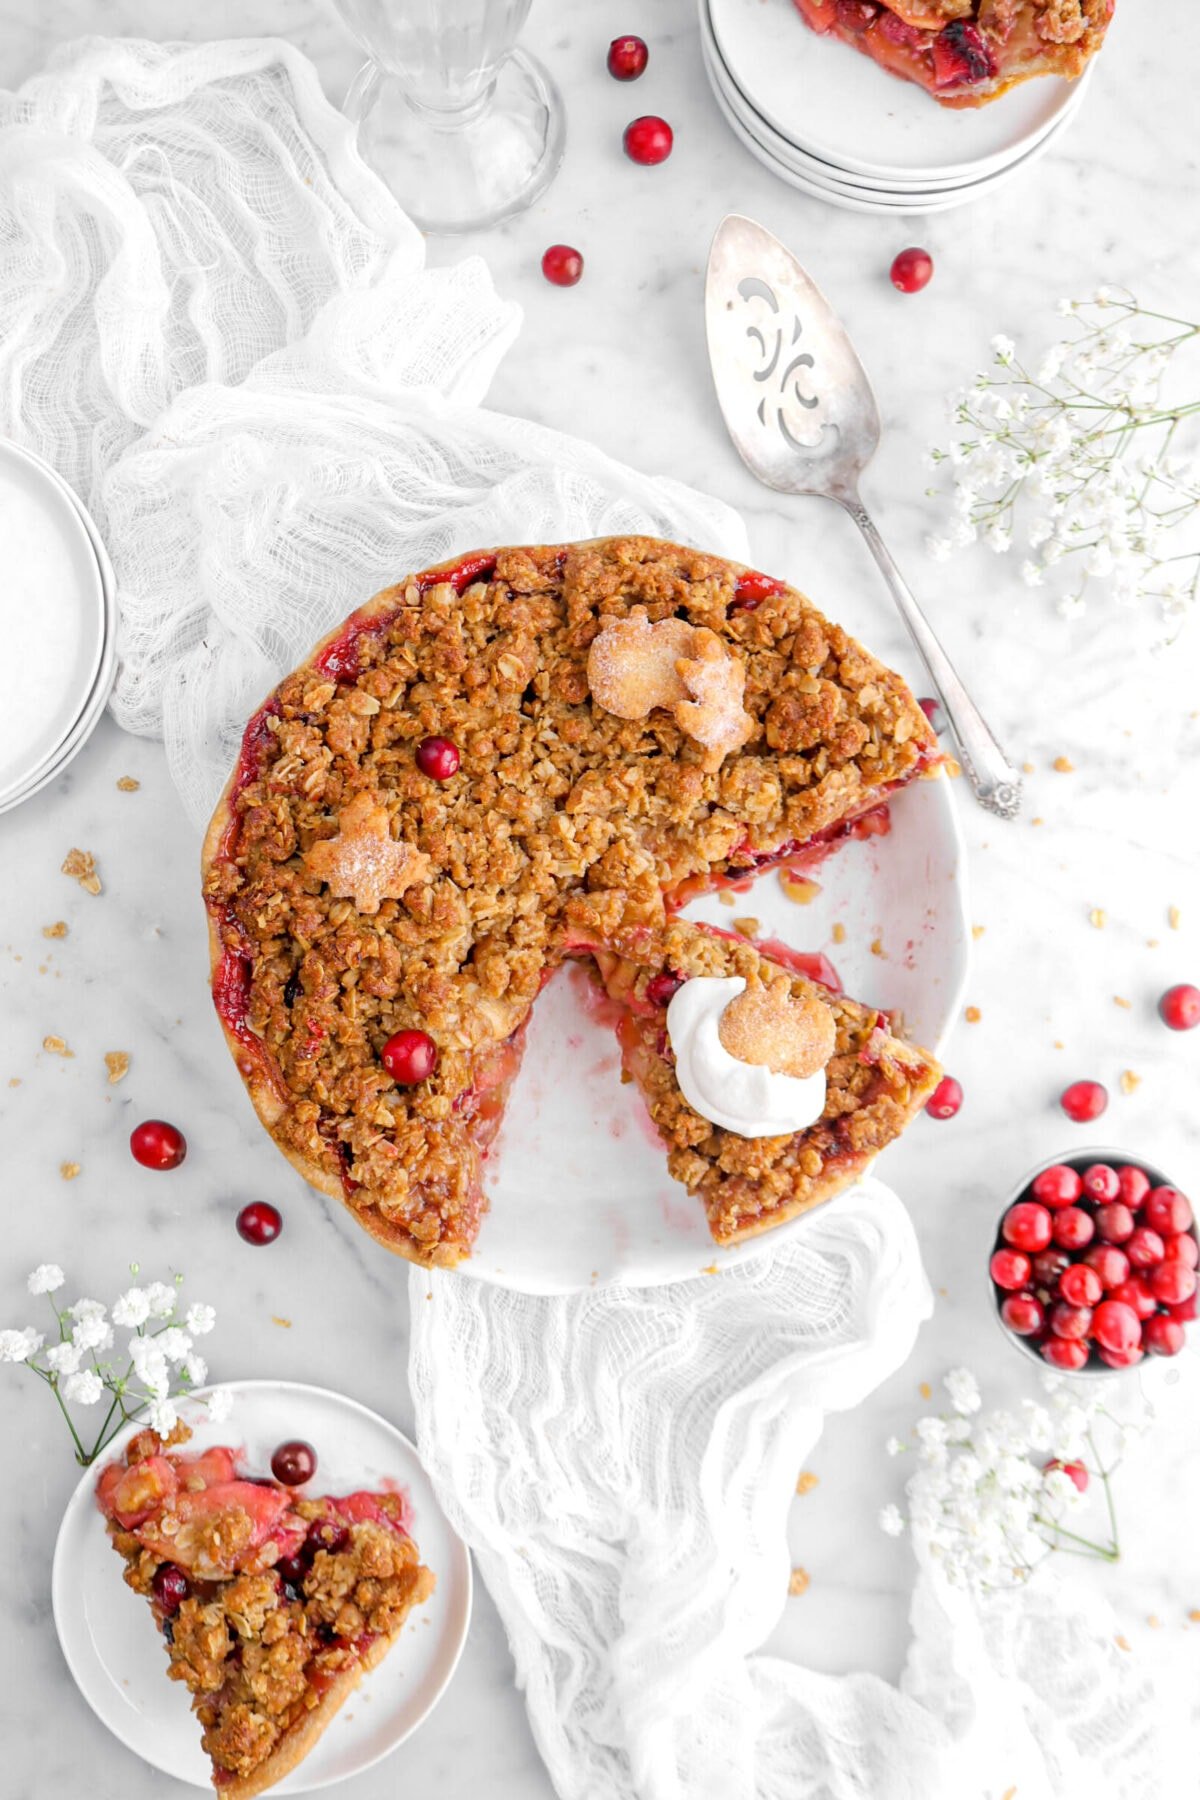
If you’re in a pinch for time, feel free to skip the top crust entirely (and feel free the other half of the pie dough for our extra delicious pumpkin pie!) and use the streusel topping from these pumpkin cheesecake bars or even our oat crumb topping from the reader-favorite apple crumble pie.
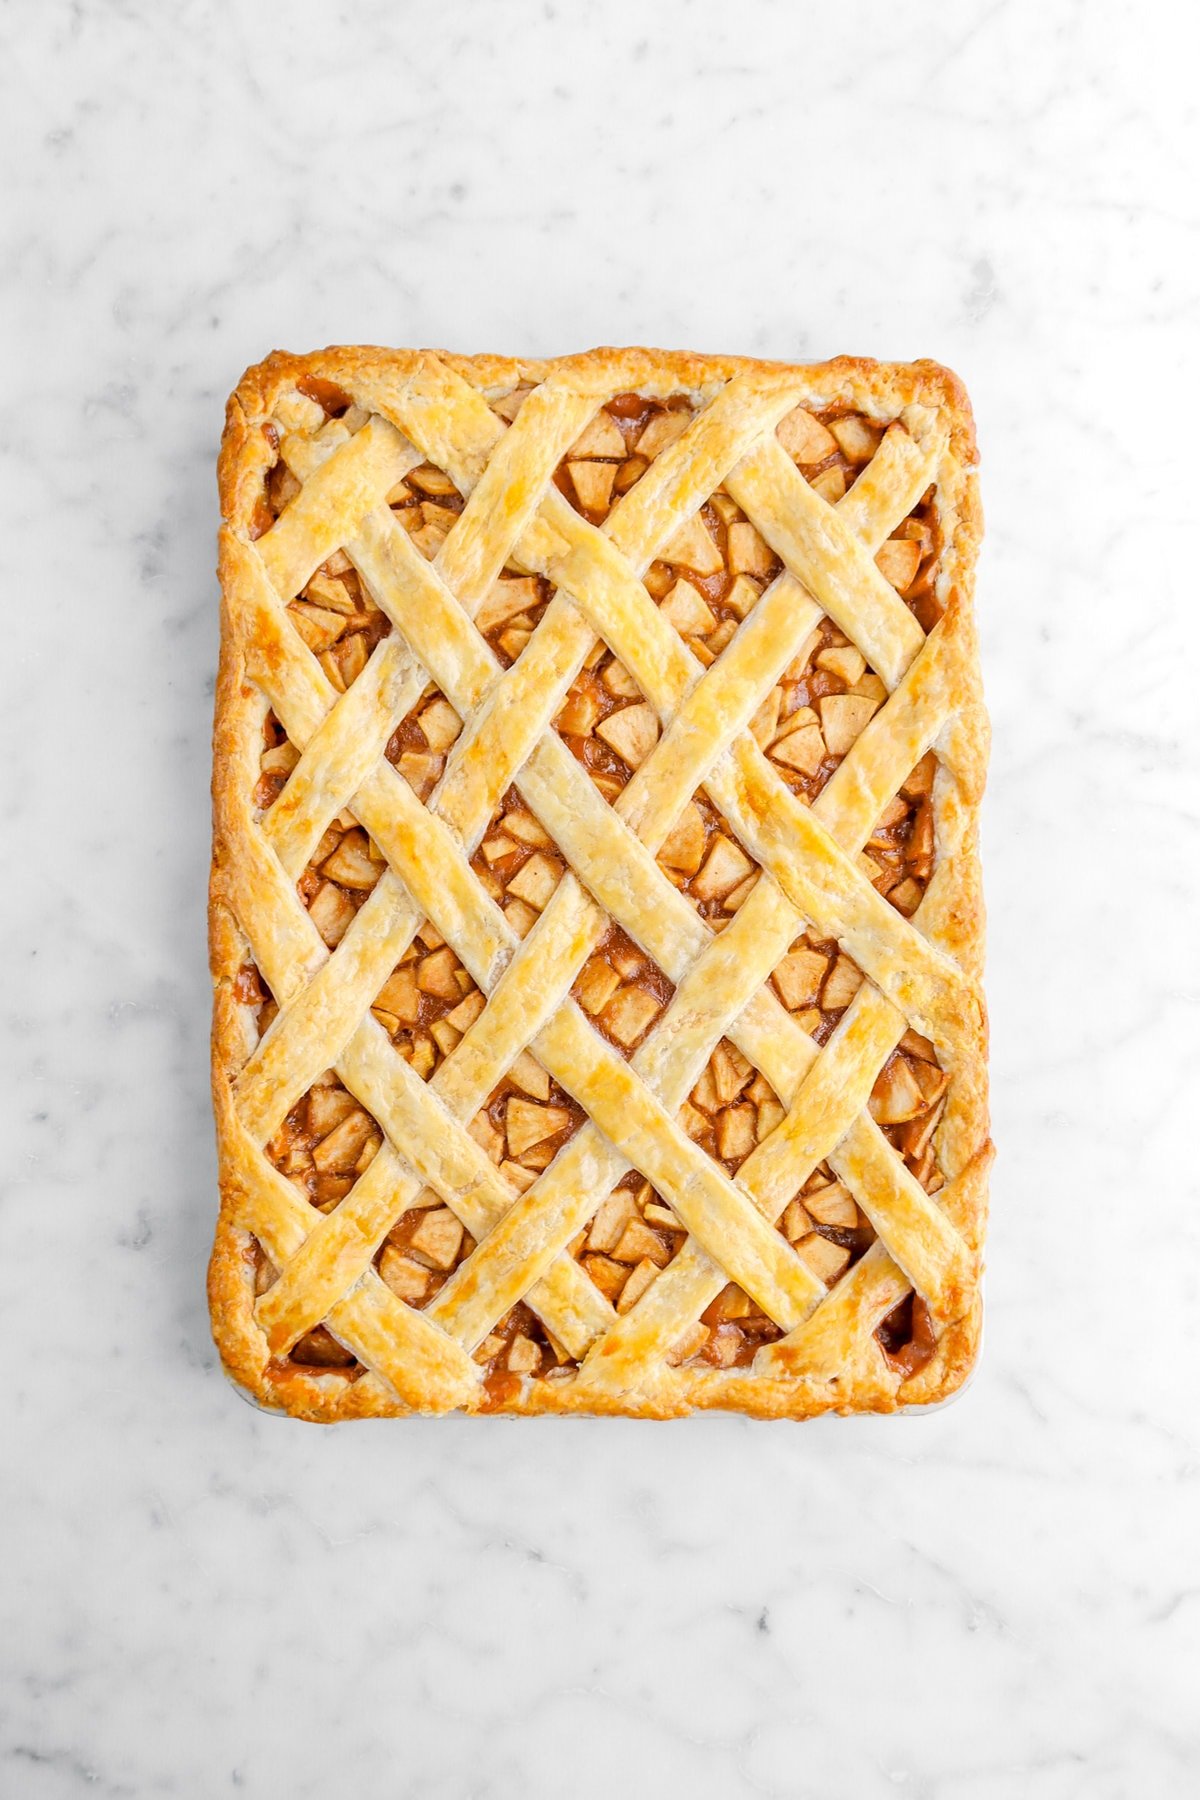
Once the pie filling is bubbling, and the crust is golden brown, the pie is done! Remember, wait for the pie to cool completely, and then you can slice and serve. Serve with a scoop of vanilla ice cream (or even caramel apple ice cream!) for the perfect finishing touch!
✳ Apple Slab Pie FAQs

Looking for more recipes like this? Here are a few you may like:

When you make this Apple Slab Pie, leave a comment down below! We love hearing from you and answering any questions you might have! Also, be sure to tag us on social media and hashtag it #BakersTable.

Apple Slab Pie
Ingredients
Filling
- 4 pounds apples, peeled, cored, and sliced
- 2 cups powdered sugar
- ¼ cup cornstarch
- ½ cup apple cider
- 3½ teaspoons apple pie spice
- ⅔ teaspoon salt
- 2 Tablespoon vanilla extract
- 4 Tablespoon salted butter
Crust
- 4 cups all purpose flour
- 2 Tablespoons granulated sugar
- 1¾ cups salted butter, cold, sliced
- ¾ cups ice water
Egg Wash
- 1 large egg
- 1 Tablespoon heavy cream
Instructions
Filling
- Combine all ingredients in a medium (6 quart) stock pot.
- Cook over medium low heat, stirring occasionally, until syrup has formed and thickened slightly and apples are slightly tender, about 5-10 minutes. Set aside.
Crust
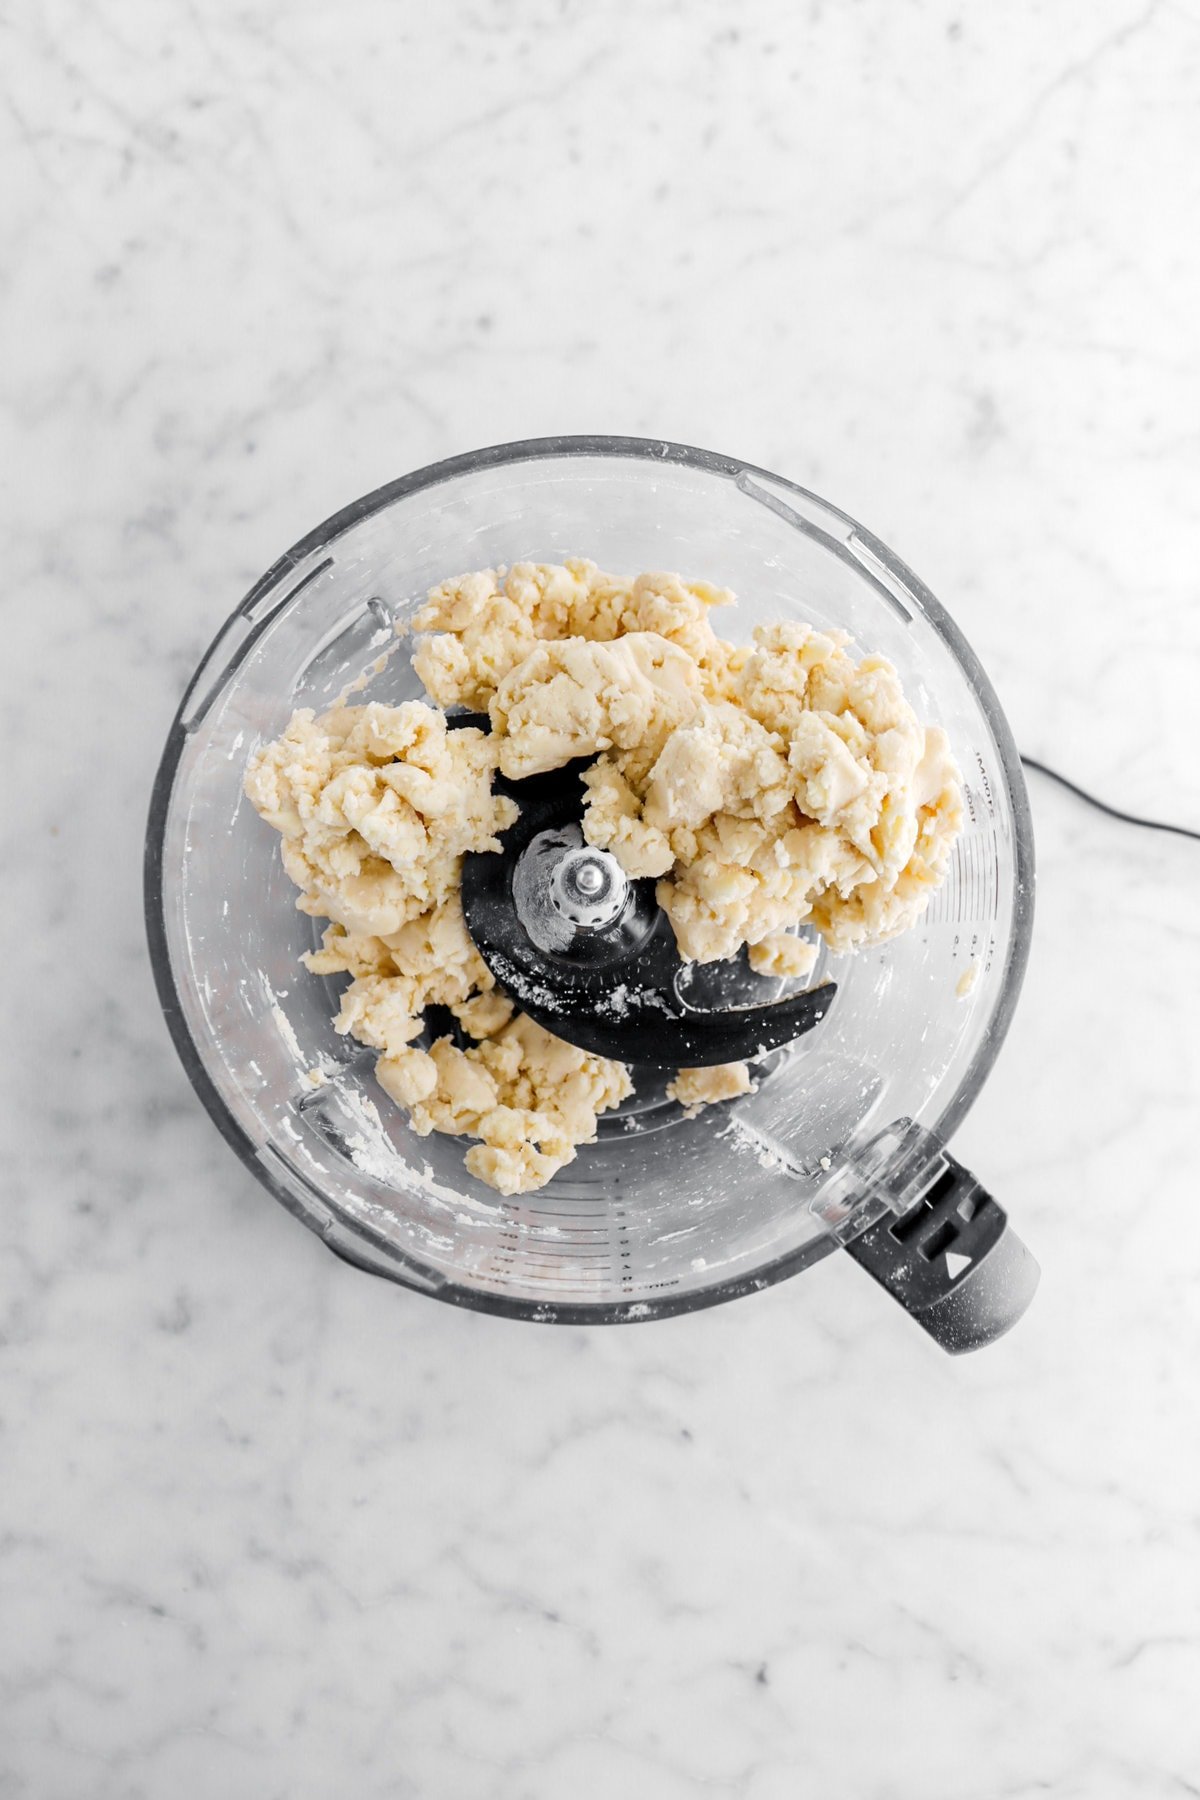
- Combine flour and sugar in the bowl of a food processor fitted with the dough blade.
- Pulse until combined.
- Add butter, a little at a time, pulsing after each addition.
- Continue to pulse until butter is broken down into small pieces.
- Add water.
- Pulse until it forms a dough.
- Divide dough into 2 portions – one 24 ounces and one 12 ounces.
- Form each piece of dough into a rectangle.
- Flatten slightly.
- Wrap in plastic wrap.
- Refrigerate for 10 minutes.
- Remove 24 ounce piece from refrigerator and roll dough out on a non-stick surface (marble, parchment paper, silicone mat) that has been dusted with flour. It should be rolled to ⅛ inch thick.
- Transfer dough to a 10 inch x 15 inch jelly roll pan.
- Gently fit into pan, making sure there are no air bubbles.
- Trim excess. (Save in case you need a little extra.) Set aside.
- On a non-stick surface (marble, parchment paper, or silicone mat) roll 12 ounce piece of dough to ⅛ inch thick.
- Cut into strips to make lattice.
- Pour apple pie filling into bottom crust.
- Lay dough strips in a lattice pattern (see photos in post above).
- Pinch to seal onto bottom crust.
- Refrigerate for 20-25 minutes.
- While pie is chilling, heat oven to 350℉/177℃.
- Make the egg wash by whisking together the egg and cream until smooth. Set aside.
- Remove pie from refrigerator.
- Brush with egg wash.
- Bake for 40-45 minutes, or until pastry is golden brown and filling is bubbly.
Notes + Tips!
- Cooling Completely: Allow the pie to cool completely at room temperature before storing. This prevents condensation from forming on the crust, which can make it soggy!
- Room Temperature (Short Term): For short-term storage (up to 2 days), you can leave the pie loosely covered at room temperature.
- Refrigerator (Long Term): For longer storage (up to 5 days), wrap the cooled pie tightly in plastic wrap or store it in an airtight container.
- Freezing: For even longer storage (up to 3 months), you can freeze the pie! Wrap the cooled pie tightly in plastic wrap and then again in aluminum foil. Be sure to label it with the date. Thaw overnight in the refrigerator before serving.
- Oven Reheating: For a warm and crispy crust, reheat slices in a preheated oven at 350°F/175°C for 10-15 minutes, or until warmed through.
- Microwave Reheating: For a quicker option, you can reheat individual slices in the microwave on medium power for 30-60 seconds, or until warmed through. However, this method might soften the crust more than oven reheating.
- A blend of apples or your favorite baking apple may be used for the filling.
- For a twist on the classic filling, try using peaches, plums, or nectarines. You might need to adjust the cornstarch and sugar amounts, as well as the cooking time depending on the chosen fruit.
- Try adding in dried fruits like cranberries, raisins, or chopped dates to the apple filling for extra texture and sweetness.
- For a nutty crunch, mix in chopped walnuts, pecans, or almonds to the apple filling!
- This recipe can be made vegan, if desired. Use your favorite plant based butter in the filling and crust, and brush with a dairy-free cream.
- If your food processor isn’t big enough, you can also use a stand mixer fitted with either a pastry attachment or a paddle attachment to make the crust.
- You may need slightly more or less water depending on the amount of humidity in the air.
- The fridge is your best friend! With the high butter content, the dough can become soft quickly…especially on hot days!
- Be careful not to overwork the dough.
- Sealing the lattice is important! Use your fingers or a fork to press it down. You may also need to cut off excess dough. Trim as needed.
- Be sure to lightly brush each strip of the lattice with heavy cream or an egg wash! It helps the crust brown evenly.
Tools You May Need (affiliate links)
– Still Hungry? –
Here are a few recipes may like!


