
The Best Old Fashioned Apple Pie
This post may contain affiliate links, please visit our privacy policy for details.
There’s nothing quite like a freshly baked apple pie! Whether it’s a cozy fall day or a sunny summer afternoon, this classic dessert is always a crowd-pleaser. Made with just 8 simple ingredients, it’s the perfect treat to whip up for family and friends!
This recipe was originally posted in 2020, but we have since added new images, updated the recipe, and added new tips + tricks for the best apple pie recipe.

As professional bakers, we are always getting asked what our favorite dessert is. While we love a slice of chocolate cake or a chewy snickerdoodle, there’s nothing quite like a slice of homemade apple pie.
I mean, a mountain of warm, gooey cinnamon apples sandwiched between flaky, buttery pie crust…what’s not to love?!
This is our go-to recipe for Thanksgiving (sorry, pumpkin pie!). It’s easy, requires minimal ingredients, and tastes absolutely amazing. We have been making this recipe for years, and have tested multiple different fillings, apple varieties, spices and more, we have finally come to this recipe below. Now, I might be a bit biased, but I fully believe that this is the very best apple pie recipe!
Let’s Talk About This Pie
- It’s a DEEP DISH. I mean, if you’re gonna bake an apple pie, you want that extra appley goodness 😉
- Golden flaky double pie crust that perfectly complements the soft, cinnamon apples
- No weird, complicated ingredients or fillers. Just a handful of simple pantry staples!
- Can be made (and we highly encourage it to be made) anytime of year
- Uses a blend of two types of apples for the perfect flavor
- Tastes even better with a scoop of vanilla ice cream (or caramel apple ice cream) on top!
Oh, and even though this pie is a deep-dish, you don’t need a super special pie dish to make it. Any 2-inch-deep pie dish will work. You’ll simply pile the apple slices a little bit higher!

We’re Starting With Our Homemade Pie Crust
The secret to the perfect homemade pie is all in the crust. You’ll need a crust that’s sturdy enough to hold the filling, but flaky enough that each bite just melts in your mouth. It sounds like an impossible thing to achieve but after years of testing, we achieved that perfect balance (and it’s easier than you might think!).
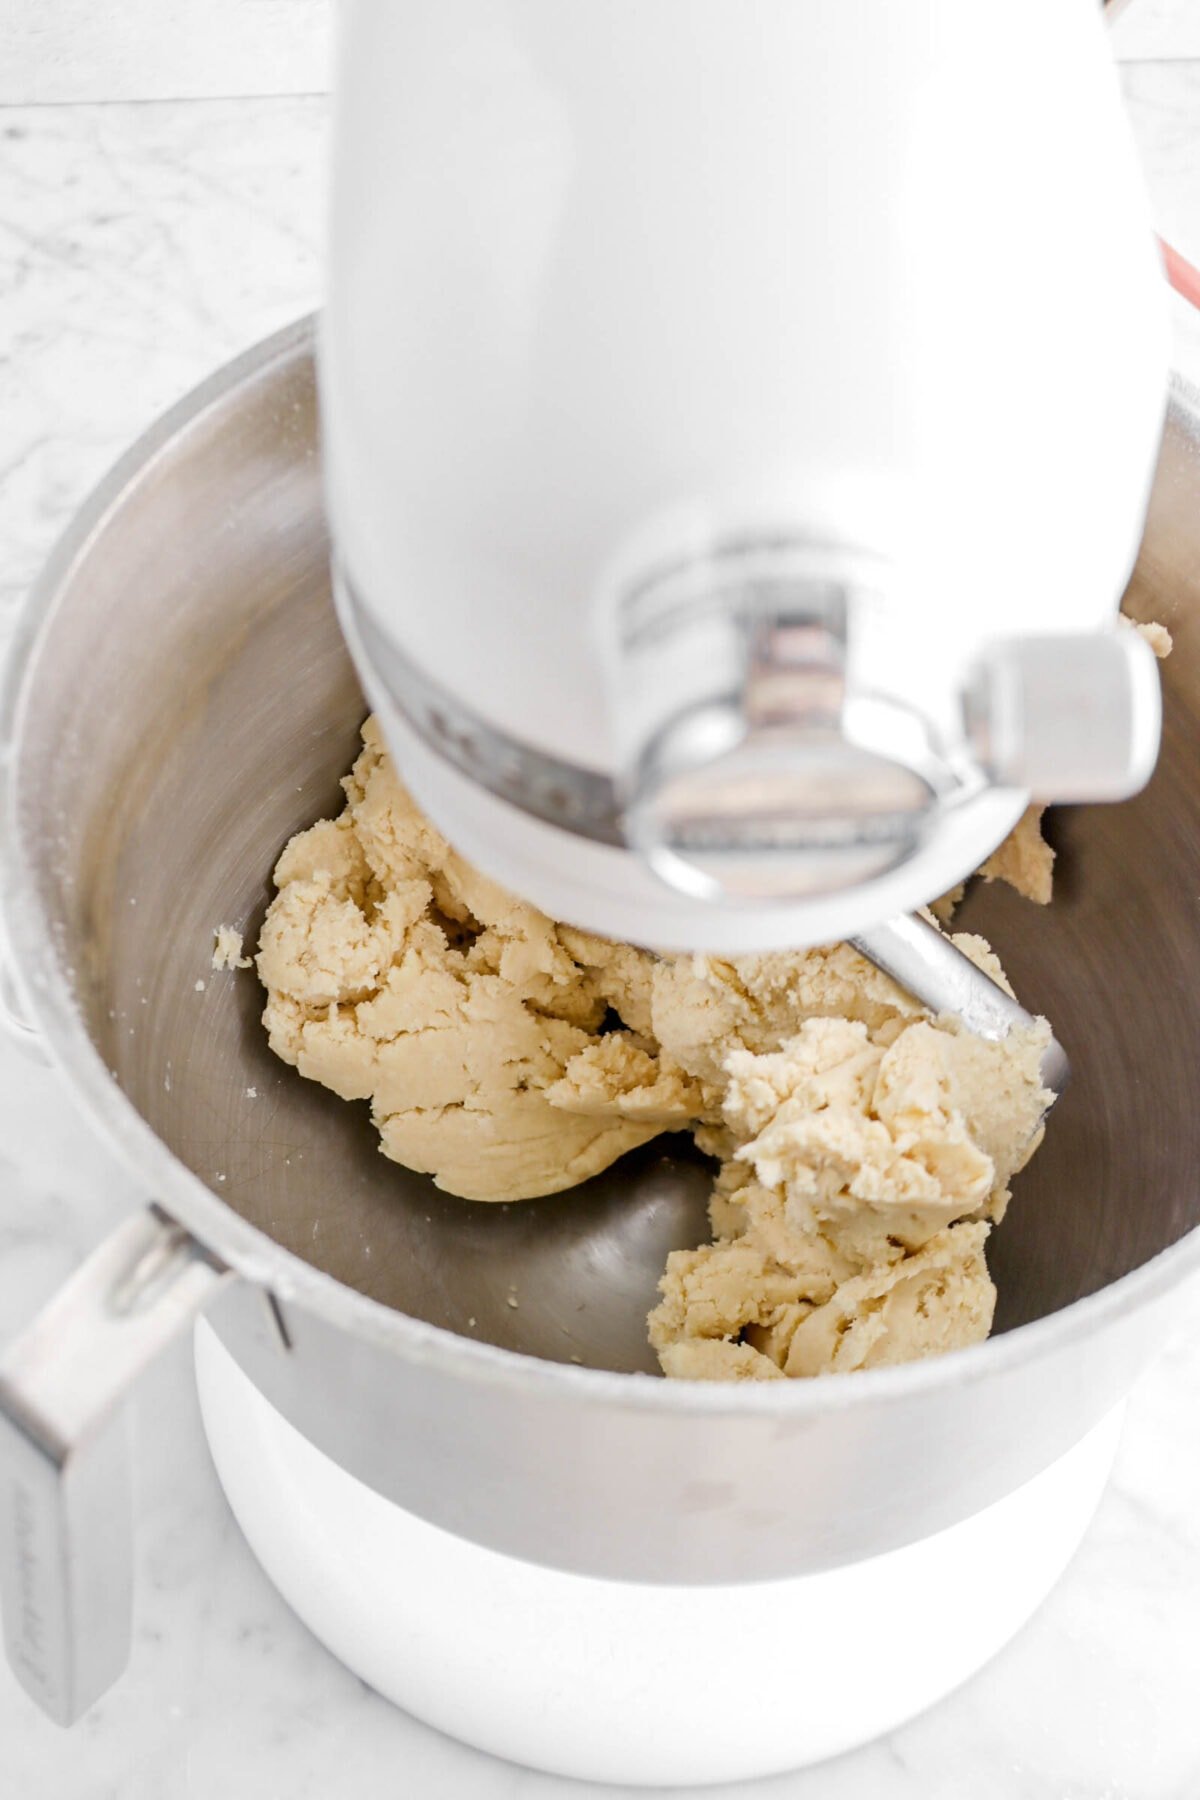
Instead of a food processor, we’re doing things a little unconventionally and using a stand mixer. Since we’re doing a double crust pie, we need to make a little more than most food processors can handle. It’s the same principle as using a food processor, just a bigger capacity!
All you need to do is mix the dry ingredients, add the butter and mix until it’s just beginning to break down. From there, add the water and mix until the dough forms. Separate in half, wrap, and refrigerate! Super simple.
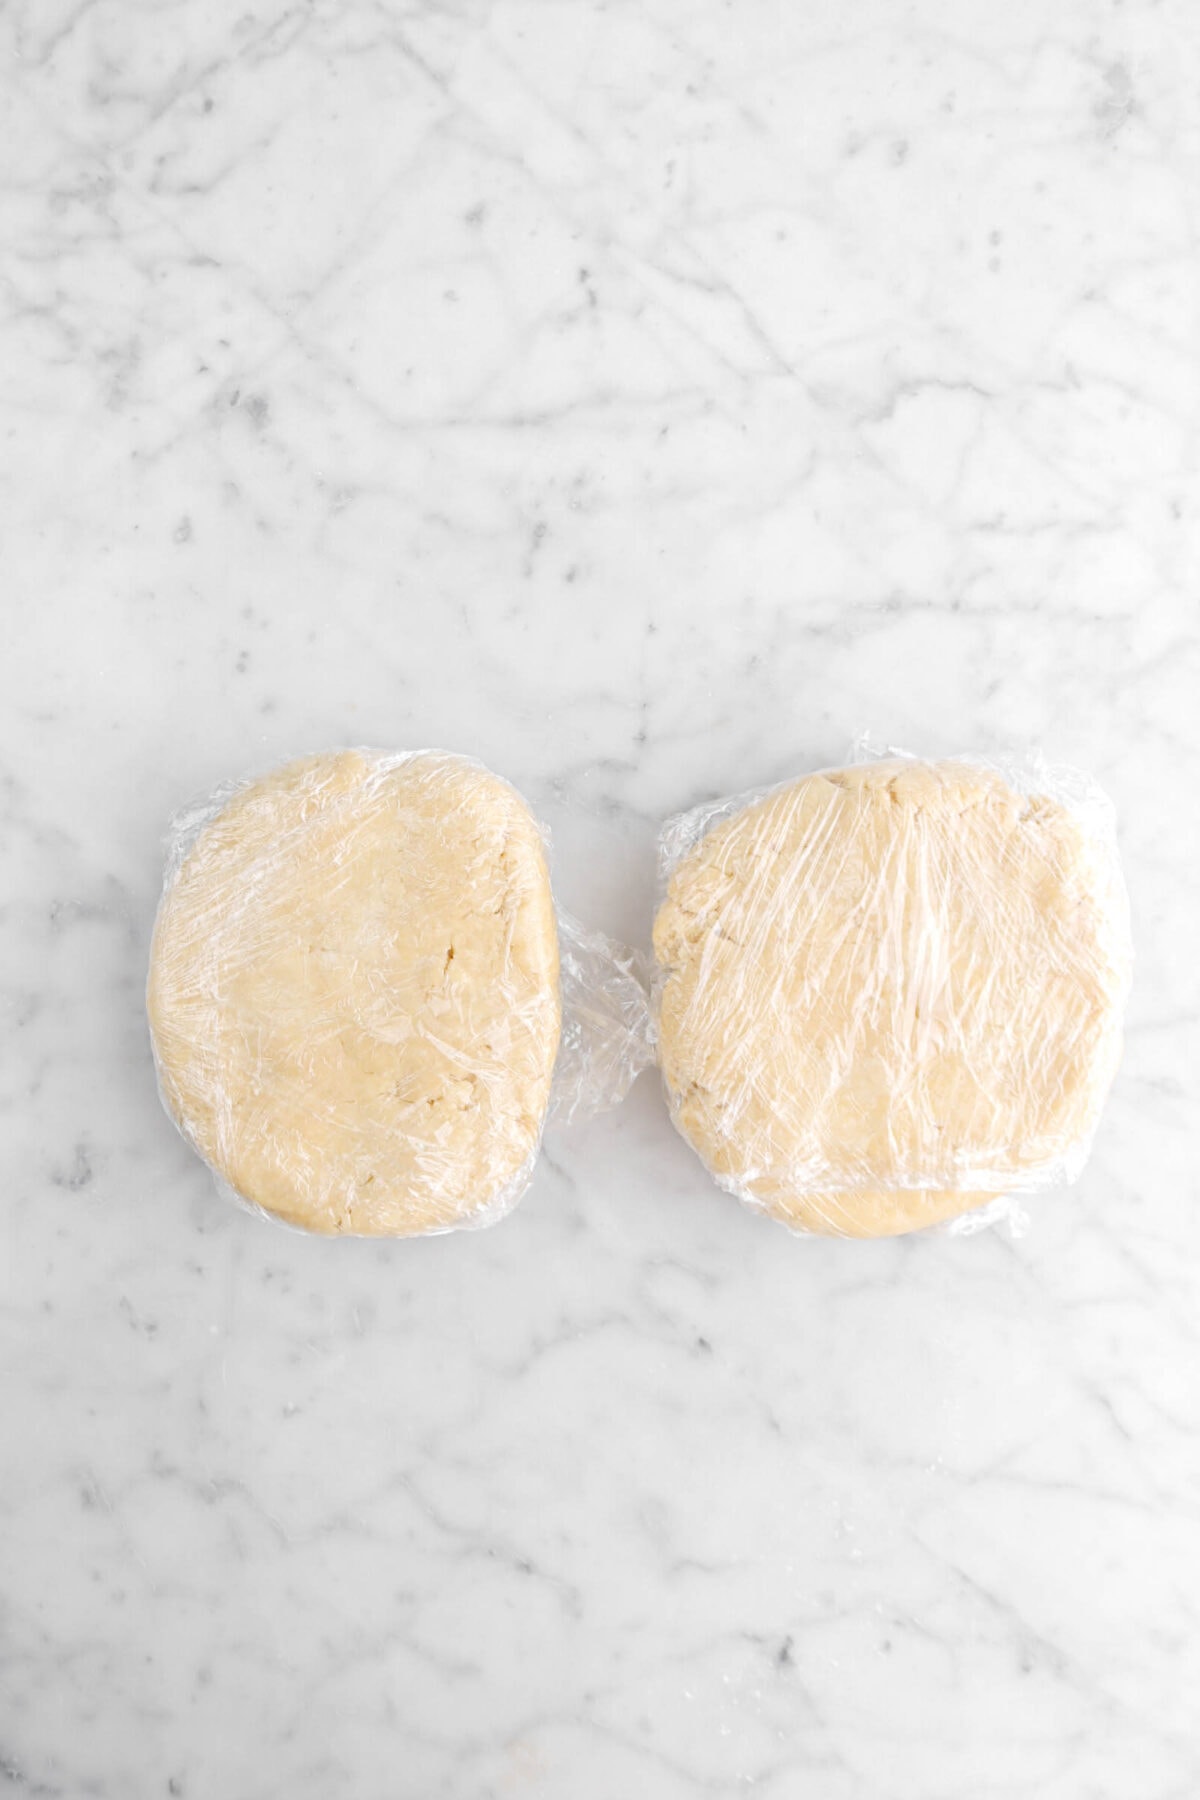
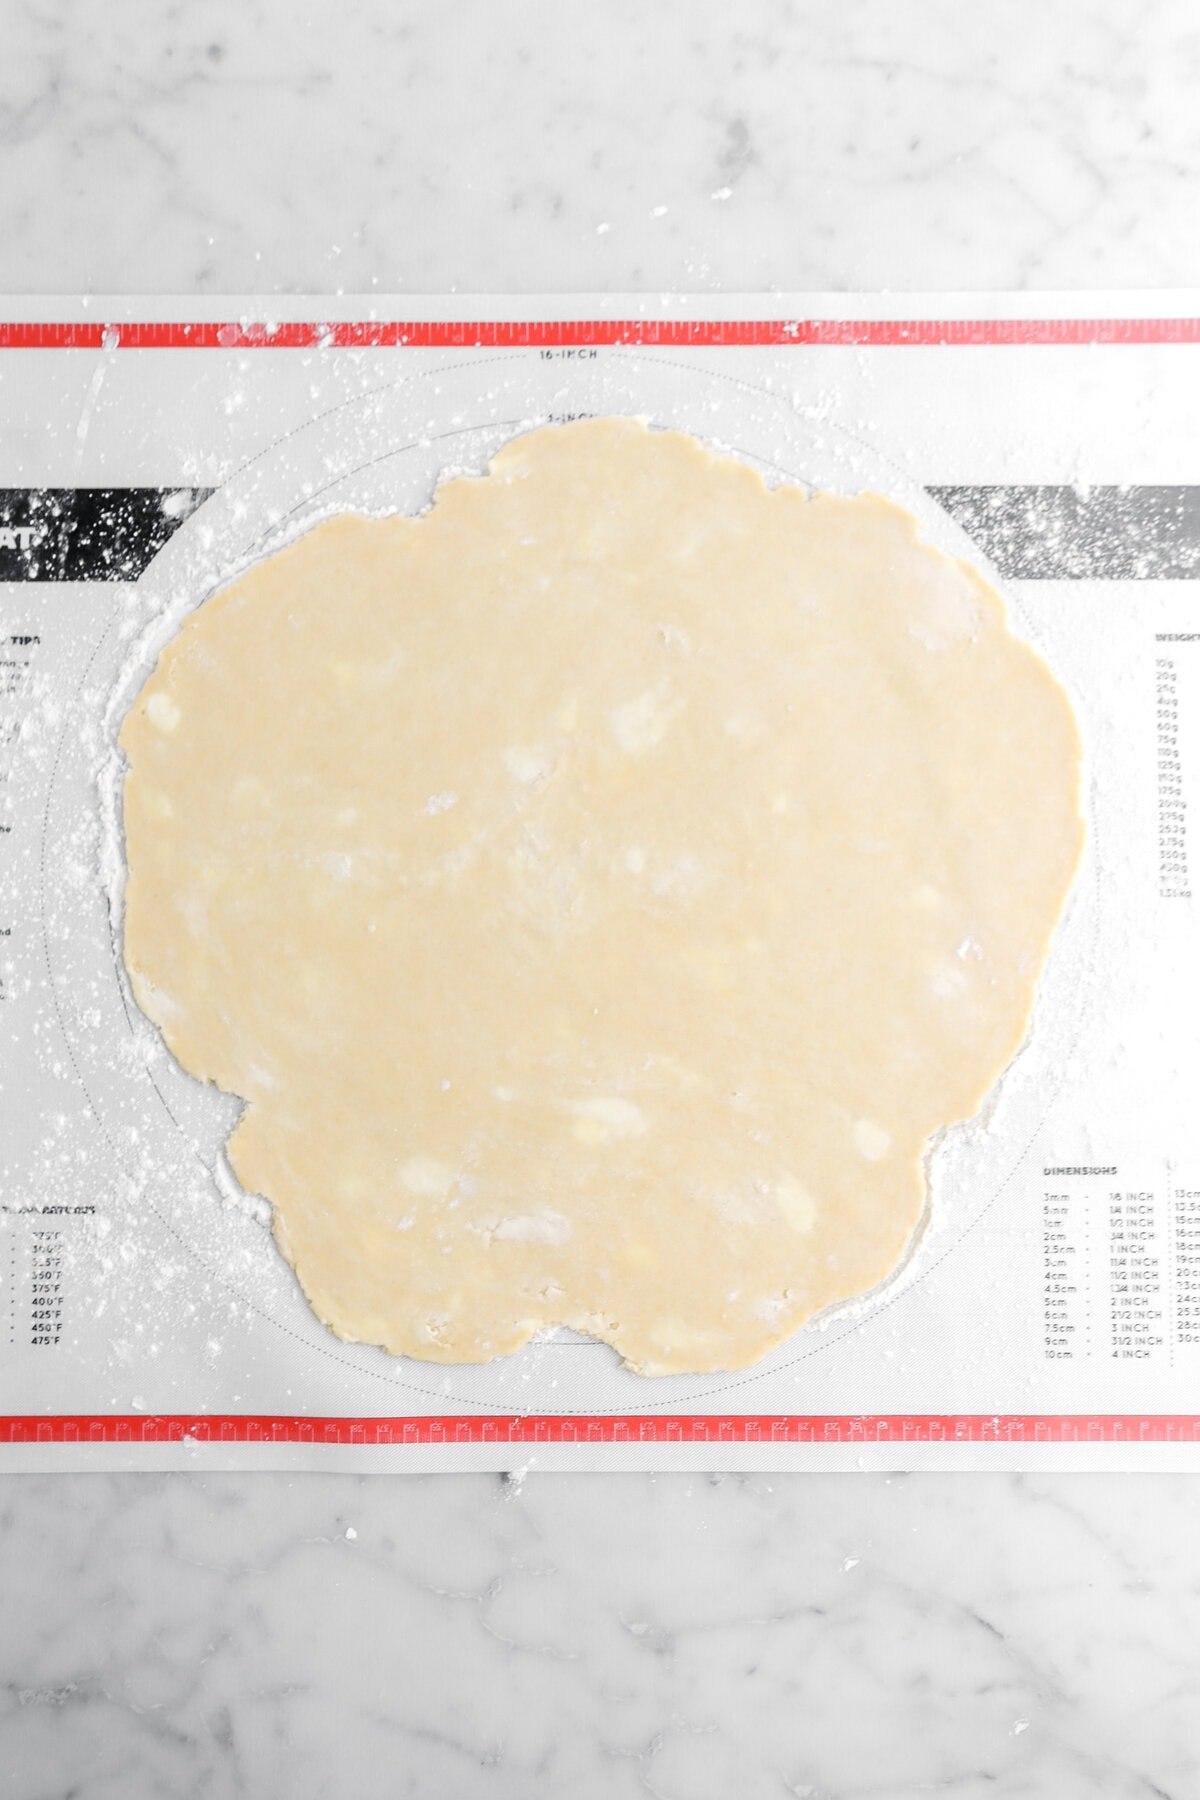
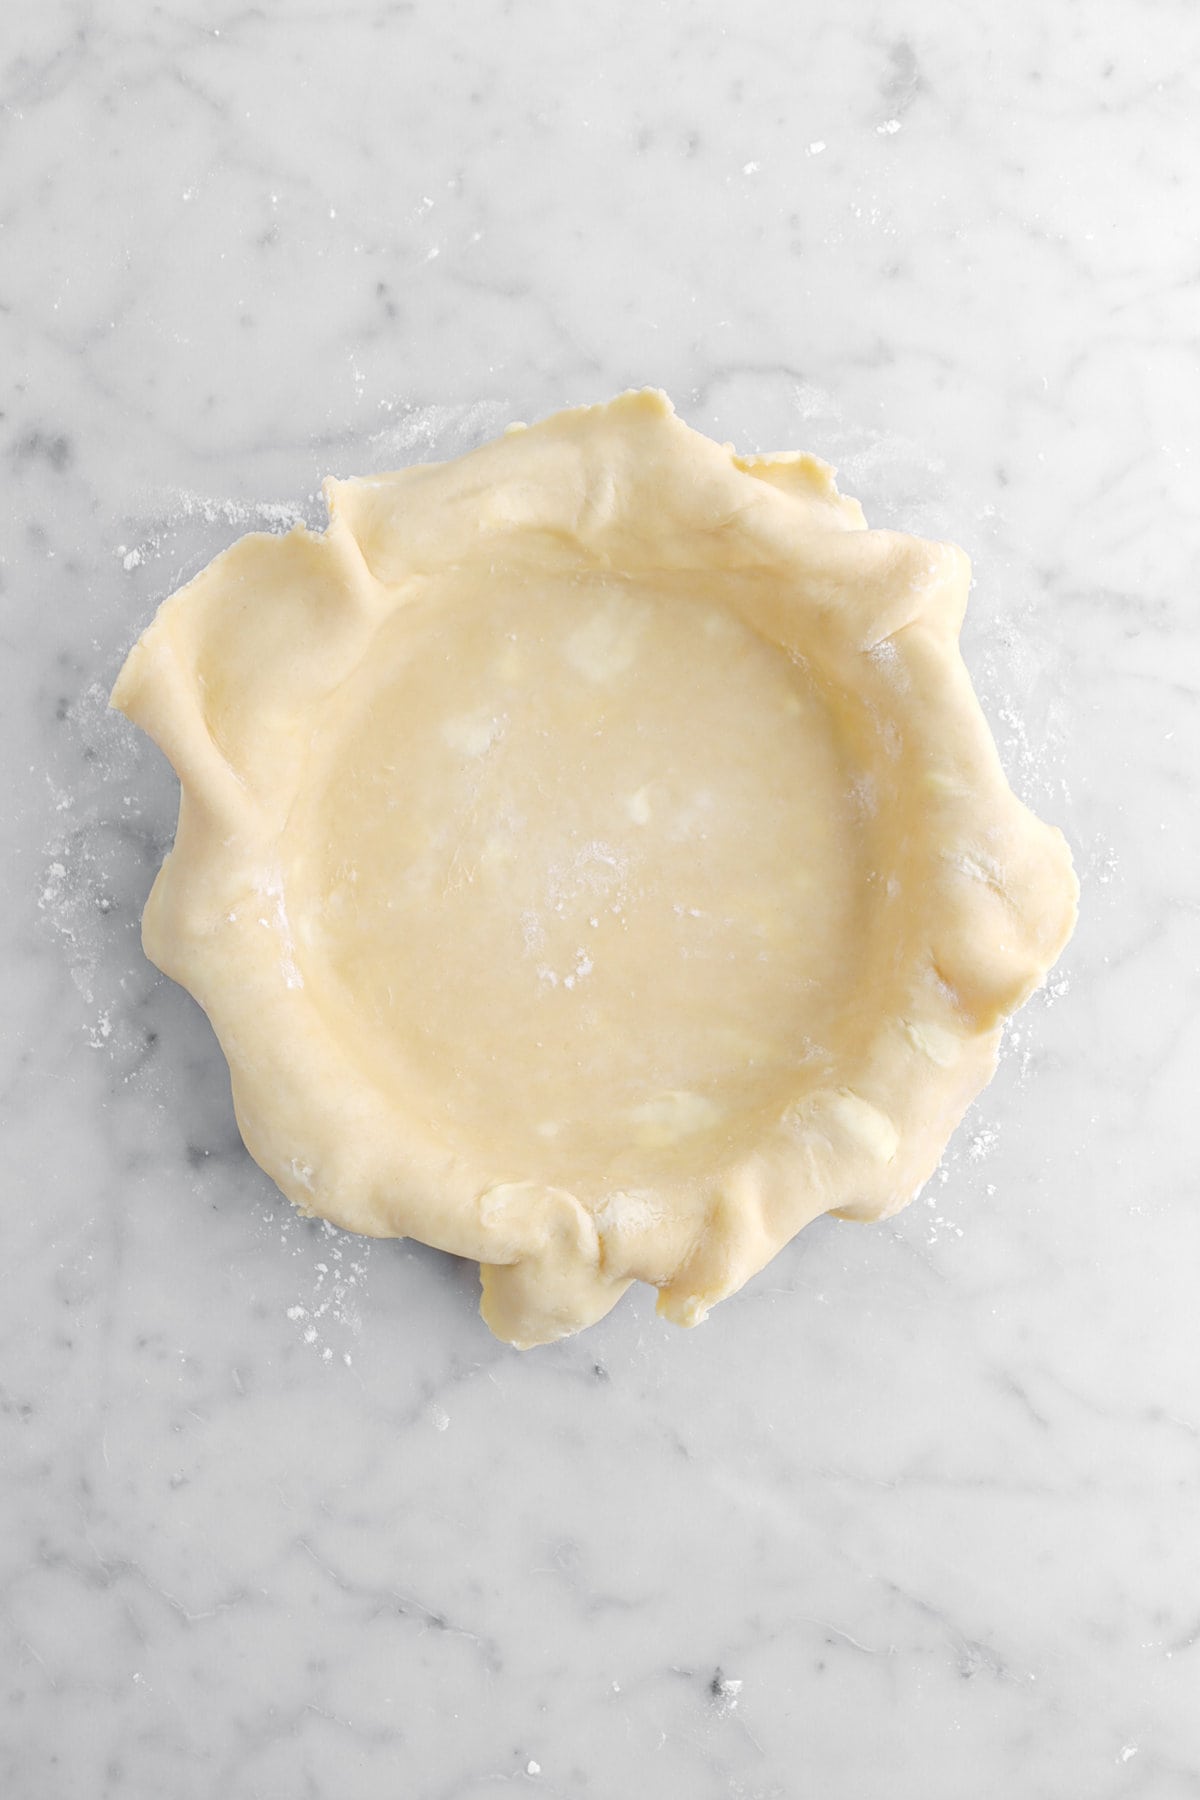
When you’re ready, roll out one half of the pie dough and fit it into the pie crust, leaving the excess hanging over the edges. Place in the fridge.

Prep The Filling
Who doesn’t love an easy pie filling? There’s no need to cook the filling like you would for a cherry pie! Simply combine all of the filling ingredients and dump into the crust. Yes, it’s really that simple!


How To Lattice A Pie
While it seems overwhelming, latticing a pie can actually be pretty simple! To achieve this look, roll out the remaining half of pie dough and cut it into equal-width strips (we did about 1 inch). Weave the strips over the pie filling, alternating the direction of each strip.
For a more visual guide, check out our mini apple pies recipe post for a full how-to on crafting the perfect lattice top! Once latticed, trim any excess. Seal and crimp the edges.
Right before baking, brush the top crust and edges with a simple egg wash. Egg wash is a combination of egg and water, and it’s what gives the pie crust its golden sheen after baking. Trust me when I say that your crust will look flat and kinda dull without the egg wash.
If you want to add that little something extra, sprinkle the crust with coarse sugar like we do with our caramel apple galette!

Alternatively, you can lay the second rolled-out pie crust on top and slit some vents on top with a sharp knife! This will still give you the same double crusted pie, just less of a decorative top.
Don’t want to mess with a top crust? No worries! You can use the topping from our apple cranberry crumble pie for an easy, stress free option that still tastes delicious.
How Do I Know When Apple Pie Is Done?
Knowing when your pie is perfectly baked can be a bit tricky. Luckily over the years, we’ve found the perfect times and temperature to bake this particular pie. Baking in a 375℉ (190℃) oven yields the most consistent results.
After about 40-55 minutes in the oven, the crust should be really starting to turn a sort-of golden brown color. Using aluminum foil or a pie crust shield, cover the edges of the pie to prevent over browning.
We found that after about 90 minutes, our pie is typically done. We use visual cues to help when determining the pie’s doneness. So, if the crust is golden, and the filling is bubbling around the edges, the apple pie is done.
But, if you want to be super precise, you can insert an instant read thermometer into the filling. It should be around 200°F/93°C when done!

Now comes the hardest part! Letting the pie cool. This is a crucial step because if the pie is cut while it’s too warm, it won’t be properly set. We recommend letting the pie cool for at least 2-3 hours before slicing and serving.
4 Success Tips For Apple Pie
- Use different varieties of apples. I’m sure this is one trick we all know by this point, but it really does make a difference! We like to use two or three different apples for our pies. Our go-to’s are usually granny smith, fuji, and honeycrisp. You could also use pink lady’s, braeburn, or jazz.
- The slices need to be uniform. For that perfect apple pie filling, the slices really need to be uniform in size. We use an apple corer/peeler machine to help us achieve this. It not only cores and peels, but it cuts every apple into about ¼ inch slices!
- Use a TON of apples. Apples shrink as they cook. So, we will need a LOT of apples for this recipe! We used a little over 3 lbs of apples for this pie in particular. You want the apples piled HIGH!
- The pie pan you choose matters. We’ve found over the years that not all pie pans are created equal. We love our deep dish-style pie plate, as it browns evenly and doesn’t stick!

Be sure to serve your apple pie with large scoop of vanilla ice cream and maybe even a drizzle of caramel sauce. 😉 I personally love a dollop of Chantilly cream on top of my slice!
Craving More Apple Desserts?
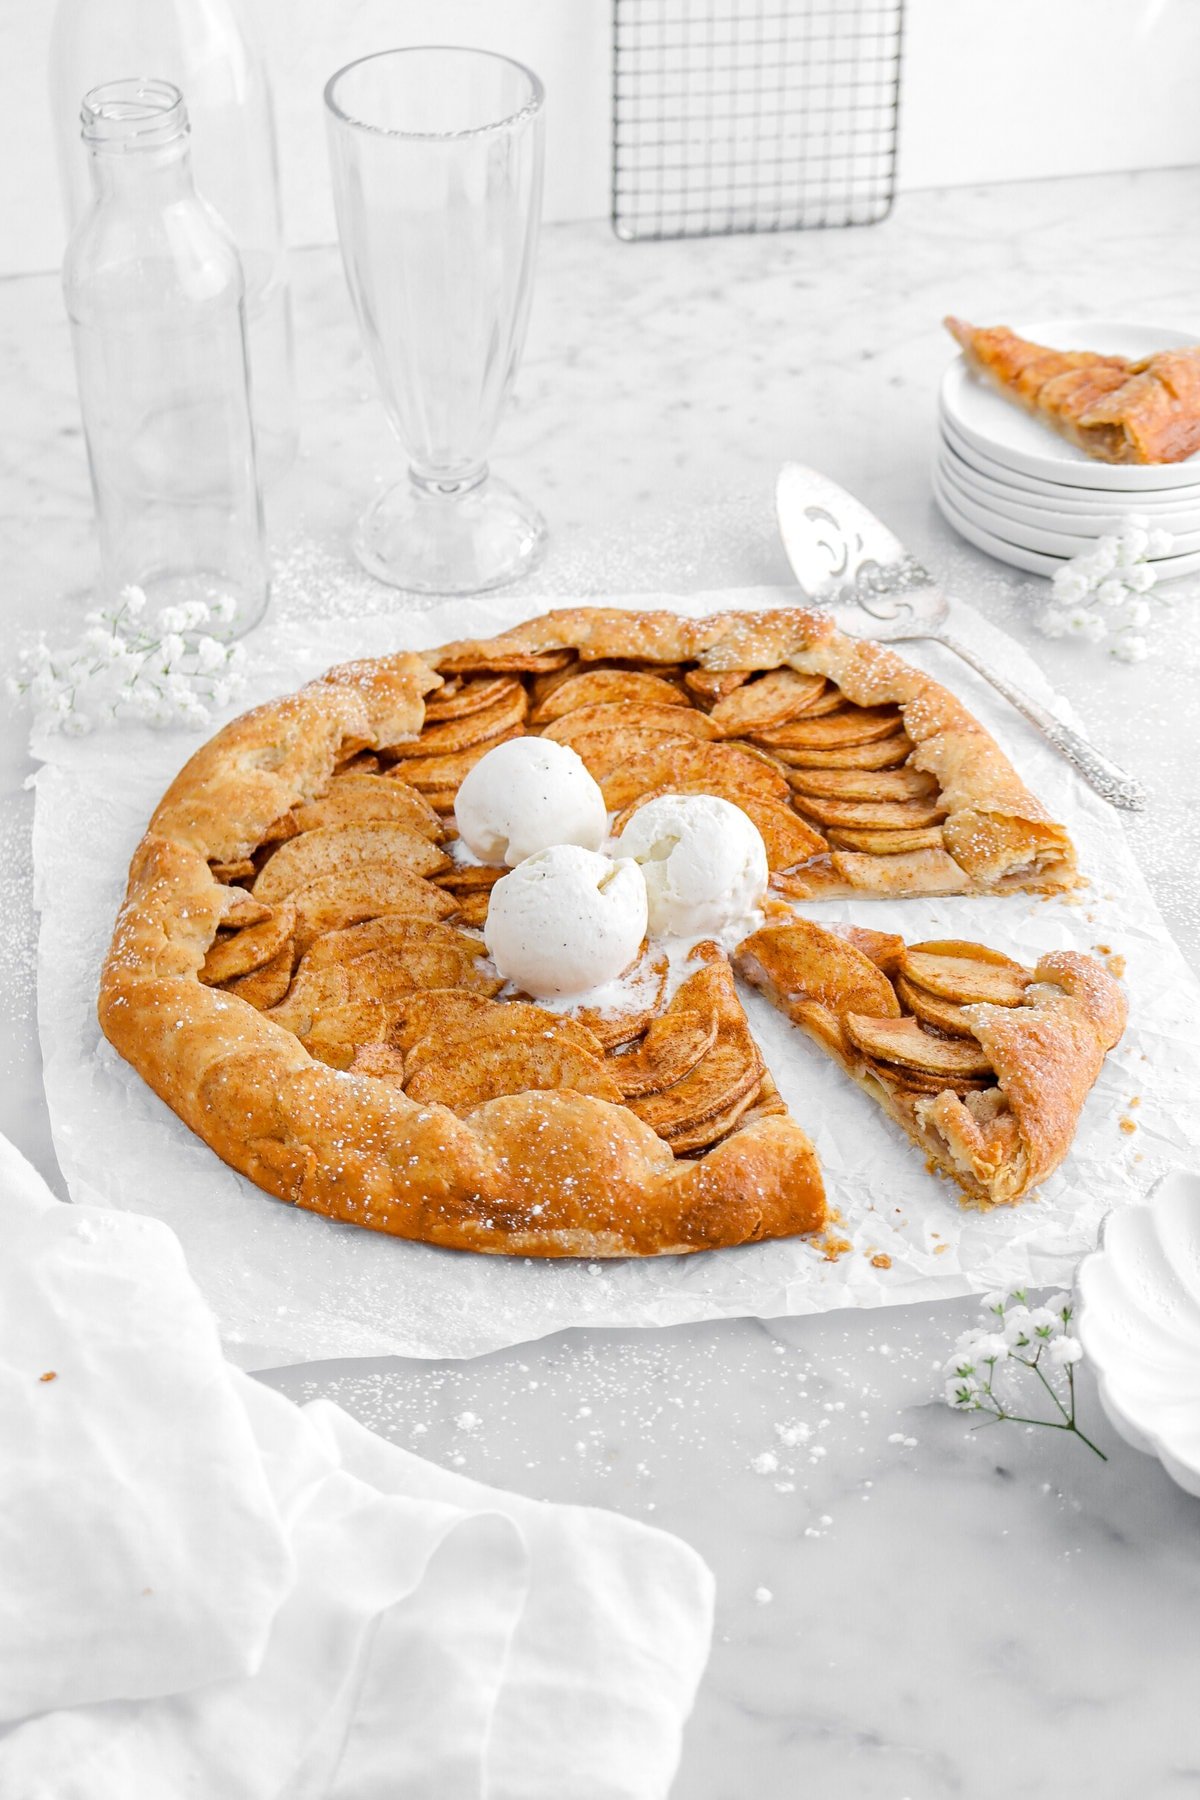
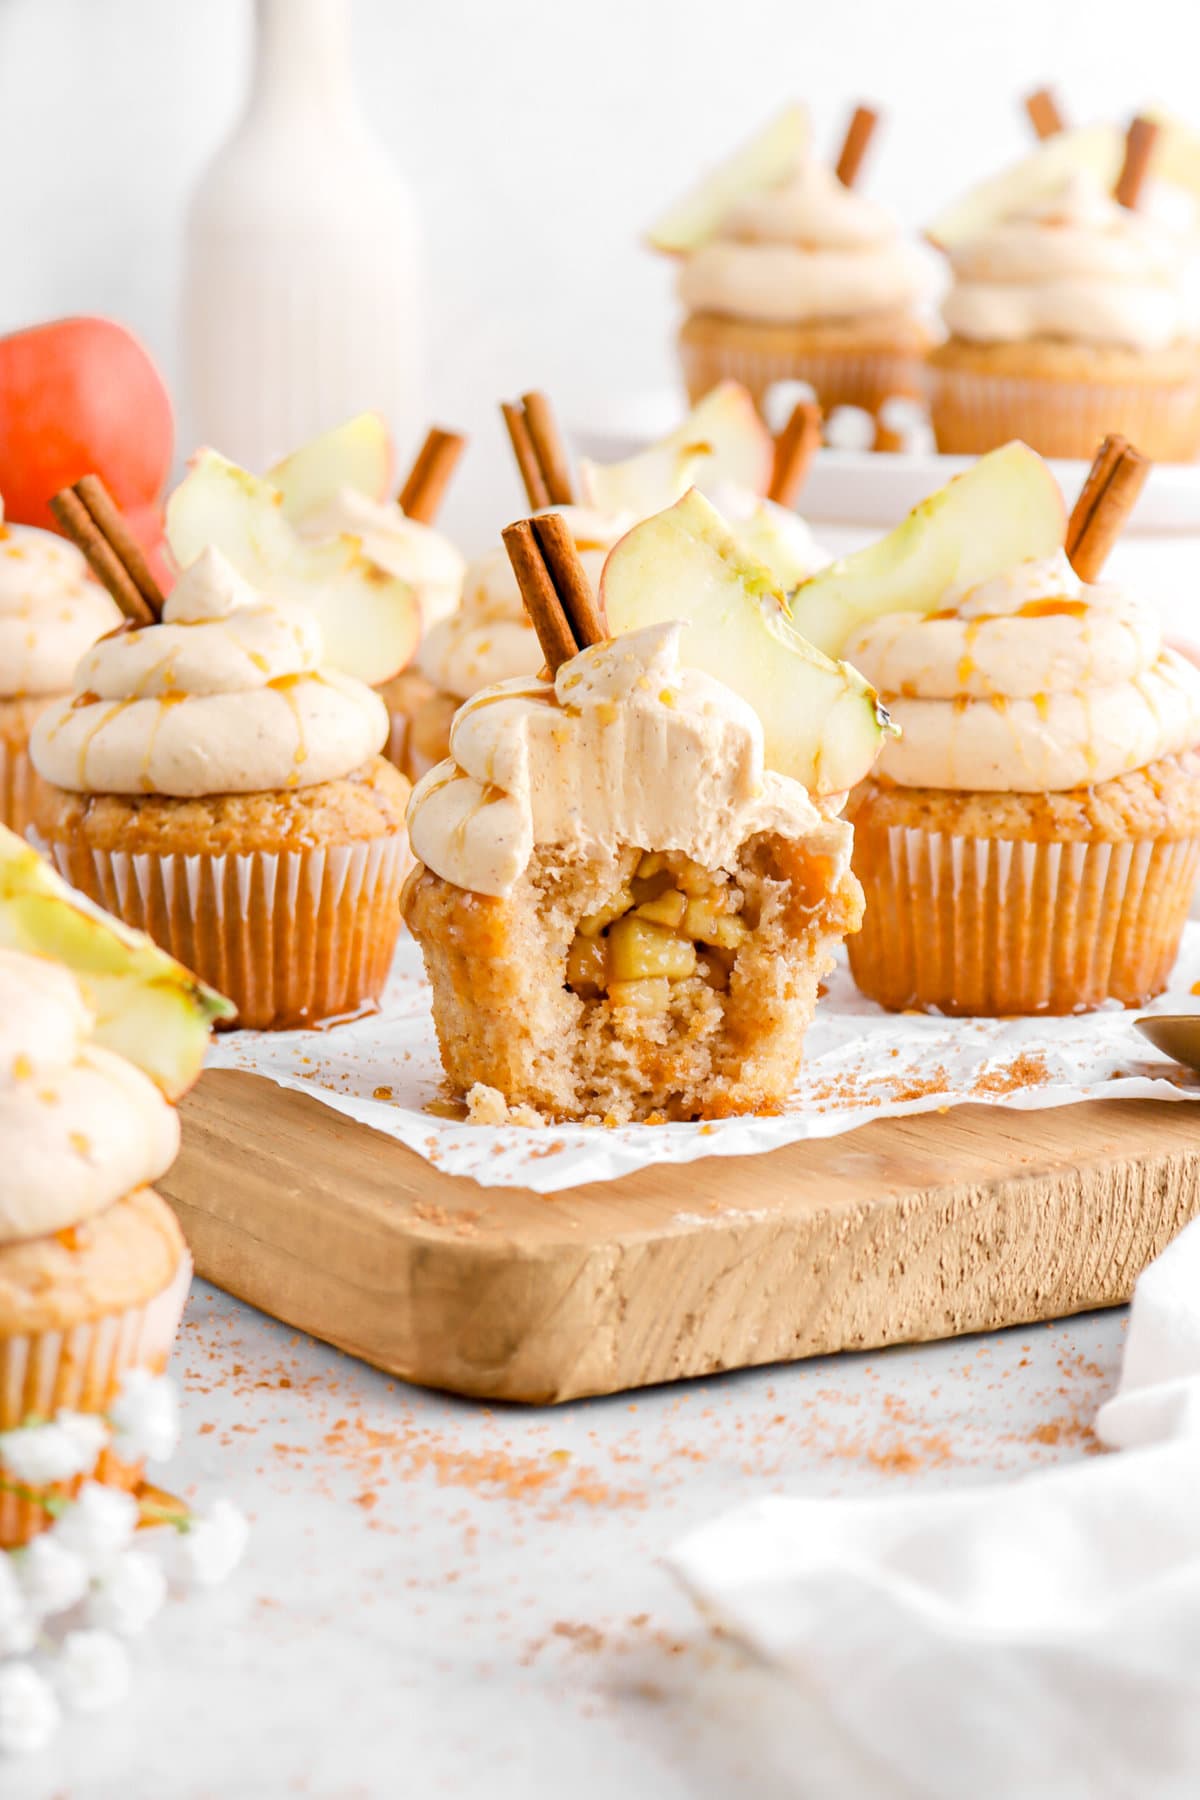

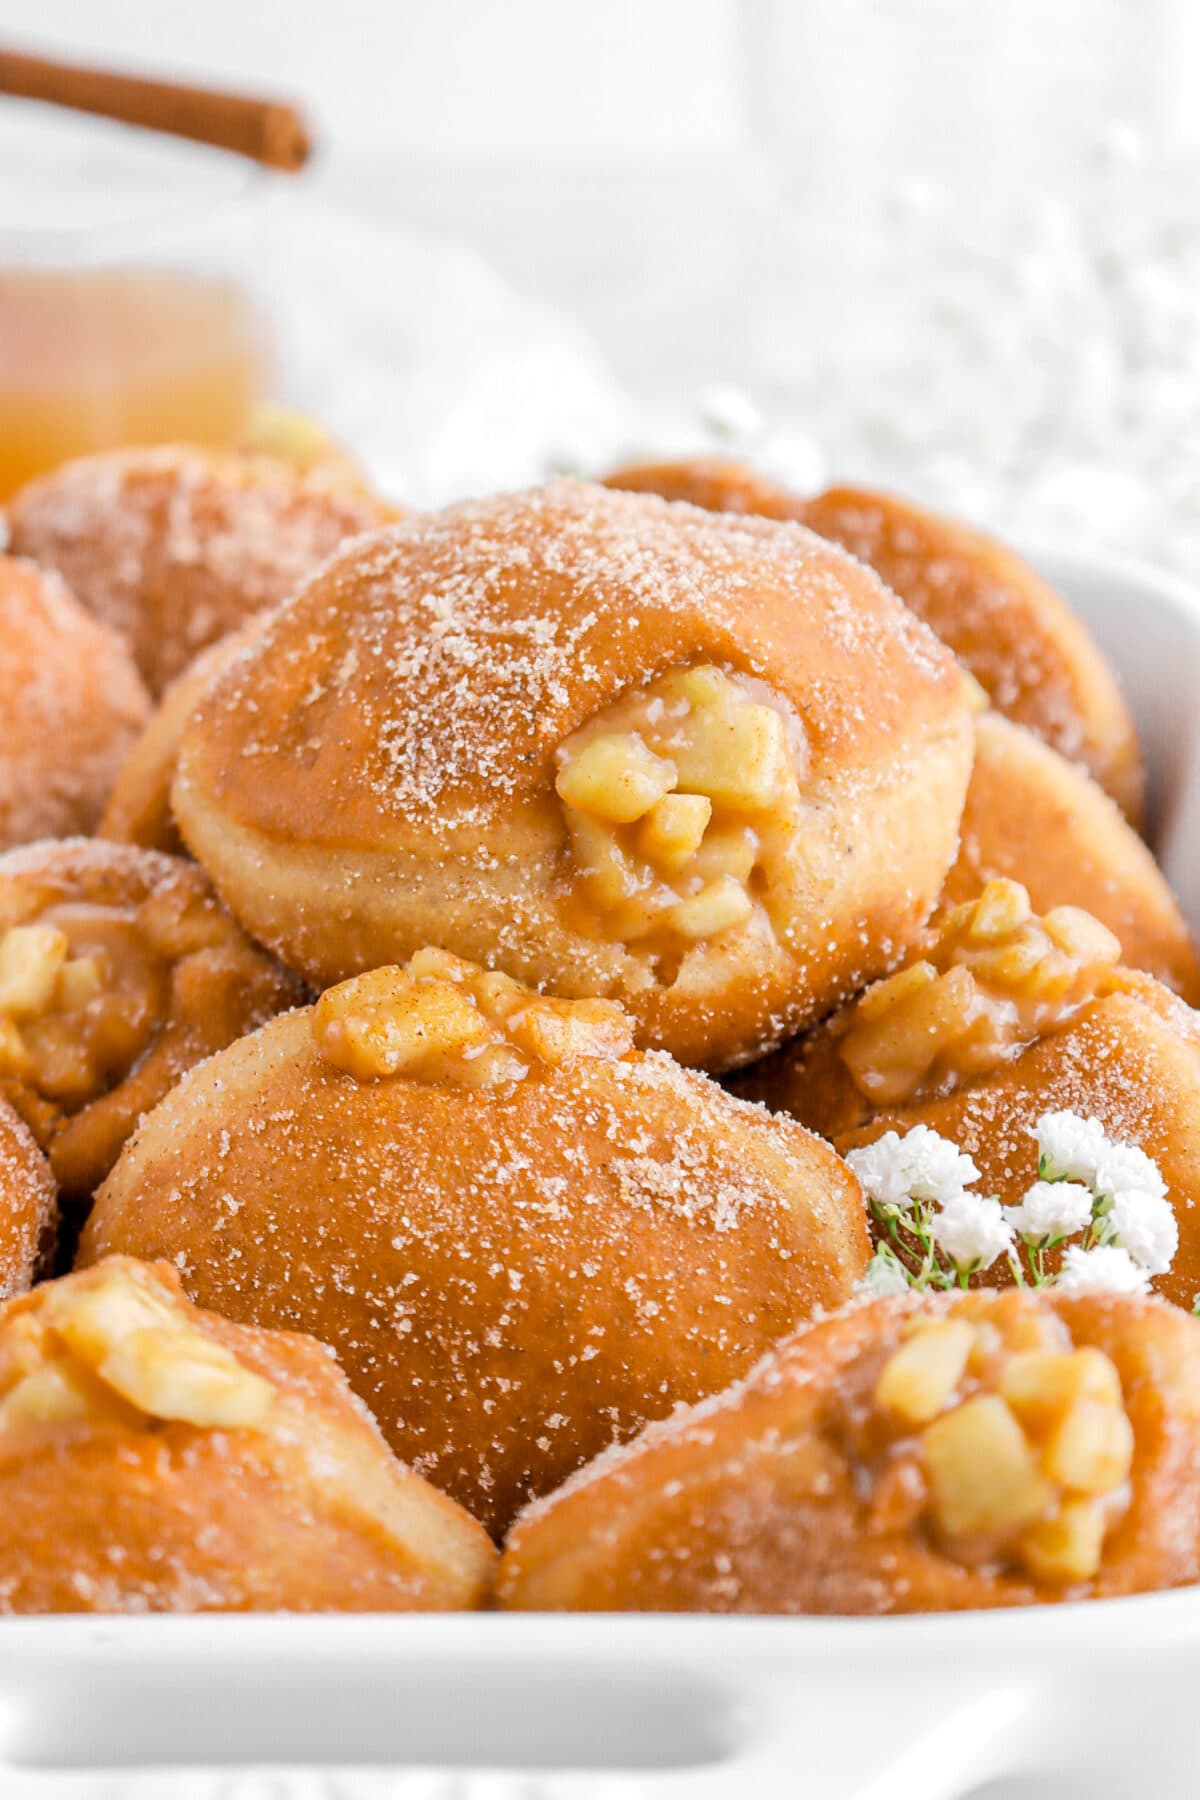
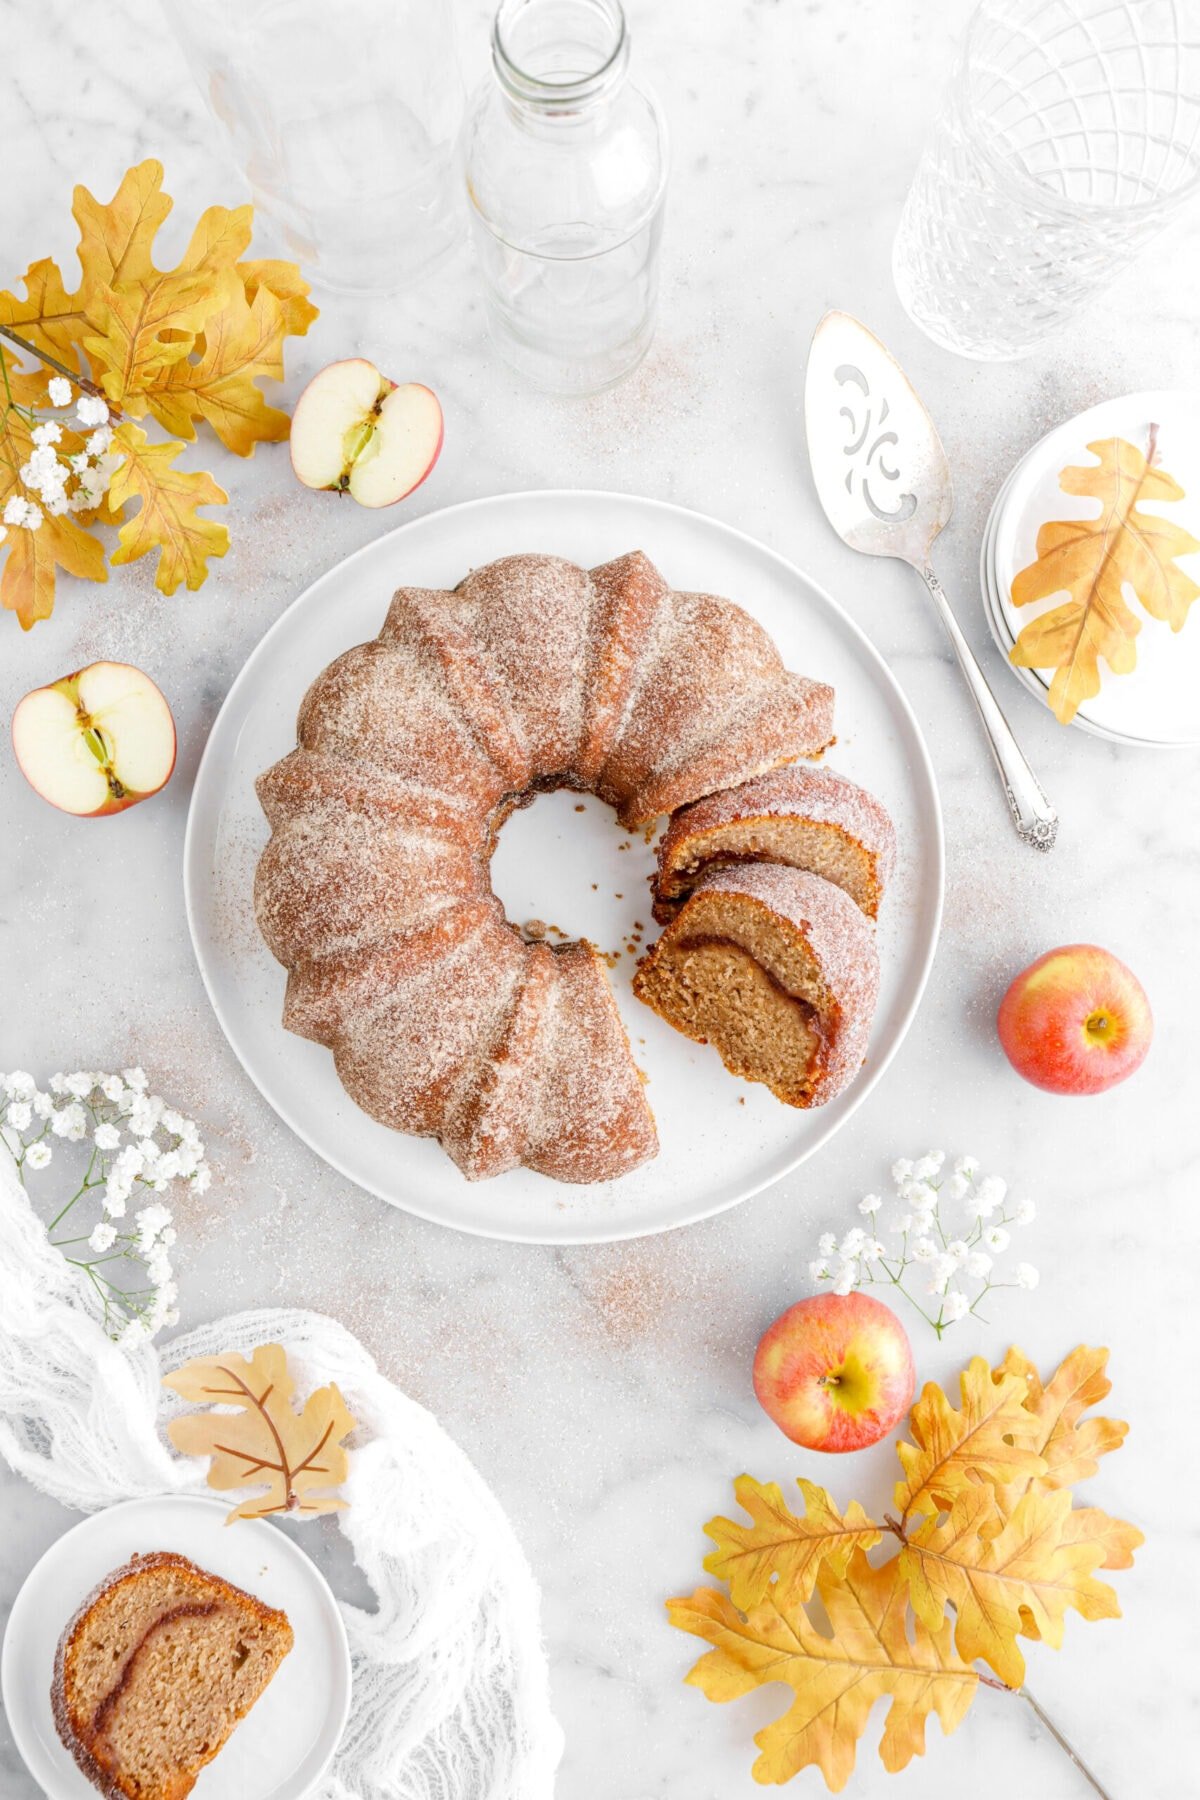
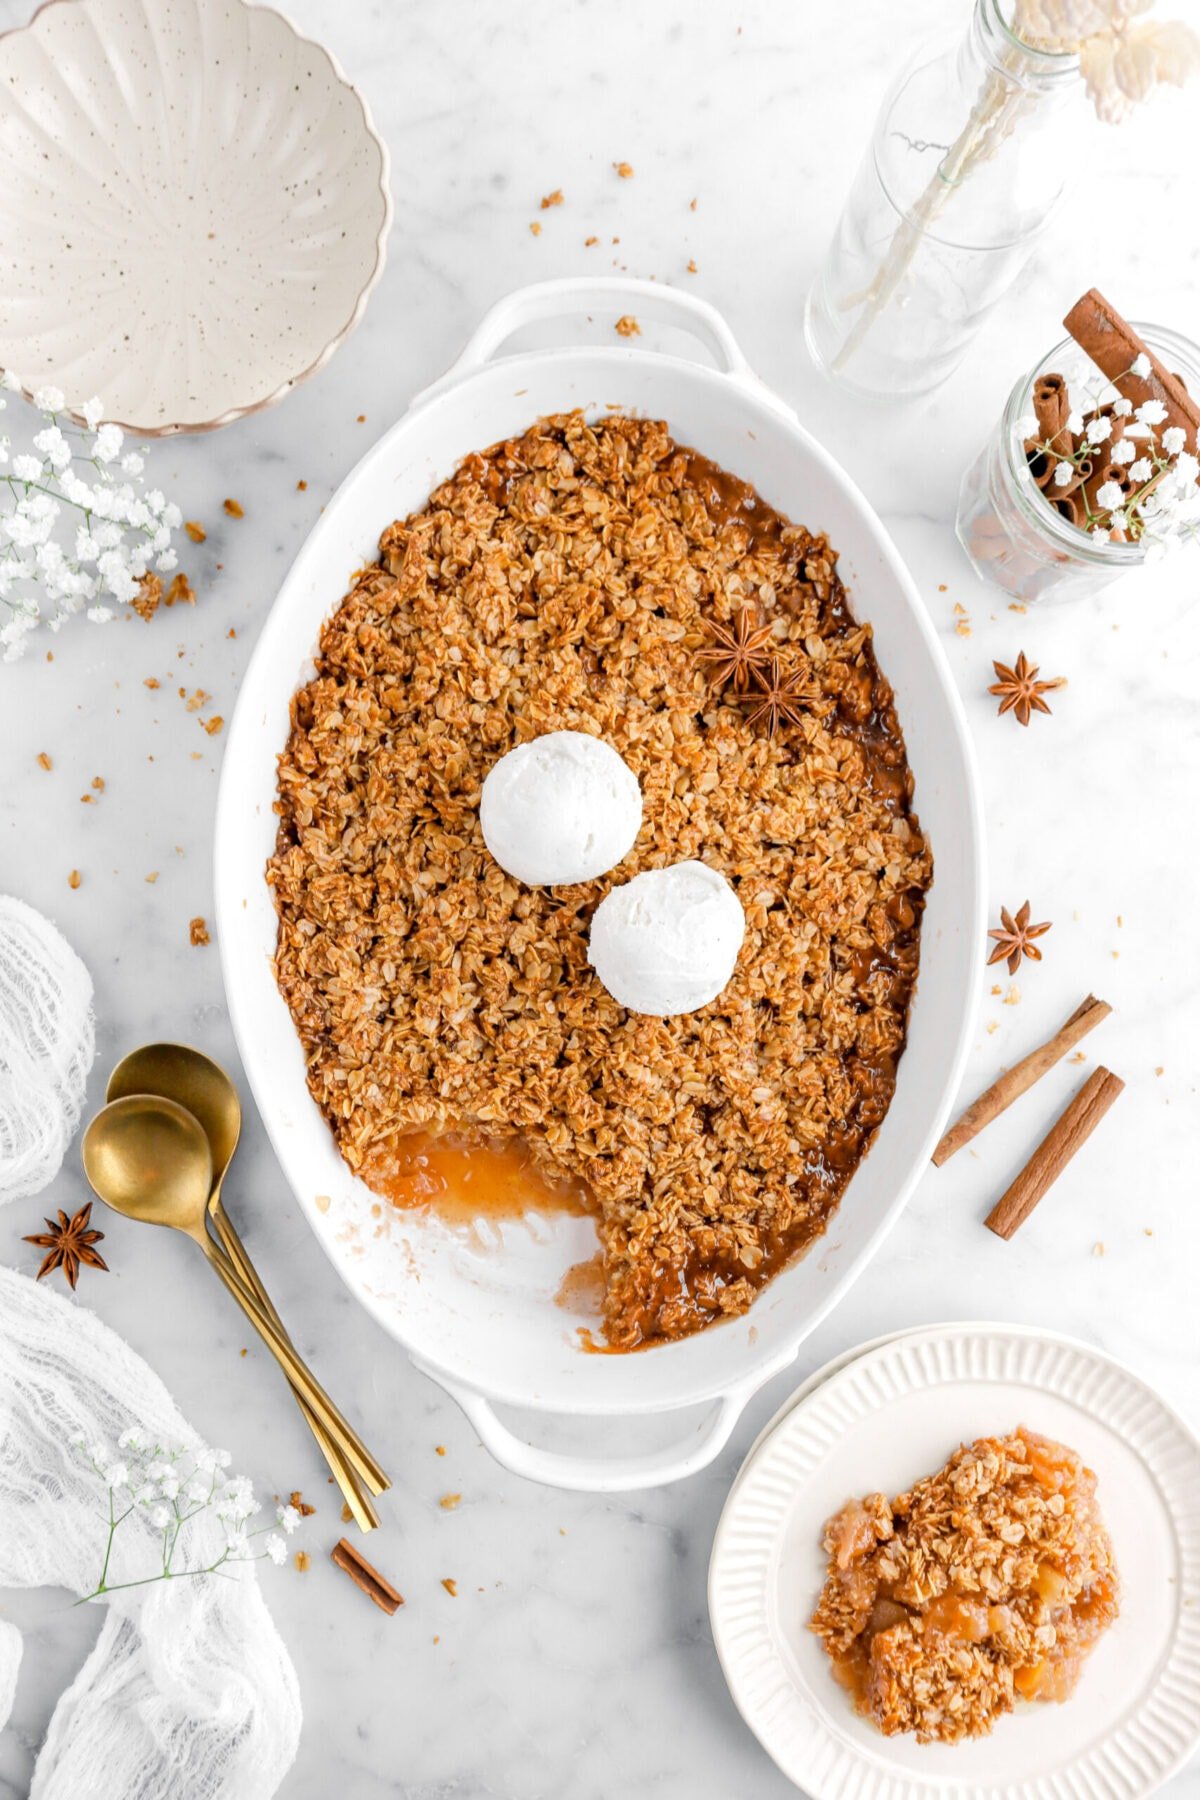
If you’re looking for more fall apple recipes, check out our round-up of 15 of our favorites – 15 Delicious Apple Recipes That Are Perfect For Fall!
When you make this The Best Old Fashioned Apple Pie, leave a comment down below! We love hearing from you and answering any questions you might have! Also, be sure to tag us on social media and hashtag it #BakersTable.
Happy baking!
x, Caylie

The Best Old Fashioned Apple Pie
Ingredients
Crust
- 4 cups all purpose flour
- 2⅔ Tablespoons granulated sugar
- 1 teaspoon salt
- 1½ cups unsalted butter, cold
- ⅔ cup water, cold, sliced
Filling
- 3 pounds fresh apples, peeled, cored, and sliced
- 1 Tablespoon lemon juice
- 4⅔ Tablespoons cornstarch
- ¾ cup granulated sugar
- 1 Tablespoon apple pie spice
- ⅓ teaspoon salt
- 2 Tablespoons unsalted butter, chopped
Egg Wash
- 1 large egg, room temperature
- 1 Tablespoon water

Instructions
Pie Crust
- Heat oven to 375℉/190℃.
- Combine flour and salt in the bowl of a stand mixer fitted with a pastry beater or a flat beater.
- Turn on low briefly to mix.
- Add butter.
- Mix on low/medium-low until butter is completely coated in flour and broken down with some larger chunks remaining.
- Add water.
- Mix until it becomes dough, about 30 seconds.
- Divide dough in half.
- Wrap one half in plastic wrap, flatten into a disc, and refrigerate until needed.
- Roll the other half of the dough into a ⅛ inch thick circle.
- Fit into your pie dish, pressing gently to remove any air bubbles, but don't trim the edges.
- Remove dough from refrigerator.
Filling
- Combine apples, lemon juice, cornstarch, sugar, spice, and salt.
- Toss to combine.
- Pour into prepared pie shell.
- Dot with butter, if desired.
- Roll out remaining dough in a circle that is ⅛ inch thick.
- Place on top of pie and seal the edges. If you would like to lattice the crust, please follow the instructions in the post.
- Trim the edges.
- If you are not latticing, cut slits in the dough so the pie can let off steam.
- Place on a baking sheet and put in the freezer for 20 minutes.
Egg Wash
- While the pie is in the freezer make the egg wash by whisking the egg and water together in a small bowl.
To Finish
- When you remove the pie from the freezer, brush the crust with egg wash.
- Bake (still on the baking sheet) for 90 minutes, until crust is golden brown. Cover the edges after 55 minutes.
Notes + Tips!
How to Store Your Apple Pie
To ensure your pie stays fresh and delicious, proper storage is key! Once your pie has cooled completely, it’s best to refrigerate it. Wrap the cooled pie tightly in plastic wrap or store it in an airtight container. Refrigerate for up to 3 days. If you have leftovers after a few days, you can also freeze the pie. However, the crust might become soggy upon thawing. For the best flavor and texture, we recommend enjoying your apple pie within a few days of baking.Tips for the Perfect Apple Pie
- Choose the right apples: A combination of sweet and tart apples works best! We personally love granny smith and honeycrisp.
- Perfect the crust: For a tender, flaky crust, be sure to use cold butter and ice cold water.
- Gentle handling: Handle the dough as little as possible. Overworking it will result in a tough crust.
- Crumble topping: For a delightful crunch (and for those who don’t want to make a double crust pie), top your apple pie with a buttery crumble topping like we did with our apple cranberry pie!
Tools You May Need (affiliate links)
- 10 Inch Deep Dish Pie Dish
– Still Hungry? –
Here are a few recipes may like!


Amazingly good! This is the best apple pie recipe EVER!!!! I made it as a back to school treat for my kids and they LOVED it! Can’t wait to have this at Thanksgiving.
Hi Daniel! I’m so happy to hear you all enjoyed it 💛 x, Caylie