Biscoff Cookie Butter Cake
This post may contain affiliate links, please visit our privacy policy for details.
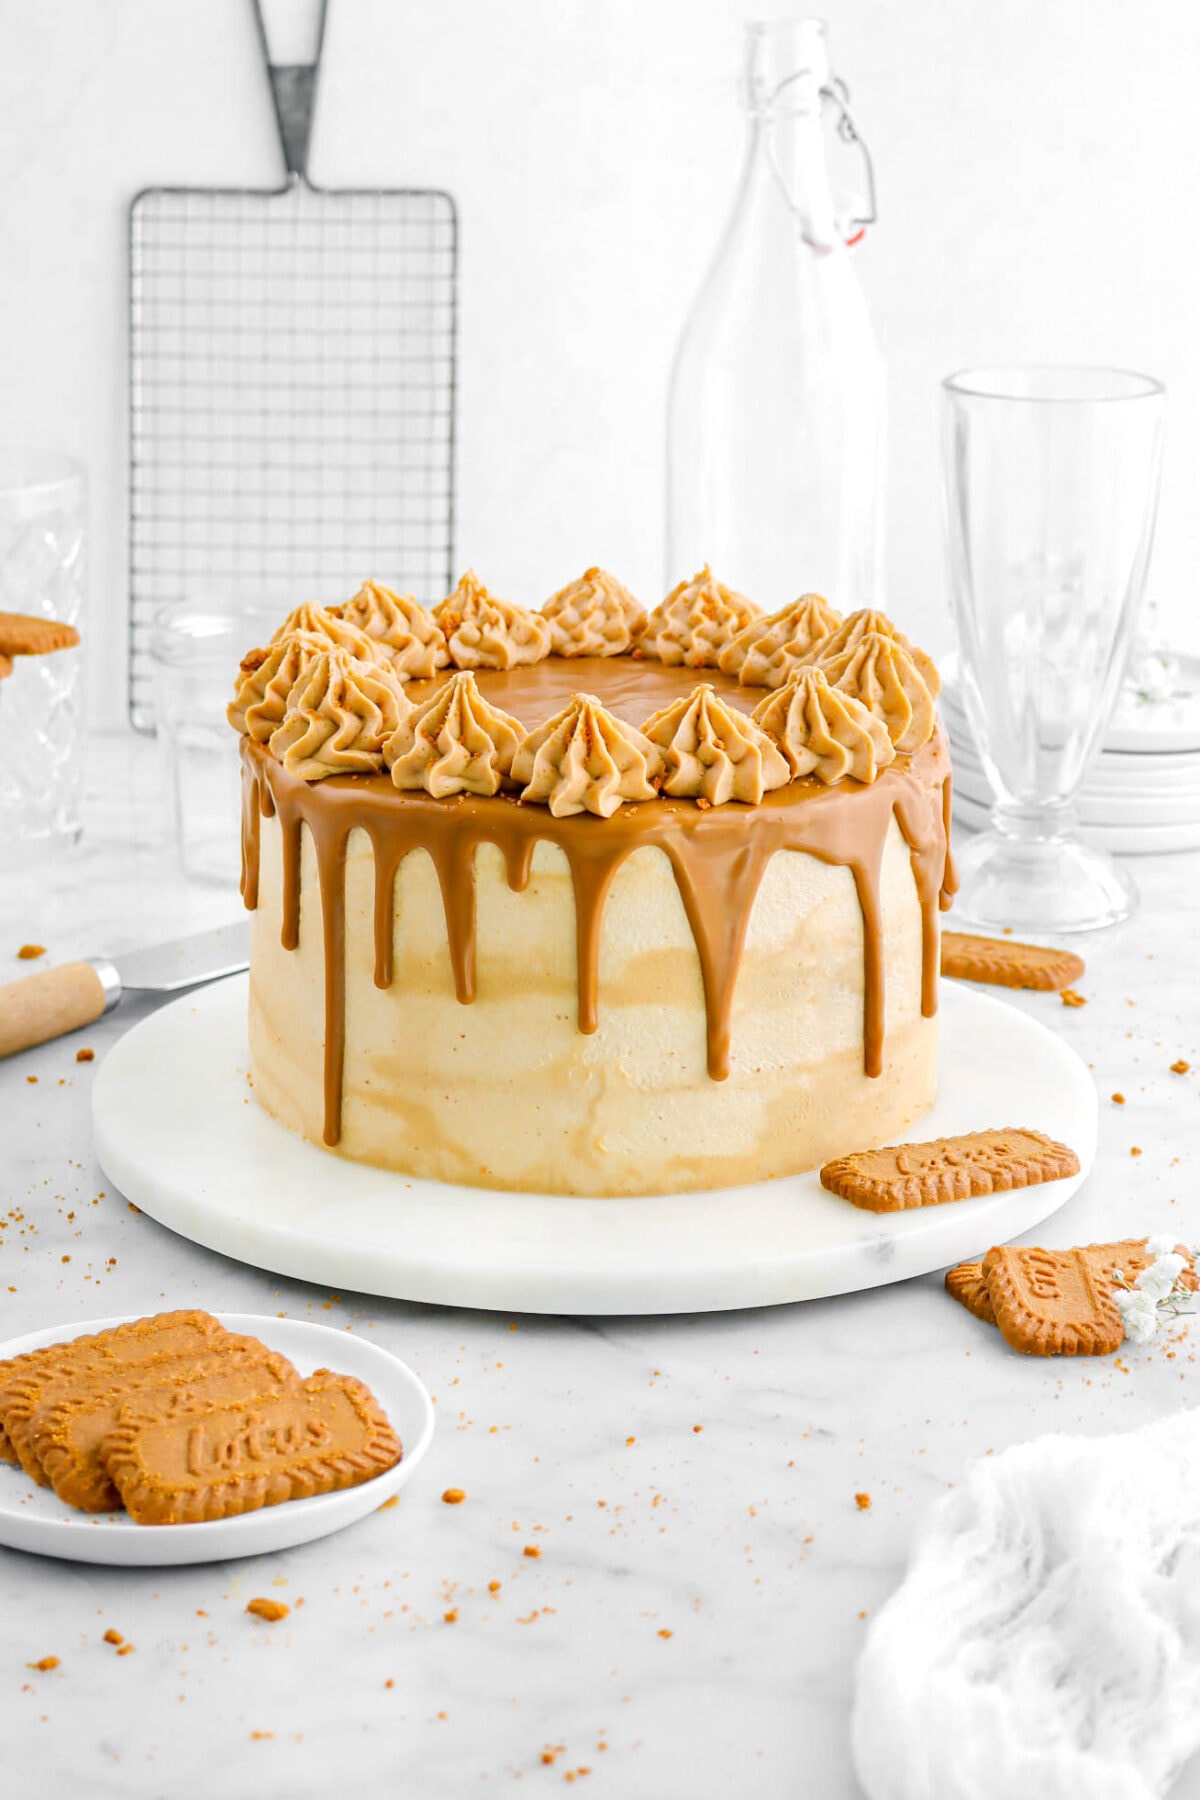
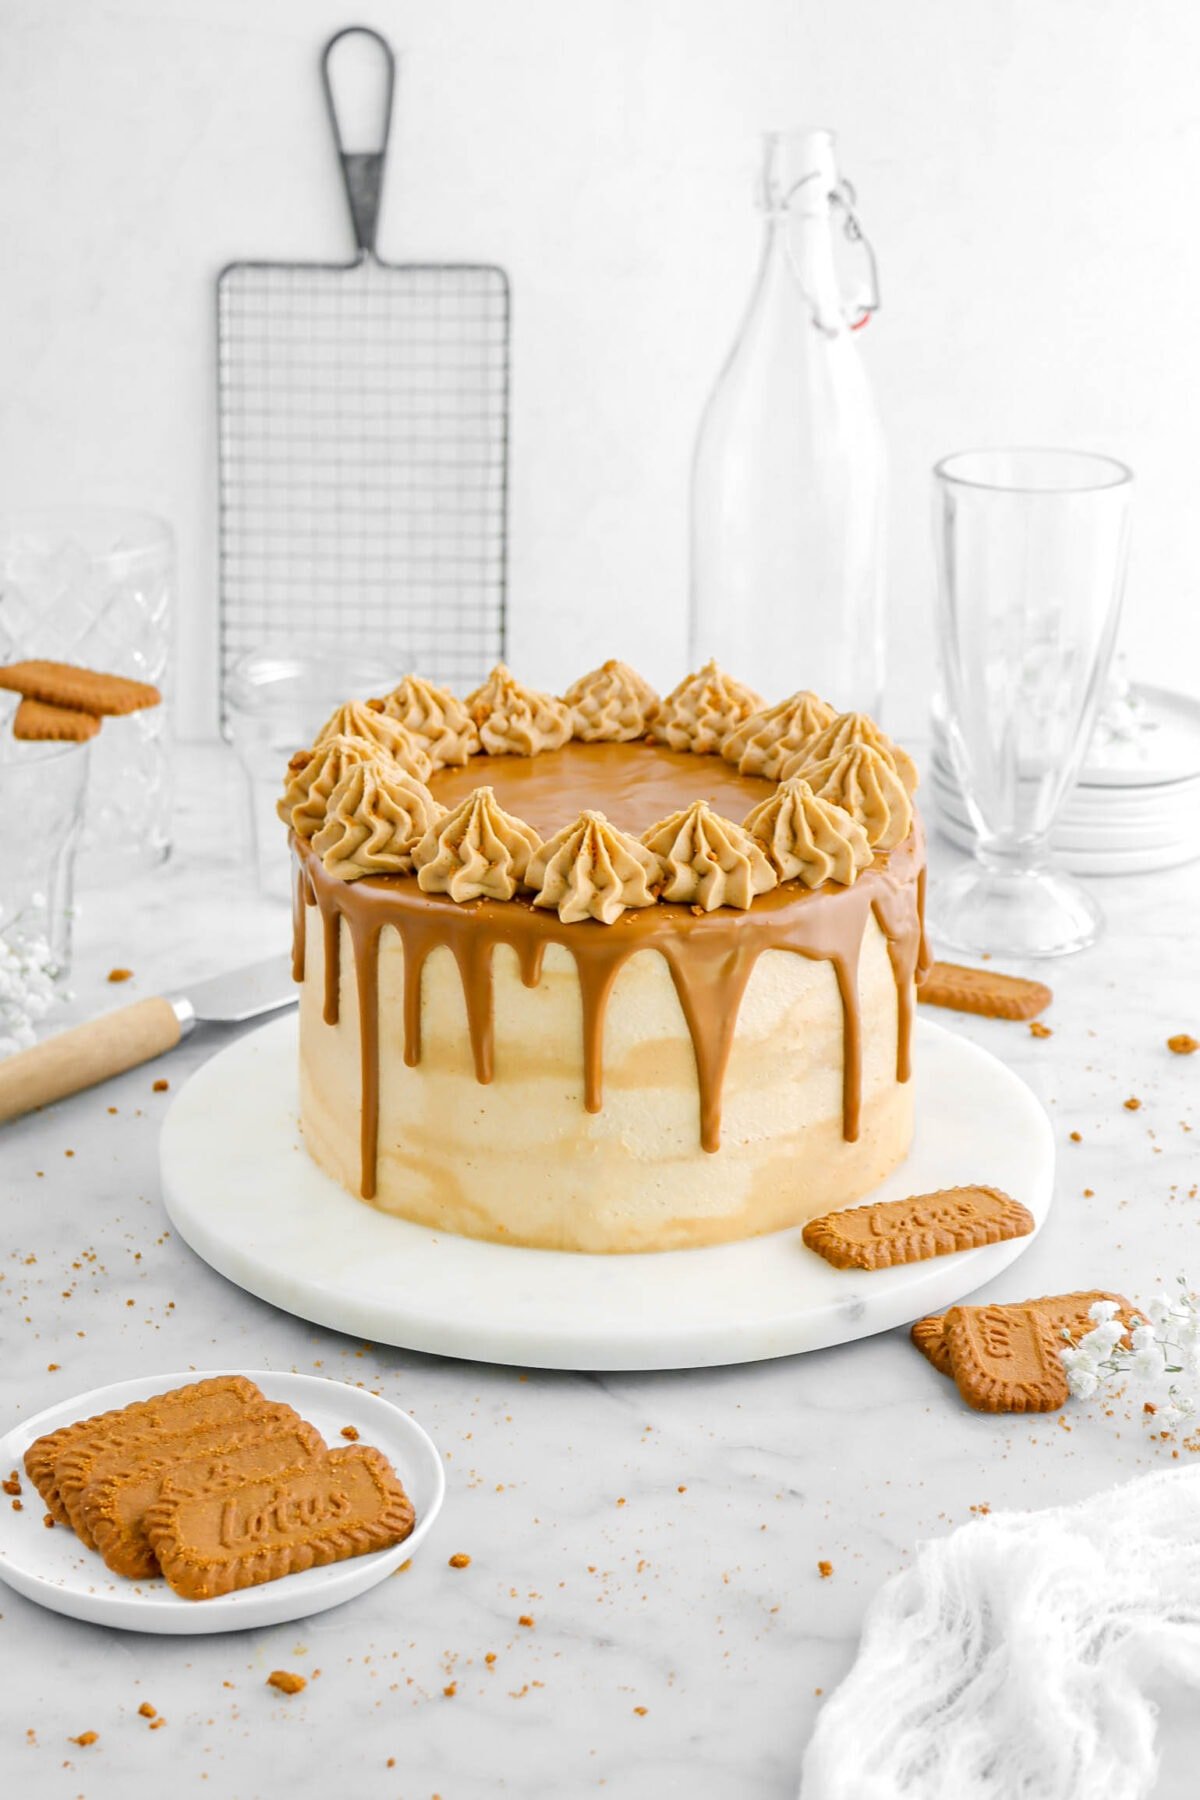
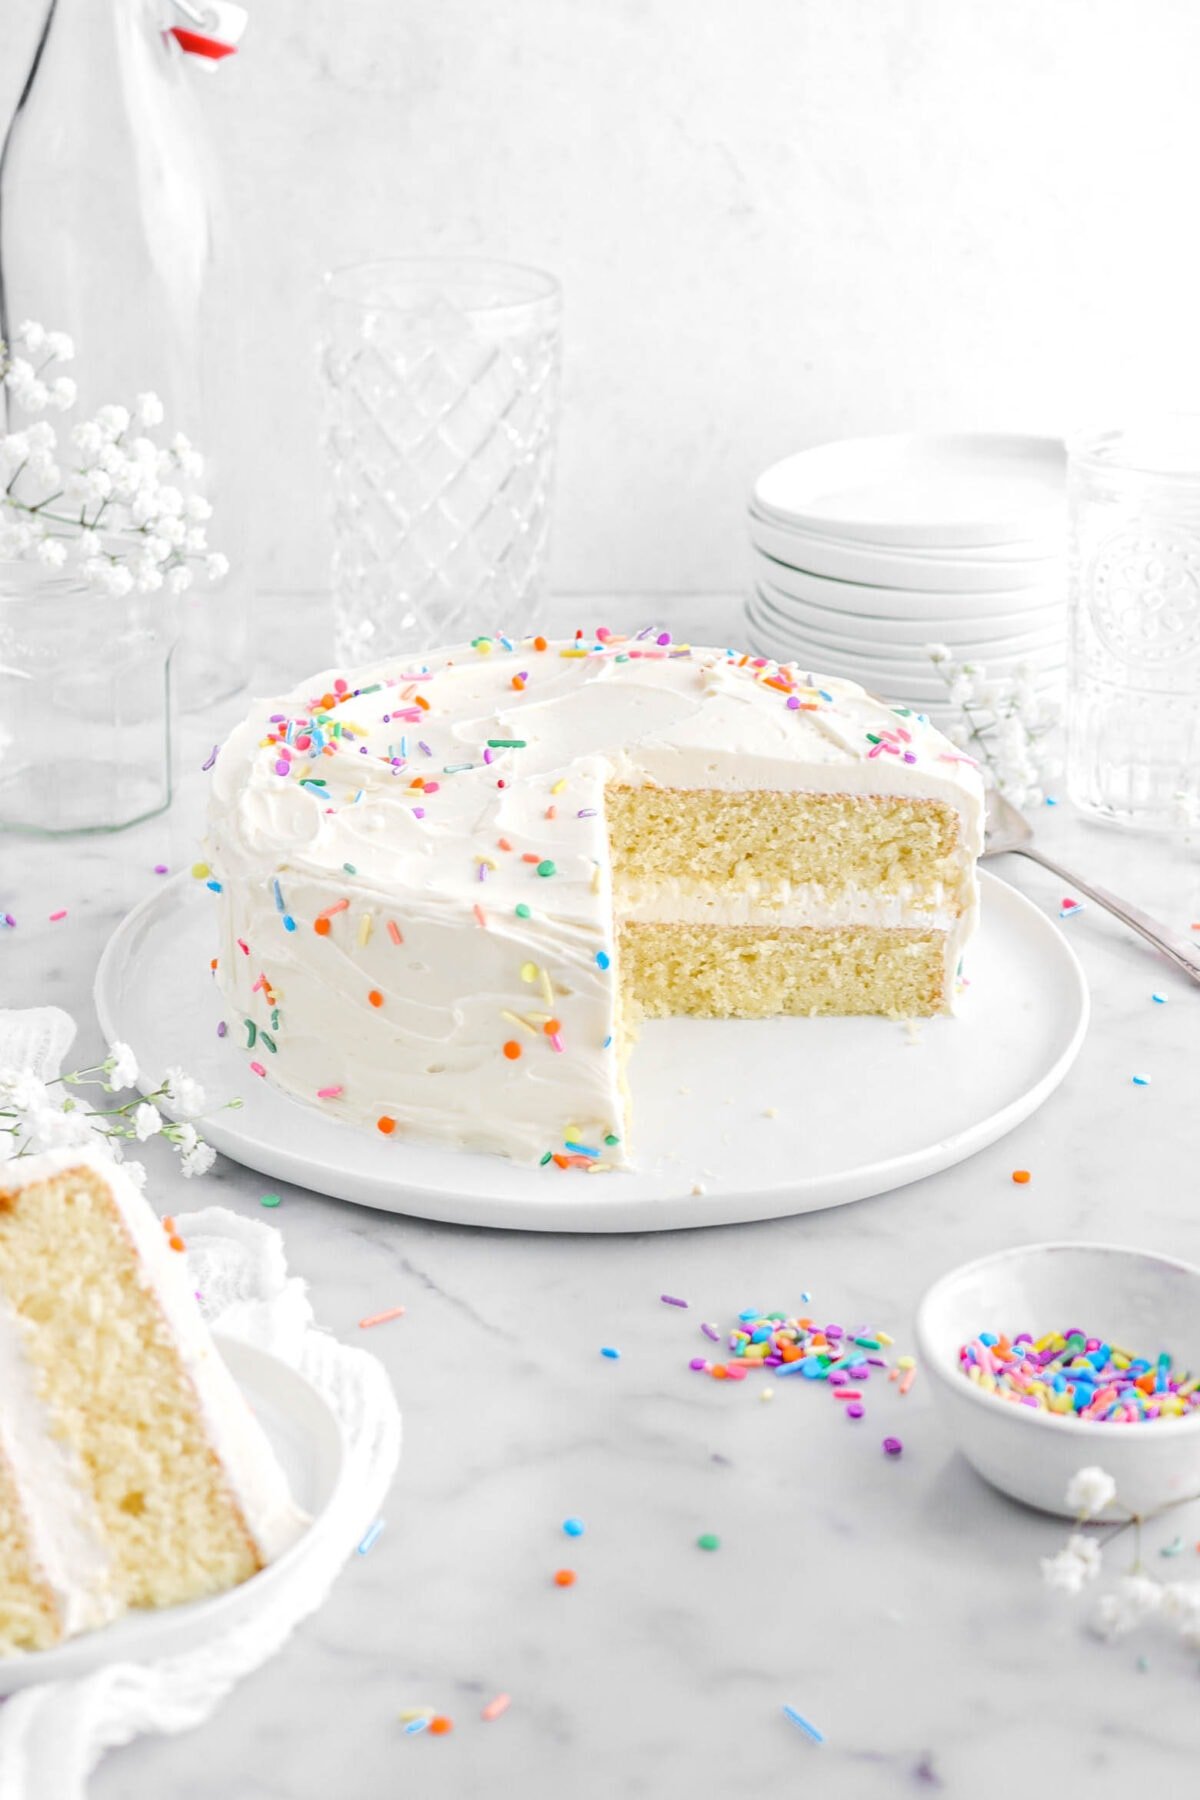
Calling all cookie butter lovers! This Biscoff Cookie Butter Cake is a dream come true – decadent, easy to make, and bursting with flavor. Moist Biscoff cake layers sandwiched between creamy cookie butter frosting, making it perfect for any occasion!
So, What is Cookie Butter?
For those unfamiliar with cookie butter, it’s a spread (similar to peanut butter!) made from speculoos cookies, offering a delicious and slightly spiced flavor profile. It’s a perfect complement to the sweetness of cake and adds a unique twist to classic desserts.
Why You Will Love This Cake:
- Decadent Flavor: Every bite is packed with the rich and delicious taste of cookie butter.
- Moist and Tender: The cake layers are incredibly moist and melt-in-your-mouth tender.
- Easy to Make: Don’t be intimidated by the layers! This recipe is simple to follow and ready in about 1 hour.
- Perfect for Any Occasion: This cake is a showstopper for birthdays, celebrations, or just because you deserve a sweet treat!

Ready to Bake? Here’s What You’ll Need:
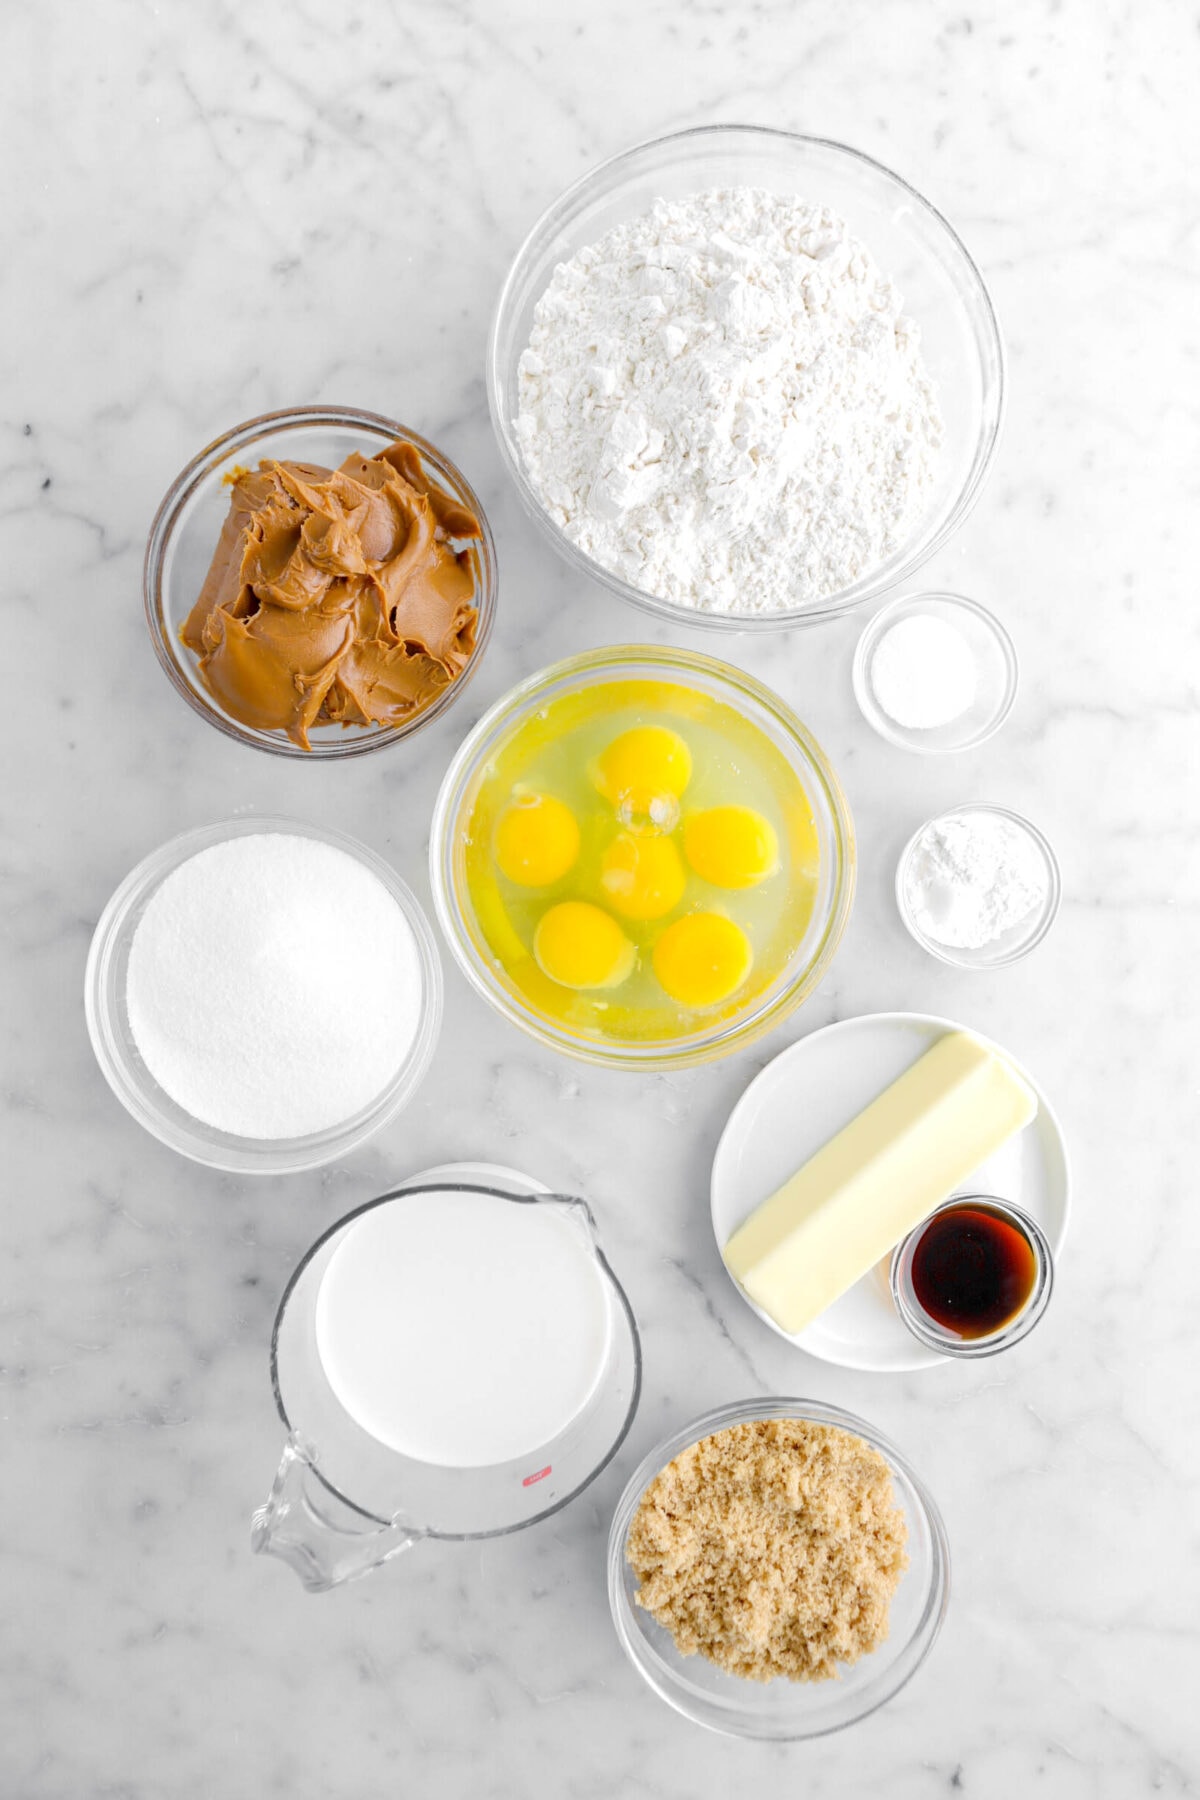
- For The Cake: All-Purpose Flour, Baking Powder, Salt, Unsalted Butter, Cookie Butter, Granulated Sugar, Brown Sugar, Large Eggs, Whole Milk, Vanilla Extract.
- For The Frosting: Salted Butter, Cookie Butter, Powdered Sugar, Heavy Cream, Vanilla Extract.

Let’s Get Baking!
- Mix dry ingredients: In a medium bowl, whisk together flour, baking powder, and salt. Set aside.
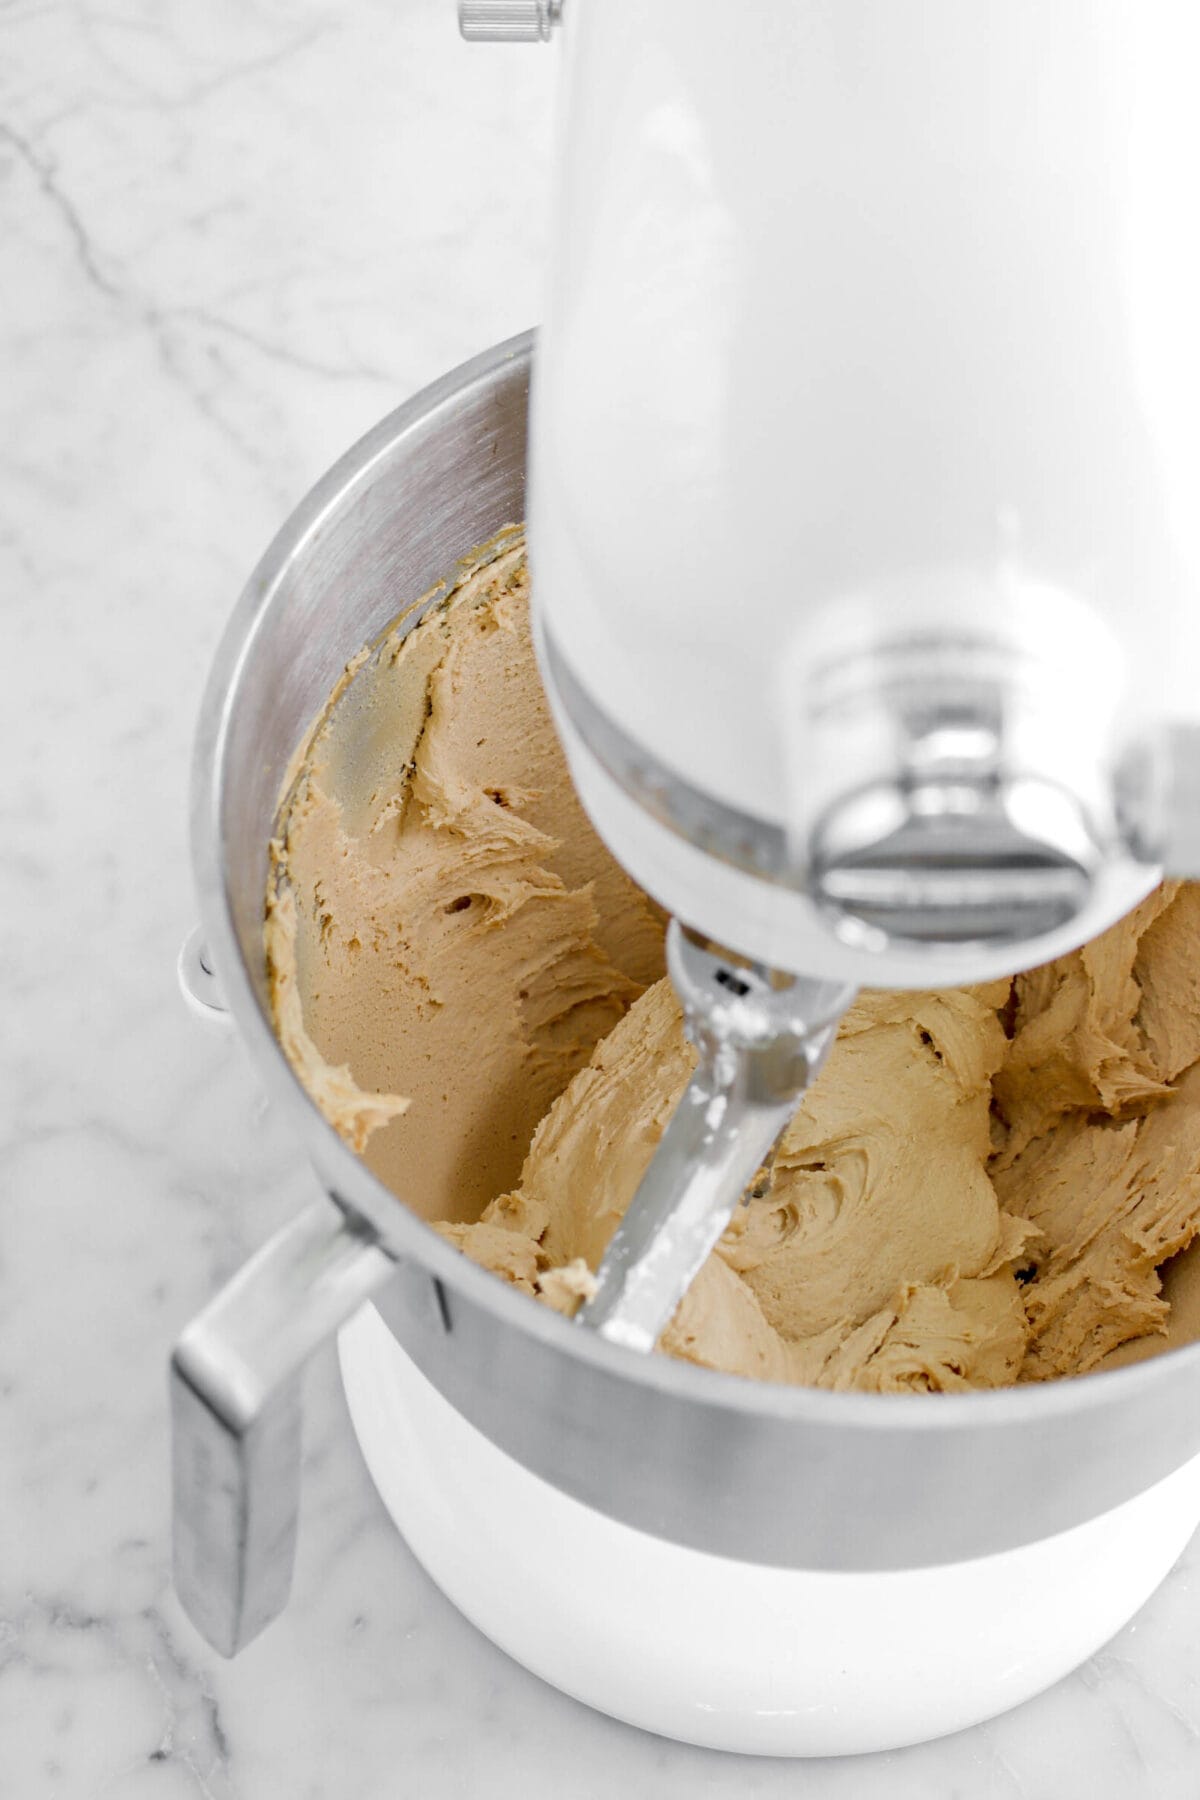
- Prepare the cake batter: With an electric mixer, beat butter, cookie butter, and both sugars until light and fluffy. Add eggs, one at a time, beating well after each addition. Add the flour mixture alternately with milk. Stir in the vanilla.
- Bake: Divide evenly among prepared pans. Bake for 35 minutes, or until cake tests done.


3 Easy Steps For Perfect Buttercream
- With an electric mixer, beat butter and cookie butter until smooth, about 1 minute.
- Beat in powdered sugar.
- Add cream and vanilla. Beat until light and fluffy, about 2-3 minutes.
⊹ Tip For Success! ⊹
The butter for the frosting needs to be room temperature for it to mix properly. If your butter is not totally room temperature, you can beat it with an electric mixer until smooth and fluffy. Then, add your powdered sugar and follow the recipe as written.
Decorating Success Tip: Add a Crumb Coat!
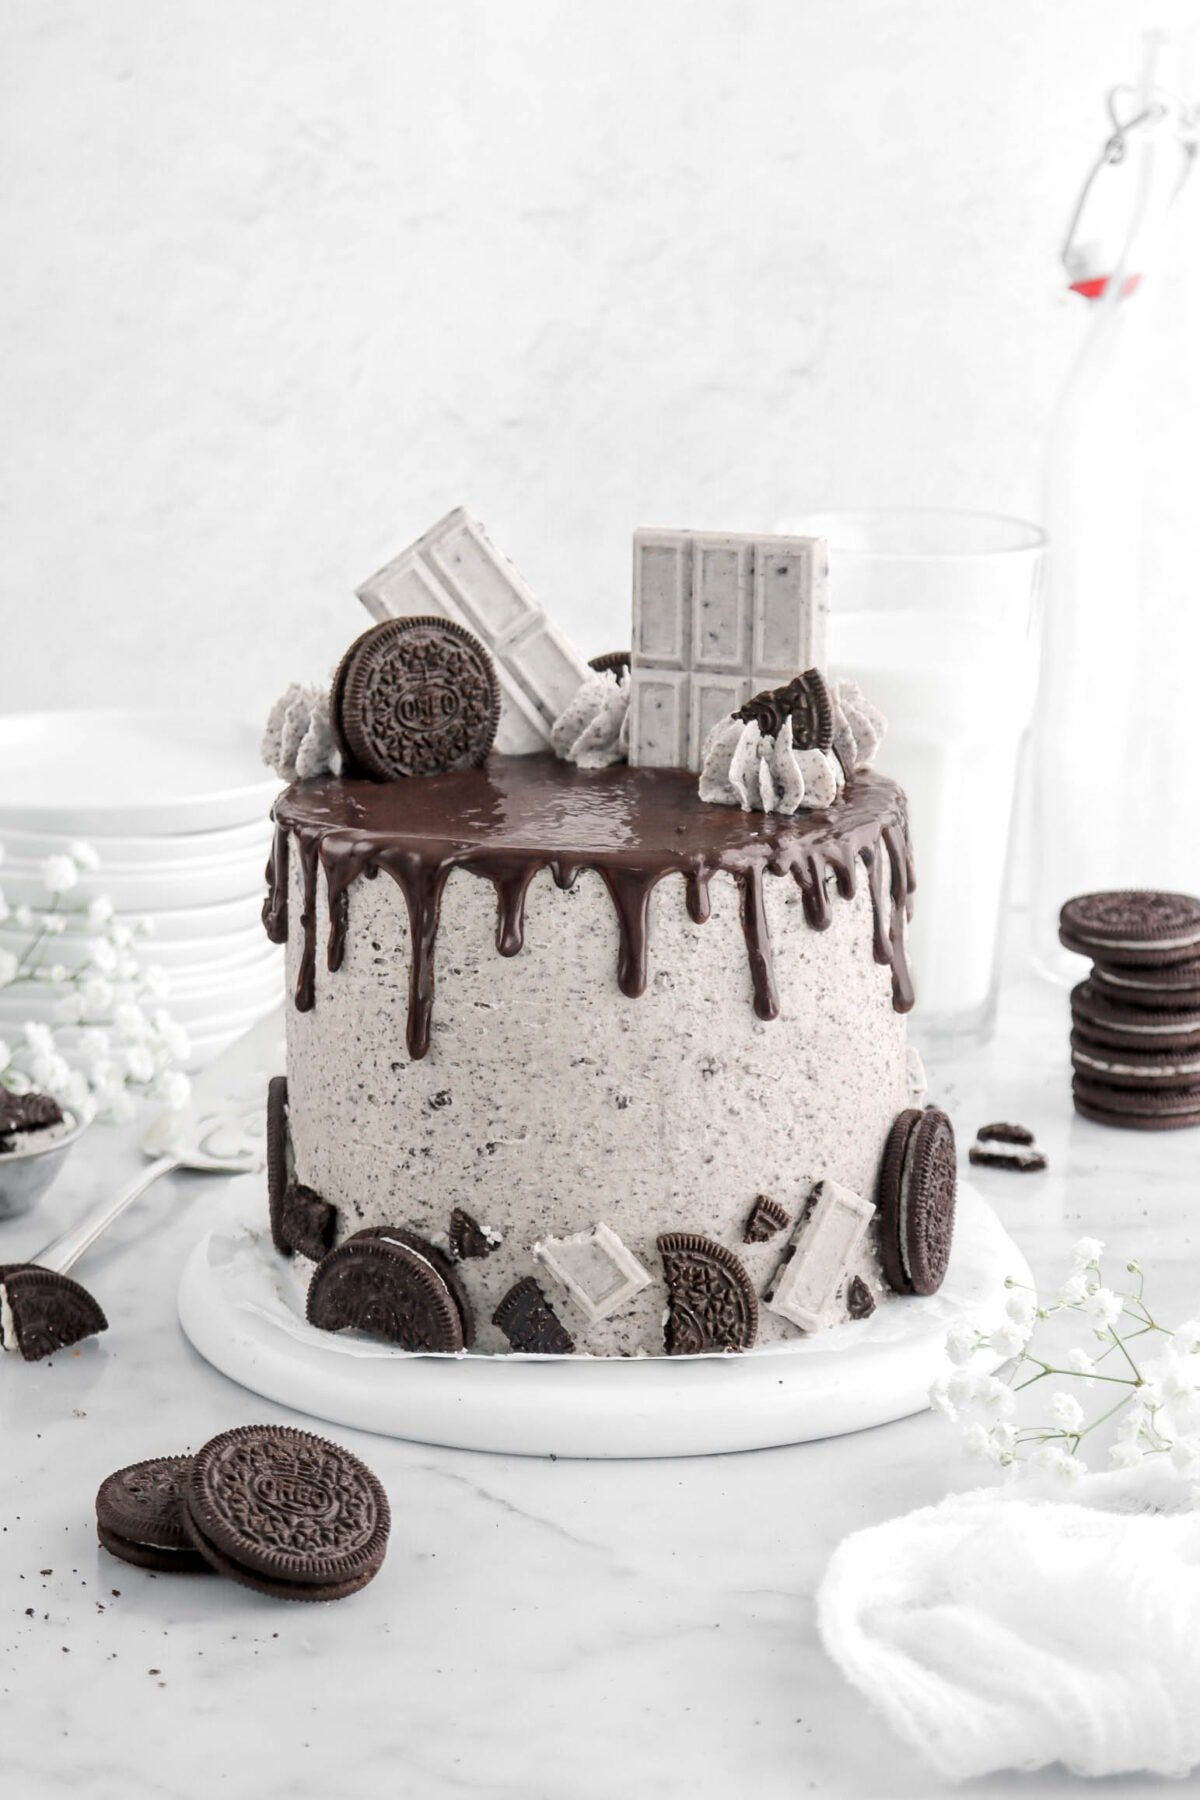
While it might not be necessary for EVERY cake (like our Oreo Cake!), this cake tends to be a little more crumbly and benefits from a crumb coat.
But what is it? Well, a crumb coat is a thin layer of frosting applied before the final layer. This helps trap any loose crumbs that might peek through your beautiful final frosting. To achieve this, frost the entire cooled cake with a thin layer of frosting.
Refrigerate for 30 minutes to allow the crumb coat to set. This creates a smooth canvas for when you frost the cake!
It’s Time To Decorate
Once this cake is assembled, it is a blank canvas! There are SO many things you can do with this cake, but here are a few ideas to help you get started.
- Make cookie butter drips along the top of the cake.
- Don’t stop at just spreading frosting! Get creative with a piping bag and different decorating tips. Try swirling frosting on top, piping a border around the bottom edge, or creating beautiful rosettes for a truly impressive cake.
- Press Biscoff cookie crumbs (or even whole cookies!) to press along the bottom of the cake.

✳ Cookie Butter Cake FAQ’s & Troubleshooting

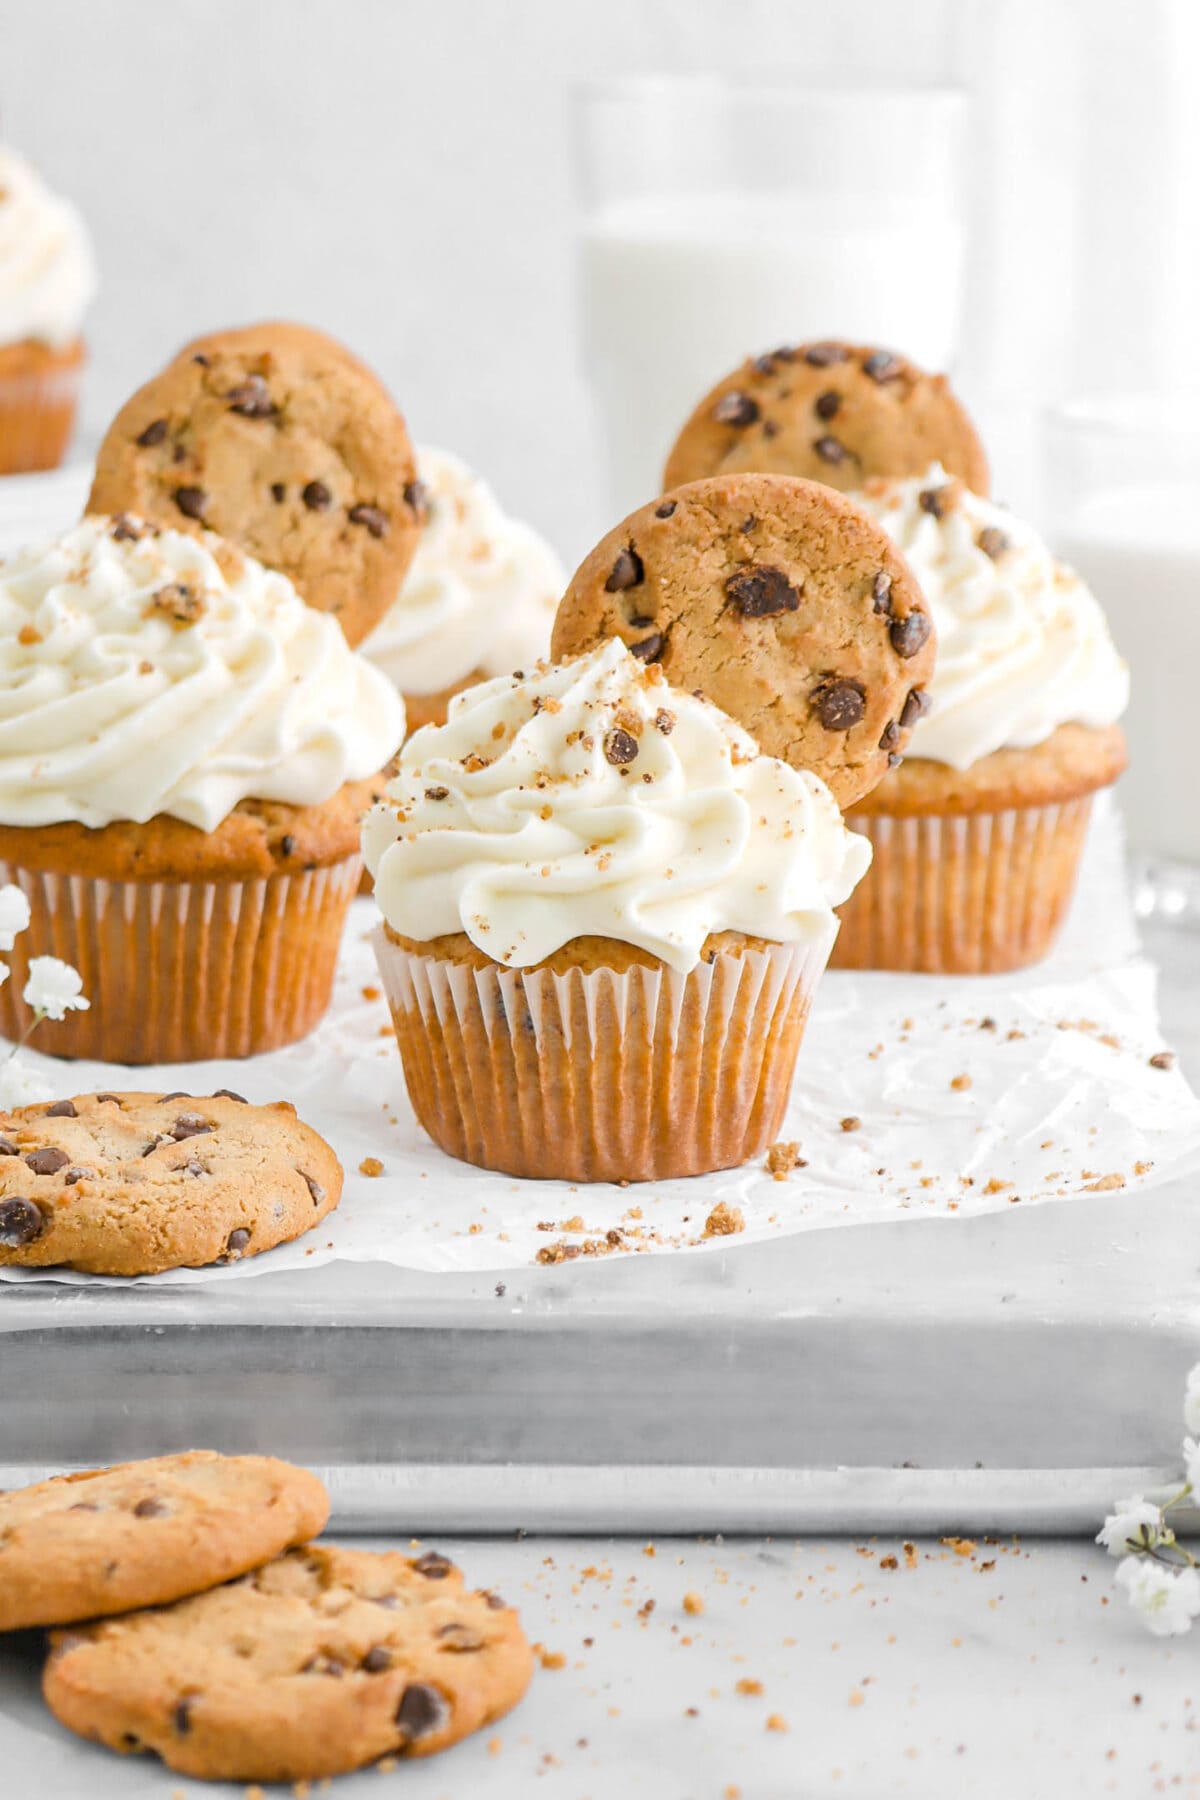
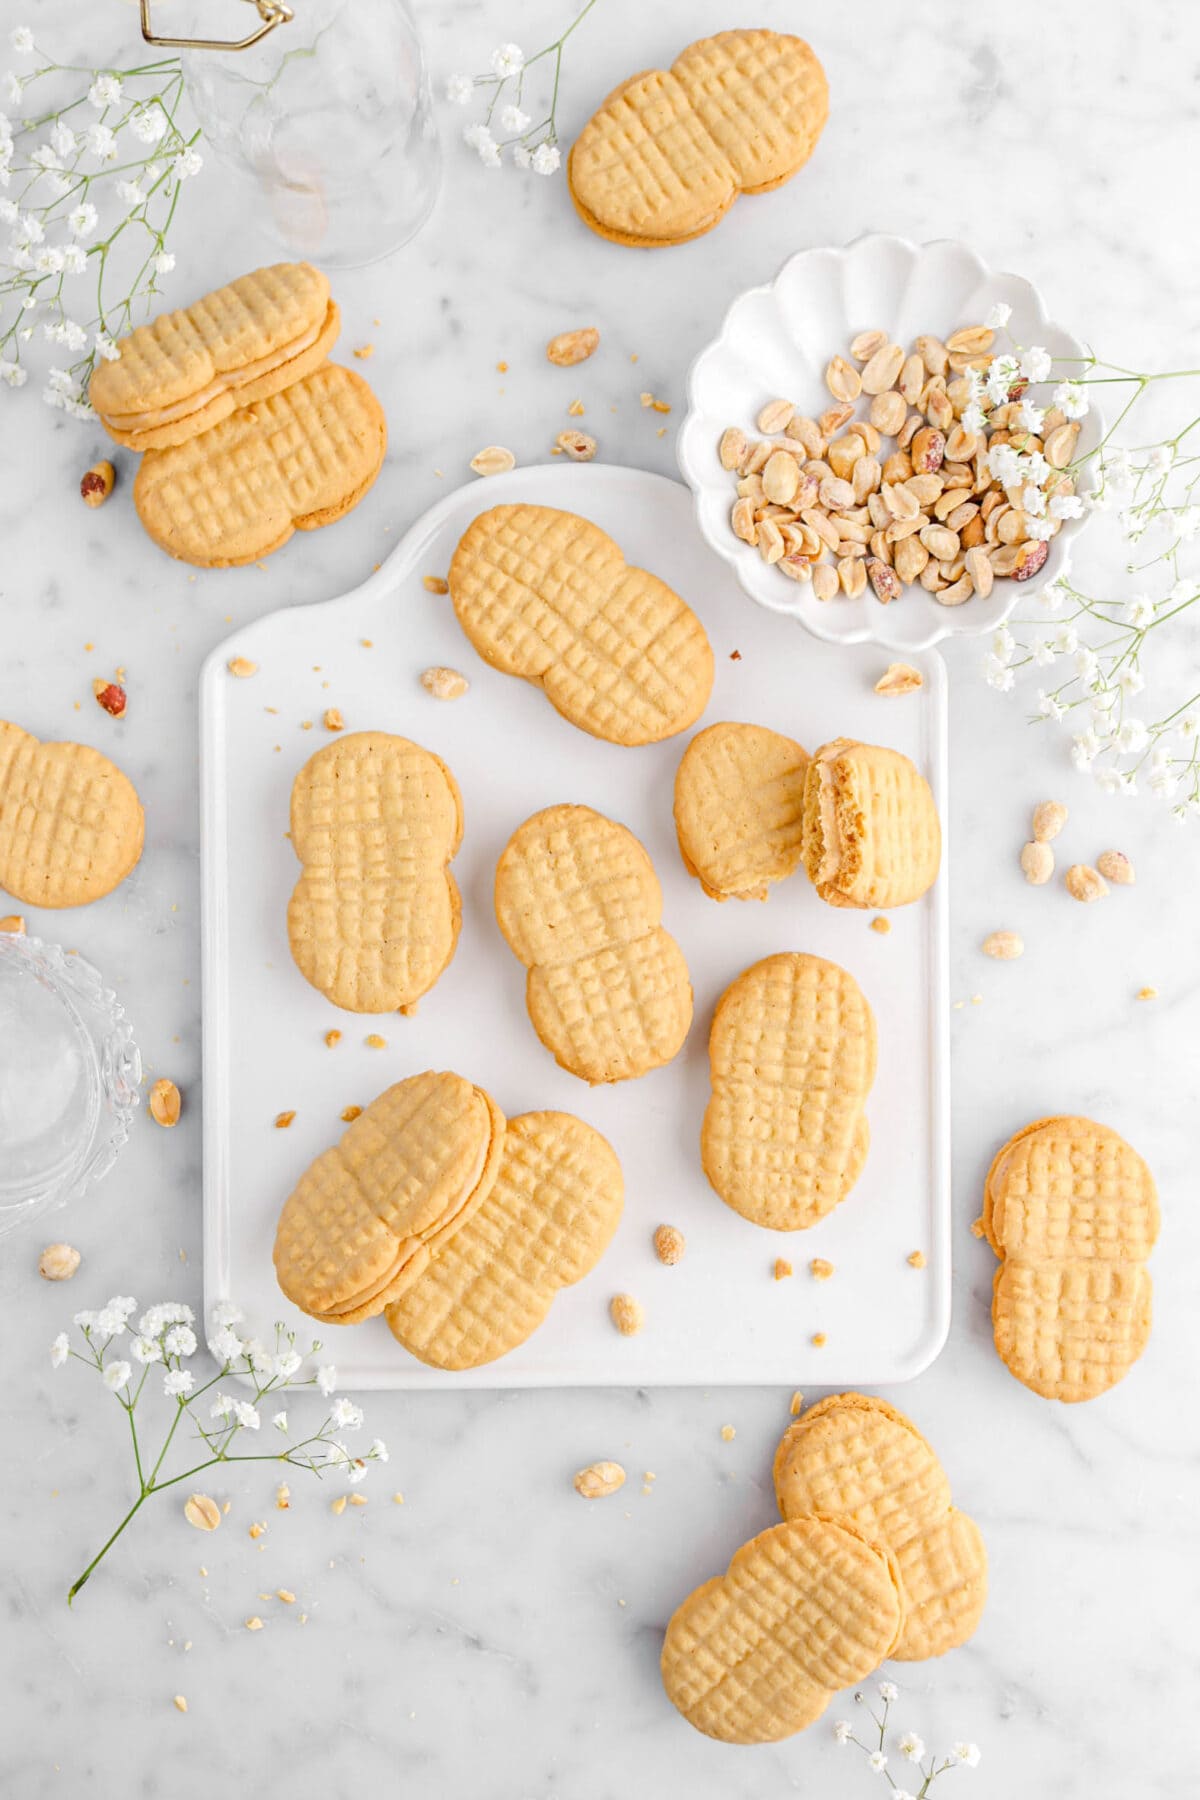
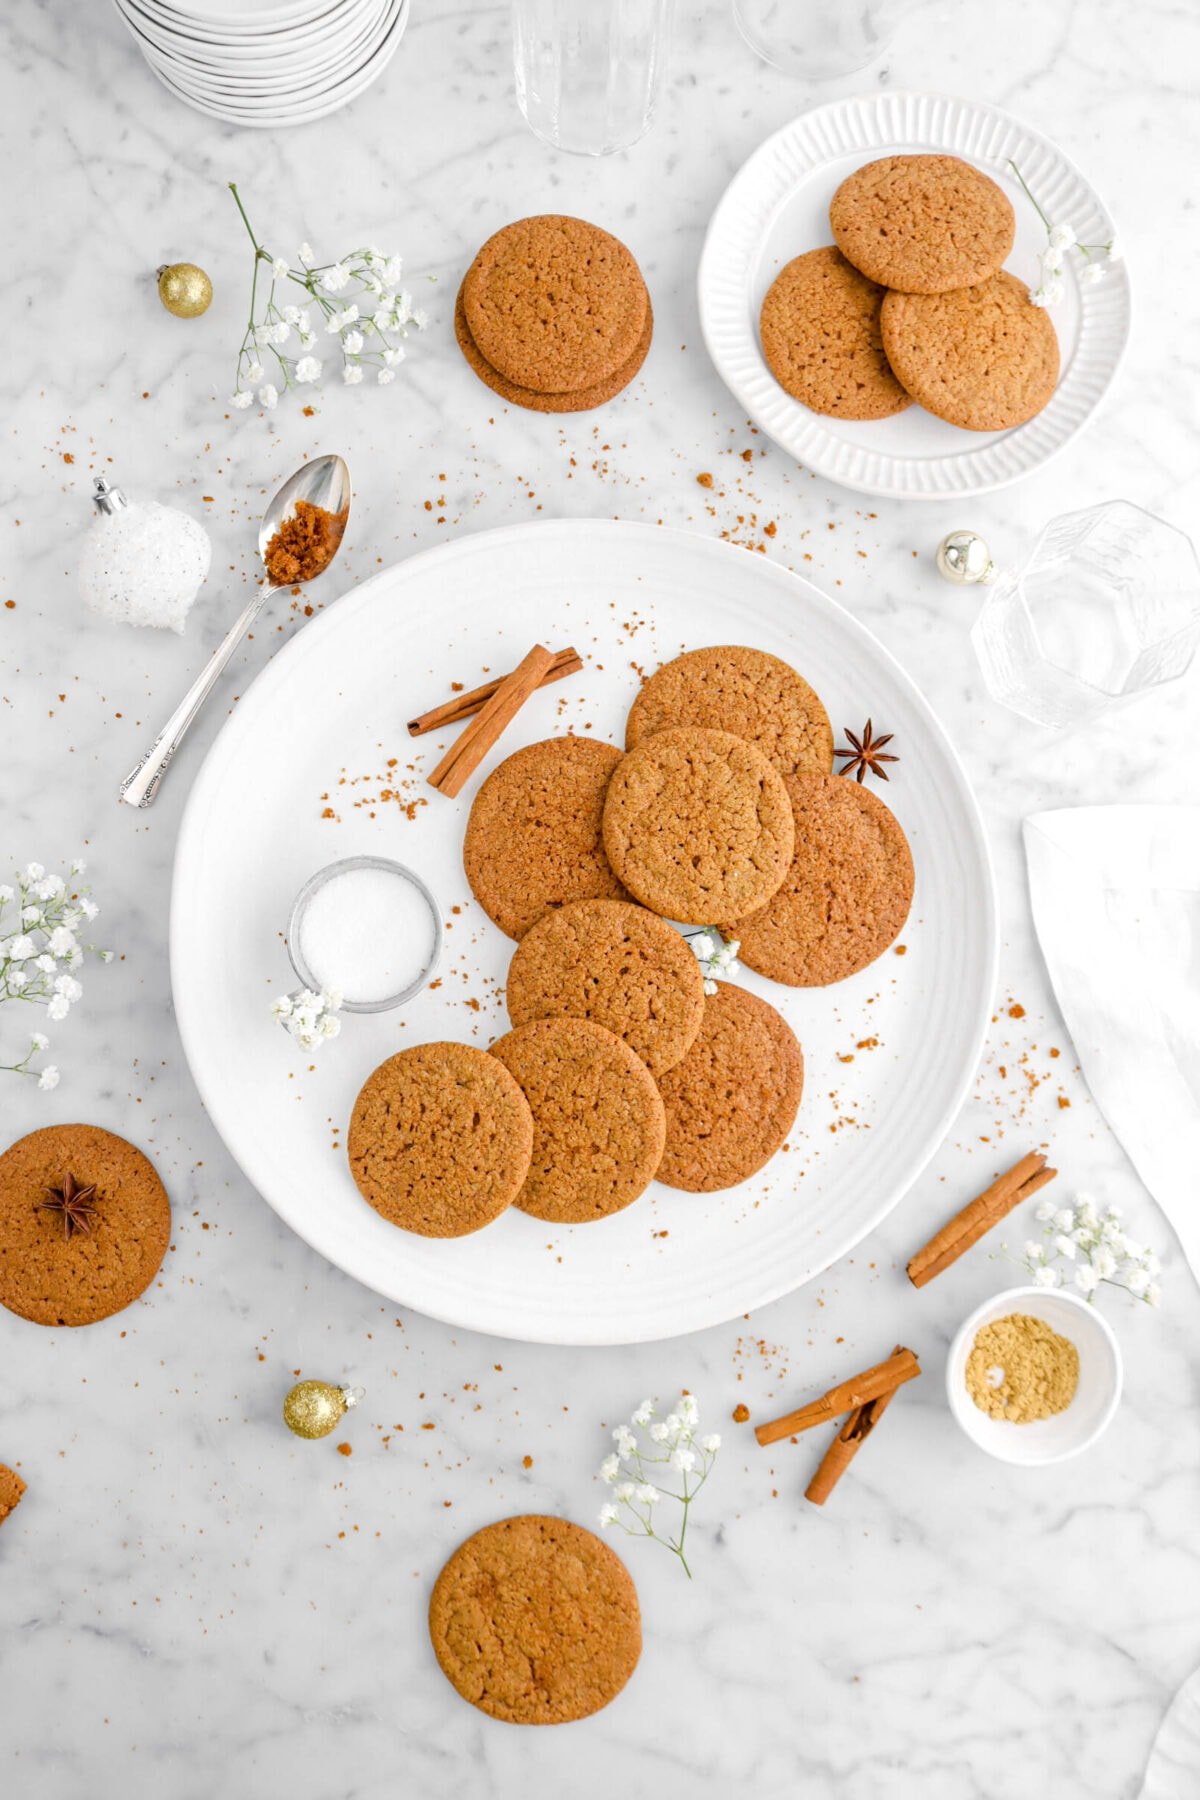
Looking for more recipes like this? Here are a few you may like:
When you make this Biscoff Cookie Butter Cake, leave a comment down below! We love hearing from you and answering any questions you might have! Also, be sure to tag us on social media and hashtag it #BakersTable.
Happy baking!
x, Caylie

Biscoff Cookie Butter Cake
Ingredients
Cake
- 3 cups all purpose flour
- 1 Tablespoon baking powder
- 1 teaspoon salt
- ½ cup unsalted butter, room temperature (about 70℉ or 21℃)
- 1 ¼ cups cookie butter
- ⅞ cup granulated sugar
- ½ cup brown sugar
- 6 large eggs, room temperature (about 70℉ or 21℃)
- 1 ½ cups whole milk, room temperature (about 70℉ or 21℃)
- 2 ½ teaspoons vanilla extract
Frosting
- 1¼ cups salted butter, room temperature (about 70℉ or 21℃)
- 1 cup cookie butter
- 6 cups powdered sugar, sifted
- 8-10 Tablespoons heavy cream
- 1½ teaspoons vanilla extract
Instructions
Cake
- Heat oven to 350℉ (175℃).
- Spray three 8-inch round pans with baking spray. Set aside.
- In a medium bowl, whisk together flour, baking powder, and salt. Set aside.
- With an electric mixer, beat butter, cookie butter, and both sugars until light and fluffy, about 2-3 minutes.
- Add eggs, one at a time, beating well after each addition.
- Add flour mixture alternately with milk, beginning and ending with flour.
- Stir in vanilla.
- Divide evenly among prepared pans.
- Bake for 35 minutes, or until cake tests done.
Frosting
- With an electric mixer, beat butter and cookie butter until smooth, about 1 minute.
- Beat in powdered sugar.
- Add cream and vanilla.
- Beat until light and fluffy, about 2-3 minutes.
Assembly
- Level cake layers, if needed.
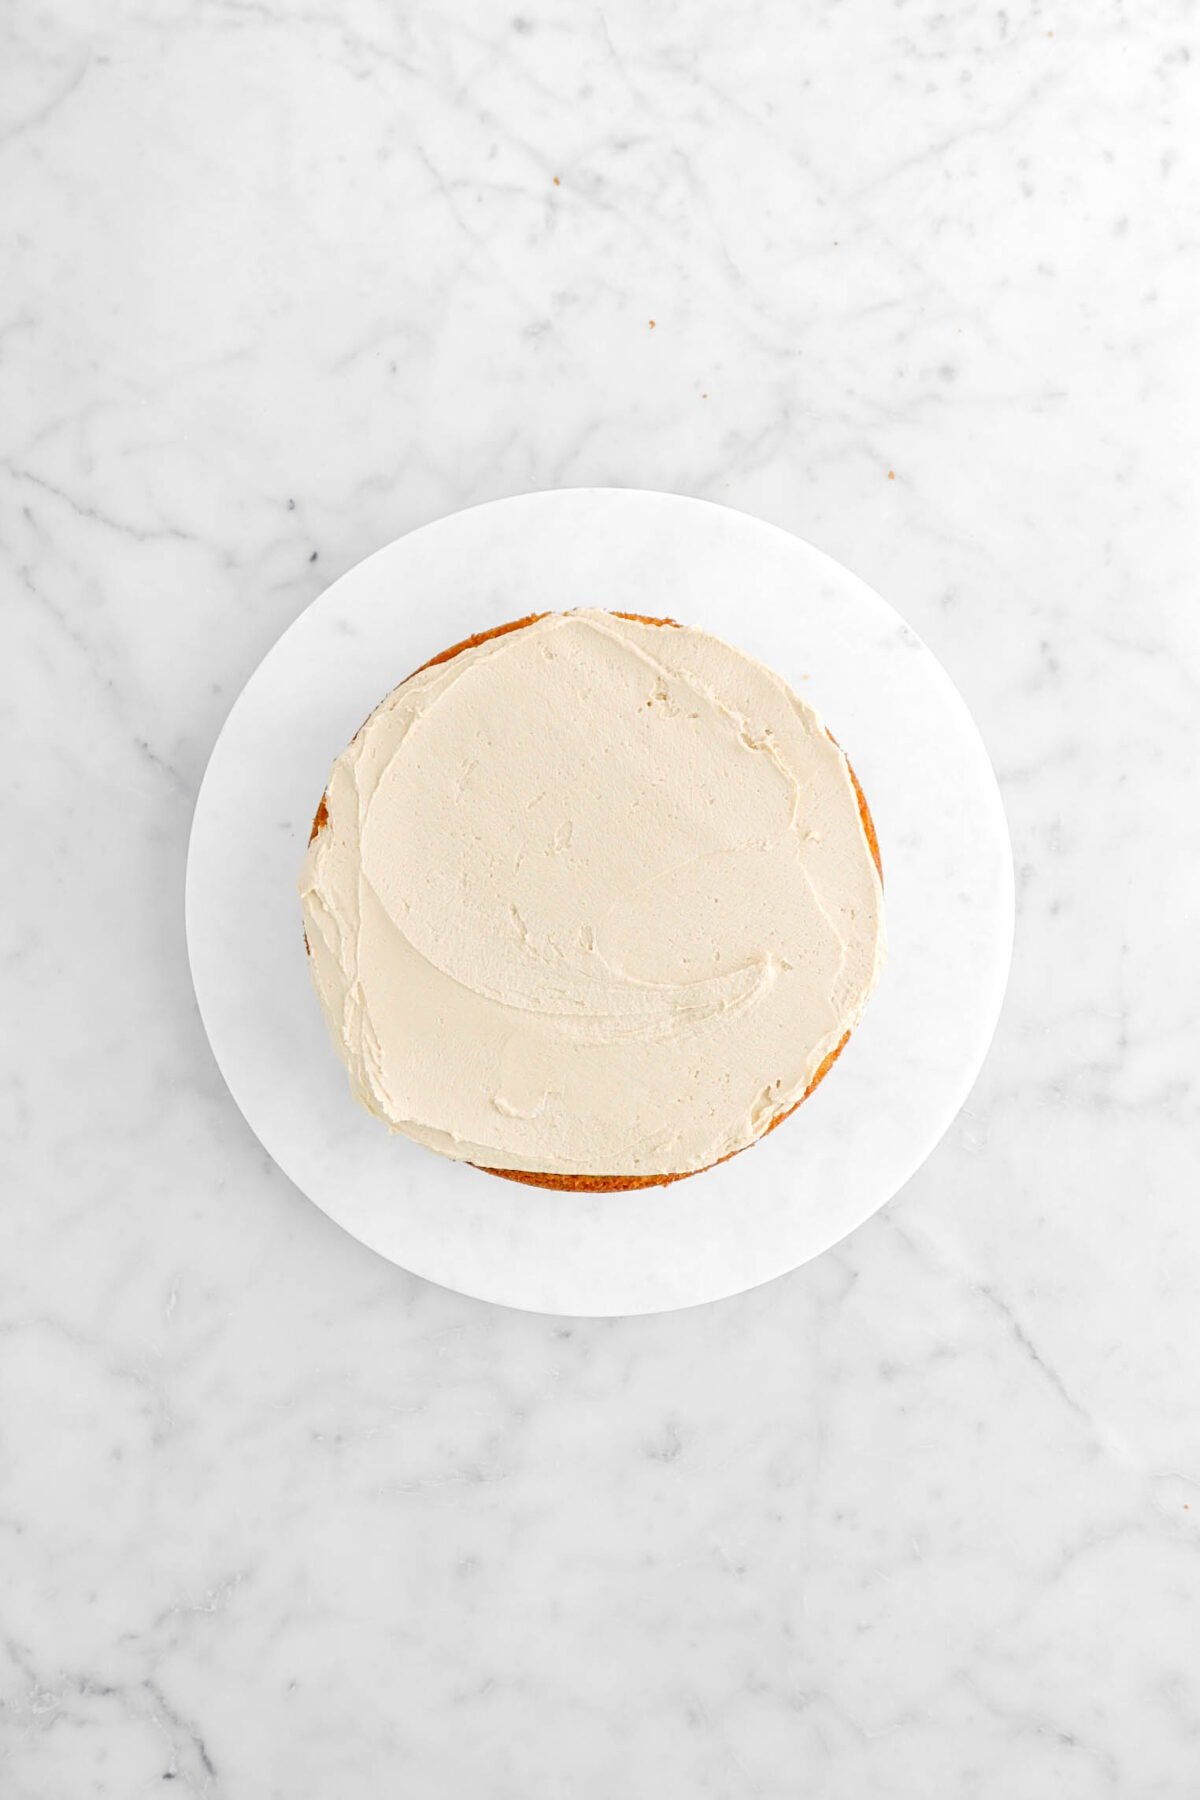
- Place one cake layer on cake plate and spread with a layer of frosting.
- Repeat with second layer.
- Add third layer.
- Frost entire outside cake with a thin layer of frosting (crumb coat).
- Set aside (or in refrigerator) to set.
- Frost entire cake.
- Decorate as desired.
Notes + Tips!
- Refrigerator Storage (Frosted): This is the recommended method for storing your frosted Biscoff Cookie Butter Cake. The cool temperature helps retain the cake’s moisture and prevents frosting from softening excessively. Store the cake in a covered cake plate or airtight container in the refrigerator for up to 5 days. Bring the cake back to room temperature before serving for optimal flavor and texture.
-
Freezing Options:
- Unfrosted Layers: If you’d like to freeze the cake ahead of time, you can freeze the unfrosted cake layers for up to 2 months. Thaw them overnight in the refrigerator before frosting and assembling the cake.
- Frosted Slices: For individual serving options, consider freezing leftover slices of the frosted cake. Wrap them tightly in plastic wrap and store them in an airtight container in the freezer for up to 2 months. Thaw frozen slices in the refrigerator overnight before serving.
- Label It! Whenever freezing cake layers or slices, be sure to label them with the date for easy identification.
- Fresh is Best: While freezing extends the shelf life of your cake, it’s important to note that freshly baked cake always has the best taste and texture.
- Room Temperature Ingredients: Set your eggs, butter, and milk out on the counter for about 30 minutes before baking. This allows them to incorporate more smoothly into the batter, resulting in a lighter and more even cake.
- Fresh Baking Powder: Double-check the expiration date on your baking powder. Fresh baking powder ensures proper leavening, giving your cake the perfect rise!
- Preheat is Key: Don’t skip preheating your oven! Starting with a preheated oven ensures consistent baking and prevents a dense cake.
- Even Incorporation: Scrape down the sides of your mixing bowl frequently with a rubber spatula. This incorporates all the ingredients evenly and ensures the butter is fully creamed, leading to a lighter and fluffier cake.
- Don’t Overmix: Once the dry ingredients are incorporated and there are no streaks of flour, stop mixing! Overmixing can develop the gluten in the flour, resulting in a tough cake.
- Toothpick Test: Not sure if your cake is done? Insert a toothpick or cake tester into the center of the cake. If it comes out clean with a few moist crumbs, the cake is good to go!
- Cool Completely: Patience is key! Allow the cake layers to cool completely on a wire rack before frosting. Frosting a warm cake can cause it to melt and become messy.
- Level Layers: For perfectly even layers, use a serrated knife or a cake leveler to gently cut any domed top off of your cooled cakes.
- Don’t Skip The Crumb Coat: This cake can be a bit crumbly, so a crumb coat is highly recommended. It acts as a barrier between the cake and the final frosting layer, preventing crumbs from peeking through. Spread a thin layer of frosting over the entire cooled cake, refrigerate for 30 minutes, then apply the final frosting coat.
Tools You May Need (affiliate links)
– Still Hungry? –
Here are a few recipes may like!


