Easy No Bake Oreo Icebox Cake
This post may contain affiliate links, please visit our privacy policy for details.
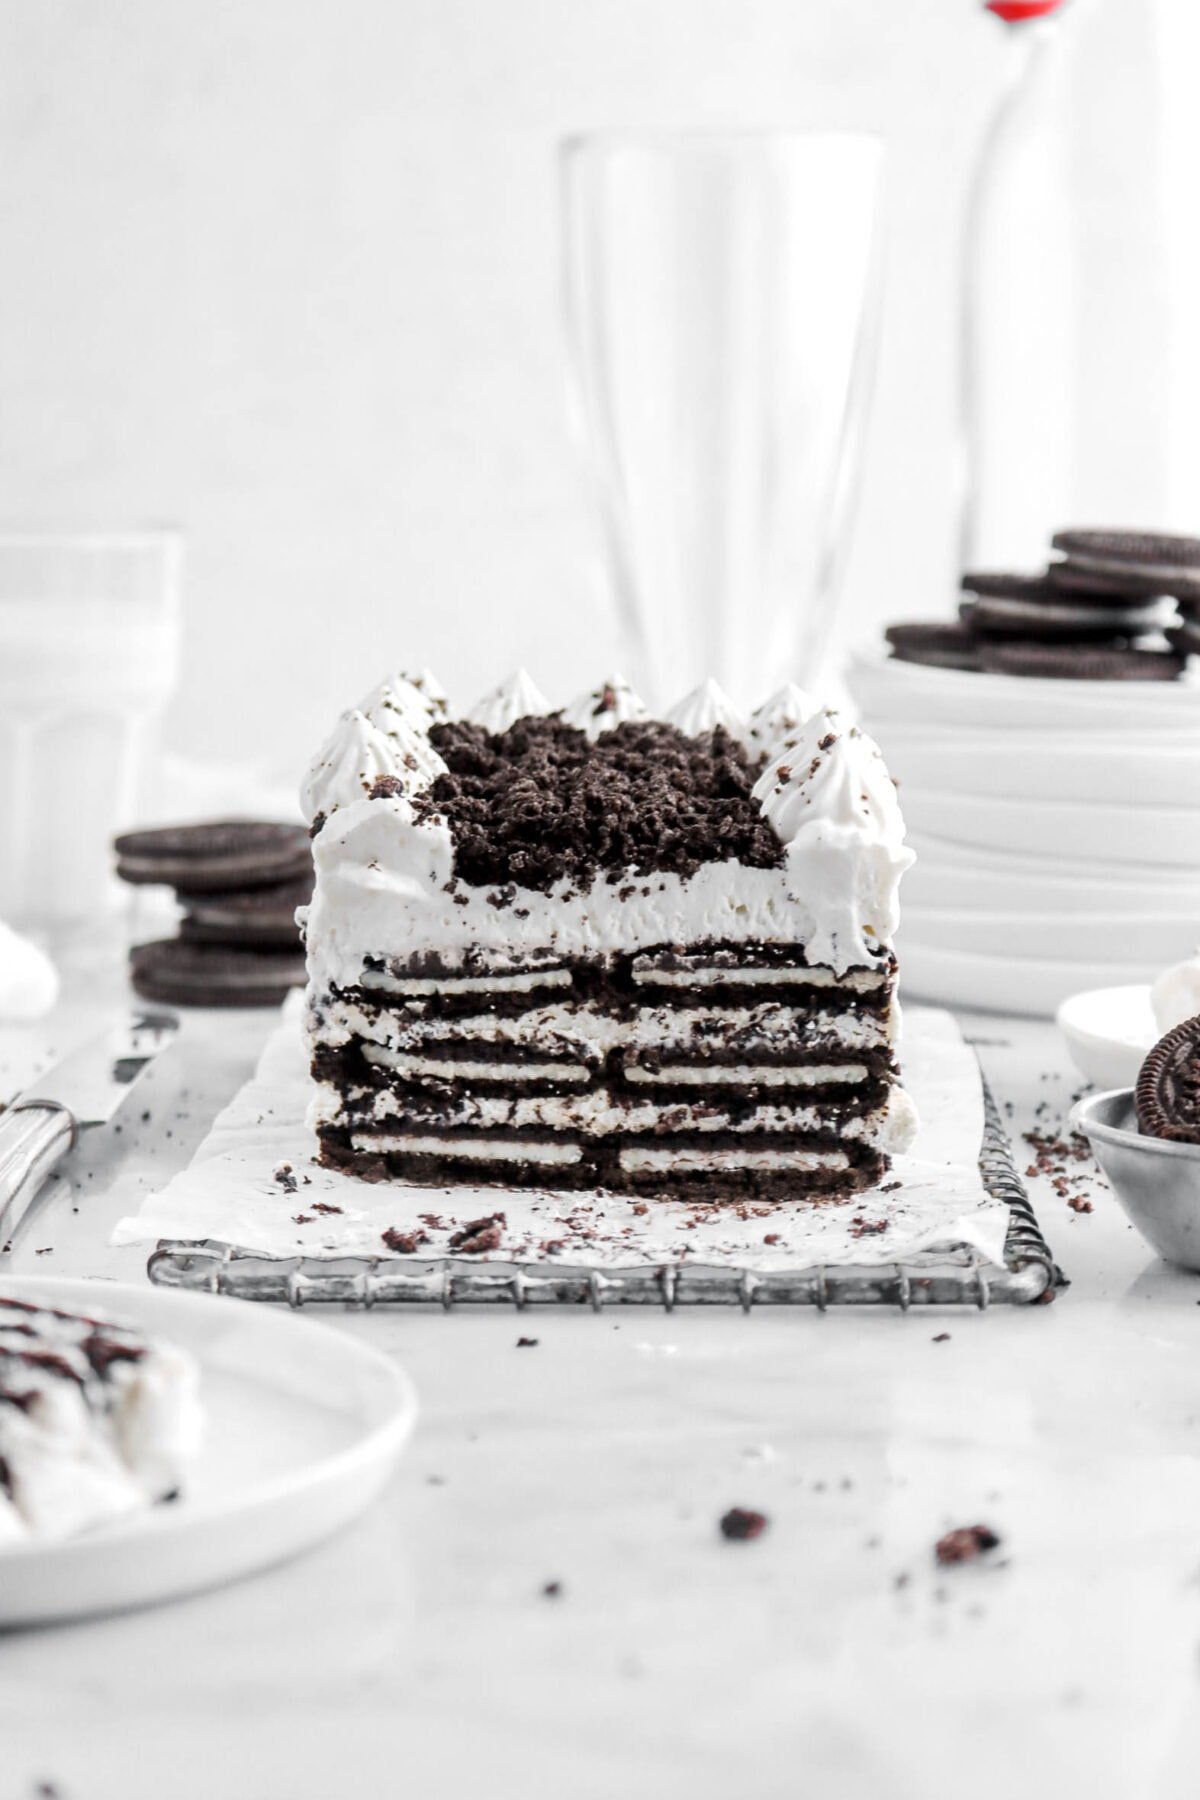
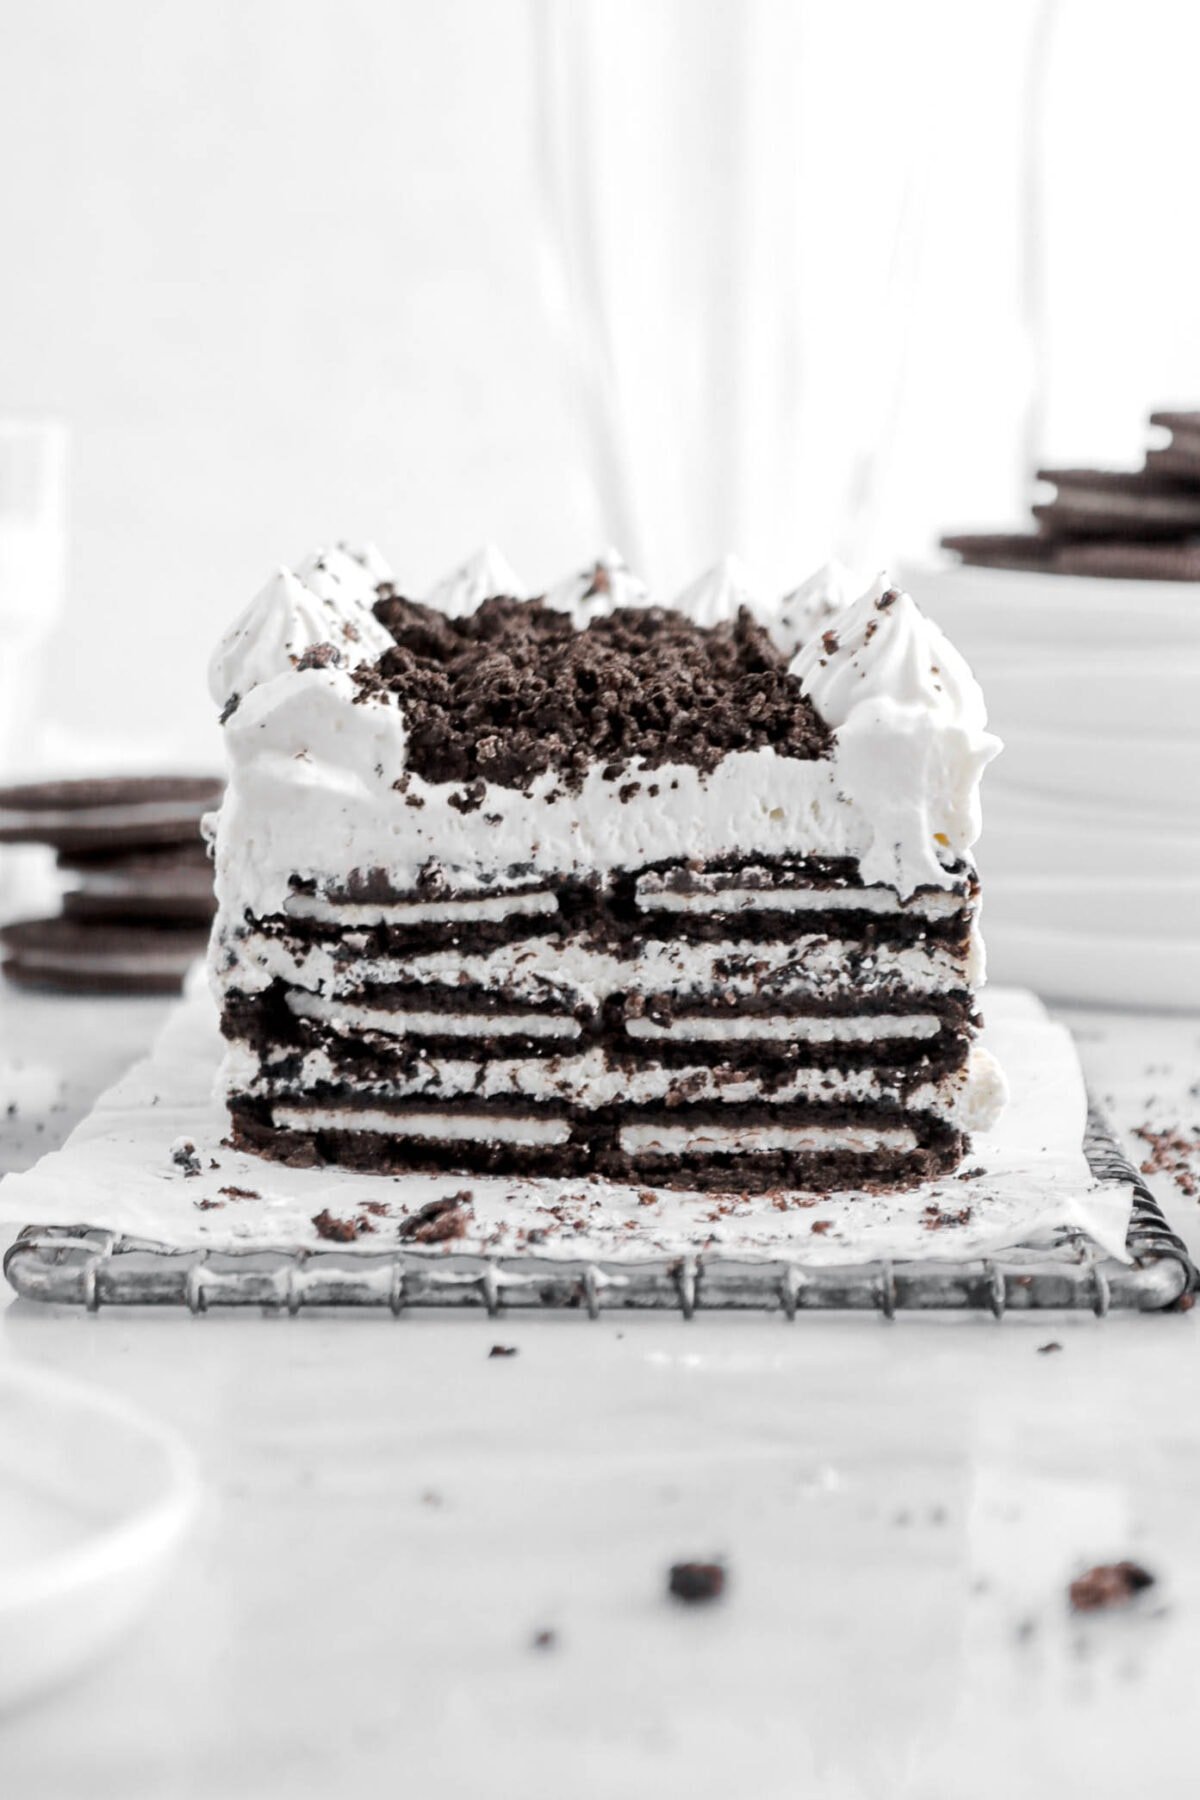
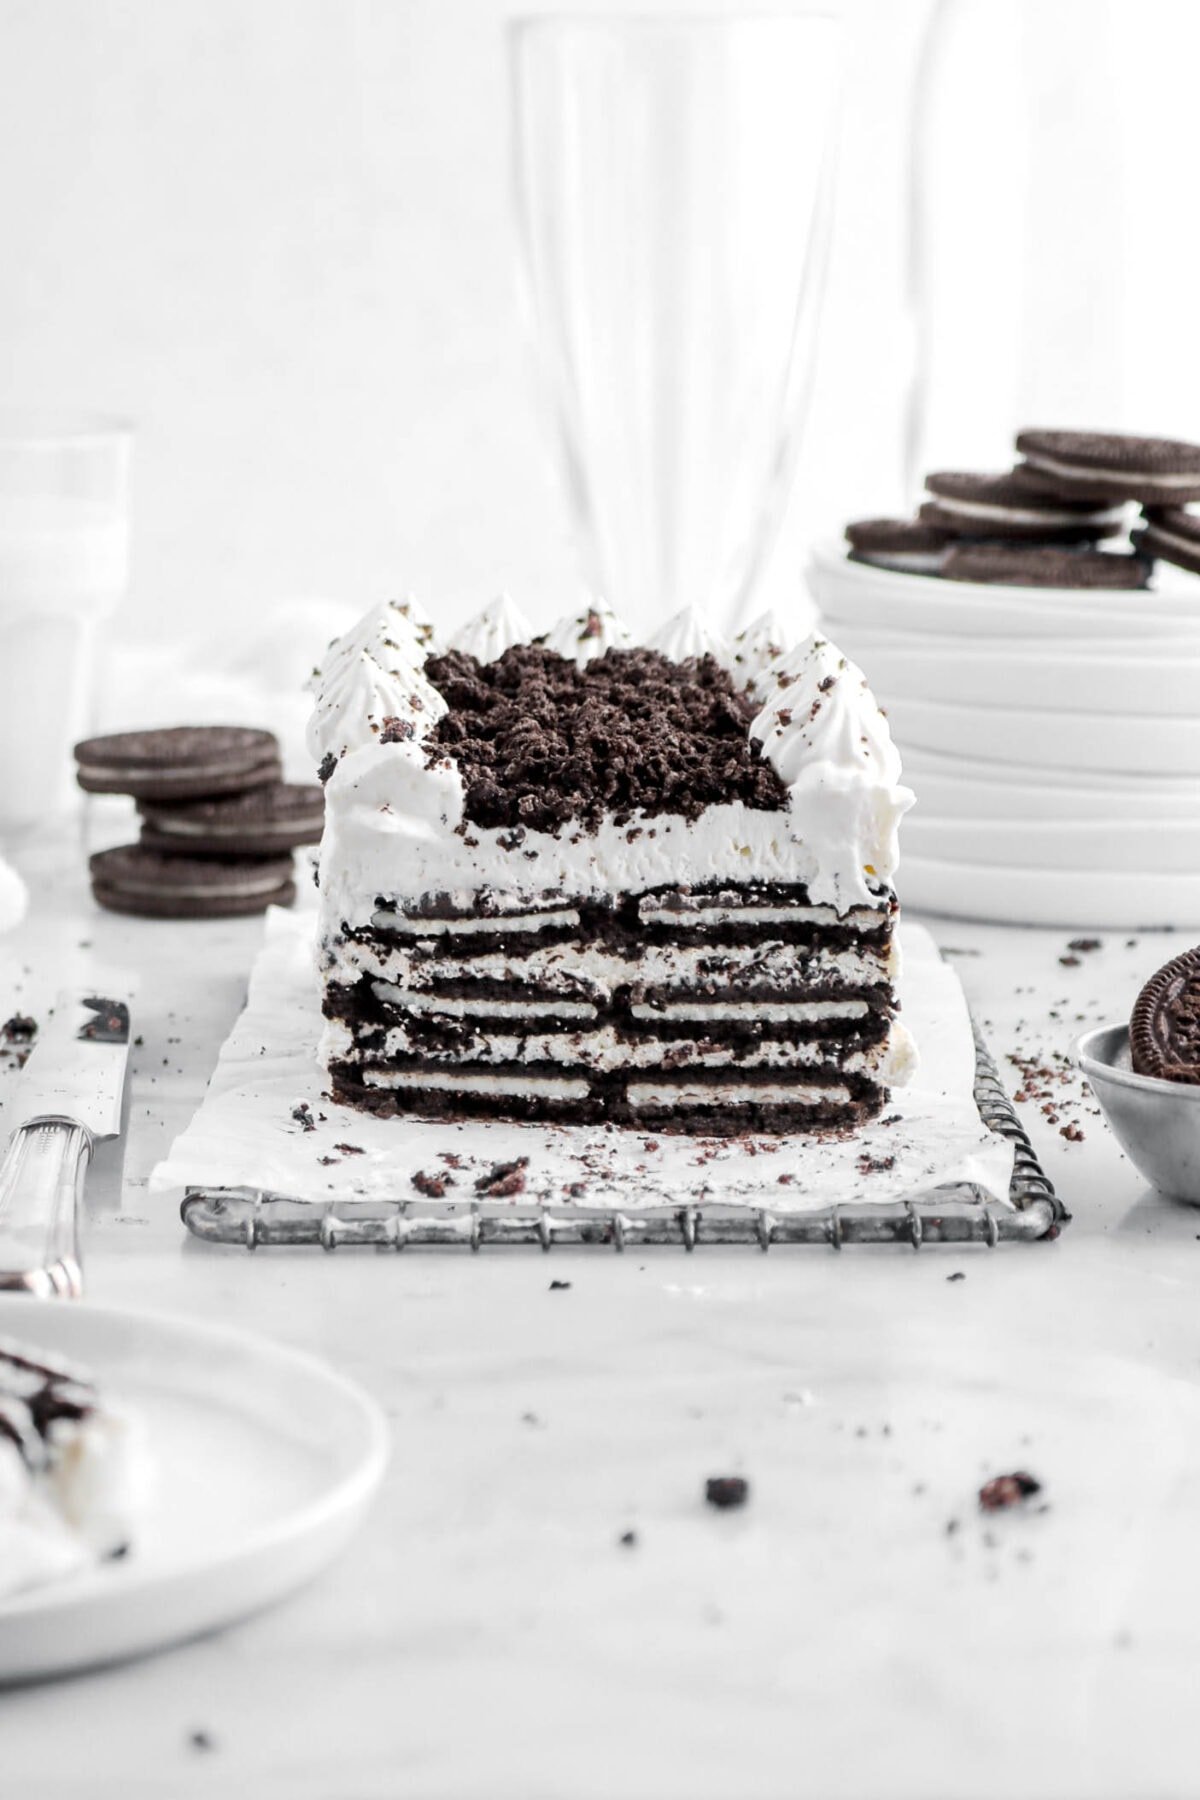
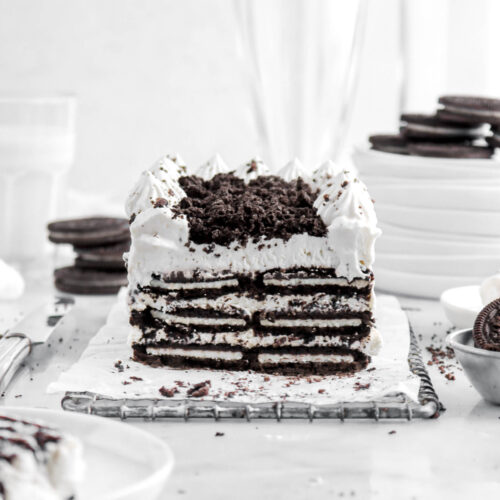
This easy, no-bake Oreo Icebox Cake is the perfect summer treat! With just four ingredients, it comes together quickly and tastes amazing. Freshly whipped Chantilly cream layered with sweet oreos creates this indulgent cake. Just mix, chill, and serve. Enjoy all summer long!
About The Recipe
The summer heat is in full swing here in Texas, with temperatures over 100℉ daily. Who wants to turn on an oven in that?! To beat the heat, my mom and I decided to avoid the oven and whip up something cool and delicious.
We thought about a no cook ice cream like our ever popular vanilla ice cream or no churn banana pudding ice cream. But we wanted something even easier and faster to make.
And what better than an icebox cake!
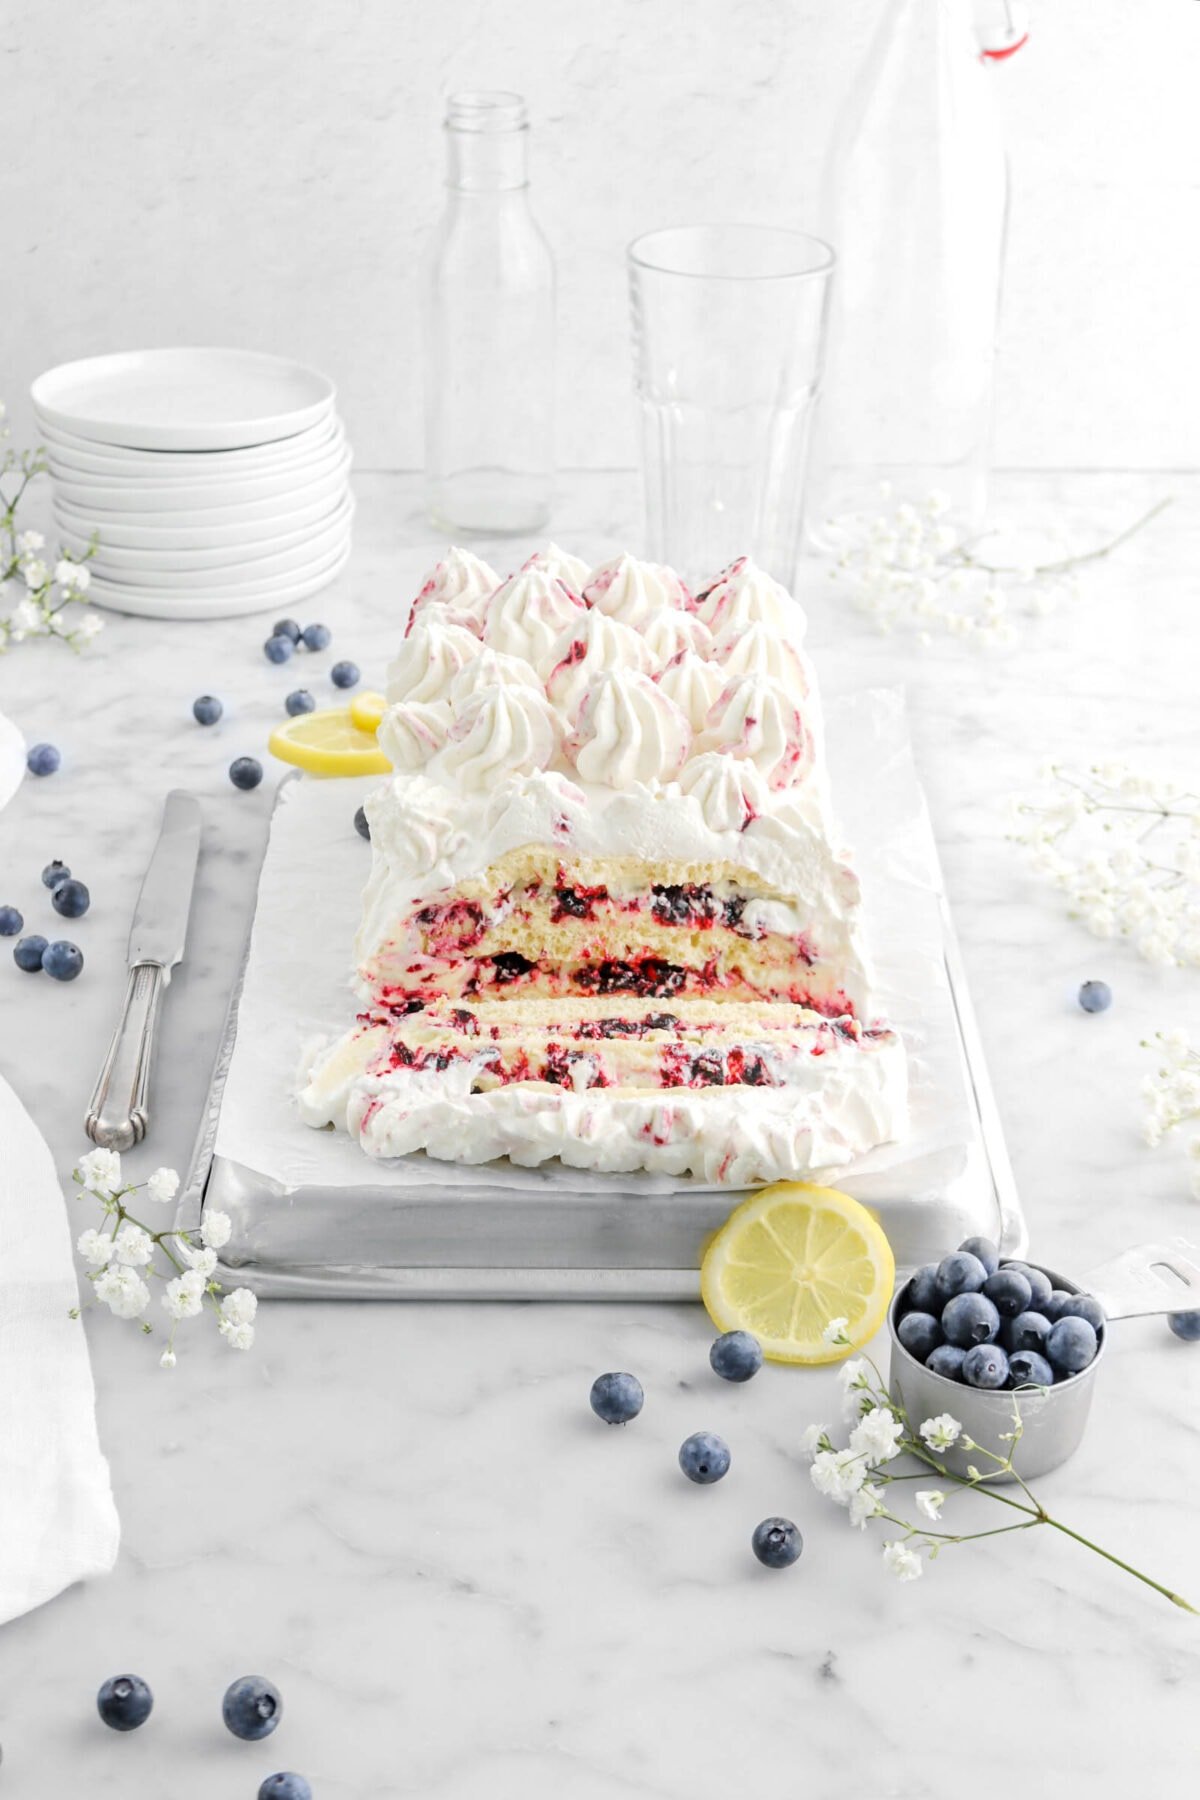
Unlike our lemon blueberry icebox cake, we wanted an entirely no-bake, minimal-effort dessert like our strawberries and cream cheesecake bars, but even easier. As we brainstormed, we realized we had a pantry staple that we both love: Oreos. They’re our go-to sweet snack, perfect for quick bites (or for when we don’t have the time to make our homemade Oreos).
So, we decided to make our take on a classic dessert. I mean, who can resist the combination of Oreos and whipped cream?
This icebox cake is the ultimate summer dessert—easy, kid-friendly, and absolutely delicious. Keep it in your fridge or freezer for a tasty treat all season long!

What is an Icebox Cake?
Traditionally, Icebox cake is a layered dessert that is typically make from cookies and/or wafers, layered with cream and maybe some fruit, then set in the fridge. It’s very customizable and typically no bake. It’s really all about building layers of flavor and textures that will yield something delicious.
Reasons You Will Love This Oreo Icebox Cake
- Entirely NO BAKE!
- Requires only four ingredients.
- Something the whole family is sure to love!
- The perfect summertime dessert.
- An easy make-ahead treat.

Ingredients
Full ingredient amounts and instructions can be found in the recipe card at the bottom of the post.
- Oreos – For this recipe, you can use any kind of oreo you like! Thin to double stuffed. Whatever your preference, you can use it. You can even use homemade oreos!
- Heavy Cream – This is essential to make the Chantilly cream. Be sure to use cold heavy cream to make sure it whips!
- Powdered Sugar – Adds just enough sweetness, without being too much.
- Vanilla Extract – Gives the Chantilly cream a delicious flavor!

How To Make This Oreo Icebox Cake
Step 1: Make Chantilly cream
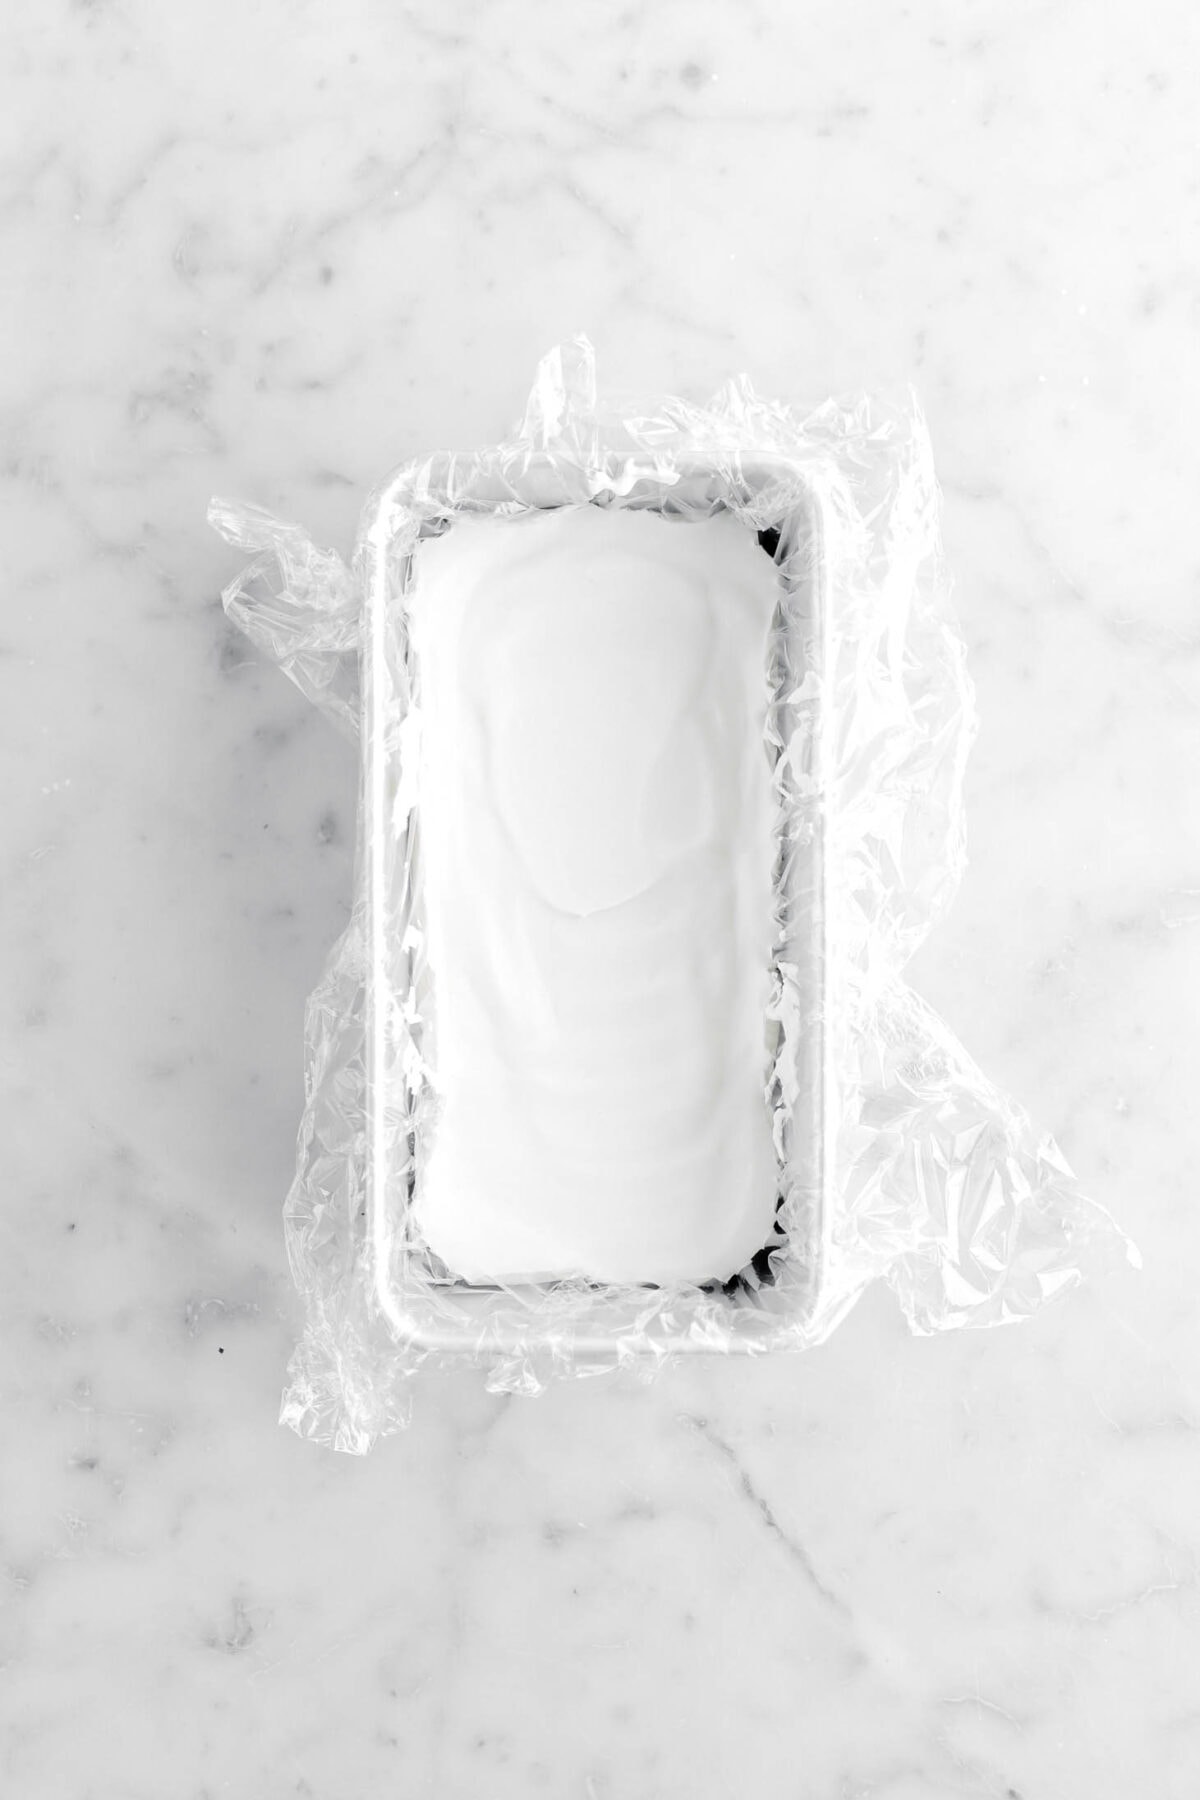
Combine cream, powdered sugar, and vanilla in a medium bowl. Beat with an electric mixer fitted with a whisk attachment to medium stiff peaks. Set aside.


Step 2: Assemble and refrigerate
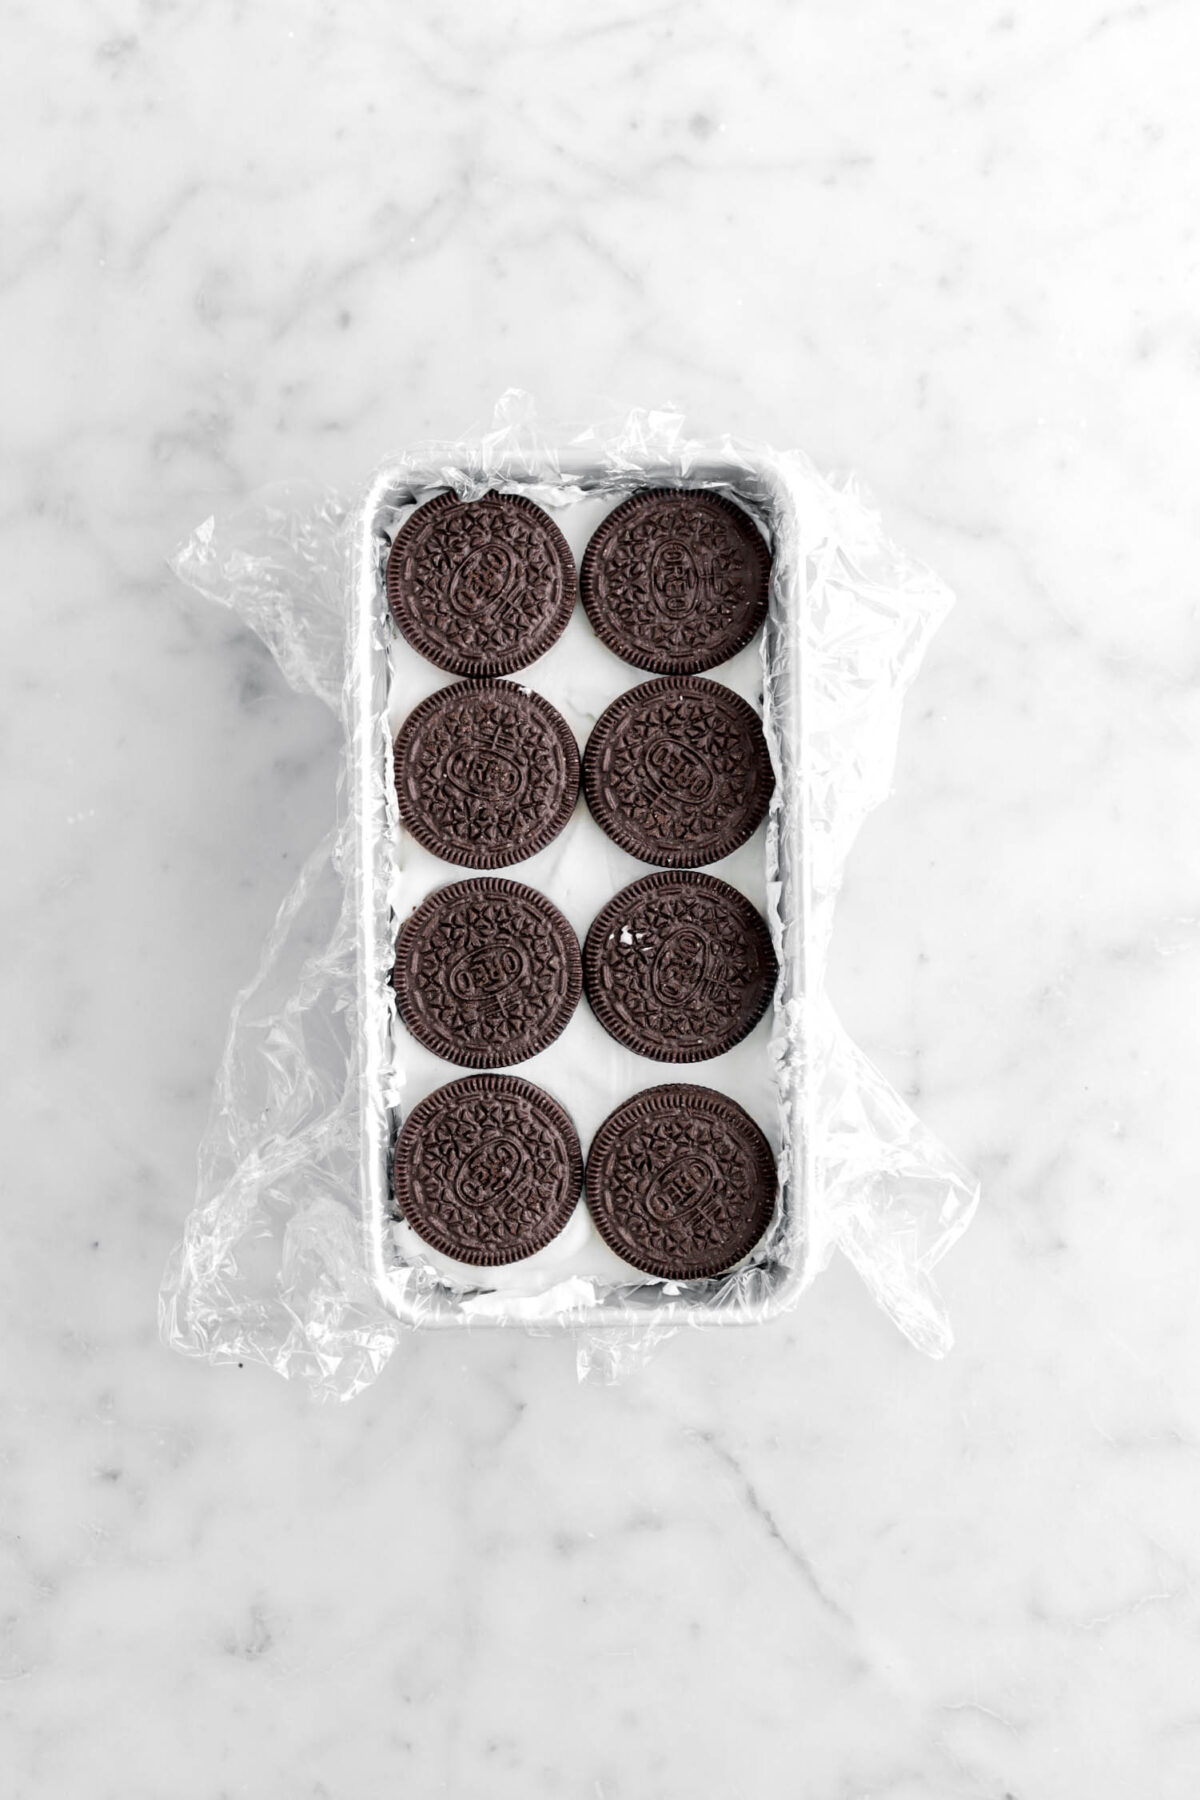
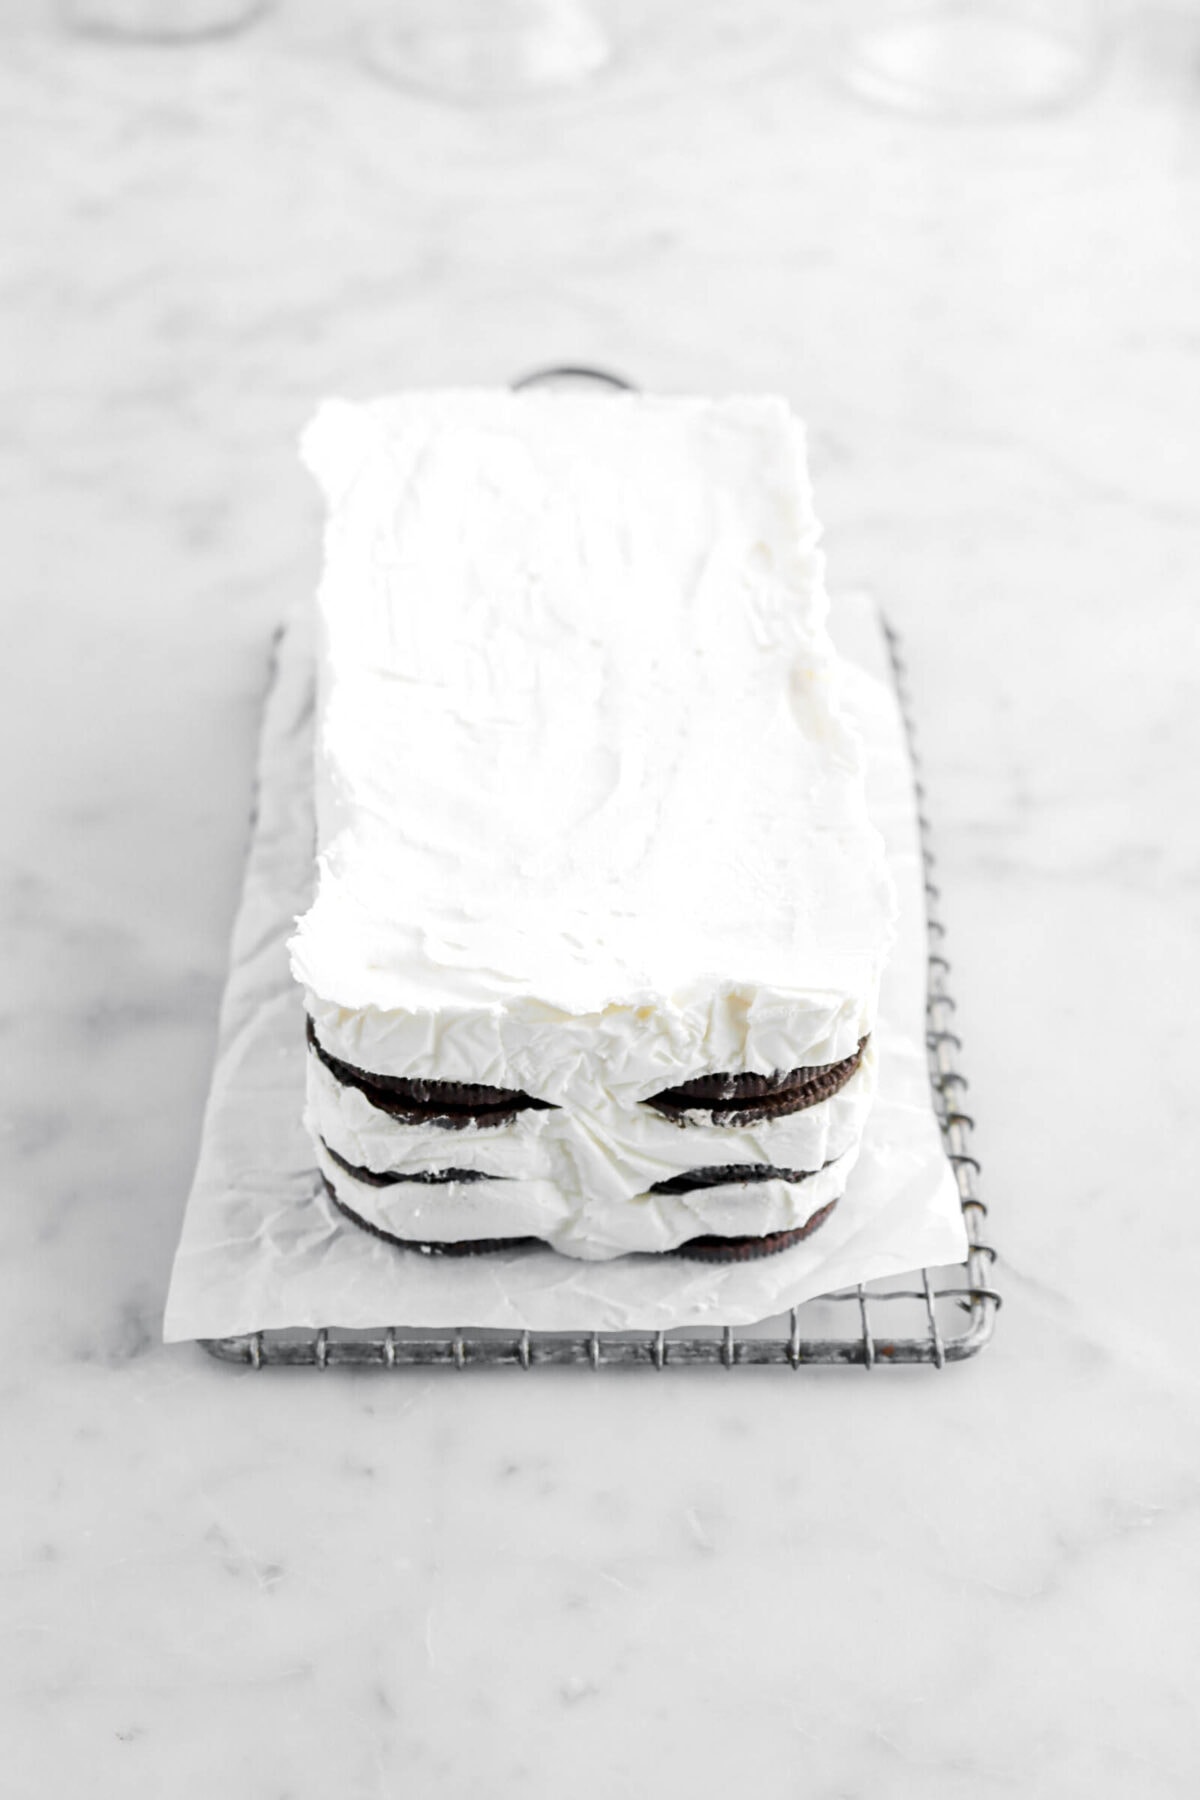
Place 8 oreos flat in bottom of pan. Top with ⅓ of whipped cream.


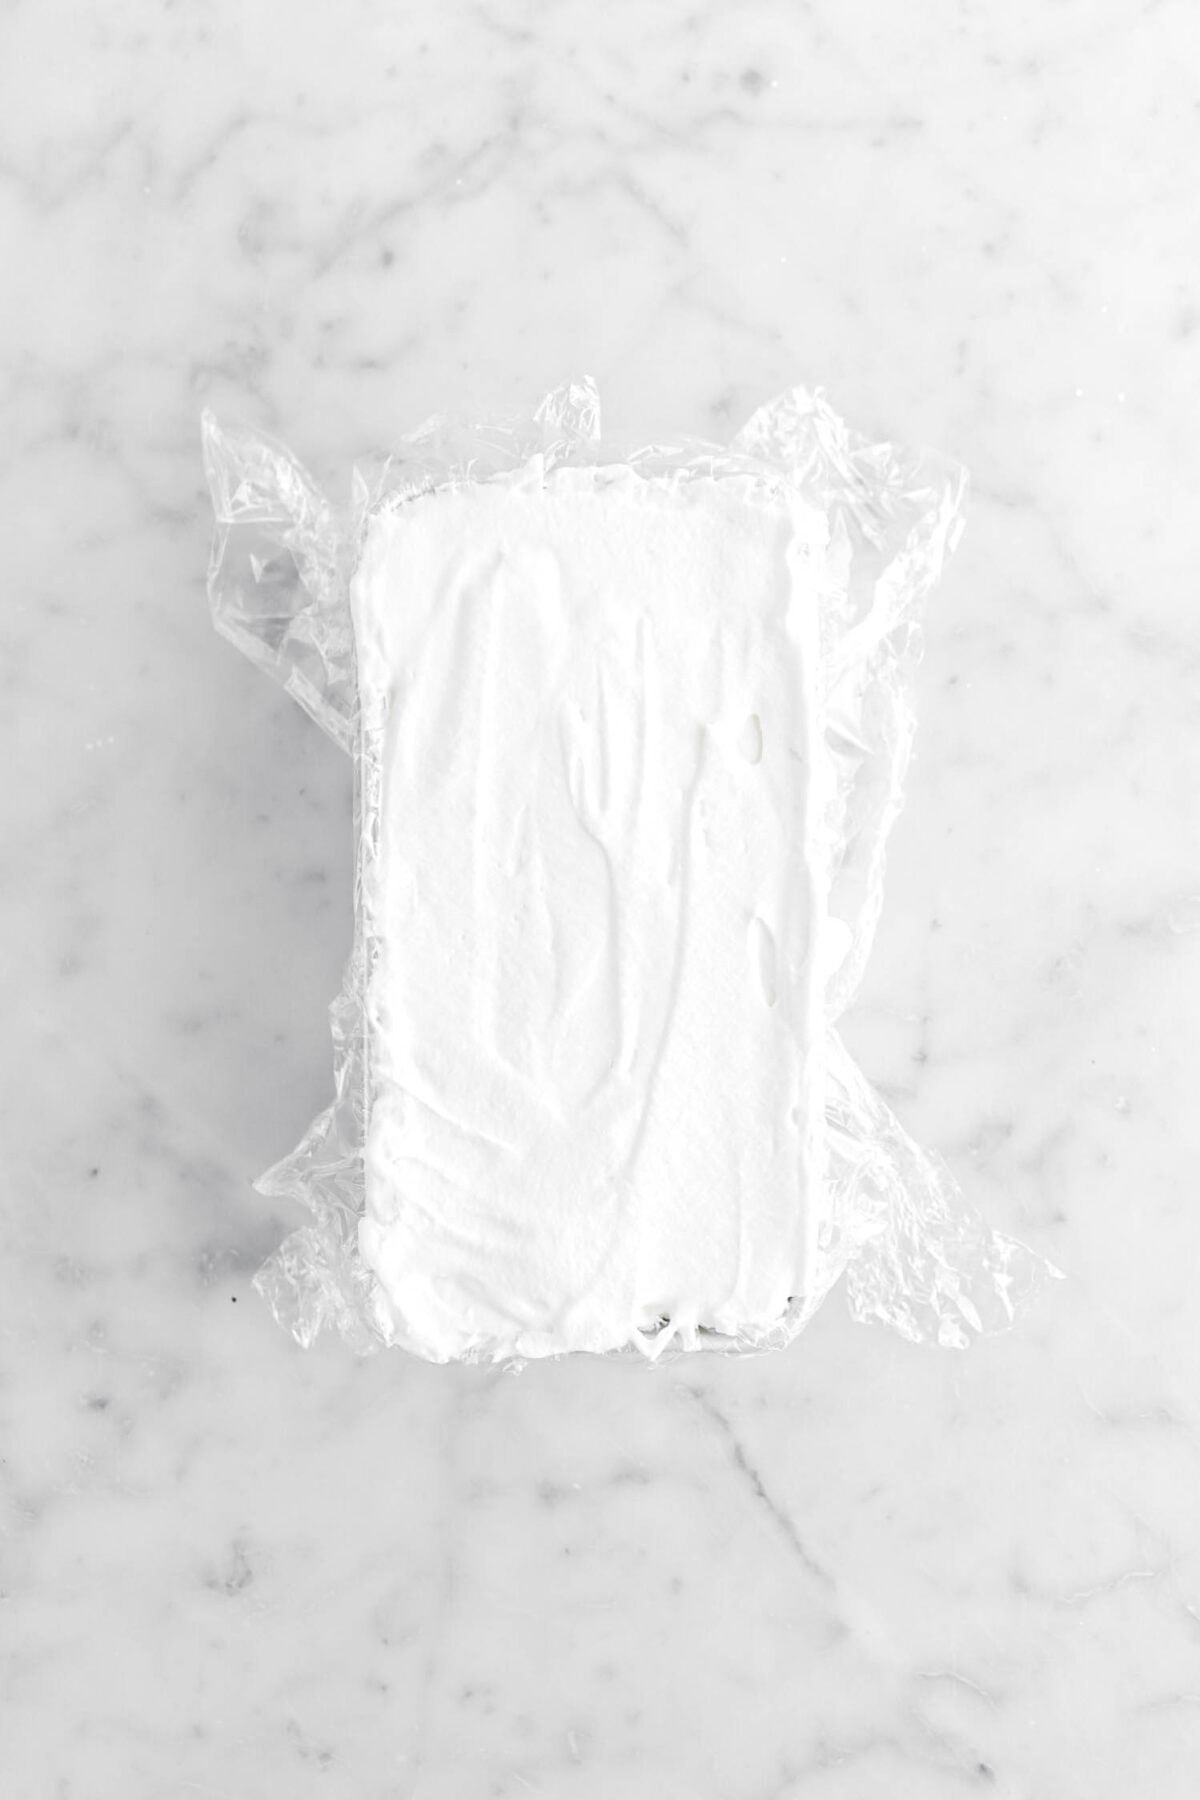
Repeat layers 2 more times. Cover with plastic wrap. Refrigerate at least 12 hours, or overnight.

Step 3: Serve
When ready to serve, lift out of pan and remove plastic wrap. Place on desired serving tray. Decorate as desired.

✳FAQ’s and Troubleshooting
Decorating Ideas
The one thing about this icebox cake is that it is very simple! After assembly though, it can look just a little plain. So, this is where creativity comes in! Here are a few simple ways you can dress up this icebox cake with very minimal effort.
- Pipe whipped cream on top or along the side of the cake.
- Use oreo cookies or crushed oreos to decorate!
- Chocolate sauce can be a delicious and very pretty addition if drizzled or pooled in the middle of the cake.
- If you want to add some color, try adding your favorite berries to the mix! Top this cake with strawberries or blueberries for a pop of color that tastes delicious alongside the oreos.
- Feeling adventurous? Drizzle some caramel sauce in-between the layers, as well as on top of this cake!

How To Store
Once this cake is made, it can be stored in the fridge for 1-2 days, but it’s best the day it’s served. However, this cake does freeze really well! You can place it in a freezer safe container and freeze the cake for up to 1 month. To defrost, simply take it out of the freezer about 20-30 minutes before you’d like to serve it.
Substitutions
- Want to make this recipe gluten-free? Use gluten-free oreos!
- This recipe can be made vegan if non-dairy whipping cream is used.
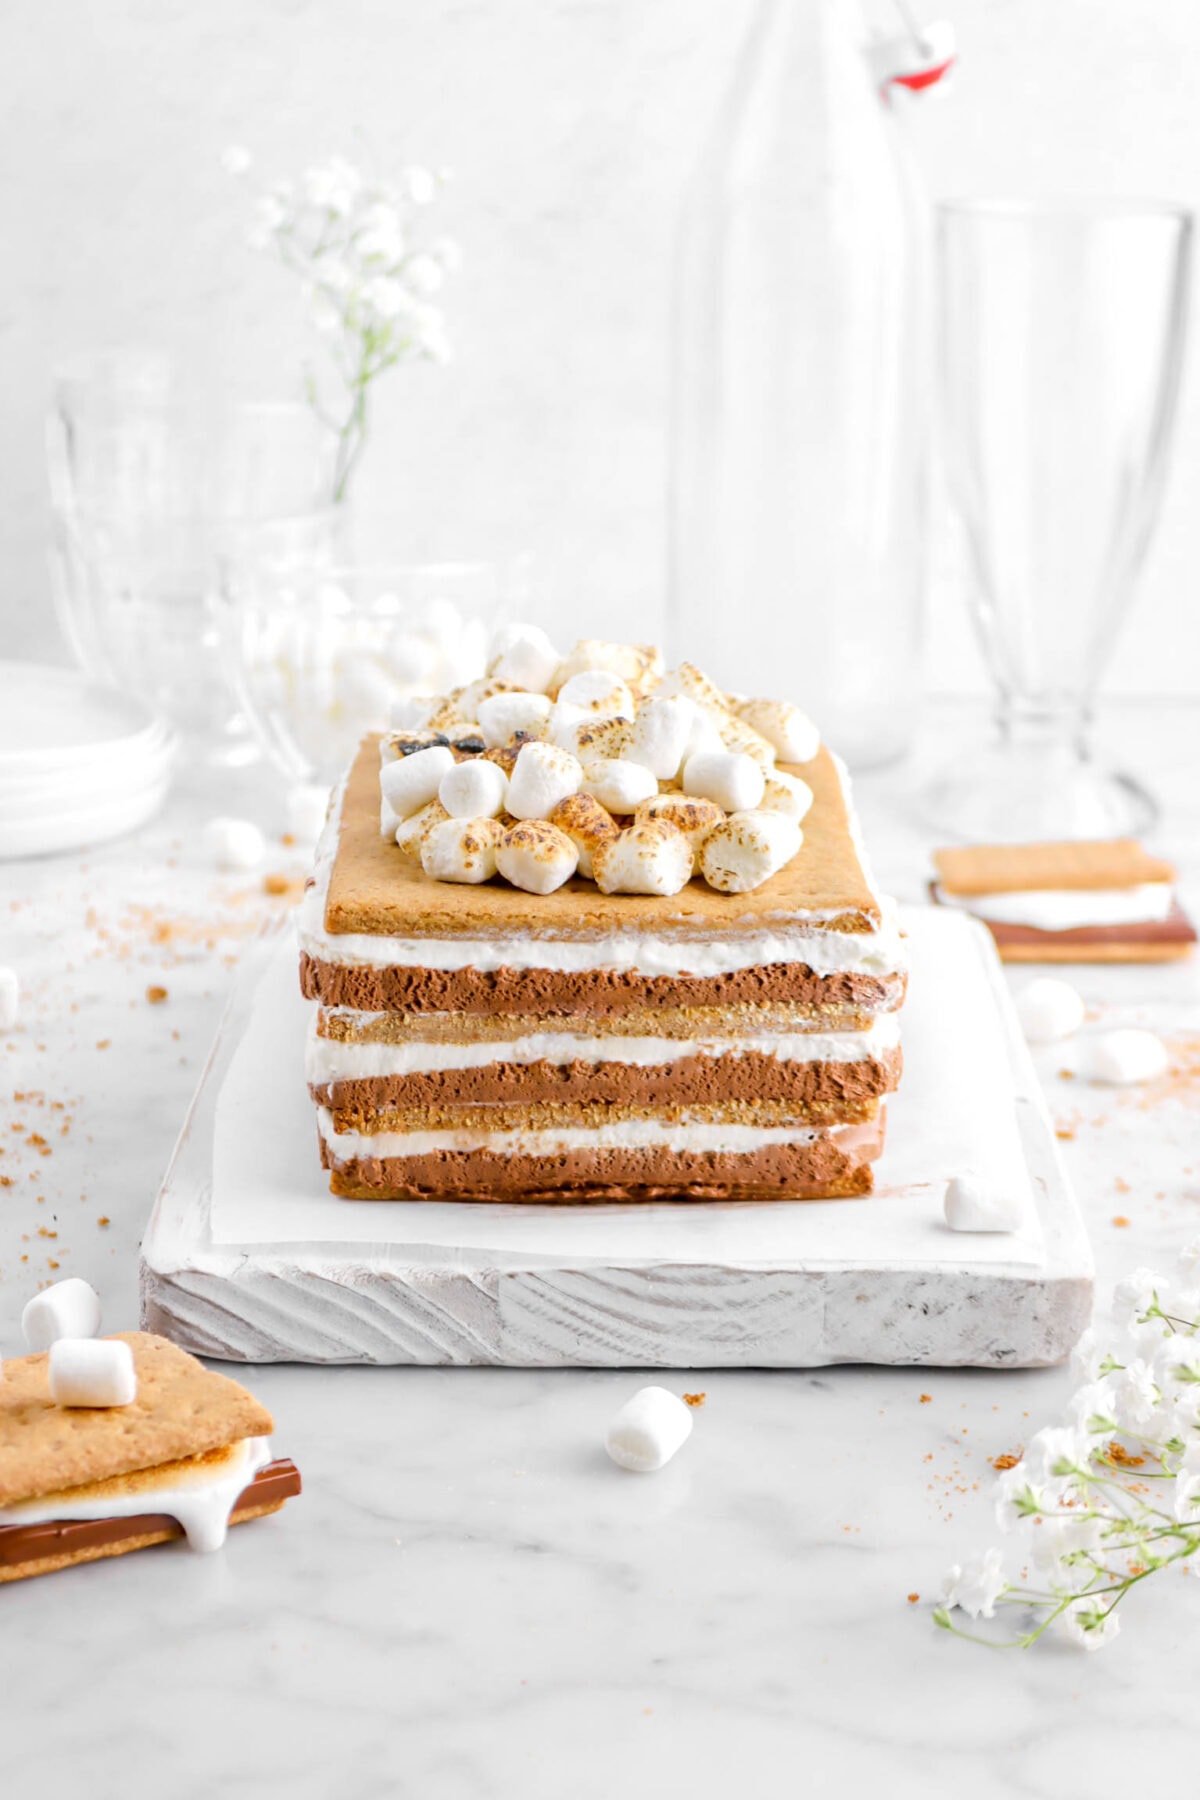
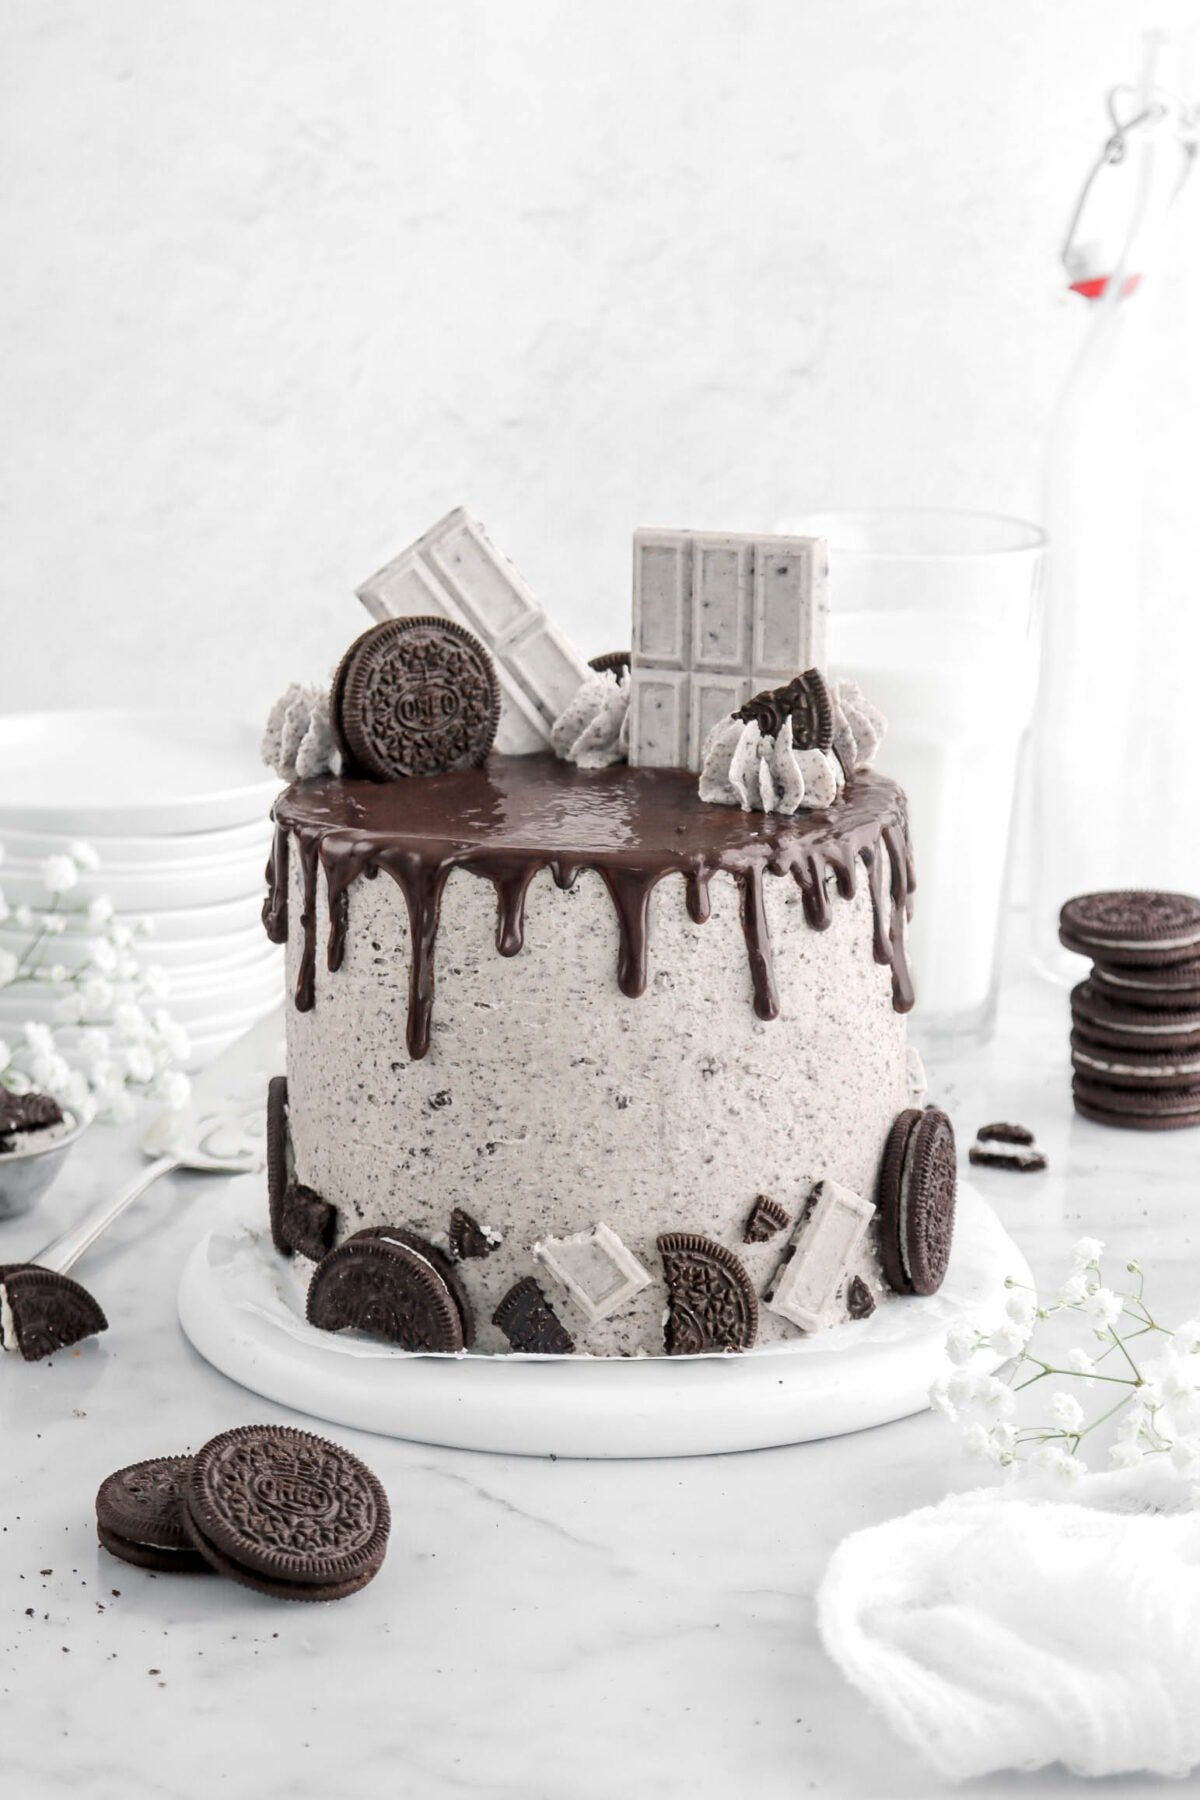
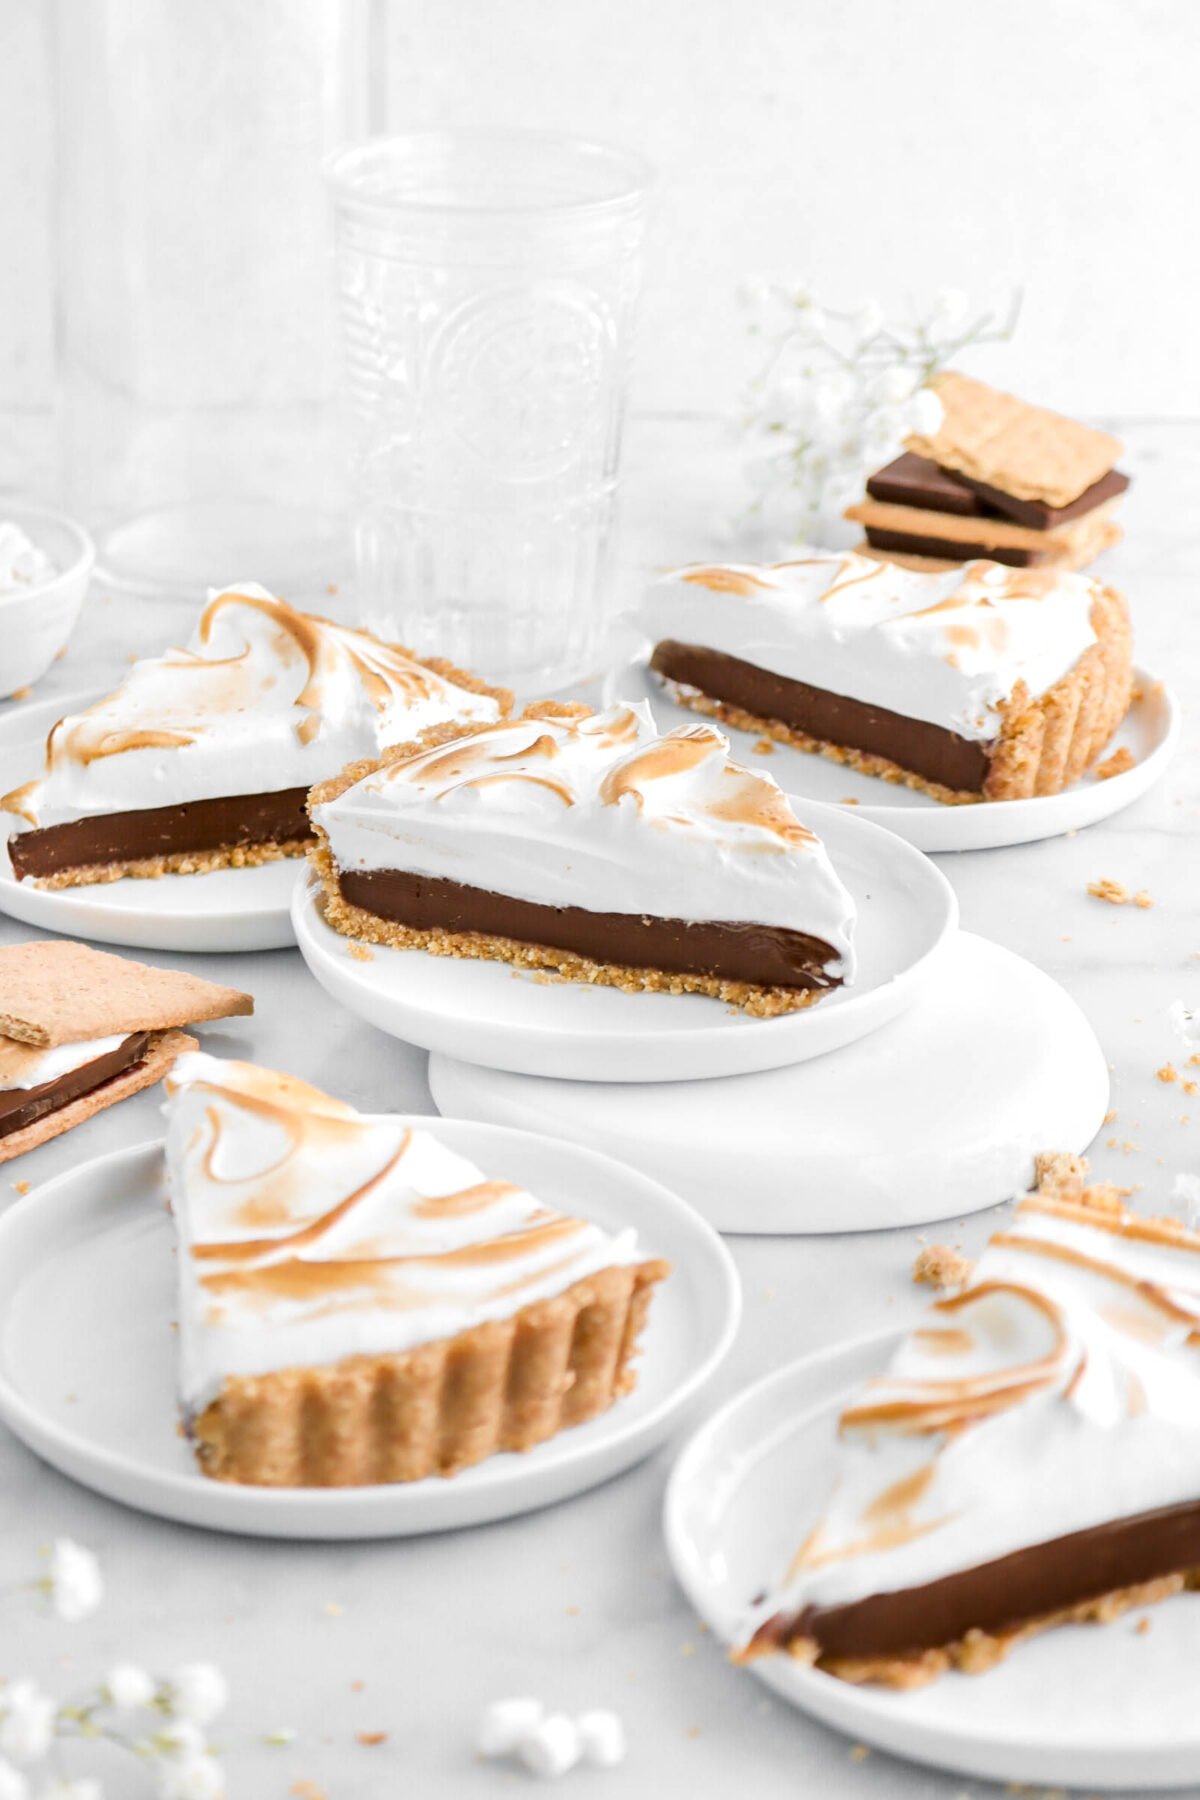
Looking for more recipes like this? Here are a few you may like:


When you make this Easy No Bake Oreo Icebox Cake, leave a comment down below! We love hearing from you and answering any questions you might have! Also, be sure to tag us on social media and hashtag it #BakersTable.
Easy No Bake Oreo Icebox Cake
Ingredients
- 24 oreos
- 2 cups heavy cream, cold
- 2 Tablespoons powdered sugar
- 1 teaspoon vanilla extract
Instructions
- Line a 4¼-inch x 8-inch loaf pan with plastic wrap.
- Combine cream, powdered sugar, and vanilla in a medium bowl.
- Beat with an electric mixer fitted with a whisk attachment to medium stiff peaks. Set aside.
- Place 8 oreos flat in bottom of pan.
- Top with ⅓ of whipped cream.
- Repeat layers 2 more times.
- Cover with plastic wrap.
- Refrigerate at least 12 hours, or overnight.
- When ready to serve, lift out of pan and remove plastic wrap.
- Place on desired serving tray.
- Decorate as desired.
Notes + Tips!
- Be careful not to over-whip your cream!
- When layering this dessert, try and get the layers as even as you can! Using an offset spatula might be helpful.
- The cake needs to be refrigerated for AT LEAST 8 hours, but preferably overnight. This allows time for the oreos to absorb moisture and become soft enough to cut.
Tools You May Need (affiliate links)
– Still Hungry? –
Here are a few recipes may like!


