Oreo Cake with Oreo Frosting (Cookies and Cream!)
This post may contain affiliate links, please visit our privacy policy for details.
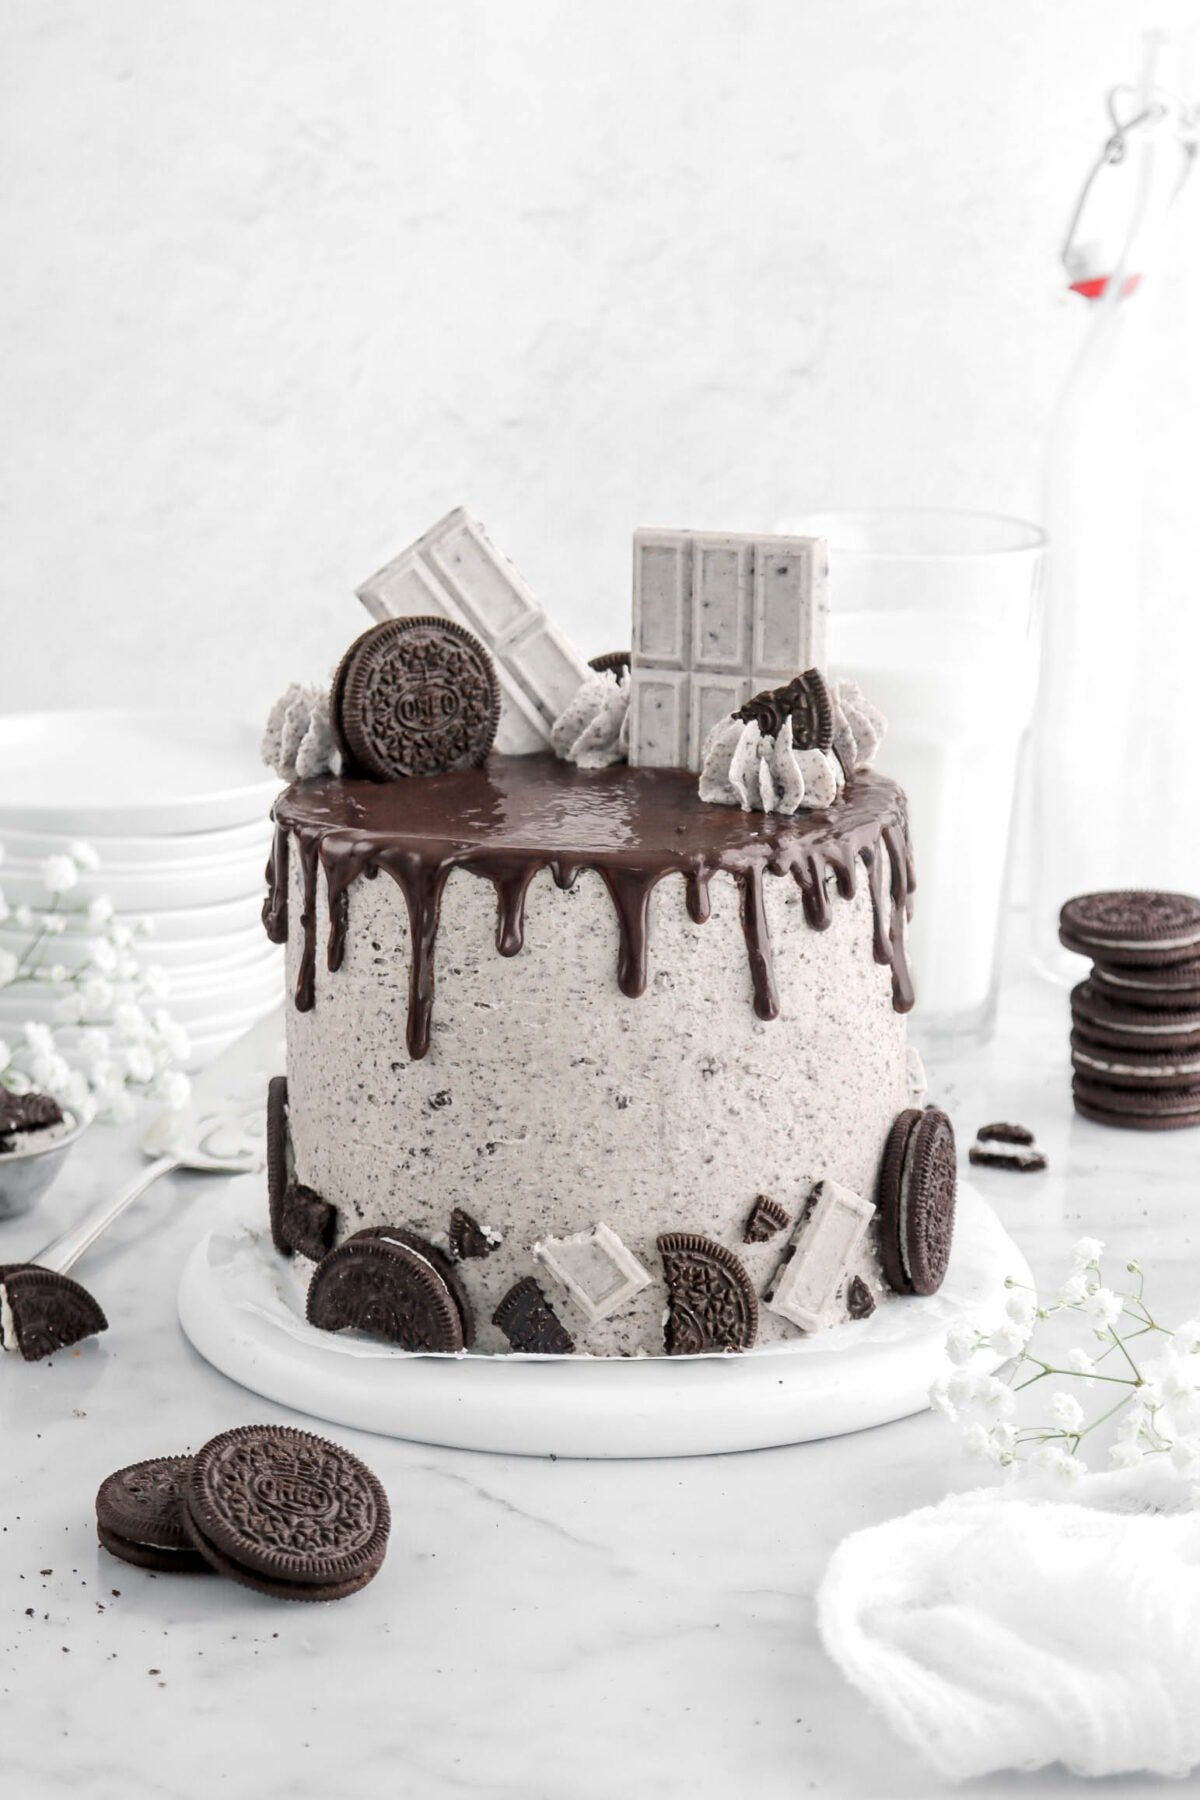
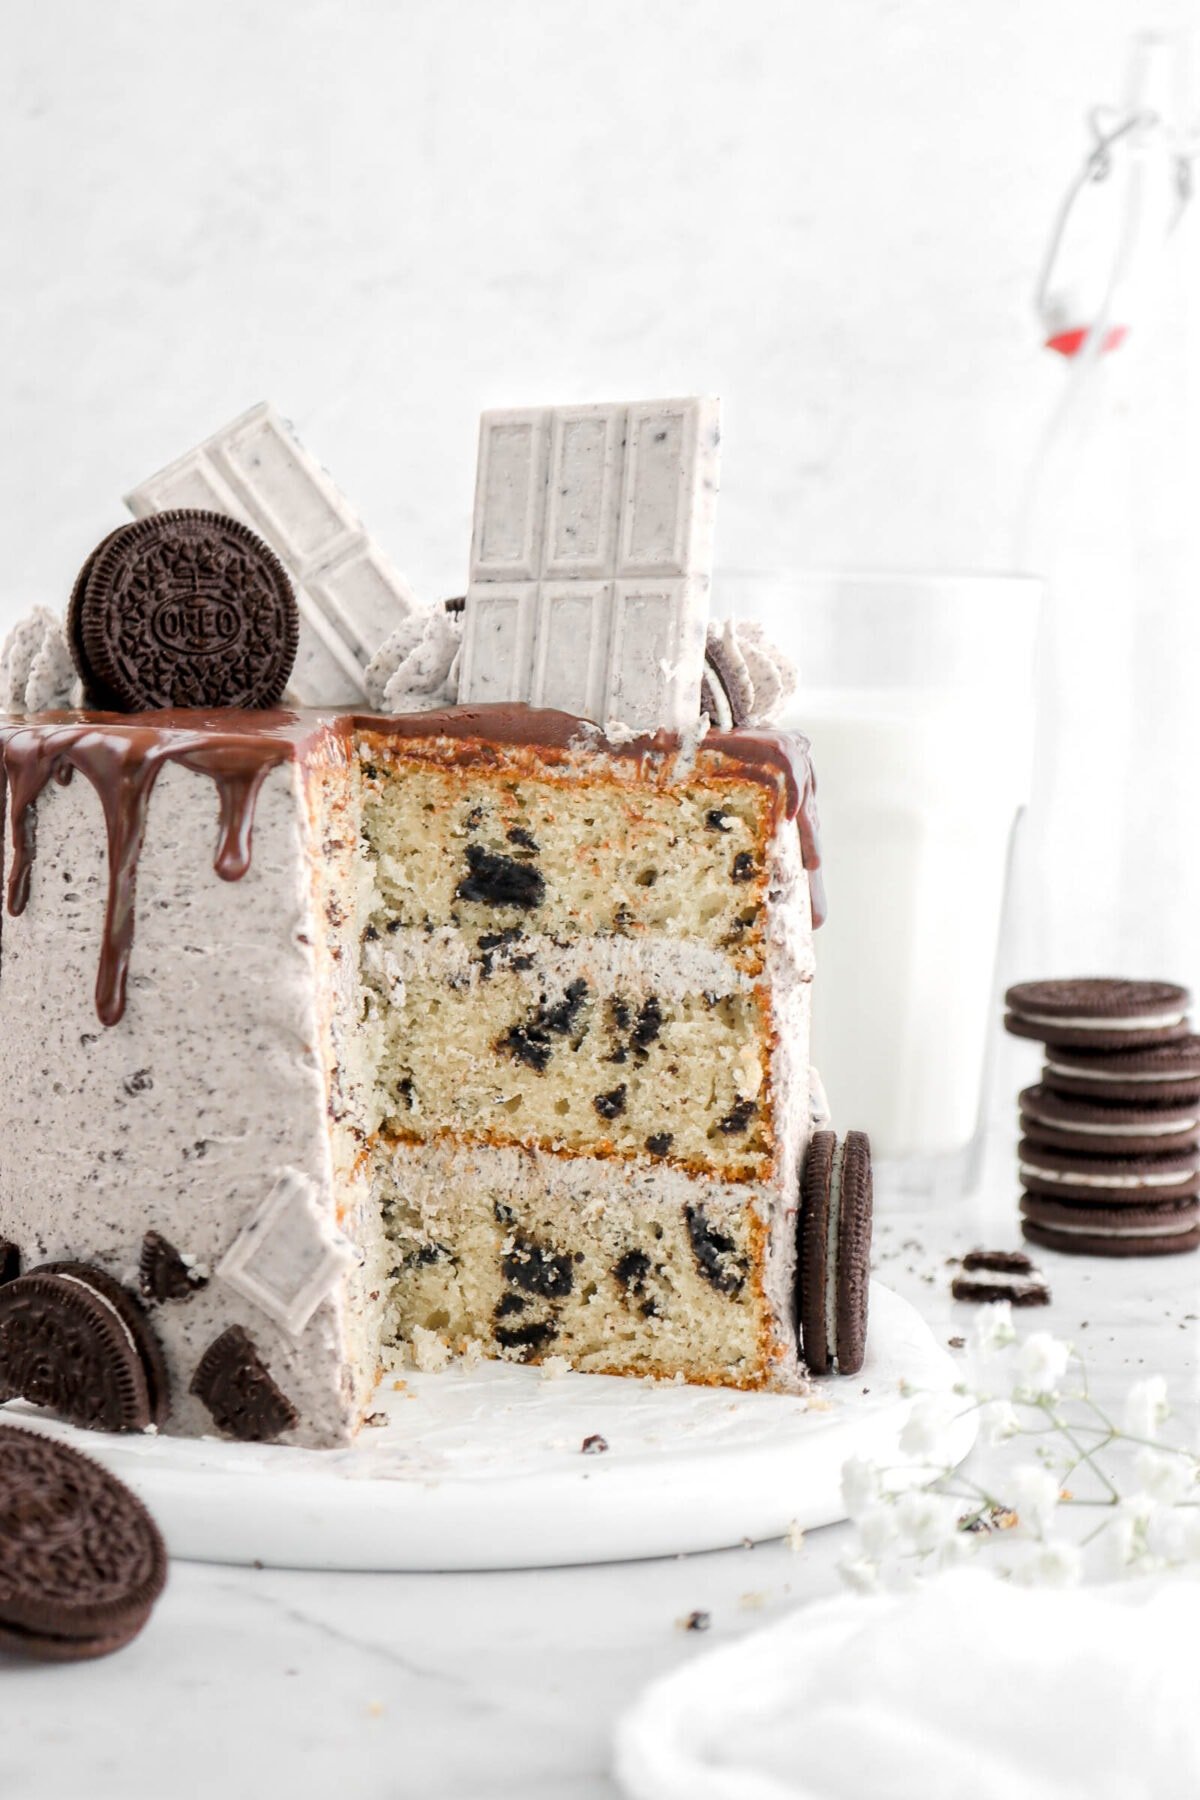
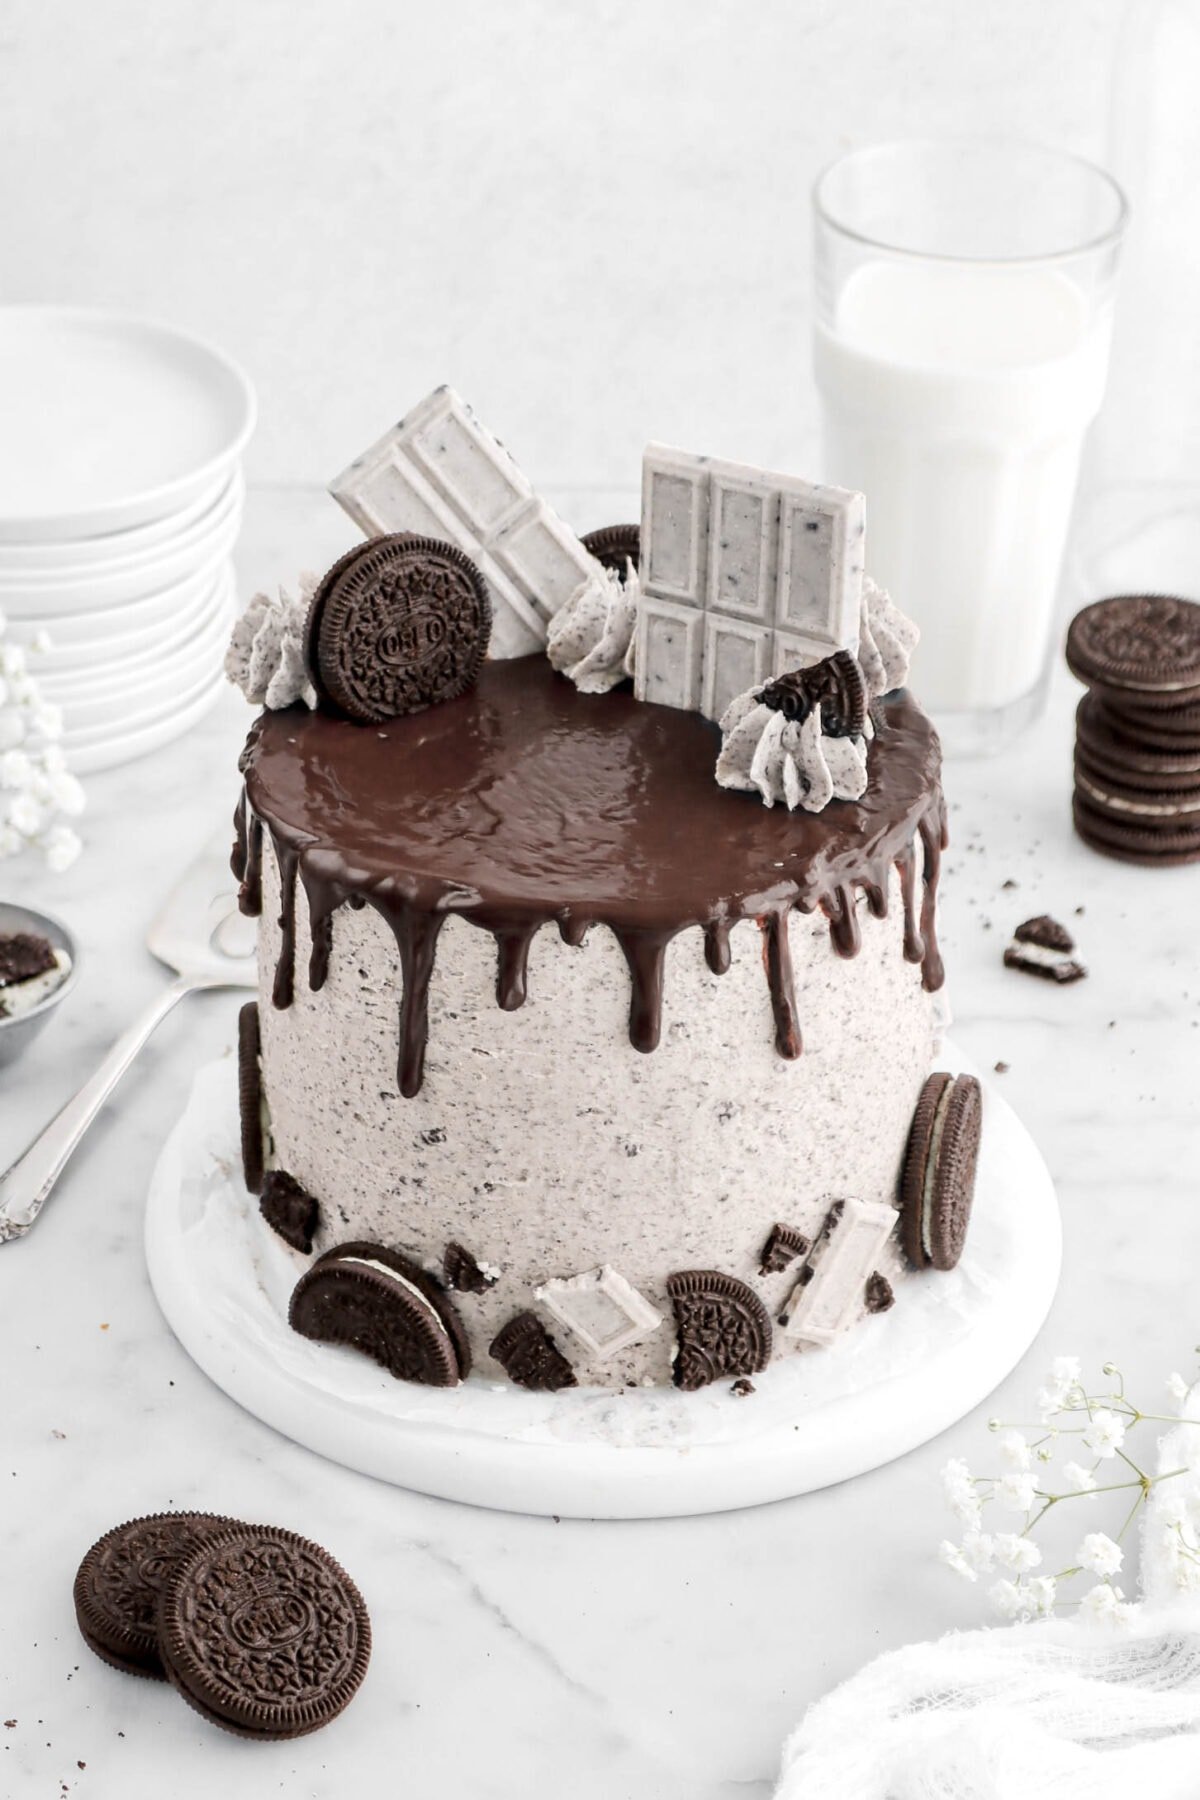
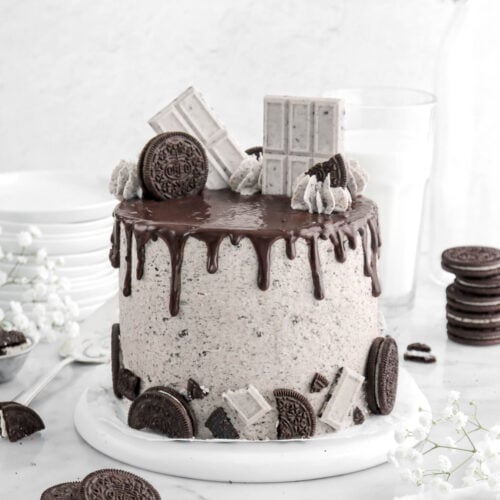
Oreo Cake with Oreo Frosting (aka Cookies and Cream Cake!) – everyone’s favorite cookie, now made into a deliciously irresistible cake! Three layers of light and fluffy vanilla sponge, made in only one bowl, and loaded with chunks of Oreos. Then, each layer is generously frosted with the most irresistible Oreo buttercream. Every bite is perfectly sweet and tastes just like the classic sandwich cookie! This is the perfect cake to bake ALL. YEAR. LONG. So simple, but super delicious.
About The Recipe
When life gives you Oreos, make a cake! Well, cookies and cake. That is the saying, right?
Last week, my mom and I shared our Oreo Chocolate Chip Cookies. They were a HUGE hit on the blog and, since we still had some Oreos leftover, we thought it would be fun to share one more Oreo treat before summer gets into full swing.

I mean, can you believe it’s the last day of May already?! Before you know it, we’ll be knee deep in peach treats, ice cream, and all things summer.
My mom and I have been so busy this month that time just seems to be flying by. Not in a bad way, of course! Between blog stuff, house stuff, and life stuff, I’m not sure our feet have even touched the ground this May.
So, as a way to slow down, we thought it would be fun to make a cake!
Because, who doesn’t love cake? I personally love making them and decorating them, even though sometimes it takes longer than I think it should.
Which, was a really good thing! It forced my mom and I to slow down a bit. It was really nice to just take our time with something! And, to be honest, we couldn’t be happier with how this cake came out!
It’s not only gorgeous to look at, but it tastes SO. GOOD.
Reasons You Will Love This Oreo Cake
- To mix up the cake, all you need is two bowls and a whisk!
- Perfect for birthday’s, anniversaries, and holiday’s.
- A super cute 6-inch cake.
- Tastes like one giant Oreo!
- Can be made in-advance.
- A real crowd pleaser.

Equipment Needed
- Mixing Bowls
- Whisk
- 6 Inch Cake Pans
- Cake Tester
- Stand Mixer
- Rubber Spatula
- Offset Spatula
Ingredients
Full ingredient amounts and instructions can be found in the recipe card at the bottom of the post.
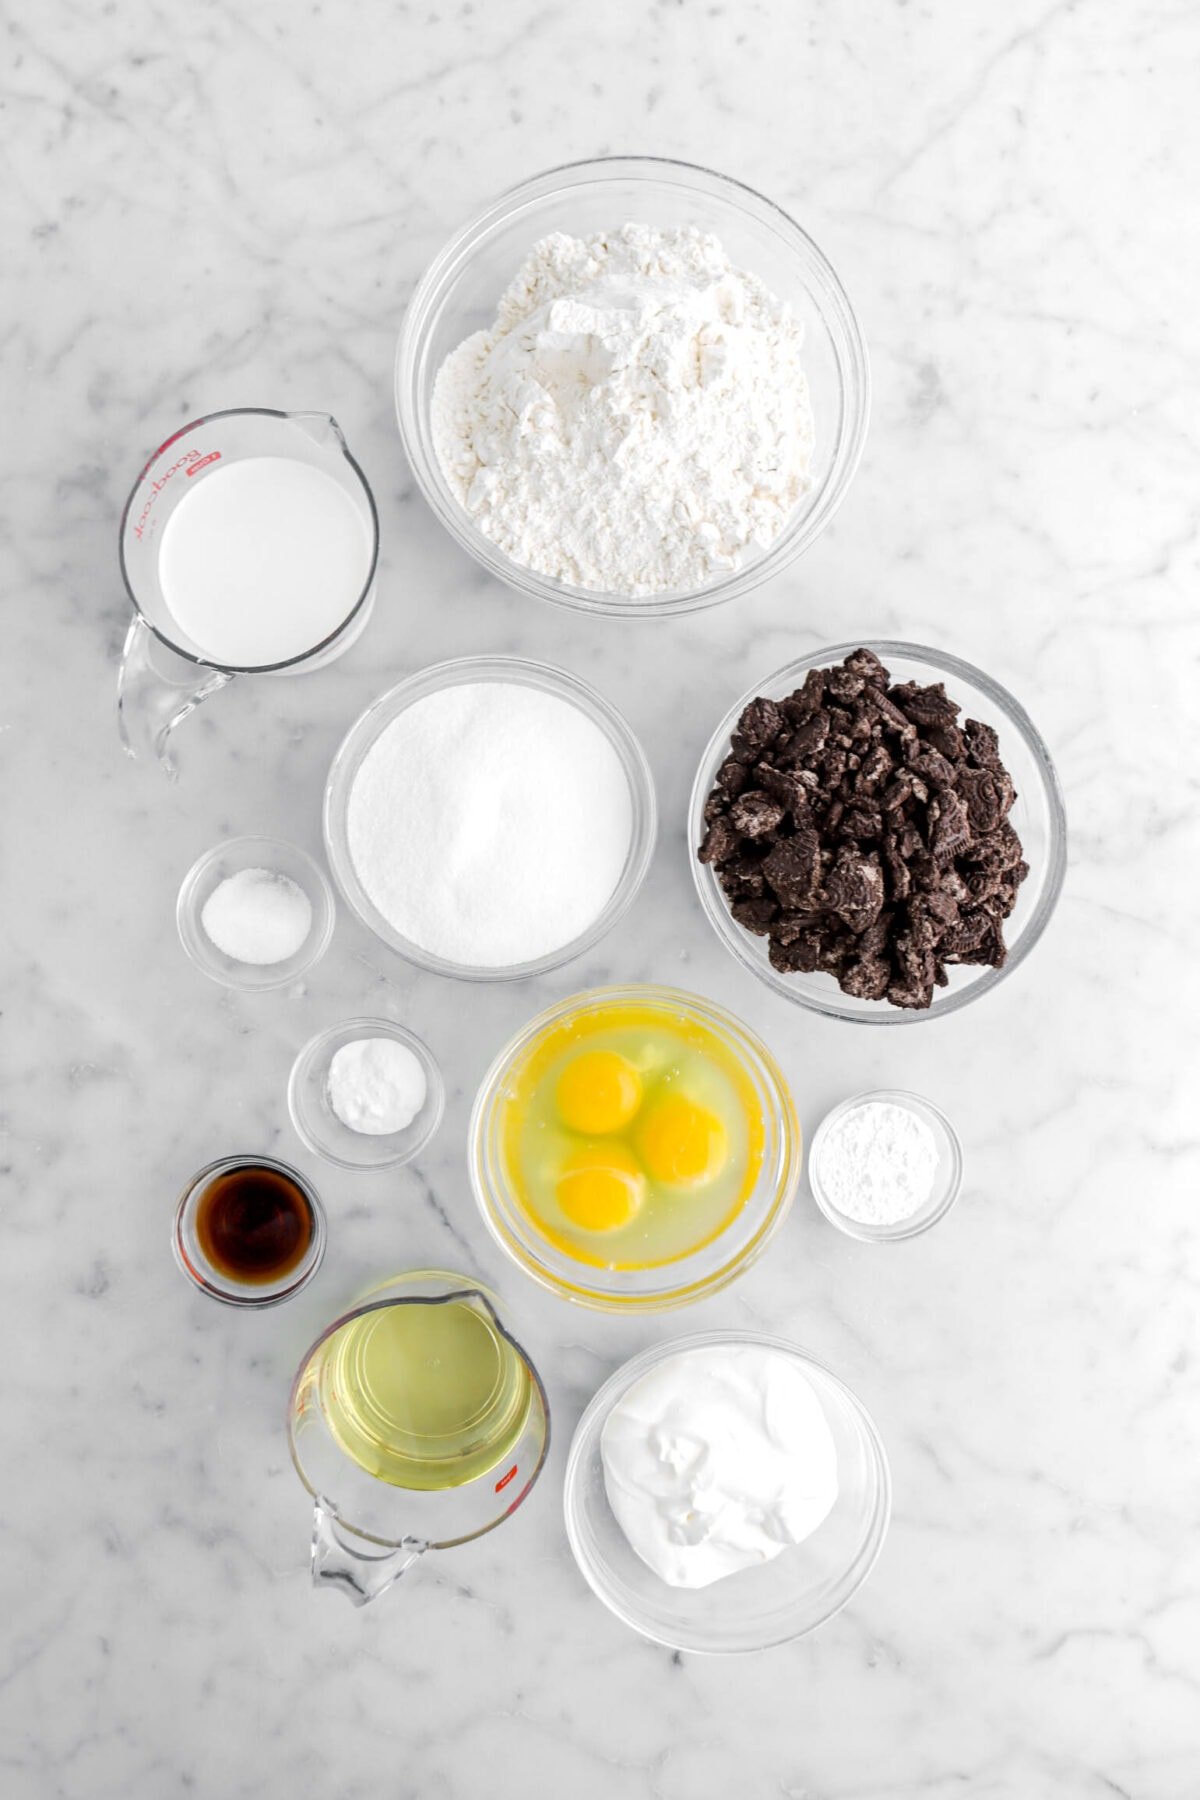
For The Cake:
- Whole Milk – Using whole milk in a cake does SO MUCH! From creating a lighter, stronger crumb, to activating the leavening, and even making the cake itself a little richer.
- Sour Cream – This is our secret ingredient in this cake. By using a little bit of sour cream, it adds extra fat to the cake! Which, in turn, creates a more tender crumb and better structure.
- Large Eggs – Remember to set our your eggs ahead of time to allow them to come to room temperature before mixing.
- Vegetable Oil – Makes this cake extra moist and tender.
- Vanilla Extract – Adds flavor the cake.
- All-Purpose Flour – Creates the perfect structure for this cake.
- Granulated Sugar – Sugar does so much for baked goods other than sweeten! It keeps the cake soft, moist, it helps promote browning…it is an essential ingredient for structure and flavor!
- Baking Powder – Leavening is essential in baking! This provides the perfect rise in the cake to give is a light, tender, and delicious texture.
- Baking Soda – For this recipe, we add a dash of baking soda to ensure the rise of this cake, as it does have an acidic ingredient!
- Salt – Cuts some of the sweetness, while also enhancing the flavors in this cake.
- Chopped Oreos – Chunks of Oreos fill each layer of cake to create a delicious Oreo flavor in every bite!
For The Frosting:
- Salted Butter – Be sure to use room temperature butter to give the frosting a silky and smooth texture.
- Powdered Sugar – For the best texture, measure out and then sift powdered sugar!
- Oreo Crumbs – To really help this frosting taste like Oreos, you will need to crush your Oreos to the consistency of sand!
- Heavy Cream – A splash of heavy cream loosens the frosting to make it spreadable, but also keeps it light and fluffy.
- Vanilla Extract – Adds an undertone to the frosting to really help the Oreos shine!

How To Make Oreo Cake
Step 1: Prepare batter
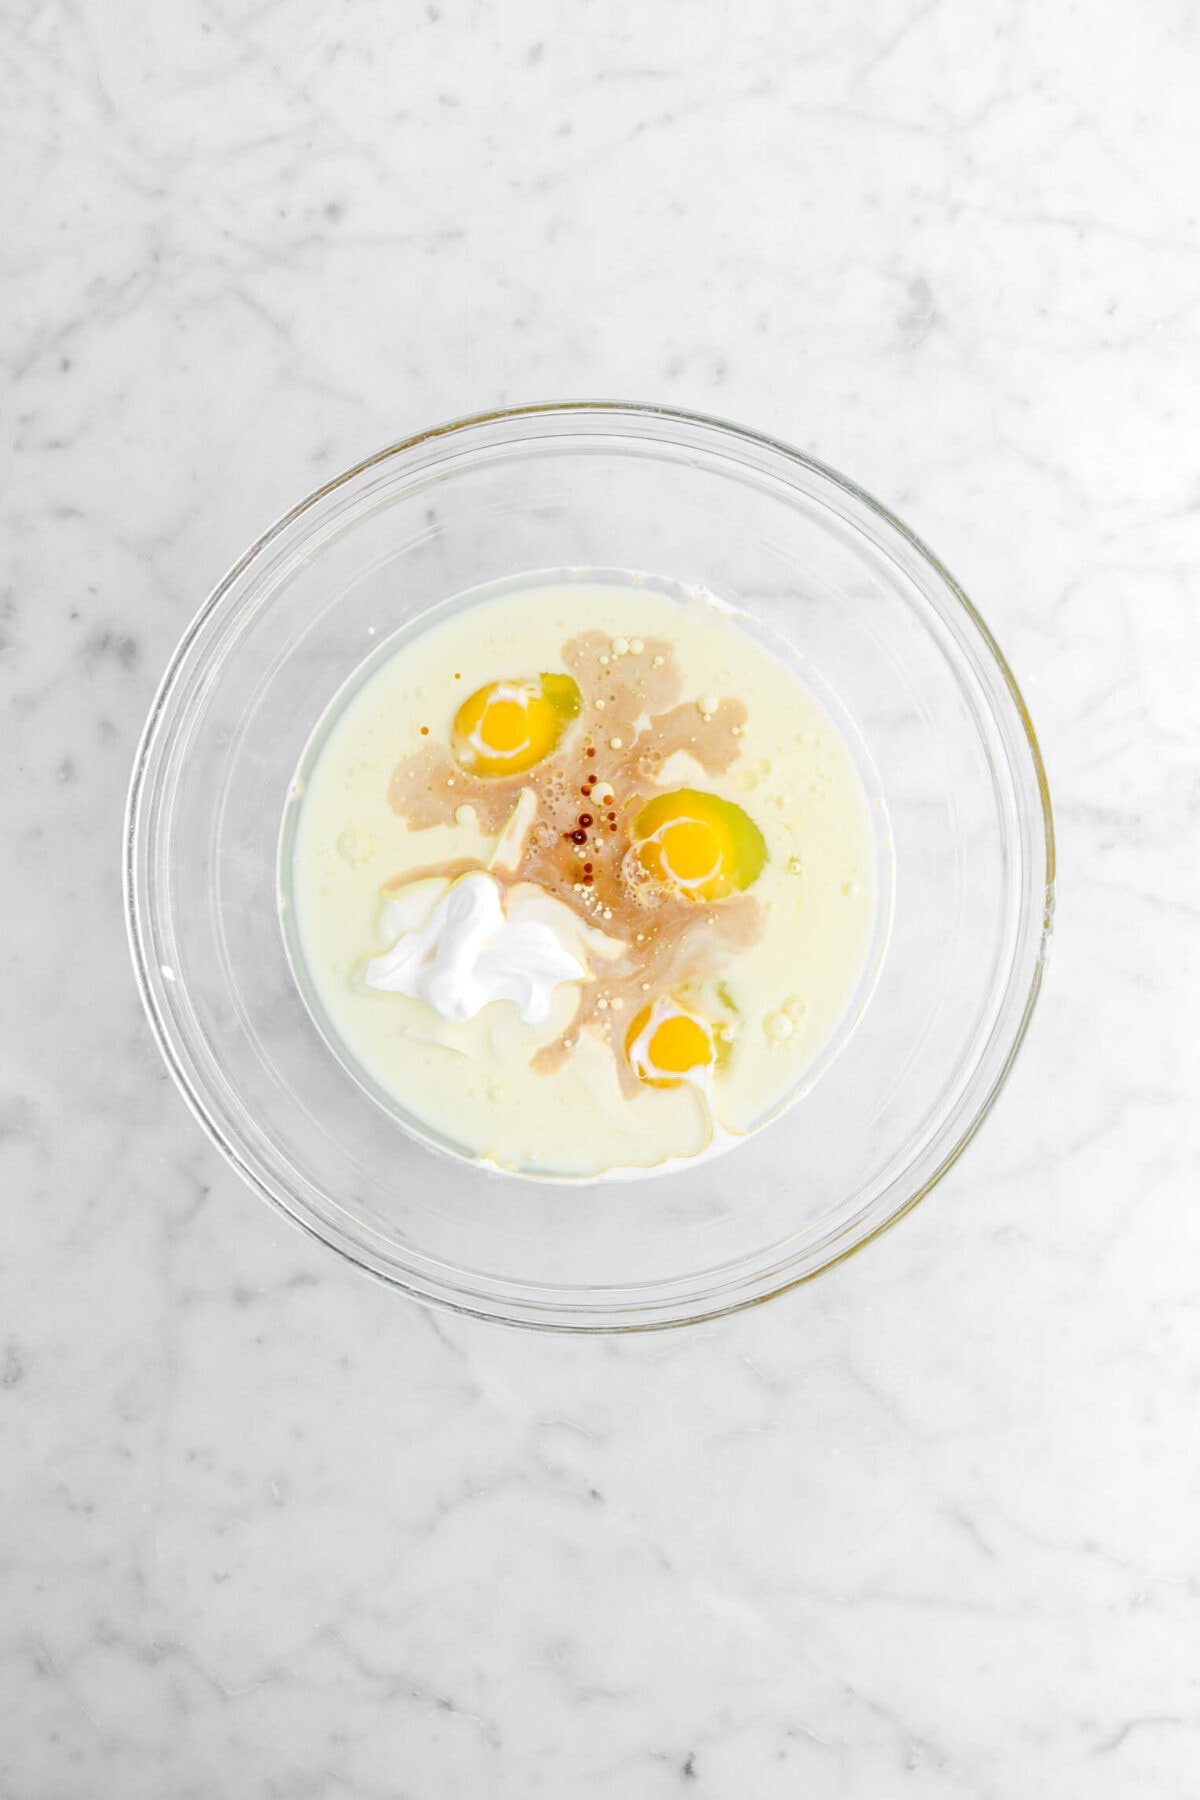
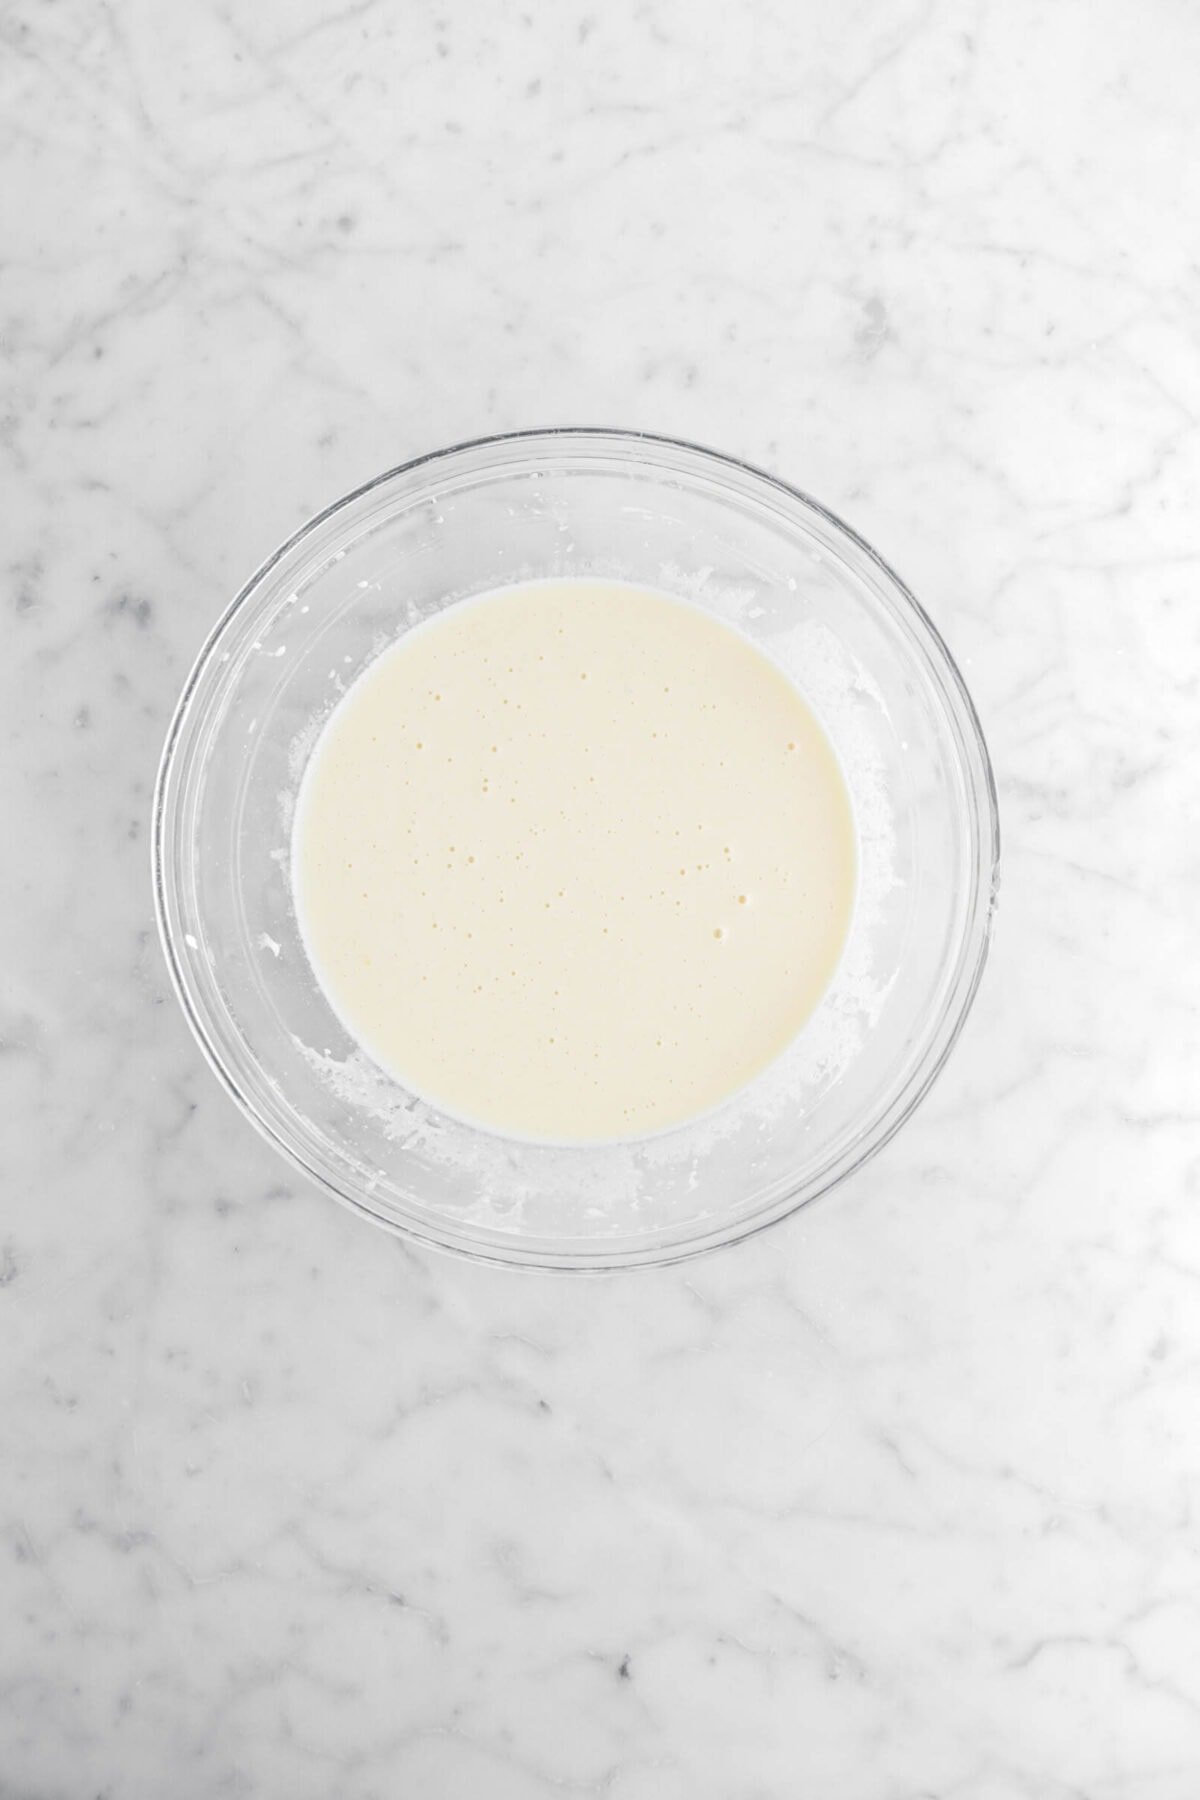
In a medium bowl, combine milk, sour cream, eggs, oil, and vanilla. Whisk until smooth. Set aside.
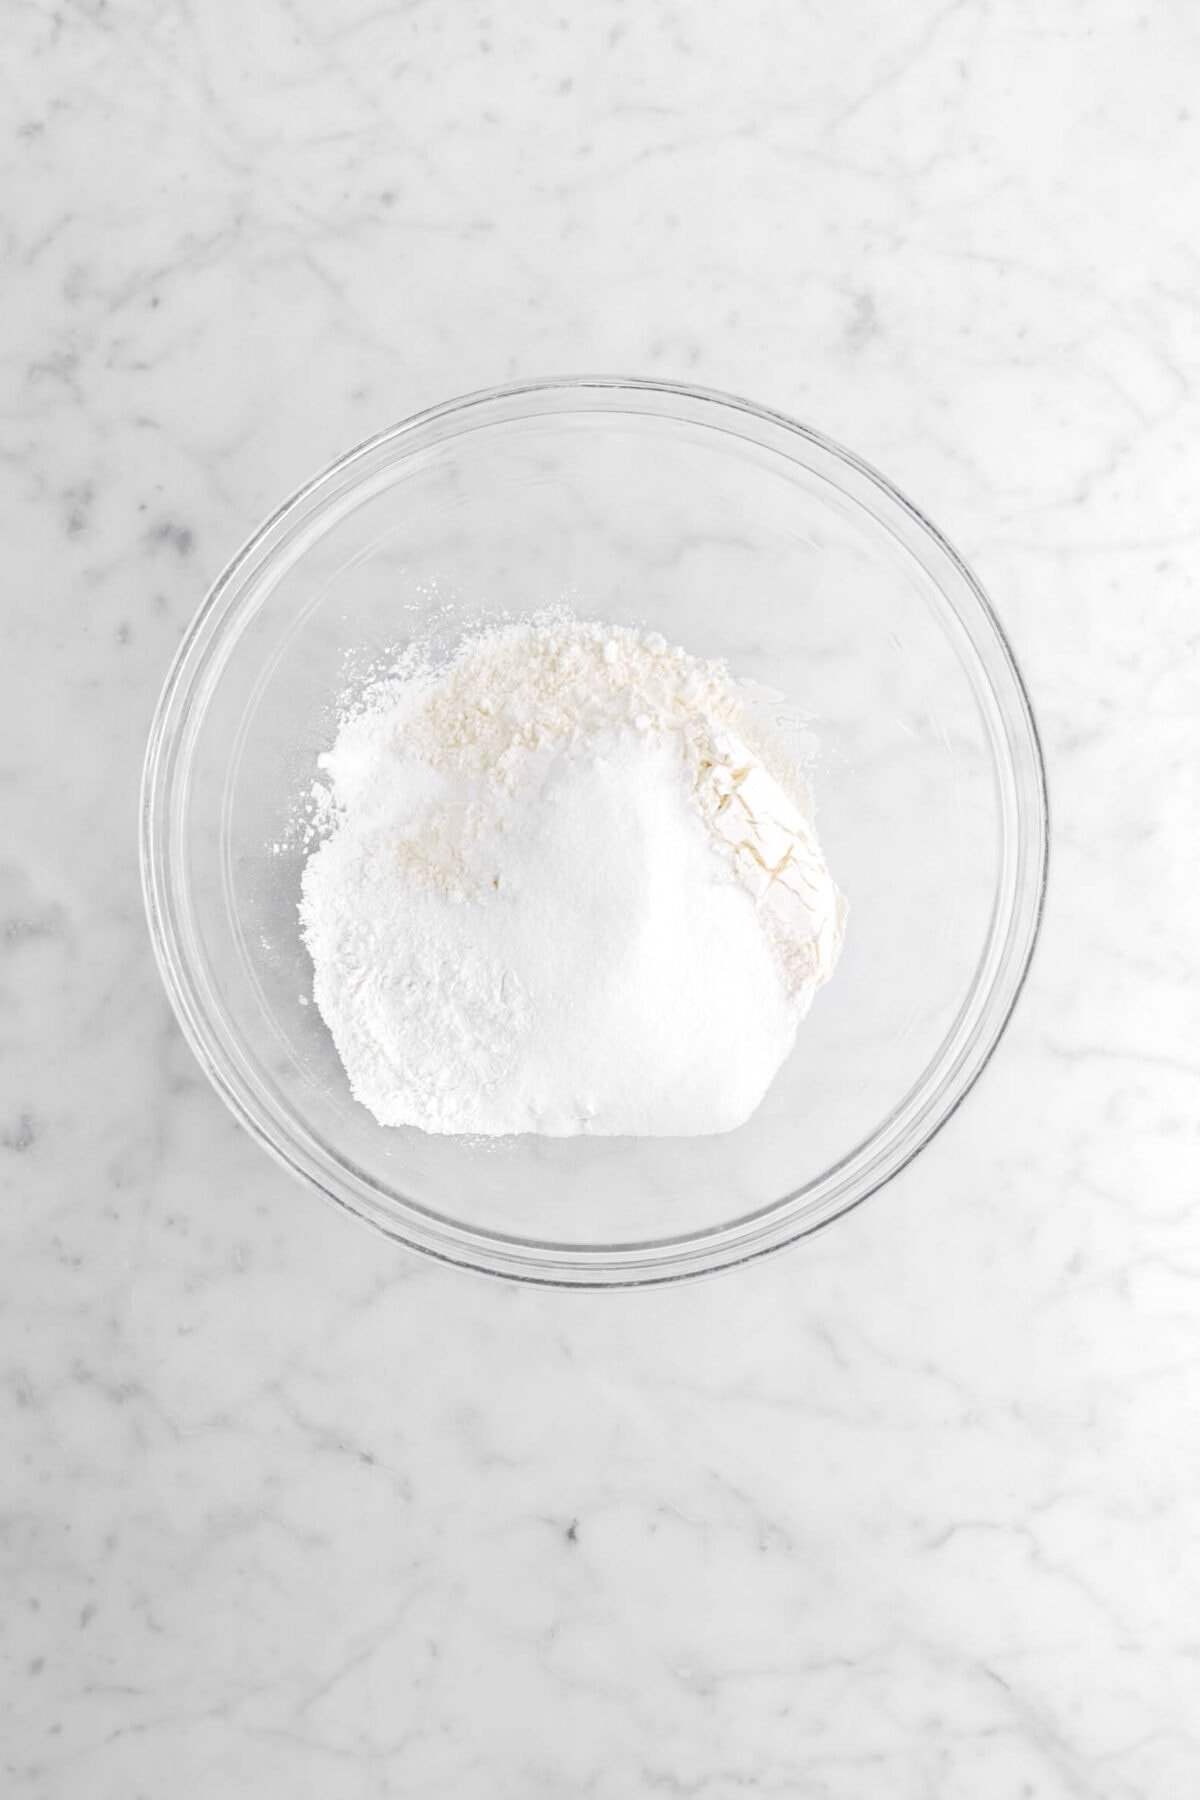
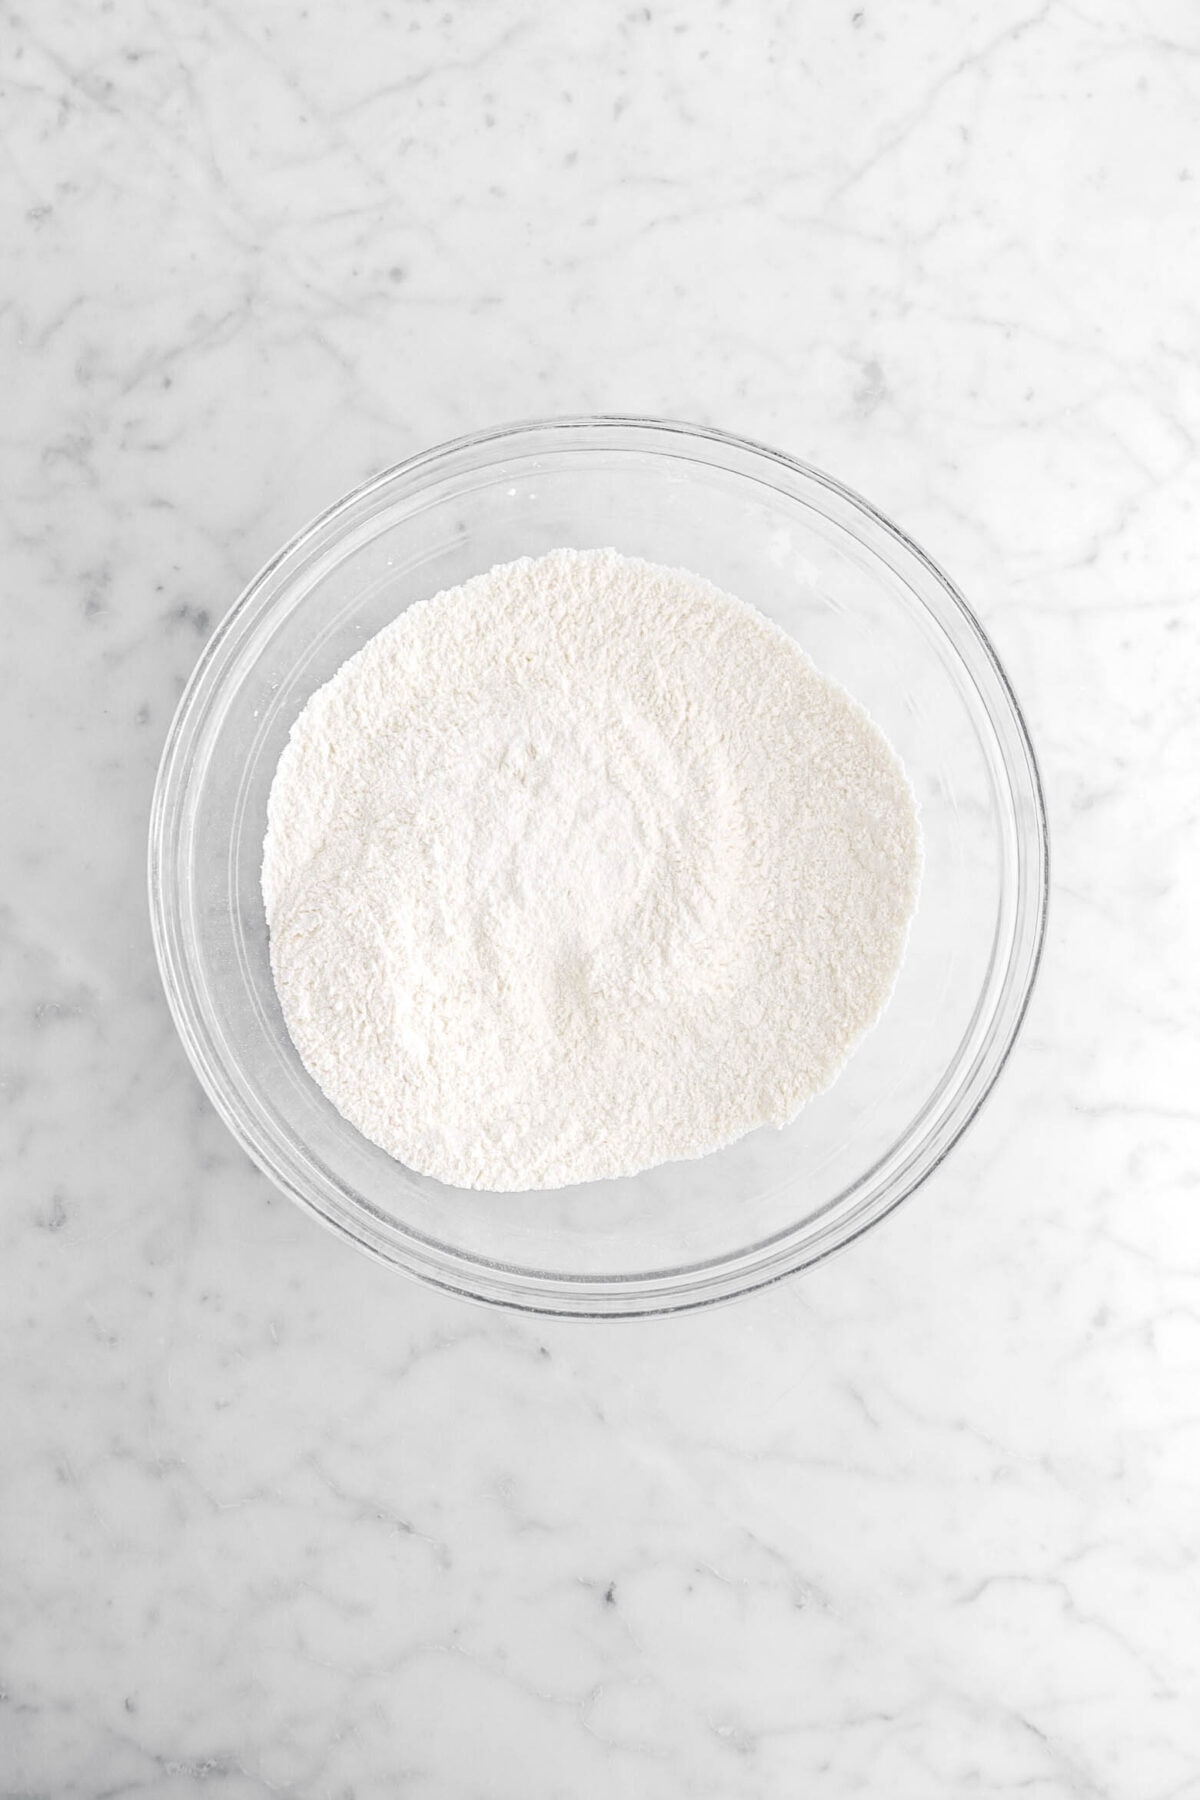
In a large bowl, whisk together flour, sugar, baking powder, baking soda, and salt.
Pour wet ingredients over dry ingredients. Whisk until smooth.


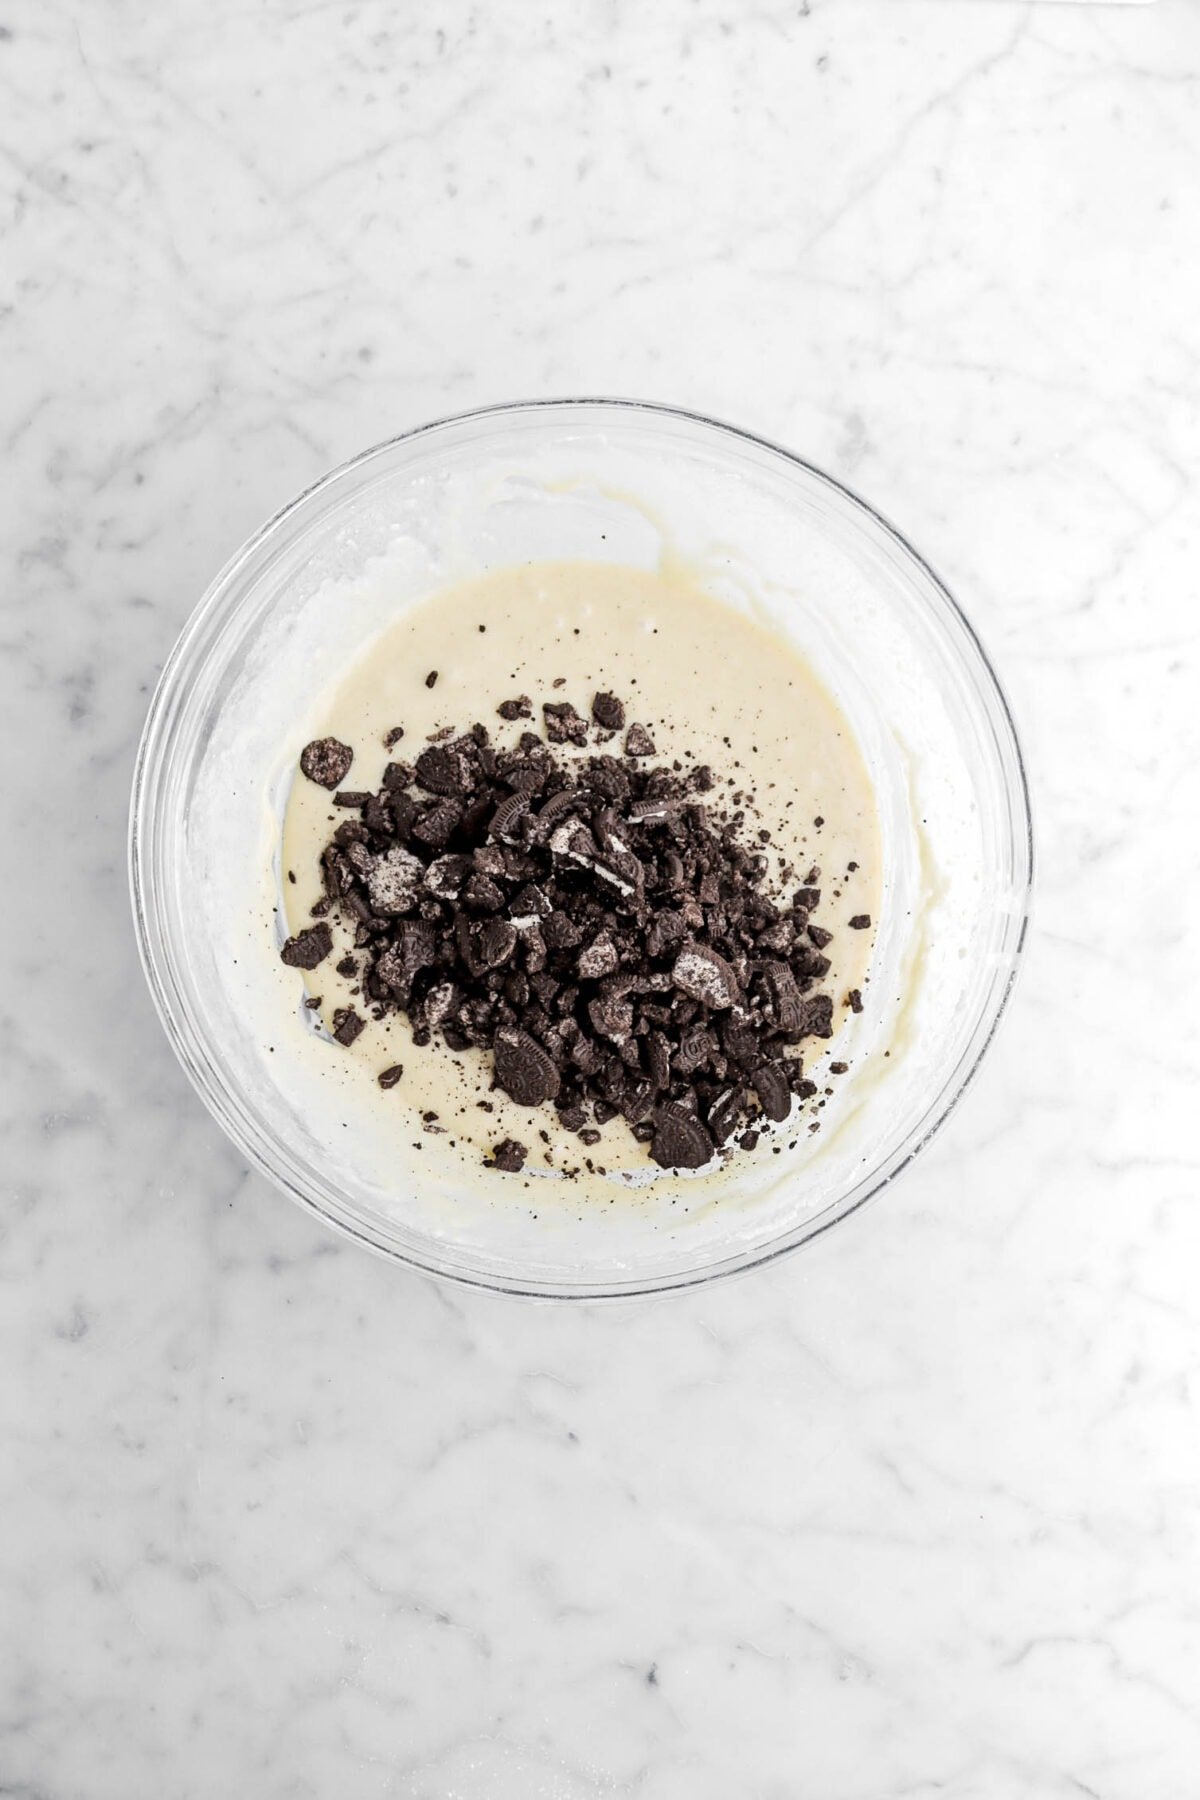
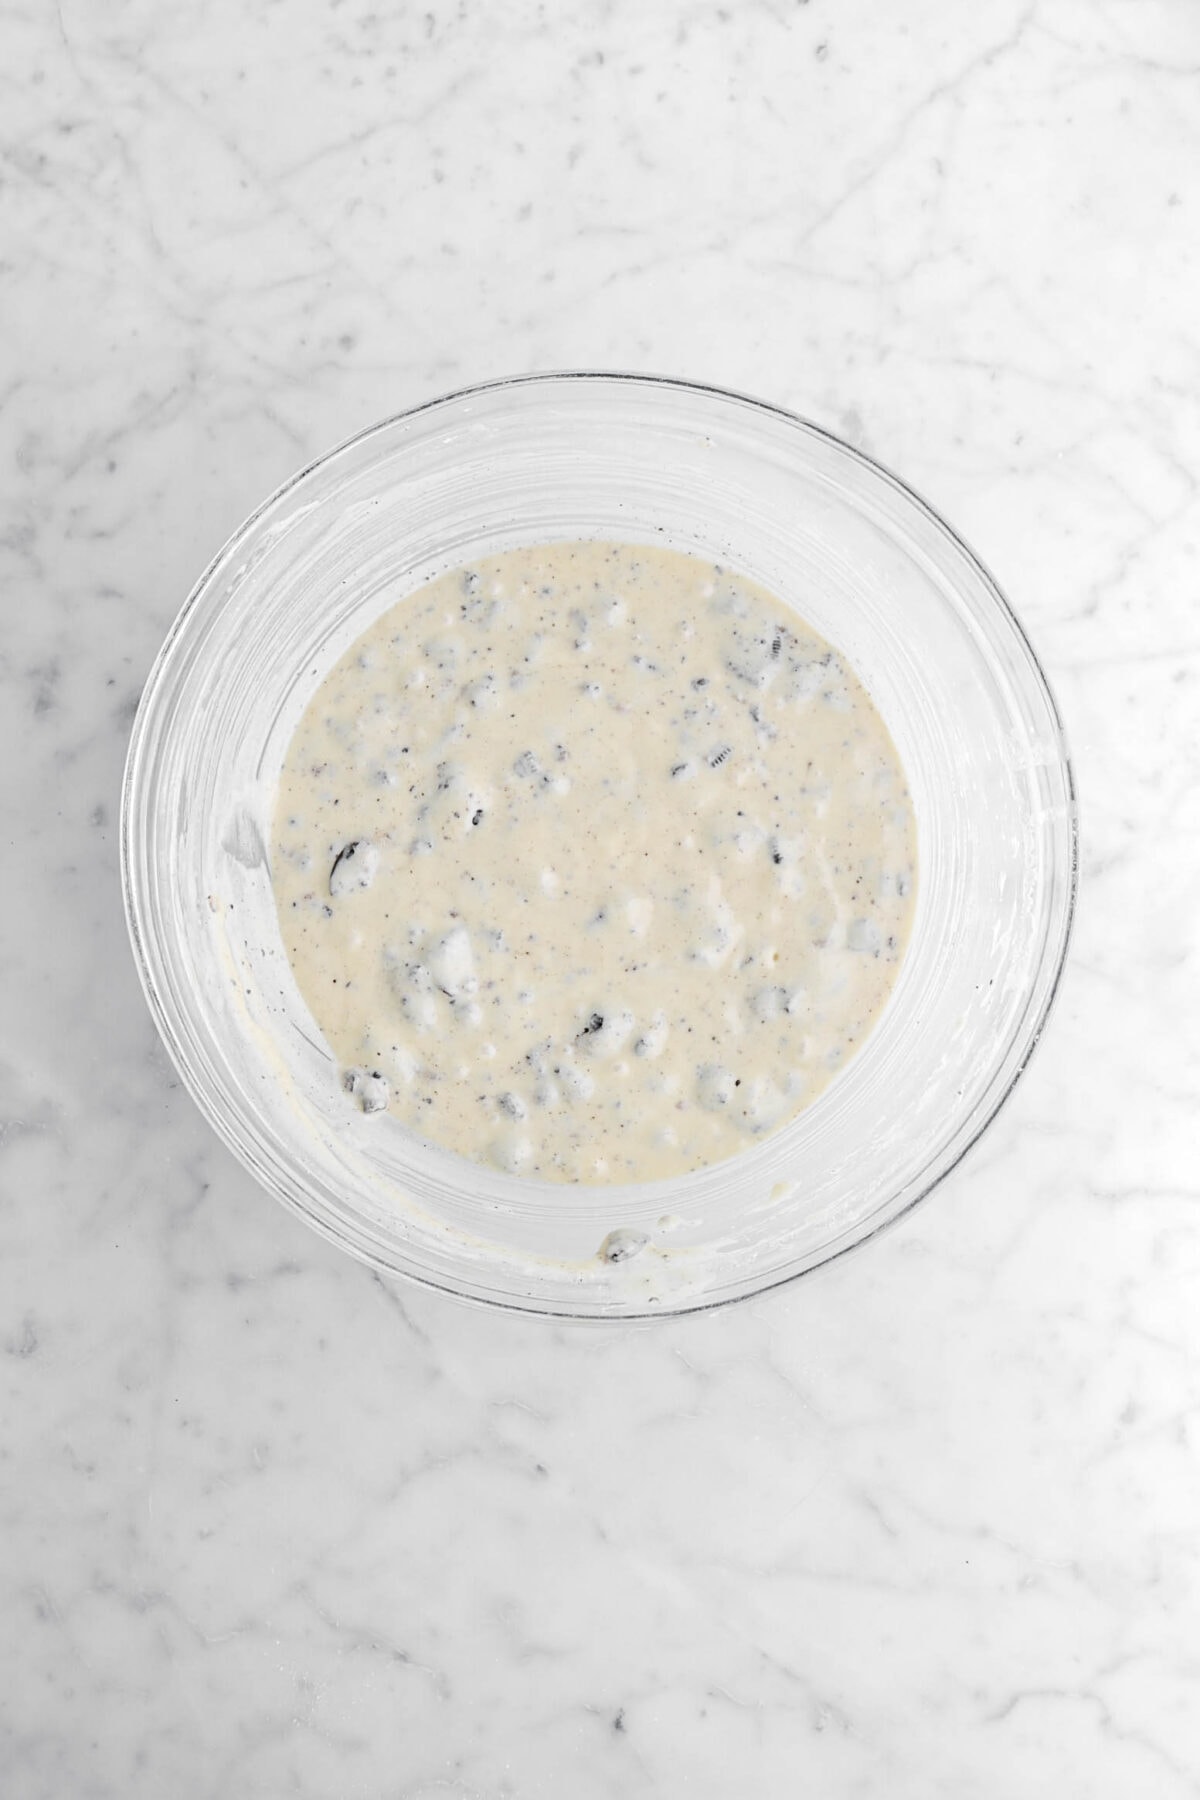
Fold in cookies.
Step 2: Bake
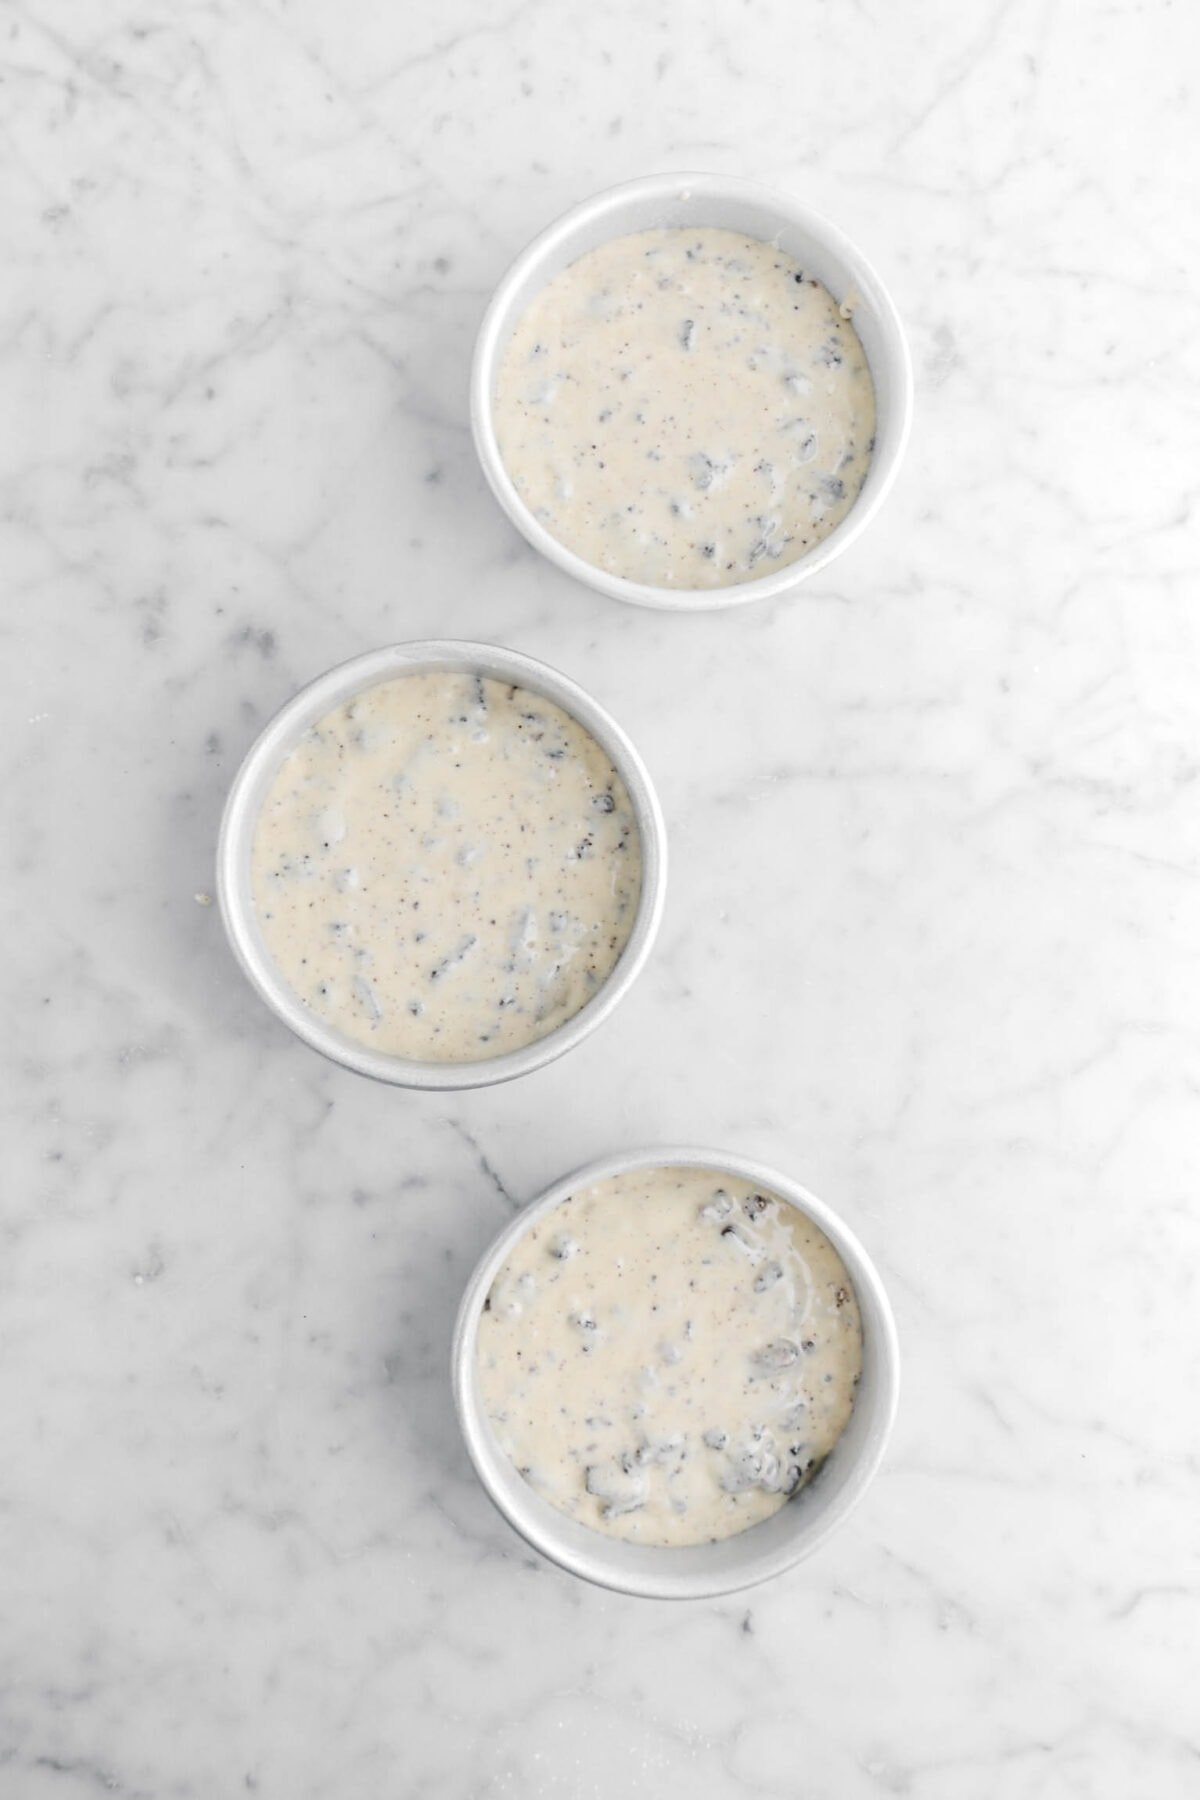
Divide evenly among prepared pans. Bake for 25-30 minutes, or until cake tests done.
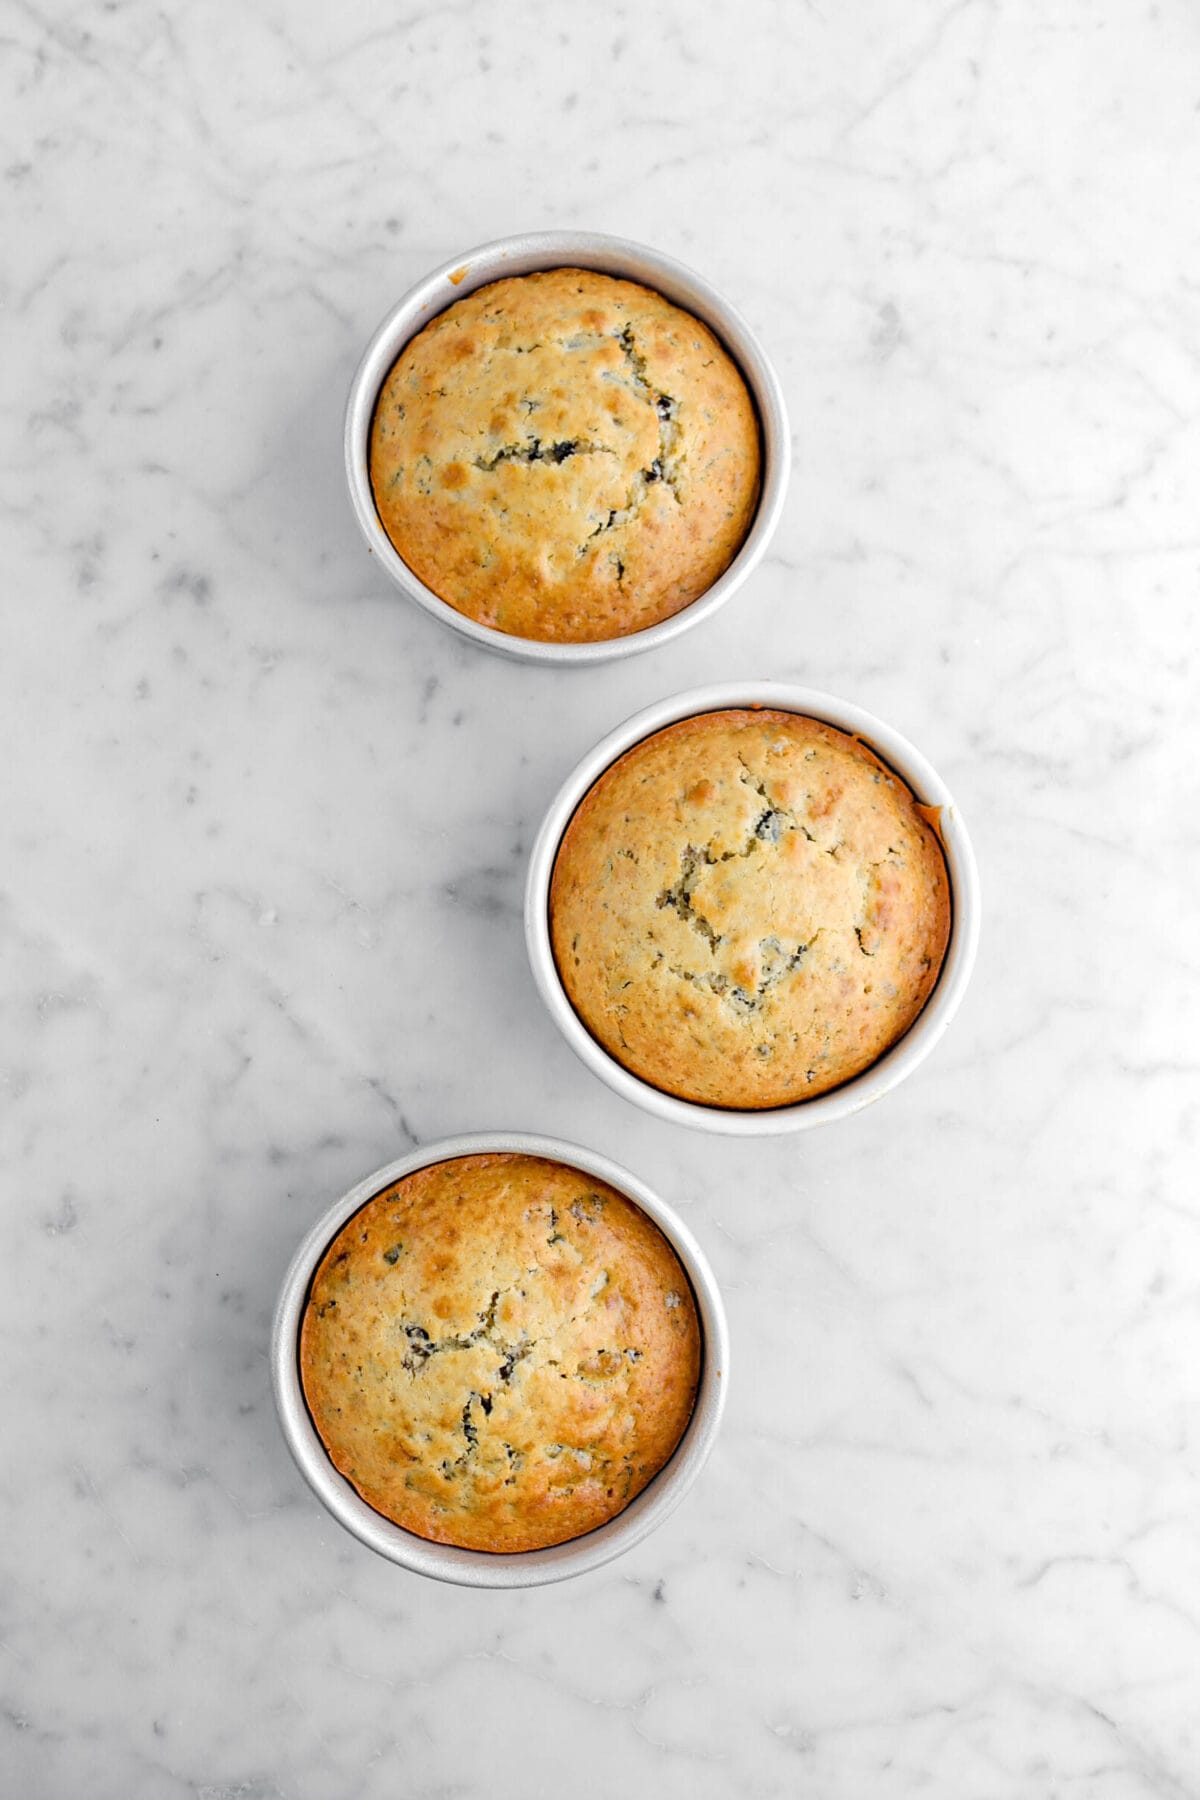
Allow to cool in pan before turning out. Level, if needed.

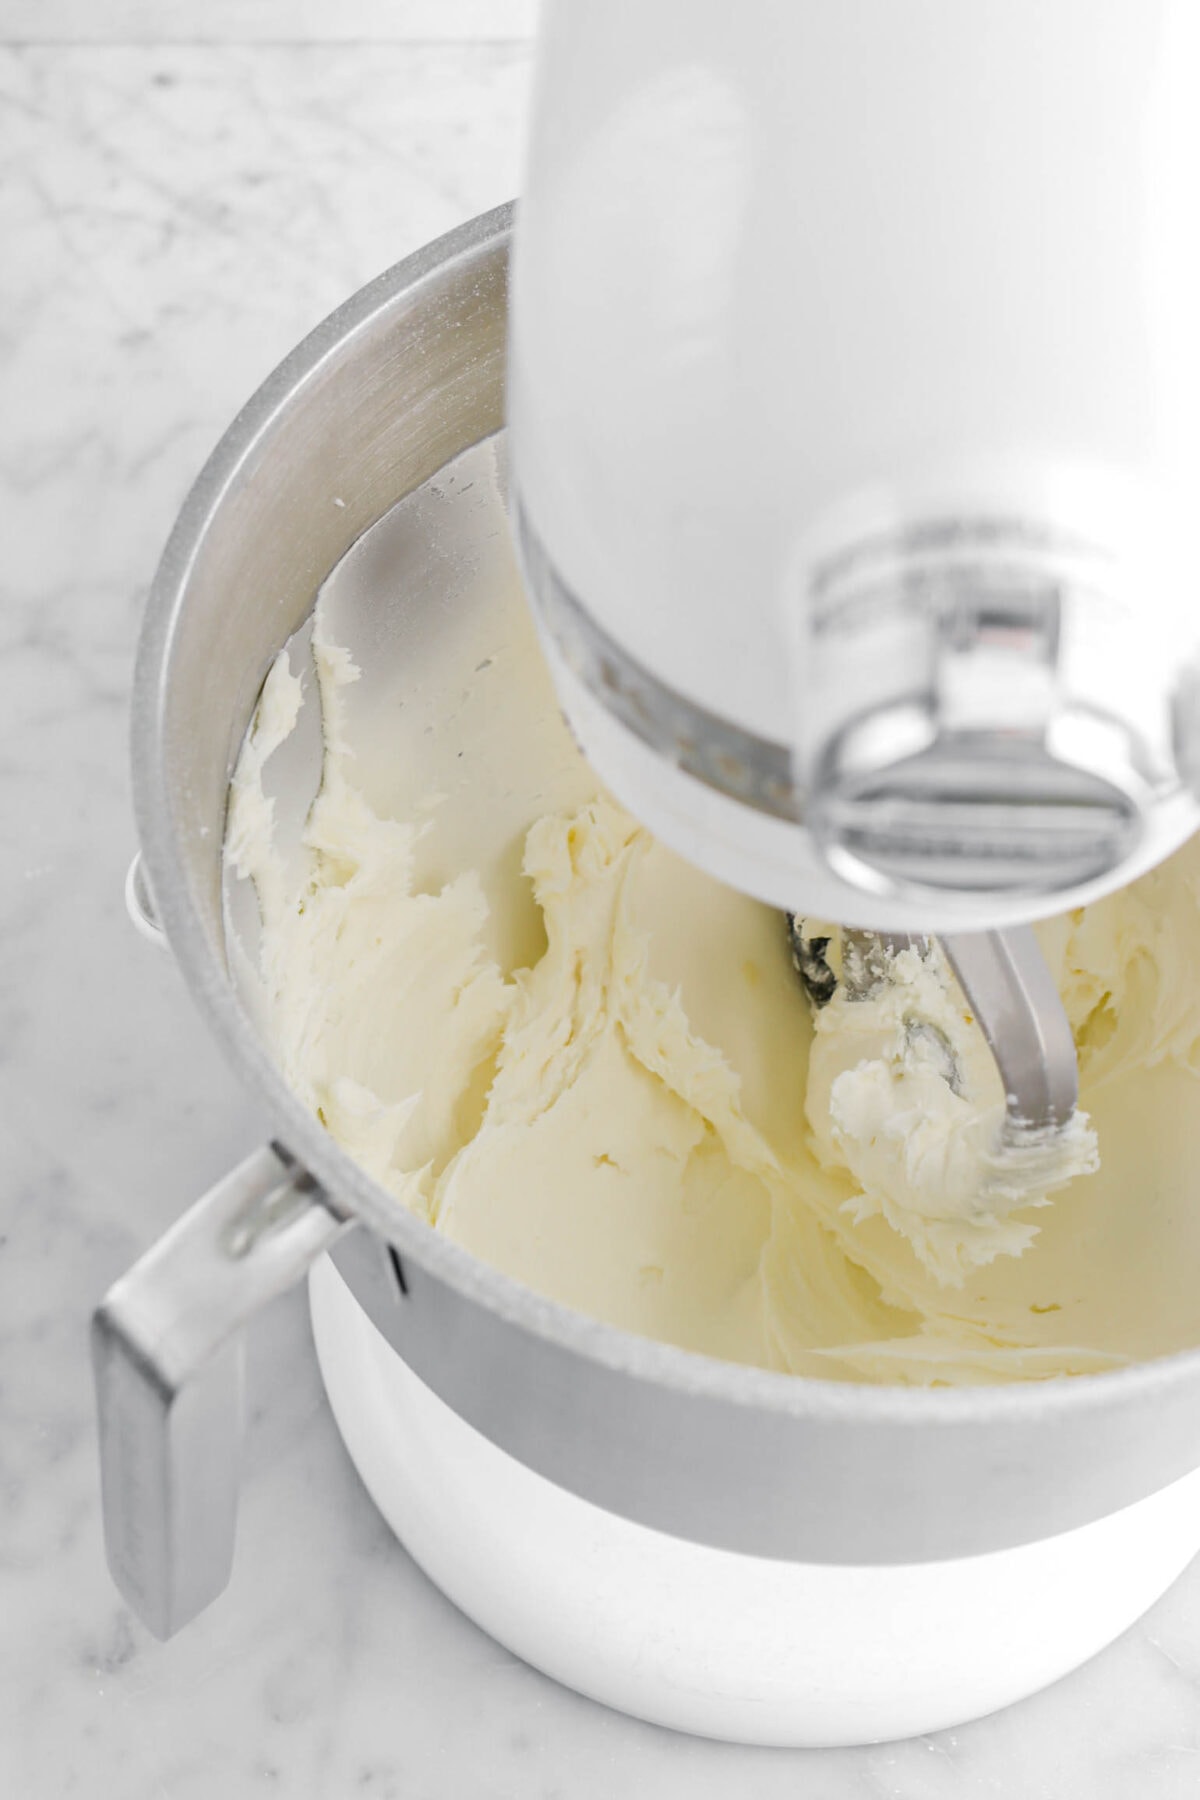
Step 3: Make frosting
With an electric mixer, beat butter and sugar until smooth, about 1-2 minutes.

Stir in cookies.

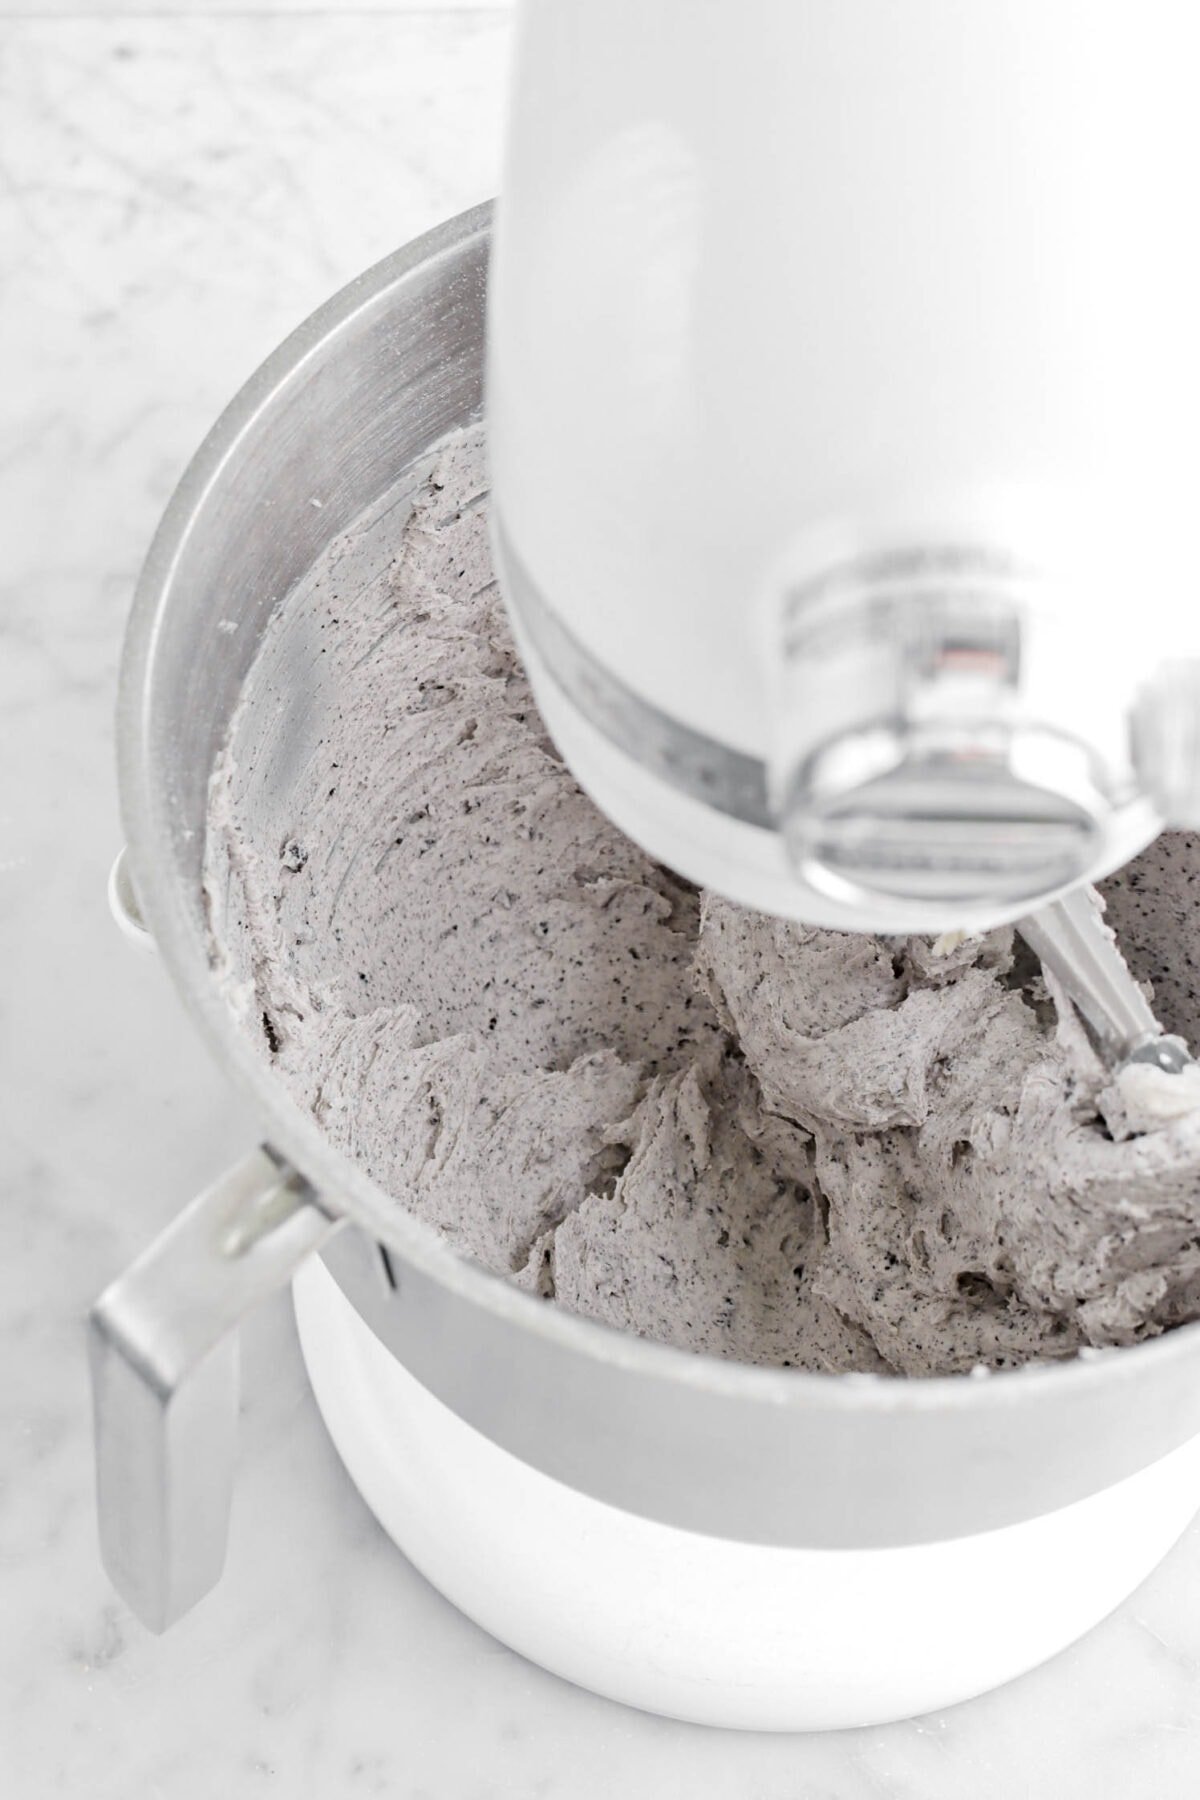
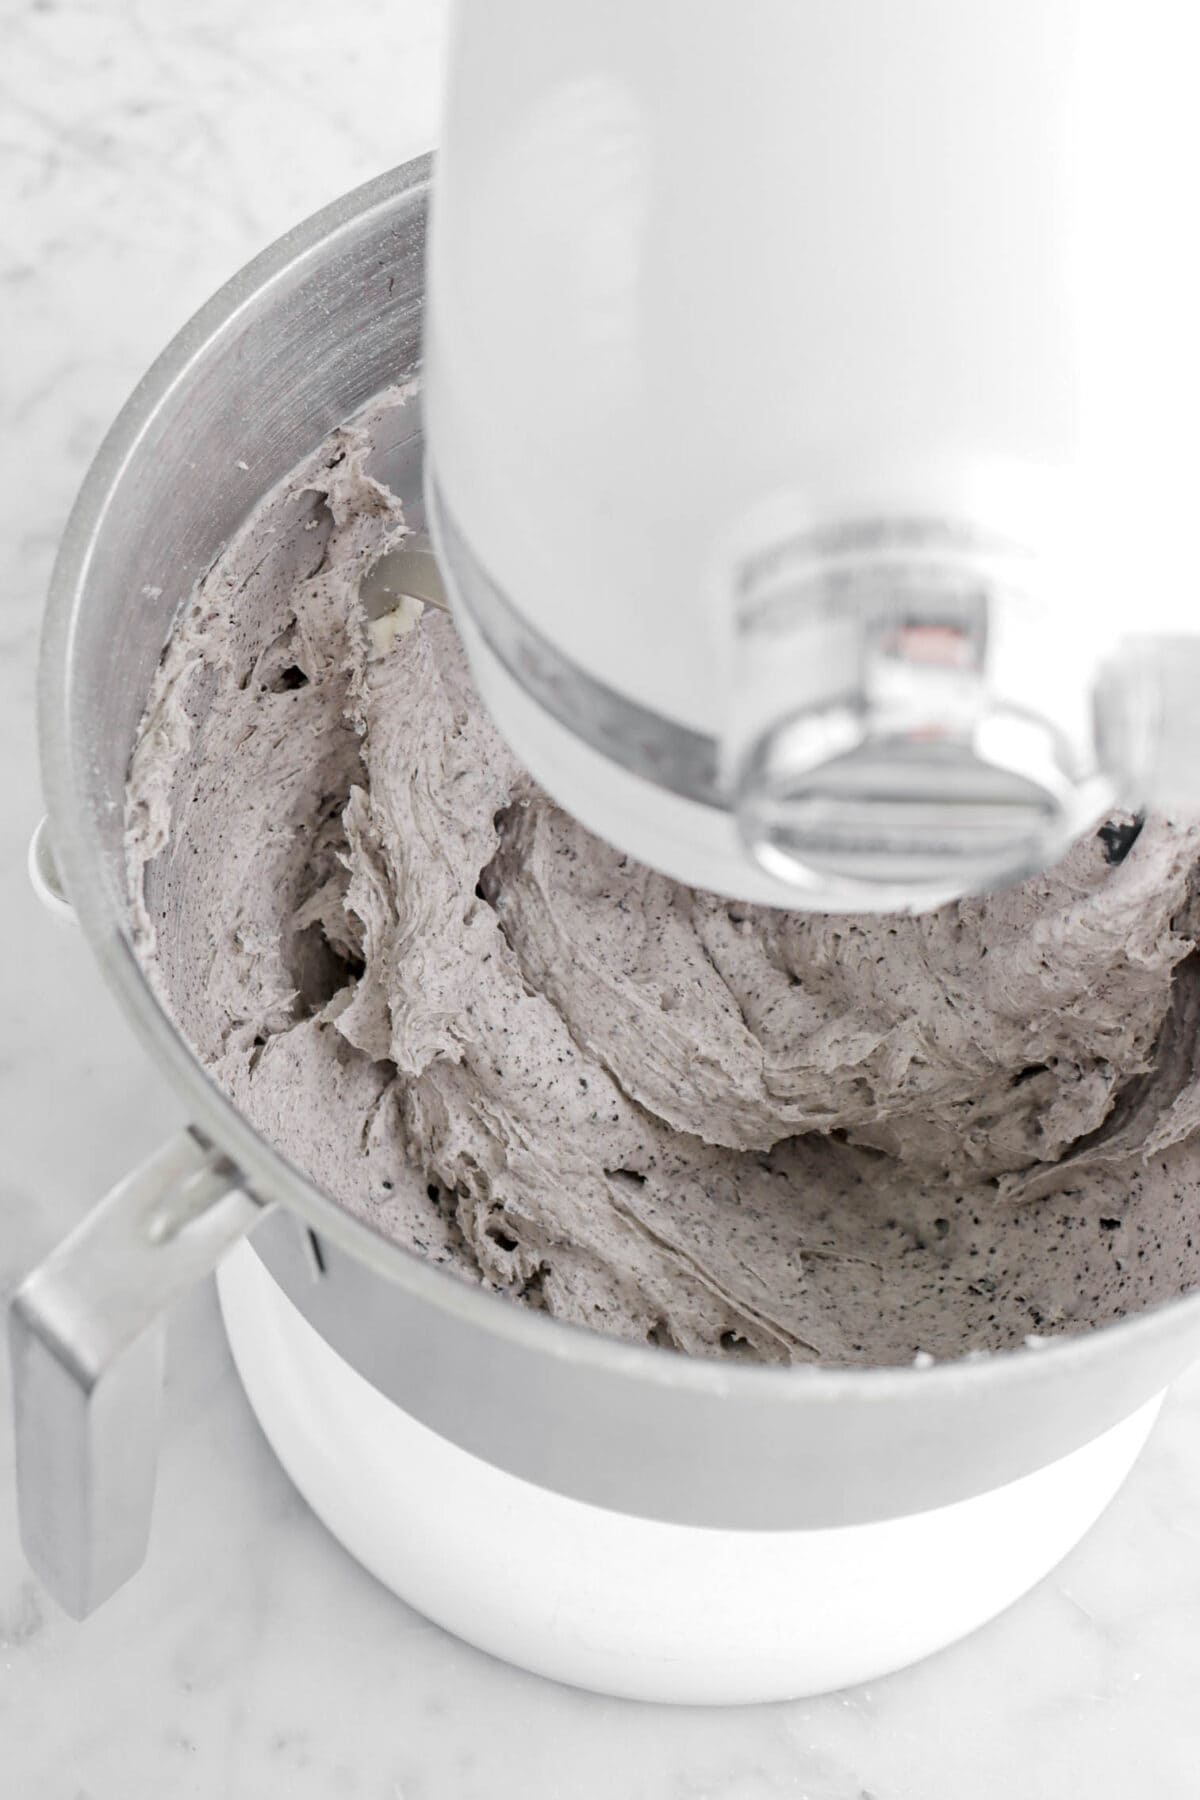
Add cream and vanilla. Beat until light and fluffy, about 2-3 minutes.

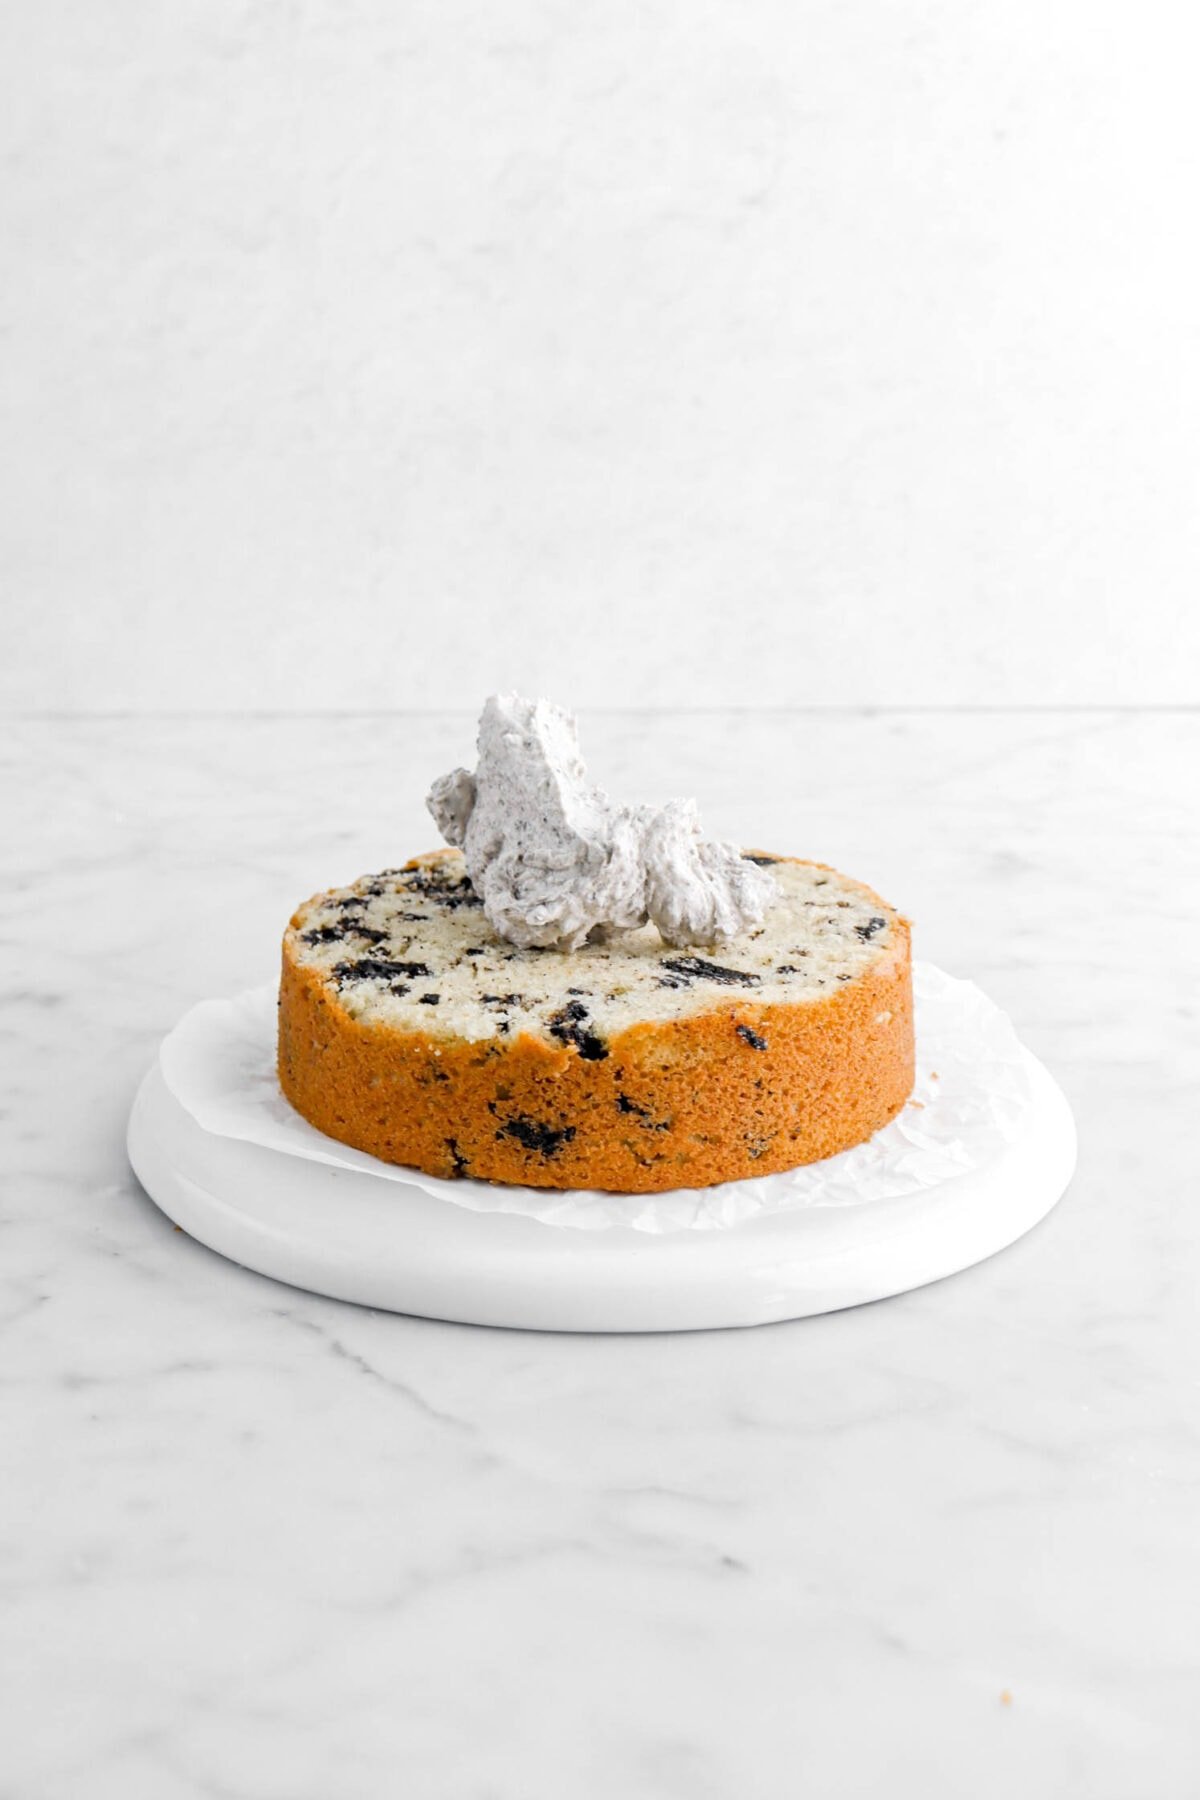
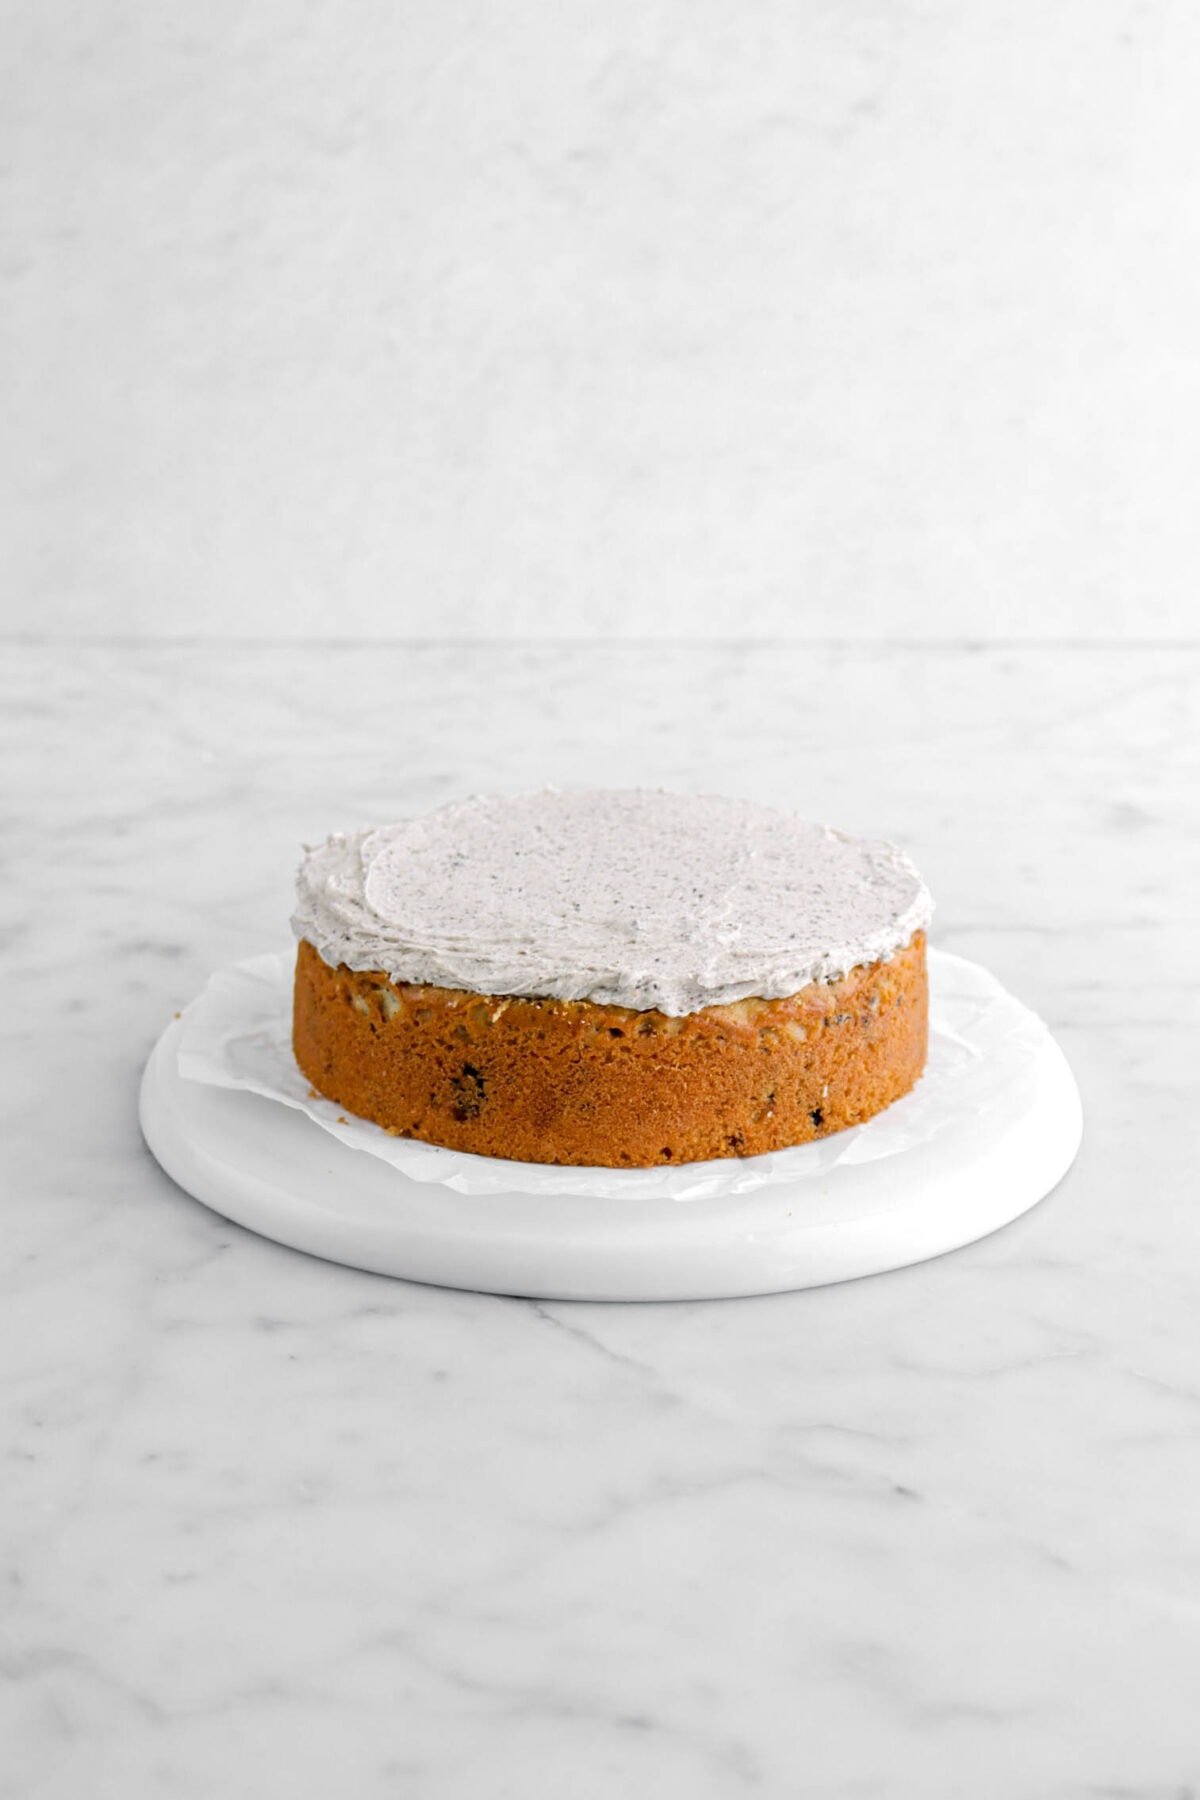
Step 4: Build and frost cake
Place one cake layer on cake plate and spread with a layer of frosting.
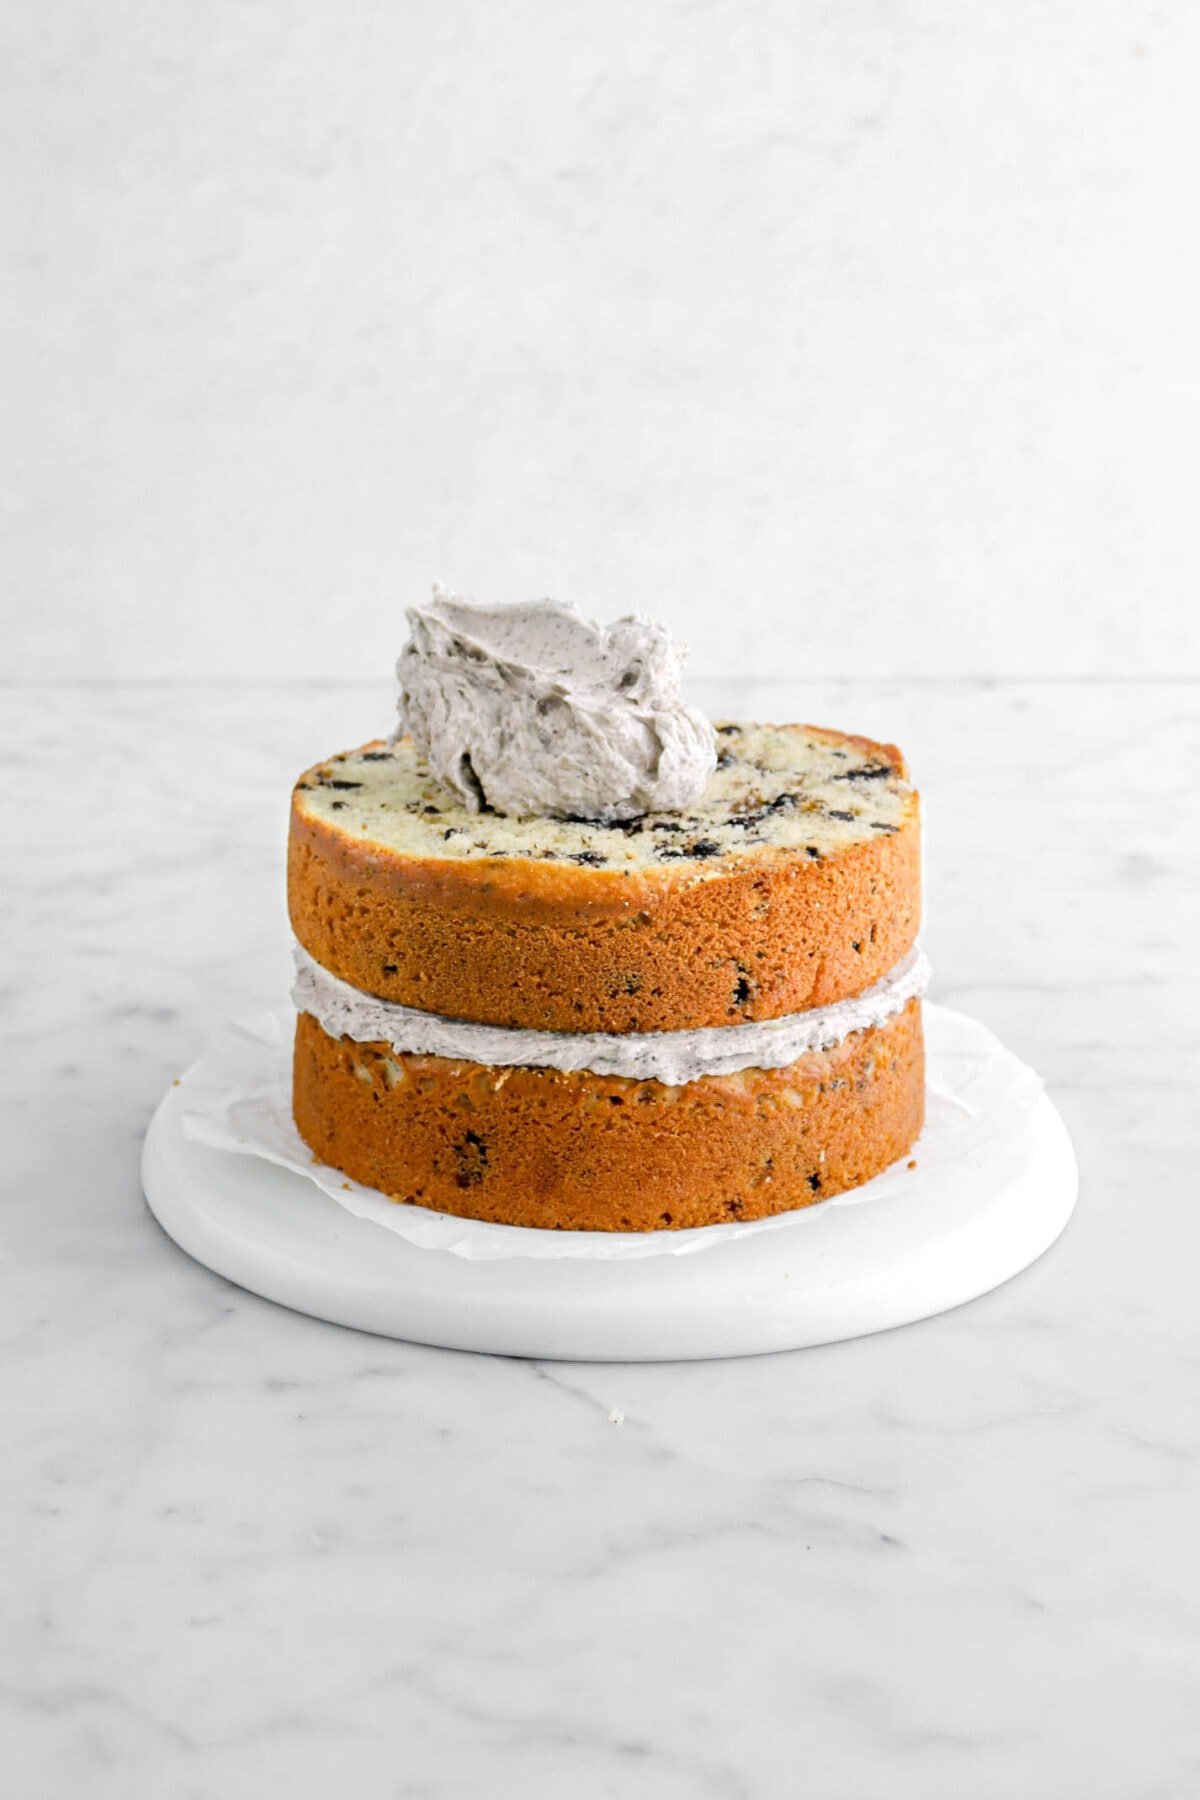
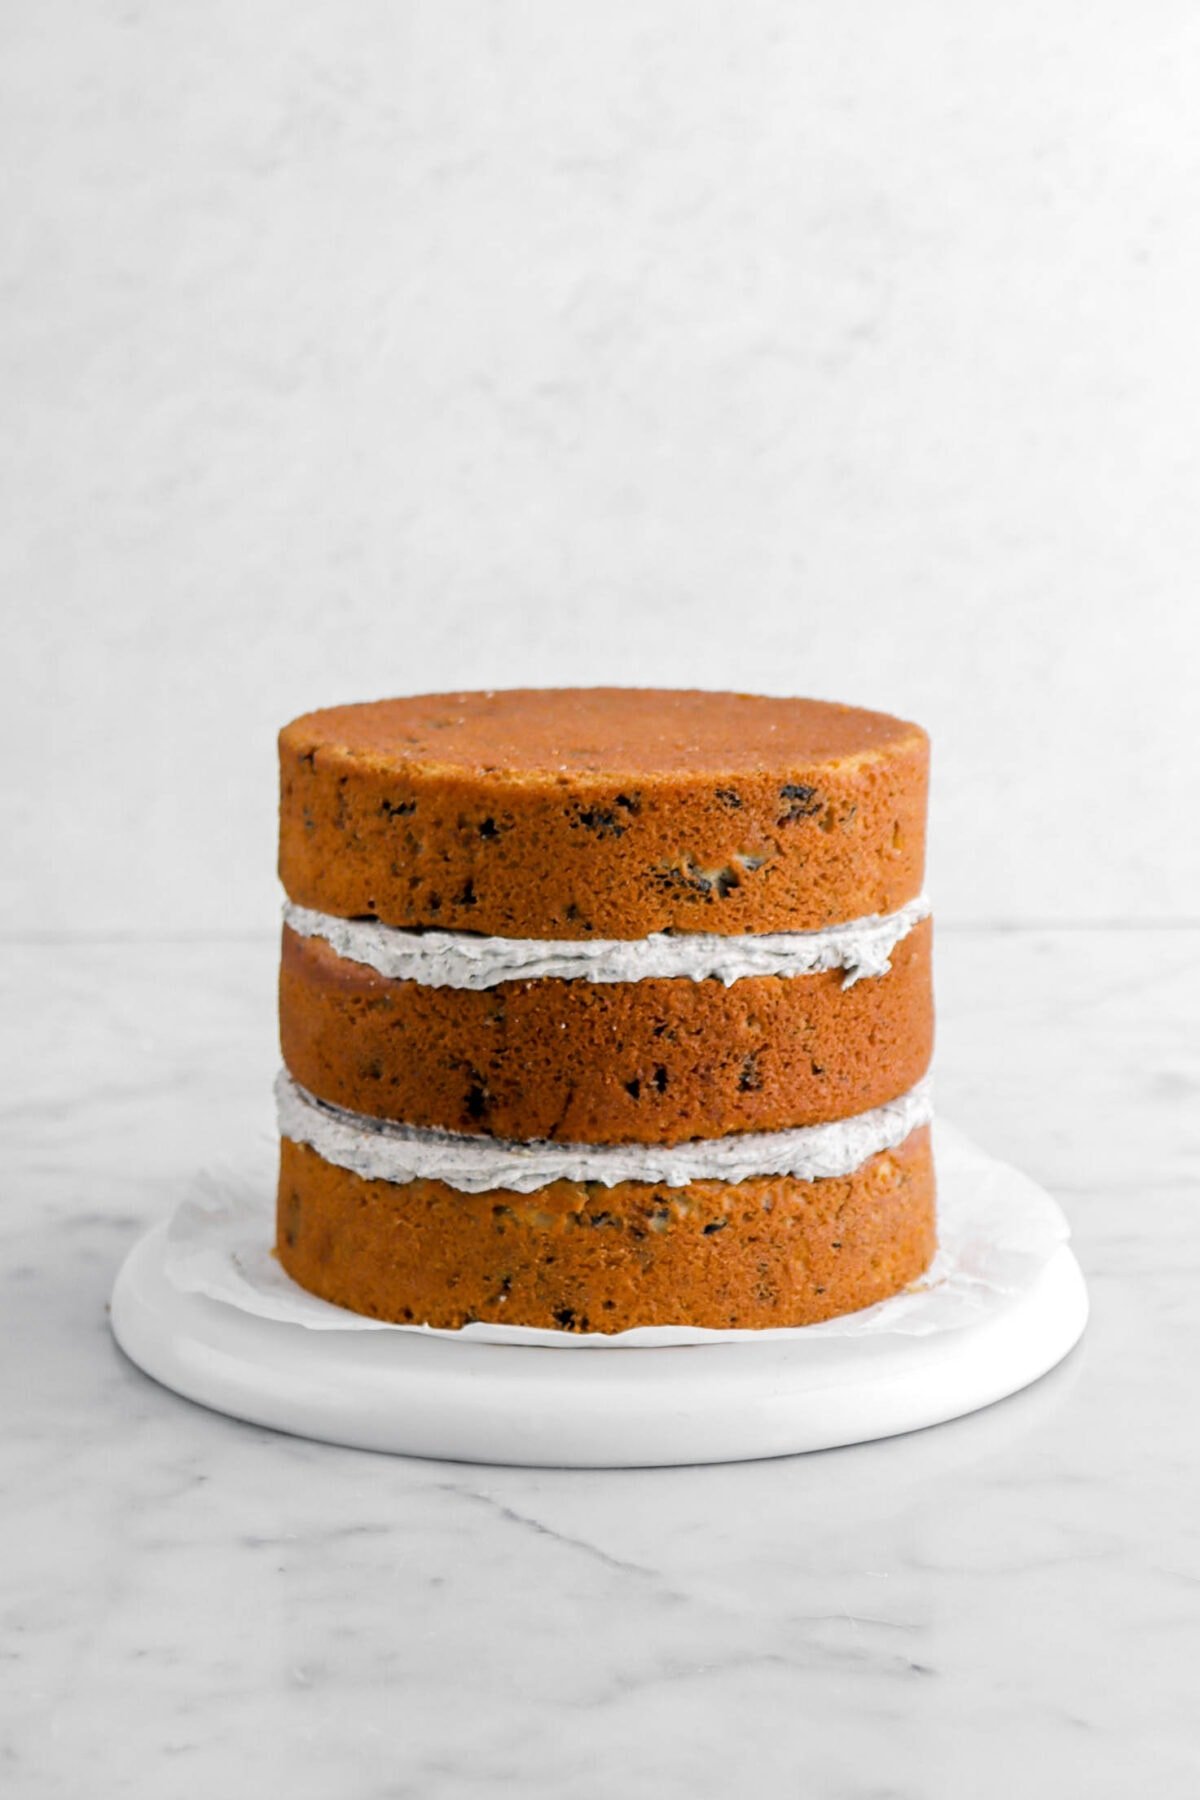
Repeat with second layer. Add third layer.
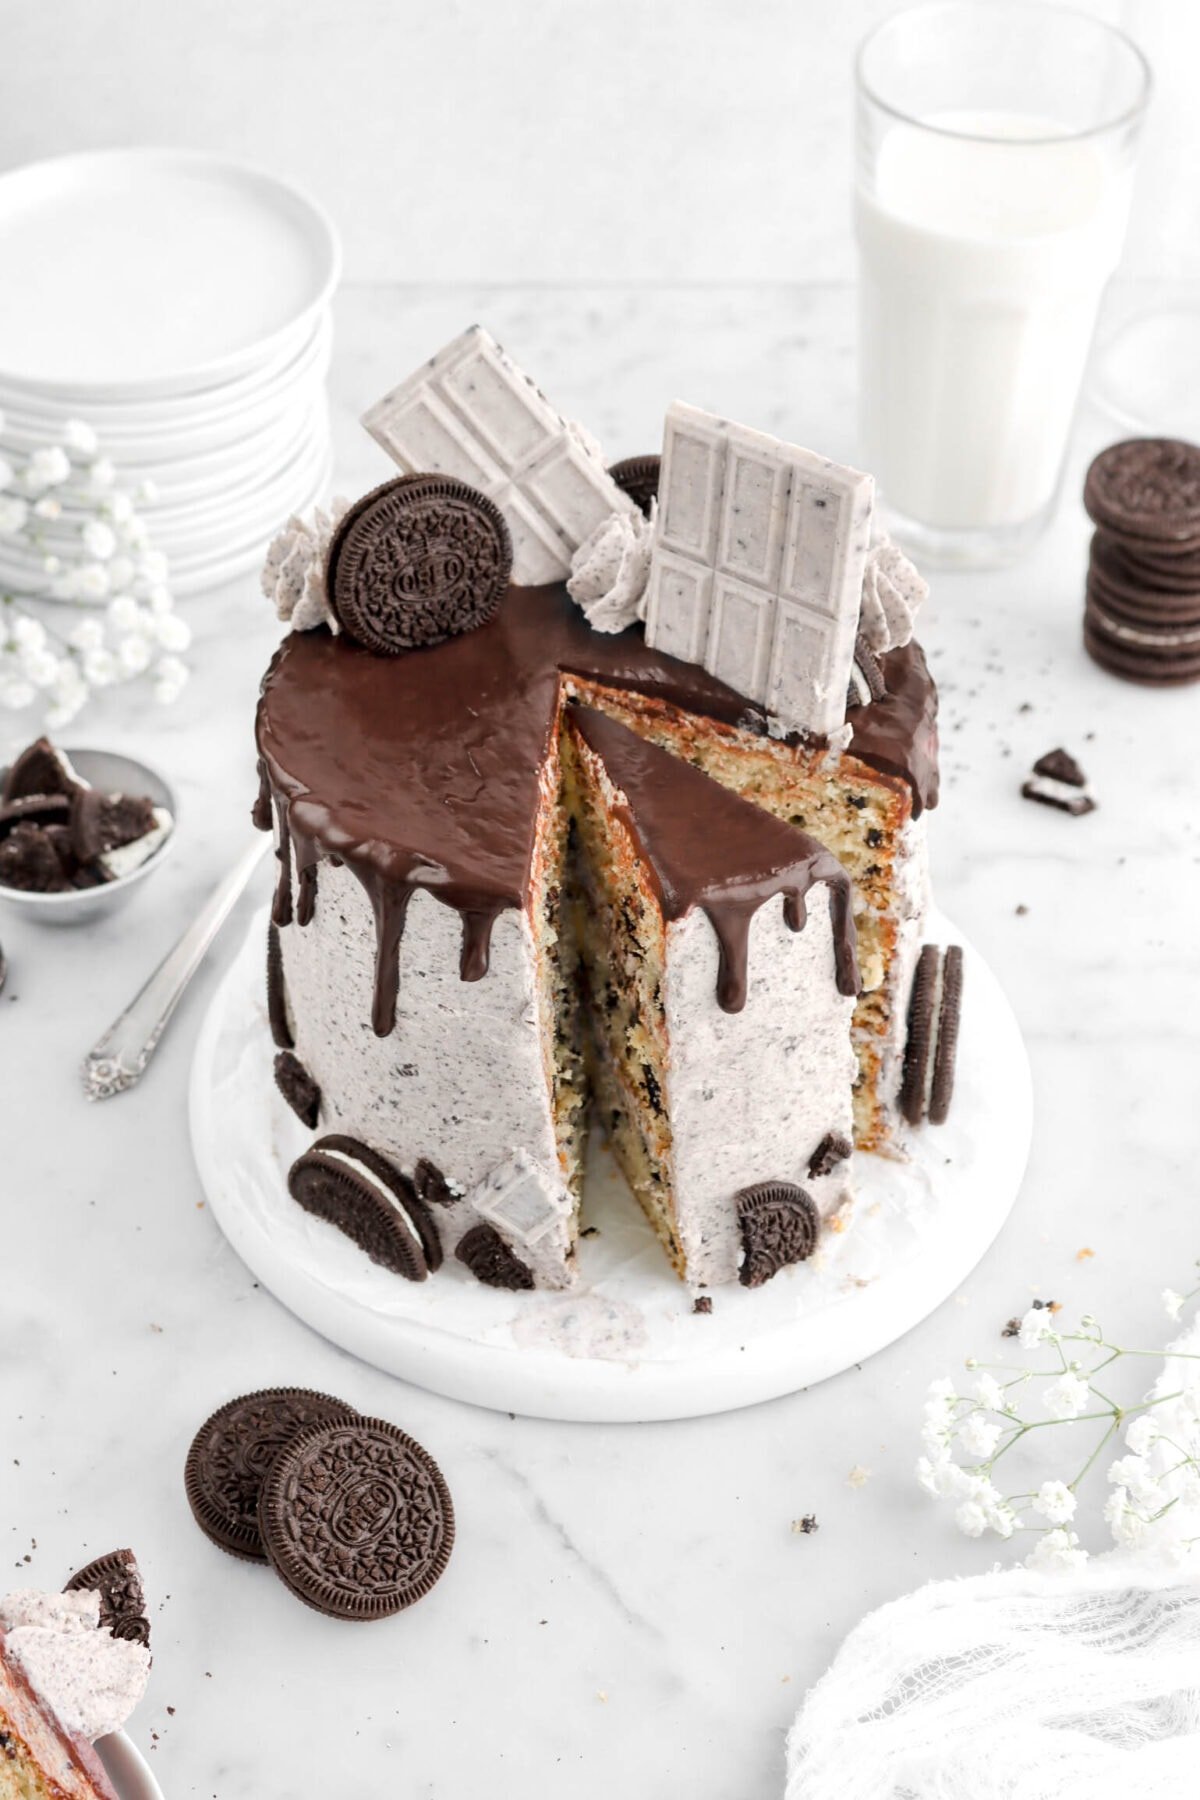
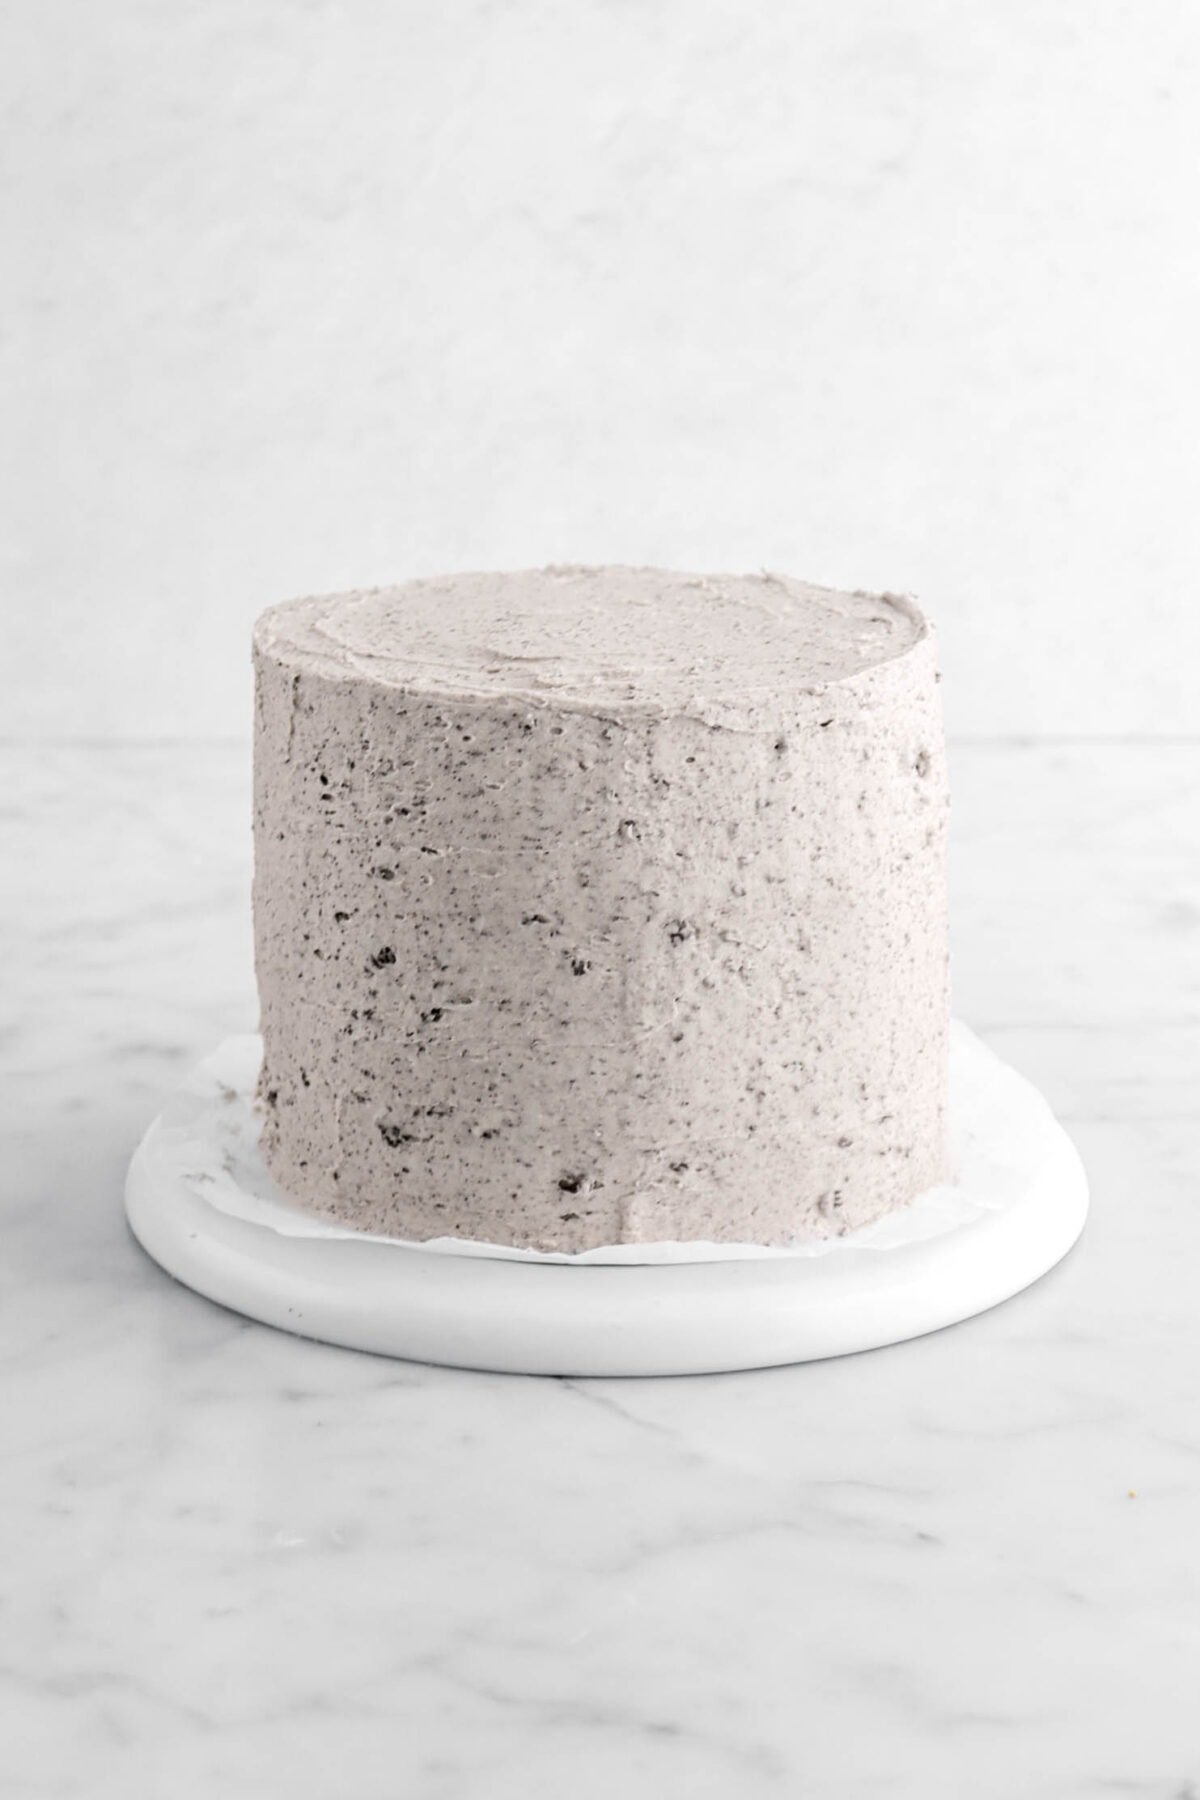
Frost entire cake.
How To Achieve The Perfect Buttercream
There are are a few things you can do to make sure you get the creamiest, silkiest buttercream every single time!
The first is making sure your butter is room temperature. This is super important! Another is sifting your powdered sugar. Lumps of powdered sugar = lumpy buttercream!
Then, thoroughly whip/beat your buttercream. You want it light, fluffy, and completely smooth.
Decorating Ideas
Once this cake is assembled, it is a blank canvas! There are SO many things you can do with this cake, but here are a few ideas to help you get started.
- Make chocolate drips (tutorial below).
- Make extra frosting and pipe some on top and/or botttom of cake.
- Press Oreo crumbs to the bottom of the cake.
- Use Oreo chunks to decorate around the cake.
- Break cookies and cream candy bars into pieces and use them to decorate.

How To Make Chocolate Drips (3 Simple Steps!)
If you want to decorate this cake the same way we did, no worries! Making chocolate drips is actually SUPER simple. Below is a quick guide on how to make it!
- In a medium-sized bowl, combine ¼ cup of chocolate and ¼ cup of heavy cream. Heat in the microwave at 30 second intervals, stirring well with a rubber spatula in-between each, until the chocolate is completely melted and smooth.
- Let the mixture cool slightly.
- Using a spoon (or a piping bag!), spoon a small amount of chocolate ganache onto the edge of the cake. Gently push over the edge with your spoon and it will create a drip! Repeat as often as you’d like. The bigger the drip, the more chocolate you will need to push off the edge. Fill in the middle once the drips are complete.

How To Store
Since this is a very moist cake, the best way to store it is in a covered cake plate and in the fridge for 5-6 days!
Though, if needed, you can also freeze this cake. You can either freeze the individual layers before assembly or you can freeze individual slices of this cake for up to 2 months.
Substitutions
- Unsweetened full-fat greek yogurt can be used instead of the sour cream.
- This recipe can be made vegan if you use plant based butter, your favorite vegan egg replacer (we love aquafaba!), vegan sour cream or unsweetened plant based yogurt, and unsweetened plant based milk.
Looking for more recipes like this? Here are a few you may like:
Expert Tips
- For the cake, be sure to leave the Oreos in larger chunks! I cut the Oreo’s into quarters.
- Be careful to not over mix the cake batter.
- When dividing the cake batter, it’s best to use a ladle and a scale to help ensure each cake layer is even!
- If you’re unsure if the cake is baked, you can use a cake tester or a toothpick to test the cakes. If it comes out clean, the cake is fully baked!
- Let the cake layers cool COMPLETELY before assembling the cake.
- Depending on how the cakes bake, you may or may not need to level the cake layers.
- If you’d like, when frosting this cake, you can do a crumb coat to help ensure a clean and crumb-free frosting.
- To get clean slices, wipe your knife after each cut!
When you make this Oreo Cake with Oreo Frosting (Cookies and Cream!), leave a comment down below! We love hearing from you and answering any questions you might have! Also, be sure to tag us on social media and hashtag it #BakersTable.
Oreo Cake with Oreo Frosting (Cookies and Cream!)
Ingredients
Cake
- ¾ cup whole milk
- ½ cup sour cream
- 3 large eggs
- ⅔ cup vegetable oil
- 1¾ teaspoons vanilla extract
- 2½ cups all purpose flour*
- 1 cup granulated sugar
- 2 teaspoons baking powder
- ½ teaspoon baking soda
- ¾ teaspoon salt
- 2 cups roughly chopped Oreos
Frosting
- ¾ cup salted butter, room temperature
- 2 cups powdered sugar, sifted
- 1 cup Oreo crumbs
- 2 Tablespoons heavy cream
- ¼ teaspoon vanilla extract
Instructions
Cake
- Heat oven to 350℉.
- Spray three 6 inch pans with baking spray. Set aside.
- In a medium bowl, combine milk, sour cream, eggs, oil, and vanilla.
- Whisk until smooth. Set aside.
- In a large bowl, whisk together flour, sugar, baking powder, baking soda, and salt.
- Pour wet ingredients over dry ingredients.
- Whisk until smooth.
- Fold in cookies.
- Divide evenly among prepared pans.
- Bake for 25-30 minutes, or until cake tests done.
- Allow to cool in pan before turning out.
- Level, if needed.
Frosting
- With an electric mixer, beat butter and sugar until smooth, about 1-2 minutes.
- Stir in cookies.
- Add cream and vanilla.
- Beat until light and fluffy, about 2-3 minutes.
Assemble
- Place one cake layer on cake plate and spread with a layer of frosting.
- Repeat with second layer.
- Add third layer.
- Frost entire cake.
- Decorate as desired.
Notes + Tips!
- Unsweetened full-fat greek yogurt can be used instead of the sour cream.
- This recipe can be made vegan if you use plant based butter, your favorite vegan egg replacer (we love aquafaba!), vegan sour cream or unsweetened plant based yogurt, and unsweetened plant based milk.
- For the cake, be sure to leave the Oreos in larger chunks! I cut the Oreo’s into quarters.
- Be careful to not over mix the cake batter.
- When dividing the cake batter, it’s best to use a ladle and a scale to help ensure each cake layer is even!
- If you’re unsure if the cake is baked, you can use a cake tester or a toothpick to test the cakes. If it comes out clean, the cake is fully baked!
- Let the cake layers cool COMPLETELY before assembling the cake.
- Depending on how the cakes bake, you may or may not need to level the cake layers.
- If you’d like, when frosting this cake, you can do a crumb coat to help ensure a clean and crumb-free frosting.
- To get clean slices, wipe your knife after each cut!
Tools You May Need (affiliate links)
– Still Hungry? –
Here are a few recipes may like!


I really want to make this cake for my granddaughter’s 11th bd. Did you use the recipe as listed or did you double the recipe to get thick layers.
Thank you so much for your response! I am so excited to make this!
Hi Mary! The cake is made exactly as written in the recipe card. Keep in mind it is a 6 inch cake. Let me know if you have any more questions.
Hi! When X2 or X3 the recipe with the options you have, are we changing the pan size to 8inch & 9inch? I noticed the pan size from 6inch didn’t change when I clicked on it. Thanks!
Hi Aline! The scale up for the recipe is just a mathematical function within the recipe card. It can’t calculate volume. If you want to double the recipe, I recommend using either an 8inch x 3inch pan or a 9inch x 2inch pan. If you want to triple the recipe, I recommend using a 9inch x 3inch pan or a 10inch x 2inch pan. Which of the 2 sizes you choose really depends on how thick you want the layers. Remember that you will need to adjust baking times. Let me know if you have any other questions.