Chocolate Tart with Hazelnut Crust
This post may contain affiliate links, please visit our privacy policy for details.
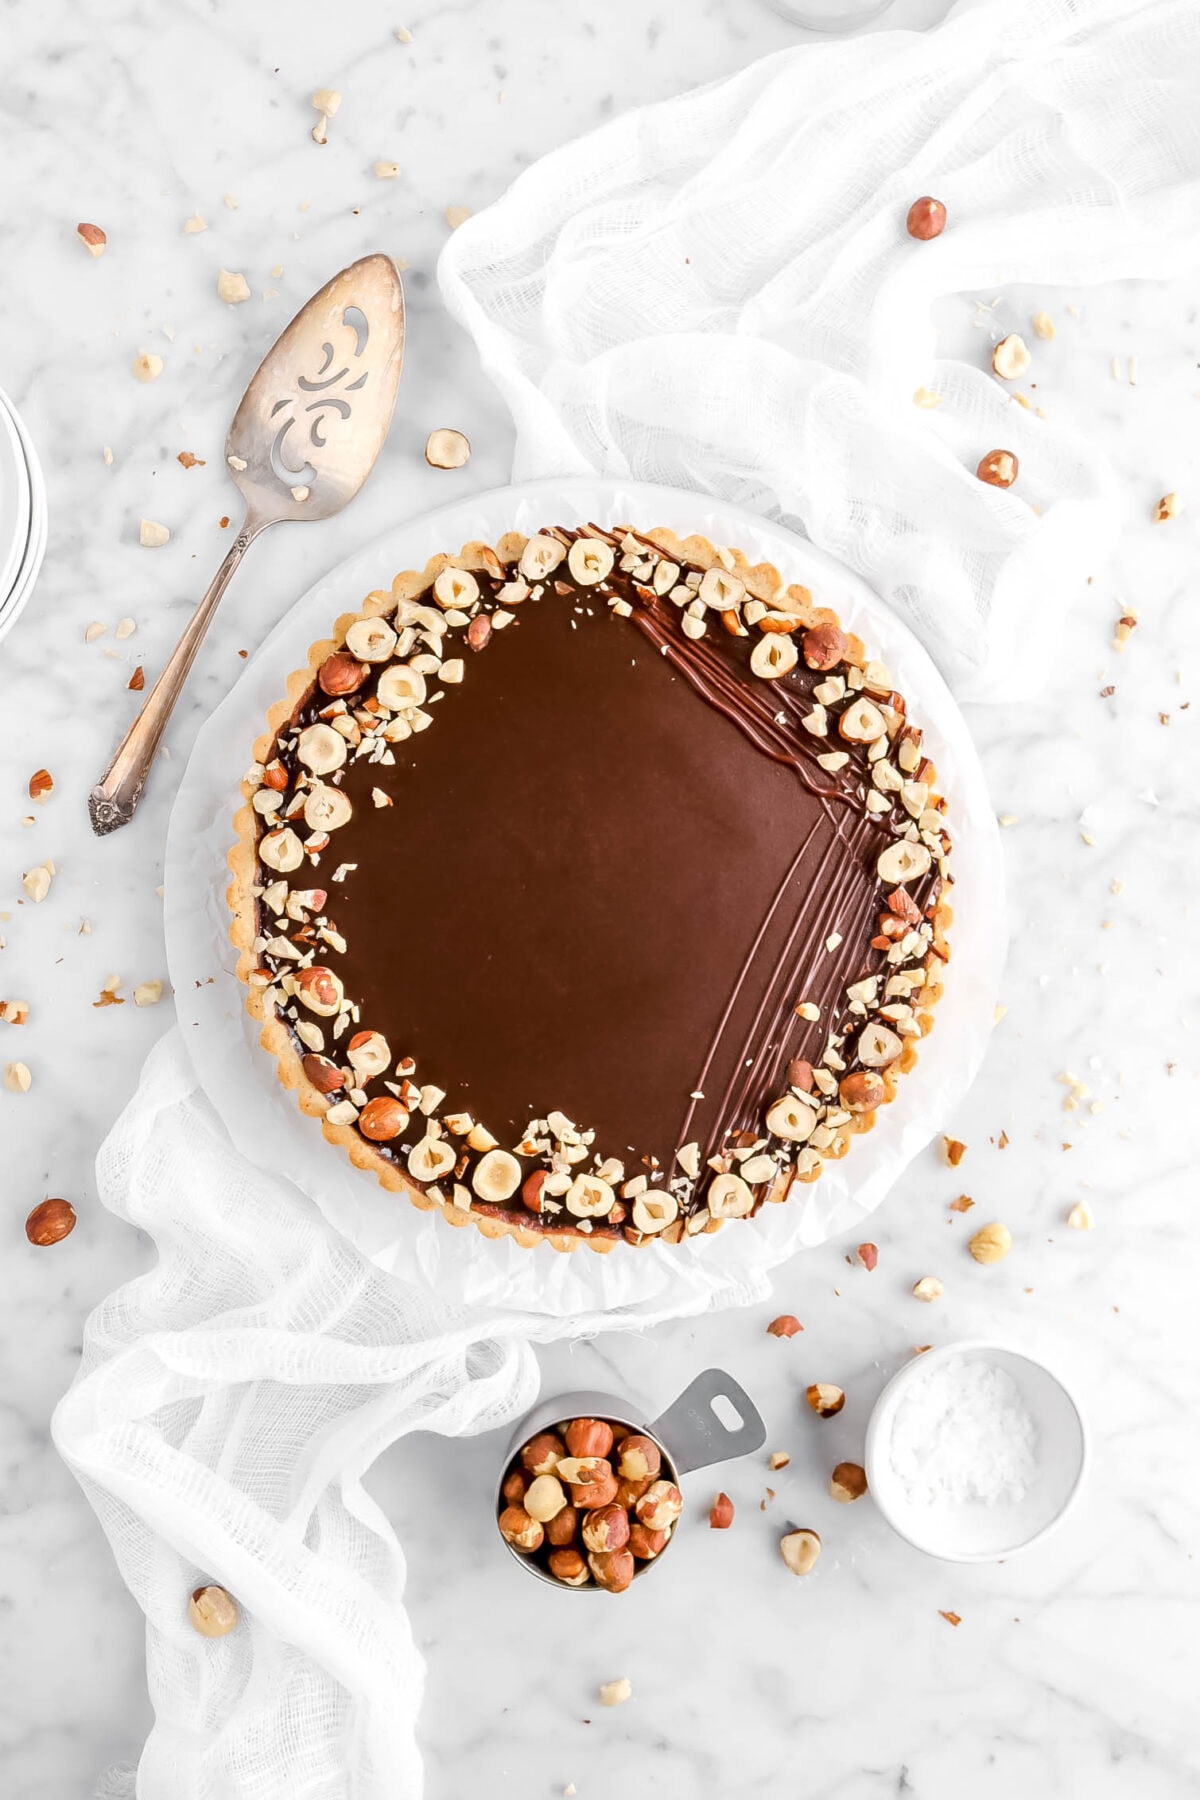
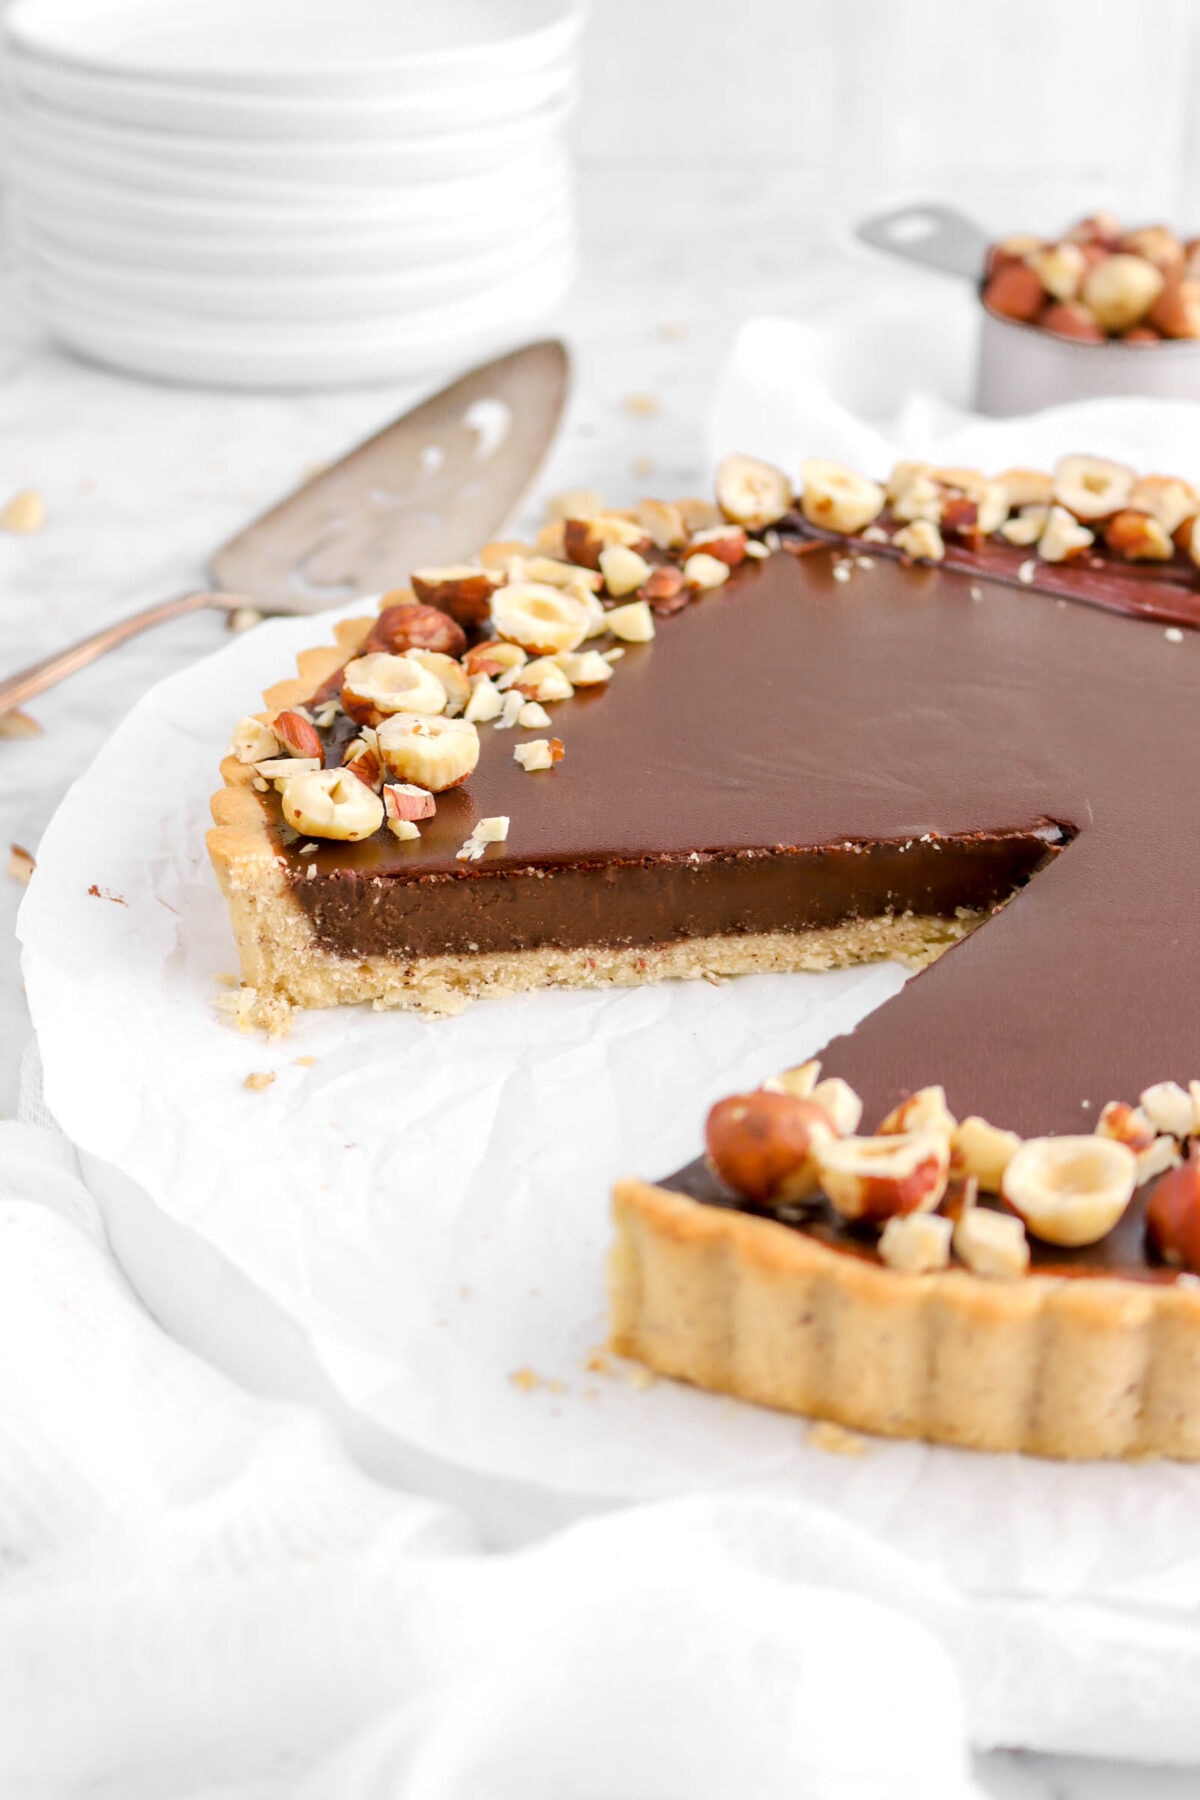
This Chocolate Tart with Hazelnut Crust is guaranteed to be your new go-to dessert! Actually really easy to make, silky smooth, deliciously rich, and oh so pretty, too! The crust is made with a blend of all-purpose flour and hazelnut flour, a bit of sugar, some butter, and a splash of vanilla extract. So simple, but SO. GOOD. From there, the chocolate filling is made with only a few simple ingredients, heavy cream, chocolate, and eggs. Seriously, that’s all! When combined and baked, this tart is rich, chocolate-y, nutty, perfectly sweet, and every bite just leaves you wanting even more. Remember to finish this beautifully simple tart with a few chopped hazelnuts and a drizzle of chocolate!

About The Recip
Happy February, everyone! We have officially entered one of my favorite times of the year. Not because of the weather, but because it’s one of the few times of year that it’s socially acceptable to eat a lot of chocolate.
So, we have decided to kick off February with this actually simple (and oh so delicious) chocolate tart!
I’ll be honest, I can’t wait for all of you to see what we have planned for this month…I’m so excited! We always have some really good recipe ideas floating around our kitchen, but right now, it’s a whole new world. My mom and I have been really working on figuring out the best chocolate recipes leading up to Valentine’s Day.
And, I think you all are really gonna like what we have planned!
Which leads us to this chocolate tart. Though, it’s not an ordinary chocolate tart. No, no. Think, Nutella…but SO much better!
It took some figuring out on how exactly we wanted to approach this recipe. We generally make a pastry cream filling for our tarts, but we knew we wanted to do something different. This tart needed to be special, you know?
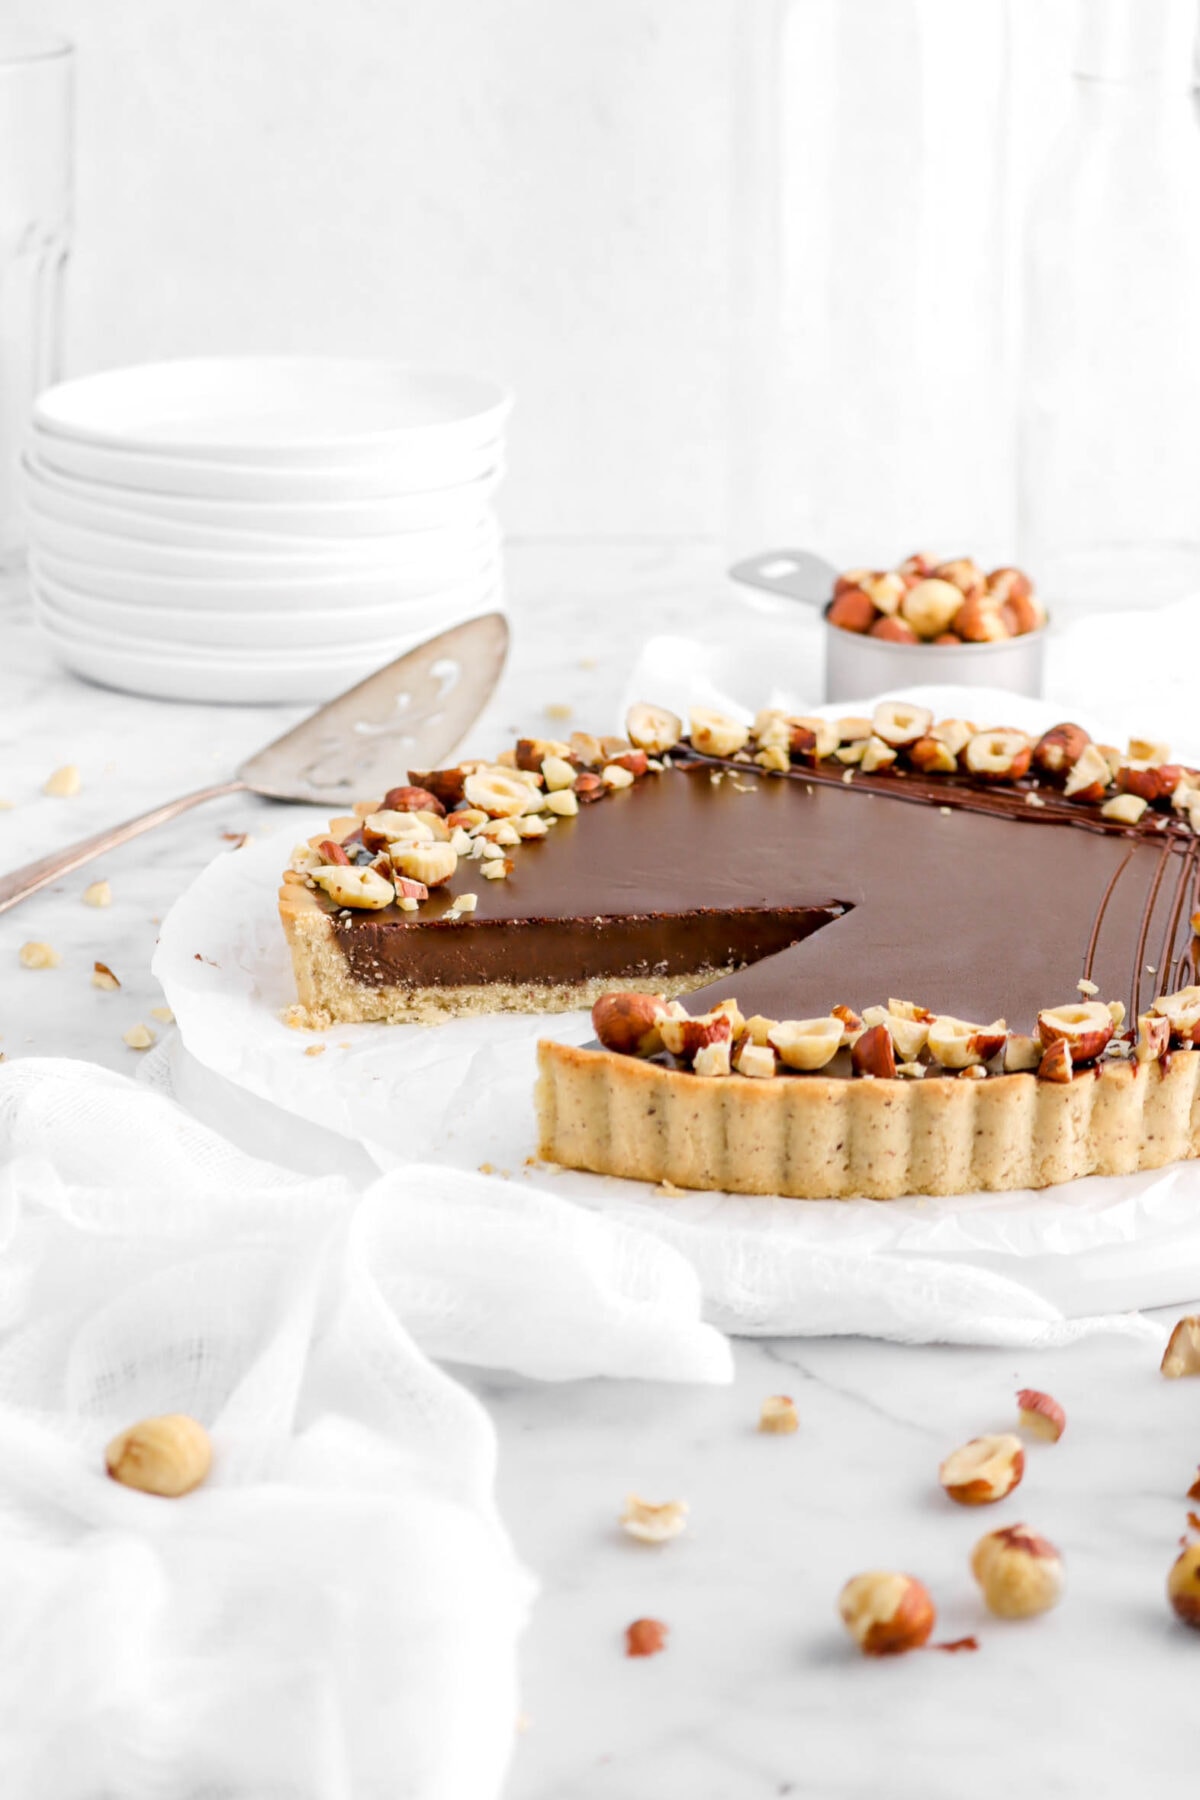
So, we opted for making the crust with hazelnuts (because, YUM!) and used a chocolate custard for our filling.
It’s different, but so delicious. Once this tart has cooled after baking, every bite is just silky smooth, extra chocolate-y, with the perfect amount of crunch coming from the crust. You really couldn’t ask for a better or more special tart for Valentine’s Day!
Reasons You Will LOVE This Chocolate Tart
- The flavors are reminiscent of Nutella, but taste even better!
- It’s actually not very difficult to make.
- The crust tastes like a giant hazelnut cookie.
- The filling is silky, rich, extra chocolate-y, and truly delicious.
- This dessert is a chocolate lovers DREAM!
- Perfect for any and all special occasions and holiday’s.
Equipment Needed
- Stand-Mixer
- Parchment Paper
- Rolling Pin
- 9-Inch Tart Pan
- Medium Sized Pot
- Glass Bowl
- Rubber Spatula
Ingredients
(Full ingredient amounts and instructions can be found in the recipe card at the bottom of the post)
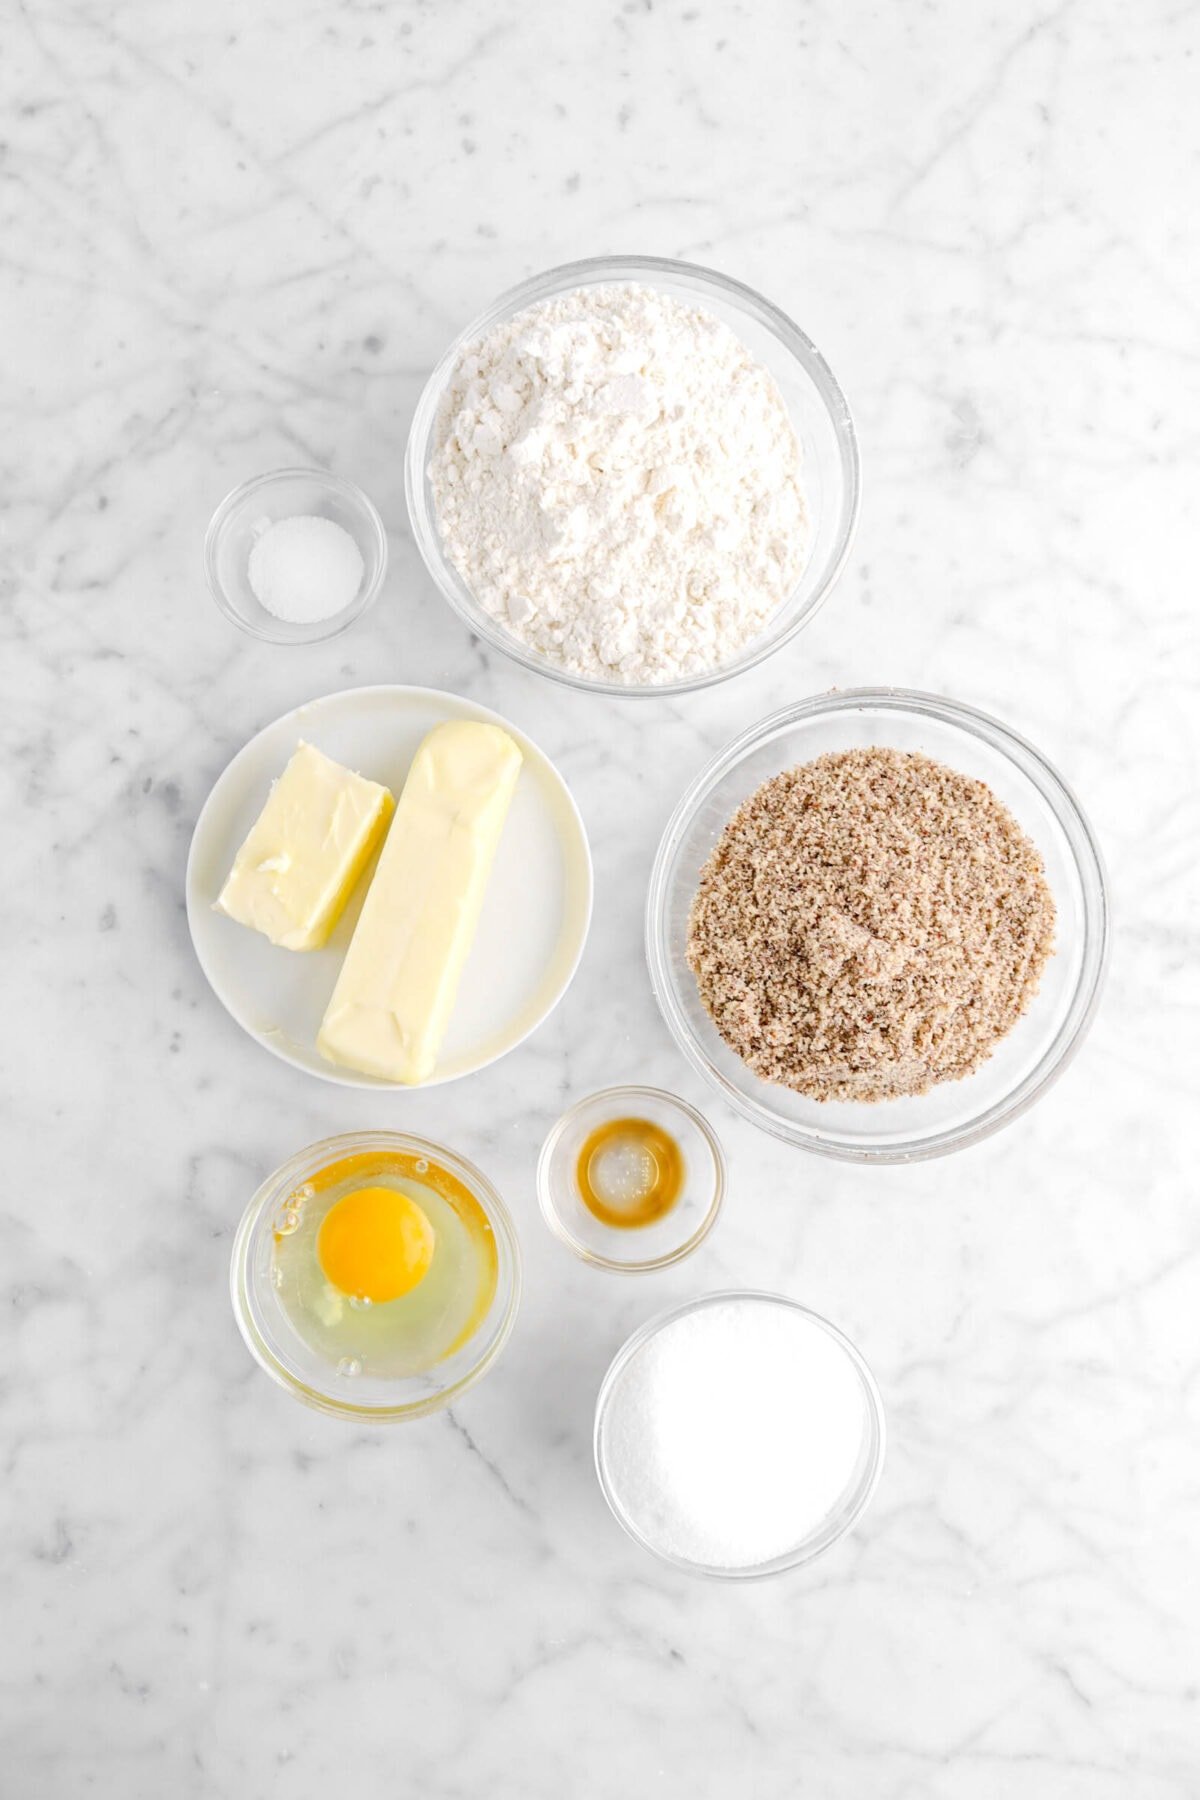
For The Crust:
- Unsalted Butter
- Granulated Sugar
- Salt
- Hazelnut Flour
- Large Egg
- Vanilla Extract
- All-Purpose Flour
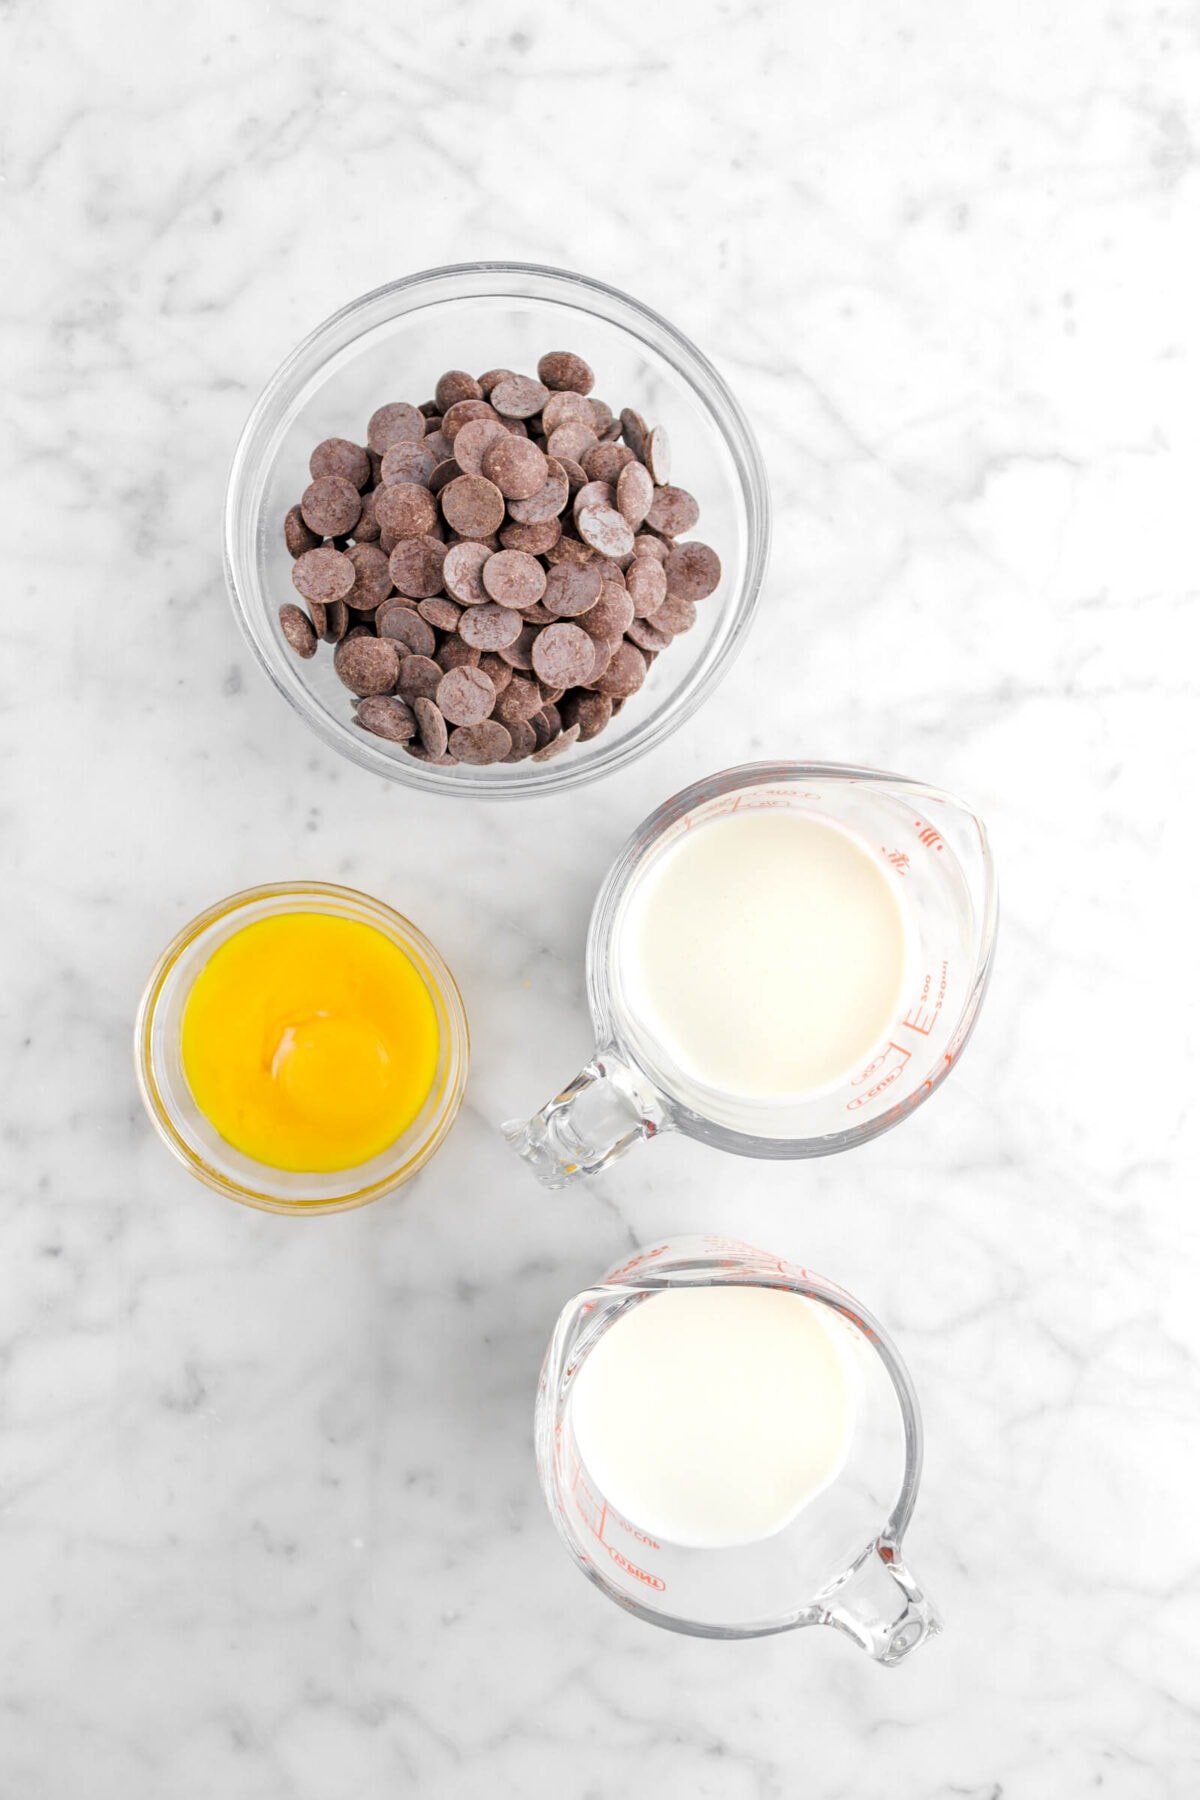
For The Filling:
- Semi-Sweet Chocolate
- Heavy Cream
- Whole Milk
- Egg Yolks
How To Make This Chocolate Hazelnut Tart
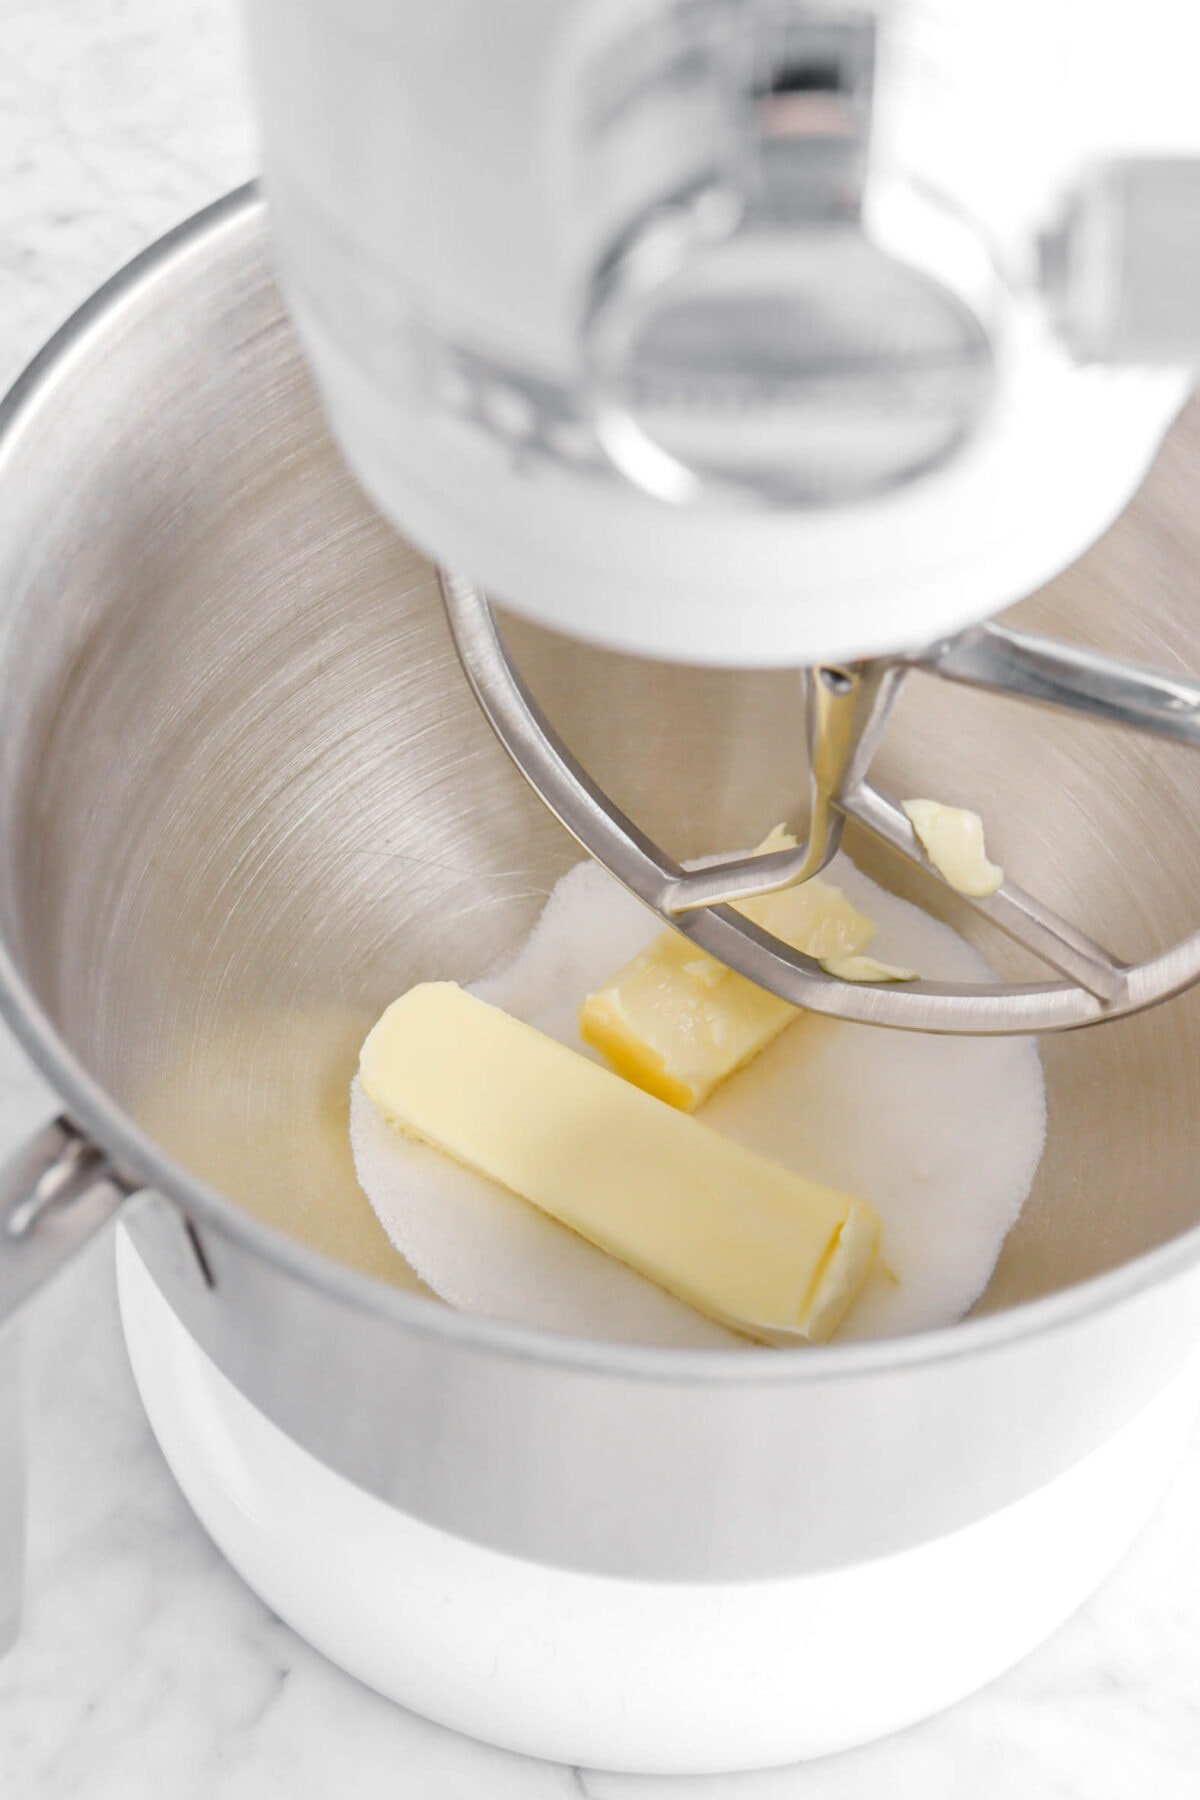
Step 1: Make the crust
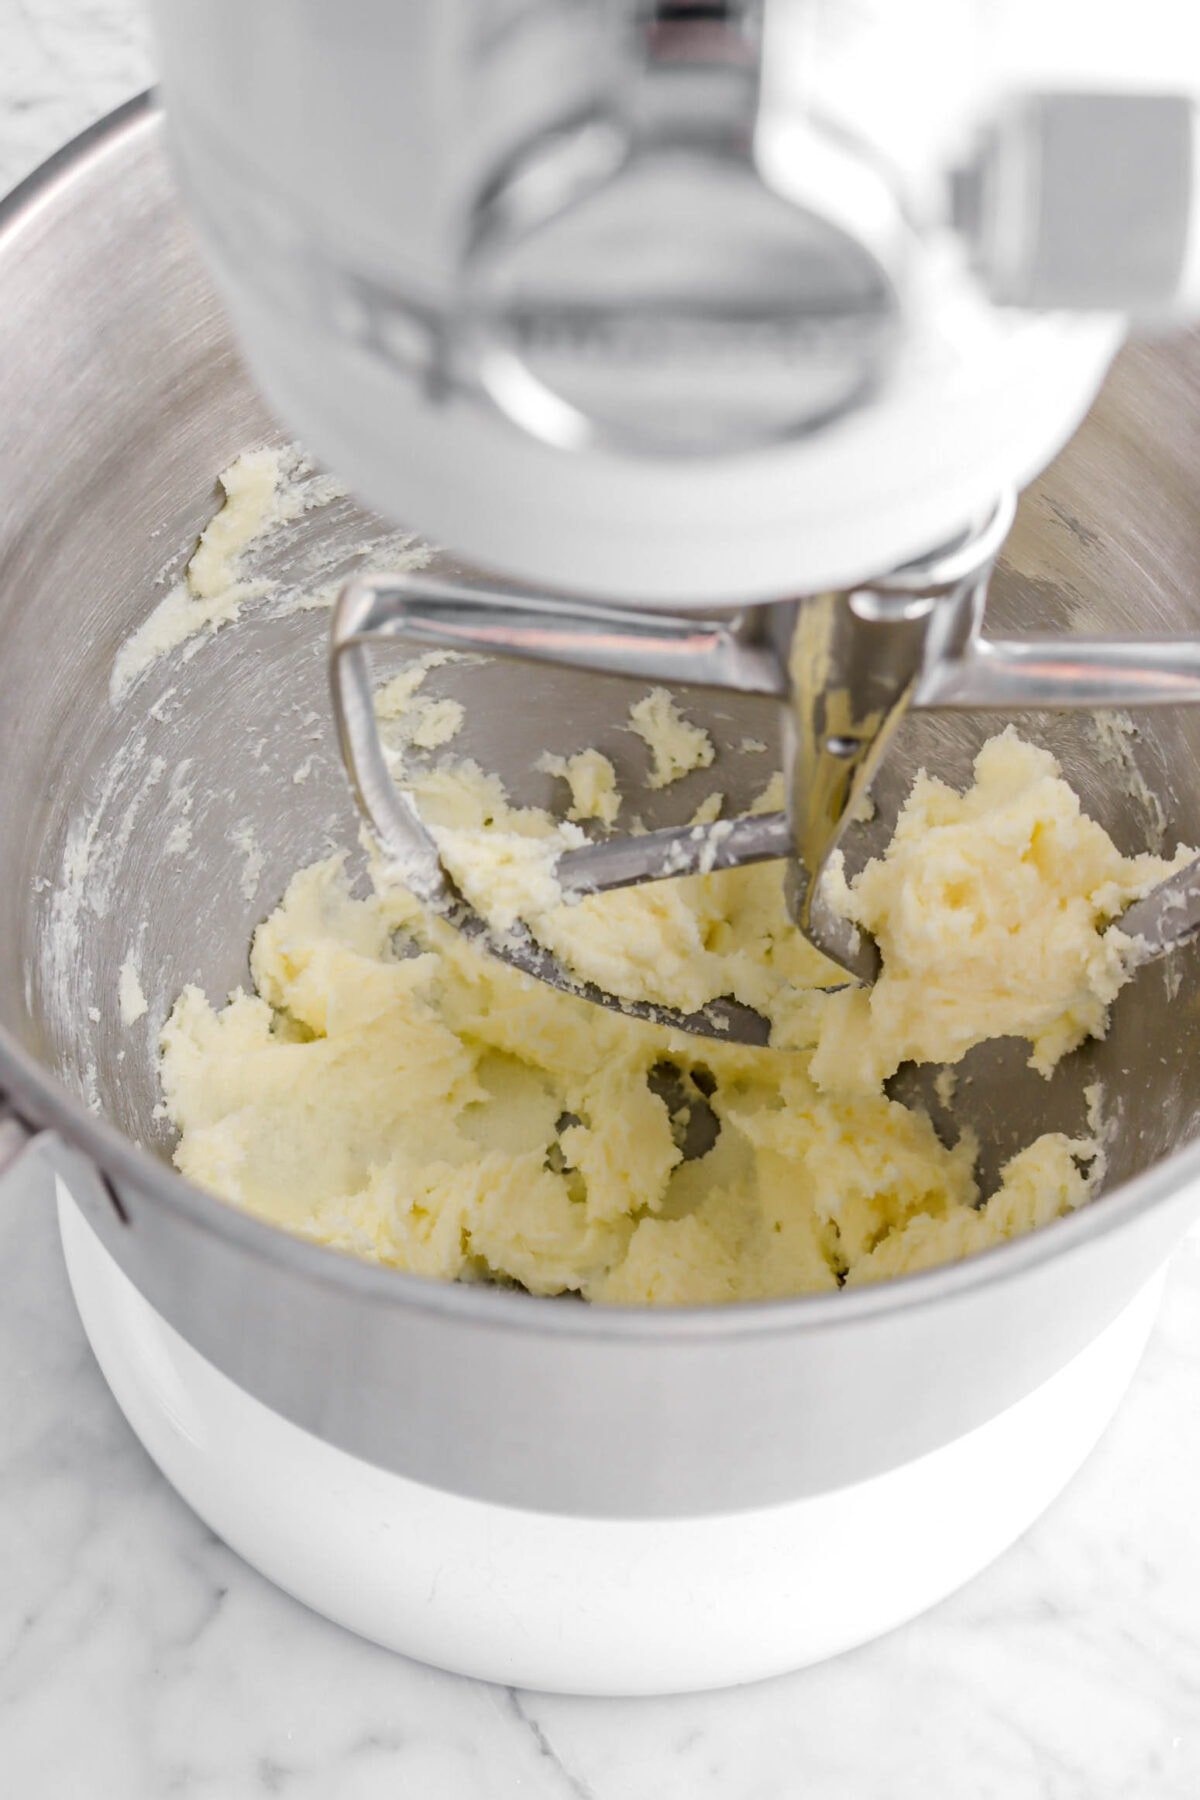
In the bowl of an electric mixer. beat butter, sugar, and salt just until smooth.
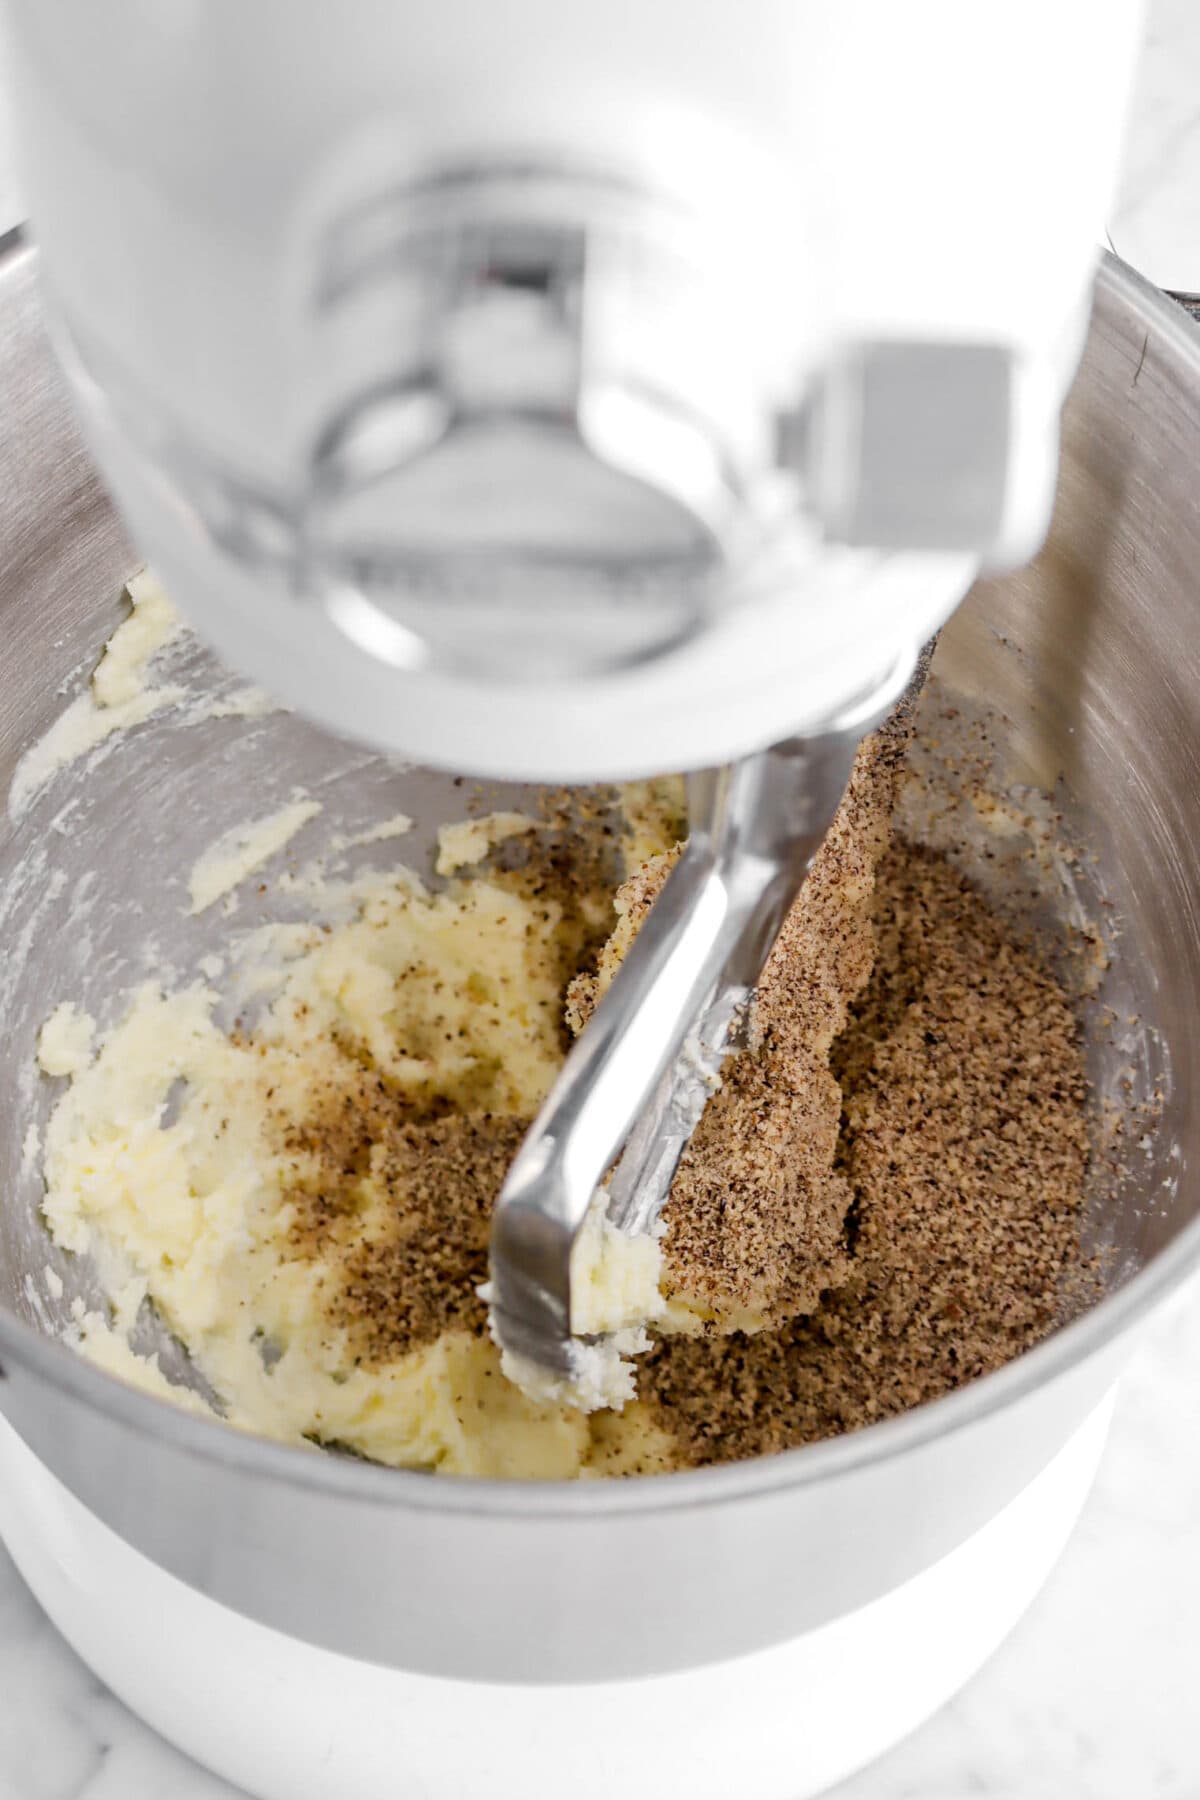
Stir in the hazelnut flour.
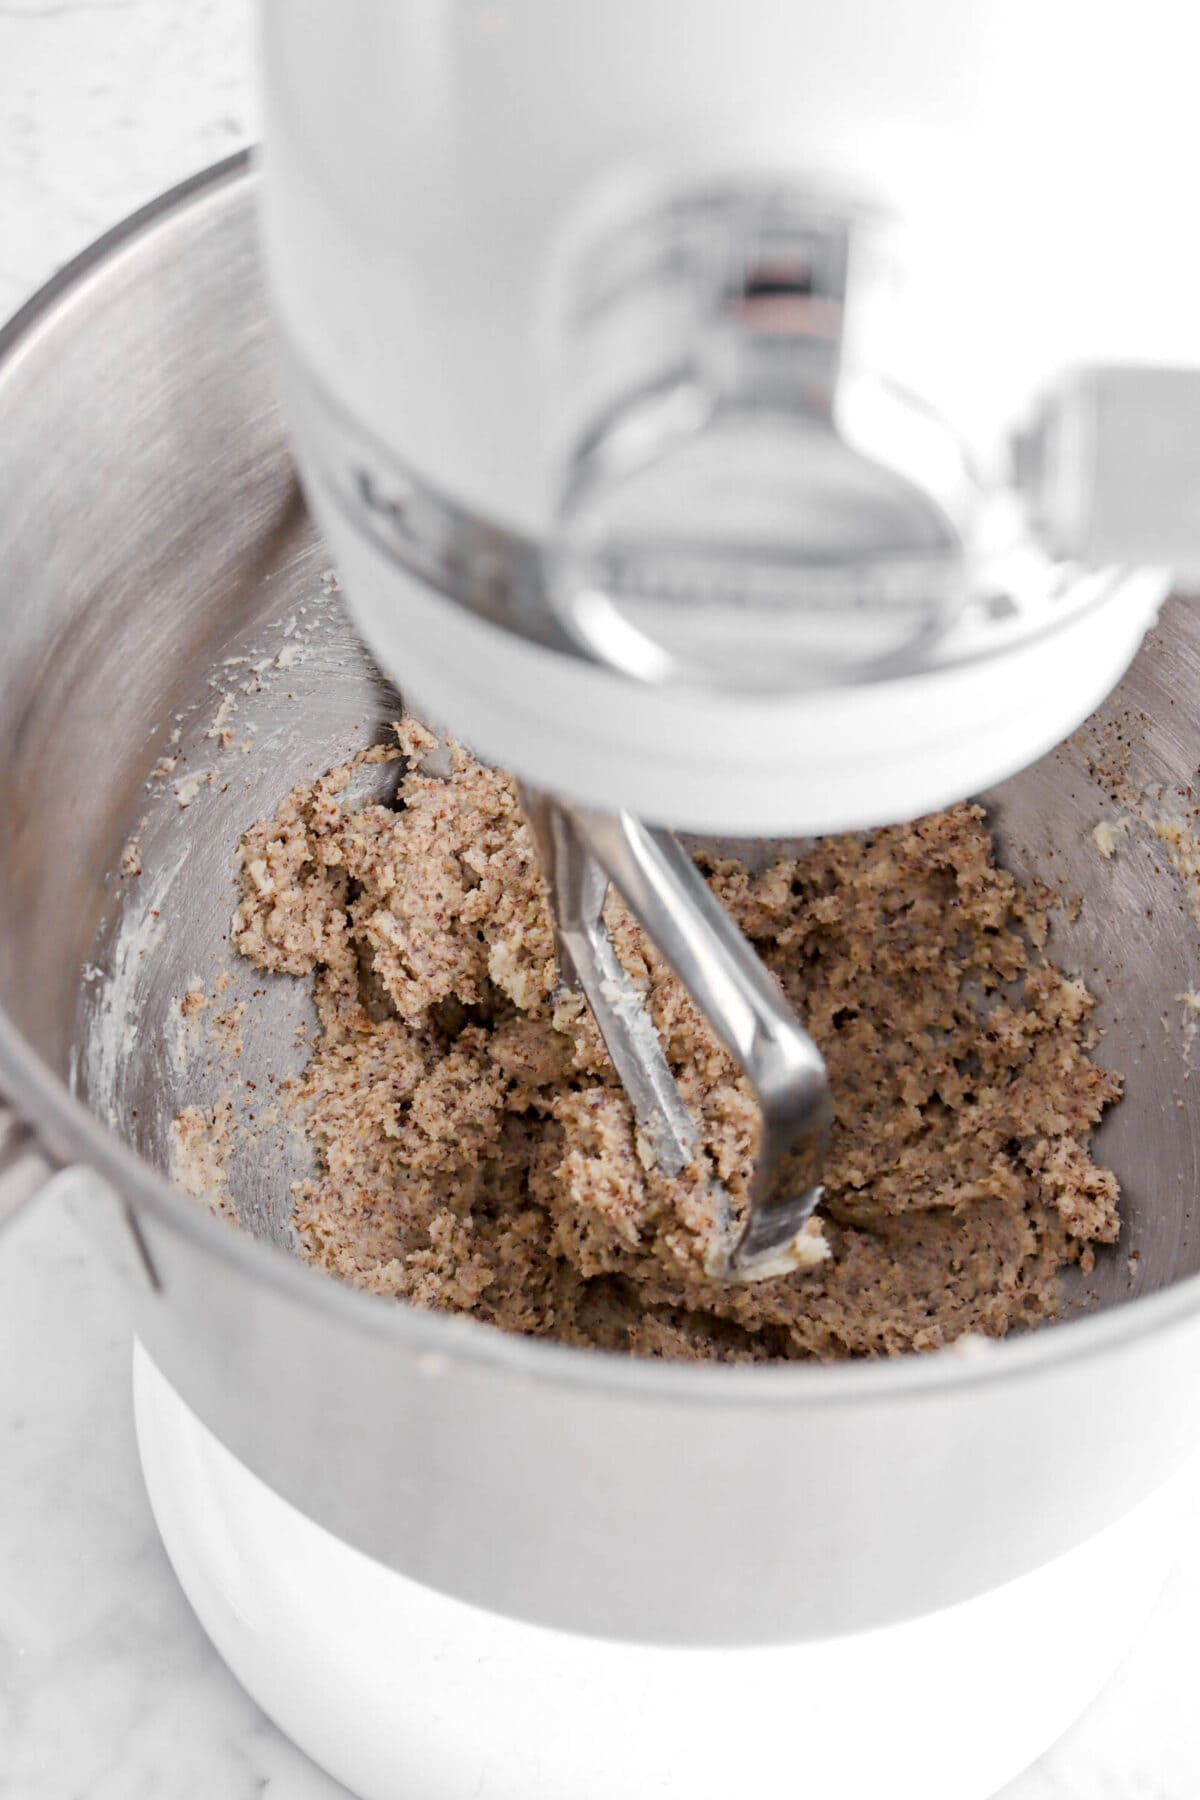
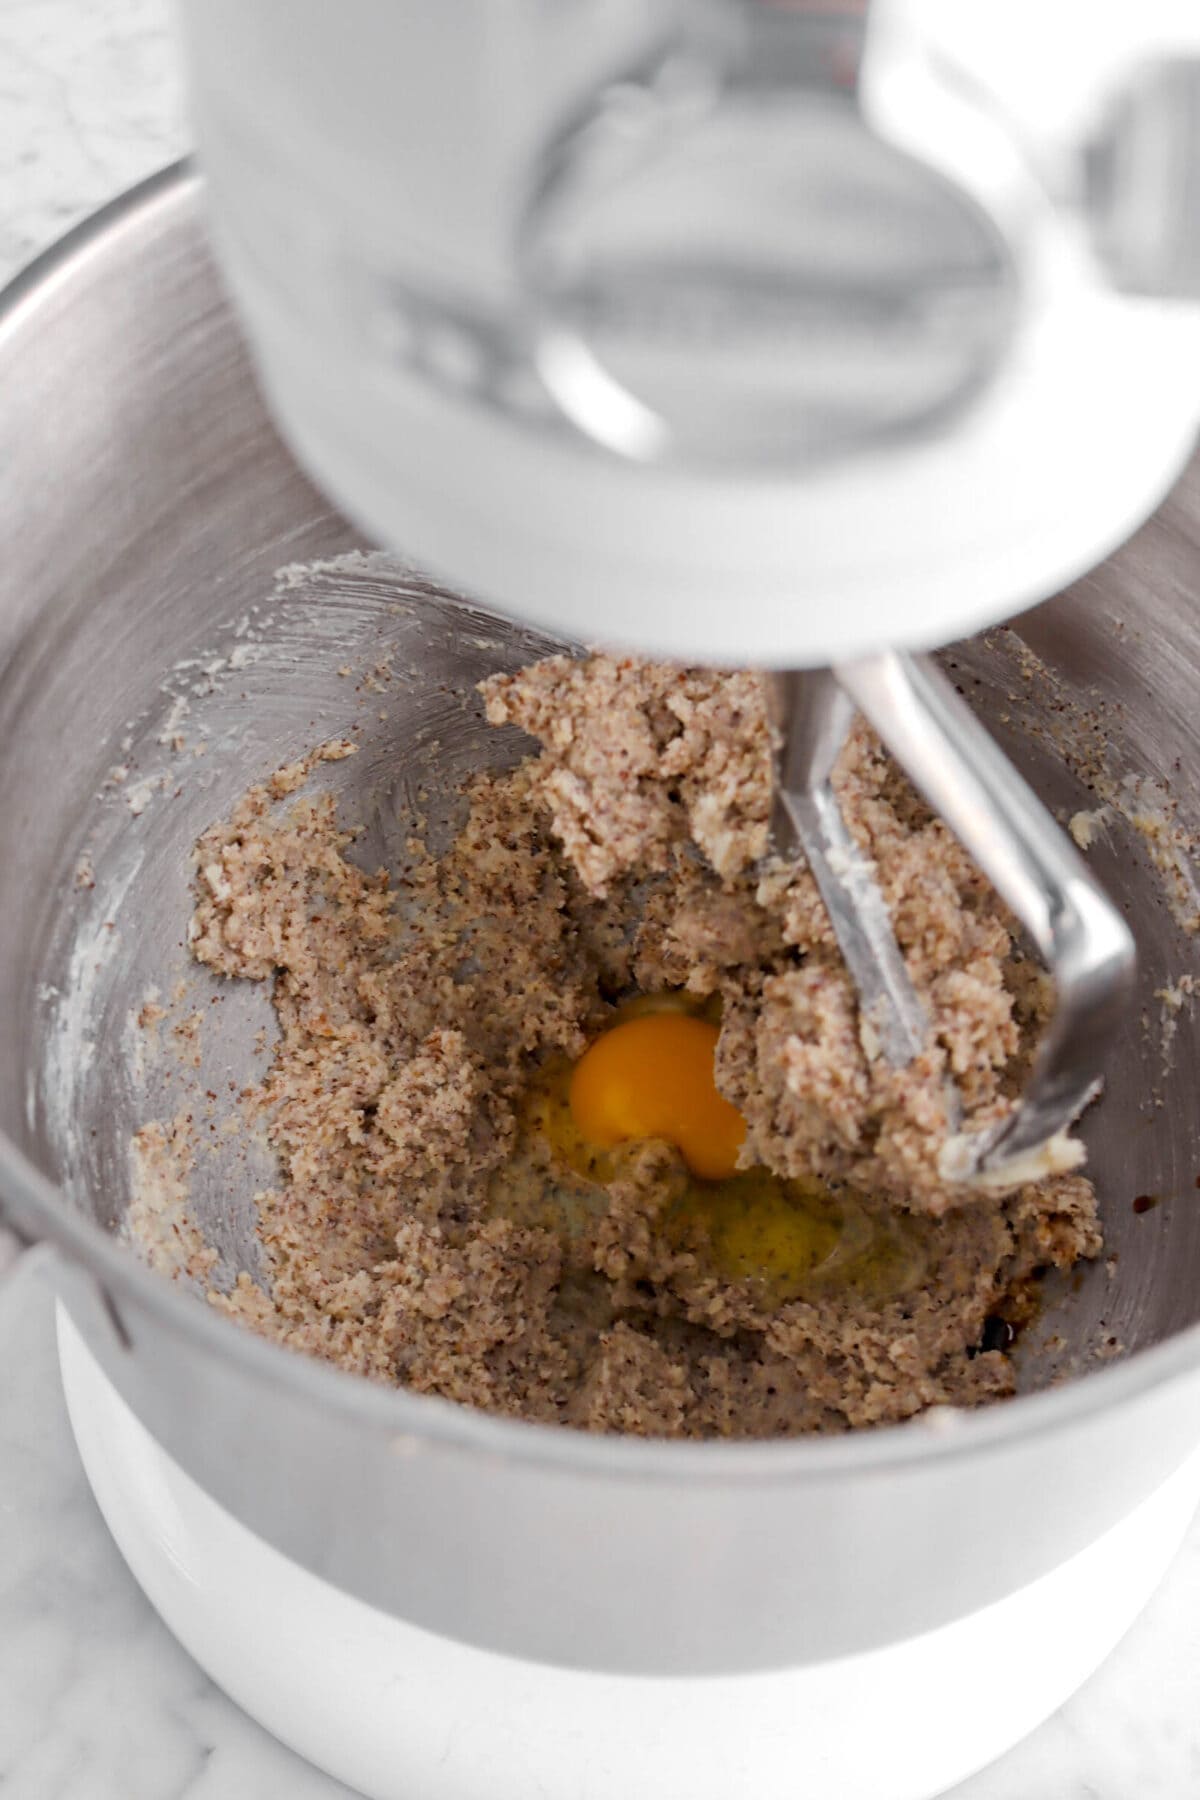
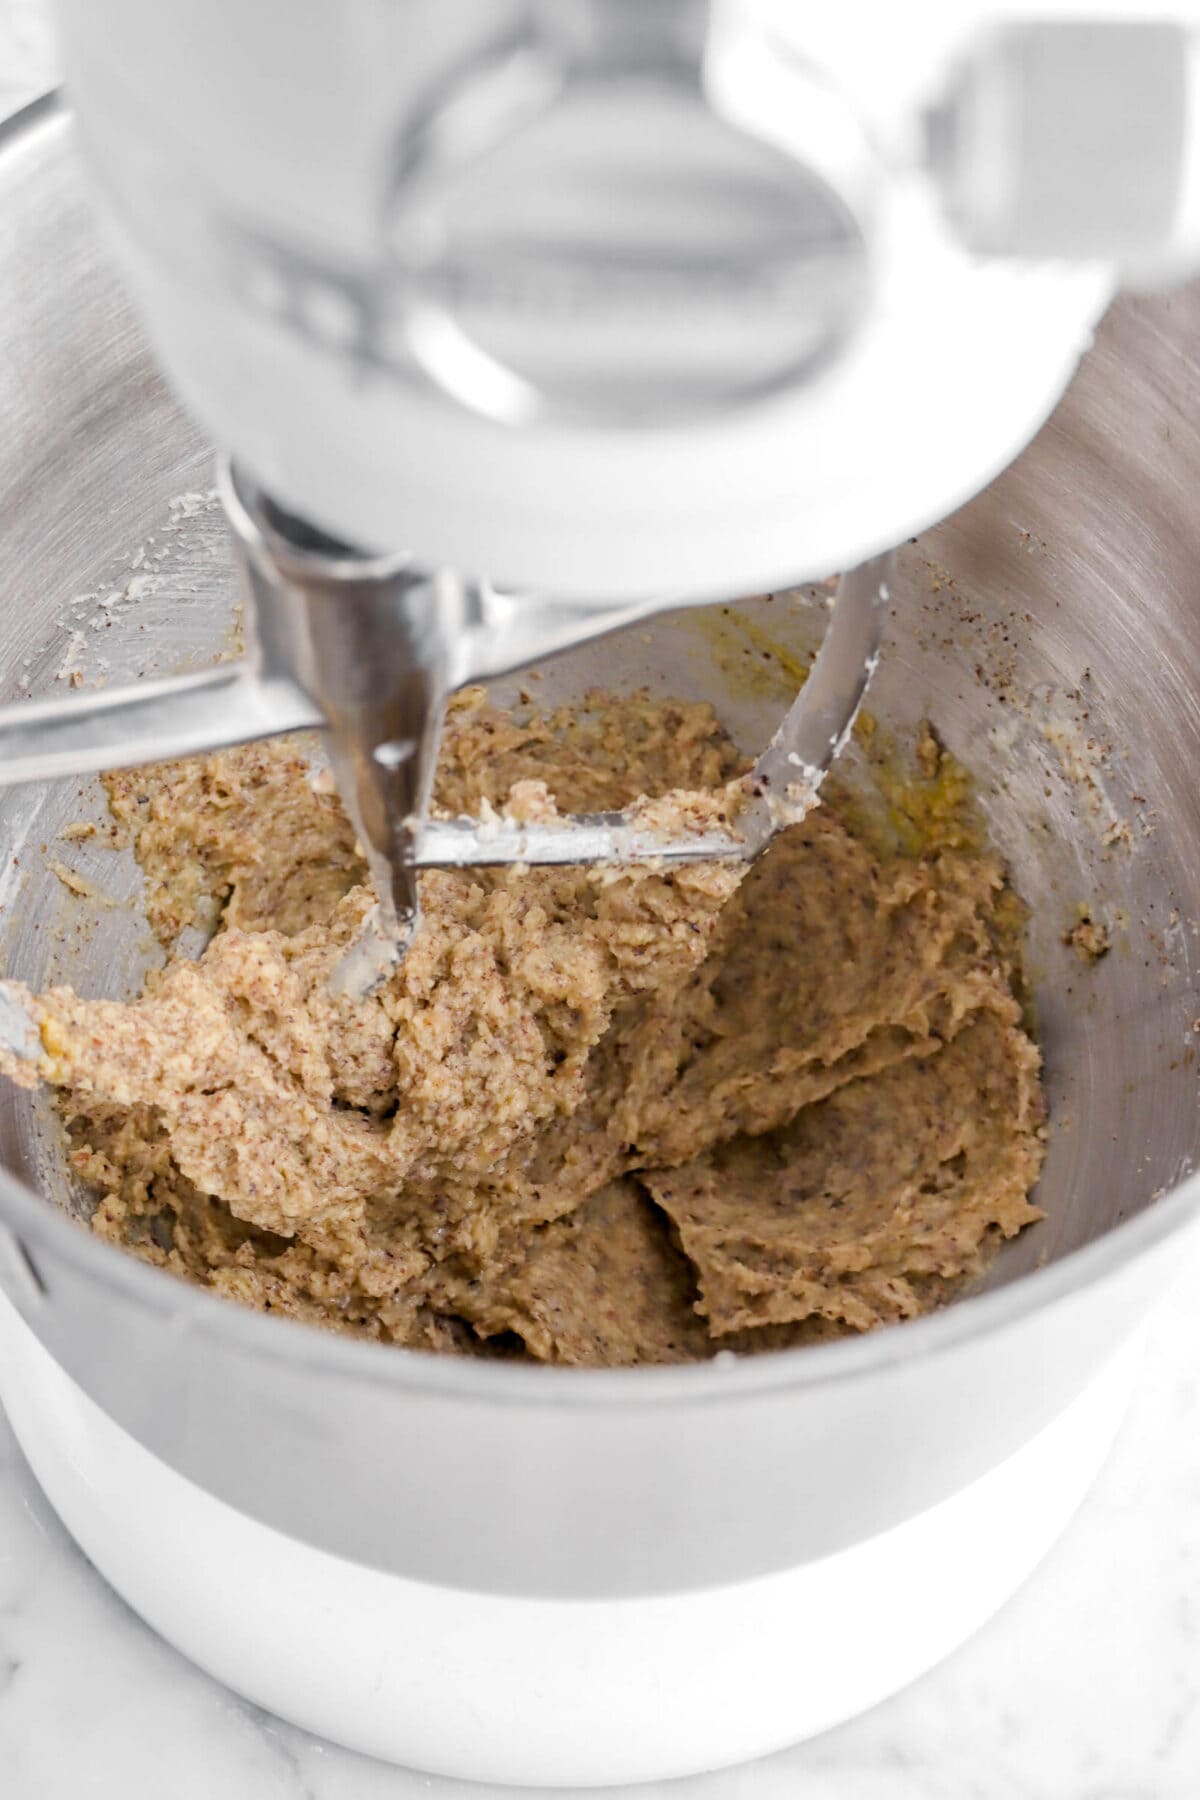
Add eggs and vanilla, mixing just until blended.
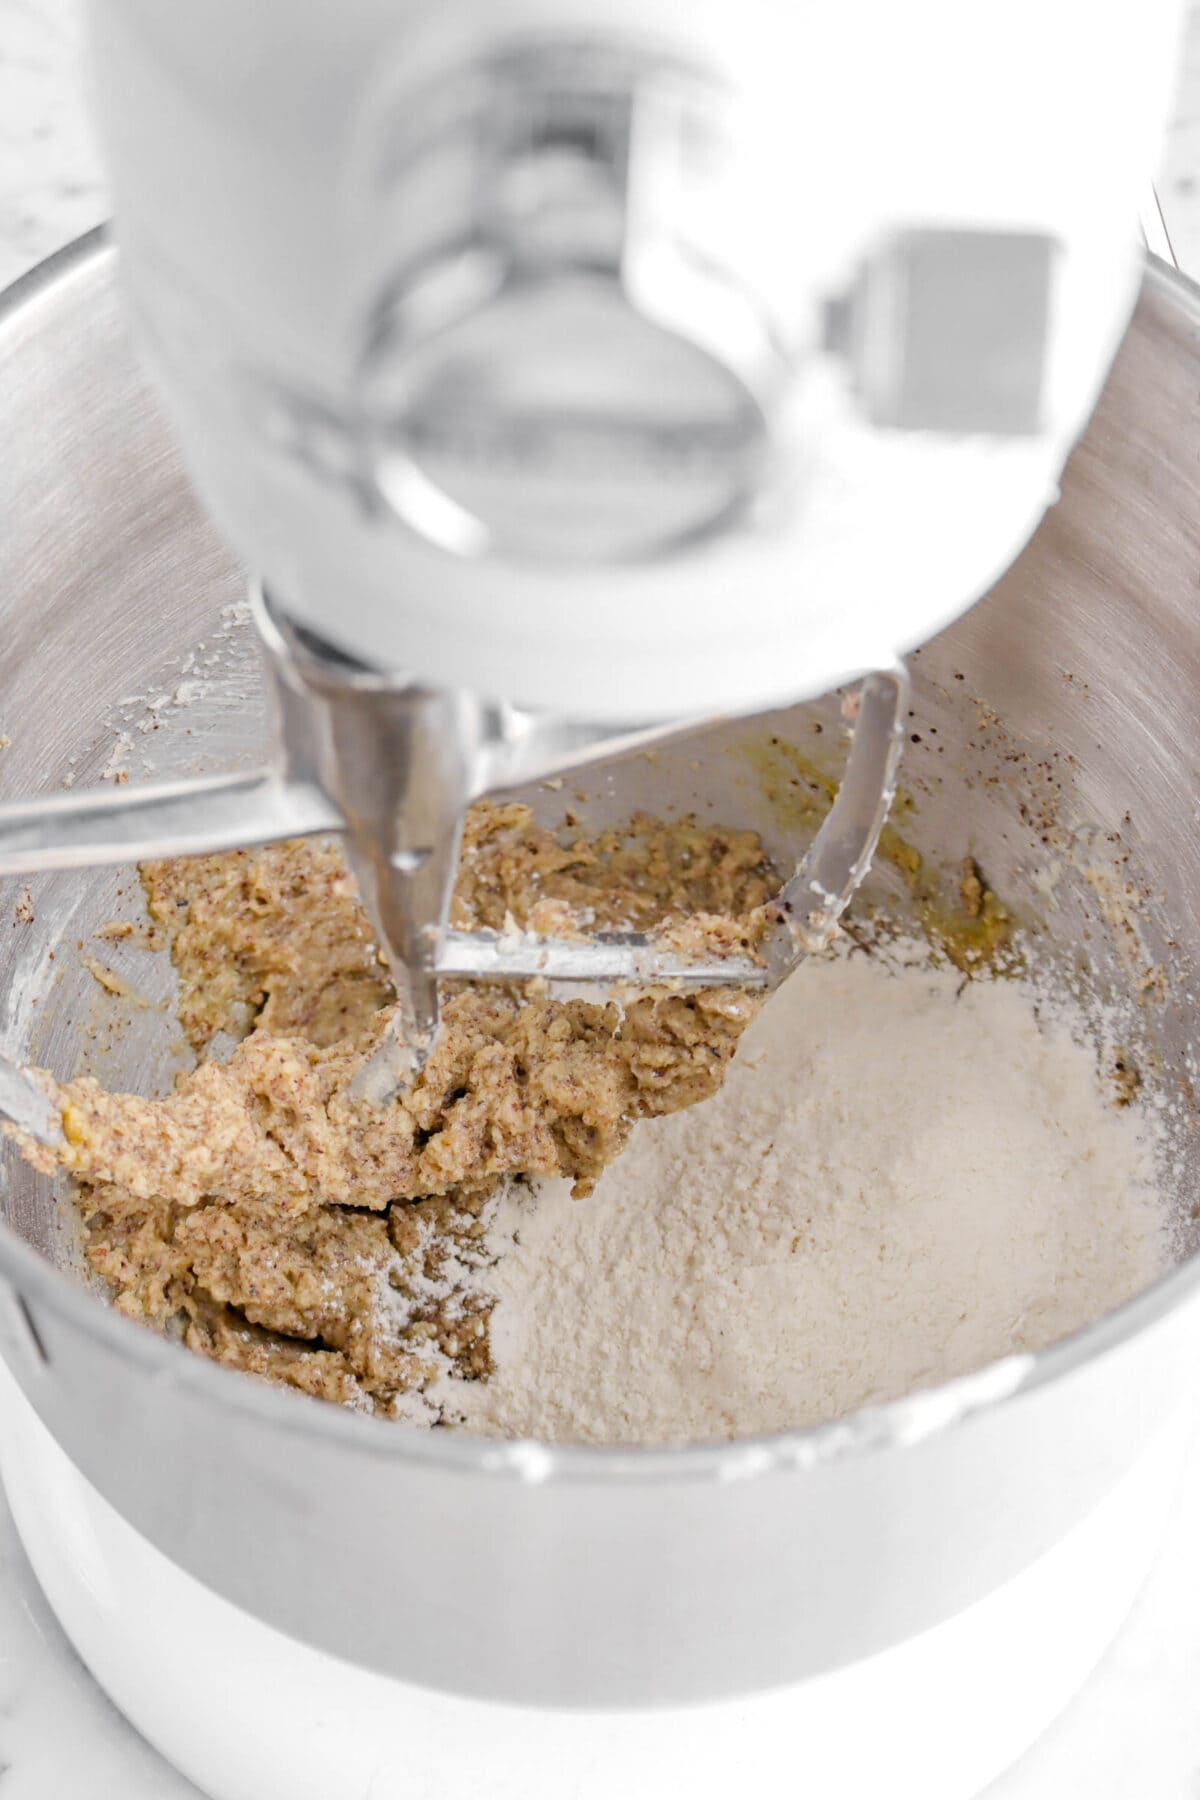
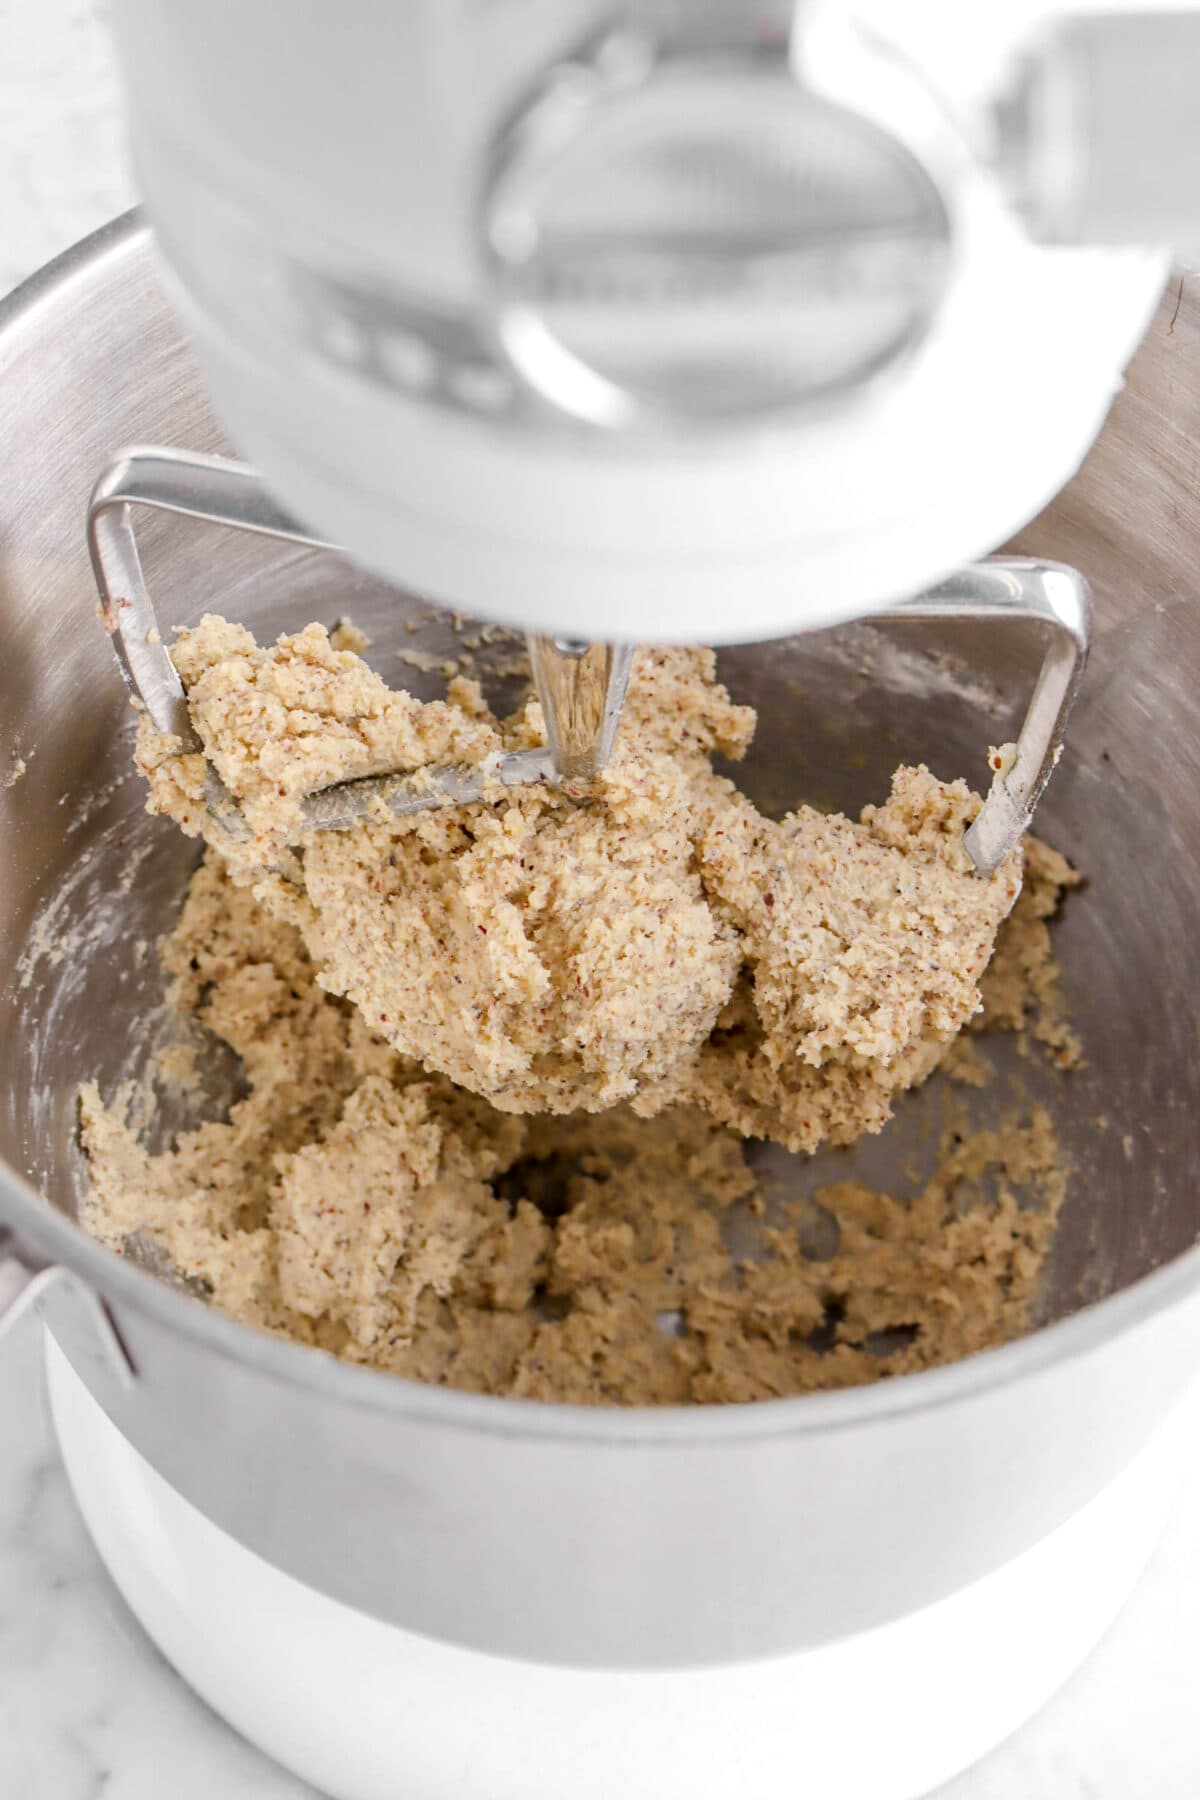
Stir in the flour. Do NOT over-mix!
Step 2: Press into the pan, refrigerate, and then bake
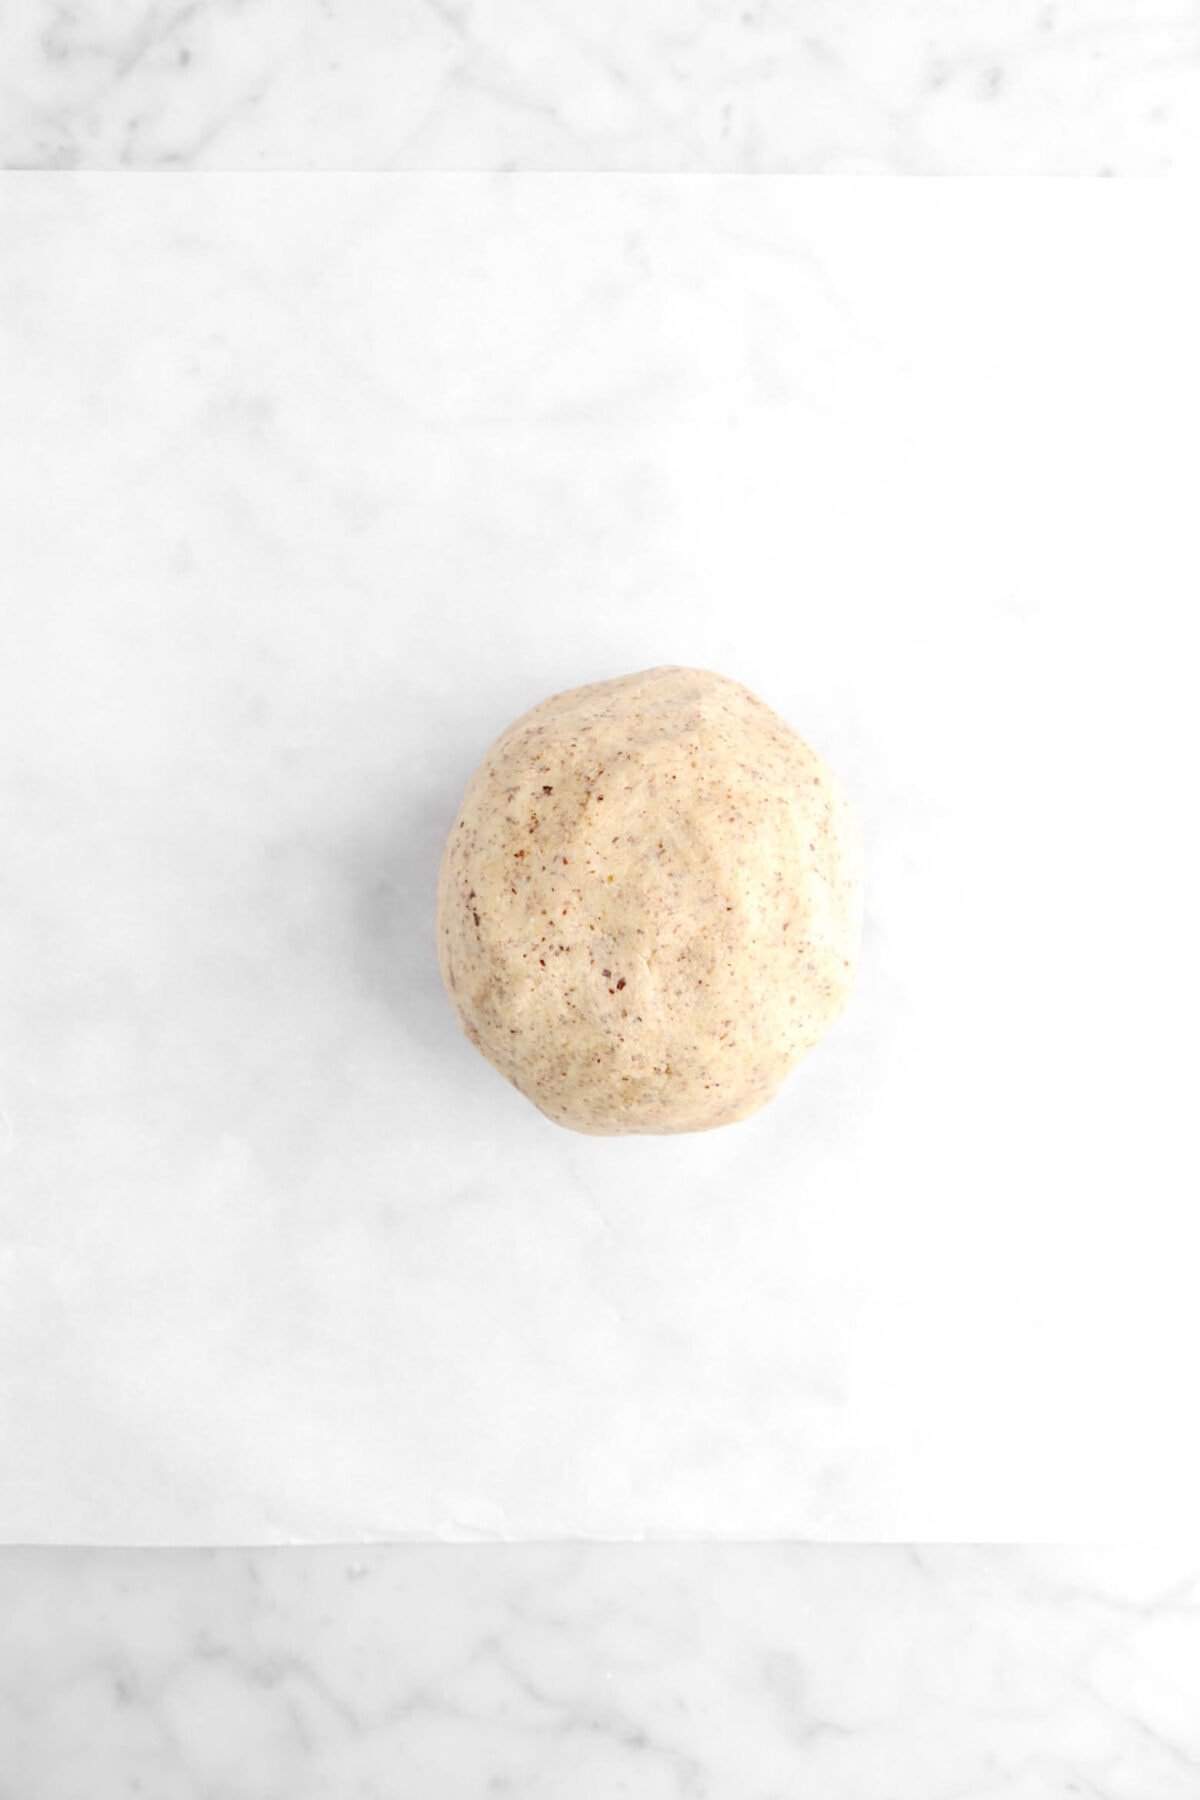
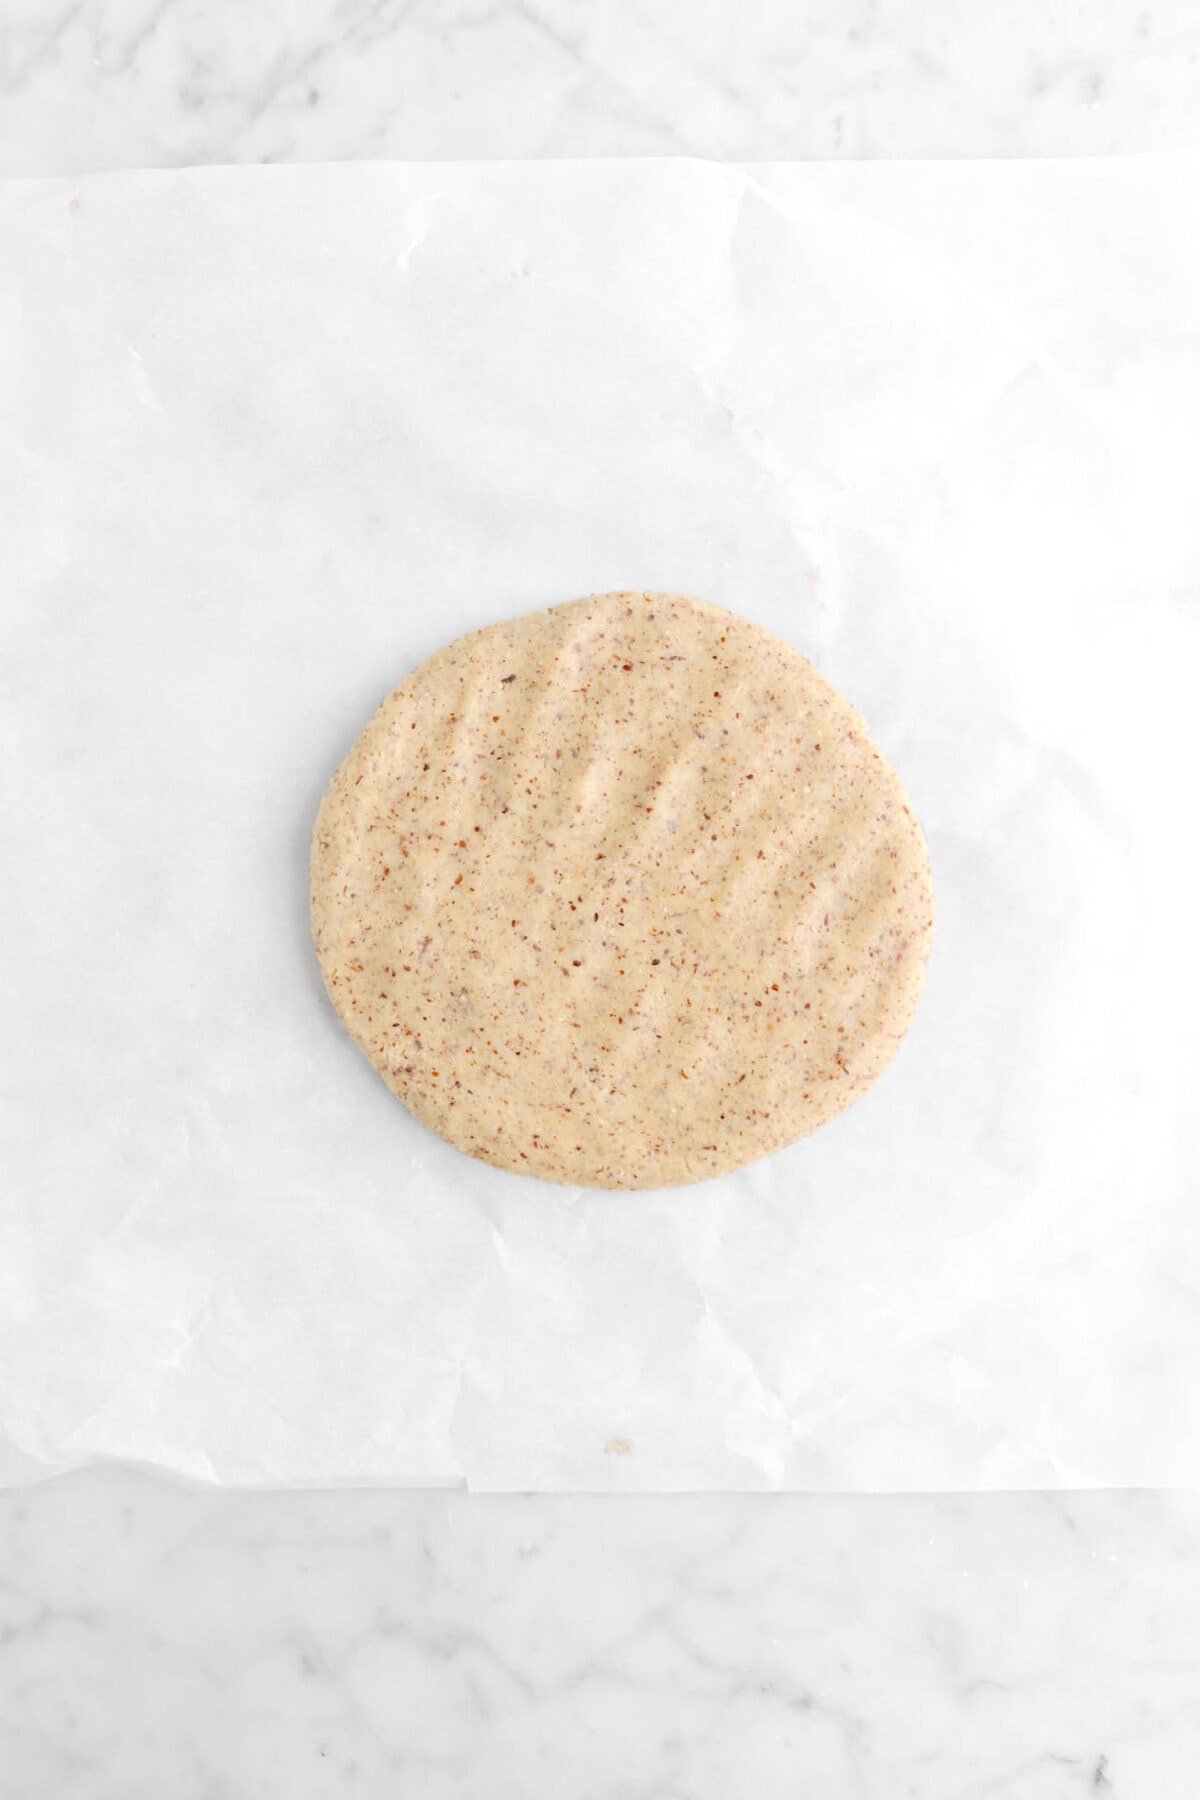
Roll the dough into a ball and into a disc.
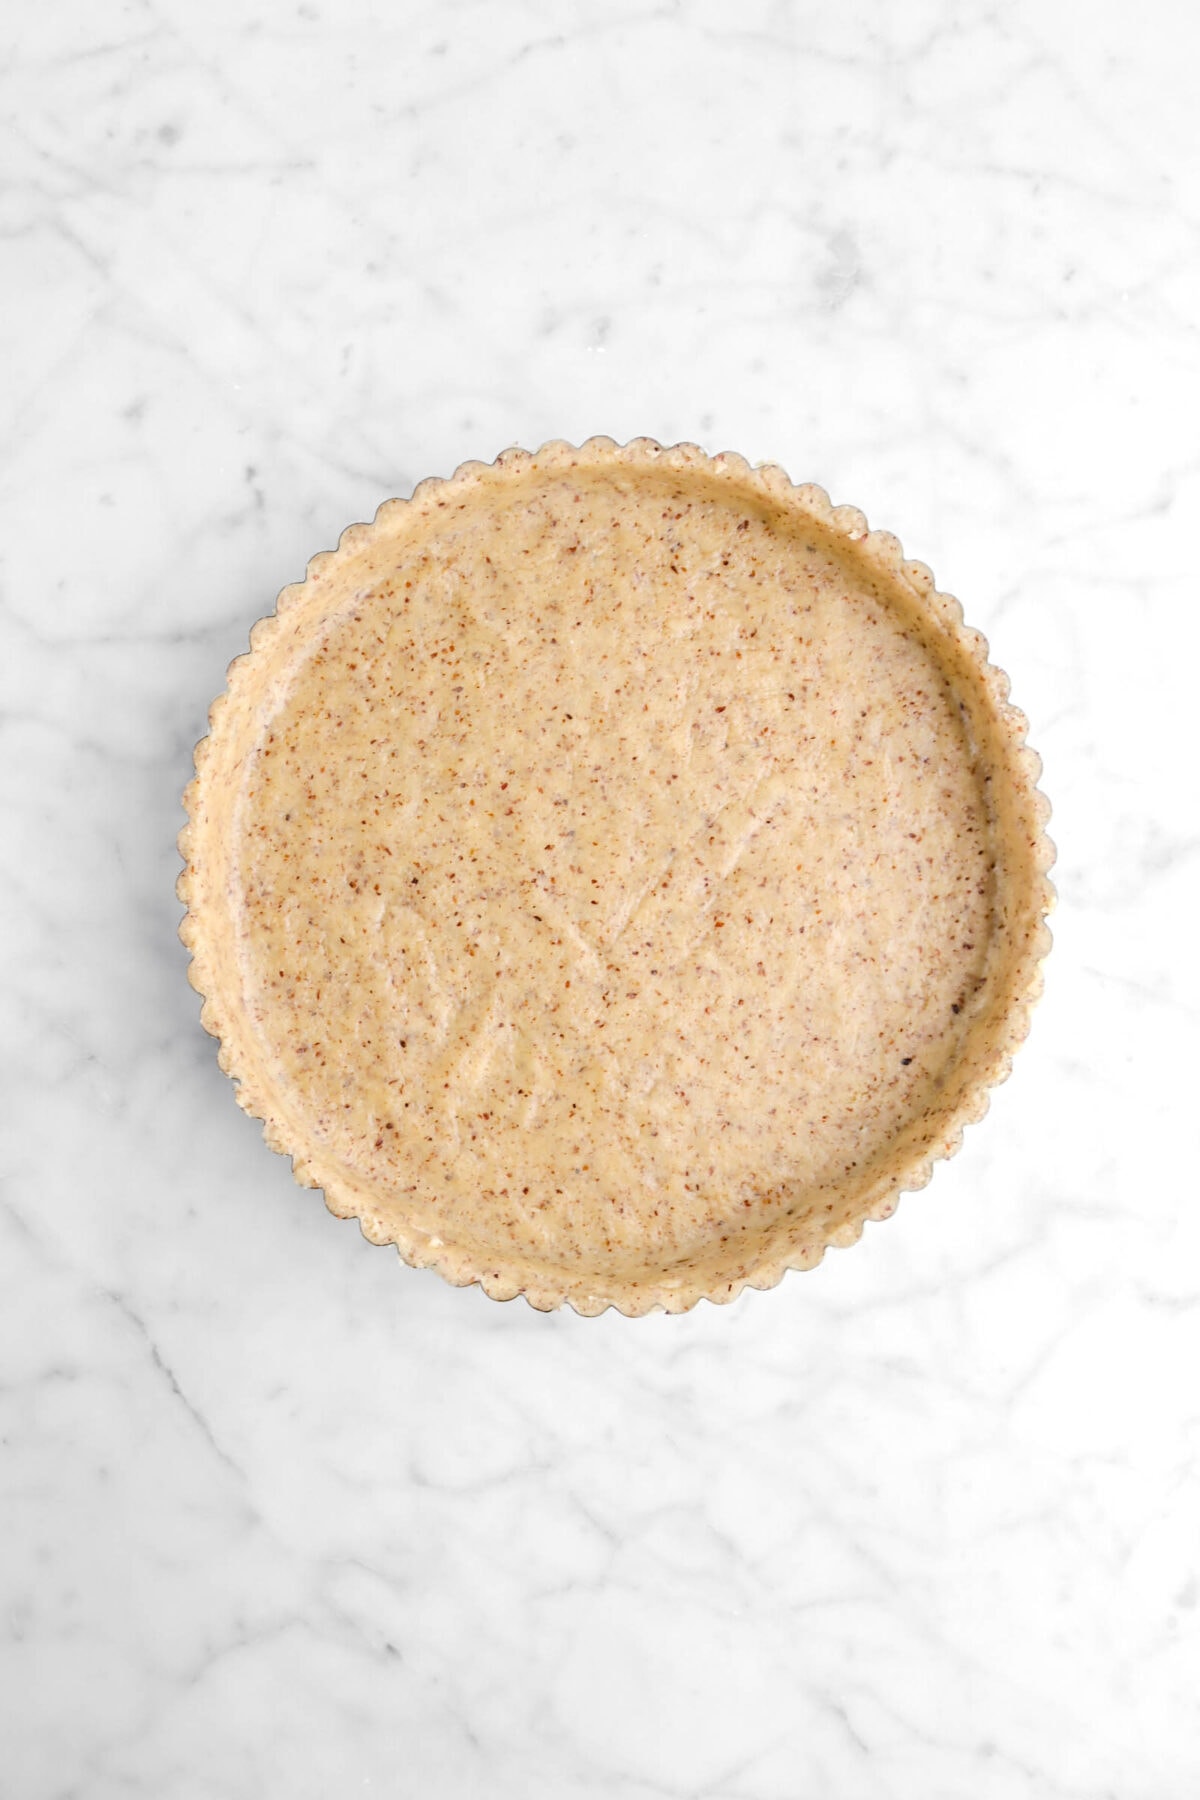
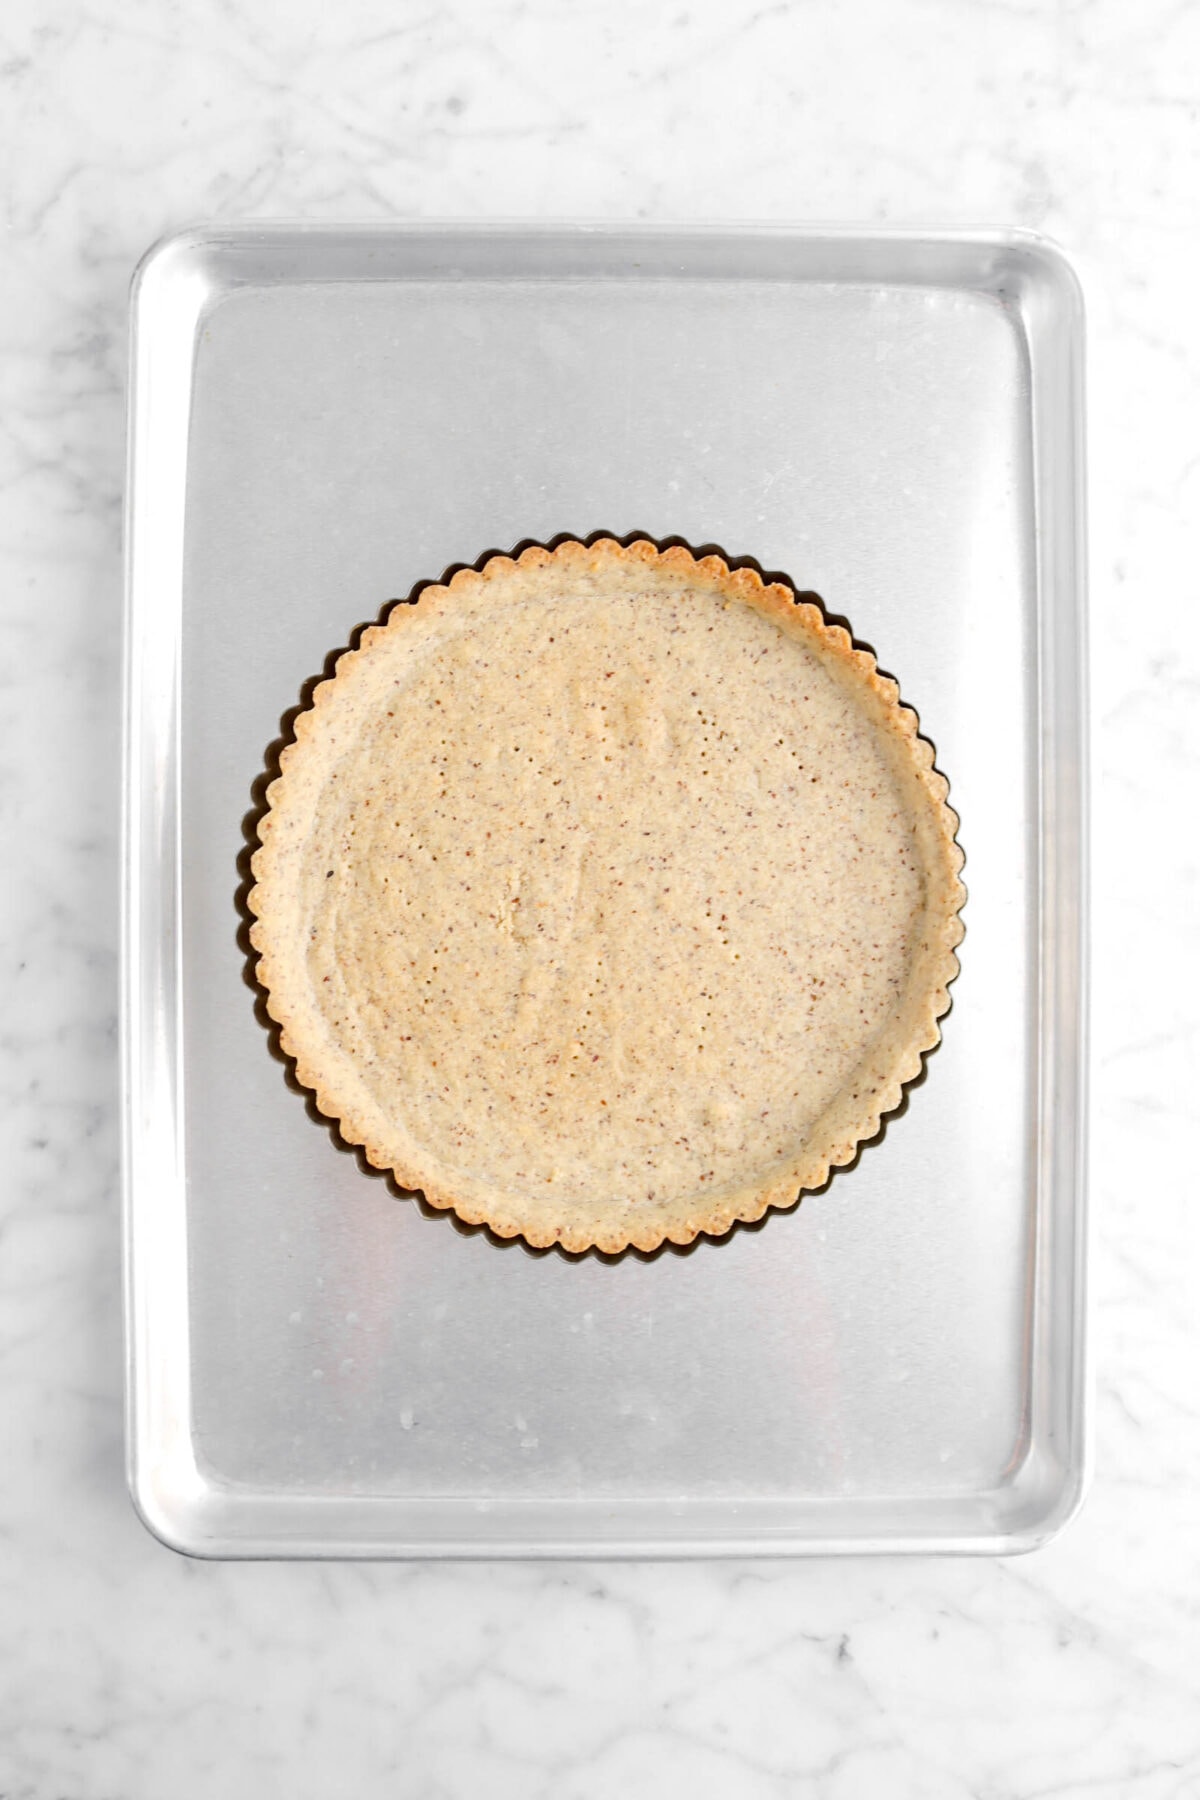
Place the disc into greased and floured tart pan. Press down evenly. Refrigerate for at least 6 hours. Bake at 375 for 15 minutes, or until just starting to brown.
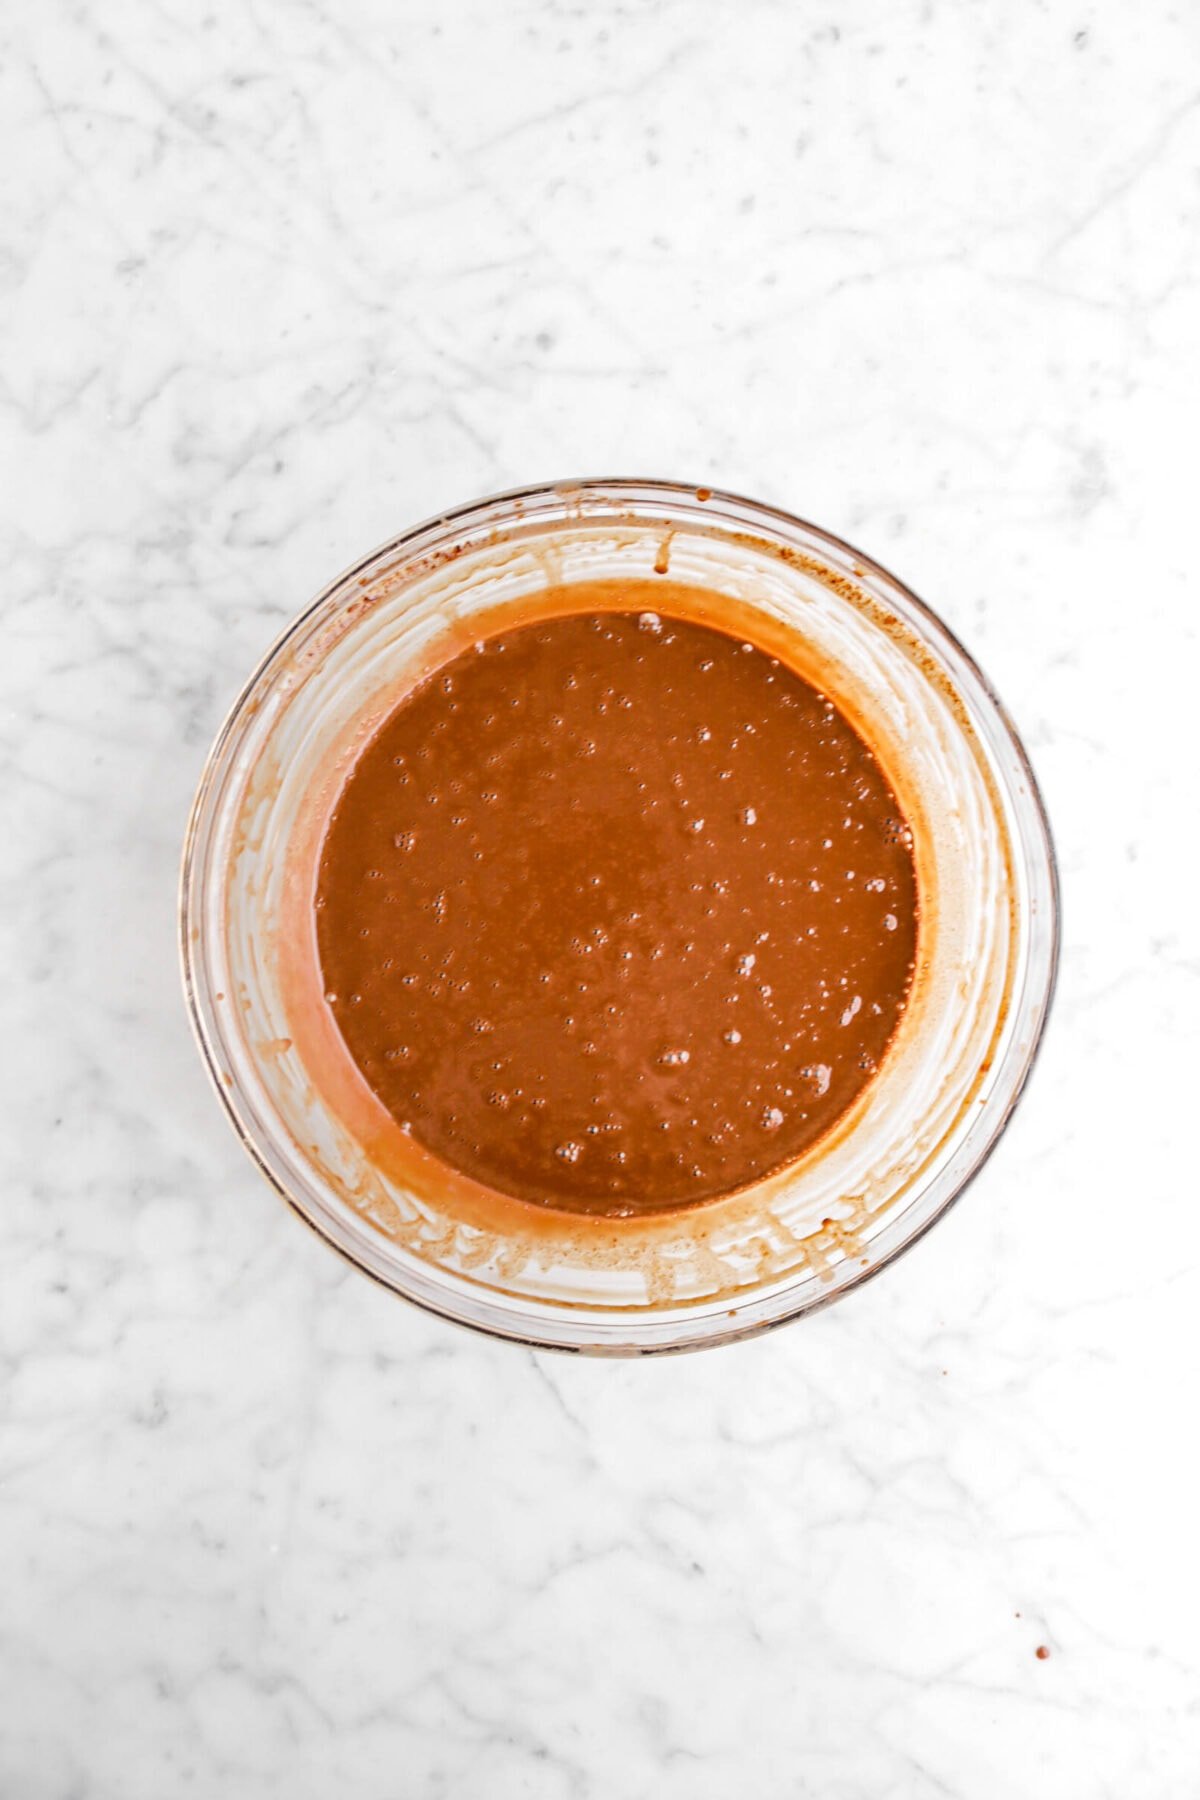
Step 3: Make the filling
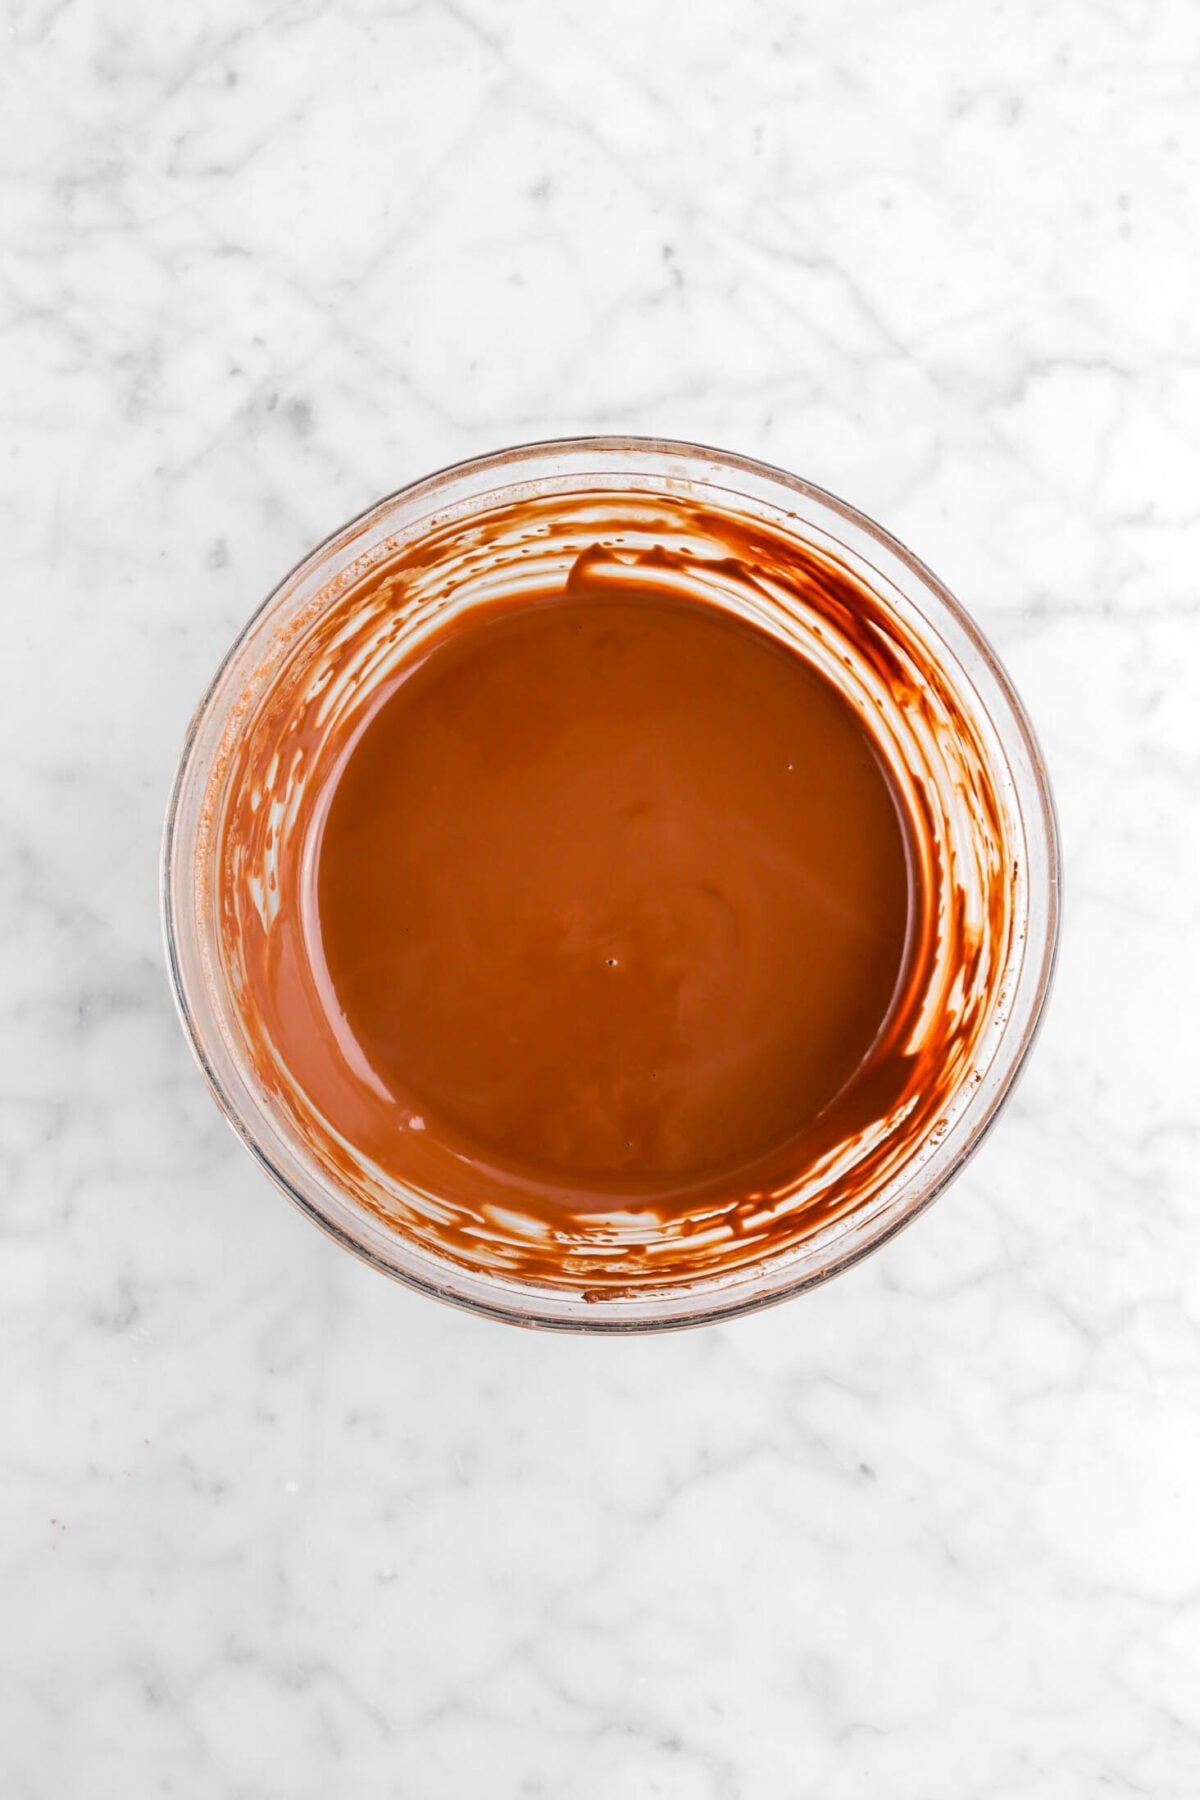
Combine chocolate, heavy cream, and whole milk in microwave safe bowl. Heat at 30 second intervals, stirring in-between each, until the chocolate is melted.

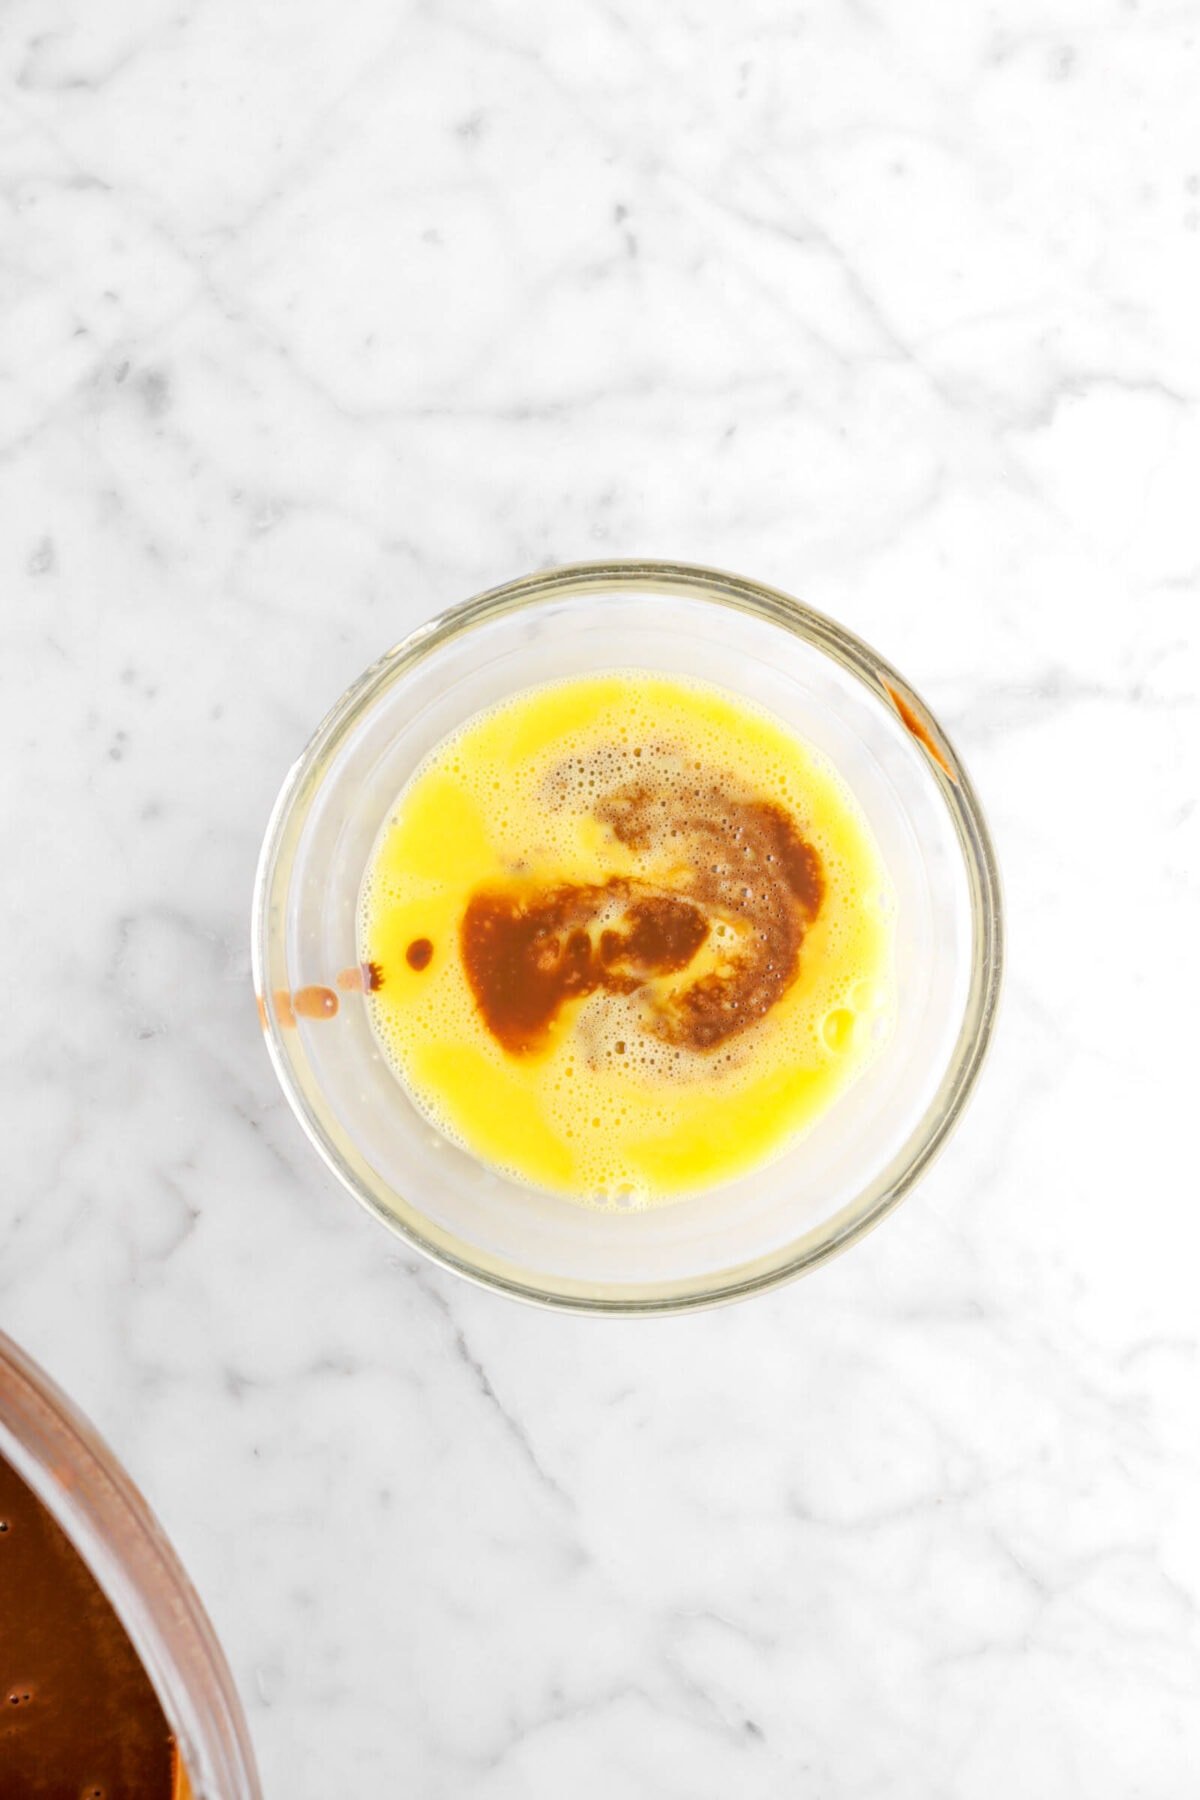
Stir a small amount of the chocolate mixture into the egg yolks.
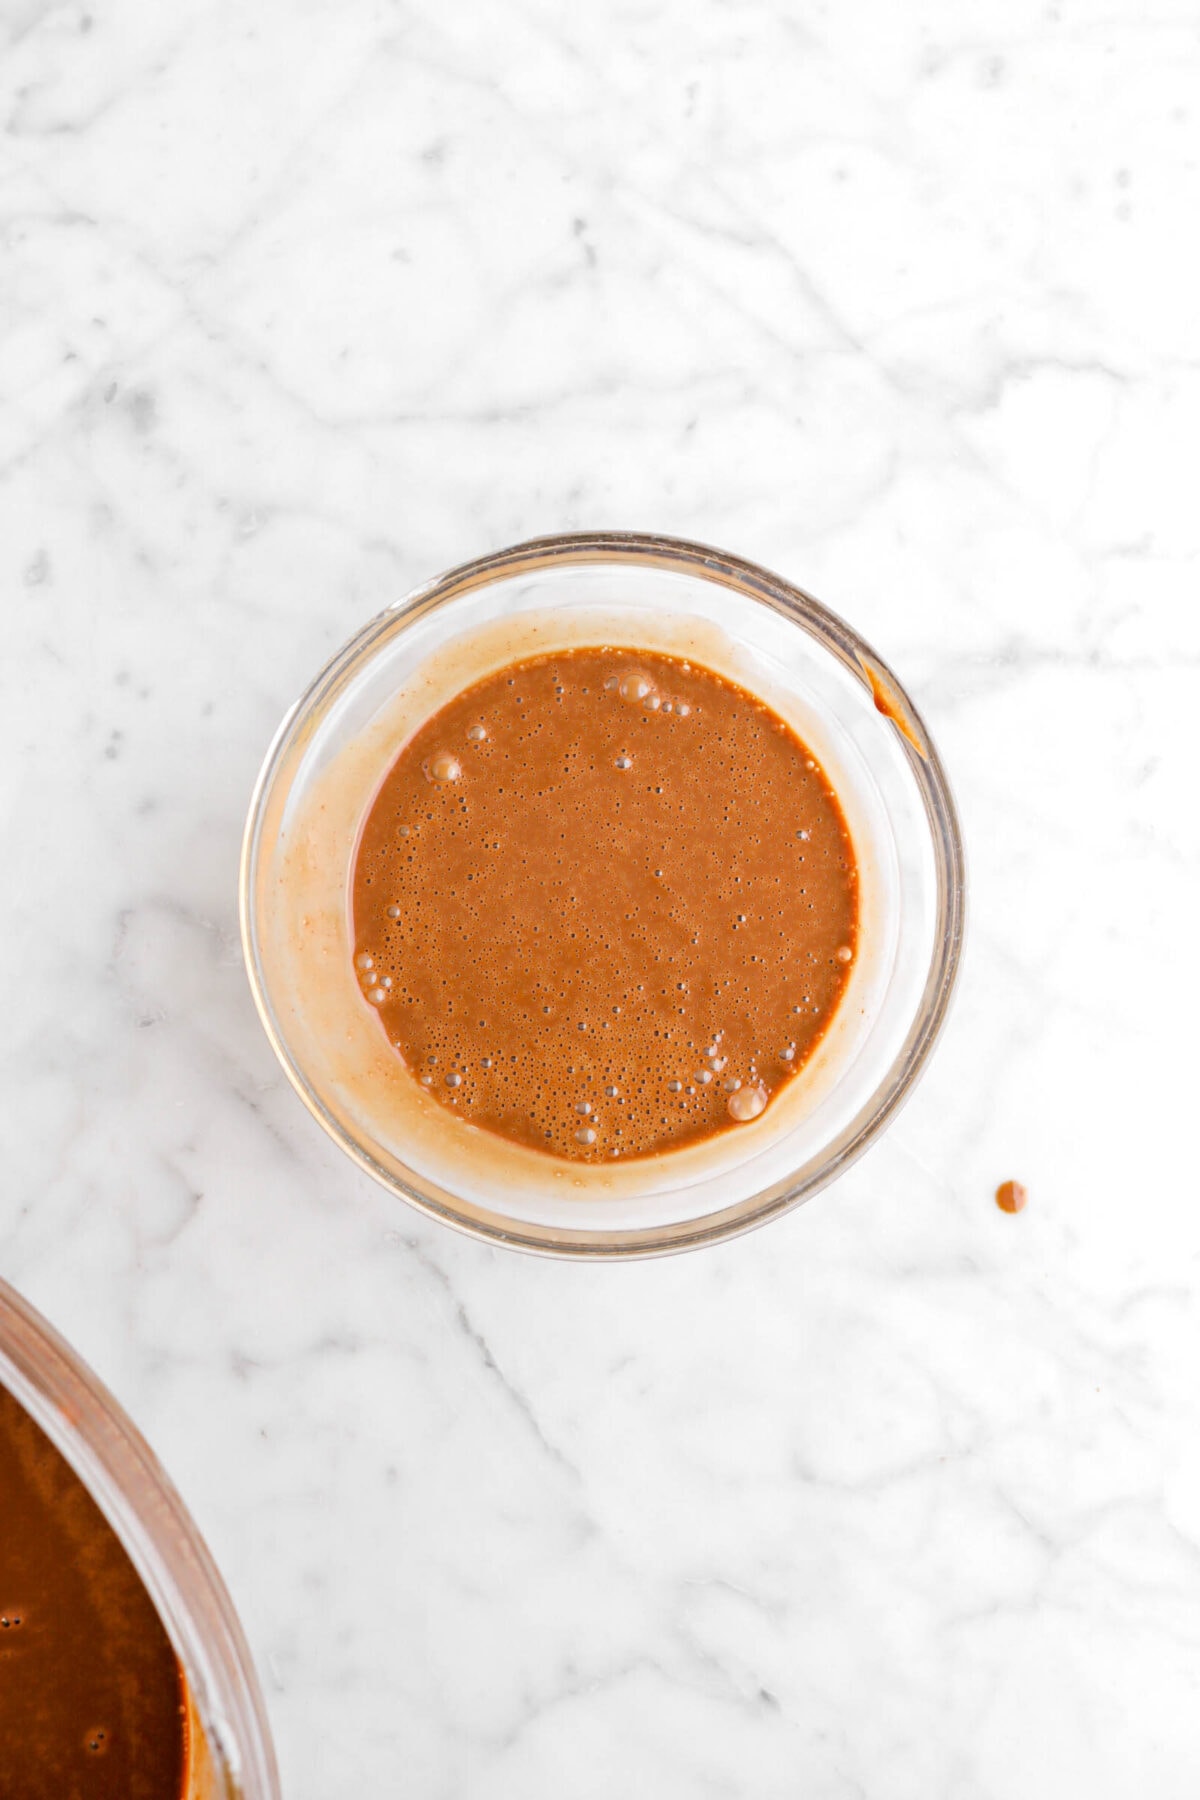
Add the egg yolk mixture to chocolate and stir until well combined. Do not beat!
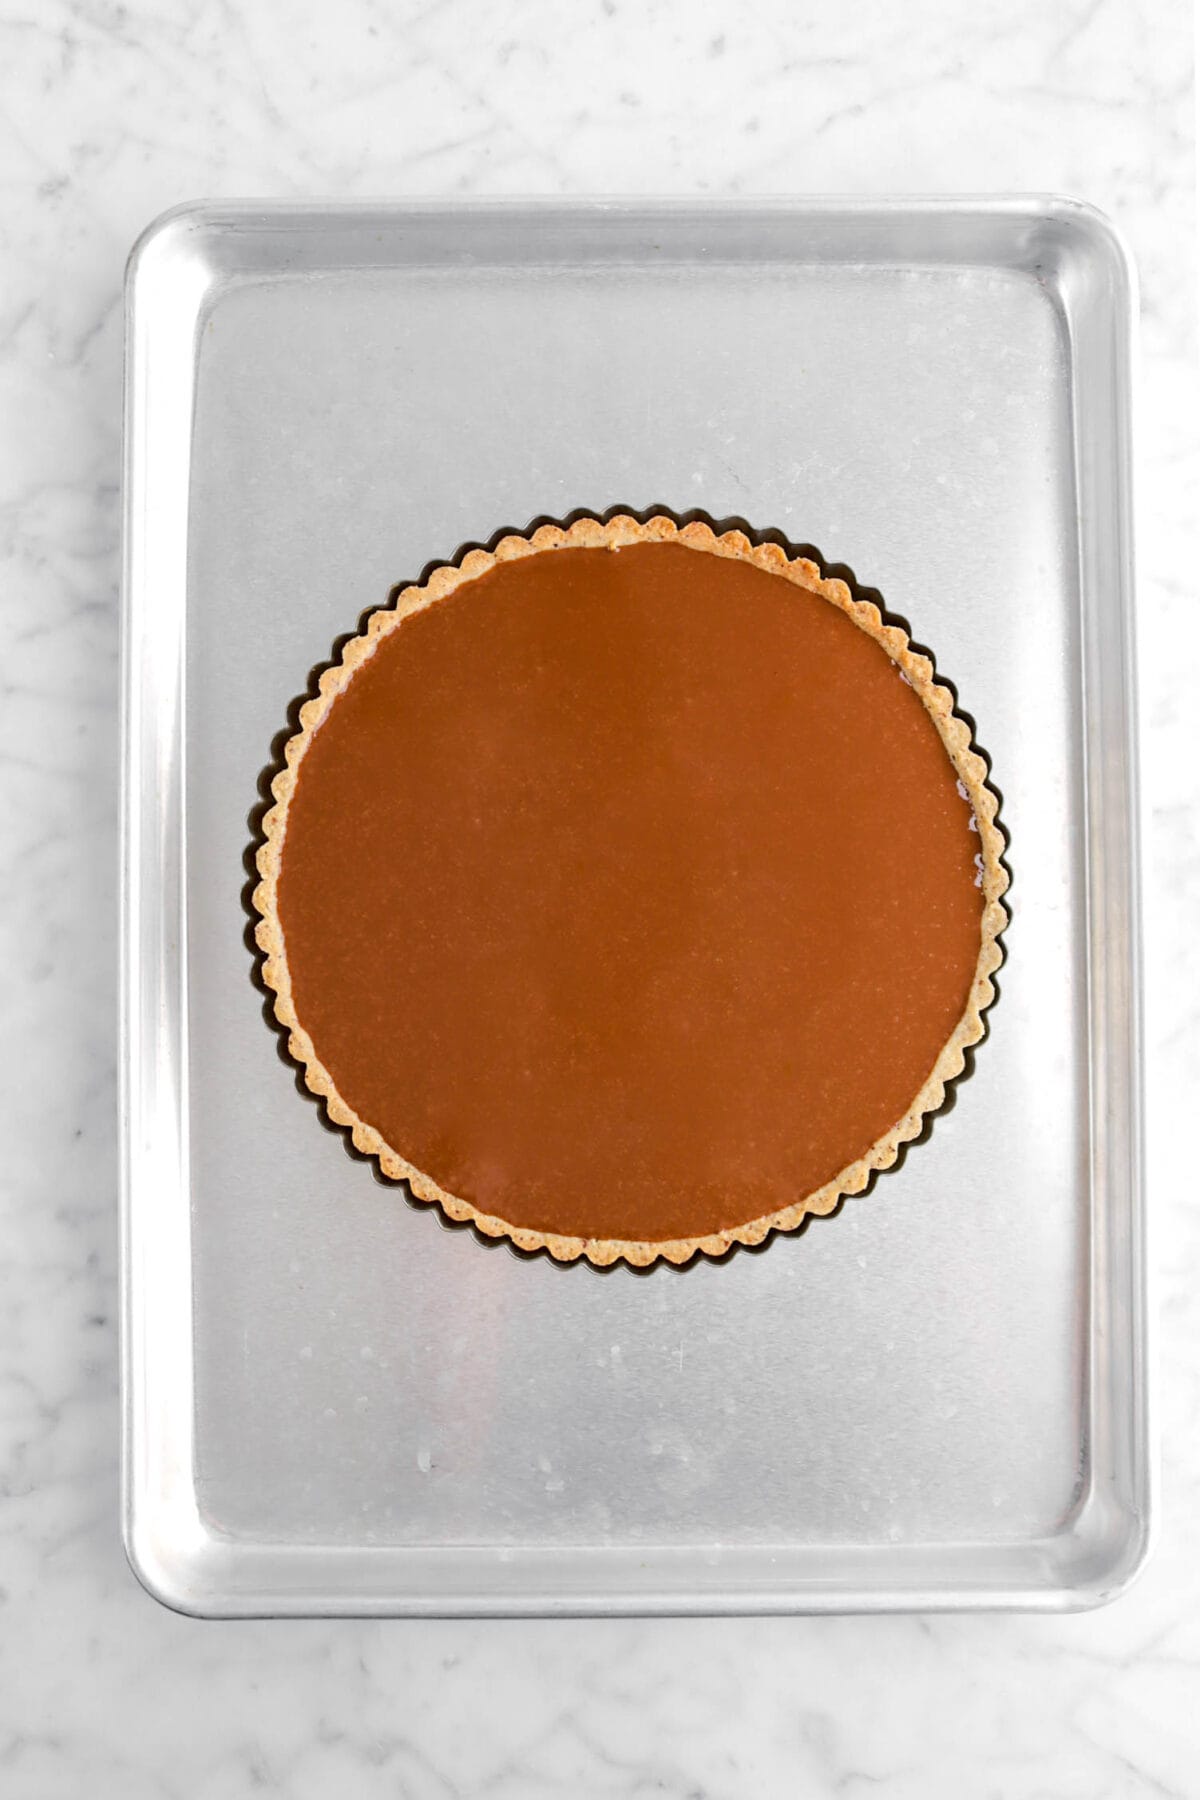
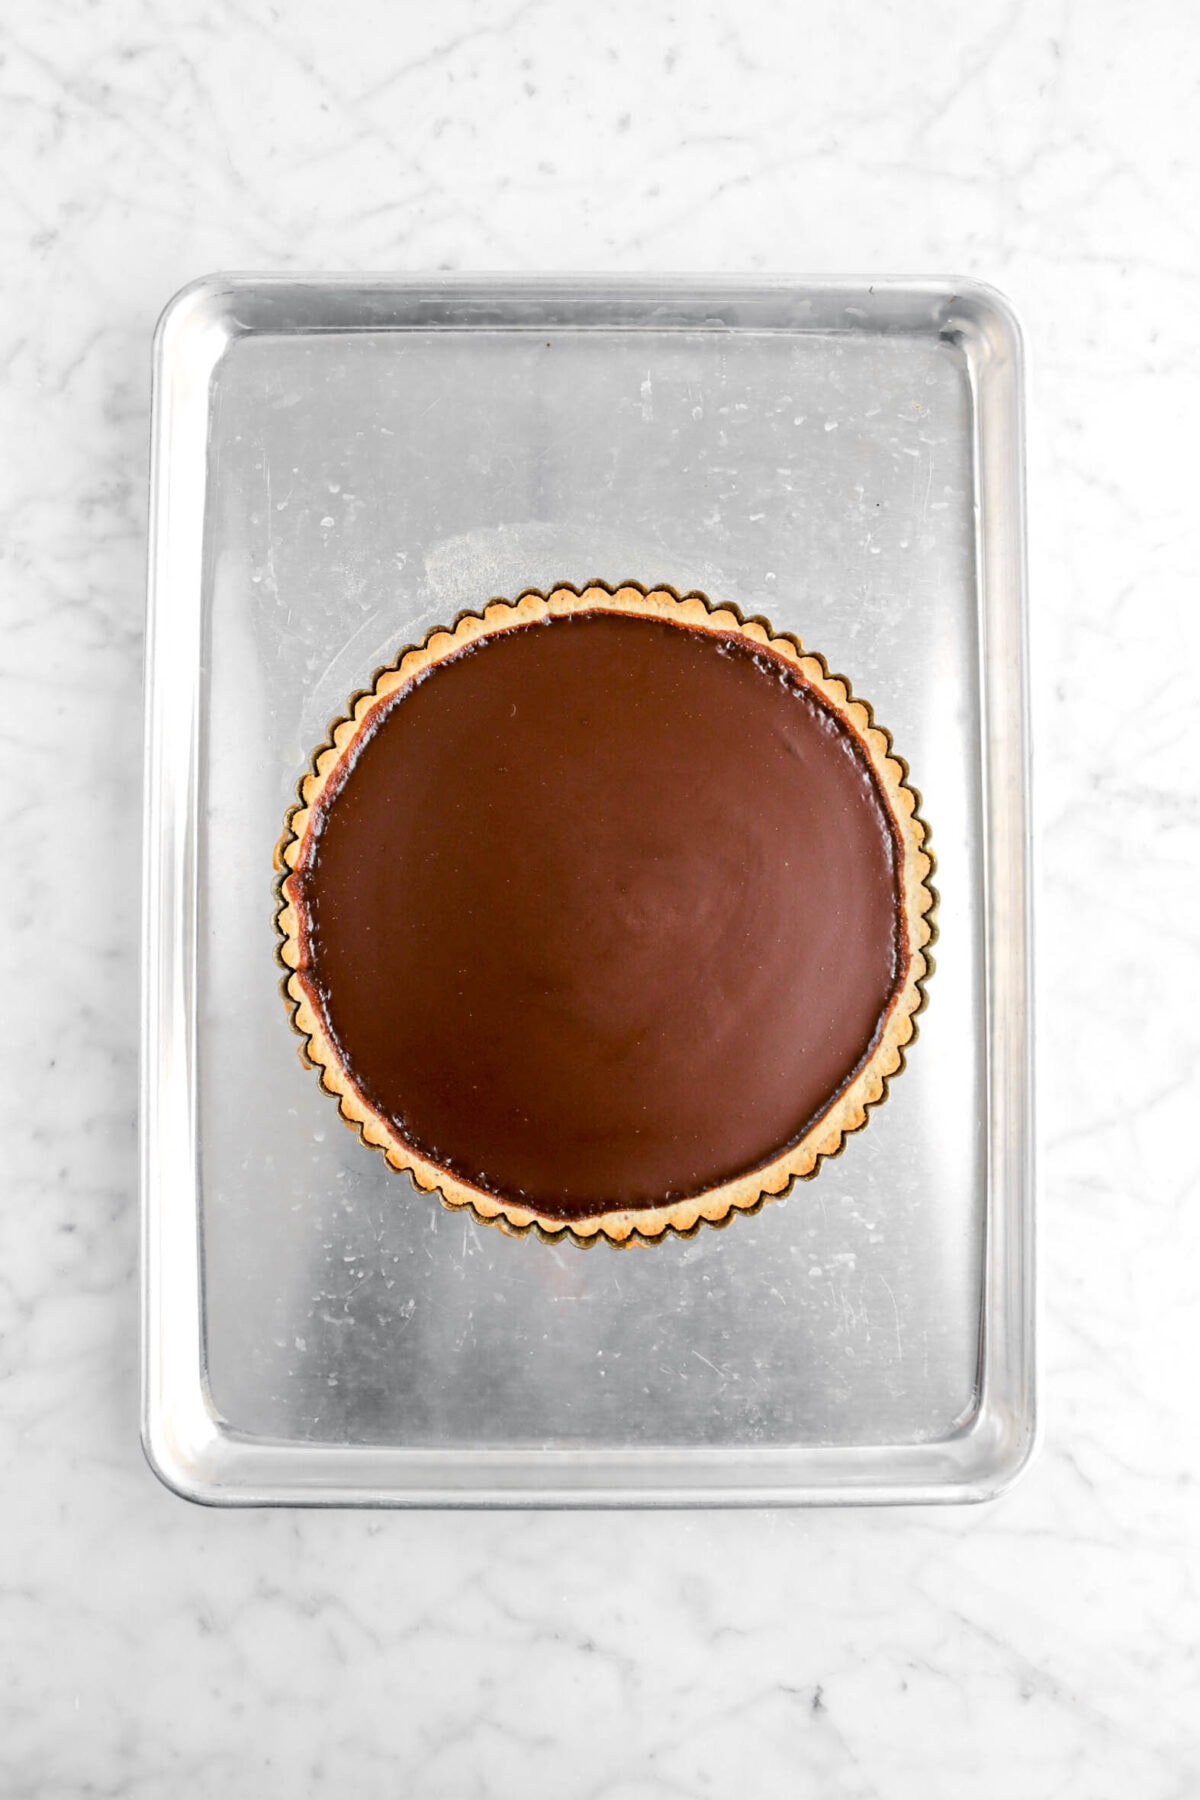
Step 4: Pour into tart shell and bake
Pour the filling slowly into the tart shell and bake for 15 minutes, or until mostly set but still a little jiggly in the middle. Let cool and place in the fridge for 1-2 hours to fully set.
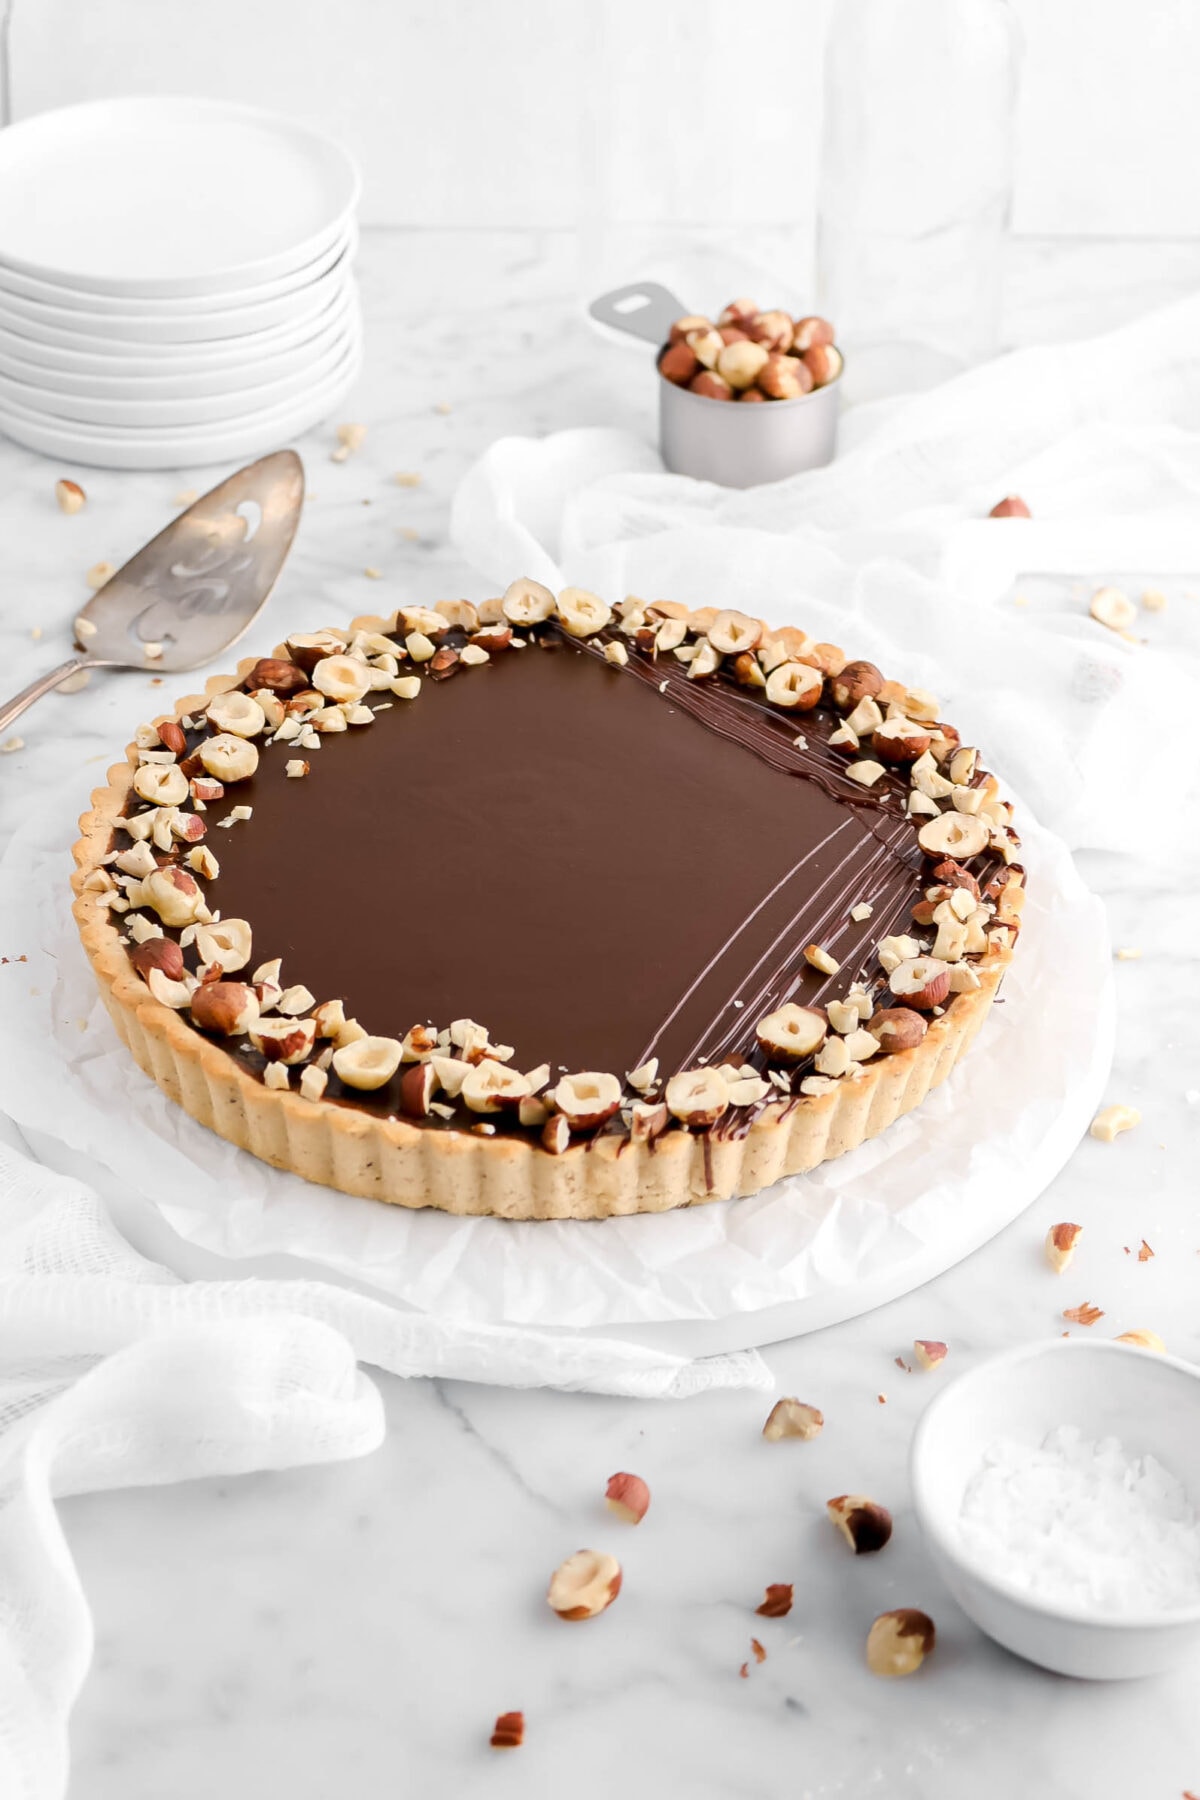
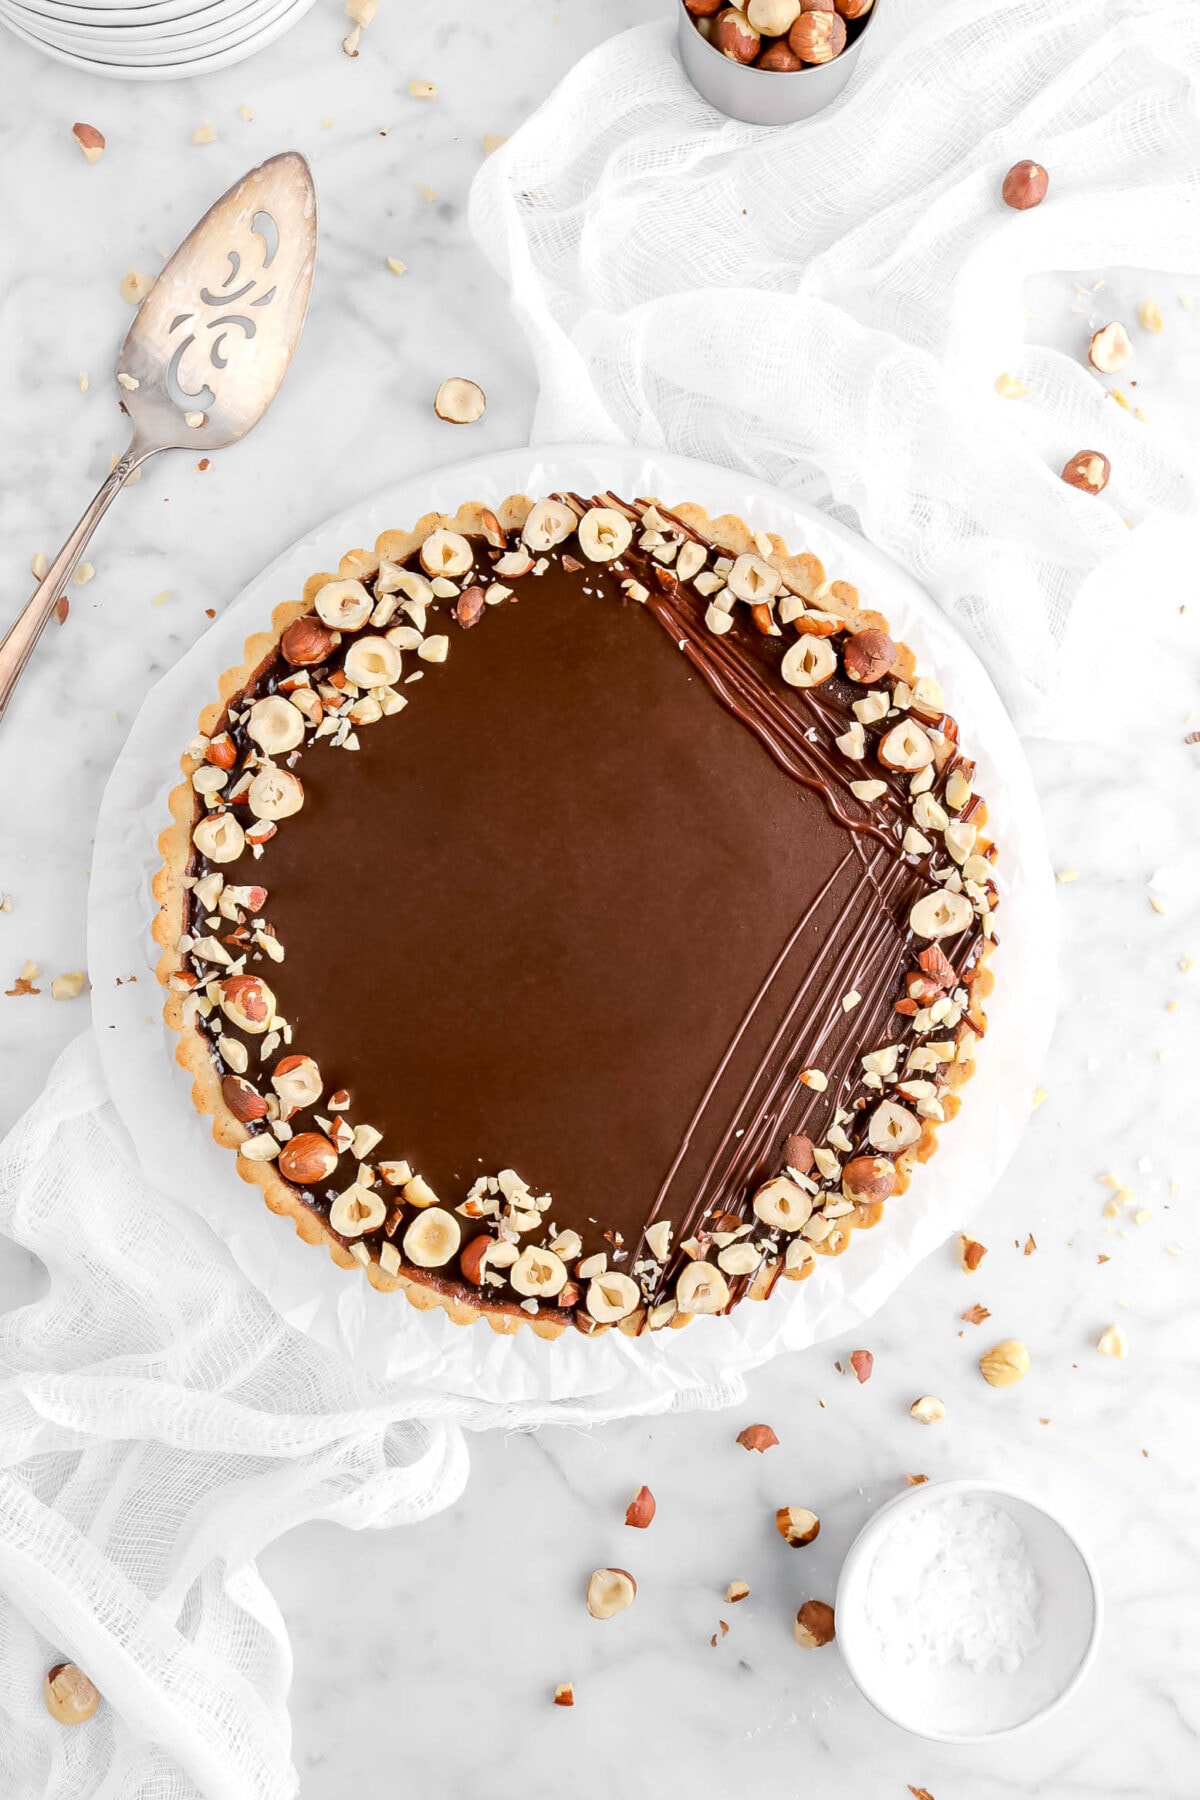
Decorating Ideas
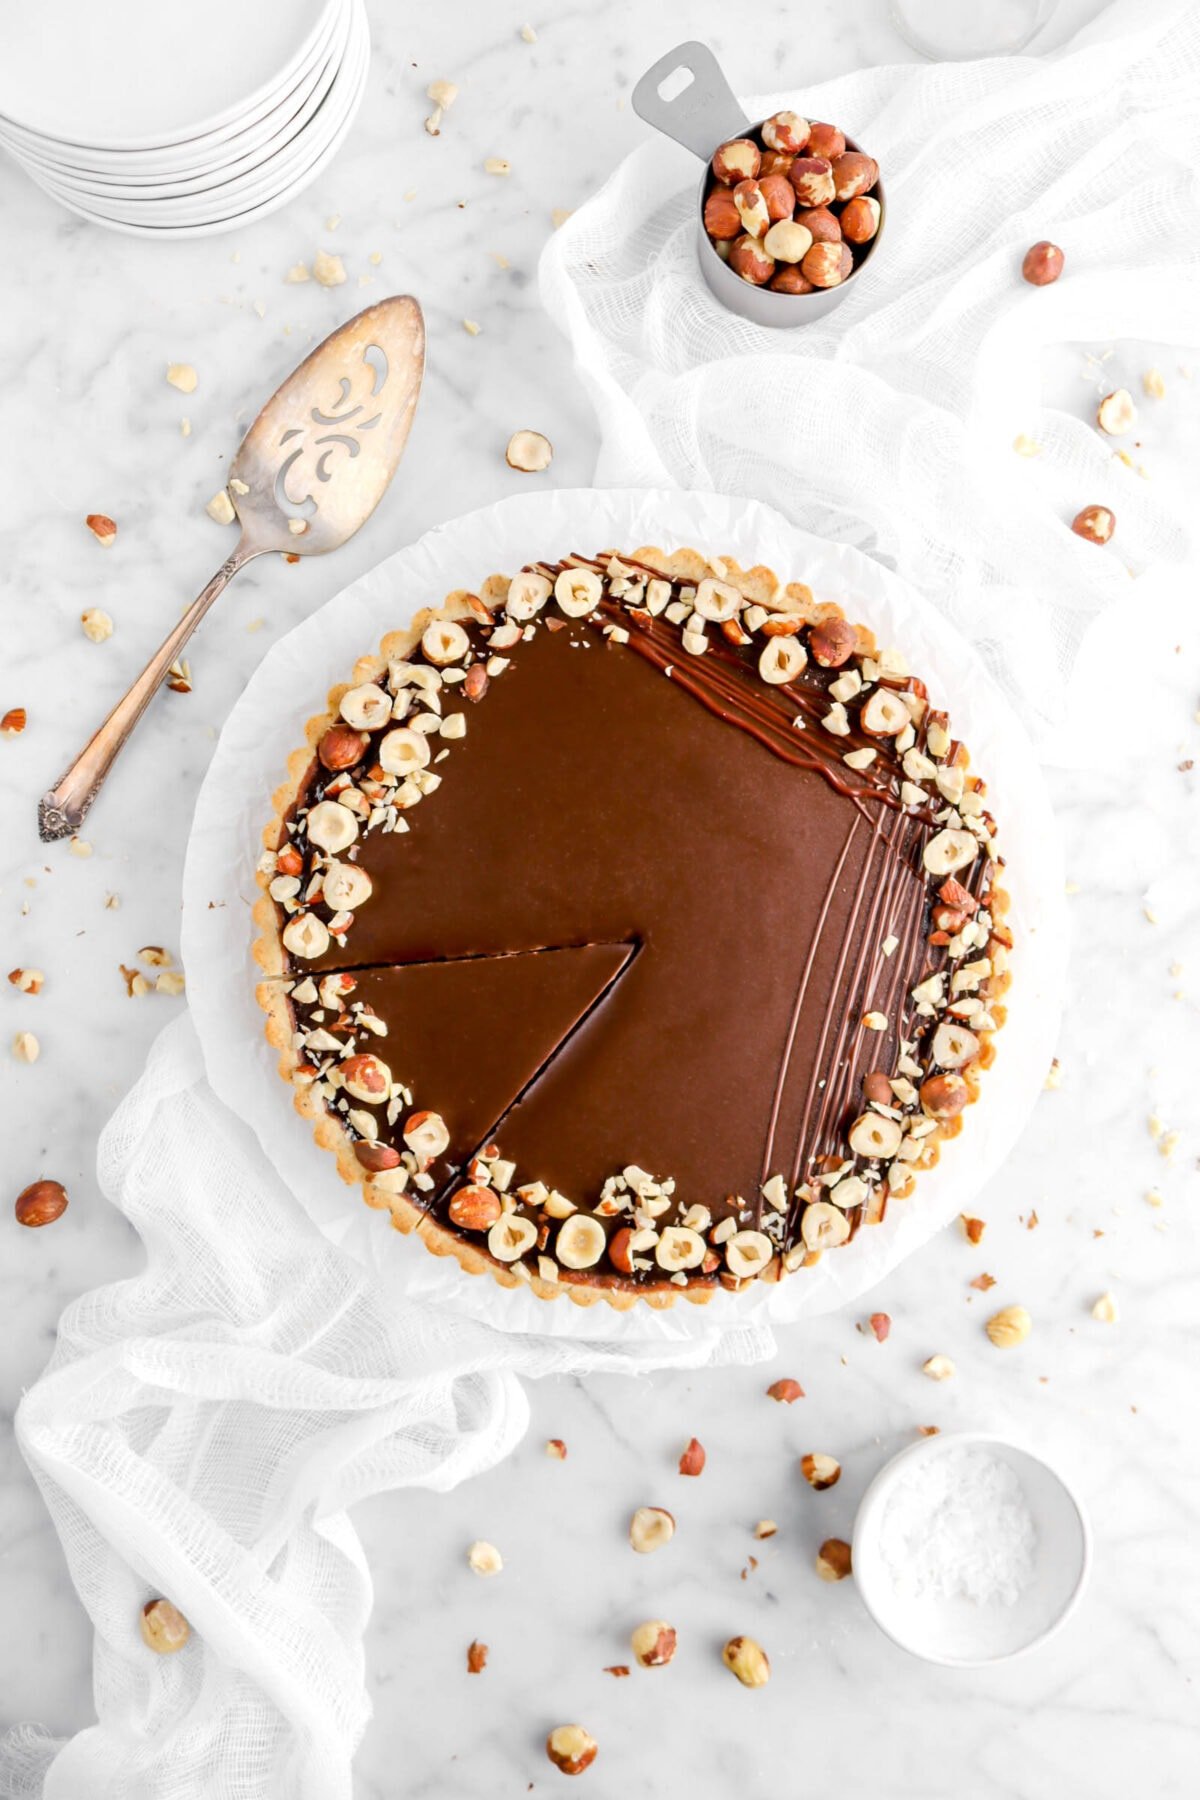
The wonderful thing about tarts is, not only do they taste delicious, but they can be SO much fun to decorate! You can keep it simple or go all out. The list below is a few of our favorite ways to decorate this tart.
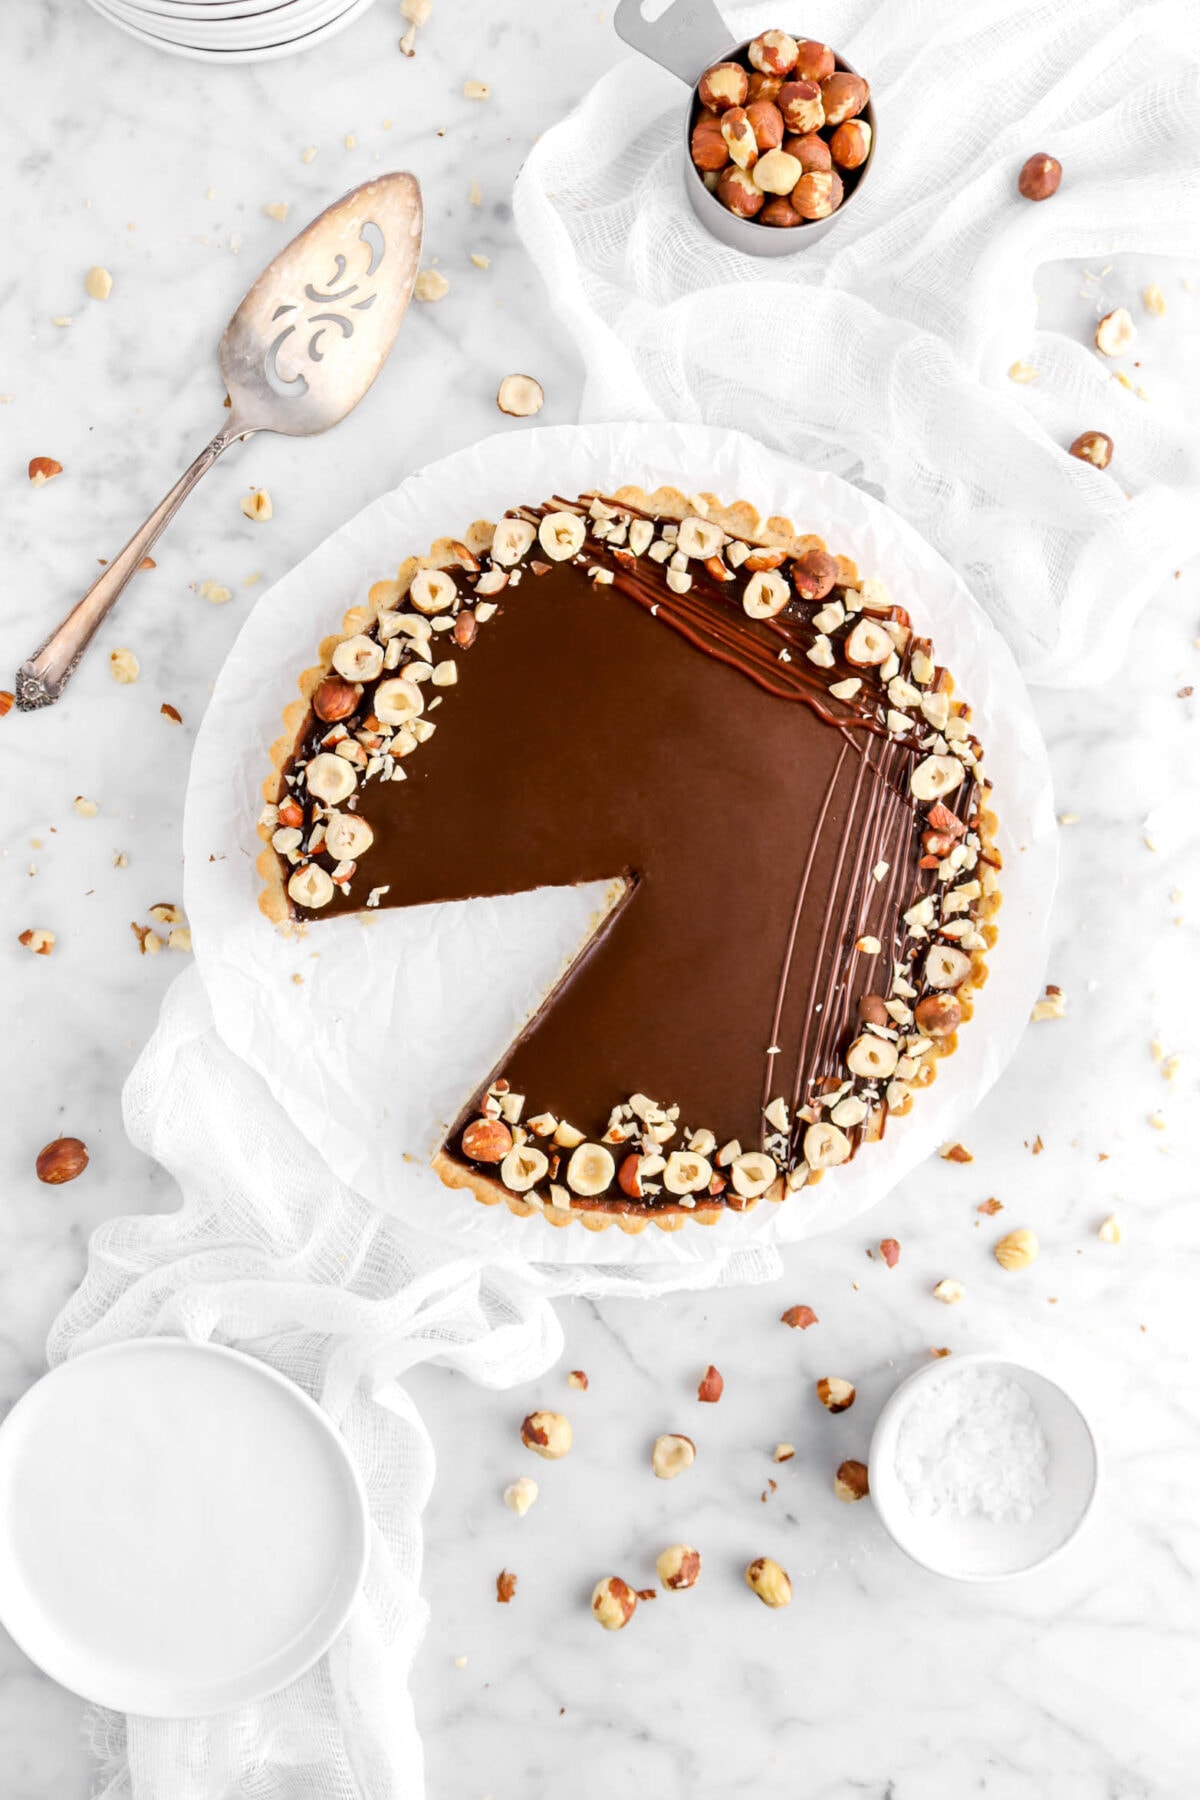
- Drizzling with melted chocolate/ganache
- Sprinkling with chopped hazelnuts
- Decorating with mini meringues
- Using fresh berries (raspberries and strawberries are our favorite!)
- A light dusting of powdered sugar
- Topping with chocolate curls or flaked salt
How To Store
Once this tart is set, you can easily keep this tart in the fridge for about 3-5 days. Though, just to be honest, the best way to keep this tart is in the freezer! It will keep for up to 2 months. Though you will need to remember to set it out of the freezer a few hours prior to when you wish to eat it and allow it to come to room temperature.
Expert Tips
- Do not over work the dough for the tart.
- Don’t skip greasing and flouring the tart pan!
- When pressing the dough into the pan, use a greased metal cup measure to help level the dough and get the sides straight.
- Be careful not to over bake the crust!
- If tart crust puffs during baking, gently prick with a fork and lightly press down.
- With the filling, do not whip or beat it. You don’t want to incorporate air bubbles.
- Straining the filling is a great way to get rid of air bubbles.
- When pouring the filling into the crust, keep the bowl as close to the tart as possible! The further the filling has to fall, the more air bubbles will form.
- You can use your finger or a toothpick to pop air bubbles.
When you make this Chocolate Tart with Hazelnut Crust, leave a comment down below! We love hearing from you and answering any questions you might have! Also, be sure to tag us on social media and hashtag it #BakersTable.

Chocolate Tart with Hazelnut Crust
Ingredients
Crust
- ½ cup unsalted butter,, room temperature
- ⅓ cup granulated sugar
- ¼ teaspoon salt
- ¼ cup hazelnut flour
- 1 large egg,, room temperature
- ⅓ teaspoon vanilla extract
- 1 ¼ cups all purpose flour,, sifted
Tart
- ⅔ cup heavy cream
- ⅔ cup whole milk
- 7 ounces bittersweet chocolate
- 3 egg yolks,, beaten
Instructions
Crust
- Spray a 9-inch tart pan with baking spray. Set aside.
- In the bowl of an electric mixer. beat butter, sugar, and salt just until smooth.
- Mix in hazelnut flour.
- Add eggs and vanilla, mixing just until blended.
- Stir in flour.
- Turn into prepared pan.
- Press evenly along bottom and up sides, being sure to press out any air pockets.
- Cover with plastic wrap.
- Refrigerate for at least 6 hours.
- When ready to bake, heat oven to 375 degrees F.
- Remove tart from refrigerator.
- Remove plastic wrap and immediately place in oven.
- Bake for about 15 minutes, until light golden brown.
- Leave oven at 375 degrees F.
Tart
- Combine cream, milk, and chocolate in a microwave safe bowl.
- Microwave on high in 30 second intervals, stirring after each, until chocolate is melted.
- Stir until smooth and completely combined with milk.
- Using a fine mesh sieve strain egg yolks into chocolate mixture.
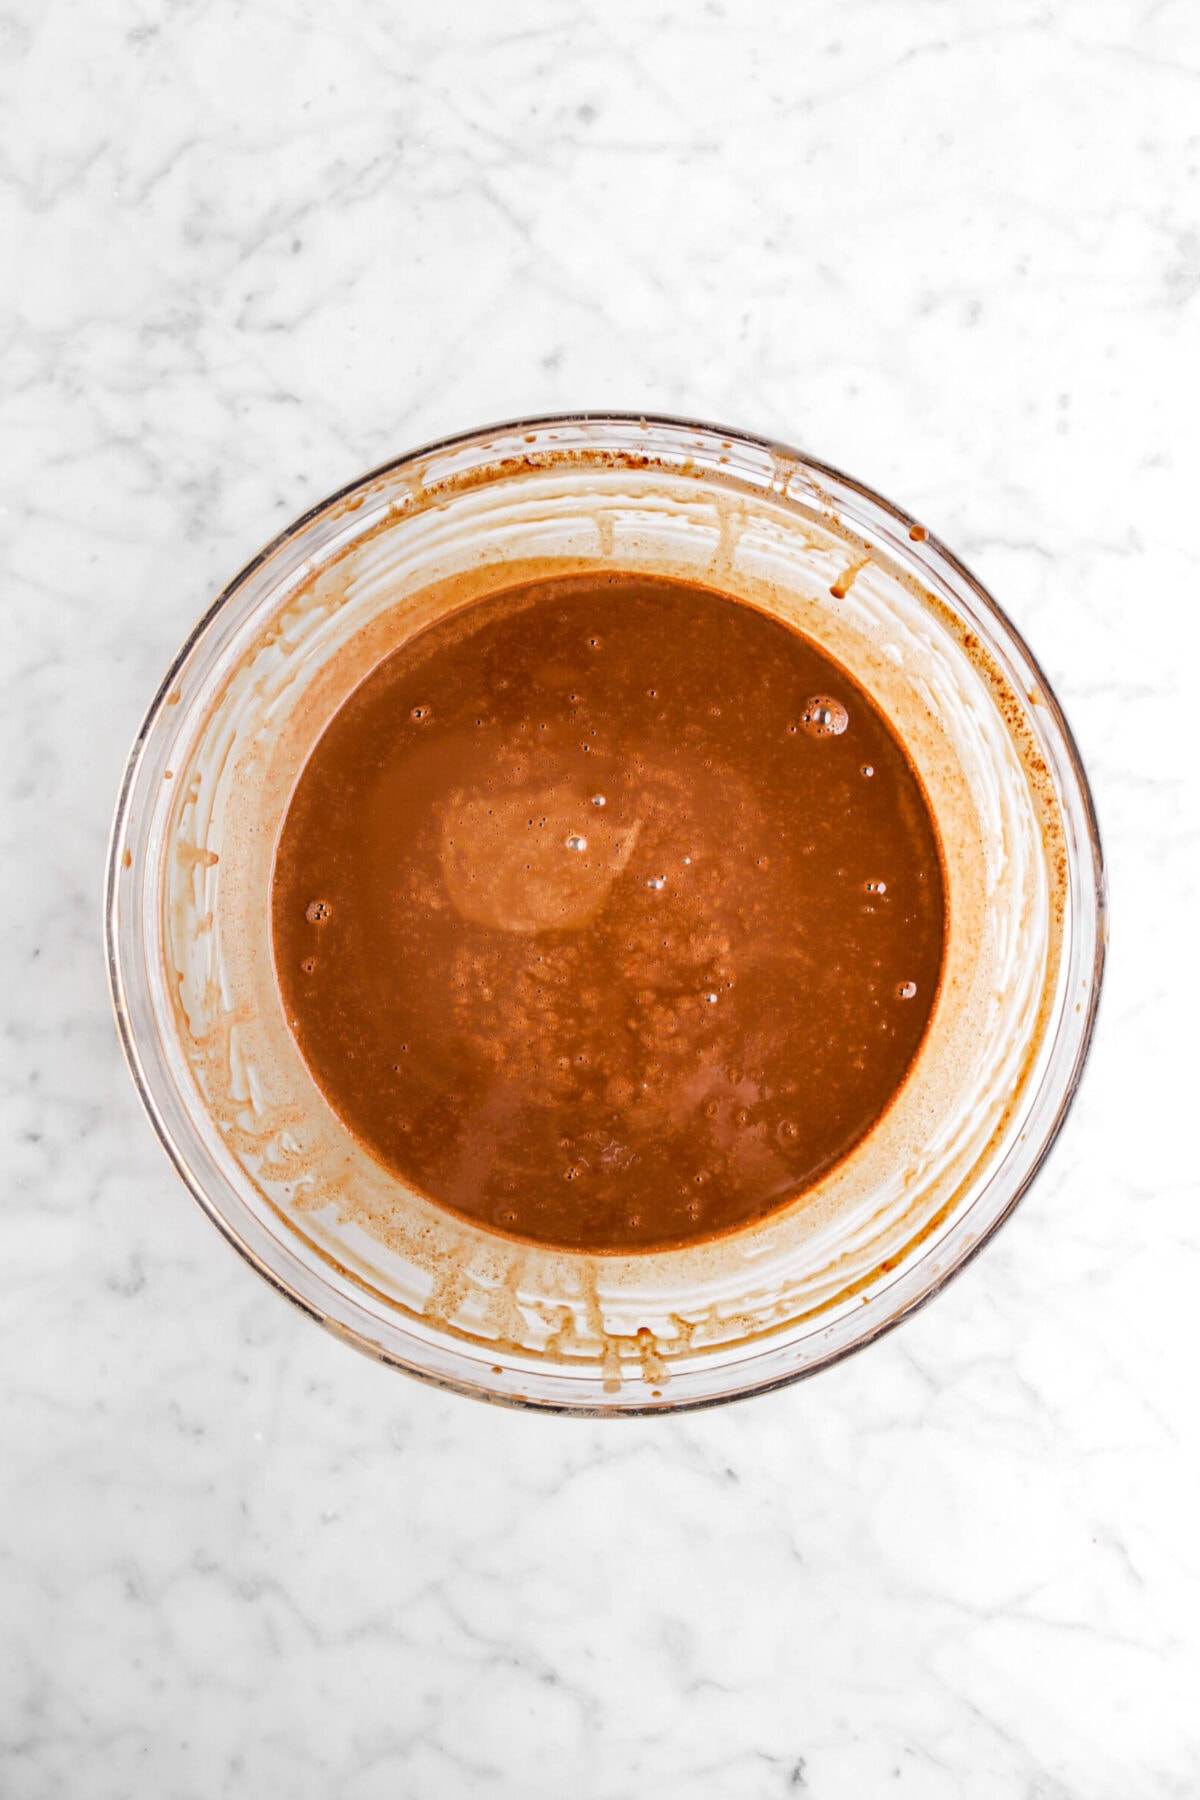
- Mix gently until combined.
- Strain chocolate filling into prepared crust.
- Bake until set, about 15 minutes.
Notes + Tips!
- Do not over work the dough for the tart.
- Don’t skip greasing and flouring the tart pan!
- When pressing the dough into the pan, use a greased metal cup measure to help level the dough and get the sides straight.
- Be careful not to over bake the crust!
- If tart crust puffs during baking, gently prick with a fork and lightly press down.
- With the filling, do not whip or beat it. You don’t want to incorporate air bubbles.
- Straining the filling is a great way to get rid of air bubbles.
- When pouring the filling into the crust, keep the bowl as close to the tart as possible! The further the filling has to fall, the more air bubbles will form.
- You can use your finger or a toothpick to pop air bubbles.
Tools You May Need (affiliate links)
– Still Hungry? –
Here are a few recipes may like!


Would this recipe work if I swap out whole milk for oat milk or almond milk?
Hi Christine! This recipe needs the fat that comes from both the whole milk and the heavy cream. If you are looking for dairy-free options, coconut milk and coconut cream should work fine. Let me know if you have any more questions.
Hi Traci! Understood. Thanks so much for your speedy reply!
Just stopping by again to say, this tart was DELICIOUS! Even with the coconut milk/cream modifications. It was such a hit! Thank you.
Hi Christine! I’m so happy it was a hit! Thank you so much for letting us know!😊
Hi, I just prepared the dough and its extremely sticky–can’t handle it without the dough sticking. I pressed it into my pan as best as I could, but I’m afraid I missed something. It’s in the fridge now, but I’m not sure if it’s worth continuing for our party if I got something wrong. Please advise! (Also, you did not add that we must flour the pan in the initial instructions–only in the tips below.)
Hi Kay! The dough is very sticky. The instructions say baking spray, not cooking spray. Baking spray contains flour. If you greased the pan at all, it should be ok. It should pull away once it’s parbaked. Let me know if you have any other questions!
Thanks for replying! It pulled away fine, but did not stay in tart form. The middle puffed completely. I poured the chocolate on top anyway and continued on–we’ll see how is inside tomorrow. Thanks!