The Best Oreo Cookie Crust Recipe
Prep time: 10 min | Opt. Cook time: 5 min | Total time: 15 min
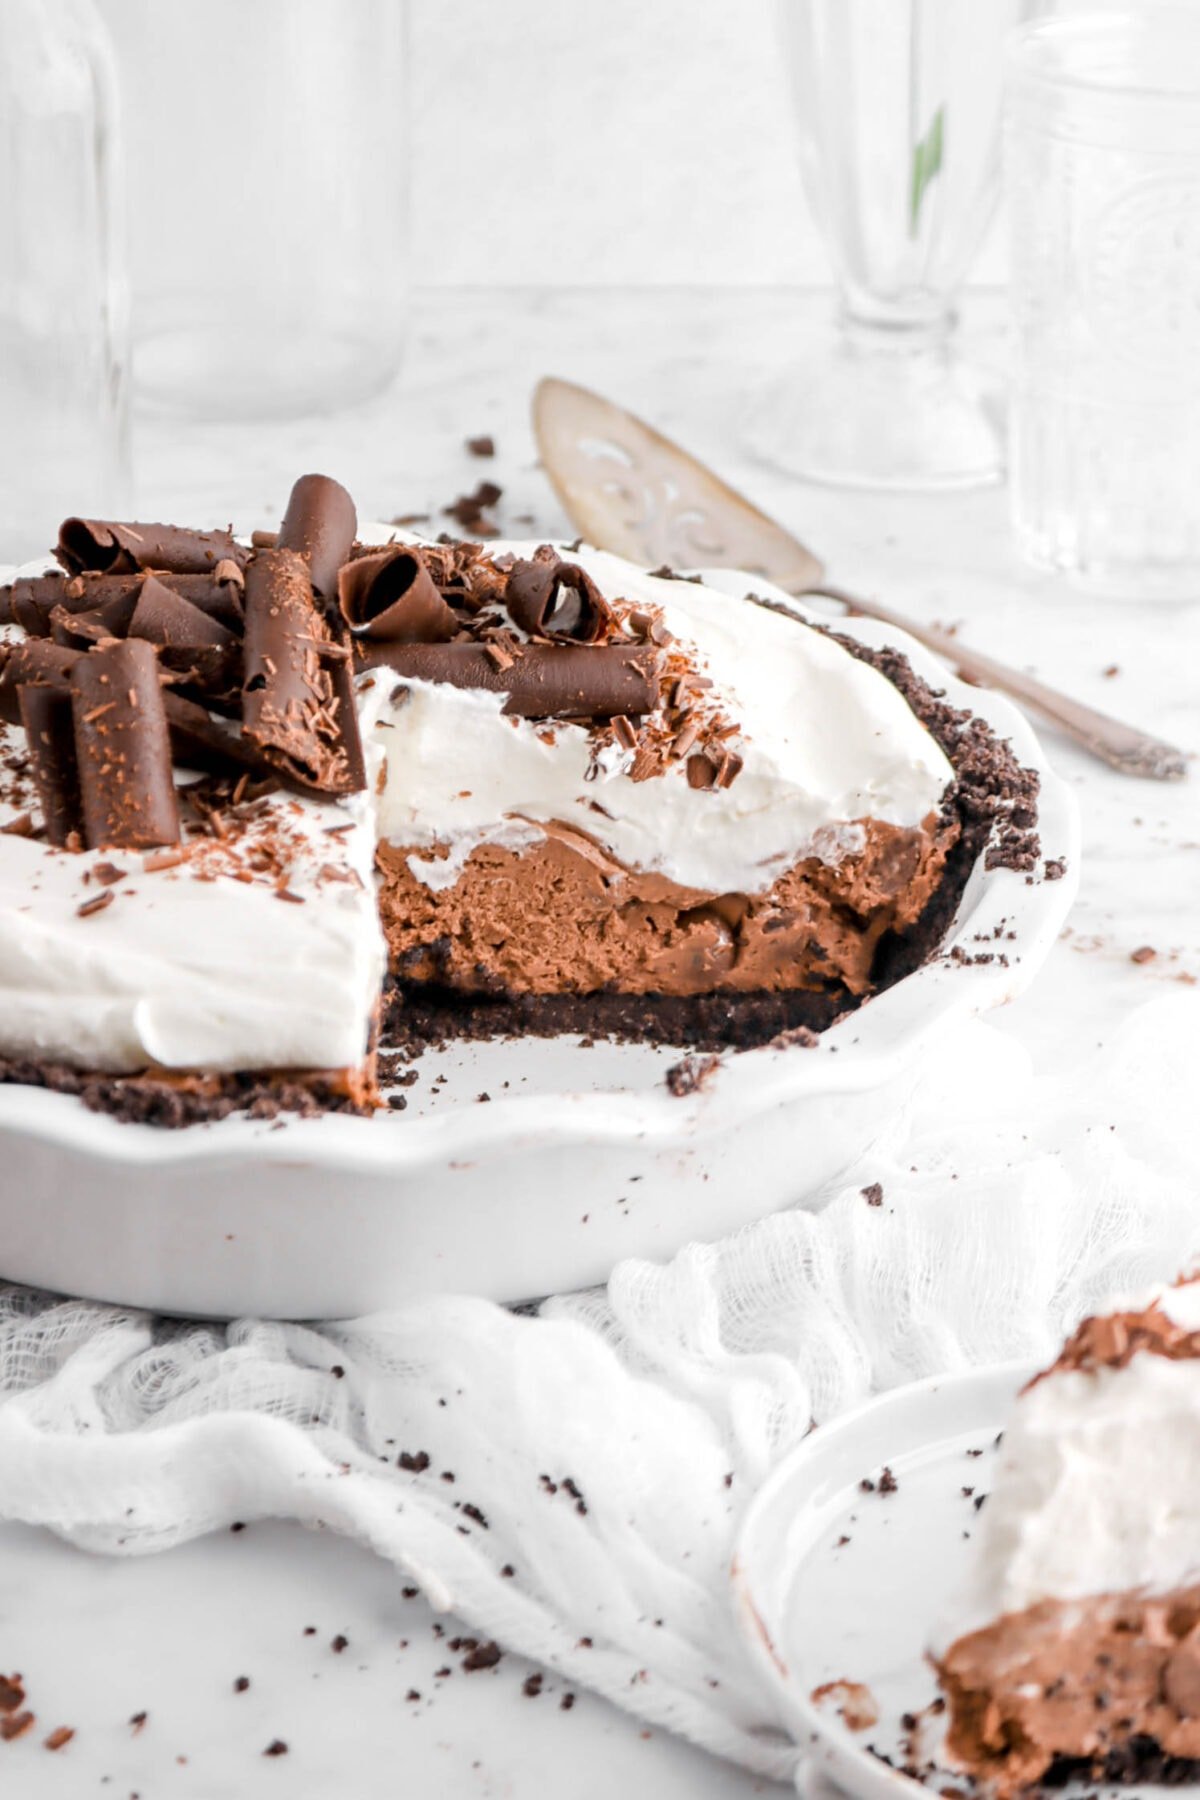
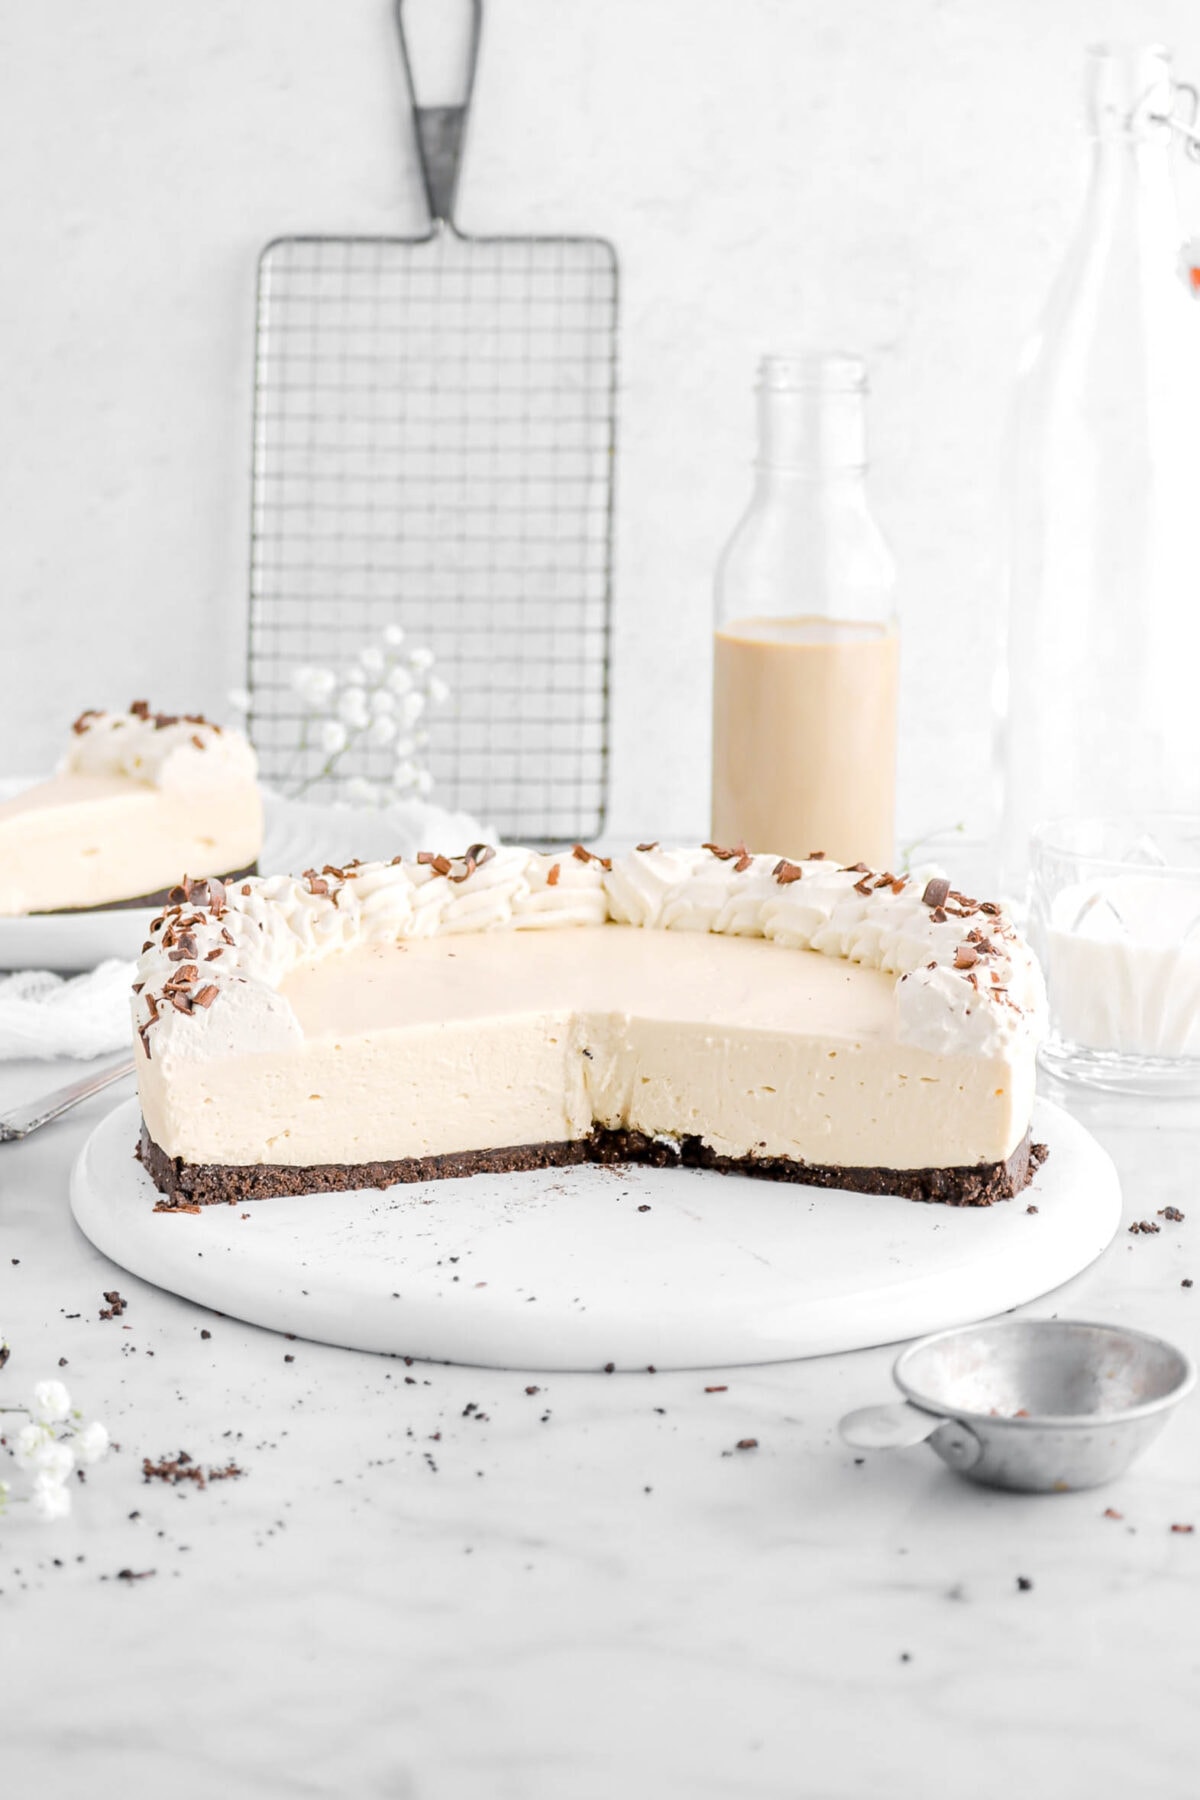
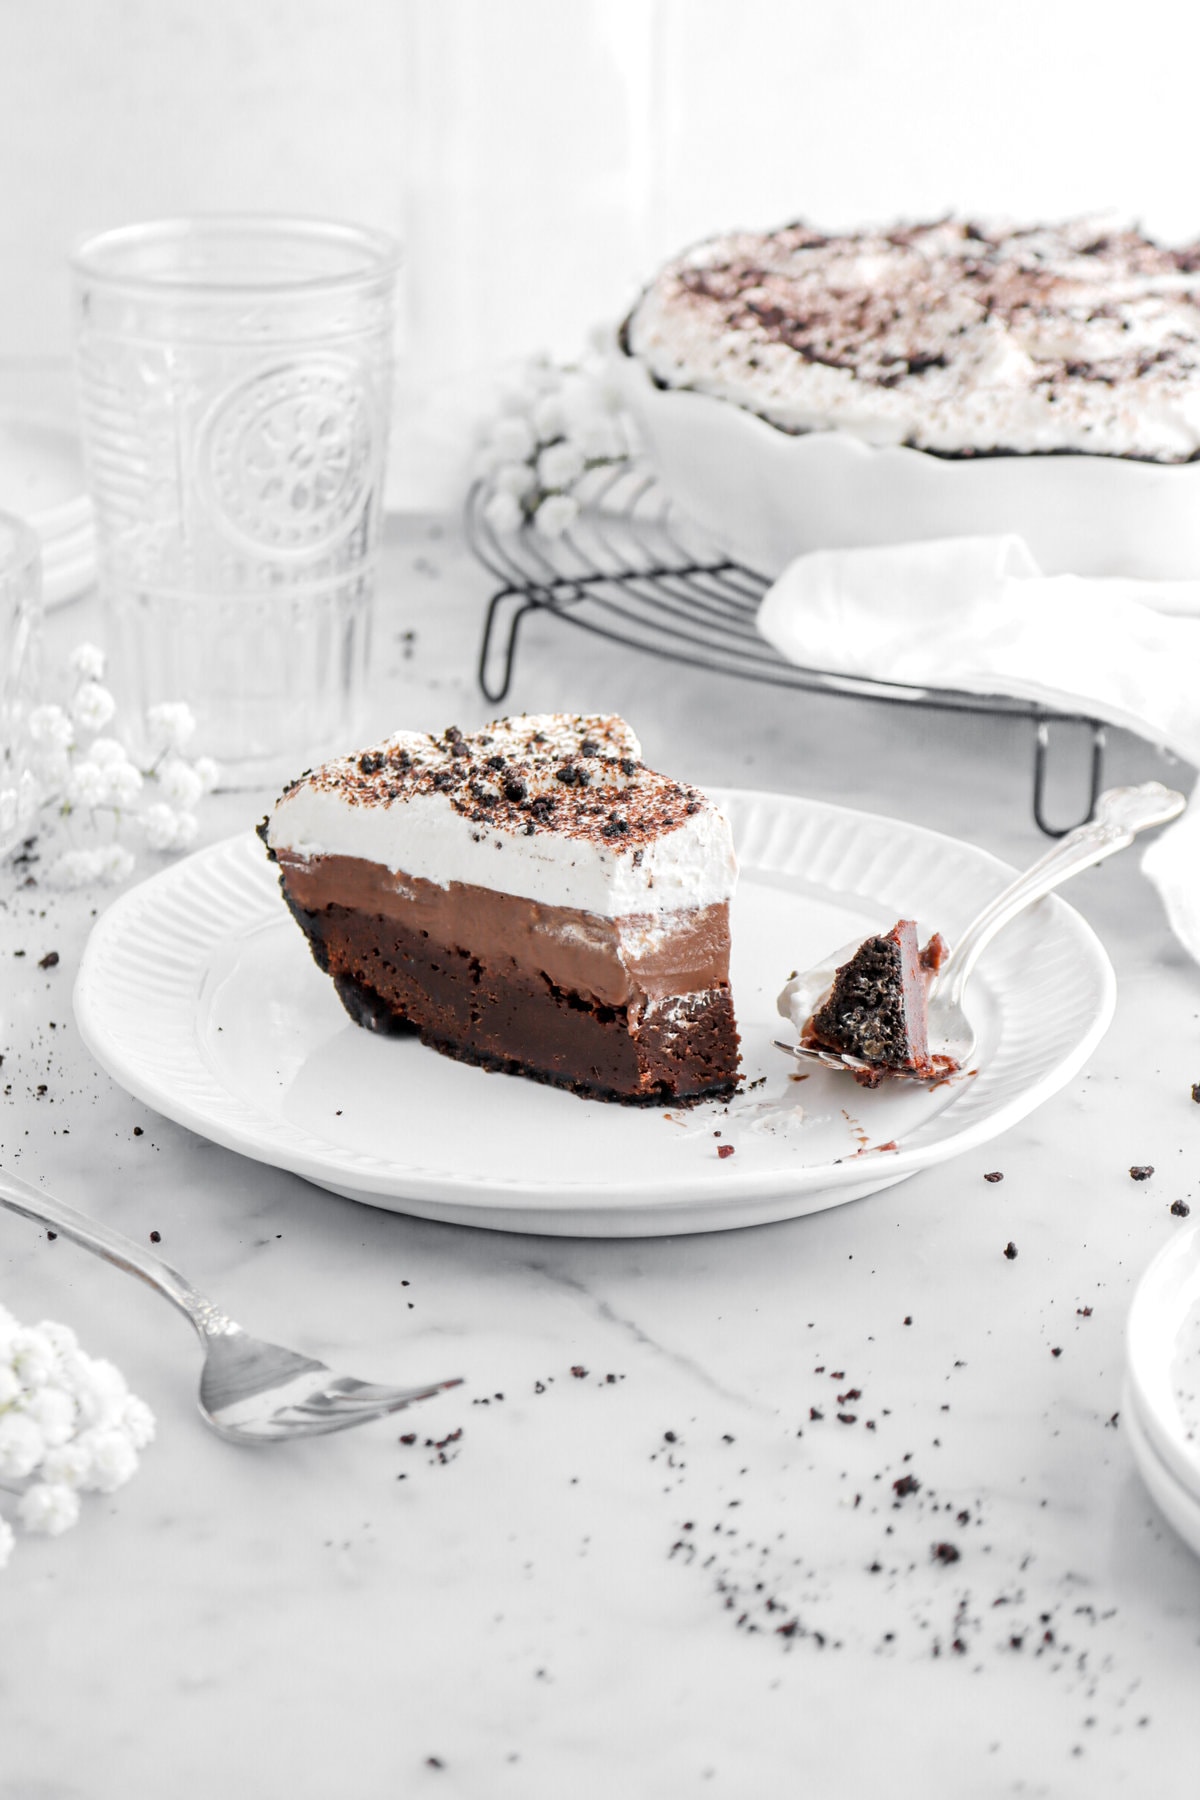
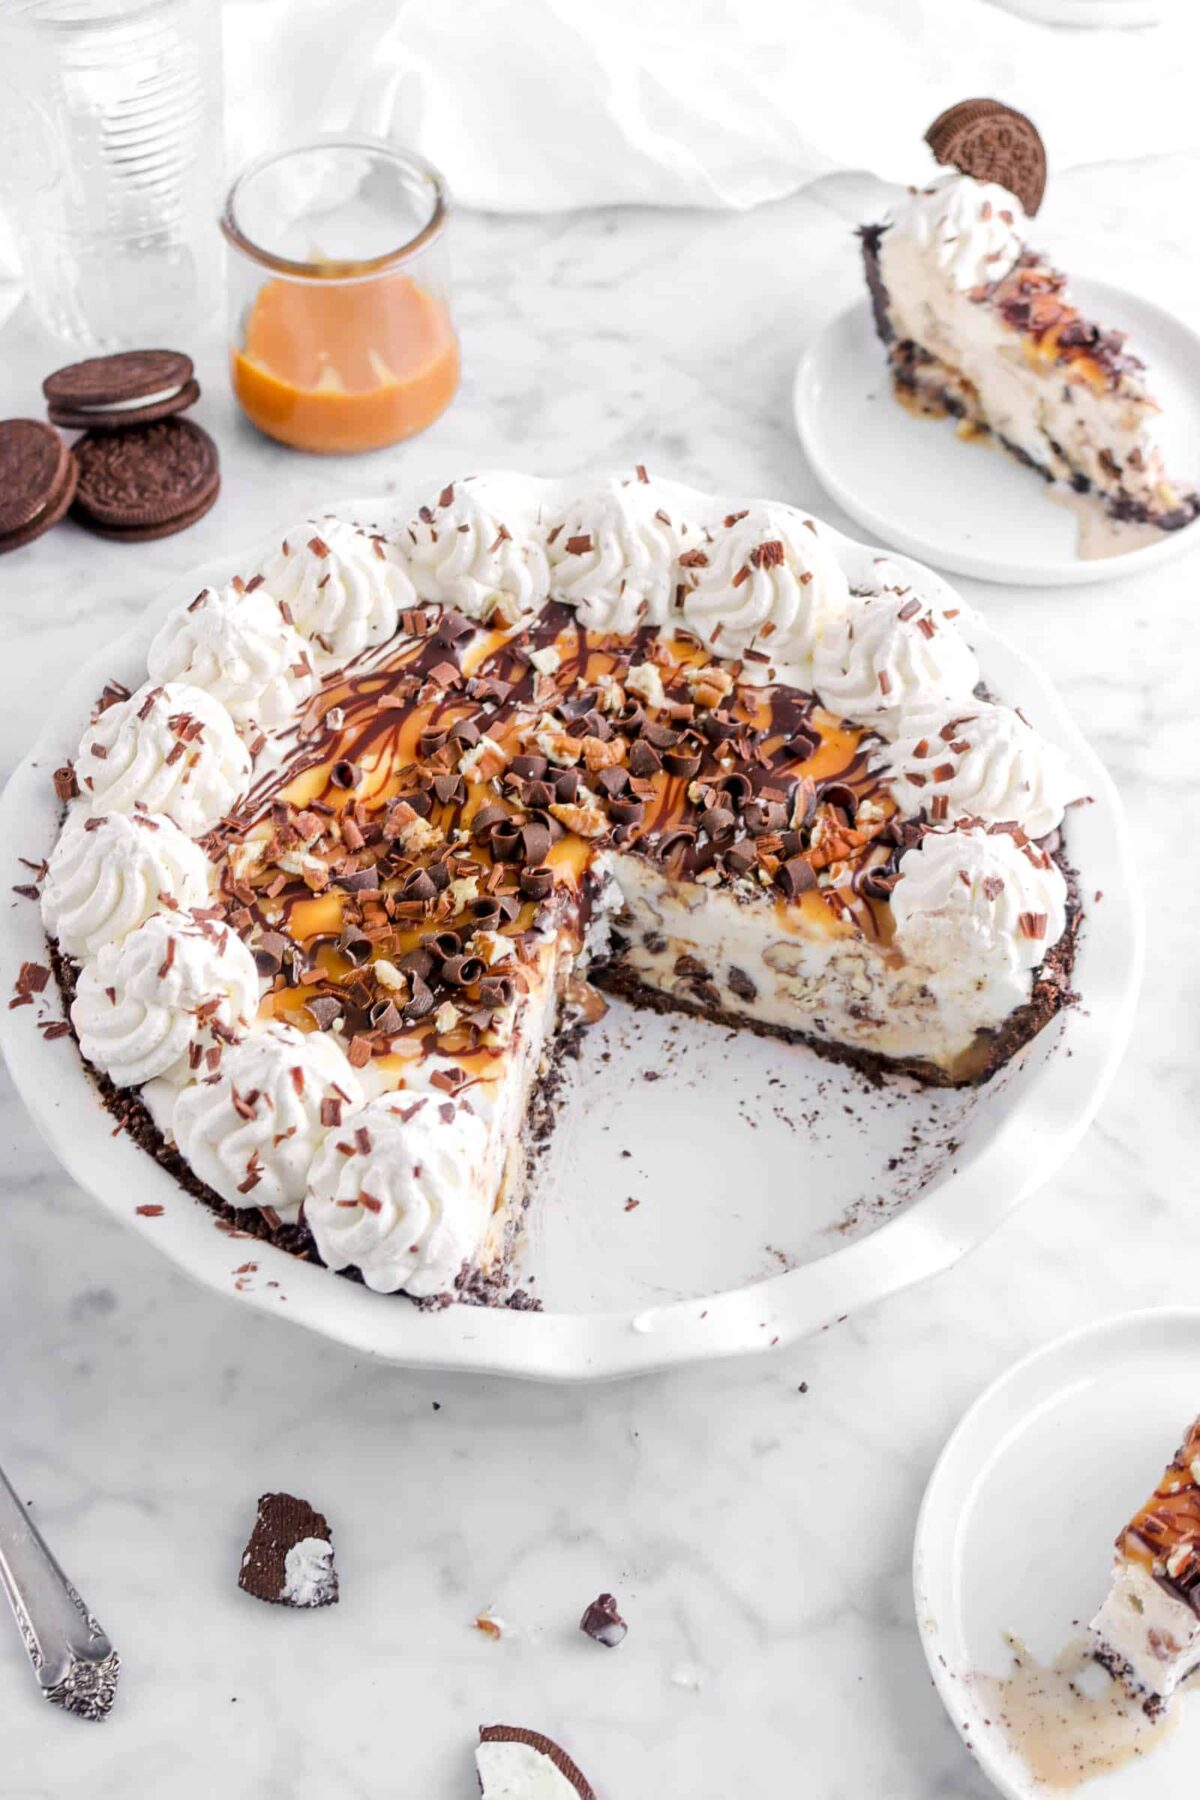
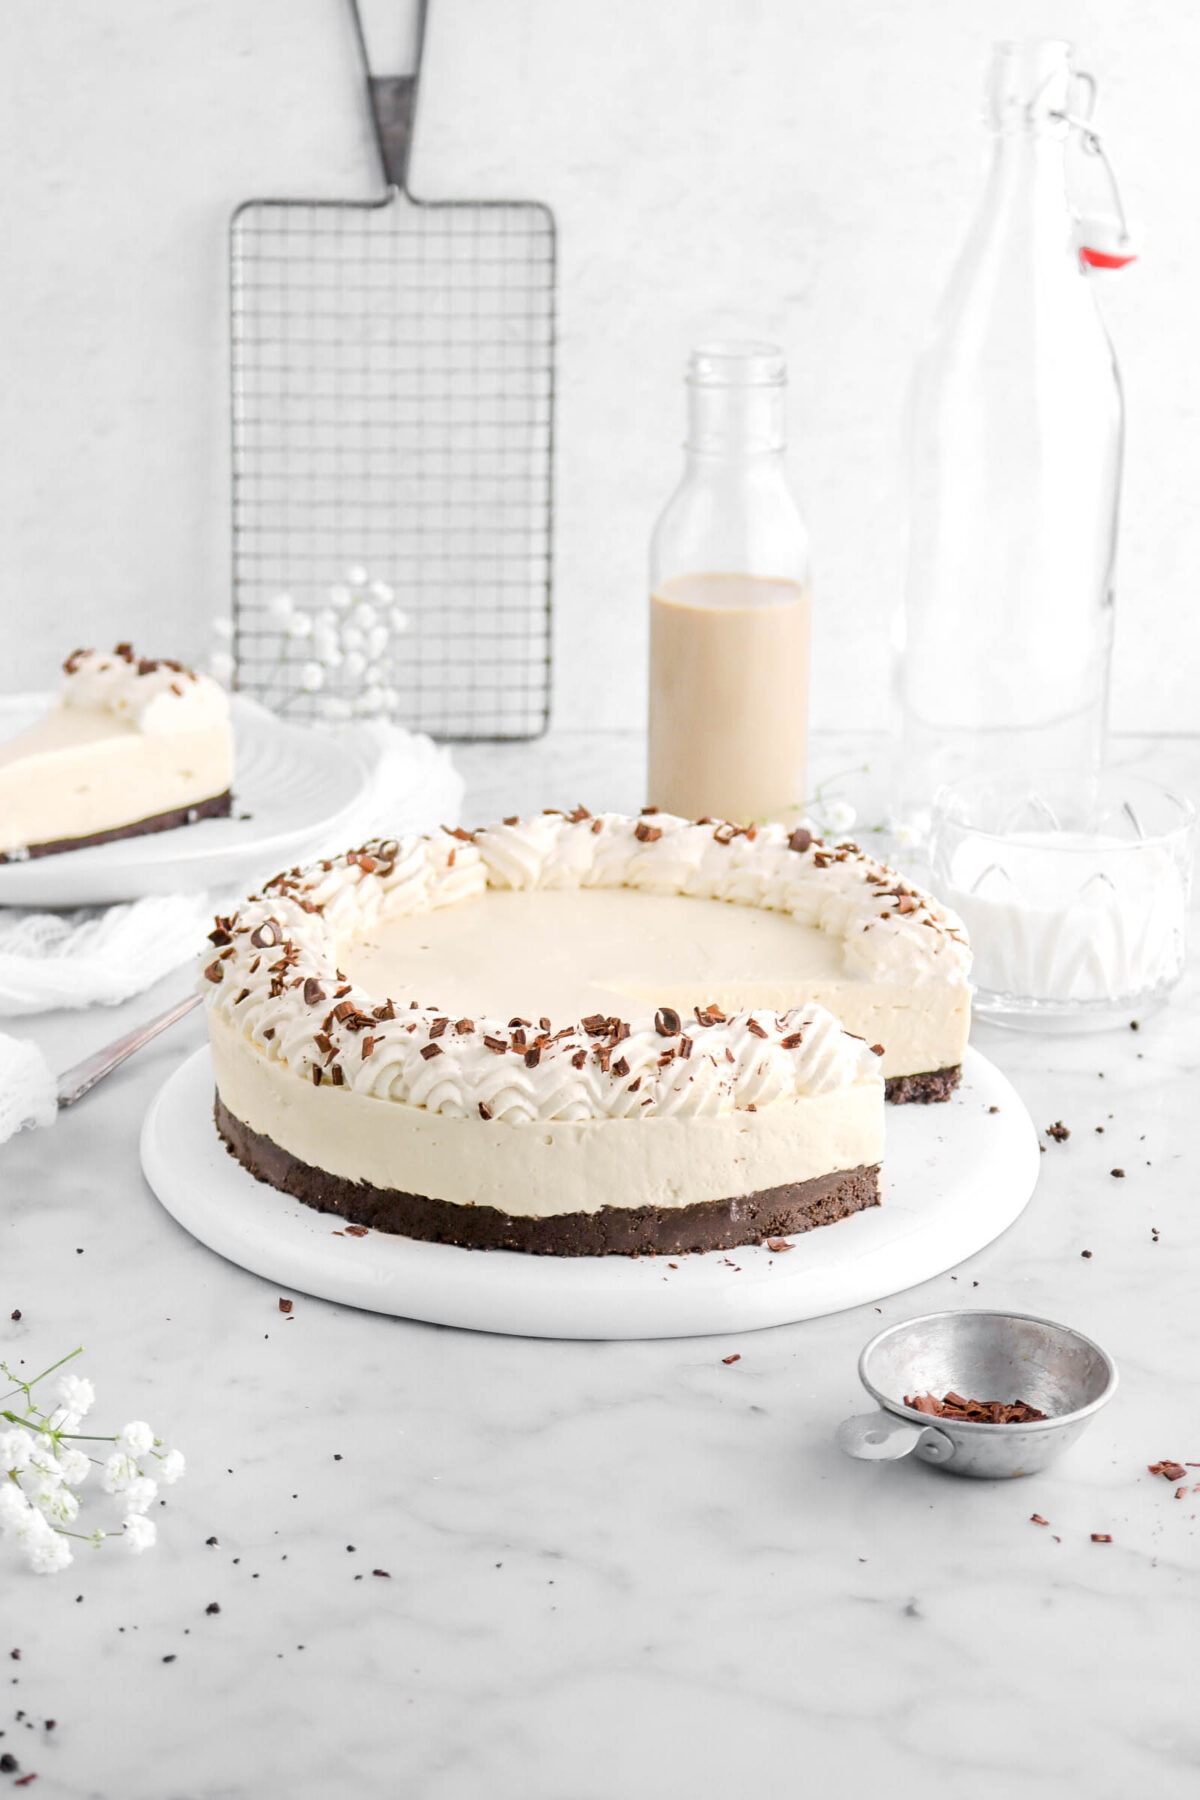
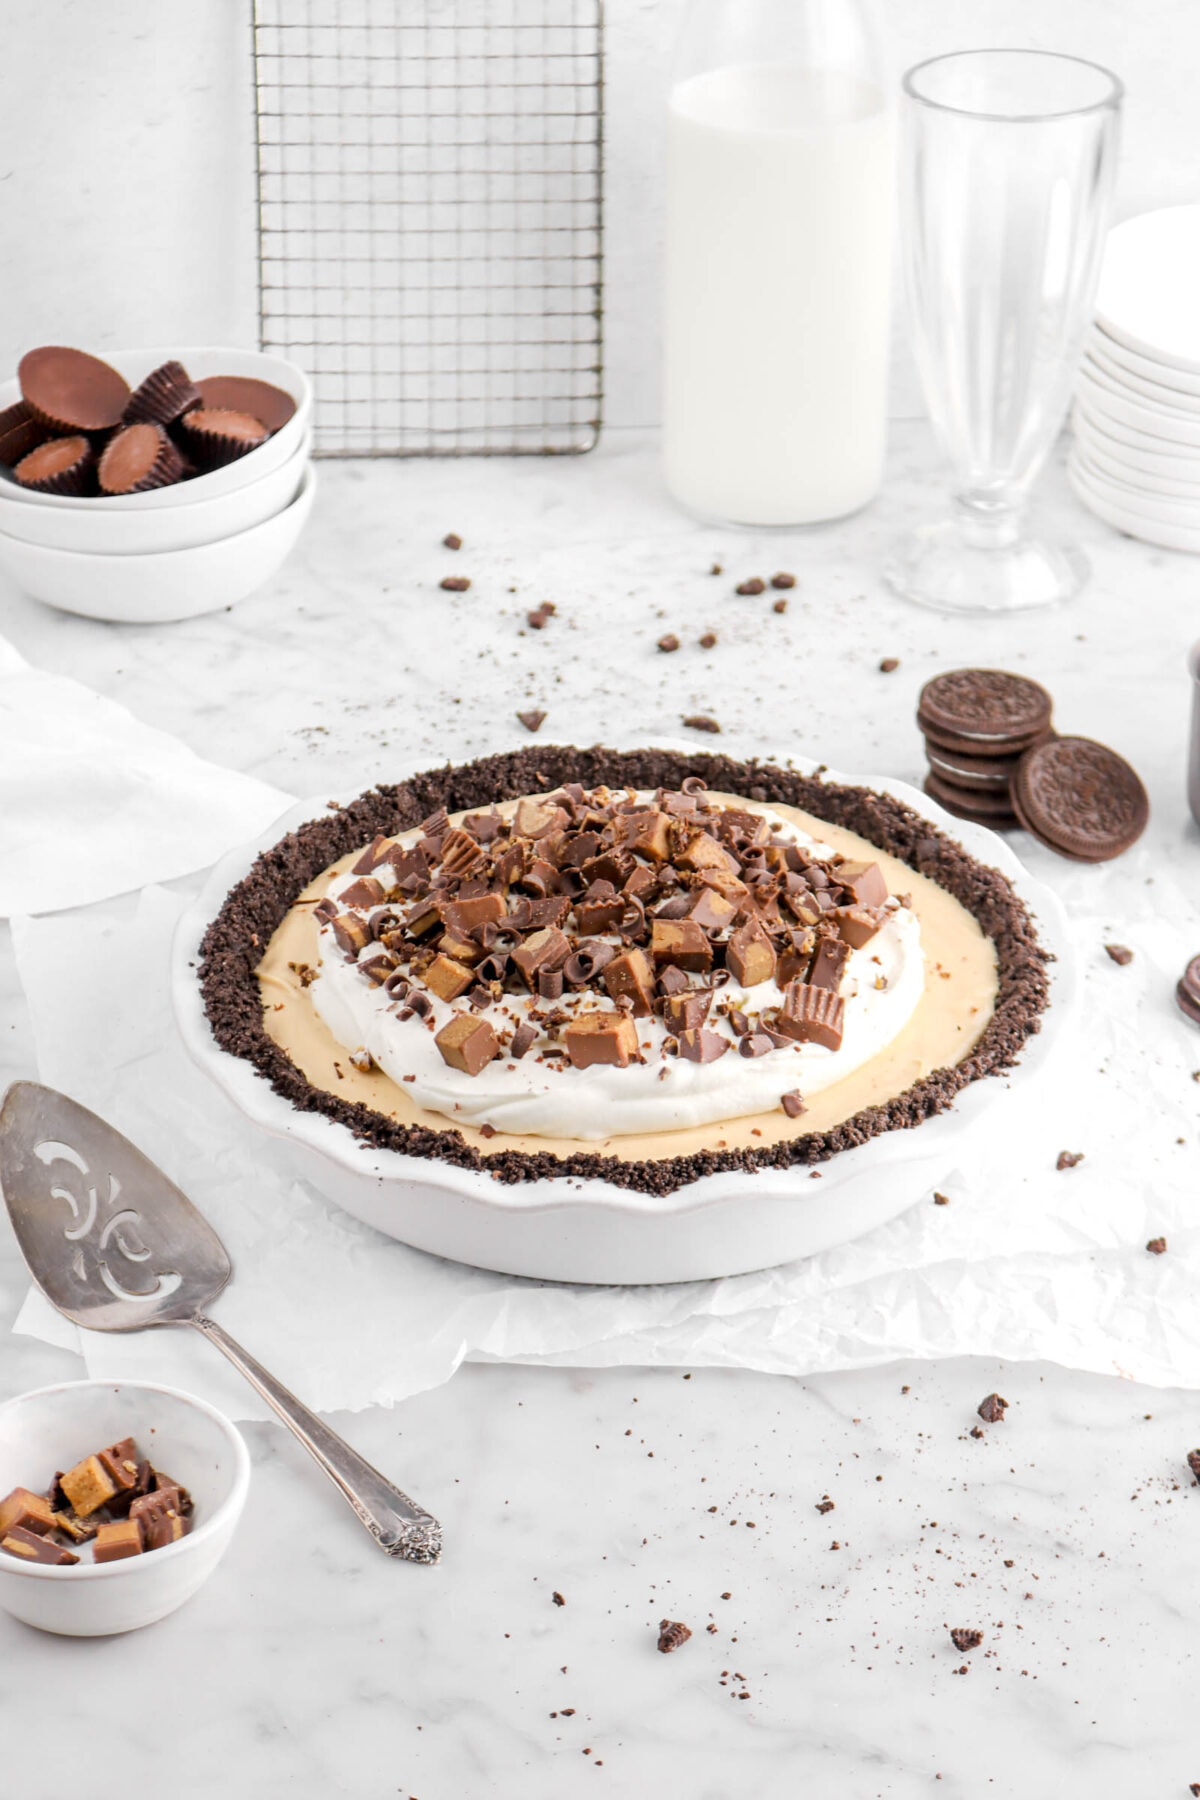
This Oreo cookie crust recipe is one of those dessert bases you’ll find yourself making over and over again. With just two ingredients, you get a rich, chocolatey crust that’s sturdy enough for pies, cheesecakes, and bars — and it works beautifully baked or no-bake. Once you try it homemade, you’ll never settle for store-bought again!
The Best Oreo Cookie Crust Recipe
Prep time:
10 min
opt. Cook time:
5 min
Total time:
15 min
This Oreo cookie crust recipe is one of those dessert bases you’ll find yourself making over and over again. With just two ingredients, you get a rich, chocolatey crust that’s sturdy enough for pies, cheesecakes, and bars — and it works beautifully baked or no-bake. Once you try it homemade, you’ll never settle for store-bought again!
– know before you bake –
Traci & Caylie’s
Recipe Highlights
This post may contain affiliate links, please visit our privacy policy for details.
Over the years, we’ve tested Oreo crusts with cheesecakes, cream pies, icebox desserts, and even layered bars. What we’ve learned is that the method is just as important as the ingredients. The crumb size, butter ratio, and how firmly you pack it into the pan all determine whether your crust slices cleanly or falls apart.
This recipe is simple, but it’s also reliable. Once you master the basics, you can adapt it with different Oreo flavors, use it for baked or no-bake desserts, or even swap in other sandwich cookies for a fun twist.
It’s the foundation we come back to again and again because it just works!

Traci & Caylie Crossland
We’re the mother-daughter duo behind Bakers Table, sharing from-scratch recipes made with love, experience, and a serious passion for baking. Traci brings decades of baking expertise, while Caylie brings a fresh perspective and a love for all things creative. Together, we test every recipe to make sure it’s easy to follow and absolutely delicious. Read more about us and our blog →
“Our kitchen is where memories are made — and we’re so glad you’re here baking with us.”
Why Homemade Beats Store-Bought Crusts
Store-bought Oreo crusts are convenient, but they’re almost always a little stale, thin, or too sweet. Plus, they never hold up well once you slice into them.
Making your own takes less than 10 minutes and gives you a crust that’s fresher, sturdier, and way more flavorful! You also control the thickness, how firmly it’s pressed, and even which type of Oreo you use — classic, double stuffed, flavored, or gluten-free. 😉
Grab These 2 Ingredients
- Oreo Cookies: About 24 whole cookies (270 g / 9.5–9.6 oz). Remember to crush them with the cream filling included — it helps bind the crust!
- Butter: Melted salted butter — about 4 Tablespoons (57 g) — just enough to coat the crumbs and hold it together.

How to Make an Oreo Crust
Homemade Oreo crust is just three simple steps. Here’s how we make it every time:
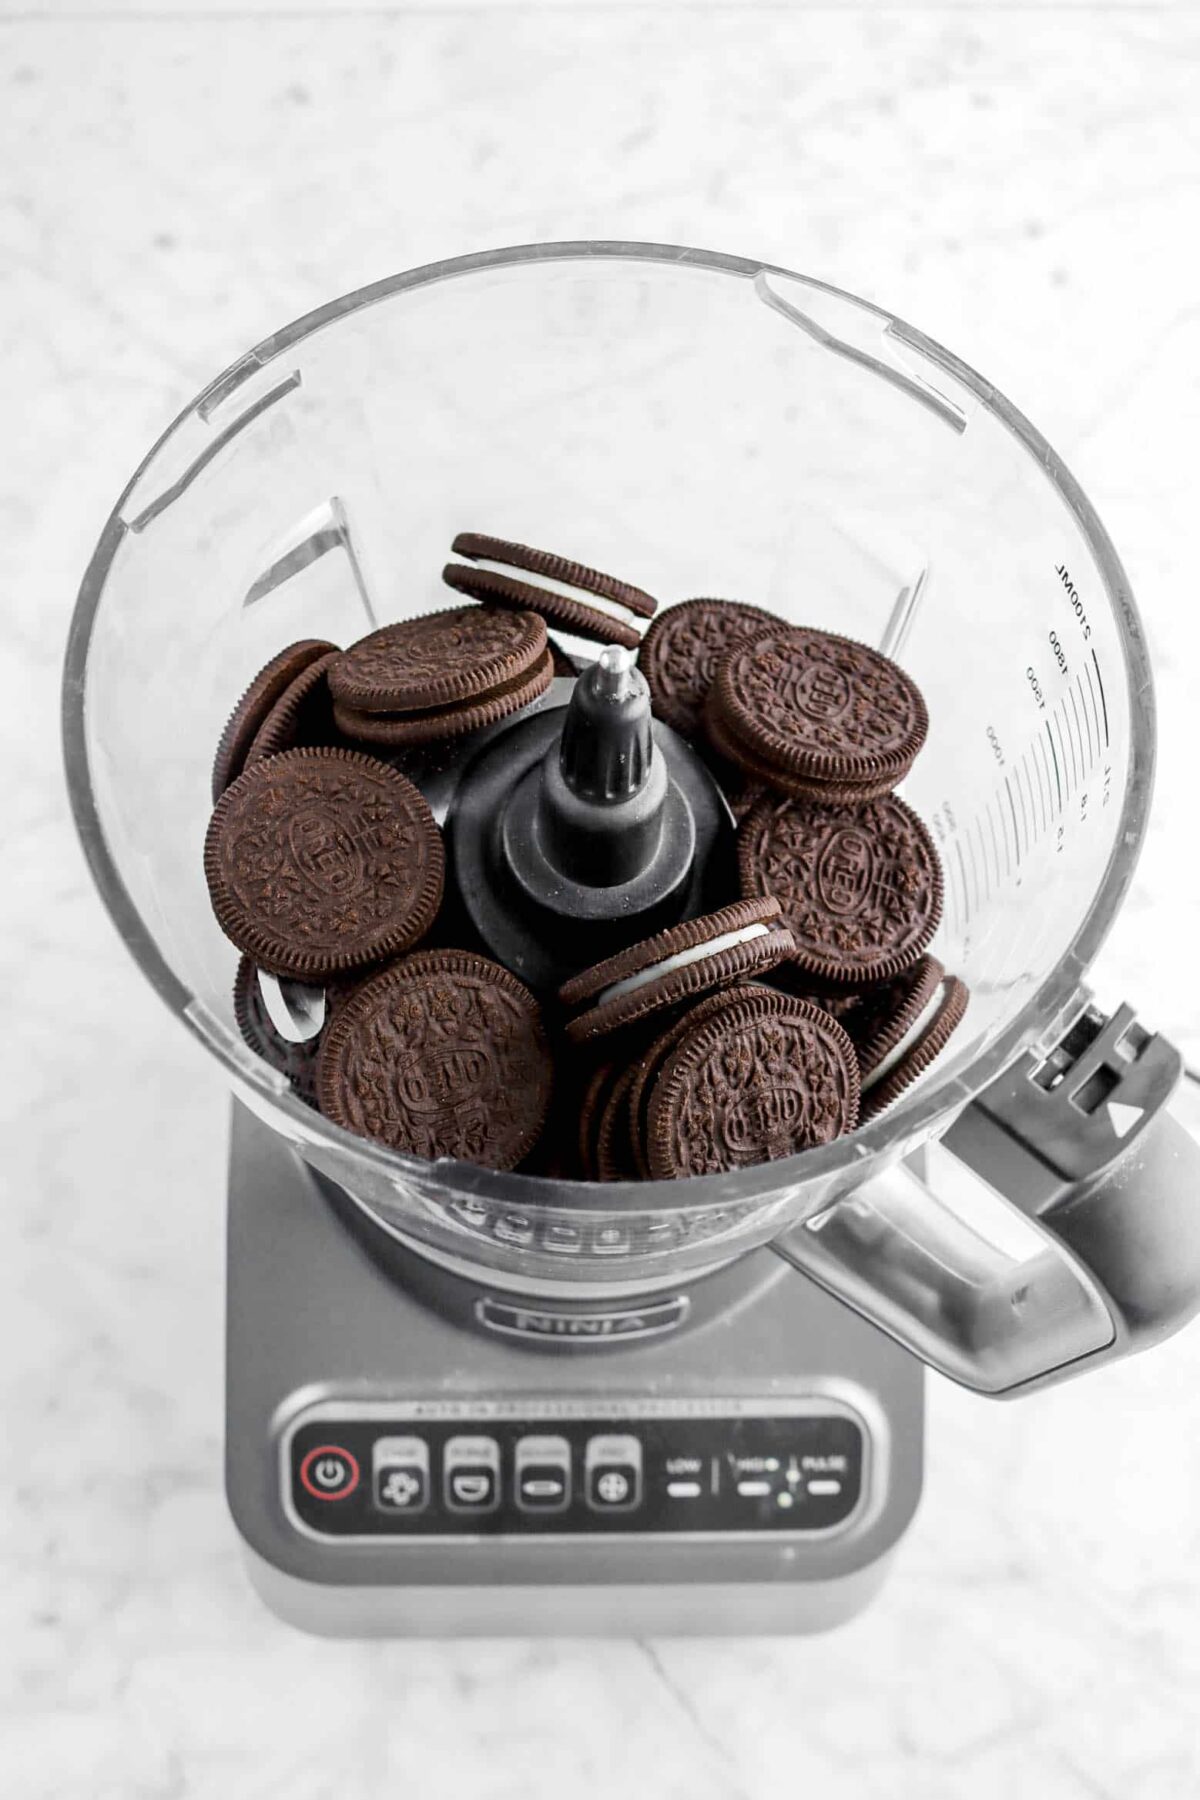
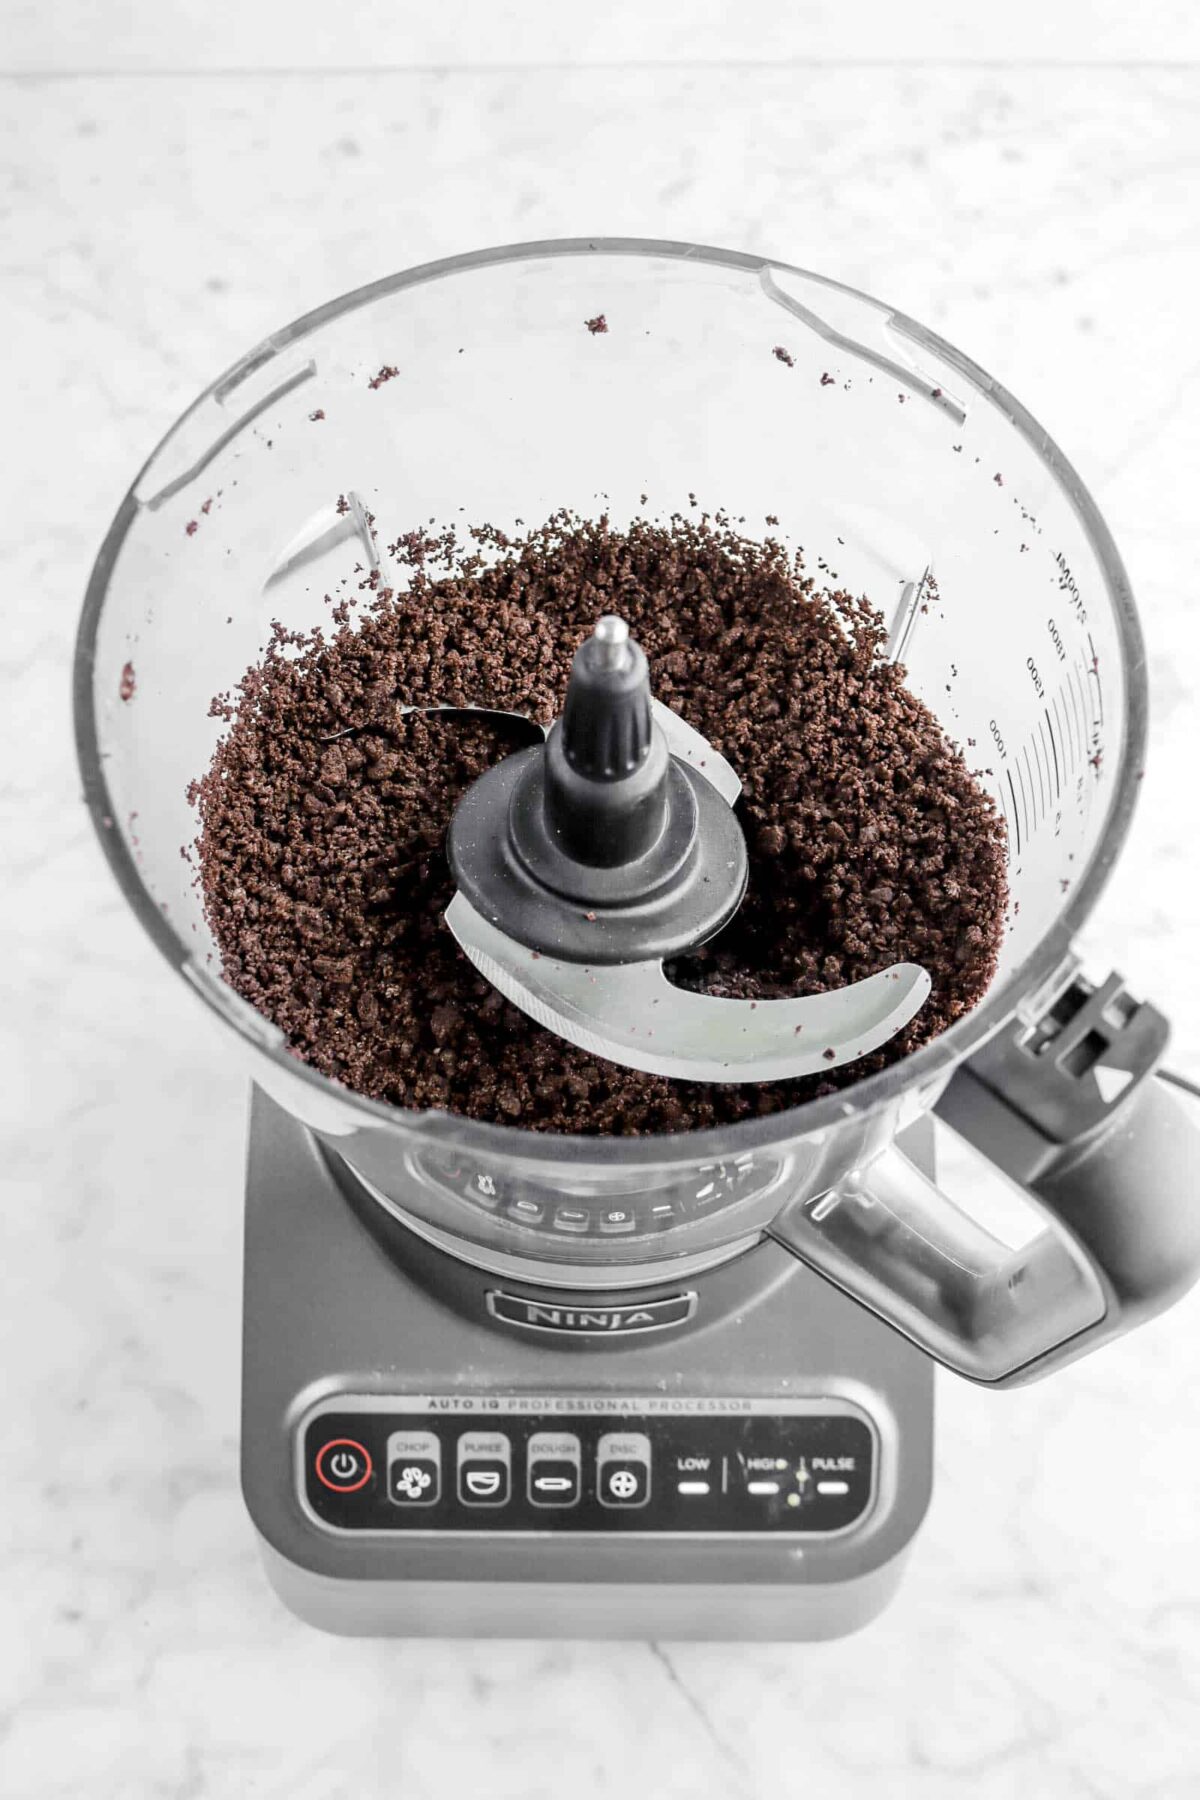
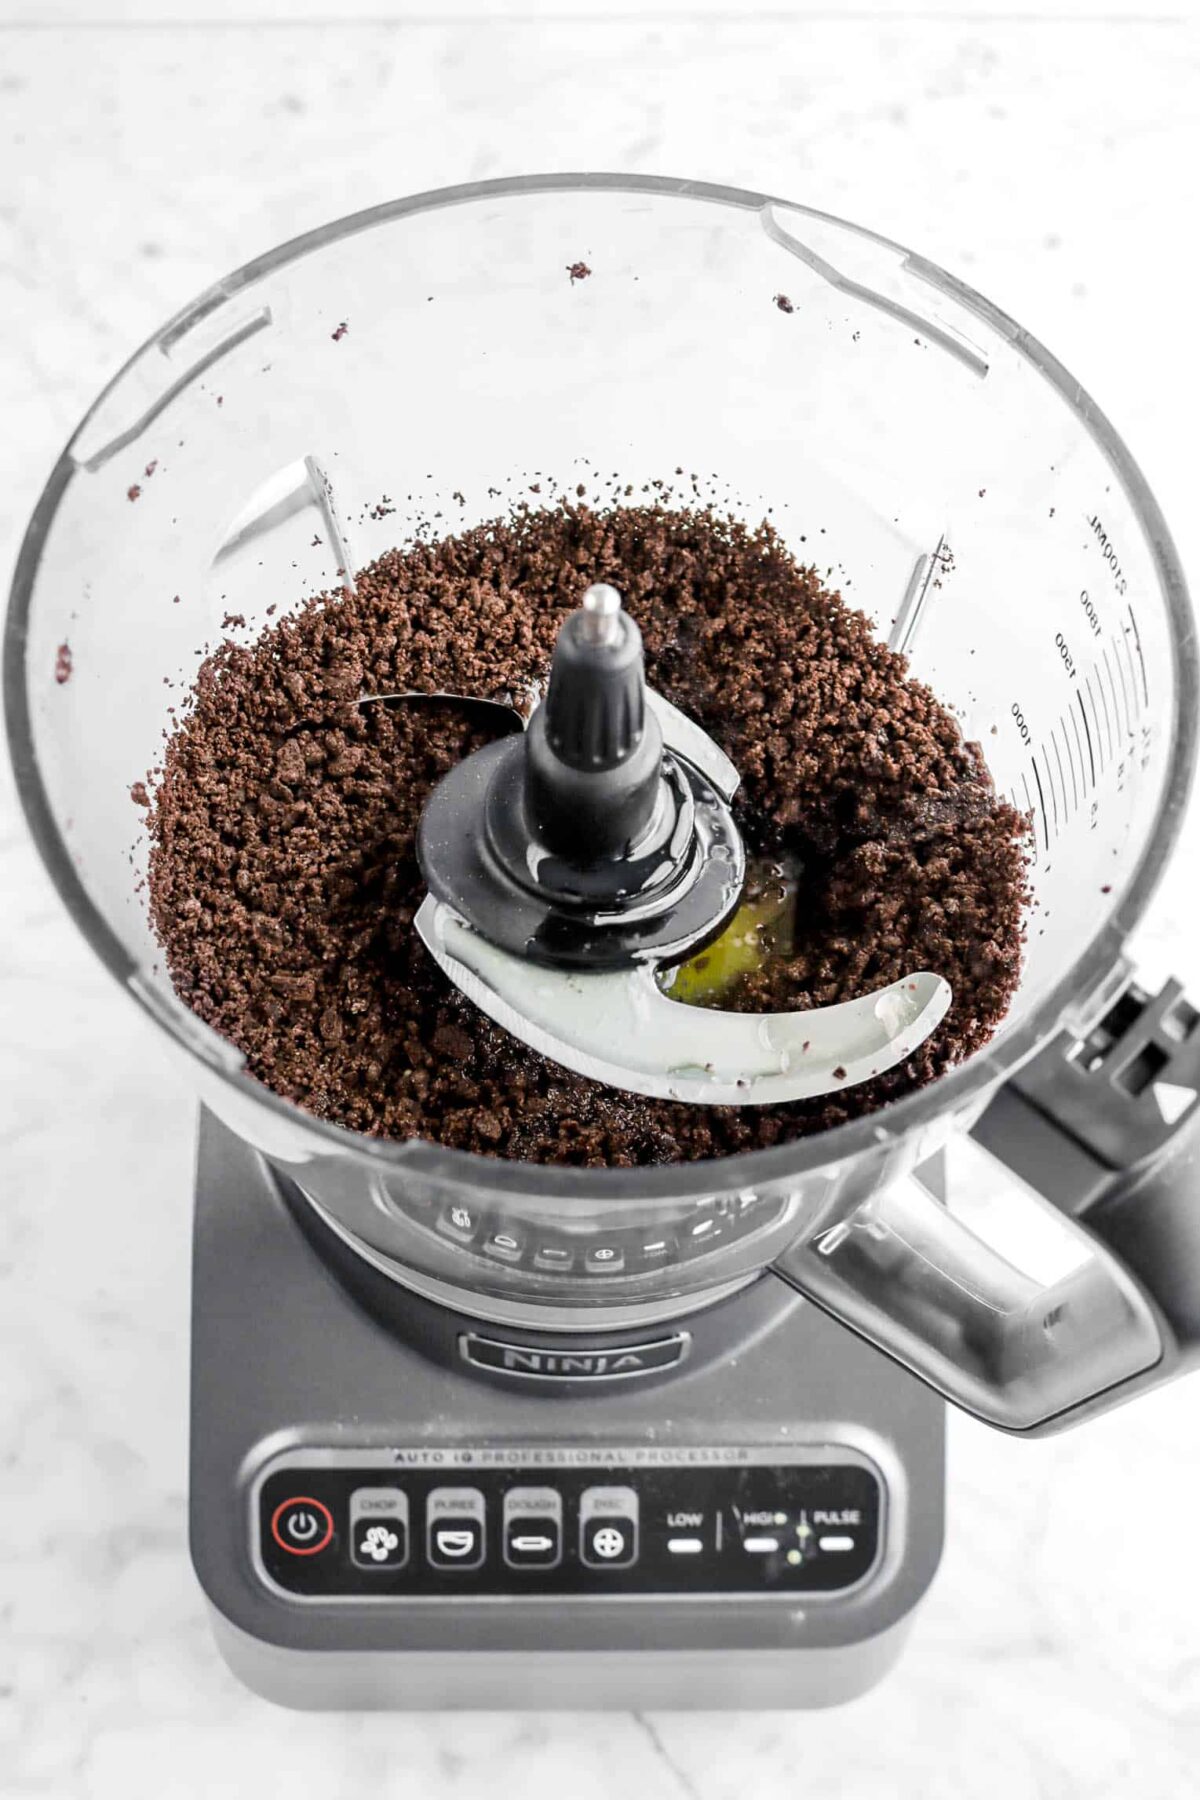
1. Crush the Oreos.
Use a food processor for fine, even crumbs, or place cookies in a zip-top bag and crush with a rolling pin. You’ll need about 2 cups crumbs (250 g).
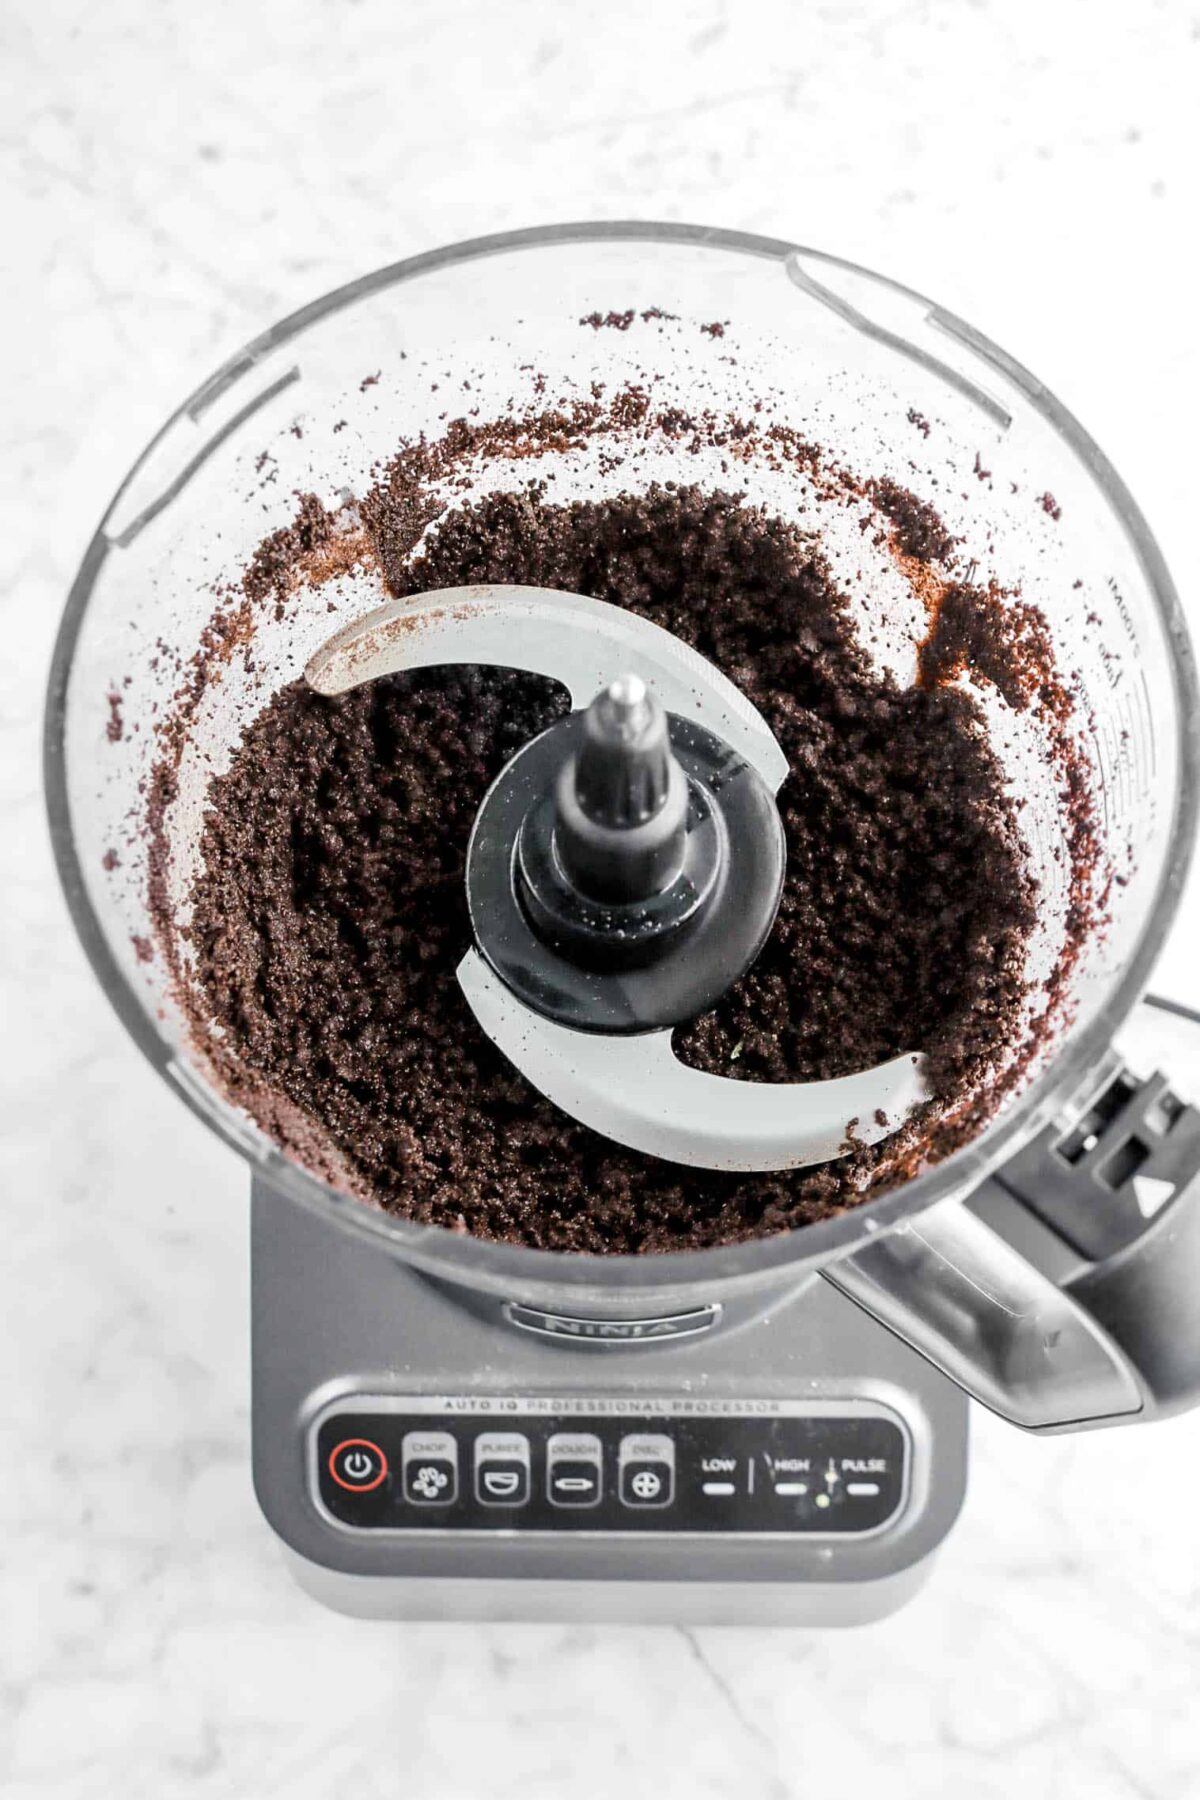
2. Mix with butter.
Stir in the melted butter until all crumbs are moistened. The mixture should look dense and a little fudgy — that’s how you know it will pack together well.
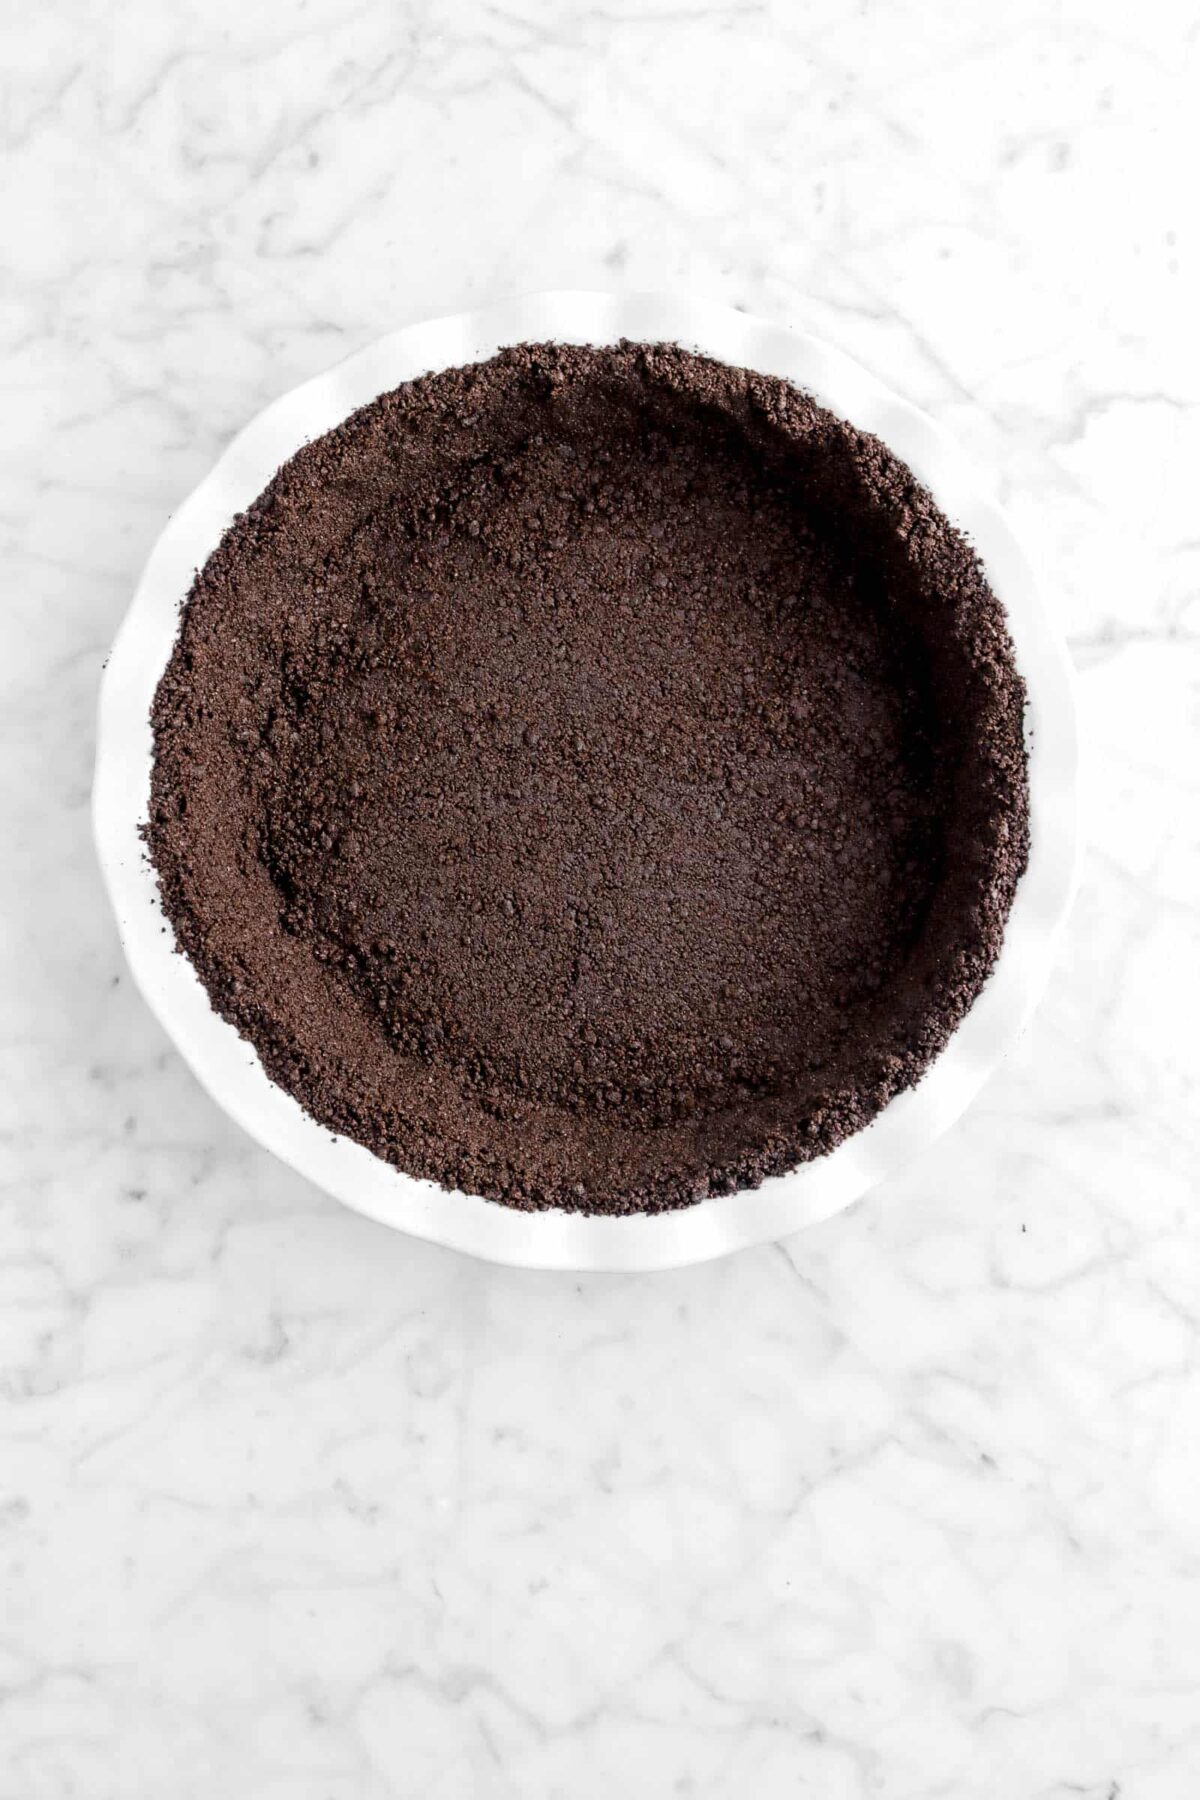
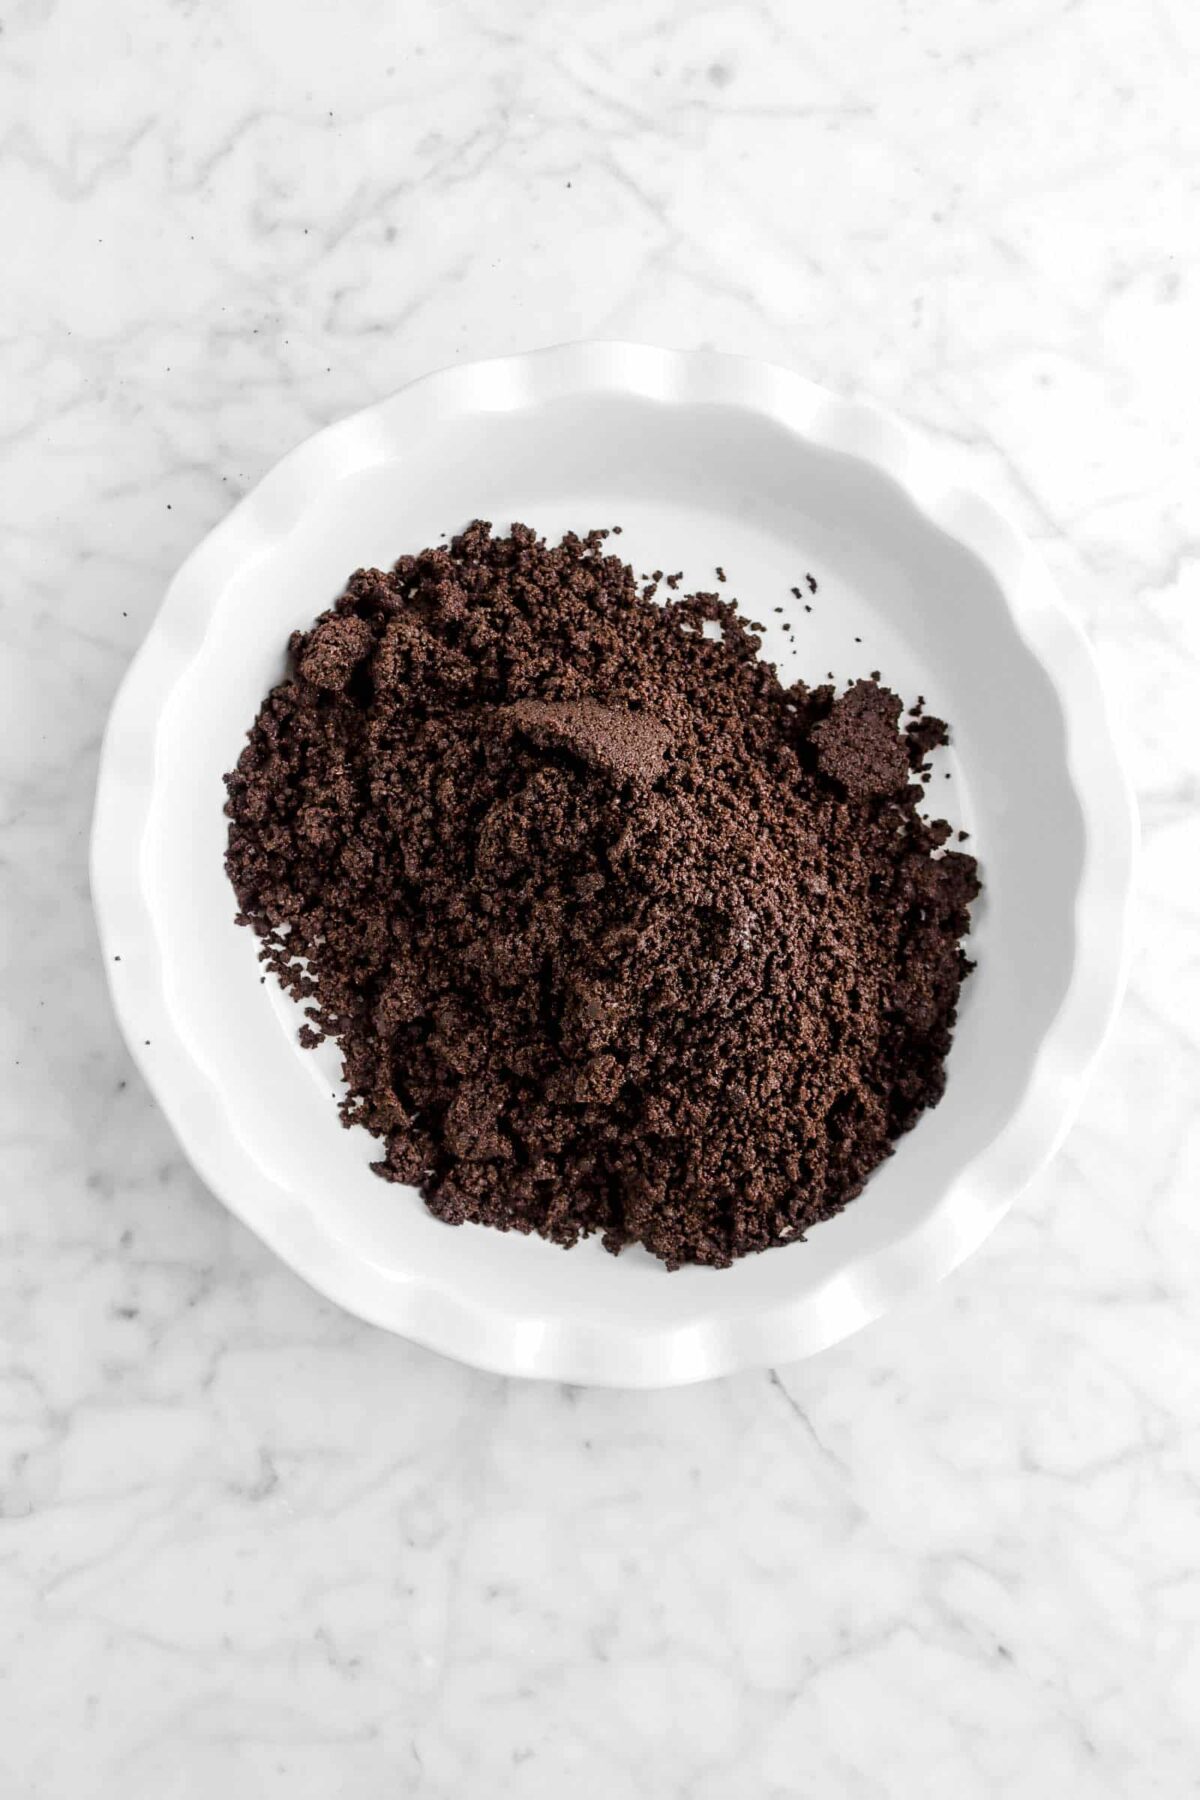
3. Press into the pan.
Pour into your pie dish or springform pan. Use the bottom of a measuring cup or glass to press the crumbs firmly into an even layer, paying extra attention to the edges.

How to Keep an Oreo Crust from Falling Apart
- Crush finely. Larger crumbs won’t stick together as well.
- Measure butter carefully. Too little and it won’t bind, too much and it gets greasy.
- Press firmly. Use a measuring cup or tart tamper to compact the crumbs tightly.
- Chill or bake as directed. Give the crust time to set before filling.
Follow these tips and your Oreo crust will slice neatly every time.
What Size Pan Does This Oreo Crust Fit?
This recipe makes enough for an 9-inch pie dish, round cake pan, springform pan, or square pan. It’s not enough for a 9×13-inch baking pan. If you’re making a 9×13-inch dessert, such as these cheesecake bars, I recommend increasing the recipe slightly!
Other Cookies You Could Use
You could also make this crumb crust with some of your favorite oreos like mint chocolate oreos, golden oreos, or even the double chocolate! Be sure to let us know what you use in the comments below.
Try These
delicious
bakes next!
When you make this Oreo Cookie Crust Recipe, leave a comment down below! We love hearing from you and answering any questions you might have! Also, be sure to tag us on social media and hashtag it #BakersTable.
Happy baking!
x, Caylie

The Best Oreo Cookie Crust Recipe (2 Ingredients!)
Ingredients
- 24 chocolate sandwich cookies
- 4 Tablespoons salted butter, melted
Instructions
- Place cookies in the bowl of a food processor and process to fine crumbs.
- Add butter and process until it comes together.
- Immediately scrape into a 9-inch pie plate/9-inch springform pan.
- Press evenly across the bottom and up the sides.
- Once distributed, pack well.
- Pre-bake for 8-10 minutes at 350°F (177°C) if using for a baked dessert. If making a no-bake dessert, bake for 10-12 minutes.
Notes + Tips!
Tools You May Need (affiliate links)
– Still Hungry? –
Here are a few recipes may like!
Did you try this recipe?
Let us know in the comments!
Let Me Introduce You!
Hi and welcome! We’re Traci and Caylie, a mother-daughter duo with 30+ years of combined experience in baking, recipe development, and food photography. Our expertly developed and delicious recipes have led us to be featured in publications such-as: Costco, Crate & Barrel, & more!
More about us →
Disclaimer
We use affiliate links on our Equipment Needed and Recommended Products section of each recipe. If you click through these links and make a purchase, we may receive a commission at no additional cost to you. As an Amazon Associate I earn from qualifying purchases.
We use Baby’s Breath for photographic purposes only. Do not consume any parts of the plant.
Do I need to bake this if I’m using it for cheesecake?
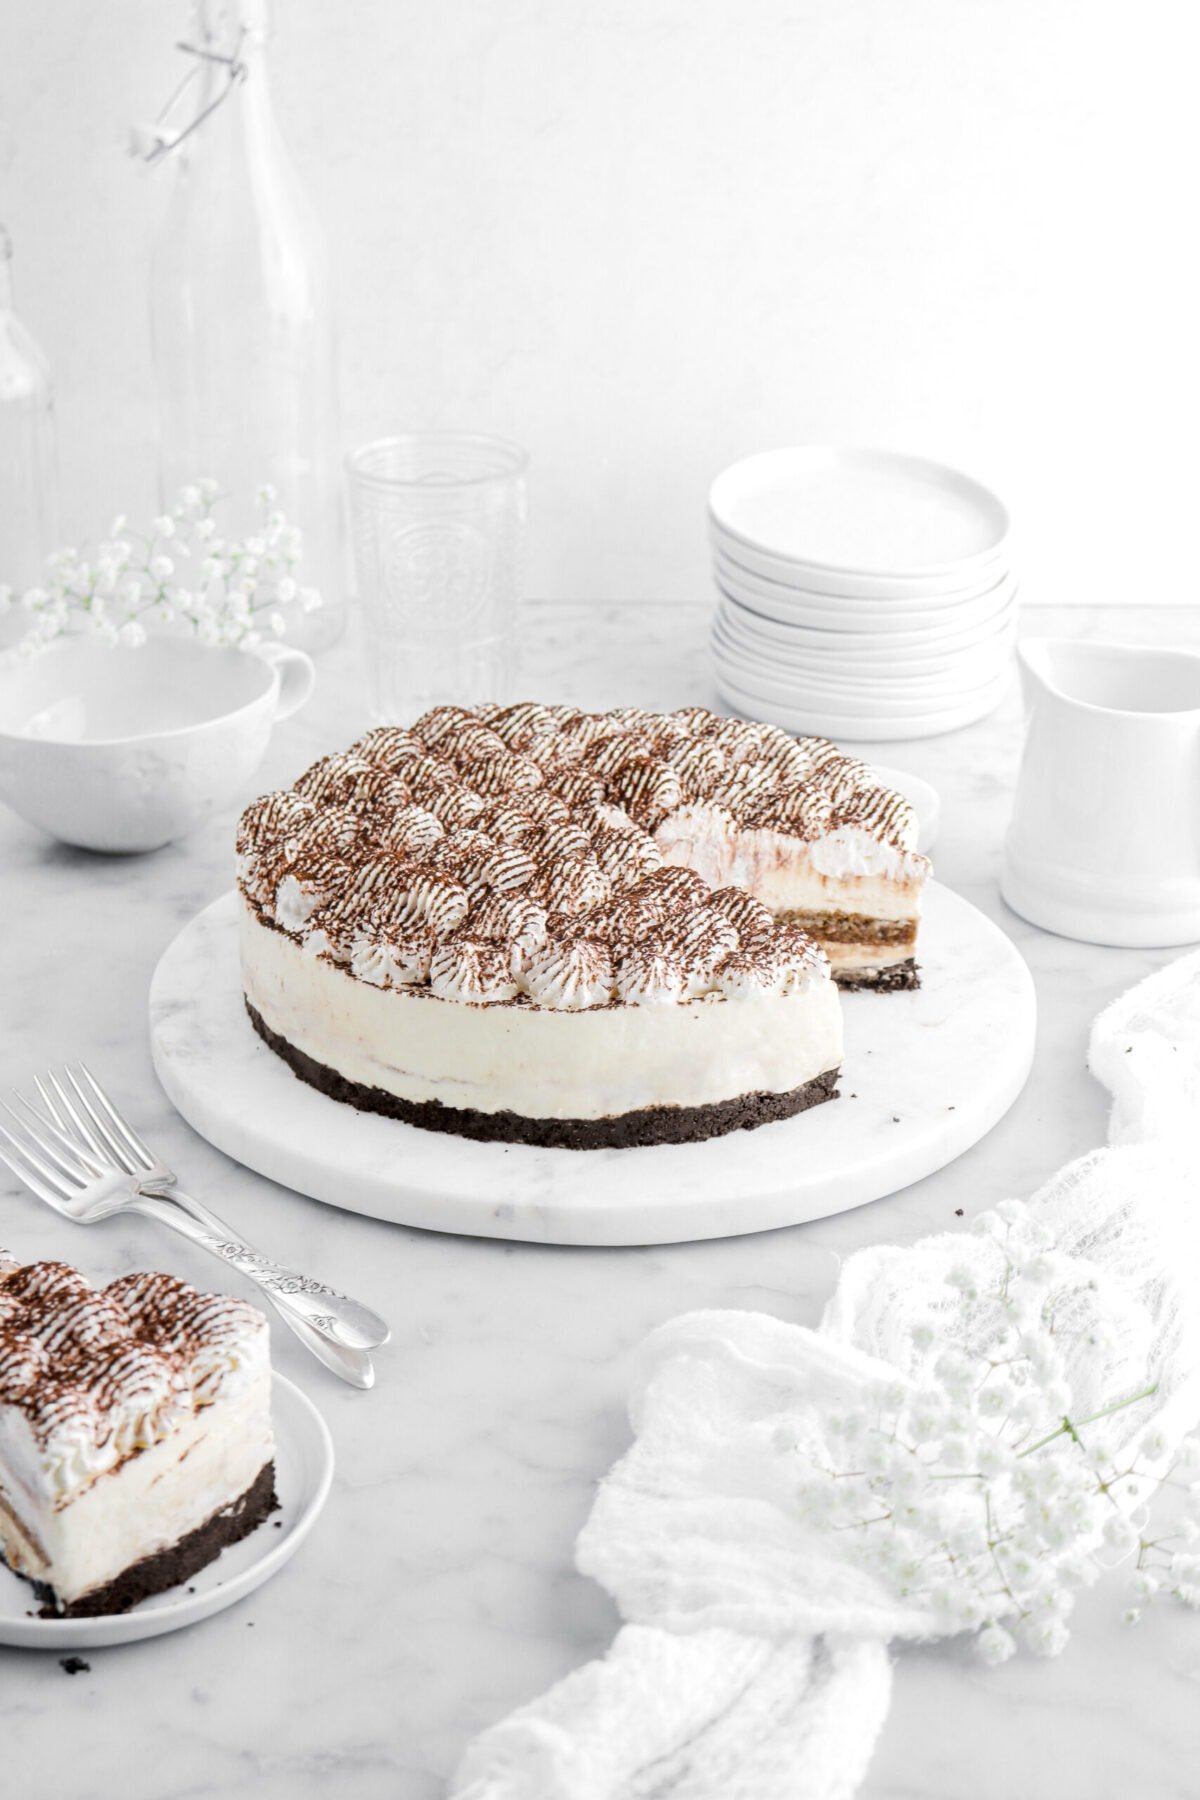
Hi Abby! If you’re making a no-bake cheesecake like this Tiramisu Cheesecake, you don’t have to bake it — just chill it until firm. For baked cheesecakes, a quick 8–10 minute bake helps the crust hold up better. Please let us know if you have any more questions! We’re always happy to help 😊 x, Caylie
I have Thin Oreos in the house, do you know if those would work or should anything to it? Thanks
Hi! If you have a scale, switch to the metric conversion in the recipe card and use the weight instead of the number of cookies. If you don’t have a scale, it should be about 37 cookies. Let me know if you have any more questions.