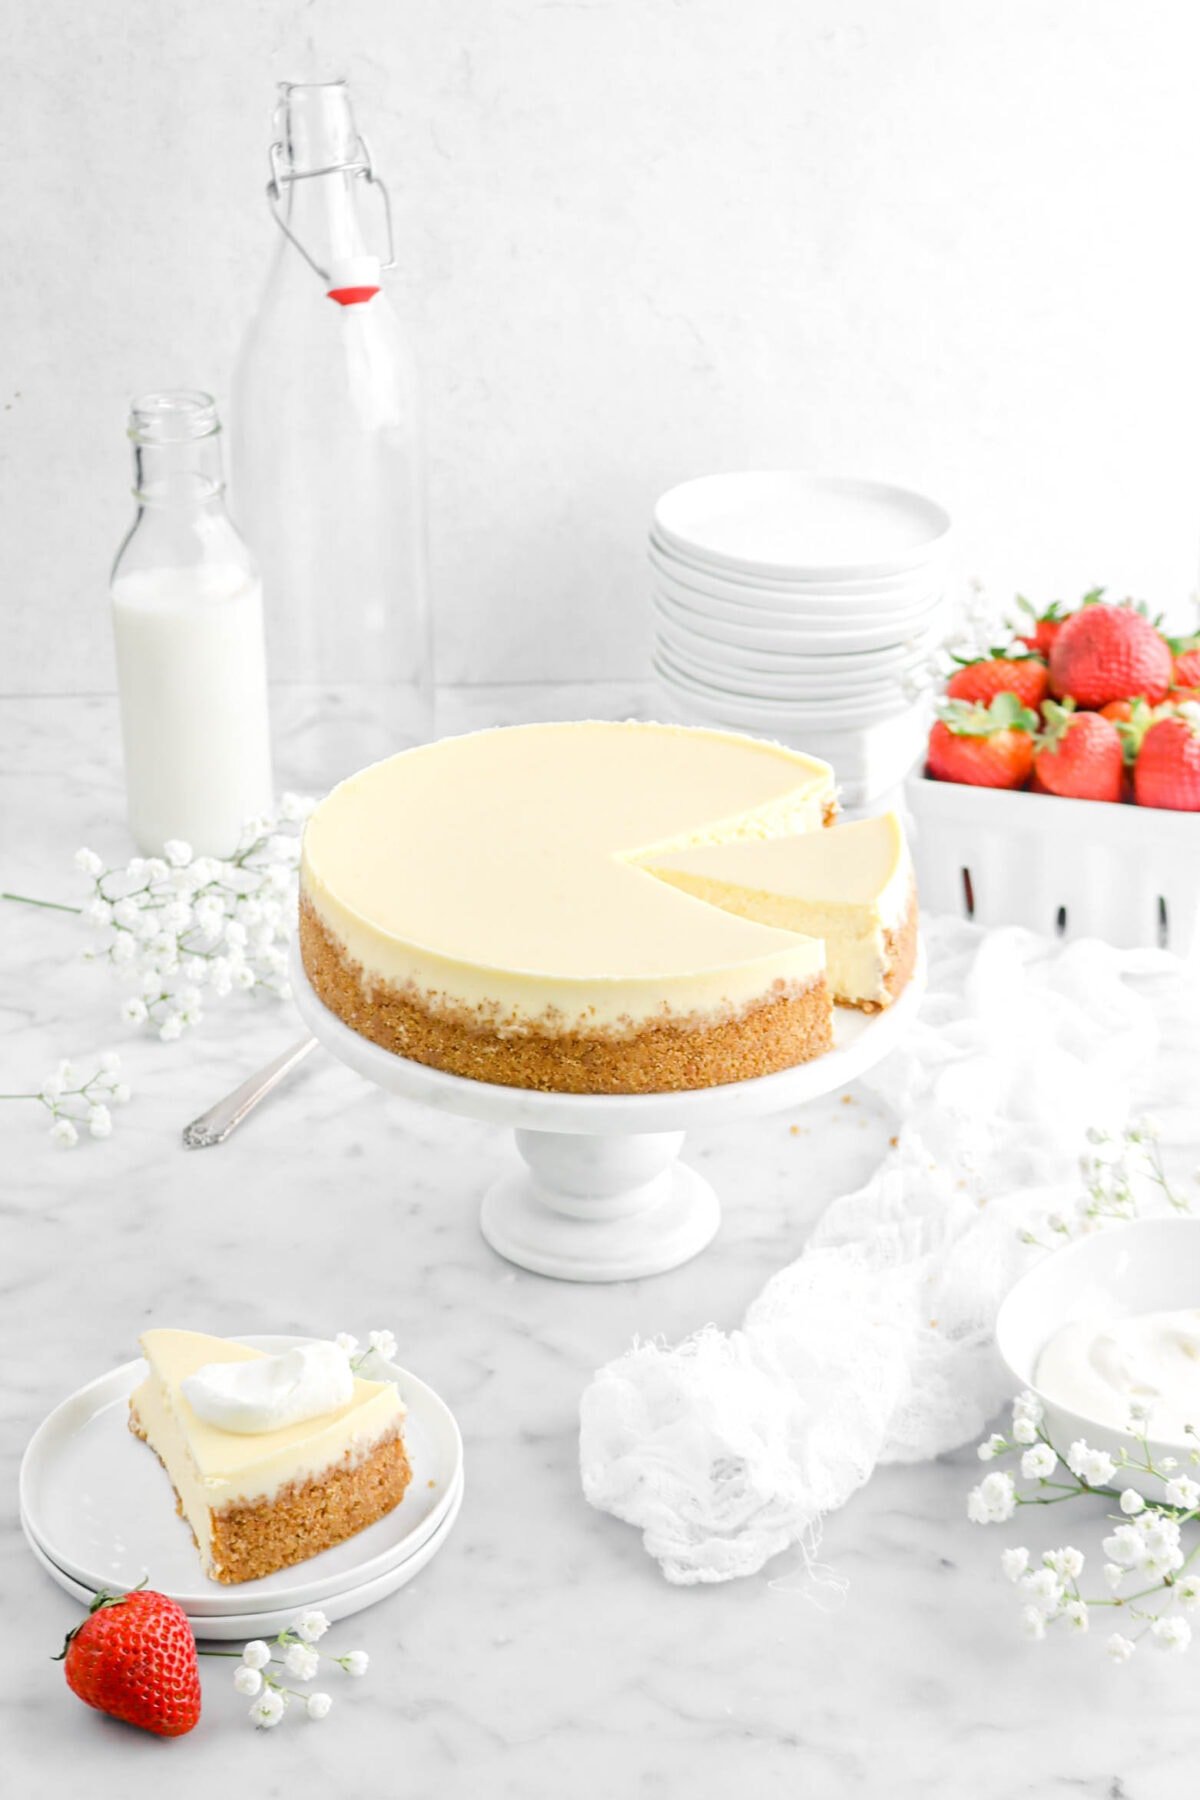
Classic New York Style Cheesecake
This post may contain affiliate links, please visit our privacy policy for details.
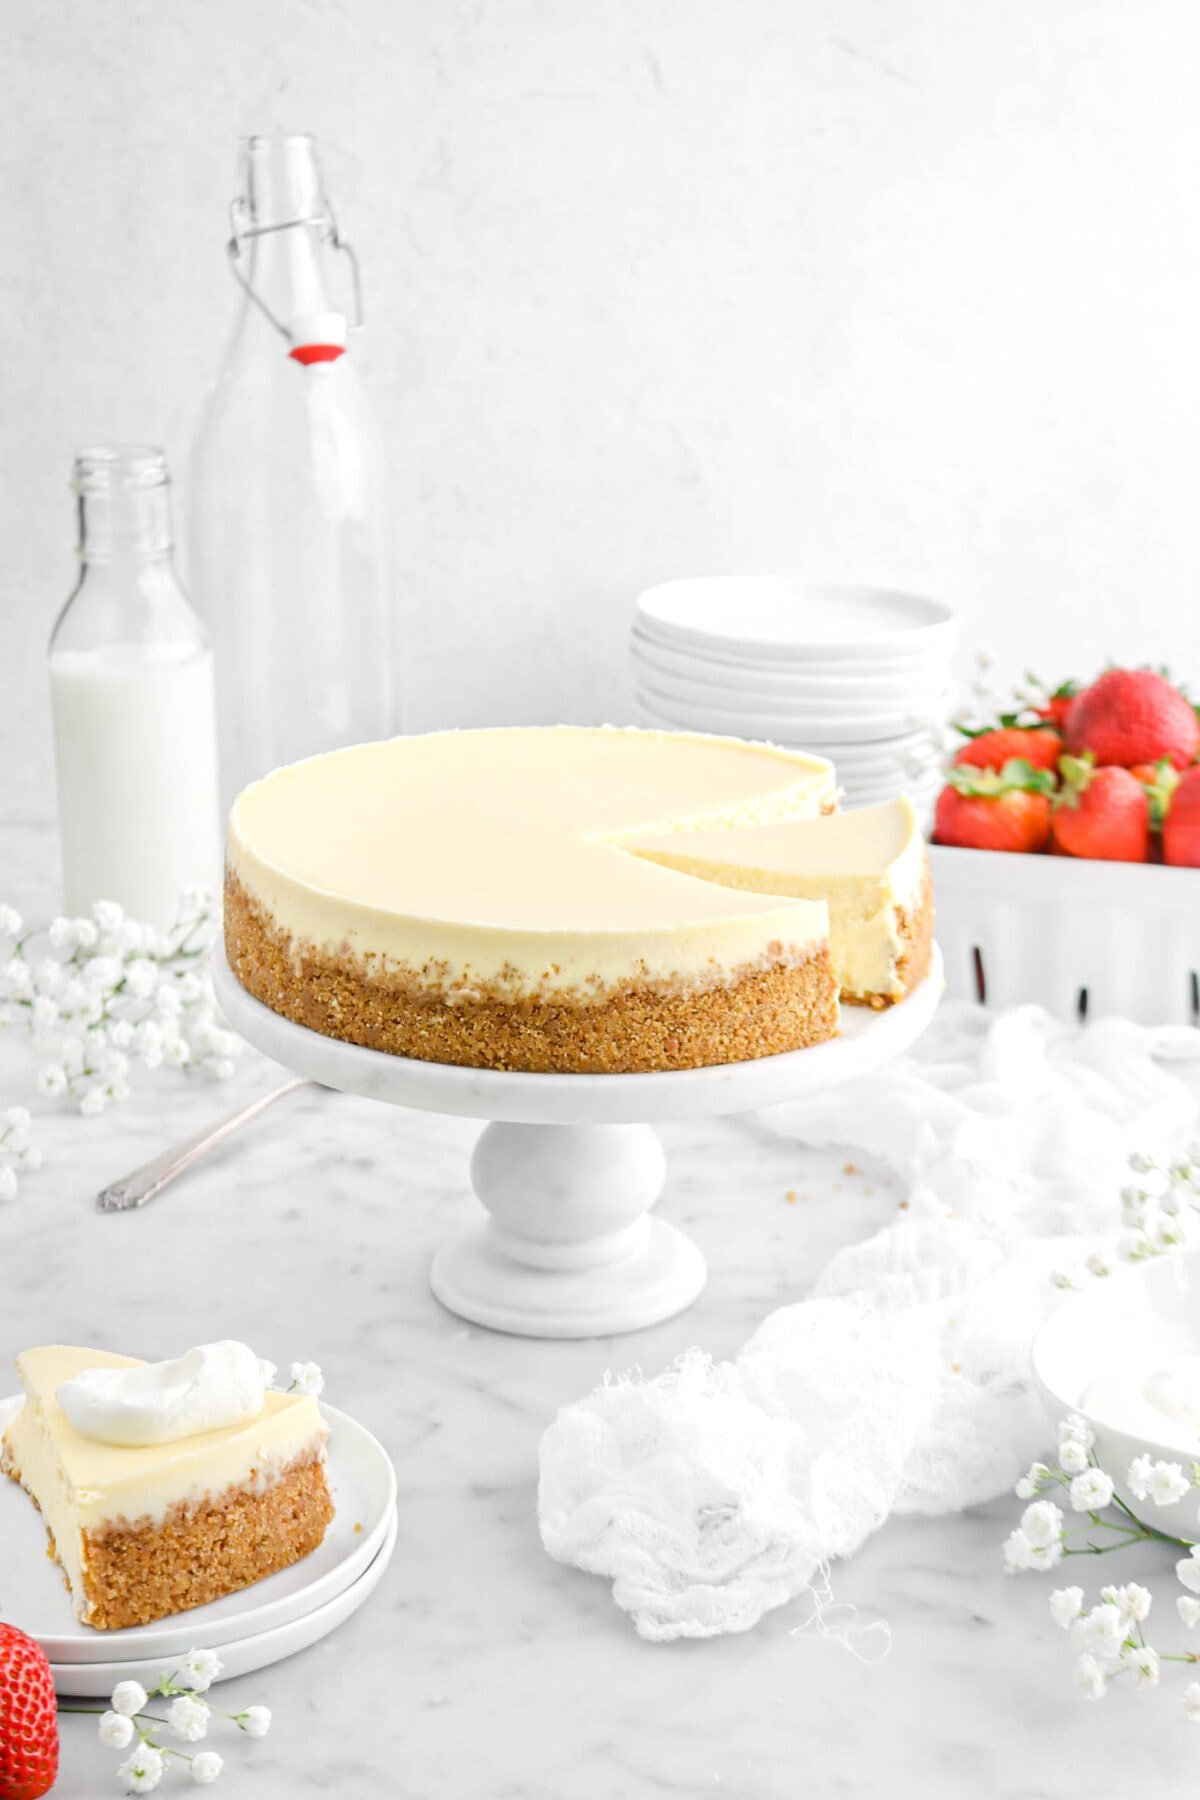
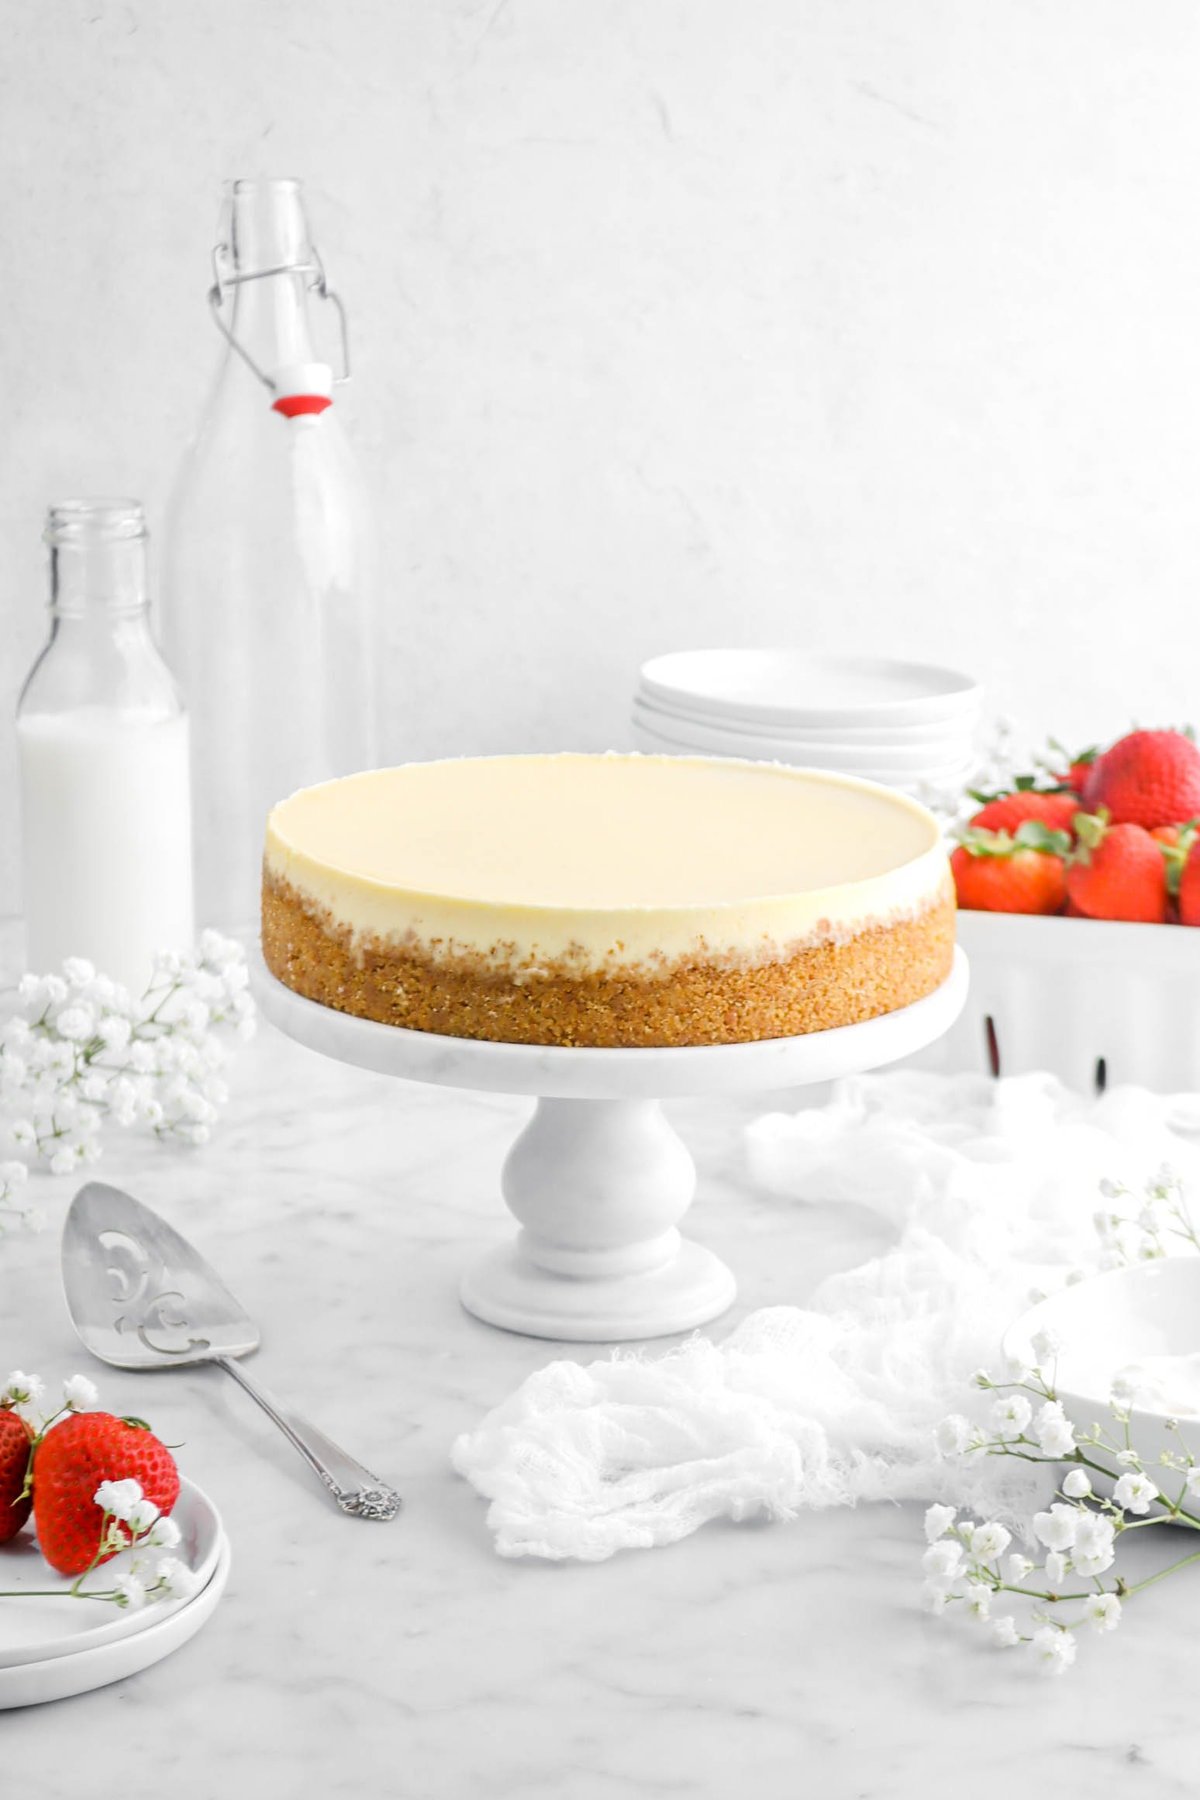
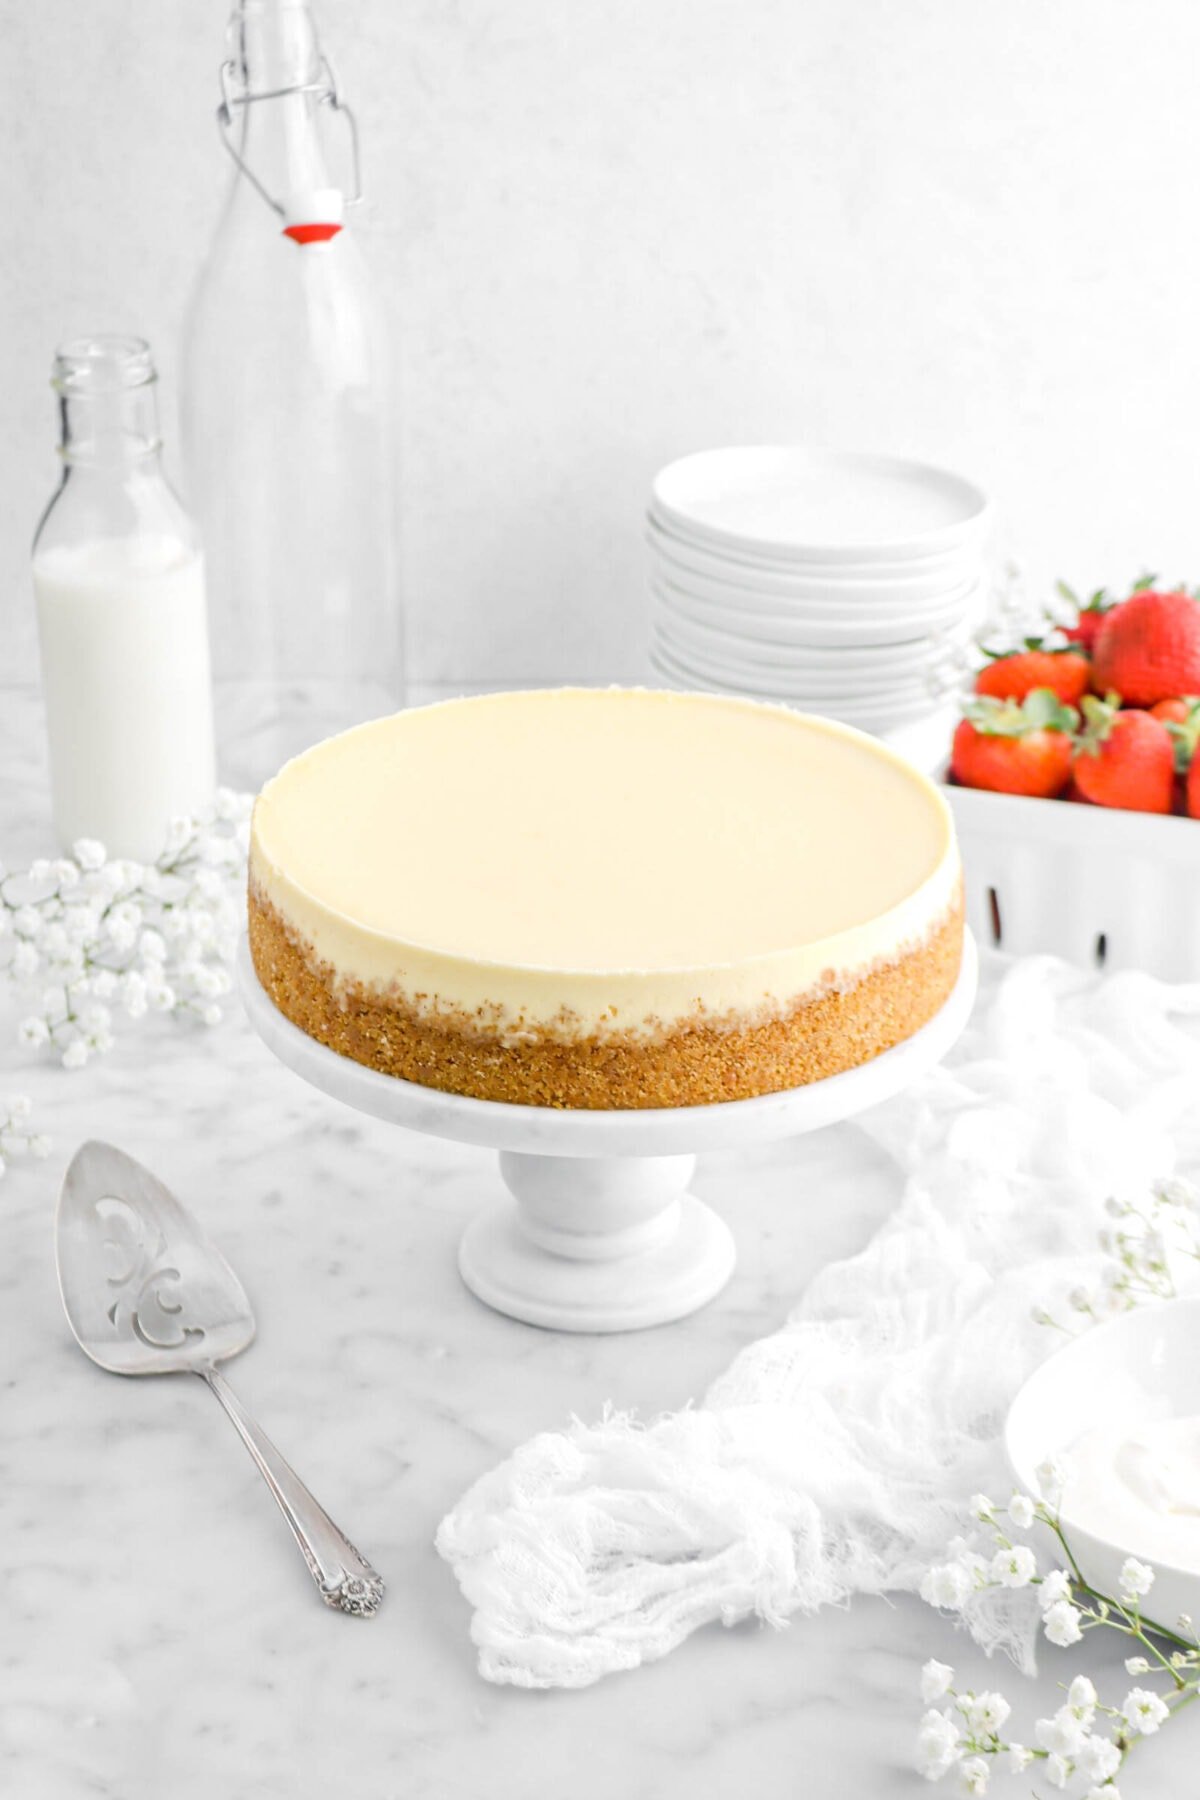
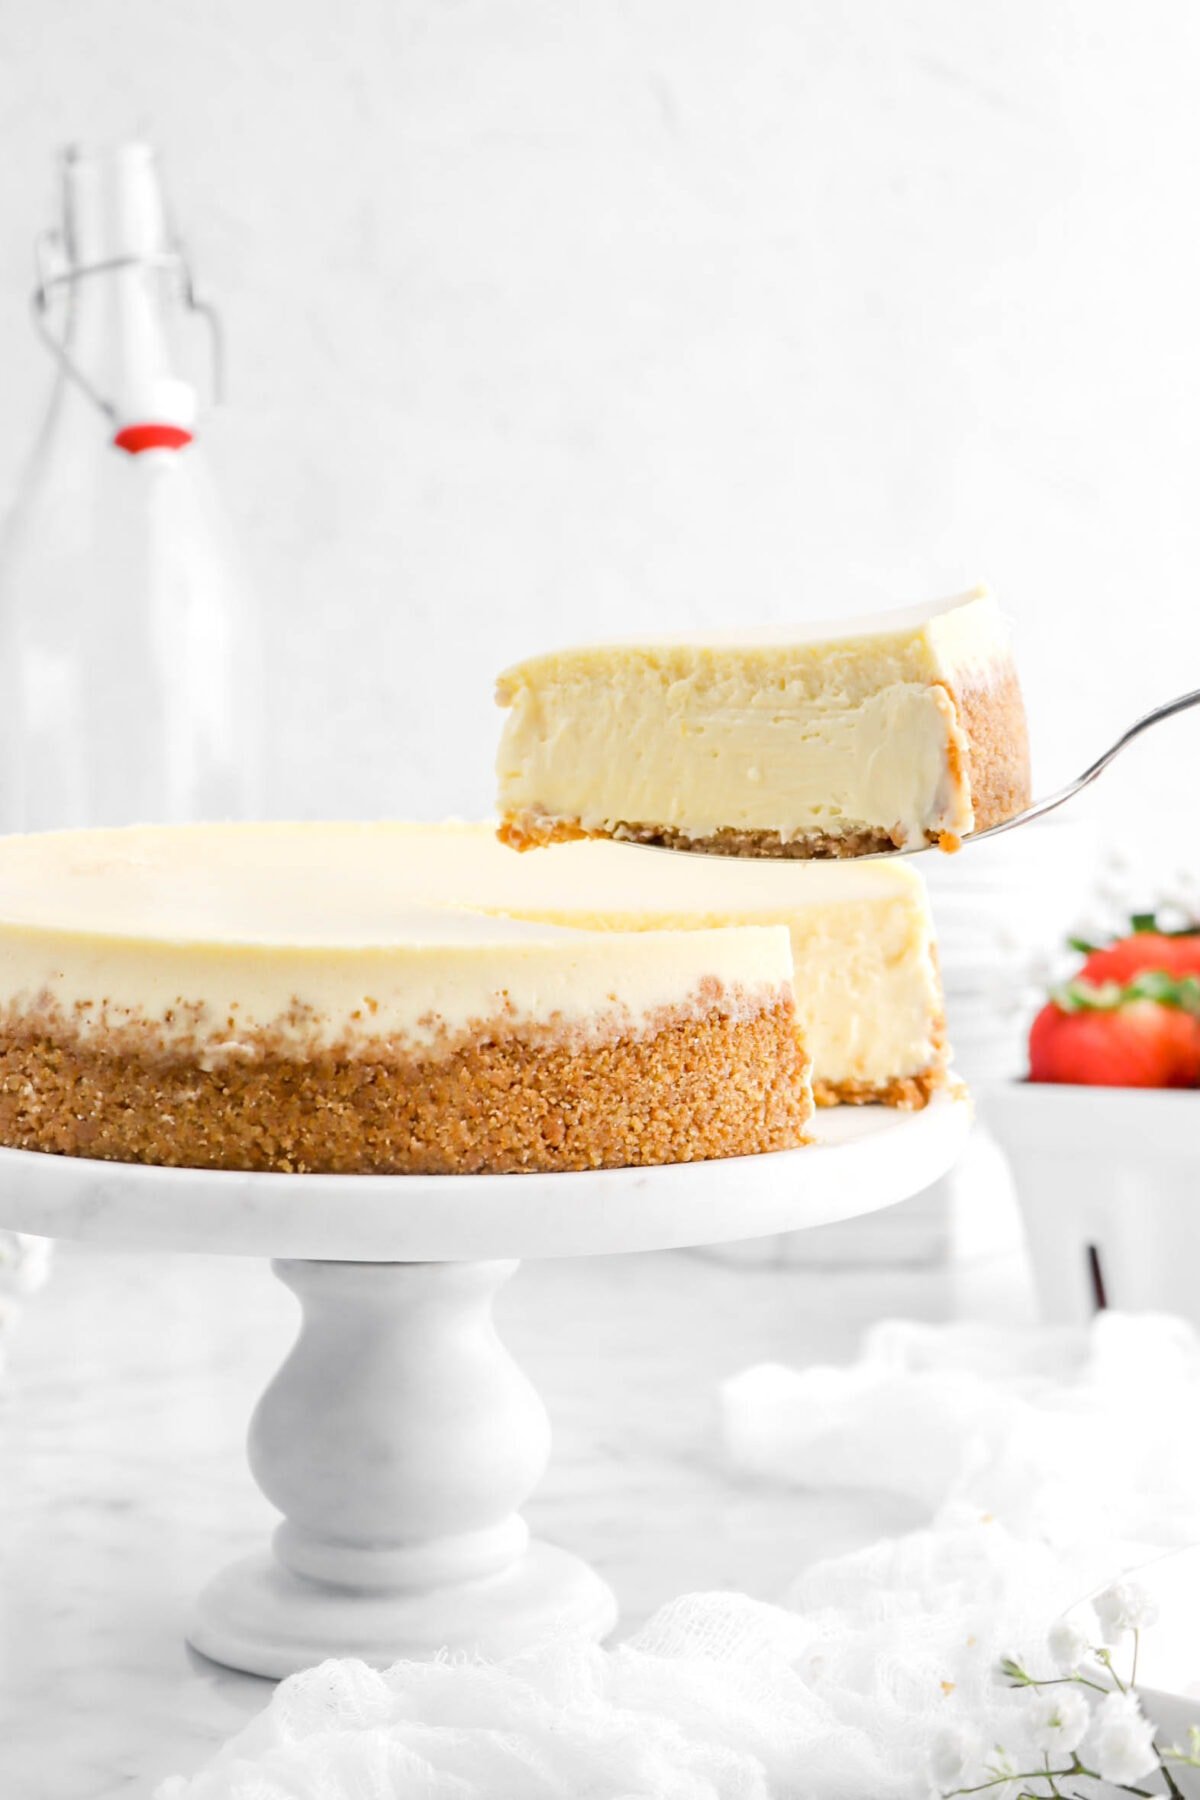
Classic New York Style Cheesecake…just what what your week needs. This classic cheesecake has a crumbly and sweet graham cracker crust, filled with a cheesecake filling that’s only 6(!!) ingredients and is oh so easy to mix up, but tastes absolutely delicious. The crust builds a small wall around the cheesecake to create a classic, yet elegant look that’s both pretty and very simple to achieve. There’s really no cheesecake out there quite like this! It’s creamy, rich, tangy, and bursting with notes of summery lemon flavor. Bonus? This is probably one of the easiest cheesecakes you can make…and you don’t even need a spring-form pan!
About The Recipe
There is just something about classic desserts that you can never go wrong with, you know? I mean, they’re classic for a reason! Especially this New York Style Cheesecake. It’s creamy, rich, and to simply put it…luxurious. The best part? It’s pretty hard to mess it up! The dessert itself is oh so simple and we’ve been so excited to share this recipe with all of you.
This recipe is one my mom grew up eating on special occasions and during the summer. She always swore that it was the best cheesecake she’d ever had and, that says a lot because my mom is not a huge fan of cheesecakes.
So, when we were cleaning up the house the other day, we found the family cookbook and, instead of putting away, we decided to go through it and get distracted from cleaning for about 2 hours (you know, as one does).
Inside the book, we got a lot of laughs as each recipe is “rated” by my grandmother. My mom explained to me that, “Grand!” was, essentially, a 5 star rating and “Good” was…just okay. As we flipped through, we found this delicious cheesecake. My mom immediately it was something she wanted to share on the blog asap!
It was a recipe she has a lot of memories of and, when we were testing the recipe, it actually worked first try!
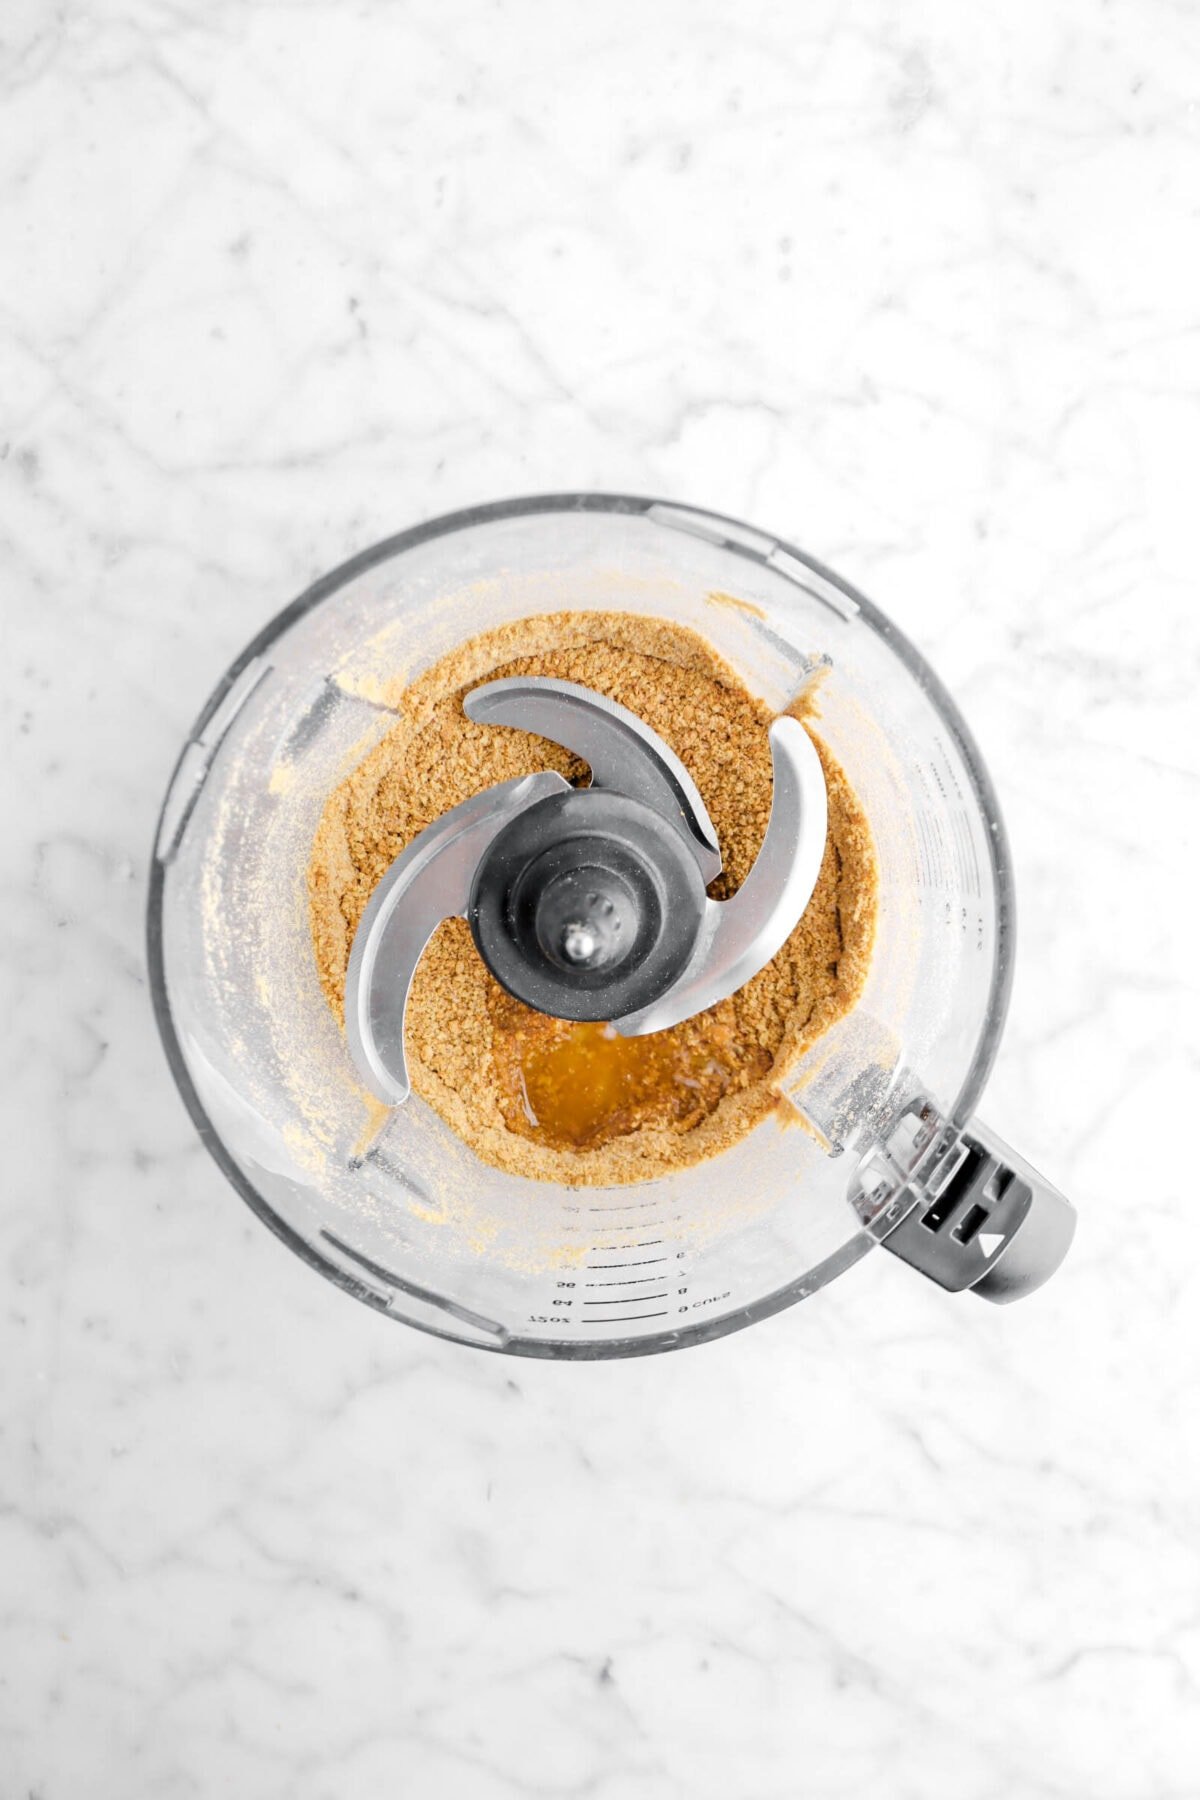
We tweaked the crust a little, as we found that adding just a touch of water to the graham cracker crust actually helped it hold and pack better.
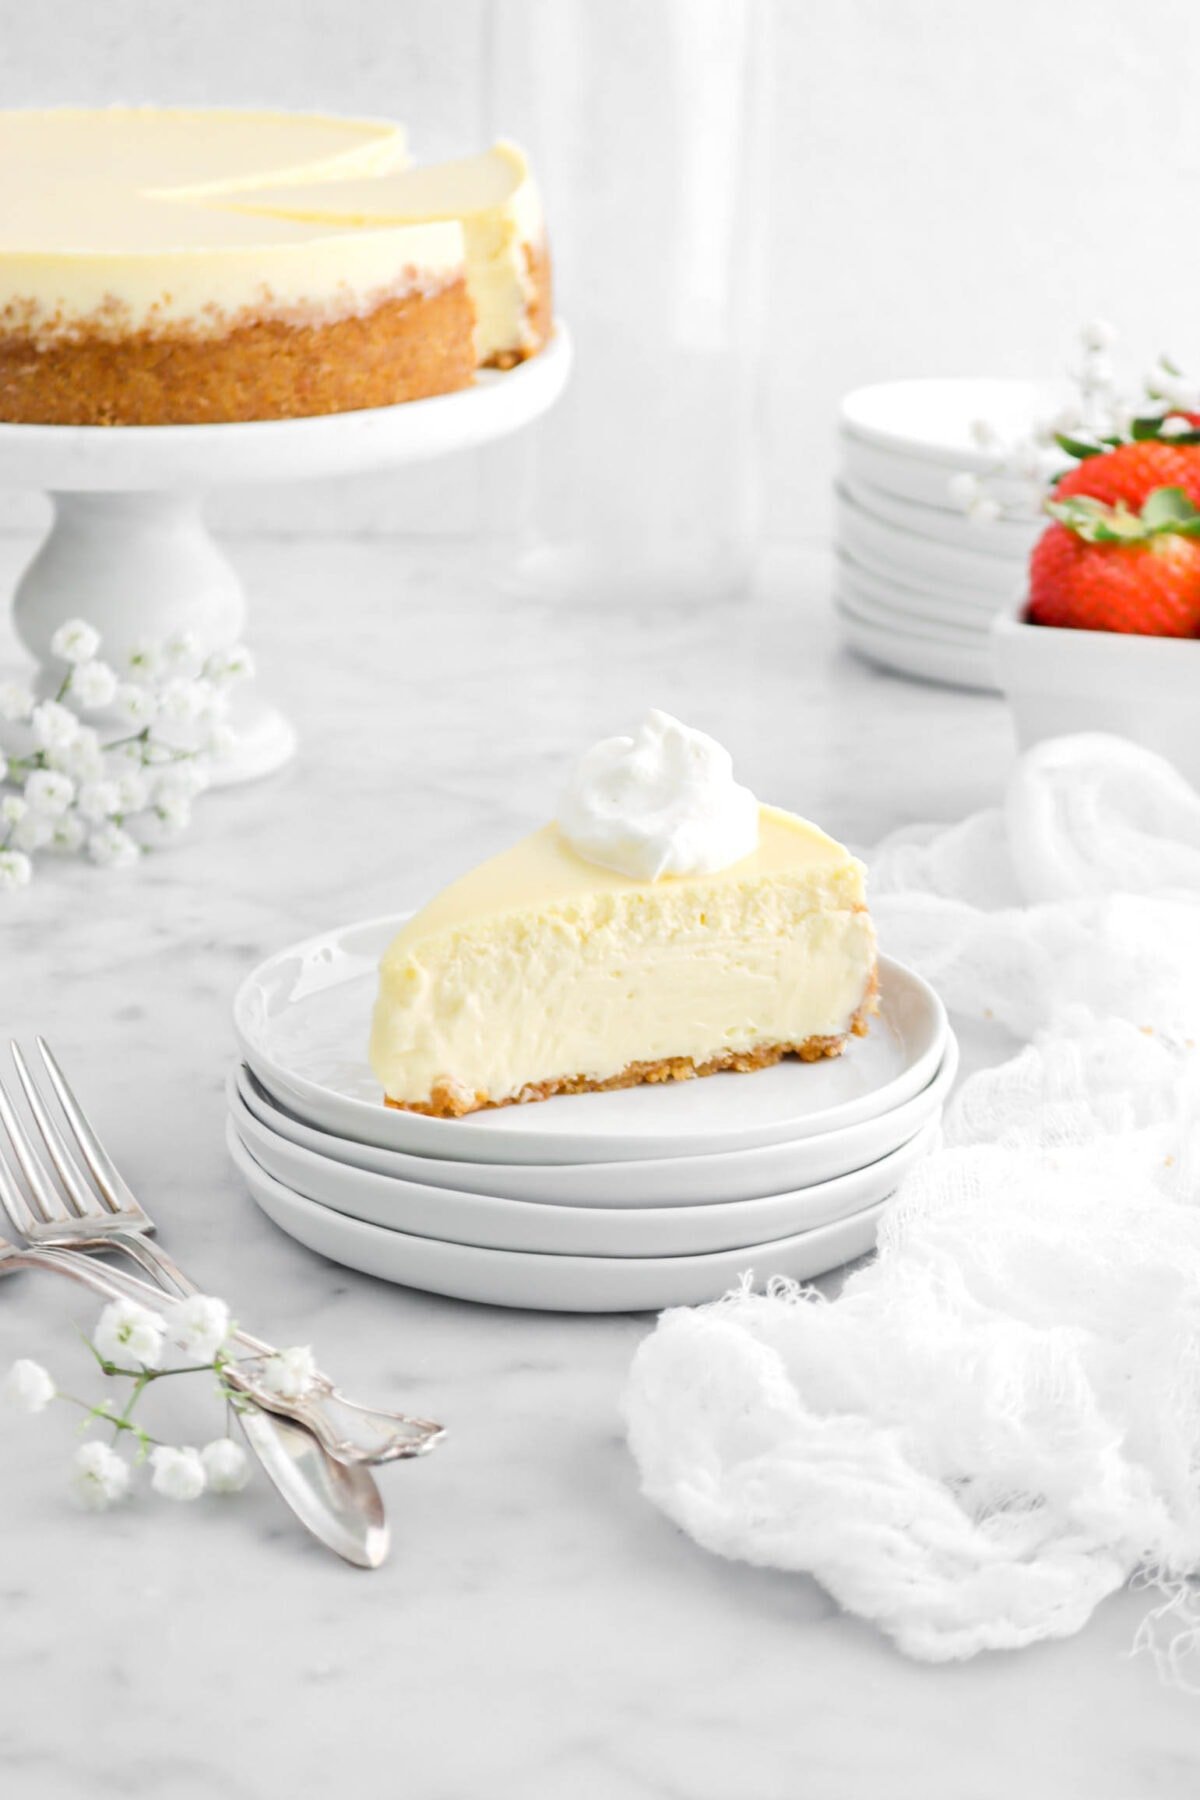
When it came to the actual cheesecake filling, it was flawless! Silky smooth, perfectly sweet, lemony, and absolutely delicious. Though, we increased the recipe slightly, as the original recipe included a second baked topping and we thought the original amount of filling would be too small…turns out we were wrong!
Other than that, the cheesecake was absolutely perfect. It simple, stunning, and can be combined with any jam or topping you wish!
What is a New York Style Cheesecake?
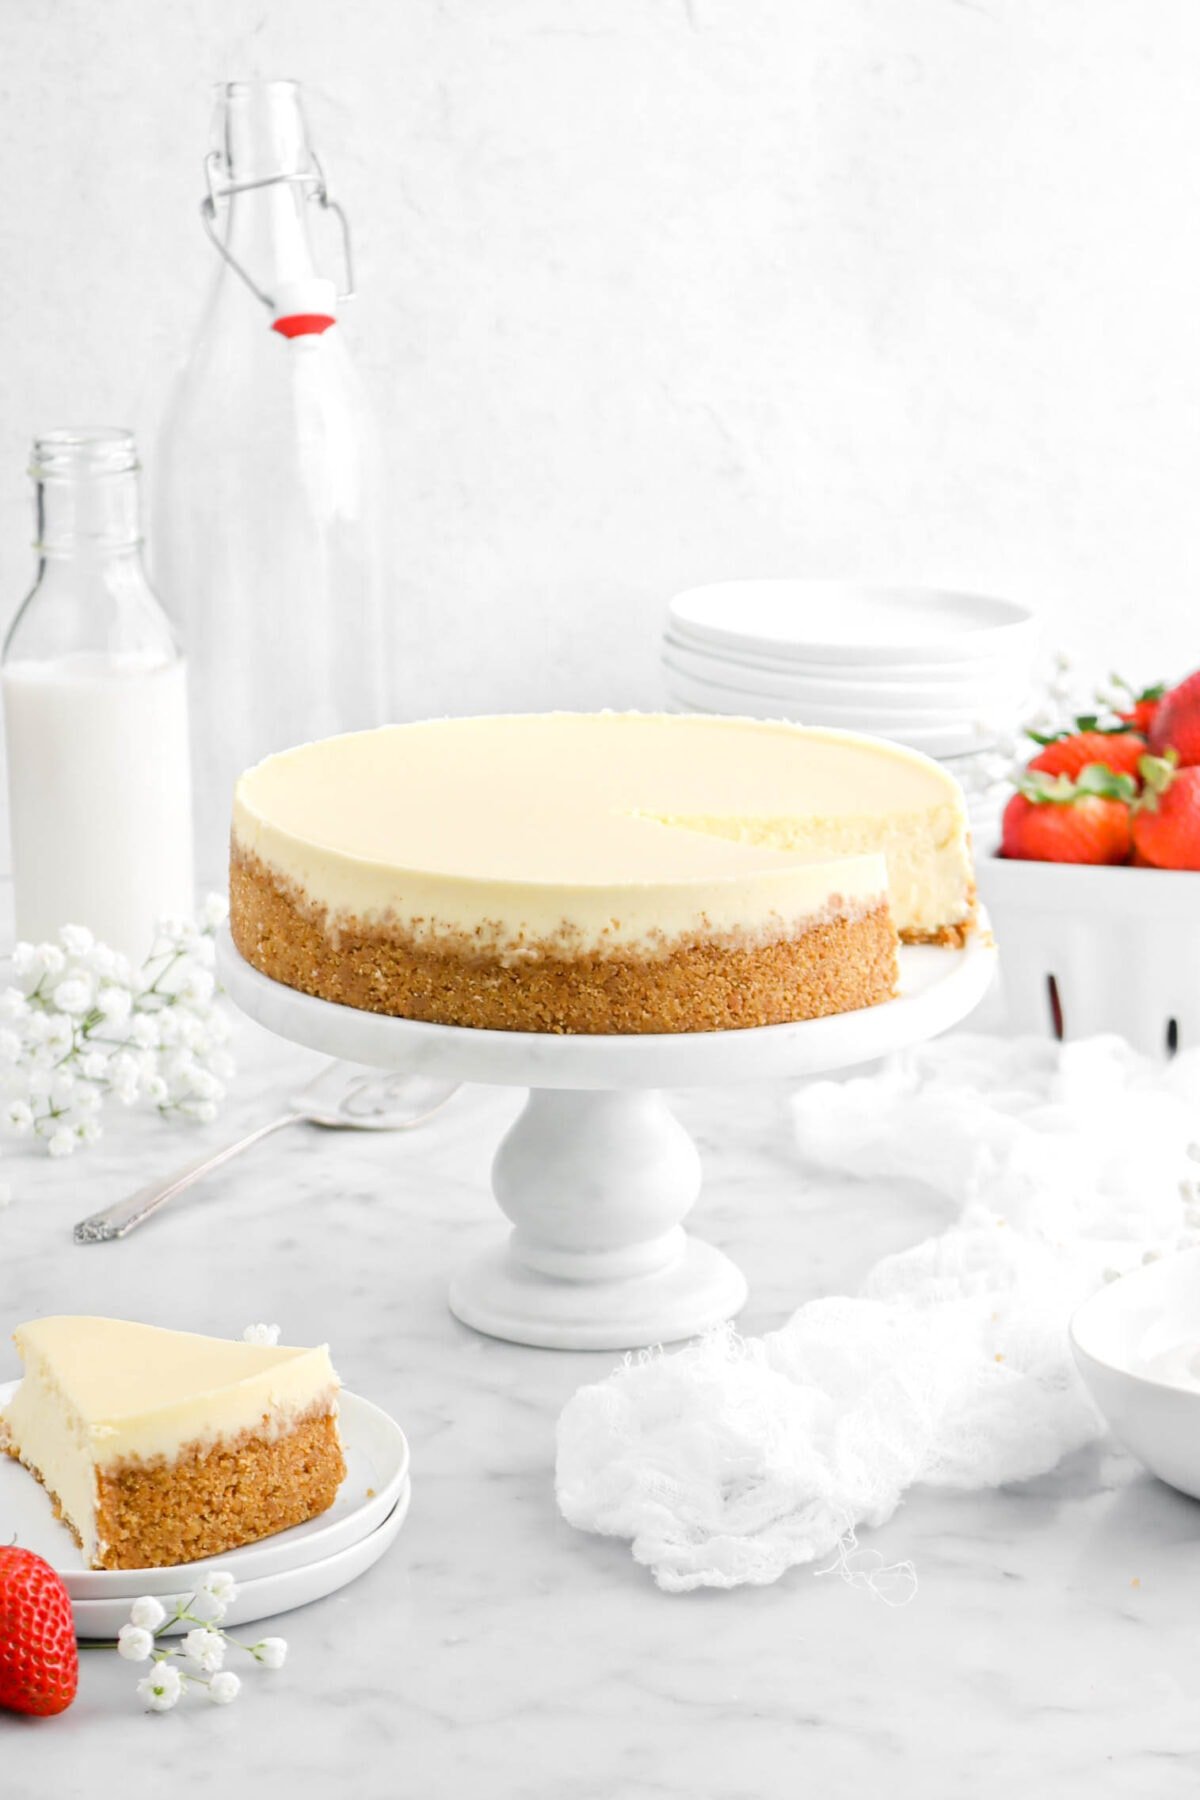
This cheesecake may be a bit different than ones you’ve made in the past. As most cheesecakes have sour cream or heavy cream in the batter to produce silkiness, this cheesecake relies entirely on just cream cheese. It yields in a richer, denser cheesecake, but tastes absolutely delicious!
Reasons You Will Love This New York Style Cheesecake
- Super simple to make.
- Can easily be made gluten-free.
- Rich, silky, and SO delicious!
- A crowd pleaser.
- It’s truly the perfect dessert to serve all year long!
Ingredients
(Full ingredient amounts and instructions can be found in the recipe card at the bottom of the post)
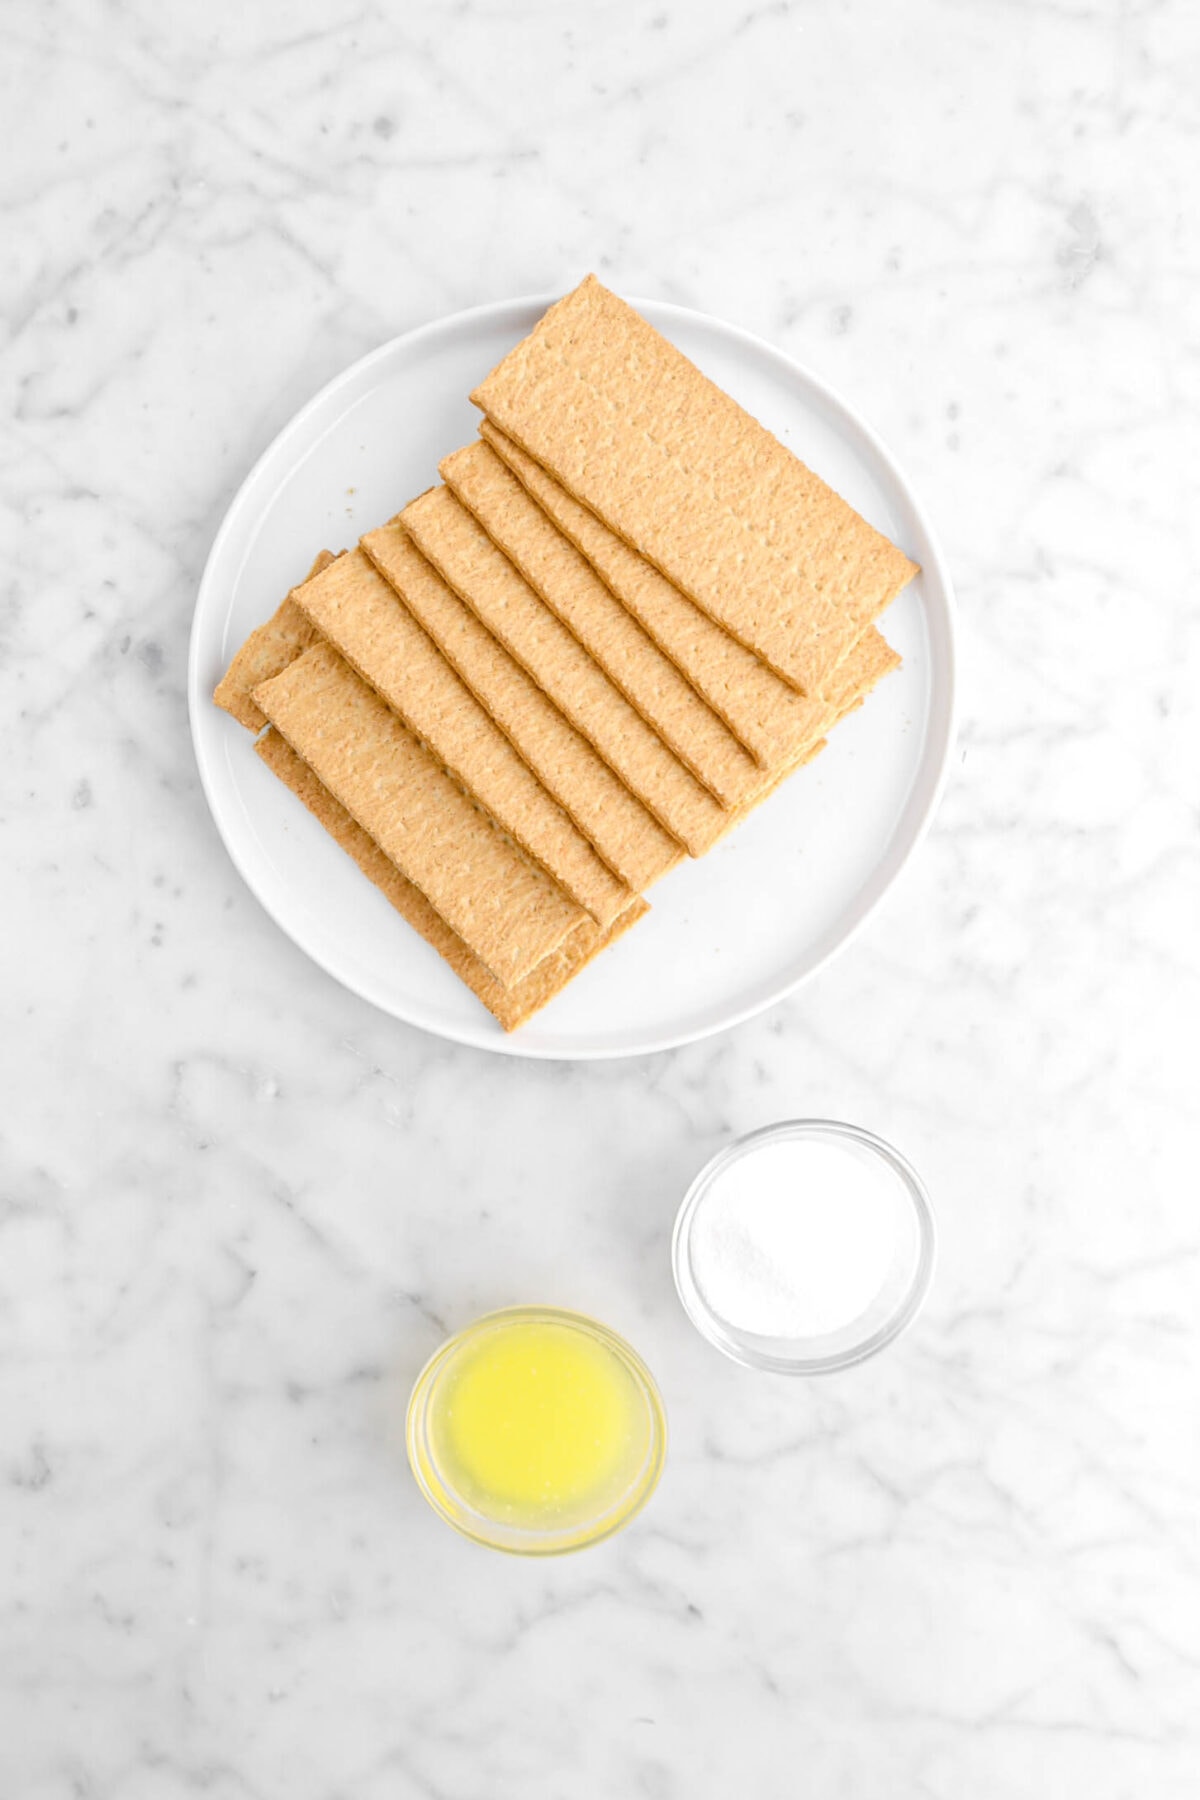
For The Crust:
- Graham Crackers
- Granulated Sugar
- Melted Butter
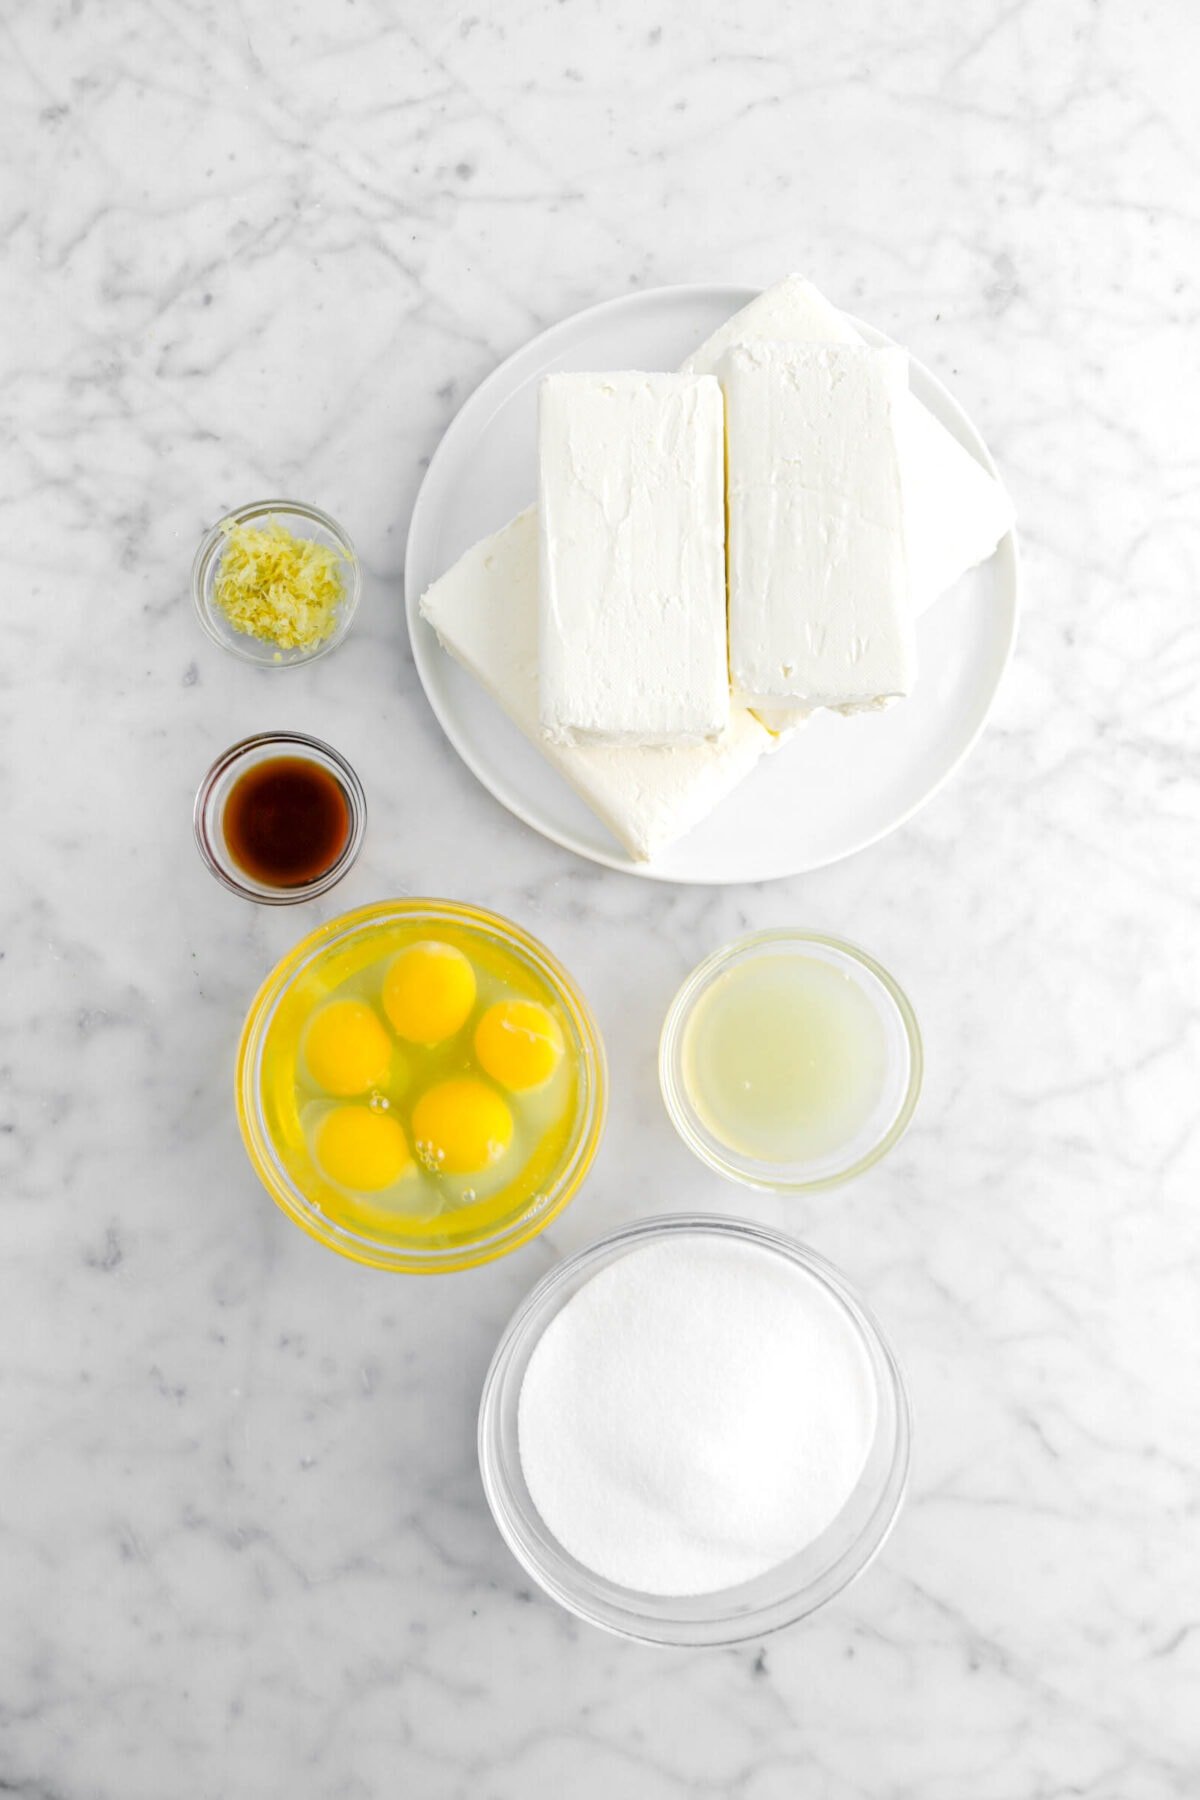
For The Filling:
- Cream Cheese
- Granulated Sugar
- Large Eggs
- Lemon Zest
- Lemon Juice
- Vanilla Extract
How To Make New York Style Cheesecake
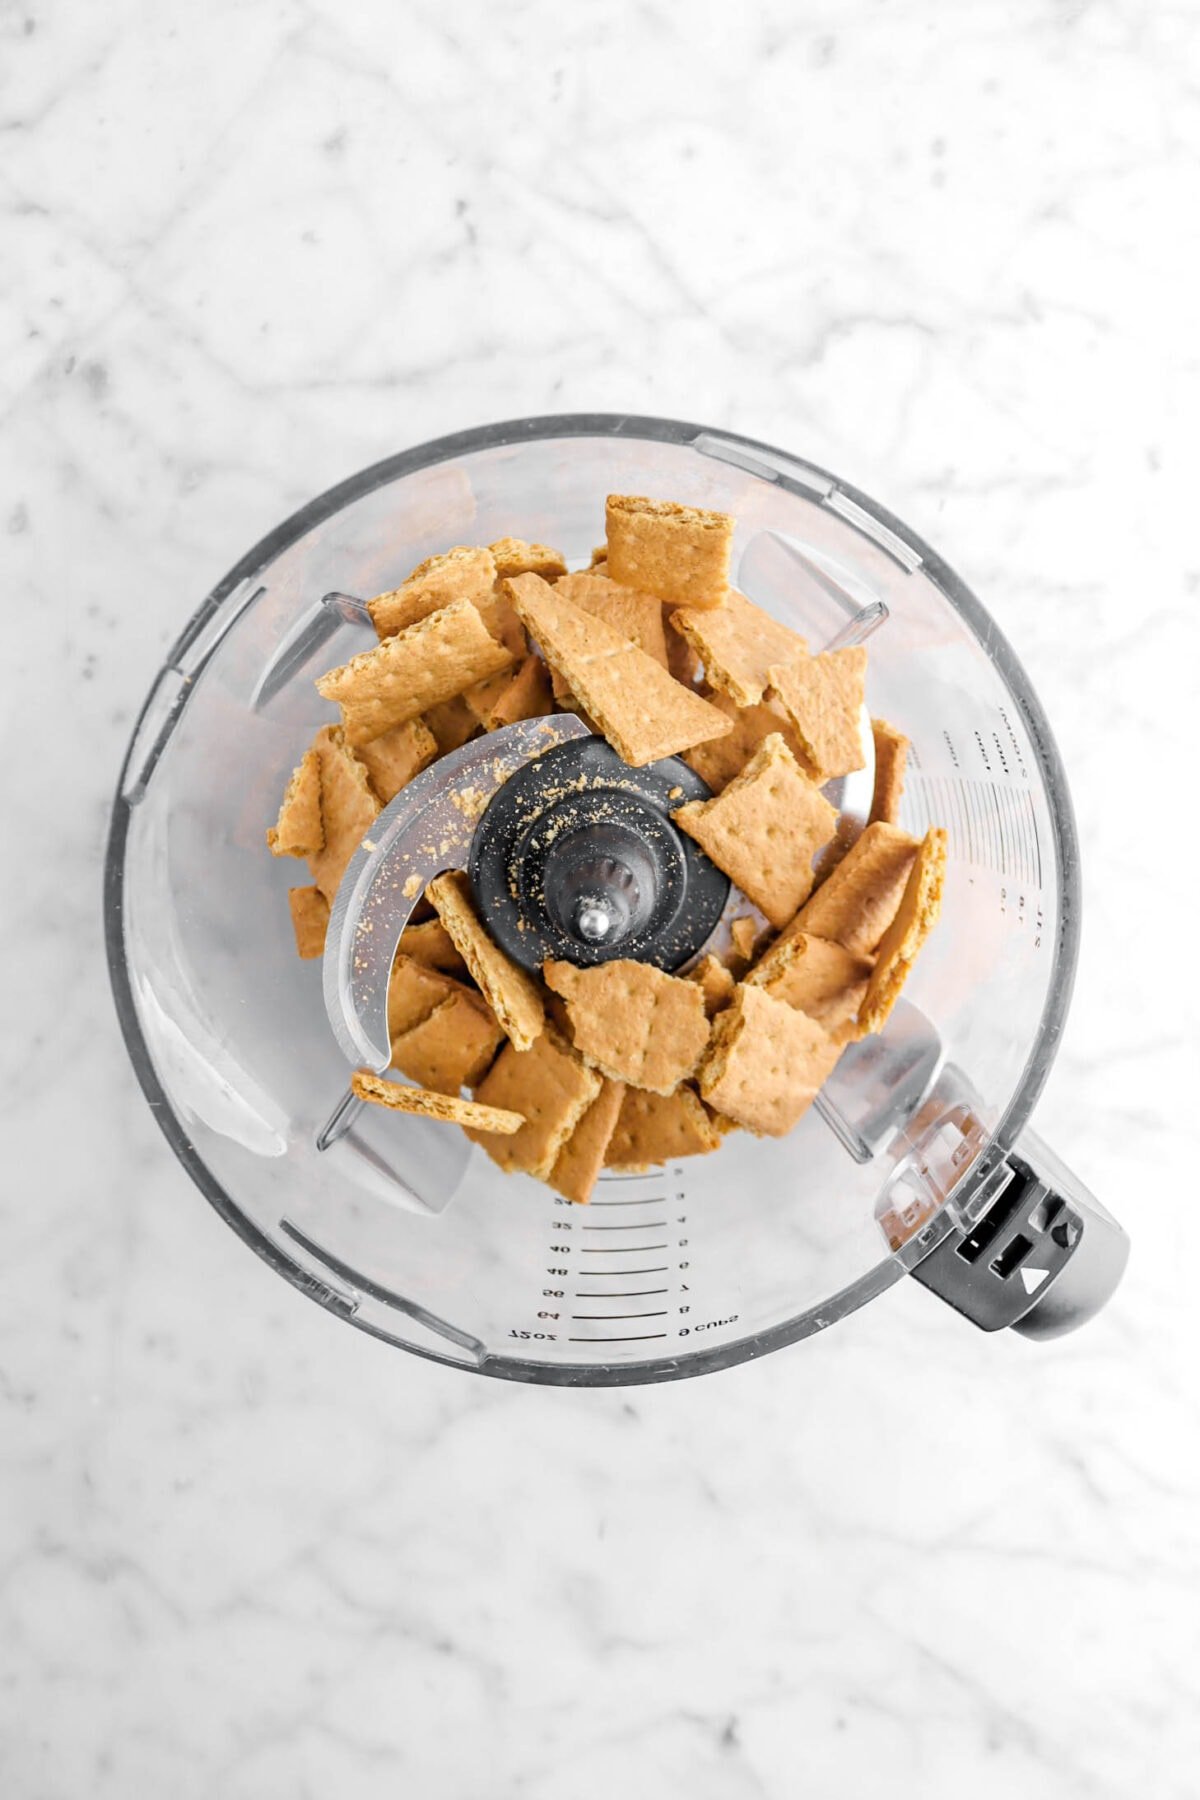
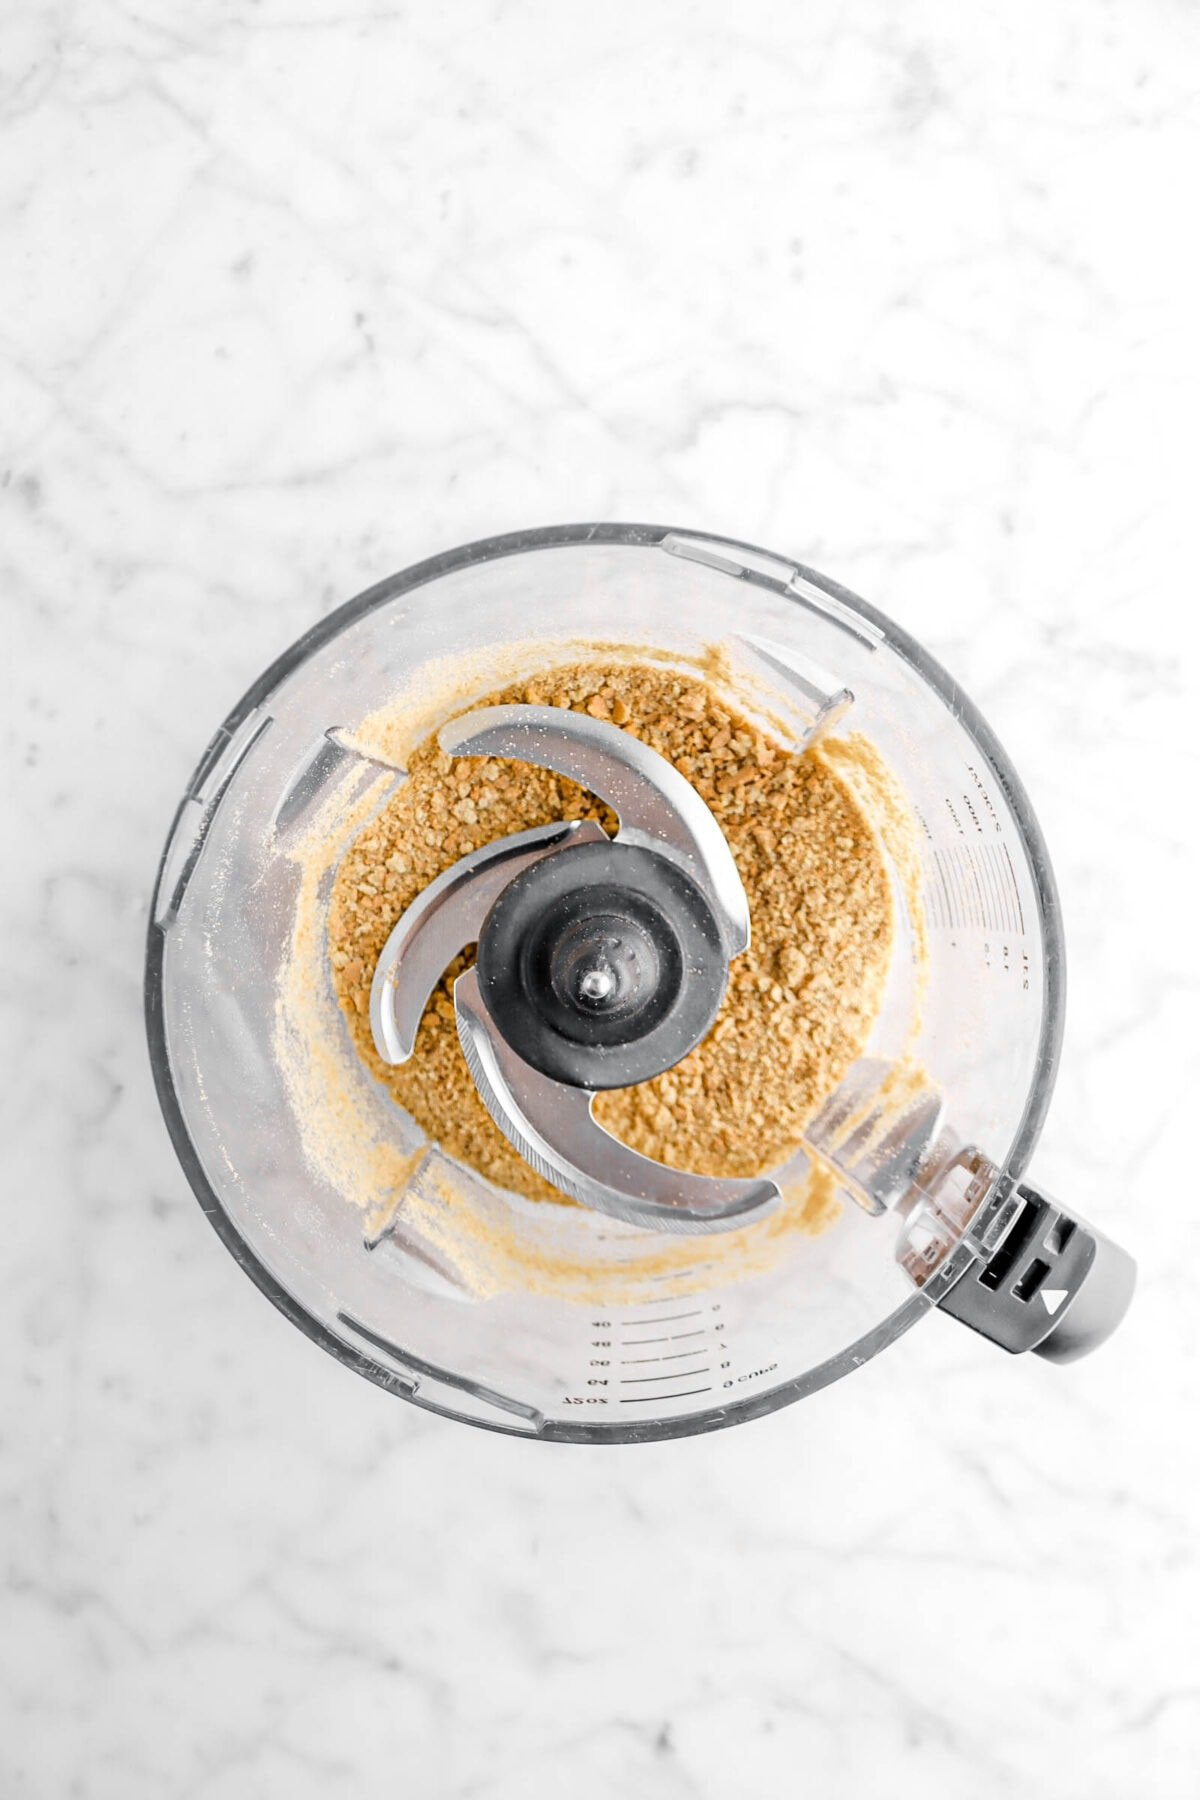
Step 1: Make the crust
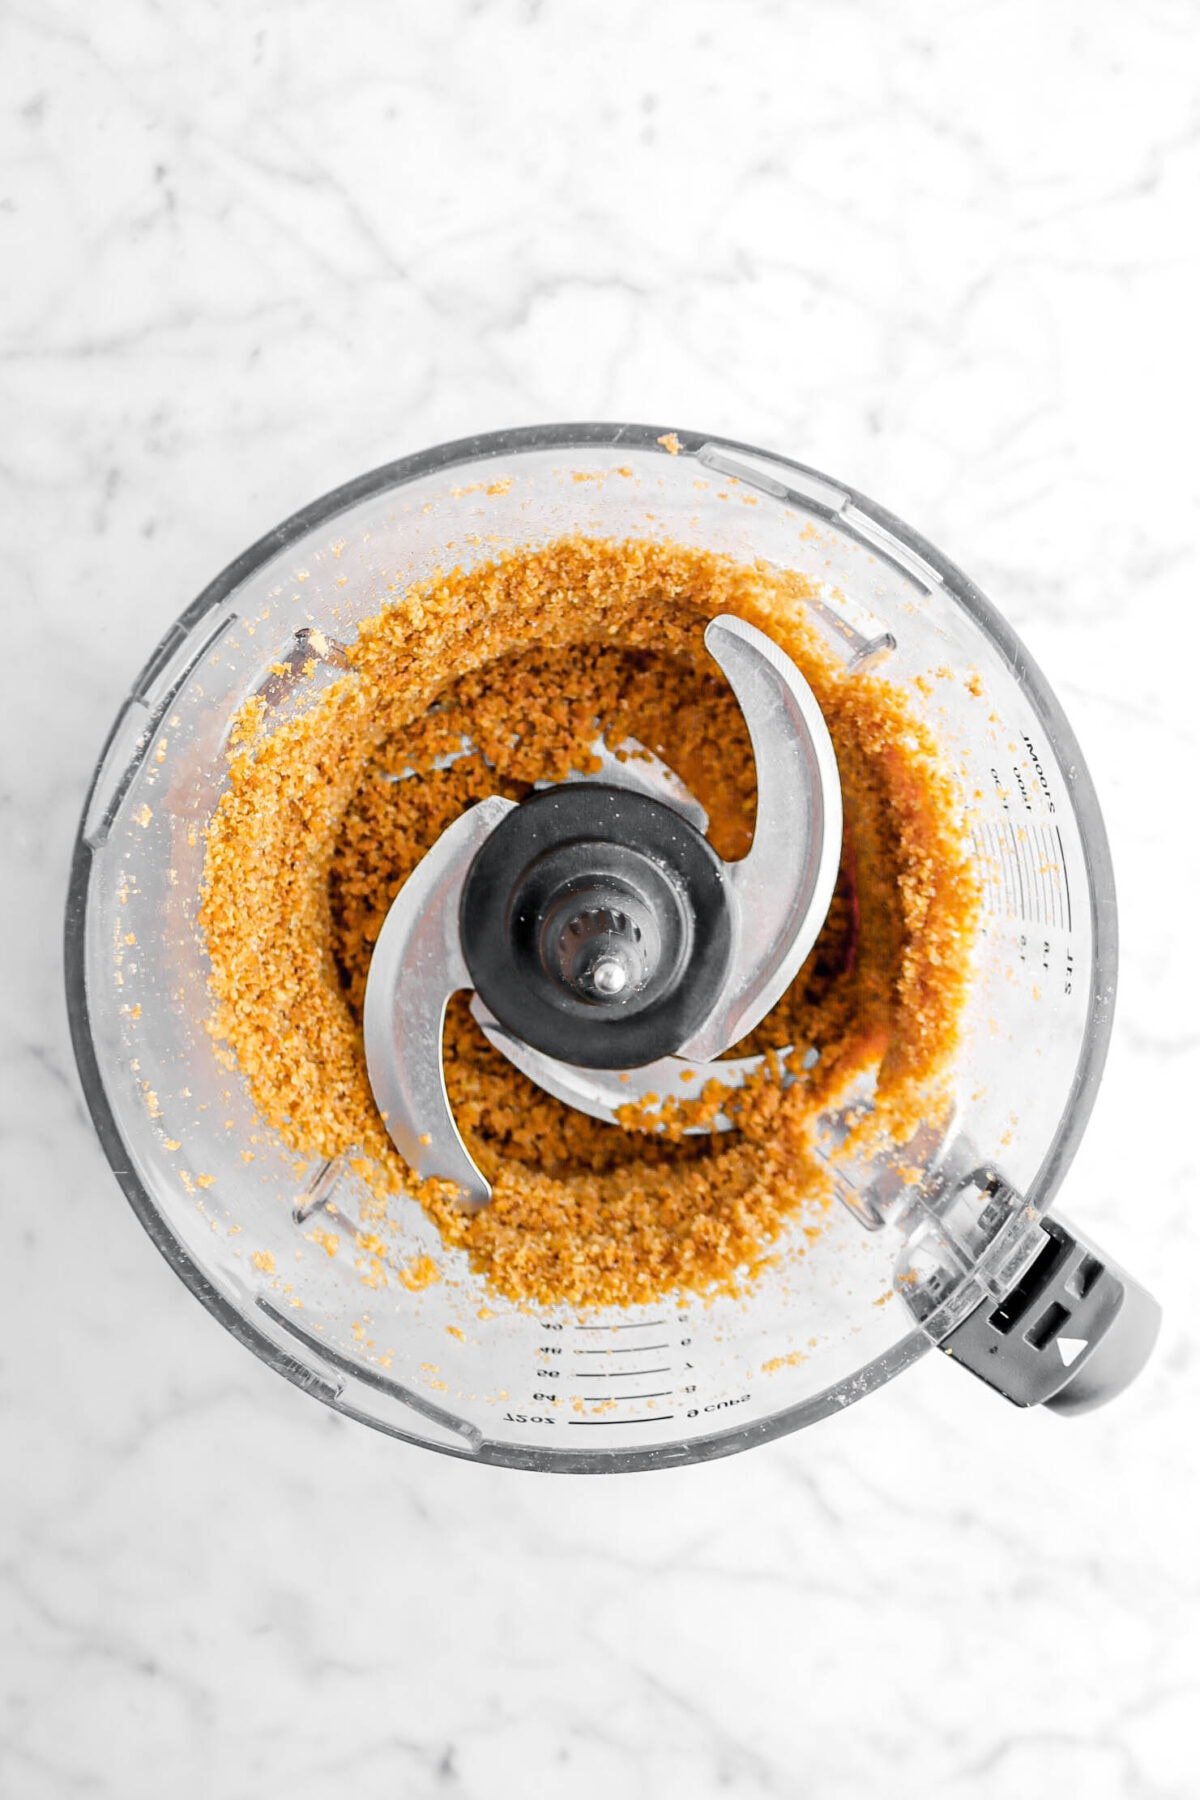
In the bowl of a food processor, pulse the graham cracker sheets to fine crumbs.
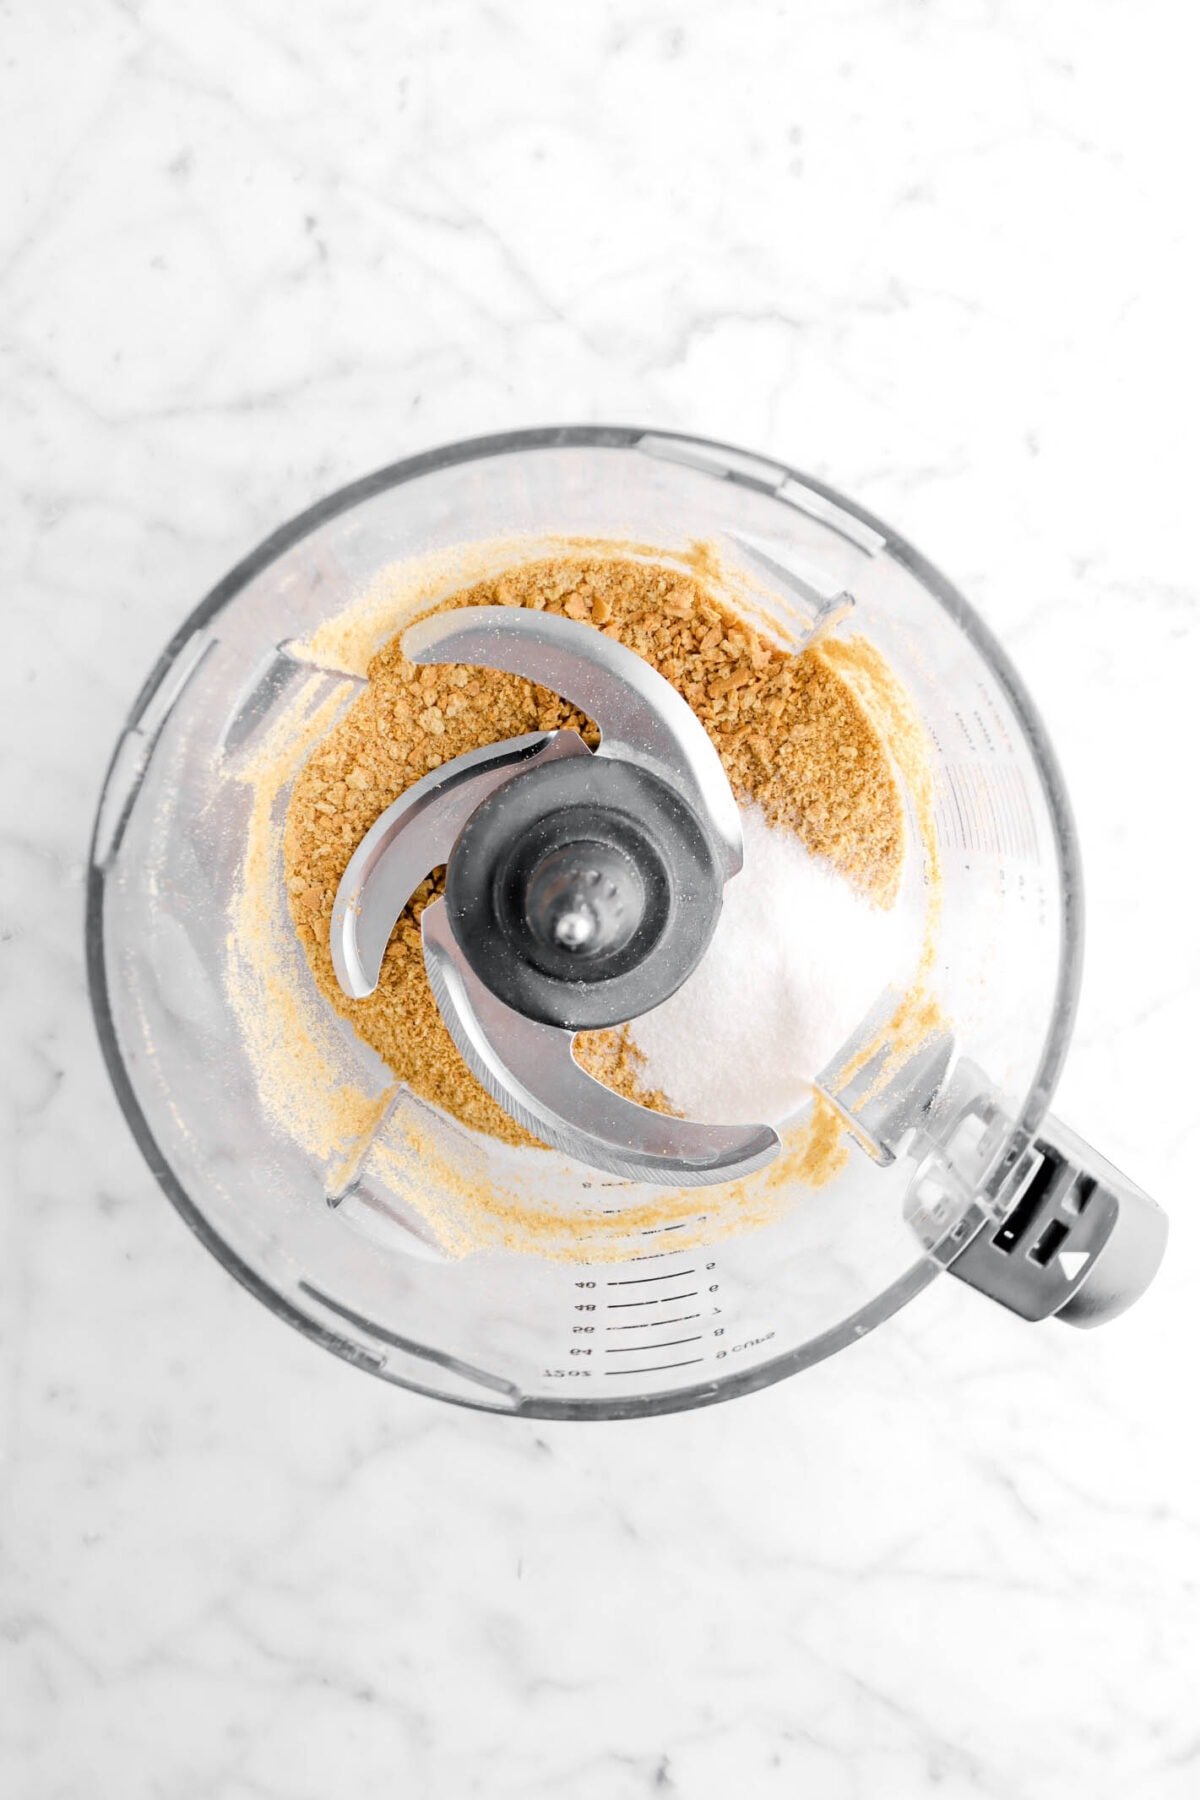
Mix in the sugar.
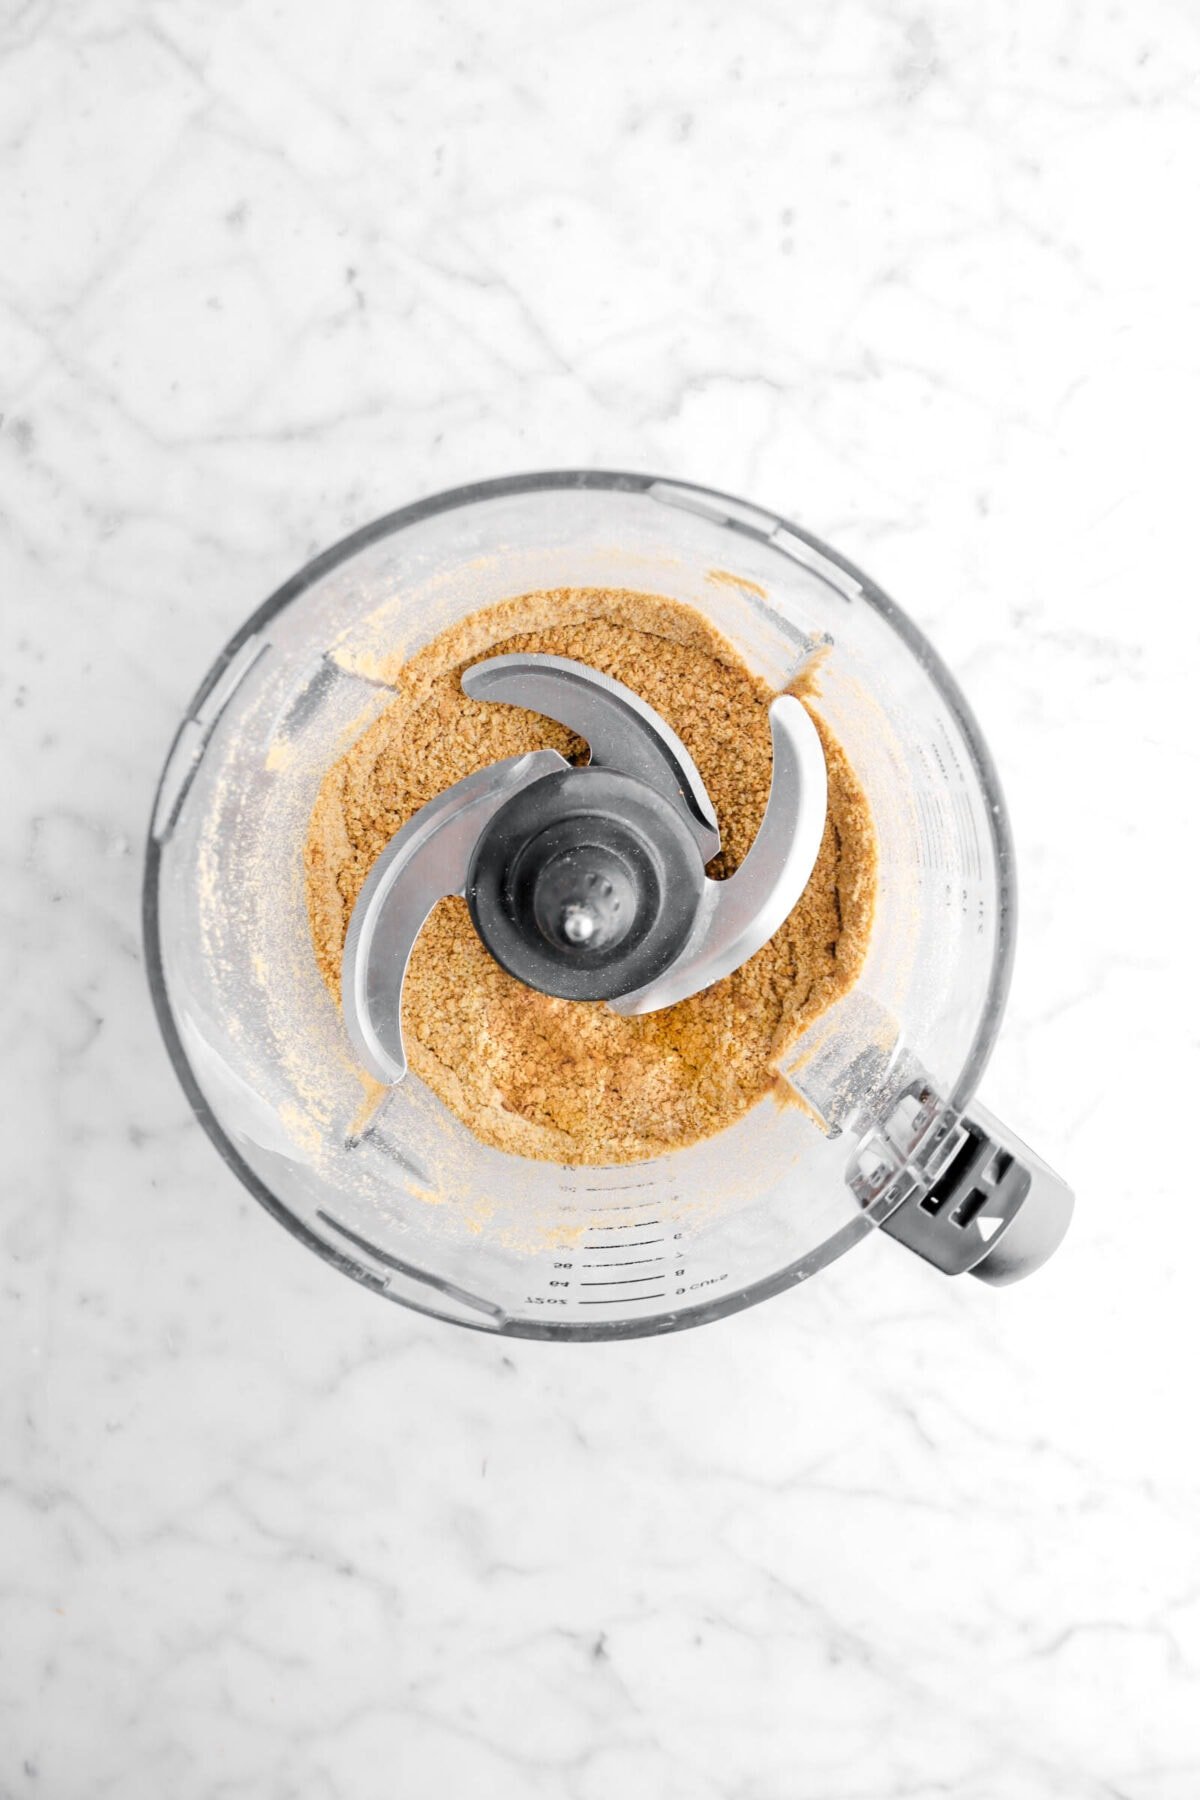
Add the melted butter and pulse until well combined.
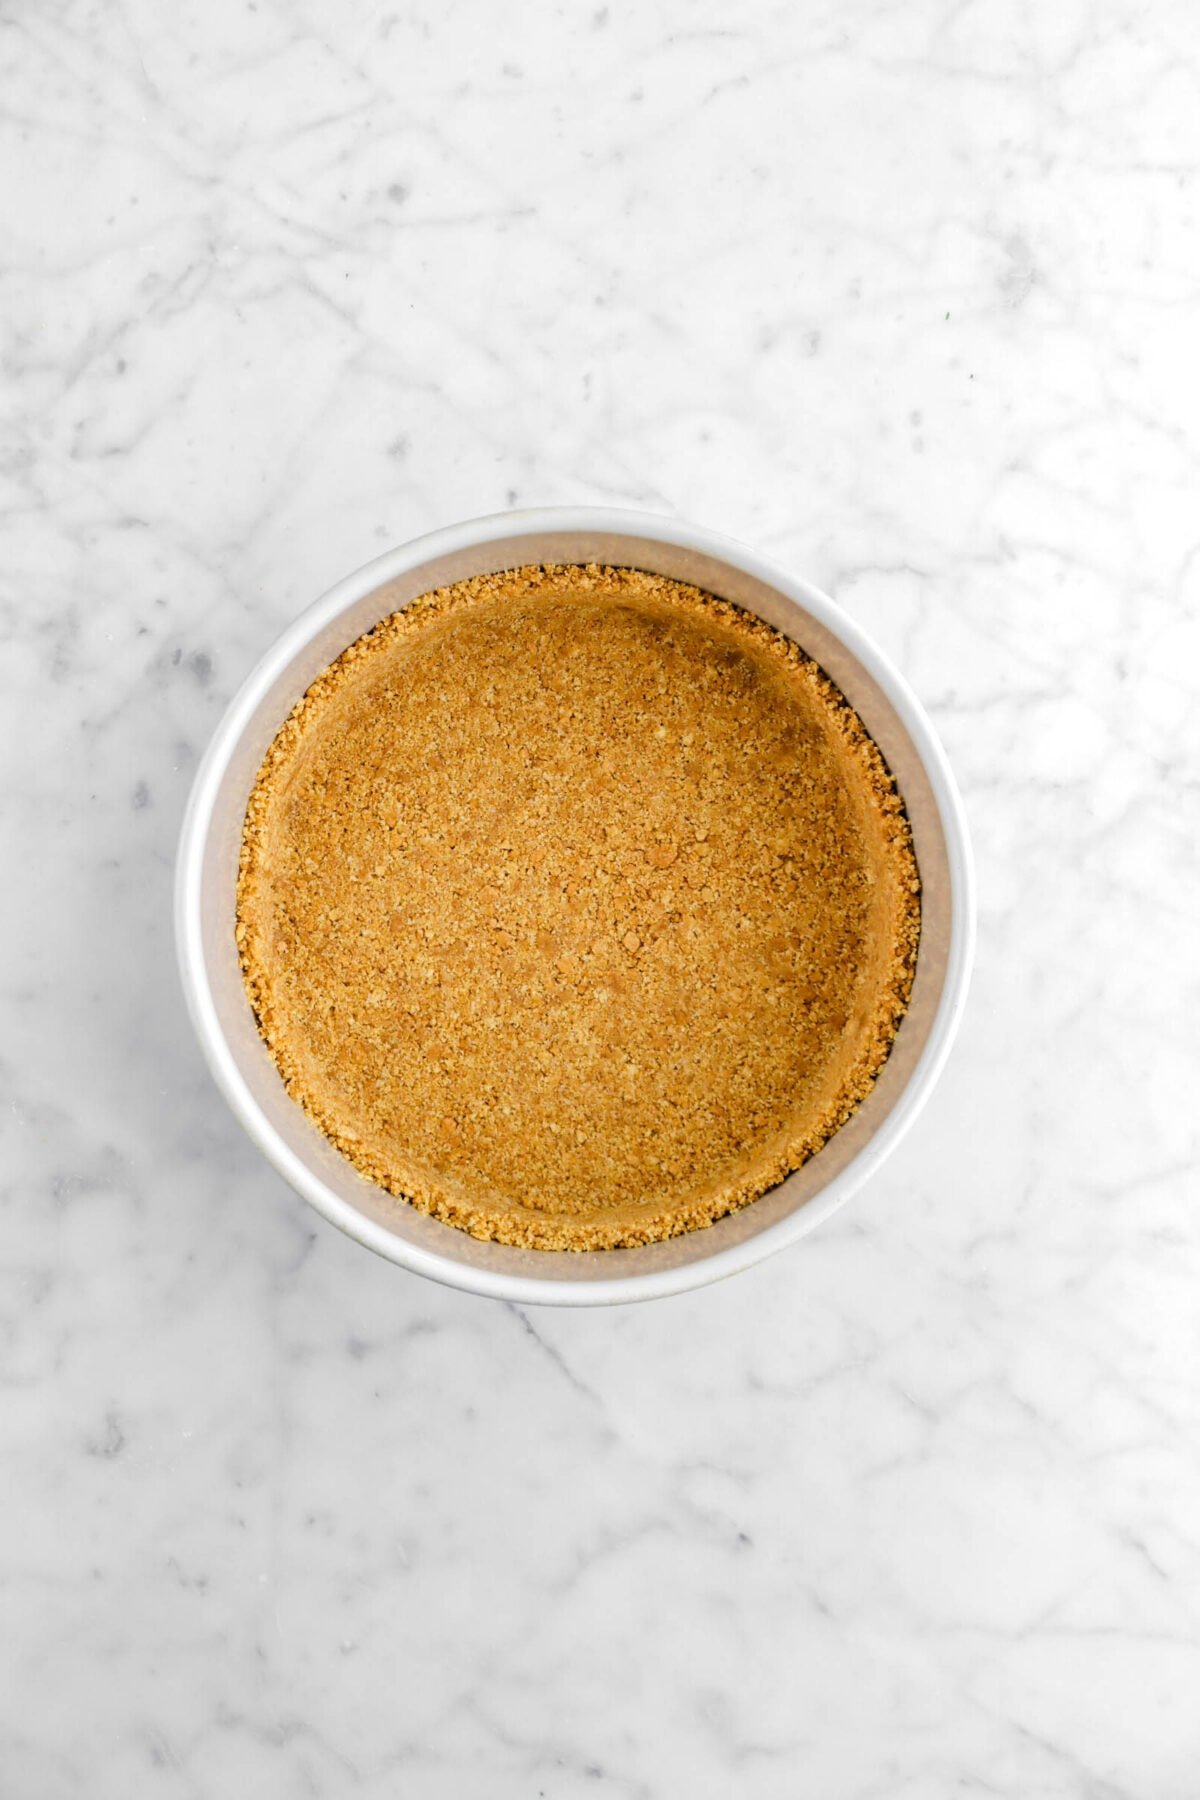
Dump crust into a greased and lined cake pan. Tightly pack down, building the sides up about 1/2 inch and set aside.

Step 2: Make the filling
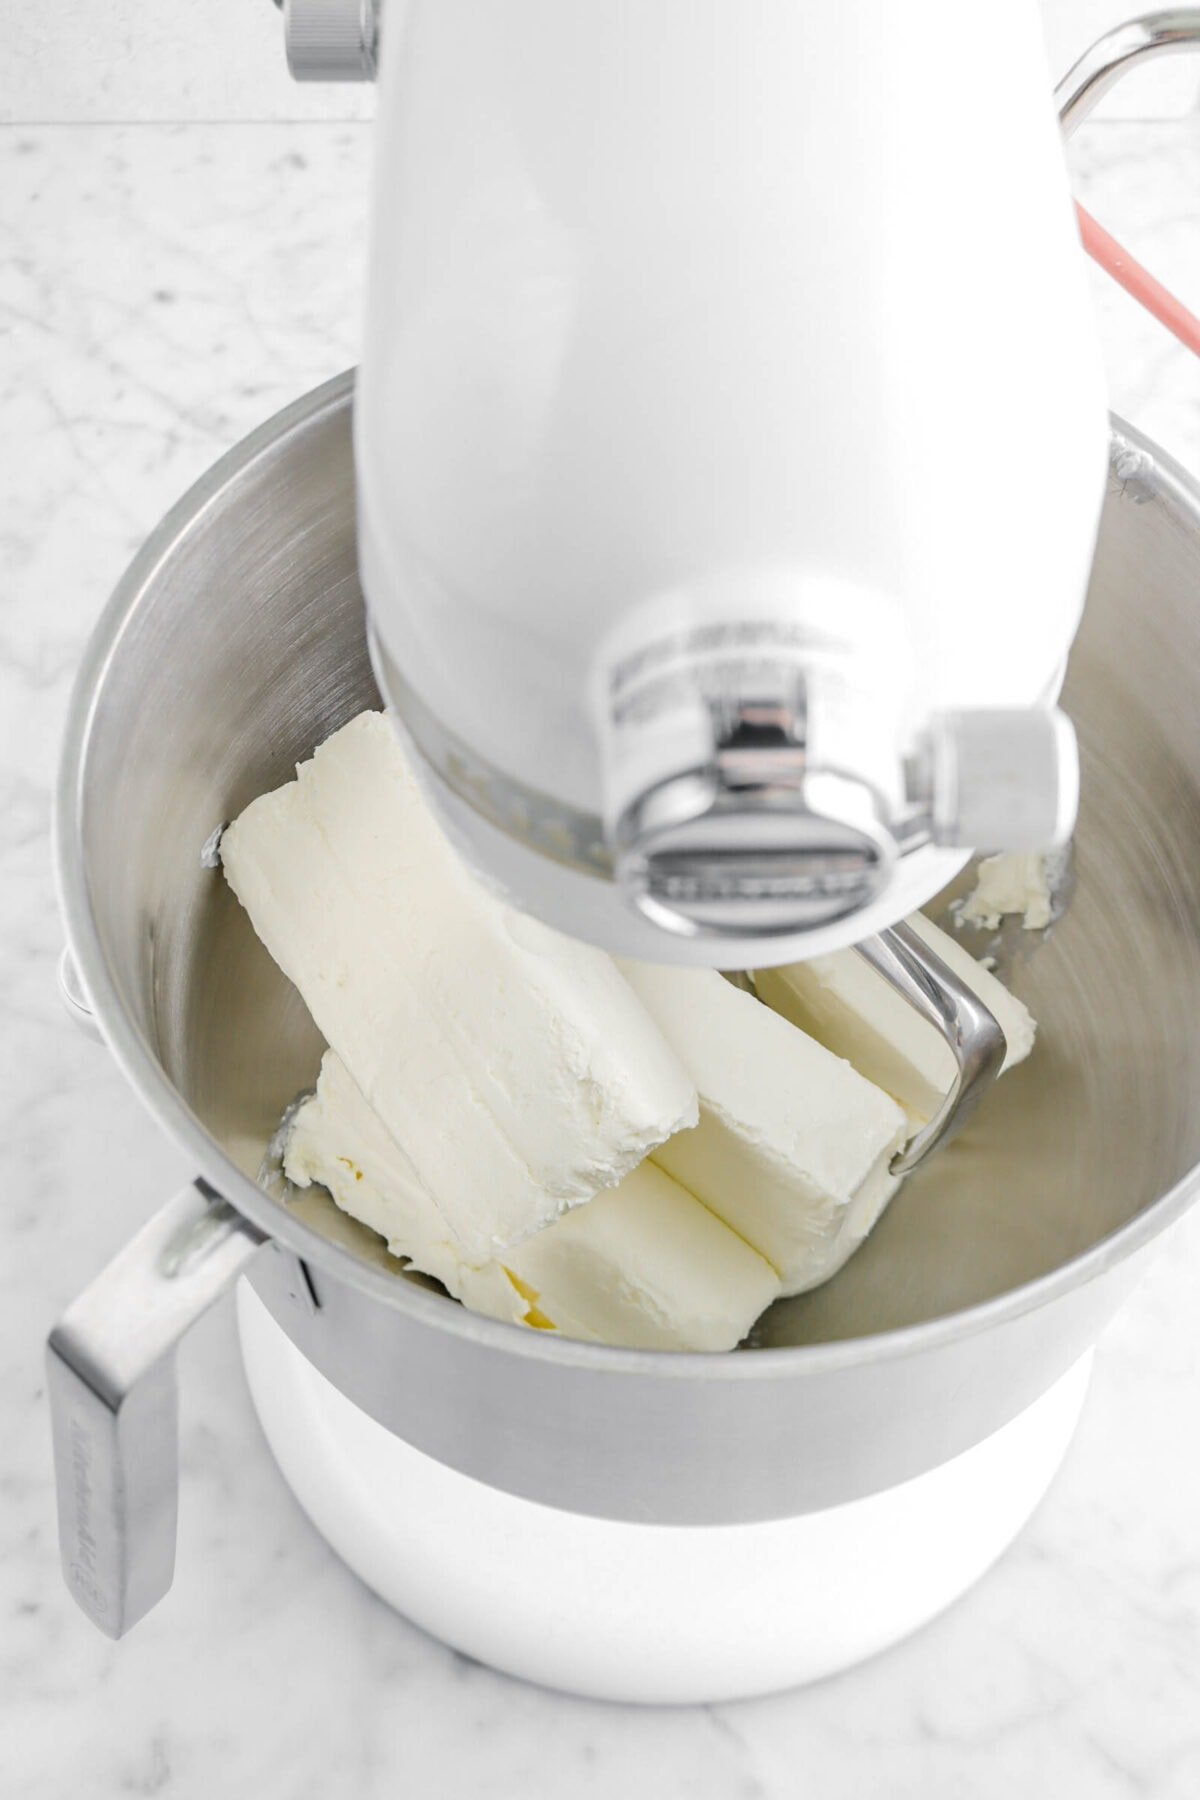
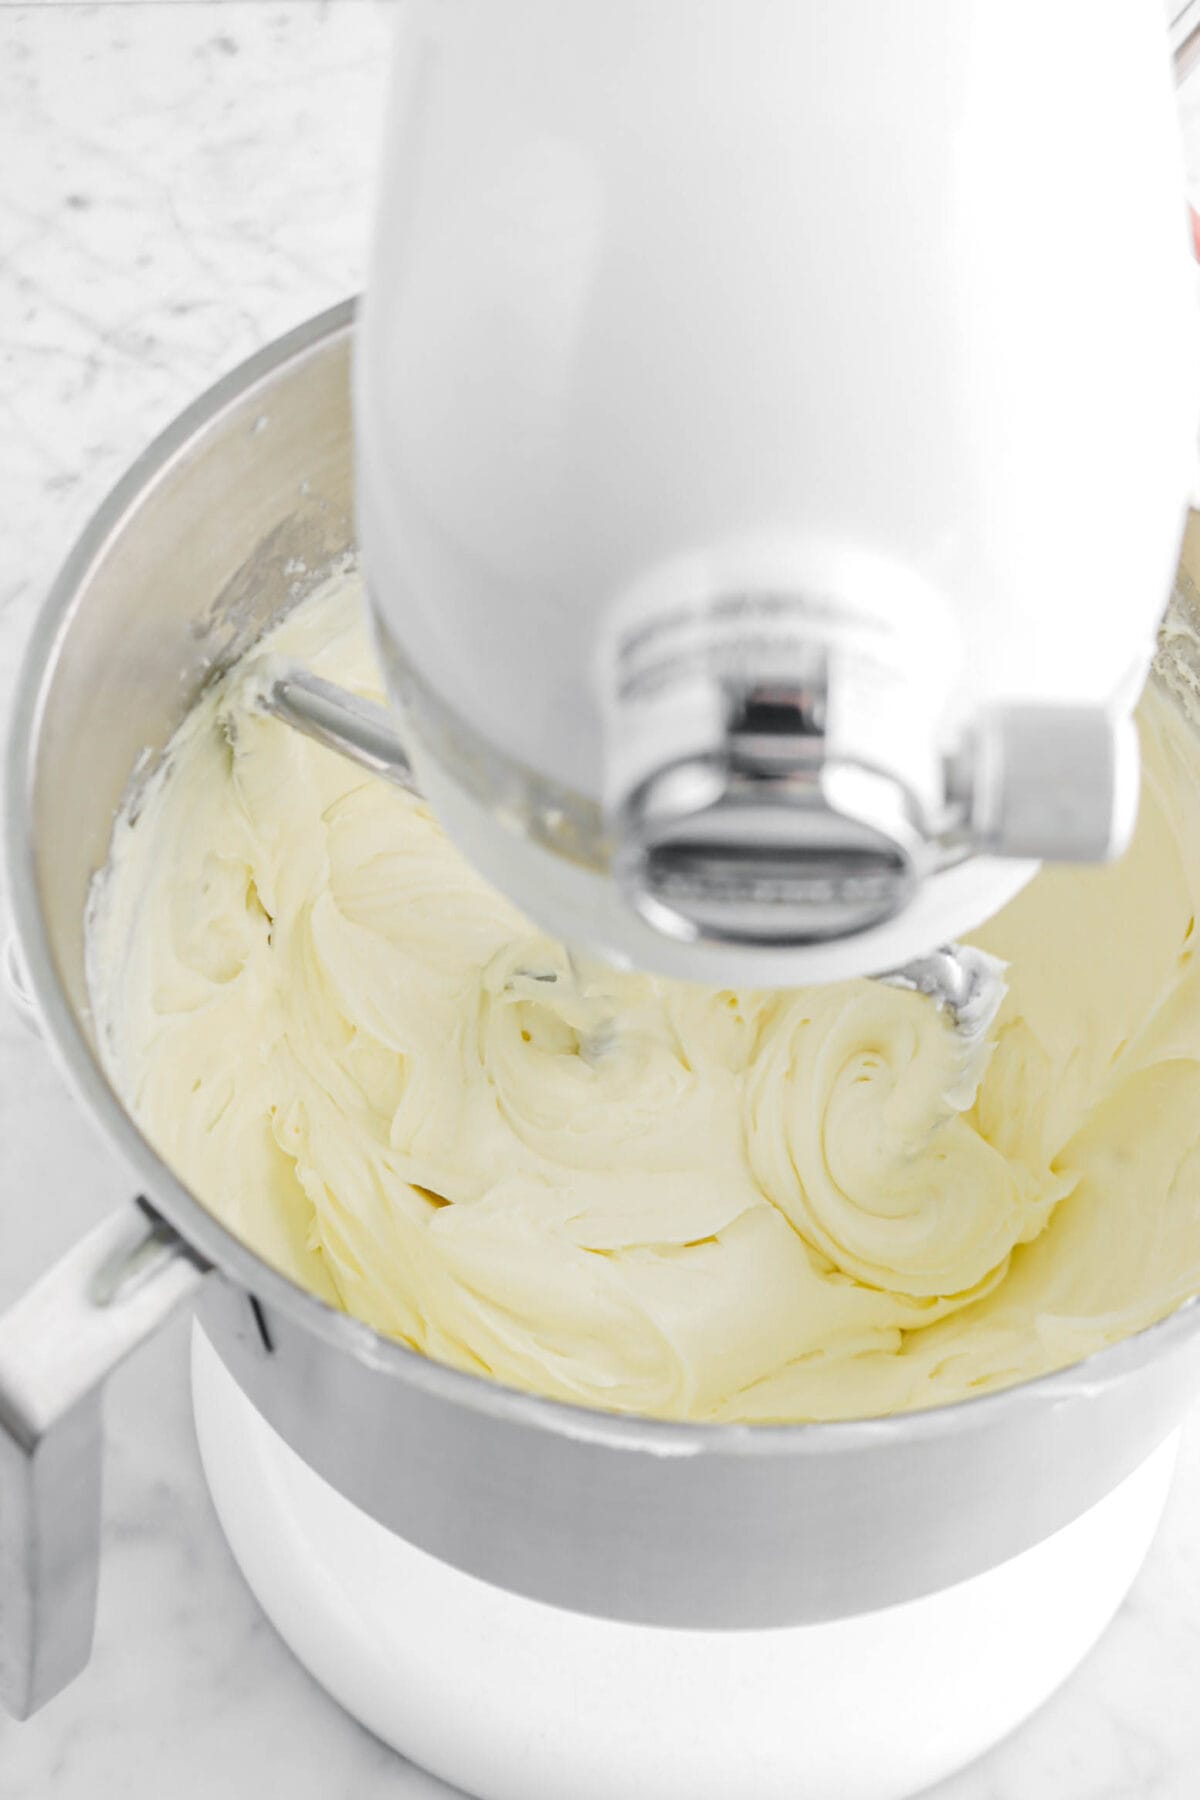
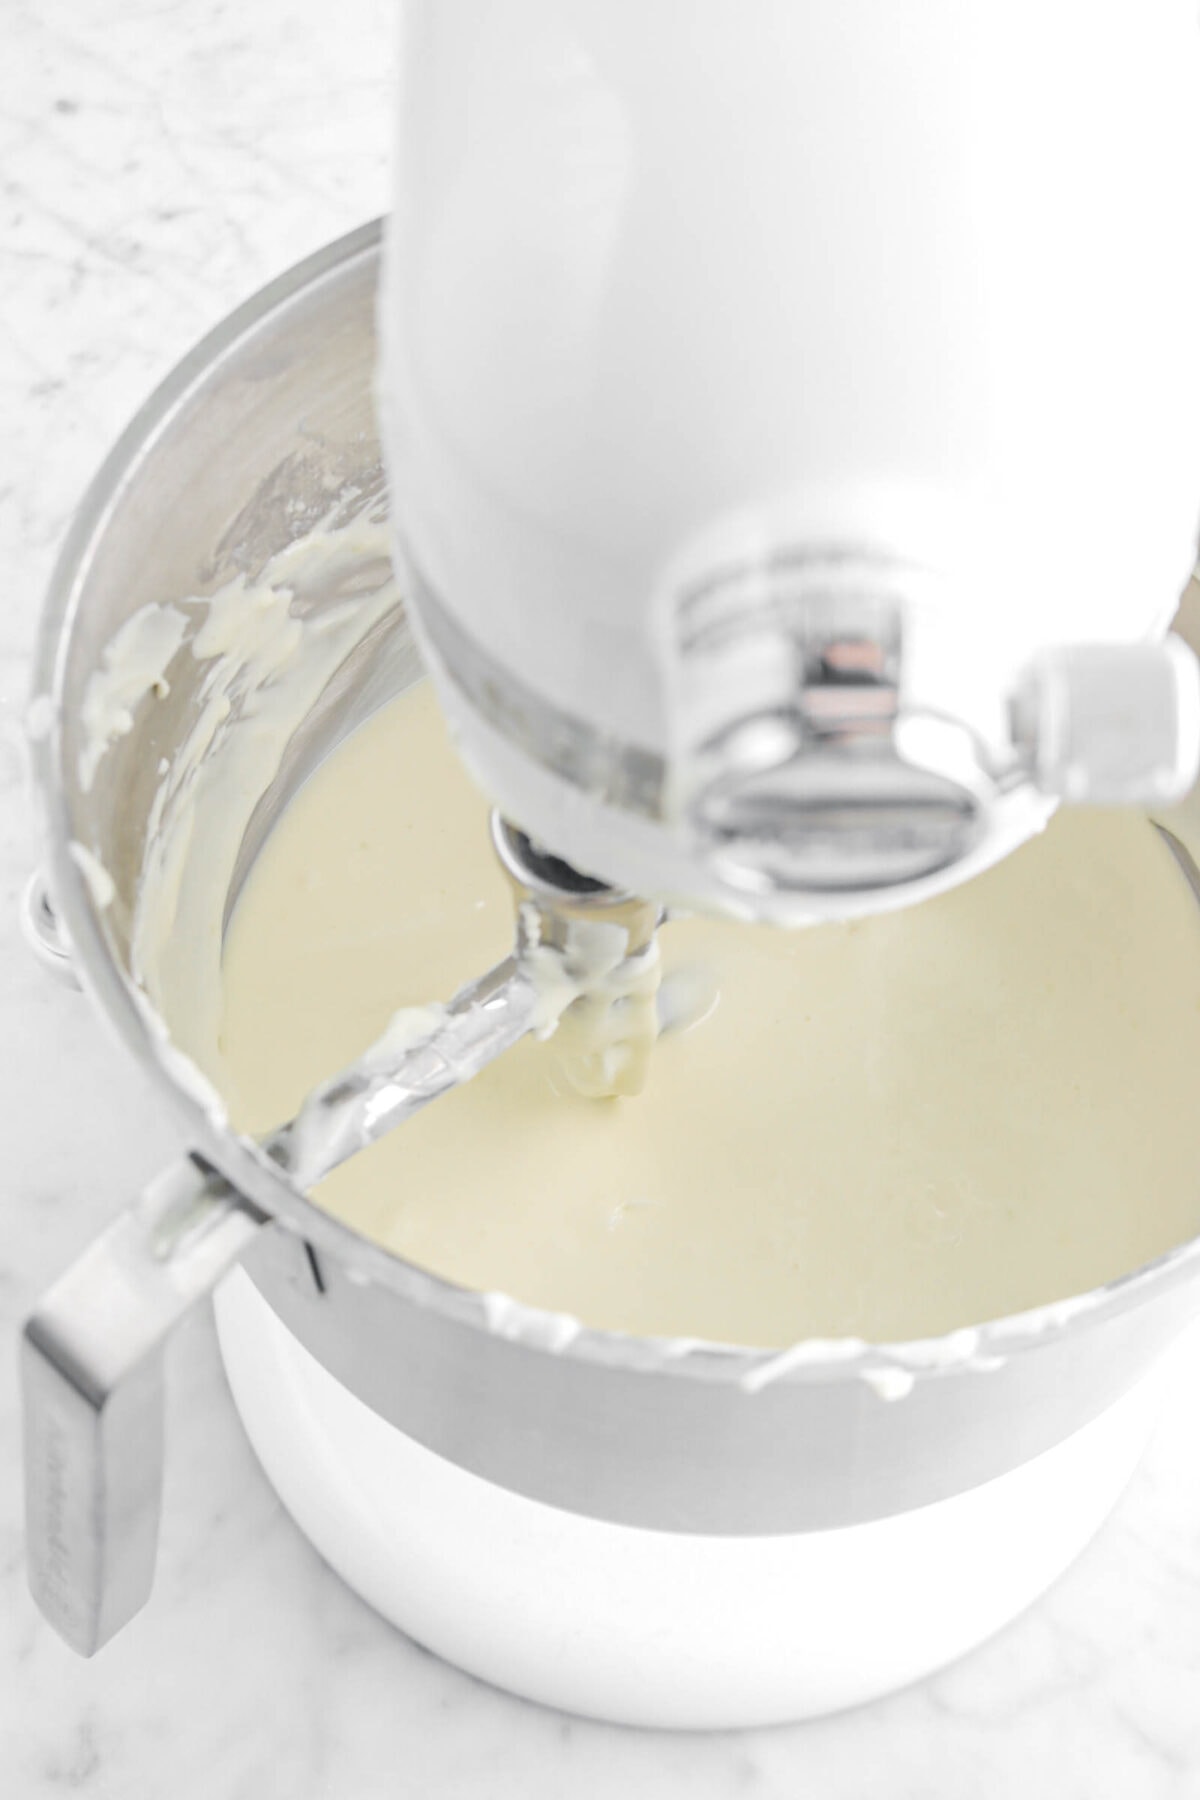
With an electric mixer, beat the cream cheese until smooth and creamy, 2-3 minutes.

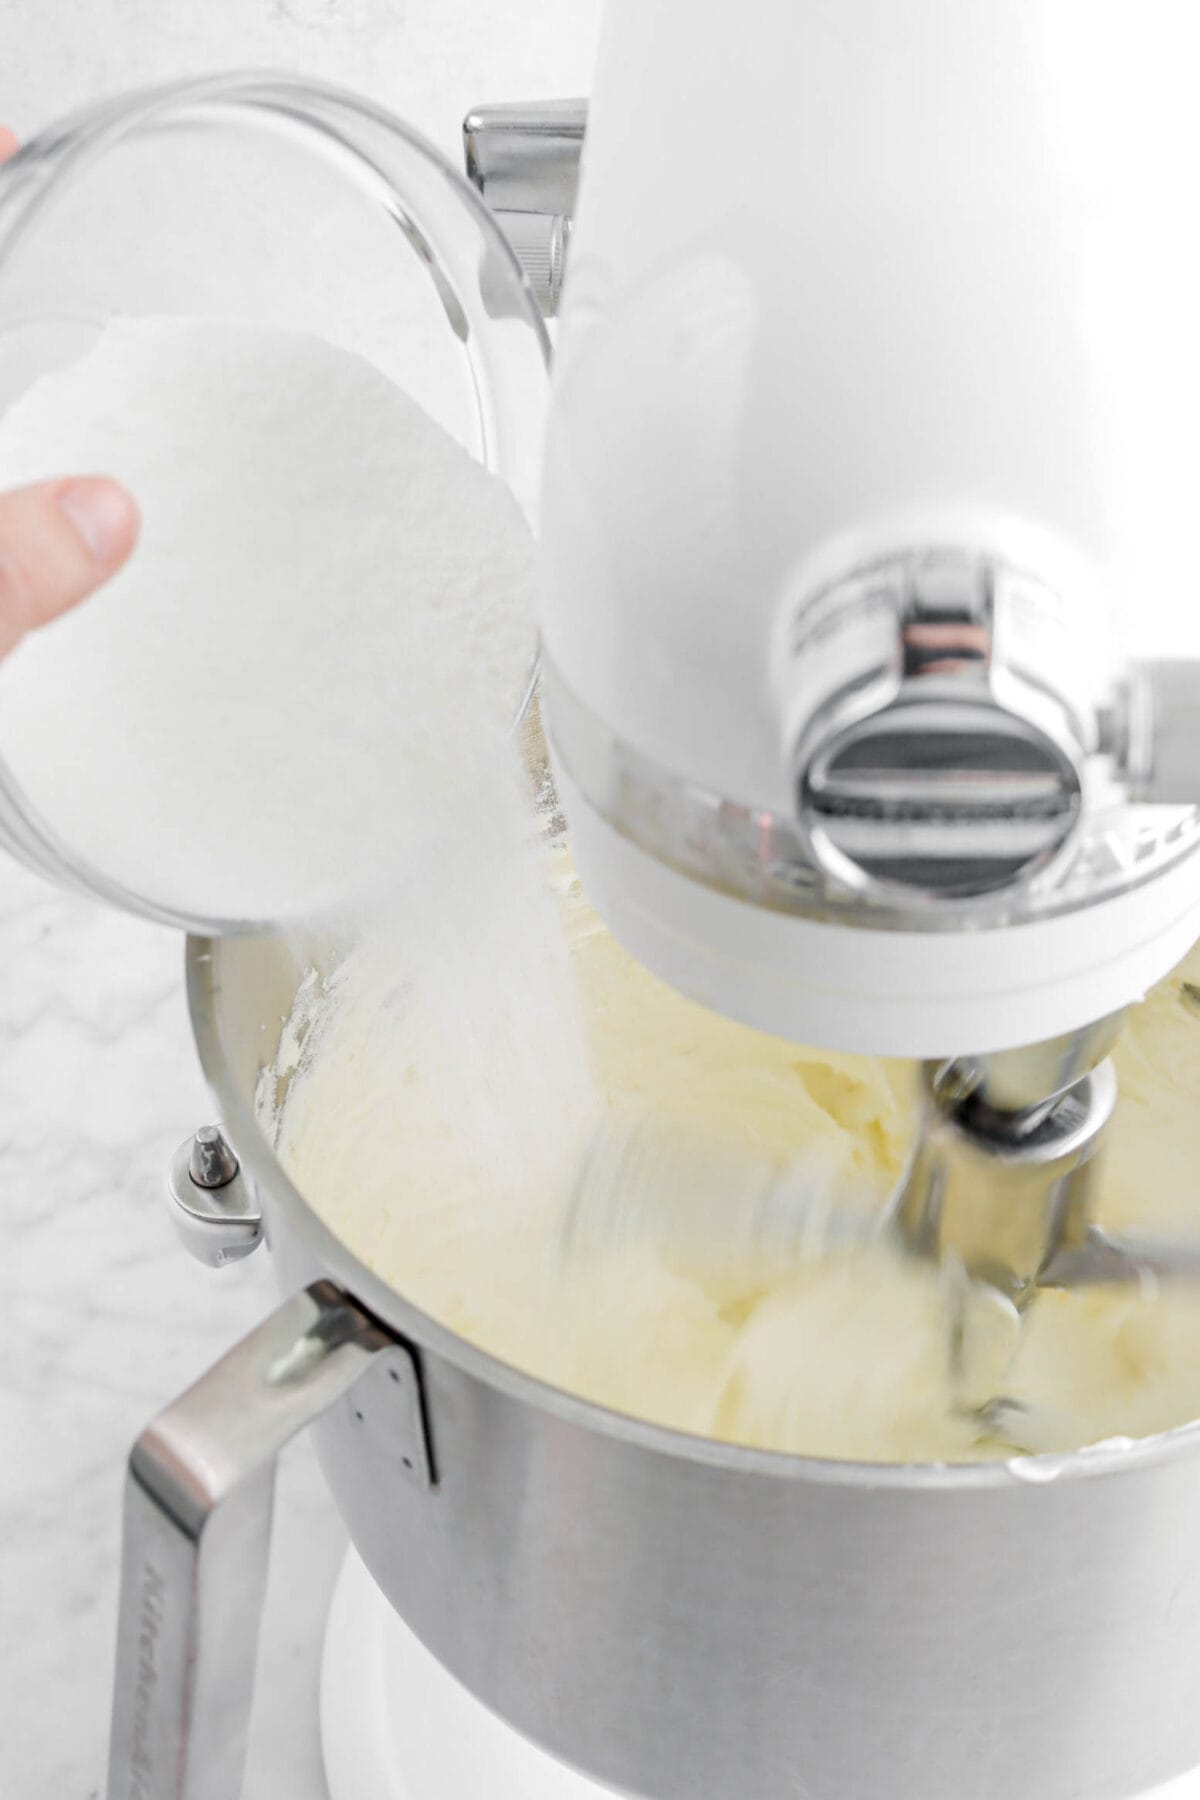
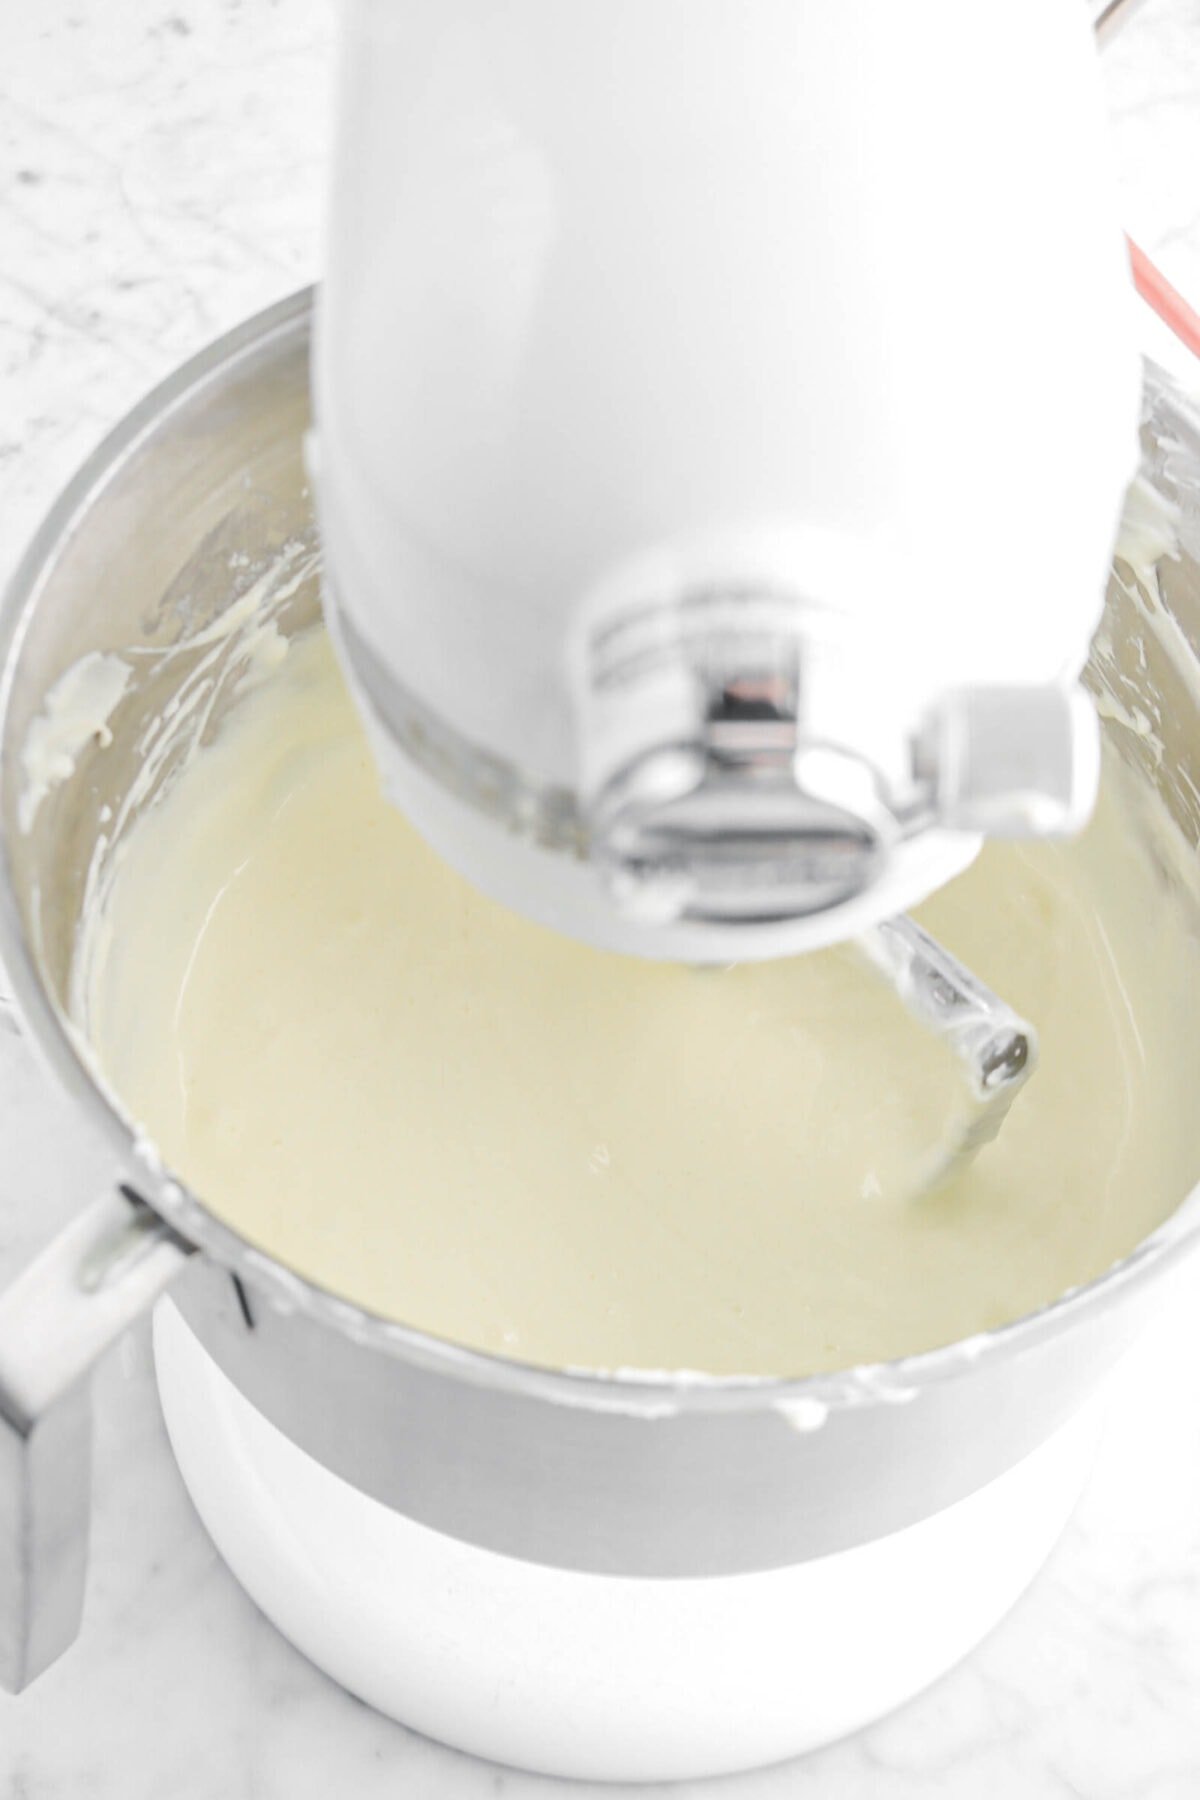
Slowly stream in the sugar.
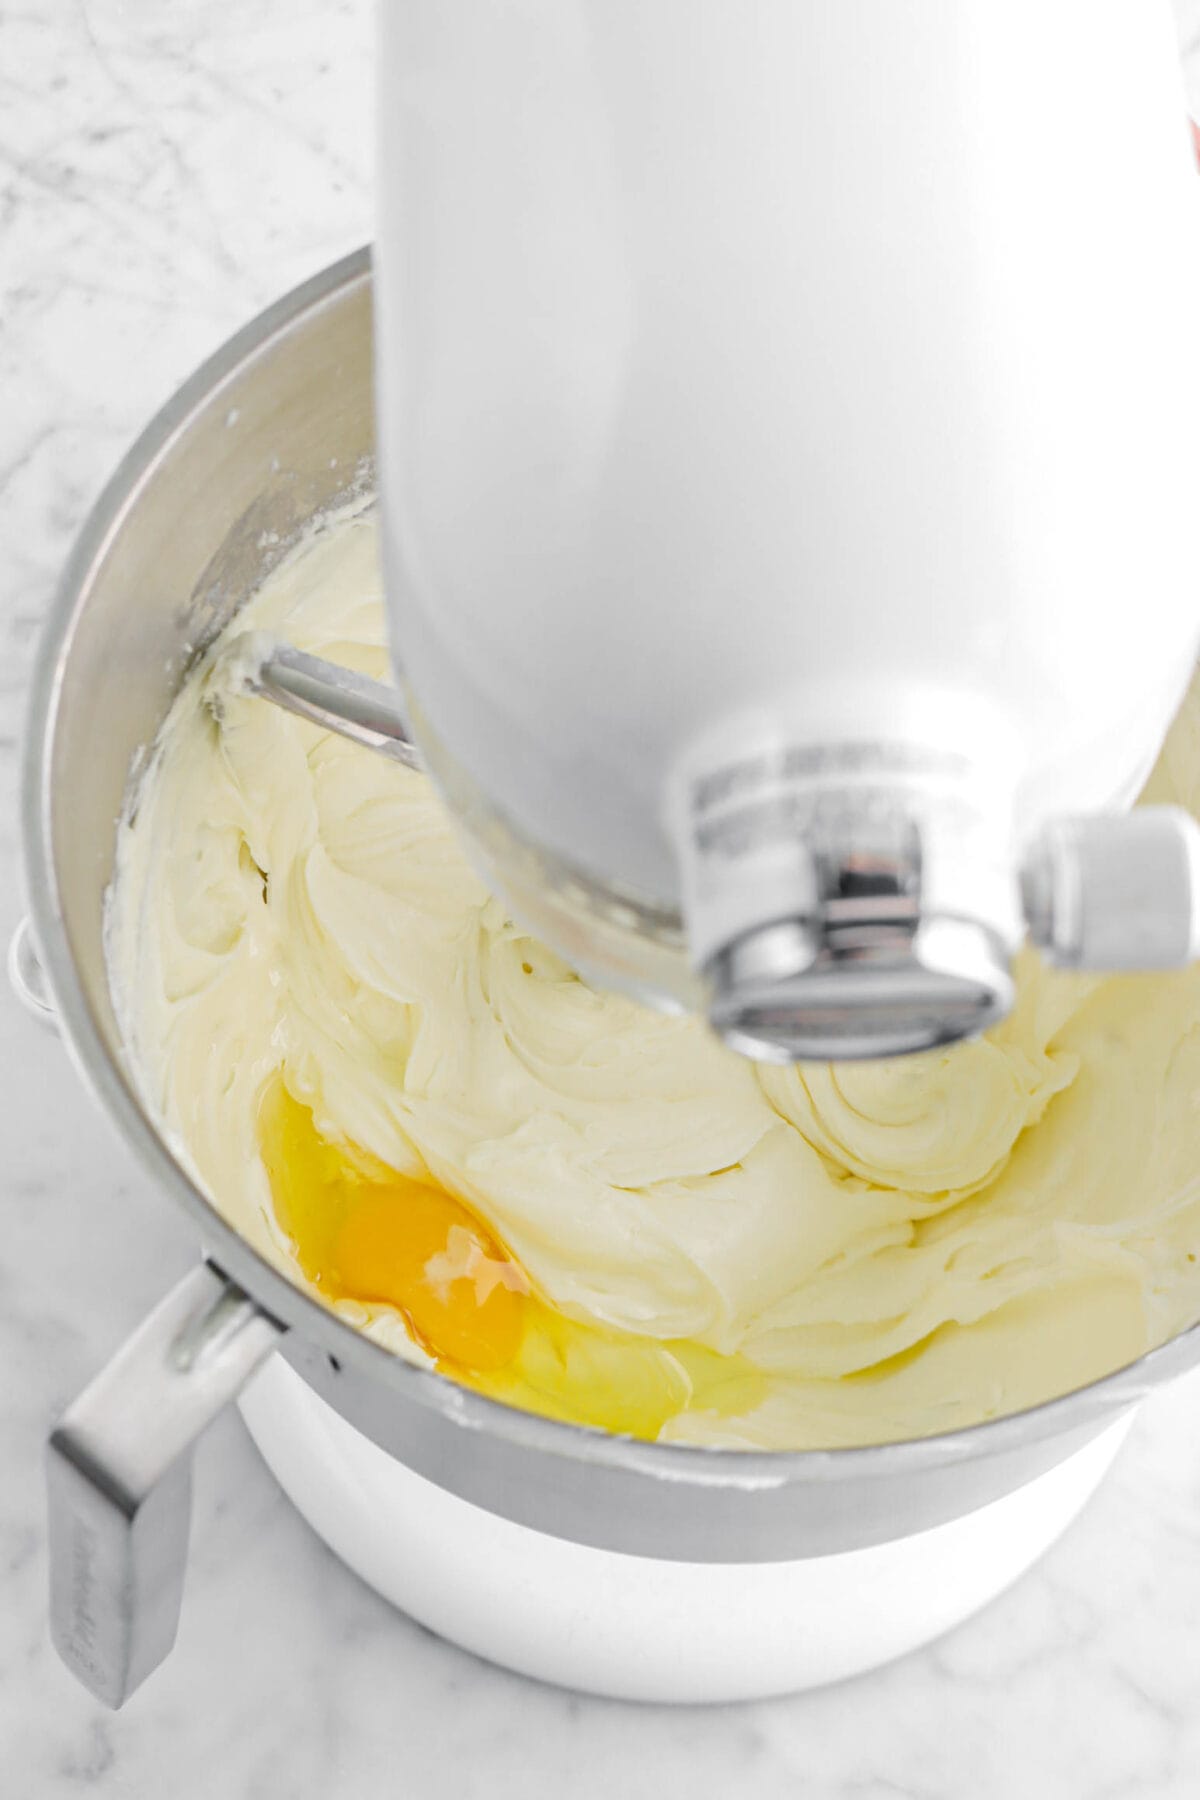
Add eggs, one at a time, mixing well between each addition. Be sure to stop the mixer and scrape down the sides and the bottom of the mixer to ensure the eggs and cheese mixture are fully incorporated with no lumps.
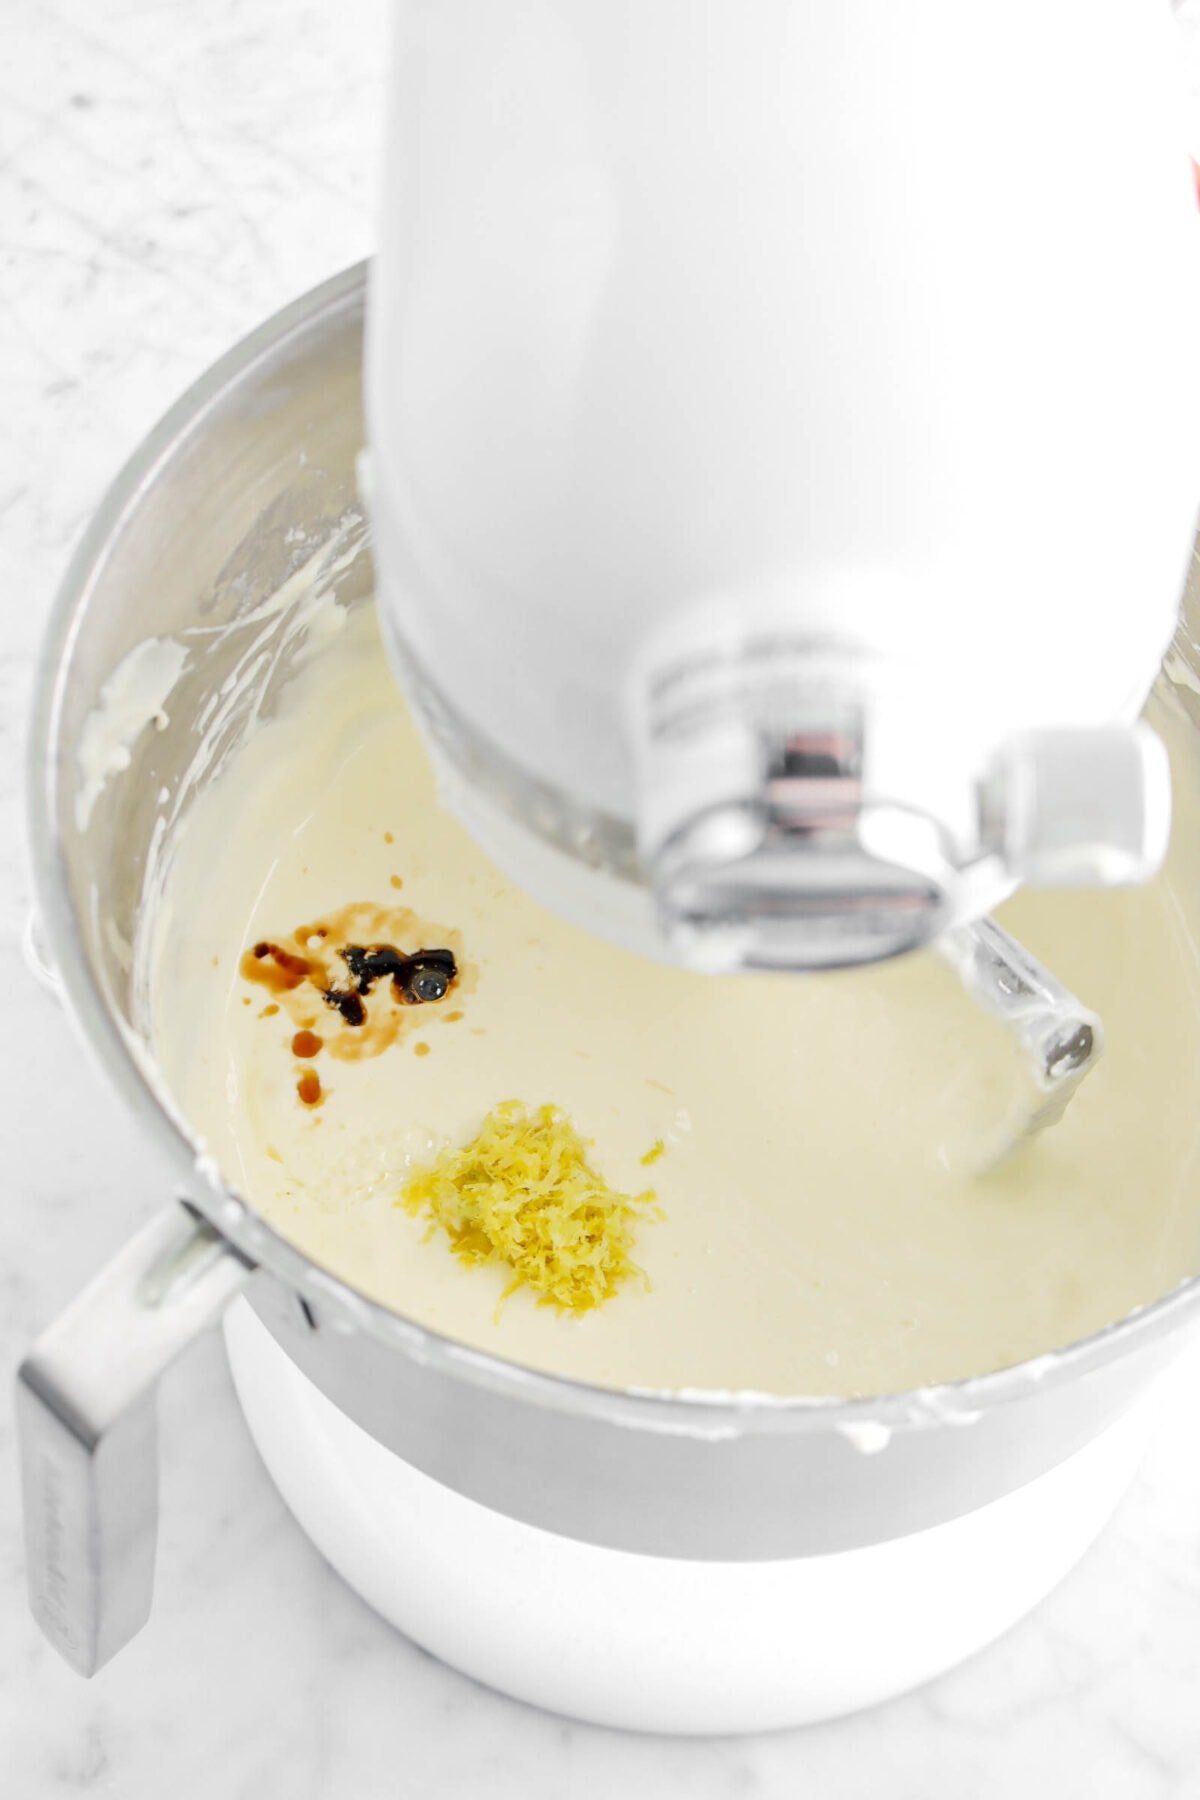
Stir in the lemon zest, lemon juice, and vanilla.
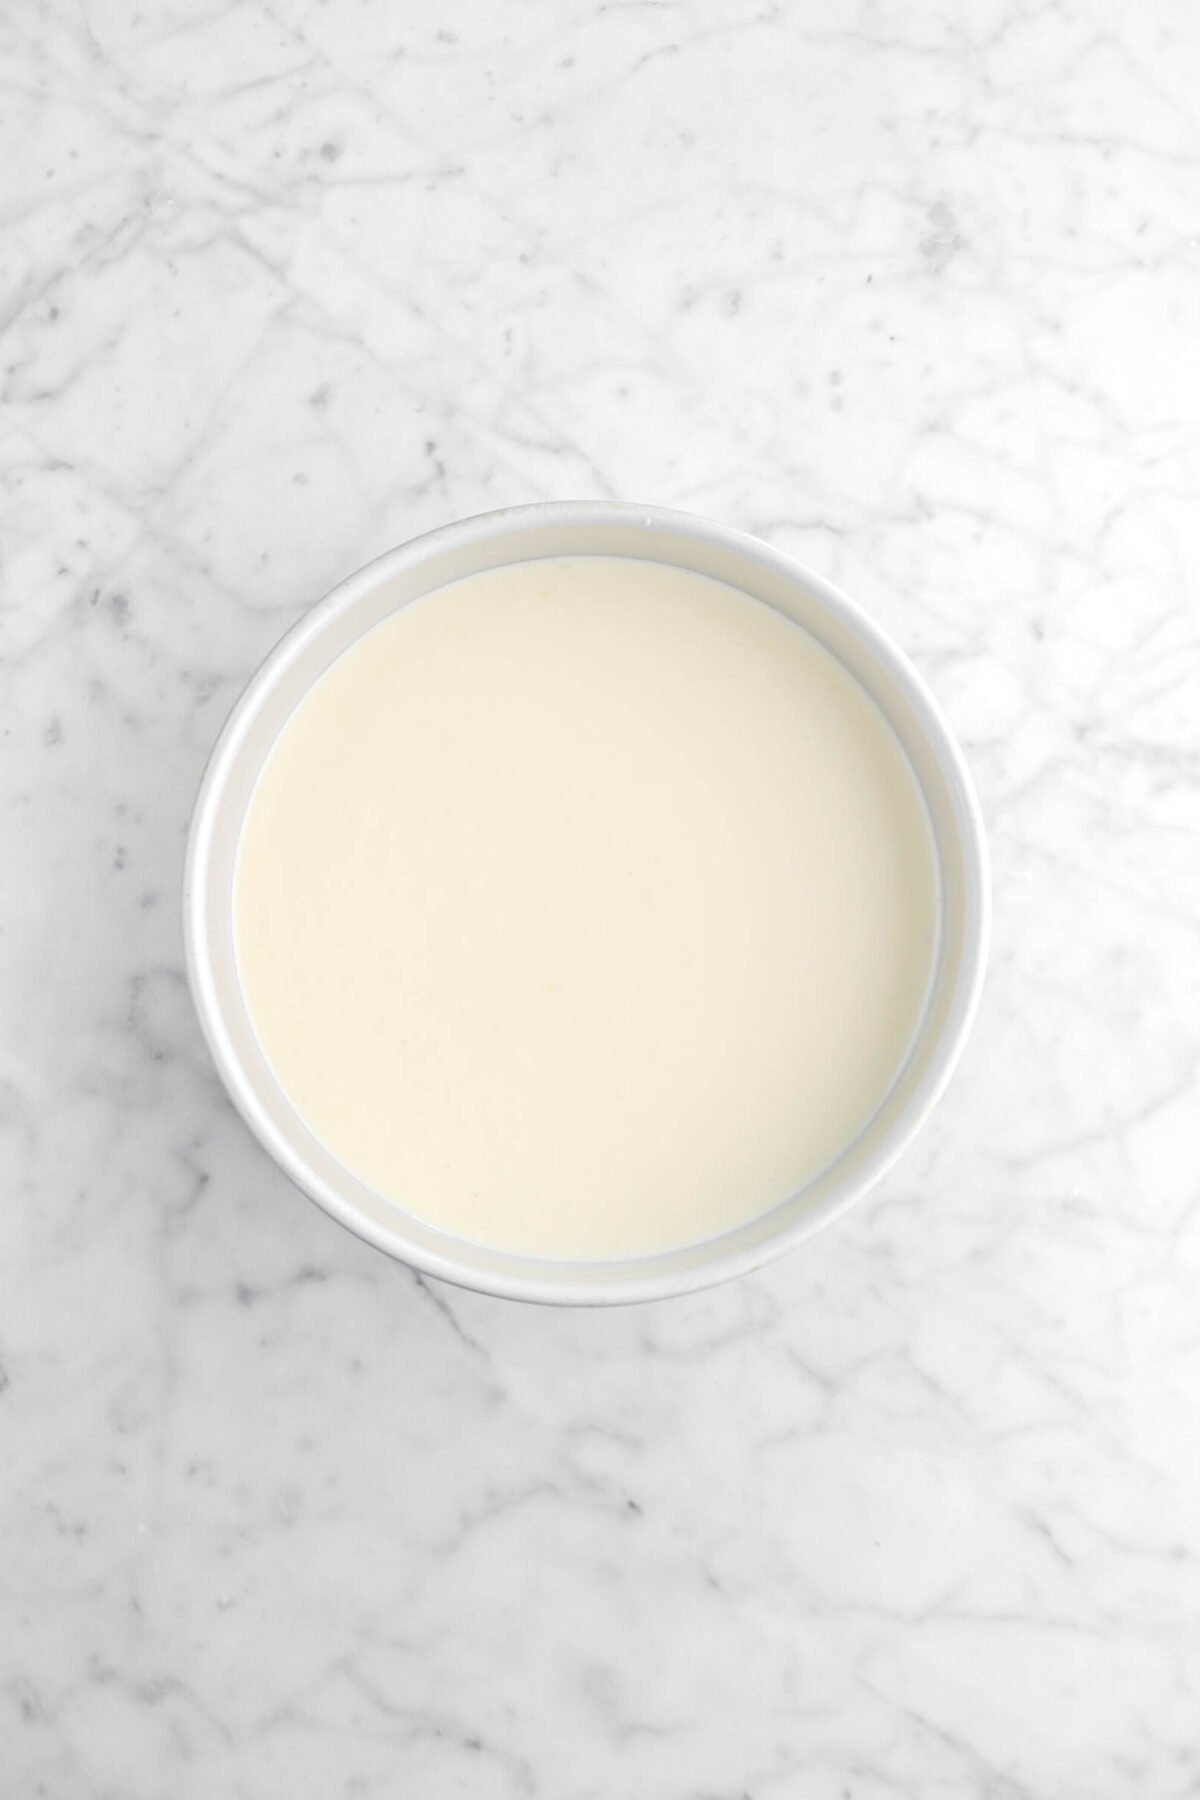
Step 3: Pour into pan and bake
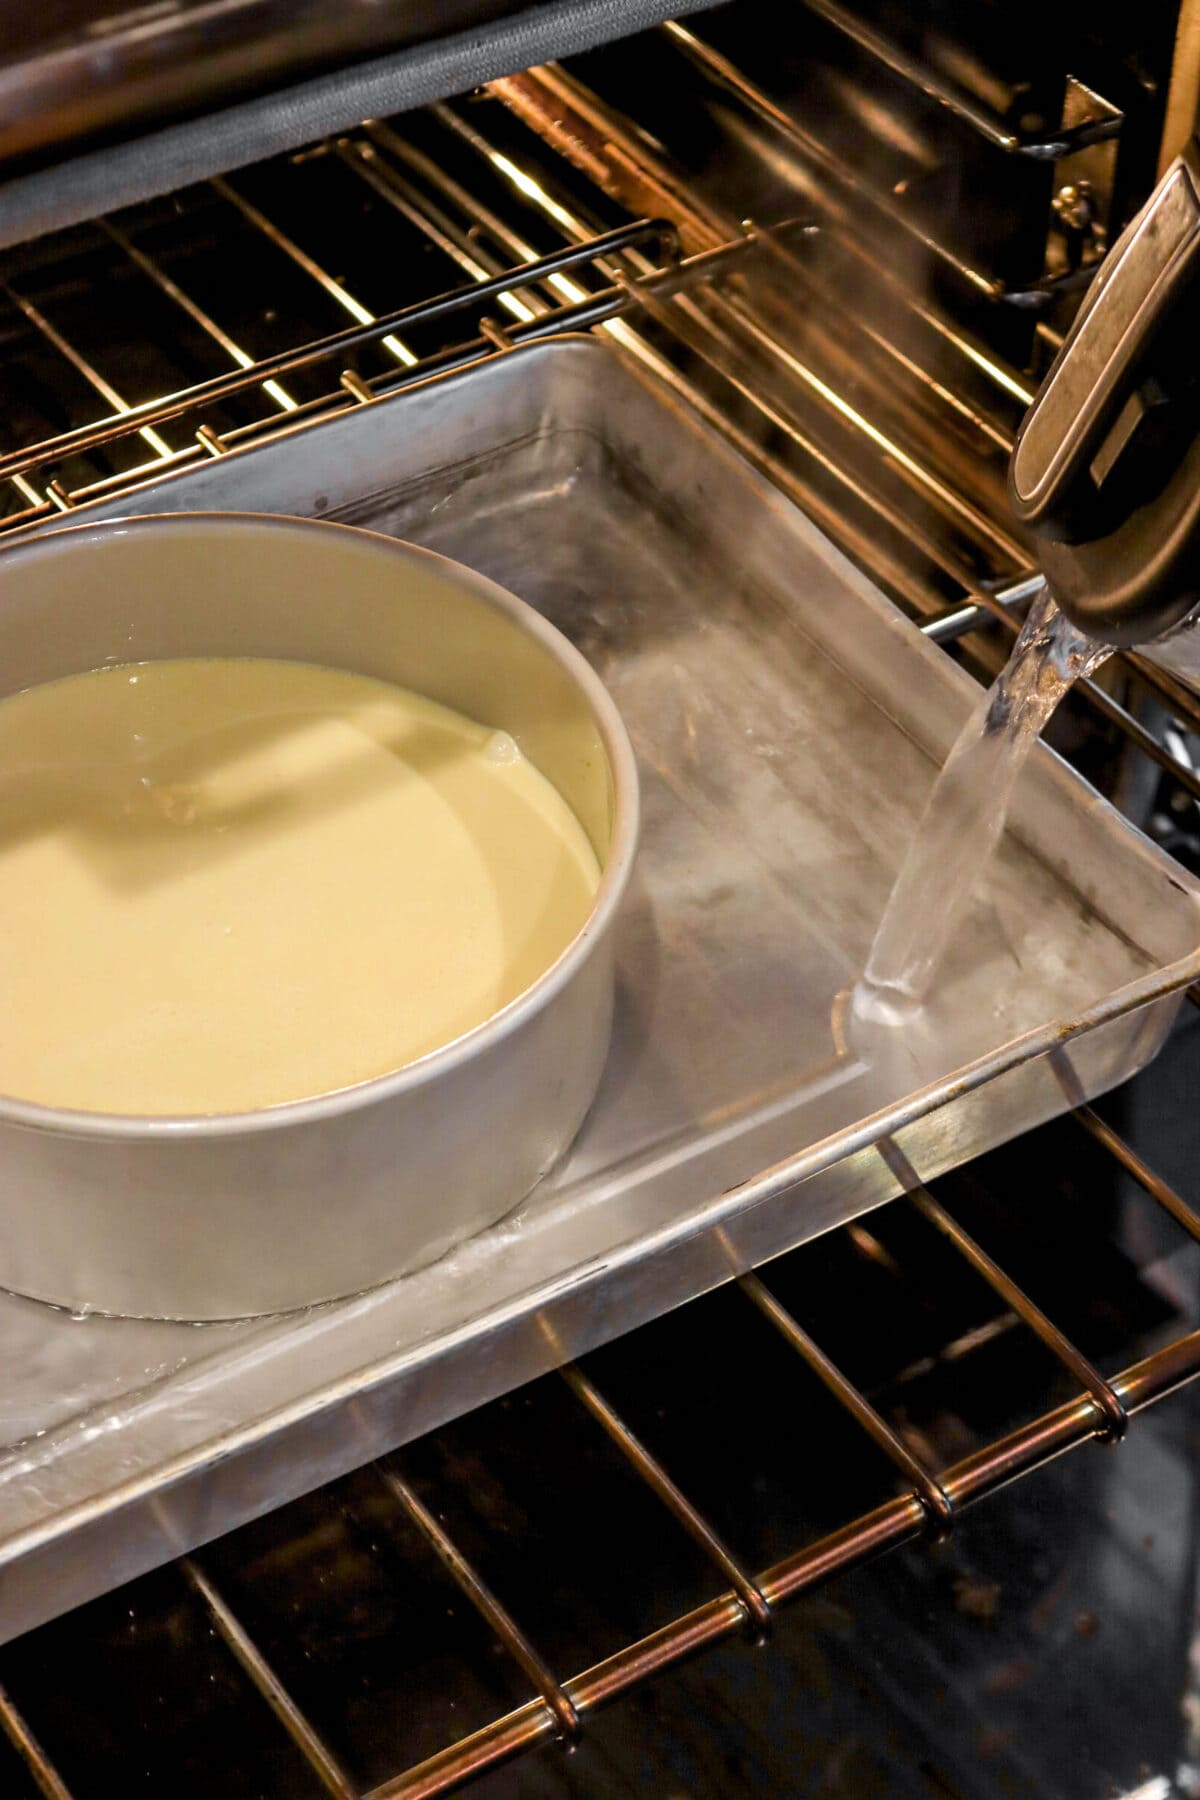
Pour the filling over the crust and place in a large sheet cake pan. Place in the oven and pour boiling water into the sheet cake pan, careful not to get any water into the cheesecake. Close the oven door and bake for 35 minutes. Take out of the oven and let cool completely in the water. Once cooled, remove from the water and cover with foil. Refrigerate for overnight.
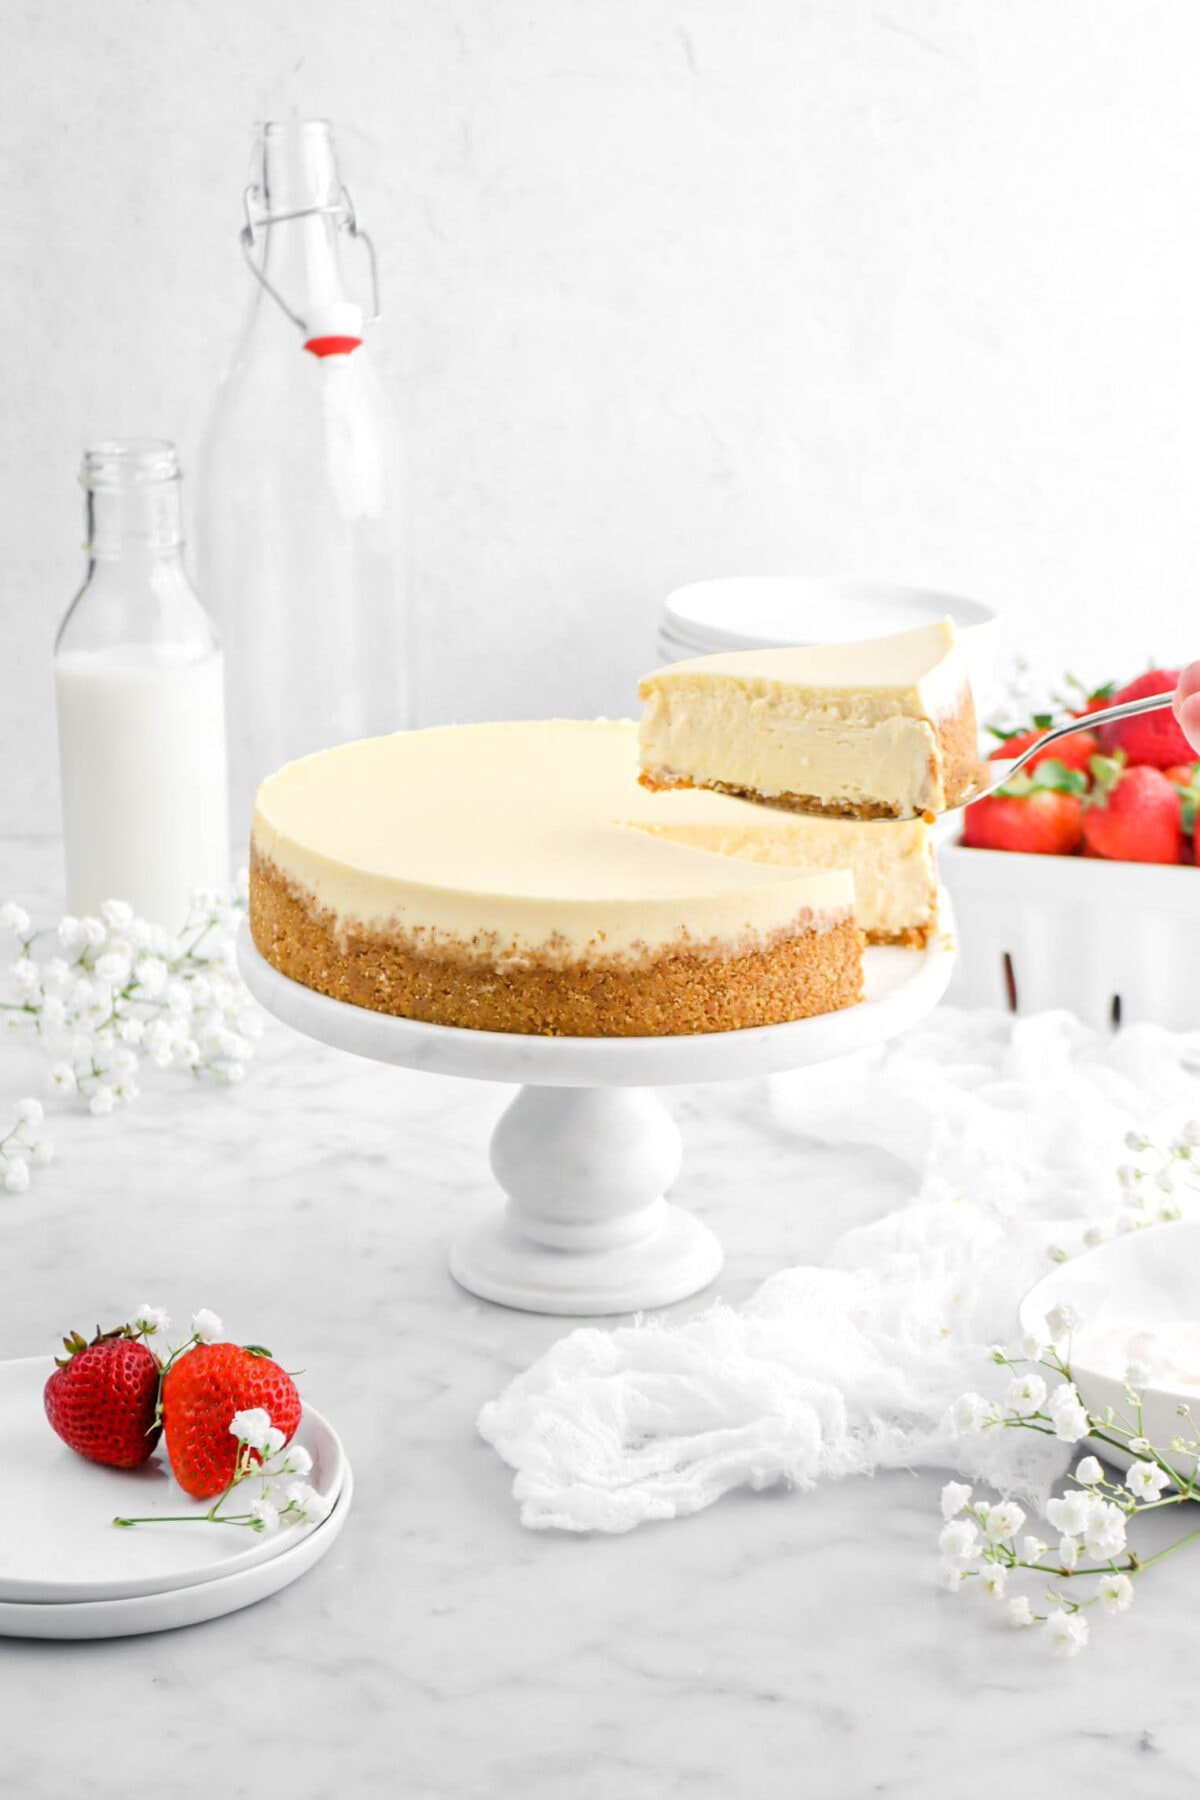
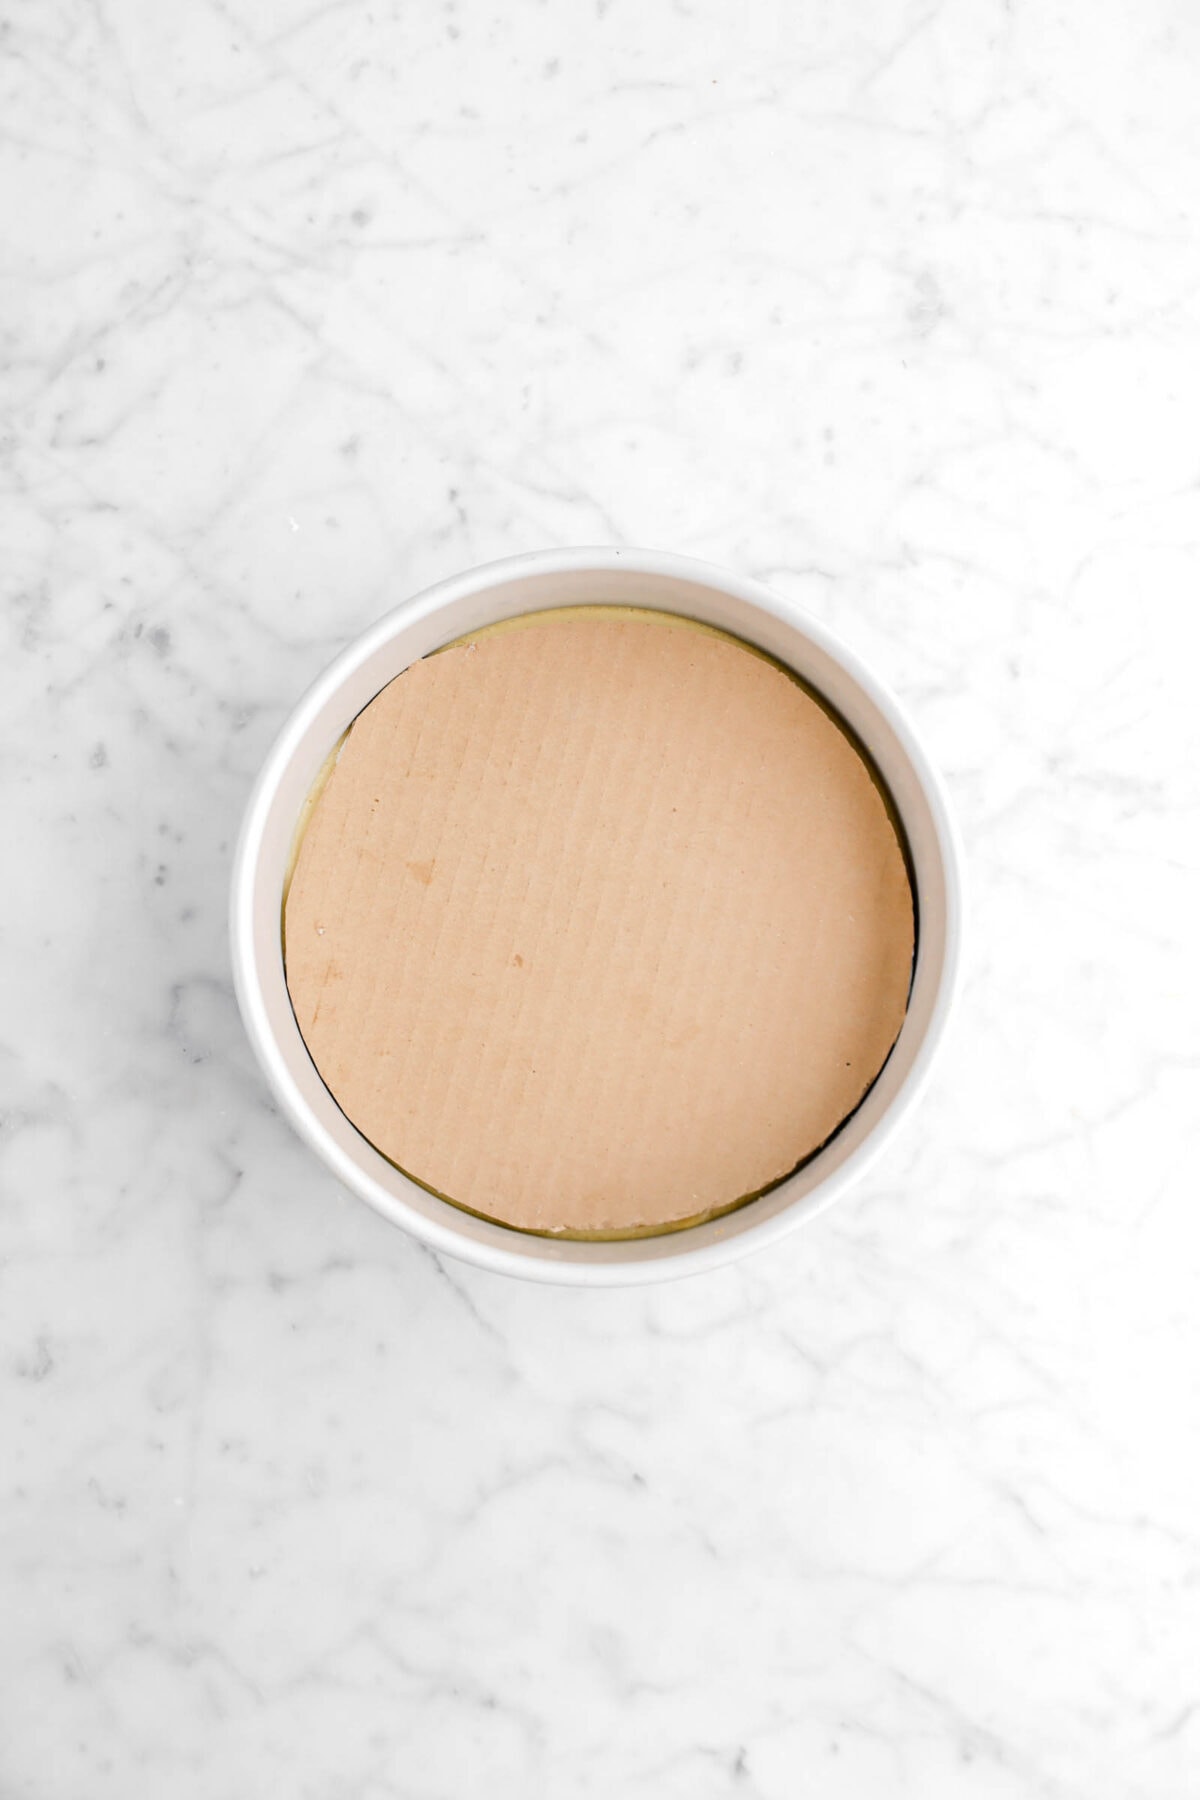
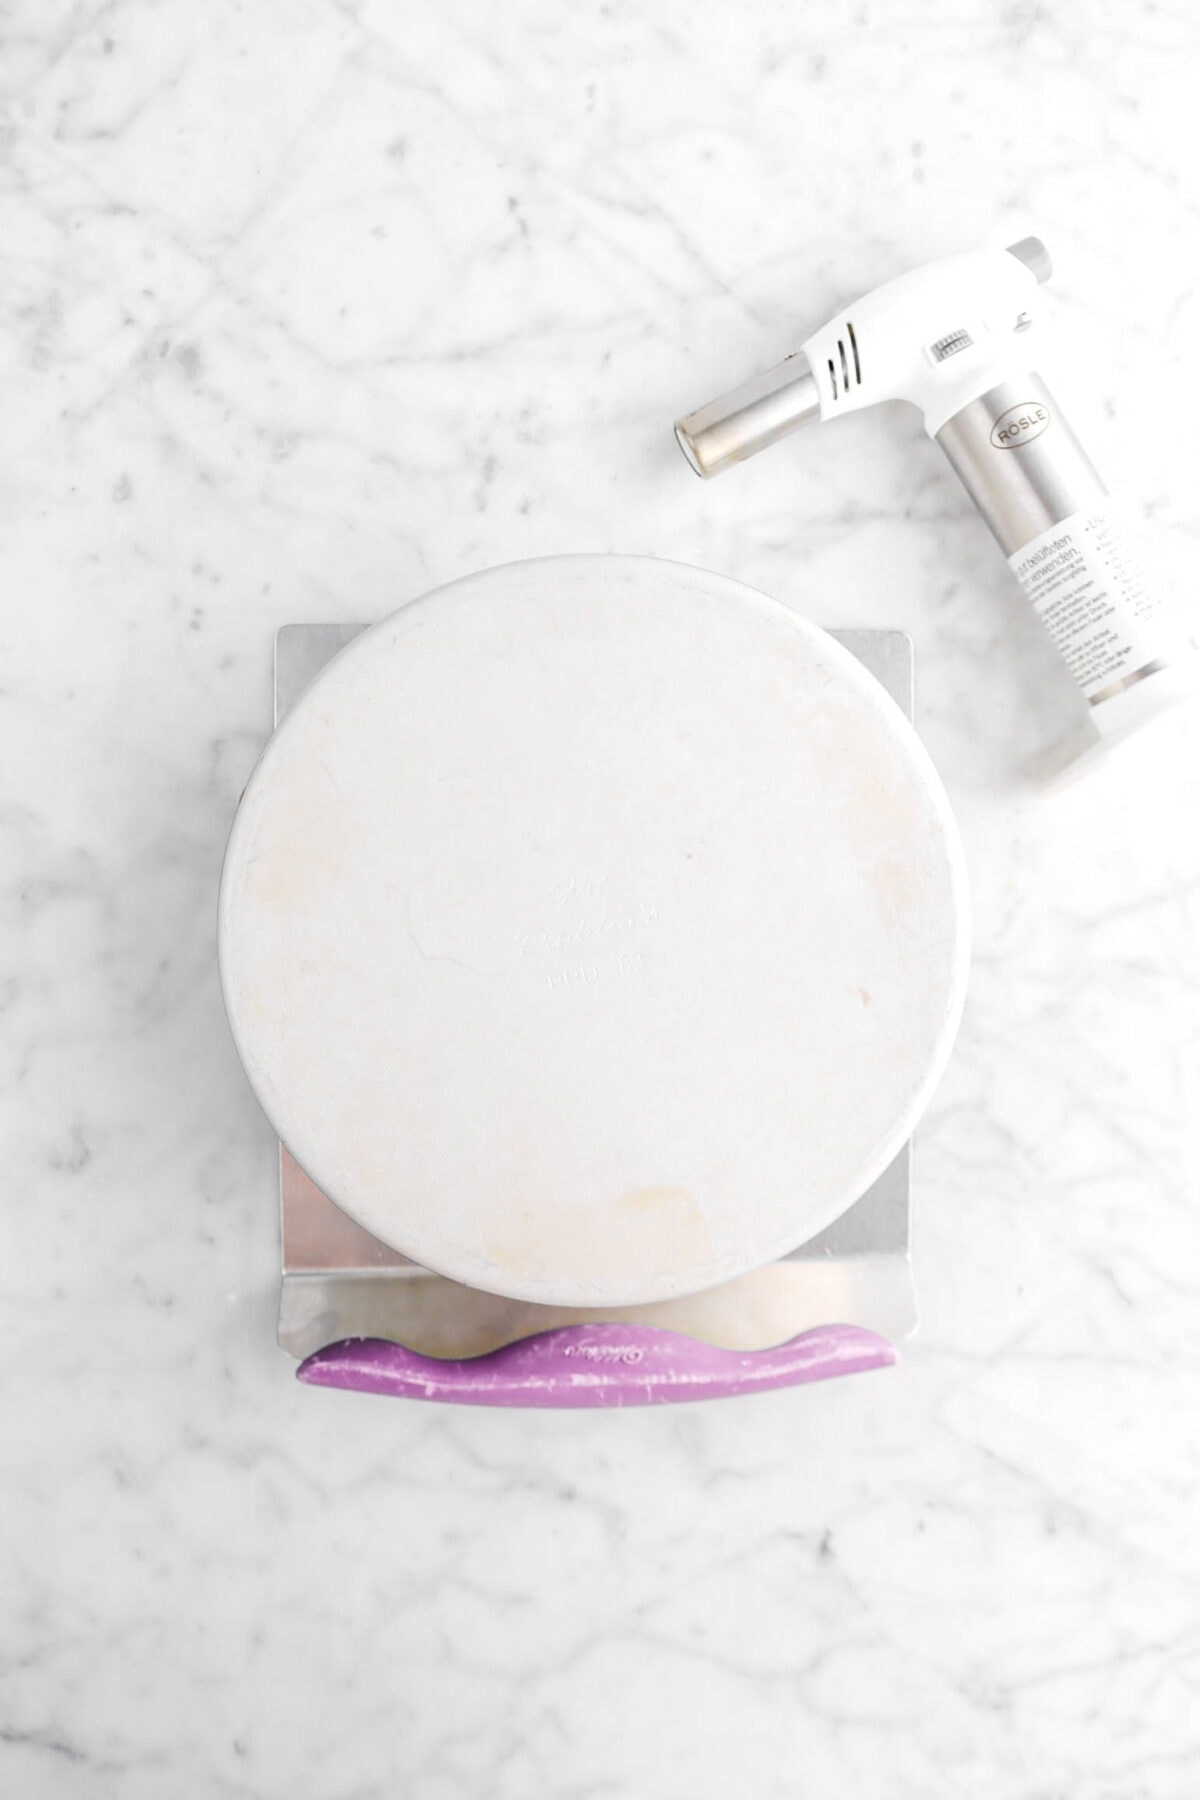
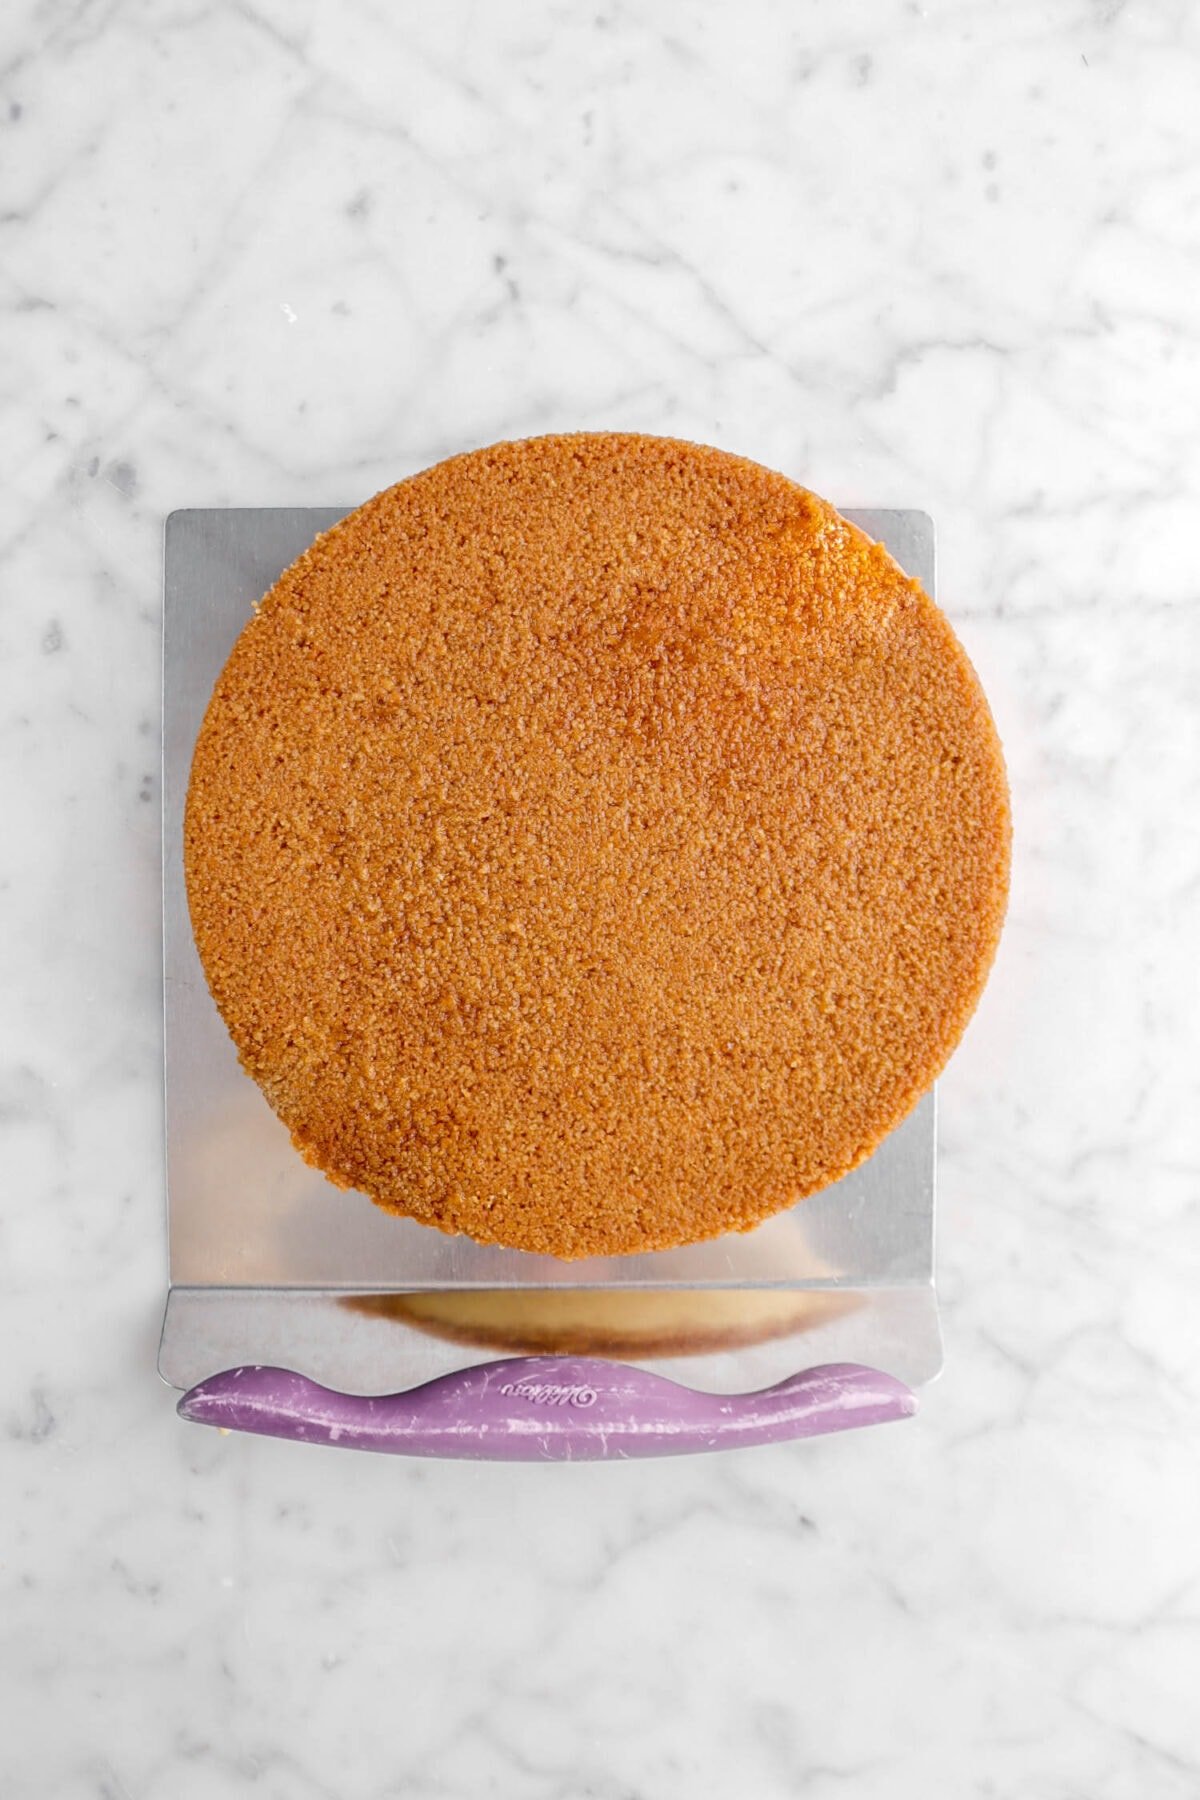
Step 4: Turn out cheesecake
Place 6 inch cake board over the cheesecake. Turn the cake pan upside down onto plate. Gently heat the bottom and sides of the cake pan with a blow torch until cheesecake releases (you may have to tap the cake pan on the bottom to get it to release). Remove pan and invert onto serving plate. Remove cake board quickly.
New York Style Cheesecake FAQ’s
Why did my cheesecake crack? There are a couple of things that could’ve caused your cheesecake to crack. There might’ve been bubbles in your filling, which we recommend tapping the cake pan on the counter to pop any bubbles that might be hiding in the filling. Alternatively, the oven door might have been opened before the cheesecake was done baking. If this happens, you lose all the moisture in your oven and it causes the cheesecake crack. Also, if you took the cheesecake out of the water before it was fully cooled, this may also cause cracking!
How can I cover cracks in my cheesecake? The wonderful thing about this cheesecake is that, if it cracks, you can very easily cover it up! Use Chantilly cream, jam, fresh fruit and hide the crack(s) and also make a stunning summery statement!
Can this recipe be made gluten-free? Actually, yes! The only thing containing gluten in this recipe are the graham crackers. If you use gluten-free graham crackers, this recipe will be 100% gluten free.
Why did my cheesecake stick to the pan? This sounds like the cake pan might not have been greased and lined. This step is SUPER important. Though, if you did, the cheesecake might still be too cold. Use a blow torch and gently heat the bottom/sides of the cake pan to loosen it, as stated in the directions.
Topping Ideas
When it comes to this classic cheesecake, the possibilities are pretty much endless! You can keep it simple and serve it as is, but here are some of our favorite ways to decorate this decadent dessert:
- Make some Chantilly Cream and decorate this cheesecake however you wish! Depending on the time of year you’re serving this cheesecake, you can pipe just about anything. You can also just keep it simple!
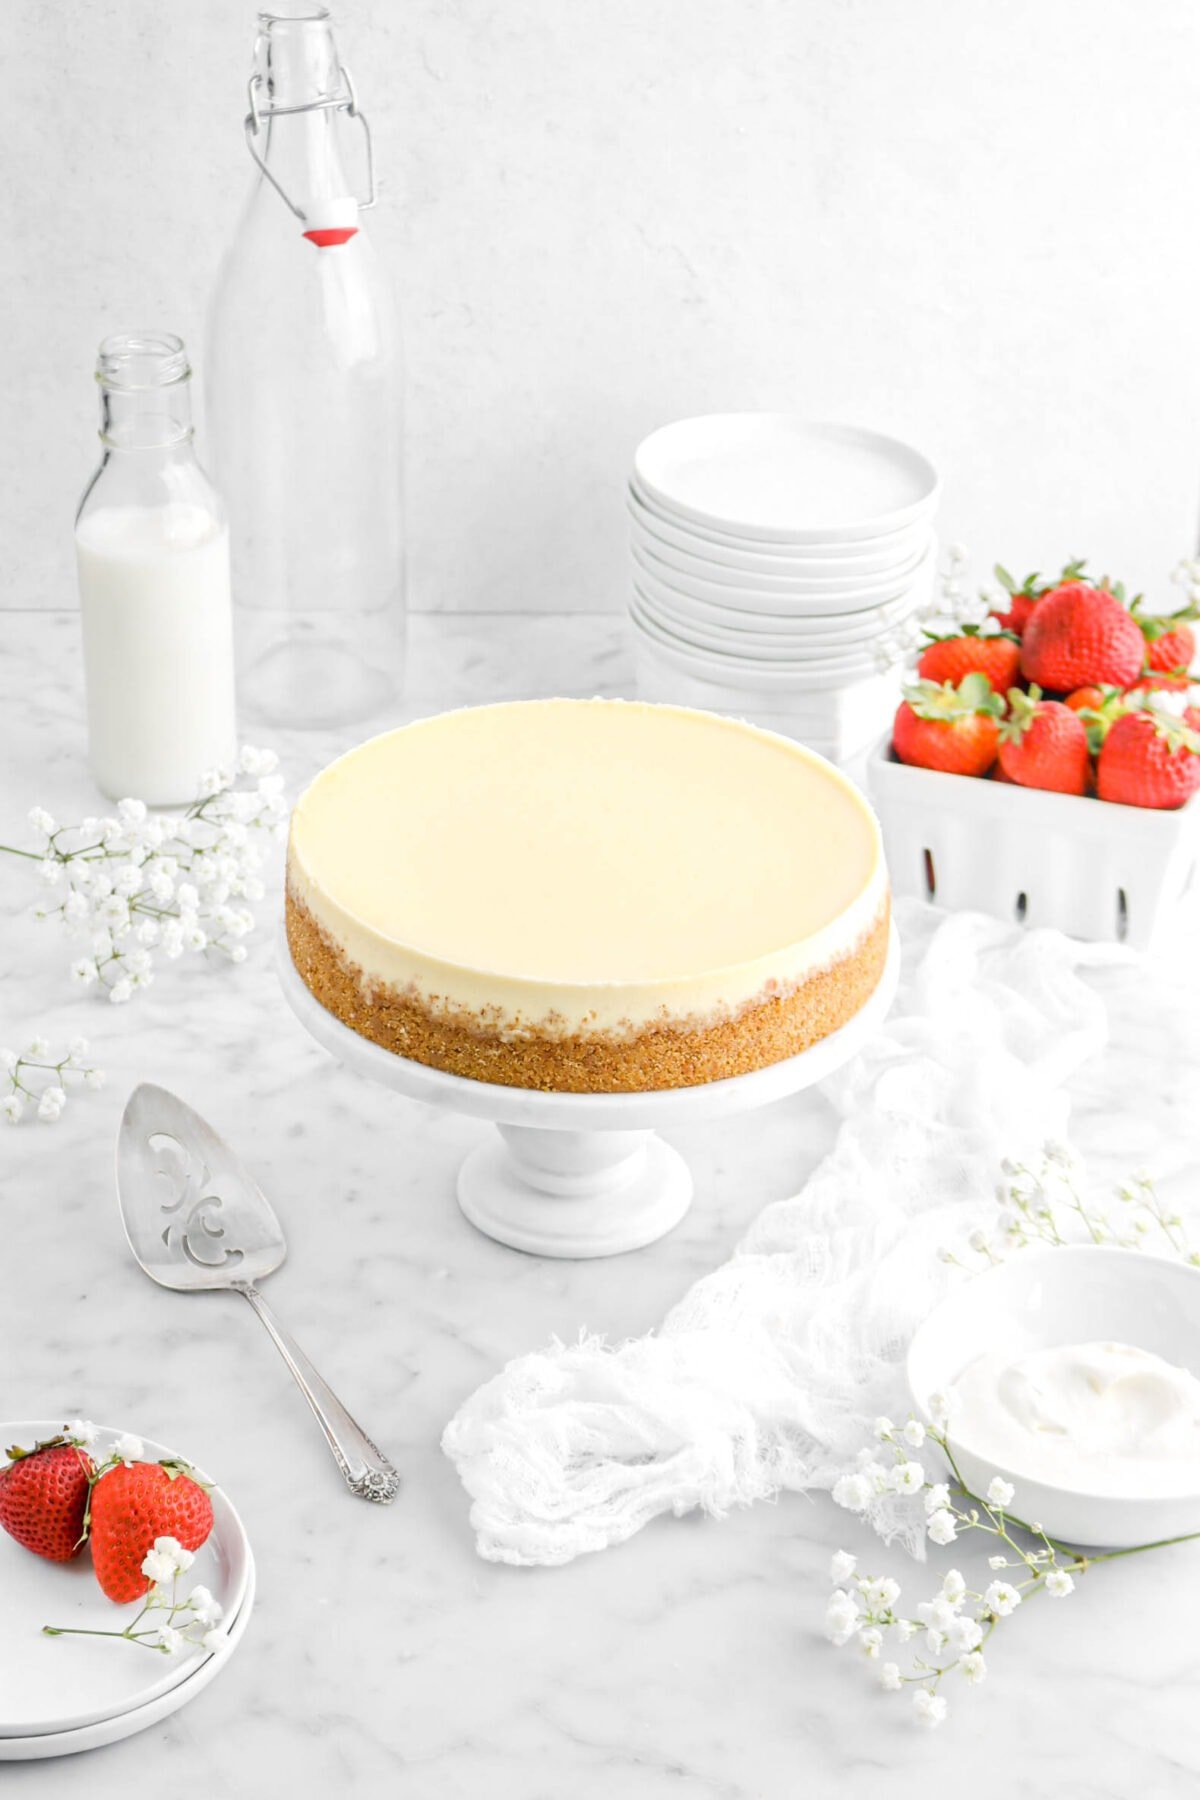
- Fresh fruit is a great way to add some much needed color to this cheesecake! Blackberries, raspberries, blueberries, and strawberries are some of our favorites to top this cheesecake. Bonus? It helps cut some of the richness of the cake!
- Use your favorite jams on top of this cake! We love Strawberry Jam.
- Edible flowers make a great addition to this cheesecake.
Water Bath Tips & Tricks
If you’re nervous about baking in a water bath, you don’t need to be! It helps prevent cracks in your cheesecake AND helps keep it from browning. It’s a wonderful, but also intimidating thing that every baker has to overcome. We’re here to help! All you need is a large pan and your cheesecake!
Once ready to bake, place the cheesecake in the large pan and set it on the middle oven rack. With a pot or tea kettle of boiling water, slowly pour the water into the pan. Slowly close push the oven rack back, careful not splash any water into the cheesecake and close the door.
It sounds more complicated than it is, but I promise your cheesecake will thank you. If you’re still a little uneasy, here are a few things you can do to help make things easier!
- Use a tea kettle to boil the water. This way, it already has a spout and it’s easier to direct the water.
- Fill the pan until you have 1/2 inch – 1 inch of water.
- Place the large pan in the oven before you add the water. This helps prevent a lot of spilling!
How To Store
Once the cheesecake has been refrigerated overnight and turned out, you can store the cheesecake in the refrigerator in a cake plate with a cover. You can also slice it and keep the slices in a zip-top bag! It will keep in the refrigerator for up to 7-10 days.
You can also freeze this cheesecake for up to 2 months! Once it has been refrigerated overnight and turned out, place the cheesecake in a freezer safe container or zip-top bag. You can also freeze individual slices. Just be sure to allow the cheesecake to come to room temperature before serving!
When you make this Classic New York Style Cheesecake, leave a comment down below! We love hearing from you and answering any questions you might have! Also, be sure to tag us on social media and hashtag it #BakersTable.
Classic New York Style Cheesecake
Ingredients
Crust
- 8 graham crackers
- 1¼ Tablespoons granulated sugar
- 4 Tablespoons salted butter, melted
Cheesecake
- 4 cups cream cheese, room temperature
- 1 cup granulated sugar
- 4 large eggs, room temperature
- 2½ Tablespoons lemon juice
- 1½ teaspoons lemon zest
- 1¼ teaspoons vanilla extract
Instructions
Crust
- Heat oven to 325° F.
- Spray an 8" round cake pan with cooking spray.
- Line bottom with parchment paper. Set aside.
- Place graham crackers in the bowl of a food processor.
- Process to crumbs.
- Add sugar.
- Pulse to combine.
- Add butter.
- Pulse to mix.
- Spread evenly in prepared pan.
- Use the bottom of a measuring cup or a tamper to tamp crust onto bottom and about 1/2" up the sides of the pan.
- Bake for 10 minutes.
- Remove from oven. Set aside.
Cheesecake
- With an electric mixer, beat cream cheese until smooth and creamy, 2-3 minutes.
- With the mixer running, stream in sugar.
- Add eggs, one at a time, beating well after each addition.
- Stir in lemon juice, lemon zest, and vanilla.
- Pour into prepared crust.
- Set in a larger pan.
- Add boiling water to 1" up the side of the pan.
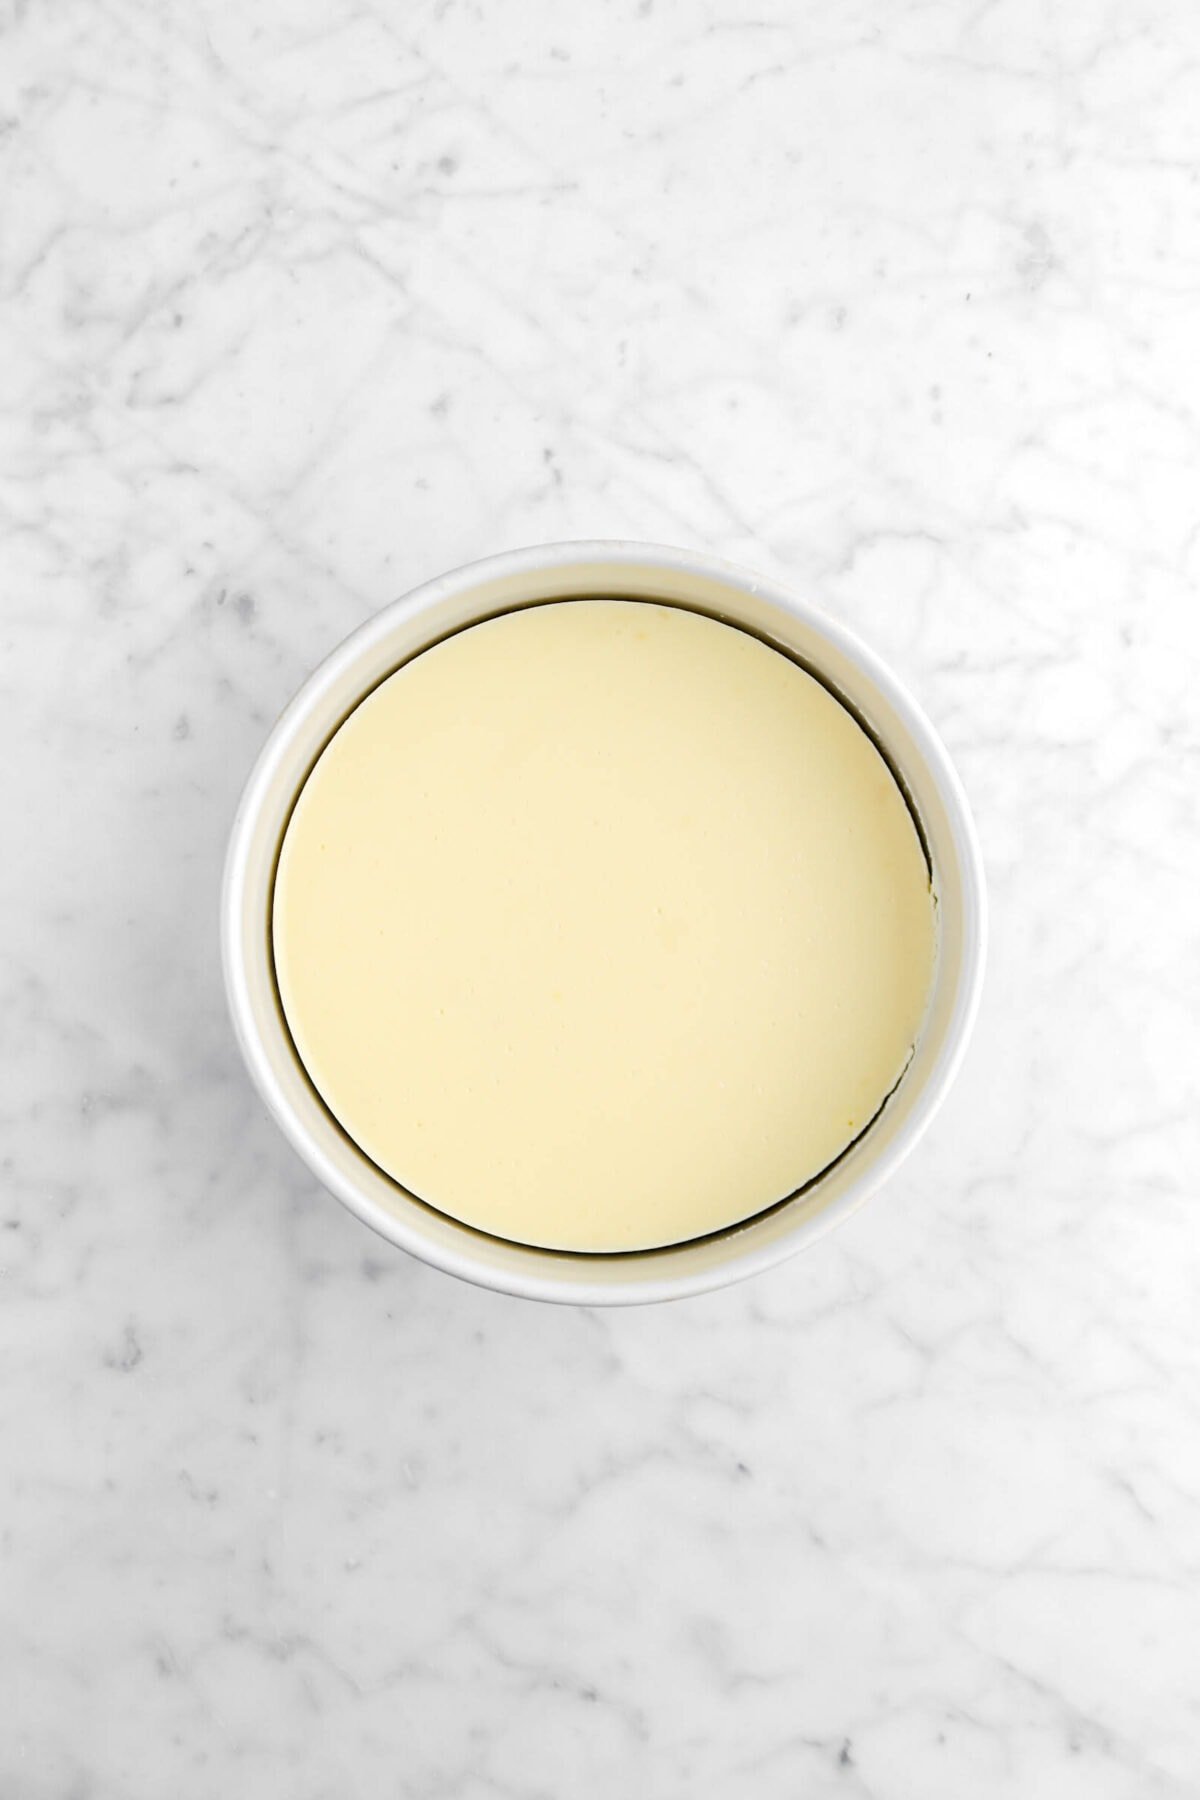
- Bake for 45 minutes, until just set.
- Remove from oven.
- Allow to cool in water bath.
- When cool, remove from water bath, dry pan, and refrigerate overnight.
- When ready to unmold, place a cake circle on top of cheesecake.
- Turn upside down.
- Heat with a kitchen torch until crust releases.
- Immediately invert onto a serving plate.
Notes + Tips!
- Do not leave large chunks of graham cracker! It needs to be about the consistency of sand. Alternatively, you can purchase graham cracker crumbs and use 1 cup.
- When making the crust, do not add more butter than what’s stated in the recipe card. If you add more butter, it will become greasy when baked.
- When packing down the crust, it’s best to use a metal measuring cup to ensure a tight and even pack.
- Be sure to mix the cream cheese and eggs VERY well. Scrape down the sides and beater blade often to ensure no lumps.
- Once the eggs are added, try not to beat or mix too much. Eggs will retain air and give extra (and unwanted) lift to this cheesecake. That causes cracks!
- If you suspect air bubbles in your filling, tap the cake pan against your counter a few times!
- Don’t be intimated by the water bath. Read above for a few tips to help.
- When the cheesecake is baking, DO NOT open the oven door. You will lose all the moisture in the oven and it’ll either cause the cheesecake to sink or crack.
- Do not over bake this cheesecake! Follow the baking times and instructions listed in the recipe card below for best results.
- Once the cheesecake is done, let it cool completely in the water bath before taking out.
- When the cheesecake is at room temperature, cover with aluminum foil and place in the fridge overnight.
- If the cheesecake does not pull away from sides of pan after cooling, run a thin-bladed knife dipped in hot water around the edge of the cheesecake to loosen it.
- If you don’t have a blow torch to heat your cake pan to release the cheesecake, you can use your stovetop. Just be very careful and do not leave it longer than 20-30 seconds!
Tools You May Need (affiliate links)
– Still Hungry? –
Here are a few recipes may like!


