The Easiest Strawberry Jam Recipe (No Pectin!)
Prep time:
10 min
|
Cook time:
20 min
|
Total time:
30 min
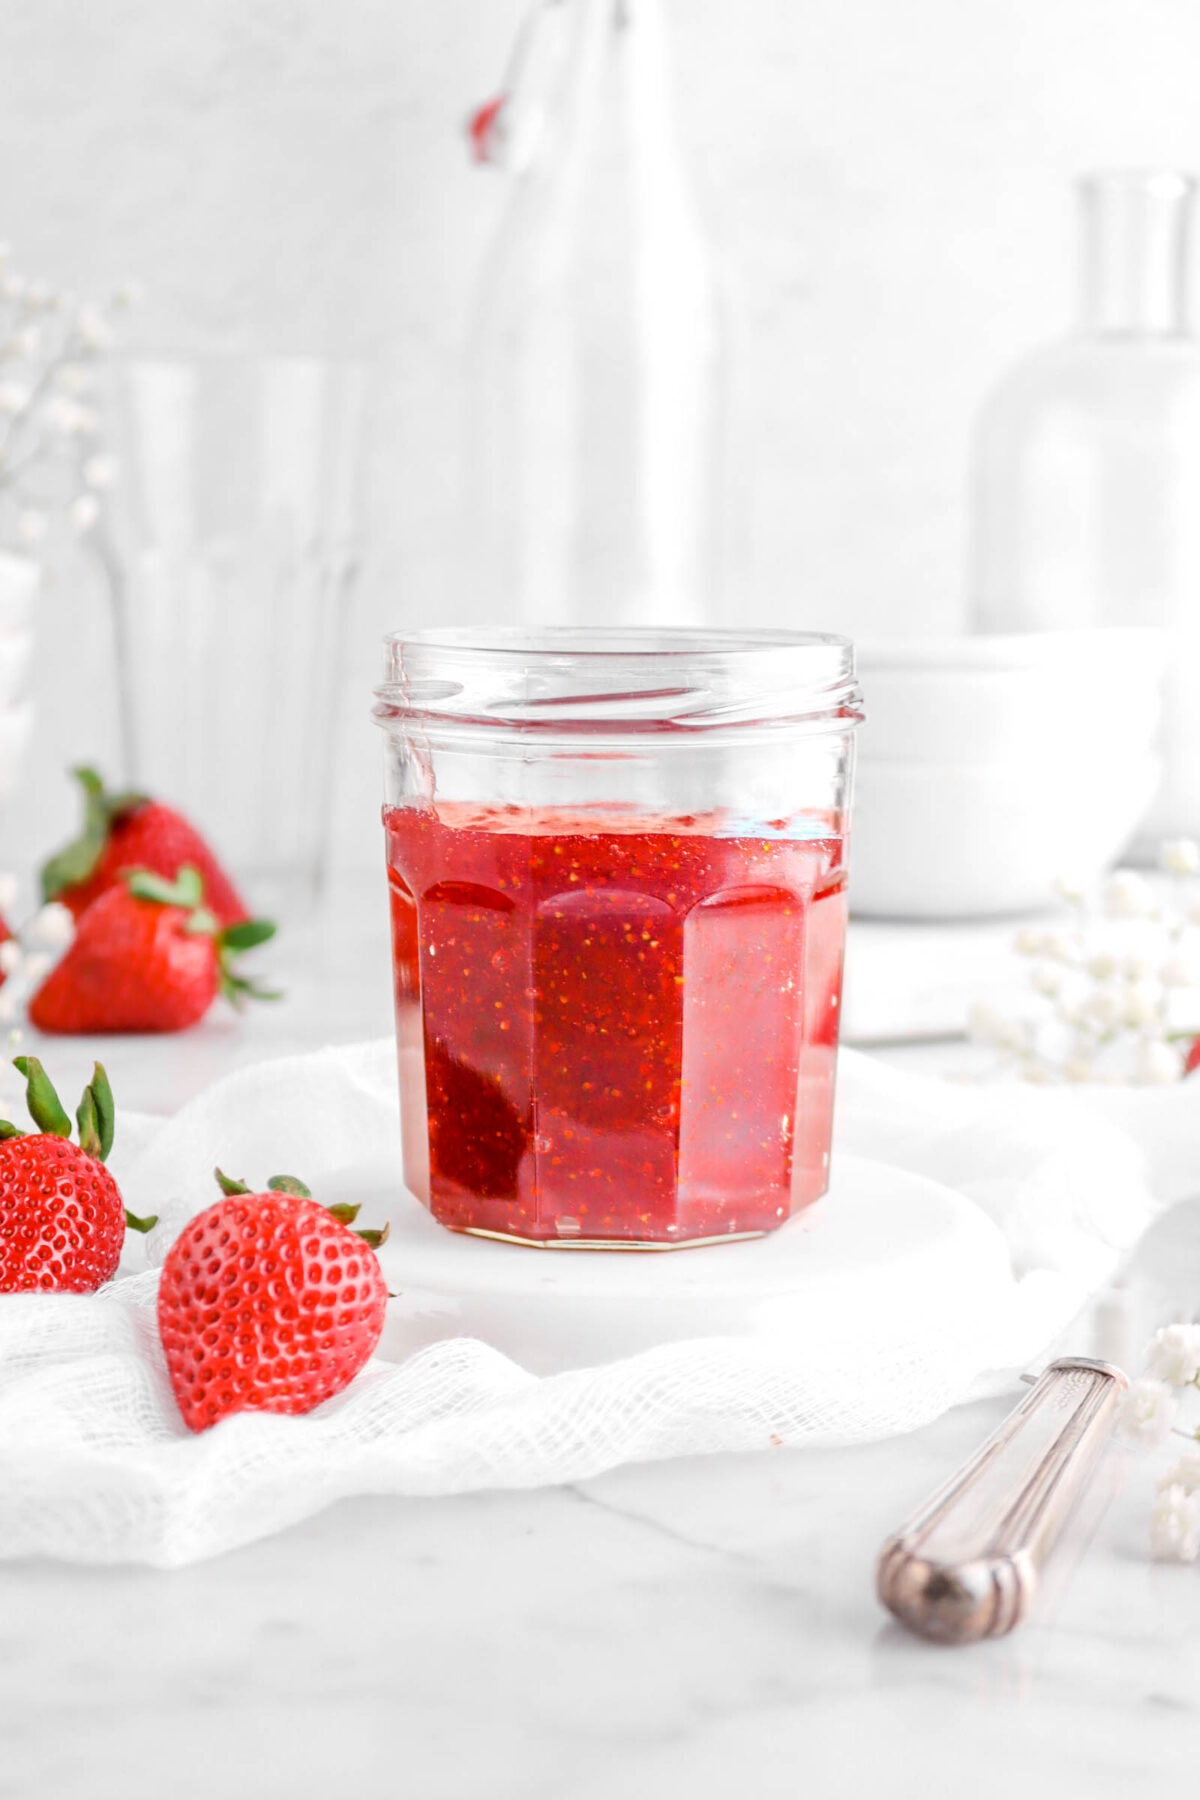
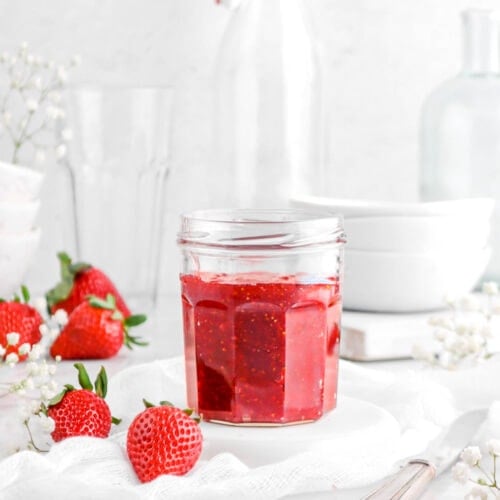
This Homemade Strawberry Jam is bright, fresh, and packed with real strawberry flavor. It’s soft, perfectly spreadable, and comes together with just 3 simple ingredients and about 30 minutes. Plus, there’s no pectin, specialty equipment, or complicated canning process needed!
The Easiest Strawberry Jam Recipe (No Pectin!)
Prep time:
10 min
Cook time:
20 min
Total time:
30 min
This Homemade Strawberry Jam is bright, fresh, and packed with real strawberry flavor. It’s soft, perfectly spreadable, and comes together with just 3 simple ingredients and about 30 minutes. Plus, there’s no pectin, specialty equipment, or complicated canning process needed!
– know before you bake –
Traci & Caylie’s
Recipe Highlights
This post may contain affiliate links, please visit our privacy policy for details.
One of the things we love most about this strawberry jam is how simple it is. The strawberries naturally thicken as they cook, the lemon juice brightens the flavor, and the entire recipe comes together in a single saucepan.
We’ve made this recipe with both fresh and frozen strawberries, and both work beautifully. It’s naturally vegan, gluten free, and perfect for everything from toast and biscuits to cheesecake and cakes.

If you’ve never made homemade jam before, this is a great place to start!

Traci & Caylie Crossland
We’re the mother-daughter duo behind Bakers Table, sharing from-scratch recipes made with love, experience, and a serious passion for baking. Traci brings decades of baking expertise, while Caylie brings a fresh perspective and a love for all things creative. Together, we test every recipe to make sure it’s easy to follow and absolutely delicious. Read more about us and our blog →
“Our kitchen is where memories are made — and we’re so glad you’re here baking with us.”
Why We Keep Making This Jam
We’ve made a lot of homemade jam over the years, and this is the recipe we keep coming back to because it’s uncomplicated and actually tastes fresh.
Some strawberry jams become overly thick or sugary after cooking, but this one stays soft, bright, and really strawberry-forward in flavor. It tastes good on toast, but honestly, we probably use it even more for desserts. We layer it into cakes like our ice cream cake, spoon it over cheesecake, stuff it into doughnuts, and occasionally eat it straight from the jar while standing in the kitchen.
It’s also one of those recipes that feels much easier after the first batch. Once you see how quickly the strawberries cook down and thicken naturally, homemade jam suddenly stops feeling intimidating!
Fresh Or Frozen Strawberries Both Work Here
We’ve made this jam with both fresh and frozen strawberries, and both turn out great. Frozen strawberries usually release a little more liquid, but the process stays exactly the same.
If you use frozen strawberries, thaw them first and include the juices for the best flavor.
All You Need To Do Is Toss Everything In A Saucepan
This strawberry jam really is as simple as adding everything to a saucepan and letting it cook down.
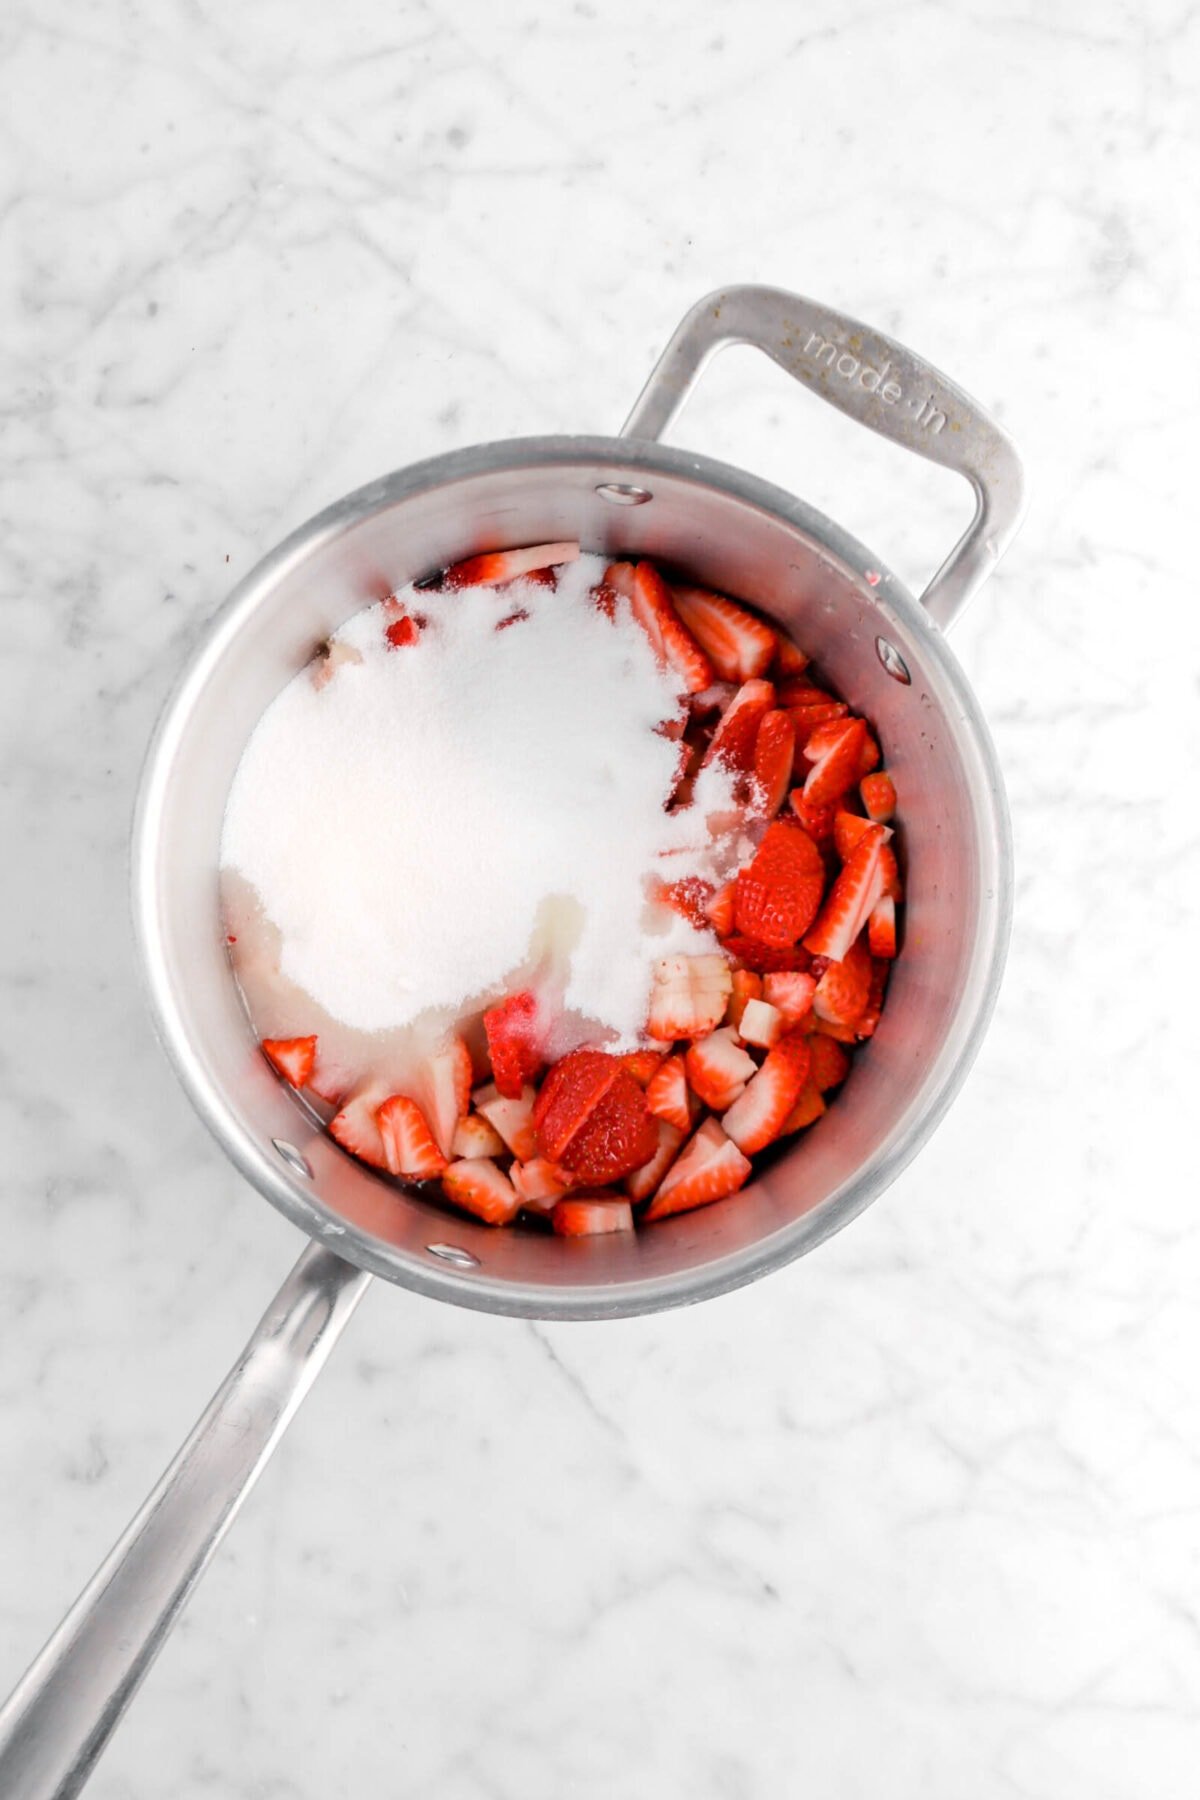
Start by washing, capping, and roughly chopping the strawberries, then add them to the pan along with the sugar and lemon juice. As the mixture heats, the strawberries will start releasing their juices almost immediately.
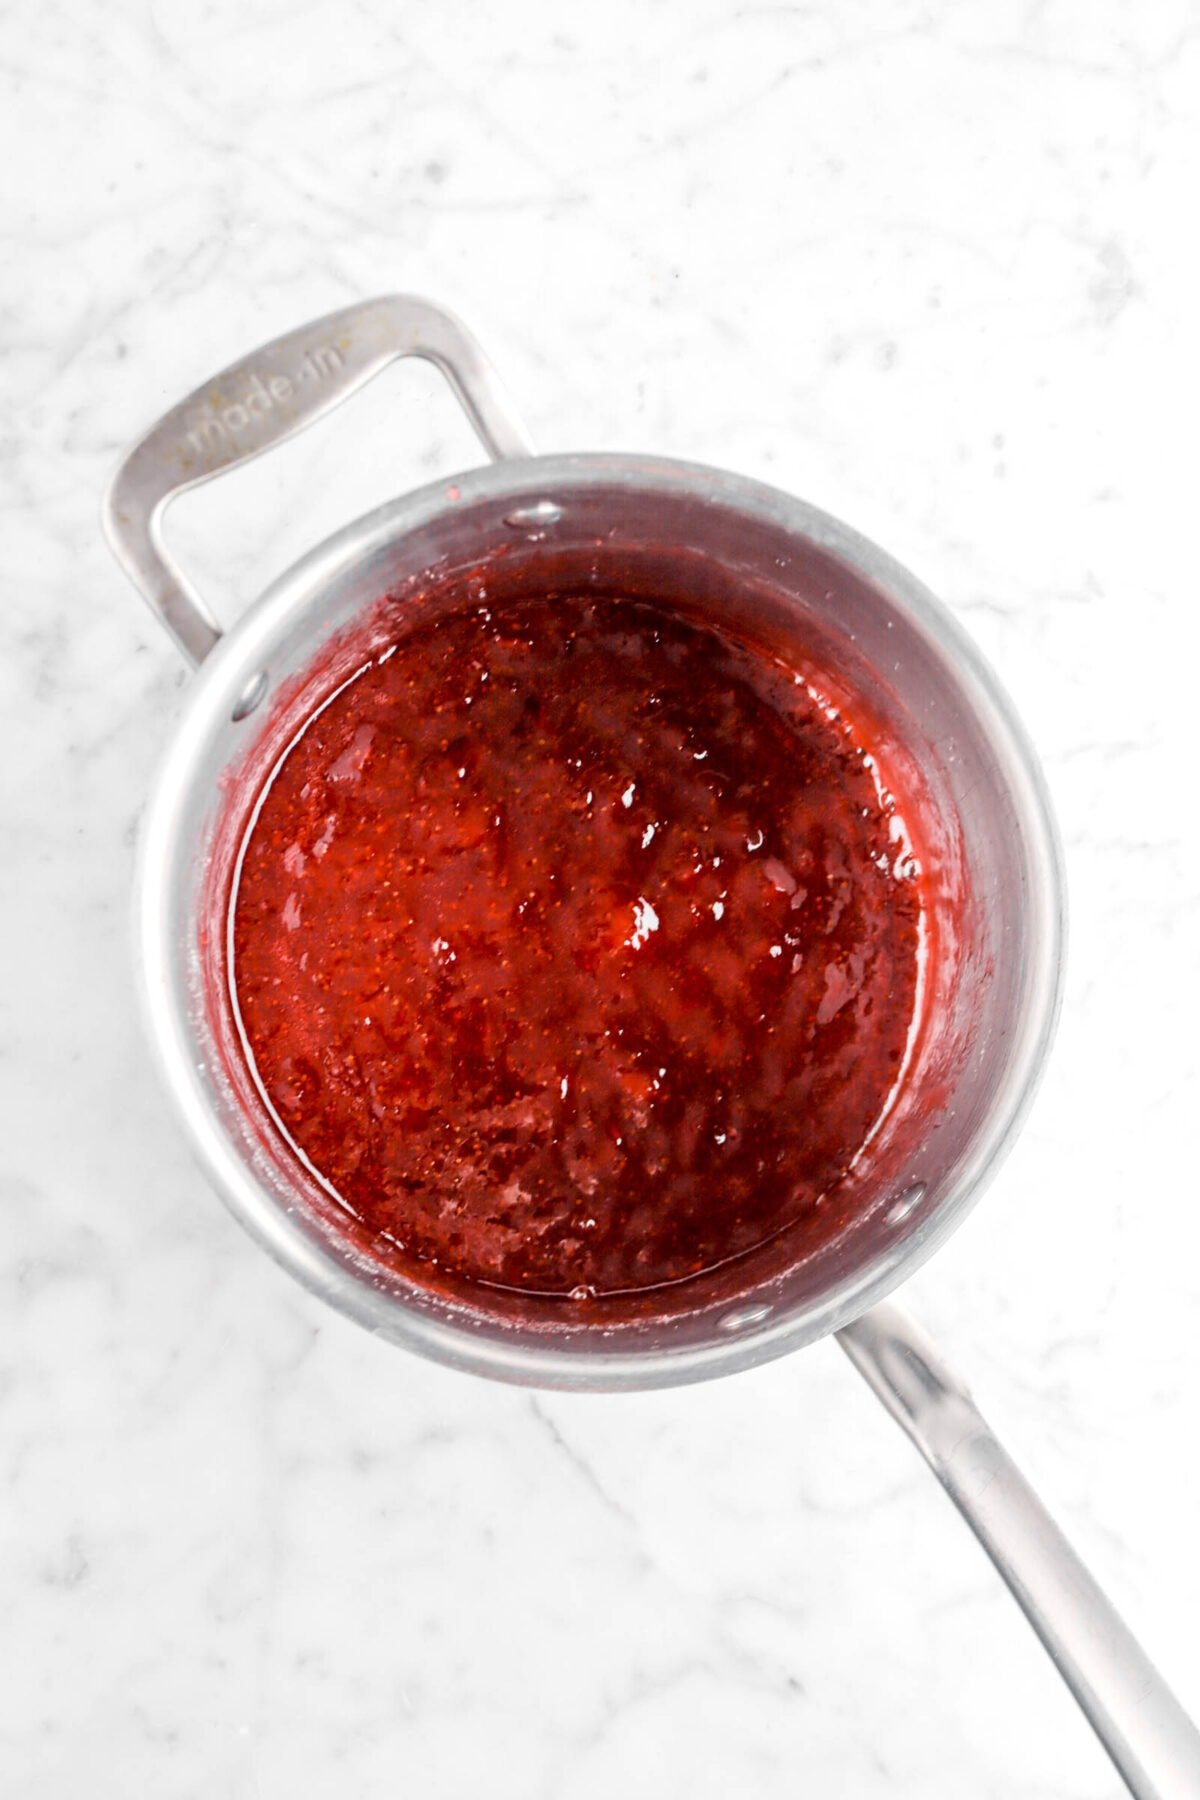
Cook everything over medium-low heat, stirring frequently so the sugar doesn’t scorch on the bottom of the pan. As the strawberries soften, mash them gently with your wooden spoon to help create that classic jam texture.
At first, the mixture will look fairly thin and foamy, but after about 20 minutes, the jam should be thick enough to coat the back of a spoon.
Don’t Panic If The Jam Looks Thin At First!
The first time we made homemade jam, we expected it to thicken much faster than it actually does.
As it cooks, the bubbles become slower and the mixture gradually thickens. And remember, the jam continues thickening as it cools, so it’s usually better to pull it off the heat slightly early than accidentally overcook it.
If you do overcook it, though, it’s easy to fix. Just stir in a few tablespoons of water until it loosens back up again.

Try These
delicious
bakes next!


When you make this Strawbery Jam Recipe, leave a comment down below! We love hearing from you and answering any questions you might have! Also, be sure to tag us on social media and hashtag it #BakersTable.
Happy baking!
x, Caylie
The Easiest Strawberry Jam Recipe (No Pectin!)
Ingredients
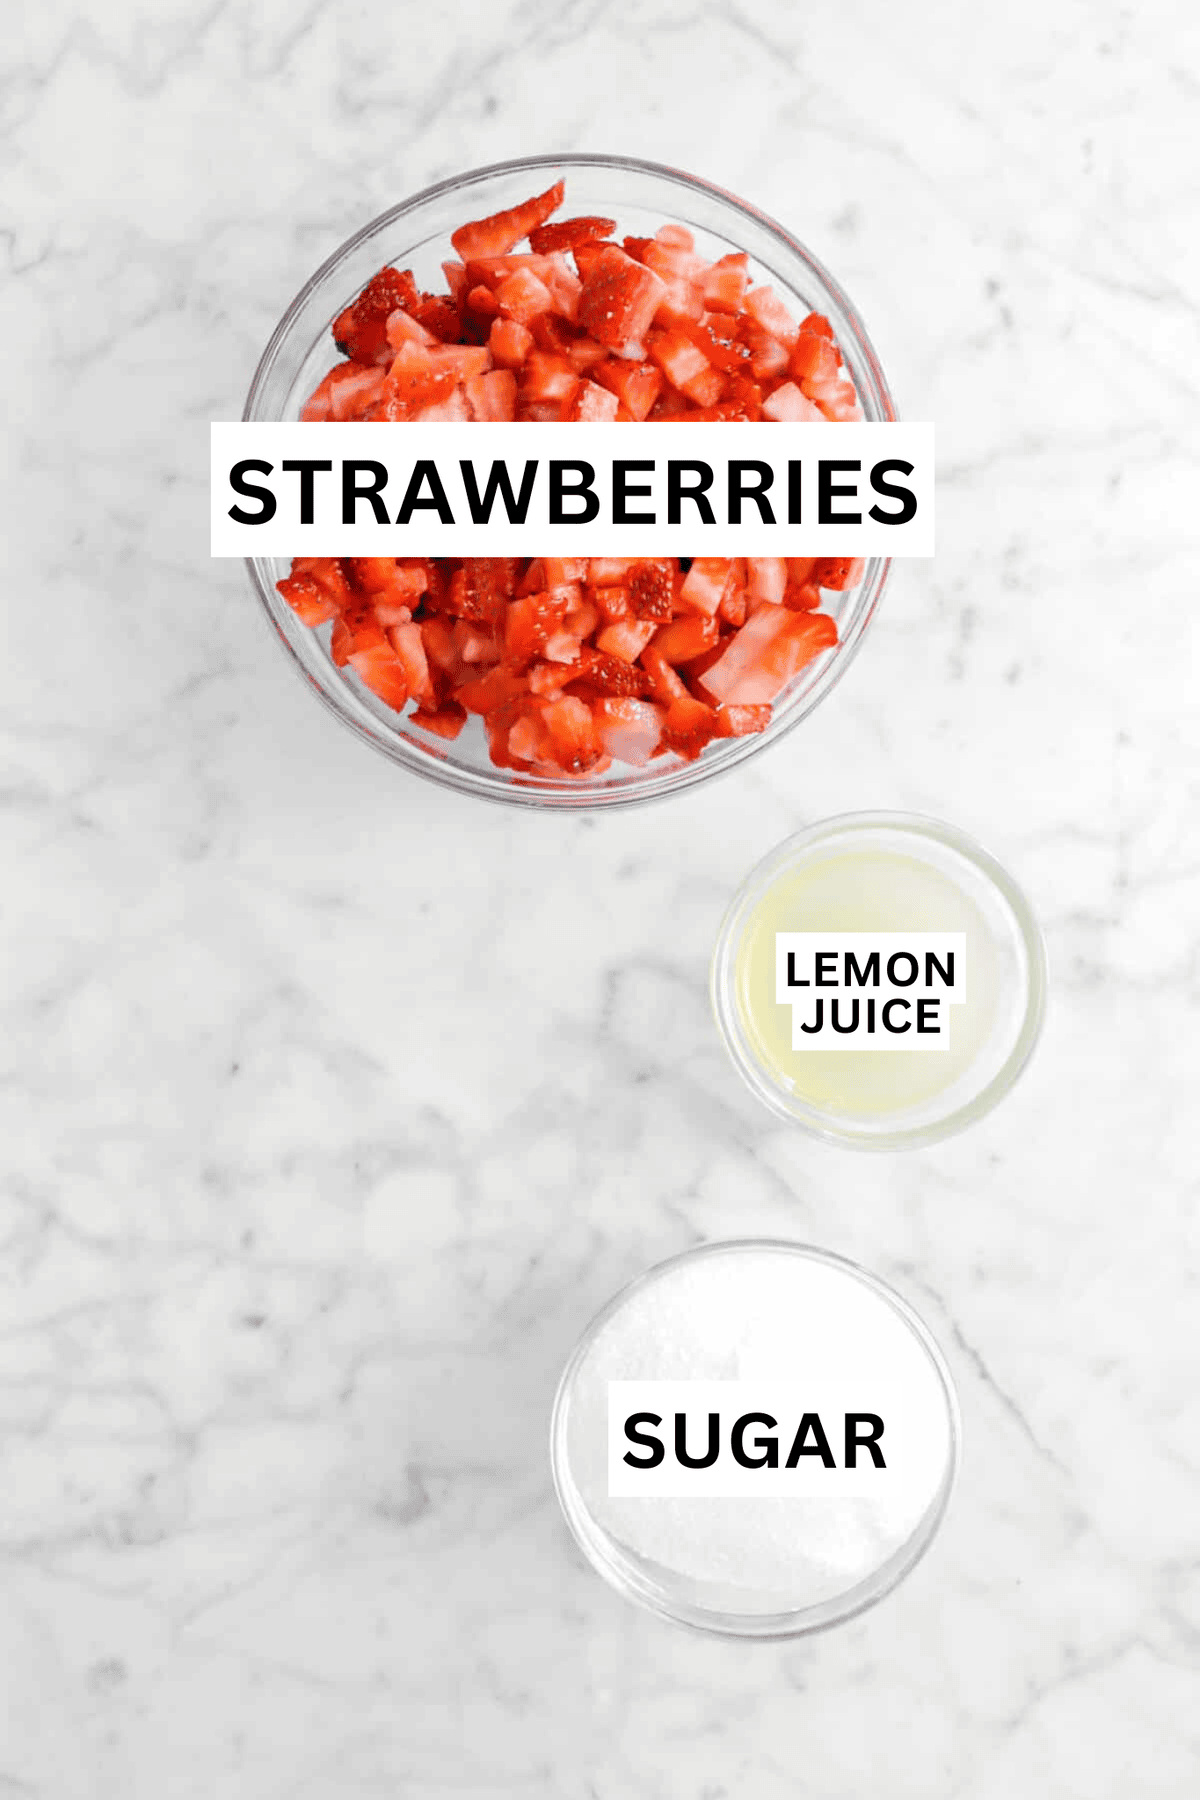
- 1 pound fresh strawberries
- 1¼ cups granulated sugar
- ¼ cup lemon juice
Instructions
- Wash and cap strawberries.
- Chop roughly.
- Place in a medium sauce pan.
- Add sugar and lemon juice.
- Cook over medium low heat, stirring constantly, until thick enough to coat a spoon, about 20 minutes.
- Remove from heat.
Notes + Tips!
- Fresh or frozen strawberries may be used.
- While cooking, mash the strawberries with your wooden spoon!
- You can strain the seeds out if you want, but you will end up with much less jam.
- Overcooked the jam? No problem! You can add a few Tablespoons of water to loosen it.
- This recipe is naturally vegan and gluten free!
- It’s best to store this recipe in the fridge after making.
Tools You May Need (affiliate links)
– Still Hungry? –
Here are a few recipes may like!


Did you try this recipe?
Let us know in the comments!
Let Me Introduce You!
Hi and welcome! We’re Traci and Caylie, a mother-daughter duo with 30+ years of combined experience in baking, recipe development, and food photography. Our expertly developed and delicious recipes have led us to be featured in publications such-as: Costco, Crate & Barrel, & more!
More about us →
Disclaimer
We use affiliate links on our Equipment Needed and Recommended Products section of each recipe. If you click through these links and make a purchase, we may receive a commission at no additional cost to you. As an Amazon Associate I earn from qualifying purchases.
We use Baby’s Breath for photographic purposes only. Do not consume any parts of the plant.
Absolutely delicious! And so easy to make. Not sure why I’d ever do store-bought jam again! But I followed the directions exactly and it took the jam an hour to thicken on the stove with constant stirring. I will never understand the time estimates in online recipes lol
Hi Reyna! I’m so happy you enjoyed this recipe. x, Caylie