Maple Creme Brulee
This post may contain affiliate links, please visit our privacy policy for details.
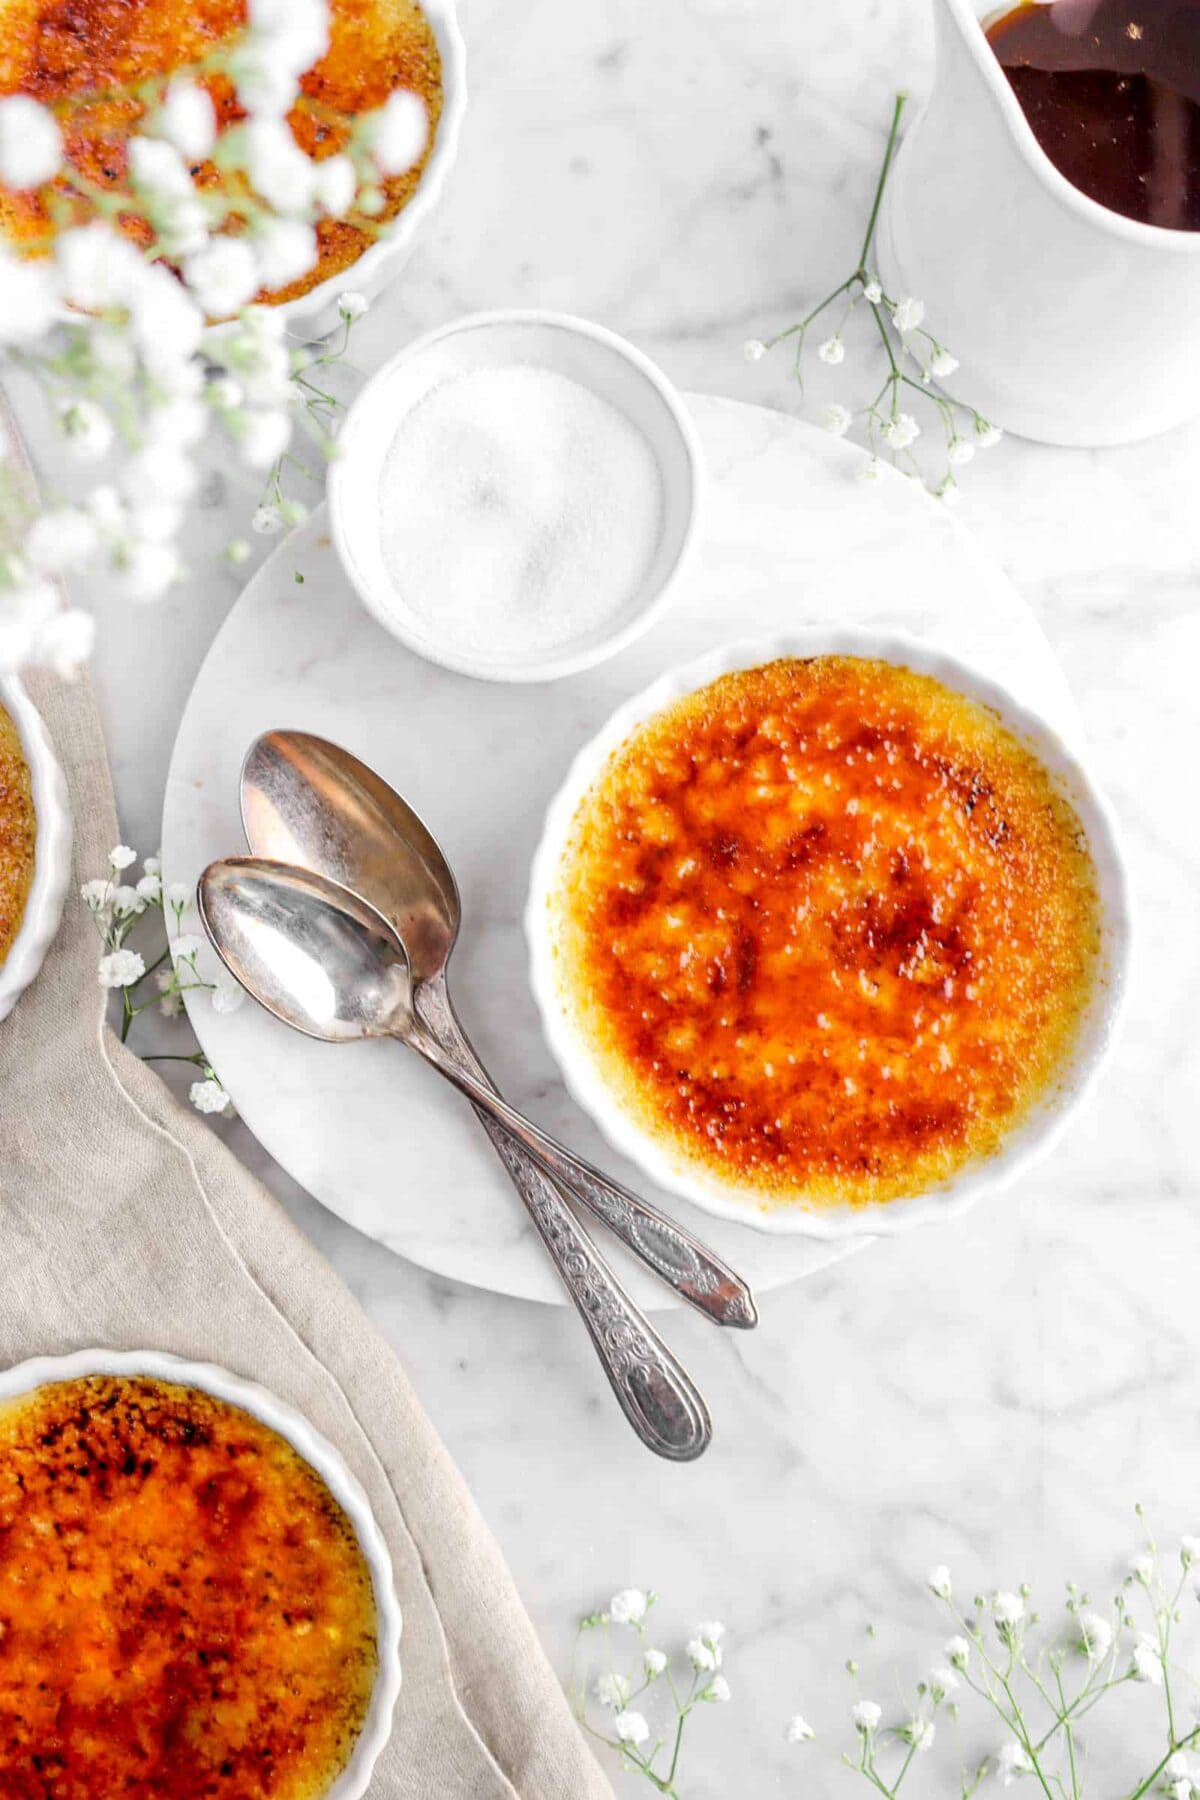
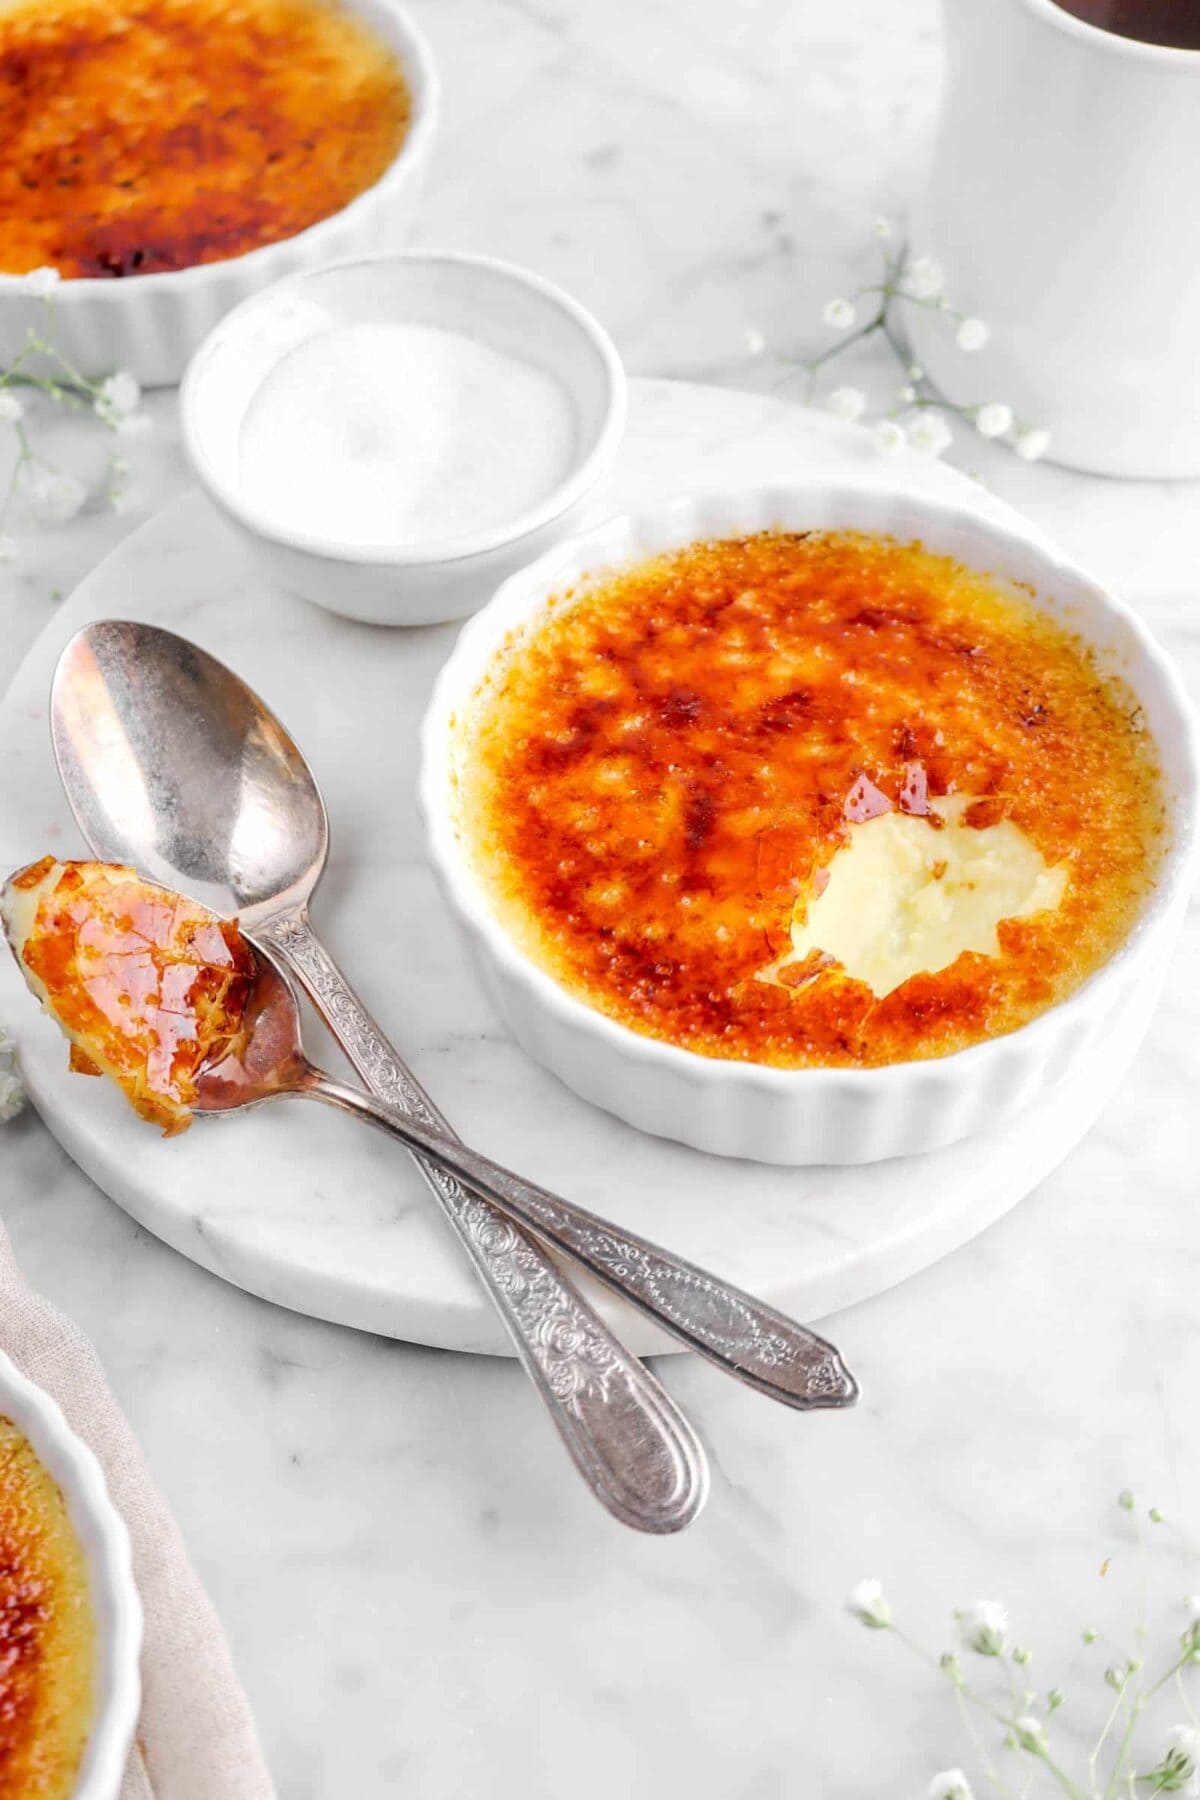
Maple Crème Brûlée…the deliciously sweet, creamy, and extra maple-y dessert you’ve been searching for! A classic crème brûlée infused with hints of toffee and vanilla from the maple syrup AND the maple sugar to give you a wonderfully fun twist on the classic French dessert! Be sure to finish each baked custard with a light dusting of white sugar and heat it with a blow torch just until the sugar slowly burns into a beautiful caramelized top. The best part? Popping the caramelized sugar with the back of your spoon to crack into the creamy maple-y custard base! Every last bite is so creamy with just the slightest bit of crunch from the sugar. There is really no dessert like it. Perfect for the Fall season, Winter holidays…or just when you want a delicious Creme Brûlée!
About The Recipe
Growing up, one of the desserts my mom always made creme brûlée. It was relatively simple (with the right recipe!), a real crowd pleaser, and…let’s be honest, everyone loves getting to brûlée their own sugar. It’s a fun and delicious dessert that’s gotten a total Fall makeover!

The inspiration behind this recipe was actually all of our trips to Walt Disney World! In Epcot, at the Canada Pavilion, there is a restaurant called Le Cellier. It’s one of our favorite spots to go when we want something more upscale and have a reason to celebrate!
But one of their desserts is a seriously delicious maple creme brûlée.
I have gotten it a few times over the years and it’s always one of my favorite desserts! So, when we were trying to think of what to make this holiday season, this came to mind rather quickly (as I have a serious love for all things maple)!
Getting to the perfect recipe wasn’t all that easy, though. It took quite a bit of recipe testing!
The custards were always beautifully silky and delicious, but we could never get enough maple flavor by just using maple syrup in the custard. So, we headed to the store in search of something to give us more maple flavor without adding anything too weird. While there, we stumbled upon pure maple sugar! It was in a small bag on the top shelf, but we had to give it a try…and we did!
That was exactly what we were needing. These creme brûlée’s pack a serious punch of maple and it’s SO. GOOD.
I promise, if there’s only one recipe you want to make this holiday season, it’s these delicious maple creme brûlée’s!
Ingredients
- Eggs
- Maple Sugar
- Salt
- Maple Syrup
- Heavy Cream

Instructions
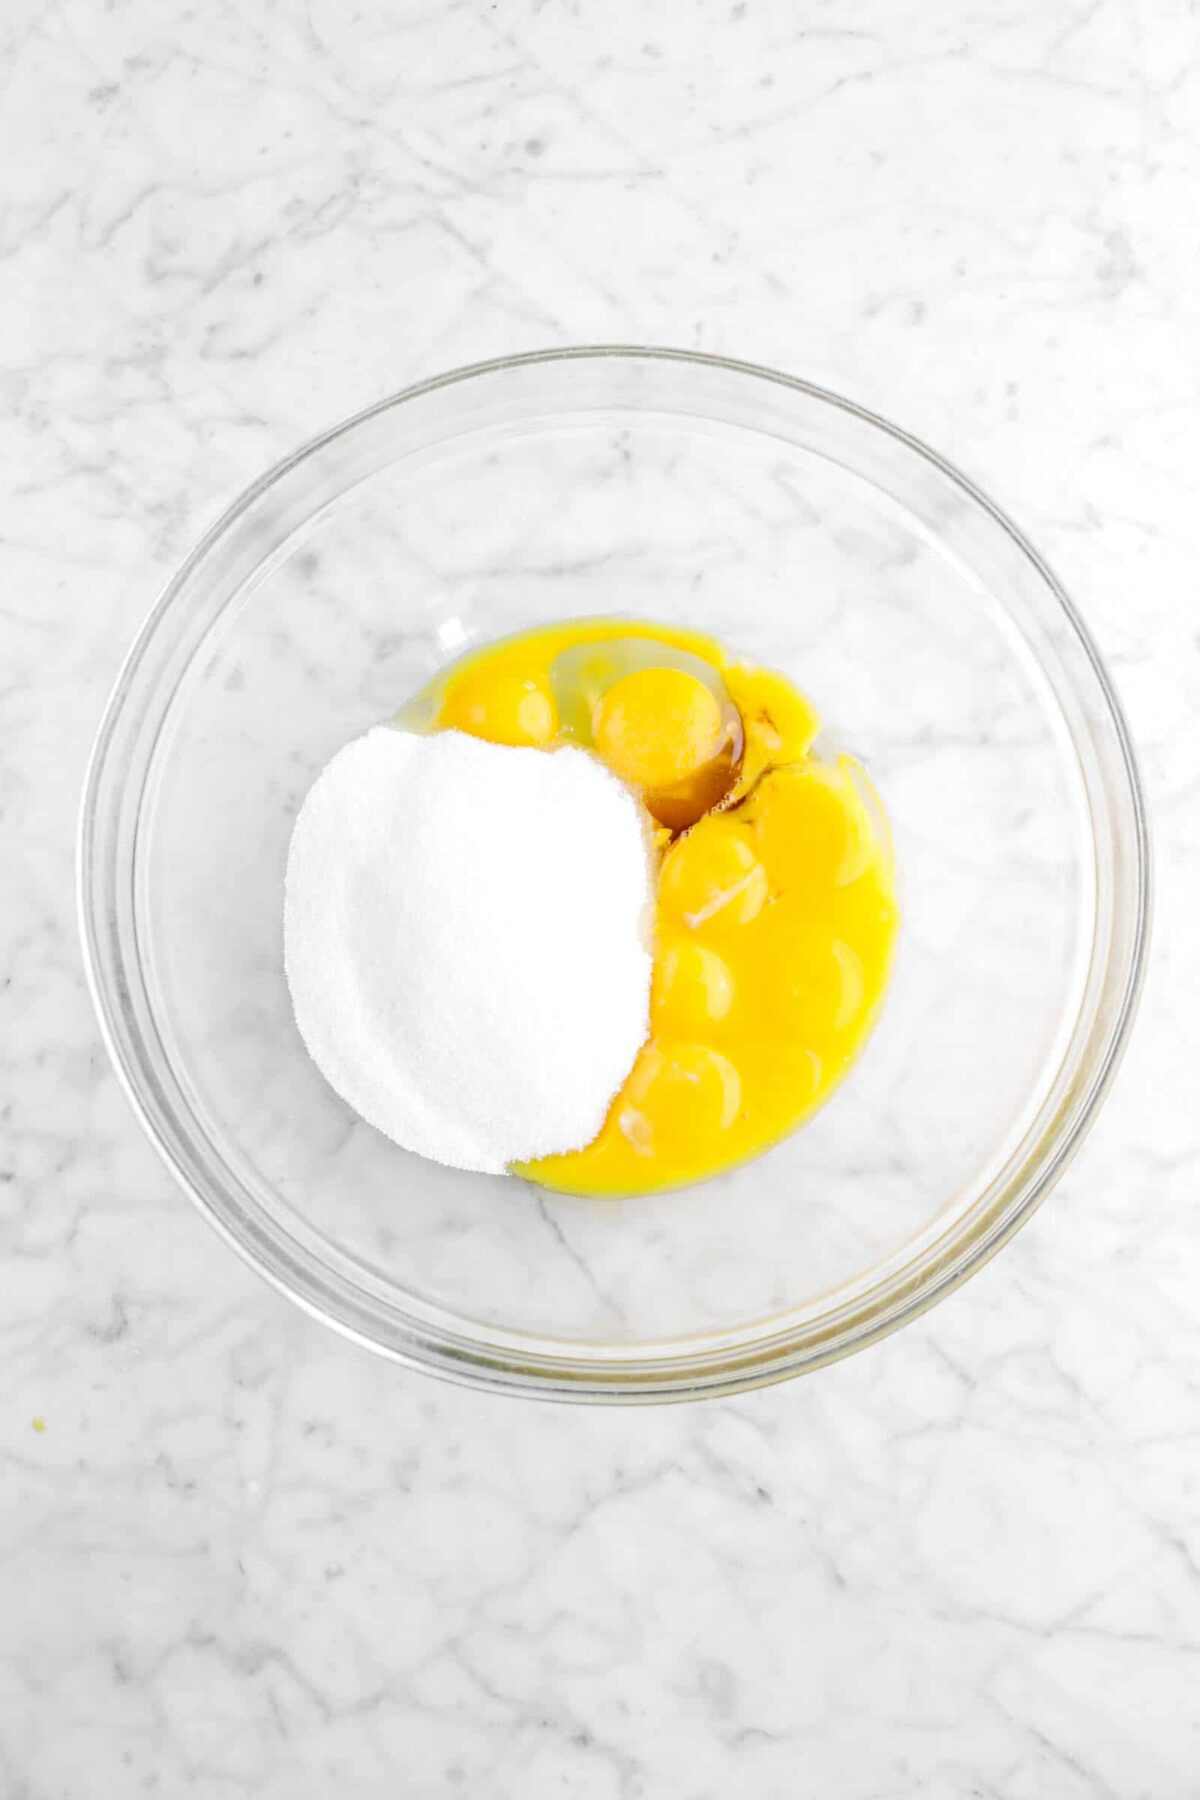
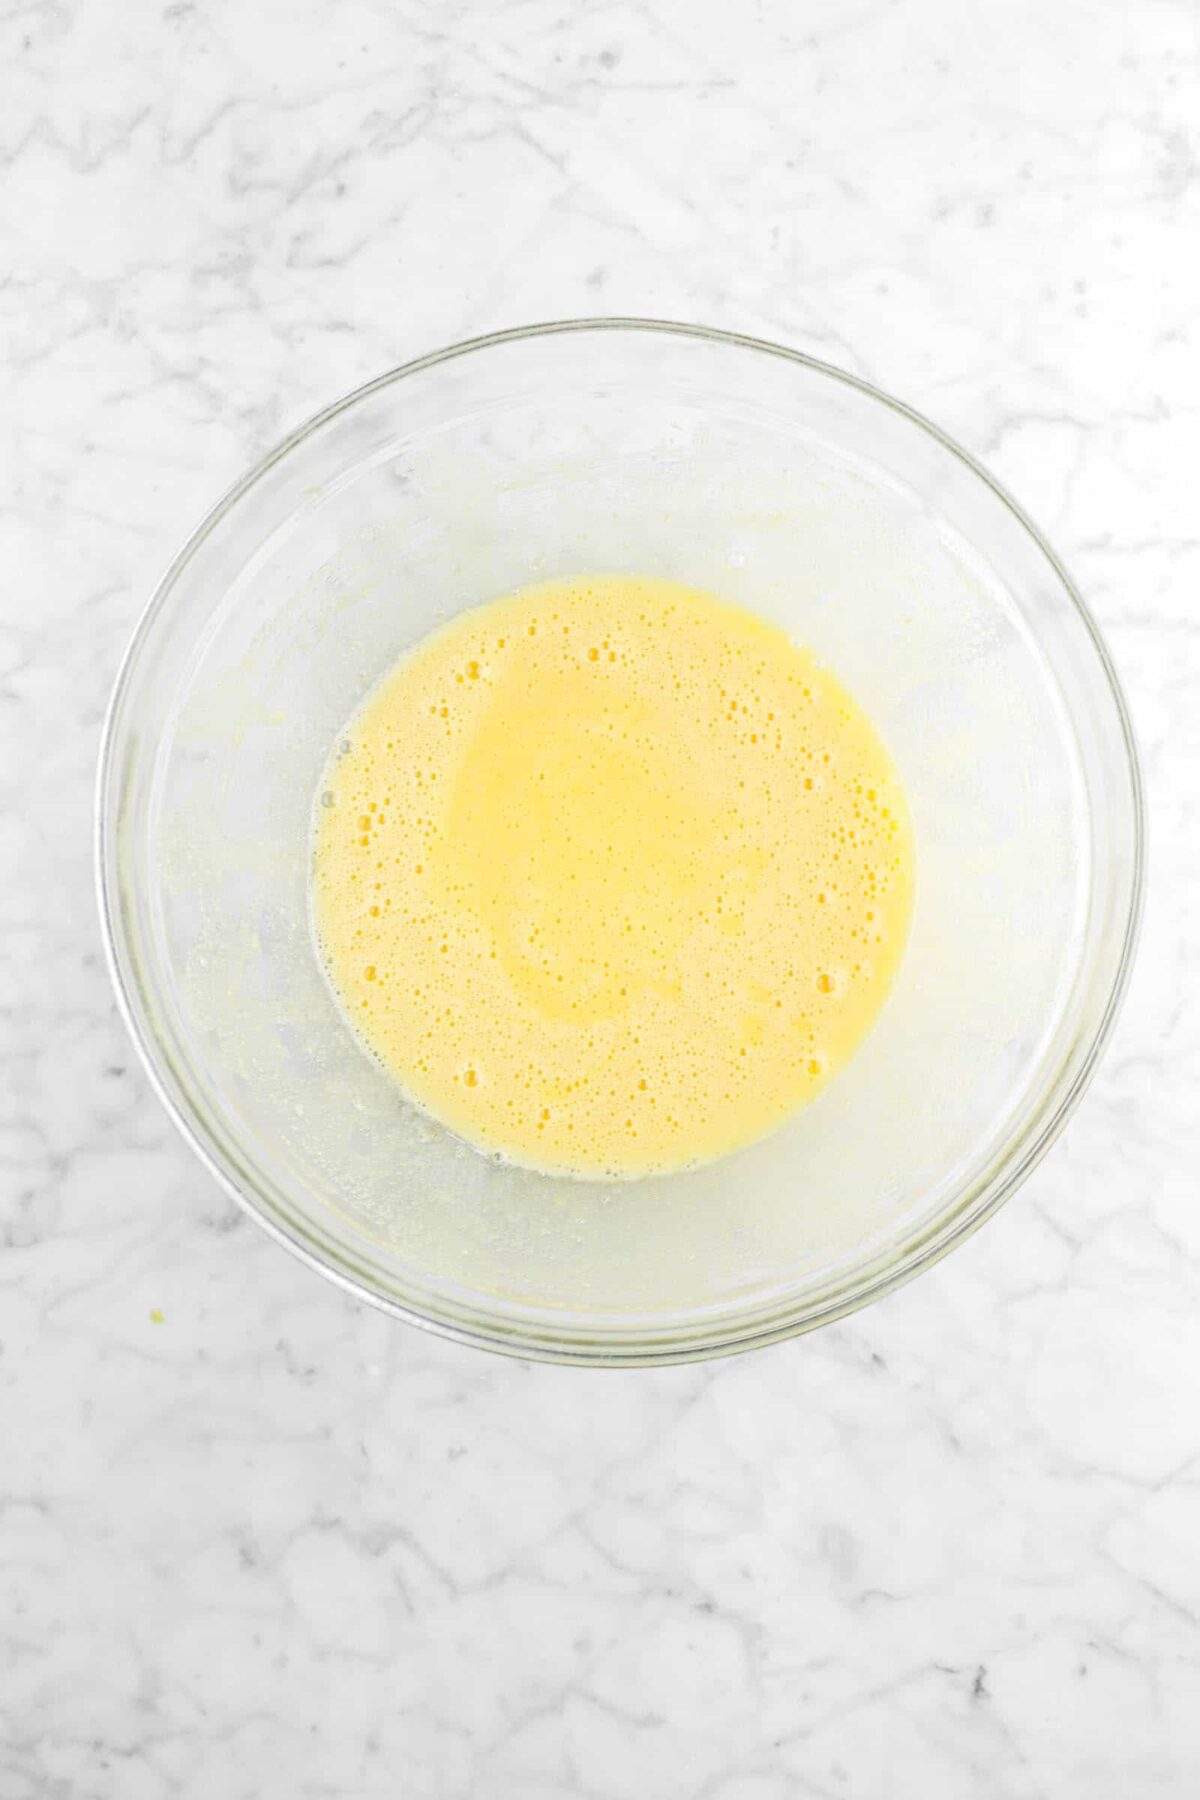
In a large bowl, mix together the egg yolks, whole egg, maple syrup, and maple sugar.
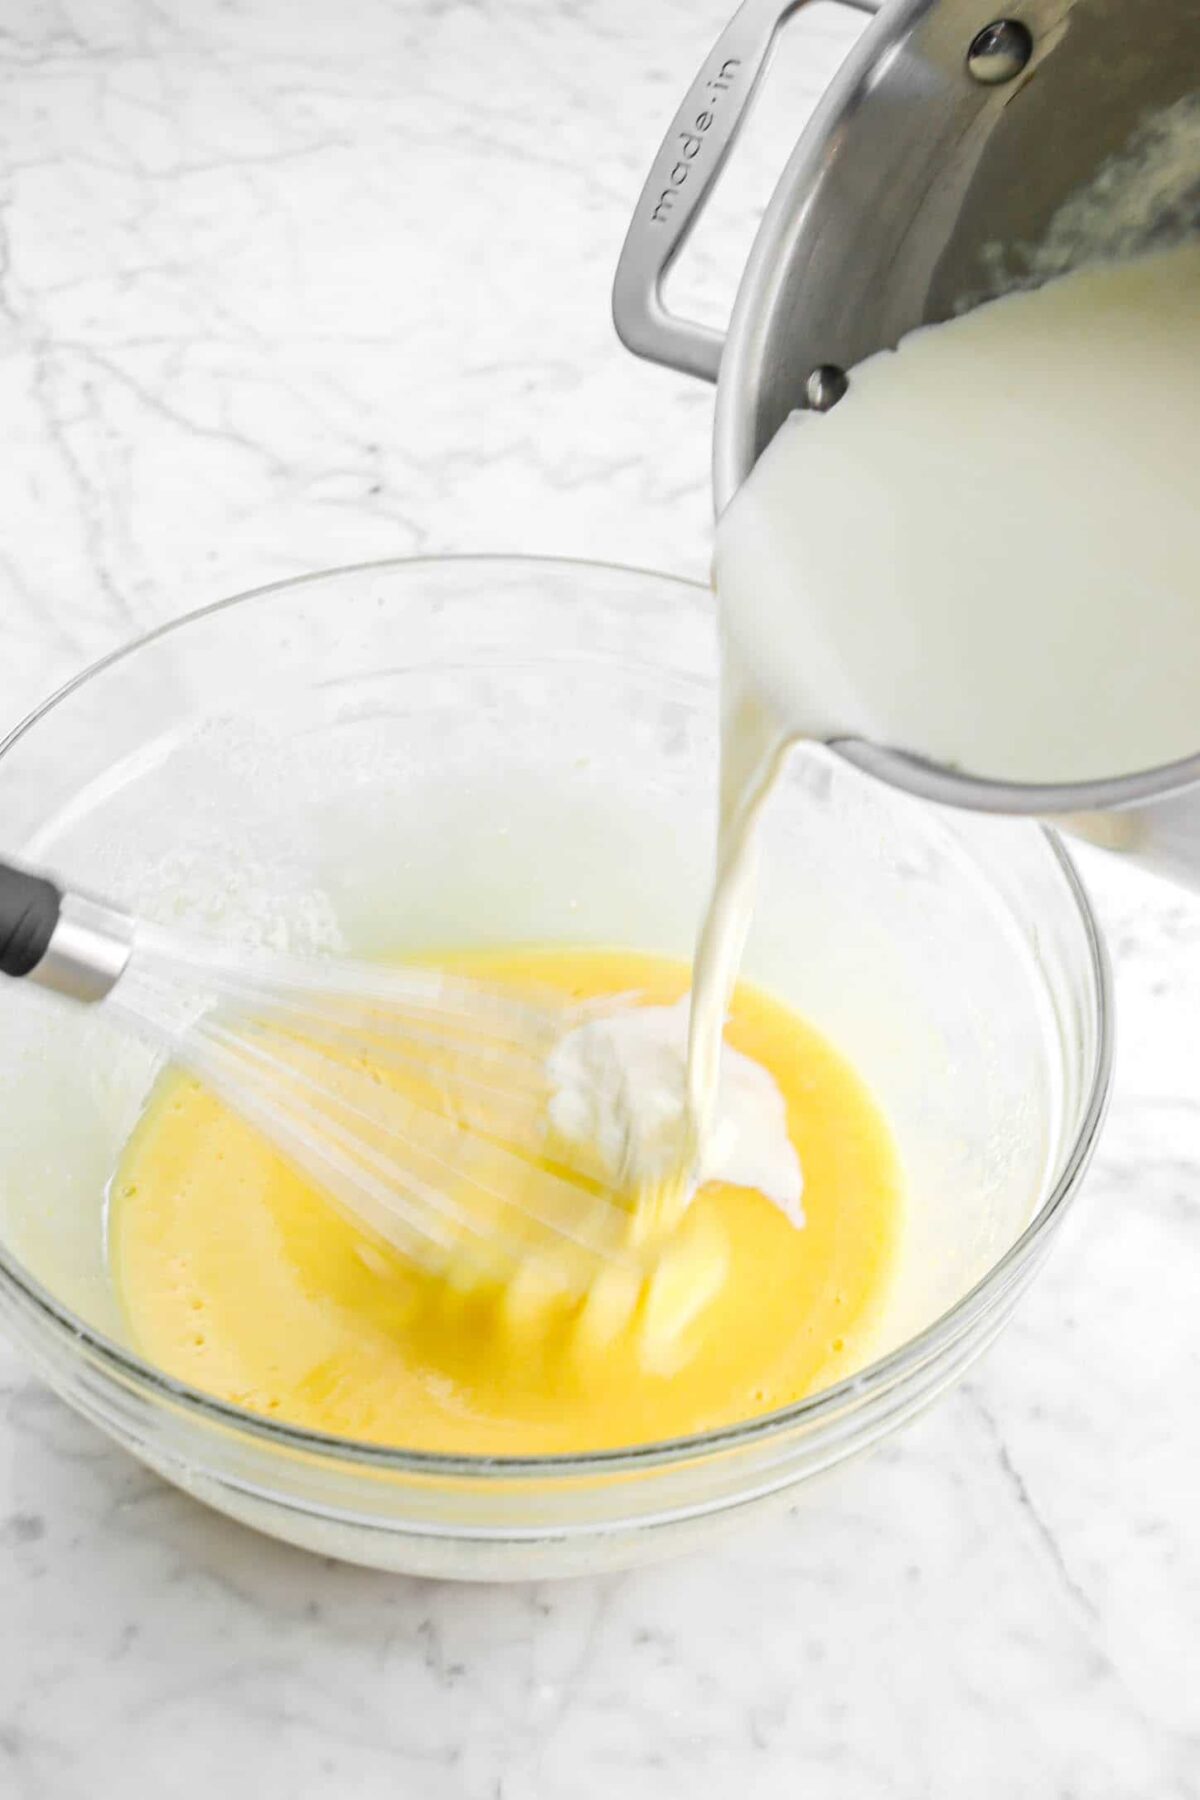
Heat heavy cream until bubbles begin to form around the edges of the pot. Pour into the egg mixture while whisking constantly.

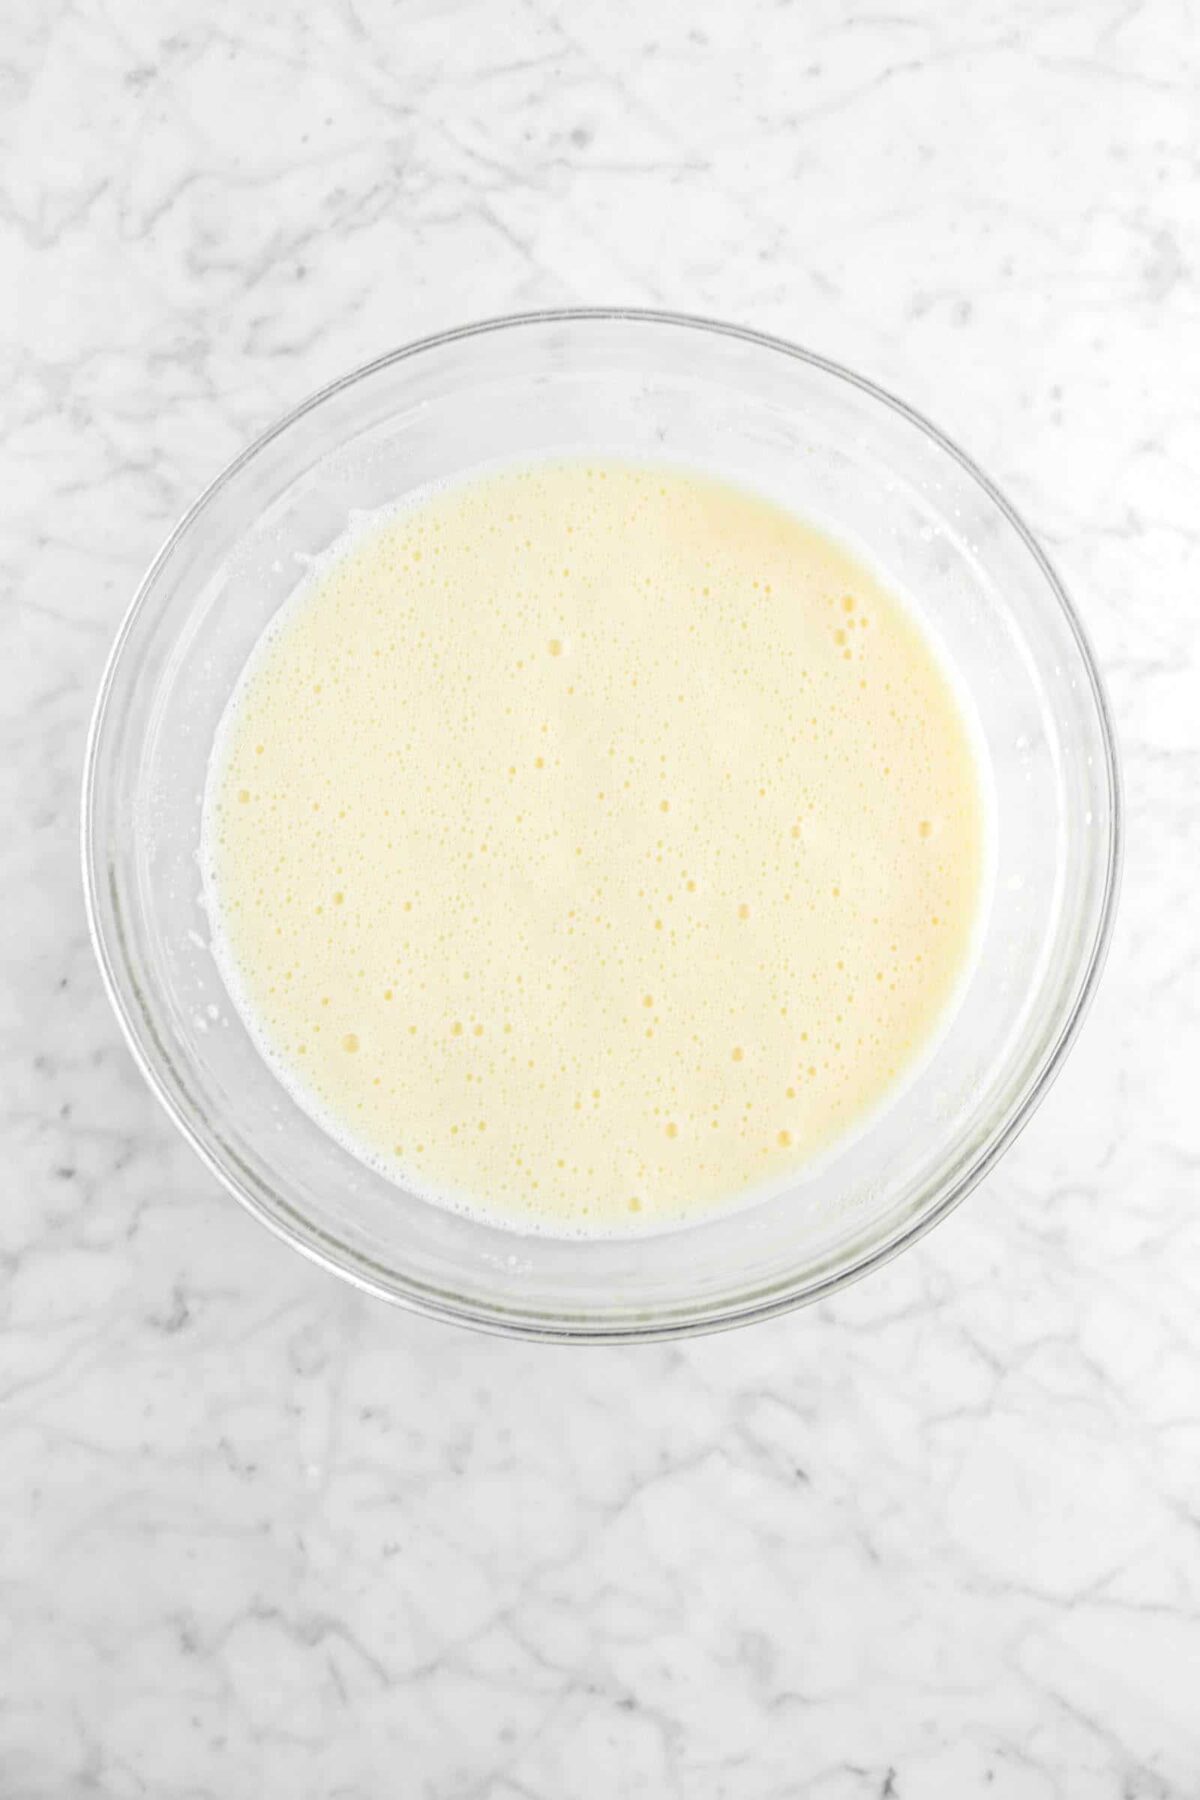
Strain the custard through a sieve into a clean bowl to ensure no cooked egg is in your custard.

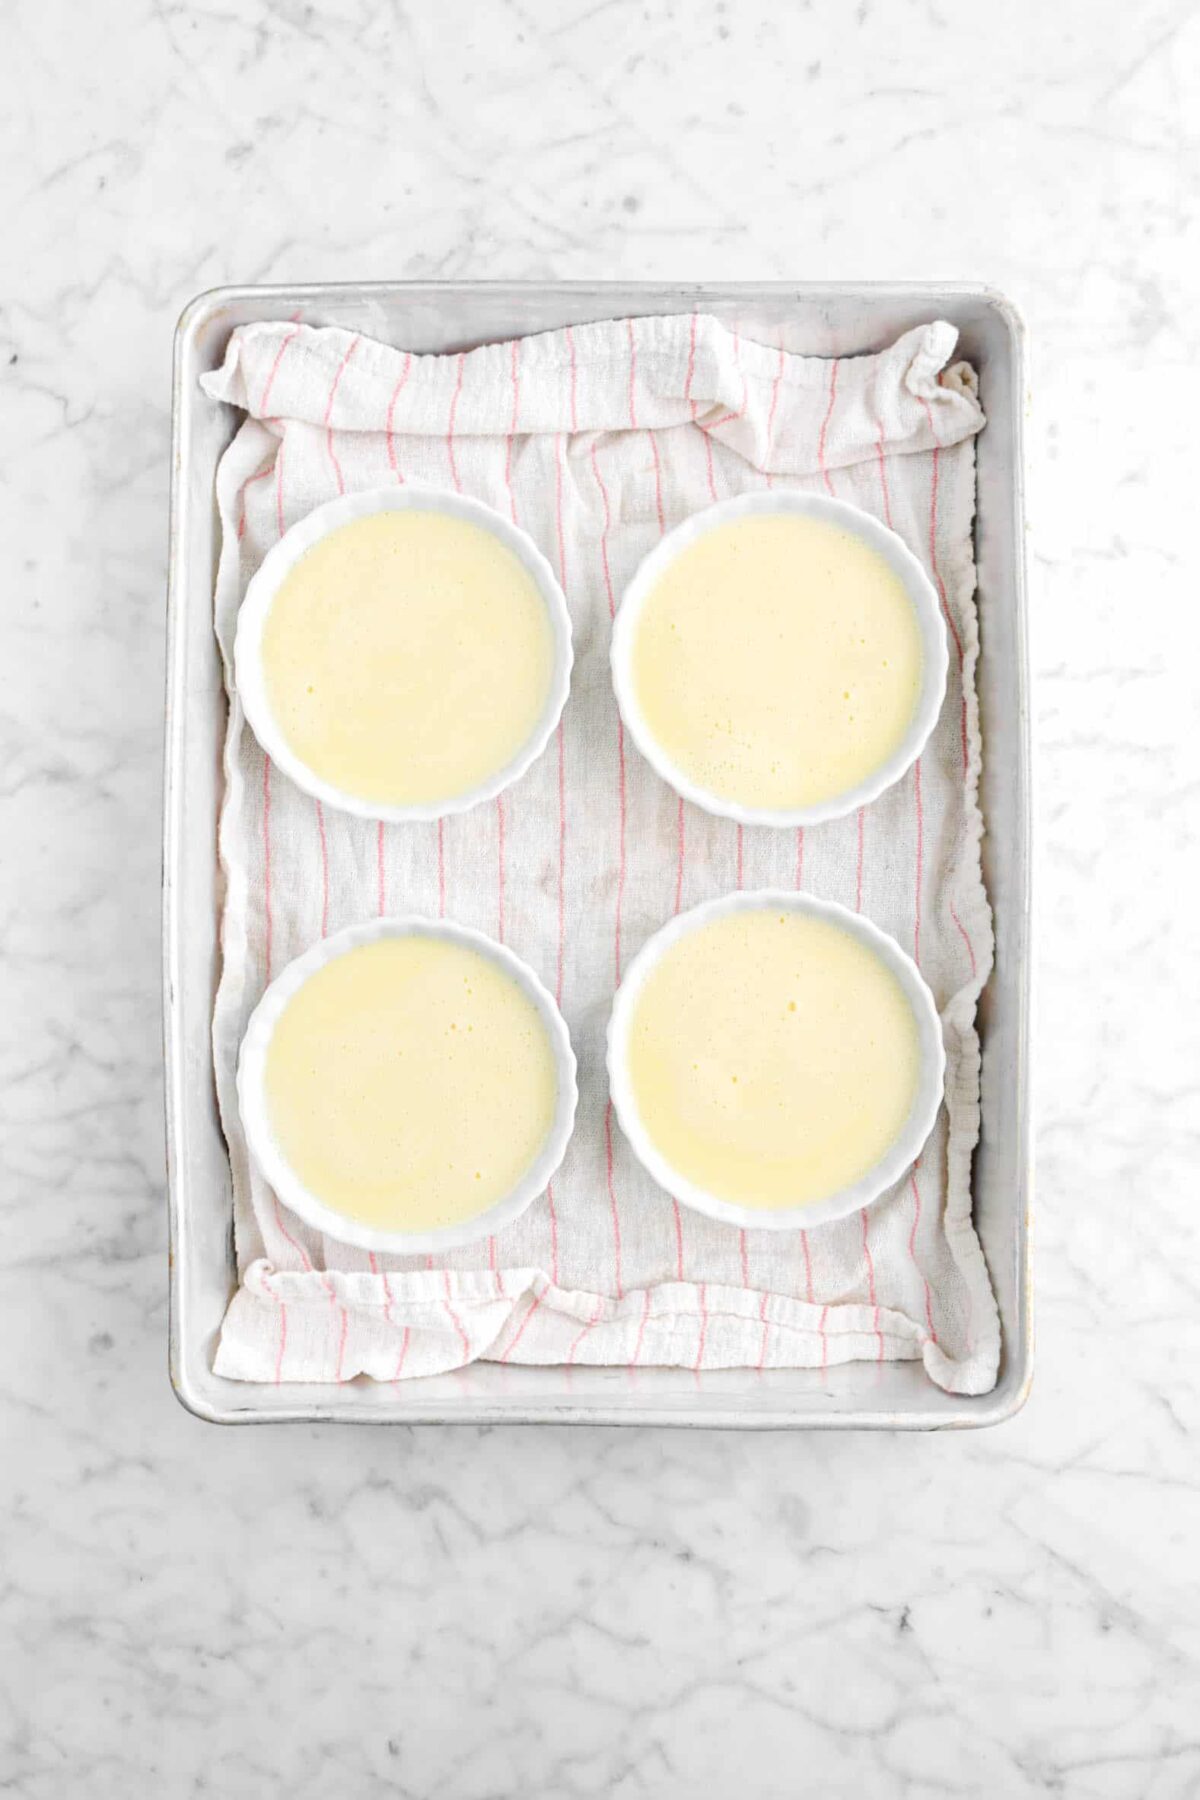
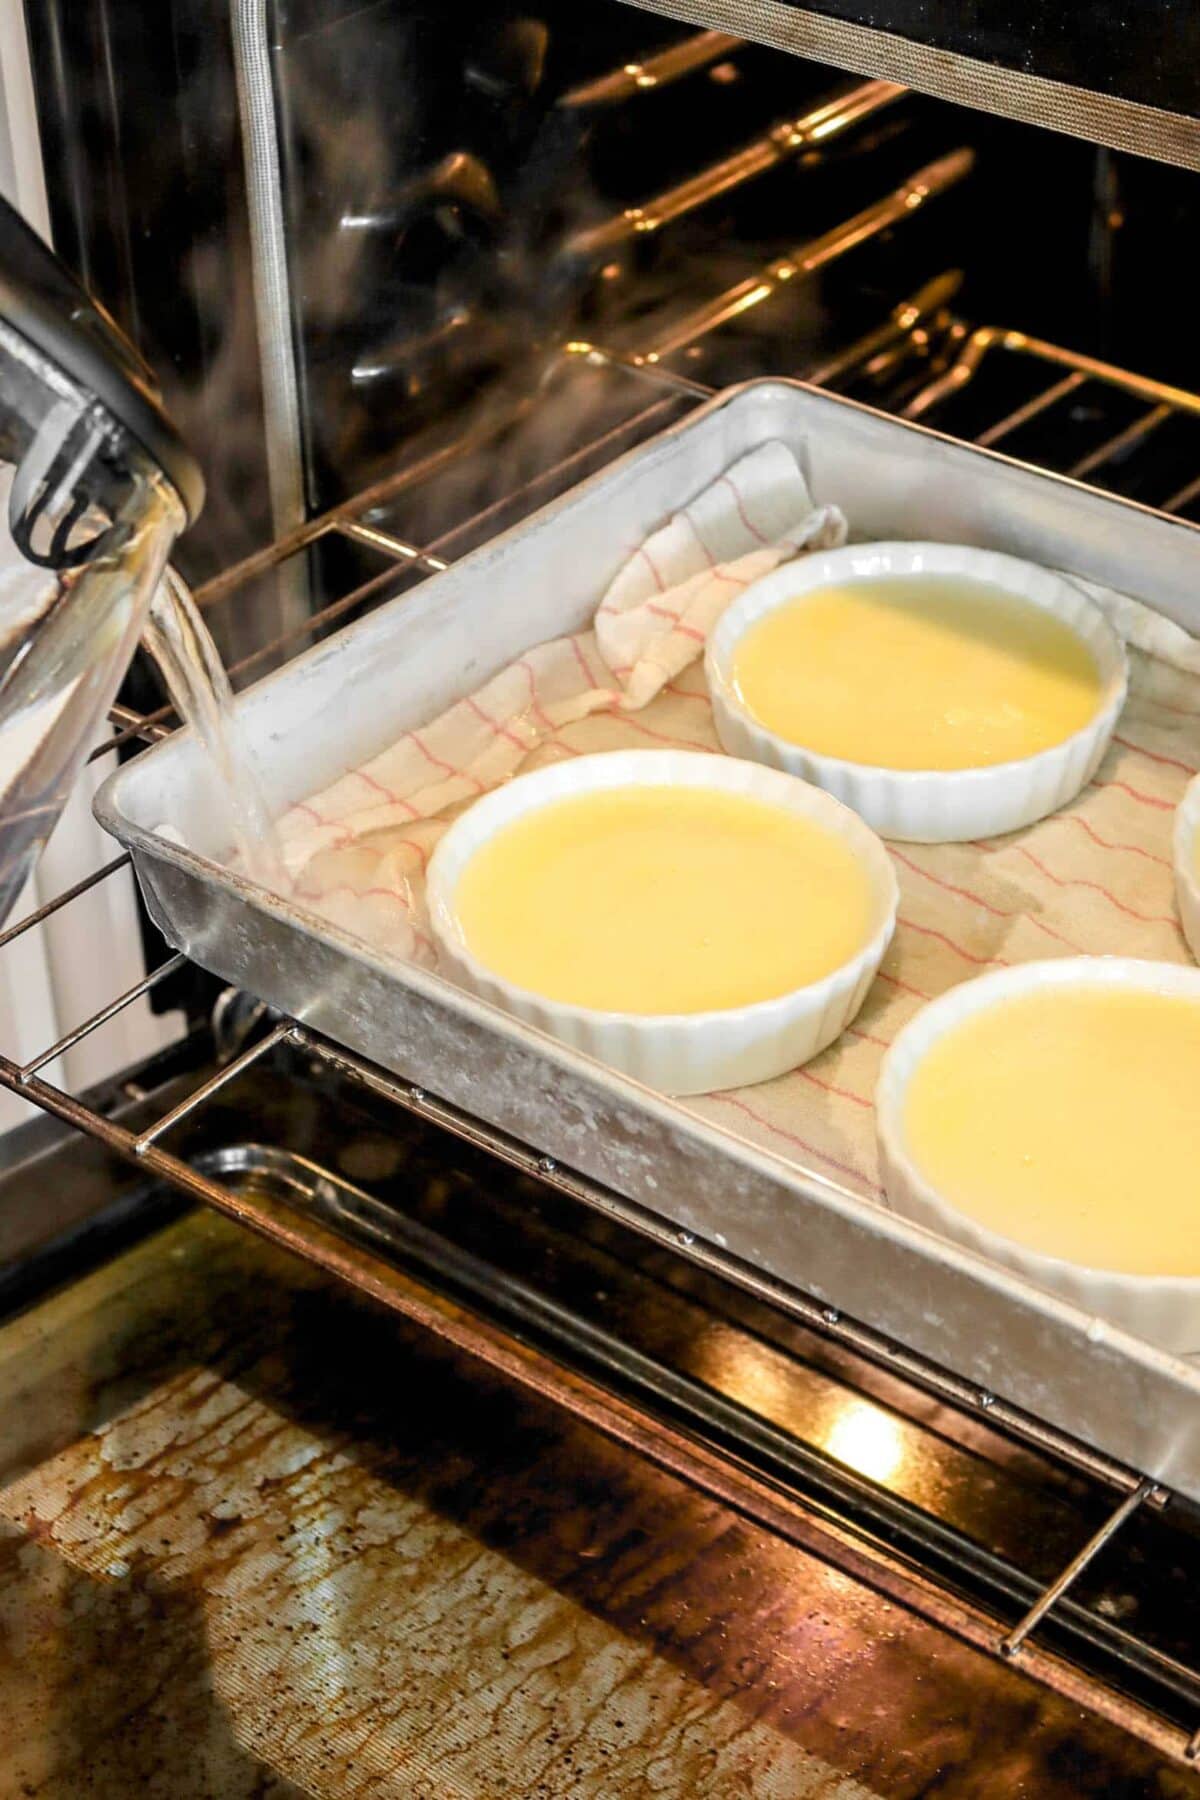
Place ramekins into a towel lined cake pan and pour custard into ramekins, about 3/4 of the way full. It’s best to use a ladle! From there, carefully move to the oven and place on the top rack. Pour boiling water into the pan, careful not to splash any water into the custards. Close the oven and bake at 300 for 25 minutes, or until set. Let cool in the water-bath. Once cool, place custards covered with plastic wrap in the fridge overnight or in the freezer for 15-30 minutes.
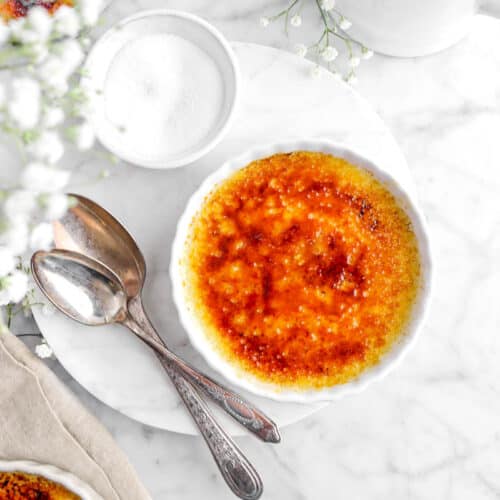
When ready to serve, take out of the fridge, sprinkle tops with sugar and use a blowtorch to brûlée the sugar until golden.
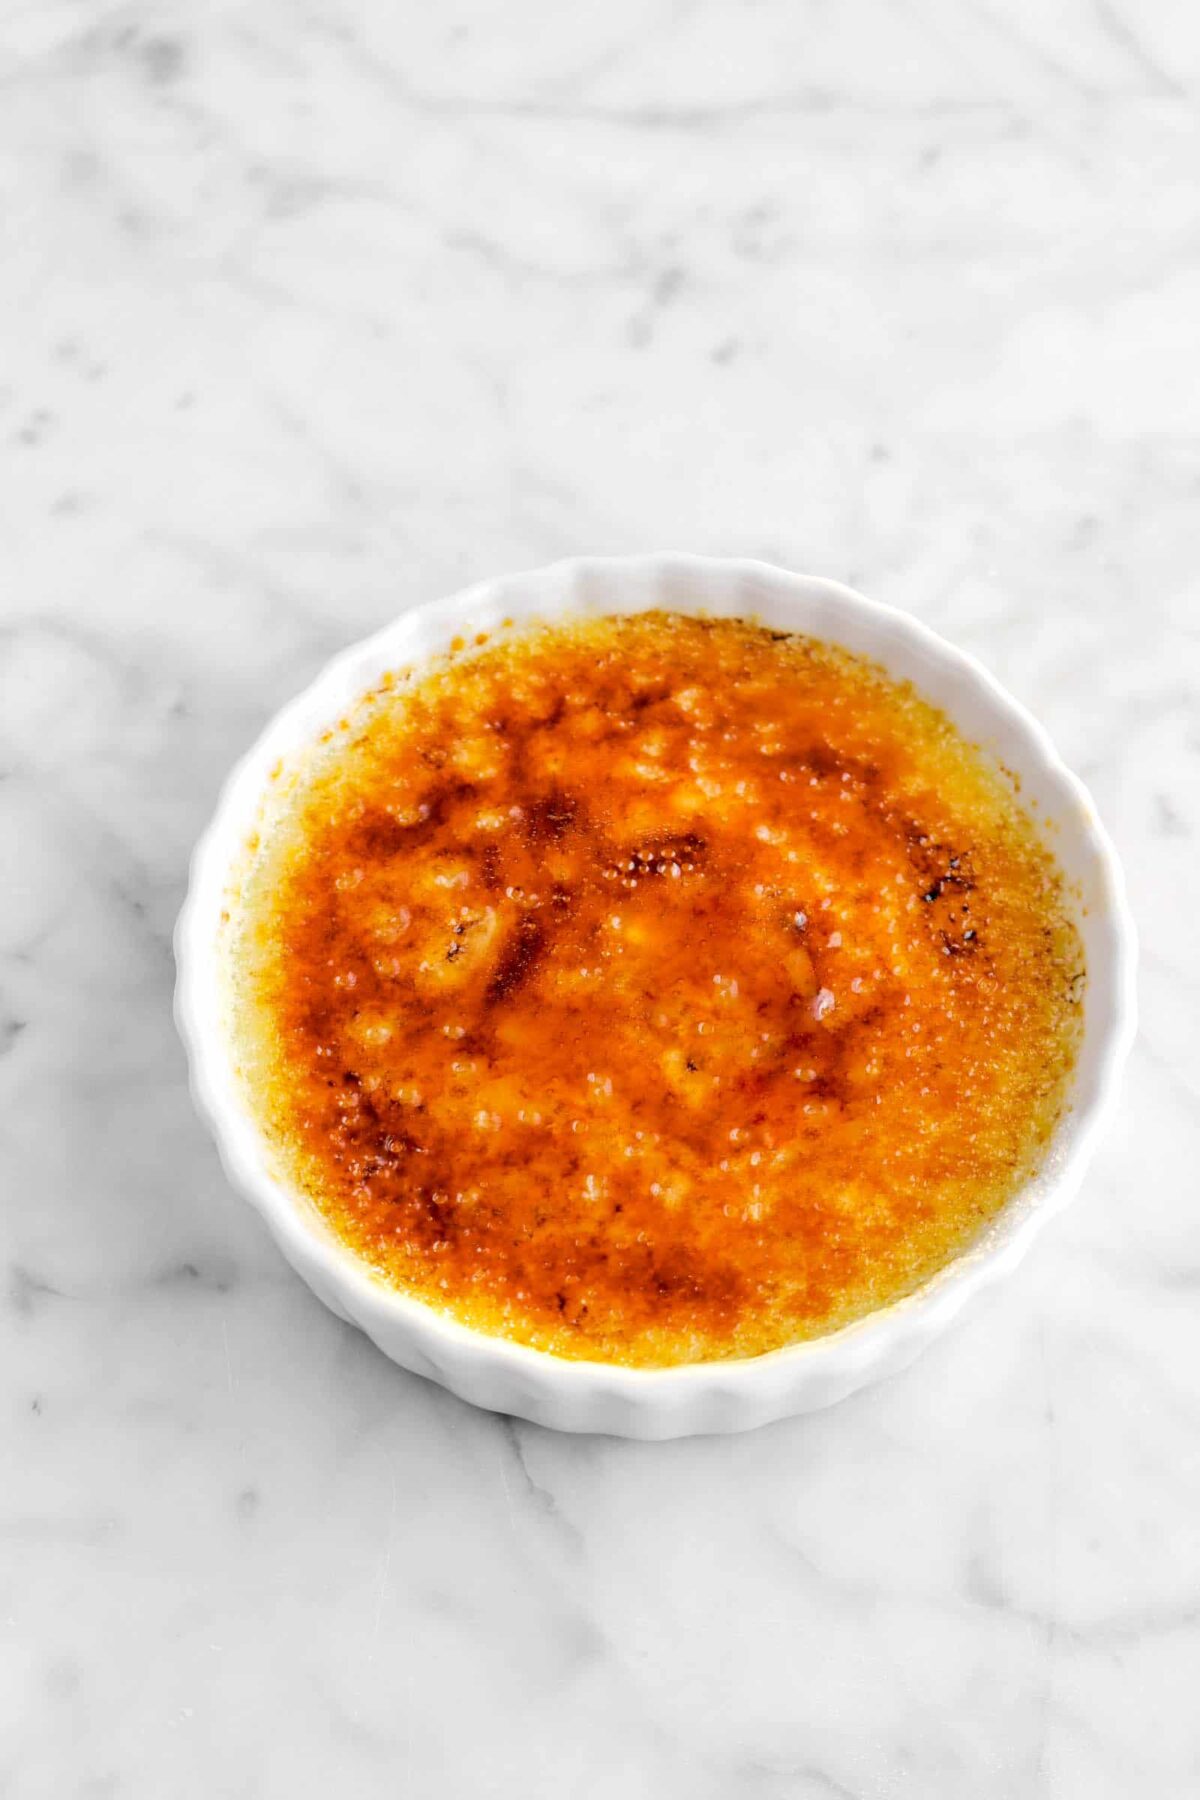
Serve immediately!
Kitchen Torch or Oven Broiler?
The best way to get the beautiful burnt sugar is using a kitchen torch! It’s actually a great kitchen tool to have on hand, if you don’t already have one. The torch allows you to really control how burnt the sugar gets! But, you can definitely use the broiler. Just keep an eye on them!
How To Store
After baking the custard and letting it cool, you will need to wrap the ramekins individually with plastic wrap. From there, you can actually put them in the fridge or freezer! In the fridge, the custards should last about 5 days. In the freezer, they’ll store up to a few months! It’s a great treat to keep in the freezer for when you want something sweet!
Just don’t add the sugar and caramelize it until you’re ready to eat! The burnt sugar doesn’t store well.
If you freeze the crème brûlée, let it thaw in the fridge overnight.

When you make this Maple Crème Brûlée, leave a comment down below! We love hearing from you and answering any questions you might have! Also, be sure to tag us on social media and hashtag it #BakersTable.
Maple Crème Brûlée
Ingredients
- 1 Tablespoon pure maple syrup
- 10 large eggs yolks
- 1 large egg
- 1 cup maple sugar
- ⅓ teaspoon salt
- 2 cups heavy cream
- sugar, to top
Instructions
- Heat oven to 300℉/150℃.
- In a large bowl, whisk together maple syrup, egg yolks, egg, maple sugar, and salt. Set aside.
- In a medium saucepan, heat cream until it starts to bubble around the edges.
- While whisking, slowly add a small amount of hot cream to egg mixture.
- Continue whisking in small amounts of cream at a time, until fully incorporated.
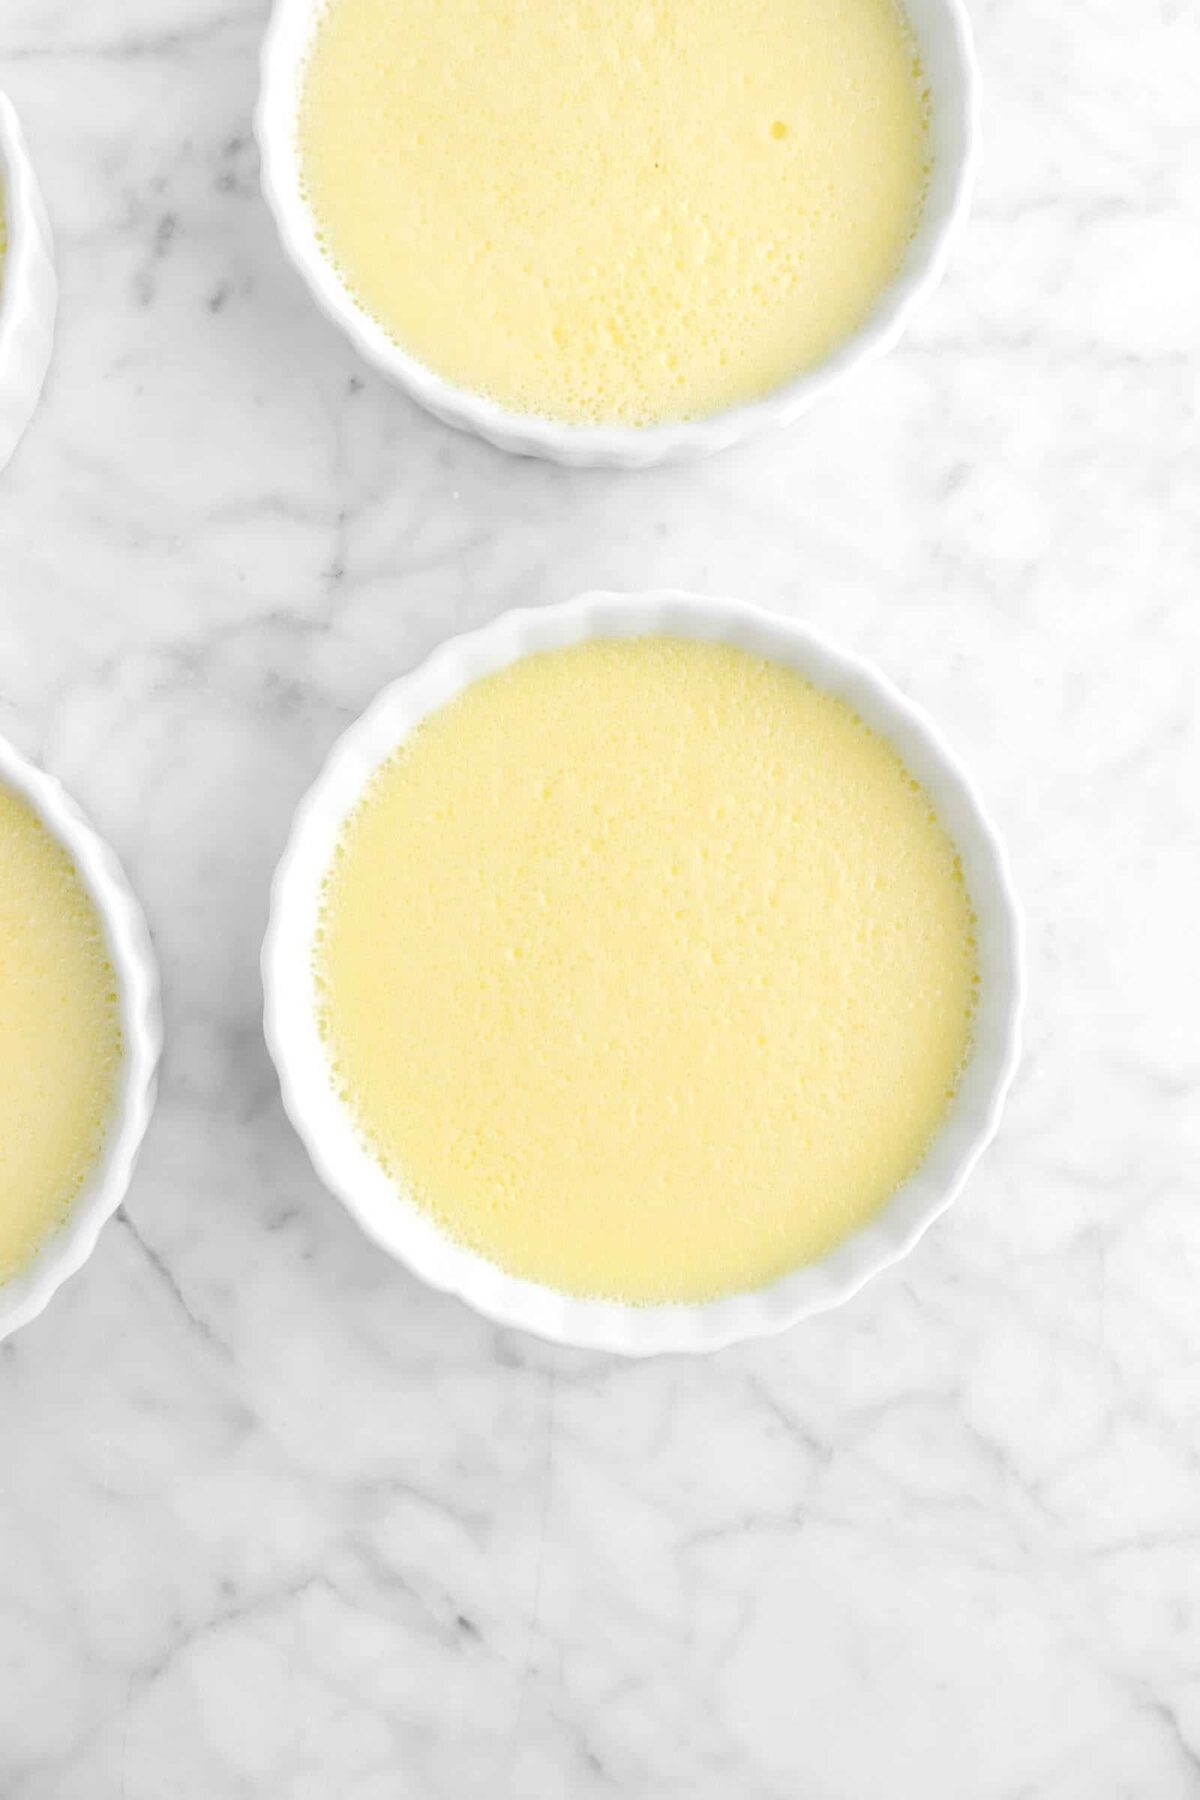
- Strain into a clean bowl.
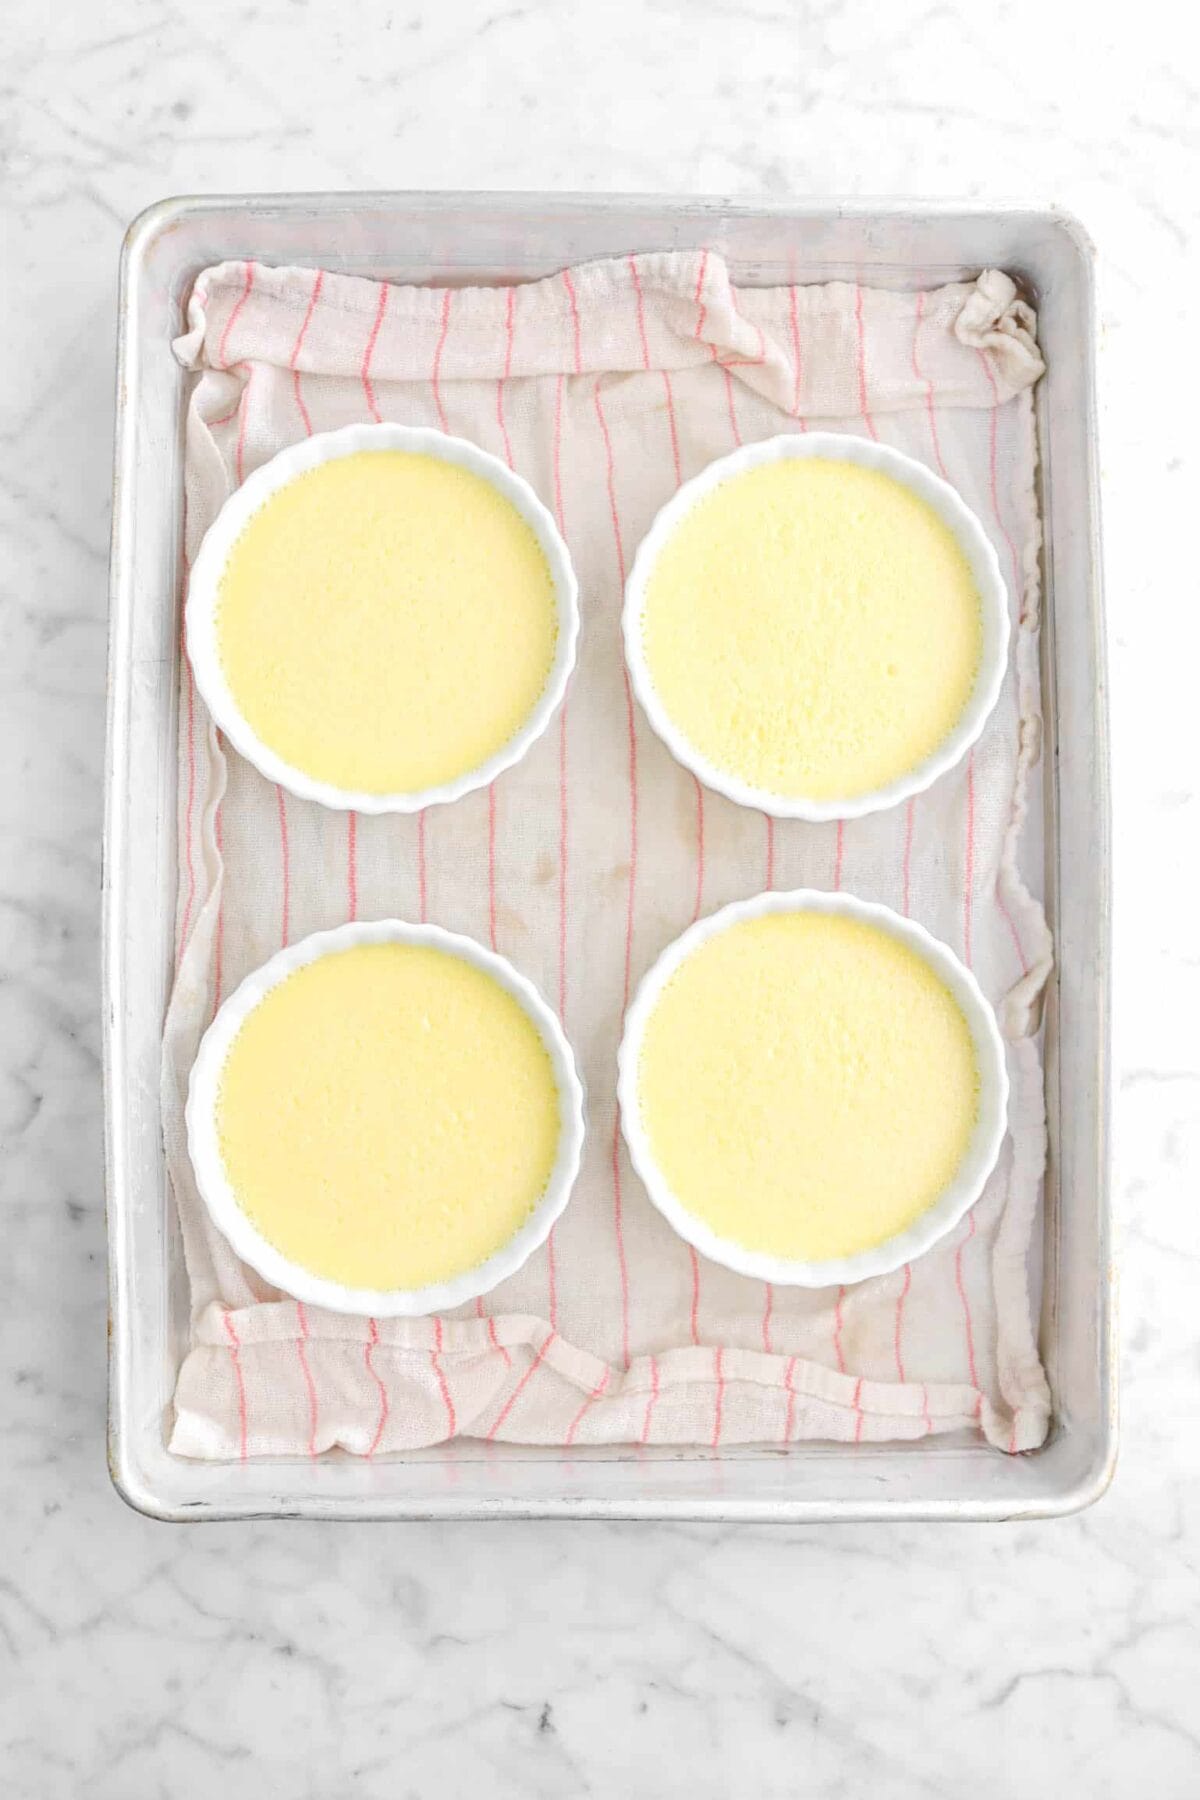
- Portion mixture into ramekins.
- Place a clean dish towel in the bottom of a casserole.
- Set filled ramekins on towel.
- Pour boiling water in bottom of casserole, filling to half way up the ramekins.
- Bake for 20-25 minutes until set.
- Remove ramekins from water bath.
- Refrigerate until ready to serve.
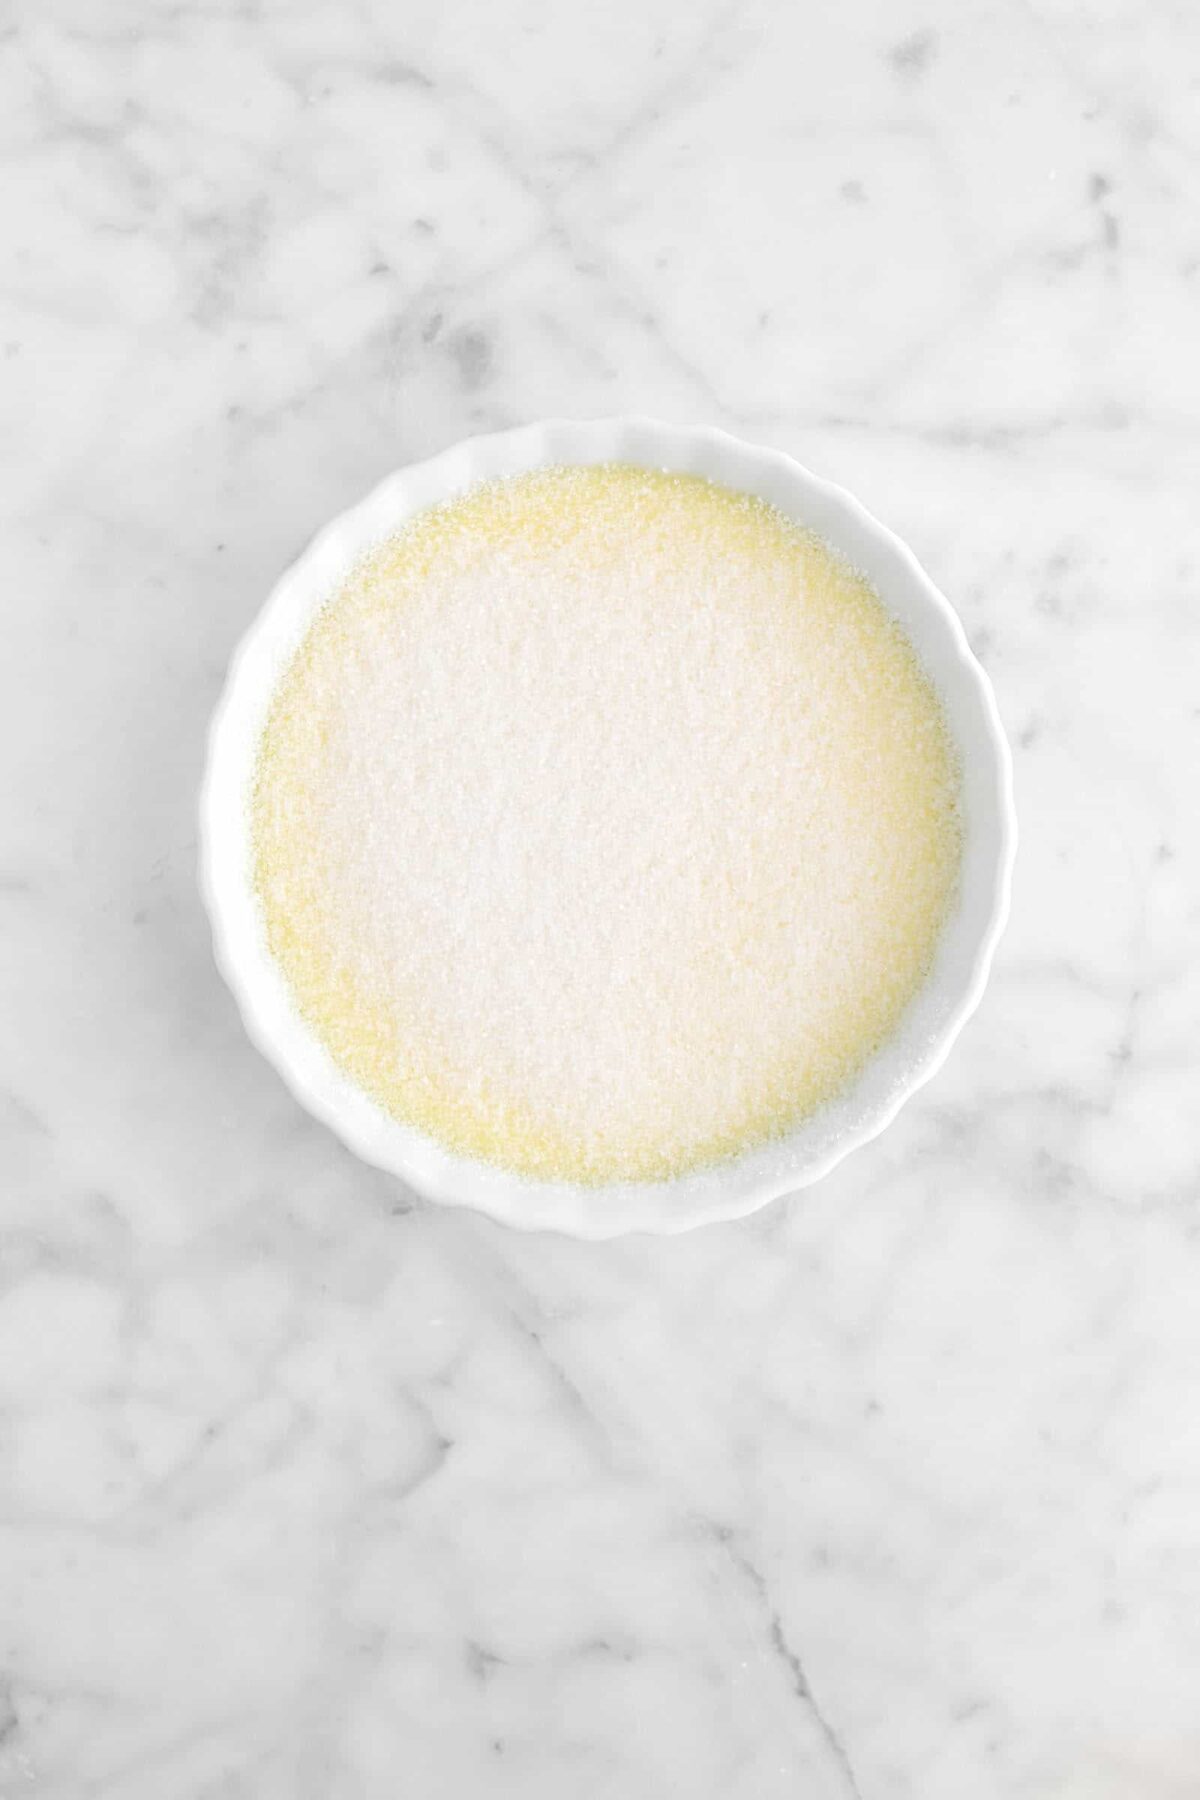
- When ready to serve, sprinkle each custard with sugar.
- Use a torch to brown sugar on top.
Notes + Tips!
- The bake time will vary based on size and shape of your ramekins.
- Be careful not to get water in the custards!
- Use about 1/2 – 1 Tablespoon of sugar on top of the ramekins
- If you have a kettle, it’s the easiest way to boil your water!
- If you’re using a creme brûlée pan, you don’t need to put a towel in the bottom of the pan.


Hi,
As a pastry chef, I’ve written a lot of formulas or recipes. If I may make a suggestion, if you are going to offer this recipe in metric, do it completely. For example, how many grams do the eggs calculate out to be? And how much does the maple syrup weigh in grams. Wouldn’t it be better if it was a recipe that was calculated for 1 size of ramekin rather than leaving it up to the amature baker? This recipe is so hodge podge that I am afraid to make it for my event tonight as I need to know that it is exact and correct.
As a retired pastry chef myself, I understand where you are coming from. When we started this adventure, I had the same opinions that you do. I quickly learned that most people don’t have access to cartons of eggs, or couverture, or scales. I also learned that most people, not professionals, who use grams also still use teaspoons and tablespoons. The teaspoon and tablespoon conversions are the metric conversions for those. They are usually the same, but sometimes a little different because metric teaspoons and tablespoons are slightly larger than imperial. I write all my formulas and recipes using weight, then I convert to volume because this is the preferred method of the majority of home cooks. I also learned that not everybody has access to the same equipment I do, so I write my recipes to fit a number of different options. If you had read through the post, the ramekins are linked to. There are 2 different sizes that could be used, and that is stated as well as how many of each you need for the recipe. I have found people are more than willing to ask questions when they have them, and I am more than happy to answer them.