Old Fashioned Chocolate Doughnuts with Vanilla Glaze
This post may contain affiliate links, please visit our privacy policy for details.
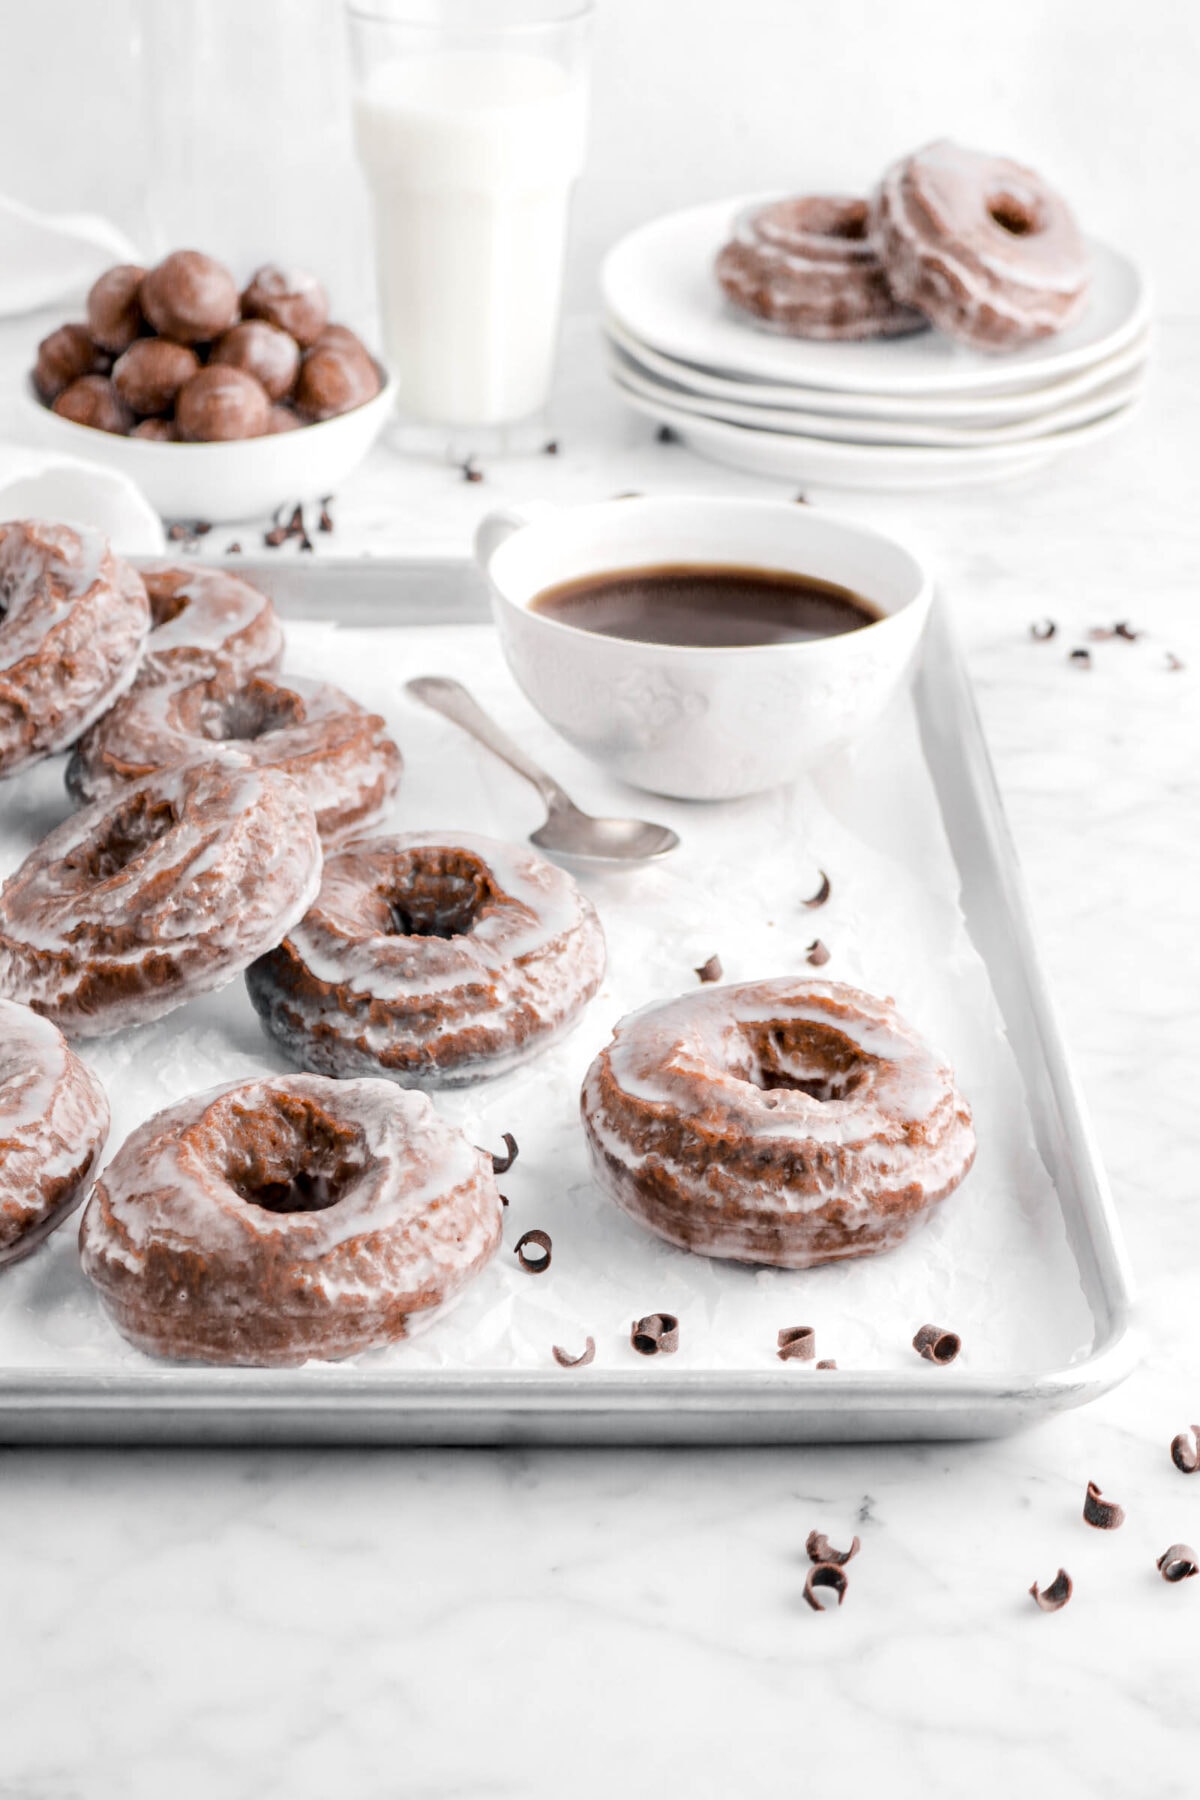
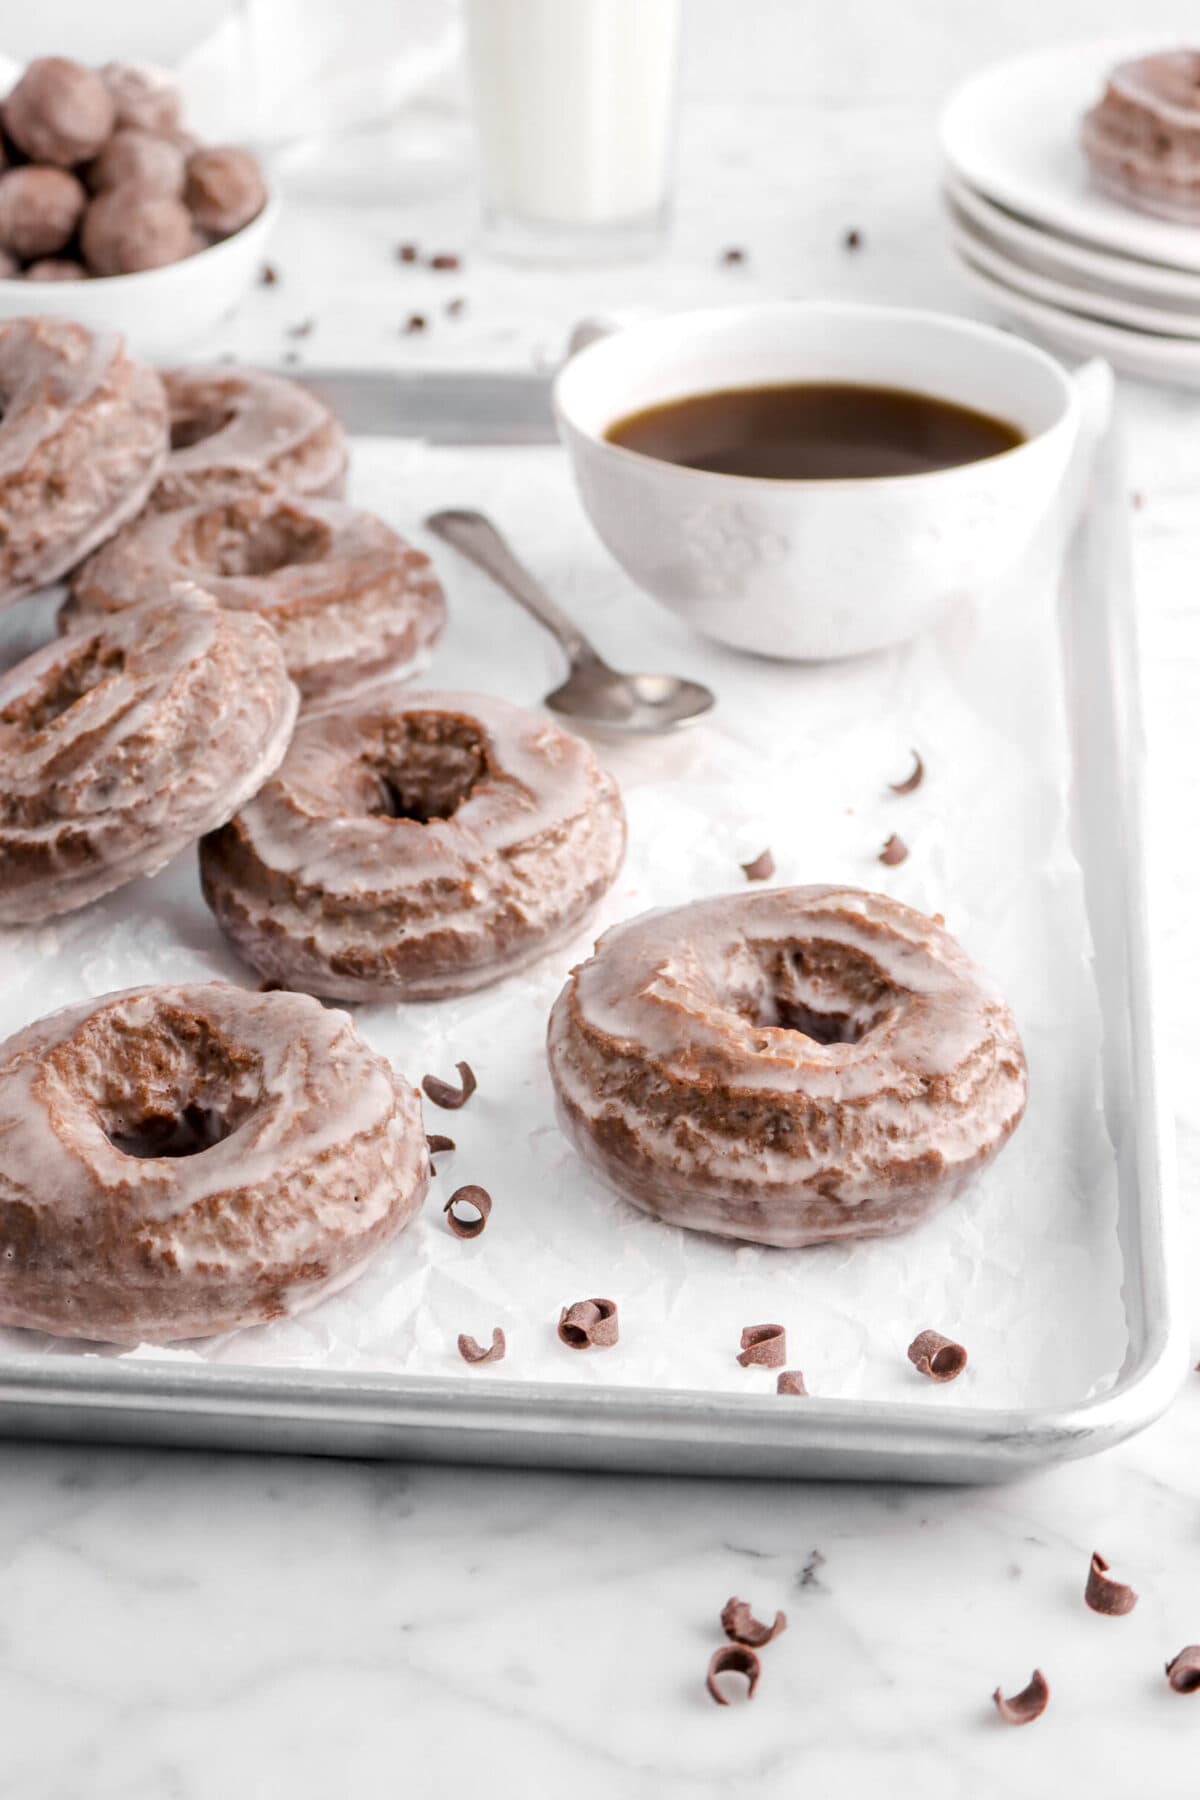
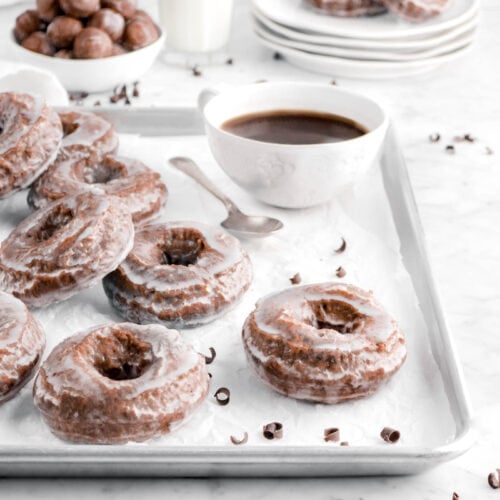
Welcoming the weekend with these homemade Old Fashioned Chocolate Doughnuts with Vanilla Glaze. Made with a super simple chocolate sweet dough (no yeast!), then fried to perfection, and dipped in a seriously delicious three ingredient vanilla glaze! Trust me, you can’t help but to love these chocolate-y bites. They are truly a chocolate lovers dream! Every bite is soft, fluffy, extra chocolate-y, perfectly sweet, and just SO. DELICIOUS. It’s so hard to eat just one! Perfect with your favorite mug of coffee at breakfast, served alongside a few other bites at brunch, or even with a large scoop of vanilla or chocolate ice cream as a delicious dessert. It simply does not get any better than these doughnuts!
About The Recipe
Friday’s in February just NEED chocolate, you know? Especially these super special and actually chocolate-y chocolate doughnuts! Though, we can’t forget about the delectable vanilla glaze that coats each one of these delicious treats.


I don’t think we have ever struggled as hard to get a recipe perfect as we did with this one. There were a LOT of late night hours put into trying to perfect this. Who knew it would be so hard to get a chocolate sweet dough to…well, taste like chocolate?
Our first attempt at this was just plain bitter. The doughnuts were gorgeous, but they really didn’t taste good. So, we tried again. My mom tweaked the recipe, thinking just a touch more sugar would help counteract the bitter and…it was no help. The doughnuts, while better, were still bitter and had less than no chocolate flavor. They were just bland.
Our third attempt was a totally different type of yeast dough. We used melted chocolate, more eggs, milk…kind of like a brioche. Still, no dice. The flavor was a little stronger and the dough was a bit sweeter, but it still wasn’t quite right.
Honestly, we were almost ready to give up. Almost.
Finally, one late night, we were discussing what to do with this recipe…when we got the idea to try one last thing.
One of the things that’s been on our baking (well, technically frying) bucket list has been Old Fashioned Doughnuts. Though, we really hadn’t had the opportunity to give them a try…until now!
Our last attempt was to completely rewrite this recipe as an old fashioned dough with a few tweaks to be rid of the bitter flavor. Which, resulted in…FINALLY the perfect chocolate-y doughnut!

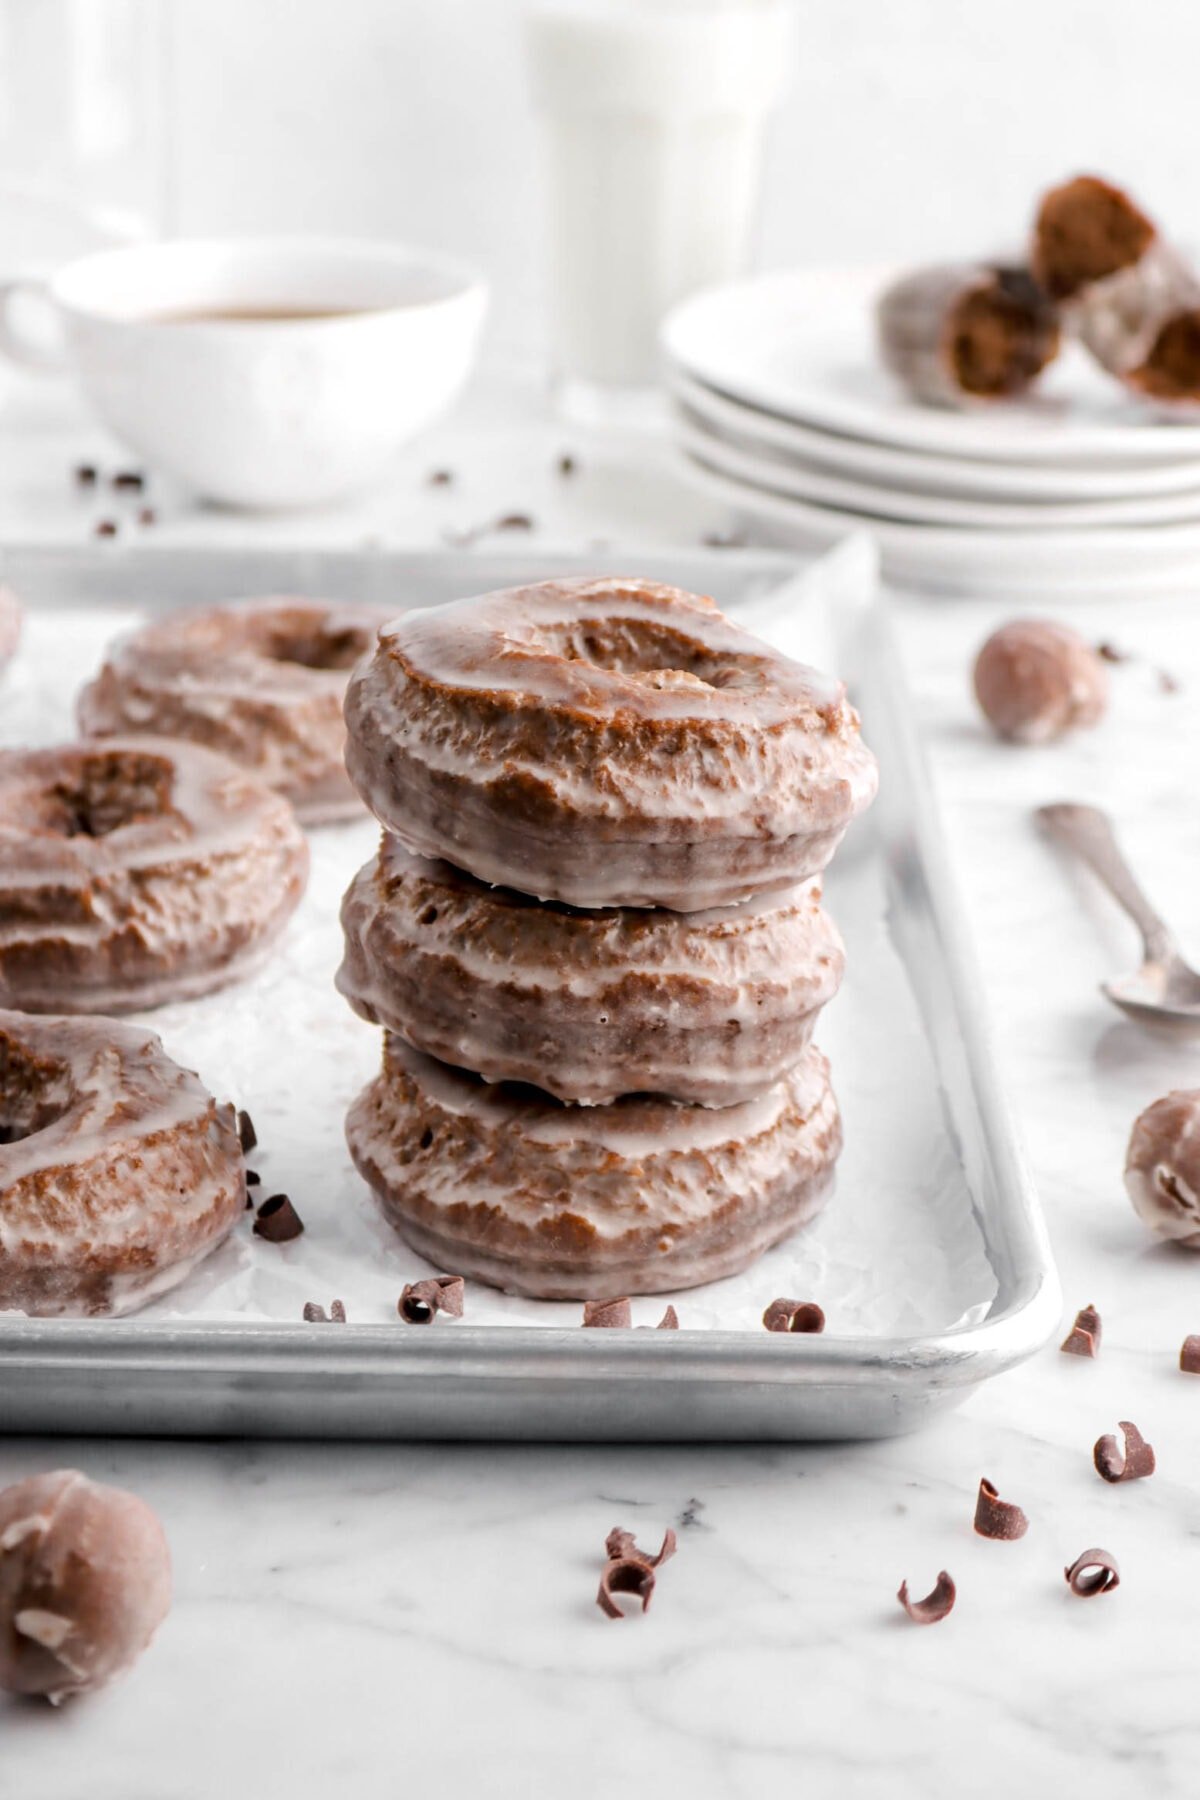
It’s taken SIX tests to finally get this recipe just right. Though, the stress was WORTH IT! These old fashioned doughnuts are light, fluffy, chocolate-y, perfectly sweet, and have no bitter flavors from the chocolate. It’s truly the perfect treat and we hope you love them just as much as we do!
What is an Old Fashioned Doughnut?
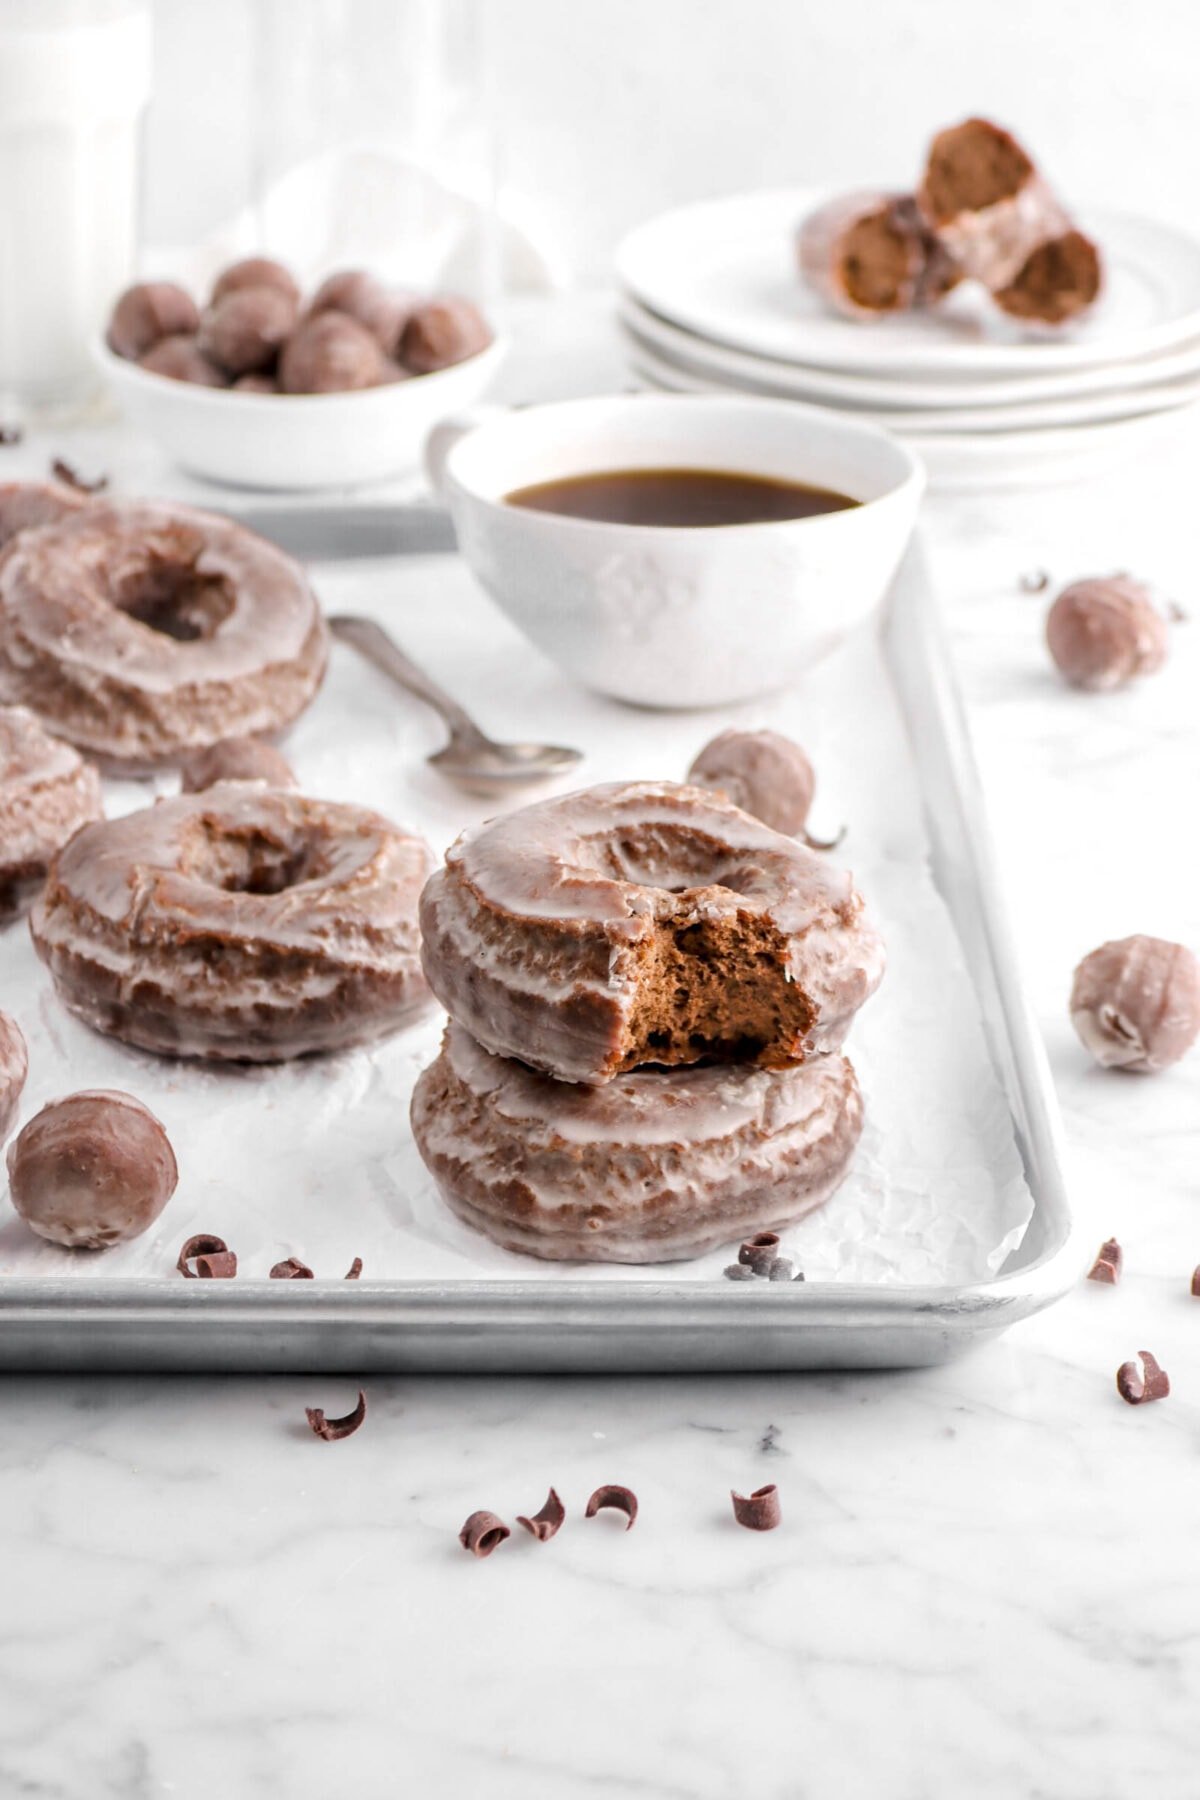
An Old Fashioned Doughnut is different from a cake donut and a yeast doughnut. It consists of a leavener (in this case, it’s baking powder AND baking soda) and either buttermilk or sour cream. So, it’s much closer in relation to cake donut, but instead of baked, it’s fried!
Why You Should Make These Old Fashioned Chocolate Doughnuts
- They’re actually SUPER simple to make and mix up!
- Since there is no yeast in this recipe, the resting times are very minimal!
- Makes for a special breakfast treat any time of year.
- These doughnuts are serious crowd pleasers!
- Can be enjoyed as breakfast OR dessert.

Ingredients
(Full ingredient amounts and instructions can be found in the recipe card at the bottom of the post)
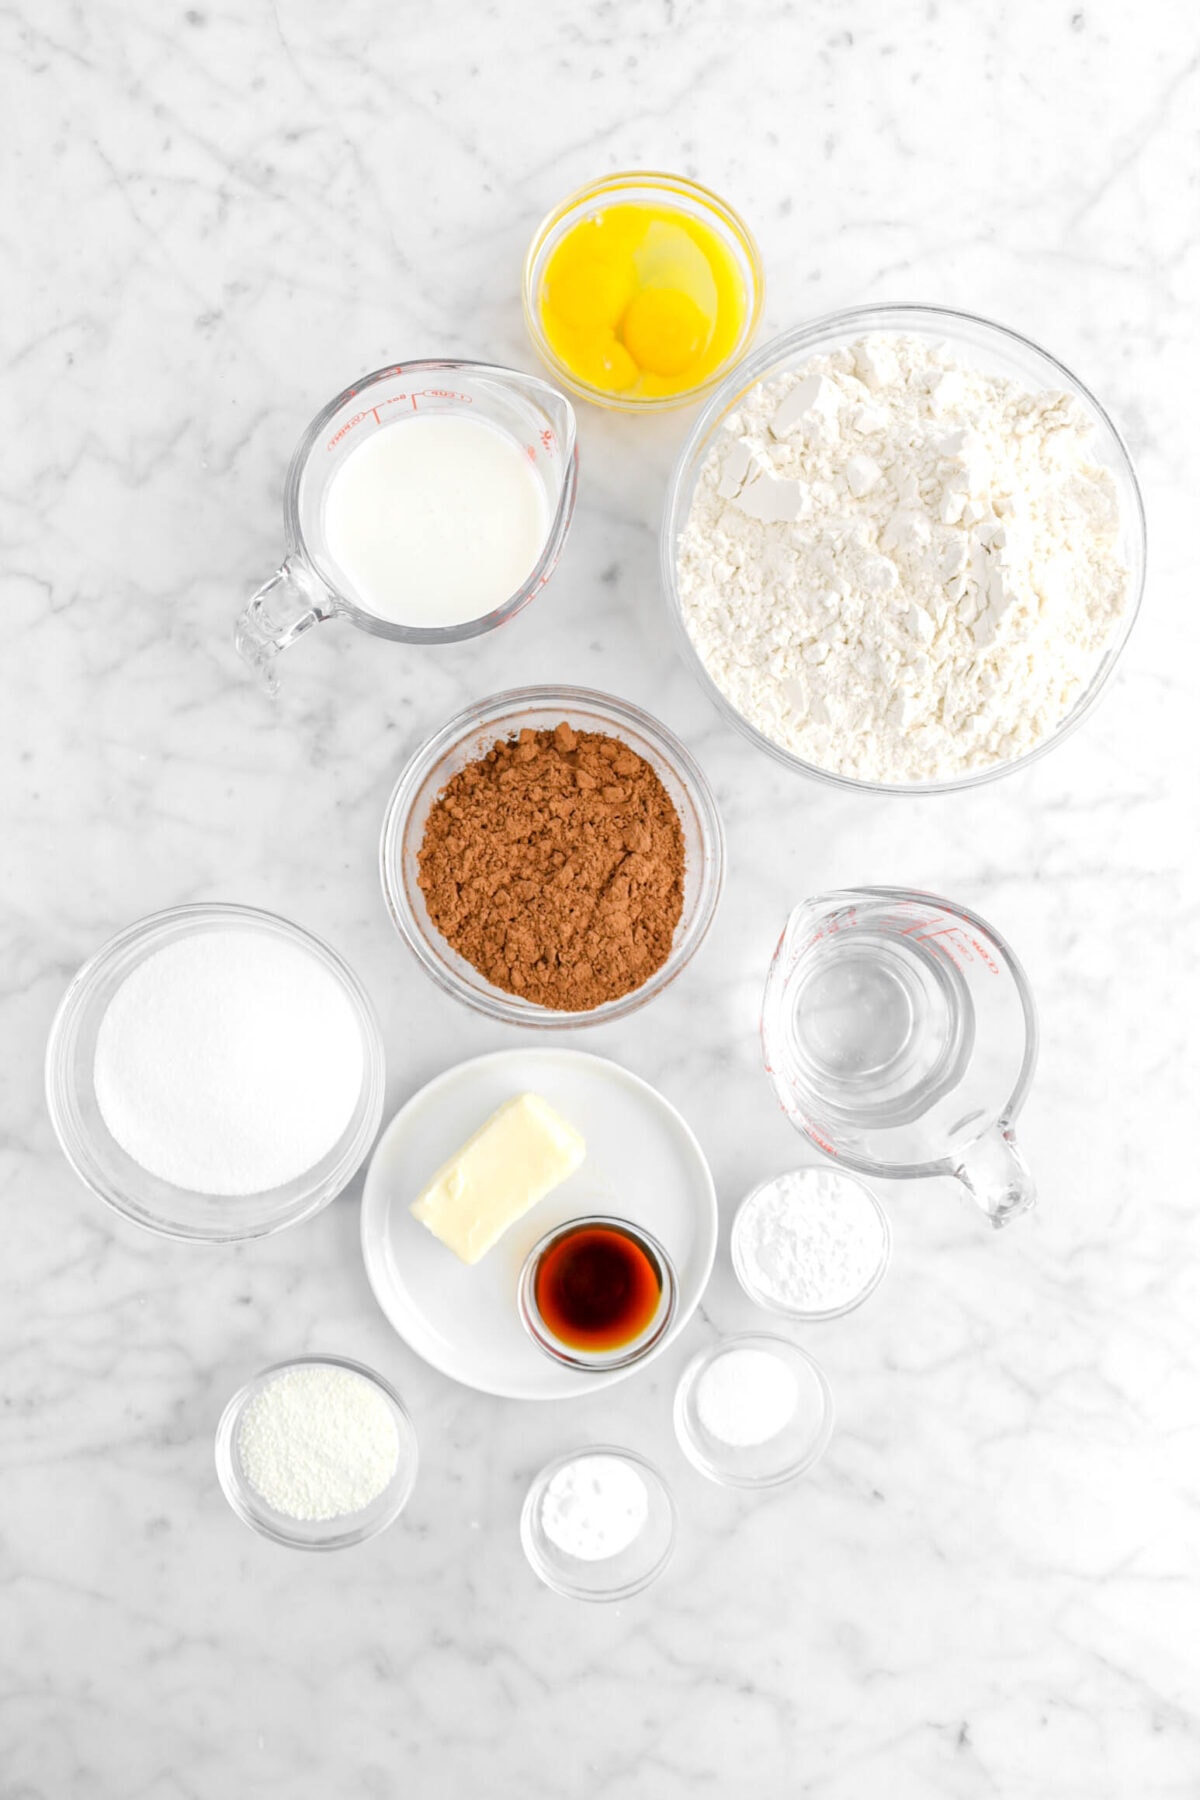
For The Dough:
- Natural Process Cocoa Powder
- Boiling Water
- All-Purpose Flour
- Baking Soda
- Baking Powder
- Nonfat Dry Milk Powder
- Unsalted Butter
- Granulated Sugar
- Salt
- Large Egg
- Egg Yolks
- Vanilla Extract
- Buttermilk
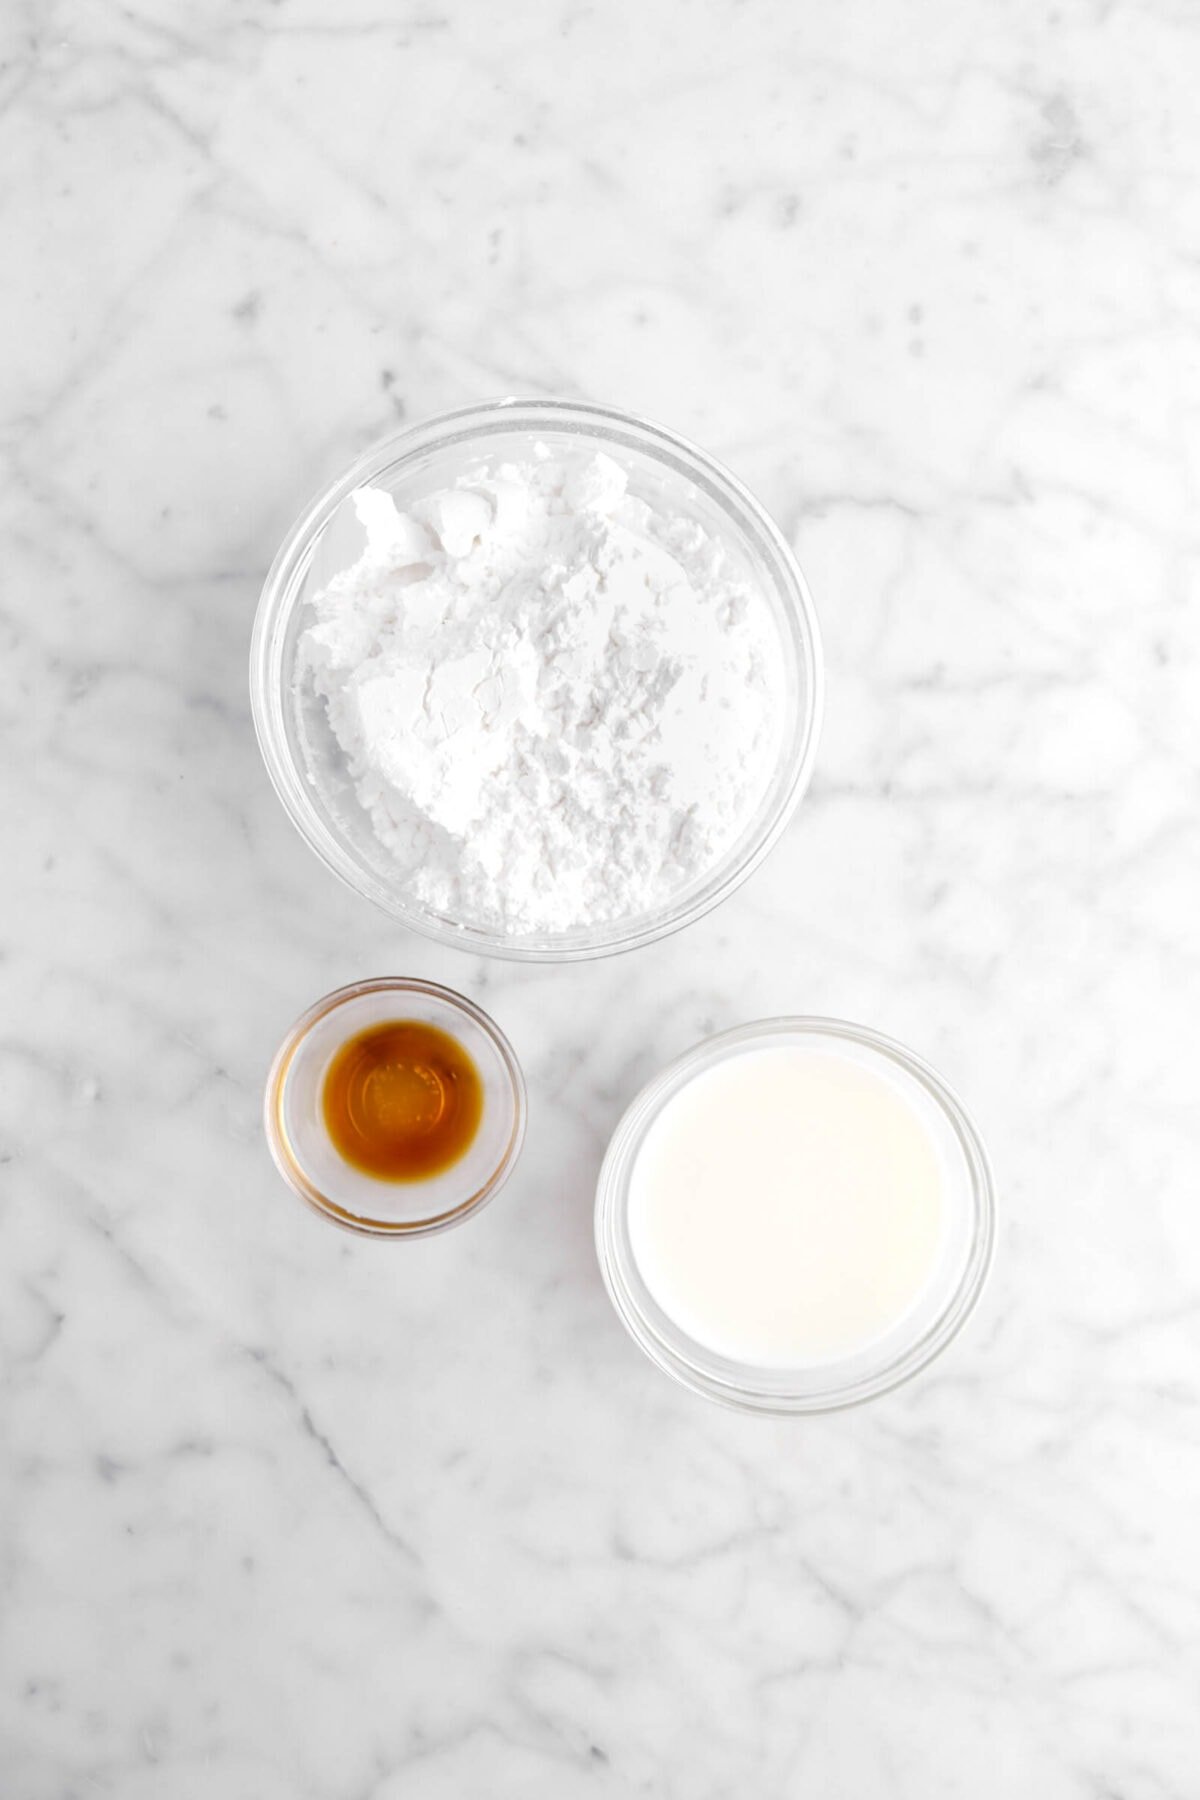
For The Glaze:
- Powdered Sugar
- Whole Milk
- Vanilla Extract
How To Make Chocolate Doughnuts
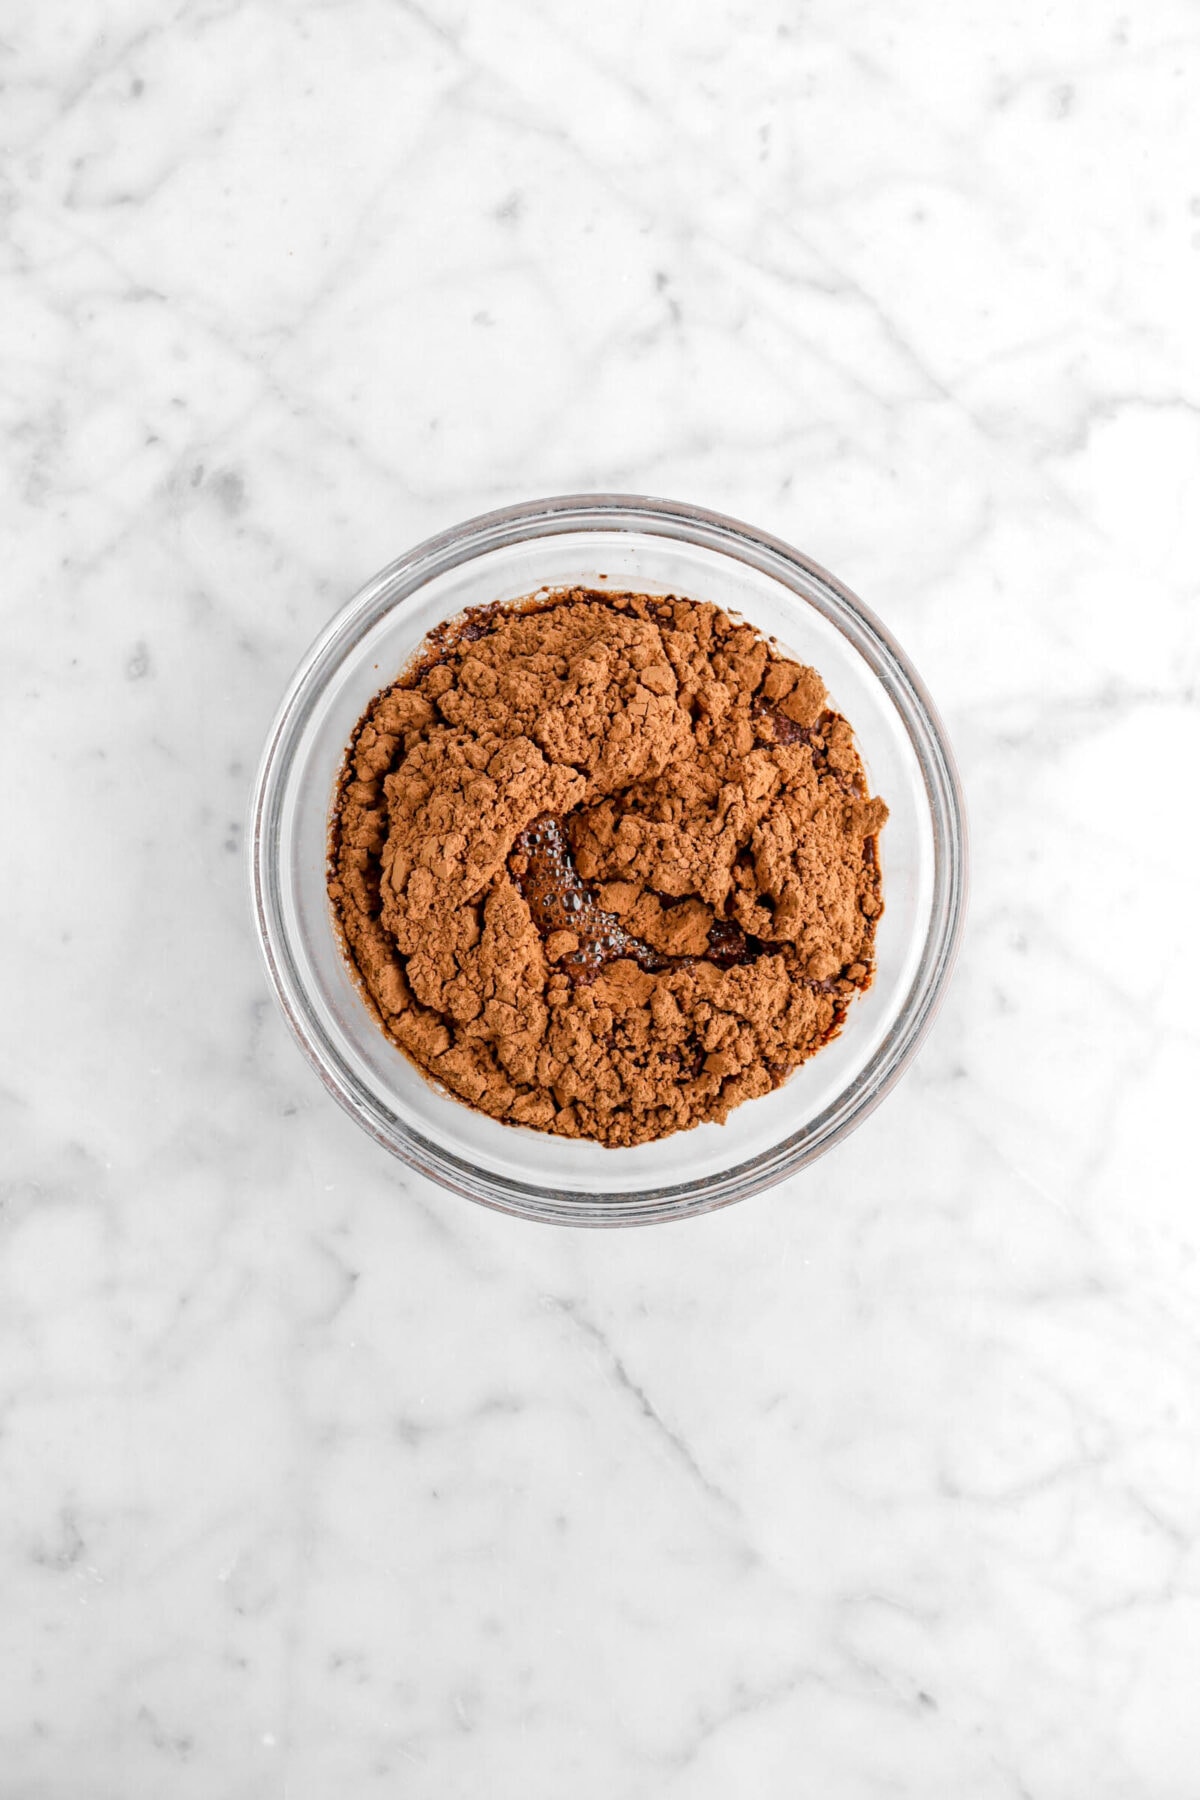
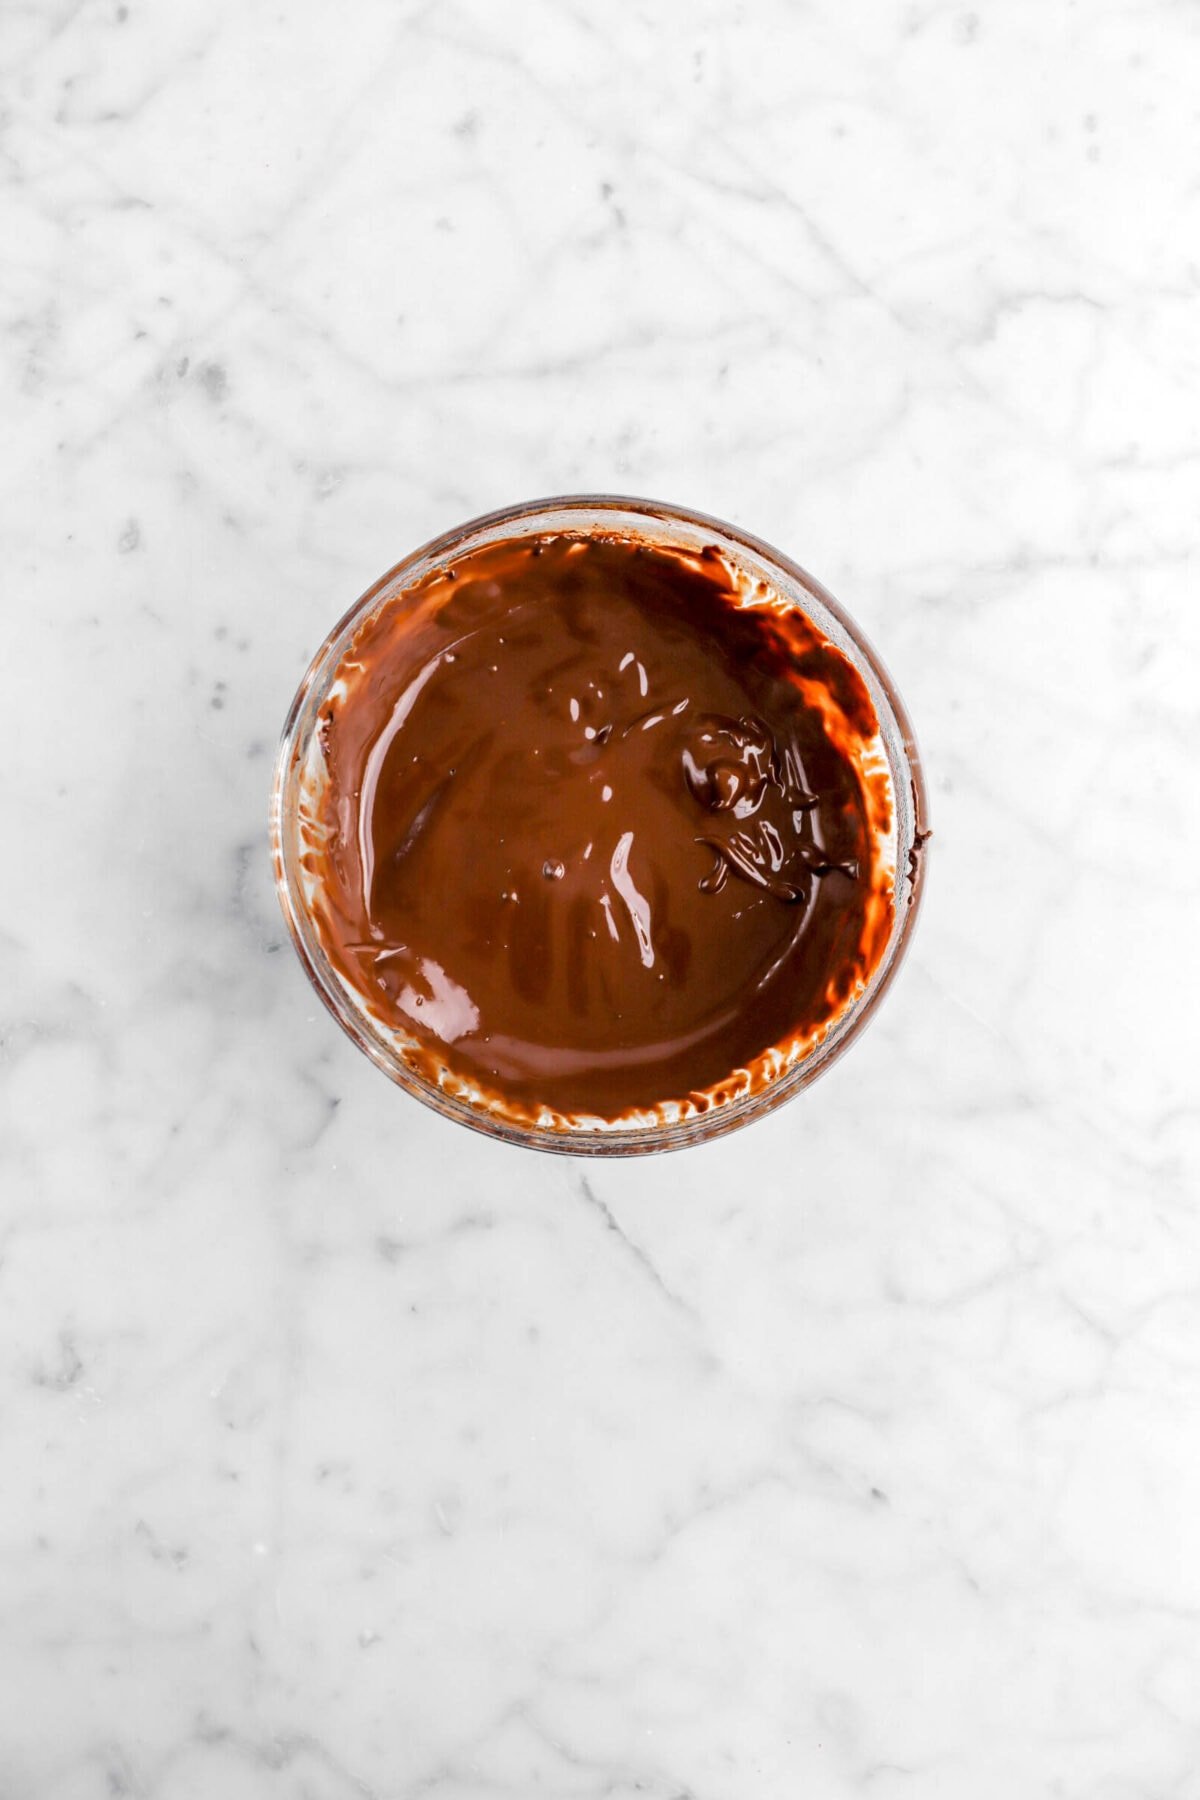
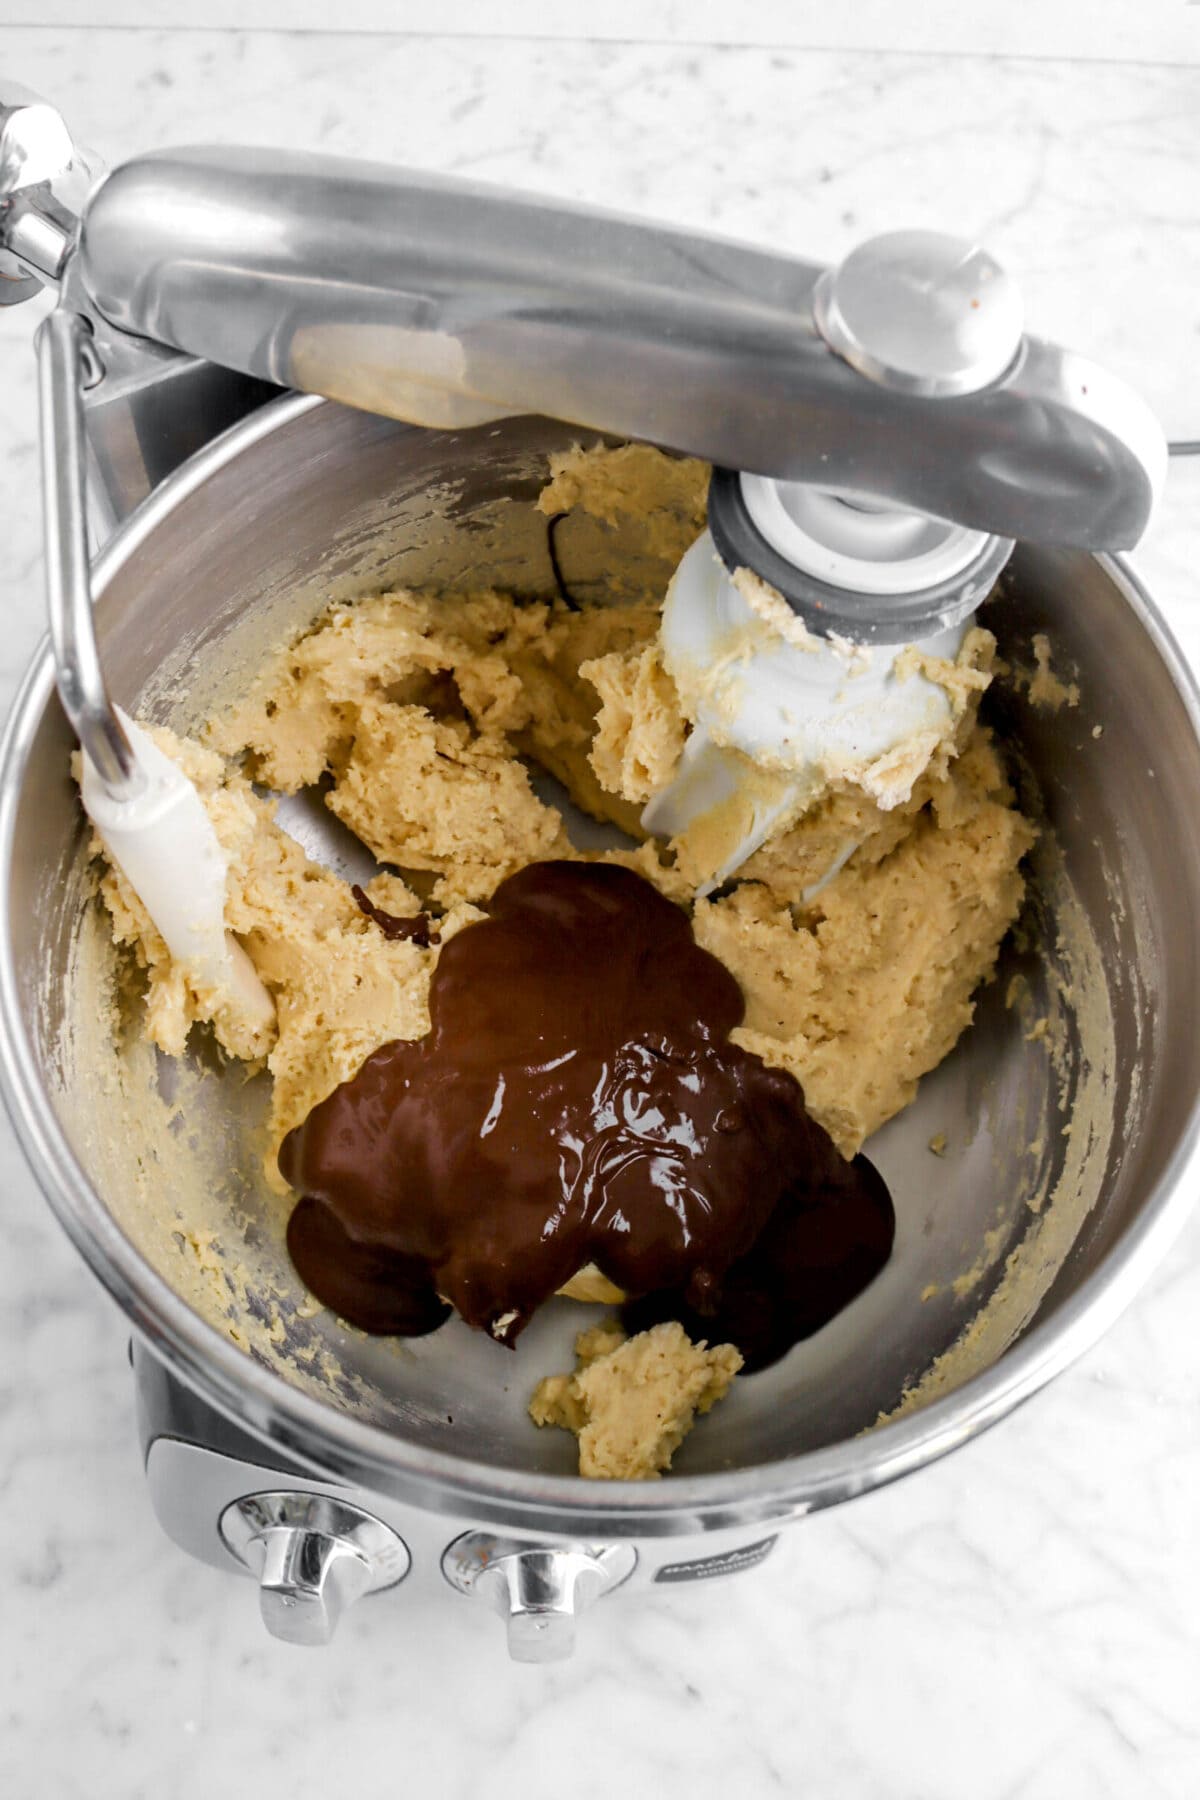
Step 1: Bloom the chocolate
In a small bowl, combine the cocoa powder and boiling water. Mix well and set aside.
Step 2: Make the dough
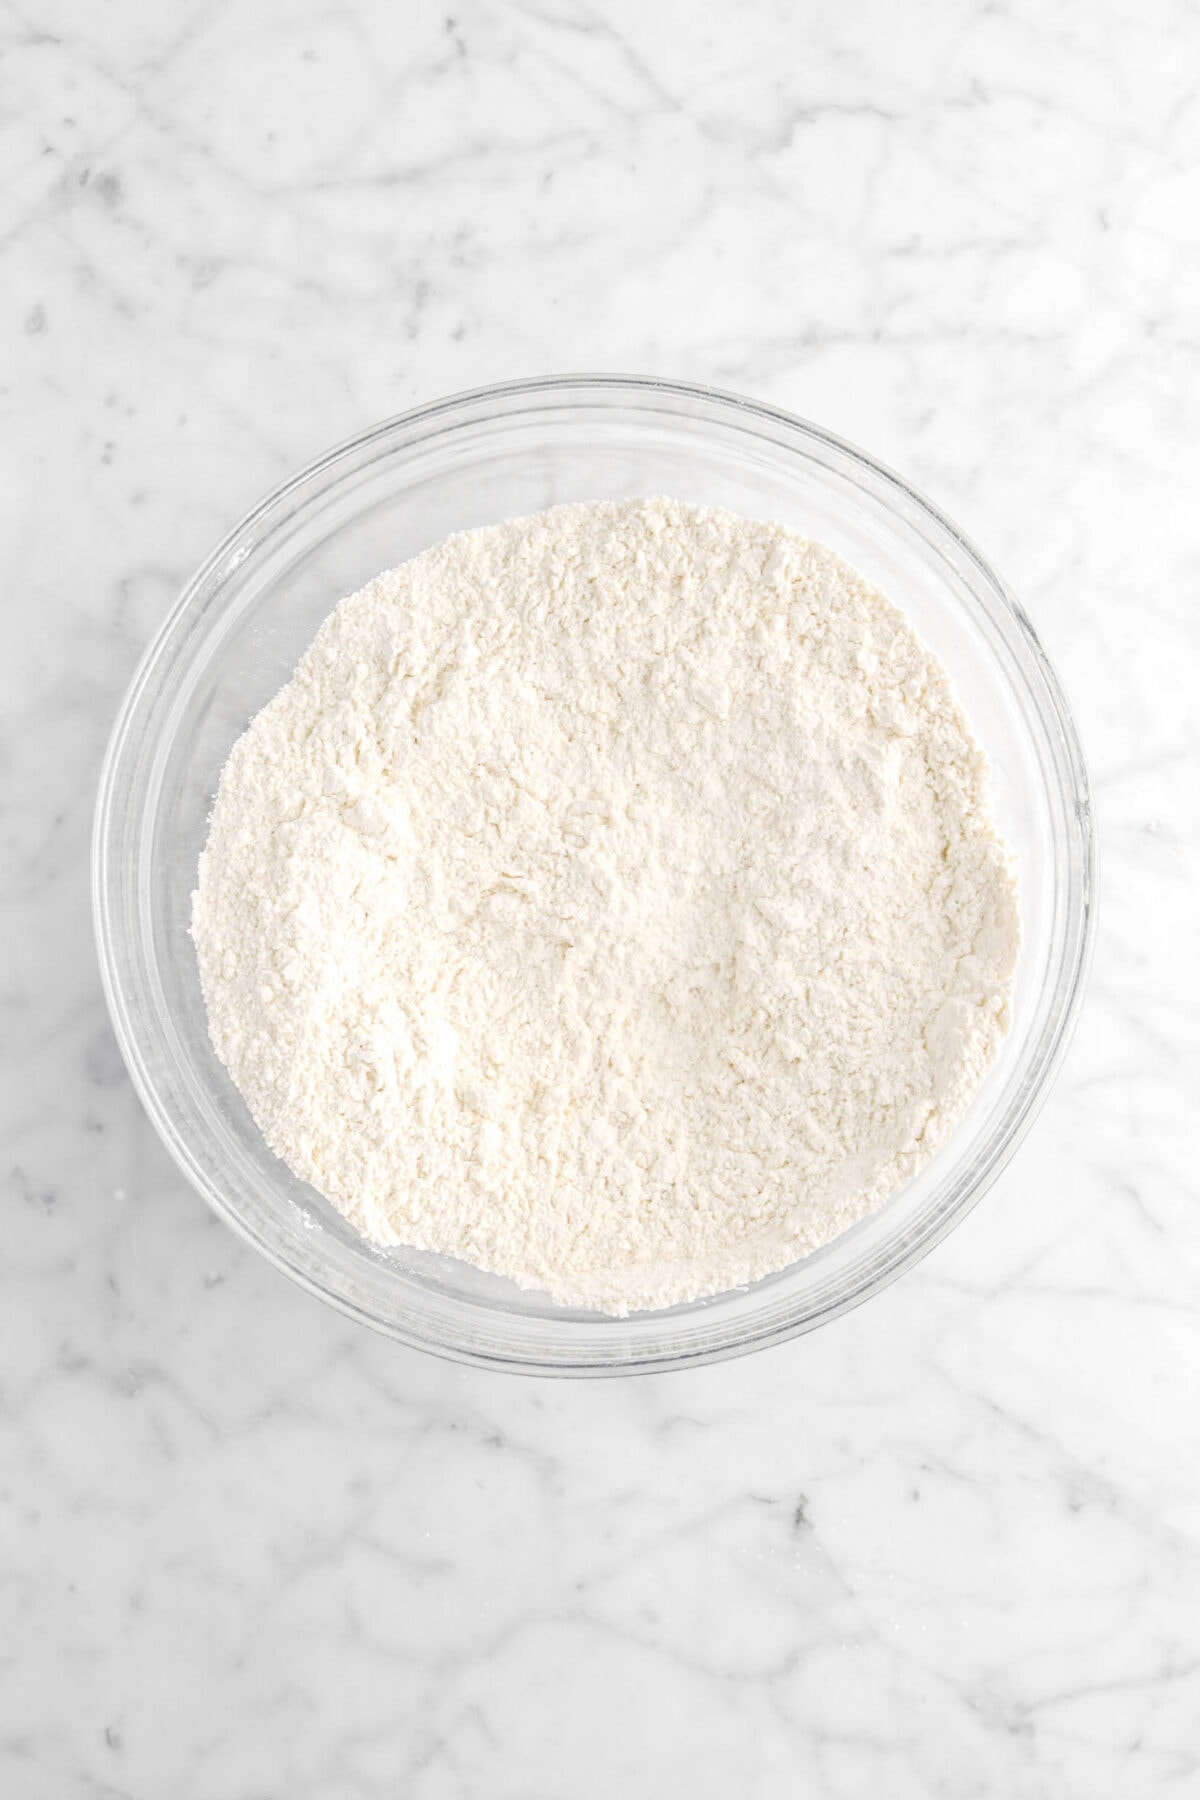
In a large mixing bowl, whisk flour, baking powder, baking soda, and milk powder. Set aside.

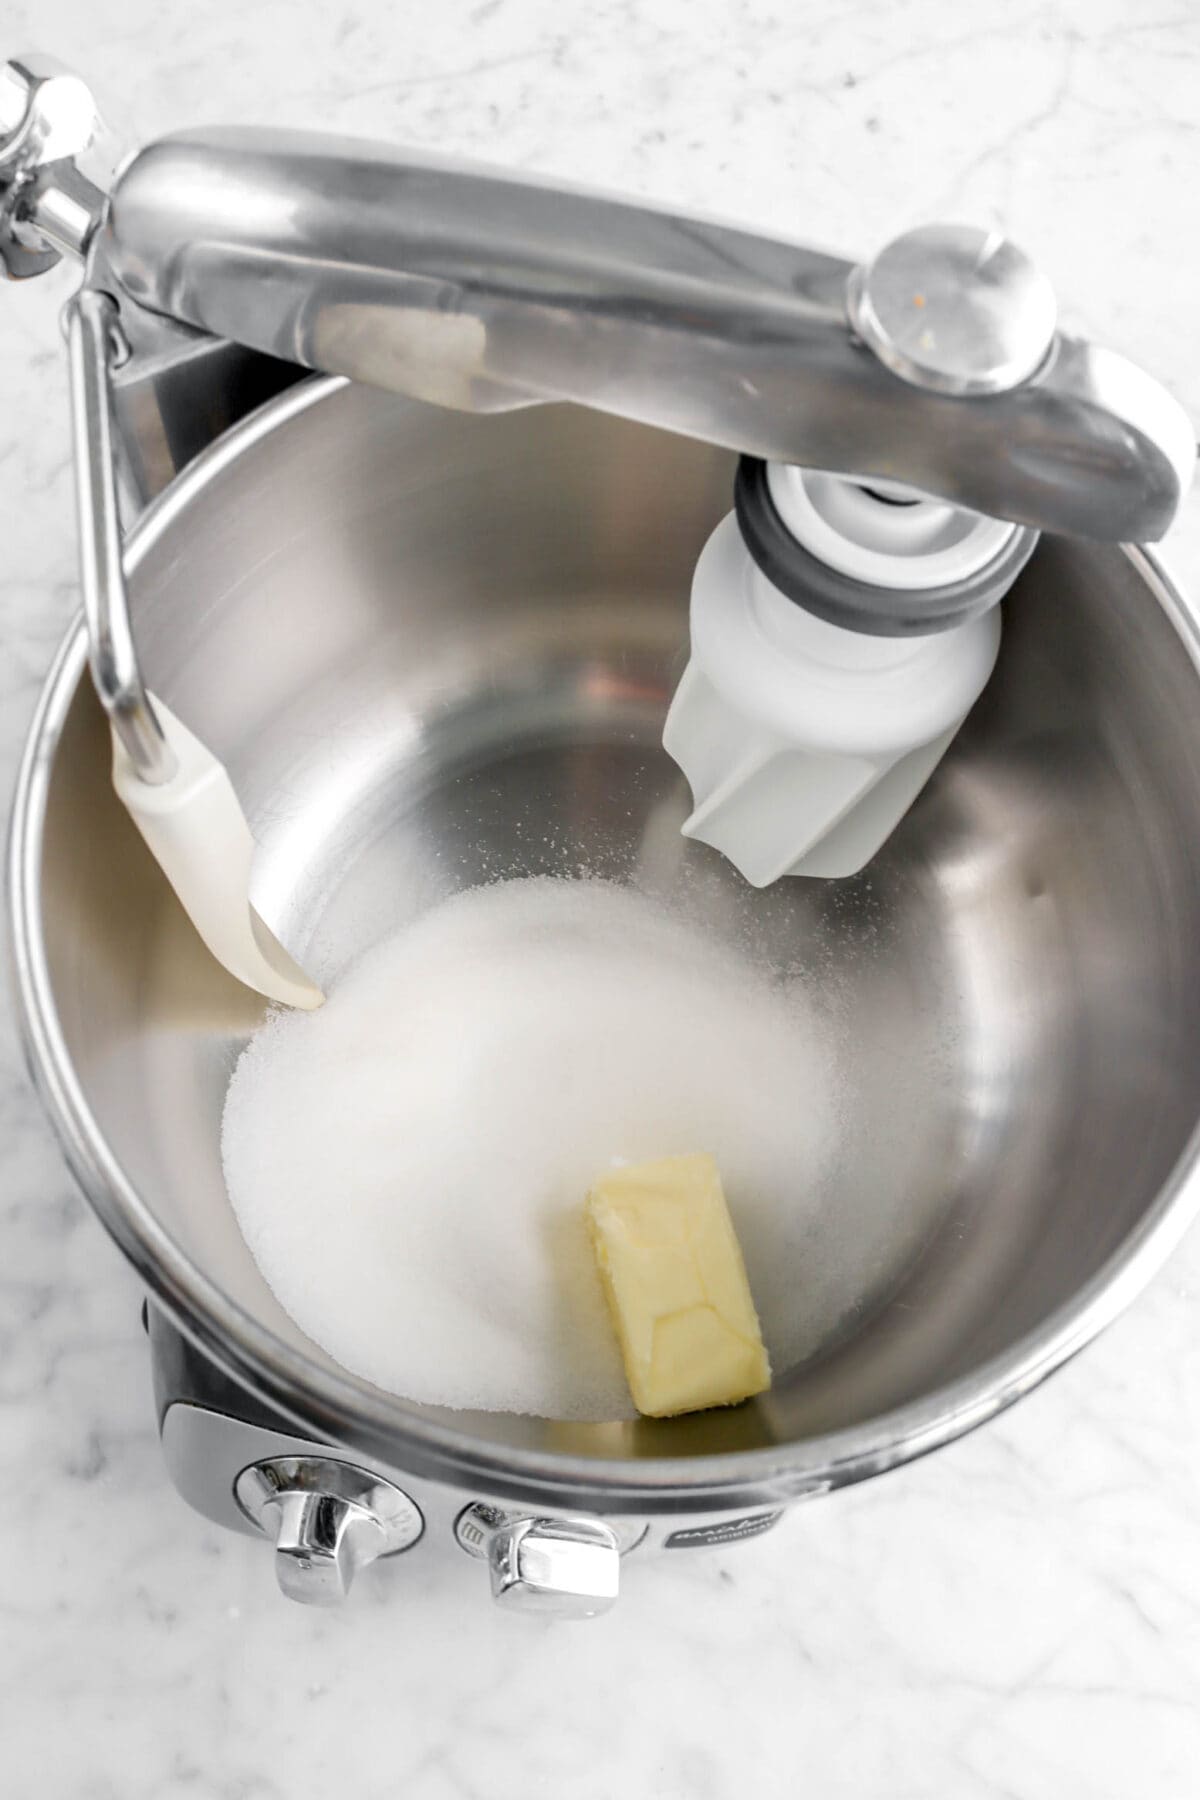
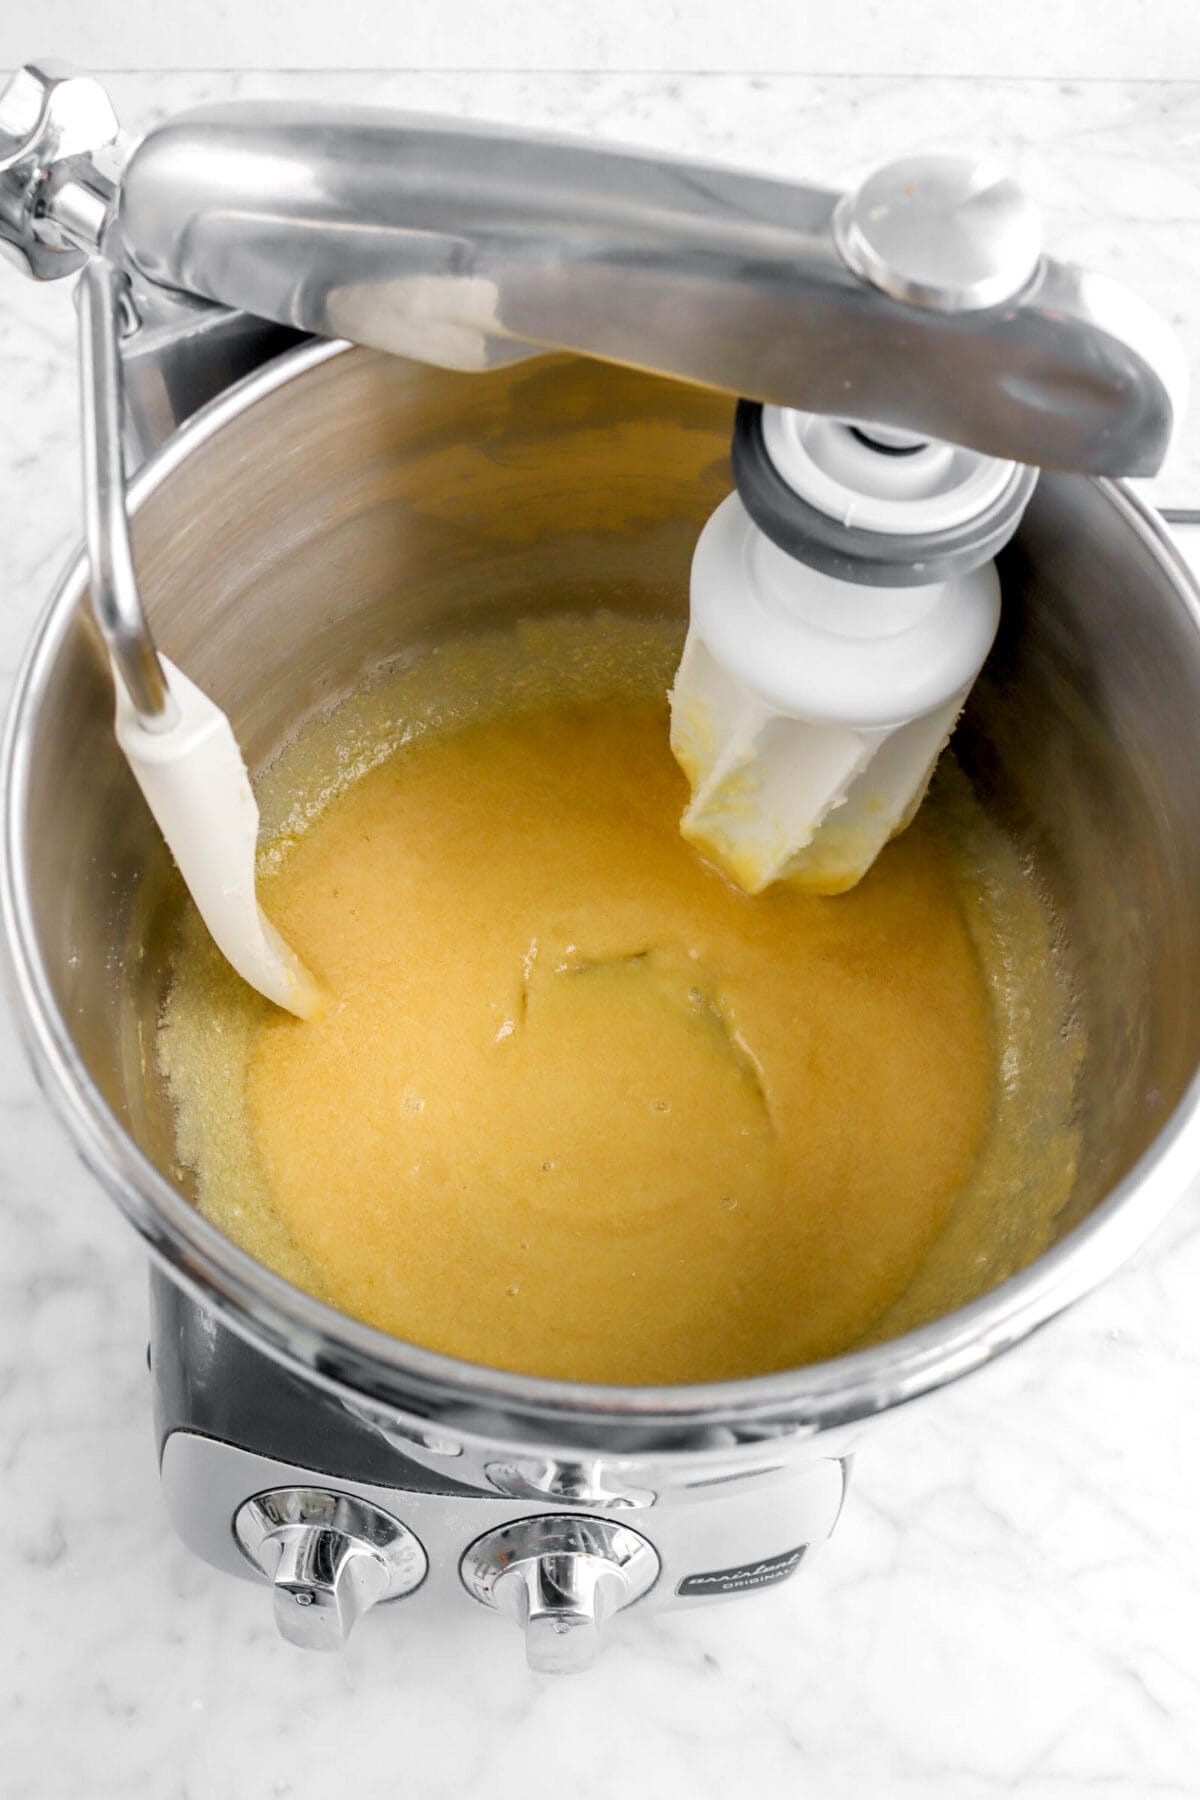
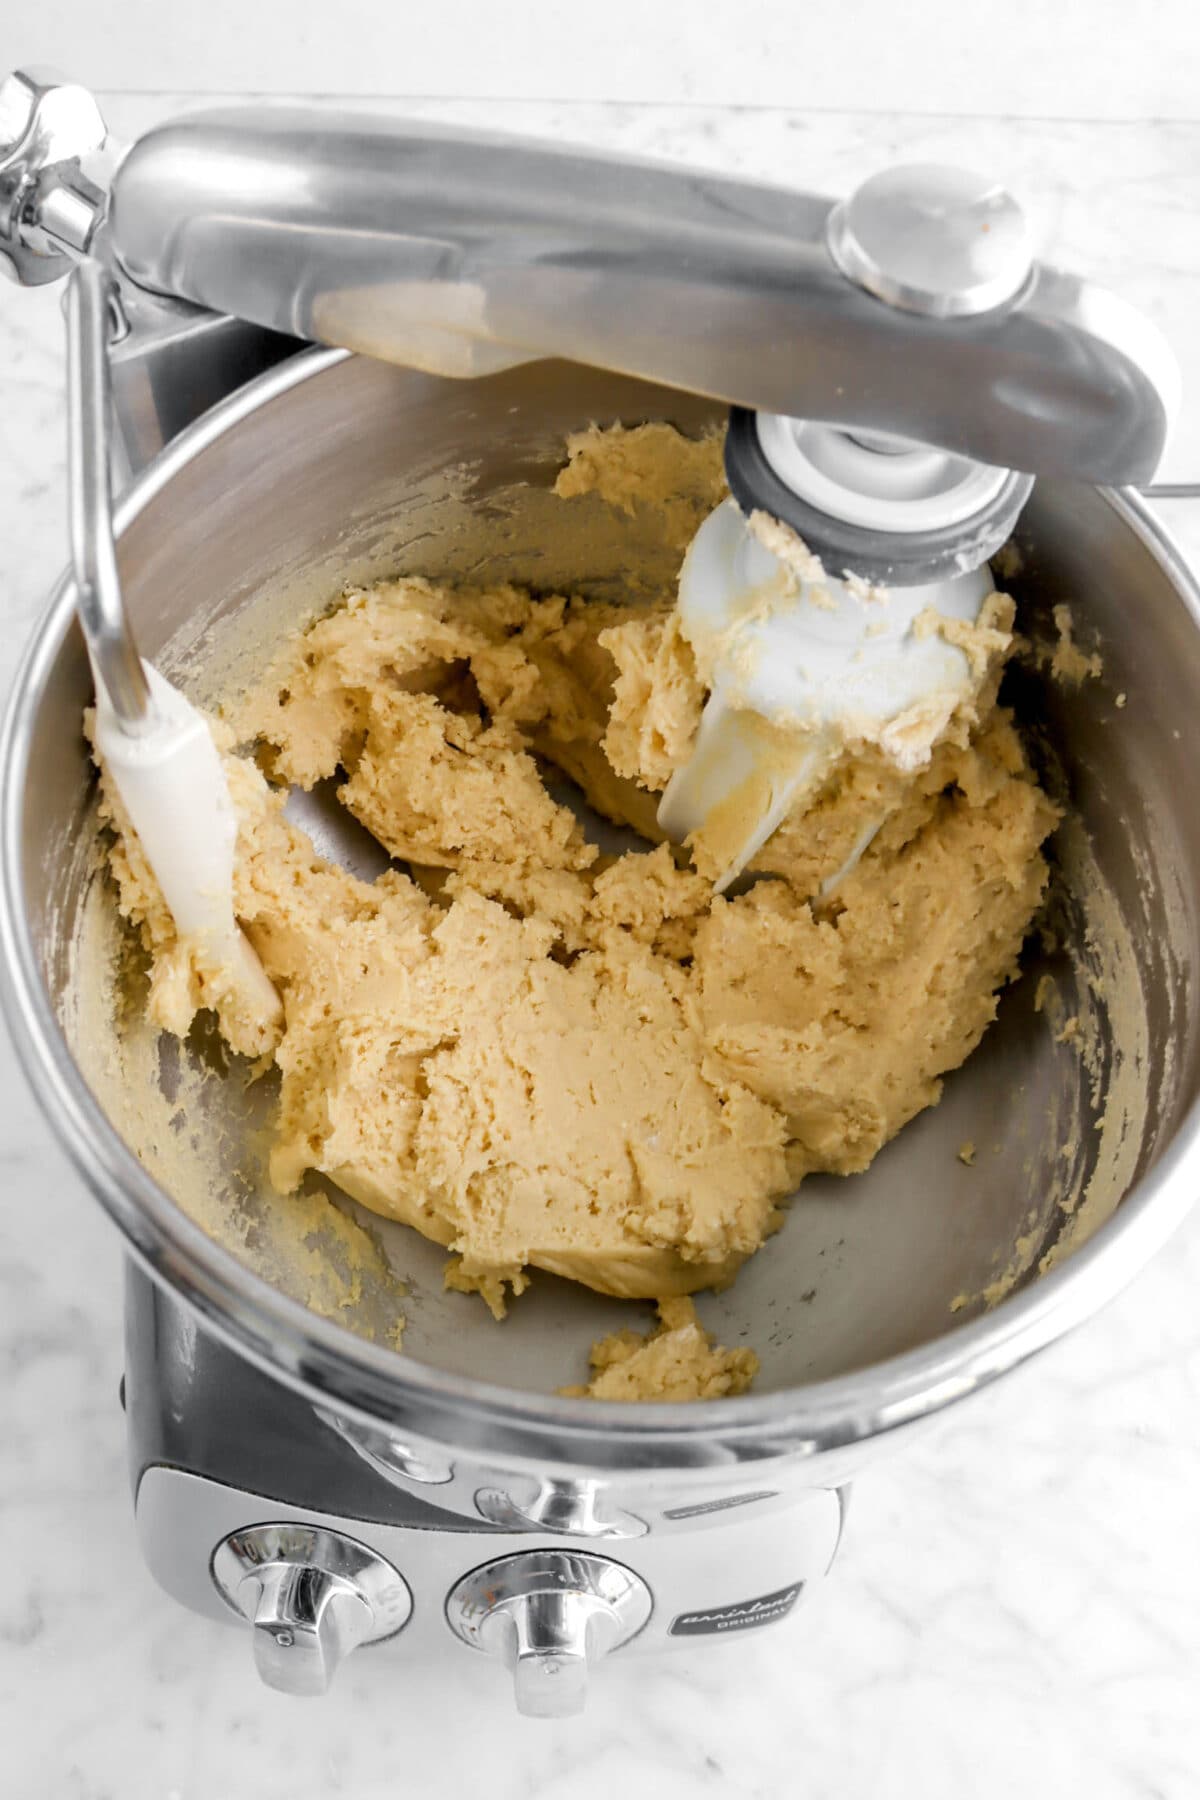
With an electric mixer, beat butter, sugar, and salt just until combined.

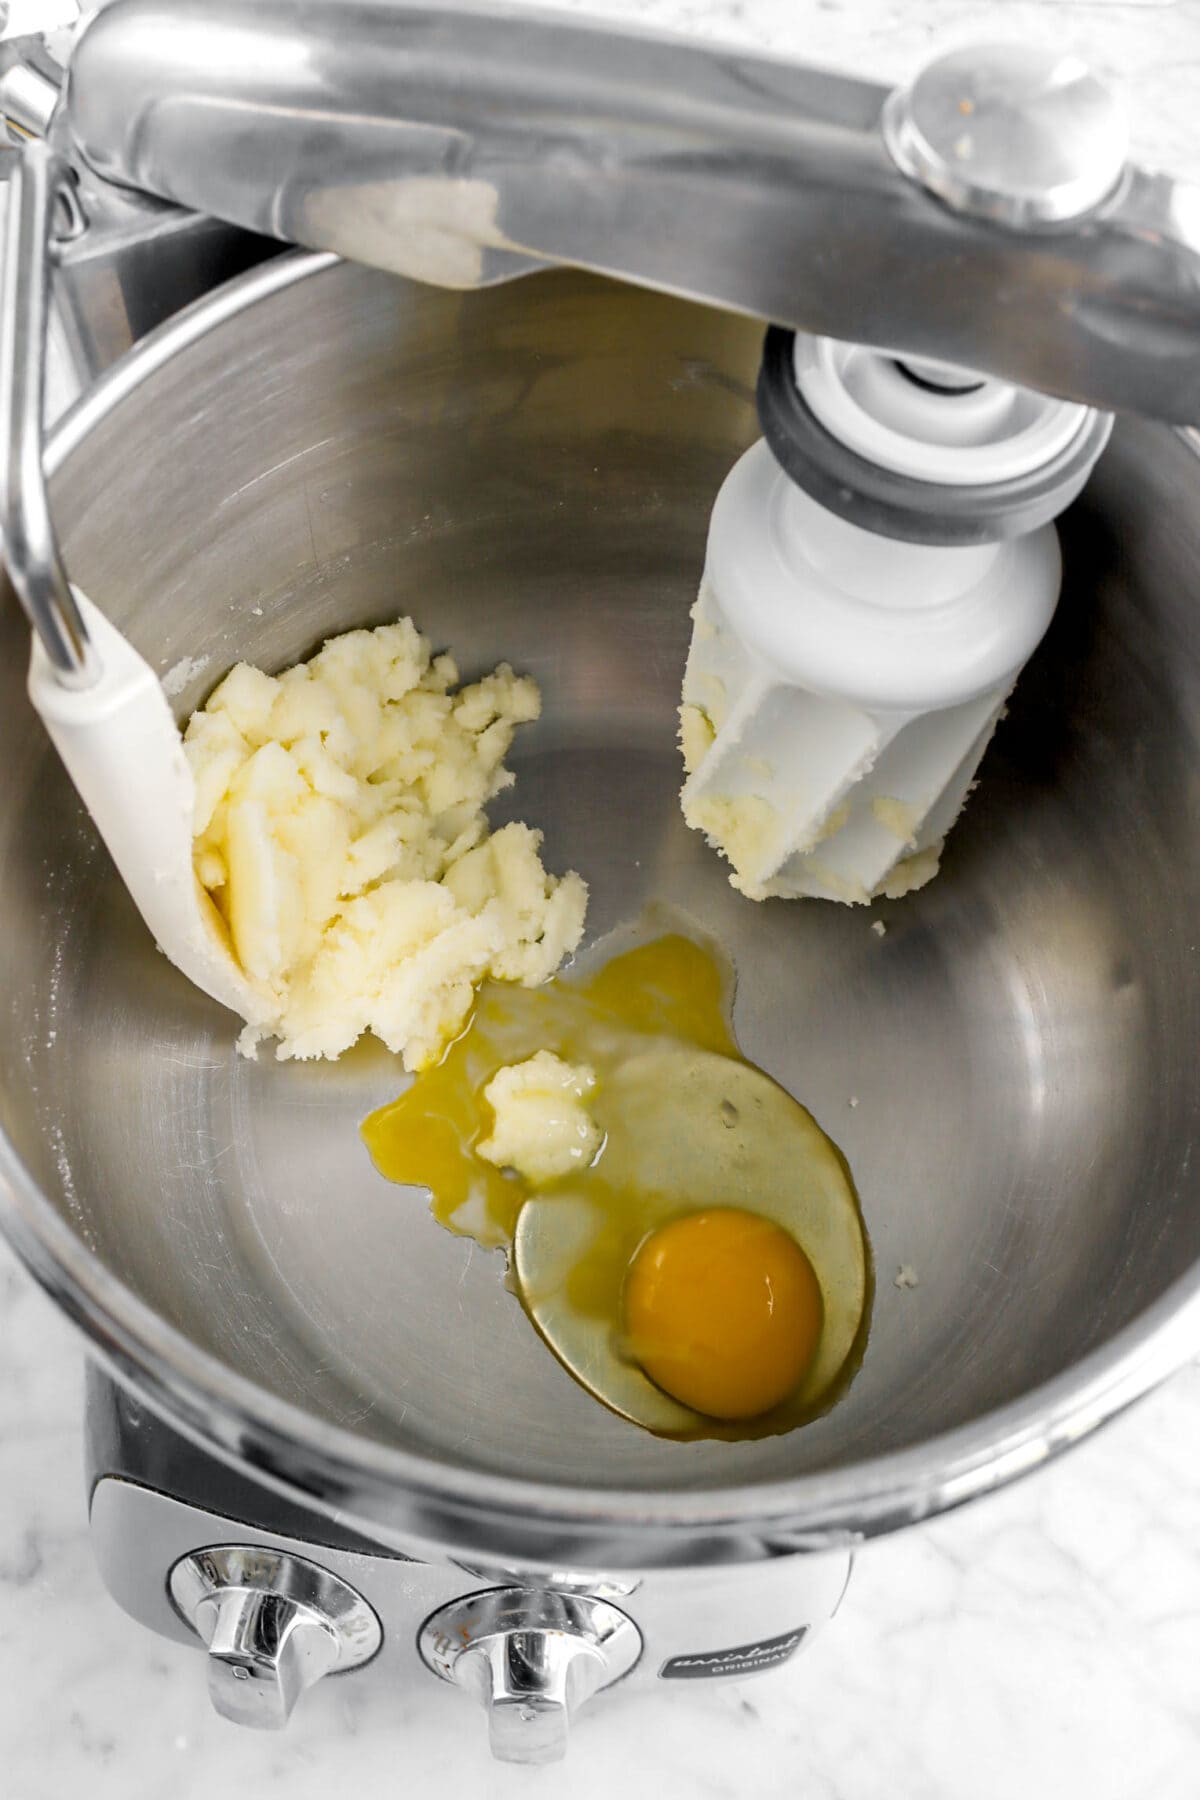
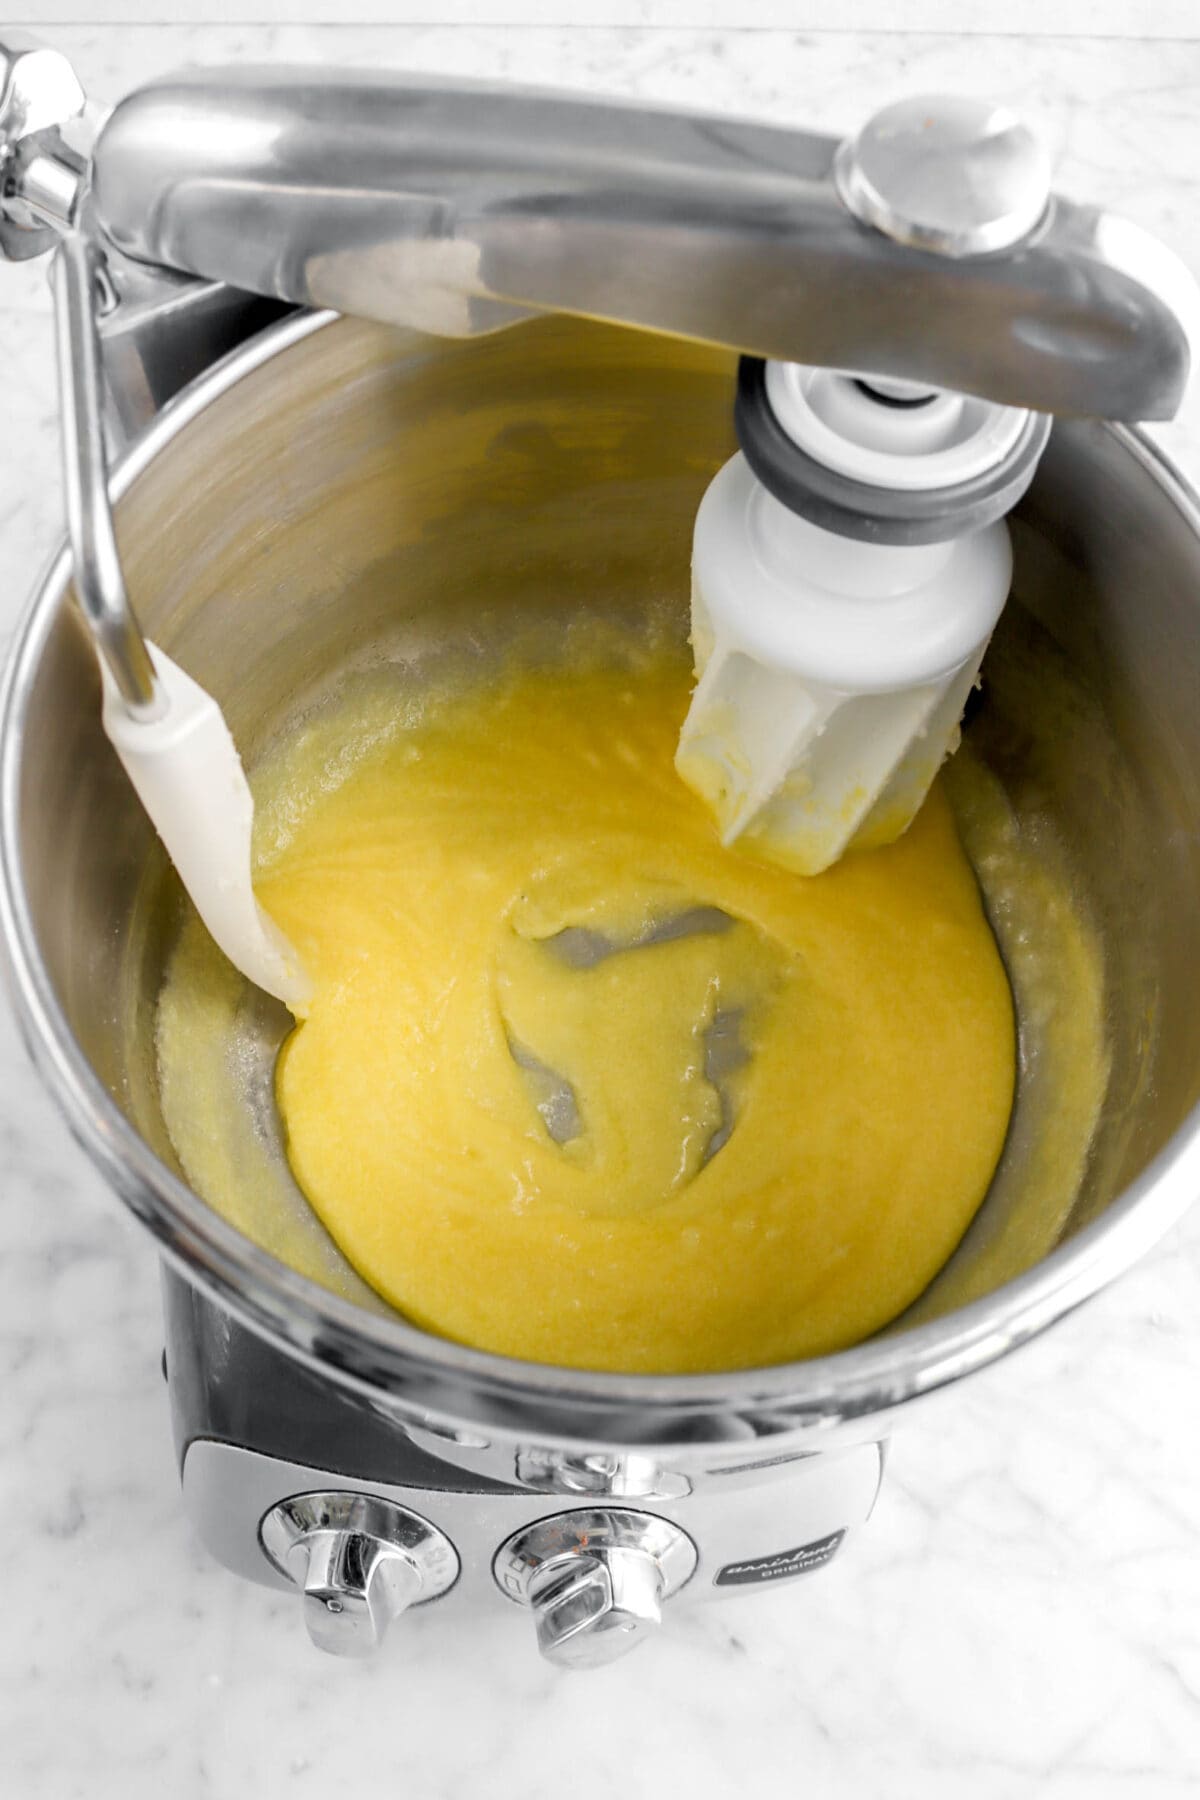
Add the egg and yolks one at a time, mixing well in-between each addition. Do NOT beat!
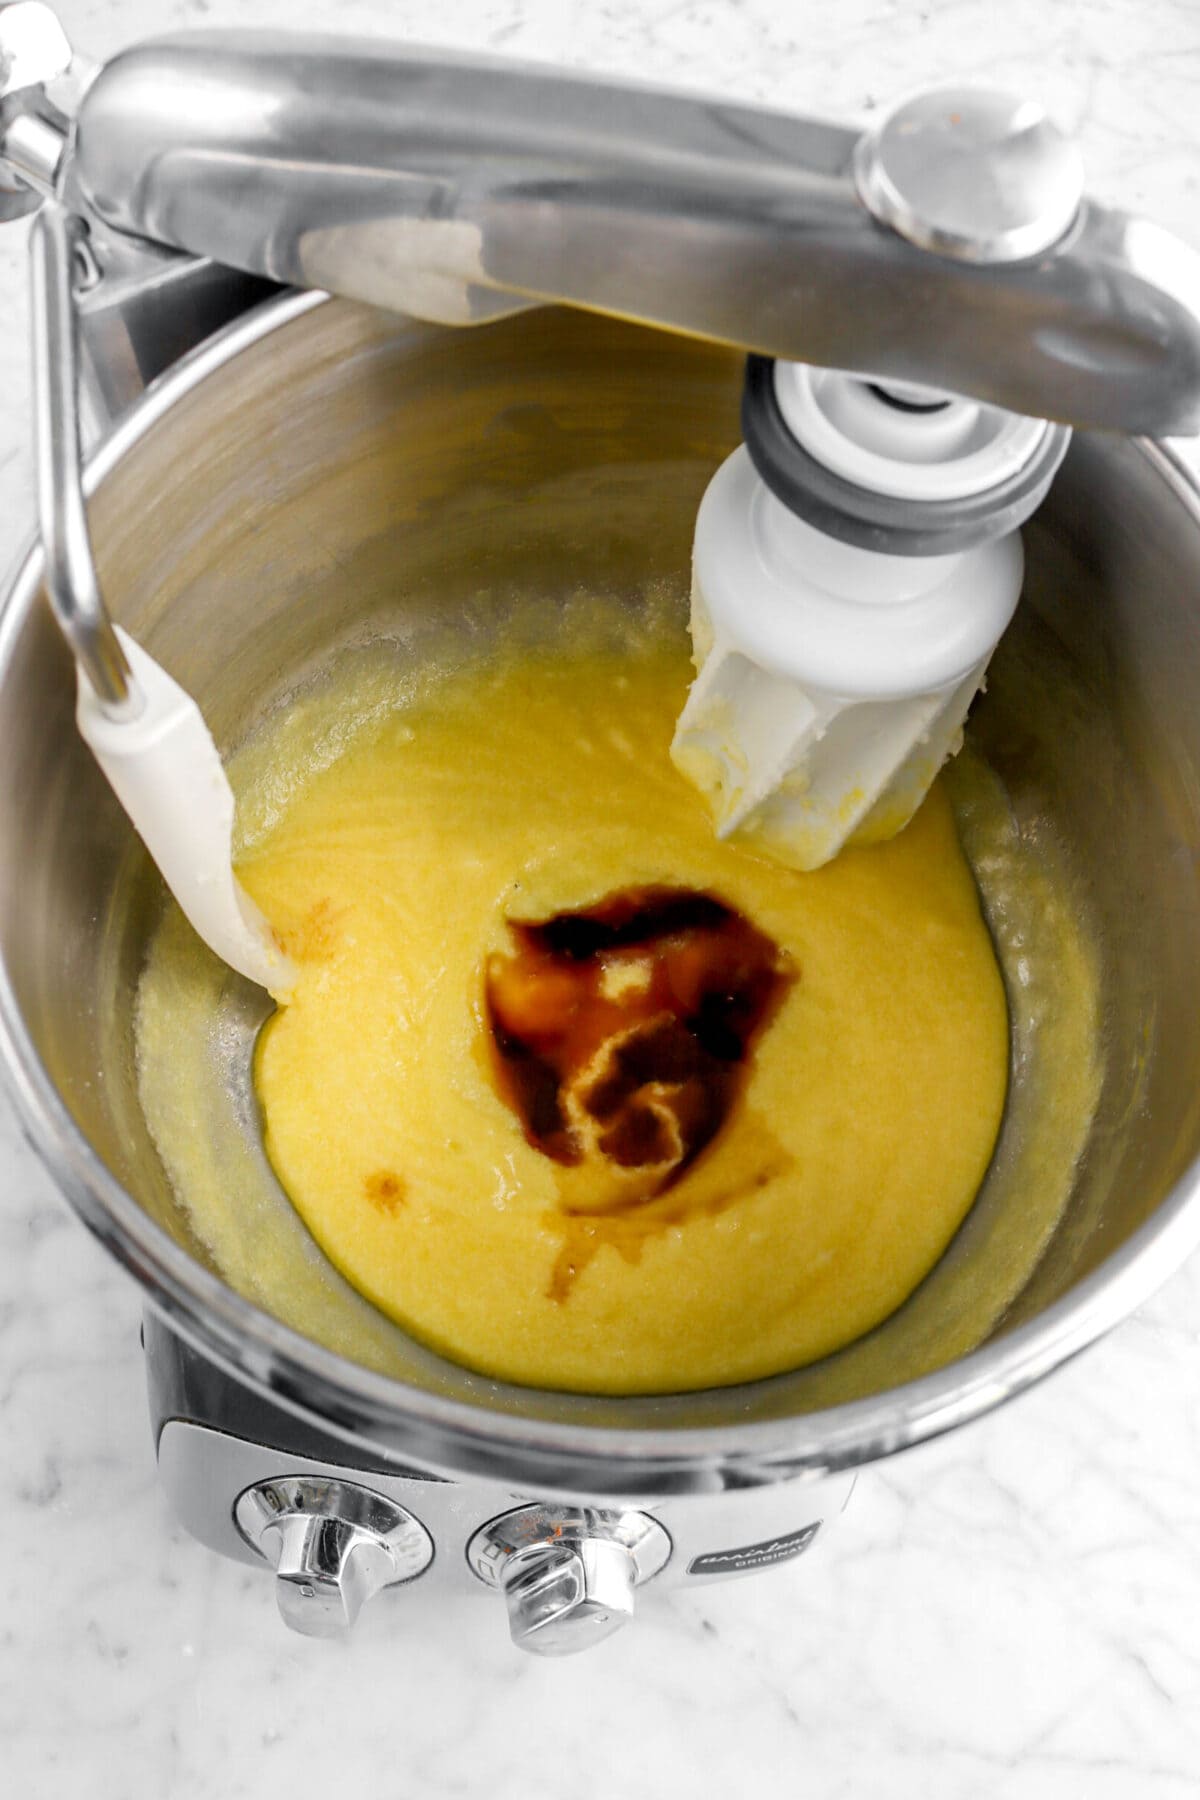
Stir in the vanilla.
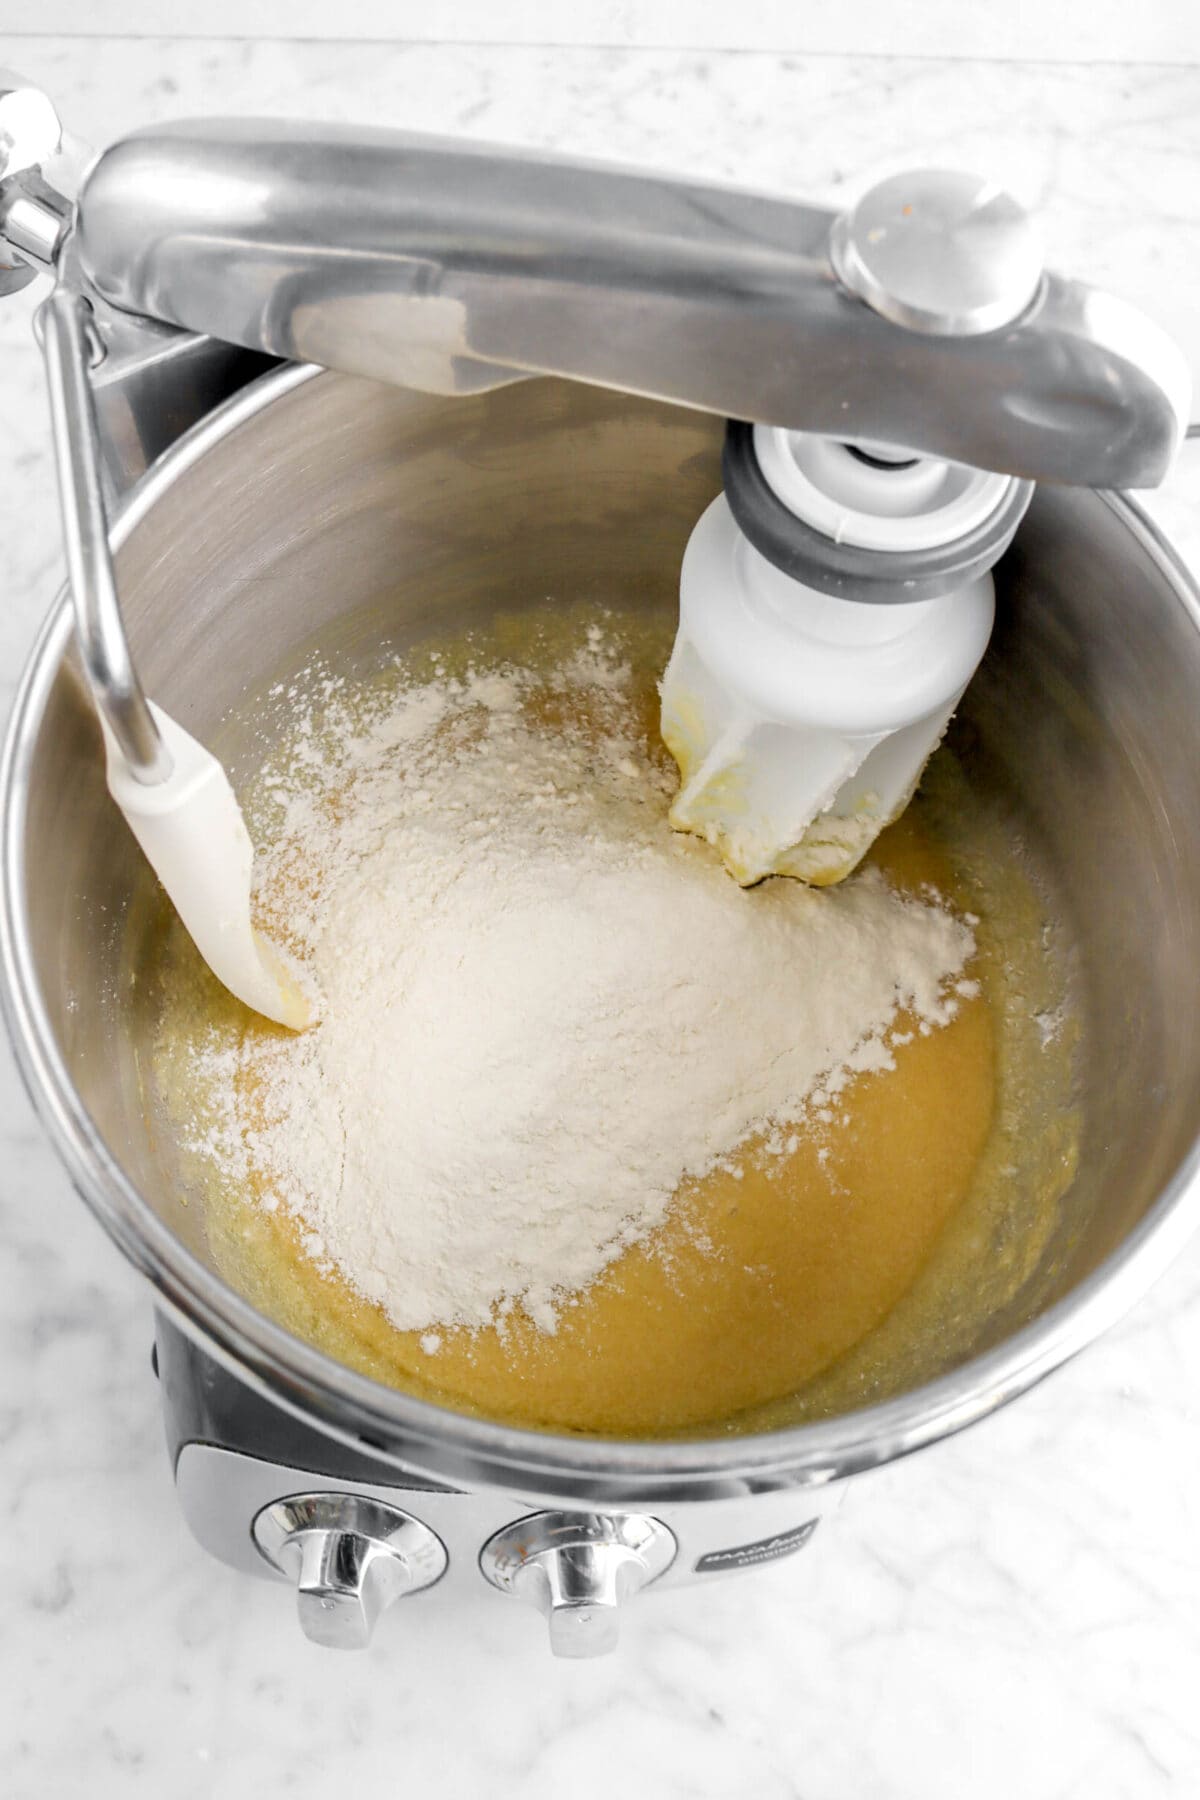
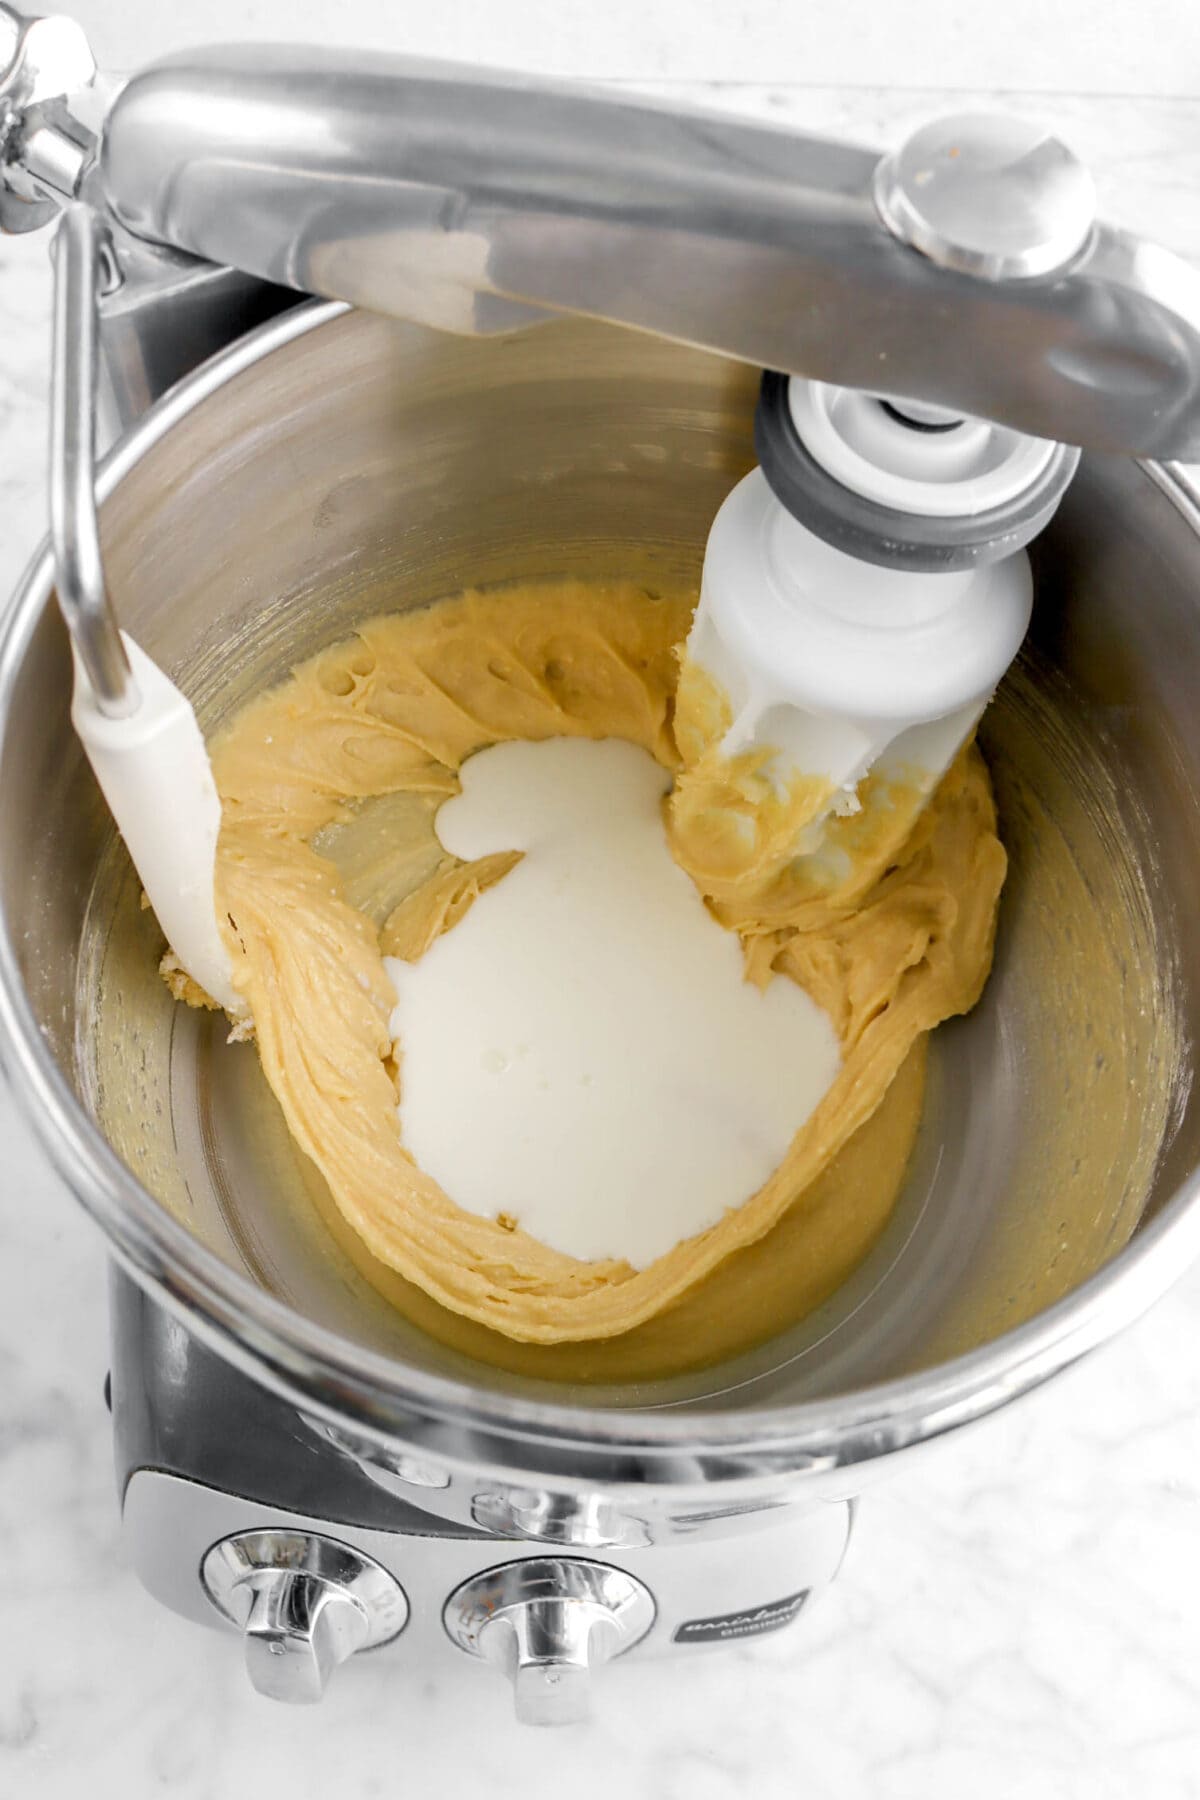
Add the flour mixture alternately with the buttermilk, beginning and ending with the dry ingredients.

Stir in the bloomed chocolate.

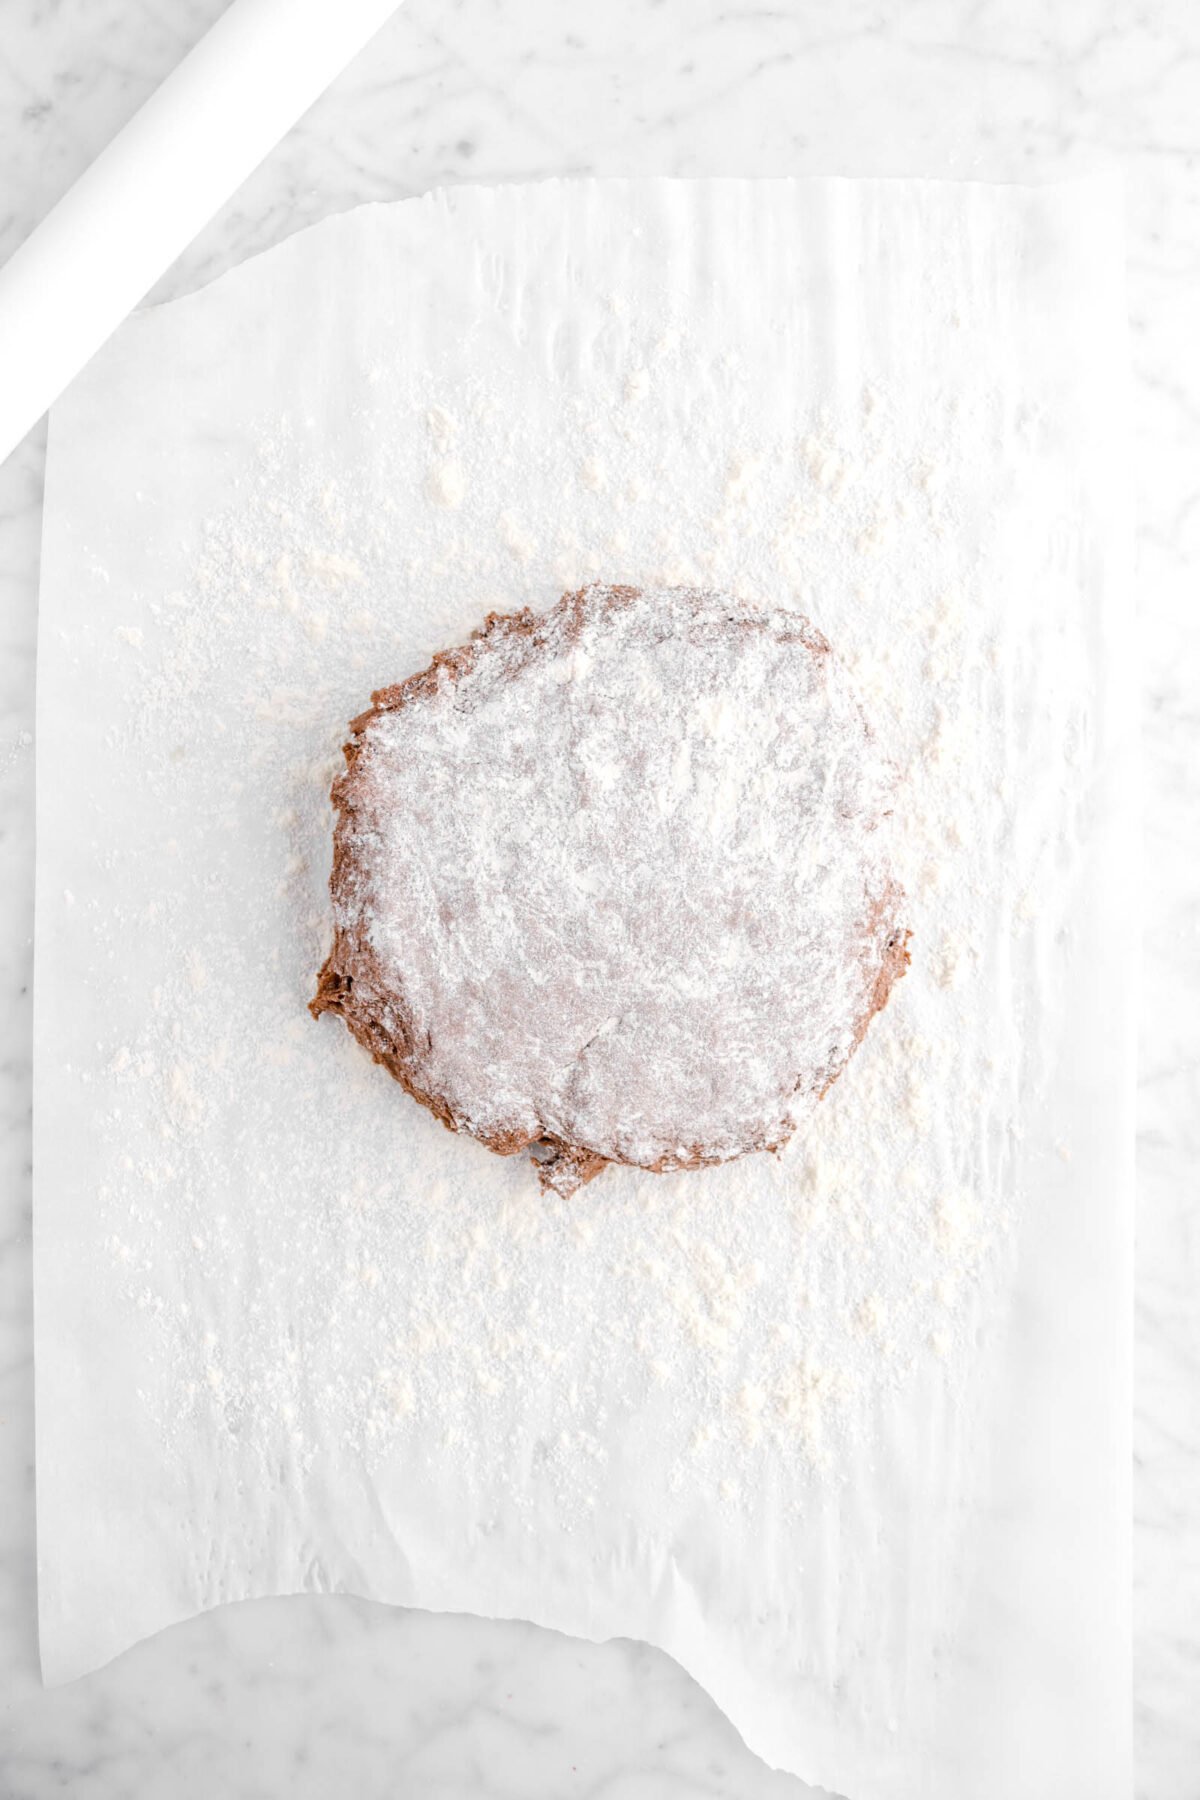
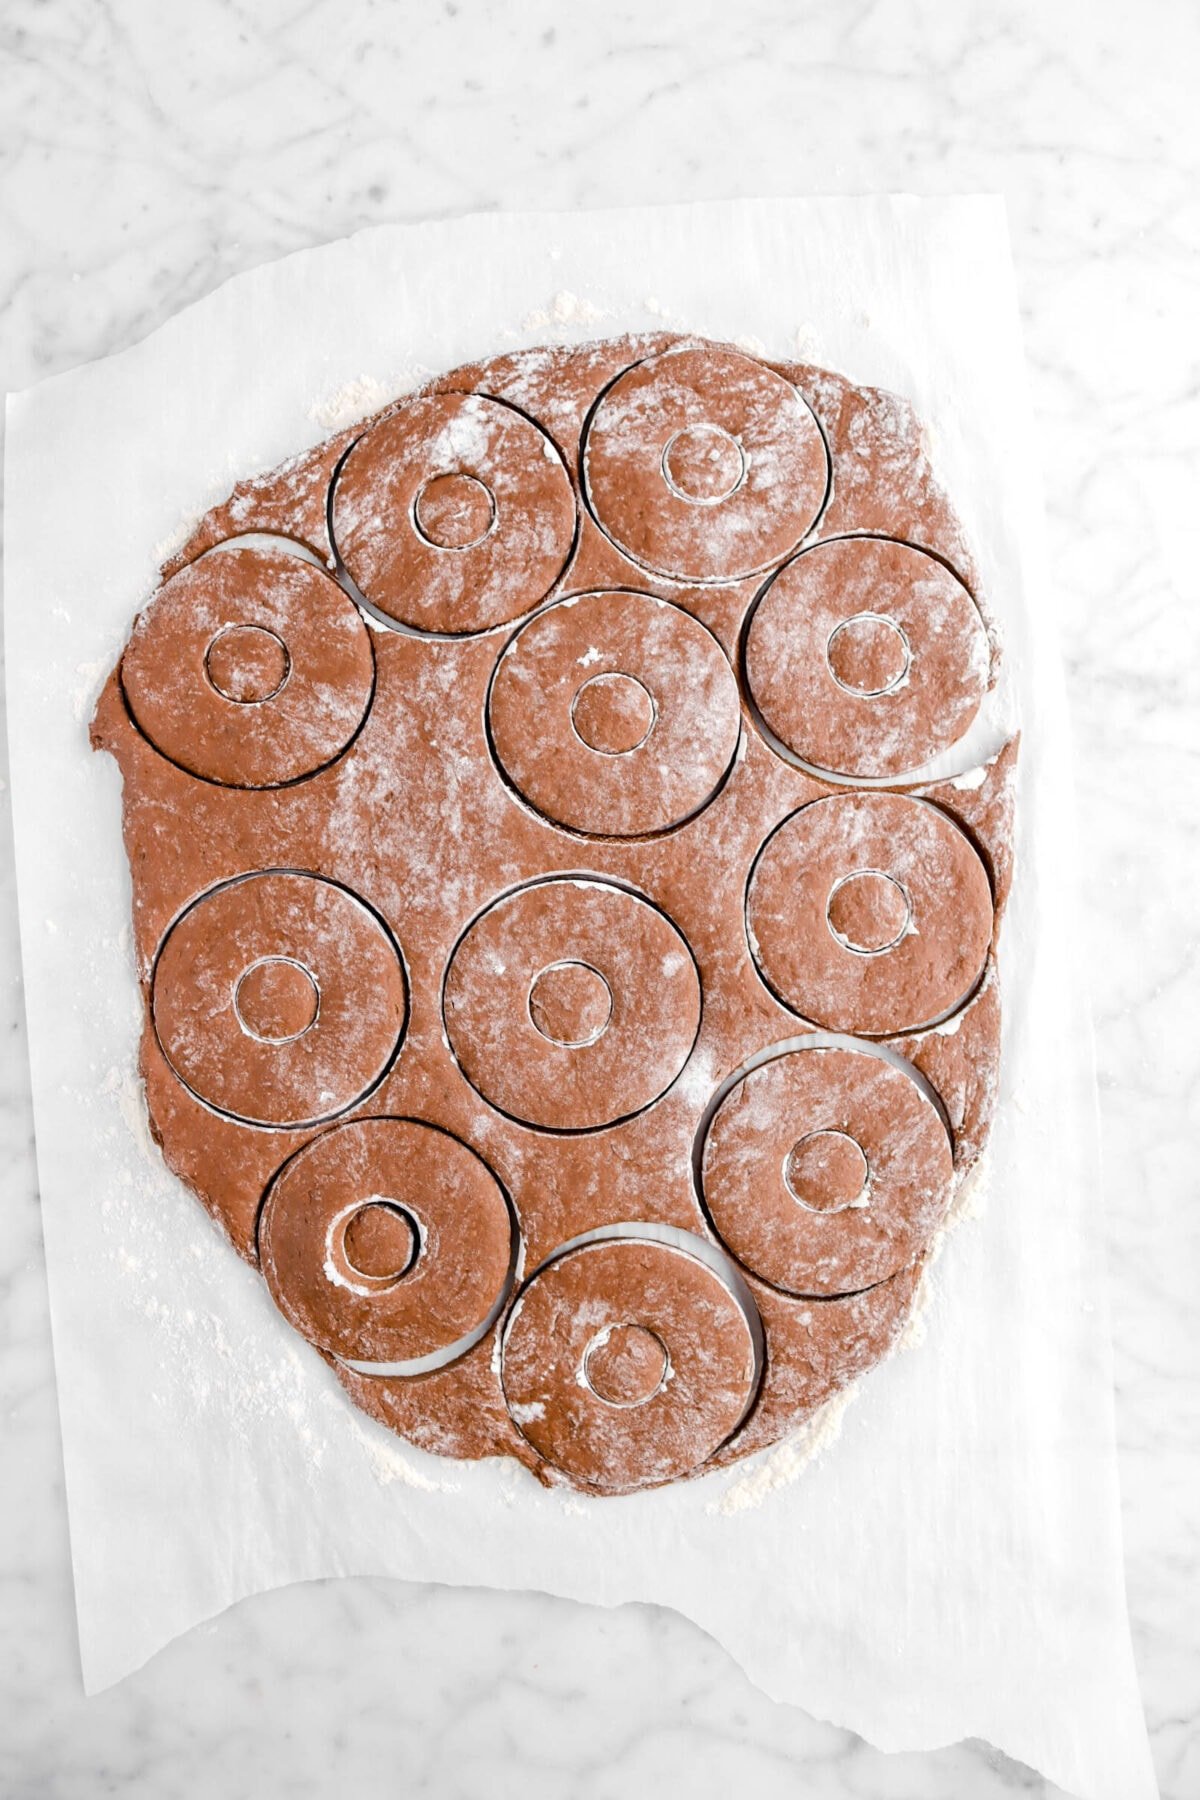
Step 3: Roll out the dough and cut
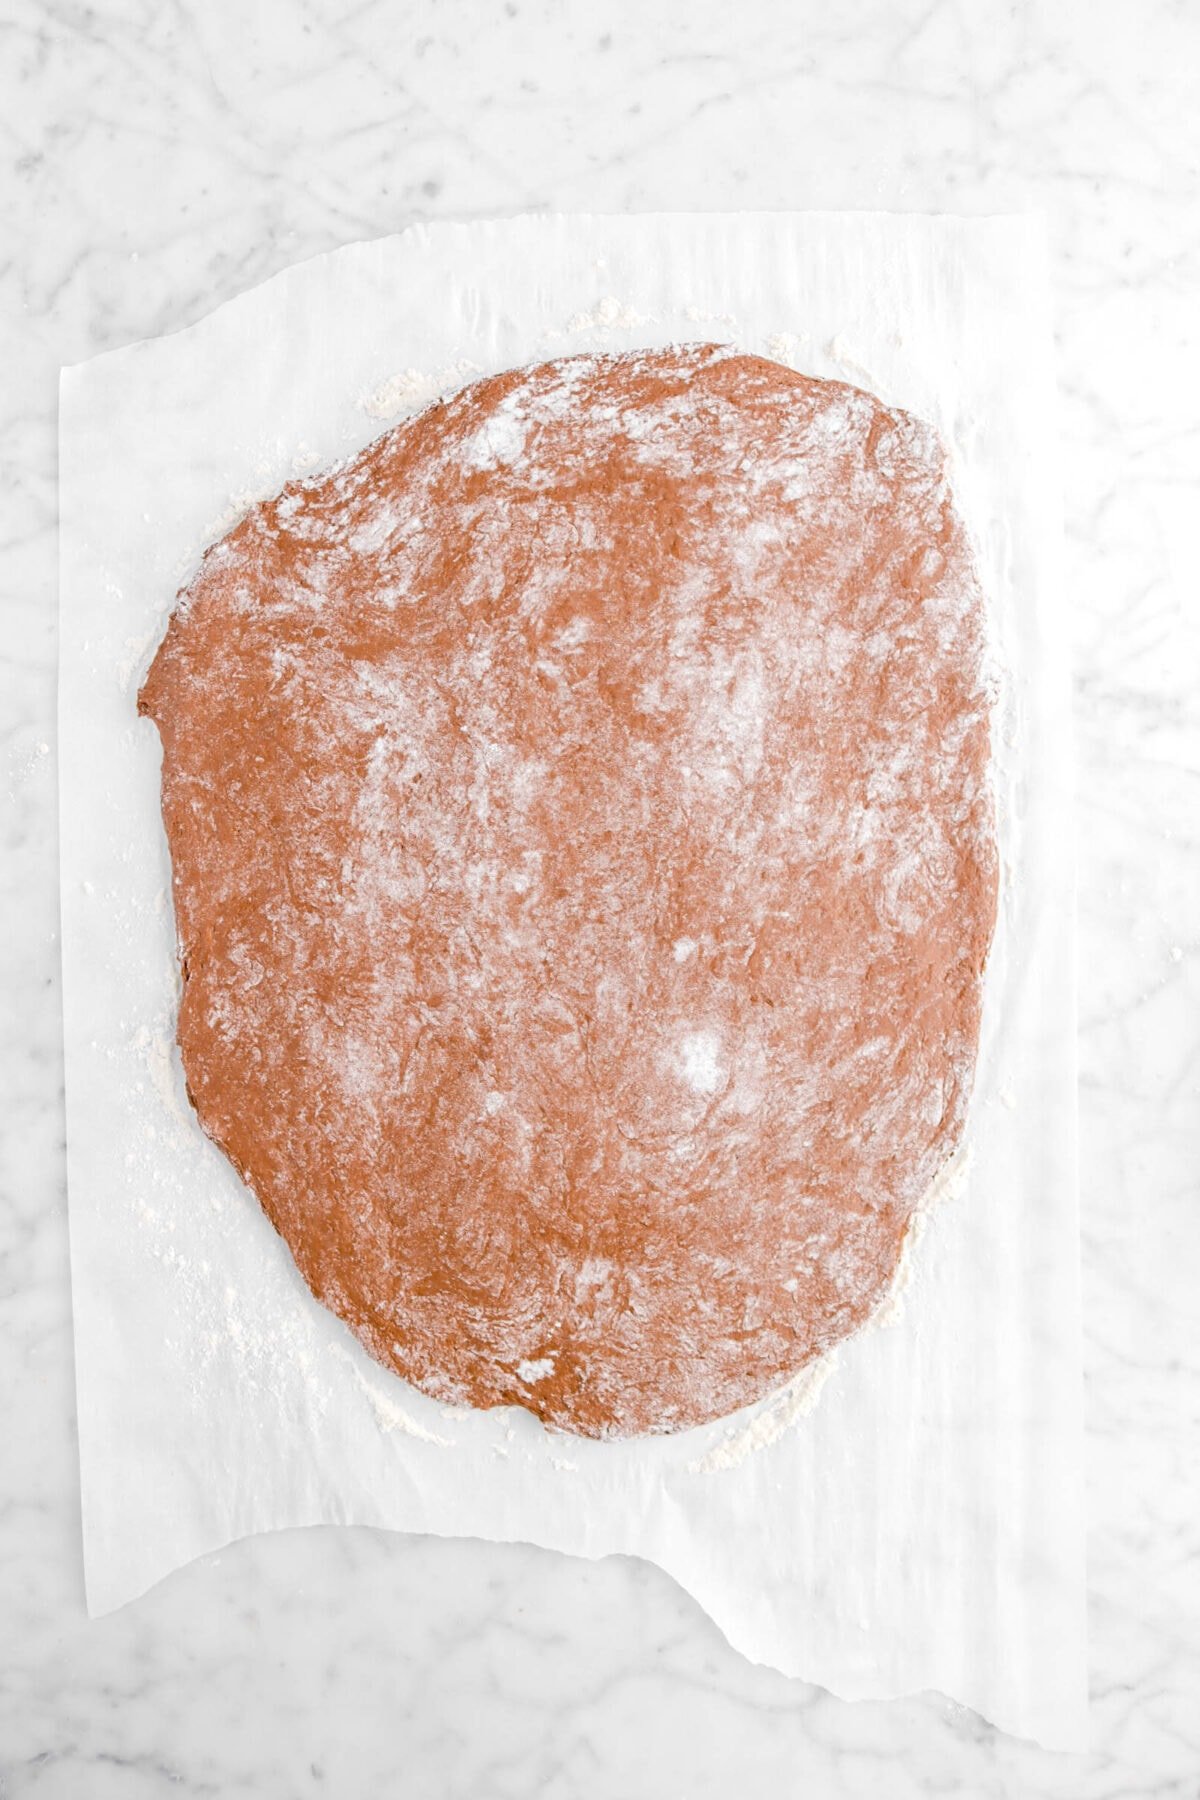
On a heavily floured piece of parchment paper, turn out the dough. Roll out to about ⅓ inch thick. Cover and let rest for 15 minutes. Do NOT skip this resting period!
Using a doughnut cutter, cut the dough. Dust off excess flour an re-roll and re-cut as needed. Cover and let rest for 15 minutes.

Step 4: Fry
While the dough is resting, heat the oil to 375 degrees Fahrenheit. Fry the doughnuts in batches, 3-4 at a time, for about 1 minute on each side.
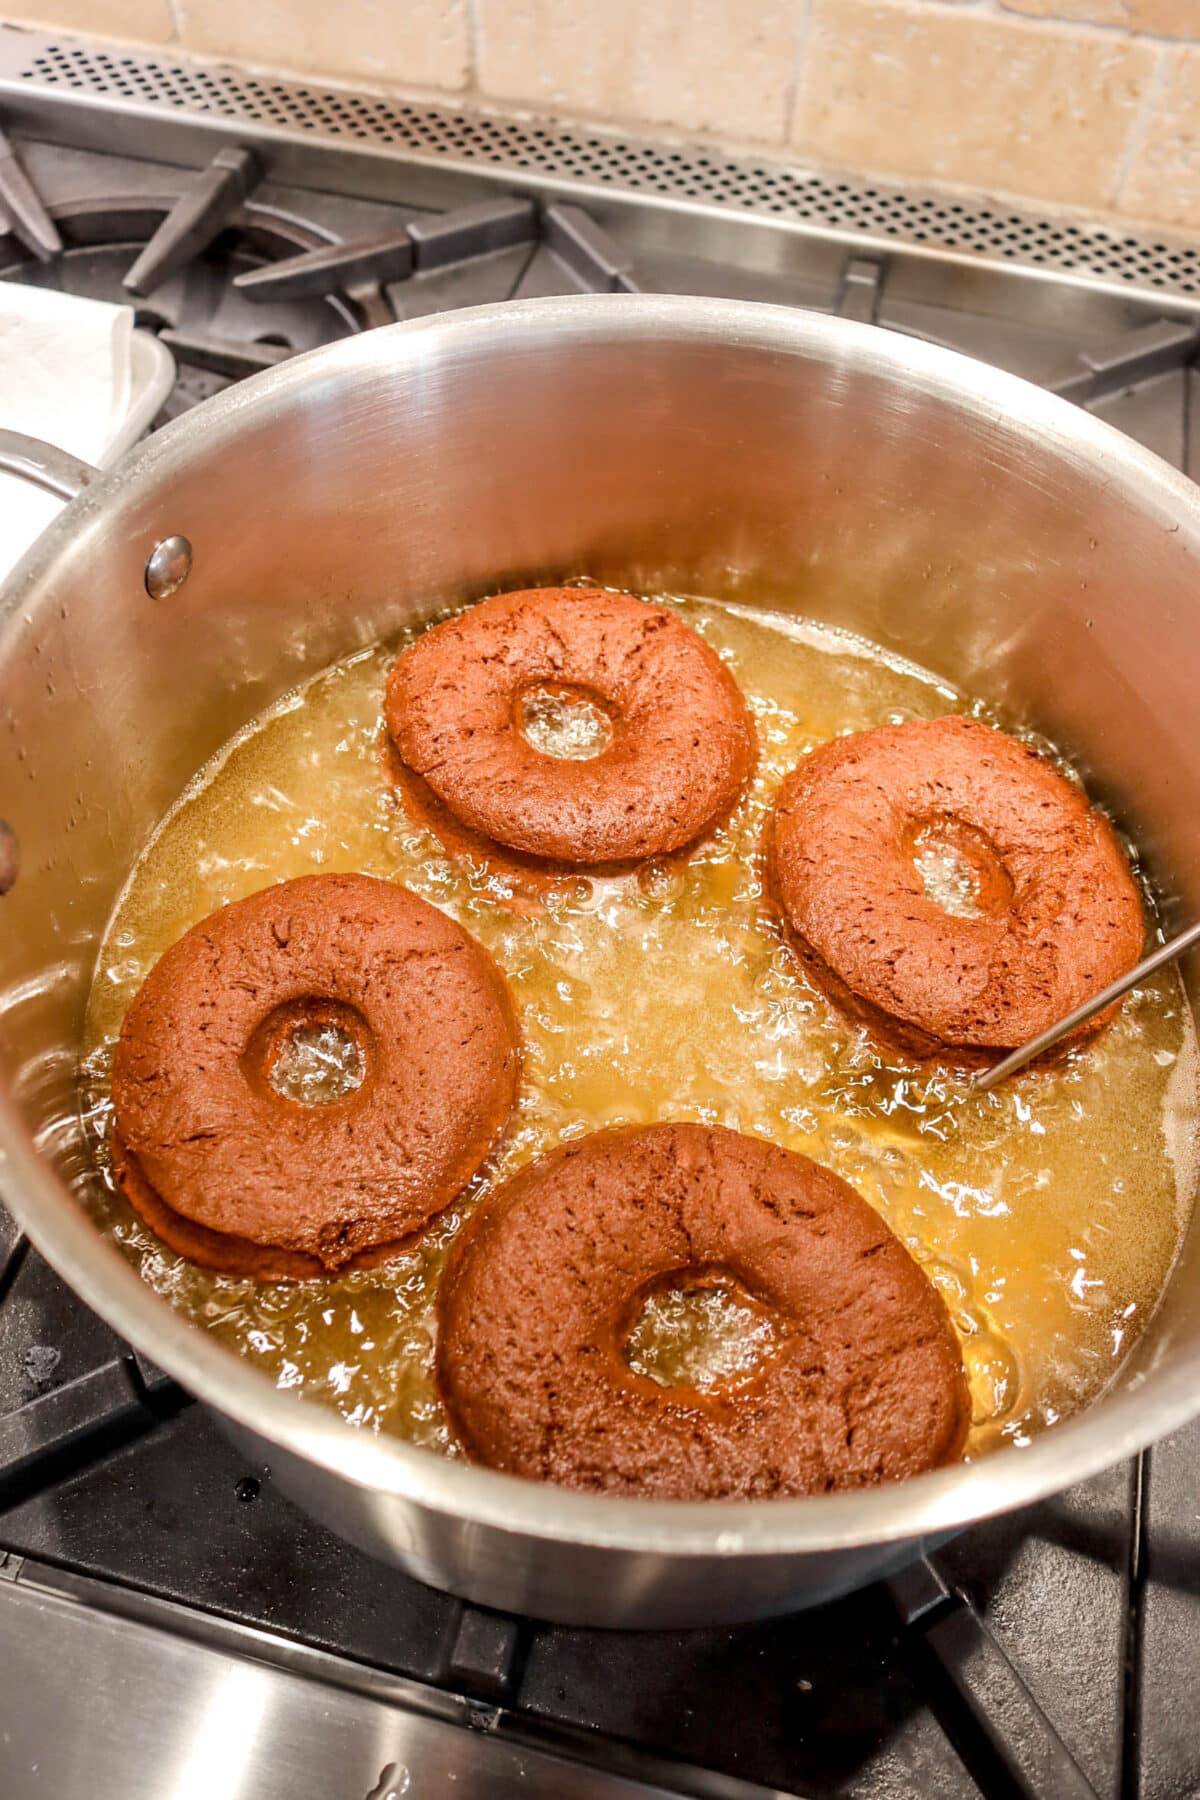
Drain thoroughly.

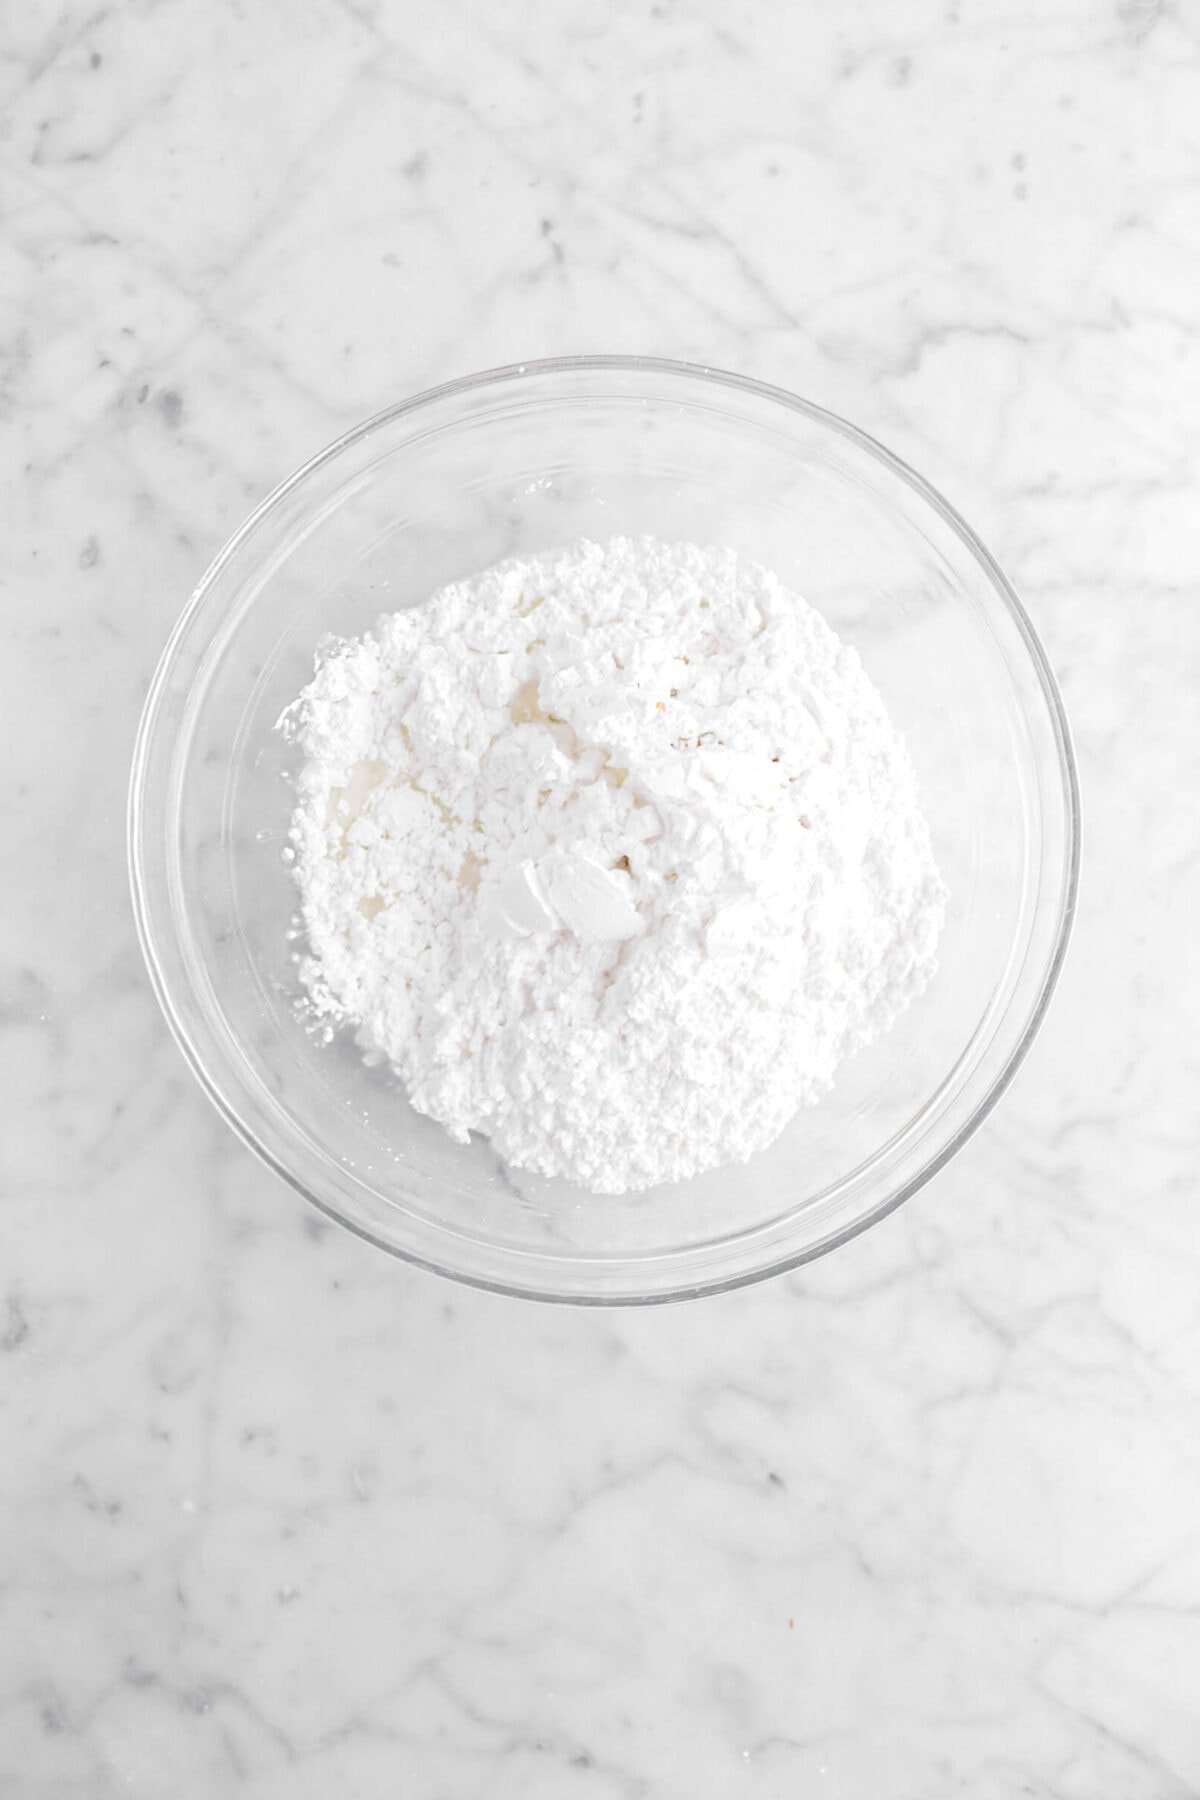
Step 5: Make the glaze
In a medium sized bowl, whisk together the powdered sugar, vanilla, and milk.

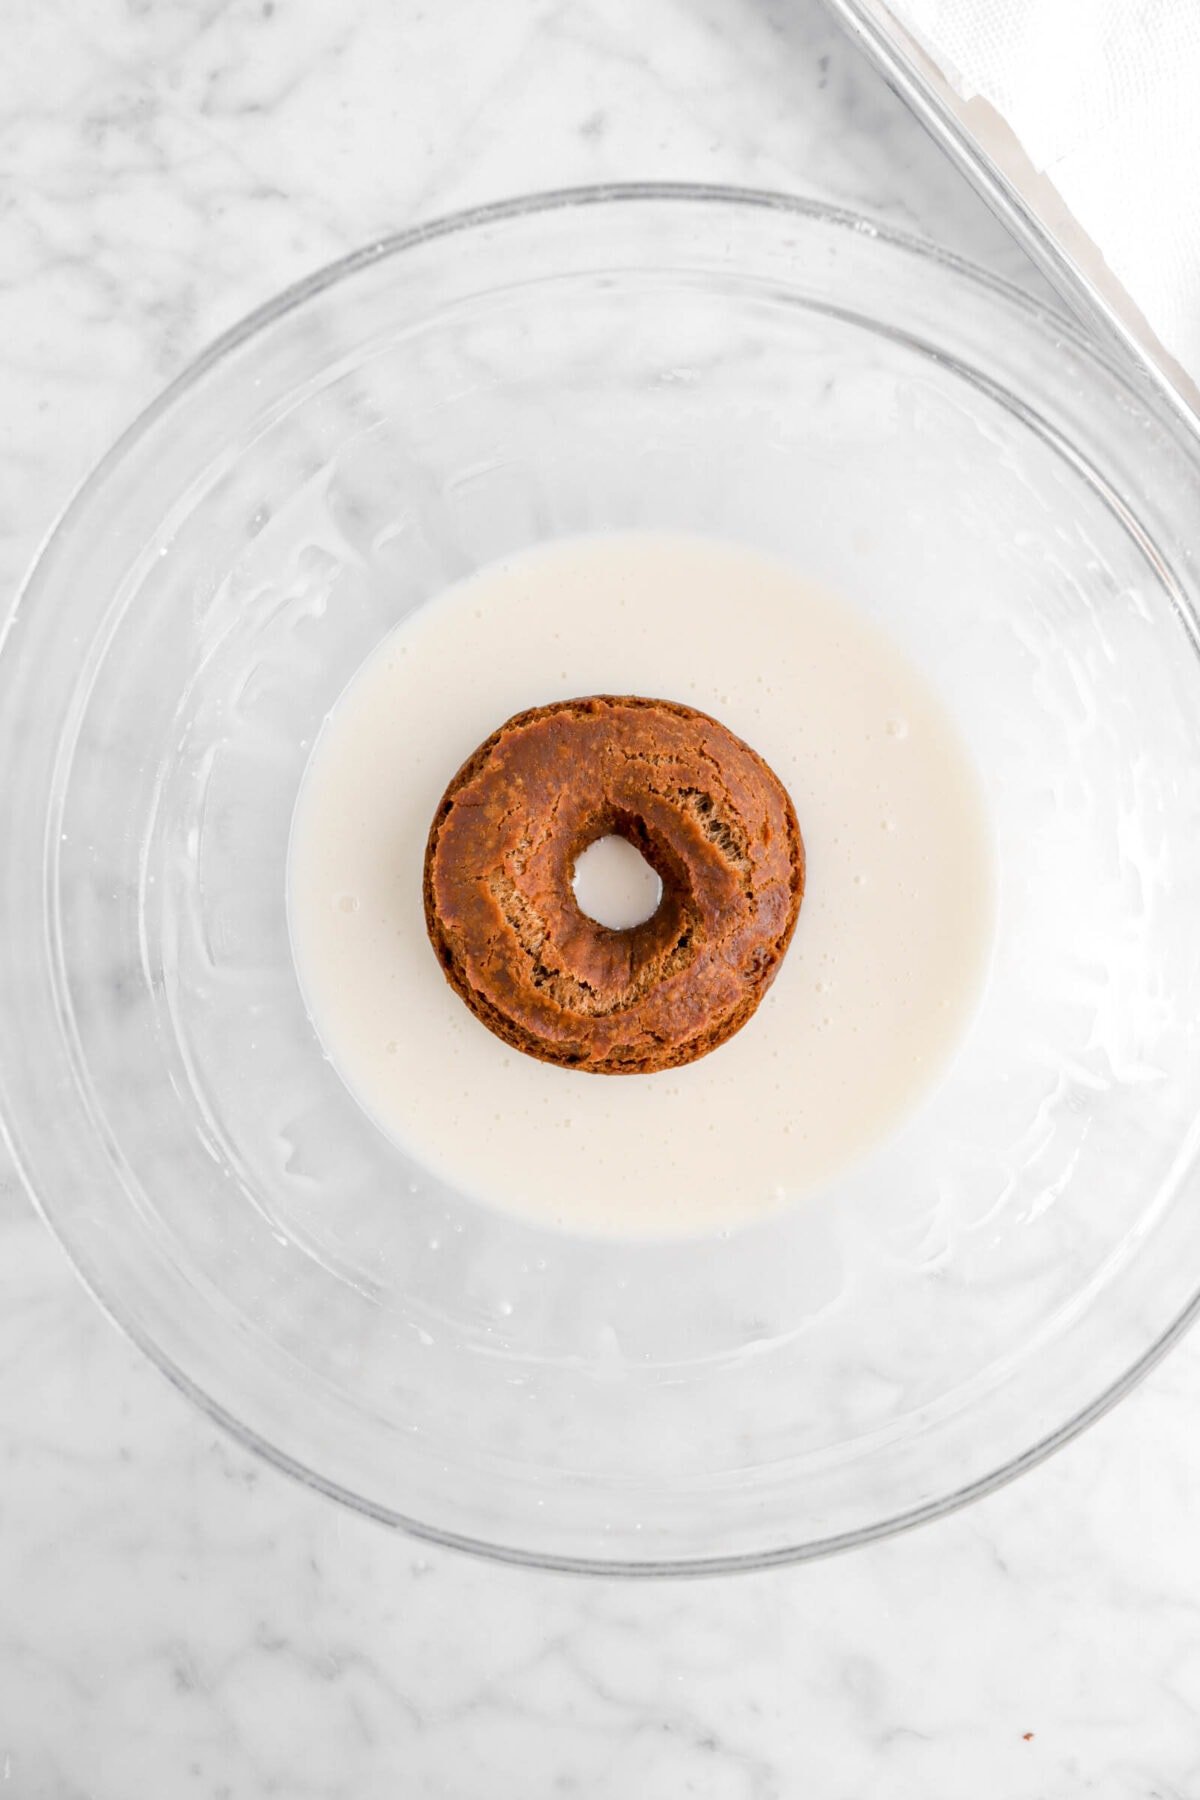
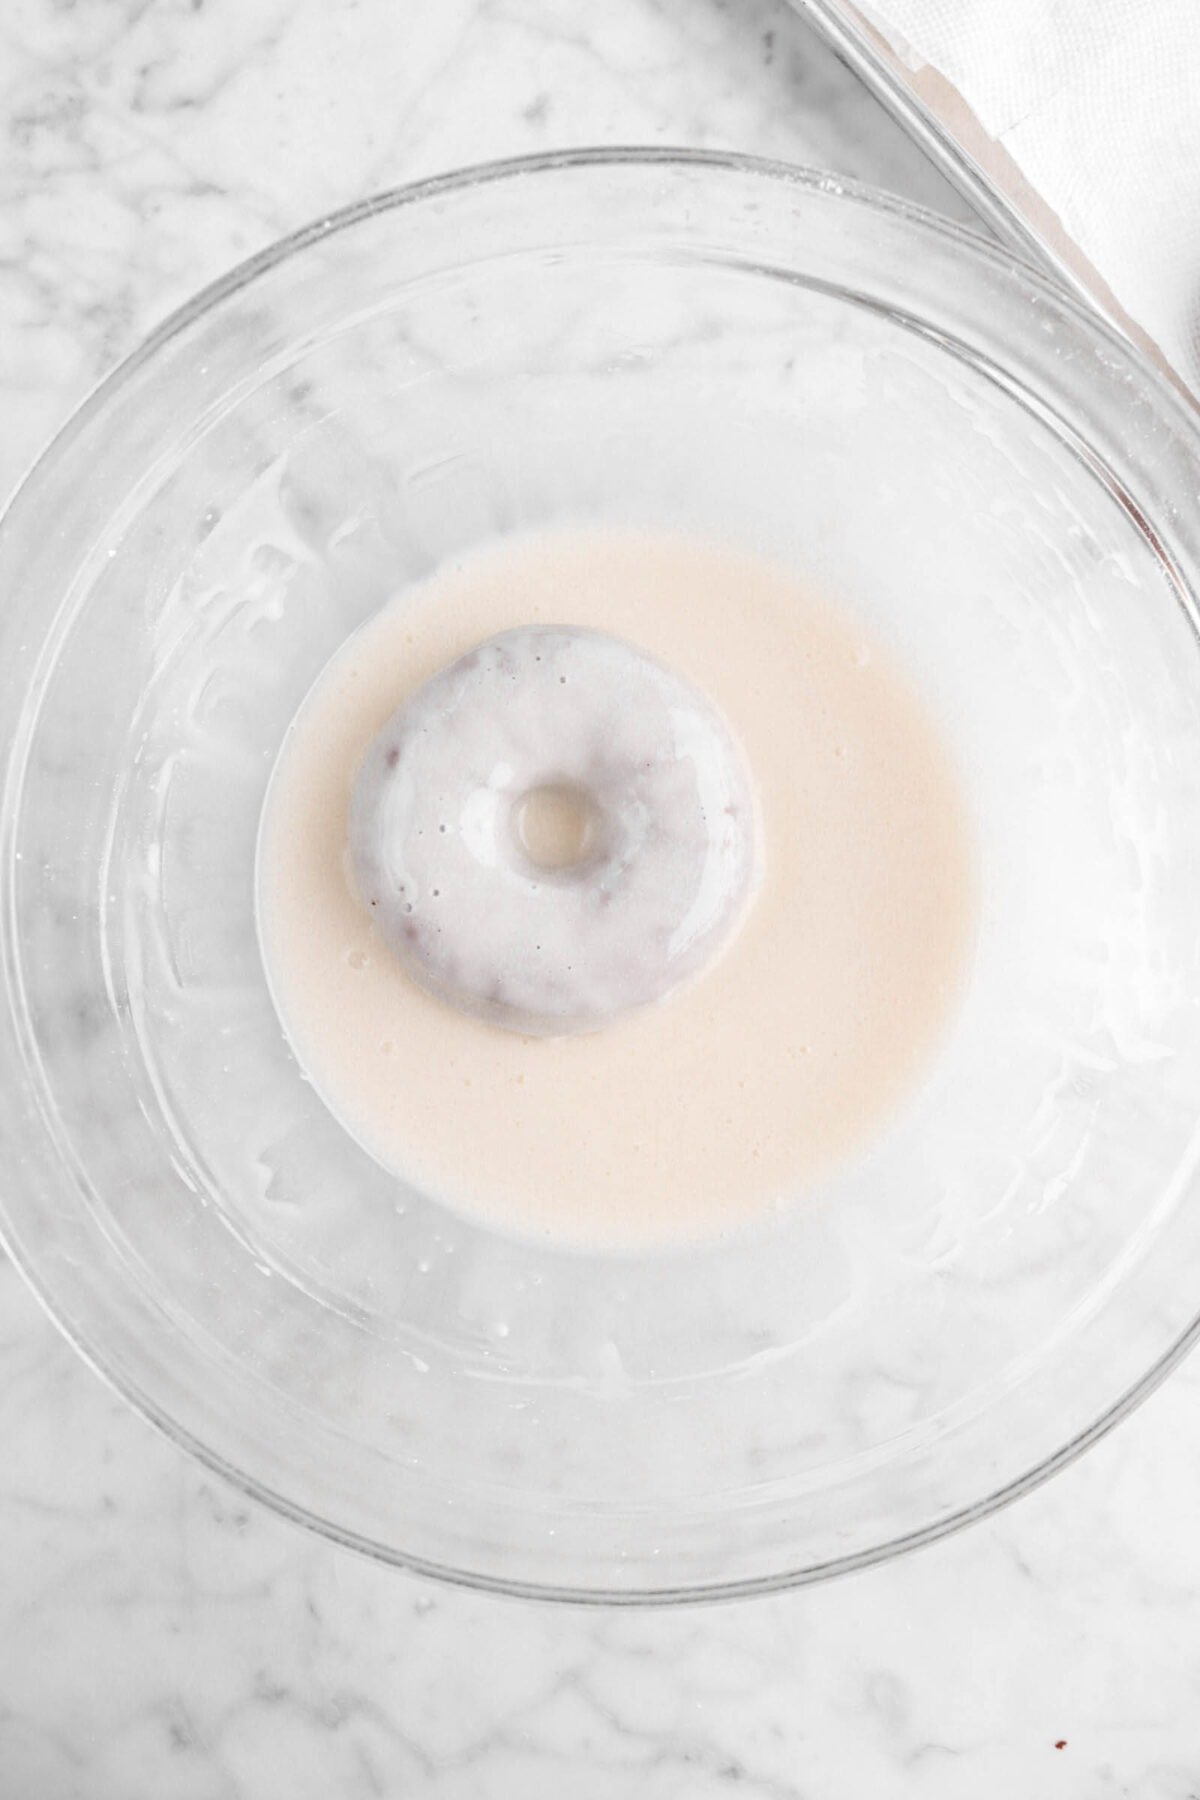
Step 6: Dip
Once the doughnuts have cooled and thoroughly drained, dip each side in the vanilla glaze. Set aside on a wire cooling rack. Let icing harden.
What To Serve With These Chocolate Doughnuts
Let’s be real, there is nothing better than a doughnut for breakfast. Well, maybe TWO doughnuts for breakfast! But, there’s always room for improvement…like serving them alongside your favorite breakfast treats or even with something to jazz them up as a special dessert! Here is a quick list of things we love to go alongside them!
- Chantilly Cream
- Vanilla Ice Cream
- Homemade Chocolate Sauce
- Cinnamon Honey Nut Granola
- Chocolate Chip Muffins
- Caffe Mocha
- Caramel Sauce
How To Store
Once these doughnuts have set, they really need to be eaten that day, as the shelf life isn’t very long. They will keep for about 1 day on the counter in a zip top bag. The best way to store these doughnuts to retain freshness is by freezing them! They will keep for up to 2 months.
When you make these Old Fashioned Chocolate Doughnuts with Vanilla Glaze, leave a comment down below! We love hearing from you and answering any questions you might have! Also, be sure to tag us on social media and hashtag it #BakersTable.
Old Fashioned Chocolate Doughnuts with Vanilla Glaze
Ingredients
Doughnuts
- ½ cup natural process cocoa
- ½ cup boiling water
- 4 cups all purpose flour
- ⅛ cup nonfat dry milk powder
- 4¼ teaspoons baking powder
- ¾ teaspoon baking soda
- ¼ cup unsalted butter, room temperature
- ⅔ cup granulated sugar
- ¾ teaspoon salt
- 1 large egg, room temperature
- 2 large egg yolks, room temperature
- 2 teaspoons vanilla extract
- ¾ cup buttermilk
- vegetable oil, for frying
Glaze
- 3 cups powdered sugar, sifted
- ½ cup whole milk
- ⅔ teaspoon vanilla extract
Instructions
Doughnuts
- In a small bowl, combine cocoa and boiling water.
- Whisk until smooth. Set aside.
- In a large bowl, whisk together flour, powdered milk, baking powder, and baking soda. Set aside.
- With an electric mixer, beat butter, sugar, and salt just until combined.
- Add egg, egg yolks, and vanilla.
- Mix well.
- Add flour mixture alternately with buttermilk, beginning and ending with flour mixture.
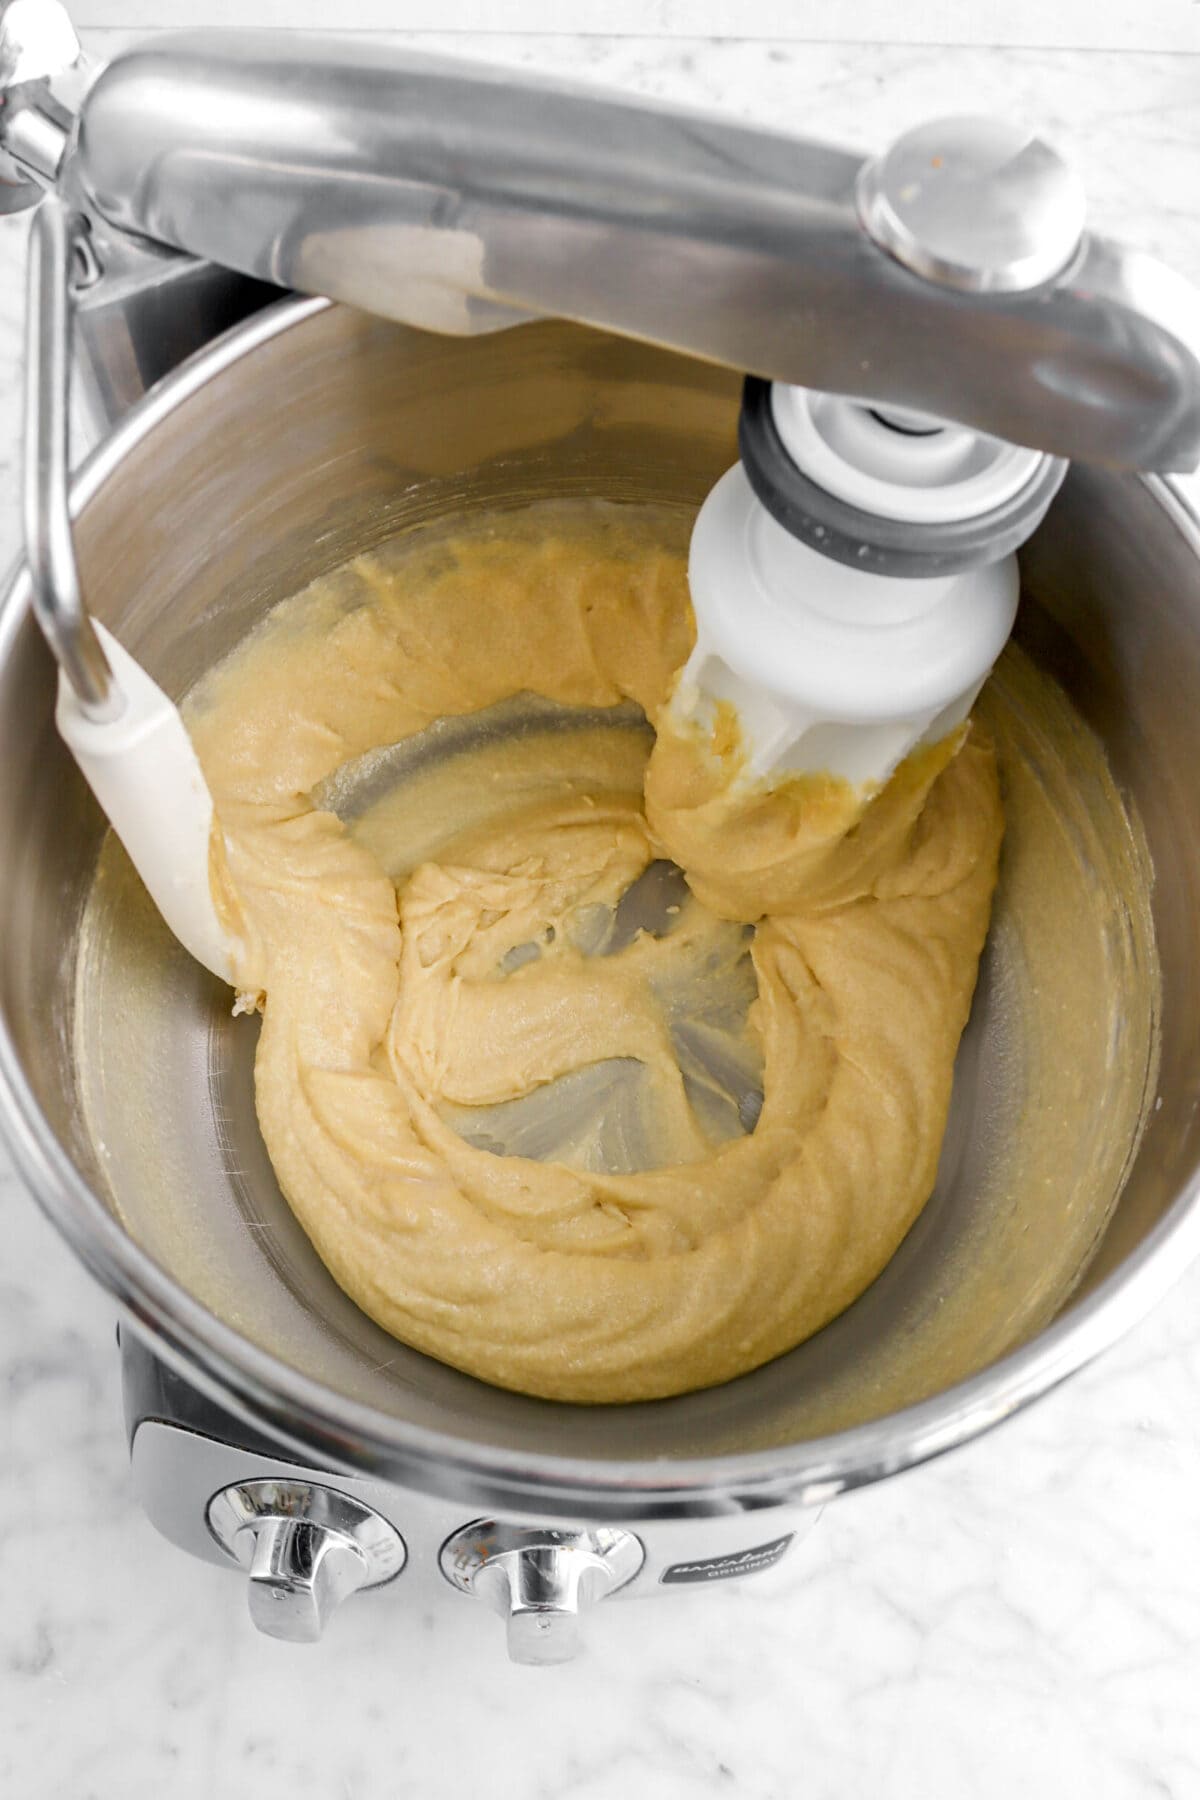
- Mix until smooth.
- Turn out onto a lightly floured surface.
- Roll dough to ⅓ inch thick.
- Cover dough and let it rest for 15 minutes.
- Line a sheet pan with parchment paper.
- Cut out doughnuts.
- Place them on prepared sheet pan.
- Re-roll scraps.
- Allow to rest before cutting.
- Cover.
- Allow to rest for 15 minutes.
- While dough is resting, pour at least 2 inches of vegetable oil into an 8 quart soup pot.
- Heat oil to 375℉/190℃.
- Carefully place doughnuts, one at a time, into hot oil, making sure not to overcrowd the pan.
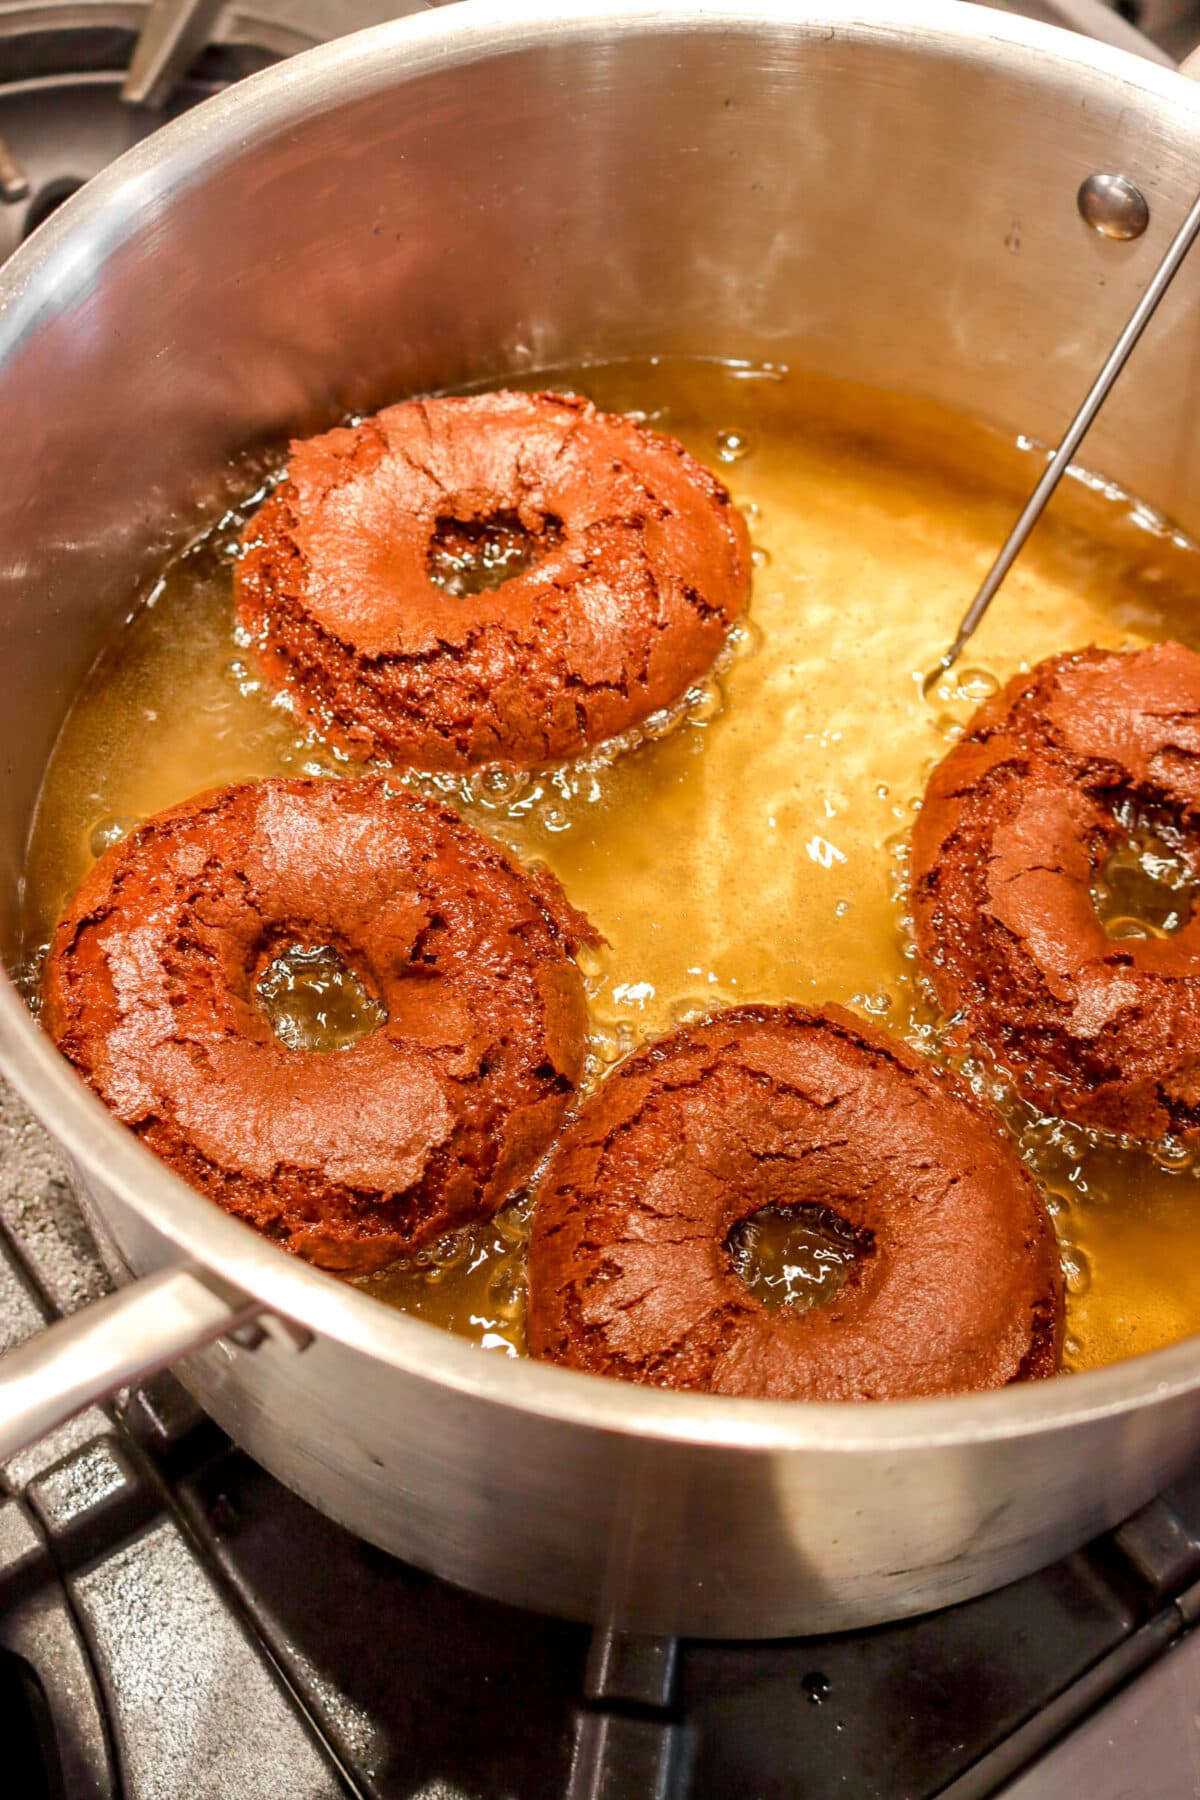
- When the doughnuts rise to the surface of the oil, cook 1 minute.
- Flip doughnuts over.
- Cook 1 more minute.
- Use a slotted spoon to remove doughnuts from oil.
- Drain thoroughly.
Glaze
- In a medium bowl, combine powdered sugar, milk, and vanilla.
- Beat until smooth.
Assembly
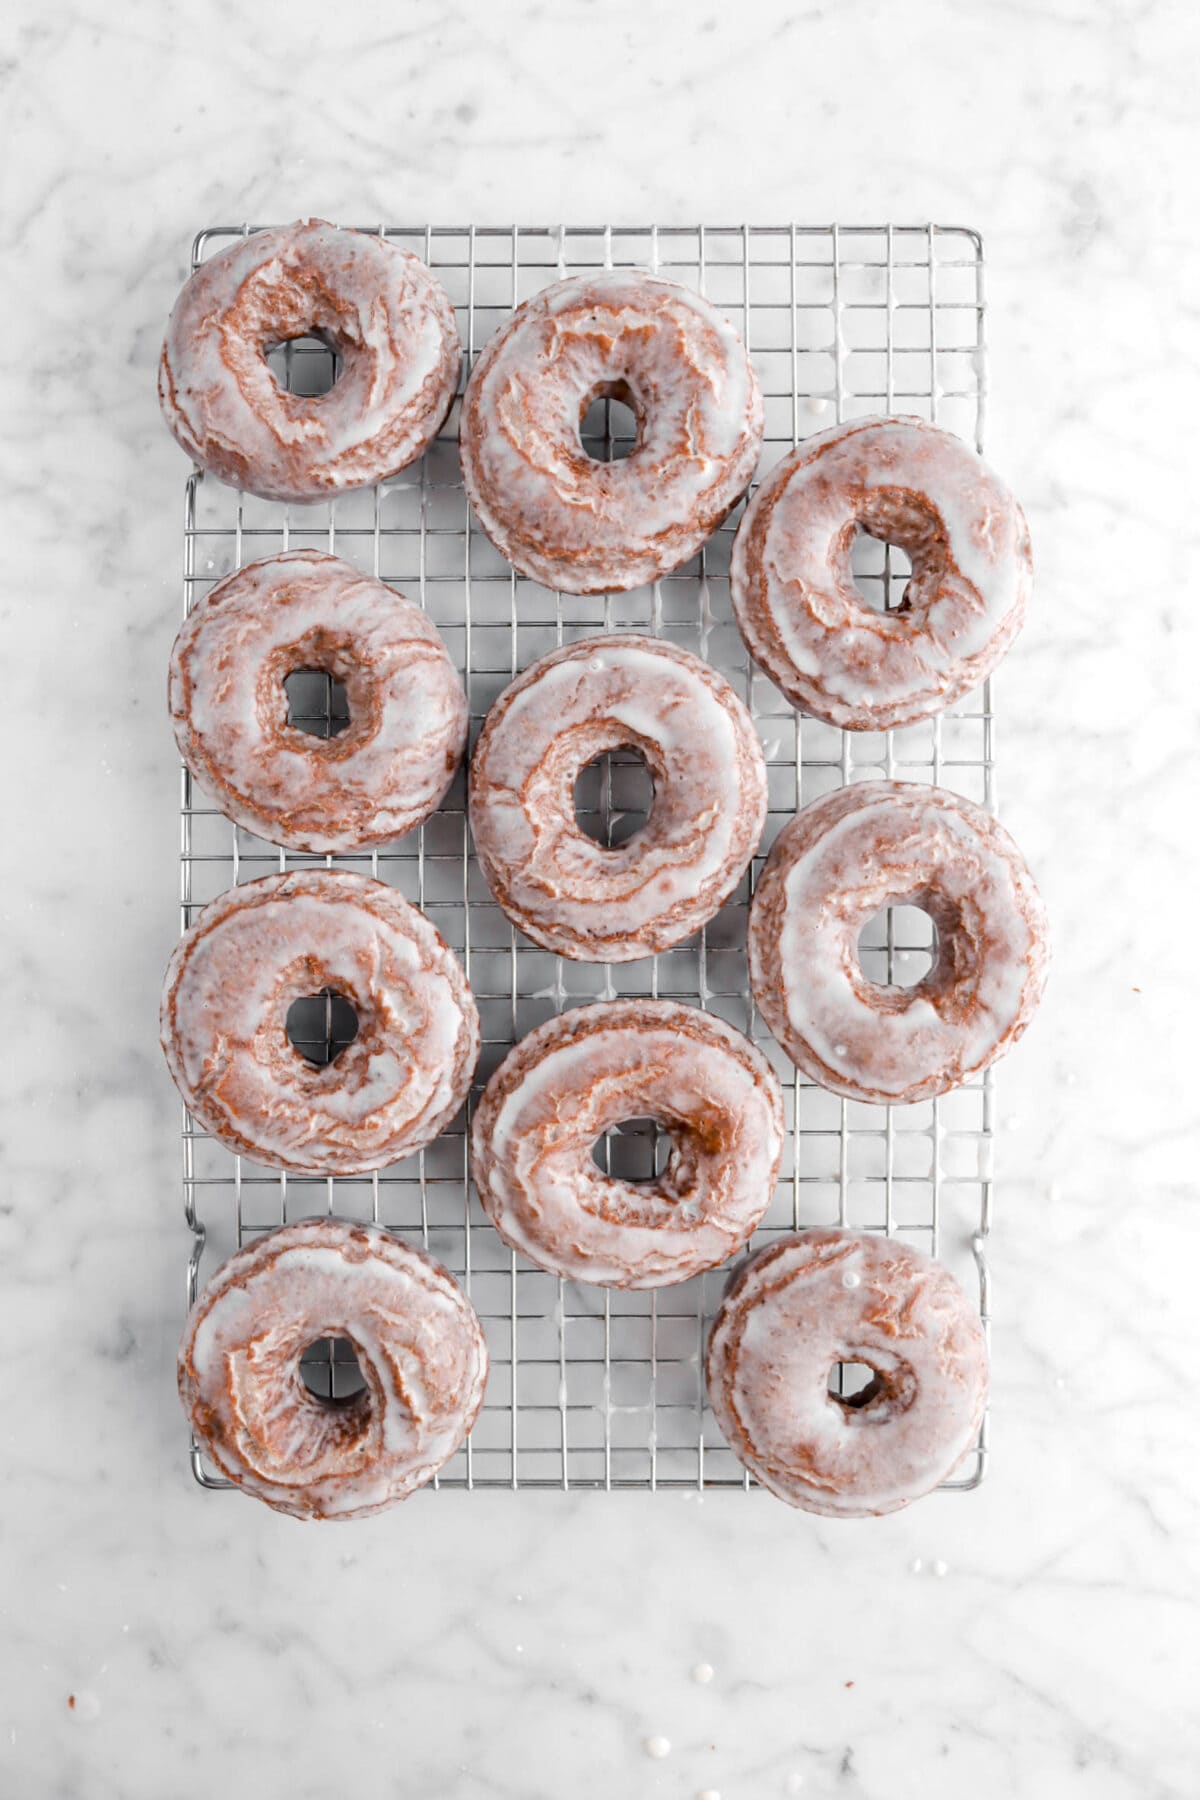
- Place cooling rack over sheet pan. Set aside.
- Place doughnuts, one at a time, into glaze.
- Turn over to coat completely.
- Lift out and let drain.
- Place on cooling rack to dry.
Notes + Tips!
- Use a natural process cocoa for this recipe.
- Make sure the bloomed chocolate is cooled before adding it to the dough.
- Don’t skip the resting periods! It relaxes the gluten in the dough and makes it easier to cut.
- You can re-roll the dough scraps. Just don’t add any extra flour! These doughnuts won’t be quite as pretty as the first batch and may be a little tougher.
- Try to keep oil between 350℉ and 375℉. If it falls below 350℉, doughnuts will take longer to cook, will absorb more oil, and won’t puff as much. Over 375℉,, and they will burn before they cook.
- These doughnuts will split when frying. It’s okay!
- You can fry the doughnut holes, too. They will take about 30 seconds on each side (a total of 1 minute).
- Don’t skip the glaze. These doughnuts need the extra bit of sweetness to help round out the flavors!
- Follow the times listed in the recipe card to ensure the doughnuts are cooked properly and not burned.
- These doughnuts do not have a long shelf life. They will keep about 1 day at room temperature. The best way to store them is in the freezer!
Tools You May Need (affiliate links)
– Still Hungry? –
Here are a few recipes may like!


Hi! Do you happen to have a weighted version of this recipe? Would love to try it out using my kitchen scale.
Thank you
Hi Josefina! At the bottom of the ingredient list in the recipe card, there are buttons that say US Customary and Metric. Press the Metric button. Let me know if you have any more questions.