Tiramisu Layer Cake

This post may contain affiliate links, please visit our privacy policy for details.
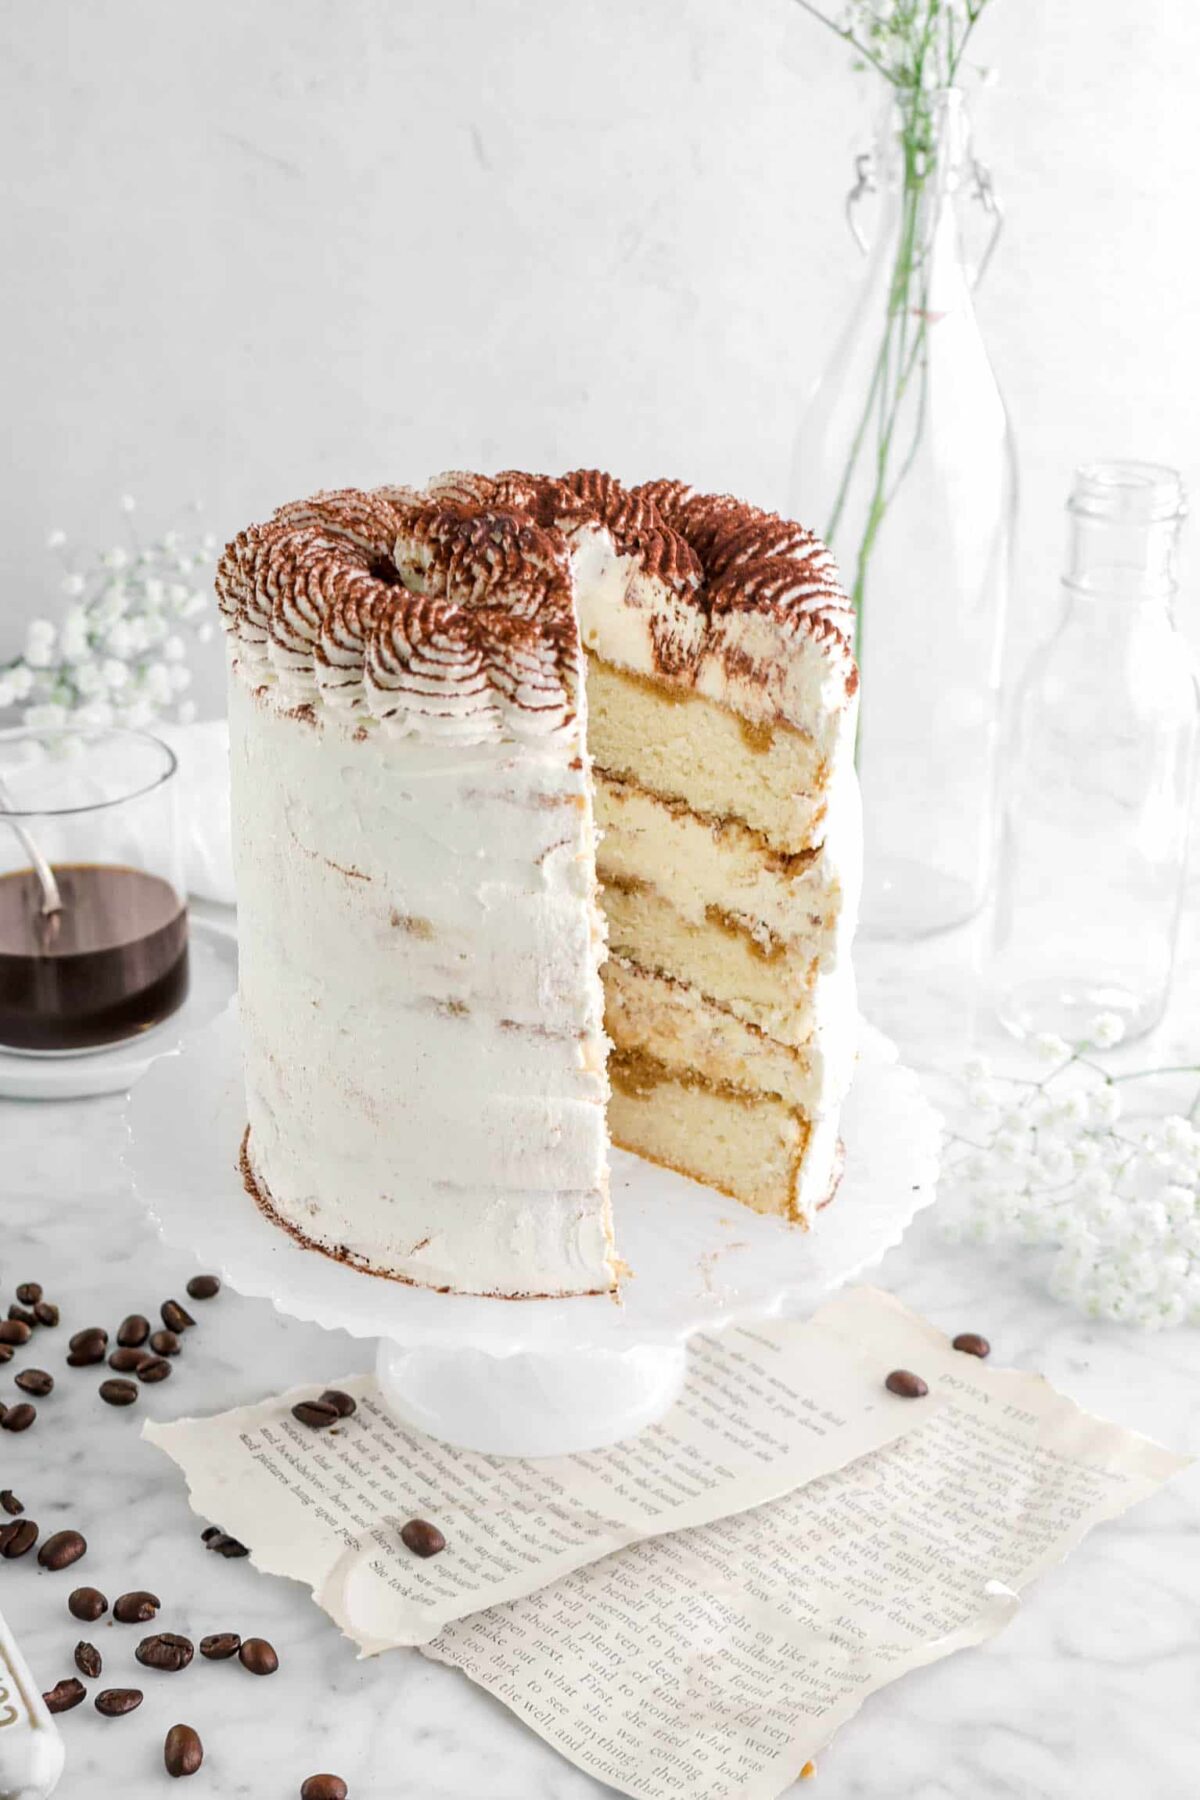
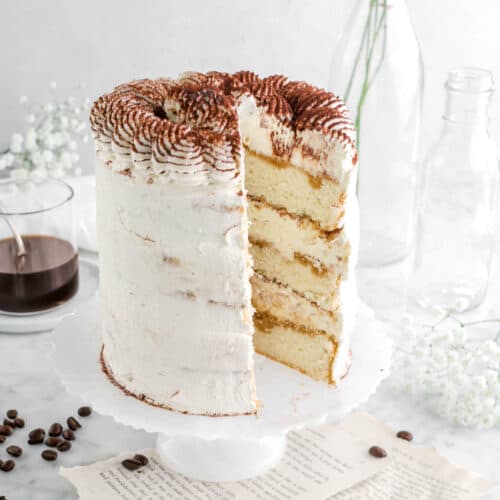
We’re celebrating our 3rd blog anniversary today with this delicious Tiramisu Layer Cake…which will also be perfect for all your weekend baking needs! A vanilla infused white cake, drizzled with a mixture of rich coffee and coffee liqueur, topped with a delicious mascarpone cream filling, a light dusting of unsweetened cocoa powder, and finally finished with Chantilly Cream. It tastes like the classic dessert, but so much better. Every bite is layered with flavors from the sweet creamy filling, followed by chocolate, and a moist coffee-soaked vanilla cake. Finish the cake with a heavy dusting of cocoa powder and chocolate curls for a stunning and classic look. Oh, and the best part? This cake is actually so much easier to make than you might think and it will always be delicious! It’s the perfect cake for any and all occasions. Especially blog anniversaries!
About The Recipe
Happy Friday, everyone! This Friday is extra special because we have now owned this blog for three years. Can you believe it? We’re already at our 3 year blog anniversary. Sometimes, it feels like we just started this blog yesterday! Others, it feels like we’ve been doing this our whole life. It’s a good balance and we’re so lucky to be able to do this everyday.
People like you have kept us going! Even on days when we needed to take a few steps back. This blog anniversary is even more special because it’s also our first anniversary since our re-brand and wow… things have seriously changed around here, haven’t they?

Not only has the blog grown leaps and bounds, but so have we! We have learned so much since we started this blog. Gosh, even since the rebrand last year.
Everyday we learn so much and it couldn’t make us happier then sharing all of this with you.
This is a celebratory day for you, as well! Without you, we wouldn’t be anywhere. So, give yourself a pat on the back, too 🙂


But onto the recipe… We hosted a poll on our Instagram story, asking you all what you’d like to see for today, and layer cake won out! (Though, we do hear you on Ice Cream Sandwiches. Promise we’ll get to that soon!)
The next step was trying to figure out what the flavor should be. We debated a few ideas, but ultimately decided that a classic tiramisu turned into a cake would be the perfect way to go! It’s a dessert that my mom and both absolutely adore.
I mean, what’s not to love about it? Chocolate, coffee, mascarpone, cookies… but how do we respect the classic when turning it into a cake? My mom originally wanted to make a lady finger style cake, but that recipe would’ve been too much effort and way too many eggs!
So, she and I started thinking. Actually, she found a white cake recipe from my great grandmother! And, with a little bit of updating, the cake turned out to be the perfect thing!

Everything else with this cake is traditional, but it somehow tastes even better! Every bite of this tiramisu cake light, fluffy, perfectly sweet, coffee-y, chocolate-y, creamy, and just SO. GOOD.
There is no better cake to celebrate today!
Equipment Needed
- Mixer
- 4 Cake Pans
- Cake Tester
- Mixing Bowls
- Hand Mixer
- Rubber Spatula’s
- Piping Bag
- Piping Tips
Ingredients
For The Cake:
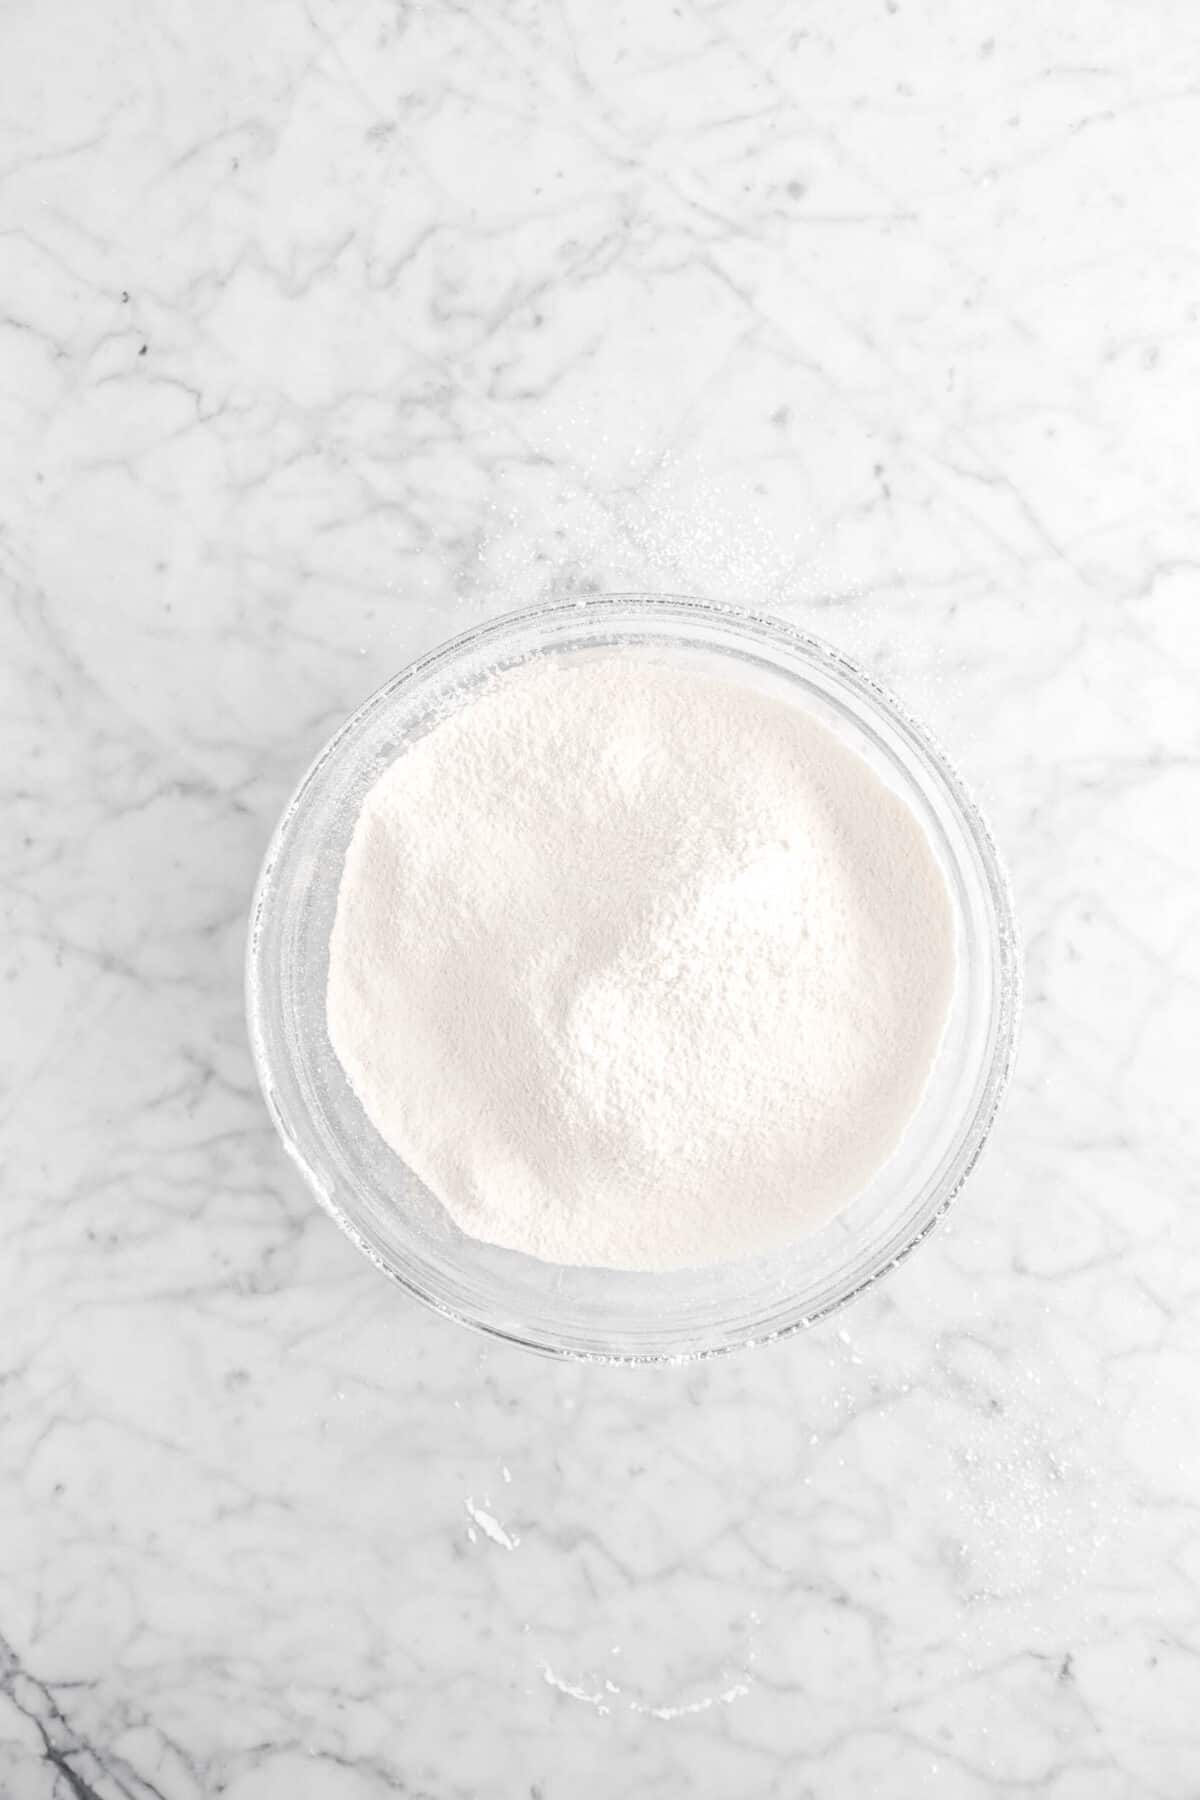
- Cake Flour
- Baking Powder
- Salt
- Sugar
- Unsalted Butter
- Whole Milk
- Vanilla Extract
- Egg Whites

For The Syrup:
- Coffee Liqueur
- Coffee

For The Mascarpone Filling:
- Mascarpone Cheese
- Heavy Cream
- Powdered Sugar
- Vanilla Extract

For The Chantilly Cream:
- Heavy Cream
- Powdered Sugar
- Vanilla Extract

Instructions
Sift the cake flour, baking powder, and salt in a medium sized bowl. Set aside.

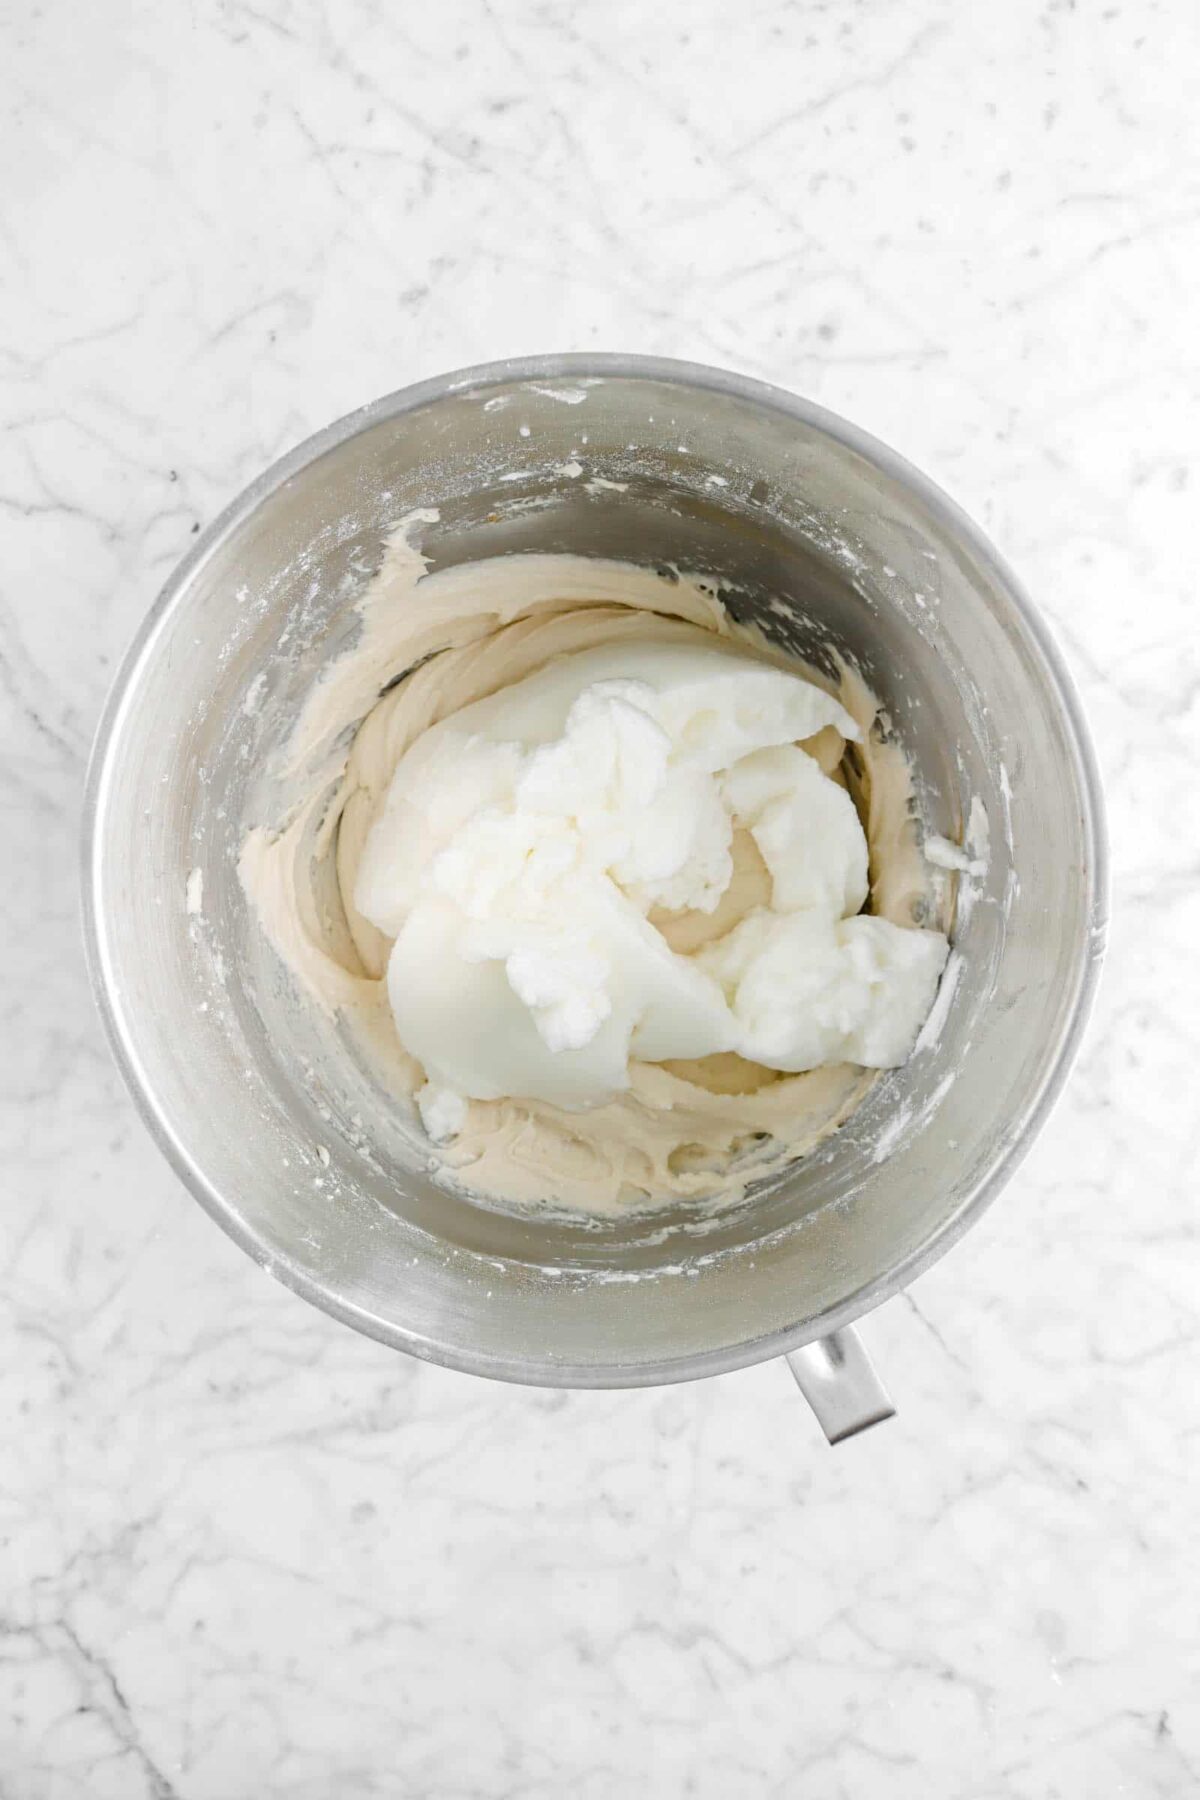
In a large bowl, beat egg whites until stiff peaks. Set aside.


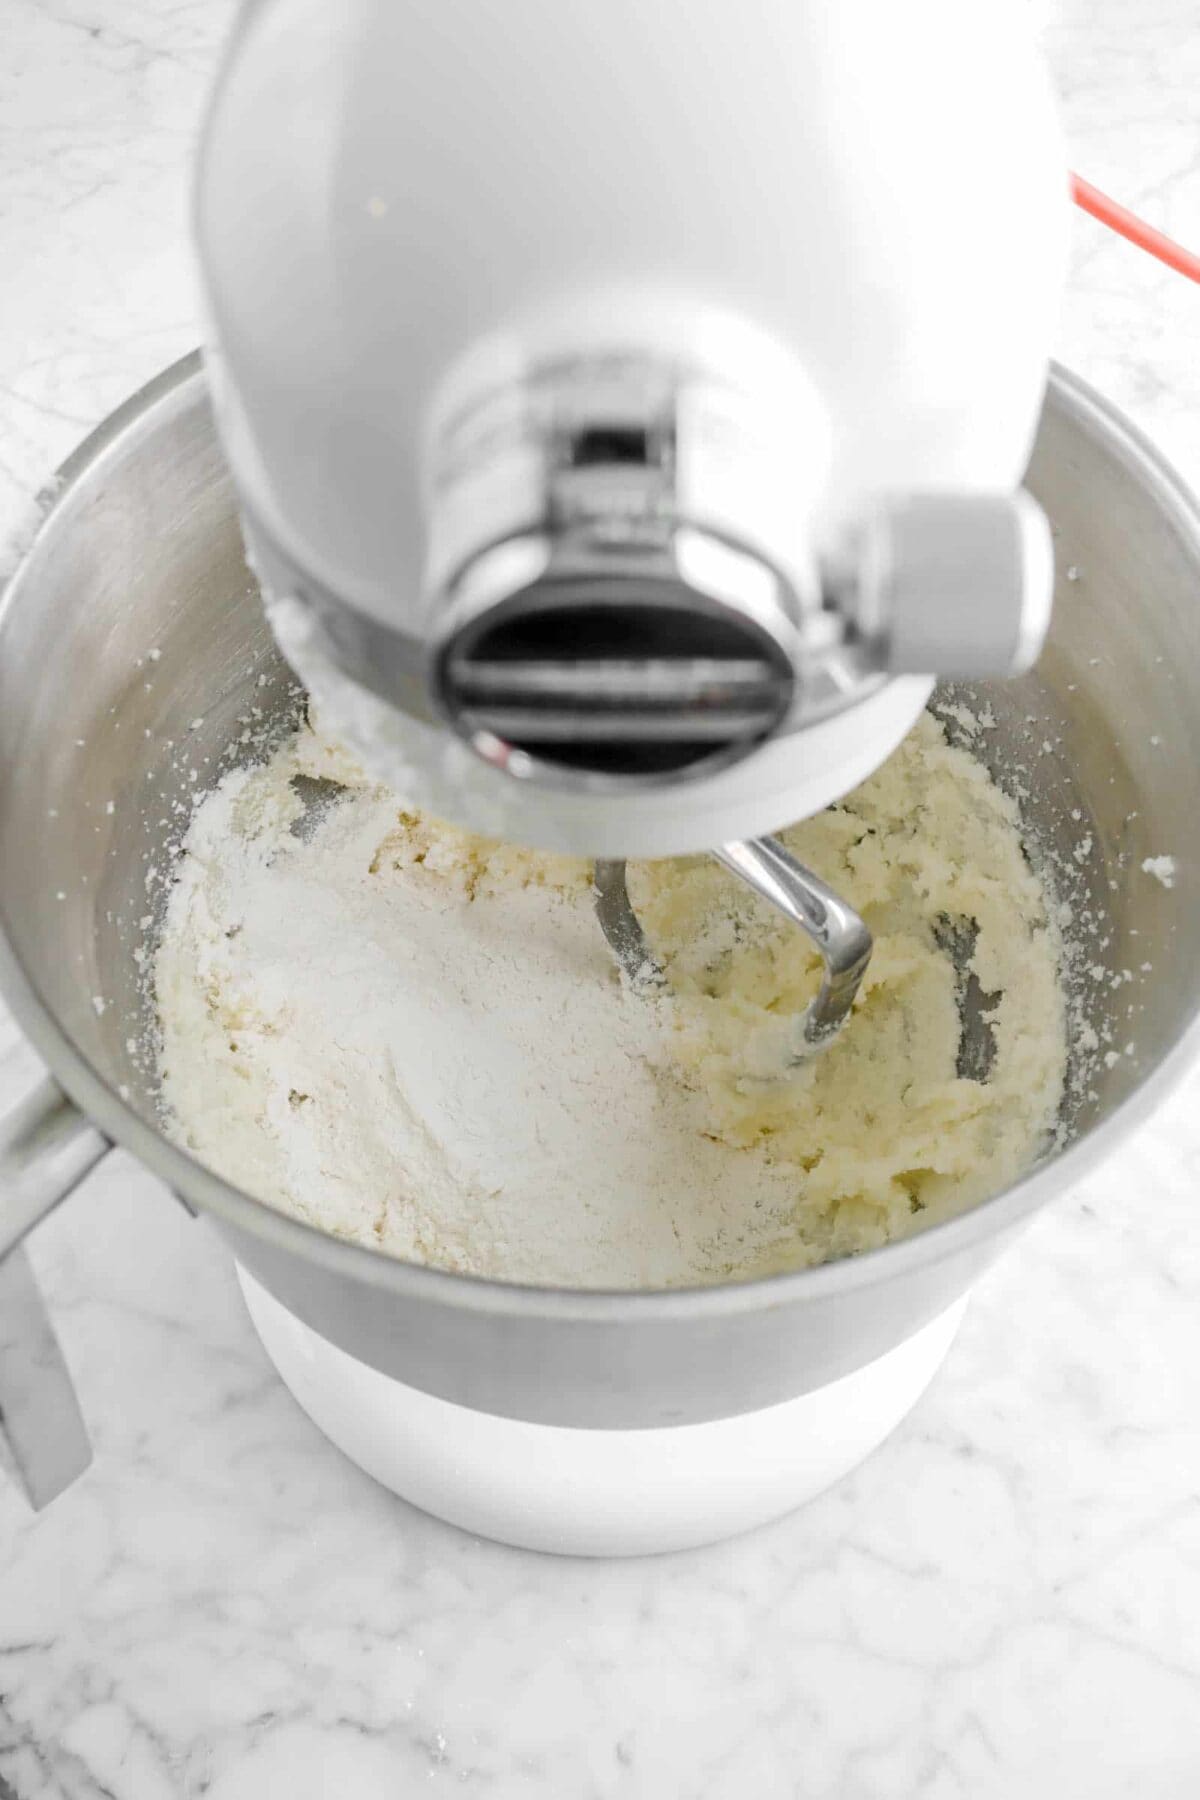
Beat butter and sugar until light and fluffy. About 3 minutes.


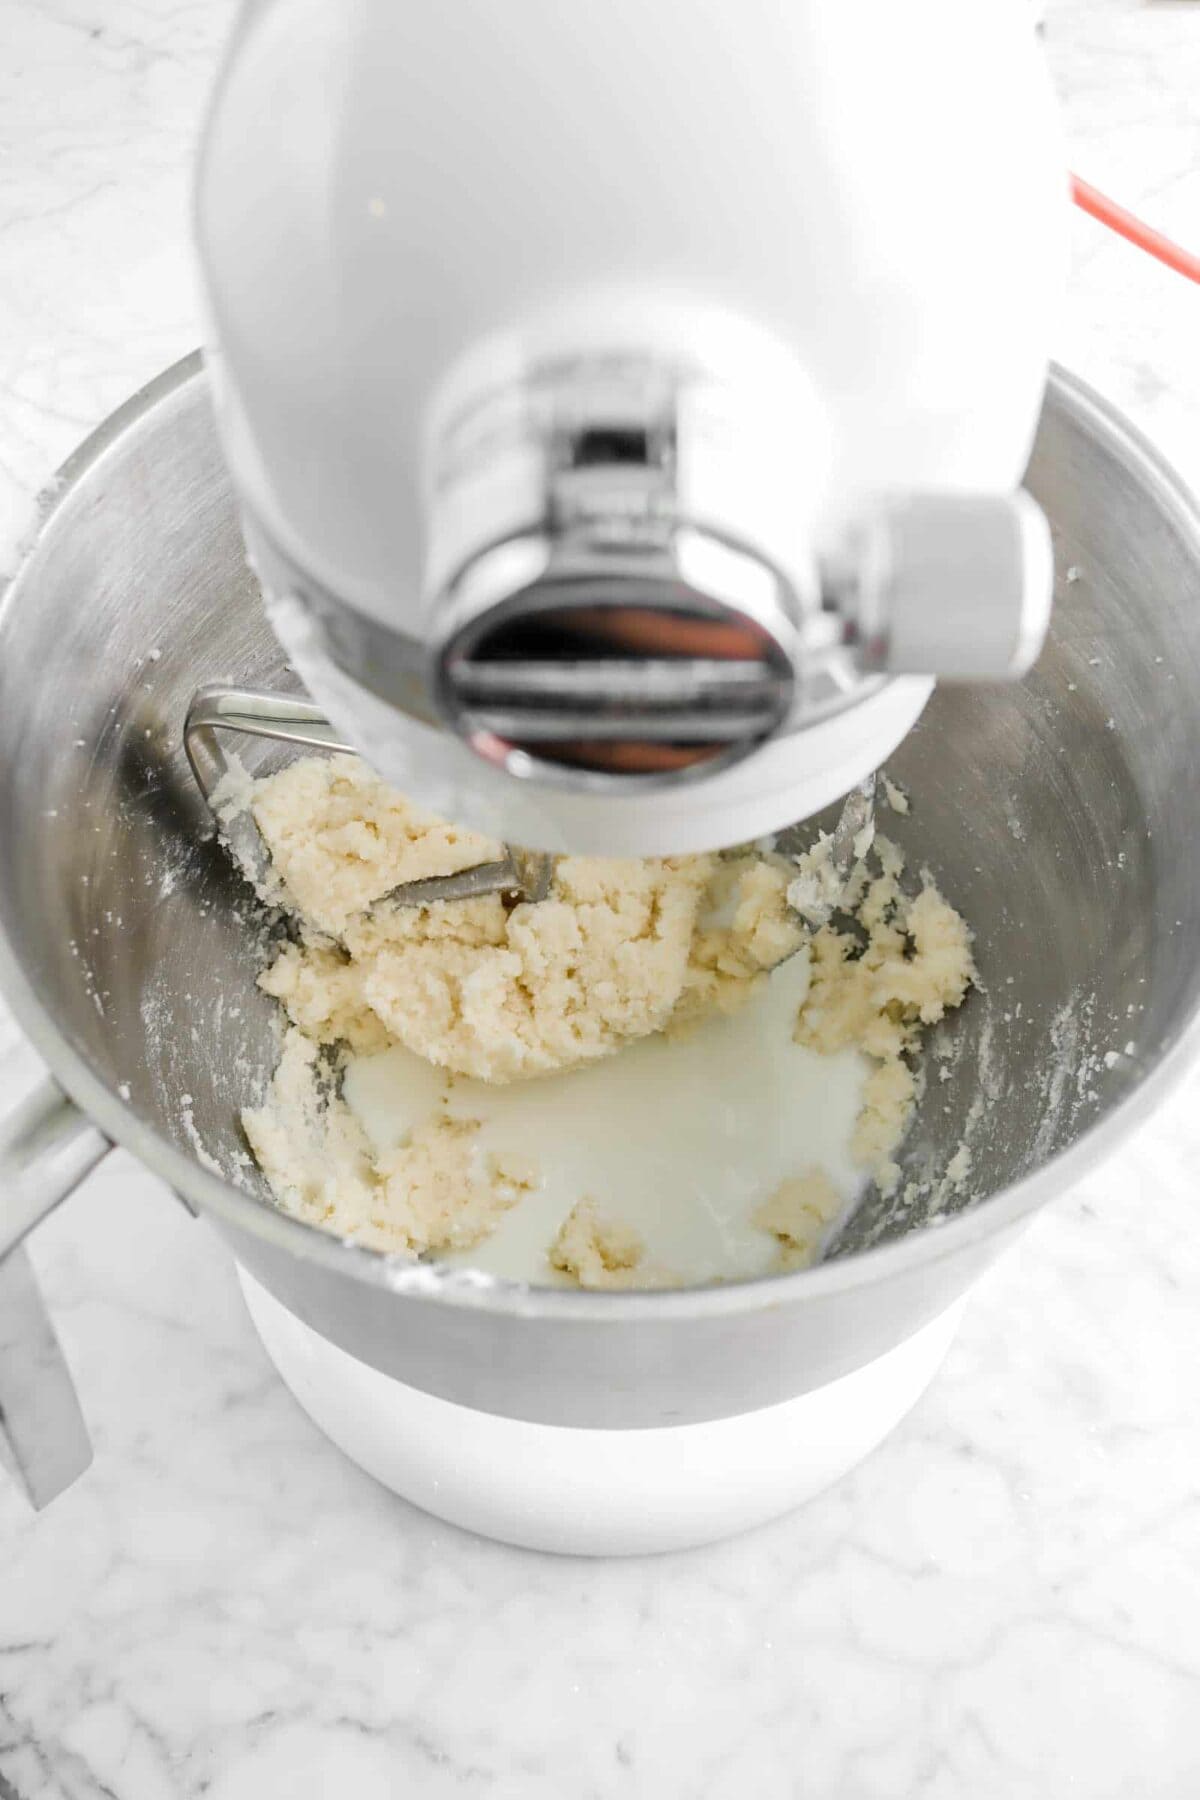
Add flour mixture and milk alternately. Always begin and end with the dry ingredients!
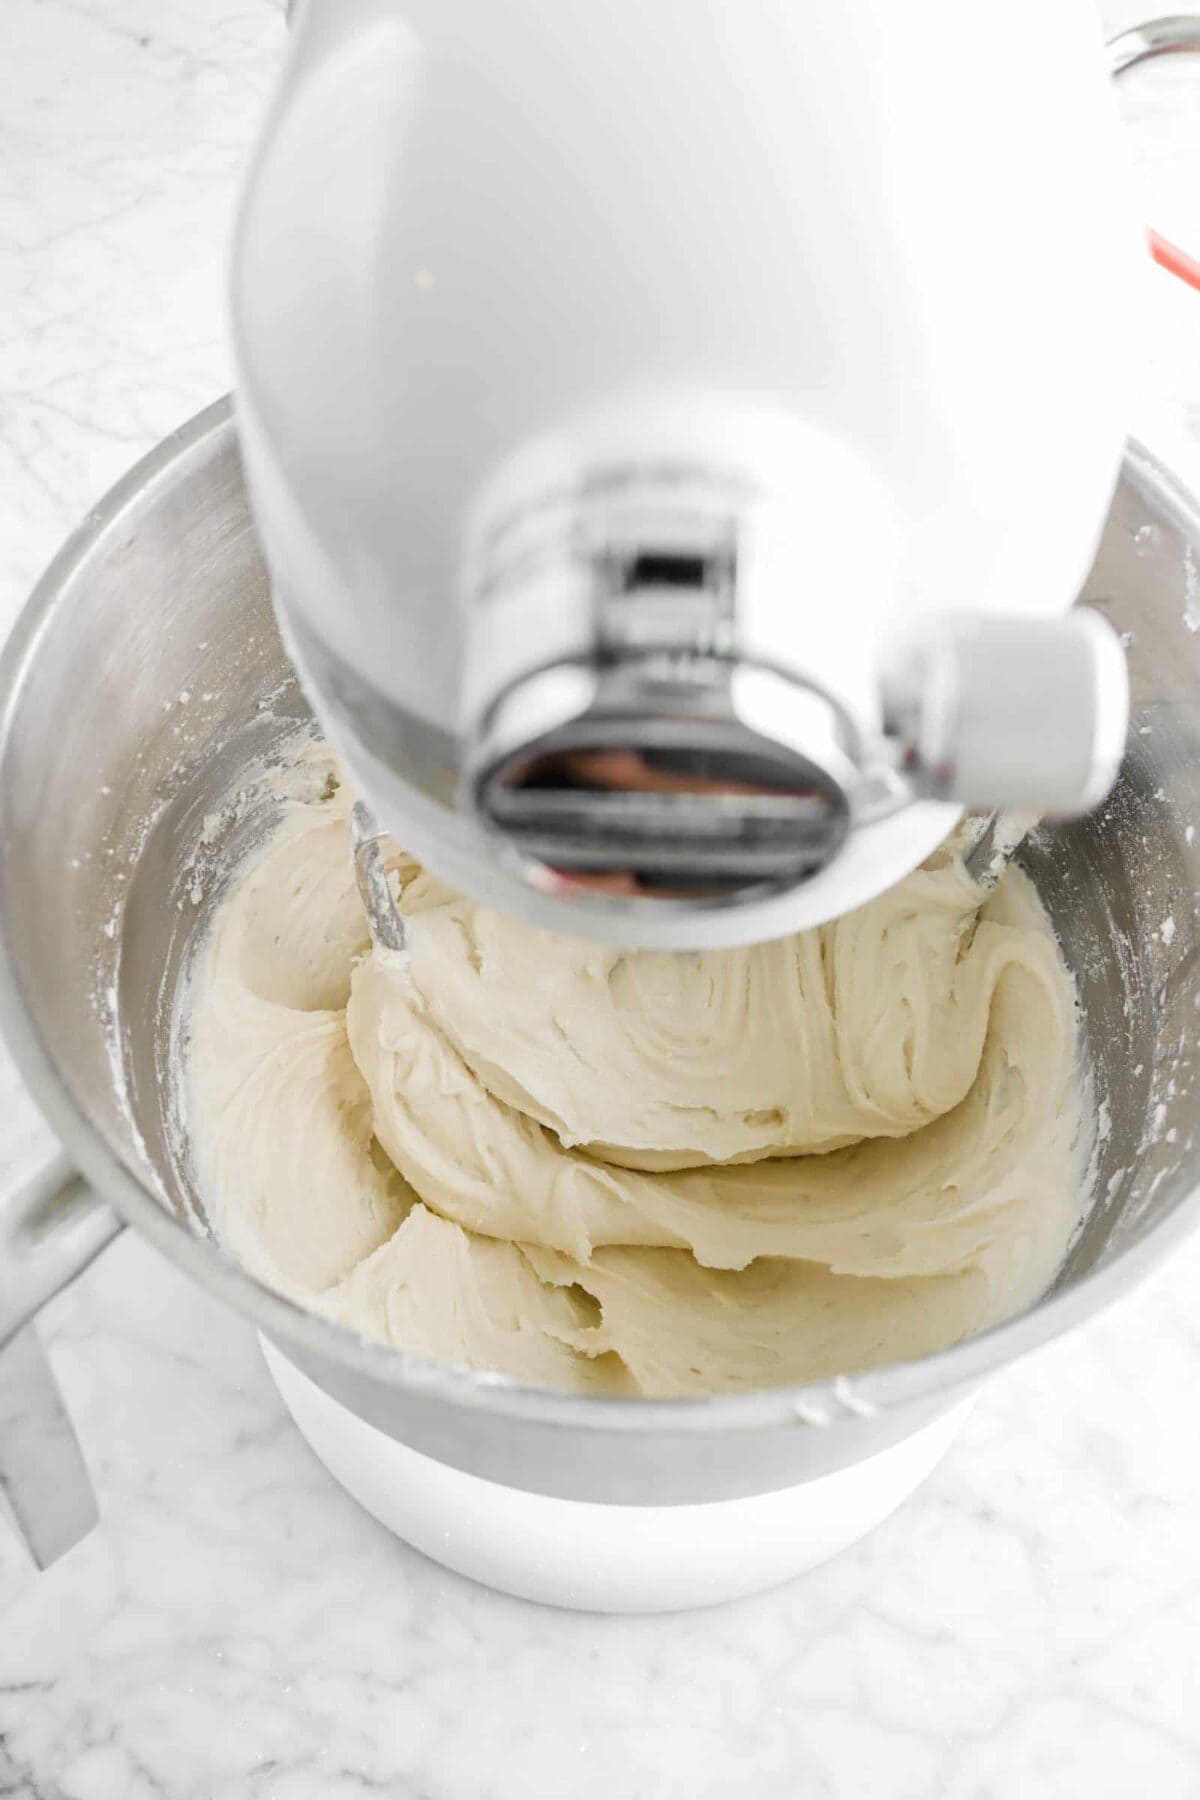
Stir in the vanilla.

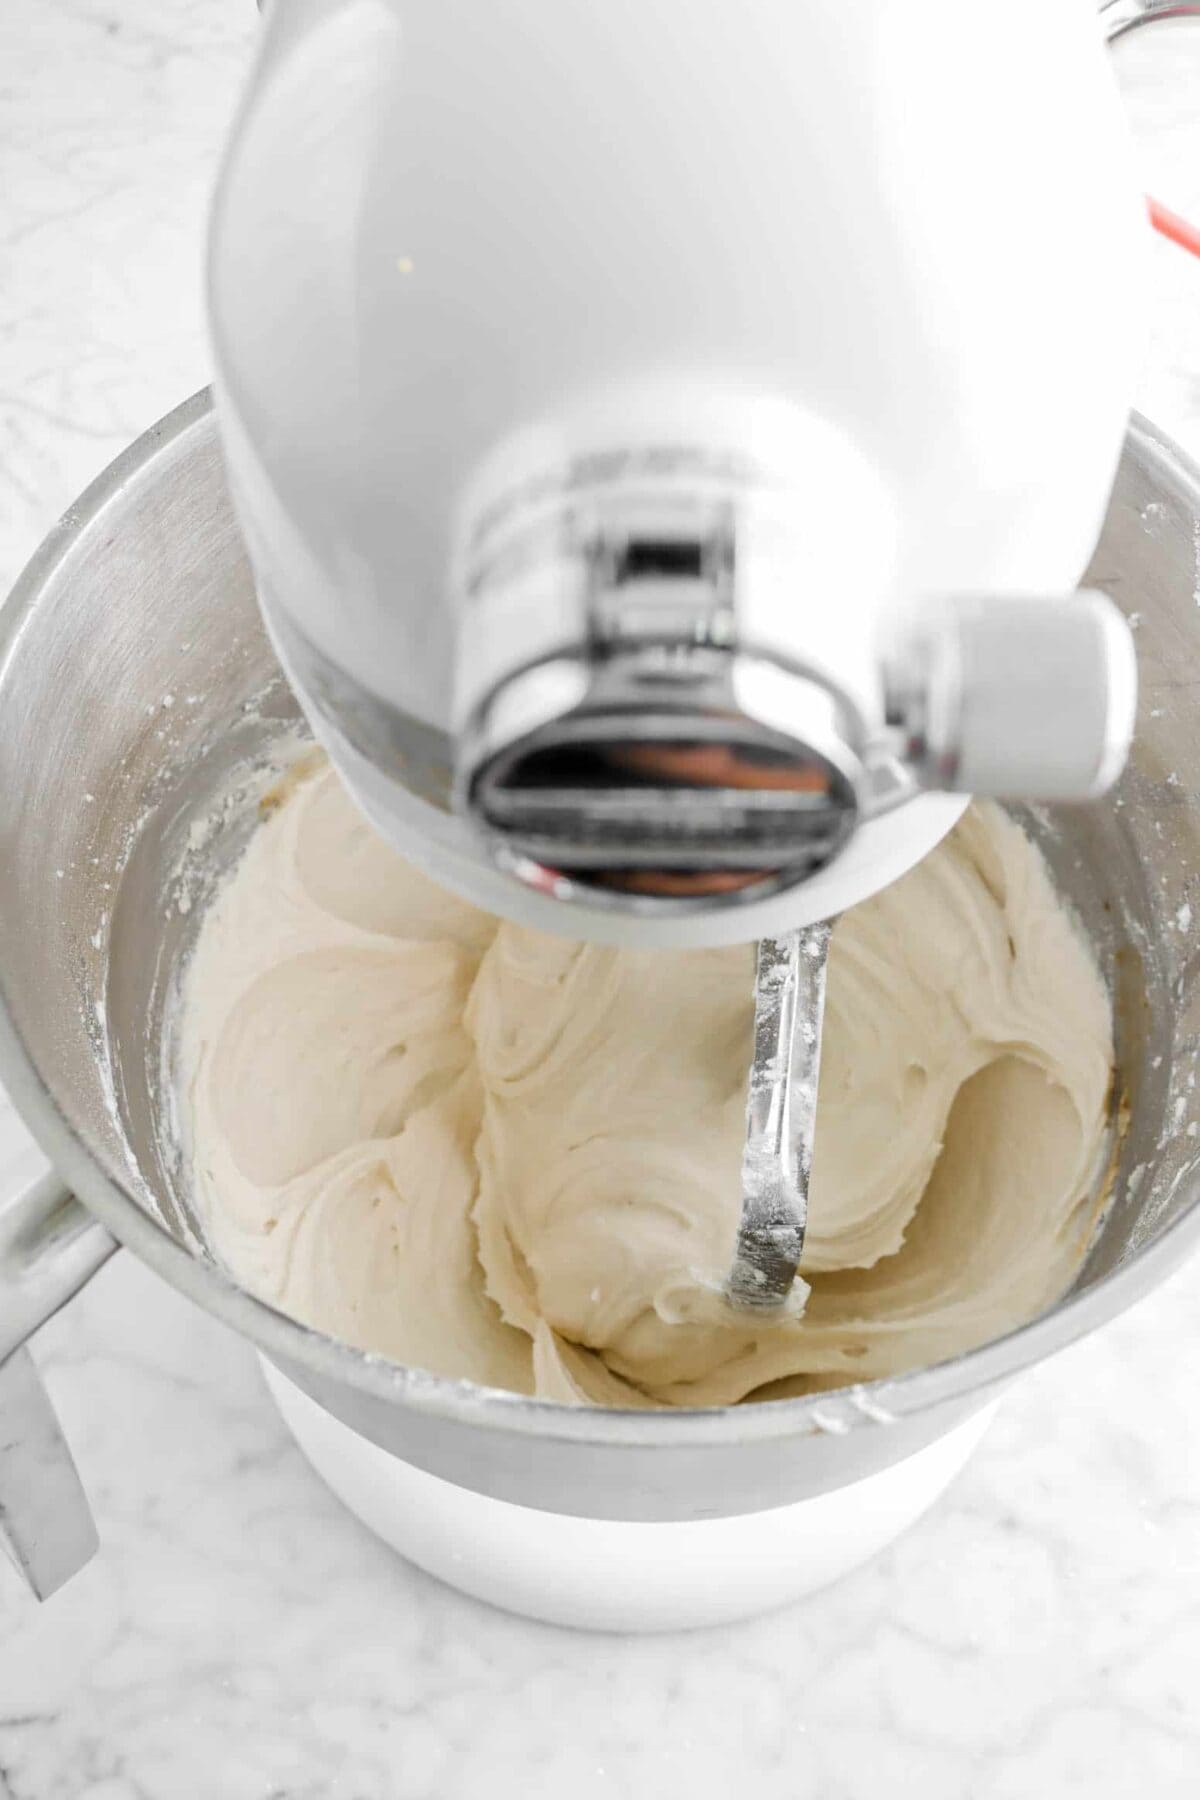
Gently fold in the egg whites.

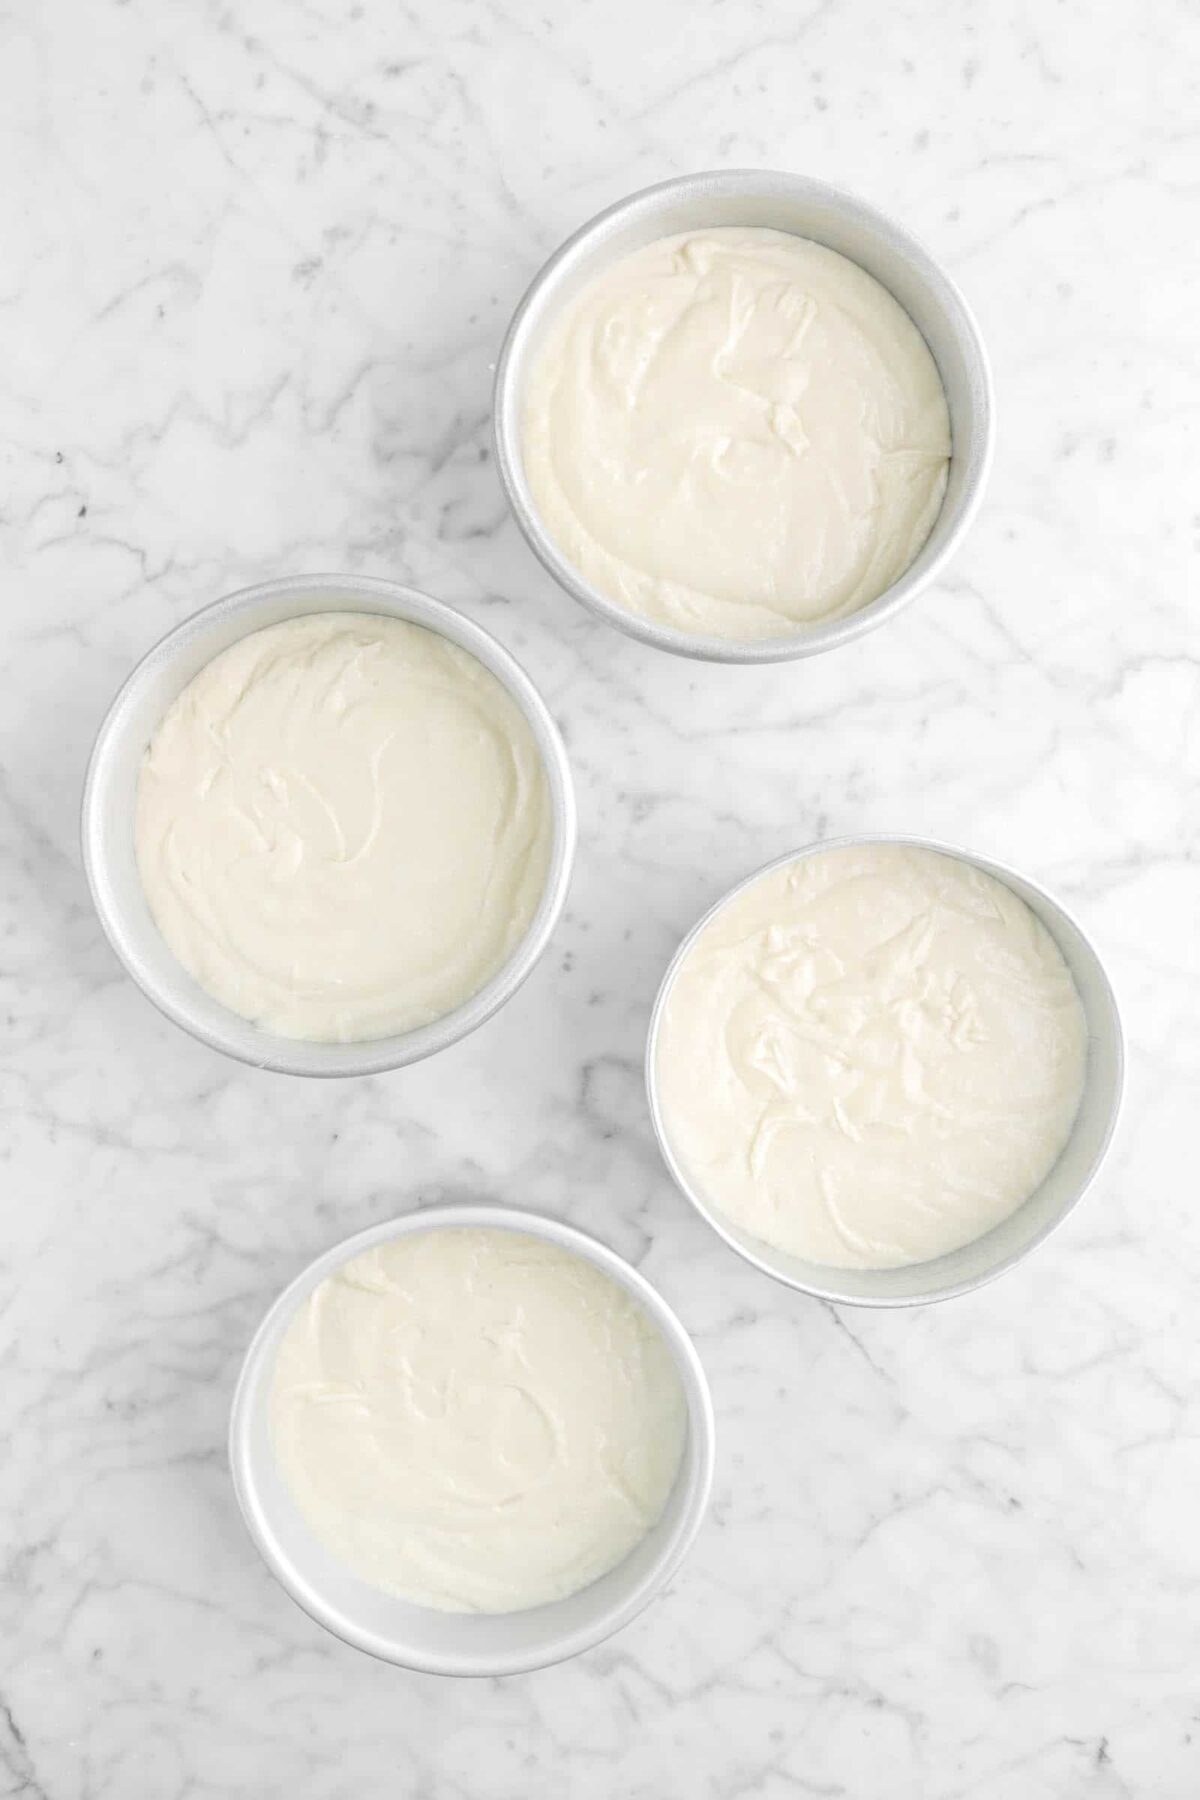
Spoon cake batter into prepared four 6-inch cake pans. Bake 325 degrees for 30 minutes, or until the cakes test done.
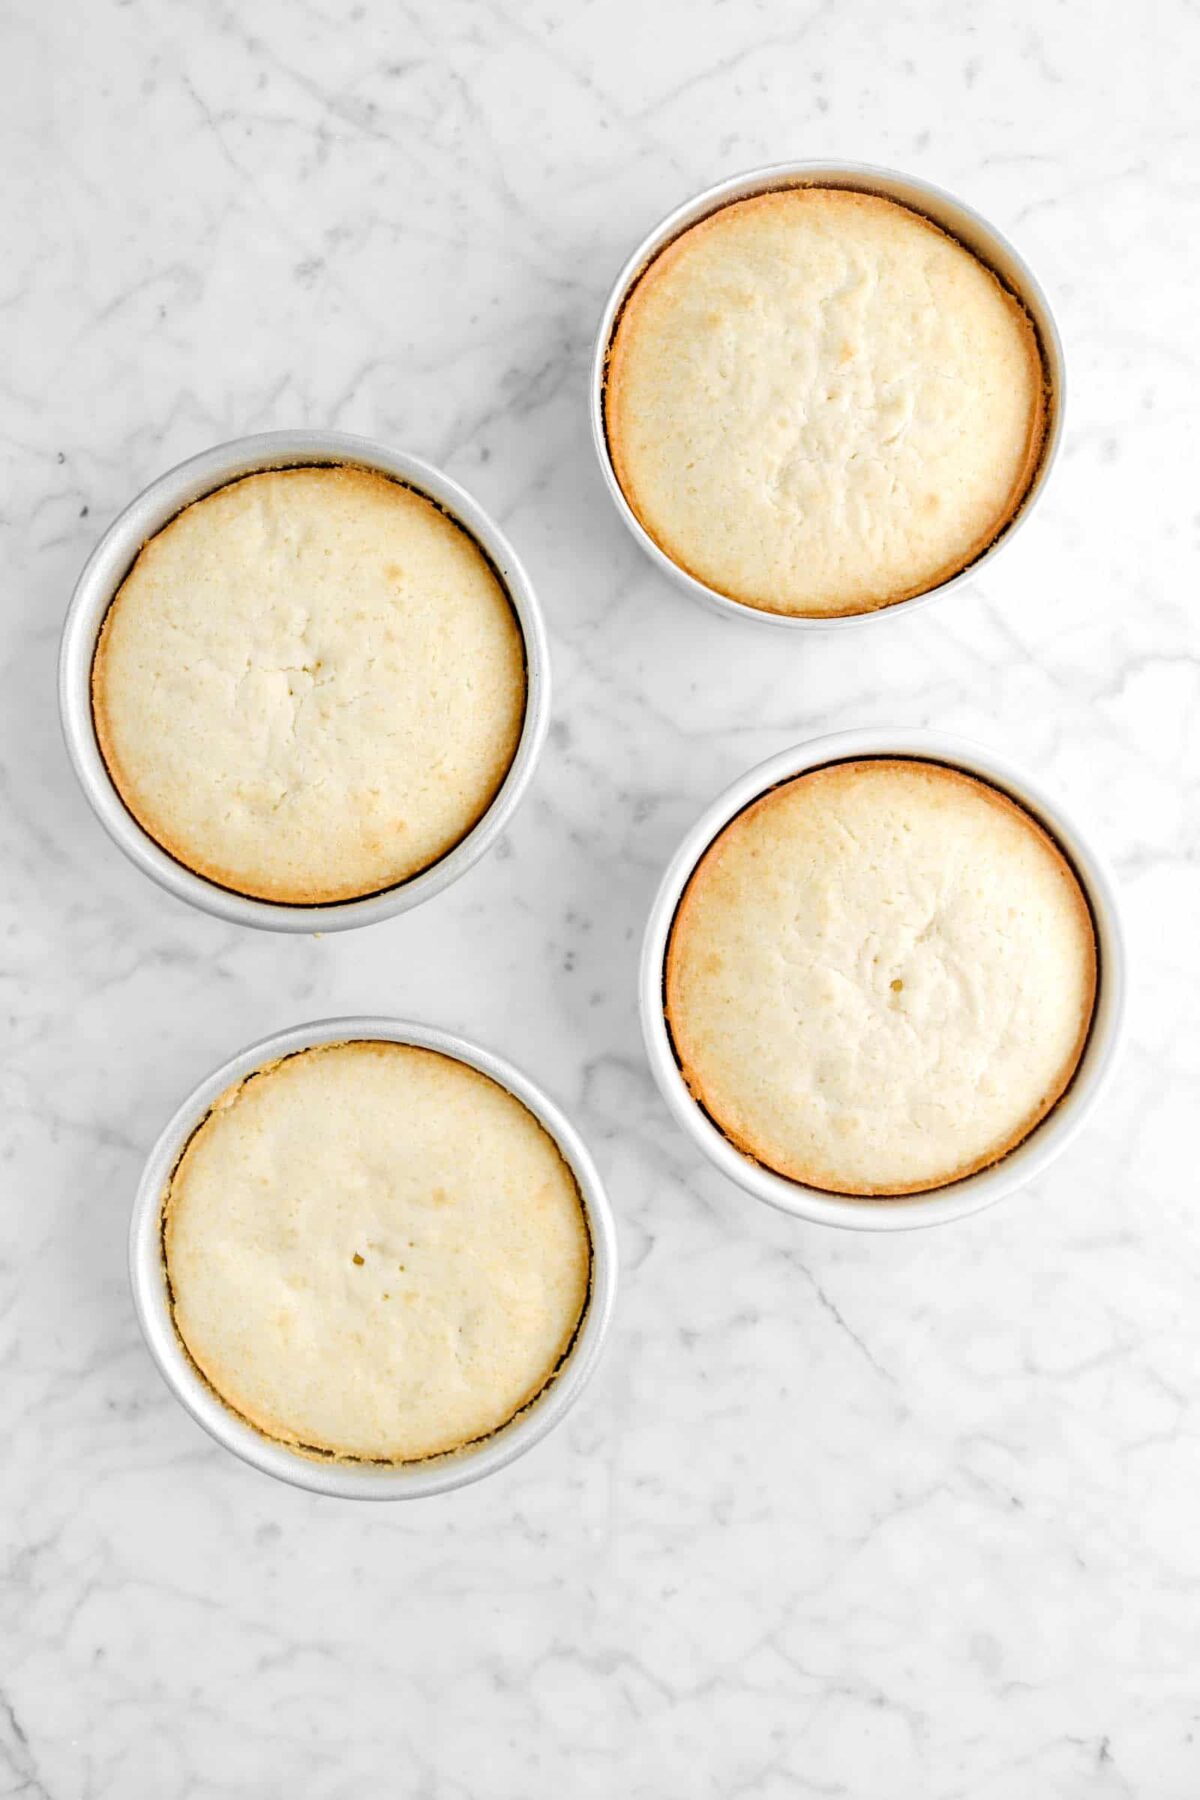
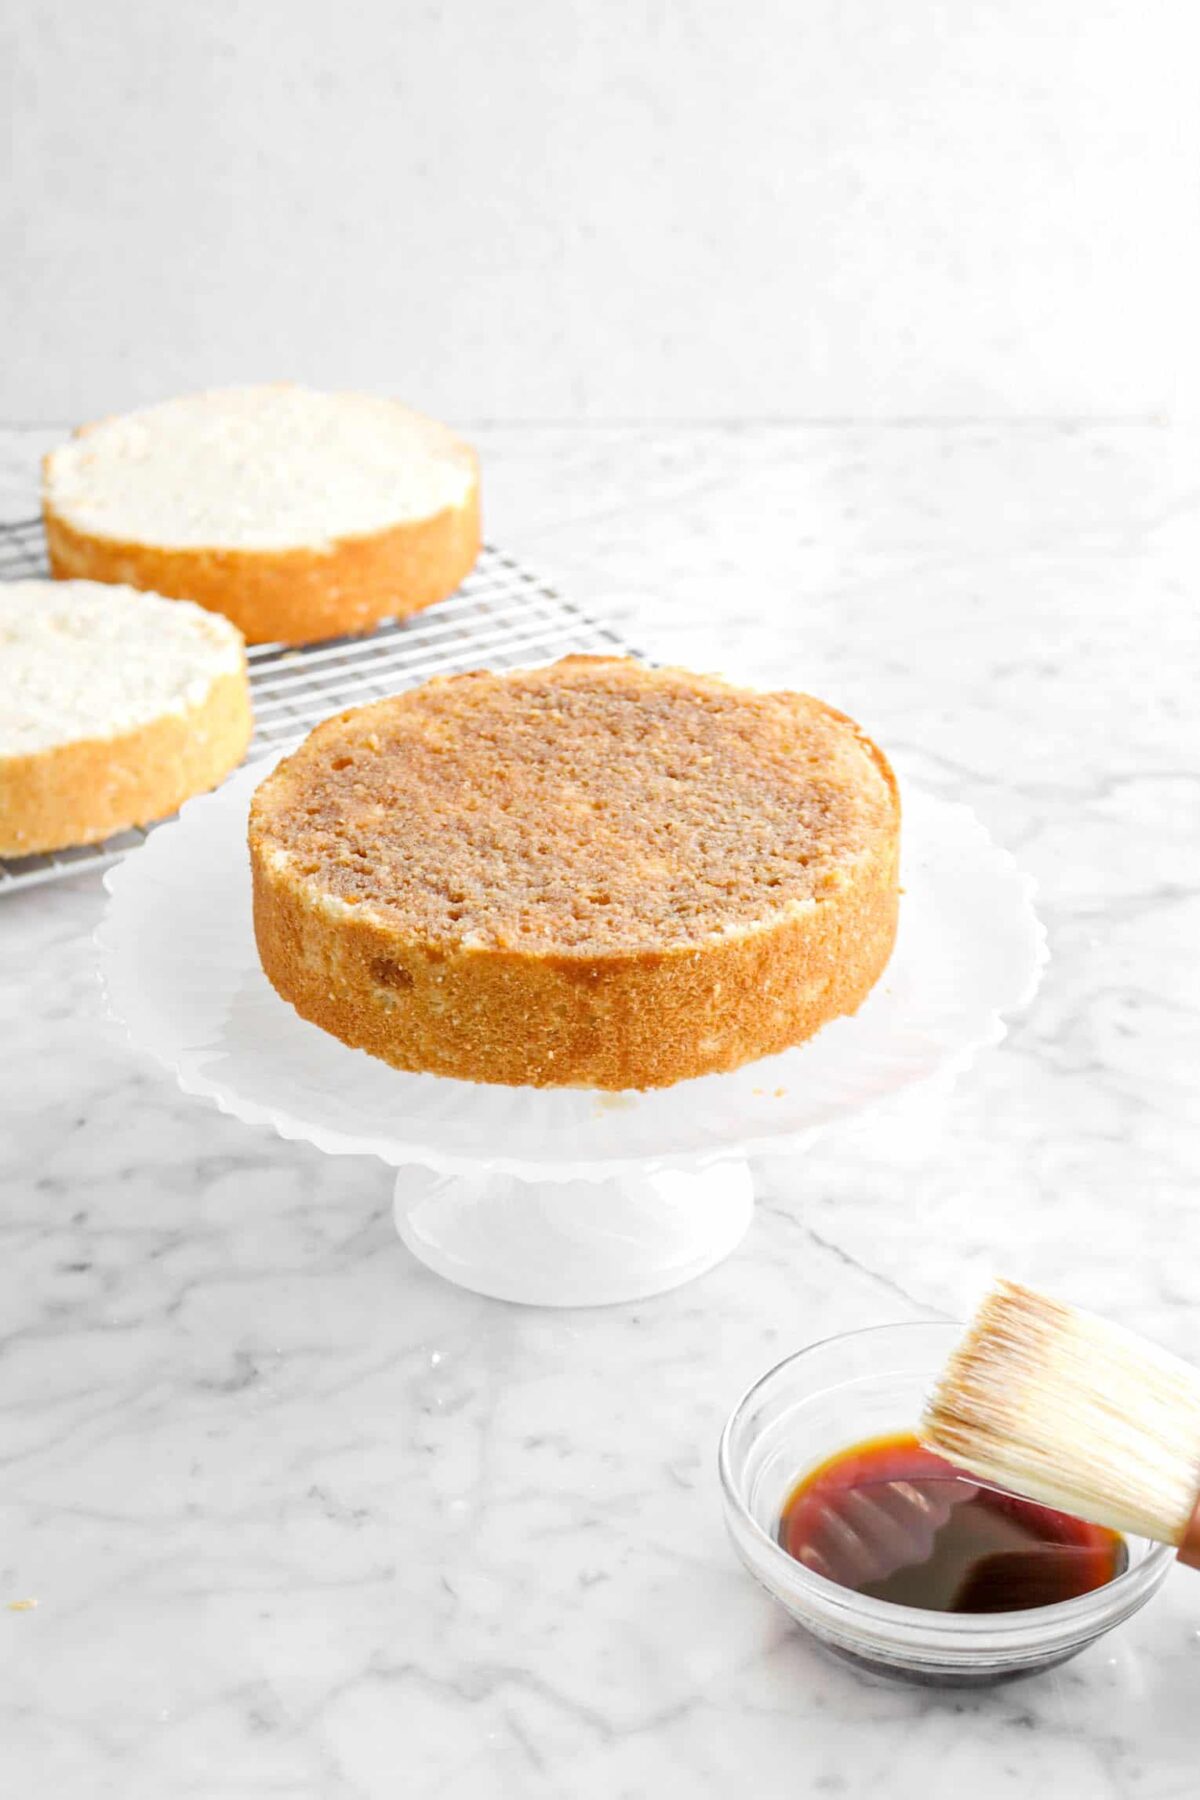
Once the cakes have cooled, turn out of the pans and level with a serrated knife.

Mix together the coffee liqueur and coffee. Set aside.

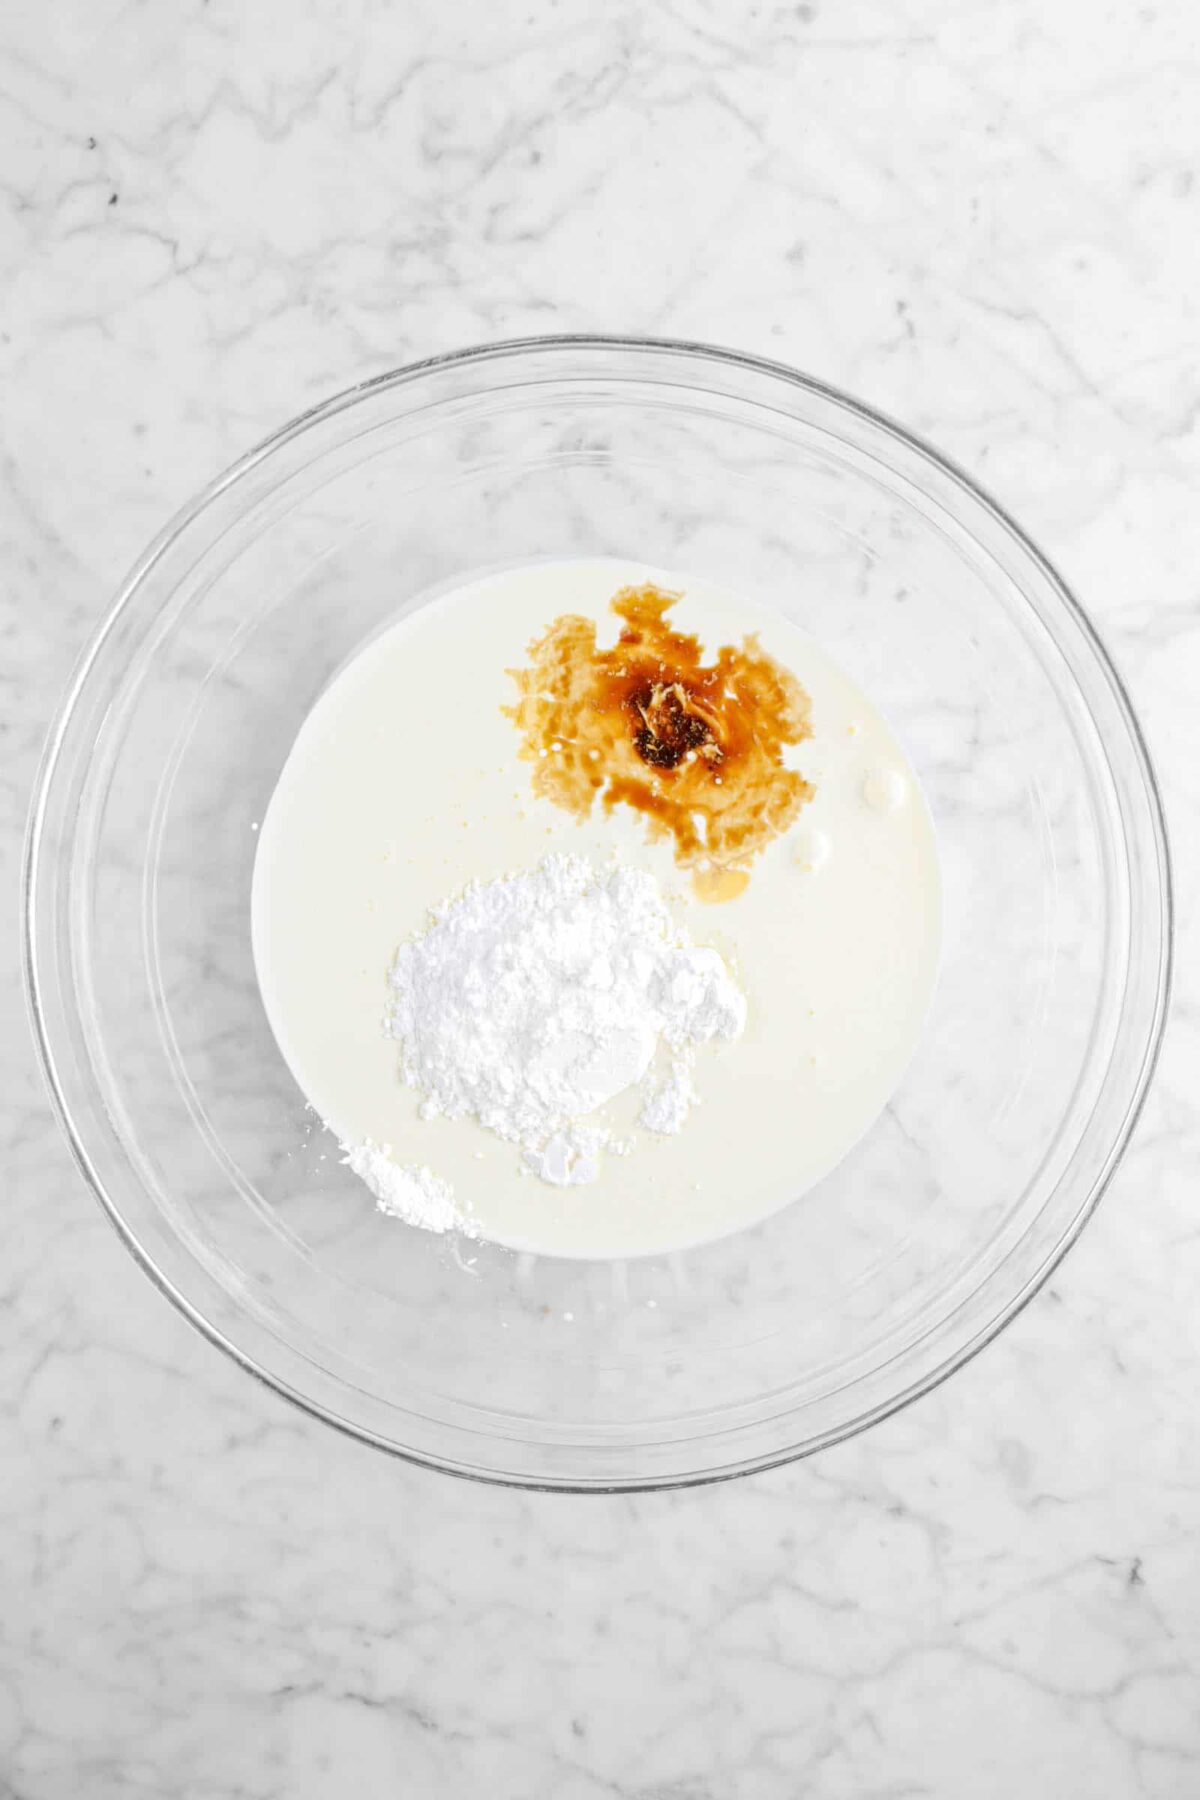
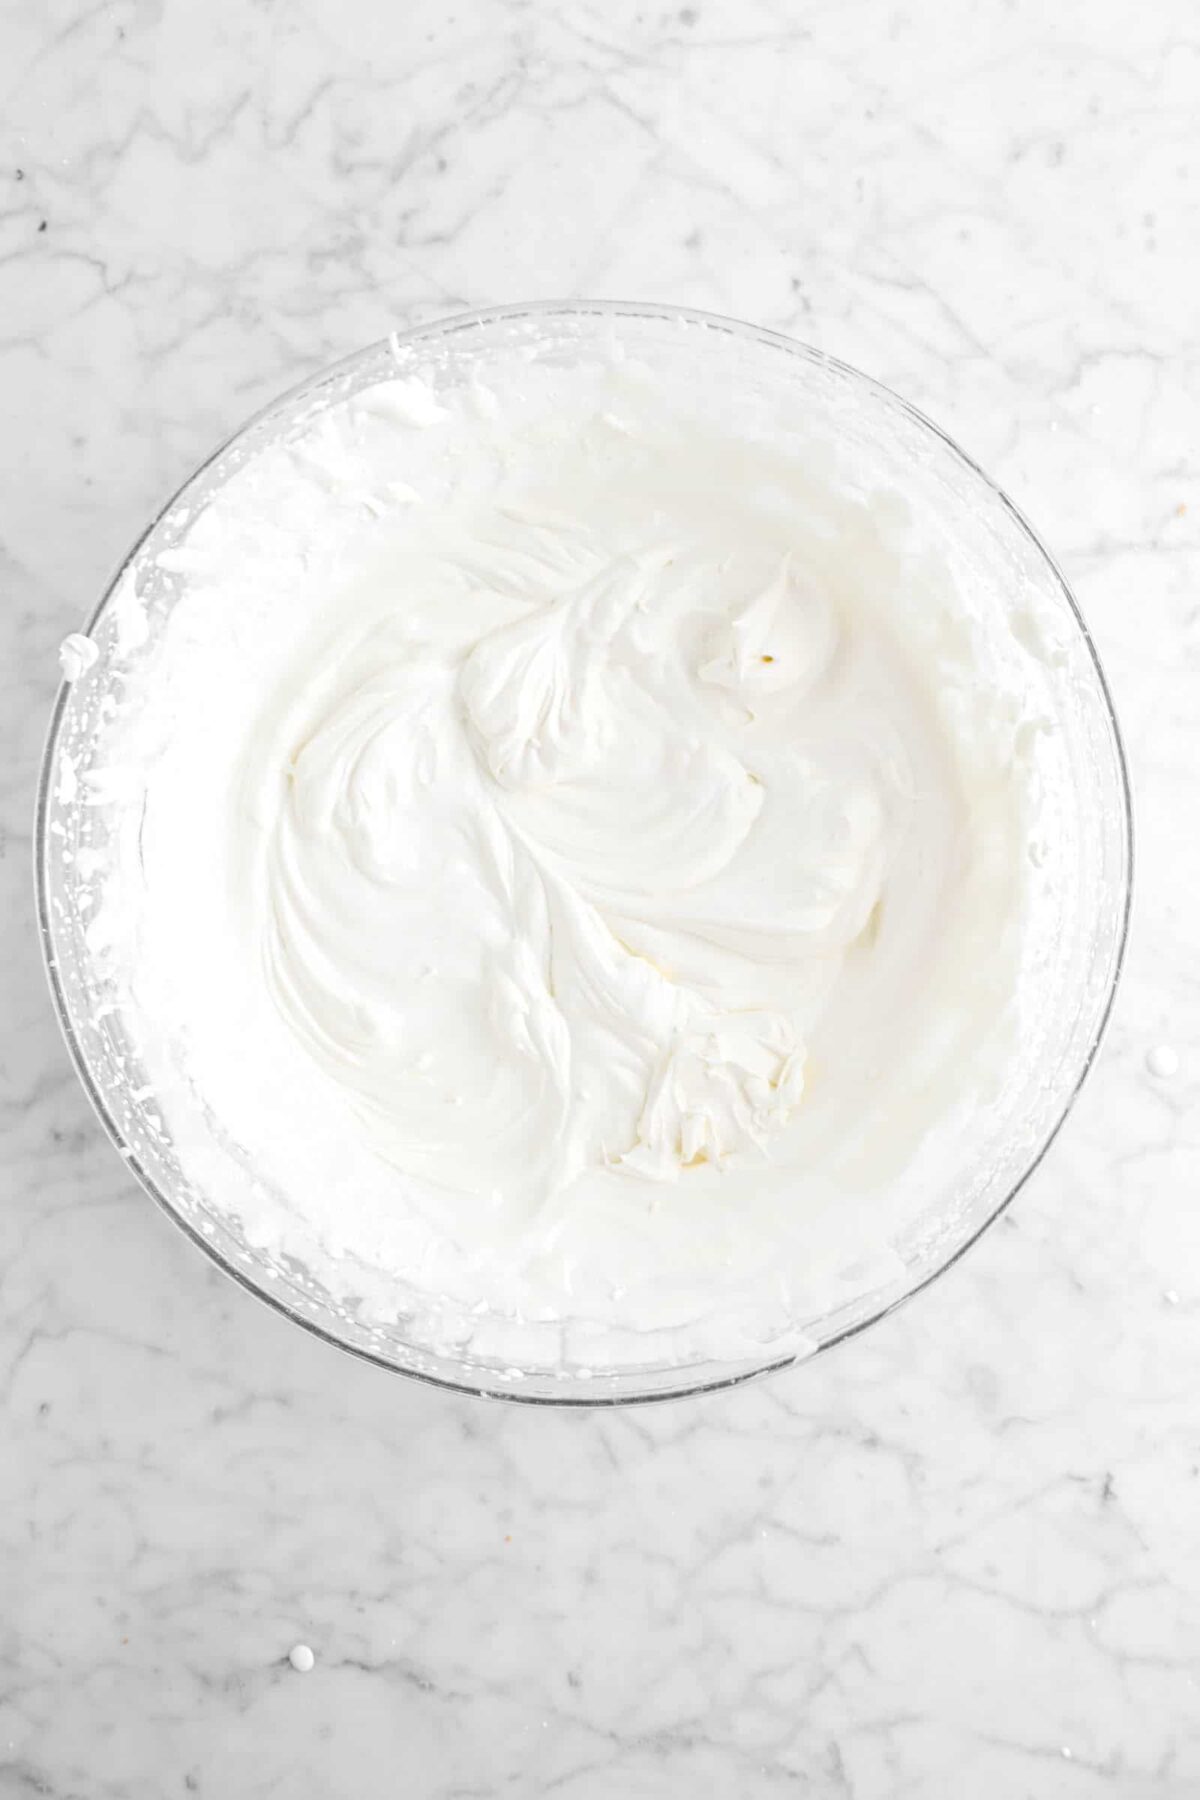
In the bowl of a stand mixer, whip the heavy cream, vanilla, and powdered sugar until soft peaks form.


Add the mascarpone cheese and mix until combined. Set aside.
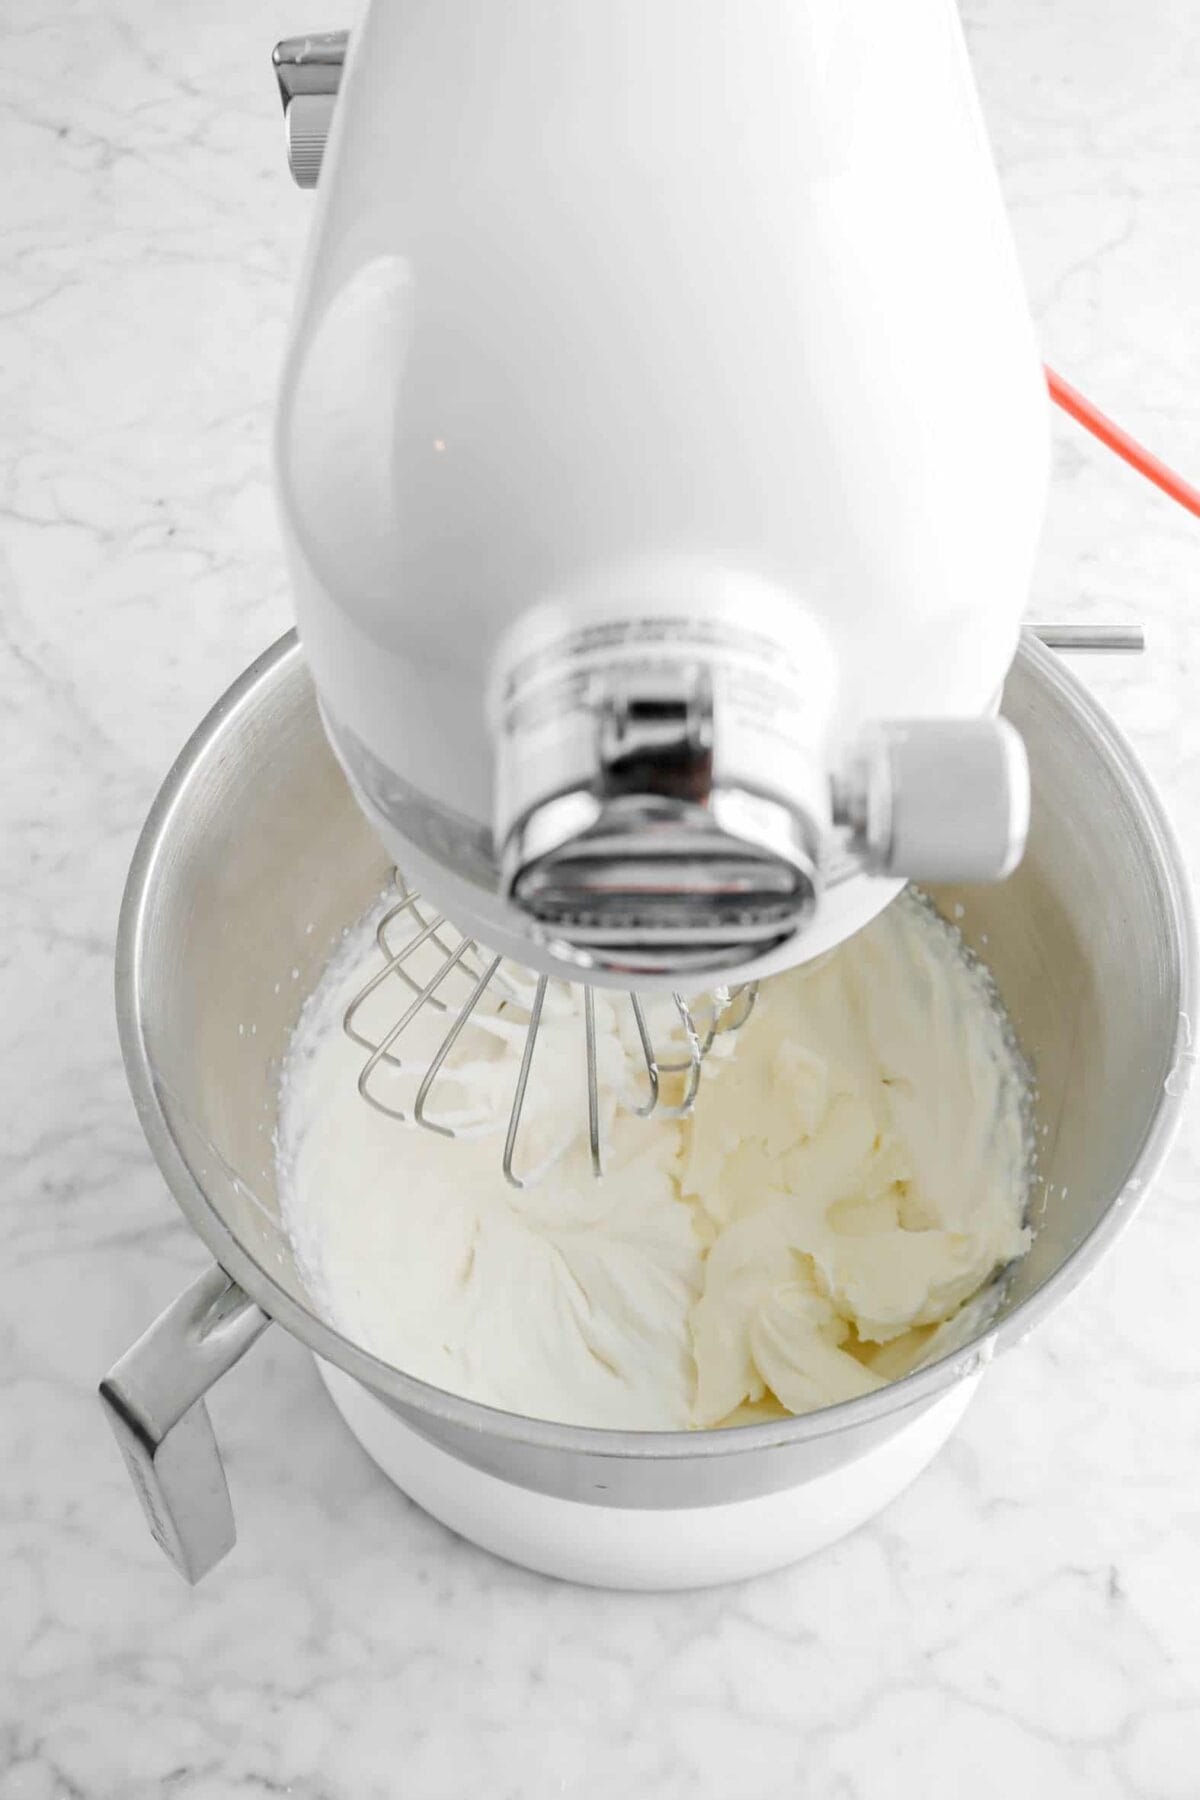
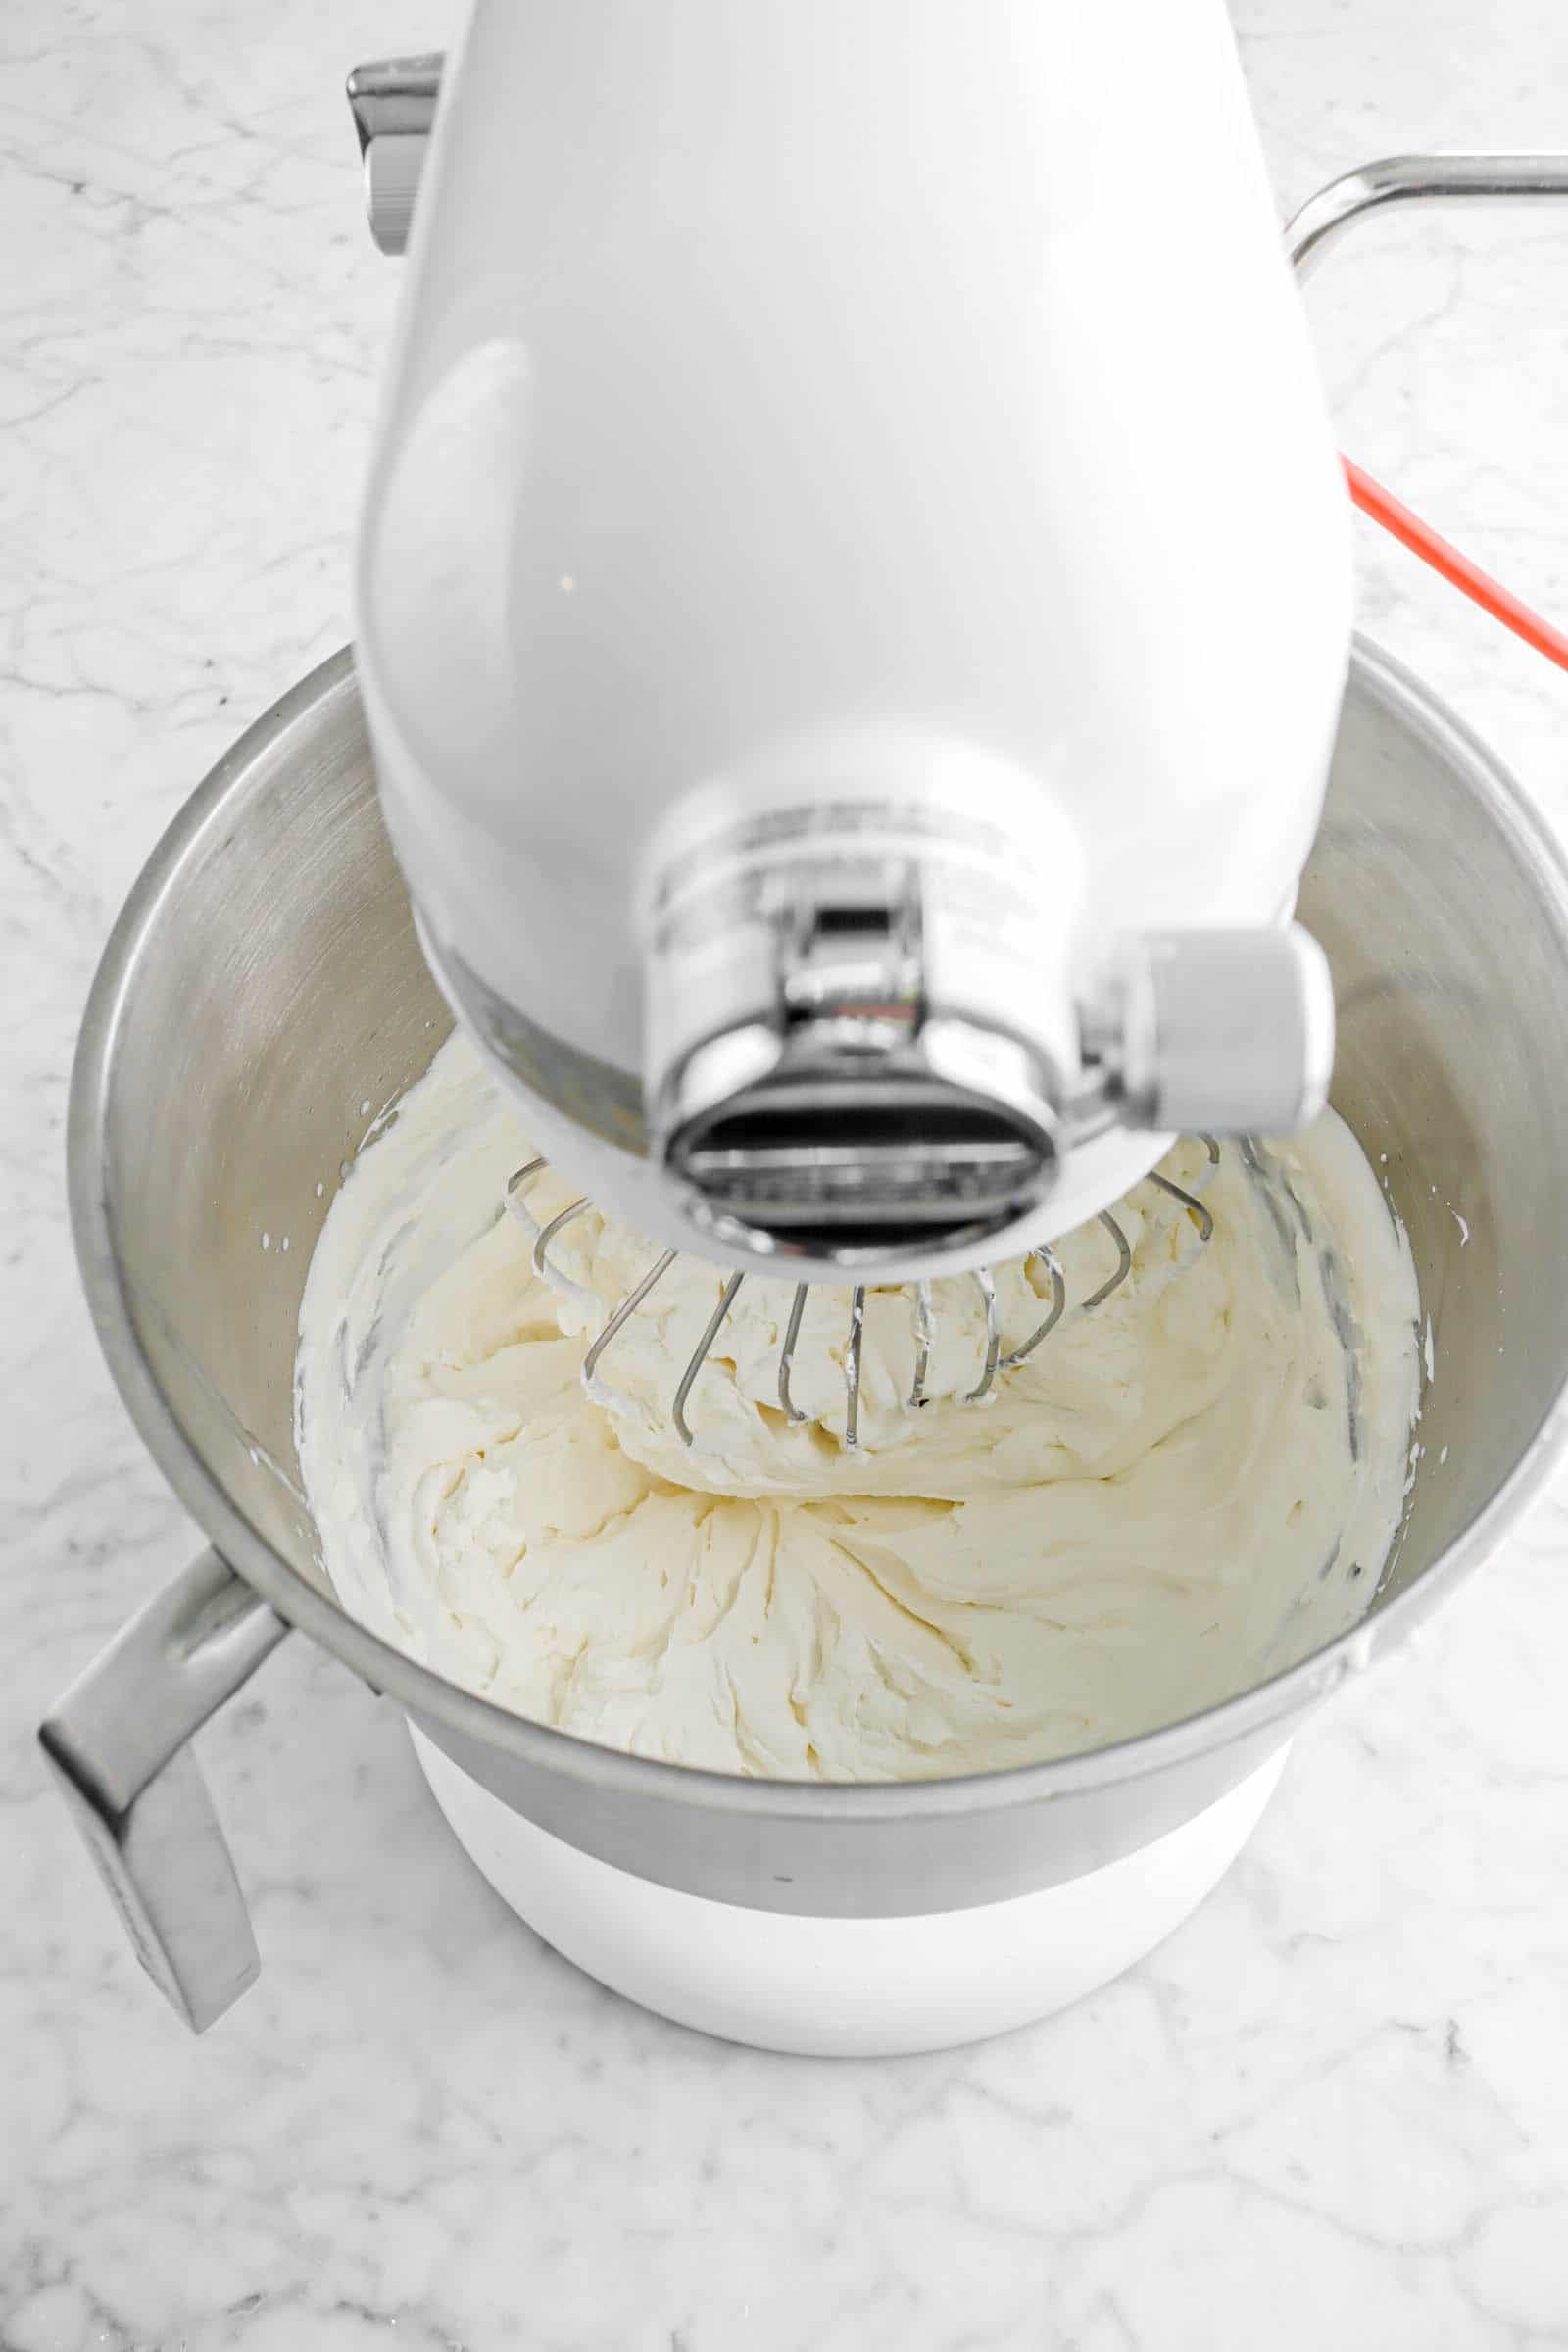
In a large bowl, whip together heavy cream, vanilla, and powdered sugar until soft peaks form. Set aside.
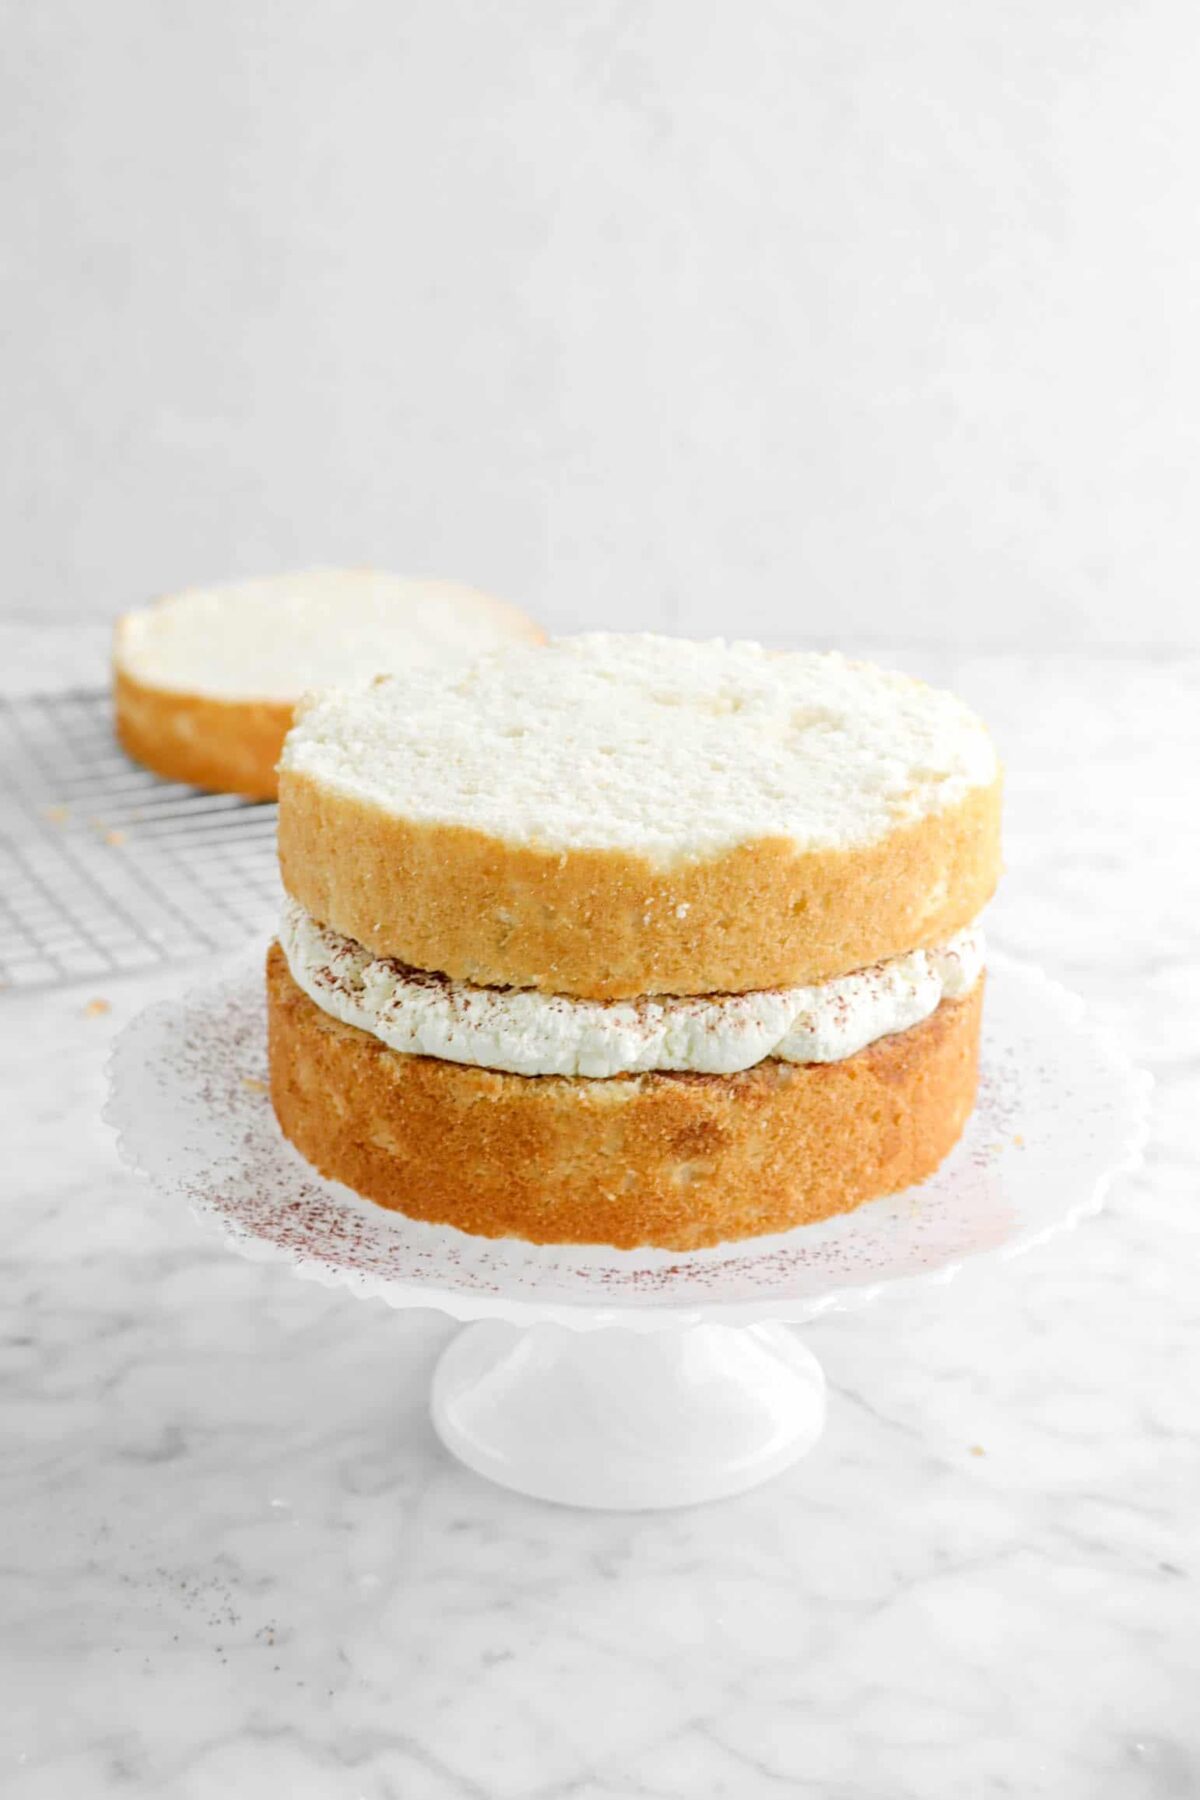
Place cake layer on cake stand and brush heavily with coffee mixture. Top with mascarpone mixture (it’s best to use a piping bag!). Finally, dust with lots of cocoa powder! Repeat until no more cake layers remain. Coat the cake with chantilly cream and decorate as you wish!


Slice and serve!

What Kind of Coffee To Use
Tiramisu is traditionally made with espresso, but if you can’t make any, you can brew a strong cup of coffee and use it the exact same way.
Decorating Tips
- This cake makes a 4 layer 6 inch cake. You can also make a 3 layered 8 inch cake, if you would like! You can also cut the 6 inch cake layers in half to have smaller layers.
- Feel free to use use chocolate covered coffee beans, plain coffee beans, or even chocolate curls to decorate!
- I piped swirls of chantilly cream around the top with an Ateco 868 tip and then dusted with cocoa powder to keep things simple. Feel free to decorate however you’d like!
How To Store
This cake definitely needs to be refrigerated once it’s assembled! It should last about 3-5 days in the fridge, but you could also freeze this cake to make it last longer! To freeze, just place the whole cake in the freezer until solid, a couple of hours (or more). Once it’s solid enough to handle, you can wrap it in plastic wrap and place on a freezer safe tray and store it. You could also freeze individual slices, wrap those in plastic wrap, and keep store them in a freezer-safe bag.
You can also bake the cake layers in advance and store them in the freezer until you need them!
Other Recipes You May Like
- Dark Chocolate Coffee Truffles
- The Ultimate Dark Chocolate Cake
- Easy Molten Chocolate Lava Cakes
- Chocolate Marble Pound Cake
- Guinness Dark Chocolate Cupcakes

Expert Tips
- If you don’t have cake flour, use 3 cups all purpose flour.
- While whipping the egg whites, be sure to not over whip! You don’t want to dry them out. You can use the whisk attachment (or even a rubber spatula) to stir the egg whites around to see if they’re properly whipped.
- When folding the egg whites into the cake batter, be very careful not to deflate them! The whipped egg whites are what make the cake so light and airy.
- Make sure to brush on lots of the coffee mixture on the cake!
- Be careful not to over whip the chantilly cream! About medium peaks is where it should be. Any stiffer and it may become more like sweetened butter.
- Leveling these cakes can be a bit difficult. They’re a little crumbly/messy when you cut them. So, make sure you have a sharp serrated knife and you can get on eye-level with the cake layer to make sure you’ve cut them straight. Always try to be gentle with it. Begin by cutting at the base of the dome. If it’s level after cutting that, you’re good to go! But, if it’s not, just cut small amounts until it is. Don’t be afraid of trimming it!
- When you’re ready to build your cake, spoon the mascarpone filling into a piping bag! It does not spread well onto the cake.
When you make this Tiramisu Layer Cake, leave a comment down below! We love hearing from you and answering any questions you might have! Also, be sure to tag us on social media and hashtag it #BakersTable.
Tiramisu Layer Cake
Ingredients
Cake
- 3⅓ cups cake flour
- 1 Tablespoon baking powder
- 1 teaspoon salt
- 4 large egg whites, beaten to medium-stiff peaks
- ¾ cups unsalted butter, room temperature
- 1¾ cups granulated sugar
- 1 cup whole milk, room temperature
- 2 teaspoons vanilla extract
Coffee Syrup
- 2 Tablespoons strong coffee
- 2 Tablespoons coffee liqueur
Marscapone Filling
- 1⅞ cups heavy cream, cold
- ⅜ cup powdered sugar
- 1½ teaspoons vanilla extract
- 1 cup mascarpone cheese, cold
Chantilly Cream
- 3 cups heavy cream, cold
- 1½ teaspoons vanilla extract
- 3 Tablespoons powdered sugar
To Assemble
Instructions
Cake
- Heat oven to 325℉ (165℃).
- Spray four 6 inch pans with baking spray. Set aside.
- In a medium bowl, sift together flour, baking powder, and salt. Set aside.
- Beat egg whites to medium-stiff peaks. Set aside.
- Beat butter and sugar with an electric mixer until light and fluffy, 3-4 minutes.
- Mix in flour mixture along with milk, beginning and ending with flour mixture.
- Add vanilla.
- Fold in egg whites.
- Divide batter evenly between prepared pans.
- Bake 20-25 minutes, or until done.
Coffee Syrup
- In a small bowl, combine coffee and liqueur. Set aside.
Marscapone Filling
- With an electric mixer, beat heavy cream, powdered sugar, and vanilla to medium peaks.
- Stir in mascarpone.
- Cover and refrigerate until ready to use.
Chantilly Cream
- Beat cream, vanilla, and powdered sugar with an electric mixer to stiff peaks.
- Cover and refrigerate until needed.
Assembly
- Once cake layers have cooled completely, place one layer on cake plate.
- Brush top with coffee mixture.
- Pipe ⅓ of mascarpone cream.
- Sift cocoa powder over top.
- Top with 2nd cake layer and repeat process.
- Repeat process with 3rd cake layer.
- Place 4th cake layer on top.
- Brush with coffee syrup.
- Frost cake with Chantilly cream.
- Decorate as desired.
Notes + Tips!
- Room temperature is about 7℉ (2℃).
- While whipping the egg whites, be sure to not over whip! You don’t want to dry them out. You can use the whisk attachment (or even a rubber spatula) to stir the egg whites around to see if they’re properly whipped.
- When folding the egg whites into the cake batter, be very careful not to deflate them! The whipped egg whites are what make the cake so light and airy.
- Make sure to brush on lots of the coffee mixture on the cake!
- Be careful not to over whip the chantilly cream! About medium peaks is where it should be. Any stiffer and it may become more like sweetened butter.
- Leveling these cakes can be a bit difficult. They’re a little crumbly/messy when you cut them. So, make sure you have a sharp serrated knife and you can get on eye-level with the cake layer to make sure you’ve cut them straight. Always try to be gentle with it. Begin by cutting at the base of the dome. If it’s level after cutting that, you’re good to go! But, if it’s not, just cut small amounts until it is. Don’t be afraid of trimming it!
- When you’re ready to build your cake, spoon the mascarpone filling into a piping bag! It does not spread well onto the cake.
Instead of using round cake pans, can I use 9 x 13 cake pan and still use same of what recipe calls for ?
Hi Nelda! There shouldn’t be an issue with baking it as a sheet cake. Keep in mind, you will have to adjust cooking times. You may also need to cover the pan toward the end of baking to keep it from browning too much. Let me know how it turns out or if you have any other questions.