Vintage-Style Heart Shaped Pink Velvet Cake with Cream Cheese Frosting
This post may contain affiliate links, please visit our privacy policy for details.
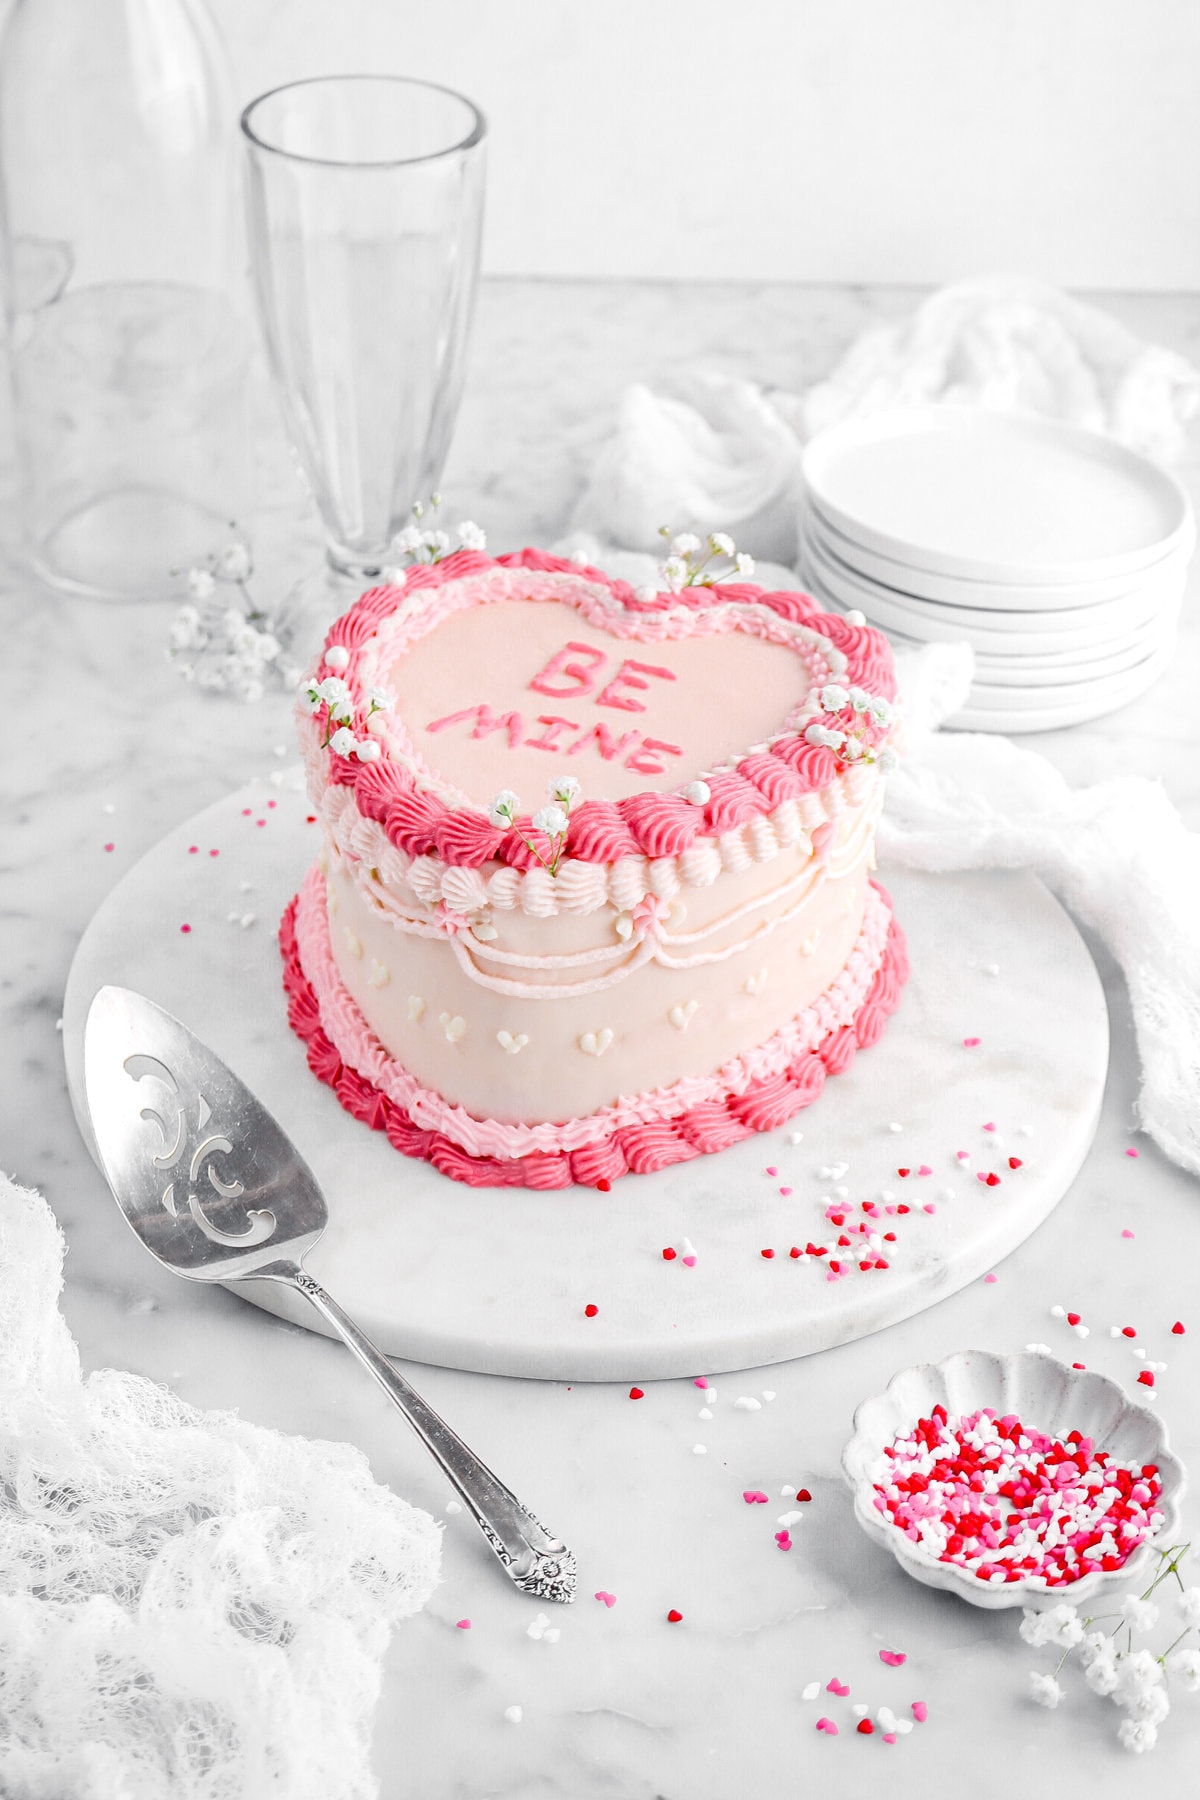
Looking for a show-stopping dessert to sweeten your Valentine’s Day? Look no further than this Heart Shaped Pink Velvet Cake. Made with only a handful of pantry staple ingredients, this extra cute cake comes together in about an hour. Generously frosted with a rich and tangy pink cream cheese frosting, this gorgeous cake is sure to impress your loved one!
Our Pink Velvet Cake Recipe Is:
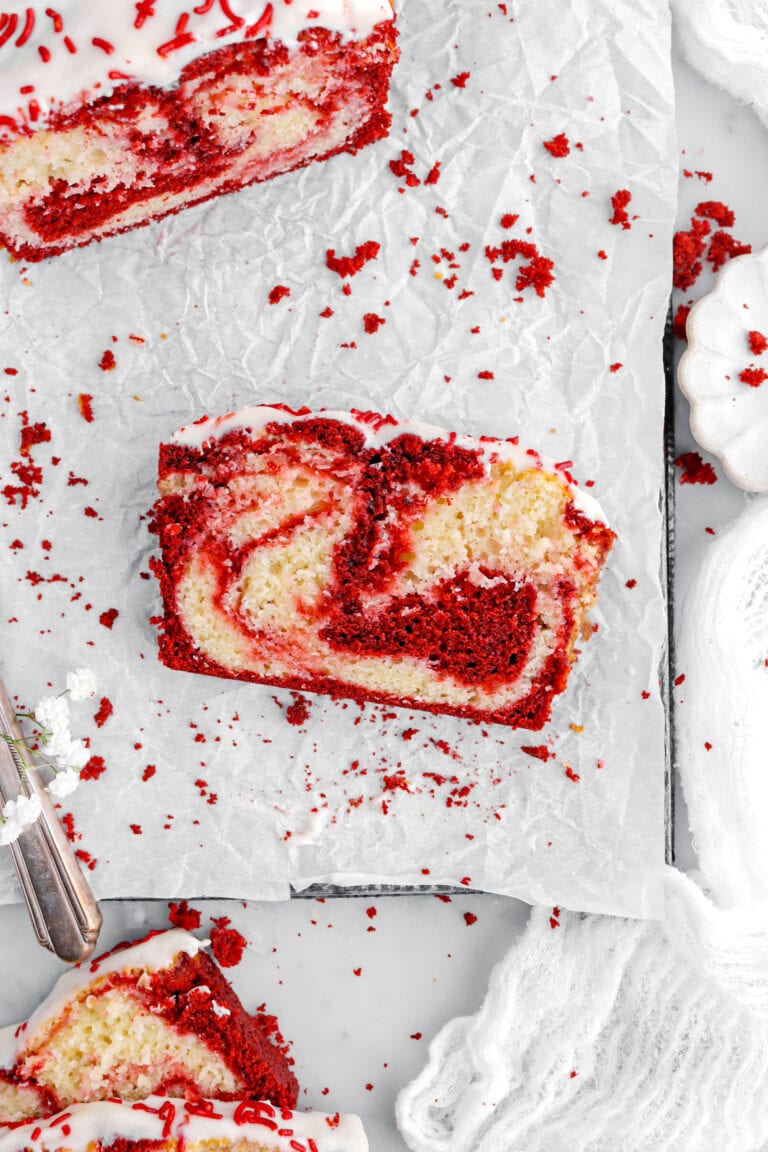
- A delicious and and oh-so cute twist on the classic red velvet cake, just like our spooky black velvet cake!
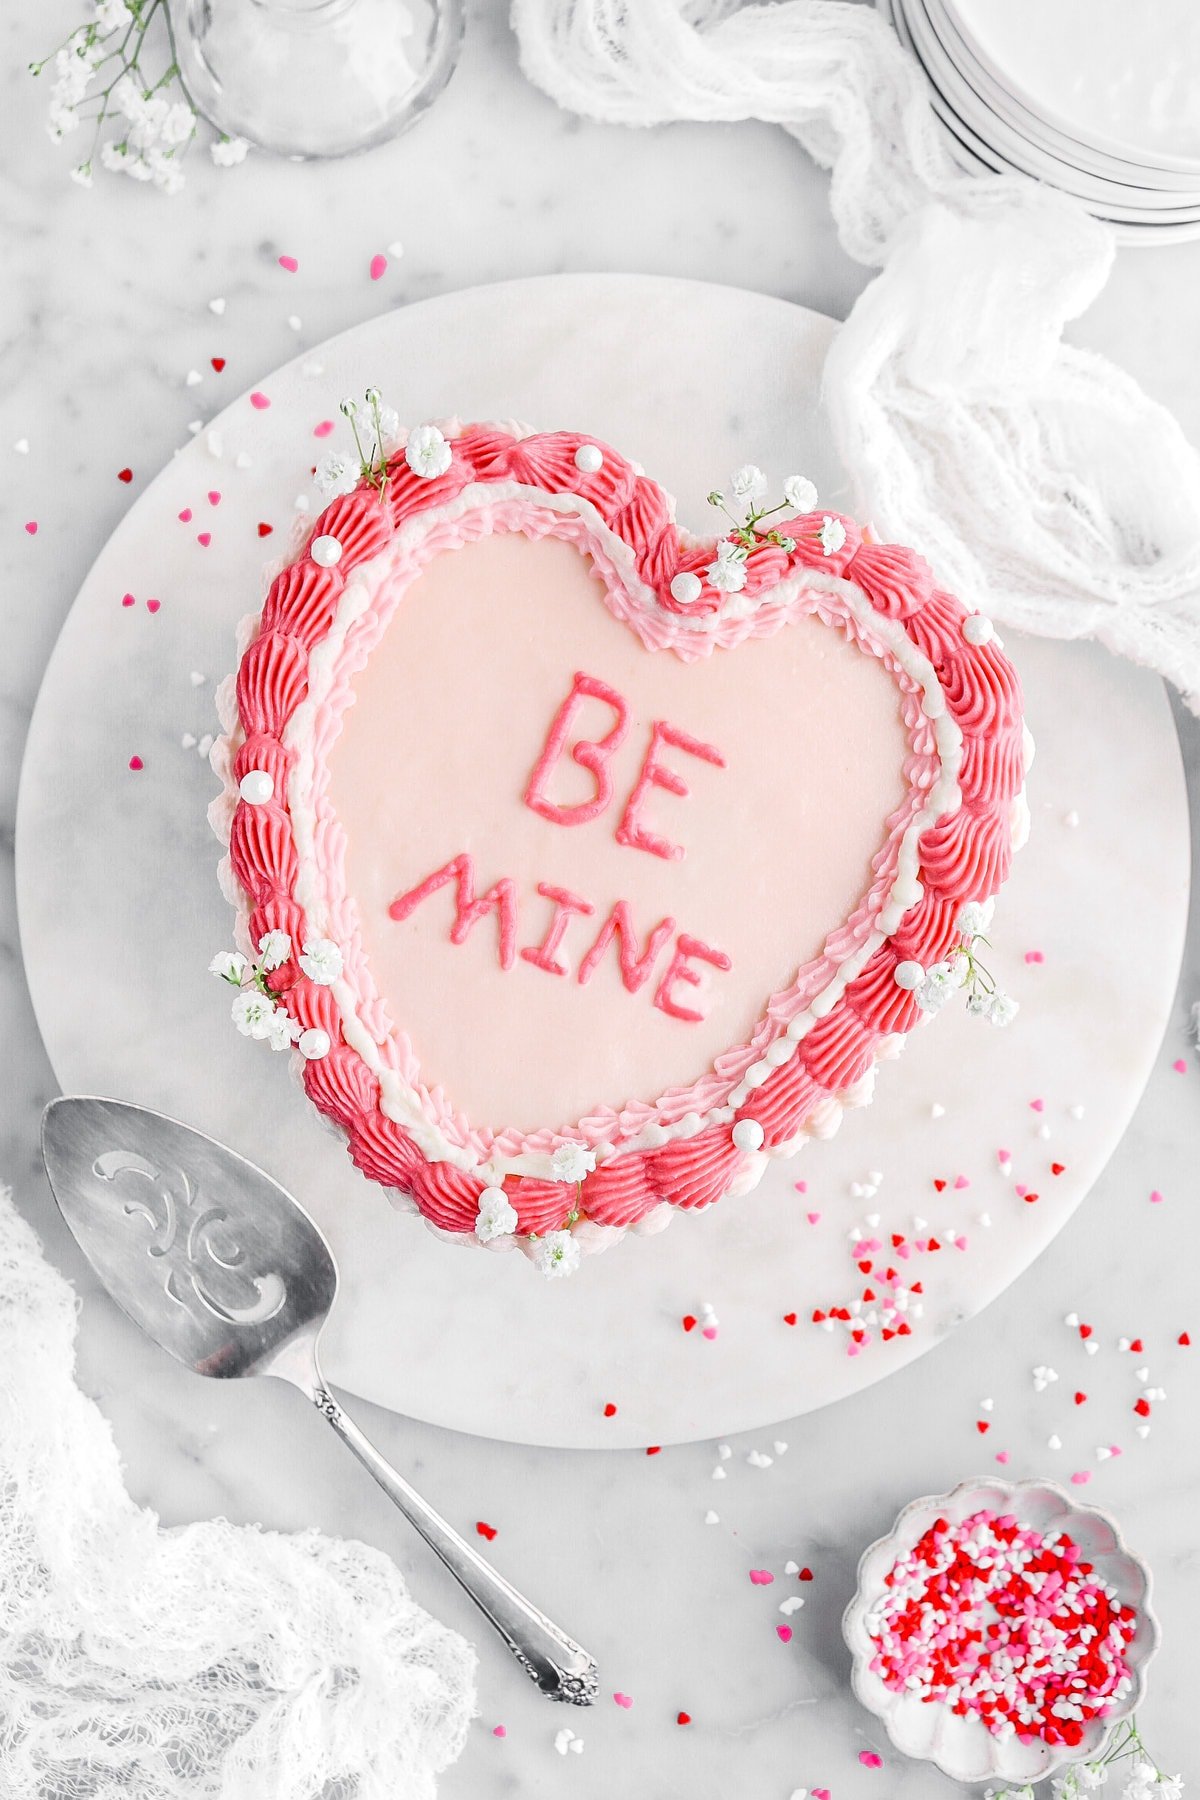
- Inspired by the nostalgic conversation hearts candies.
- Thoroughly tested to ensure you have the BEST cake for any occasion.
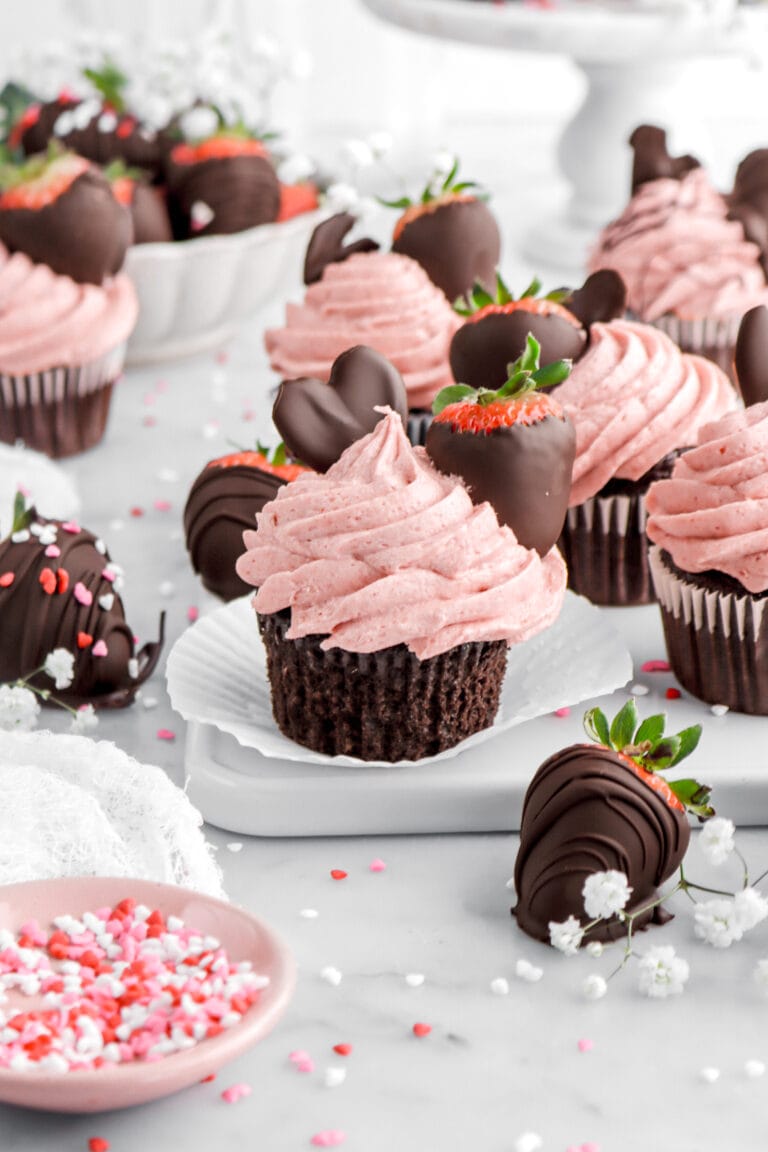
- Similar to our raspberry white chocolate truffles, this cake is bursting with the prettiest pink hue.
- Every bite is moist, melt-in-your-mouth tender, and texturally similar to our reader-favorite coconut cake.
- Topped with a rich and tangy pink cream cheese frosting.
- The perfect indulgent treat for Valentine’s Day or any special occasion, including Galentine’s Day!
What Is A Pink Velvet Cake?
Pink velvet cake is a variation of the classic red velvet cake, but with a pink hue instead of the traditional red. The main difference lies in the use of food coloring; pink velvet cake uses pink food coloring instead of red. Additionally, our pink velvet cake omits cocoa powder, which is a key ingredient in red velvet cake! Both cakes share similar sweet, tangy flavors and tender texture, using buttermilk and vinegar in the batter, and are usually frosted with a cream cheese frosting.

Let’s Make A Pink Velvet Cake
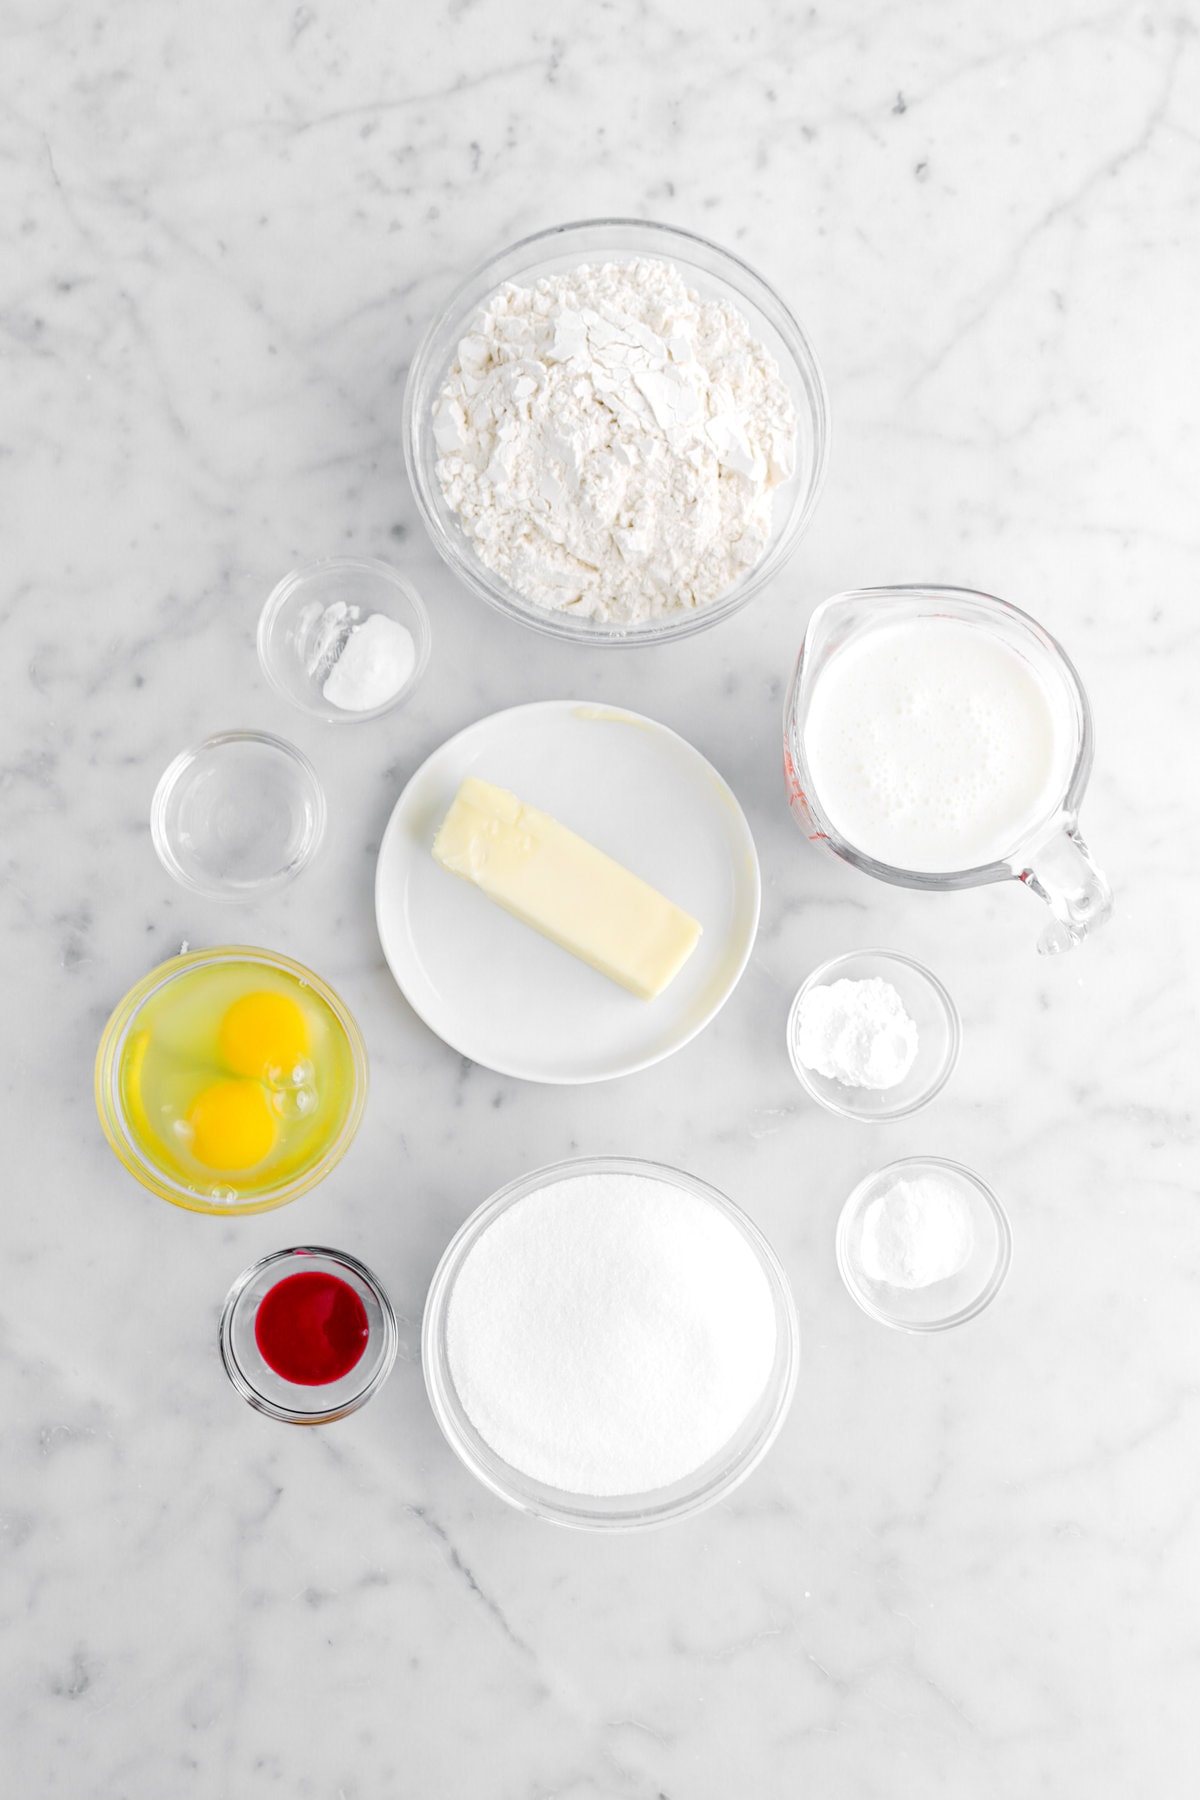
You Will Need:
- All Purpose Flour – We wanted a moist, tender cake but one with enough structure to hold its shape without going to pieces. That’s where the all purpose flour comes in. It has the perfect amount of protein to create that structure.
- Baking Powder and Baking Soda – The leavenings used in this batter, baking powder and baking soda each make their own contributions to the texture and structure. Baking powder both starts and finishes the process of rise in this cake, starting as soon as it is mixed with liquid and continuing more robustly once it is in the oven. Baking soda reacts with the acidity in the buttermilk and vinegar to give the rise a boost while also neutralizing enough of the acidity in the buttermilk to keep the cake from tasting sour.
- Vanilla Powder – Works just like traditional vanilla to lend that beautiful undertone and enhance the flavor of the cake but without the brown color.
- Buttermilk – This is the ingredient that really makes this cake sing! It helps the cake rise, giving it a light fluffy texture, makes it tender, and contributes to the flavor as well.
- Distilled Vinegar – You must used distilled vinegar, not apple cider, wine, or champagne vinegars. It brings out the pink color and contributes to tenderness.
- Salted Butter – While adding richness, tenderness, flavor, and structure, salted butter eliminates the need for additional salt.
- Granulated Sugar – While adding the perfect amount of sweetness, it also helps with the texture and structure of the cake.
- Rose Pink and Hot Pink Food Coloring – The combination of these two colors creates just the right color. Gel food coloring works best.
- Eggs – The binder that holds all the ingredients together, eggs also contribute structure, stability, moisture, and richness.
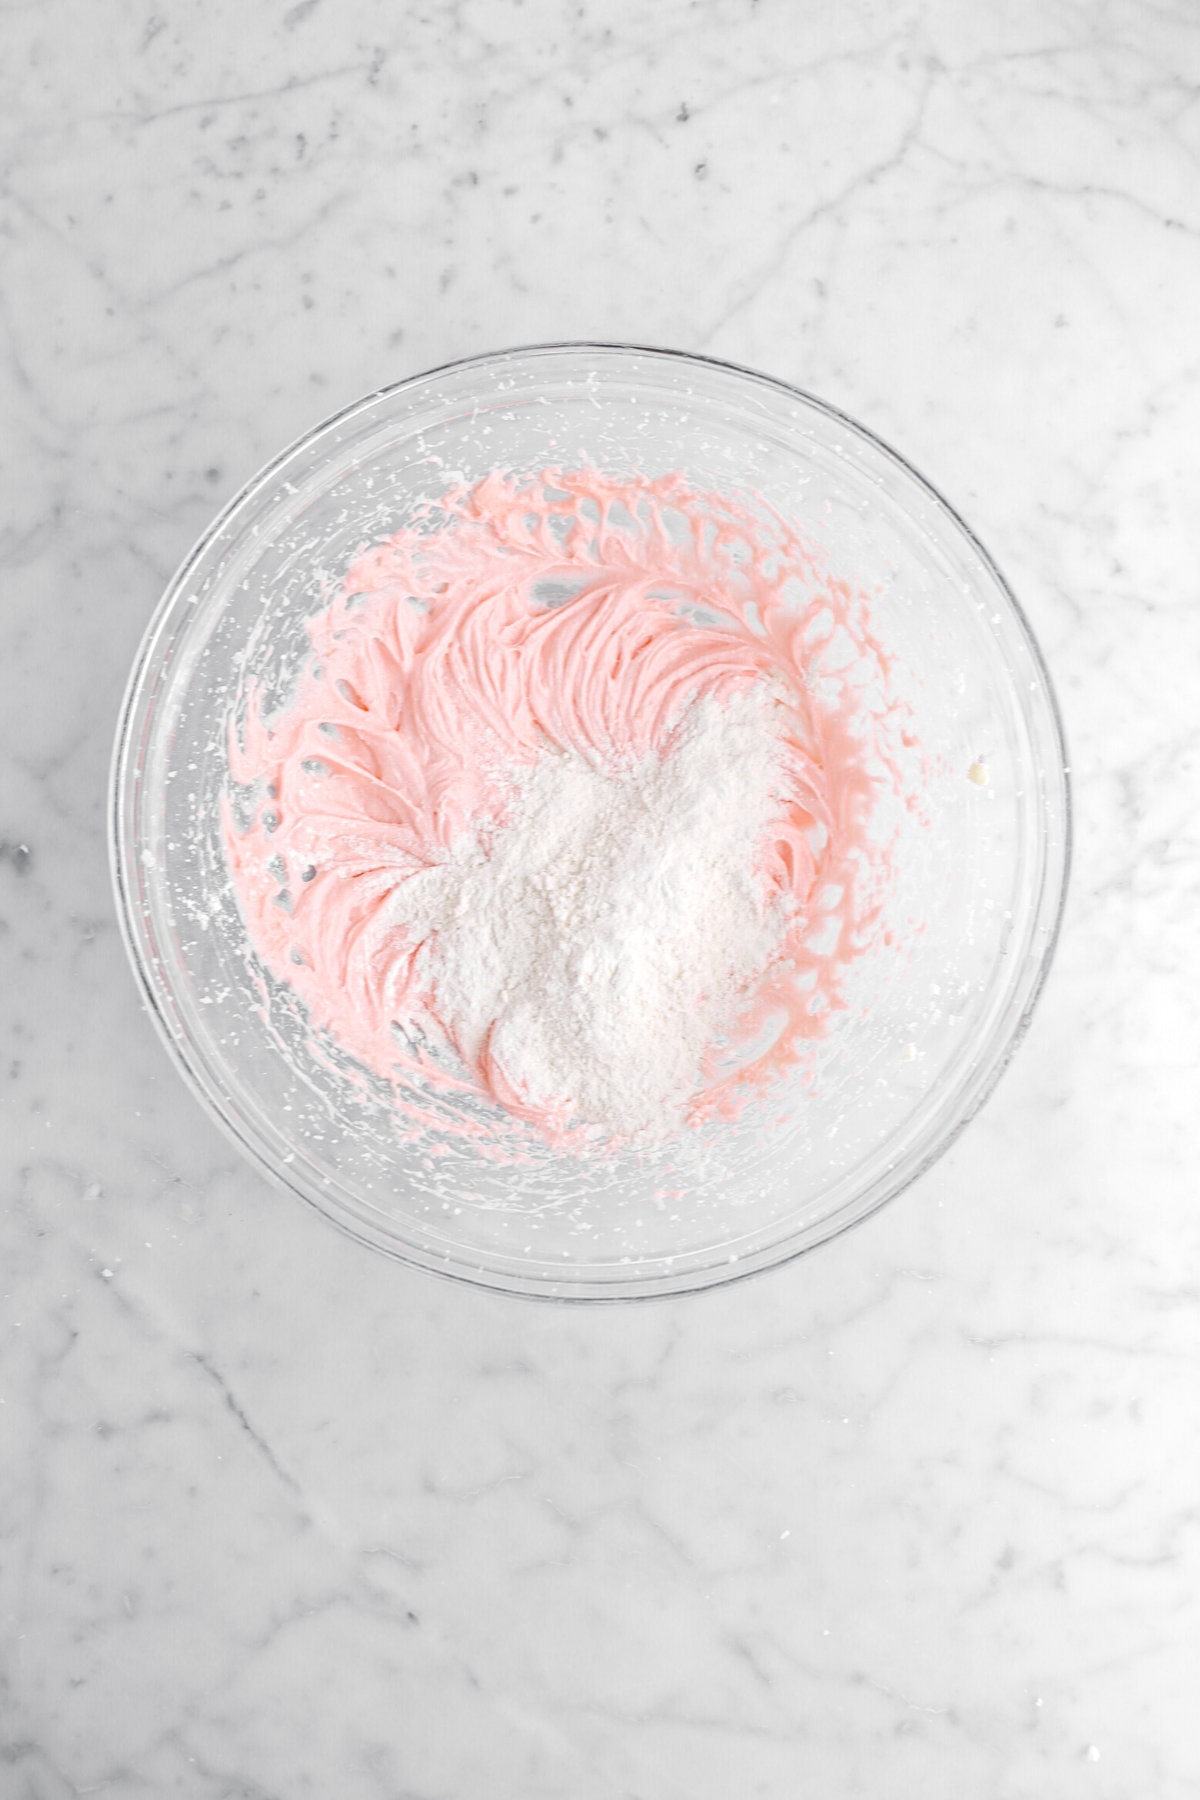
Prep the batter
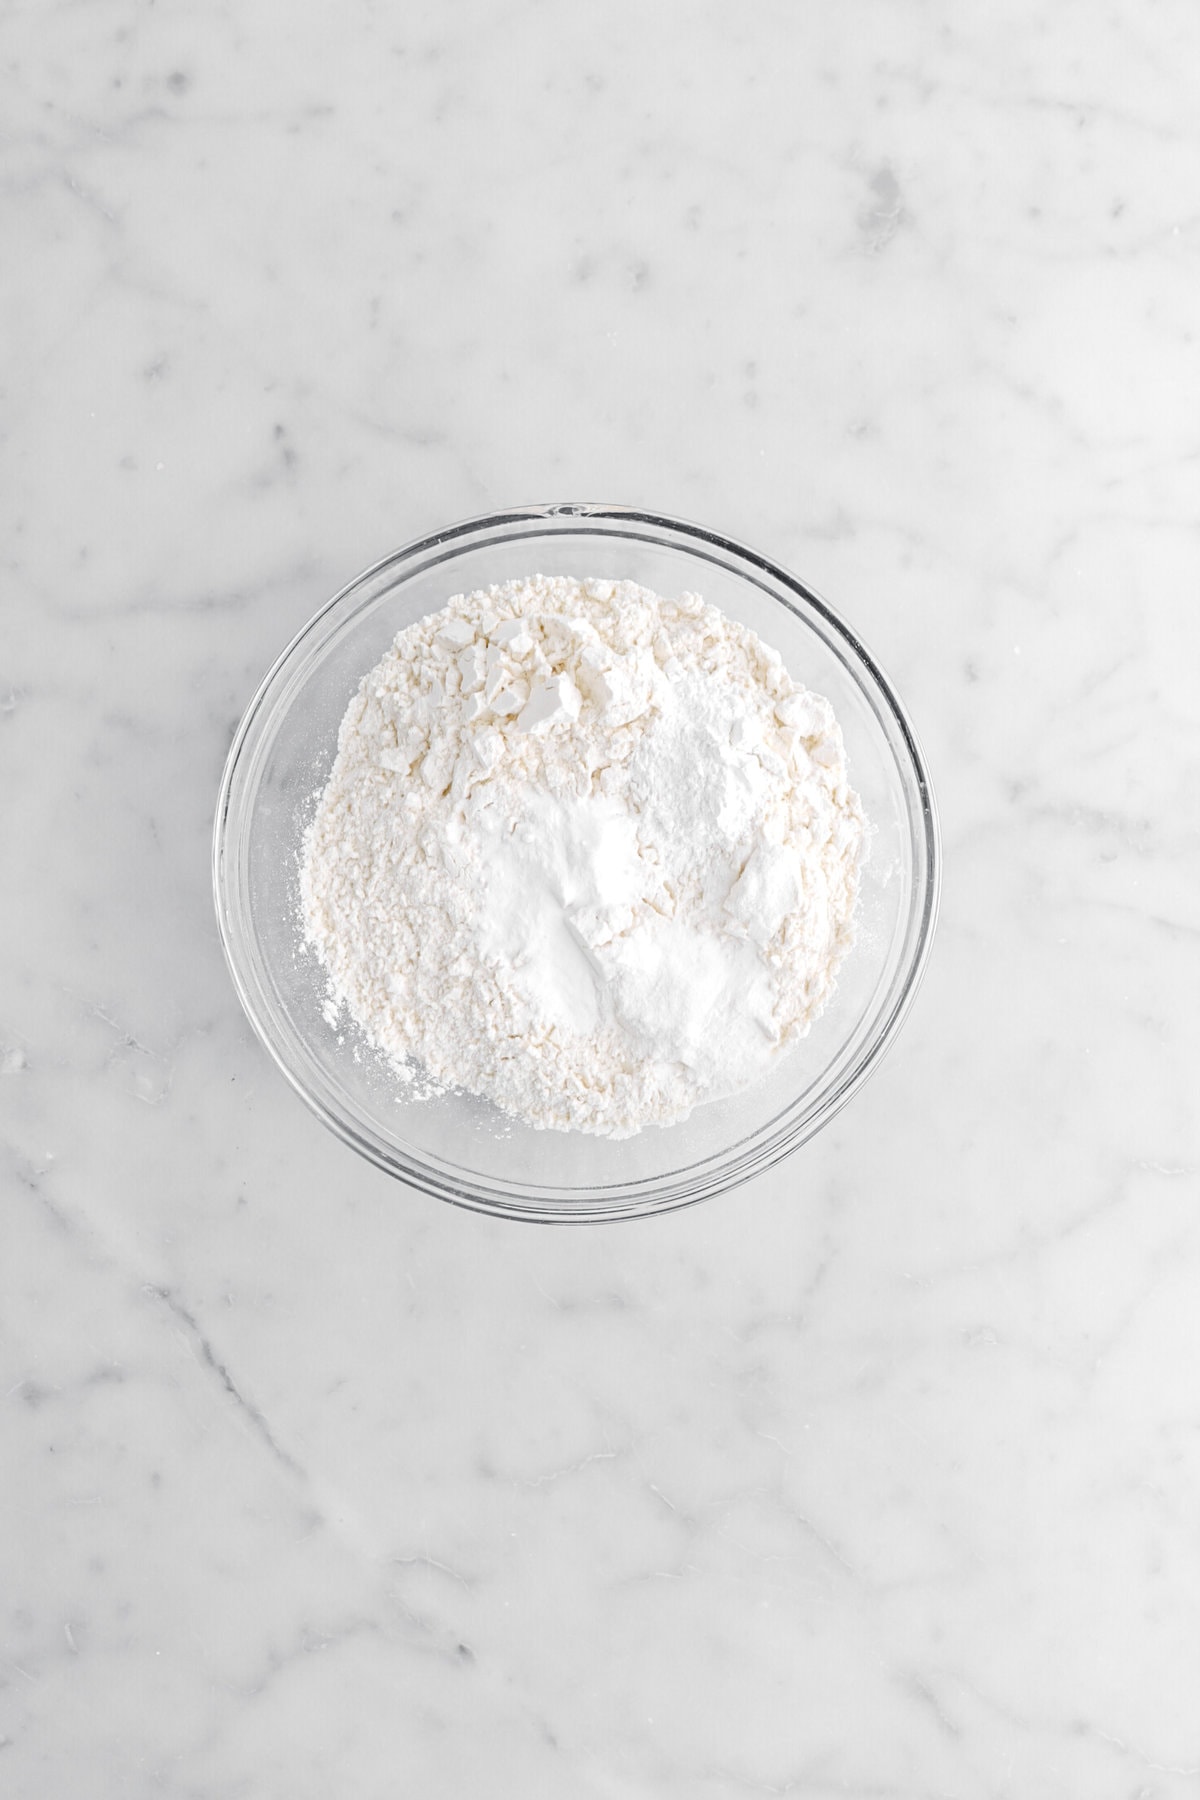
In a small bowl, whisk flour baking powder, baking soda, and vanilla powder together. Set aside.

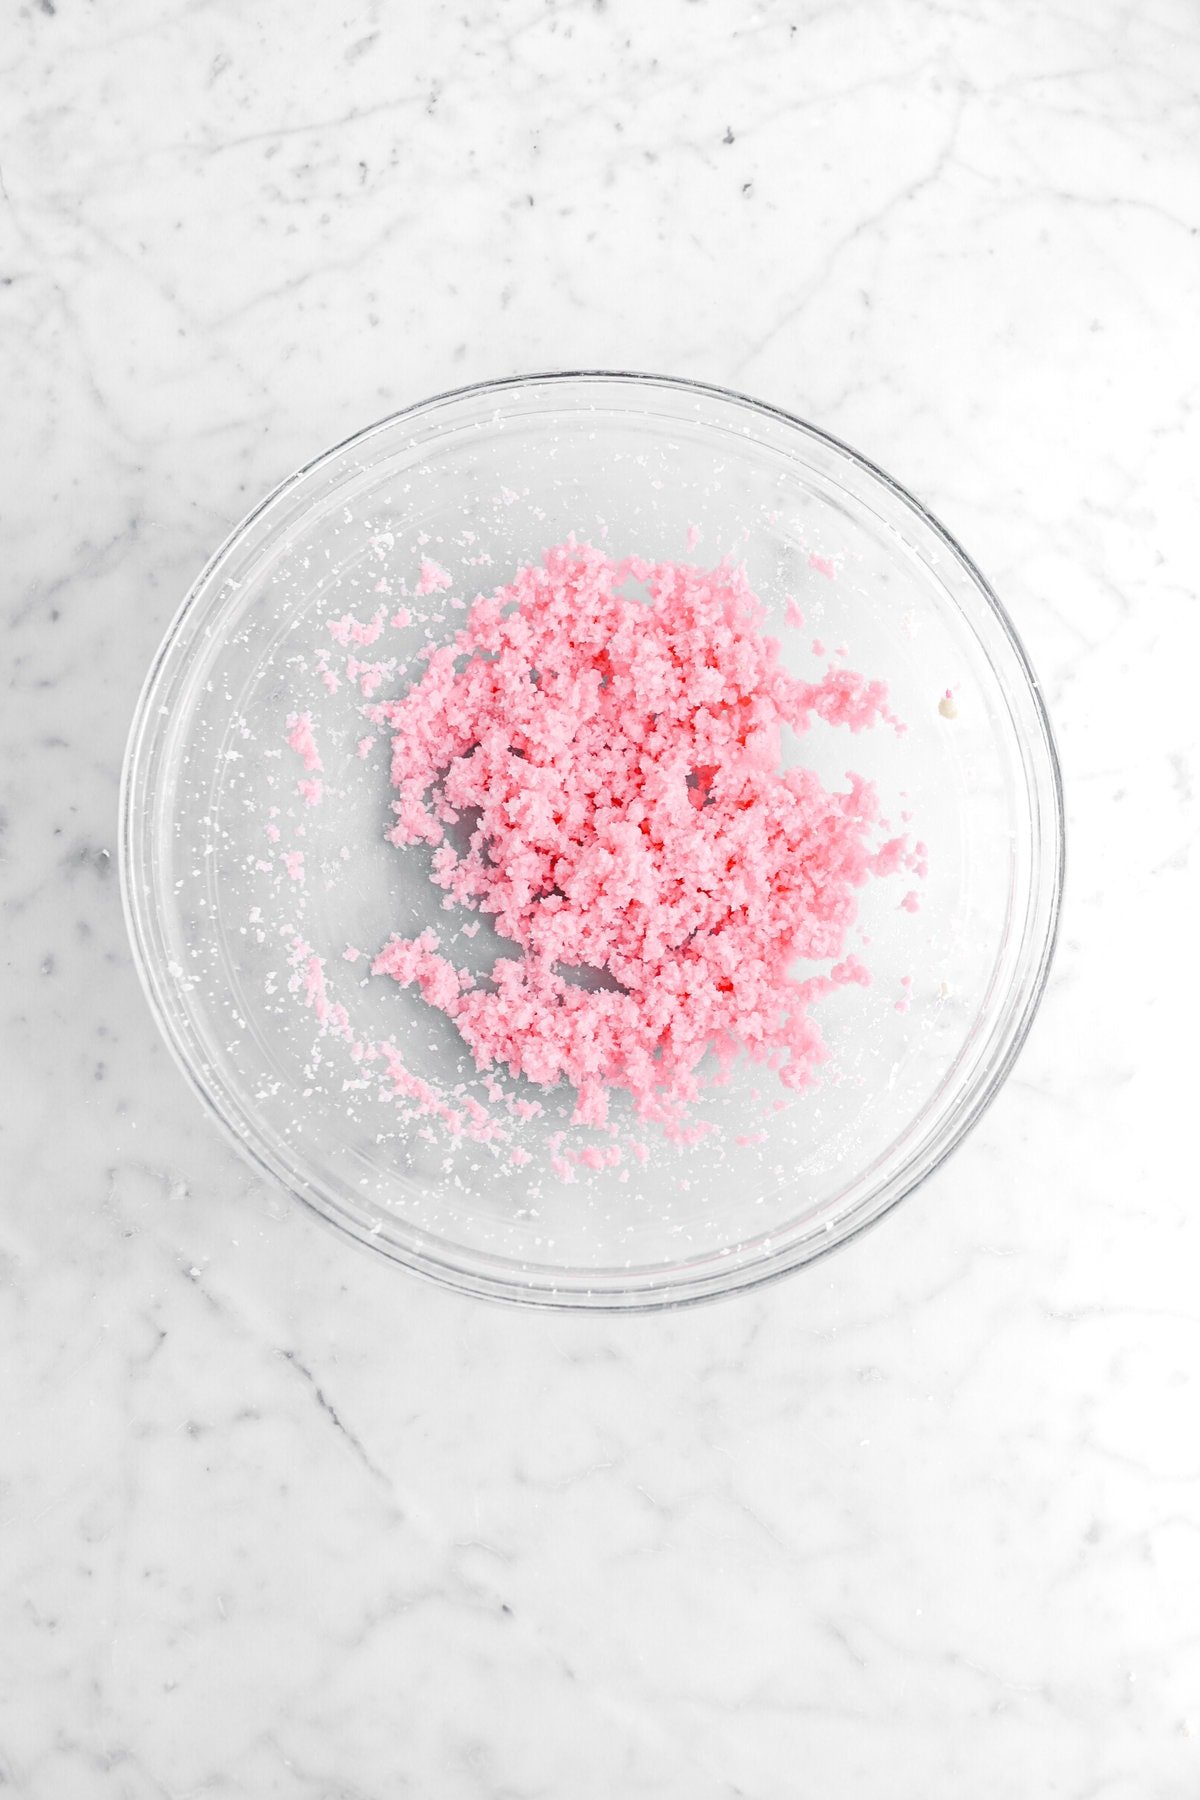
With an electric mixer, beat butter and sugar until light and fluffy, about 2-3 minutes.


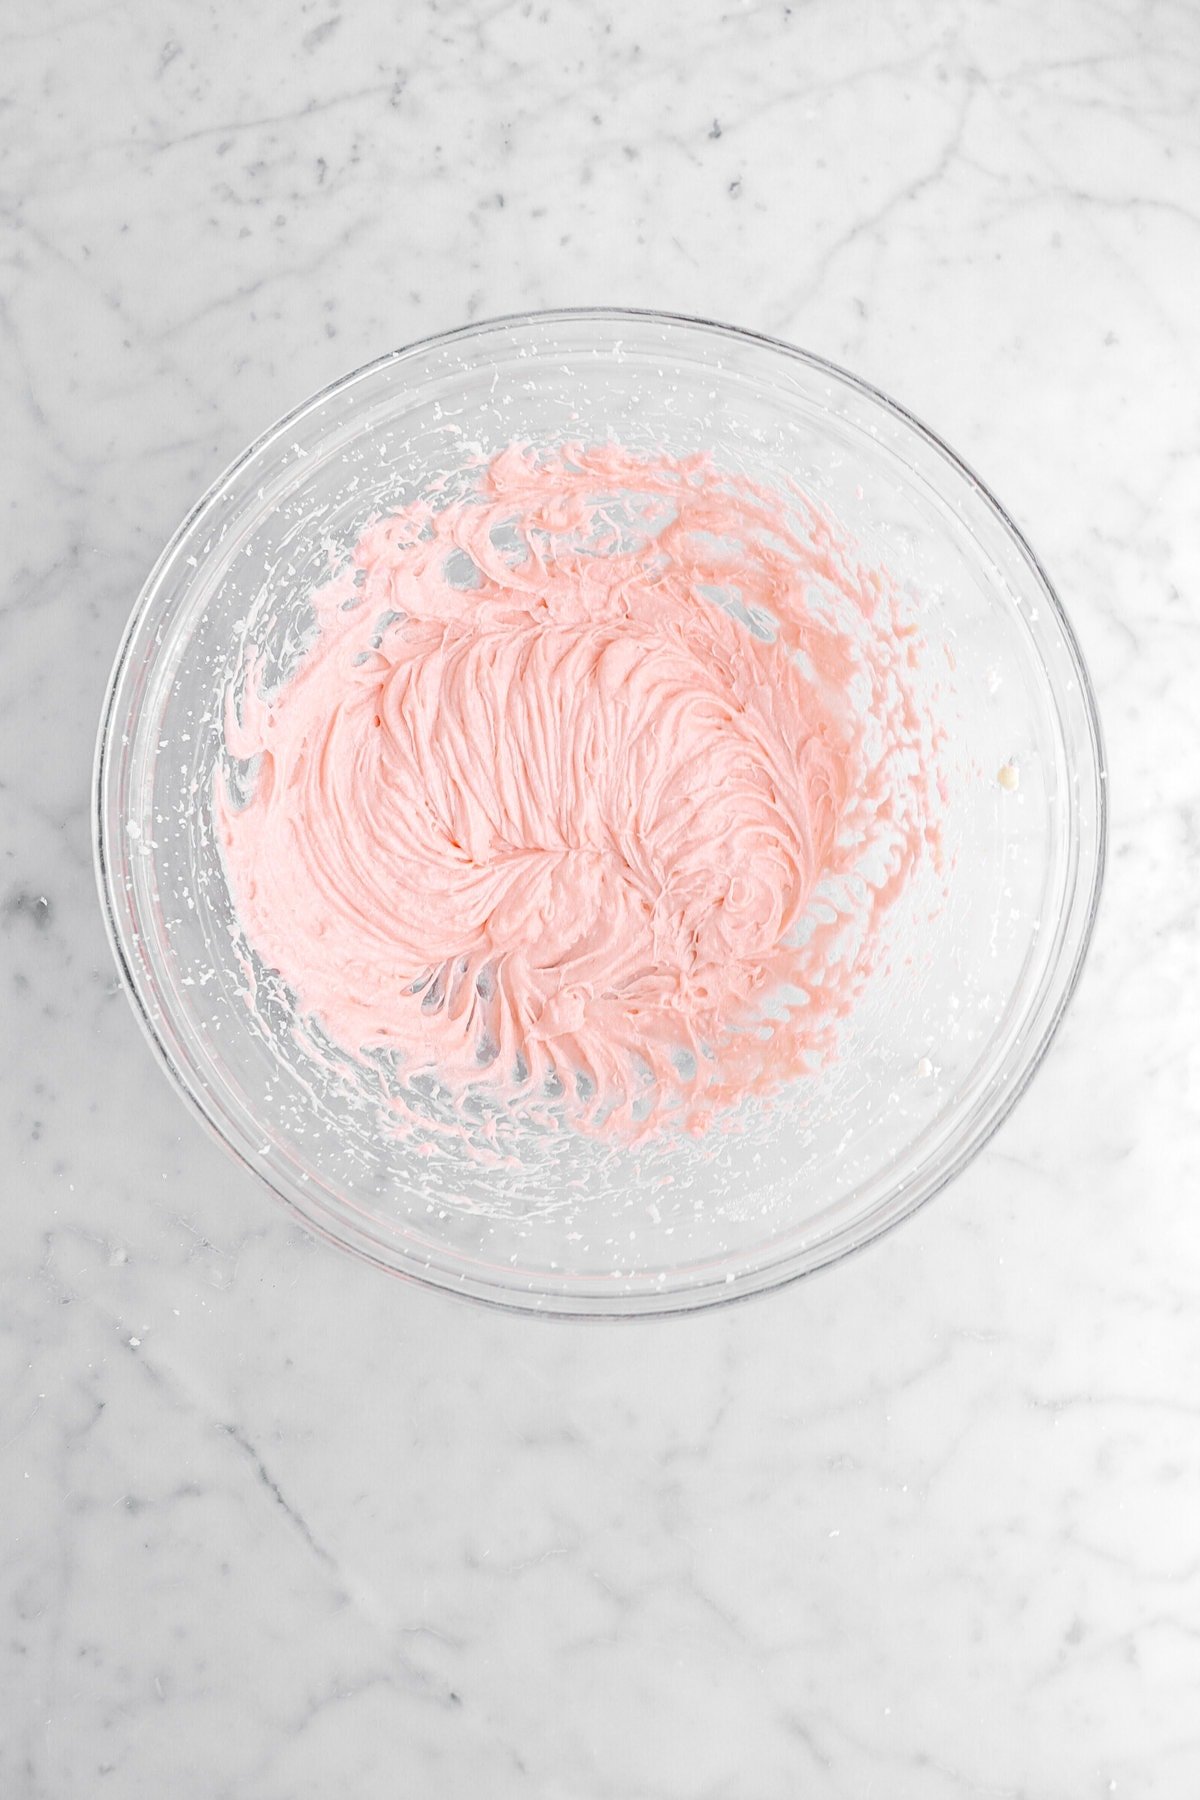
Mix in food coloring.

Add eggs, one at a time. Beat until light and fluffy, about 1-2 minutes.

Add flour mixture alternately with buttermilk, beginning and ending with flour mixture. Stir in vinegar.


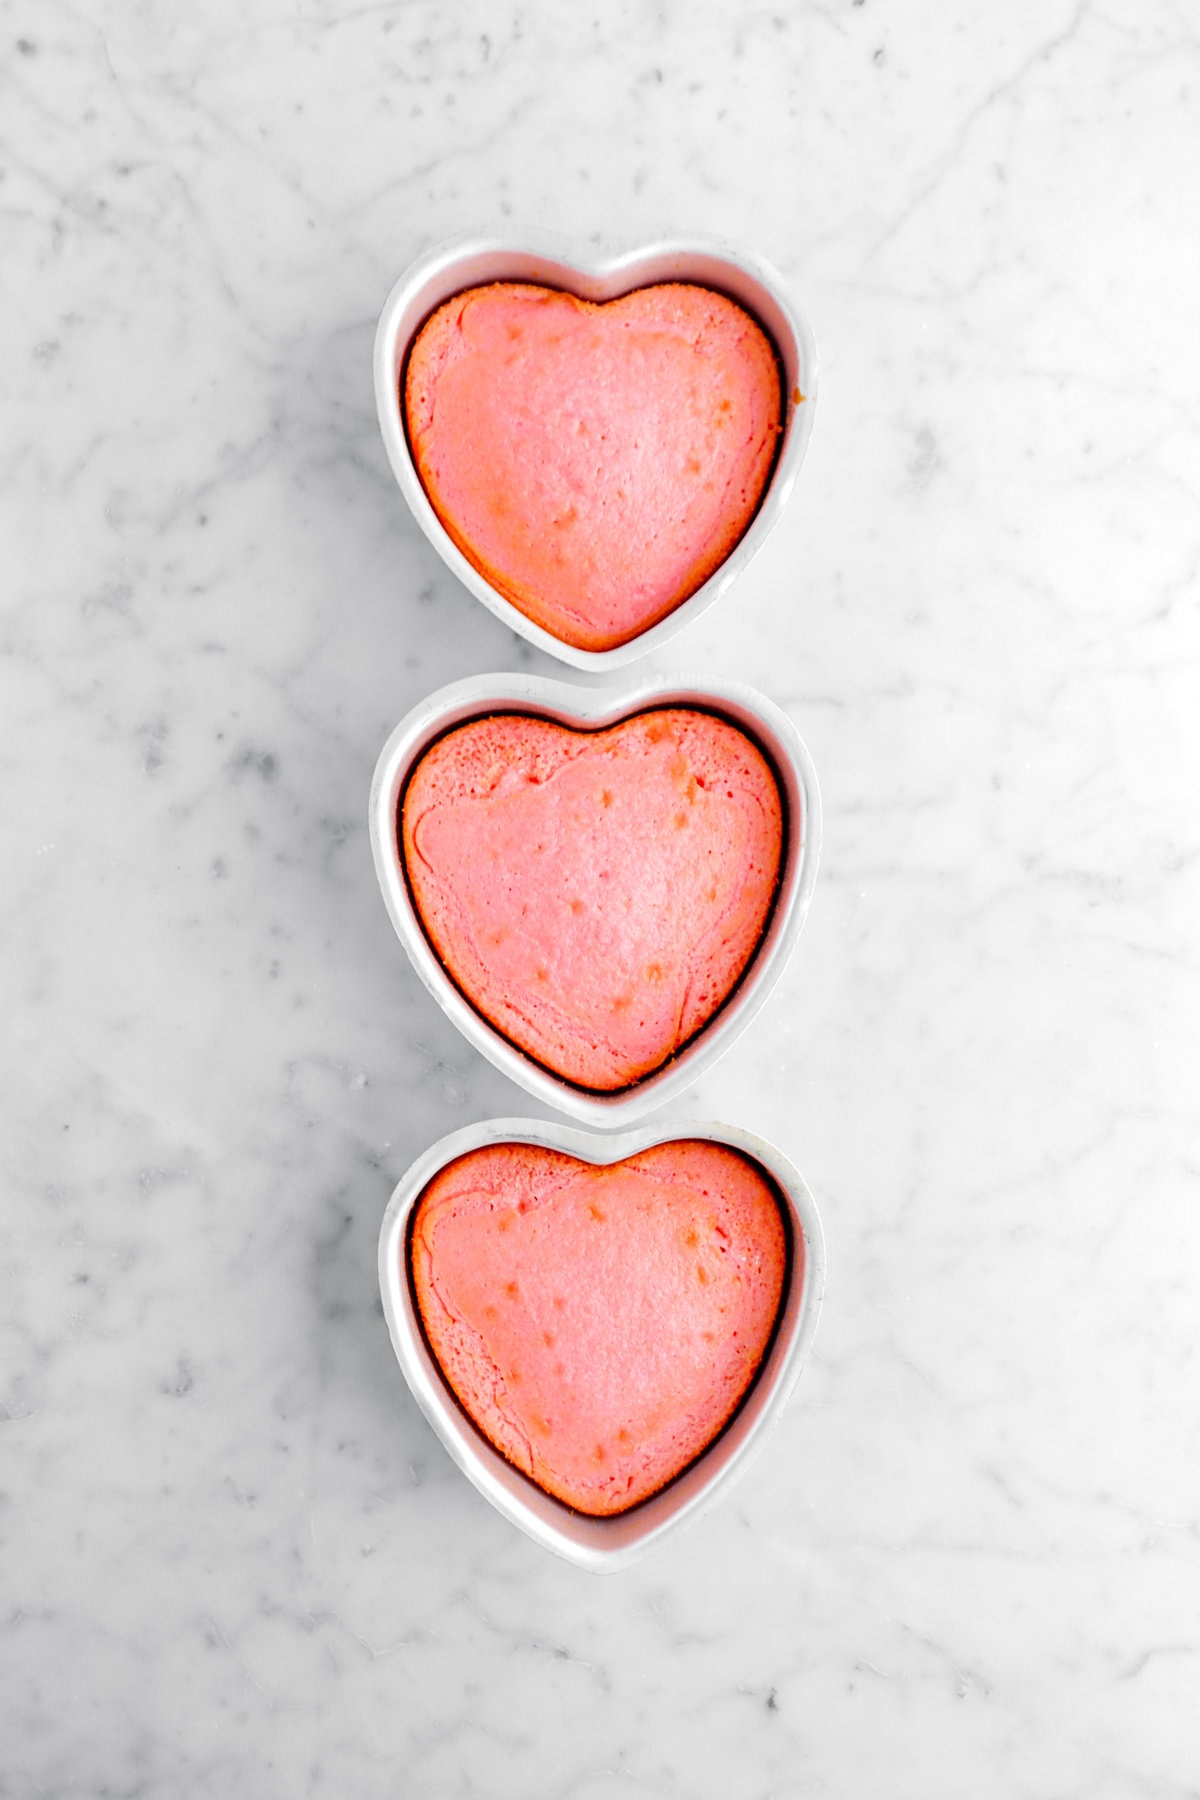
Bake the cakes
Divide evenly among prepared pans. Tap to level. Bake for 24 minutes, or until cake tests done.

Next, We Make The Frosting
You Will Need:
- Cream Cheese – This is the main ingredient in cream cheese icing. It is what gives it that little bit of tang that marries so well with this pink velvet cake.
- Salted Butter – Is what makes this frosting spreadable. It adds richness and creaminess while eliminating the need for additional salt.
- Powdered Sugar – Because it melts easily, powdered sugar ensures a smooth icing. It sweetens as well.
- Vanilla Powder – All the subtle undertones and flavor enhancing abilities of vanilla extract, but vanilla powder doesn’t add color to the cake.
- Hot Pink Food Coloring – Just a drop is all you need to achieve the beautiful soft pink color of this frosting. Gel food color works best.

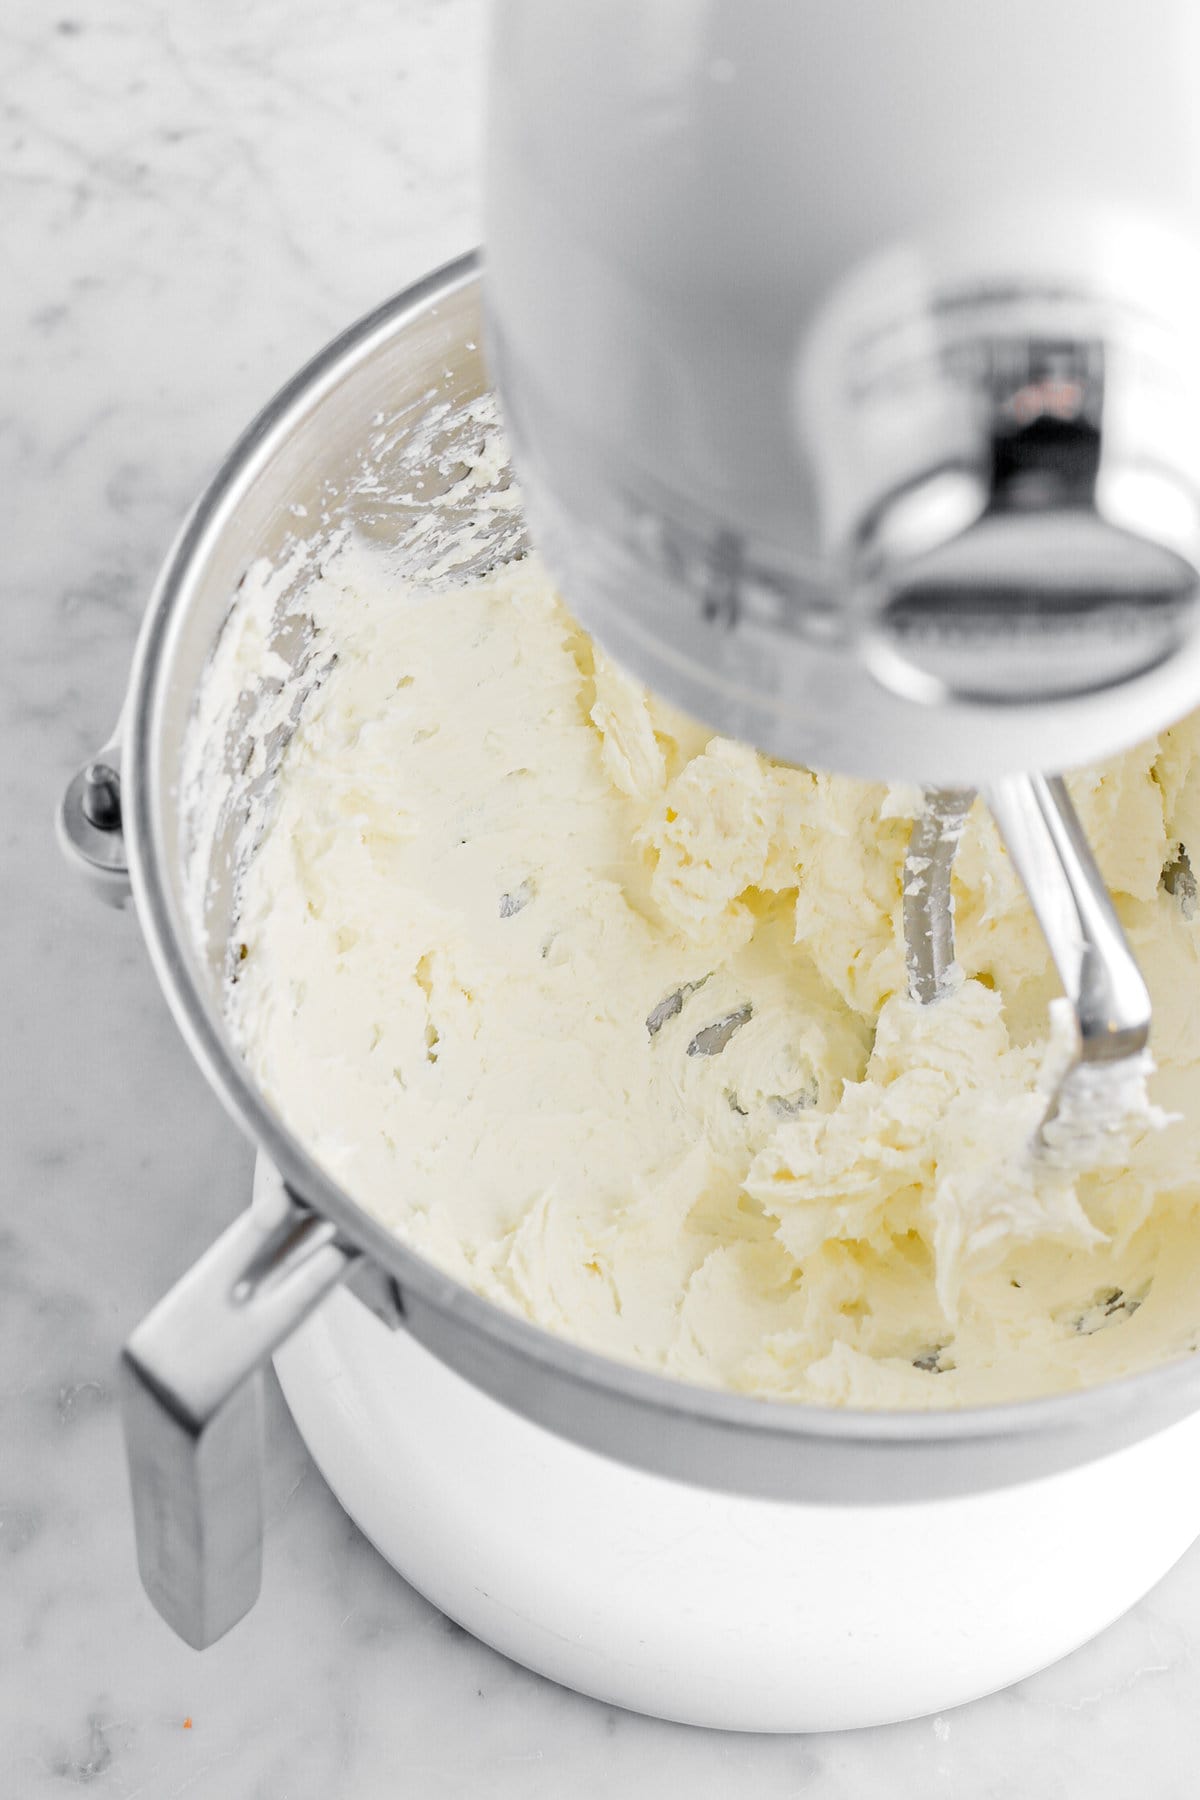
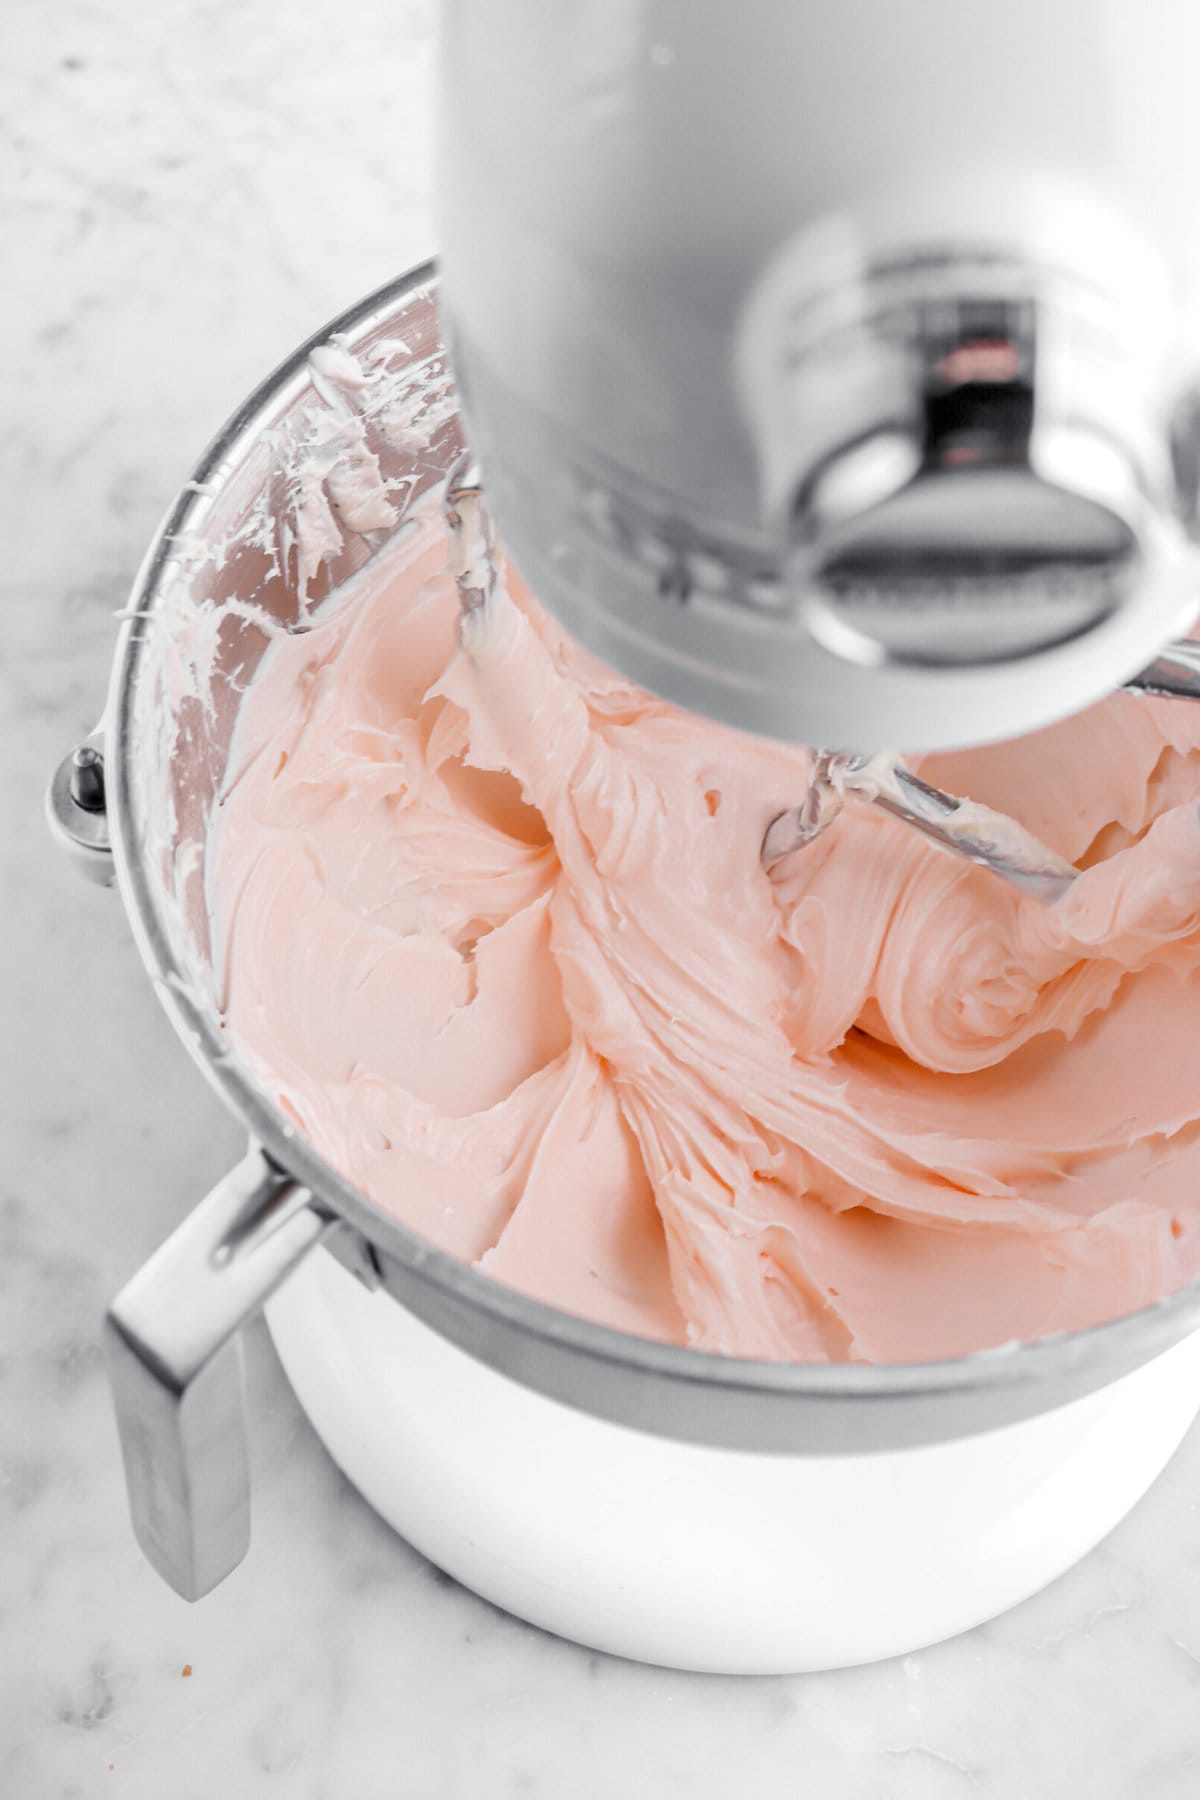
Mix everything together
In the bowl of an electric mixer fitted with the paddle attachment, beat cream cheese and butter until smooth, about 2-3 minutes.

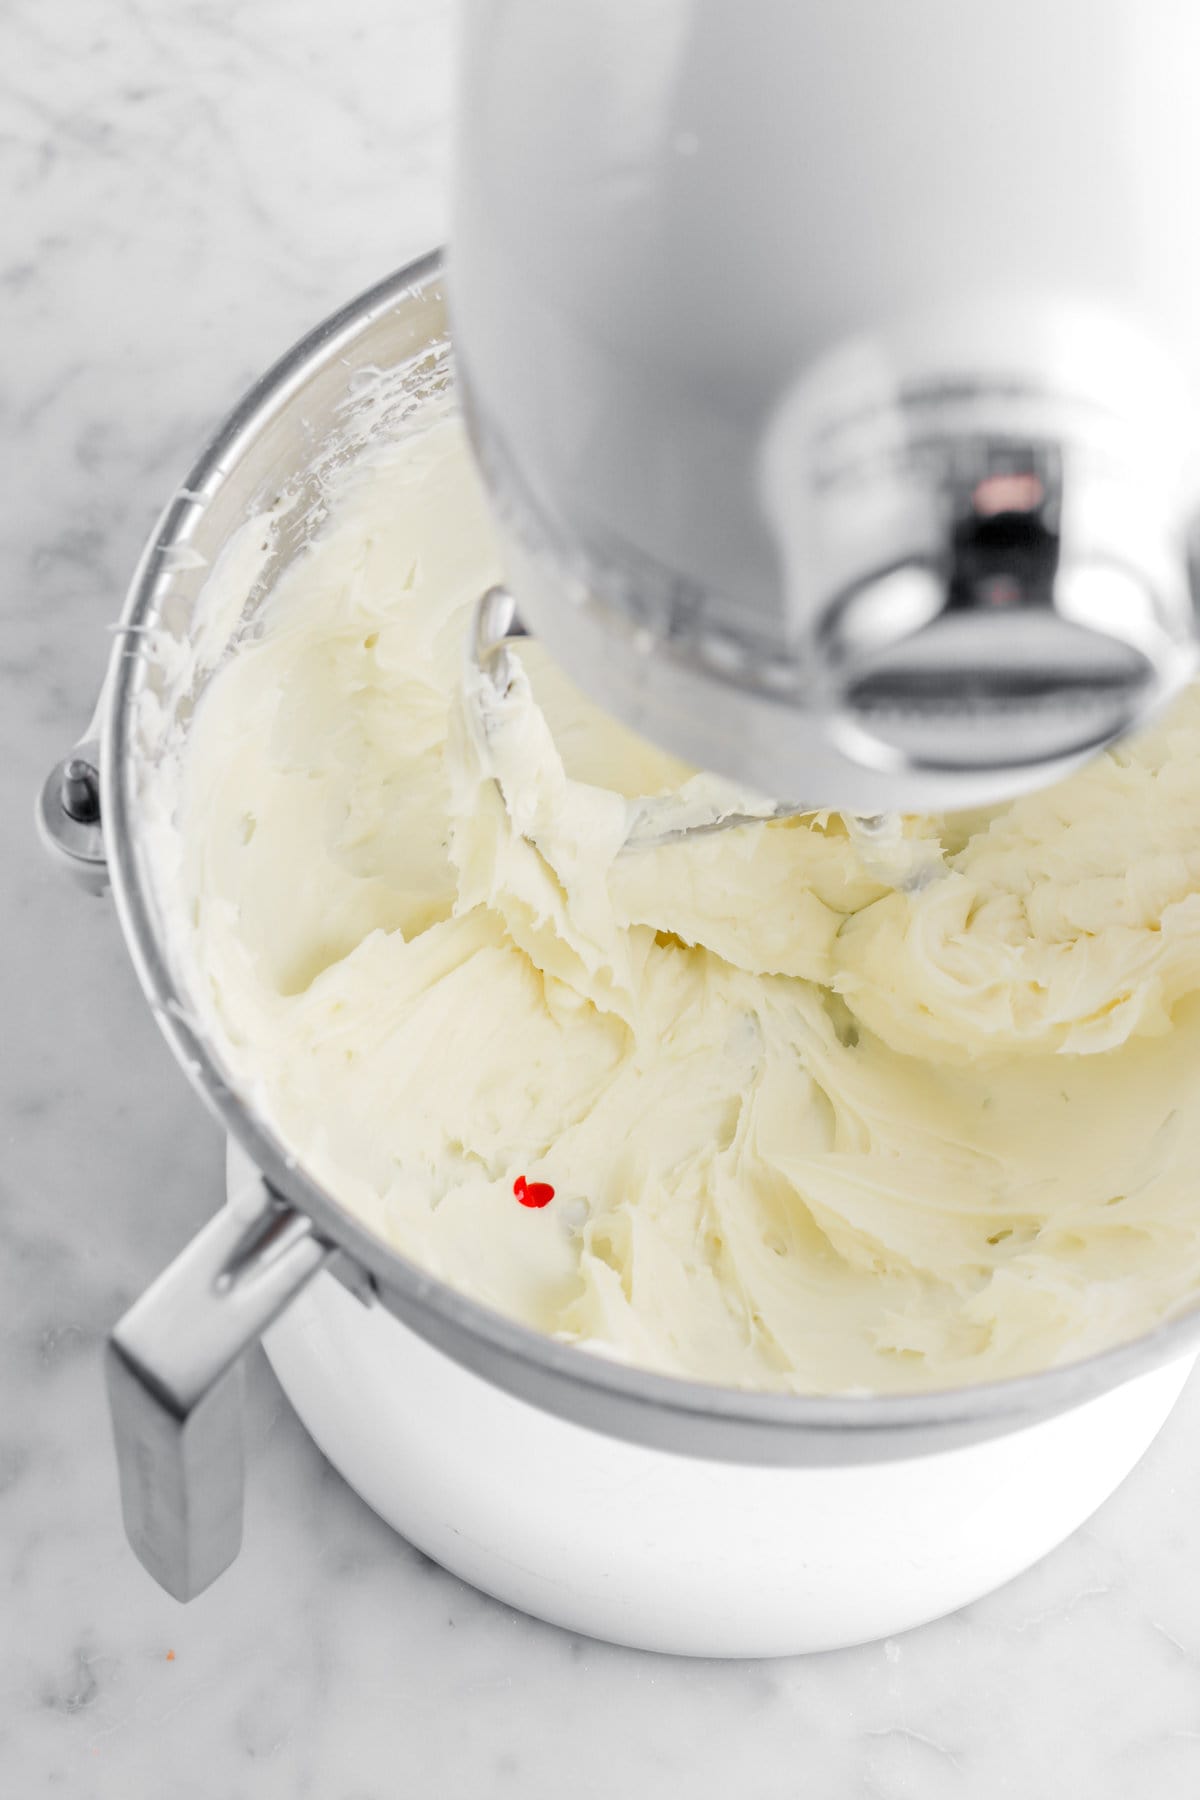
Add powdered sugar and vanilla powder. Stir slowly to incorporate. Increase speed and beat until light and fluffy, about 2-3 minutes.


Mix in food coloring.
Time To Assemble!
When building a layer cake, it can seem a little scary and intimidating. Thankfully, with this cake and frosting recipe, it’s never been easier! Follow the step-by-step directions below for a gorgeous layer cake.
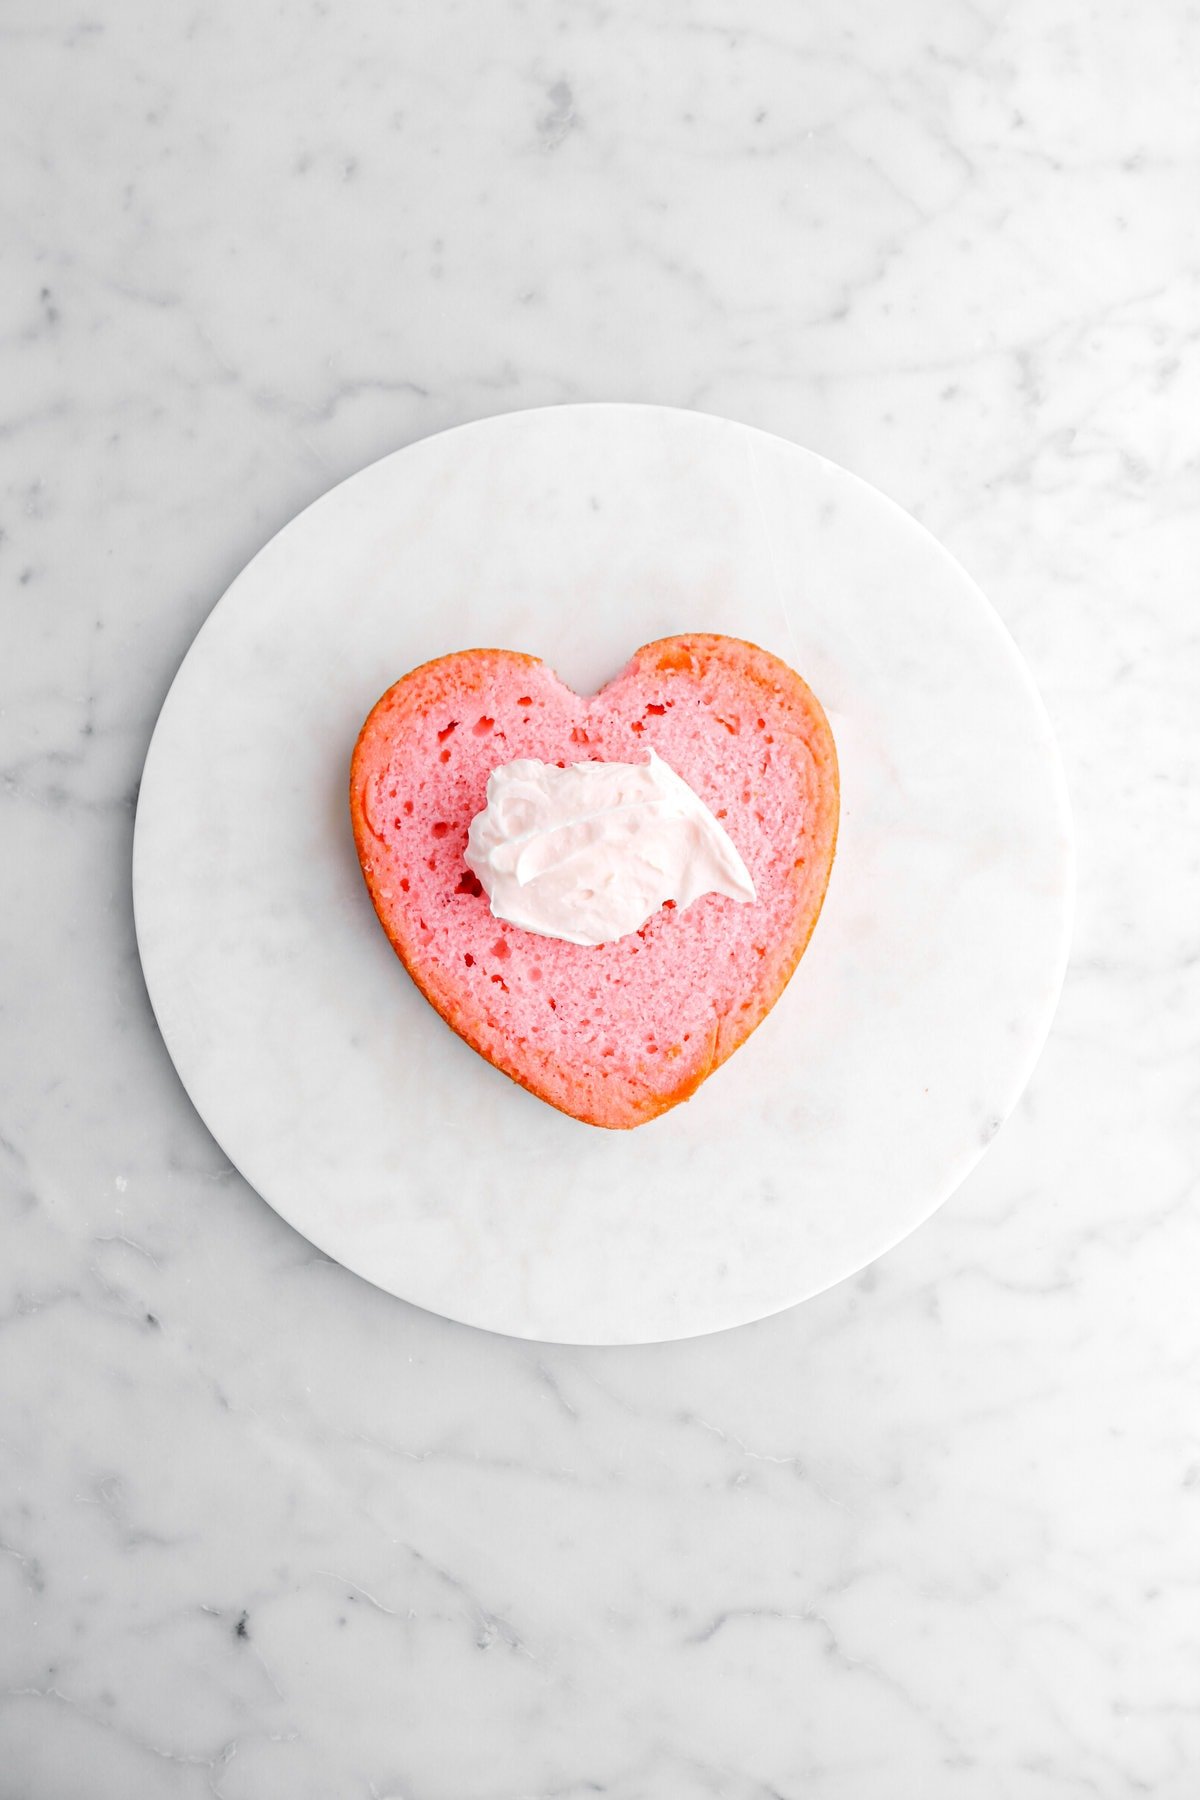
Start by building the layers
Place one cake layer on cake plate and spread with a layer of frosting.
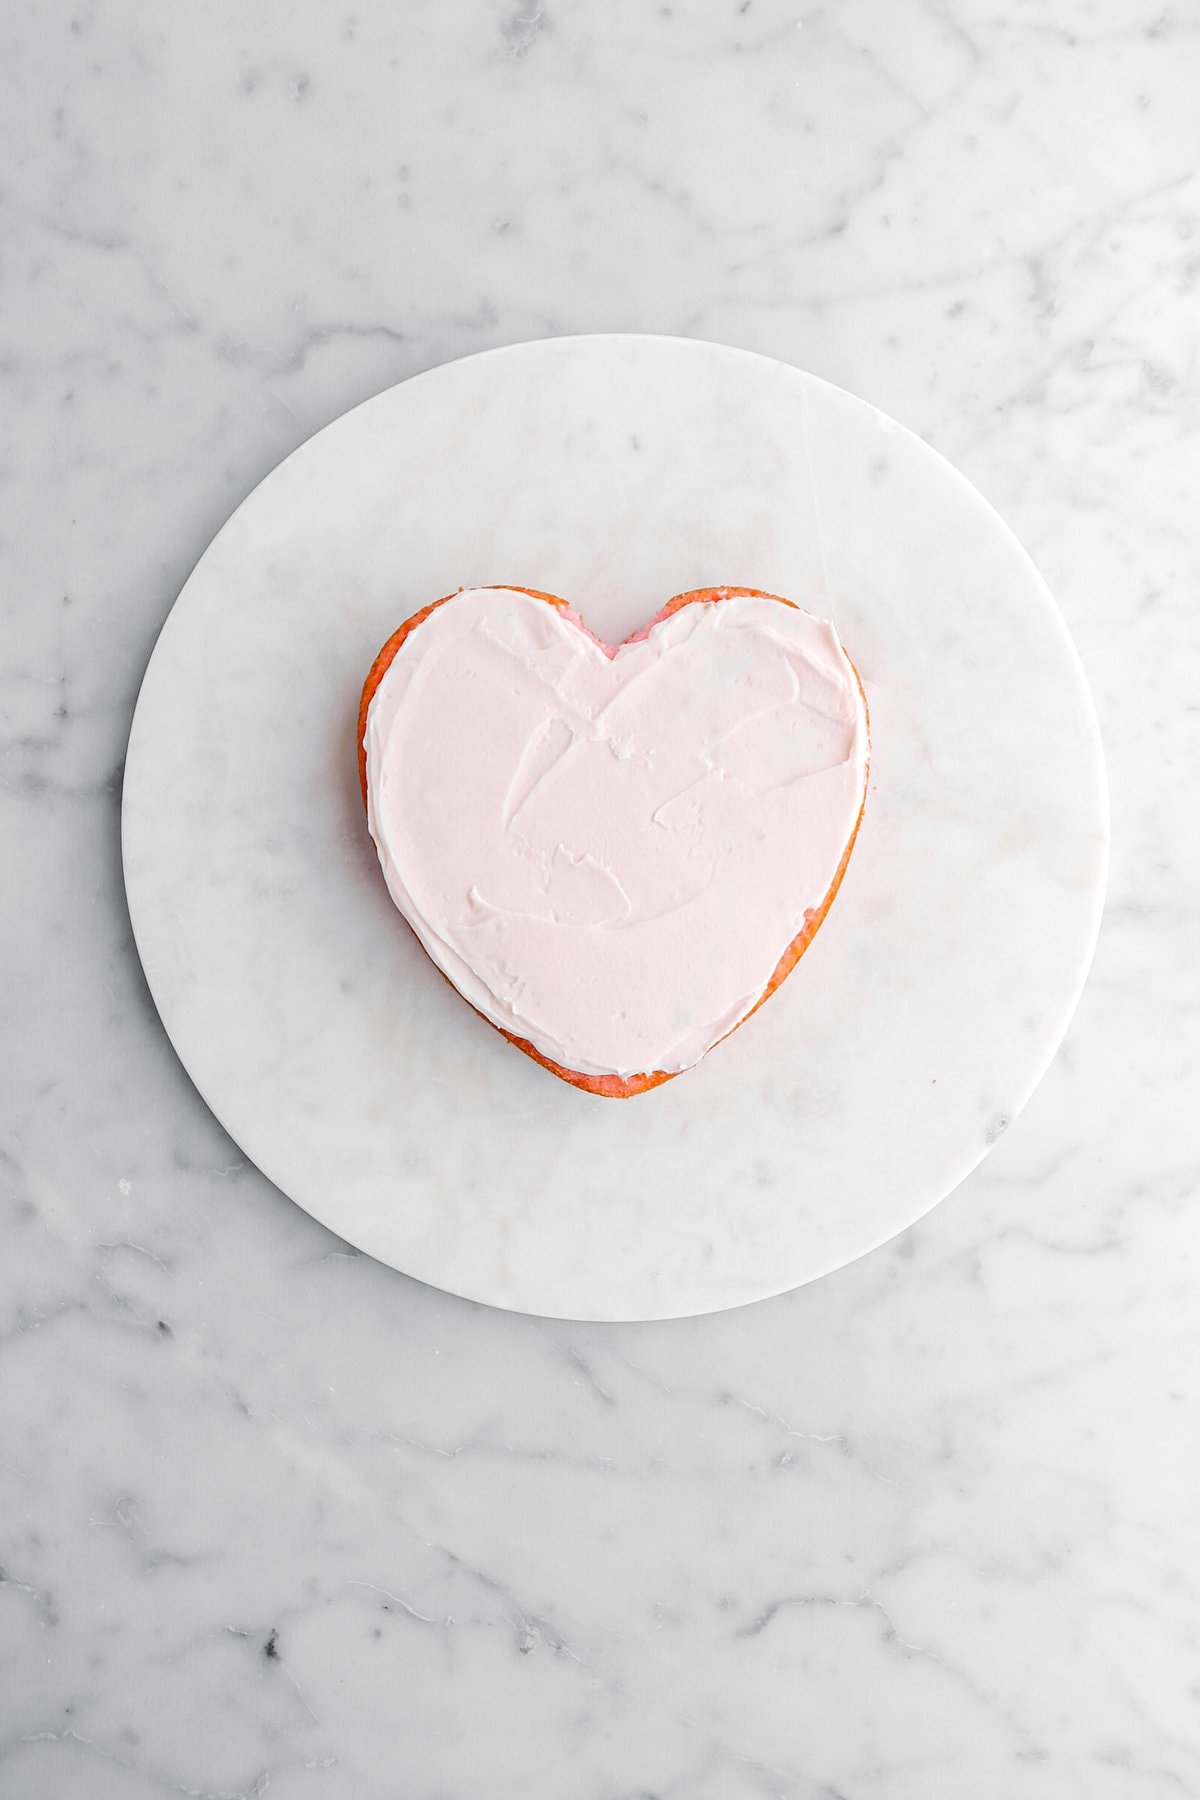
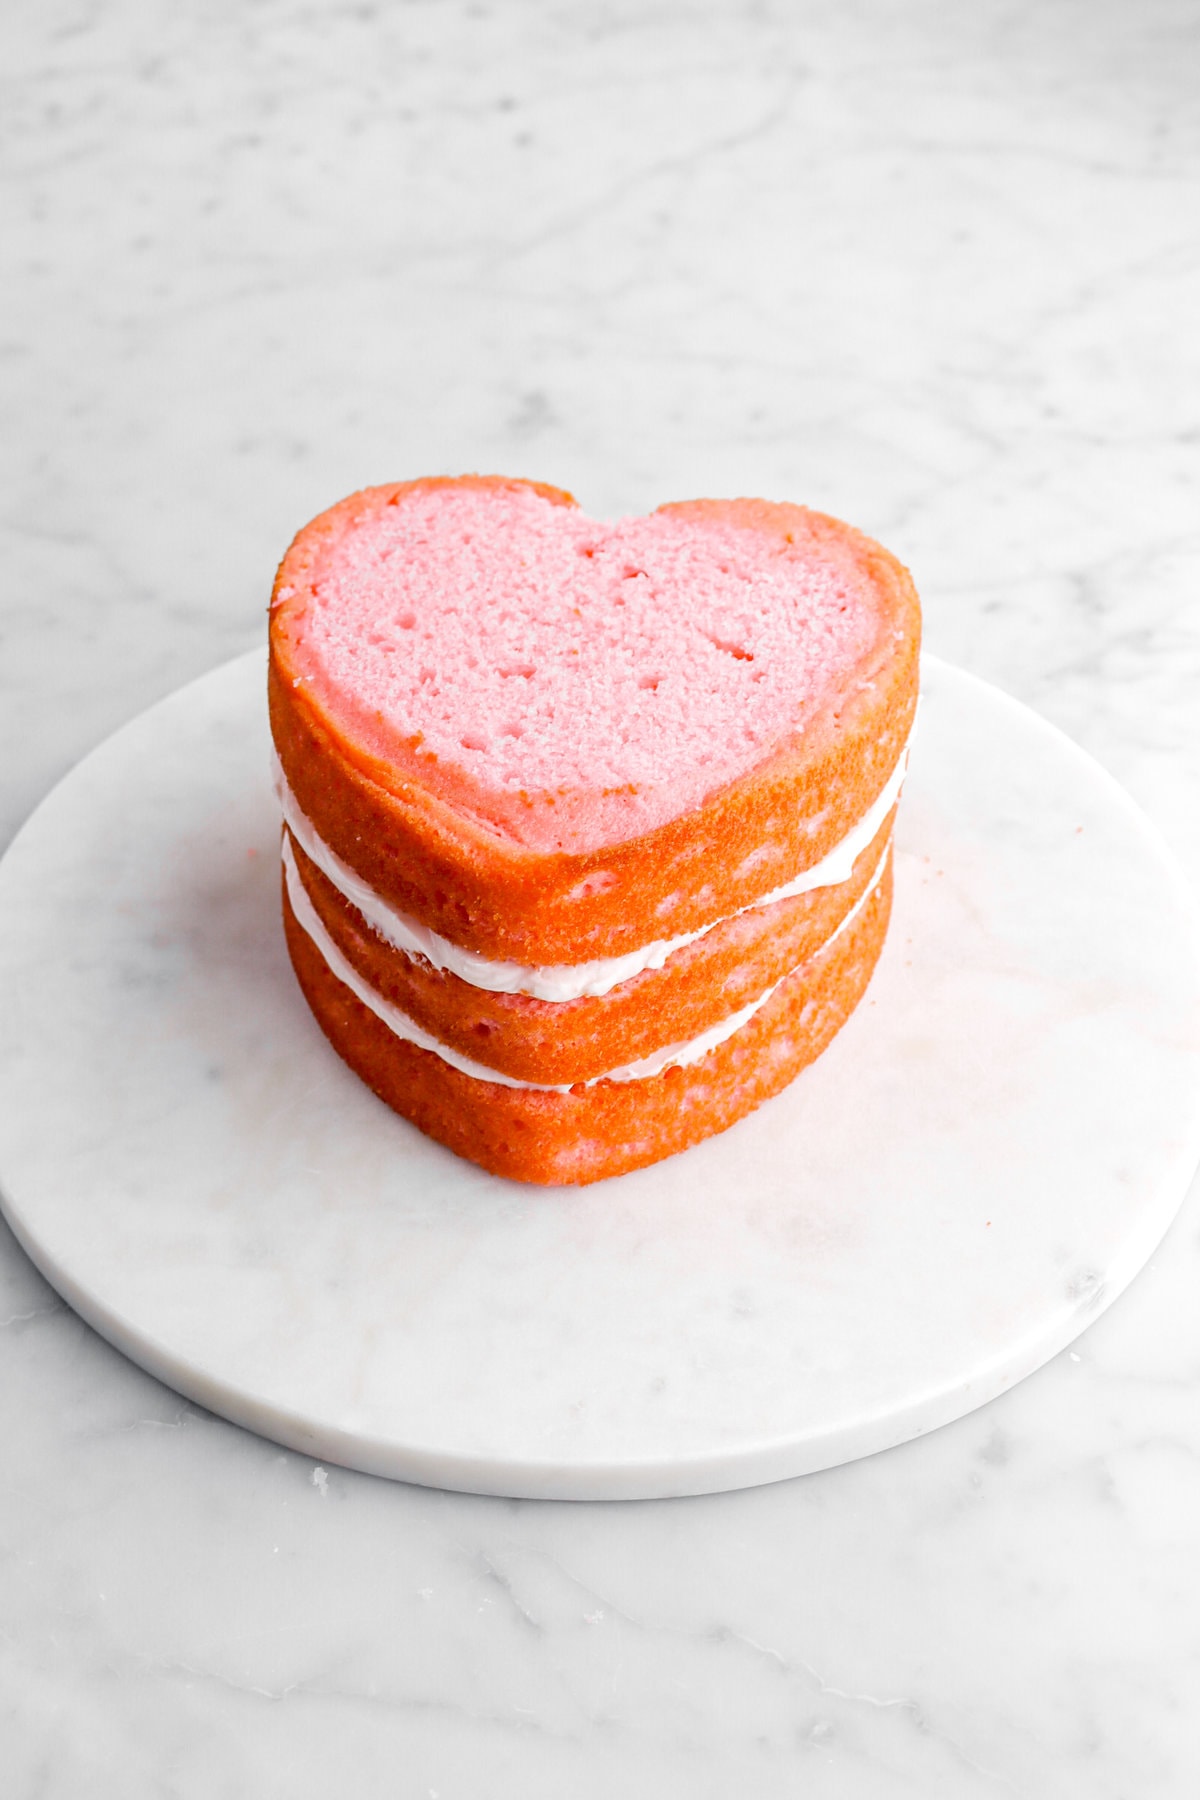
Repeat with second layer. Add third layer.
Decorate!!
Now that your cake is assembled, it’s time to decorate it (which is my favorite part!). For this cake, I opted to go with a classic vintage-style frosting decoration. This is just really extravagant looking and so much fun to do! If you would like to decorate this cake like we did, here is a simple step-by-step guide on how I did it.
- Make extra frosting. The recipe written below for the frosting is what you’ll need to build and frost the exterior of the cake. To decorate the cake as I did, you will need to add an extra ½ recipe of frosting listed in the recipe card. From there, spoon the frosting into 4 bowls and color 3 of them in different shades of pink. Leave one white. For my pinks, I made a dark pink, a pastel/baby pink, and a really soft pink.
- Pipe the borders. To really make this cake feel cohesive, I piped my dark pink round the edges. To do this, I used an Ateco French Star 862 Piping Tip and made a wave-like motion around the top and bottom of the cake.
- Add a lighter boarder. I piped my pastel pink on the inside of the dark pink on top with the same wave-like motion. I repeated this on top of the dark pink border on the bottom. Then, I took my soft pink and piped it on the side of the cake directly under the dark pink on top of the cake.
- Add your decorative elements. I piped “ribbons” around the top of the cake. I like the look of the double loops/ribbons. I used a Ateco 3 Plain Piping Tip to do this, but you can simply just cut a small hole in your piping bag to create this same look! From there, I used a Wilton 106 Piping Tip to create the look of a flower on top of each section for the ribbons/loops met. Then, I used my white to create leaves on either side of each flower. I used an Ateco 66 Piping Tip. After that, I transferred my white to a piping bag with another small plain tip and piped little hearts around the cake underneath the ribbon. To bring some of that white up, I piped a small bead of white in-between the dark pink and the pastel pink on top of the cake.
- Finish. To finish the cake, I wrote “Be Mine” on top and added some white pearl sprinkles. You can write whatever you wish on top of the cake. You could even add some edible glitter!

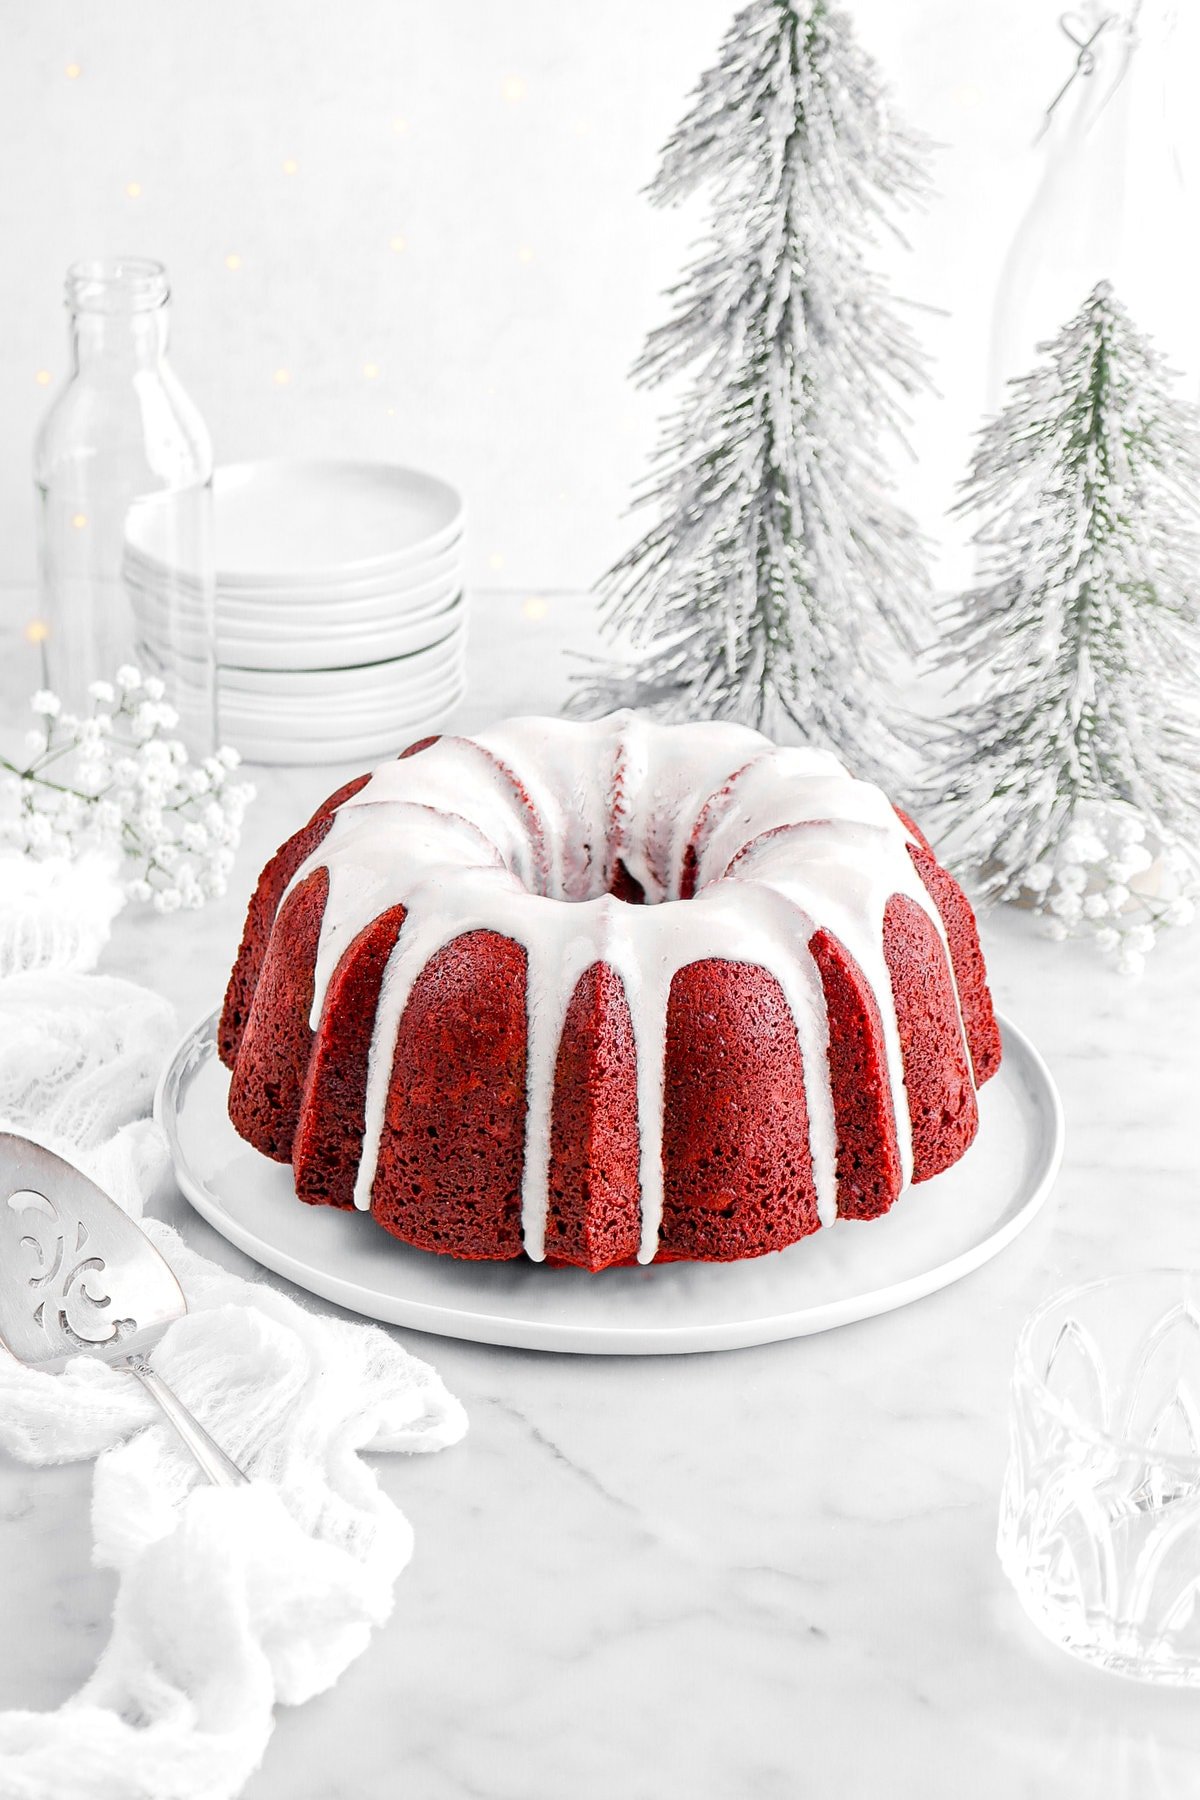
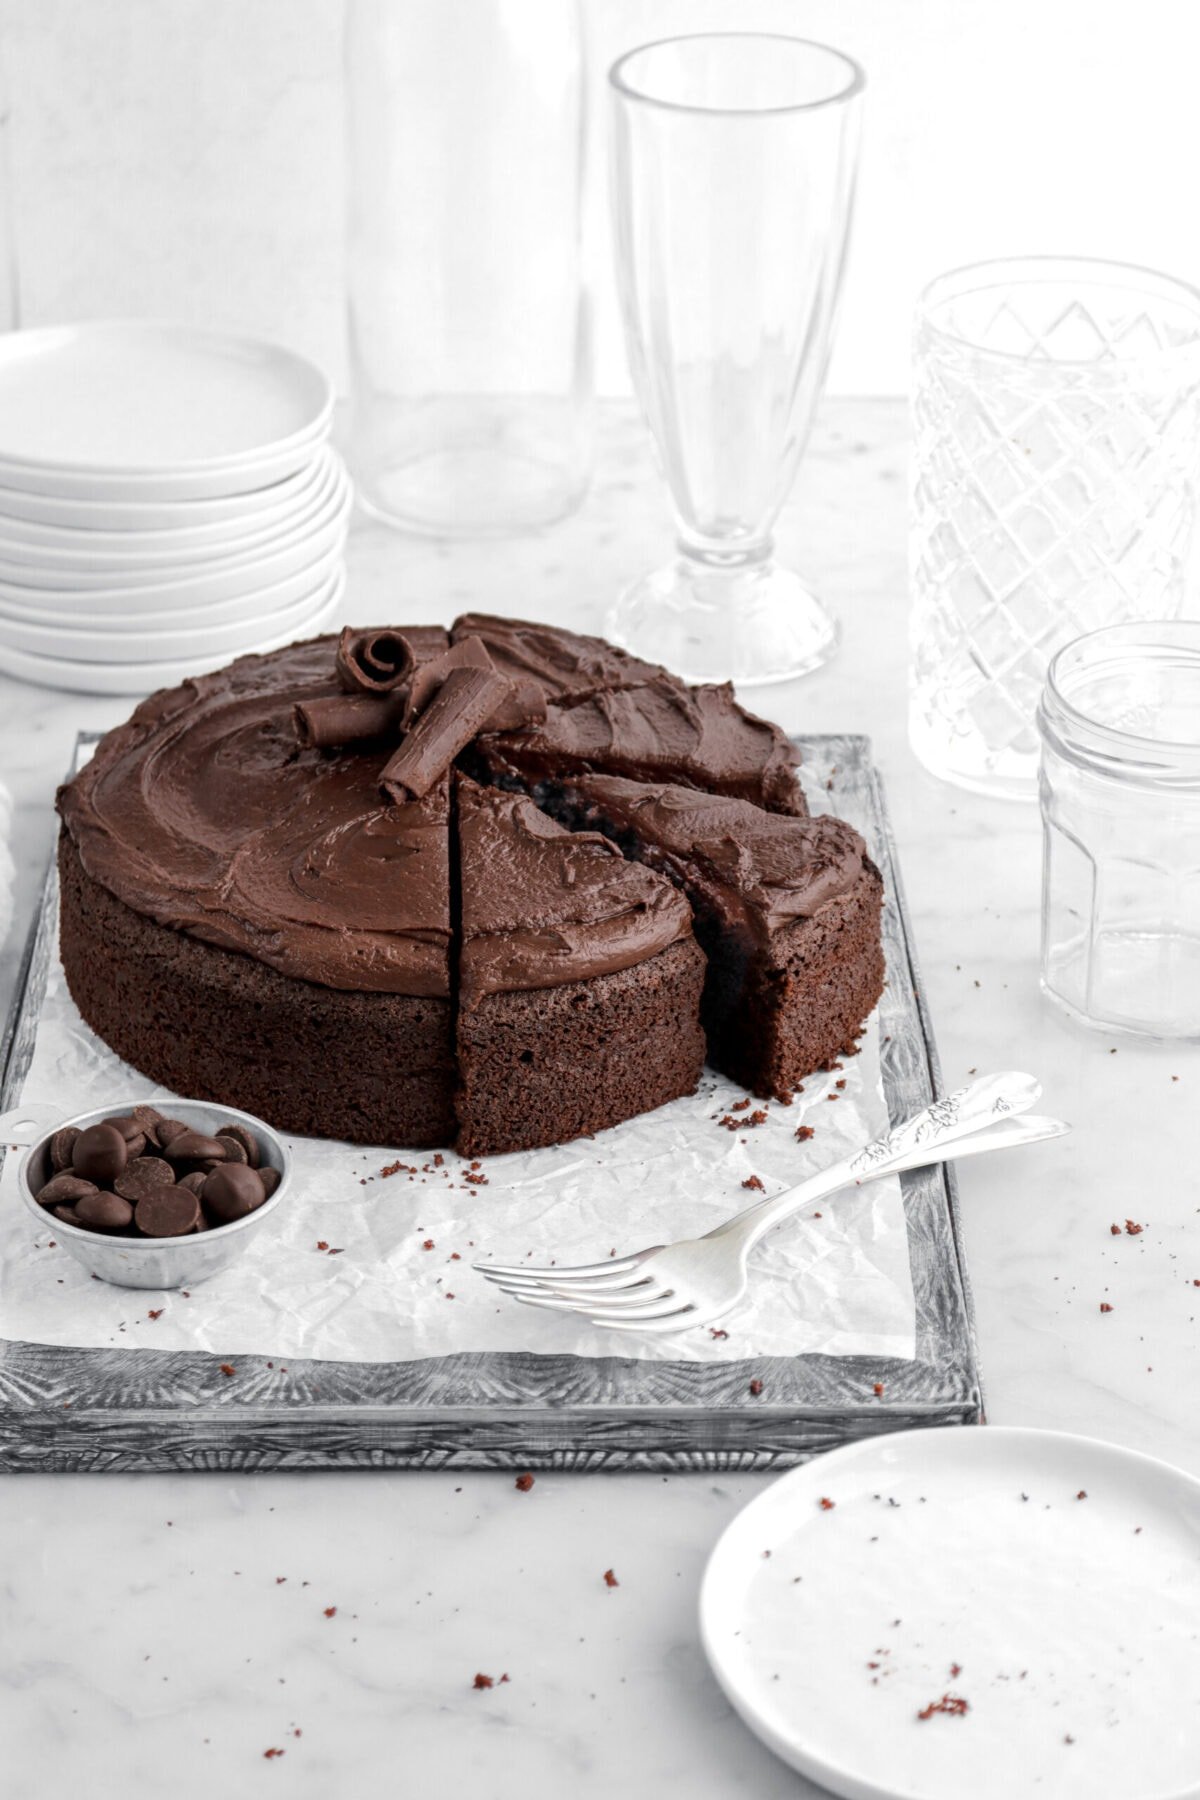
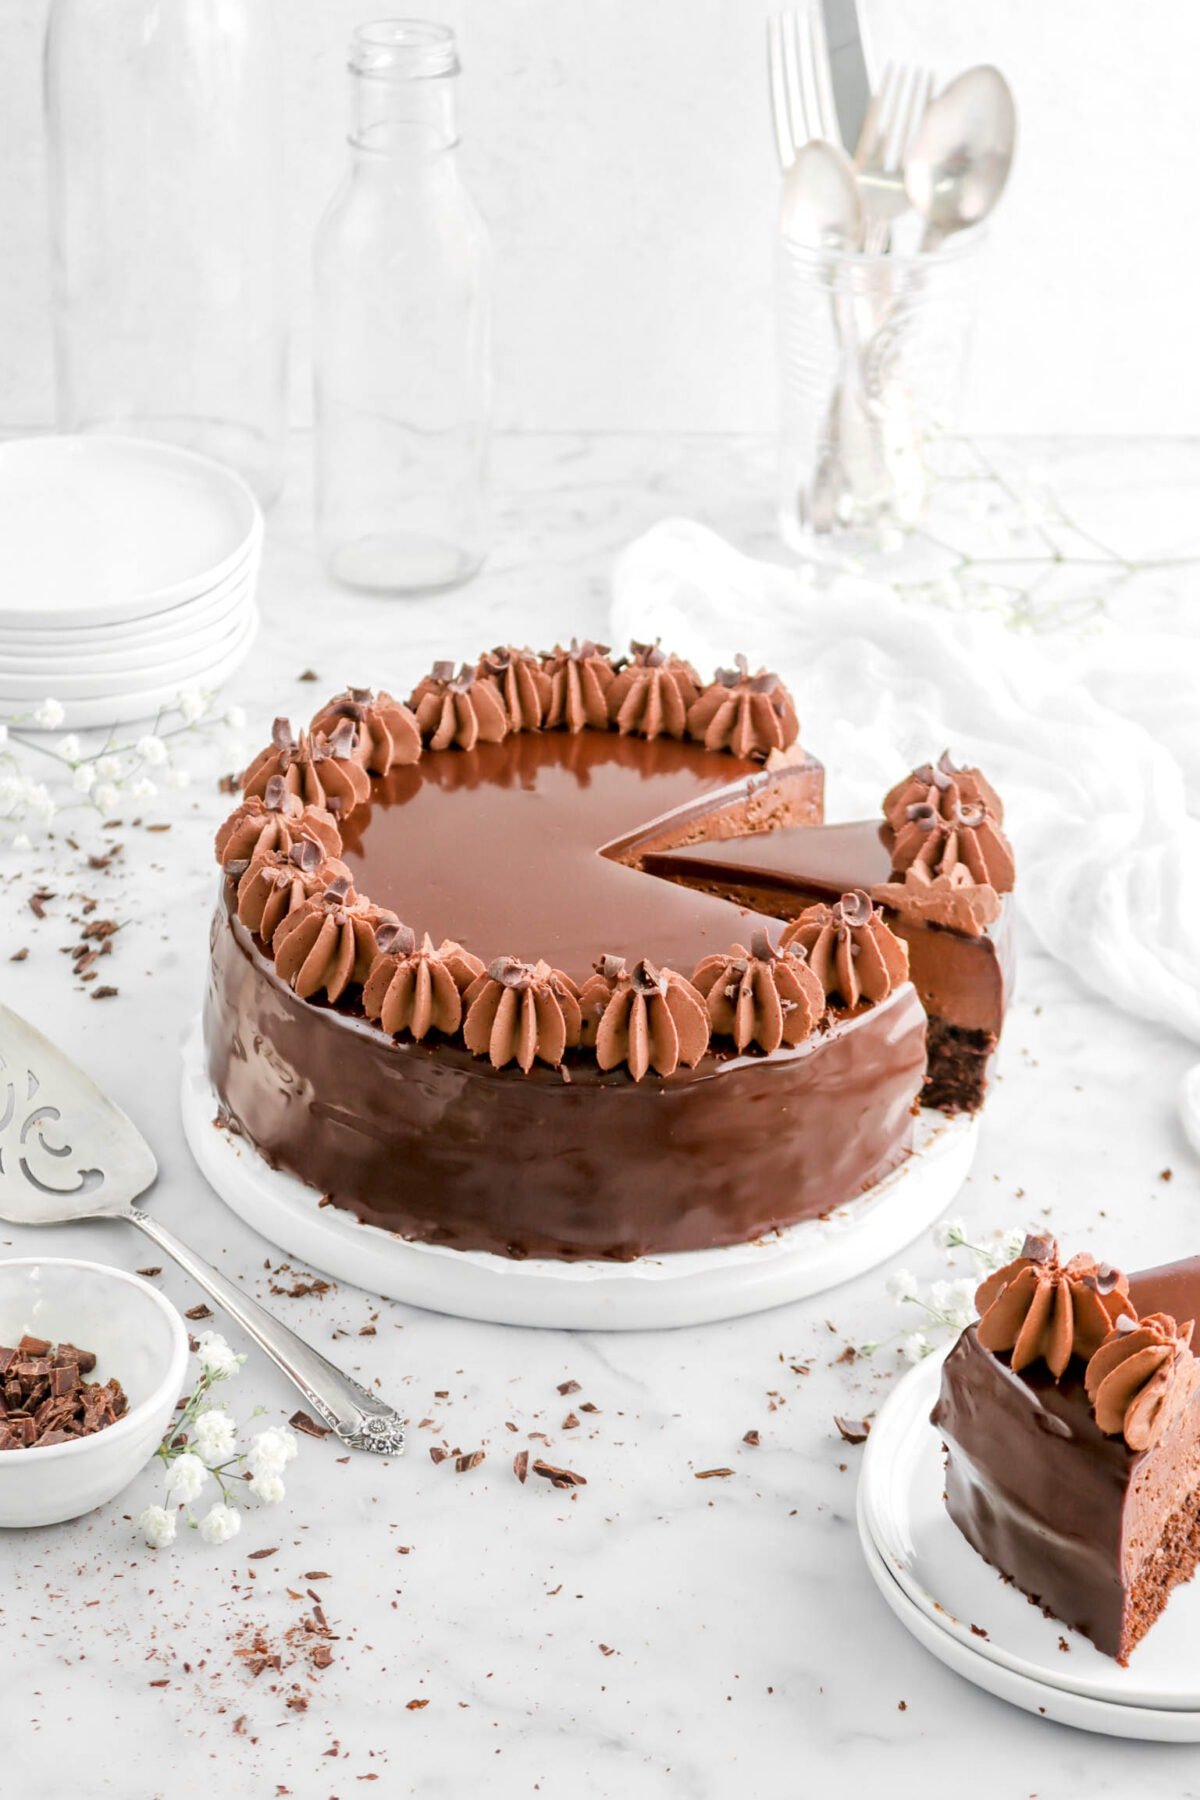
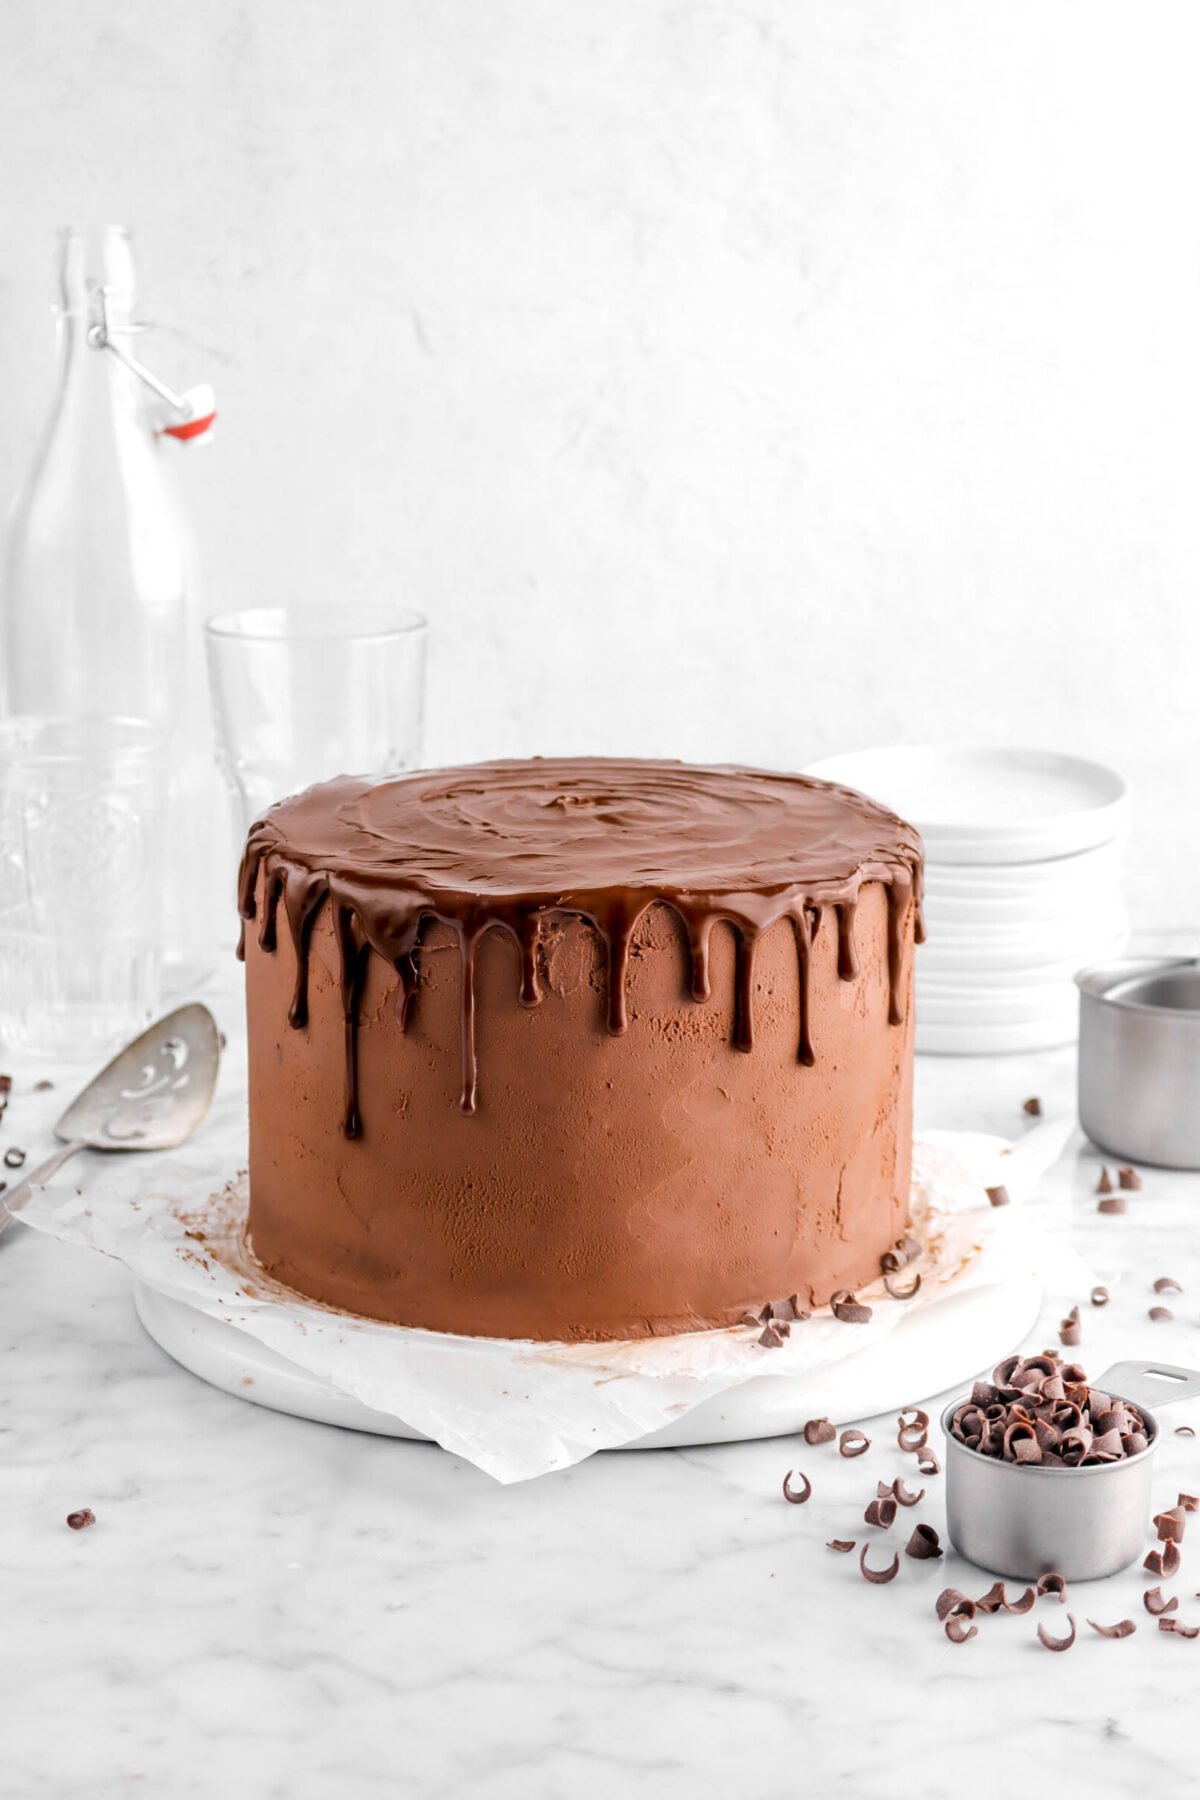
More cake recipes you’ll love:

When you make this Vintage-Style Heart Shaped Pink Velvet Cake with Cream Cheese Frosting, leave a comment down below! We love hearing from you and answering any questions you might have! Also, be sure to tag us on social media and hashtag it #BakersTable.
Happy baking!
x, Caylie

Vintage-Style Heart Shaped Pink Velvet Cake with Cream Cheese Frosting
Ingredients
Cake
- 1½ cups all purpose flour*
- 1 teaspoon baking powder
- ⅜ teaspoon baking soda
- ¾ tsp vanilla powder
- 1 cup buttermilk, room temperature
- 2 teaspoons distilled vinegar
- 6 Tablespoons salted butter, room temperature
- 1 cup granulated sugar
- 1⅓ tsp rose pink food coloring
- 2 drops hot pink food coloring
- 2 large eggs, room temperature
Frosting
- 16 ounces cream cheese, room temperature
- 4 Tablespoons salted butter, room temperature
- 1½ cups powdered sugar, sifted
- ¾ teaspoon vanilla powder
- 1 drop hot pink food coloring
Instructions
Cake
- Heat oven to 350℉.
- Spray three 6 inch pans with baking spray. Set aside.
- In a small bowl, whisk flour baking powder, baking soda, and vanilla powder together. Set aside.
- With an electric mixer, beat butter and sugar until light and fluffy, about 2-3 minutes.
- Mix in food coloring.
- Add eggs, one at a time.
- Beat until light and fluffy, about 1-2 minutes.
- Add flour mixture alternately with buttermilk, beginning and ending with flour mixture.
- Stir in vinegar.
- Divide evenly among prepared pans.
- Tap to level.
- Bake for 24 minutes, or until cake tests done.
Frosting
- In the bowl of an electric mixer fitted with the paddle attachment, beat cream cheese and butter until smooth, about 2-3 minutes.
- Add powdered sugar and vanilla powder.
- Stir slowly to incorporate.
- Increase speed and beat until light and fluffy, about 2-3 minutes.
- Mix in food coloring.
Putting it together
- Level cake layers, if needed.
- Place one cake layer on cake plate and spread with a layer of frosting.
- Repeat with second layer.
- Add third layer.
- Frost entire cake.
- Decorate as desired.
Notes + Tips!
- When dividing the cake batter, it’s best to use a ladle and a scale to help ensure each cake layer is even!
- If you’re unsure if the cake is baked, you can use a cake tester or a toothpick to test the cakes. If it comes out clean, the cake is fully baked!
- Let the cake layers cool COMPLETELY before assembling the cake.
- Depending on how the cakes bake, you may or may not need to level the cake layers.
- If you’d like, when frosting this cake, you can do a crumb coat to help ensure a clean and crumb-free frosting.
- To get clean slices, wipe your knife after each cut!
- Room temperature is about 70℉.
- Use an oven thermometer to ensure accurate cooking temperatures.
Tools You May Need (affiliate links)
– Still Hungry? –
Here are a few recipes may like!