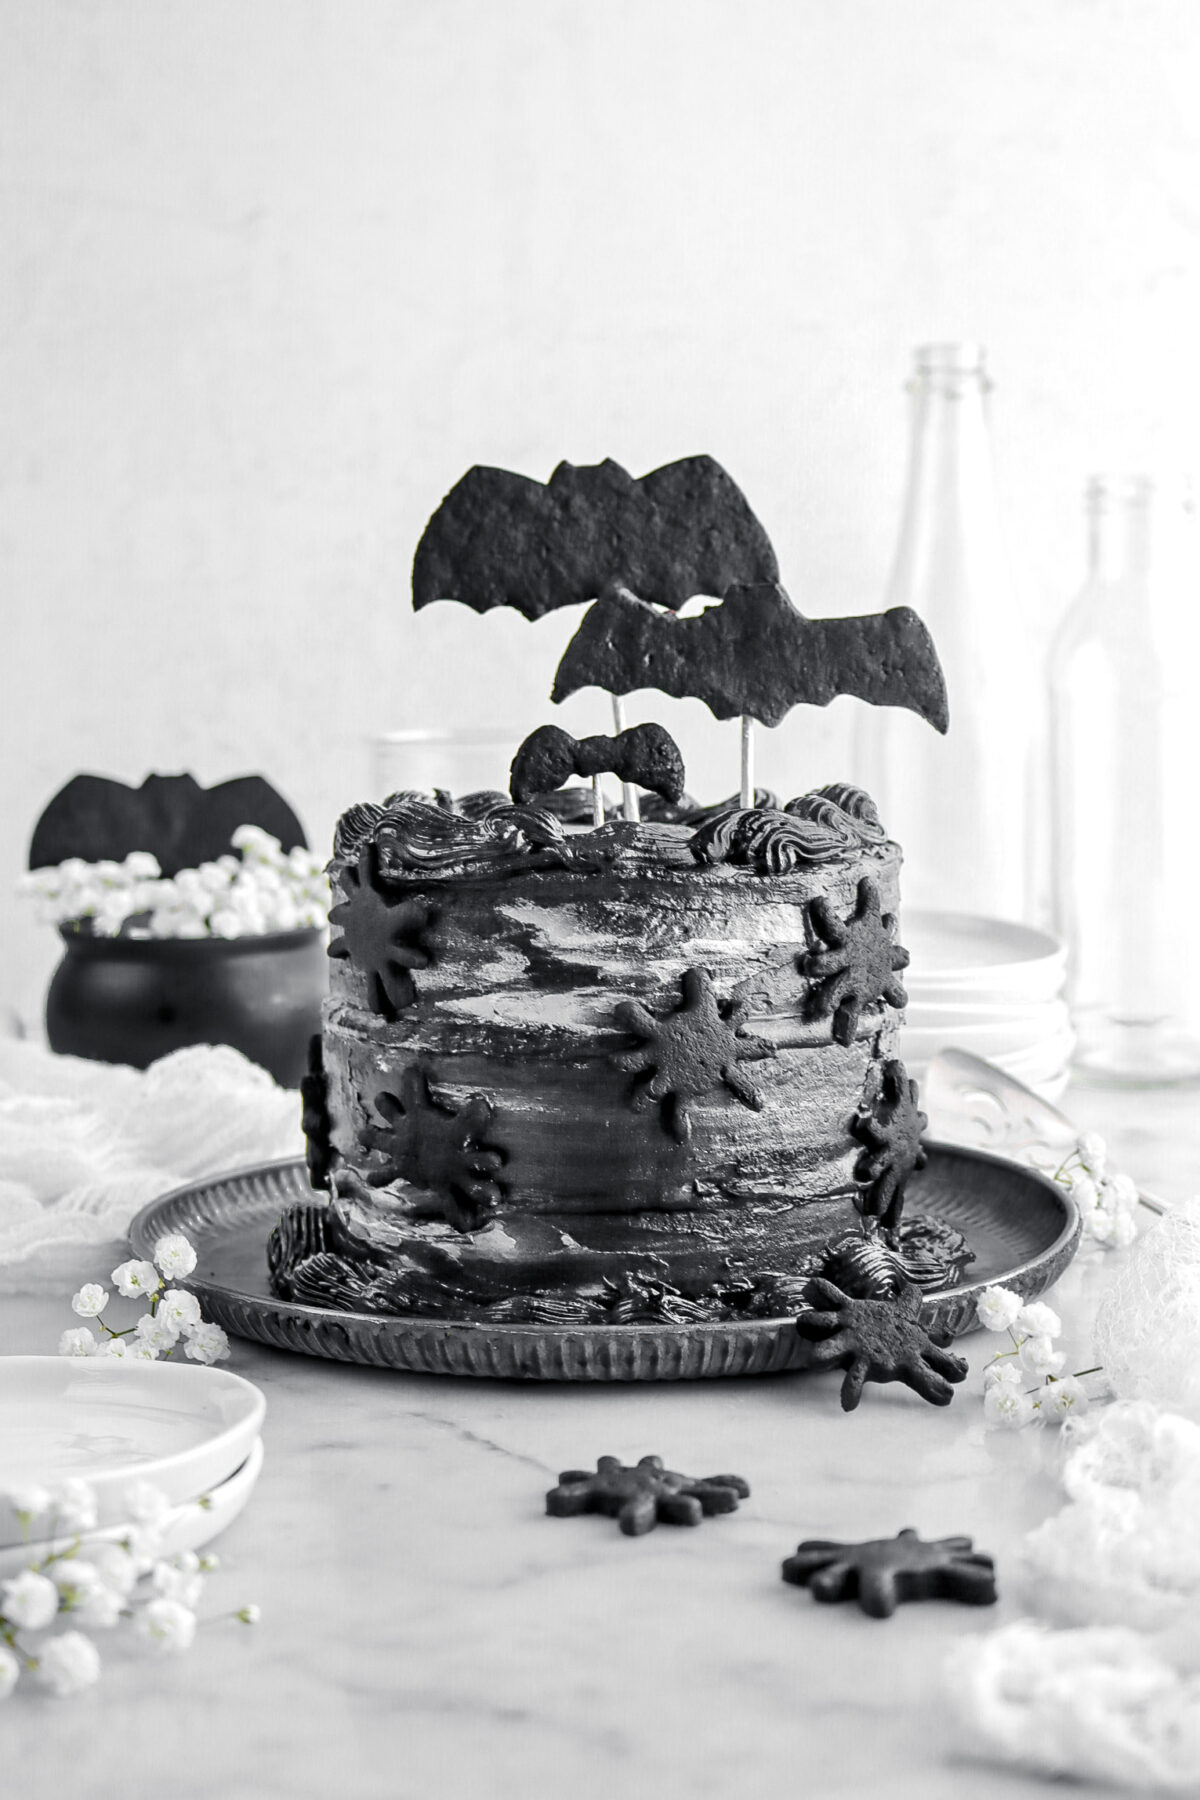
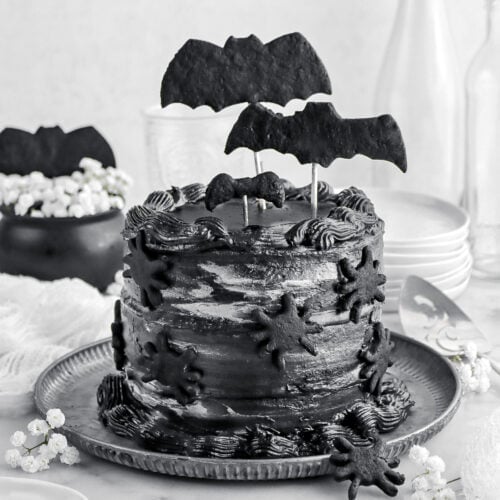
Spooky Black Velvet Halloween Cake
This post may contain affiliate links, please visit our privacy policy for details.
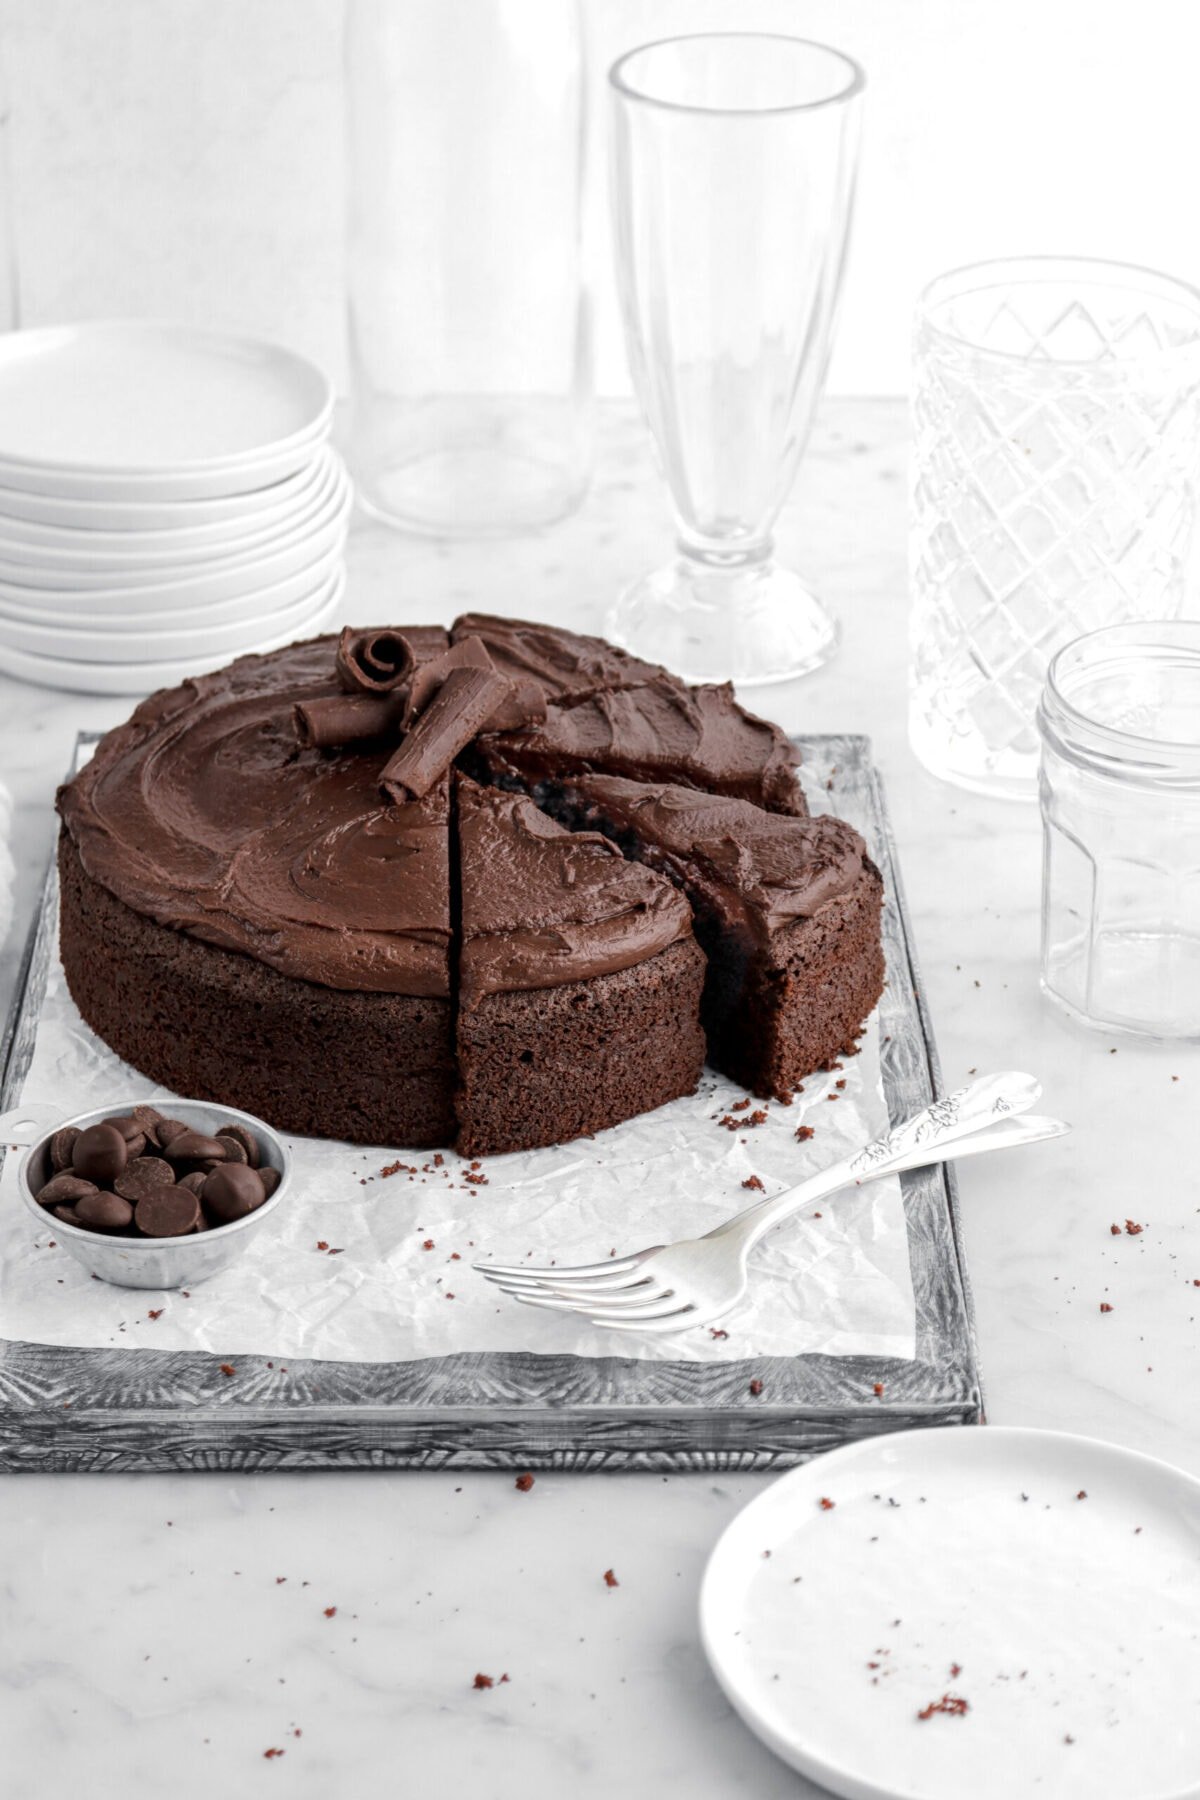
Get into the spooky spirit with this decadent and moist Black Velvet Halloween Cake! It’s so terrifyingly delicious that you’ll find yourself always wanting more. A tender and moist chocolate cake, made with black cocoa powder to naturally dye the cake black, and finished with the easiest buttercream frosting. Though, the goodness doesn’t just stop there. This cake can be decorated in almost any way to fit your Halloween theme. It’s so simple, it’s almost like magic!

About The Recipe
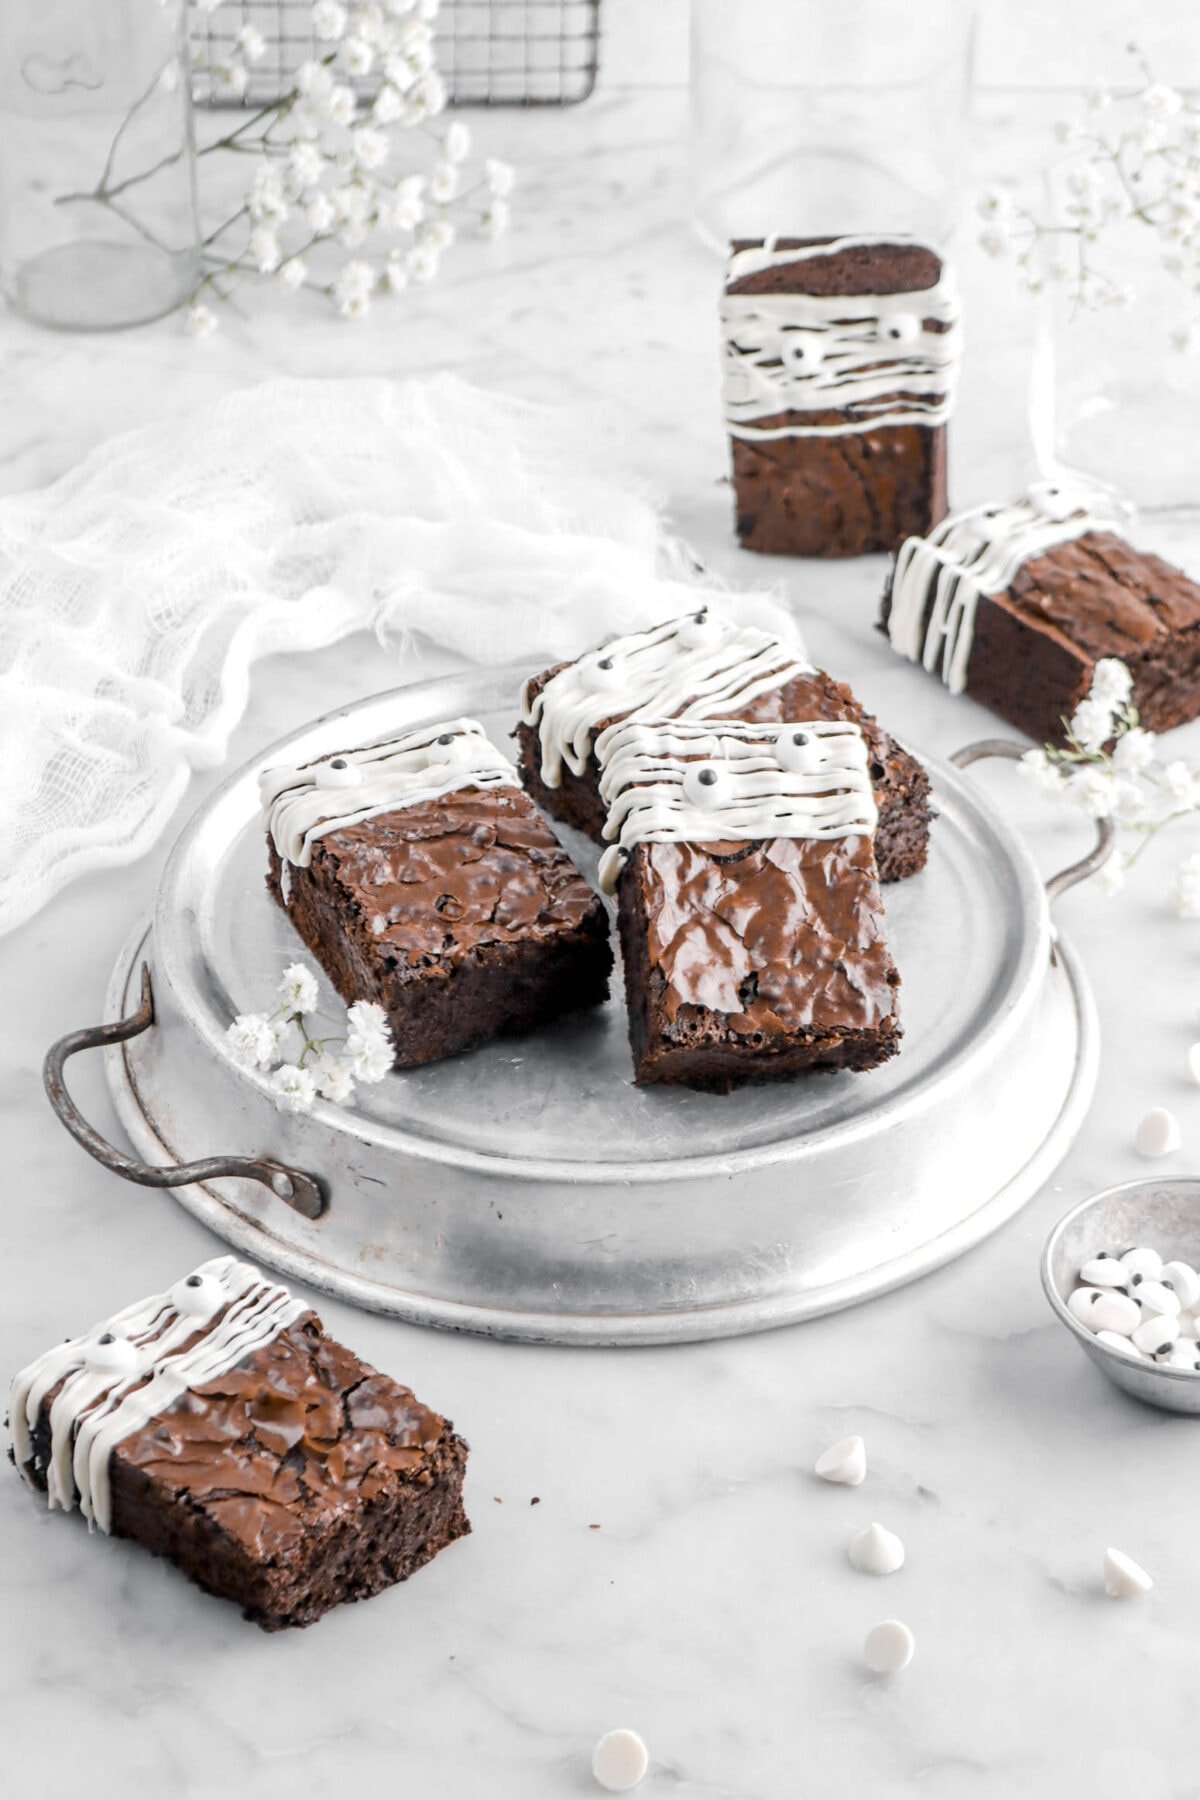
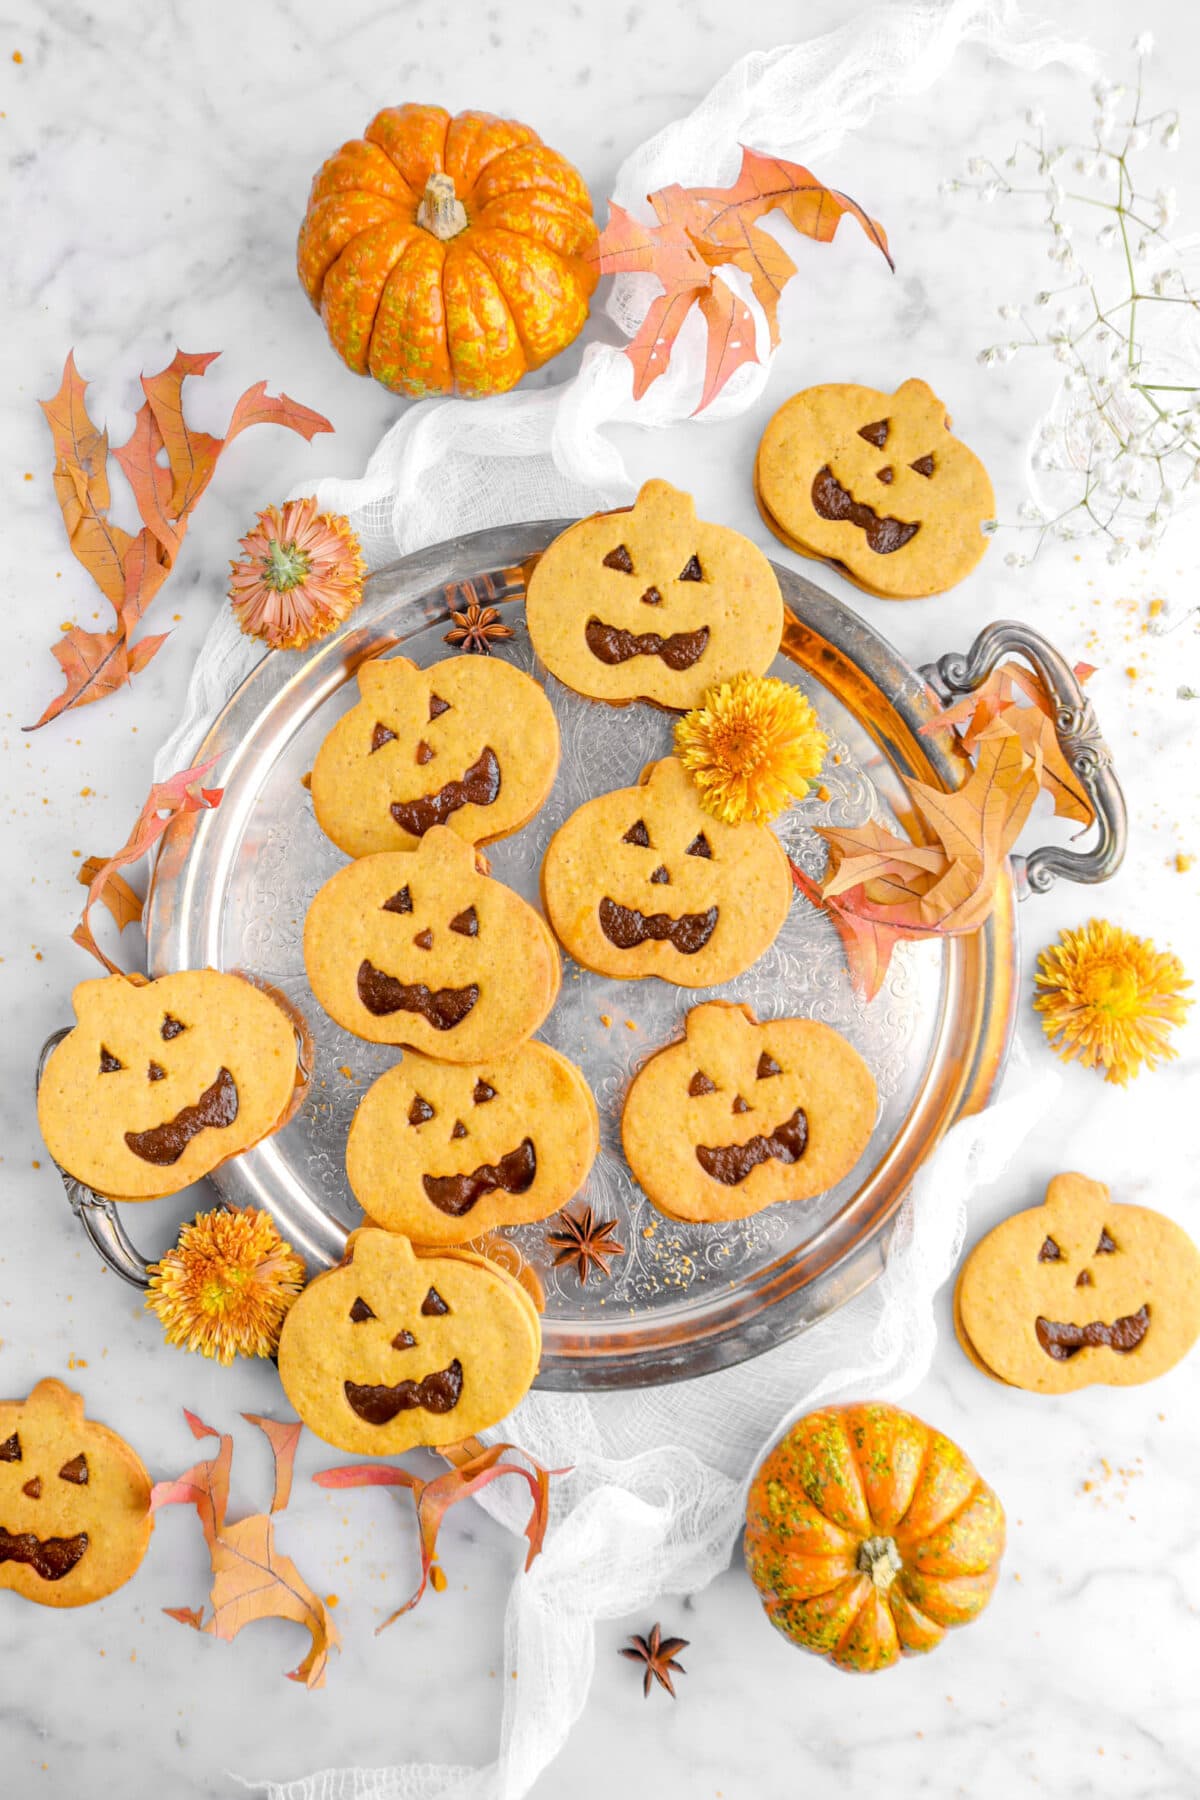
There is a chill in the air and we’re a little over a week away from Halloween. My mom and I have had SO many ideas for Halloween treats this year to share with you all. From simple treats like our Monster Cookies to more elegant, and dare I say…spooky treats like this cake!
And while we have so ideas, I think this cake might just be one of my absolute favorites thus far.

A few nights ago, my mom and I watched the newest Haunted Mansion. Between you and me, I was skeptical. I adore the 2003 film and didn’t think I would enjoy the new one (I mean, I just have SO much nostalgia for the OG film!).
I was SO wrong. Within minutes of the movie starting, I was sucked in. It gave me so much inspiration for this cake!
I wanted to make something that was truly spooky, but still pretty.
So, we whipped up some cookies, bought some edible glitter, and went to decorating! It honestly was such a breeze to decorate. We had so much fun!
And, I honestly think that it came out SO CUTE.

Just think, three layers of rich, moist, and easy-to-make chocolate cake (all you need is a bowl and a whisk!) and frosted with a silky smooth chocolate buttercream.
The best part? This cake is made with simple ingredients, naturally dyed black, and comes together in less than an hour.
It’s a cake that is sure to impress, while being so simple that it seems almost like magic.
What is Black Velvet Cake?
A black velvet cake is like a delicious cross between a rich and deep dark chocolate cake and a red velvet cake. It’s kind of the best of both worlds! Though, the secret to it’s deep color is not food coloring, but actually black cocoa powder.
This is what adds the deep and rich chocolate flavor, while also naturally coloring the cake (and frosting!).
Reasons You Will Love This Black Velvet Cake
- A chocolate lovers dream cake!
- Perfect for Halloween.
- So much easier to make than you might think.
- Comes together in less than an hour!
- Every bite is tender, moist, extra chocolate-y, and SO. GOOD.

Ingredients
Full ingredient amounts and instructions can be found in the recipe card at the bottom of the post.
For The Cake:
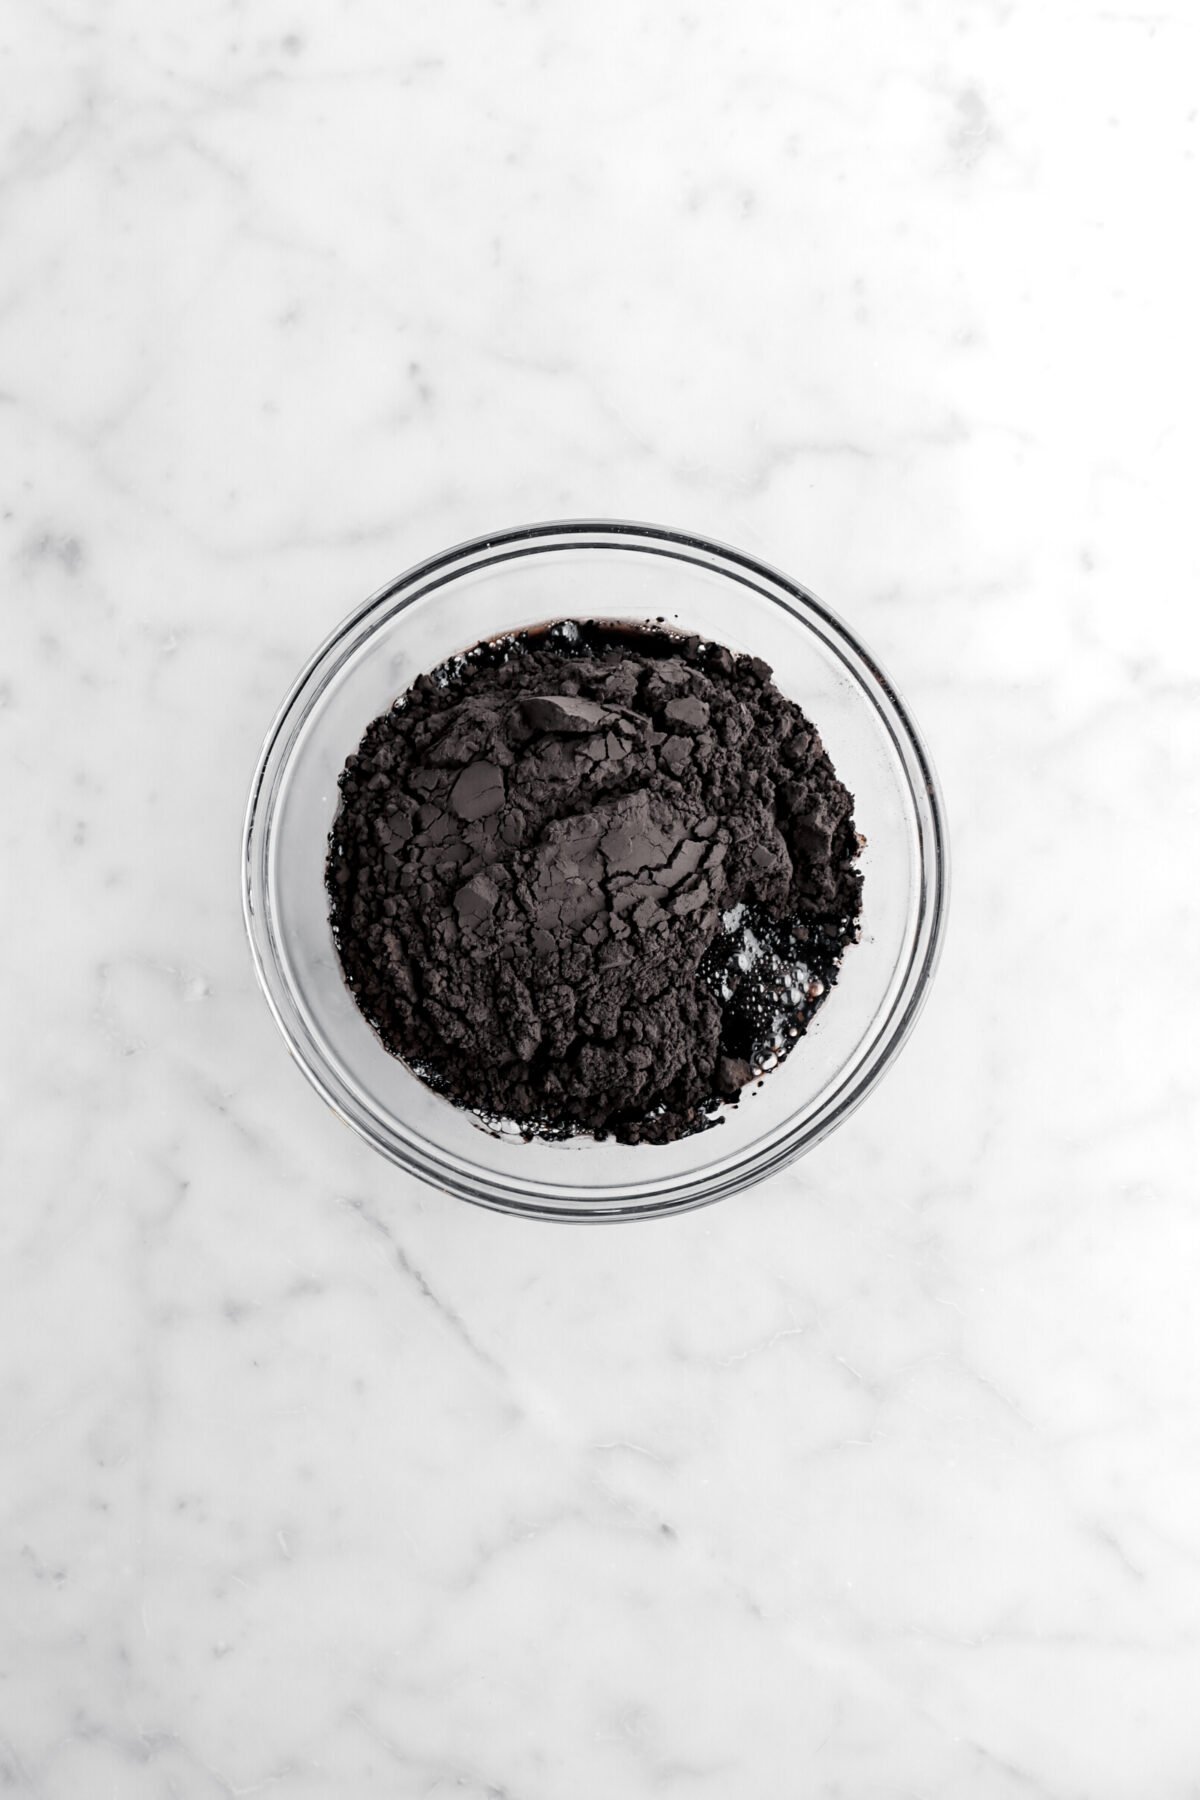
- Black Cocoa Powder – This is the secret to this utterly delicious cake. Not only does this add a rich and decadent chocolate flavor, but it also naturally dyes this cake black!
- Boiling Water – To intensify the chocolate flavor, we bloom the cocoa powder.
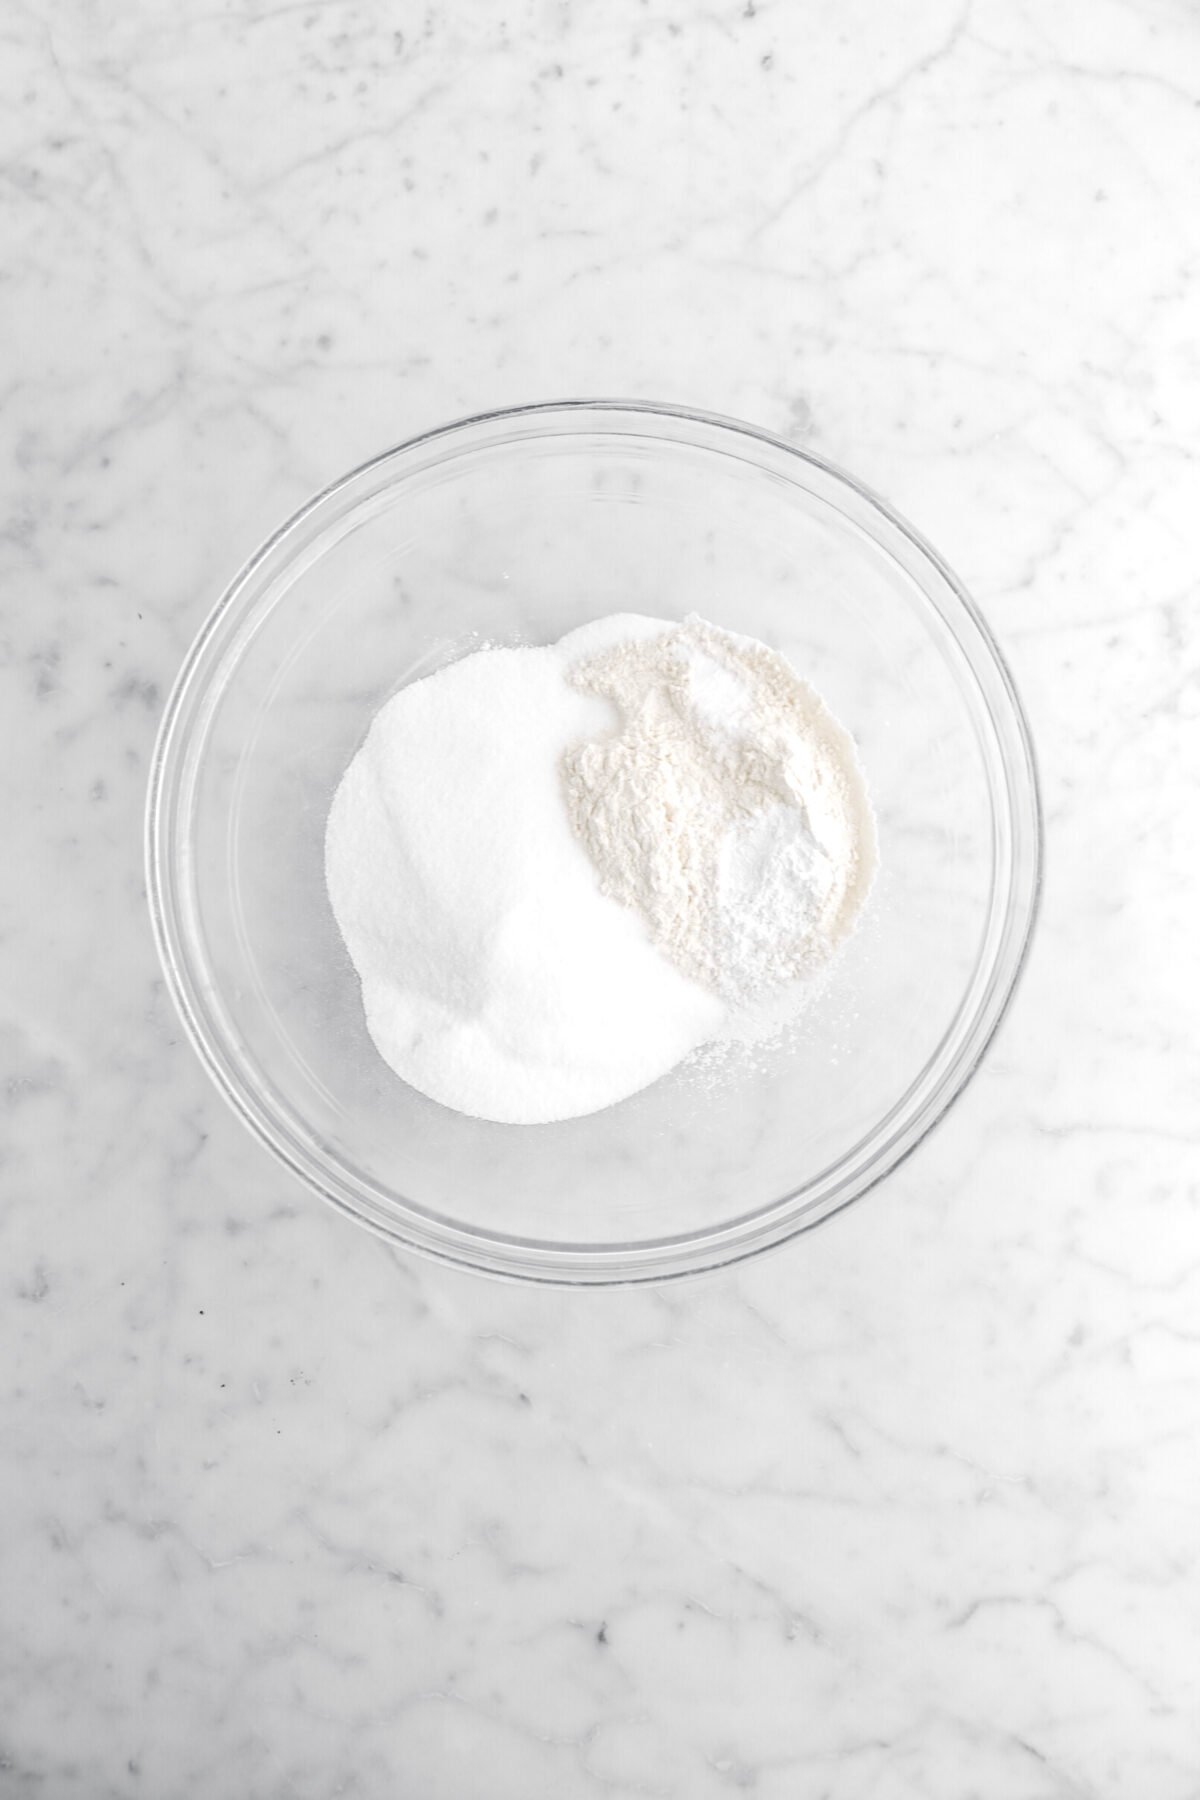
- All-Purpose Flour – Skip the cake flour! Regular all-purpose flour gives this cake the perfect structure and texture.
- Granulated Sugar – Gives this cake just the right amount of sweetness.
- Baking Powder – Leavening is essential in baking! This provides the perfect rise in the cake to give is a light, tender, and delicious texture.
- Baking Soda – For this recipe, we add a dash of baking soda to ensure the rise of this cake, as it does have an acidic ingredient!
- Salt – Cuts the sweetness and helps enhance the flavor.
- Large Eggs – Remember to set our your eggs ahead of time to allow them to come to room temperature before mixing.
- Buttermilk – Using buttermilk in a cake does SO MUCH! From creating a more tender crumb, to activating the leavening, and even making the cake itself a little richer.
- Vegetable Oil – Makes this cake extra moist and oh-so tender.
- Vanilla Extract – Adds a depth of flavor to this cake.

For The Frosting:
- Salted Butter – We always recommend that you use salted butter for frostings, as it helps enhance the flavor of the frosting and cuts some of the sweetness. Though, if all you have is unsalted, you can use that. Just add a pinch of salt!
- Powdered Sugar – Be sure to sift the powdered sugar, as lumps in the powdered sugar can mean a lumpy frosting.
- Black Cocoa Powder – Adds an intense chocolate flavor to this frosting, while also coloring it naturally.
- Whole Milk – Using whole milk in this frosting helps loosen it to make it spreadable.
- Vanilla Extract – A splash of vanilla to give this frosting a delicious undertone.

How To Make Black Velvet Cake (Step-by-Step!)
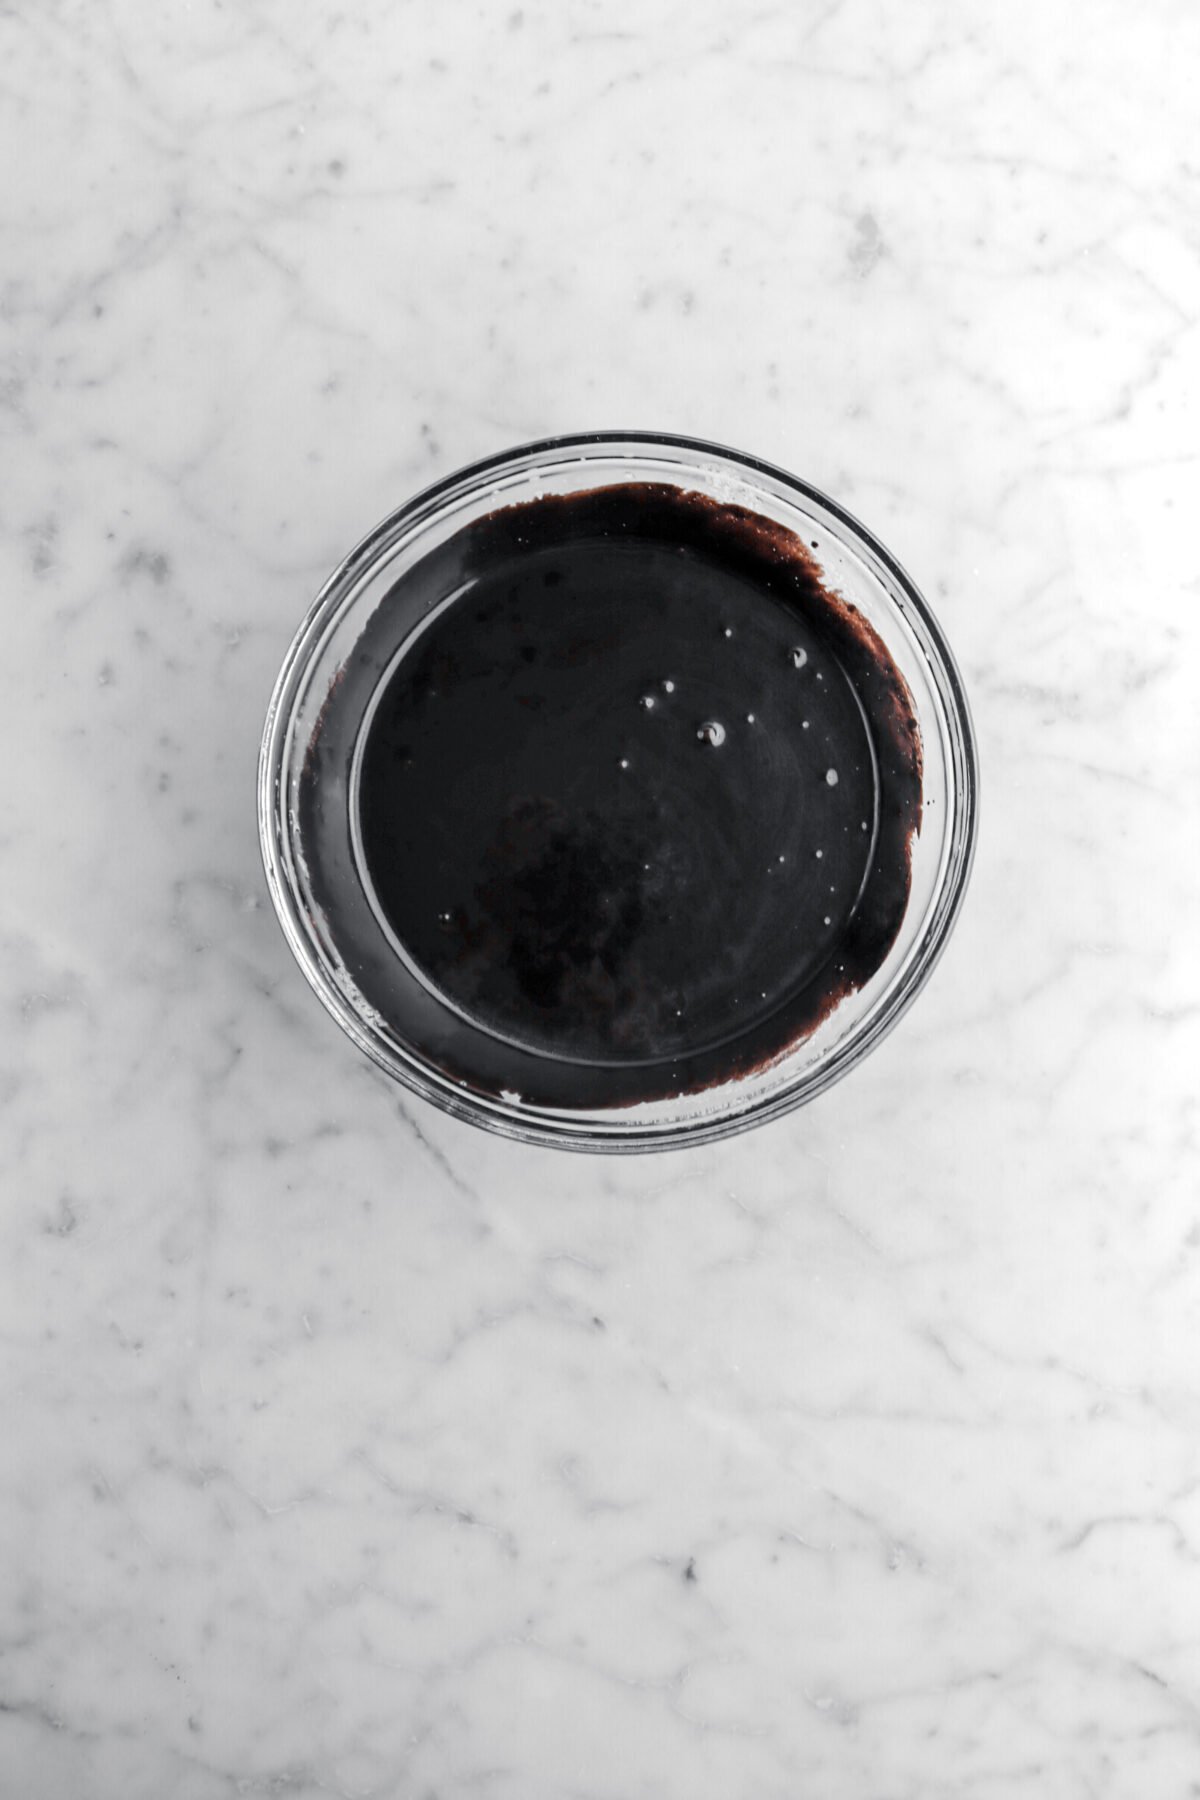
Step 1: Bloom the cocoa
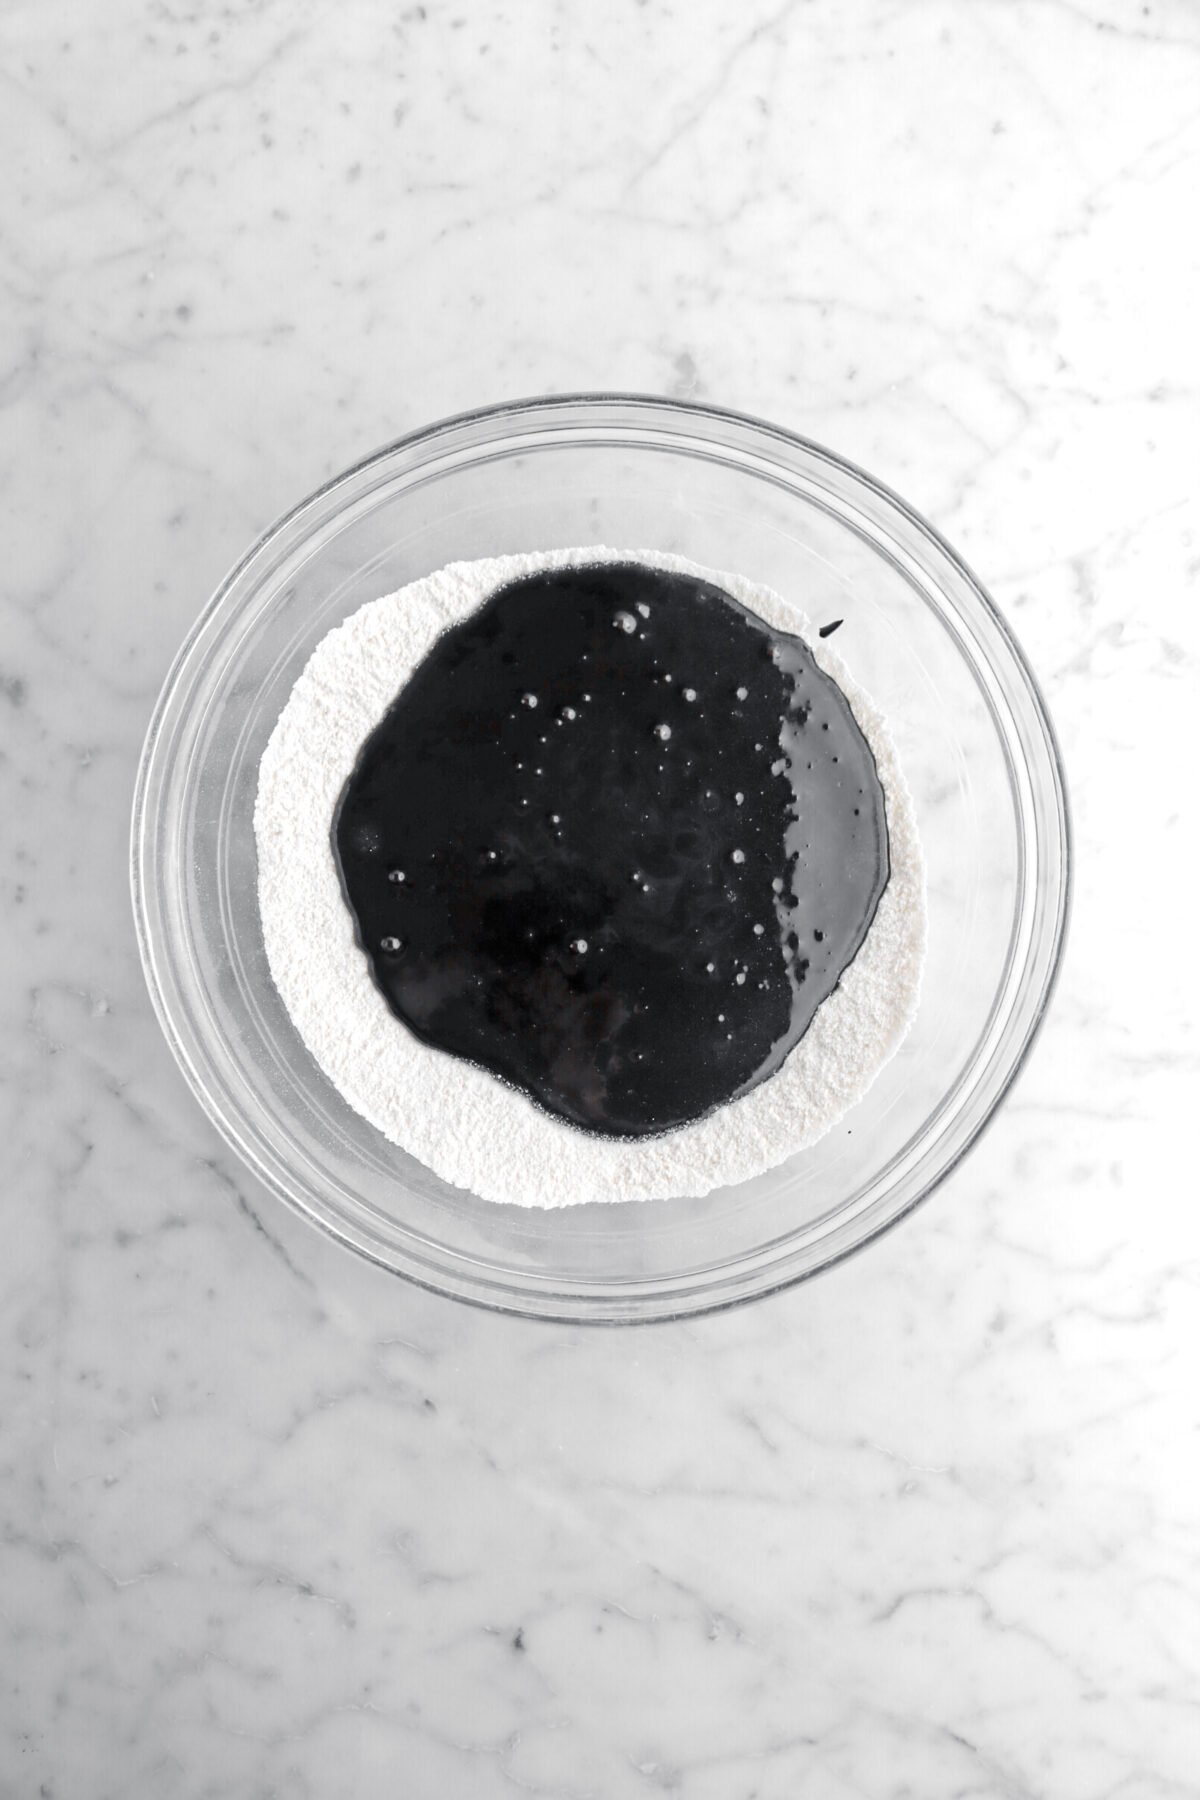
In a small bowl, carefully whisk cocoa and boiling water. Set aside.

Step 2: Prepare batter
In a large bowl, whisk together flour, sugar, baking powder, baking soda, and salt. Set aside.

In a medium bowl, whisk together eggs, buttermilk, oil, and vanilla.


Whisk in bloomed chocolate.

Pour wet ingredients over dry ingredients. Whisk until combined.

Step 3: Bake
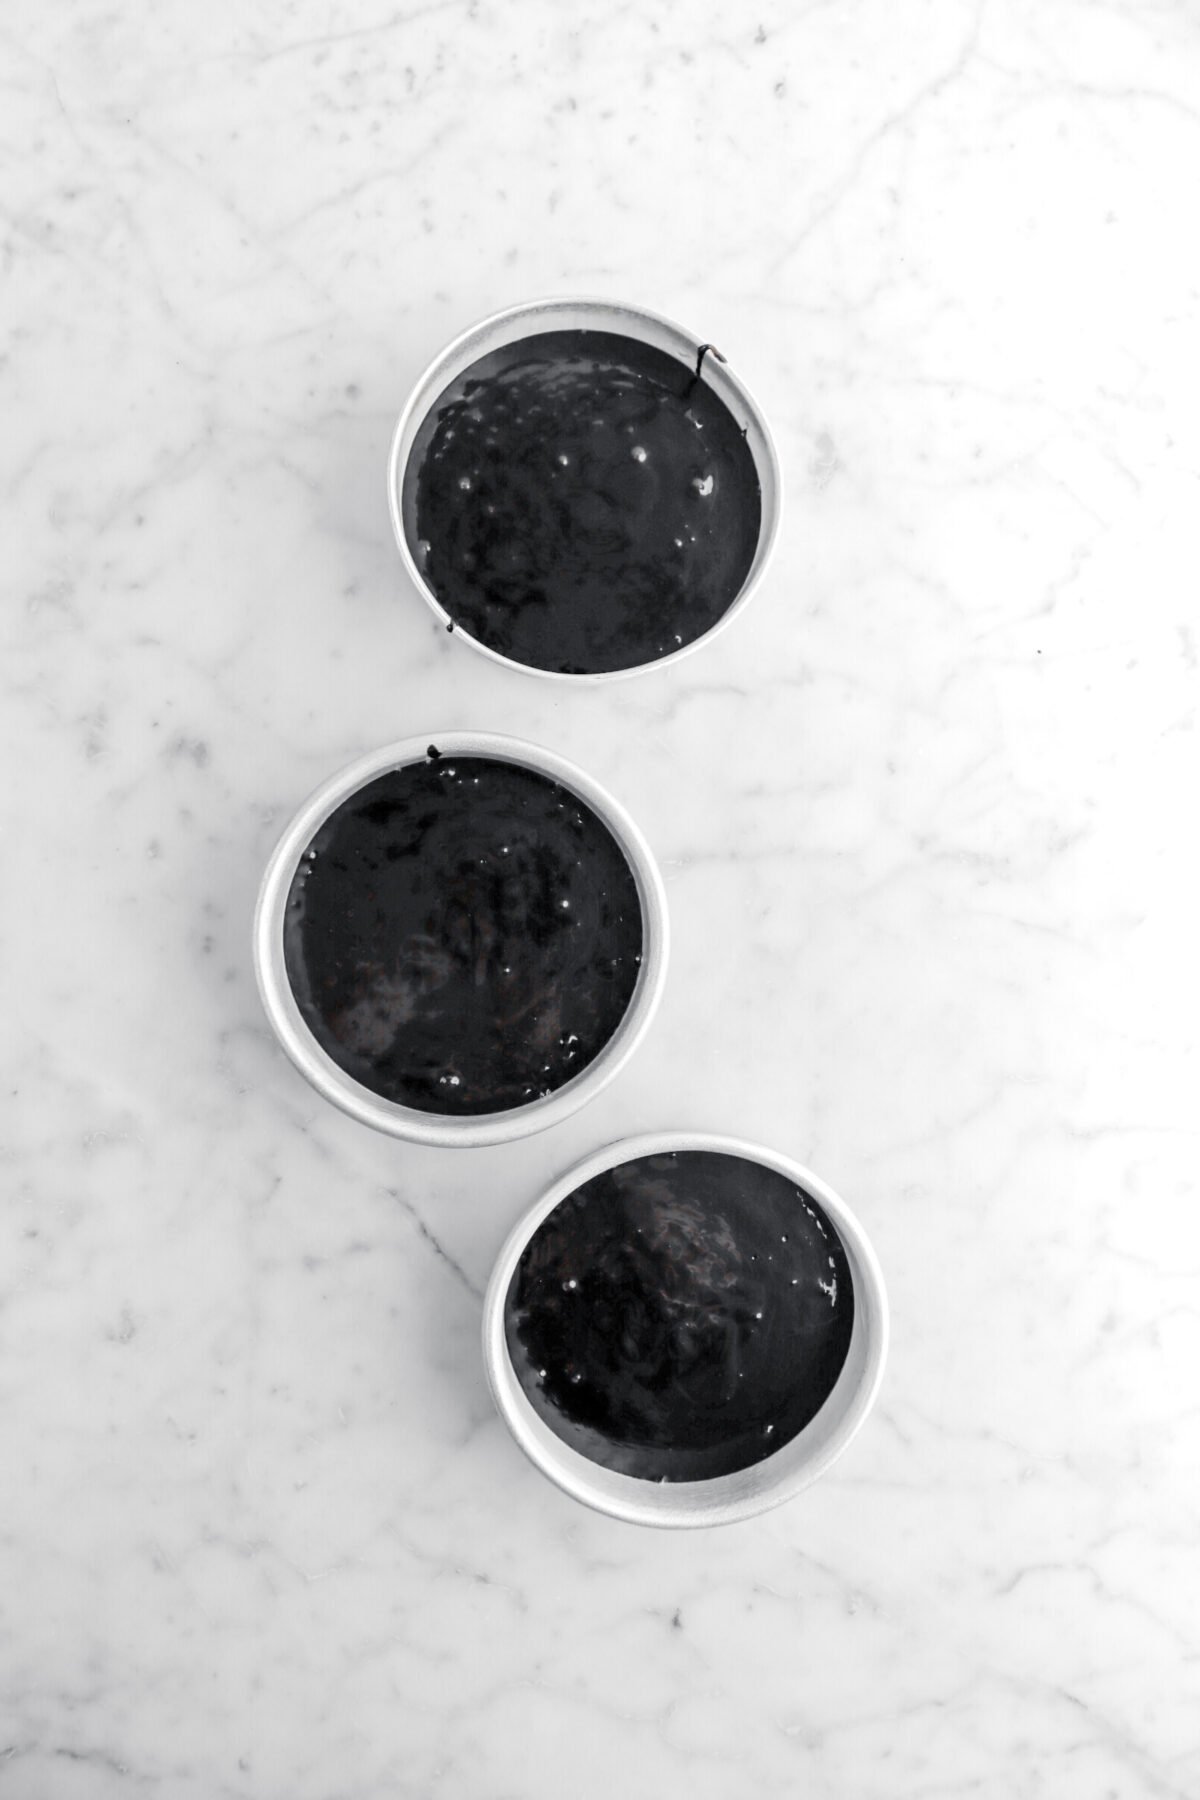
Divide evenly among prepared pans. Bake for 35 minutes, or until cake layers test done.

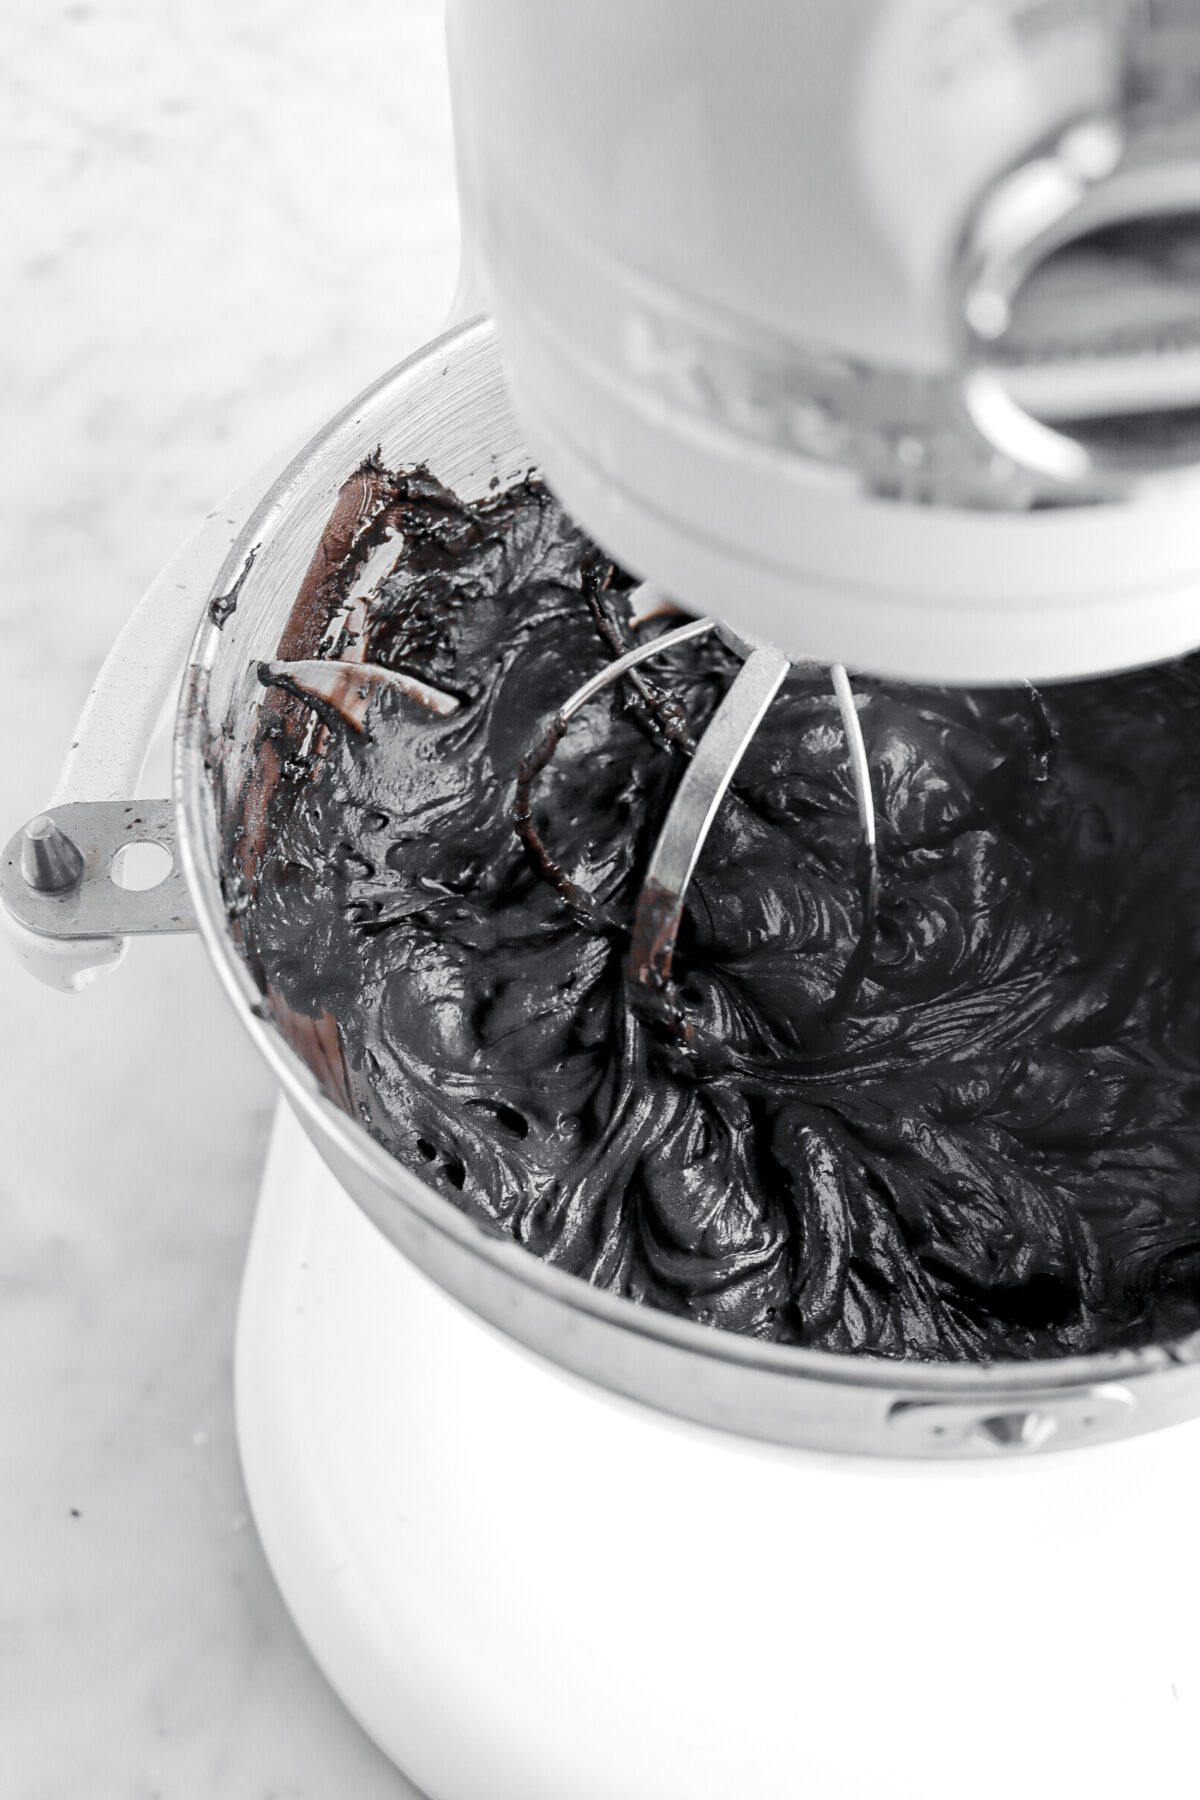
Step 4: Make frosting
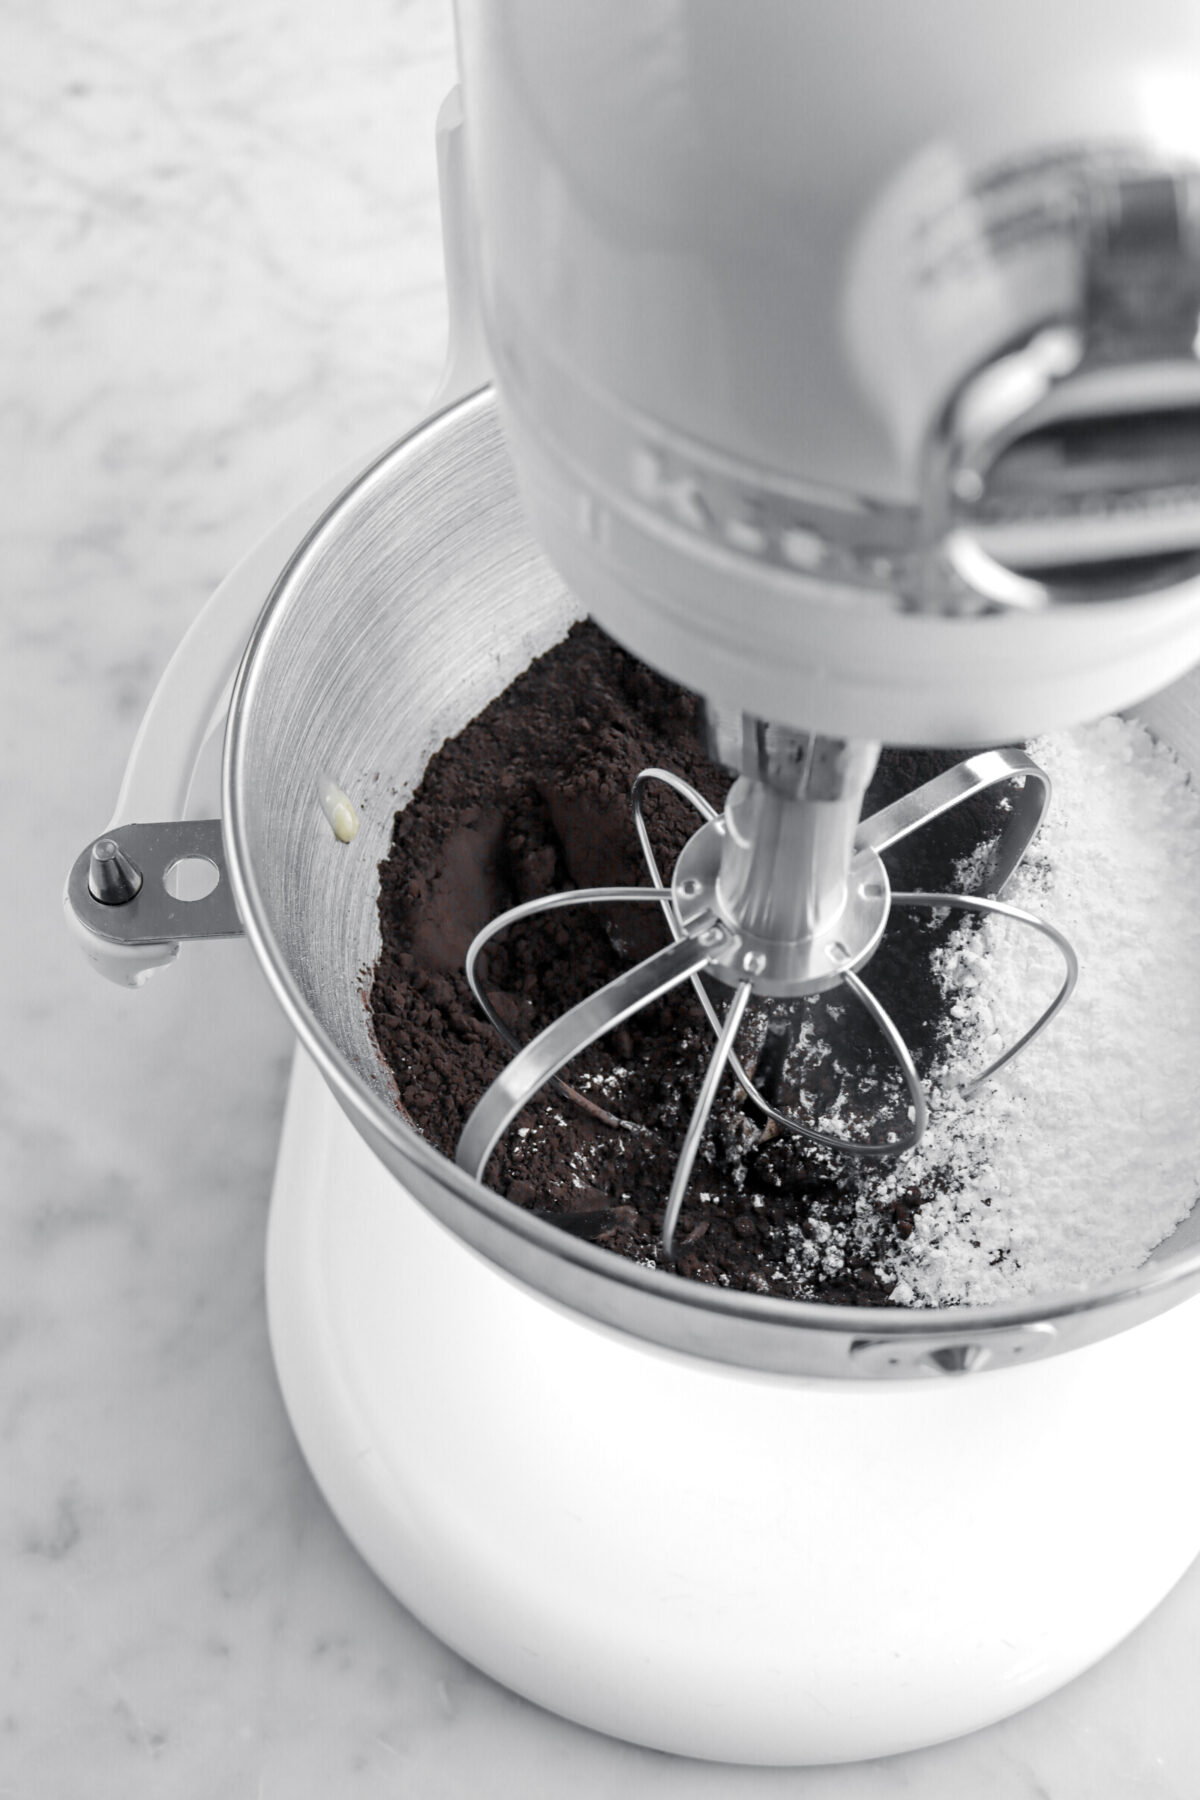
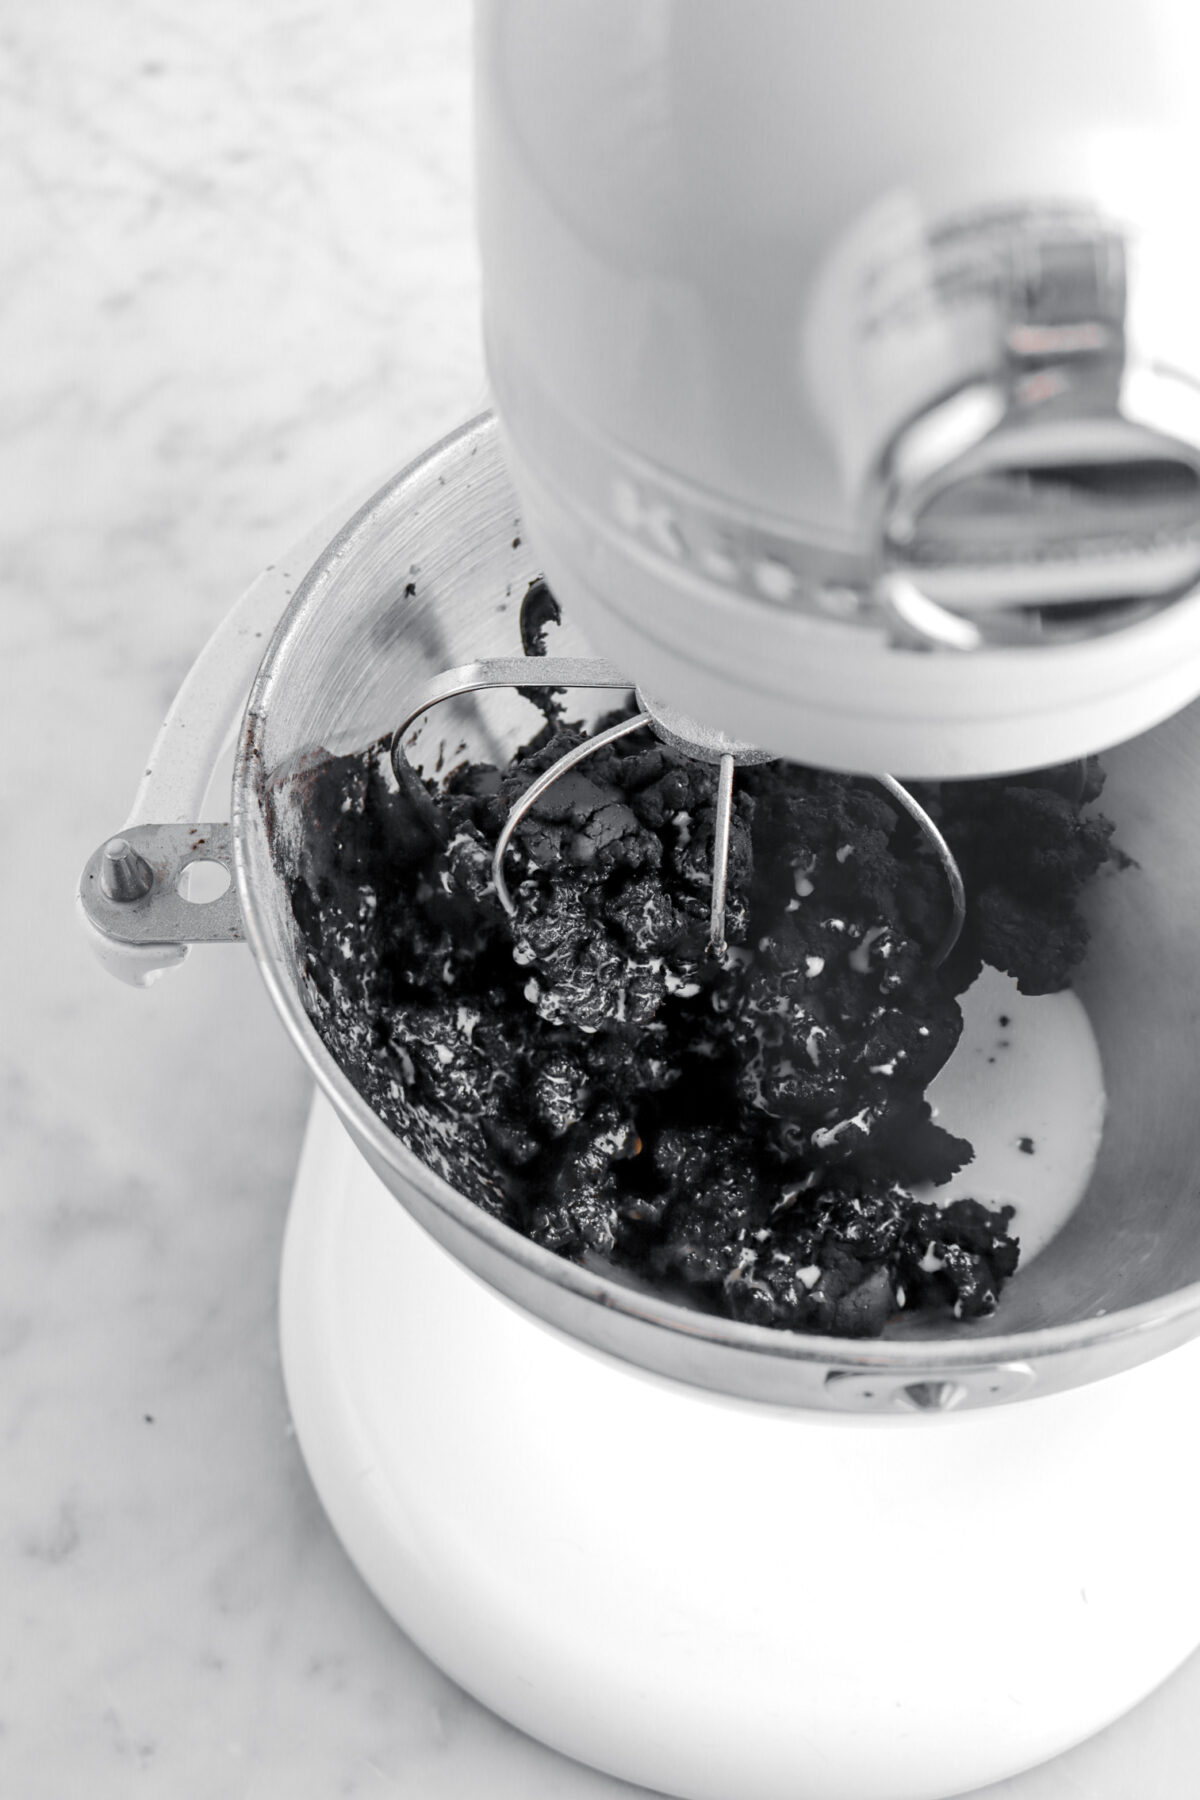
With an electric mixer, beat butter, powdered sugar, and cocoa until combined.

Add milk and vanilla. Beat until light and fluffy.
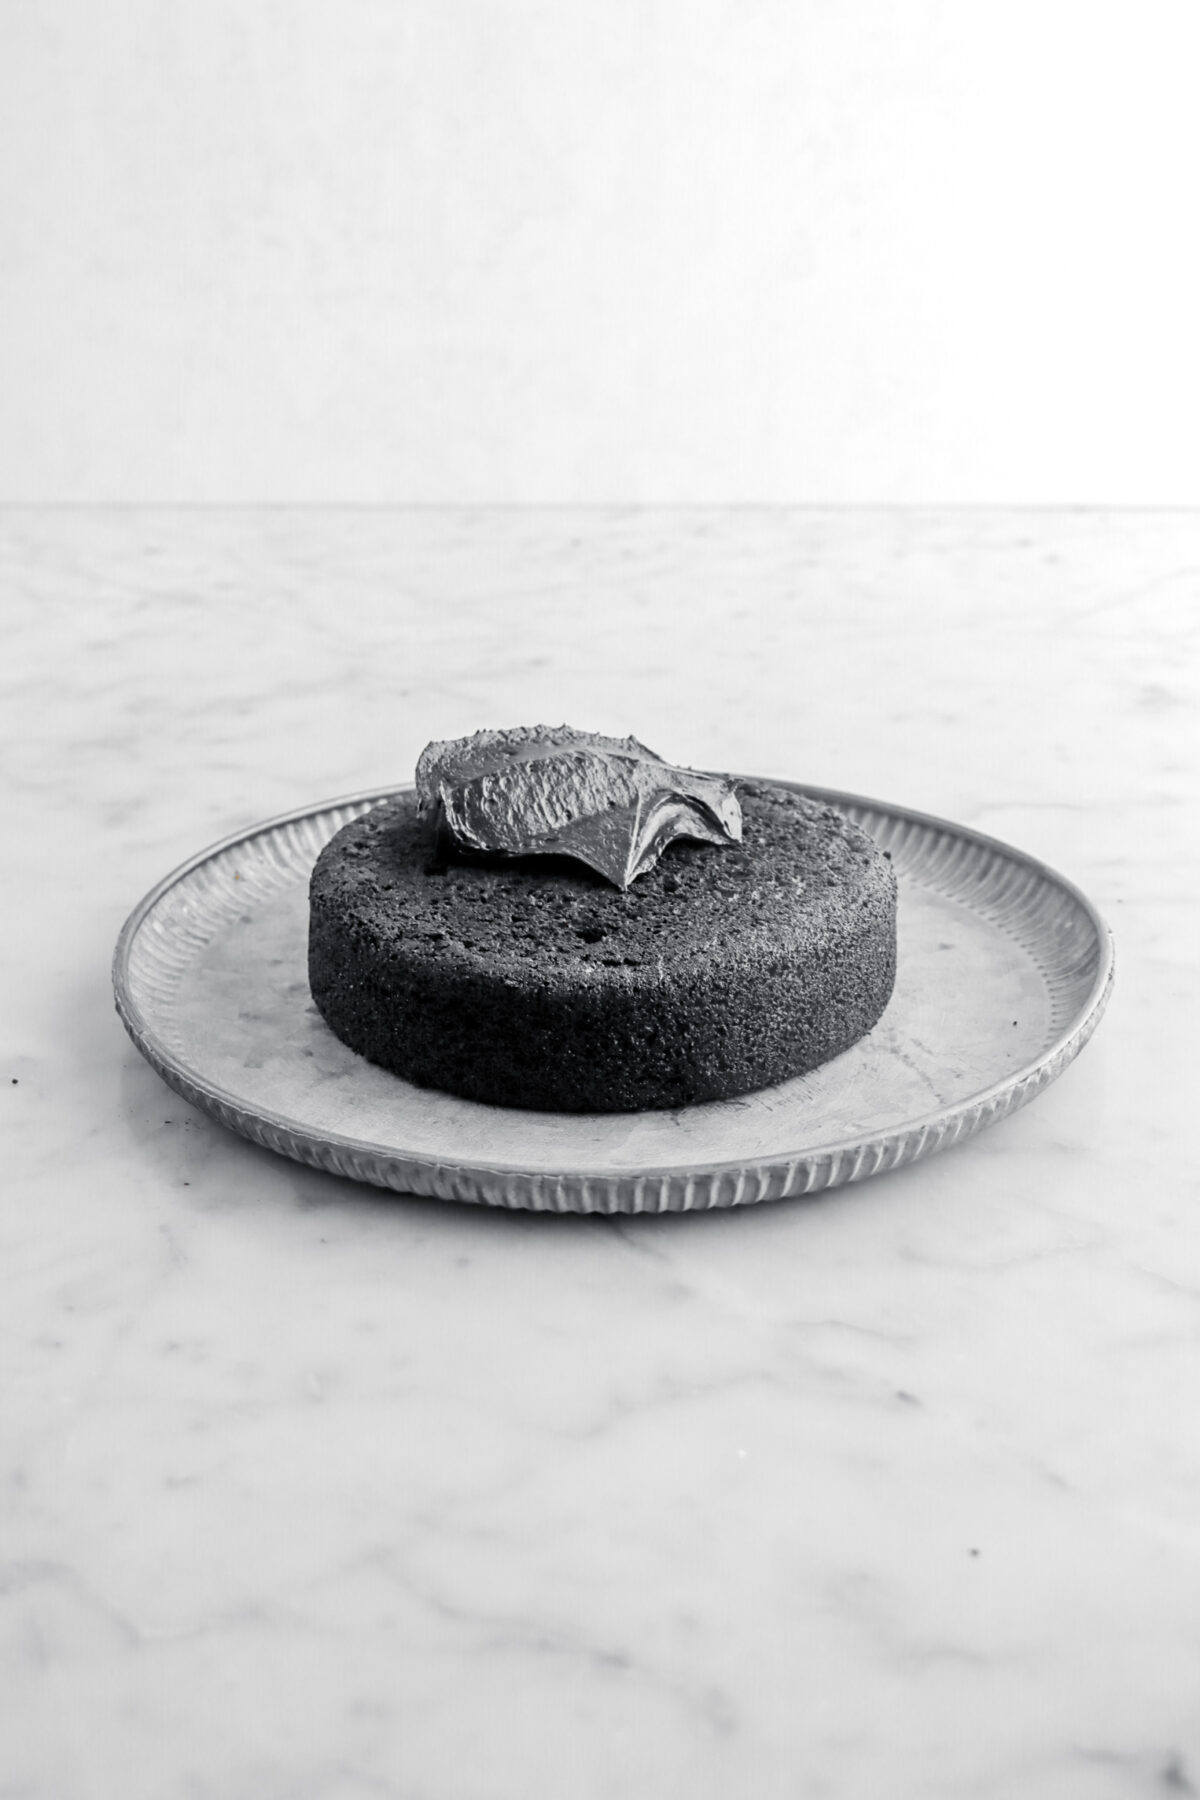
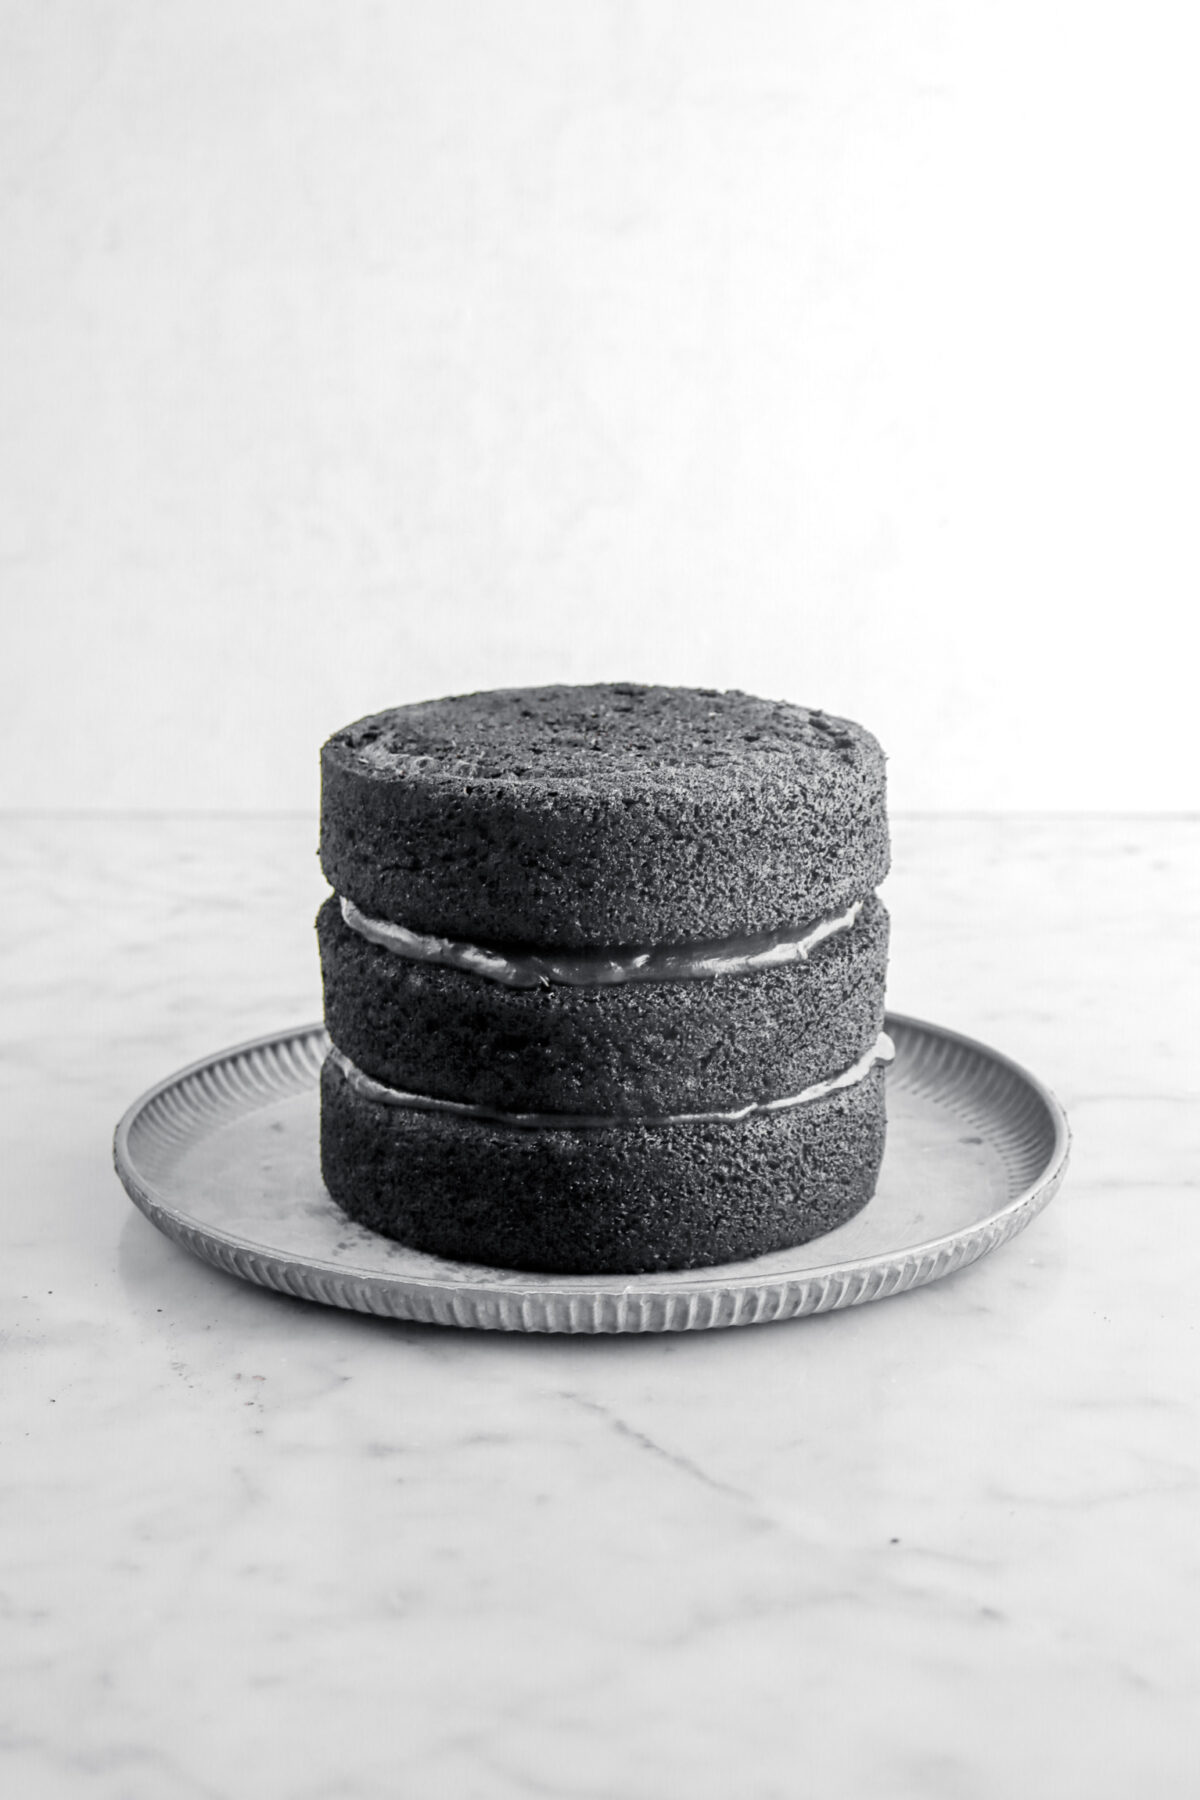
Step 5: Assemble
Level cake layers, if needed. Place one cake layer on cake plate and spread with a layer of frosting.

Repeat with second layer. Add third layer. Frost entire cake. Decorate as desired.

FAQ’s and Troubleshooting
Dryness can be a common issue with baking cakes. It’s either a result of over-mixing or over-baking! Though, keep in mind that under-mixing and under-baking can be equally as bad. So, be sure to follow the directions in the recipe card below (and make sure your oven is at the right temperature!) for the best results in this cake!
If there are lumps of dry ingredients in your batter and/or cake, this is likely due to the dry ingredients not being incorporated properly. Be sure to follow the recipe below for best results!
Tough cake is usually caused by over-mixing, which over-develops the gluten and that leads to a tough, dry, and dense cake.
If your cake didn’t rise, this could be a few things. The most common is that the cake was over-mixed. It could also be that your baking powder is out of date! So, be sure to always check the expiration dates on your ingredients before baking.
Well, this is usually caused the powdered sugar or cocoa powder wasn’t sifted and had lumps in it. A few minutes on high in the mixer should fix this problem!
Definitely! All you need to do is line a muffin pan with cupcake papers and fill each paper about ¾ full. Bake for 20 minutes, or until the cupcakes test done!
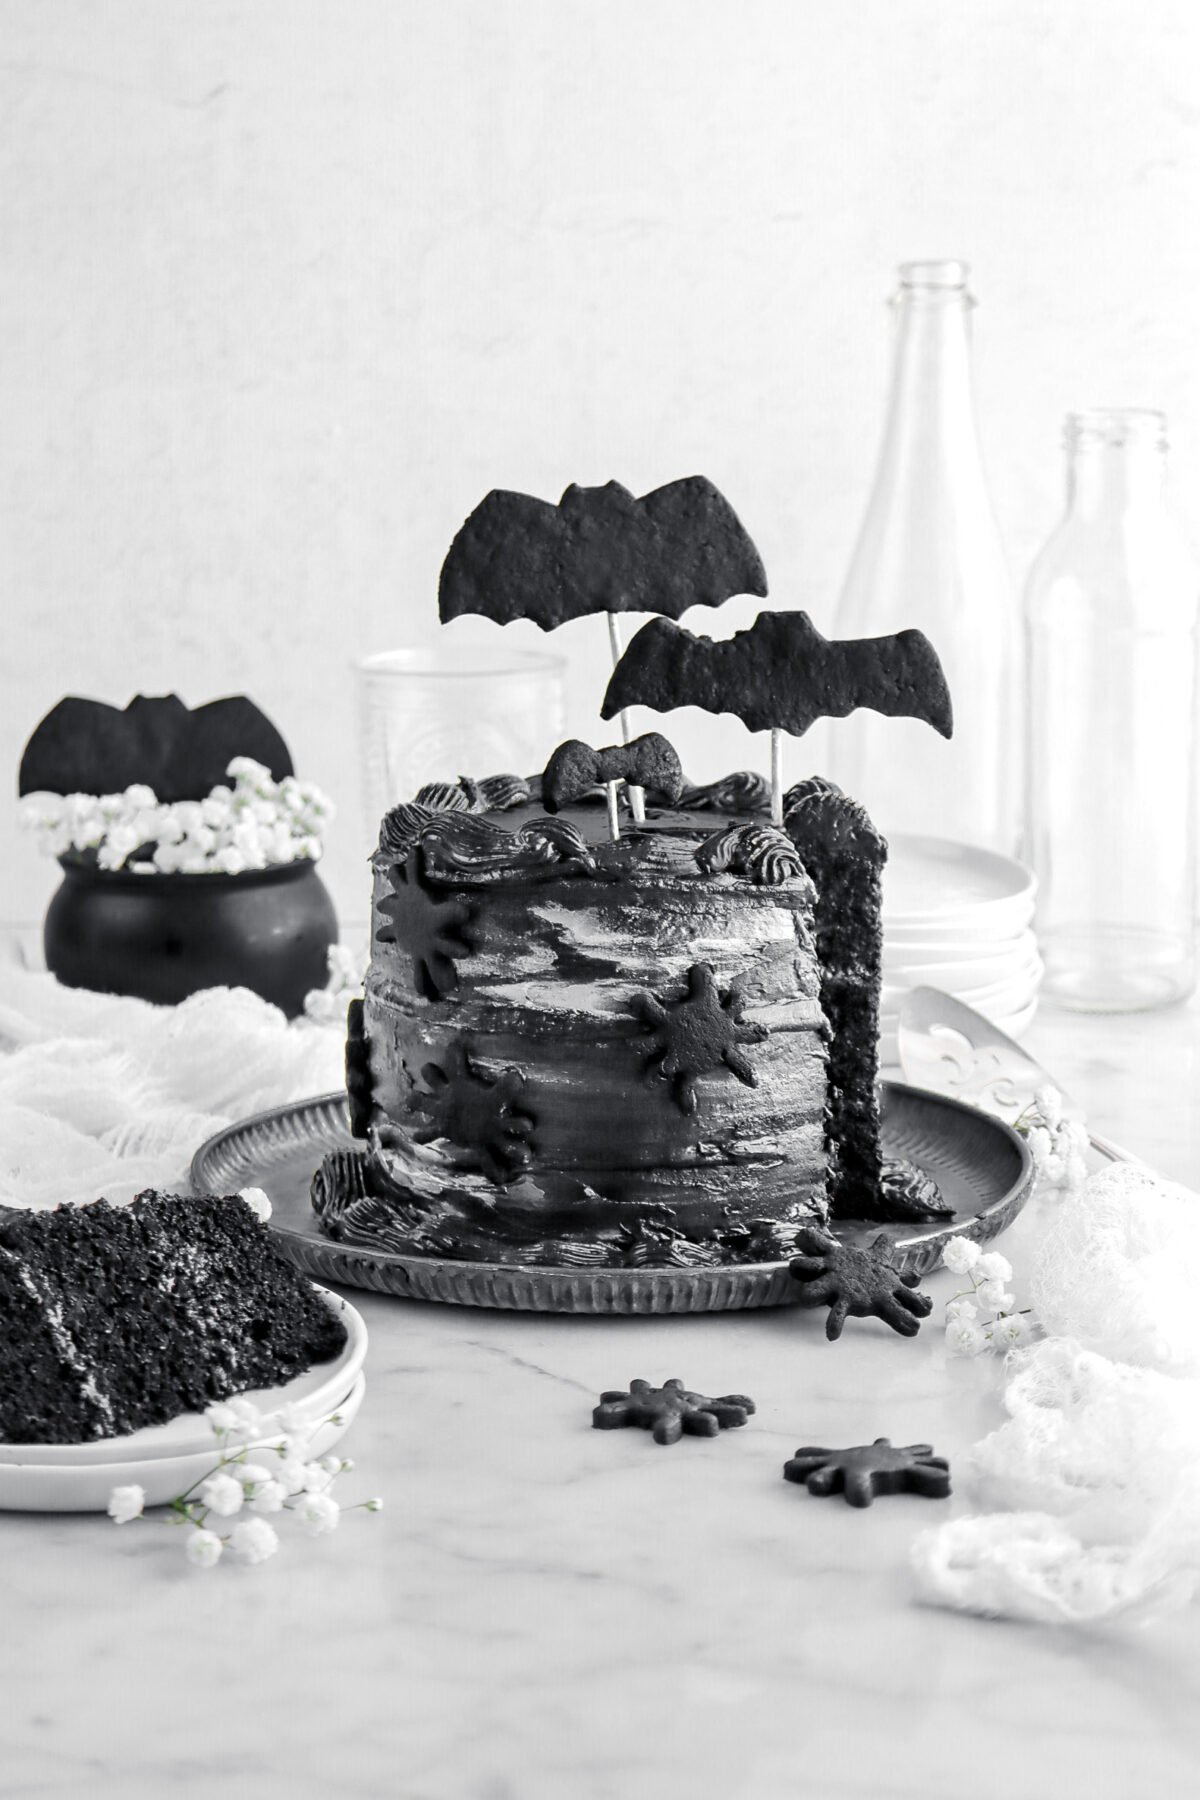
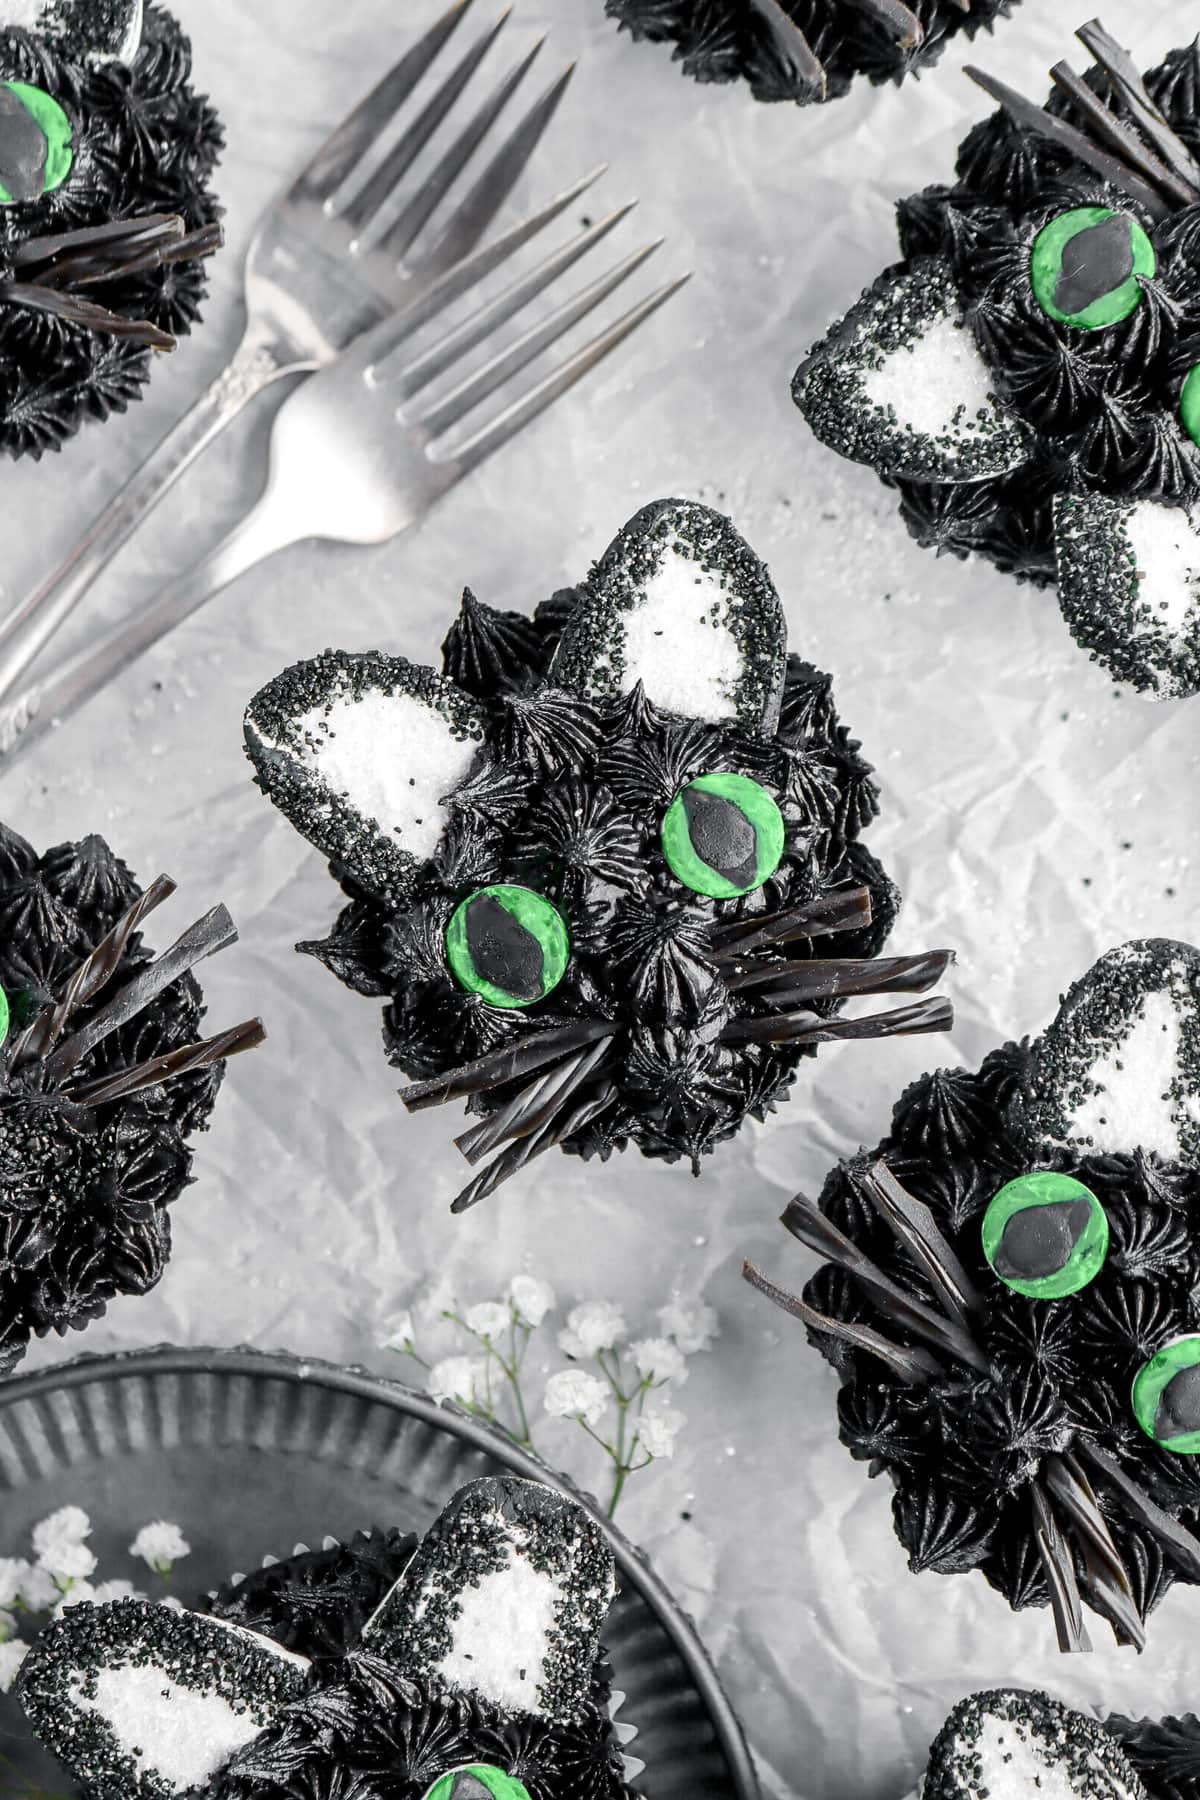
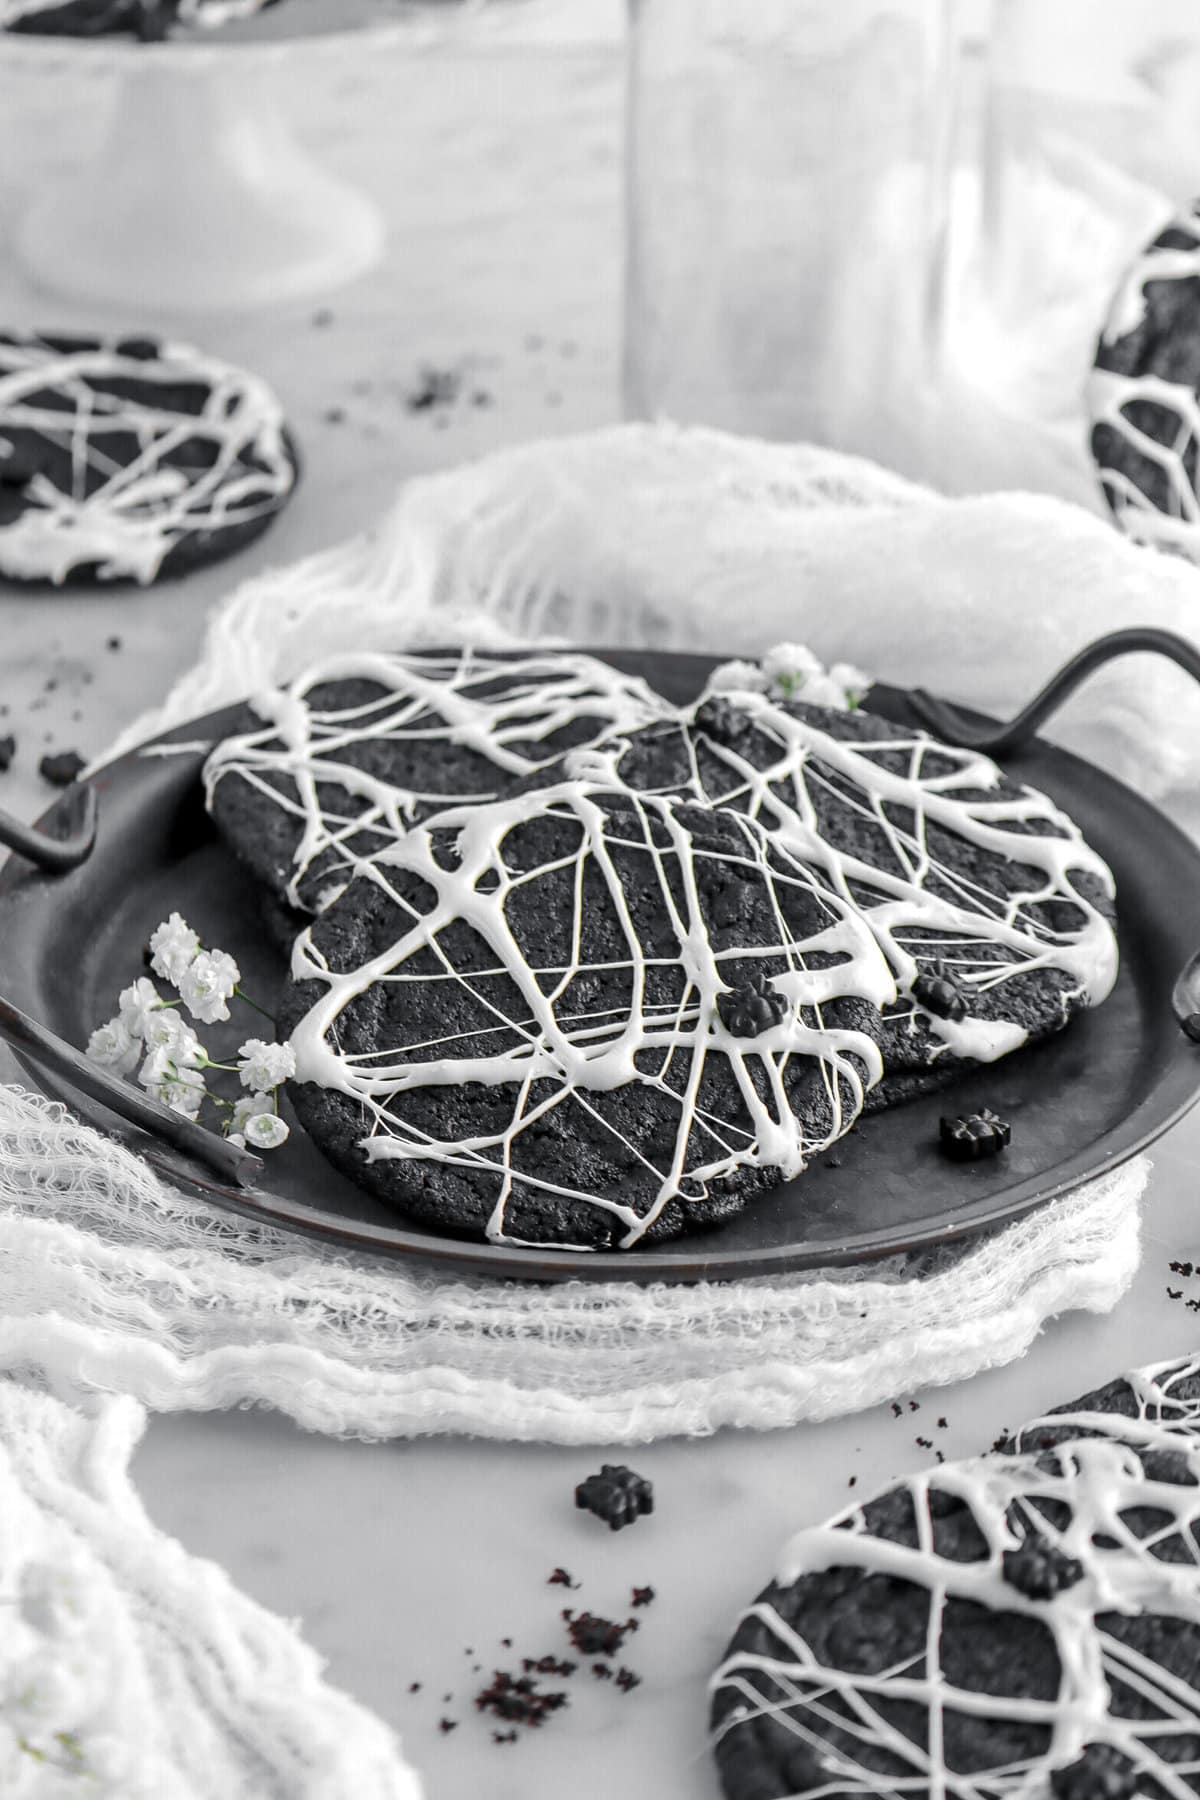
Decorating Ideas
Once this cake is assembled, it is a blank canvas! There are SO many things you can do with this cake, but here are a few ideas to help you get started.
- Make some sugar cookies and use them to decorate the cake!
- Edible glitter adds a fun decorative element.
- Feel free to make some extra frosting to pipe decorations onto the cake.
- Use halloween sprinkles and candy eyes to add a cute and spooky element.
- Melt some marshmallows to create spider webs onto the cake.
How To Store
Since this is a very moist cake, the best way to store it is in a covered cake plate and in the fridge for 5-6 days!
Though, if needed, you can also freeze this cake. You can either freeze the individual layers before assembly or you can freeze individual slices of this cake for up to 2 months.
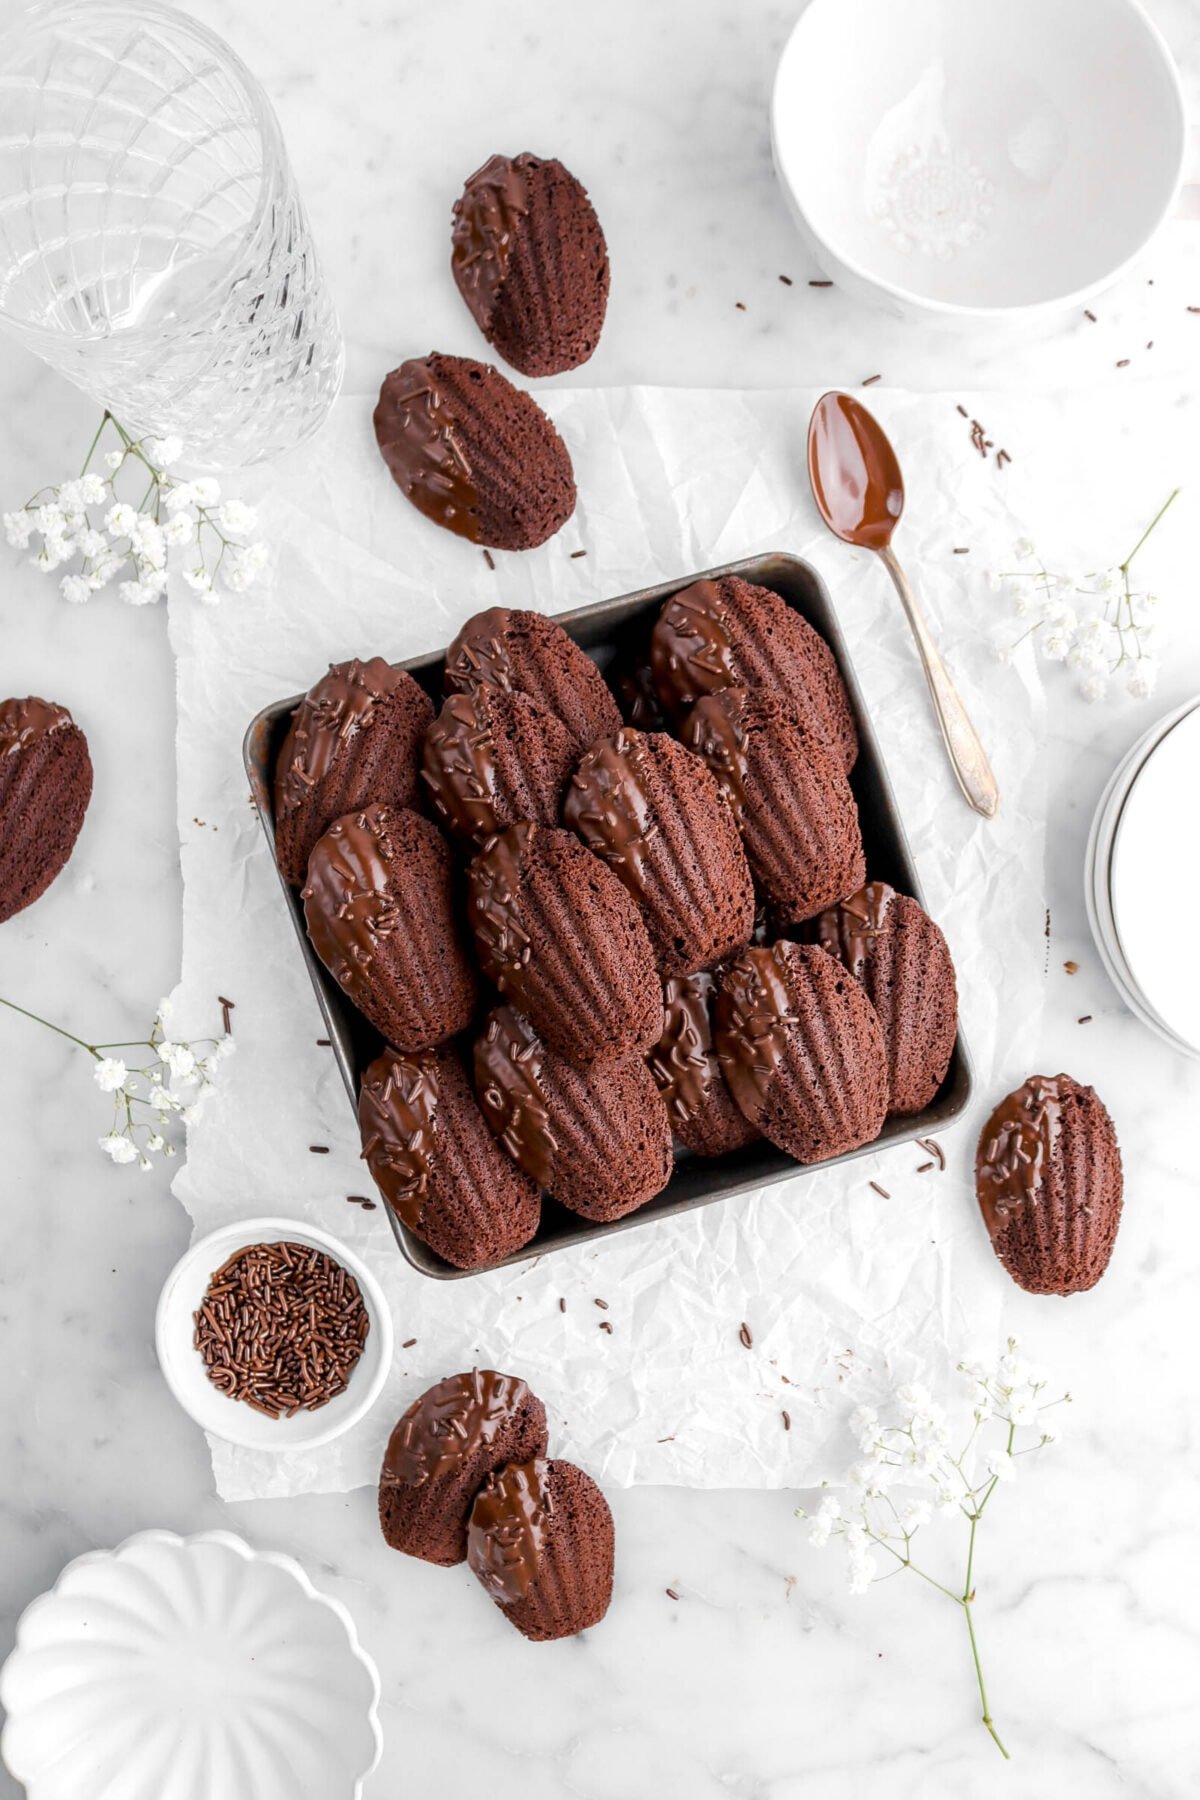
Looking for more recipes like this? Here are a few you may like:

When you make these Spooky Black Velvet Halloween Cake, leave a comment down below! We love hearing from you and answering any questions you might have! Also, be sure to tag us on social media and hashtag it #BakersTable.
Spooky Black Velvet Halloween Cake
Ingredients
Cake
- ⅔ cup black cocoa powder, sifted
- ¾ cup boiling water
- 1½ cups all purpose flour
- 1⅜ cups granulated sugar
- 1½ teaspoons baking powder
- ¼ teaspoon baking soda
- ¾ teaspoon salt
- 2 large eggs, room temperature
- ¾ cup buttermilk
- ½ cup vegetable oil
- 1½ teaspoons vanilla extract
Frosting
- 6 Tablespoons salted butter, room temperature
- 2 cups powdered sugar, sifted
- ½ cup black cocoa powder, sifted
- 2 Tablespoons whole milk
- 1 teaspoon vanilla extract
Instructions
Cake
- Heat oven to 350℉/177℃.
- Spray three 6-inch pans with baking spray. Set aside.
- In a small bowl, carefully whisk cocoa and water. Set aside.
- In a large bowl, whisk together flour, sugar, baking powder, baking soda, and salt. Set aside.
- In a medium bowl, whisk together eggs, buttermilk, oil, and vanilla.
- Whisk in bloomed chocolate.
- Pour wet ingredients over dry ingredients.
- Whisk until combined.
- Divide evenly among prepared pans.
- Bake for 35 minutes, or until cake layers test done.
Frosting
- With an electric mixer, beat butter, powdered sugar, and cocoa until combined.
- Add milk and vanilla.
- Beat until light and fluffy.
Assembly
- Level cake layers, if needed.
- Place one cake layer on cake plate and spread with a layer of frosting.
- Repeat with second layer.
- Add third layer.
- Frost entire cake.
- Decorate as desired.
Notes + Tips!
- Room temperature is about 70℉/21℃.
- Don’t skip sifting the black cocoa powder!
- Be careful not to over mix the cake batter.
- When dividing the cake batter, it’s best to use a ladle and a scale to help ensure each cake layer is even!
- If you’re unsure if the cake is baked, you can use a cake tester or a toothpick to test the cakes. If it comes out clean, the cake is fully baked!
- Let the cake layers cool COMPLETELY before assembling the cake.
- Depending on how the cakes bake, you may or may not need to level the cake layers.
- If you’d like, when frosting this cake, you can do a crumb coat to help ensure a clean and crumb-free frosting.
- To get clean slices, wipe your knife after each cut!
Tools You May Need (affiliate links)
– Still Hungry? –
Here are a few recipes may like!


