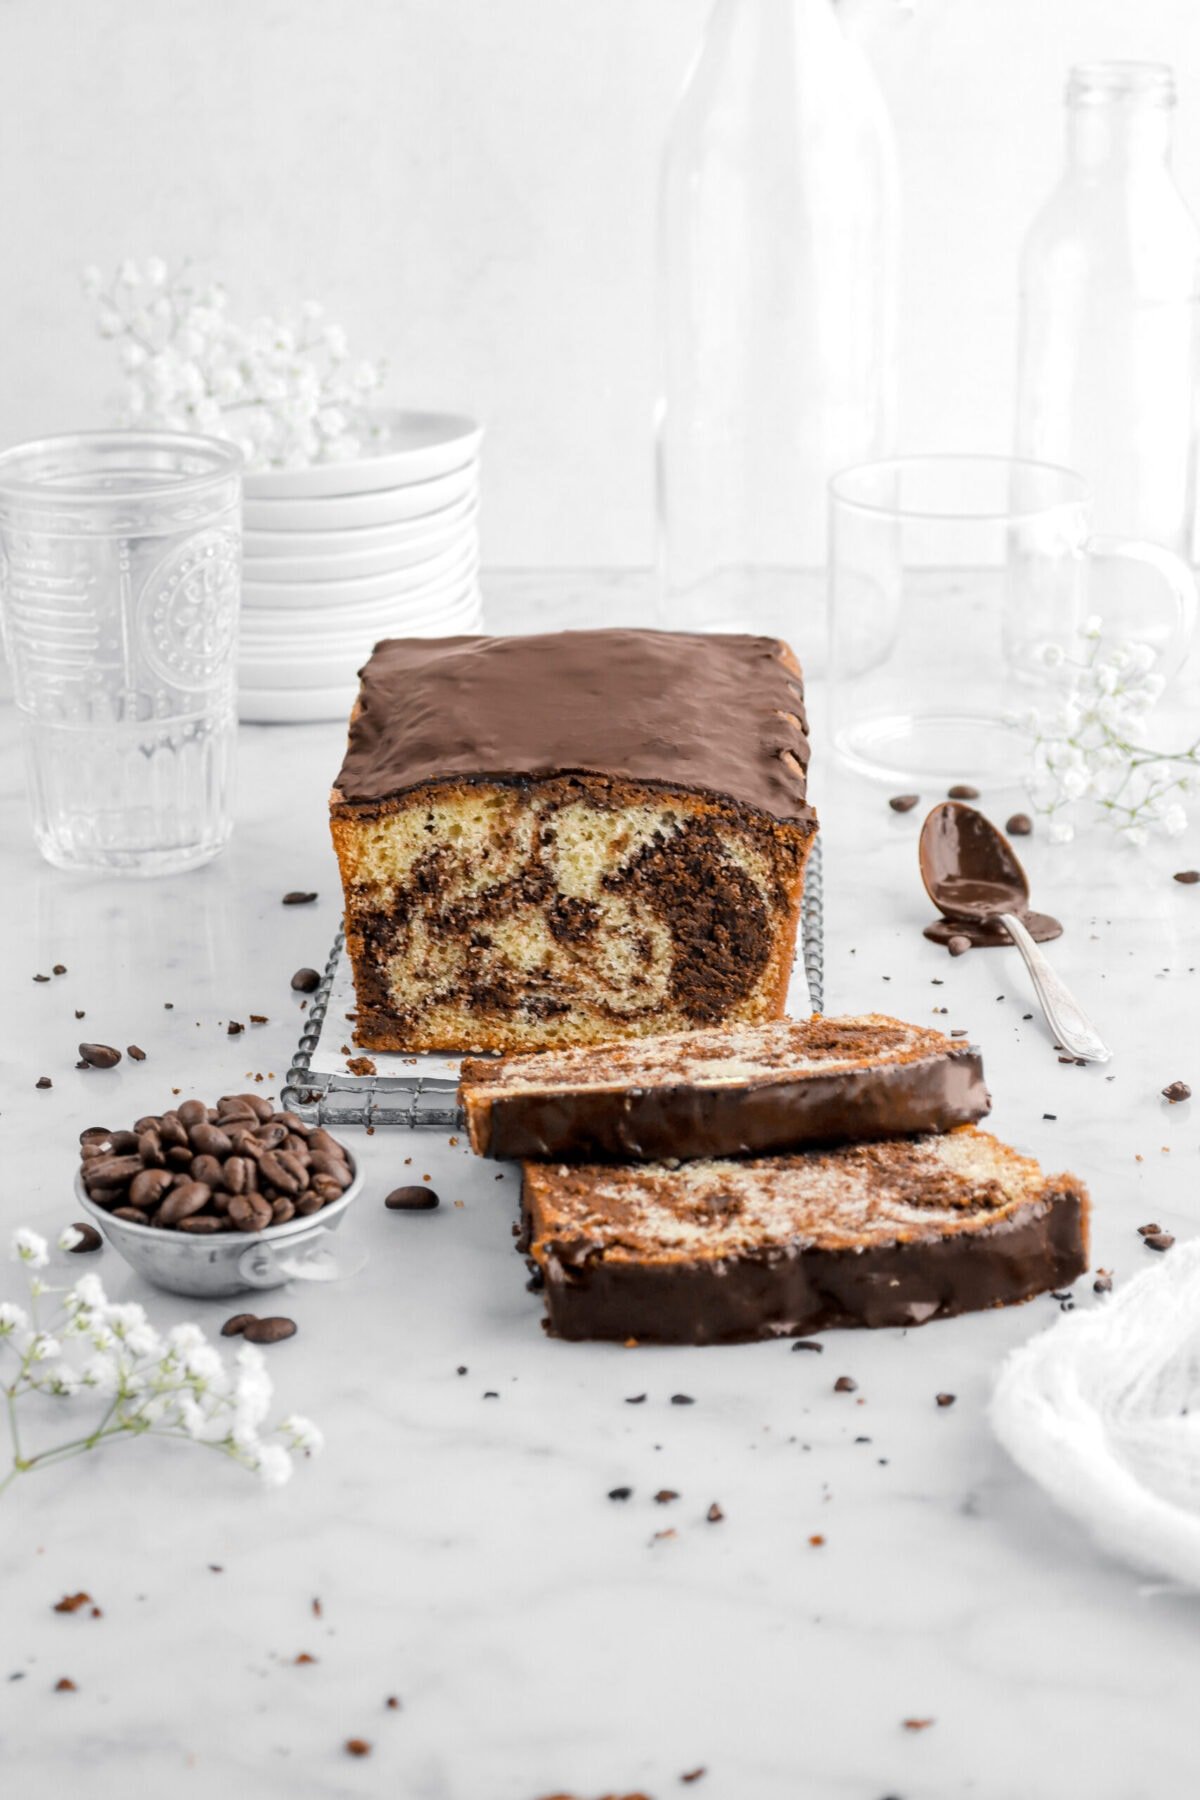
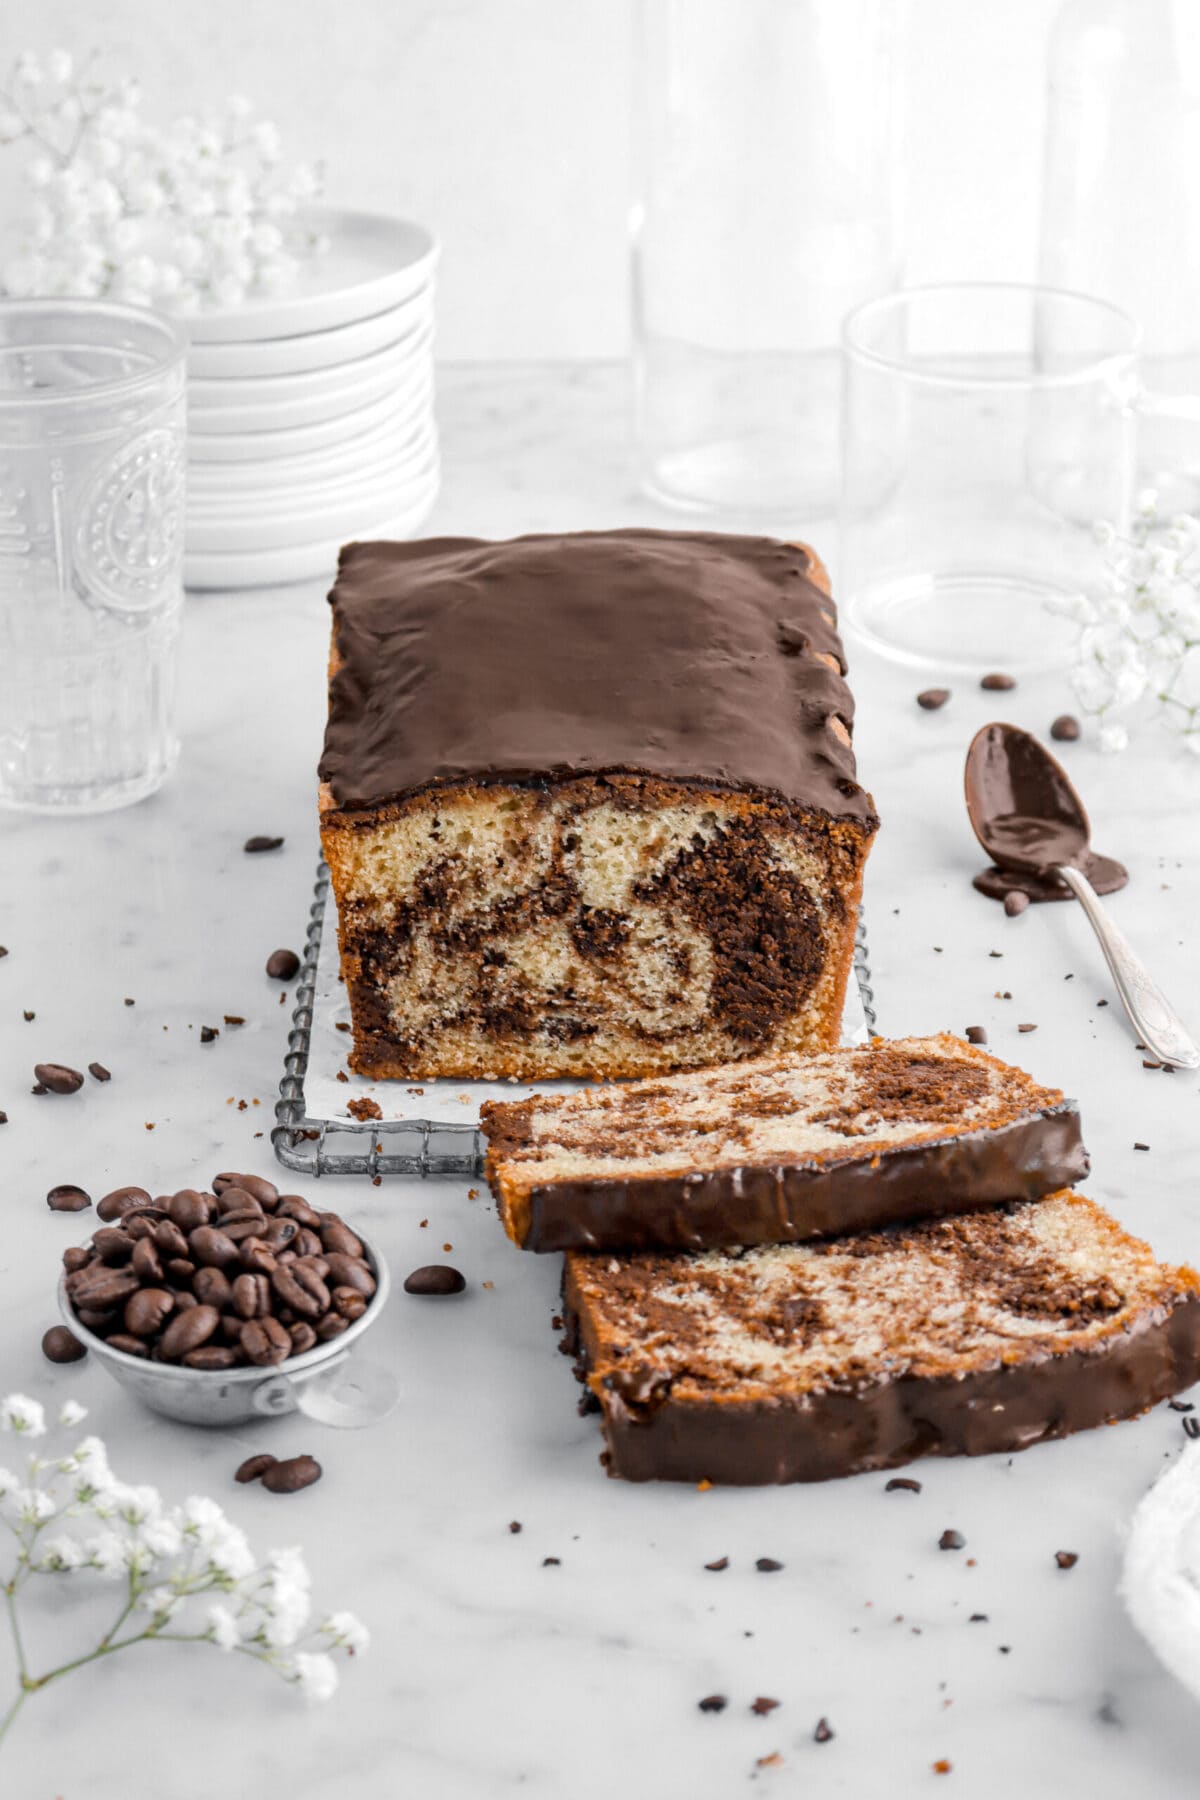
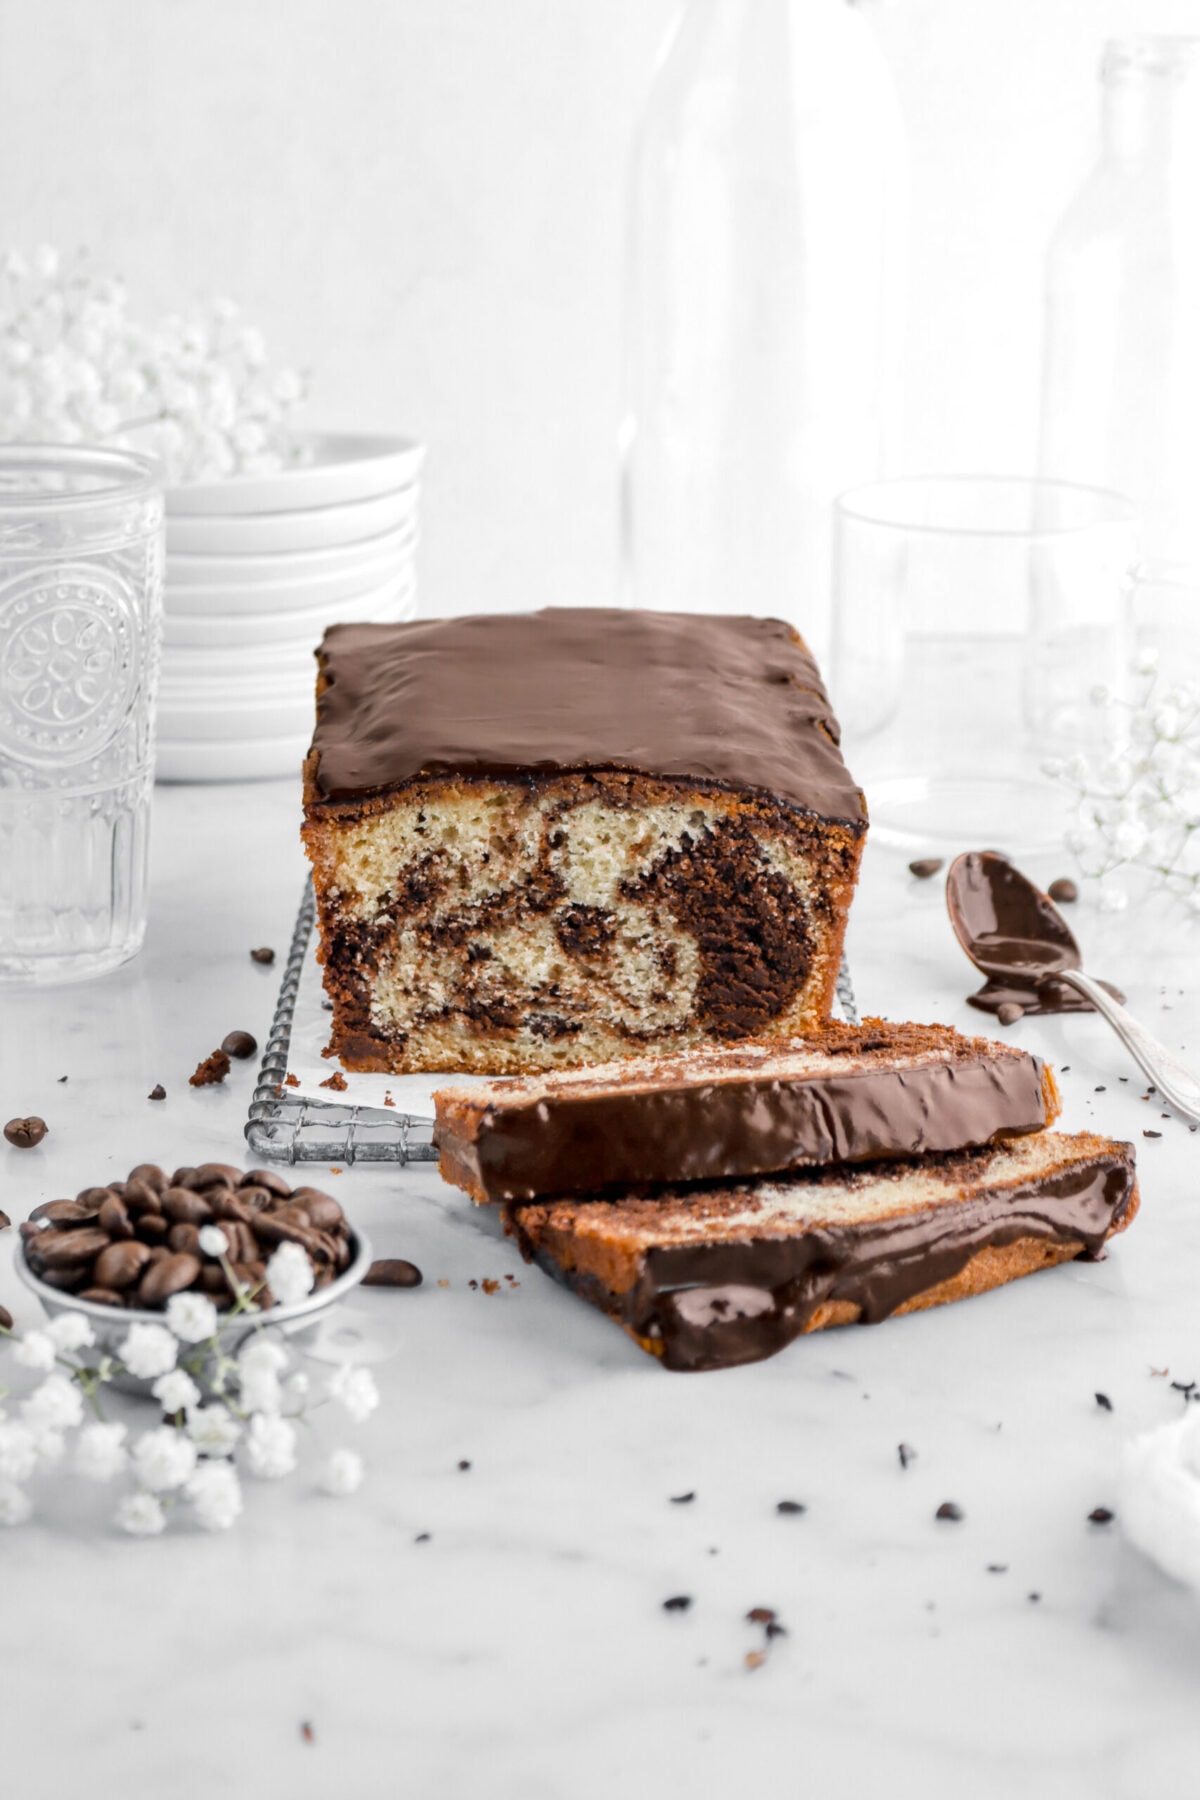
Dark Chocolate Espresso Marble Loaf Cake
This post may contain affiliate links, please visit our privacy policy for details.
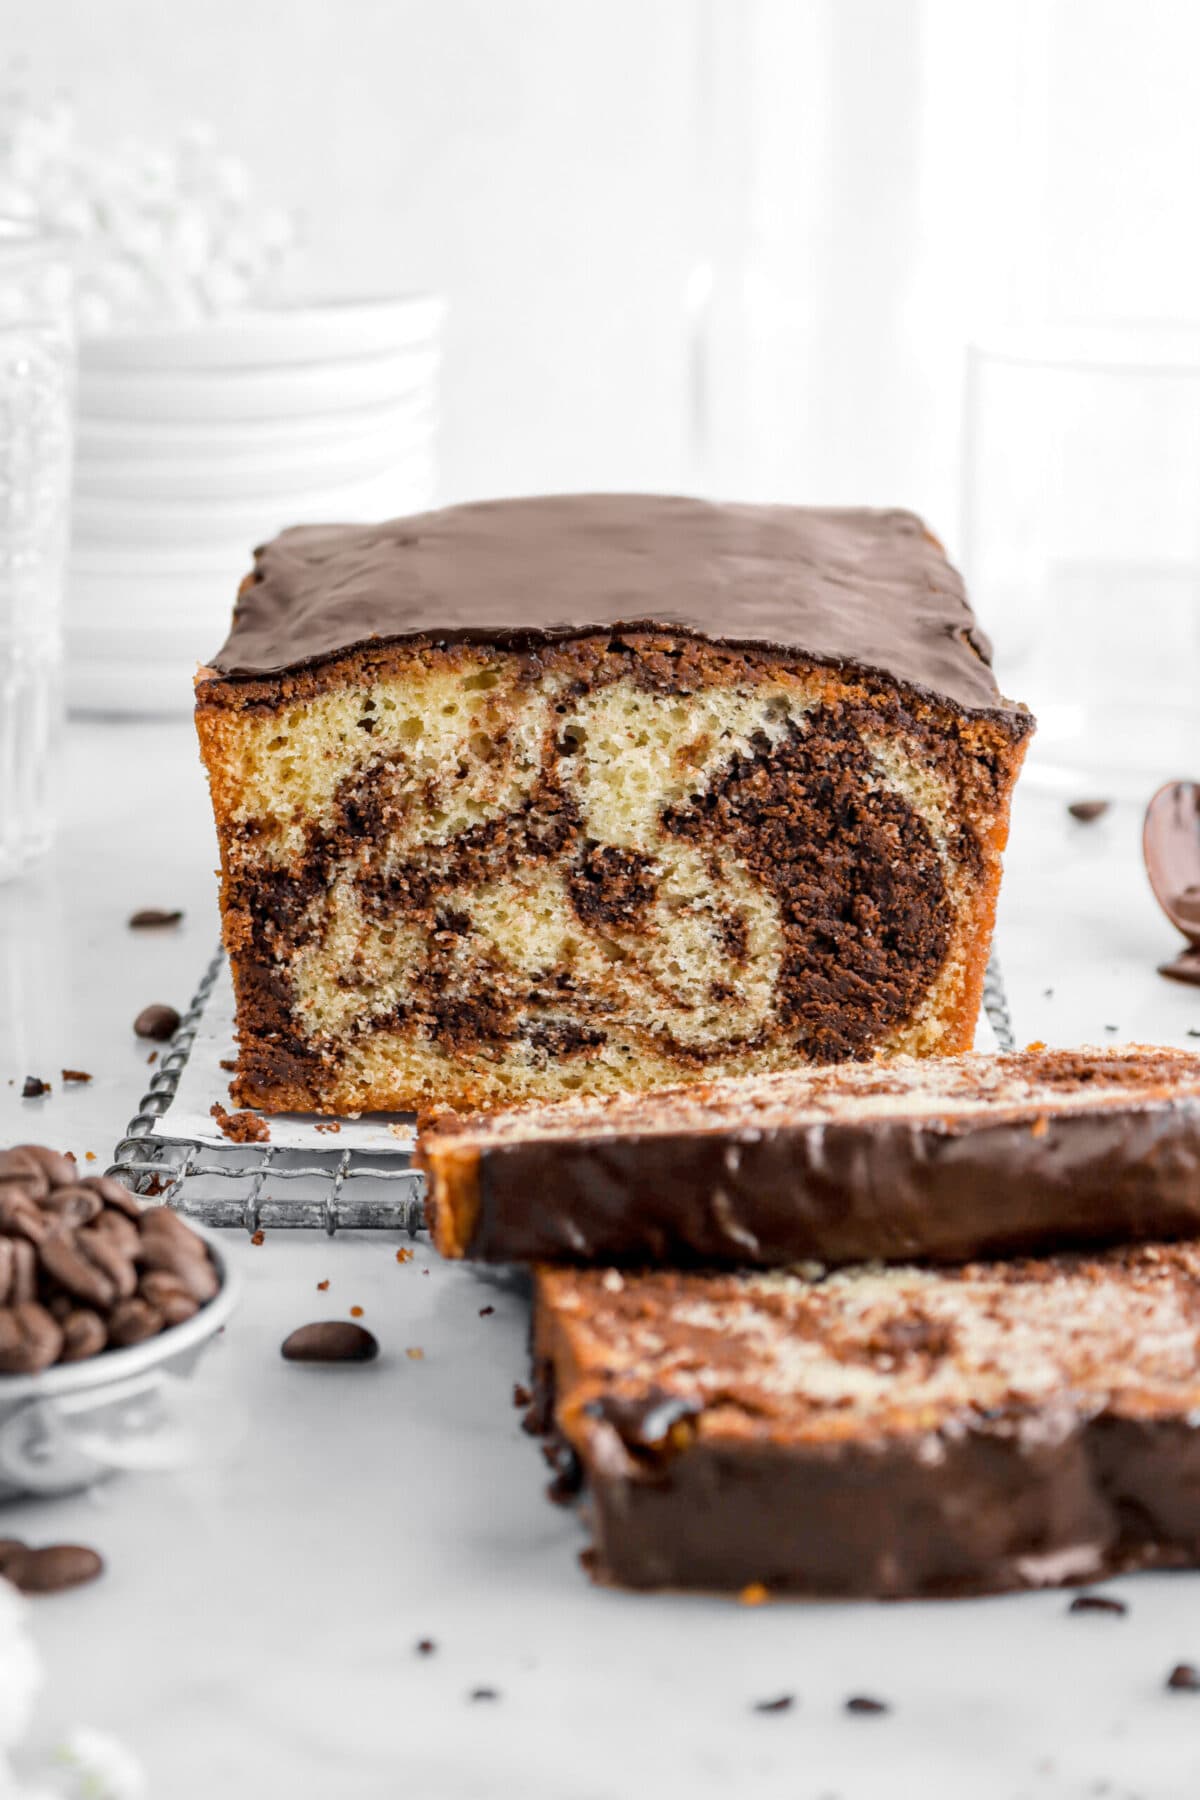
Put some pep in your step with this Dark Chocolate Espresso Marble Loaf Cake! It’s the perfect slice of cake to enjoy with your morning coffee. Imagine a light and fluffy vanilla cake swirled with a rich dark chocolate cake with just the right amount of espresso. Though, the goodness doesn’t stop there! After baking, this decadent cake is finished with an extra delicious chocolate espresso icing. It’s truly the perfect cake to enjoy today, tomorrow, whenever! The best part? This cake is SO simple to make and ready in less than an hour.
About The Recipe
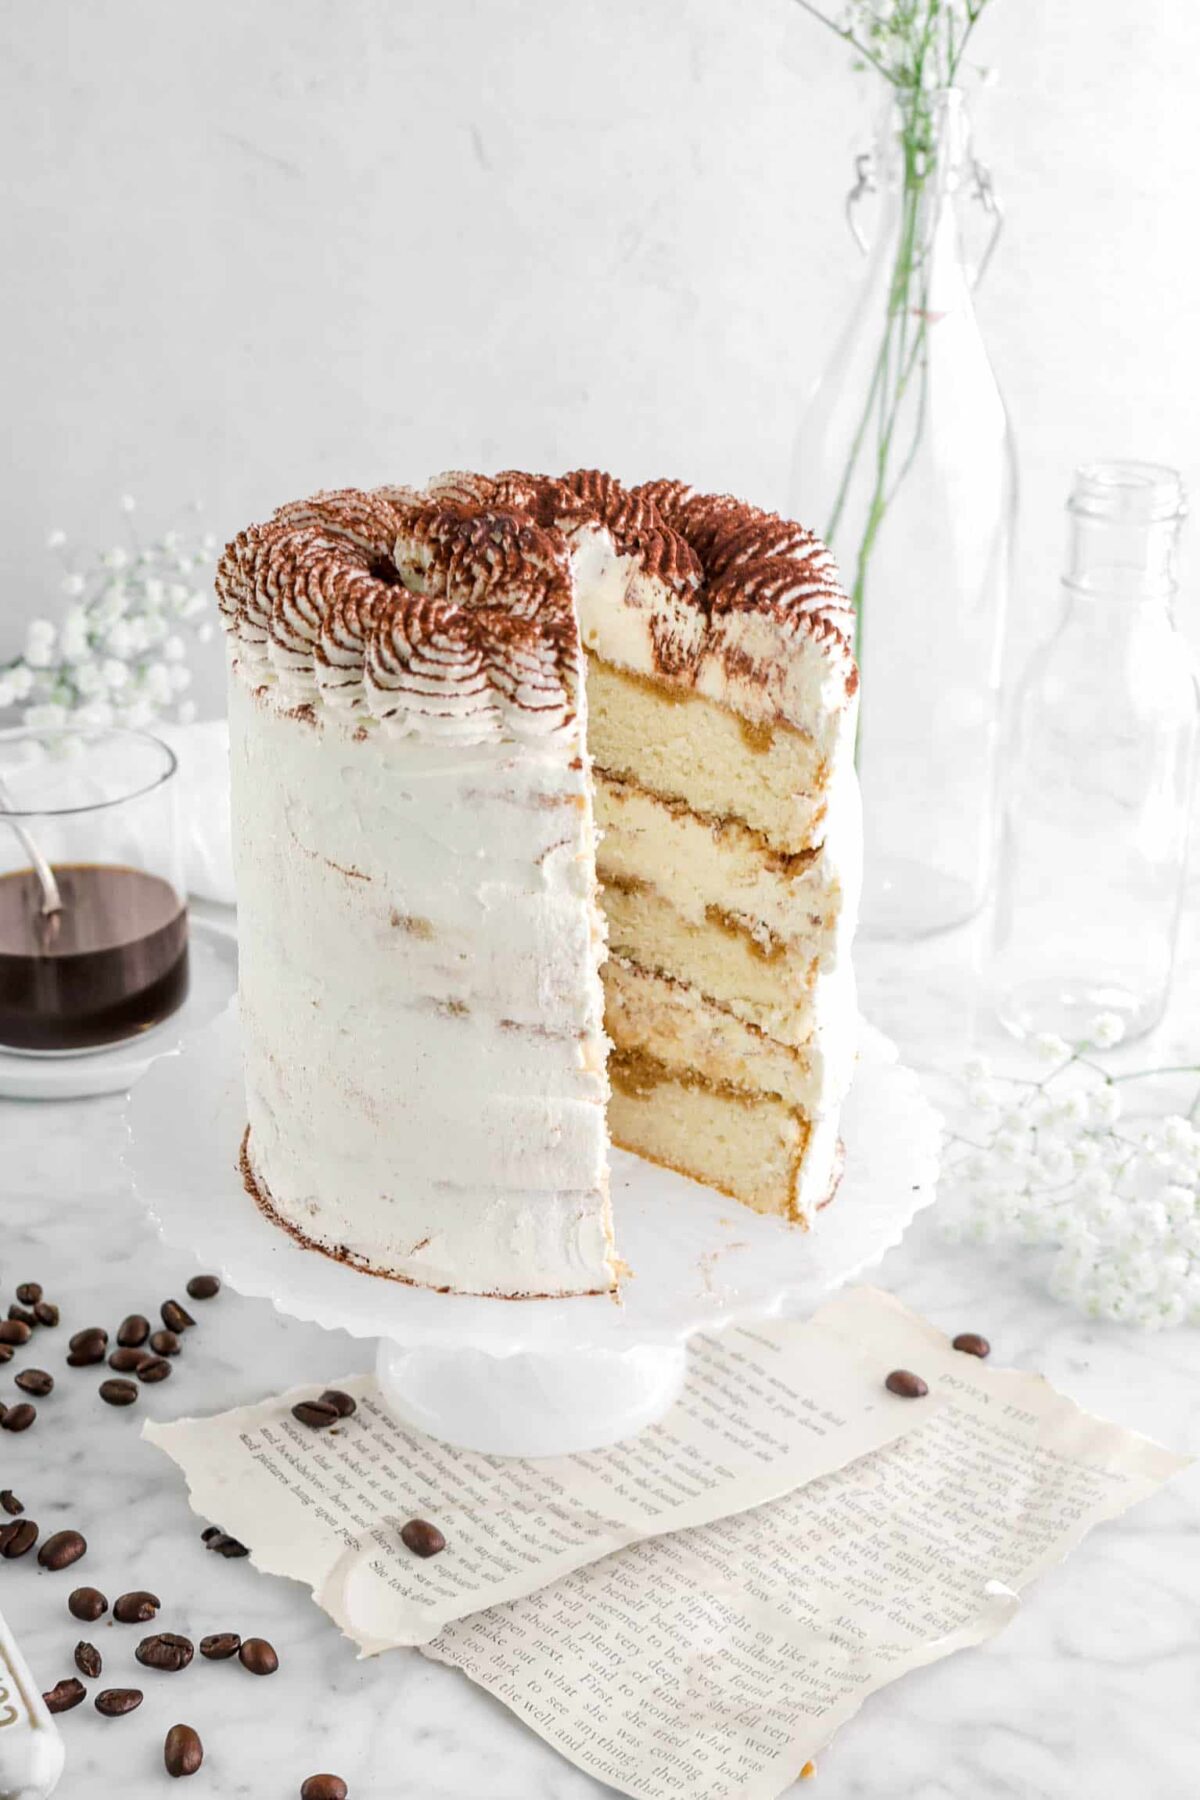
My mom and I have been in a chocolate/espresso mood this week, it seems. From our Tiramisu Cheesecake on Monday to today’s post. There’s been a lot of chocolate and coffee in our kitchen! But, I’ll be honest, it’s one of my absolute favorite flavor combinations!
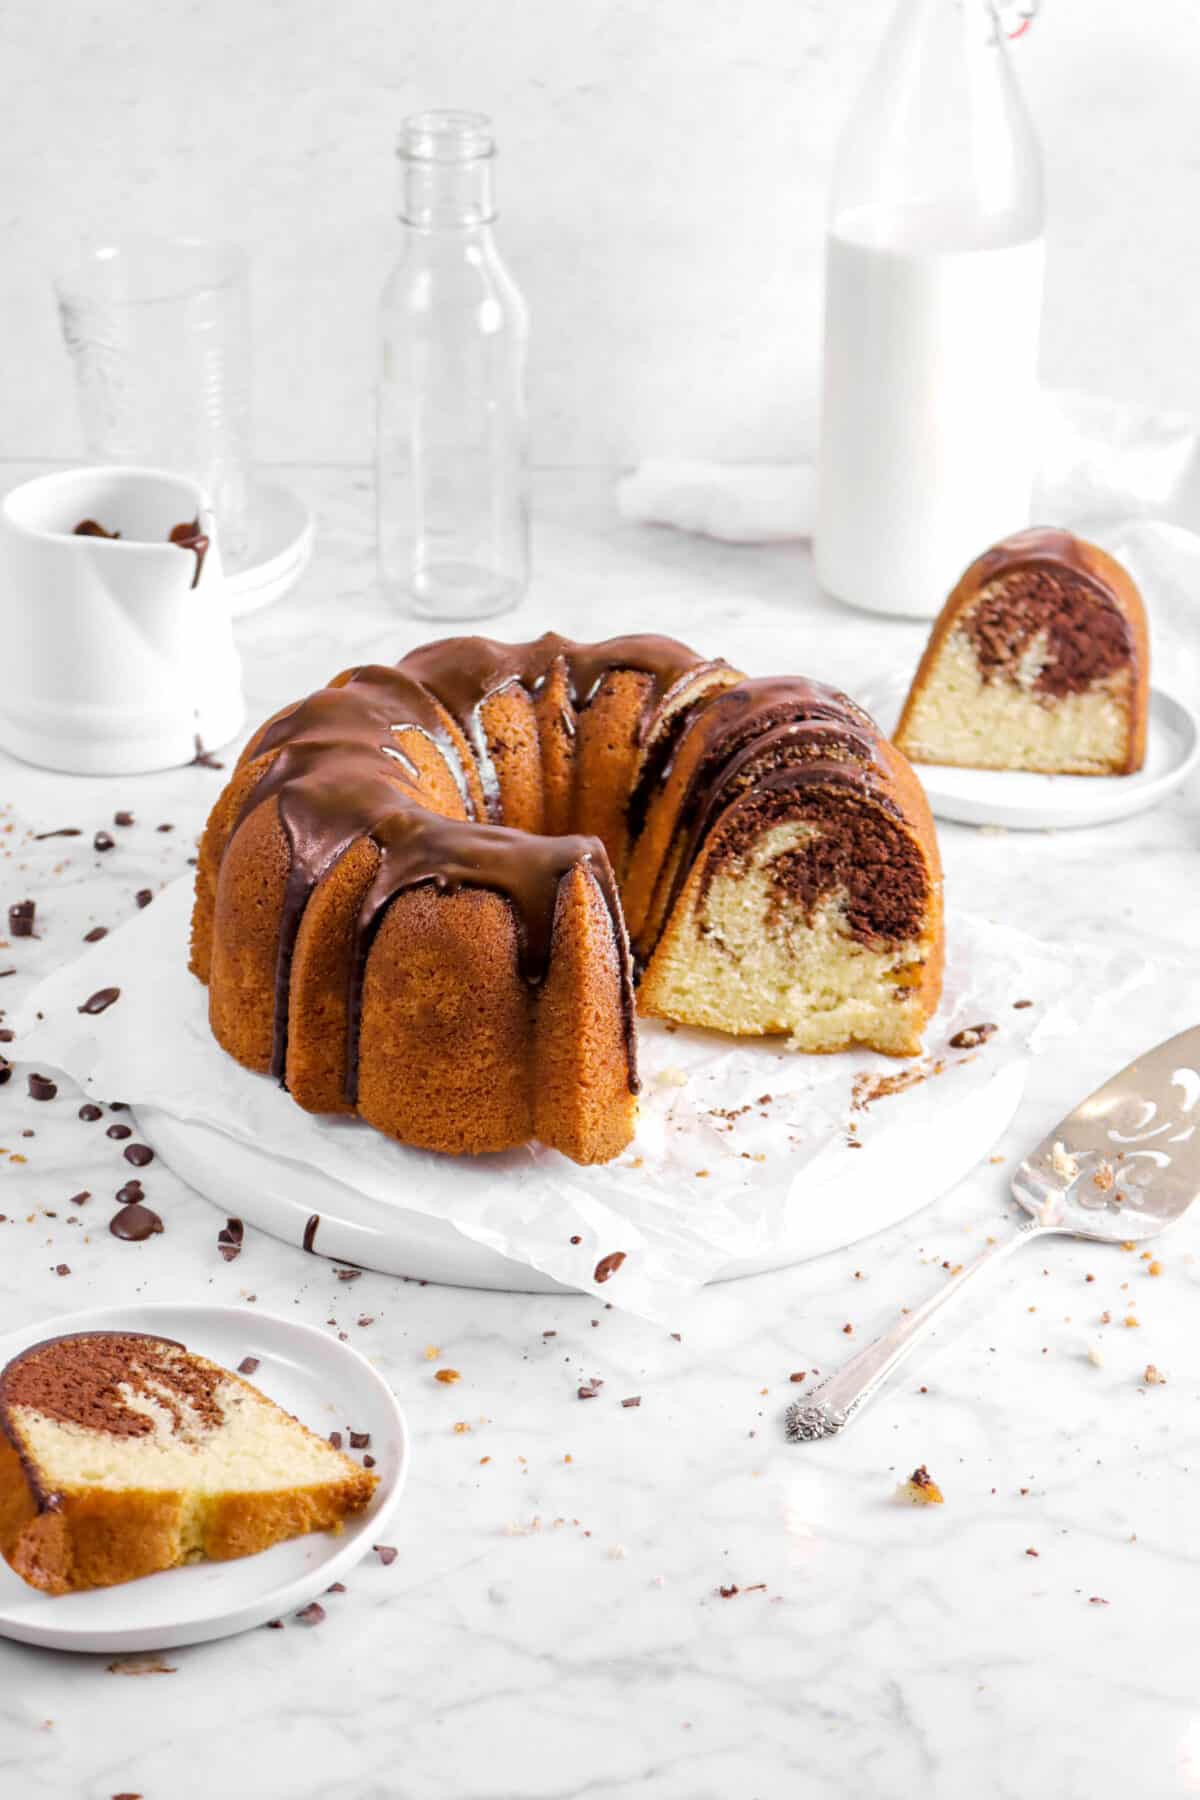
And, this cake was inspired by our classic Chocolate Marble Pound Cake that we shared a few years ago.
It’s been SO long since we made a marble cake and we thought it would be fun to create one in loaf cake-form. I mean, who doesn’t love a good loaf cake?!

But, getting the flavor to really come through was a bit of a challenge.
When we were first testing this recipe, we spit the batter 50/50. One half, we left plain vanilla and the other half we flavored it with melted chocolate and espresso powder. It came out dry, crumbly, and had absolutely no flavor.
Plus, with the batter split half and half, were was actually WAY too much chocolate and the marbling was lost.
So, we went back to the drawing board and made some tweaks to the recipe. We swapped butter for oil, added extra chocolate and espresso powder, a splash more vanilla, and baked it for less time.
Who knew second times a charm?!
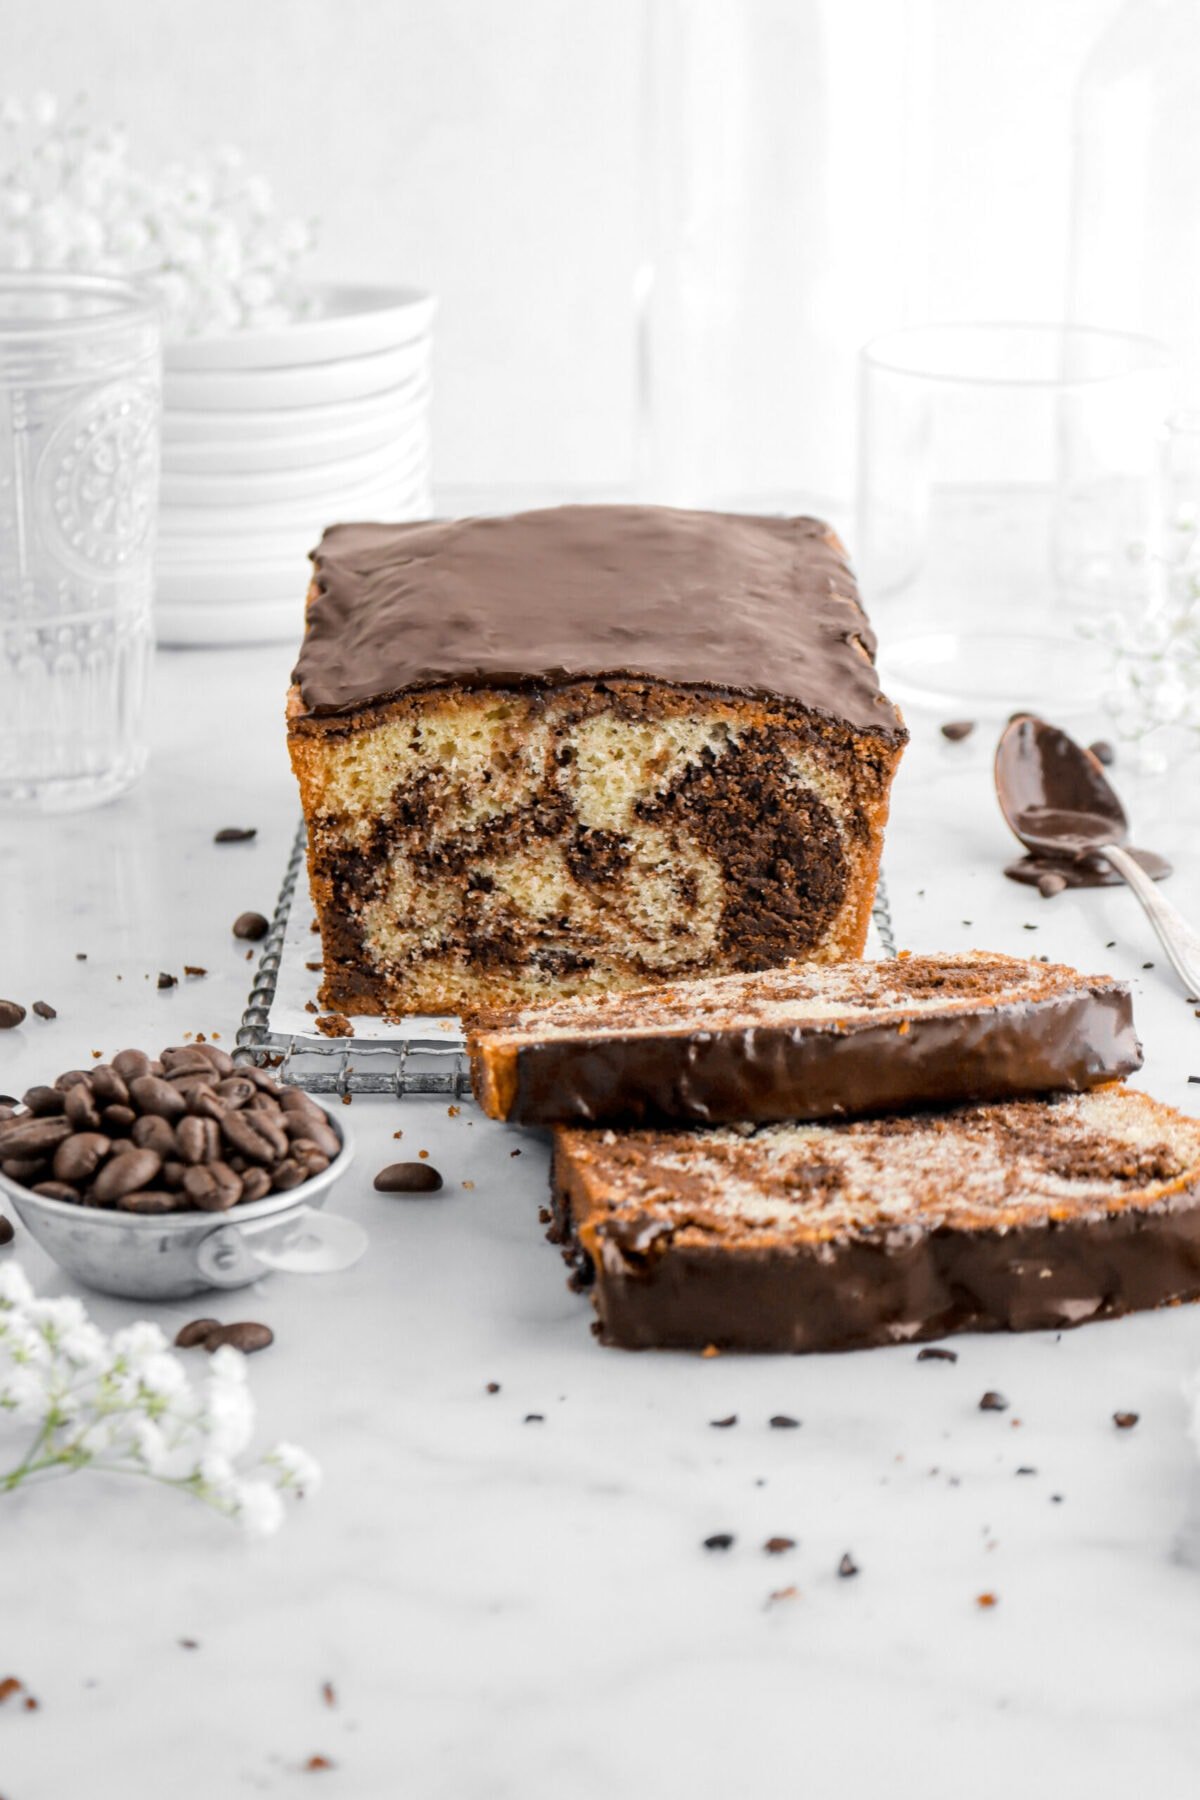
This recipe yielded in a moist, lightly sweet, and perfectly balanced loaf. We honestly couldn’t be happier with how it turned out!
Honestly, it’s perfect for breakfast, brunch, dessert, or whenever you can’t make up your mind whether you want chocolate or vanilla cake.
What is a Marble Cake?
A marble cake, or zebra cake, is any cake that has two different colored/flavored batters swirled throughout. Traditionally, it is made with vanilla and chocolate cake batters.
Reasons You Will Love This Chocolate Espresso Marble Cake
- Made in a standard loaf pan!
- No electric mixers or specialty equipment needed to make this cake.
- Light, fluffy vanilla cake swirled with dense, rich dark chocolate espresso cake!!
- Perfect to enjoy all year long.
- Can be served as breakfast, brunch, or even dessert.
- A real crowd pleaser.

Equipment Needed
- Mixing Bowls
- Whisk
- Rubber Spatula
- Loaf Pan
- Medium Cookie Scoop
- Large Cookie Scoop
- Dull Knife
Ingredients
Full ingredient amounts and instructions can be found in the recipe card at the bottom of the post.
For The Cake:
- Bittersweet Chocolate – This is what adds a rich chocolate-y flavor to the cake!
- All-Purpose Flour – Creates the perfect structure for this cake!
- Granulated Sugar – Adds just the right amount of sweetness.
- Baking Powder – Leavening is essential in baking! This provides the perfect rise in the cake to give is a light, tender, and delicious texture.
- Baking Soda – For this recipe, we add a dash of baking soda to ensure the rise of this cake, as it does have an acidic ingredient!
- Salt – Cuts some of the sweetness, while also enhancing the flavors in this cake.
- Whole Milk – Using whole milk in a cake does SO MUCH! From creating a lighter, stronger crumb, to activating the leavening, and even making the cake itself a little richer.
- Large Eggs – Remember to set our your eggs ahead of time to allow them to come to room temperature before mixing.
- Vegetable Oil – Makes this cake extra moist and oh-so tender.
- Vanilla Extract – Adds flavor to the cake.
- Espresso Powder – Brings out the chocolate flavor, while also providing a hint of coffee flavor to every bite.
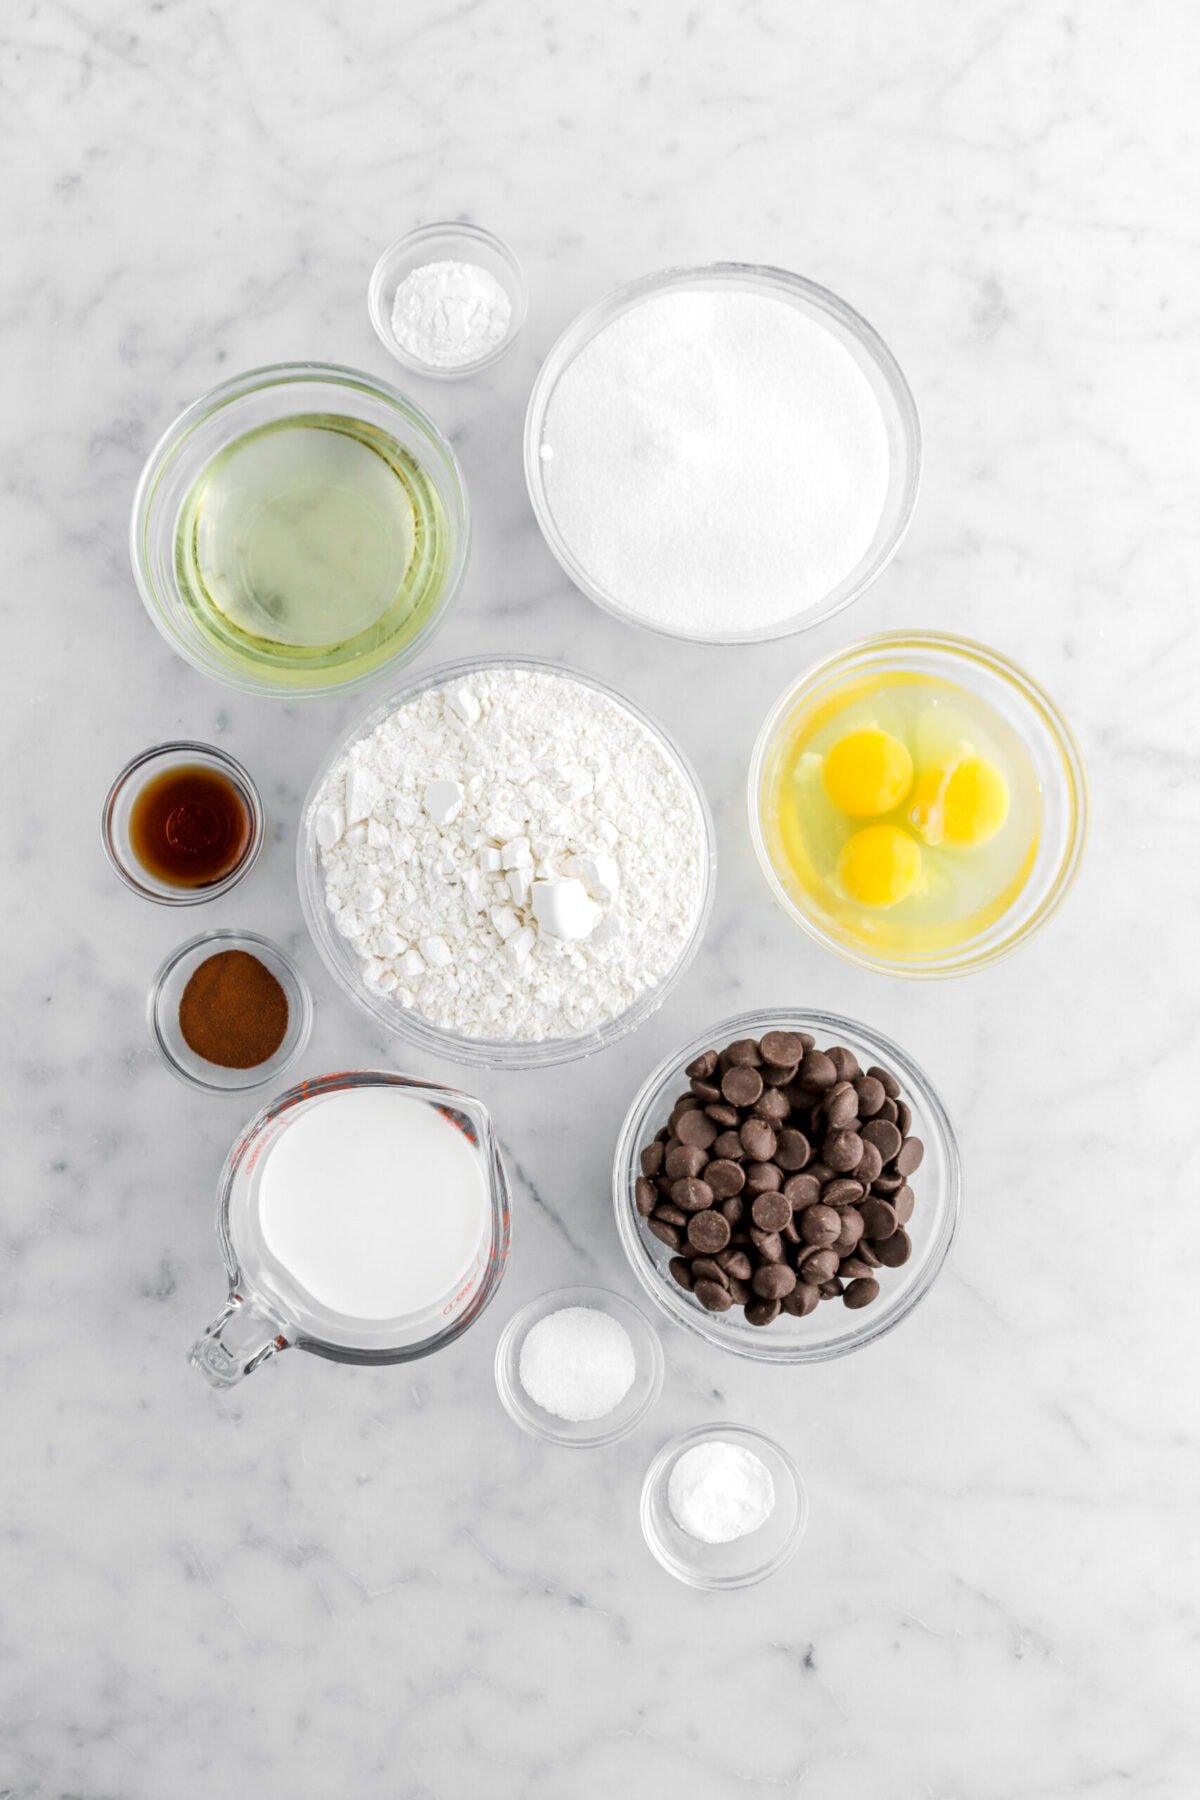
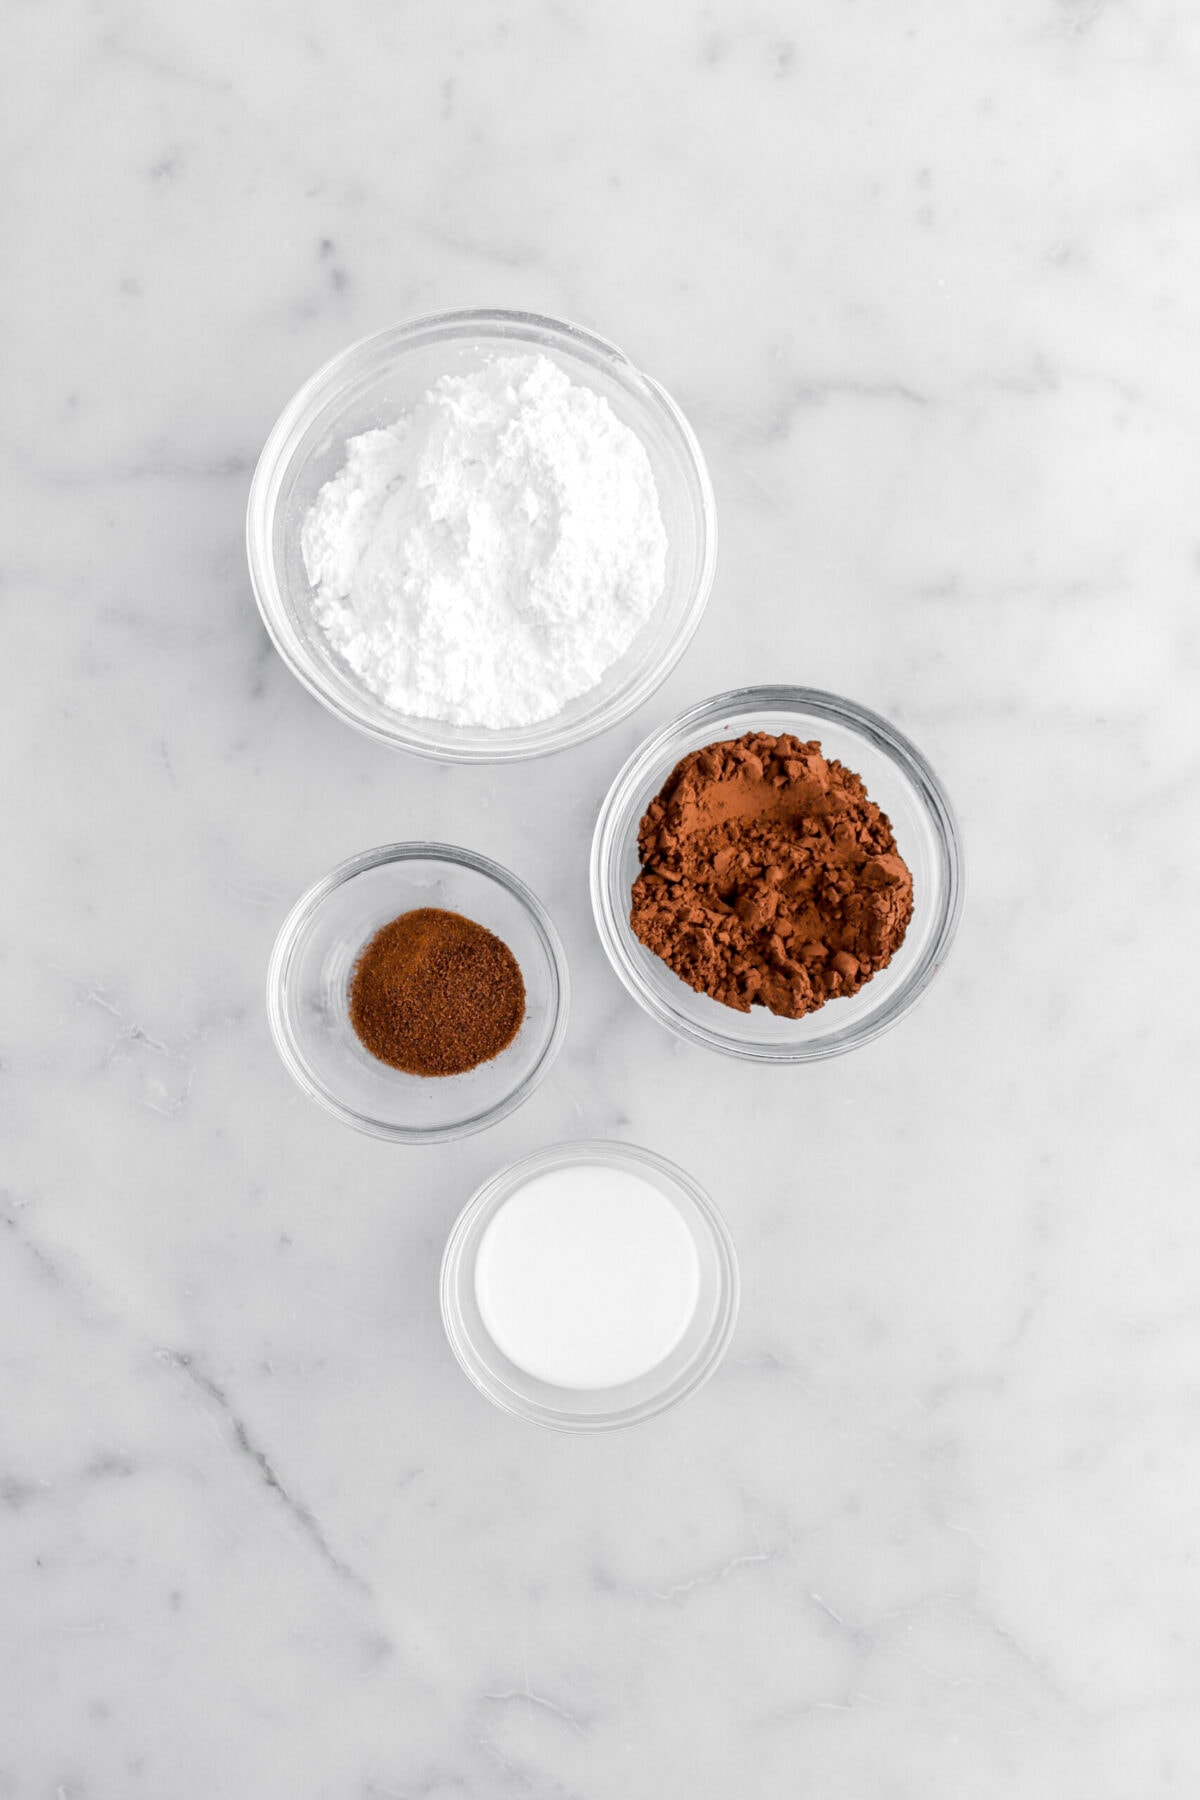
For The Icing:
- Powdered Sugar – Sift the powdered sugar to ensure no lumps in your icing!
- Cocoa Powder – Gives this icing an extra chocolate-y flavor and color.
- Espresso Powder – We added just a little bit of espresso powder to help carry the flavors of the cake through every bite.
- Whole Milk – Like stated before, you can actually use coconut milk to intensify the coconut flavor.
How To Make This Chocolate Espresso Marble Cake
Step 1: Prepare batter
Place chocolate in a microwave safe bowl. Heat in 15 second increments, stirring well after each, until chocolate is melted and smooth. Set aside.


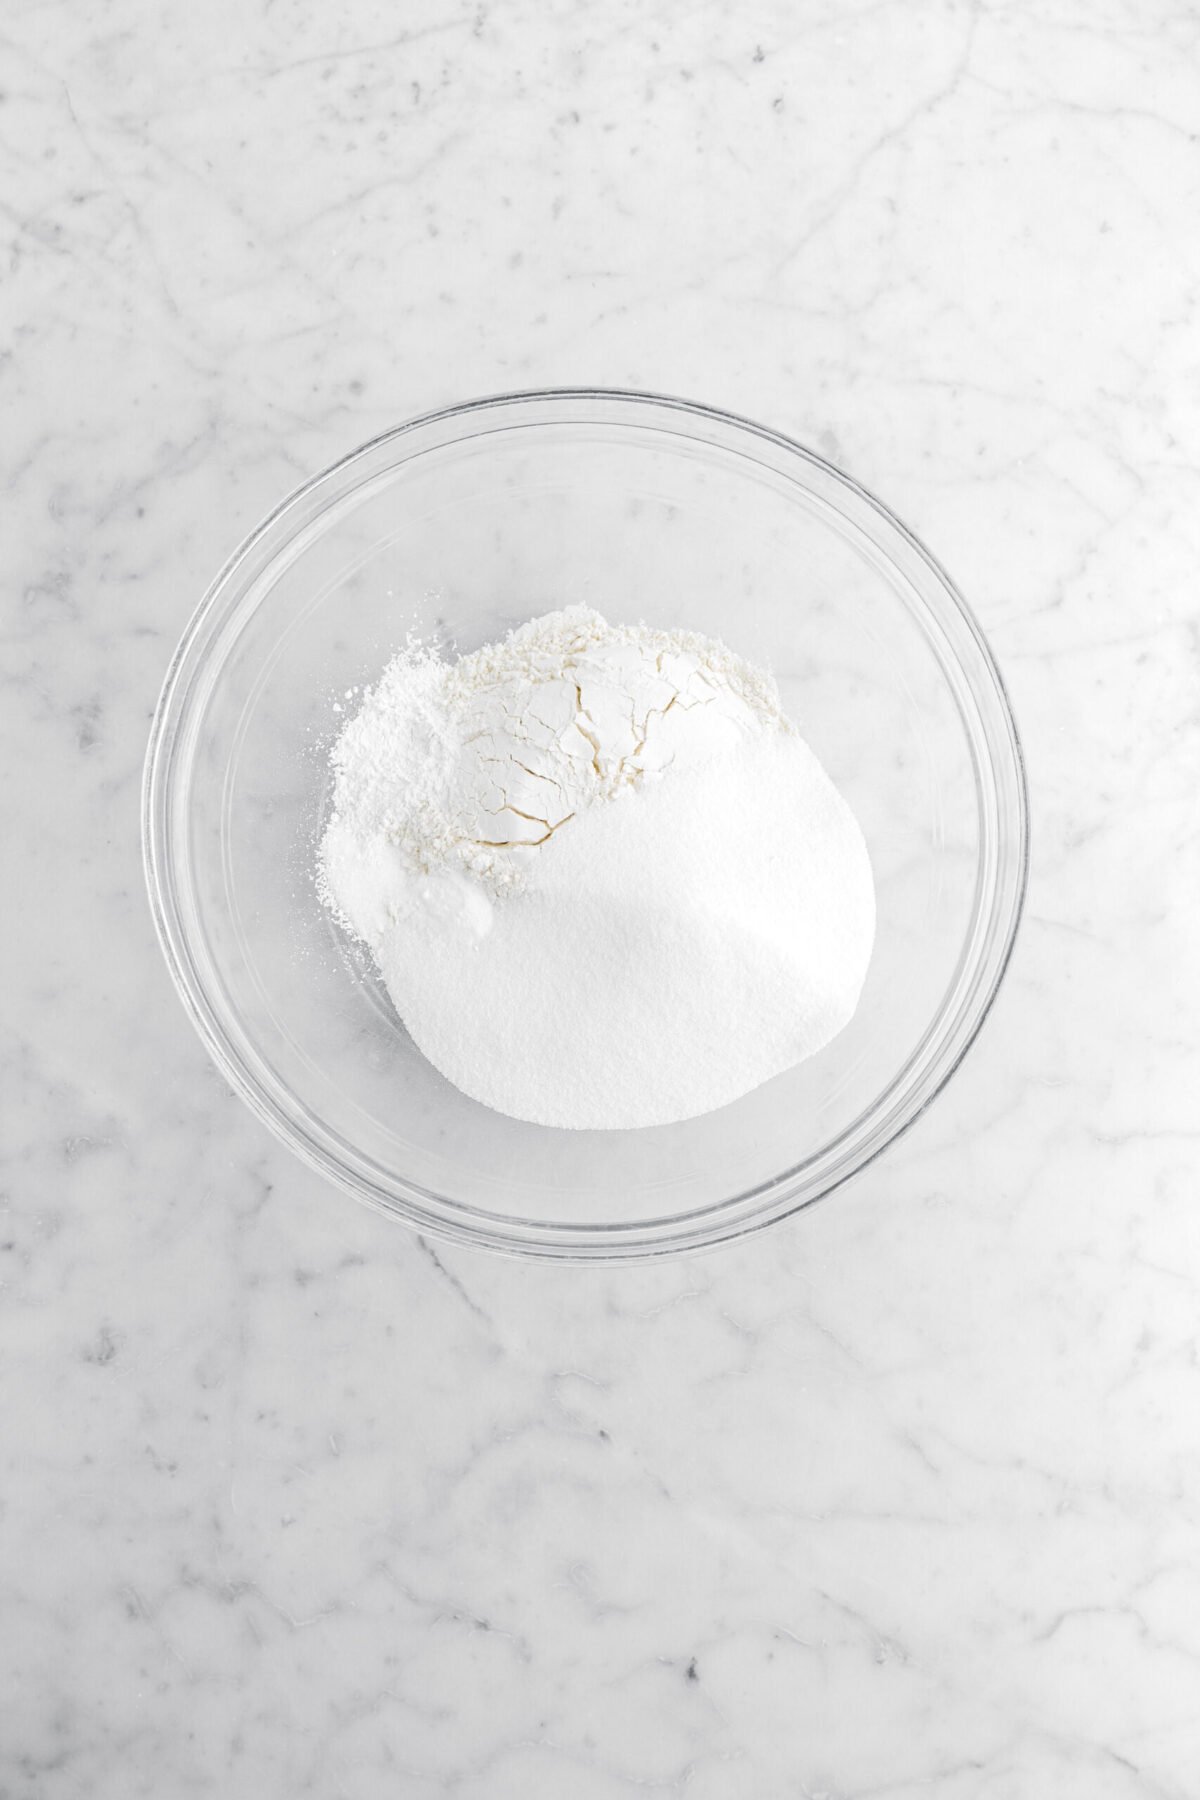
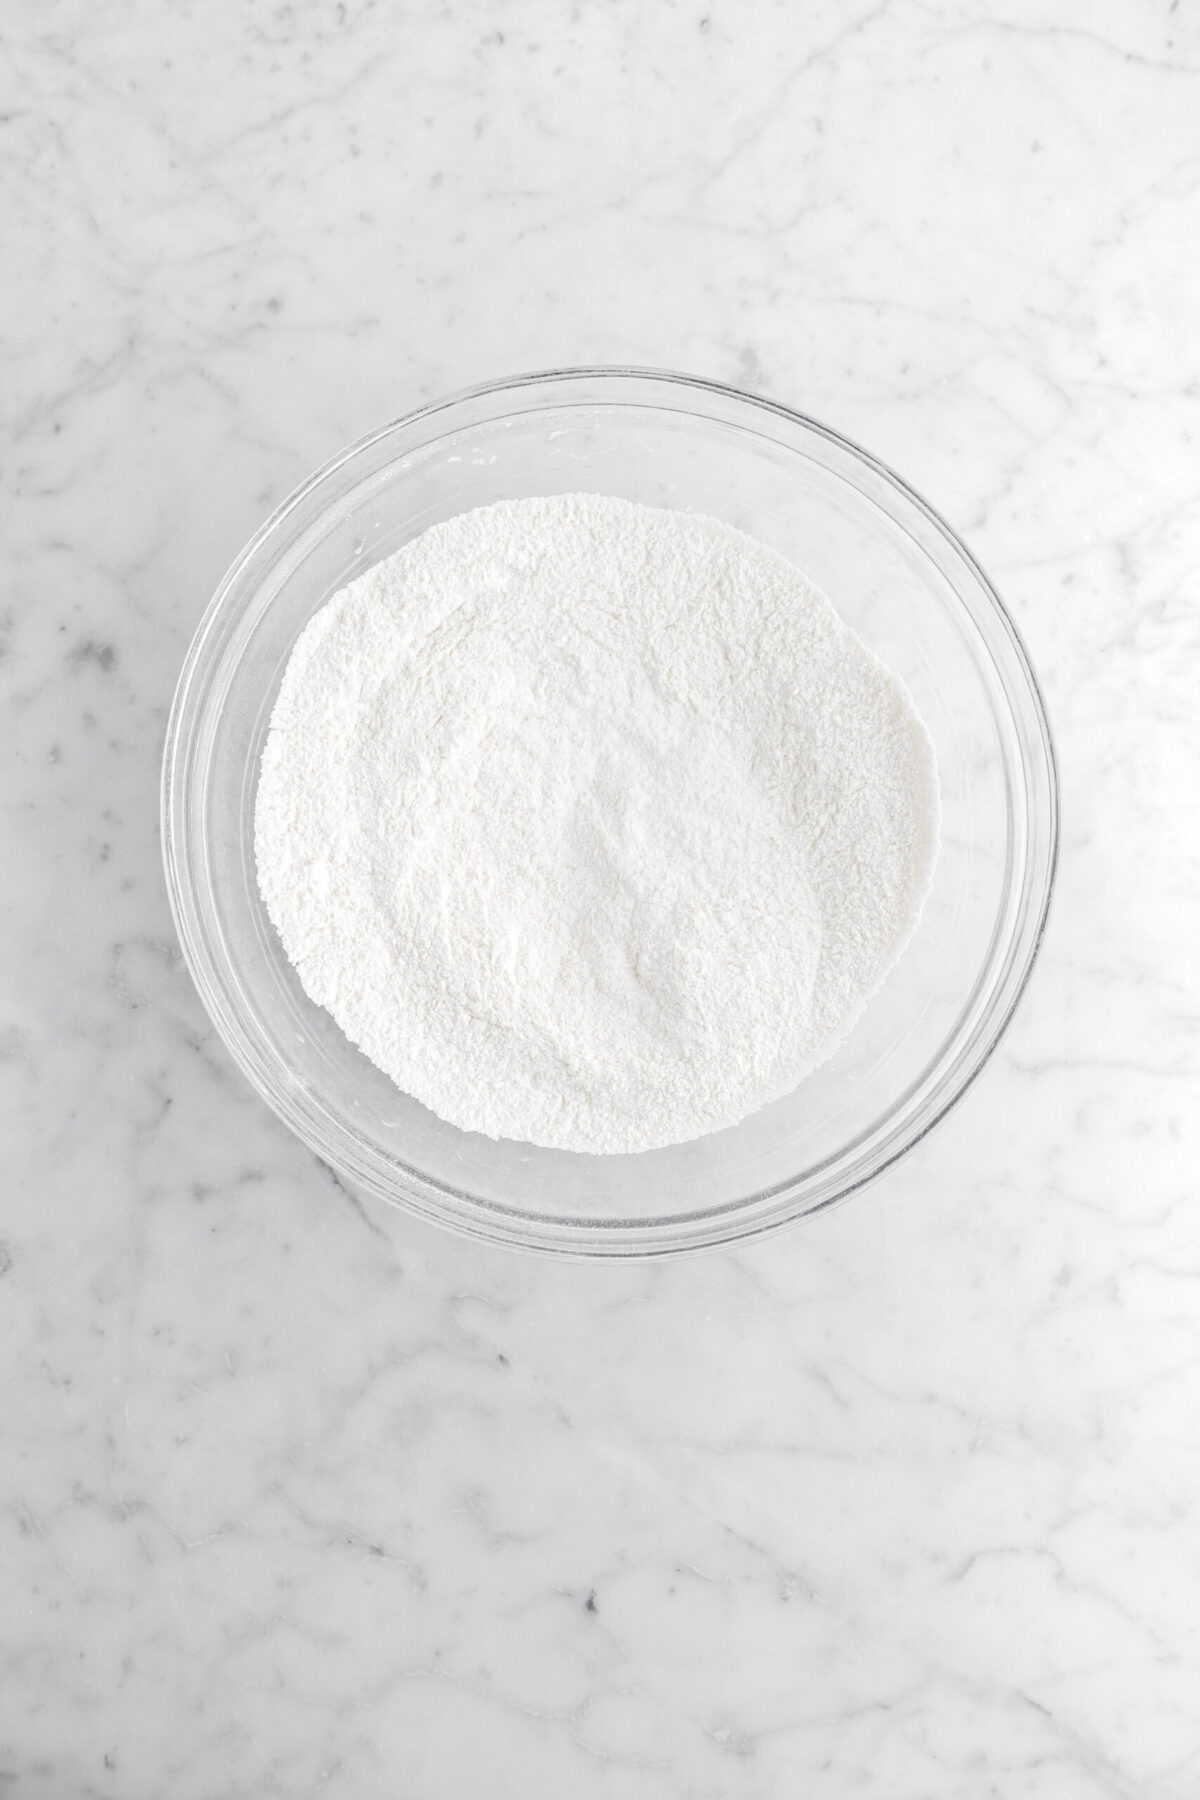
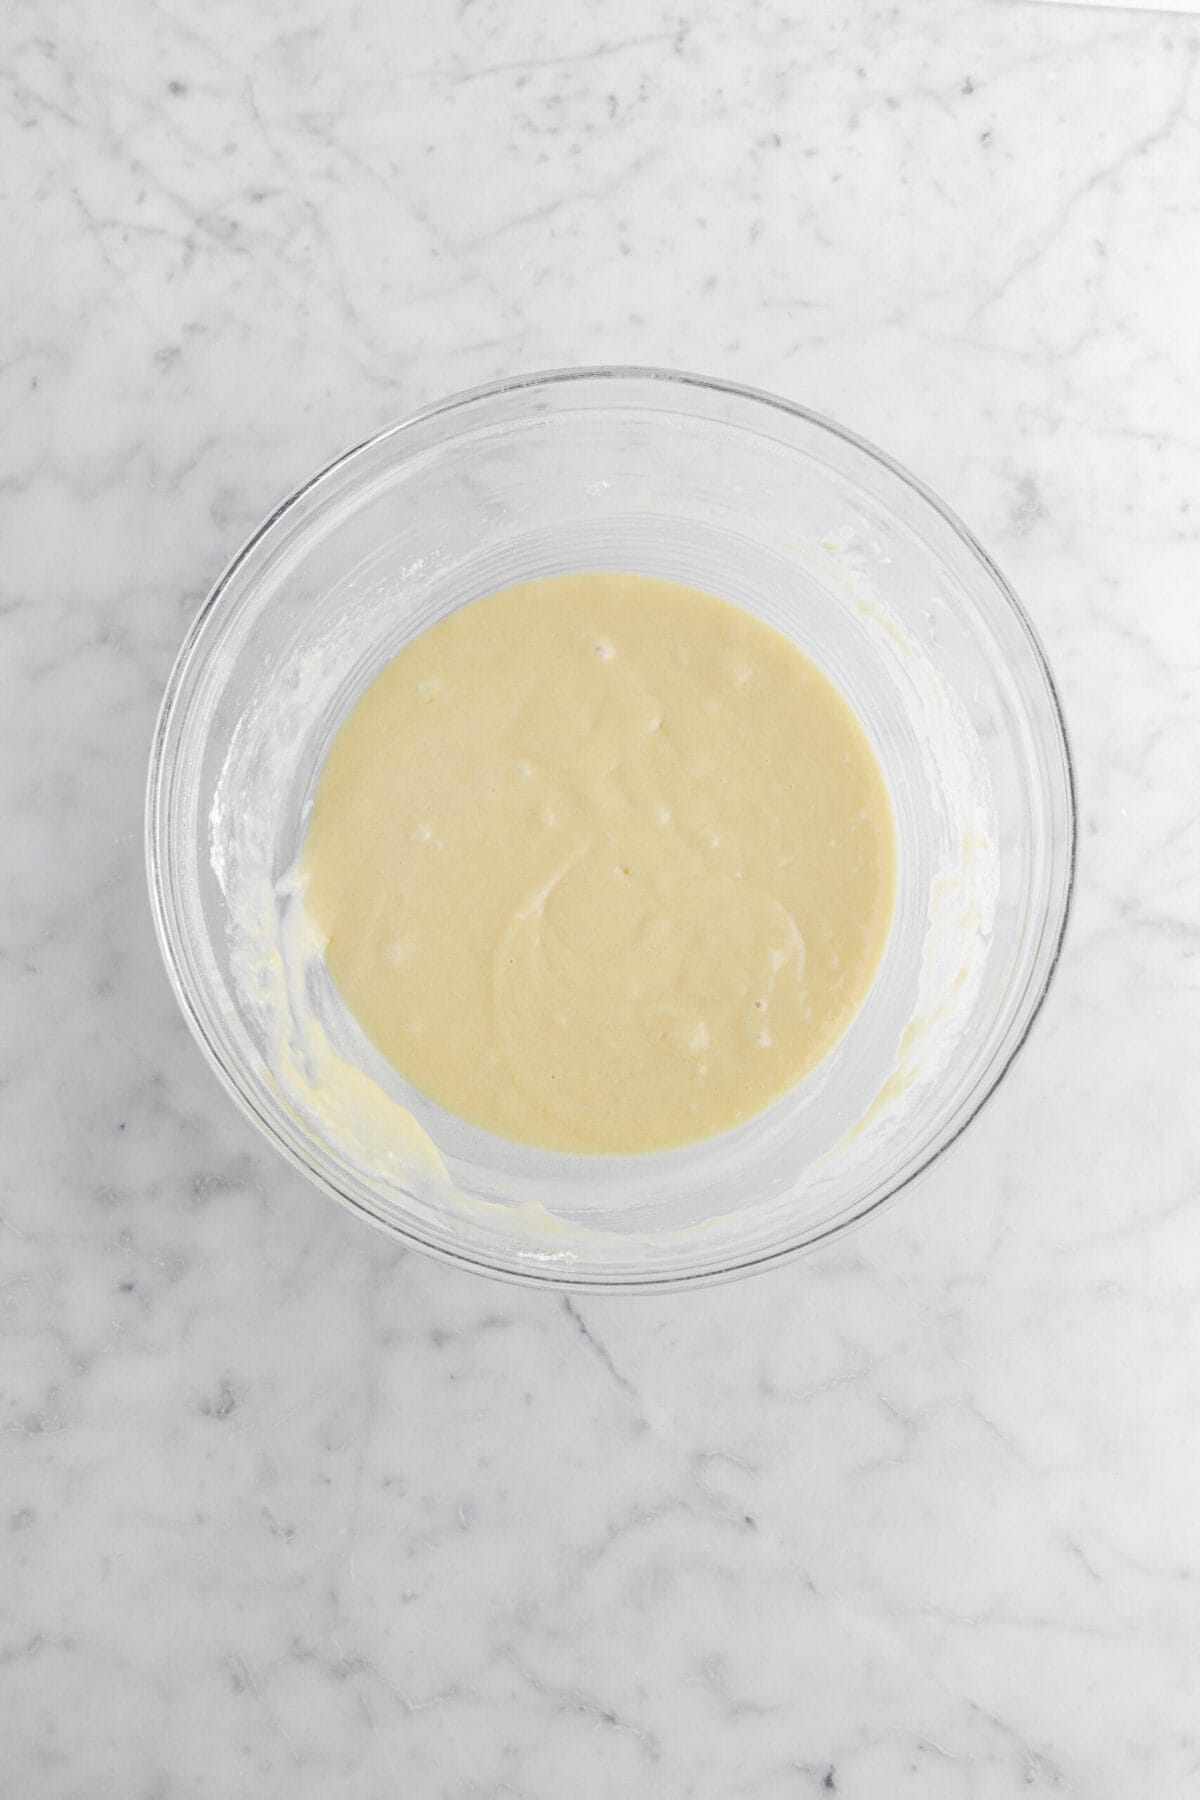
In a large bowl, whisk together flour, sugar, baking powder, baking soda, and salt. Set aside.
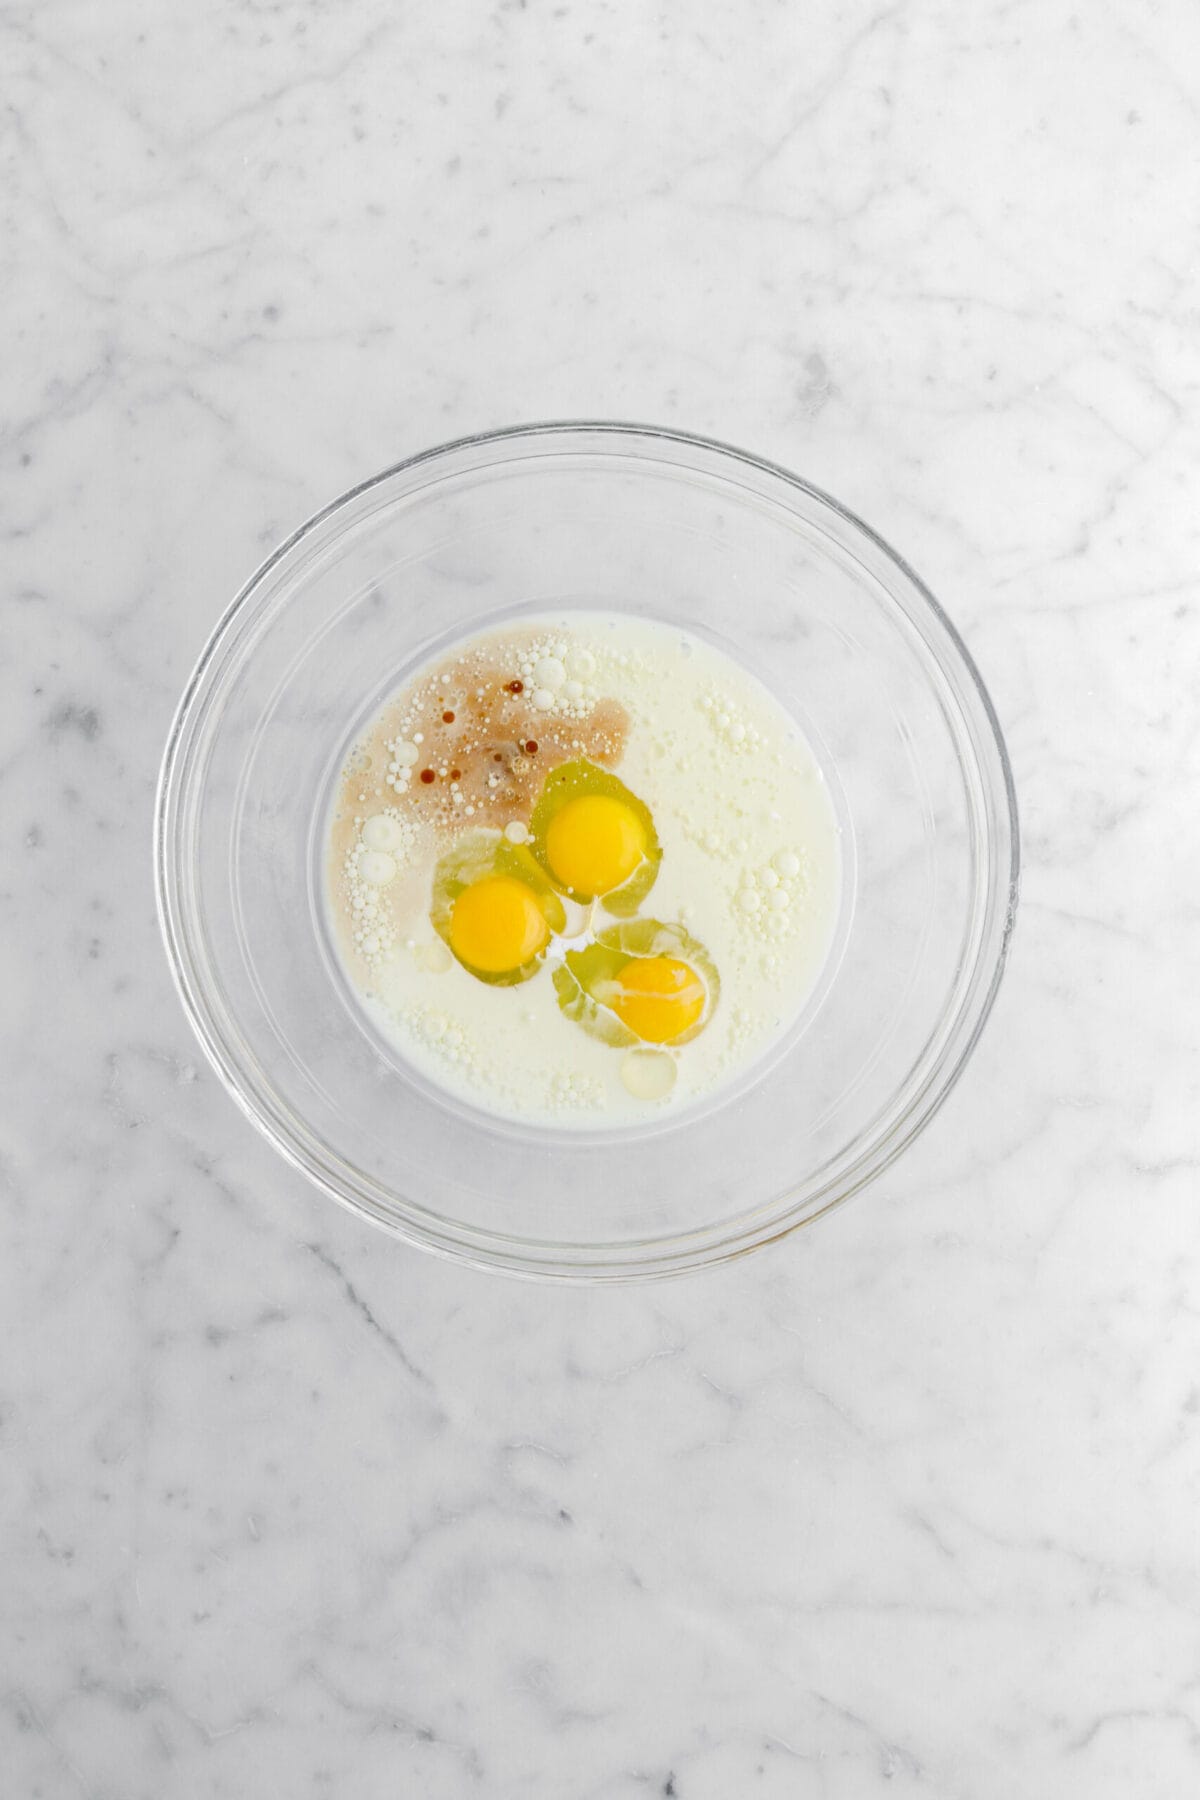
In a medium bowl, whisk together milk, eggs, oil, and vanilla.

Pour wet ingredients over dry ingredients. Stir together gently, being careful not to over-mix.

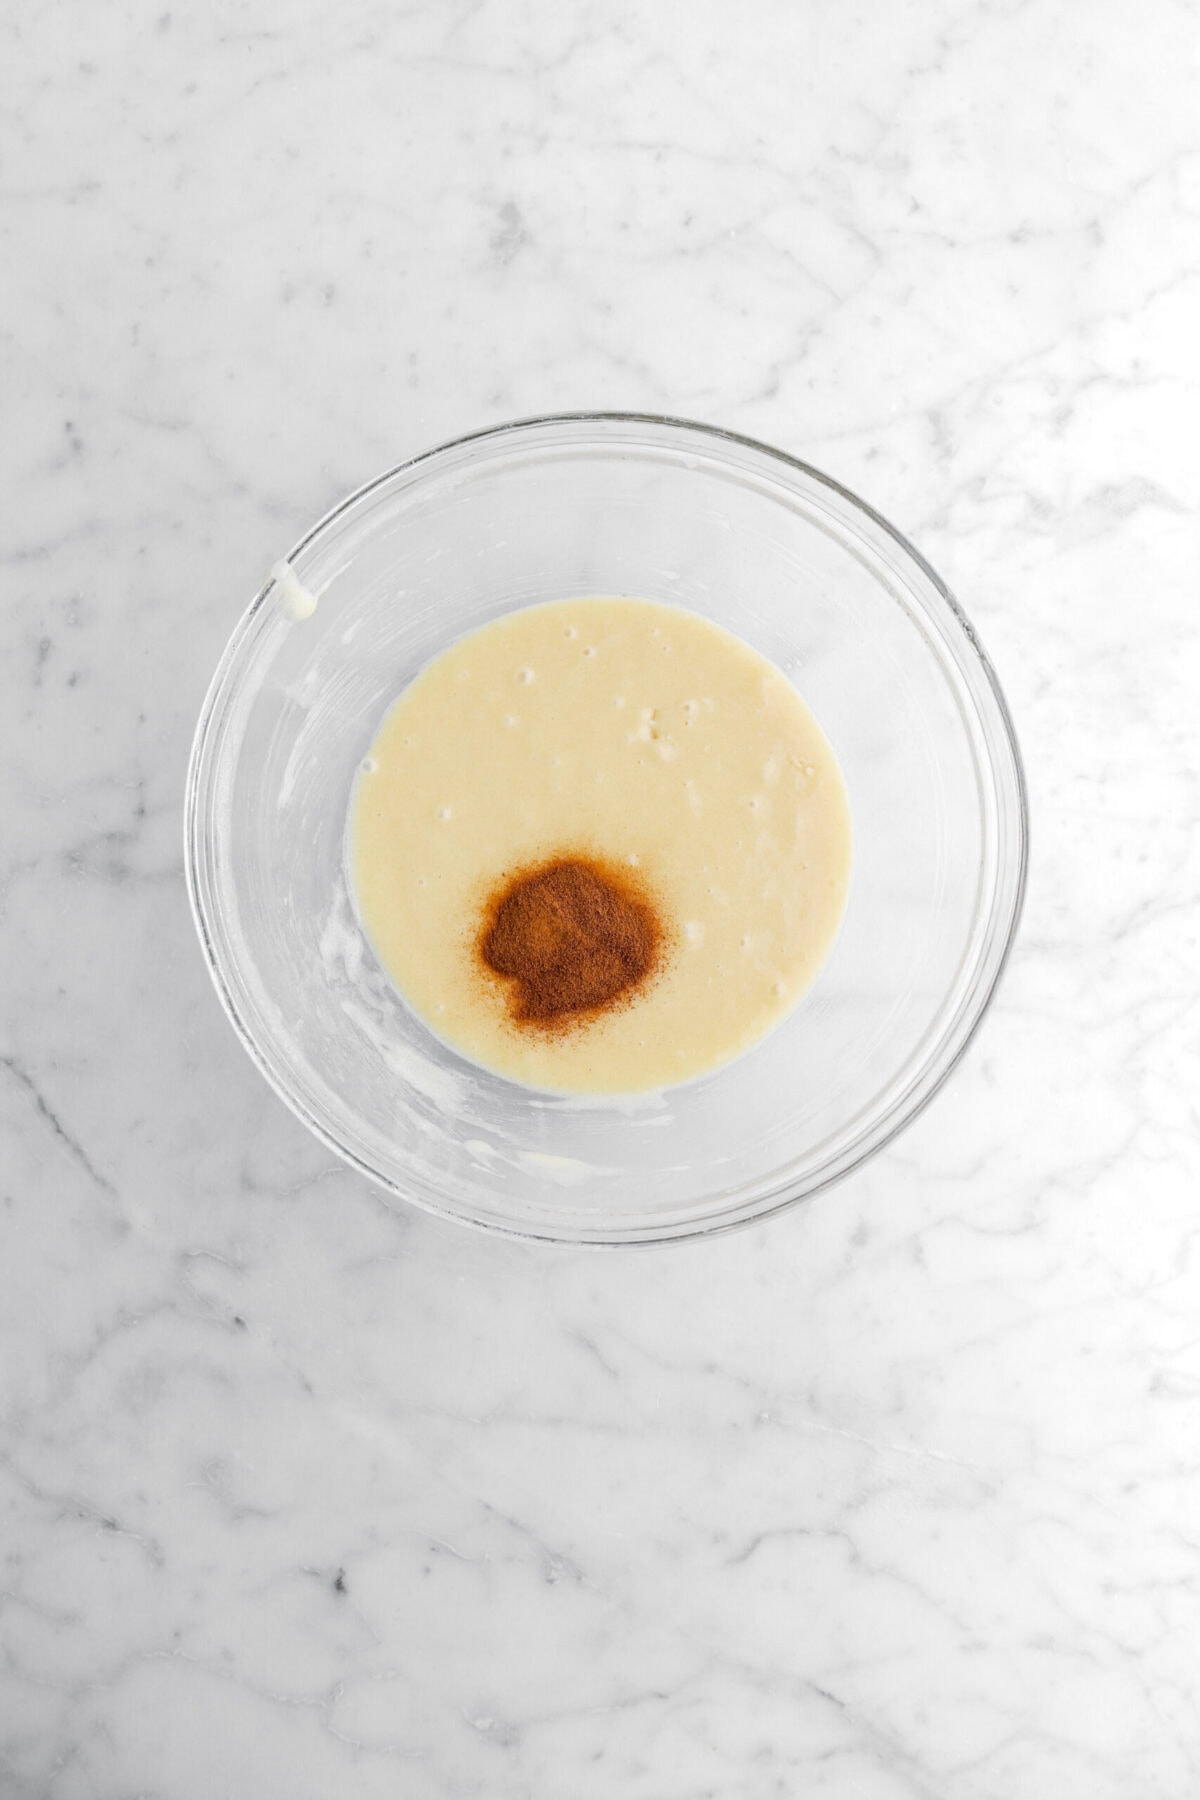
Ladle ¼ batter into small bowl. Add espresso powder. Stir gently.

Add the melted chocolate. Stir gently until combined.


Step 2: Ladle into pan and bake
Using a 1 ½ Tablespoon cookie scoop for the chocolate and a 3 Tablespoon cookie scoop for the vanilla, add batter to prepared pan, alternating between plain and chocolate cake batter. Top with remaining plain cake batter.
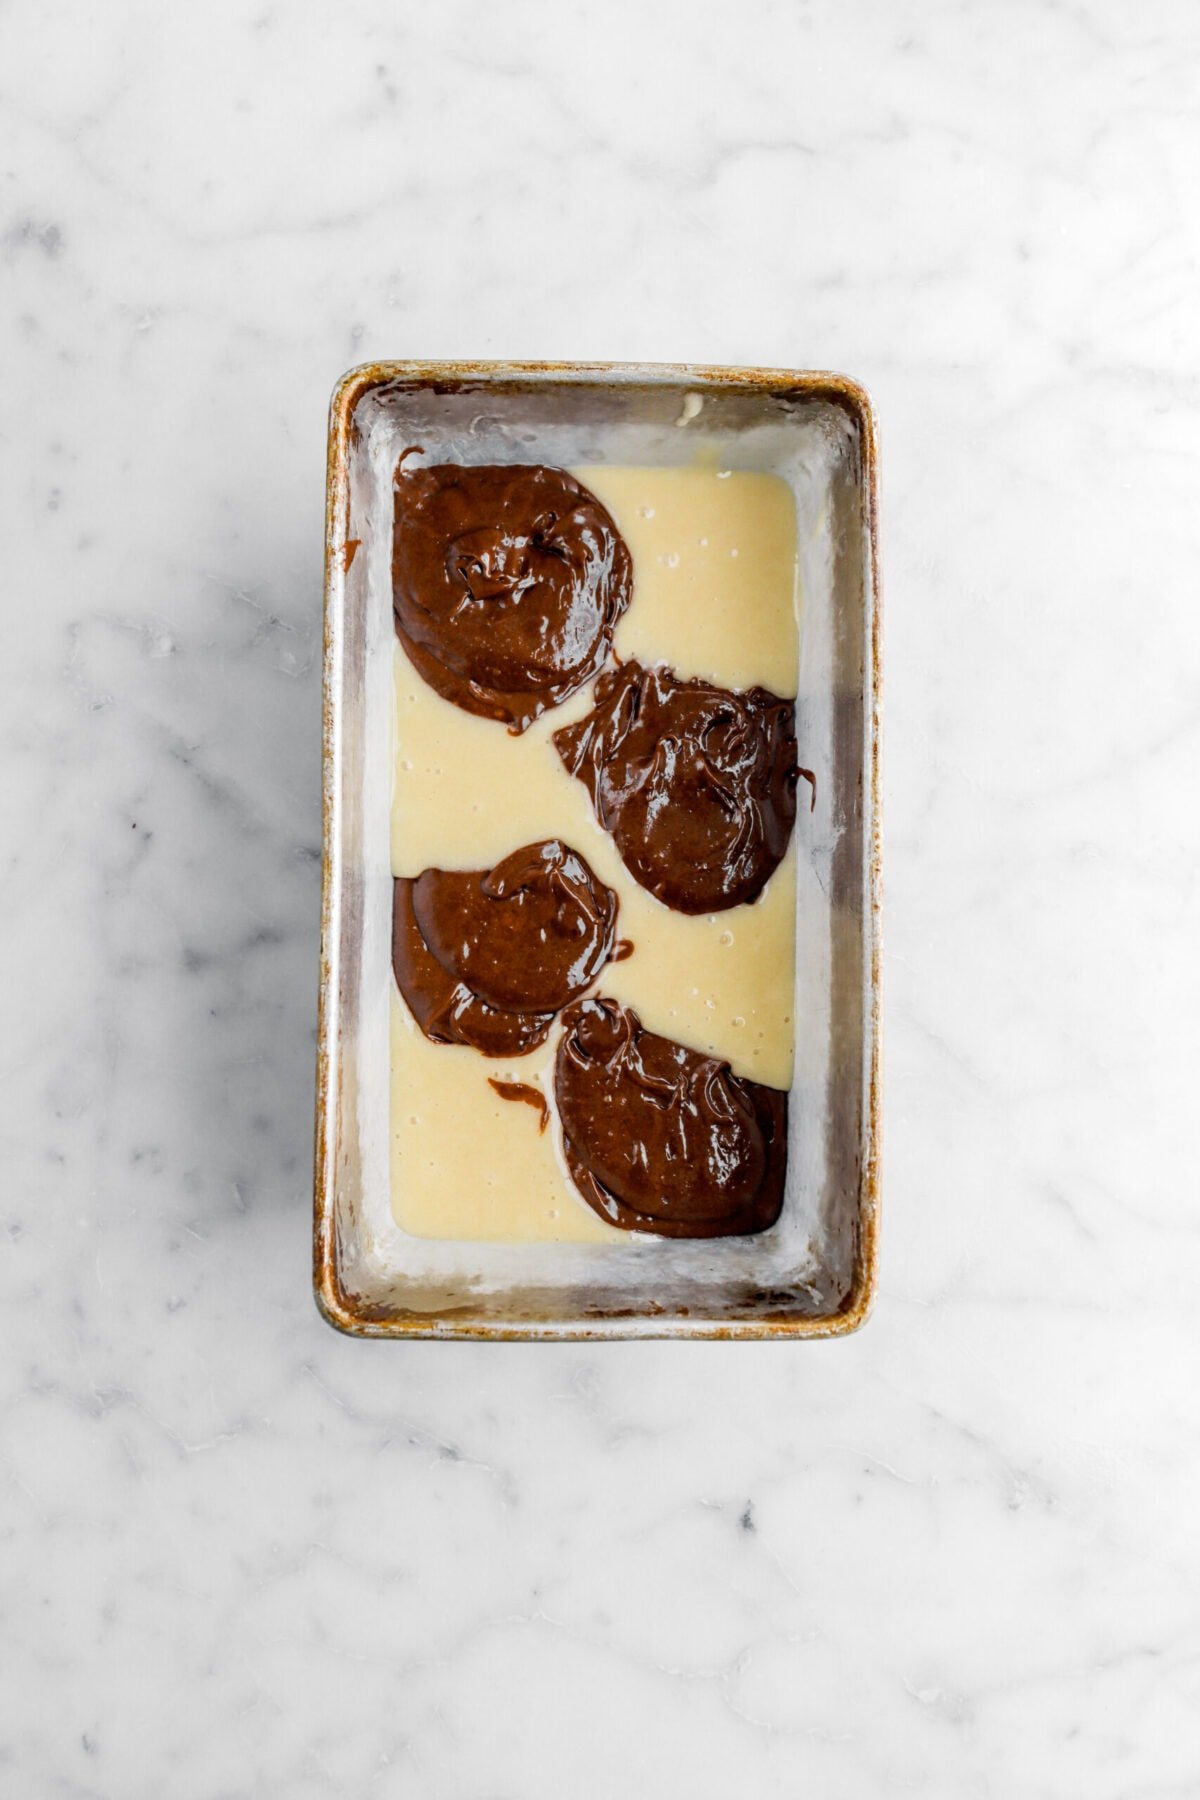

Use a flat-blade knife to swirl batters, being careful not to completely mix them together. Bake for 75 minutes, or until cake tests done.


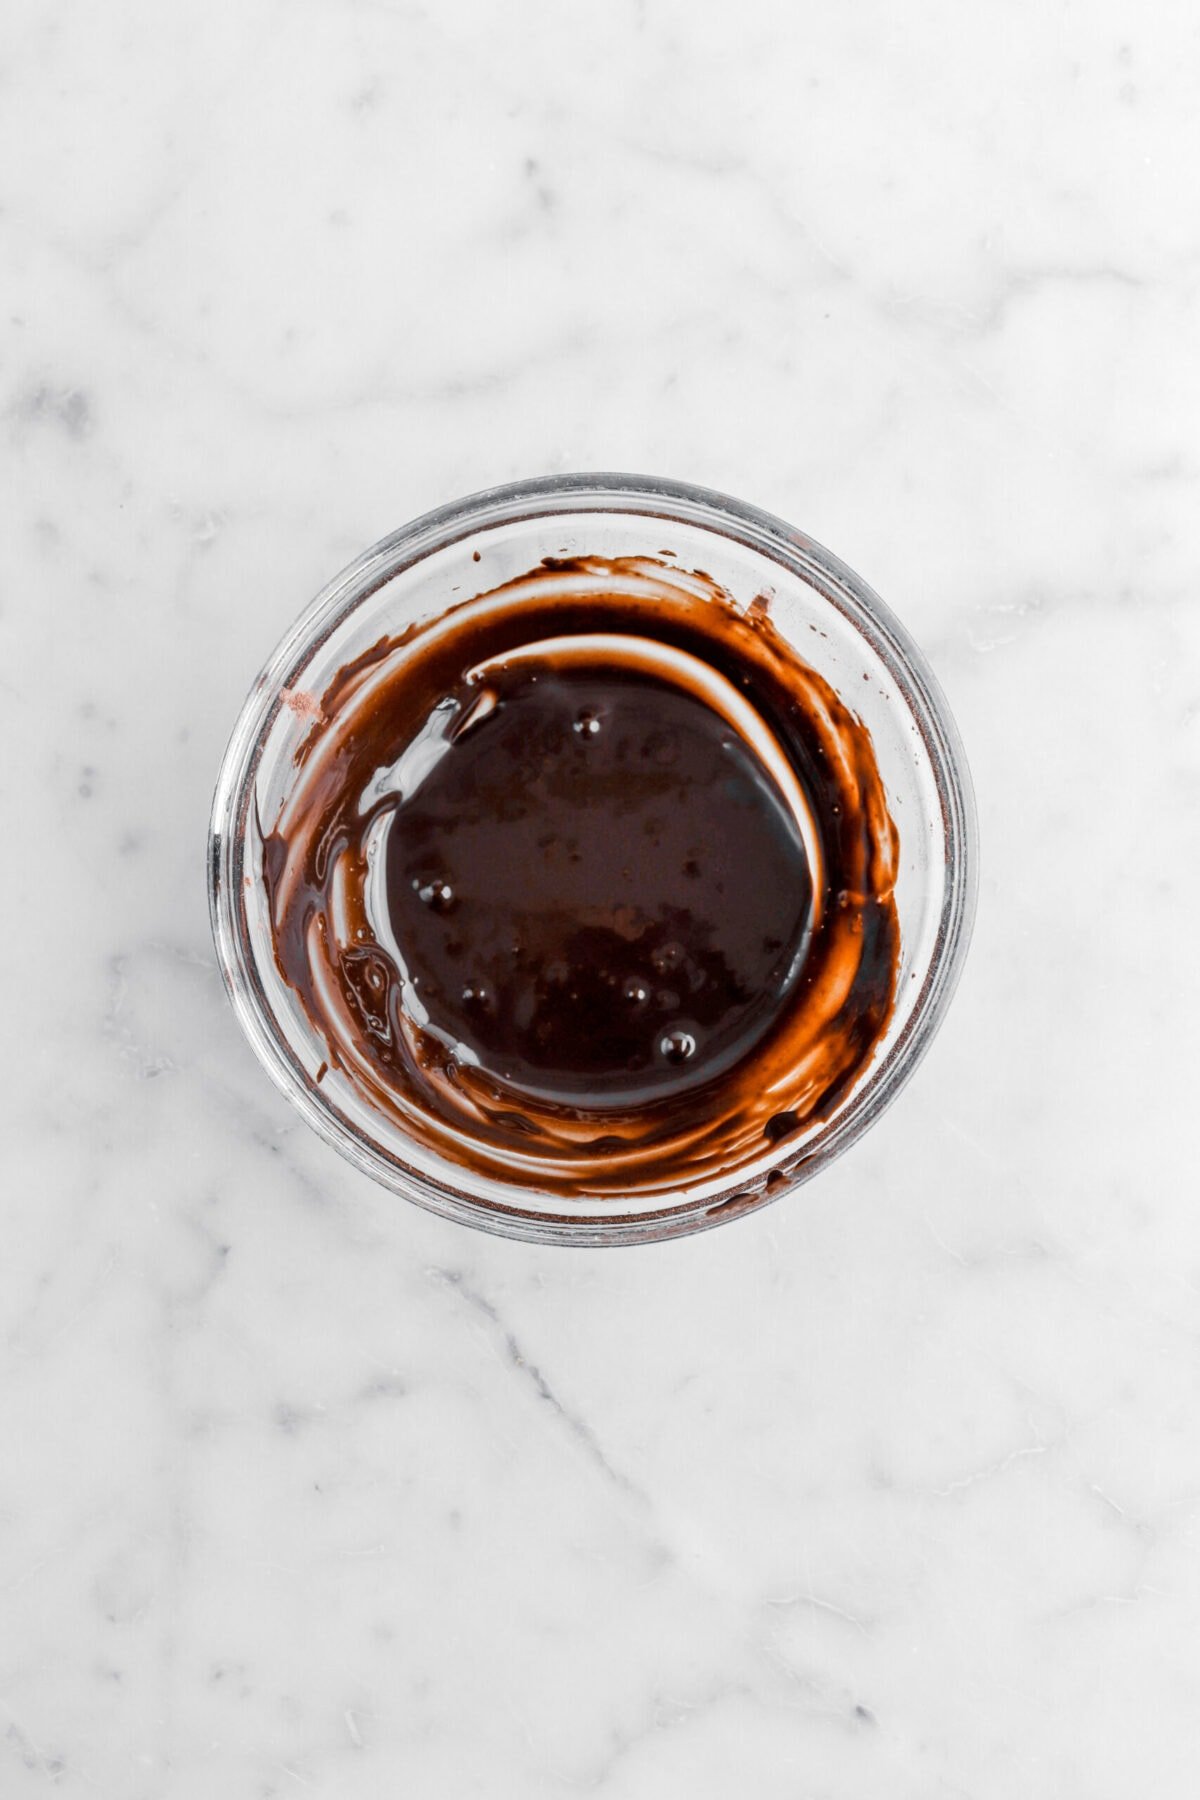
Step 3: Make icing
Combine all ingredients in a small bowl. Whisk until smooth.

Spread on top of cooled cake.

FAQ’s and Troubleshooting
Why is my batter lumpy?
If your batter is lumpy, it may be the flour did not get completely incorporated fully. Be sure that the flour is completely incorporated before baking!
Why is the chocolate cake batter so thick?
Since the chocolate cake batter has the addition of melted chocolate, this causes the cake batter to thicken as the melted chocolate cools to the same temperature as the batter.
Why did my cake stick?
If your cake is stuck to the pan, it could be one of two things. Either the pan wasn’t greased enough (it happens to all of us!) or the cake is still a little too warm to be turned out. If you suspect it’s still too warm, let it cool for a little longer and try to turn out again. If it’s stuck because the pan isn’t greased enough, run a knife along the edges of the cake and place upside down on a cooling rack and tap the top and sides of the pan. The cake may tear, but it will still taste delicious!
Why did my cake not marble?
If the cake did not marble, it wasn’t swirled enough or properly. It’s best to use a thin bladed knife and swirl it through multiple times. It’s best to constantly change the directions to create the best marbling effect!
Why did my cake not rise?
If the cake didn’t rise, this could be one of two things. Check your baking powder or baking soda to make sure it’s in-date! If either are expired, this is most likely the culprit. If your leavening is in-date, then the cake batter was most likely over-mixed. This doesn’t mean the cake is ruined! It will still taste delicious, but it may be more dense than desired.
Why is my cake dry/crumbly?
Dryness can be a common issue with baking cakes. It’s either a result of over-mixing or over-baking! Though, keep in mind that under-mixing and under-baking can be equally as bad. So, be sure to follow the directions in the recipe card below (and make sure your oven is at the right temperature!) for the best results in this cake!
Why is my cake tough?
Tough cake is usually caused by over-mixing, which over-develops the gluten and that leads to a tough, dry, and dense cake.
How To Store
Once this cake is baked and cooled, it can be kept in a covered cake plate for 3-5 days at room temperature or in the fridge for up to a week.
You can also freeze this loaf as a whole or in individual slices. Just be sure to wrap the slices in plastic wrap and place them in a freezer safe container or zip top bag!
Substitutions
- To make this recipe vegan, you can use your favorite non-sweetened plant based milk with your favorite vegan egg substitute. Our favorite is aquafaba! For the icing, be sure to use a plant based milk. Also, be sure to double check the ingredients on your chocolate to ensure it is vegan.
- If you don’t have espresso powder, you can use instant coffee.
Looking for more recipes like this? Here are a few you may like:
Expert Tips
- Check the expiration date on your baking powder and baking soda.
- Remember to preheat your oven!
- Be careful to not over-mix your cake batter.
- Don’t let the melted chocolate for the cake sit too long before stirring in the cake batter. The longer you let it cool, the higher chance you have of it solidifying.
- The chocolate cake is thicker than the vanilla cake batter. Swirling them may be difficult so be sure to swirl it thoroughly to ensure the perfect marbling.
- If you’re unsure if the cake is baked, use a cake tester or an instant read thermometer to check! A cake tester should come out clean with no crumbs once the cake is completely baked. If you use a thermometer, a completely baked cake should read about 210°F.
- Be sure to let this cake cool completely before icing.
When you make this Dark Chocolate Espresso Marble Loaf Cake, leave a comment down below! We love hearing from you and answering any questions you might have! Also, be sure to tag us on social media and hashtag it #BakersTable.

Dark Chocolate Espresso Marble Loaf Cake
Ingredients
Cake
- 1 cup bittersweet chocolate
- 2¼ cups all purpose flour*
- 1½ cups granulated sugar
- 1¼ teaspoons baking powder
- ⅓ teaspoon baking soda
- ¾ teaspoon salt
- ¾ cup whole milk
- 3 large eggs
- 9 Tablespoon vegetable oil
- 1½ teaspoons vanilla extract
- 1 Tablespoon espresso powder
Icing
- ½ cup powdered sugar, sifted
- 2 Tablespoons cocoa powder, sifted
- 2 teaspoons espresso powder
- 2 Tablespoons whole milk
Instructions
Cake
- Heat oven to 325℉.
- Spray a 9 inch x 5 inch loaf pan with baking spray. Set aside.
- Place chocolate in a microwave safe bowl.
- Heat in 15 second increments, stirring well after each, until chocolate is melted and smooth. Set aside.
- In a large bowl, whisk together flour, sugar, baking powder, baking soda, and salt. Set aside.
- In a medium bowl, whisk together milk, eggs, oil, and vanilla.
- Pour wet ingredients over dry ingredients.
- Stir together gently, being careful not to over-mix.
- Ladle ¼ batter into small bowl.
- Add espresso powder.
- Stir gently.
- Add melted chocolate.
- Stir gently until combined.
- Using a 1 ½ Tablespoon cookie scoop for the chocolate and a 3 Tablespoon cookie scoop for the vanilla, add batter to prepared pan, alternating between plain and chocolate cake batter.
- Top with remaining plain cake batter.
- Use a flat-blade knife to swirl batters, being careful not to completely mix them together.
- Bake for 75 minutes, or until cake tests done.
Icing
- Combine all ingredients in a small bowl.
- Whisk until smooth.
- Spread on top of cooled cake.
Notes + Tips!
- To make this recipe vegan, you can use your favorite non-sweetened plant based milk with your favorite vegan egg substitute. Our favorite is aquafaba! For the icing, be sure to use a plant based milk. Also, be sure to double check the ingredients on your chocolate to ensure it is vegan.
- If you don’t have espresso powder, you can use instant coffee.
- Check the expiration date on your baking powder and baking soda.
- Remember to preheat your oven!
- Be careful to not over-mix your cake batter.
- Don’t let the melted chocolate for the cake sit too long before stirring in the cake batter. The longer you let it cool, the higher chance you have of it solidifying.
- The chocolate cake is thicker than the vanilla cake batter. Swirling them may be difficult so be sure to swirl it thoroughly to ensure the perfect marbling.
- If you’re unsure if the cake is baked, use a cake tester or an instant read thermometer to check! A cake tester should come out clean with no crumbs once the cake is completely baked. If you use a thermometer, a completely baked cake should read about 210°F.
- Be sure to let this cake cool completely before icing.
Tools You May Need (affiliate links)
– Still Hungry? –
Here are a few recipes may like!


I HAVE NOT TRIED IT YET (I can’t wait to make it!)
i just know anything from this web is amazing!!!!