No Bake Tiramisu Cheesecake
This post may contain affiliate links, please visit our privacy policy for details.
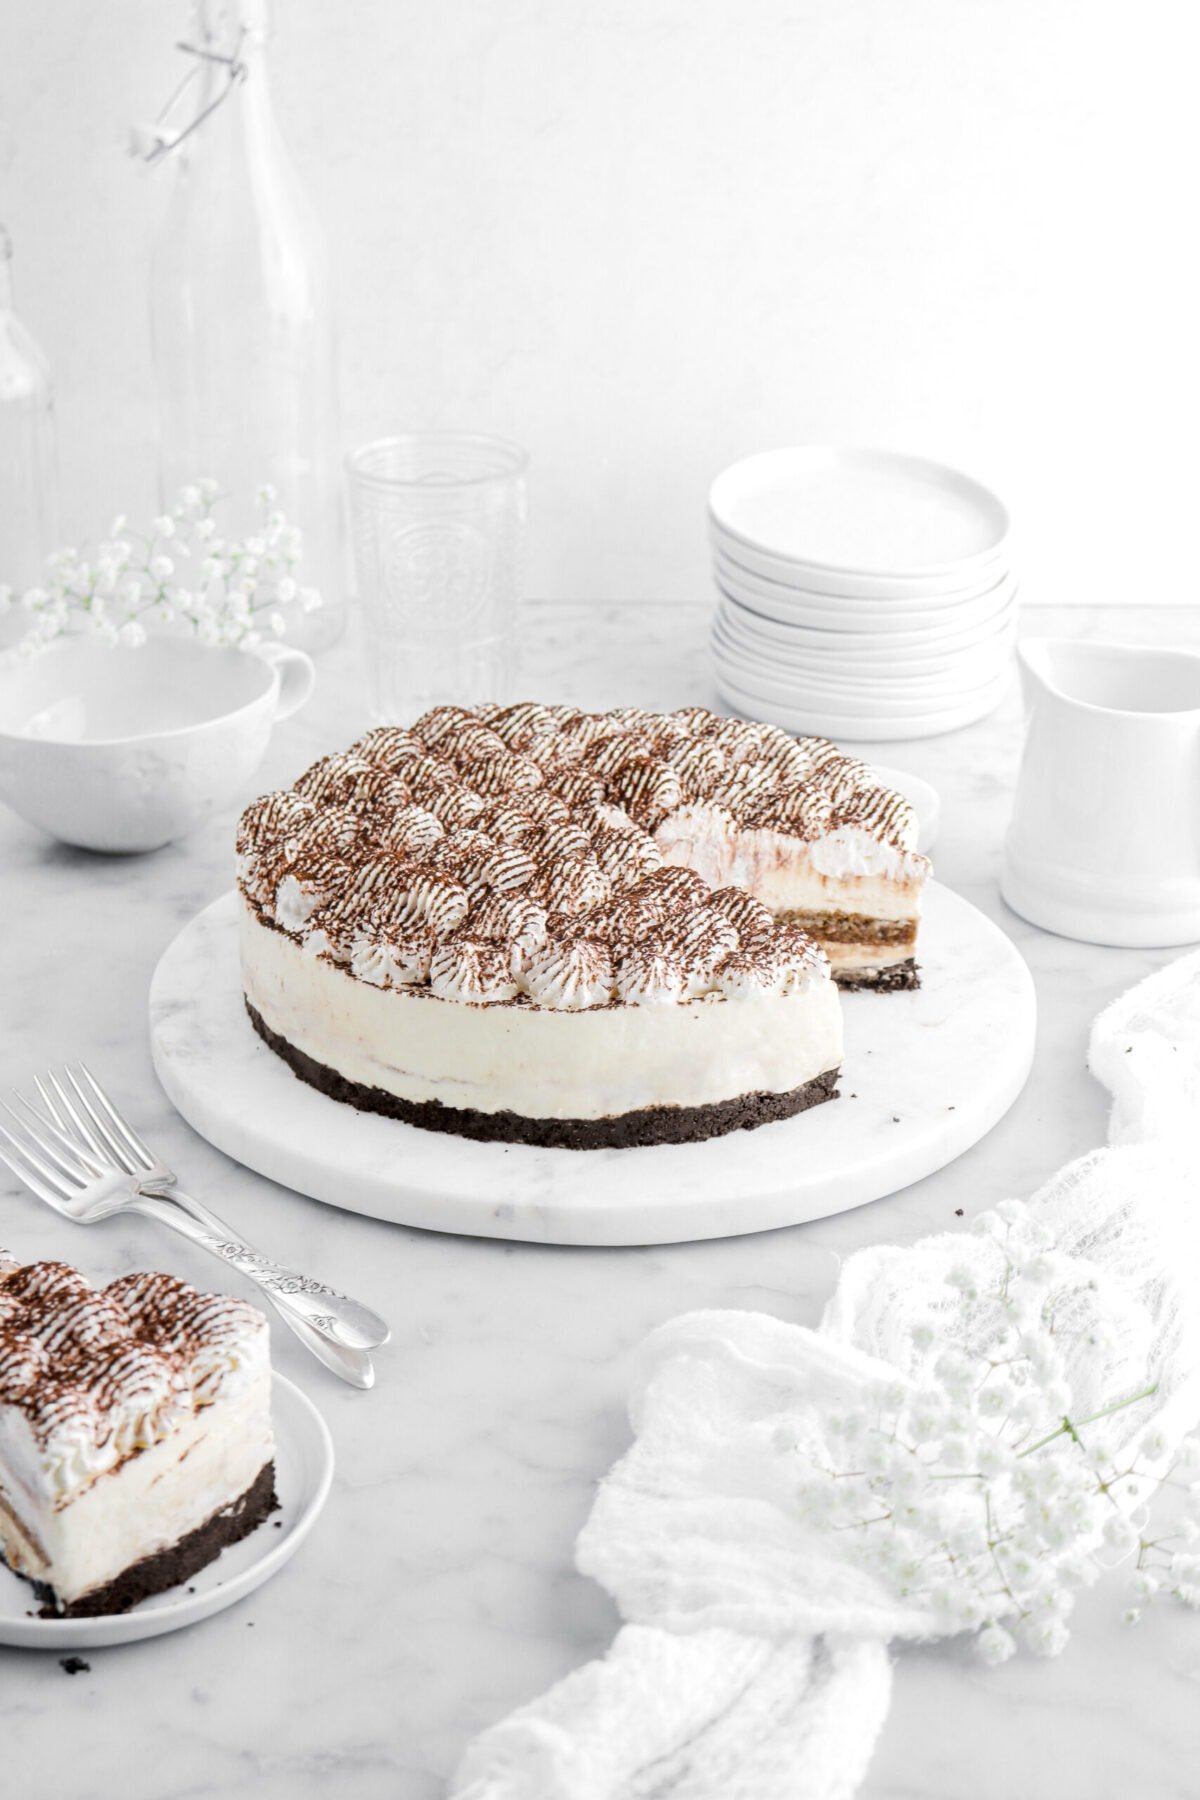
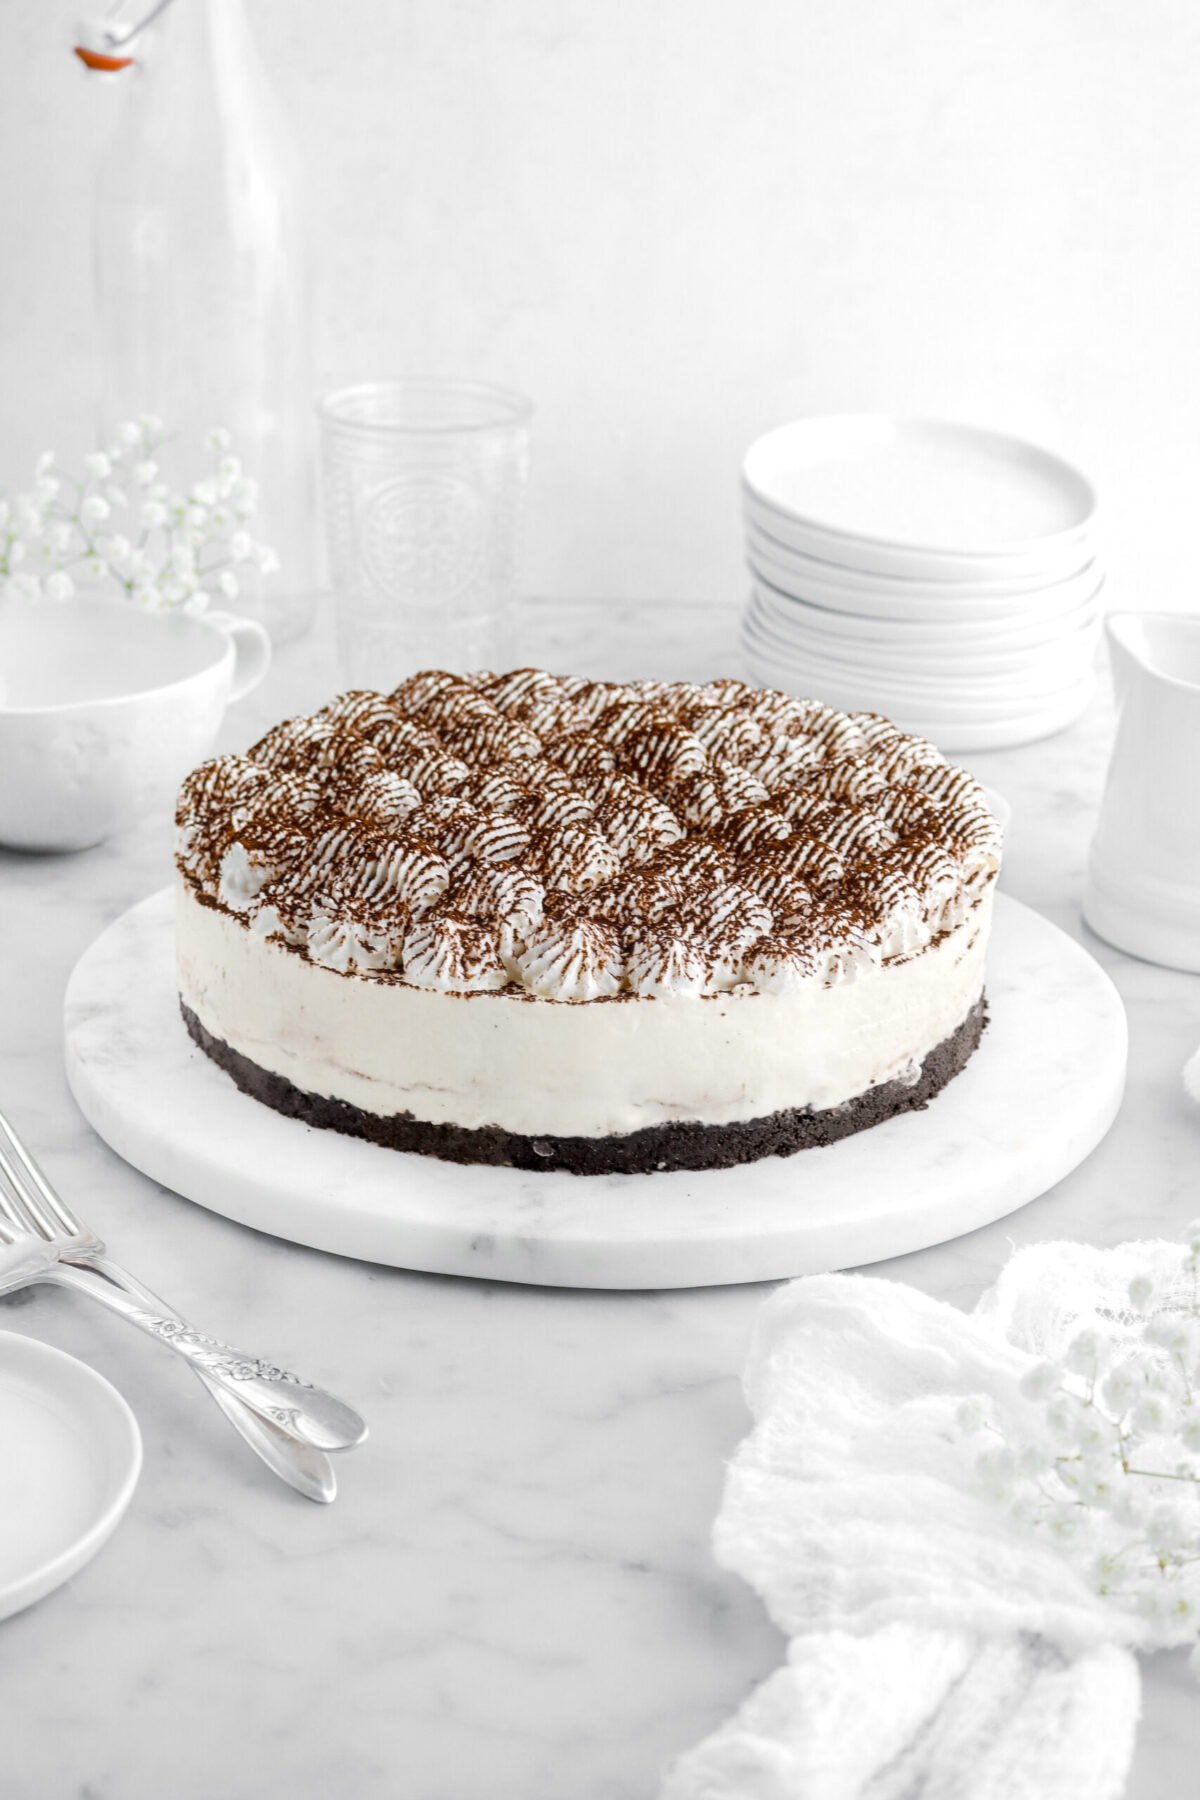
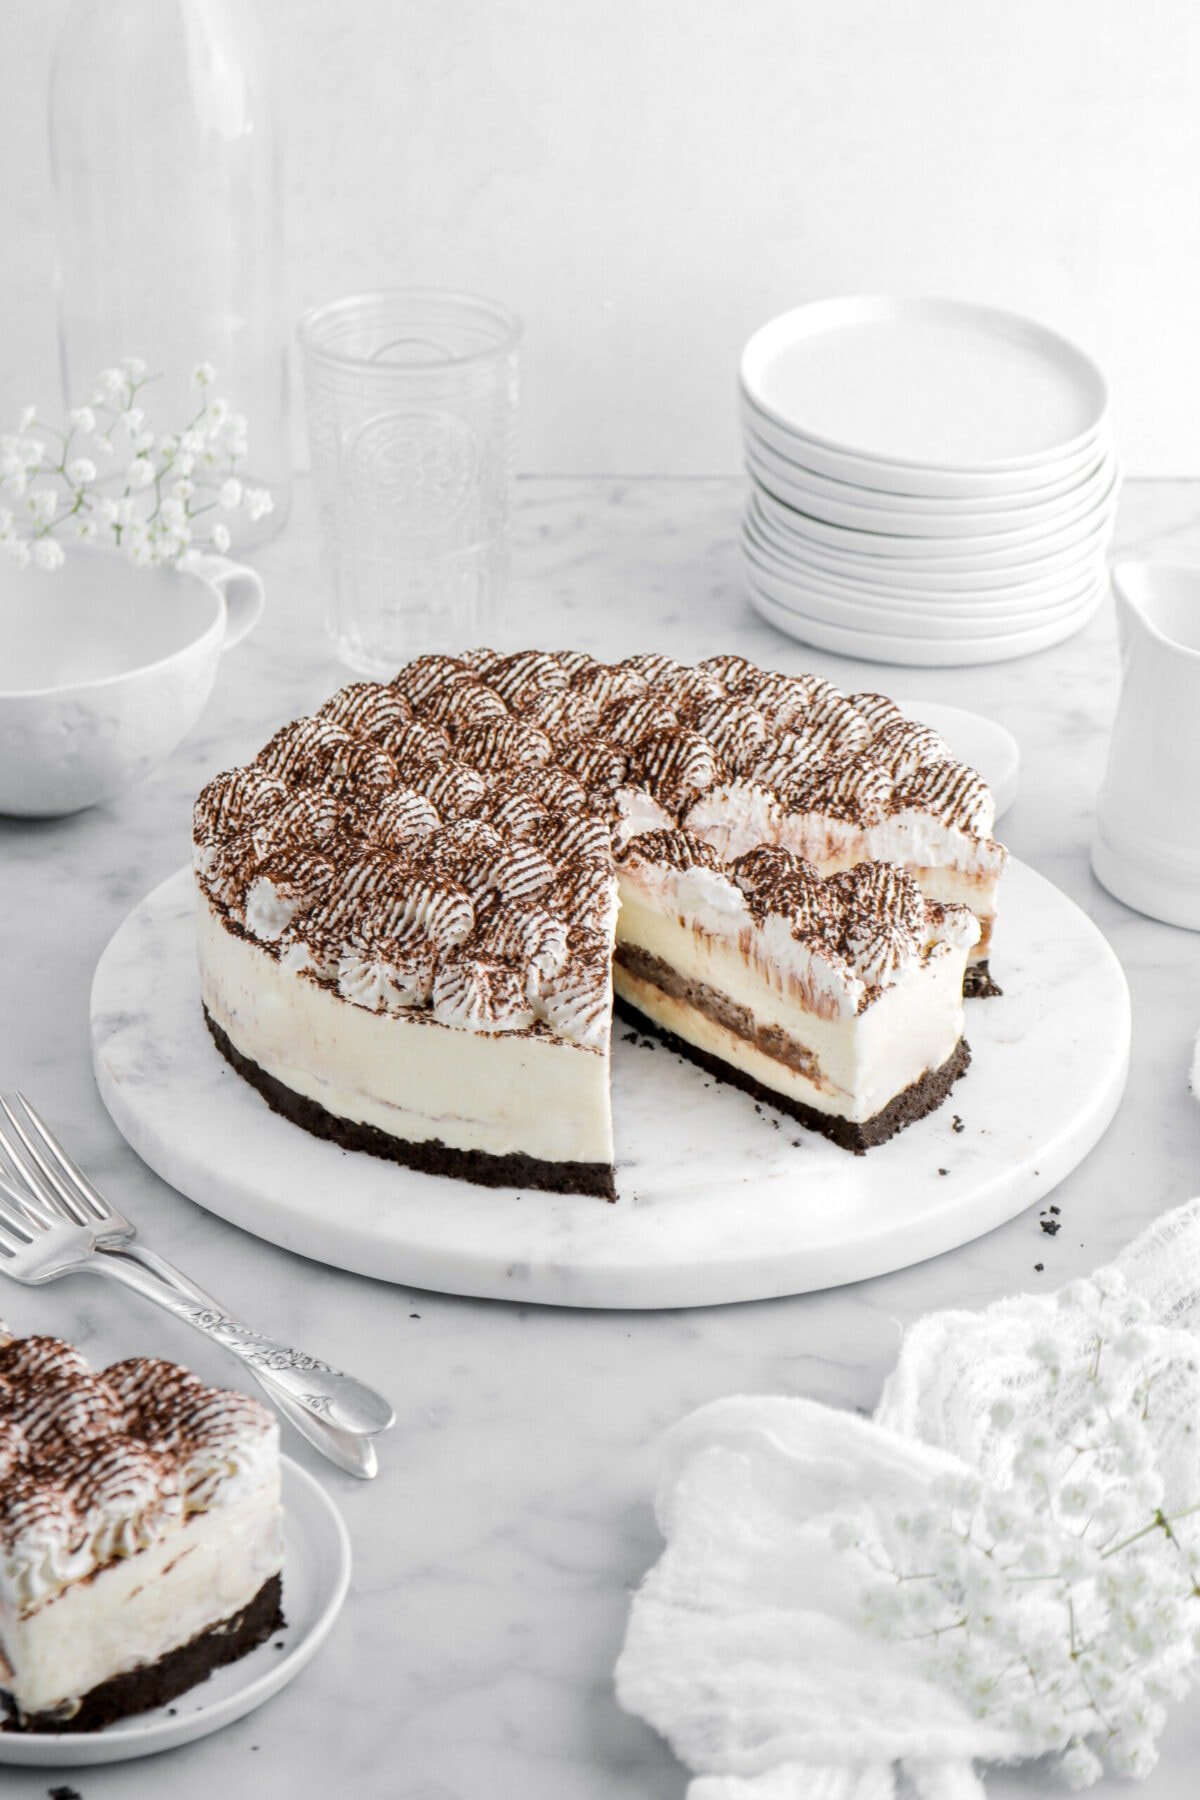
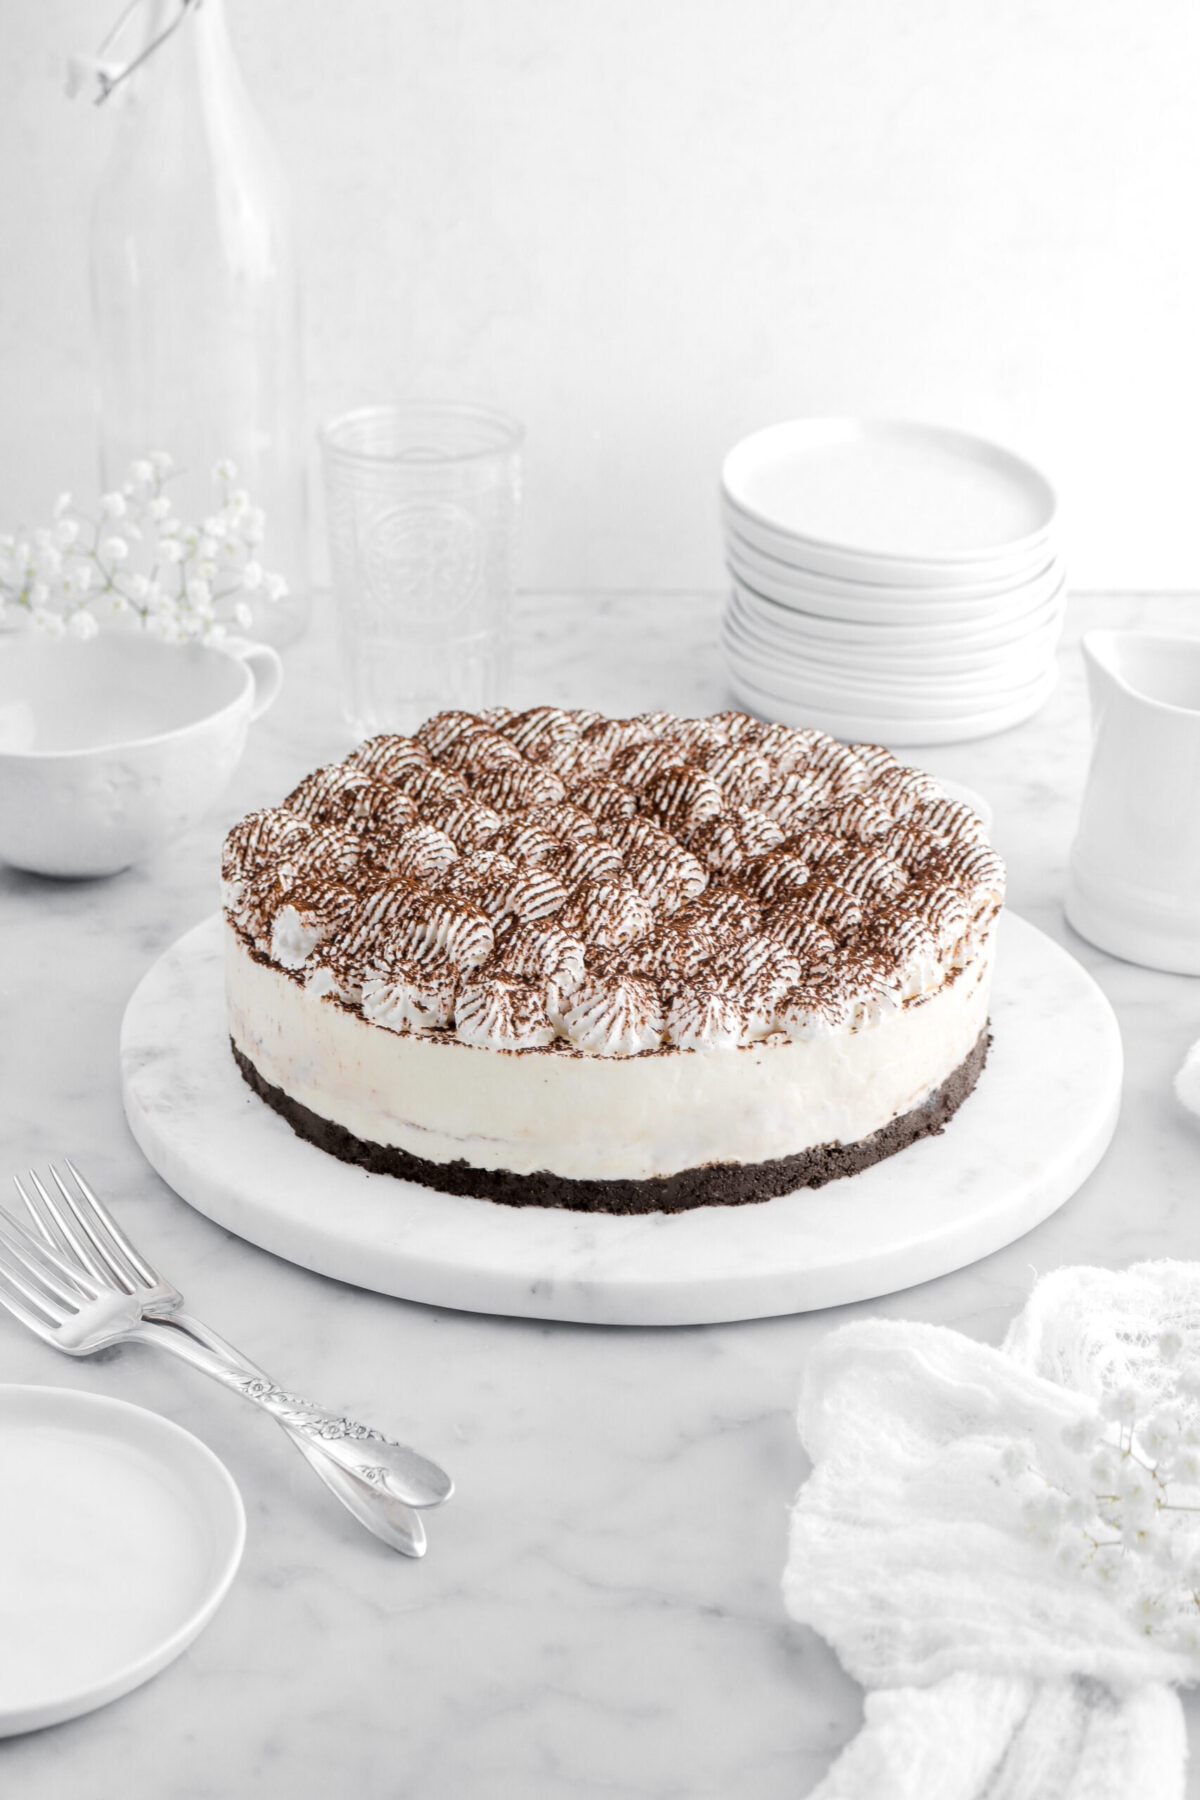
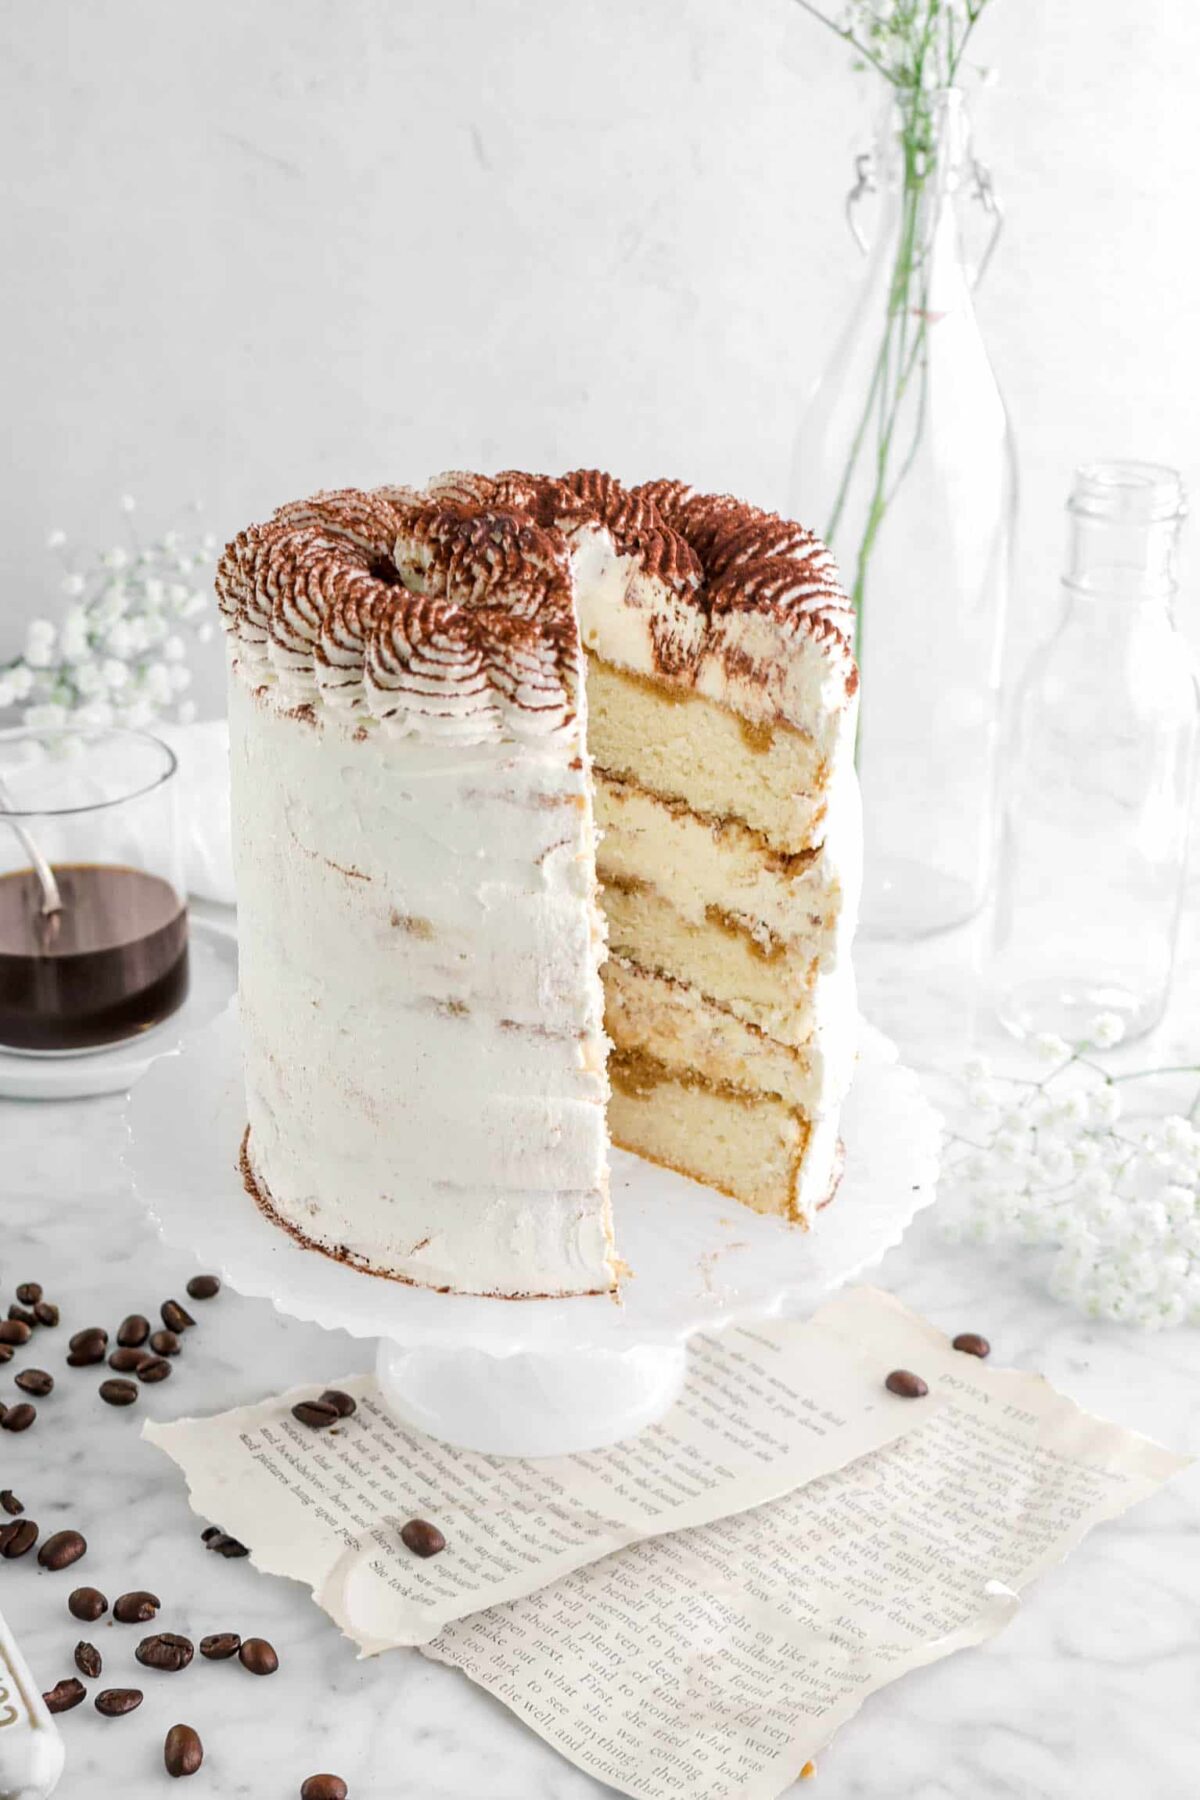
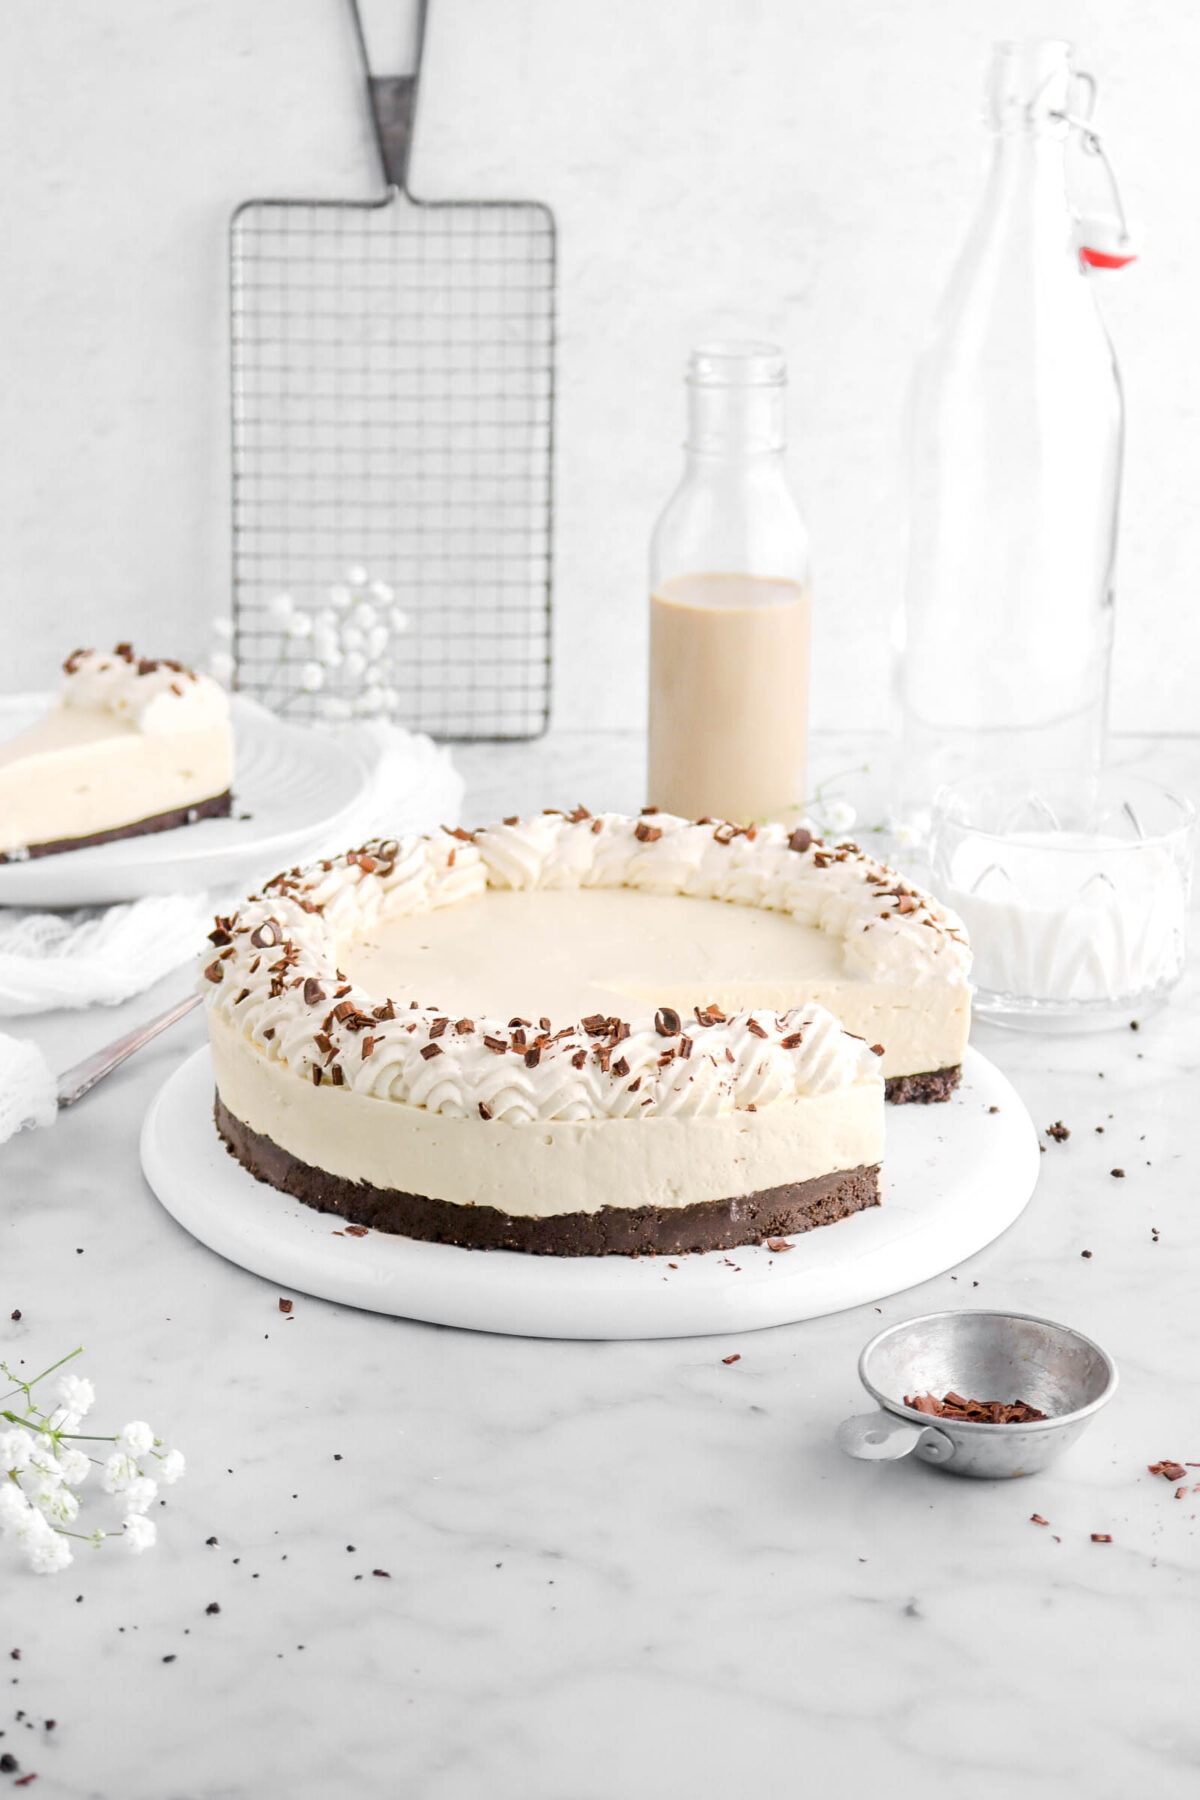
5 Layer No Bake Tiramisu Cheesecake. It’s the fun twist on the classic Italian dessert that you’ll be wanting to make all year long! Chocolate cookie crust, topped with a classic no-bake cheesecake made with mascarpone for extra creamy goodness, as well as a hint of vanilla, layered with coffee and coffee liqueur soaked ladyfinger cookies, a dusting of cocoa powder, and finished with a layer of delicious Chantilly cream. There is nothing not to love about this cheesecake! Every bite is tangy, sweet, creamy, and SO. GOOD. Perfect for holiday gatherings, parties, or whenever you want to impress with a dessert that looks oh-so pretty…with minimal effort!
About The Recipe
Today’s recipe is a fun one. My mom and I had this idea a few months ago and have been DYING to try it out. We love a good tiramisu, but we also love a good cheesecake. So, we married the two to create the most decadent, delicious, and simply amazing twist on the tiramisu.
I mean, what could be better than 5 layers of tiramisu flavored cheesecake?!

Oh, right. A tiramisu flavored cheesecake that is entirely NO BAKE!
Yep. You read that right. There is no baking required for this beauty. Just mix up the cookie crust, stir together the filling, soak some ladyfingers, and start assembling. It’s that easy.
We were honestly so surprised that it turned out on the first try! We knew the idea was a good one, but…if you’ve read the blog before, you know that my mom and I usually need to tweak some of our recipes during testing to get them absolutely perfect.
This one? Nope. She set. She layered. She sliced. Literal perfection!
I could not be happier with how this cheesecake came out. Between you and me, I think I’ve probably eaten a good portion of it on my own.

The best part? This recipe is a TOTAL crowd pleaser. Don’t like cheesecake? Well, it’s a lightly tangy tiramisu. Not a fan of tiramisu? Well, technically it’s a cheesecake!
Though, all jokes aside, this cheesecake is actually so delicious and it really is a crowd-pleaser. Every bite is the perfect combination of textures AND flavors. I honestly’s can’t get enough!
No-Bake Cheesecake vs Baked Cheesecake
While the two are technically the same dessert, the two cheesecakes are made and prepared completely differently. So, let’s get into the differences…shall we?
Firstly, the big difference. One is baked, the other isn’t. But why is that? Well, that comes down to the different ingredients in the two cheesecakes! Yep. You read that right. Different ingredients.
A baked cheesecake includes eggs. The eggs are what “set” the cheesecake while it bakes in a water-bath.
Whereas a no-bake cheesecake has no eggs (which means, no cooking required!), uses whipped cream for lightness and aeration, then is placed in the fridge overnight to set up.
Though, that’s not where the differences end! The two actually have vastly different textures. The baked cheesecake is dense and extremely rich. The no-bake cheesecake is light, fluffy, almost mousse-like.
Both are equally delicious and carry flavor well! But for this recipe, we opted to make a no-bake cheesecake to keep our kitchen a little cooler during these warmer months!
Reasons You Will Love This Tiramisu Cheesecake
- A fun twist on the classic Italian dessert.
- Super easy to make and effortlessly pretty.
- Literally FIVE layers of deliciousness.
- The perfect made-ahead dessert.
- Rich, creamy, and full of flavor.
Ingredients
Full ingredient amounts and instructions can be found in the recipe card at the bottom of the post.
For The Crust:
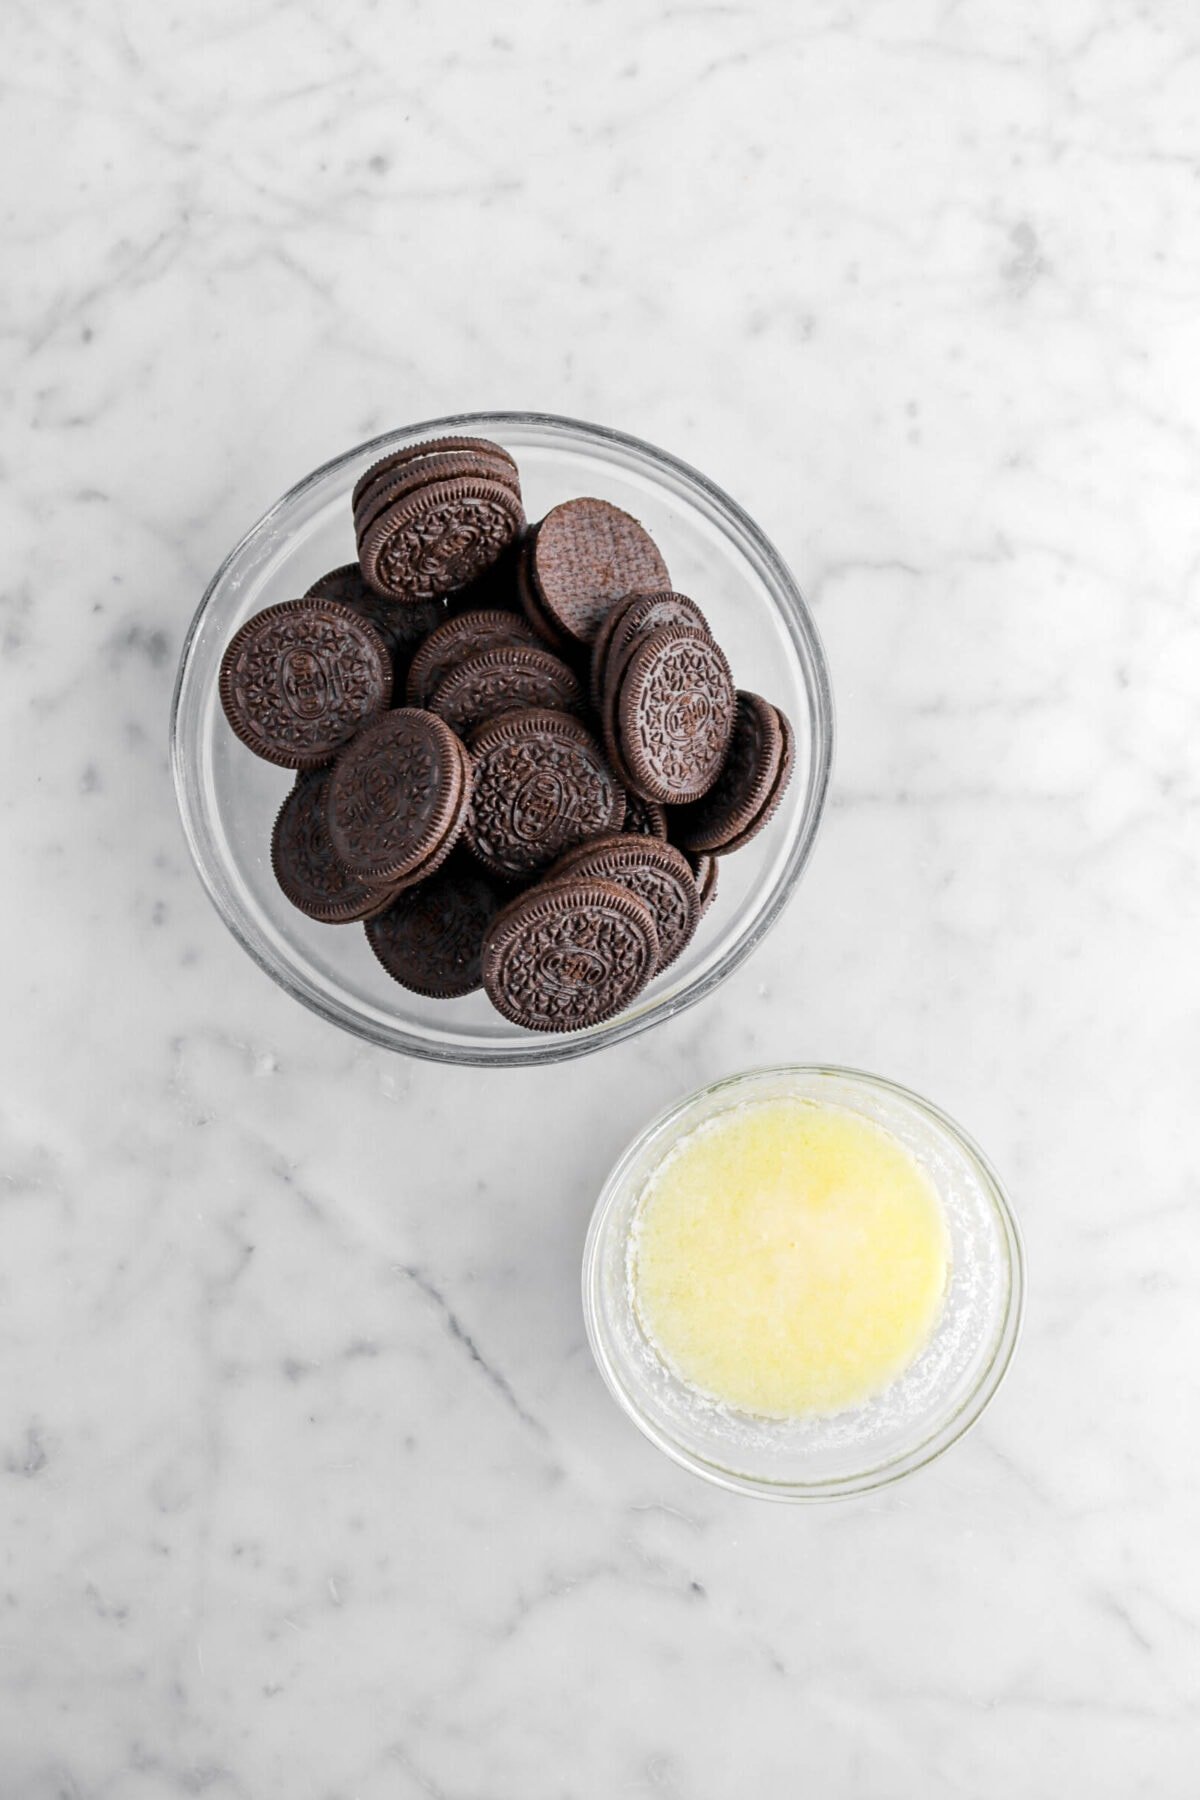
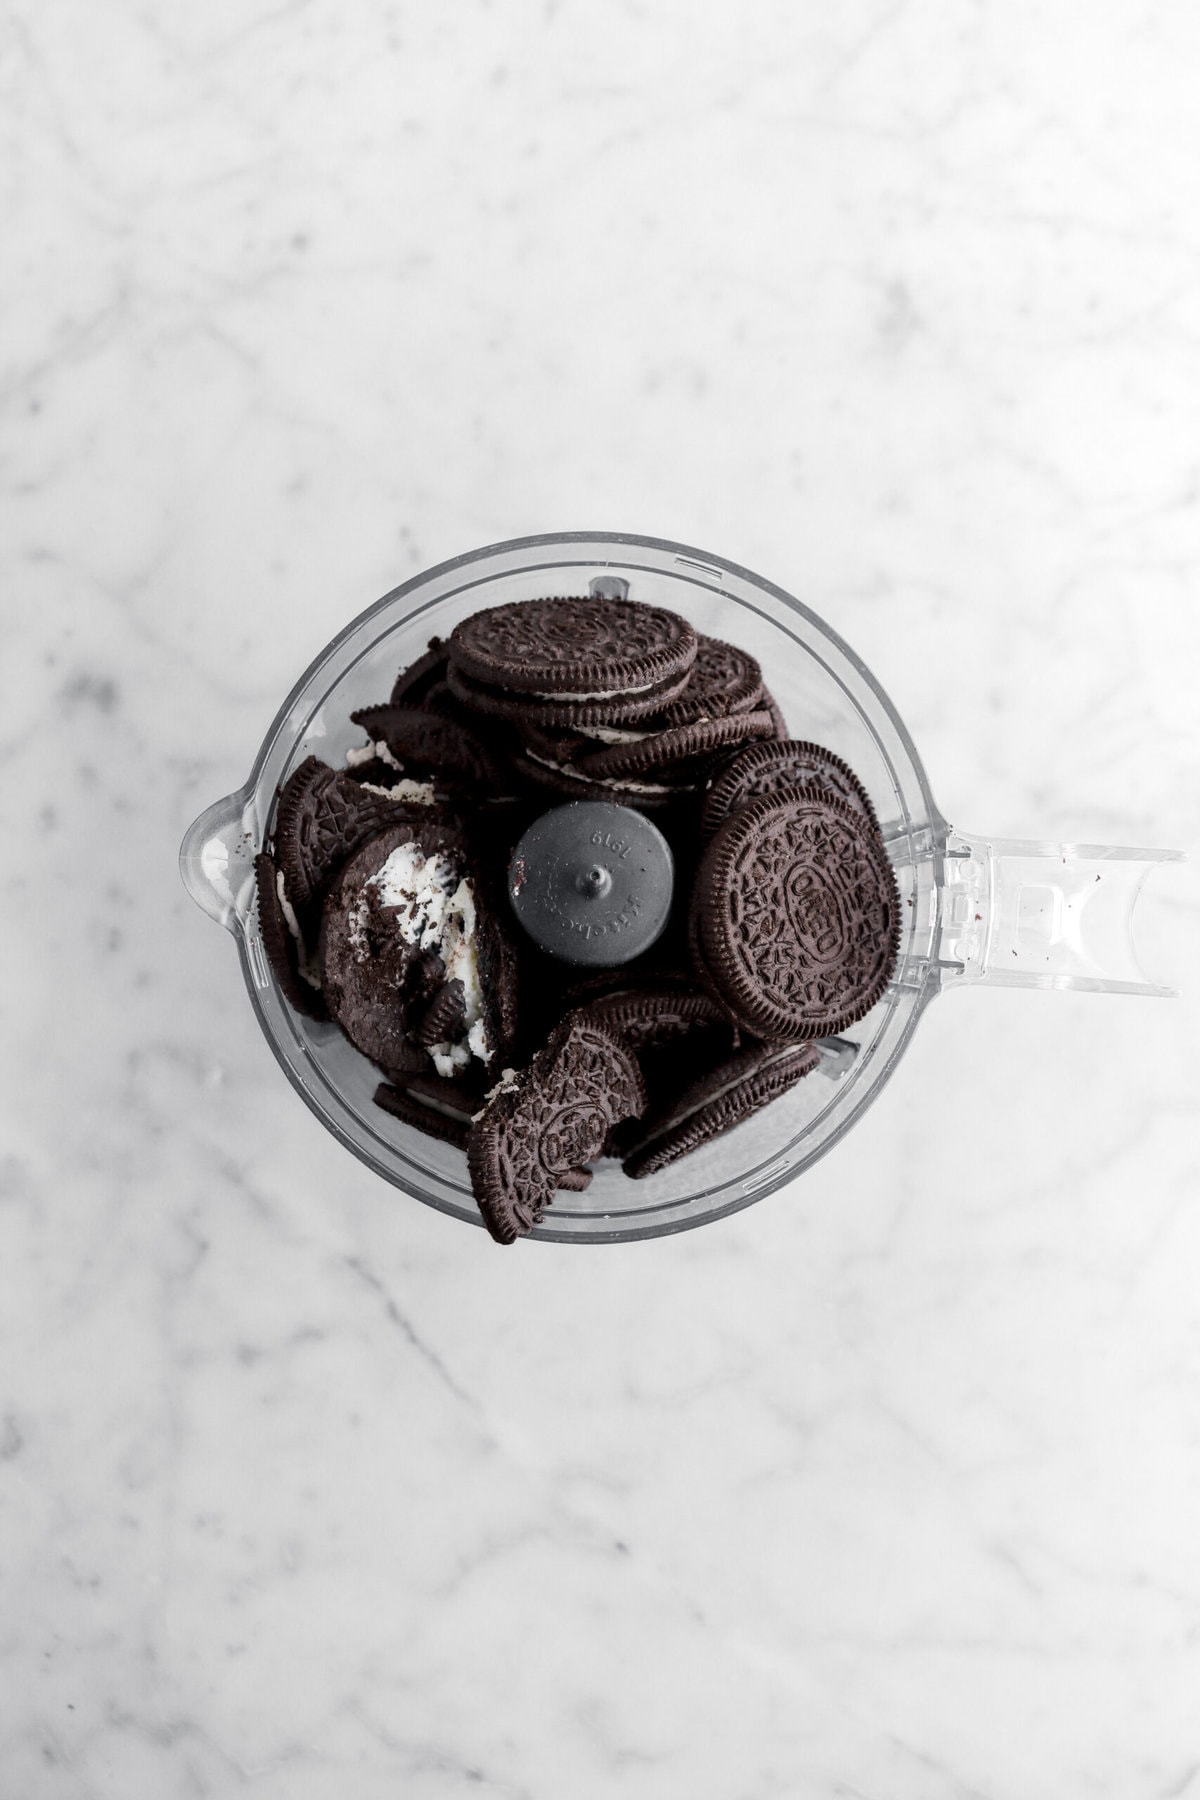
- Chocolate Sandwich Cookies – This is the base of the crust. It adds a wonderful flavor to this cheesecake!
- Salted Butter – Melted butter acts as the binder to hold the crust together.
For The Filling:
- Heavy Cream – Whipping the heavy cream creates a light and fluffy cheesecake!
- Cream Cheese – This is essential in every cheesecake! Make sure you’re using regular cream cheese and not low-fat or neufchatel.
- Mascarpone Cream – Adds a creaminess and silkiness to this cheesecake.
- Granulated Sugar – Adds just the right amount of sweetness.
- Vanilla Extract – Just a splash to add a delicious undertone to every bite.
- Savoiardi (Ladyfinger Cookies) – We decided to layer the cookies into this cheesecake to make it more like a traditional tiramisu!
- Coffee Liqueur – Adds that iconic boozy flavor to this cheesecake.
- Espresso – You will need very strong coffee or espresso to soak the cookies!
- Cocoa Powder – Adds a chocolate-y flavor while also cutting down on some of the sweetness in this dessert.

For The Chantilly Cream:
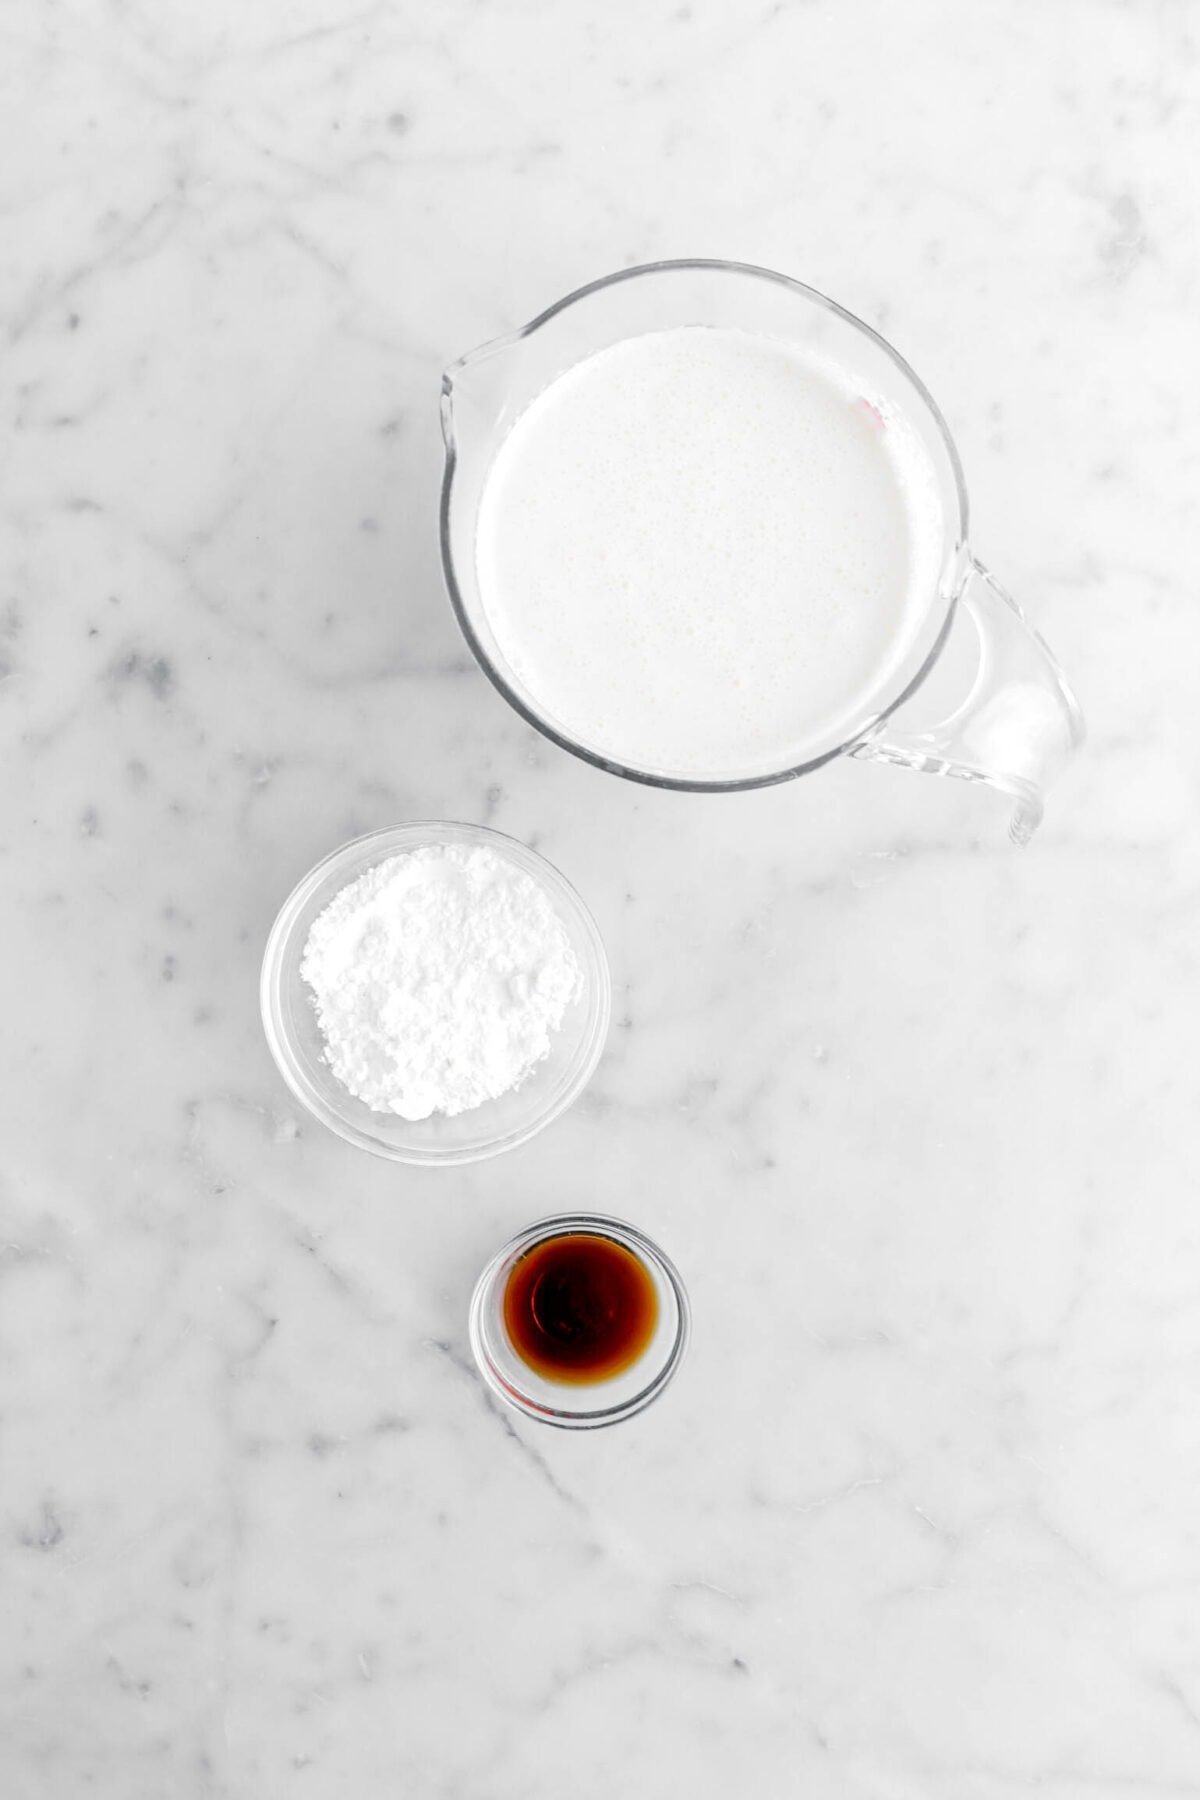
- Heavy Whipping Cream – This is essential to make the Chantilly cream. Be sure to use cold heavy cream to make sure it whips!
- Powdered Sugar – Adds just enough sweetness, without being too much.
- Vanilla Extract – Gives the Chantilly cream a delicious flavor!
How To Make Tiramisu Cheesecake
Step 1: Prepare crust
In a food processor, process cookies to fine crumbs.

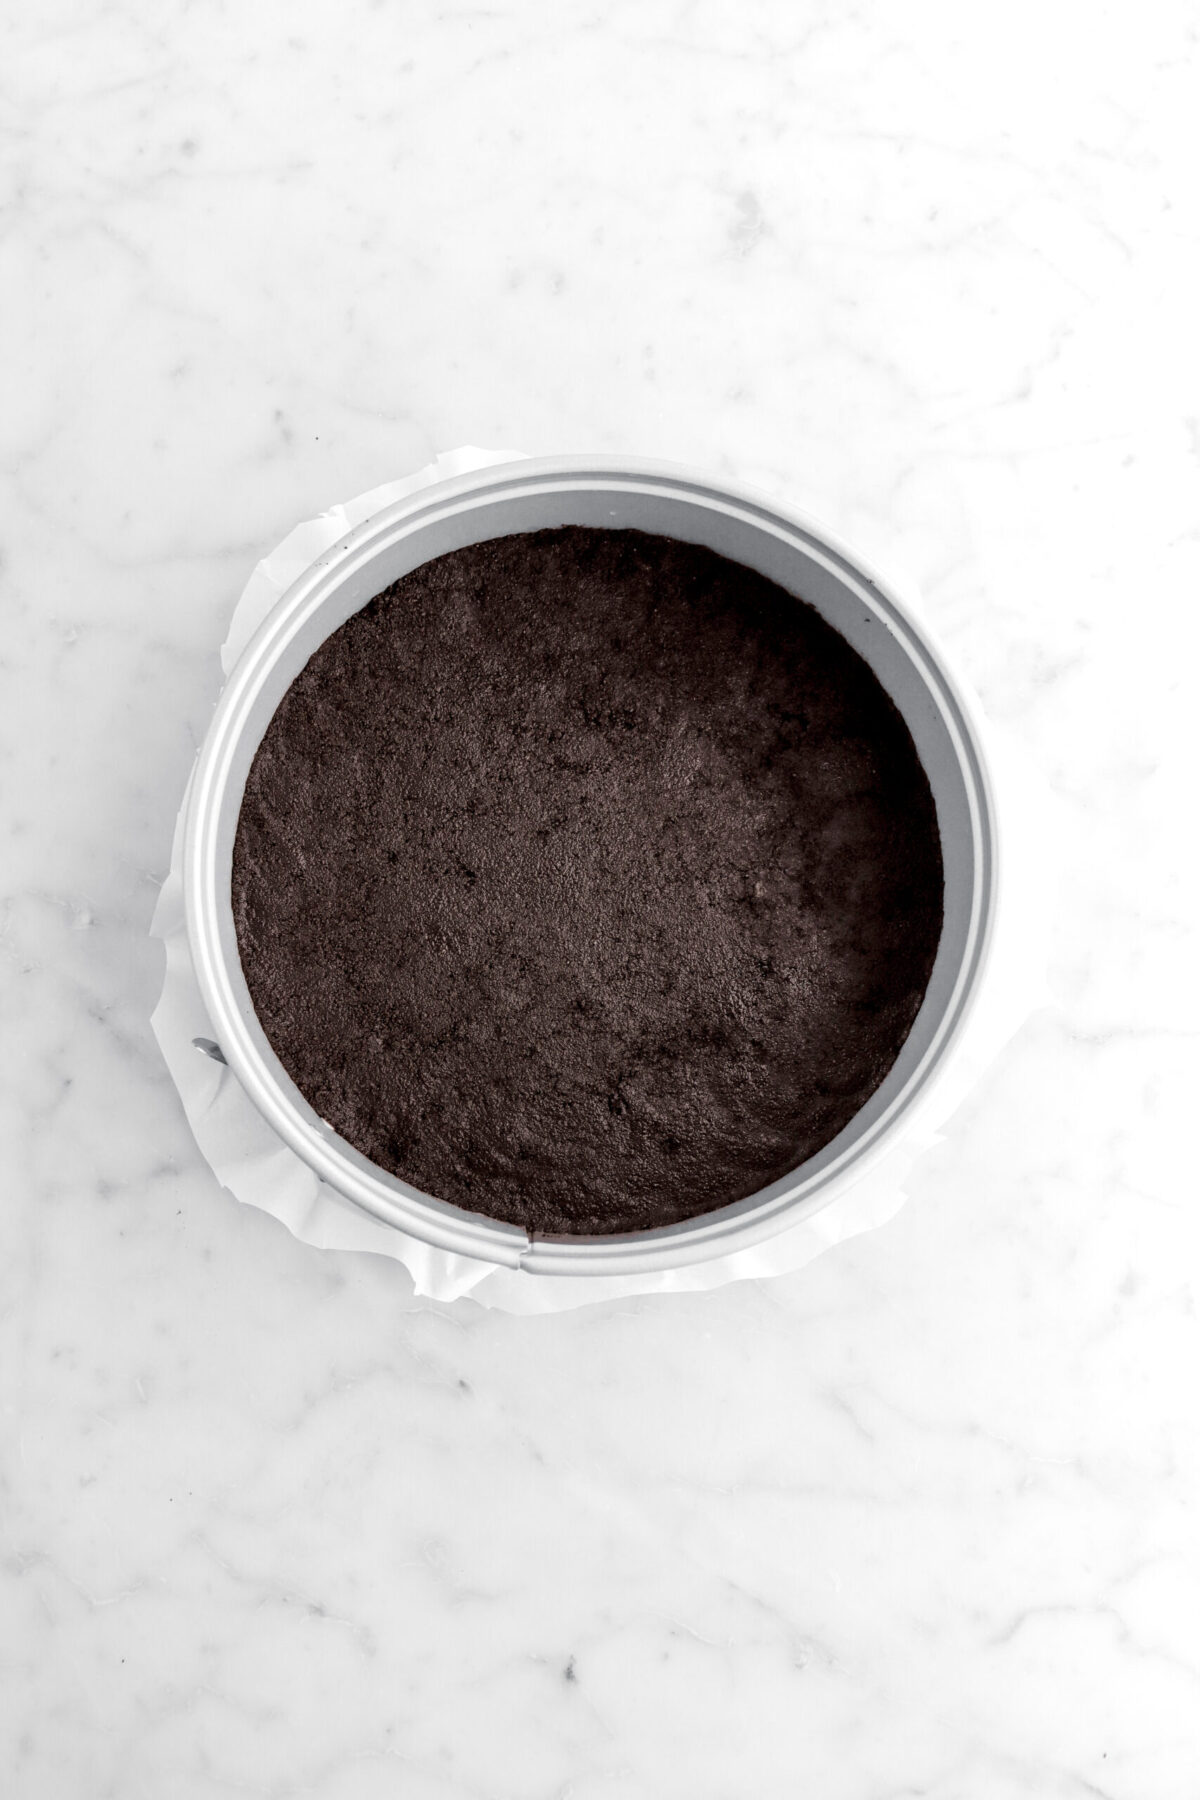
Transfer into a medium-sized bowl. Add butter and mix well.


Press into bottom of prepared pan. Set aside.

Step 2: Make cheesecake
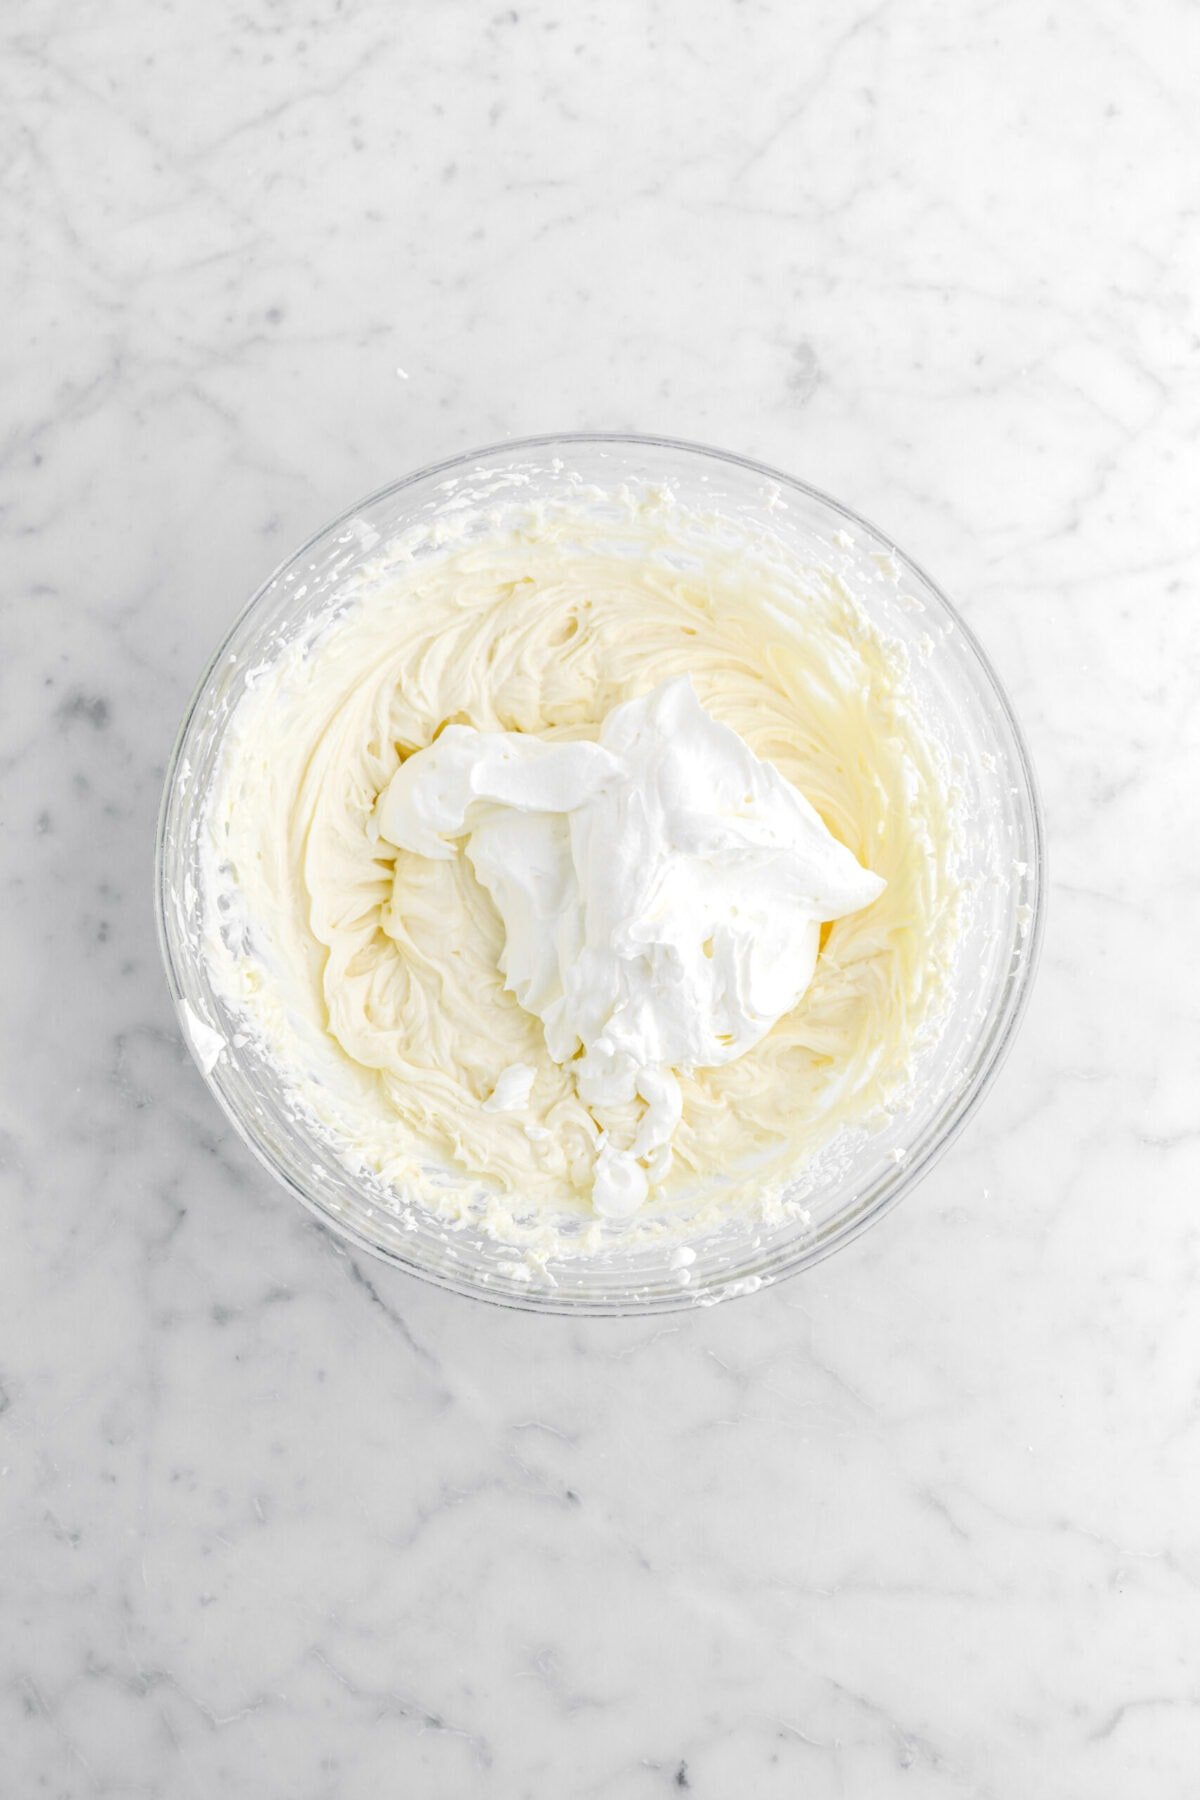
In a medium bowl, whip cream to medium stiff peaks. Set aside.


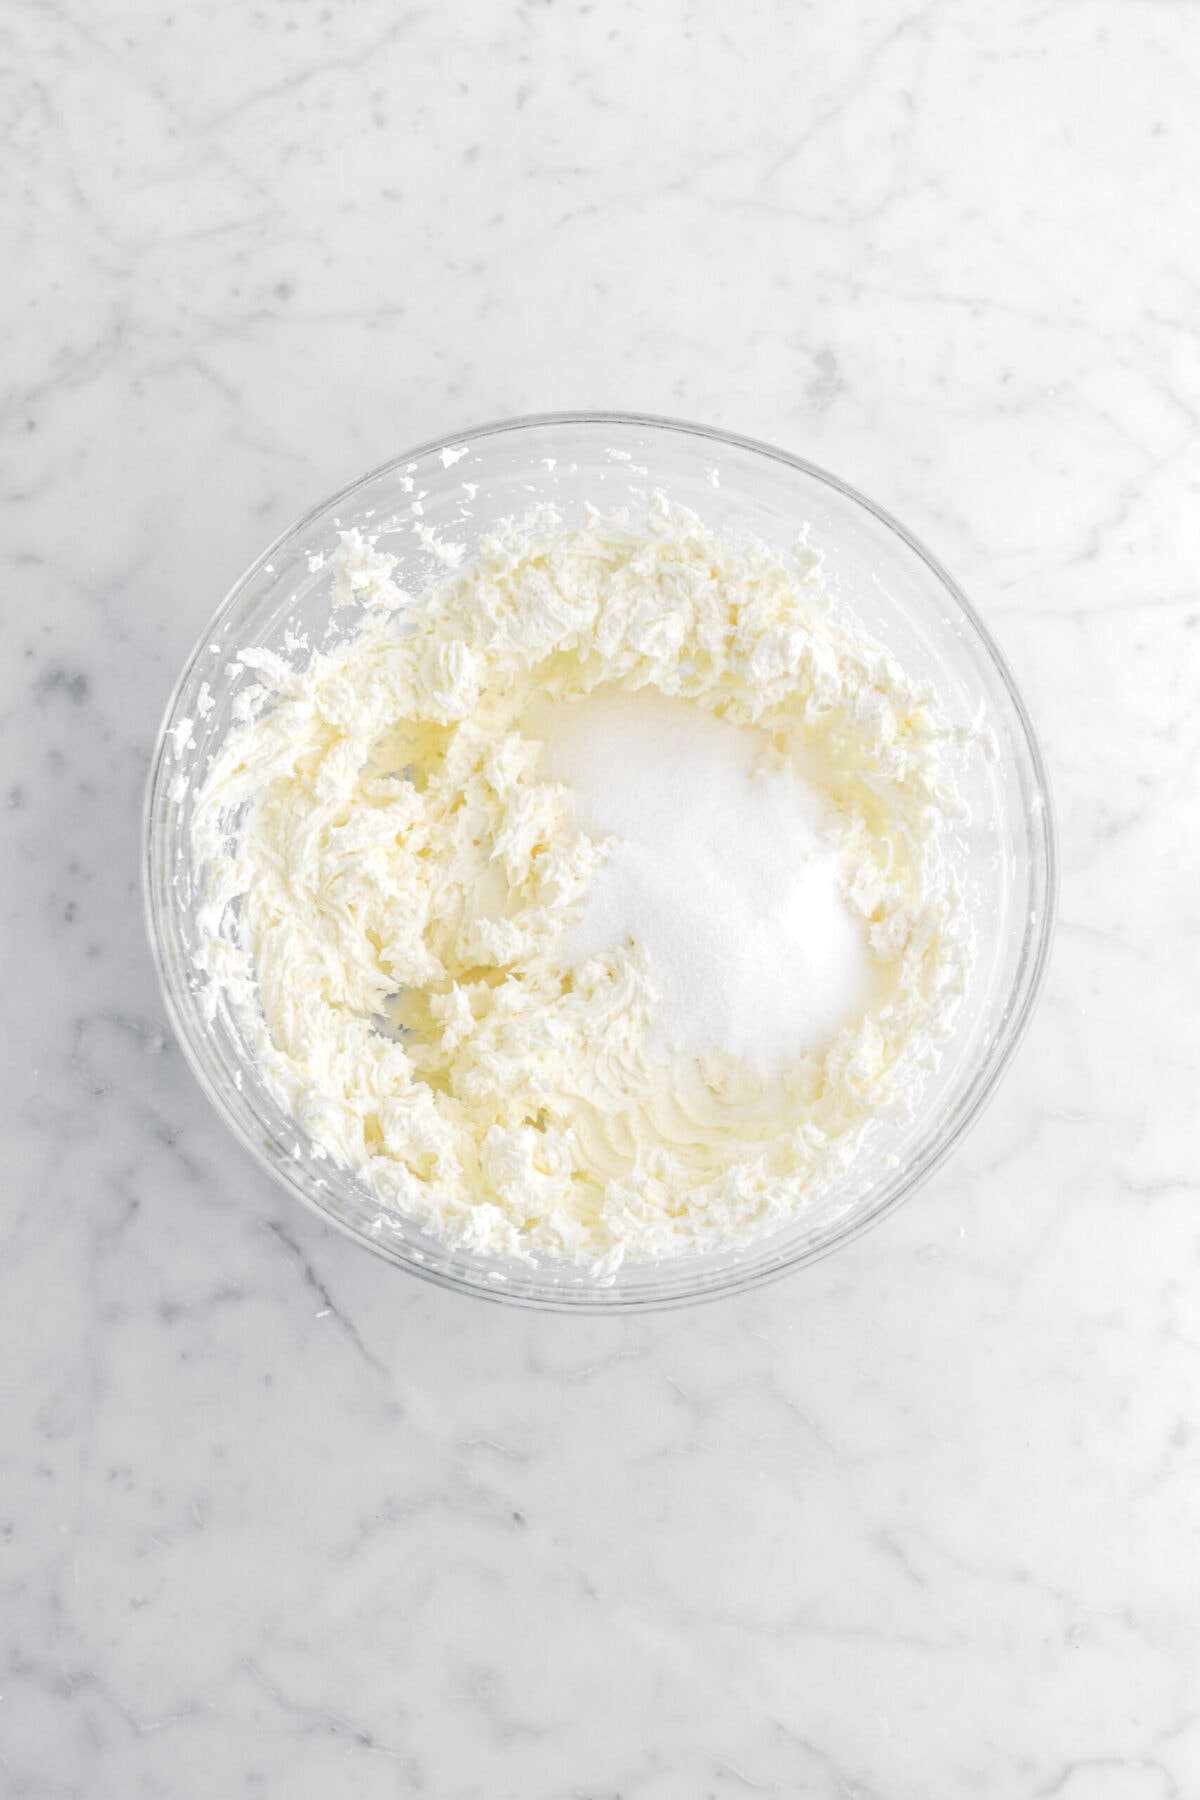
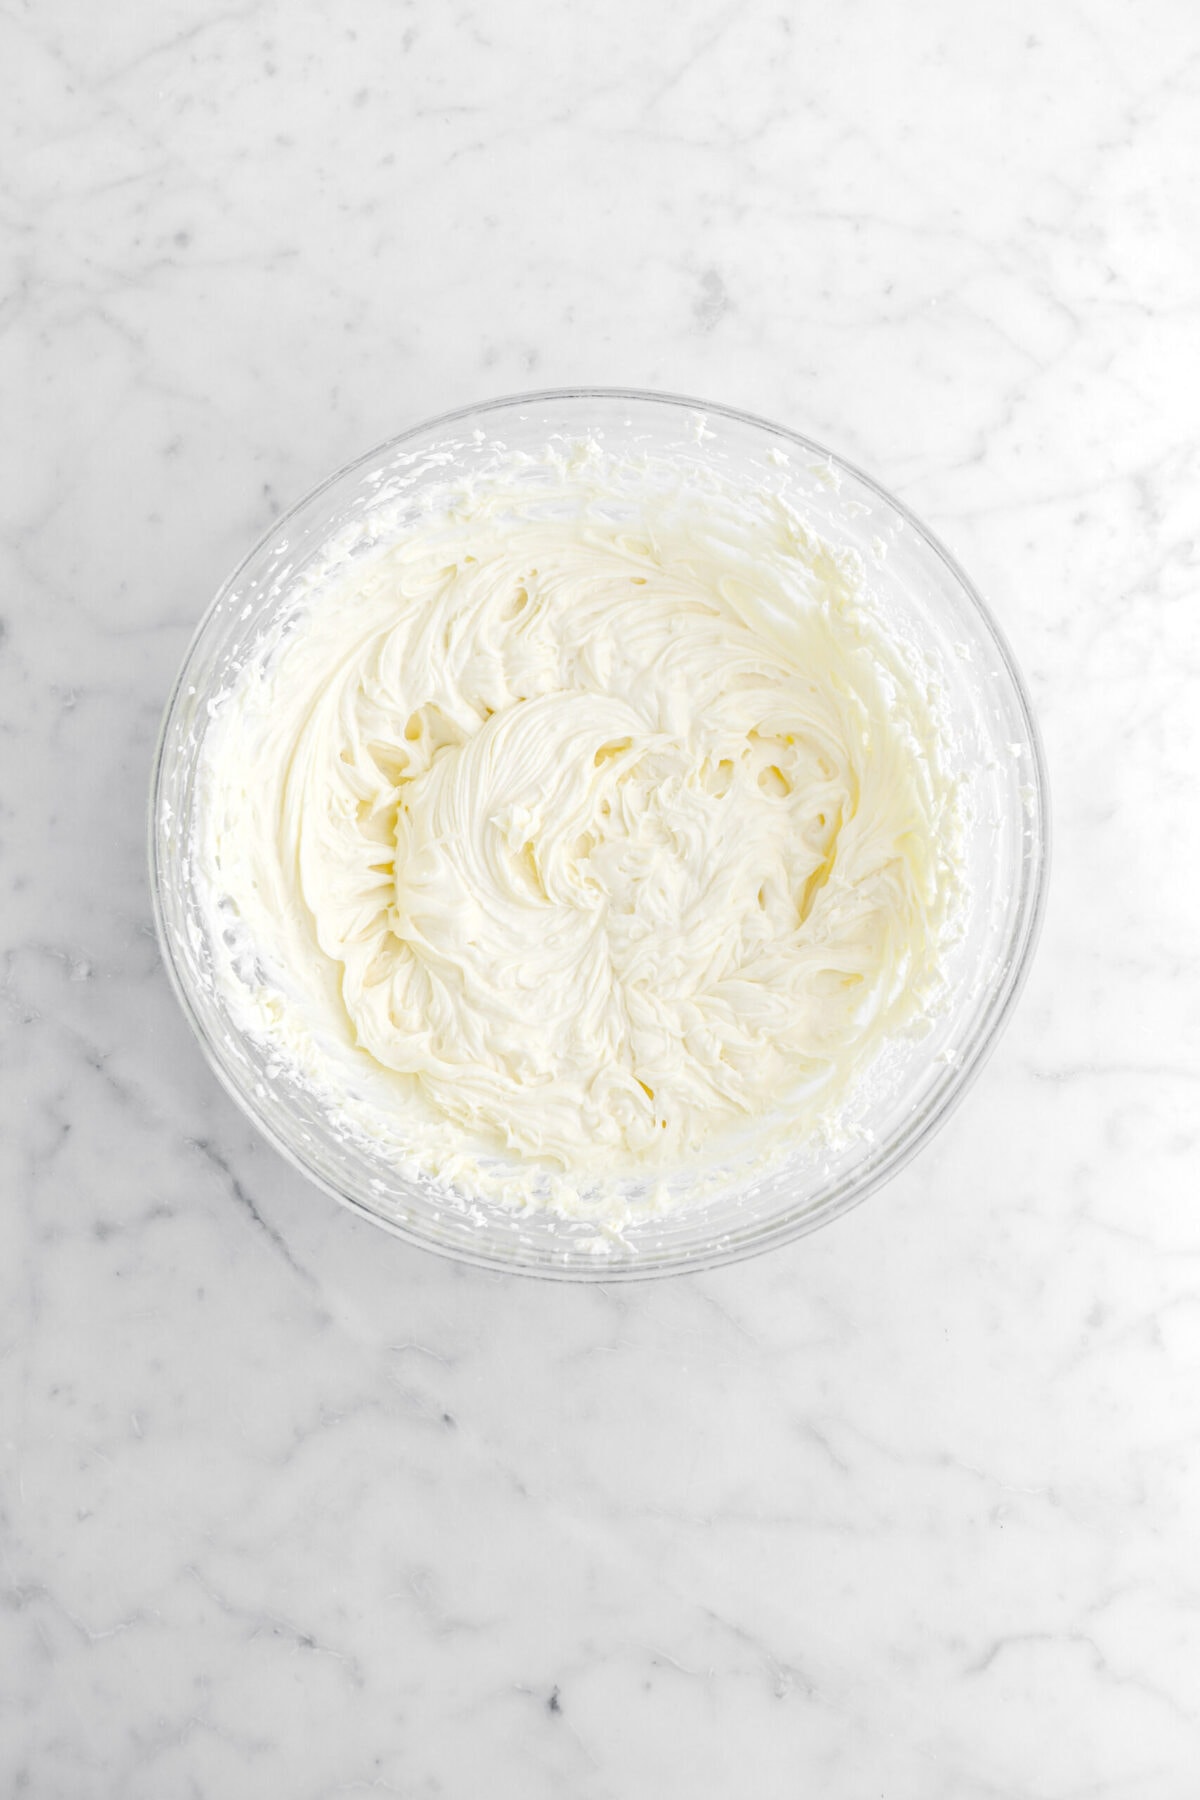
In a separate clean bowl, beat cream cheese and mascarpone until smooth.


Mix in sugar.

Stir in vanilla.

Fold in whipped cream.

Step 3: Soak cookies
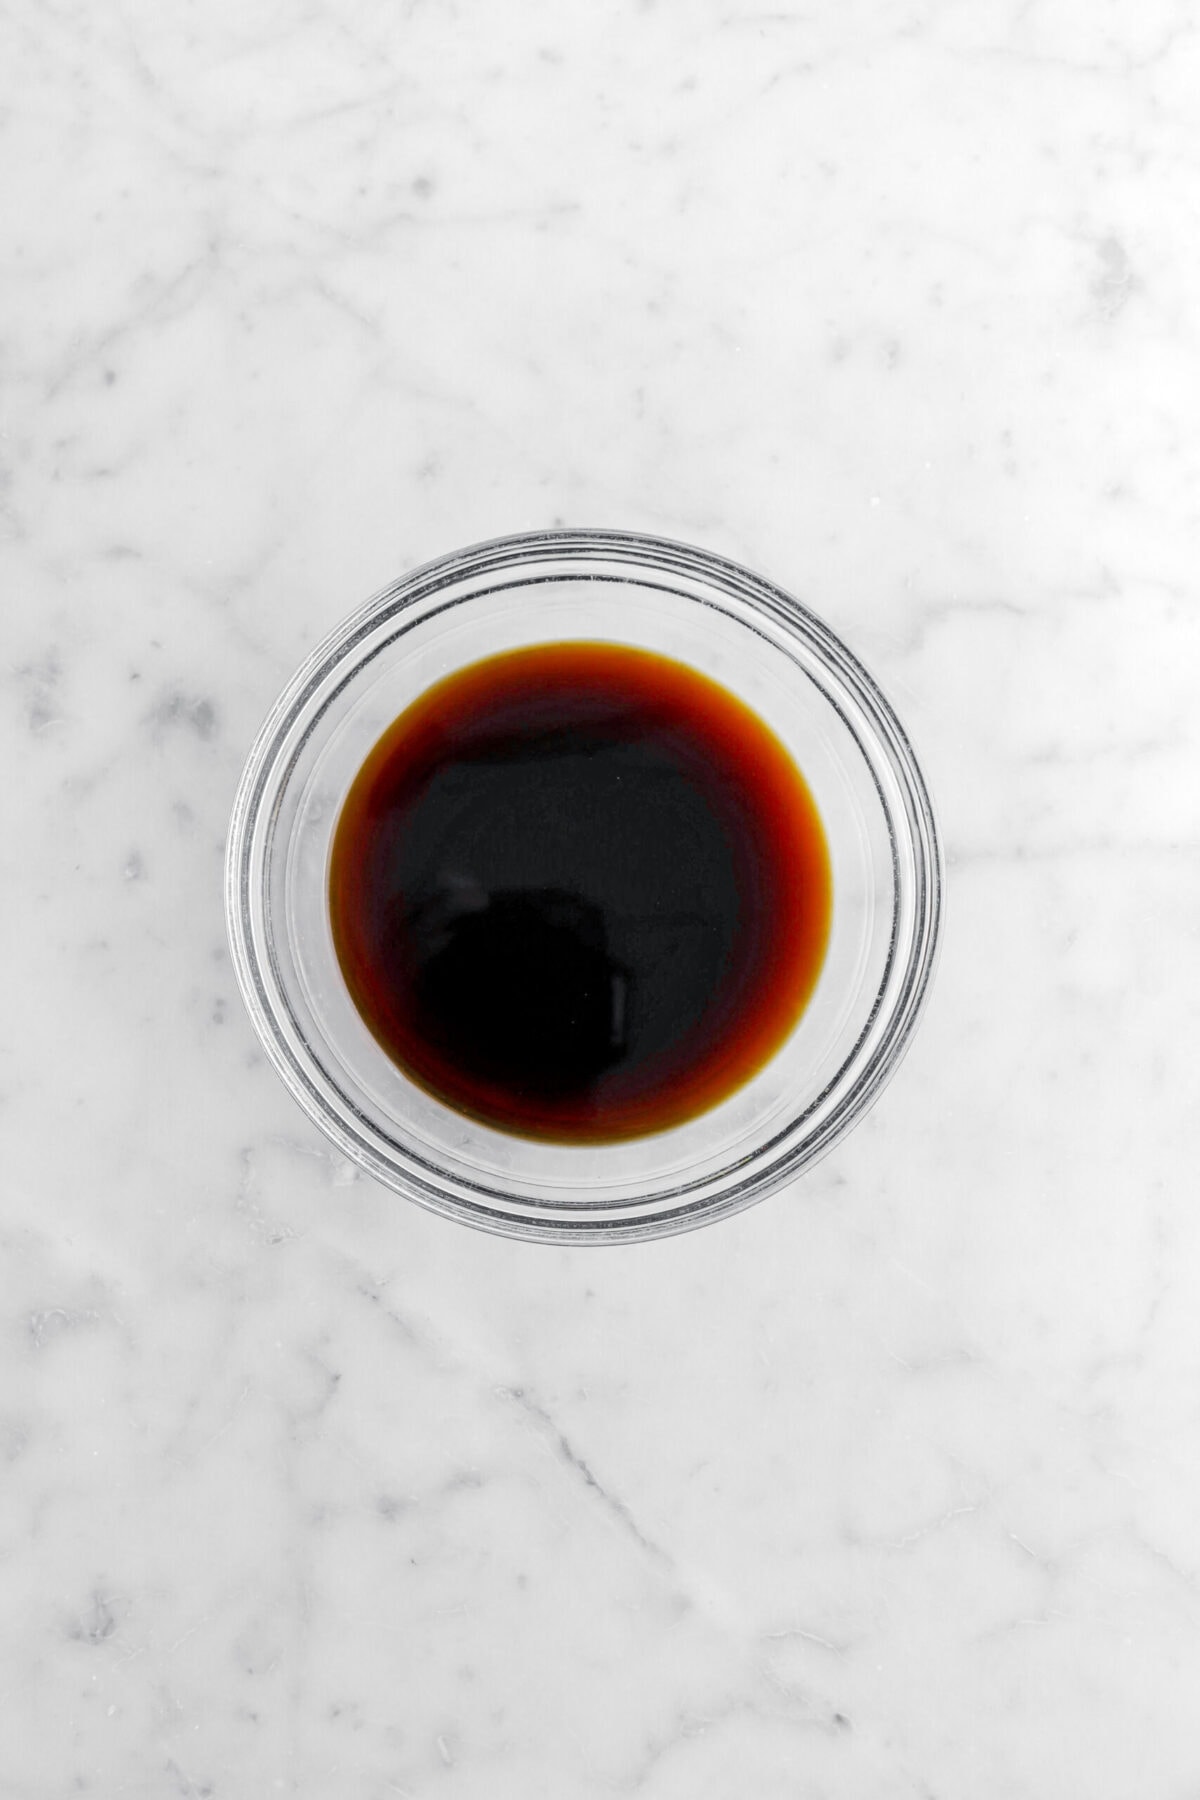
Combine espresso and coffee liqueur.
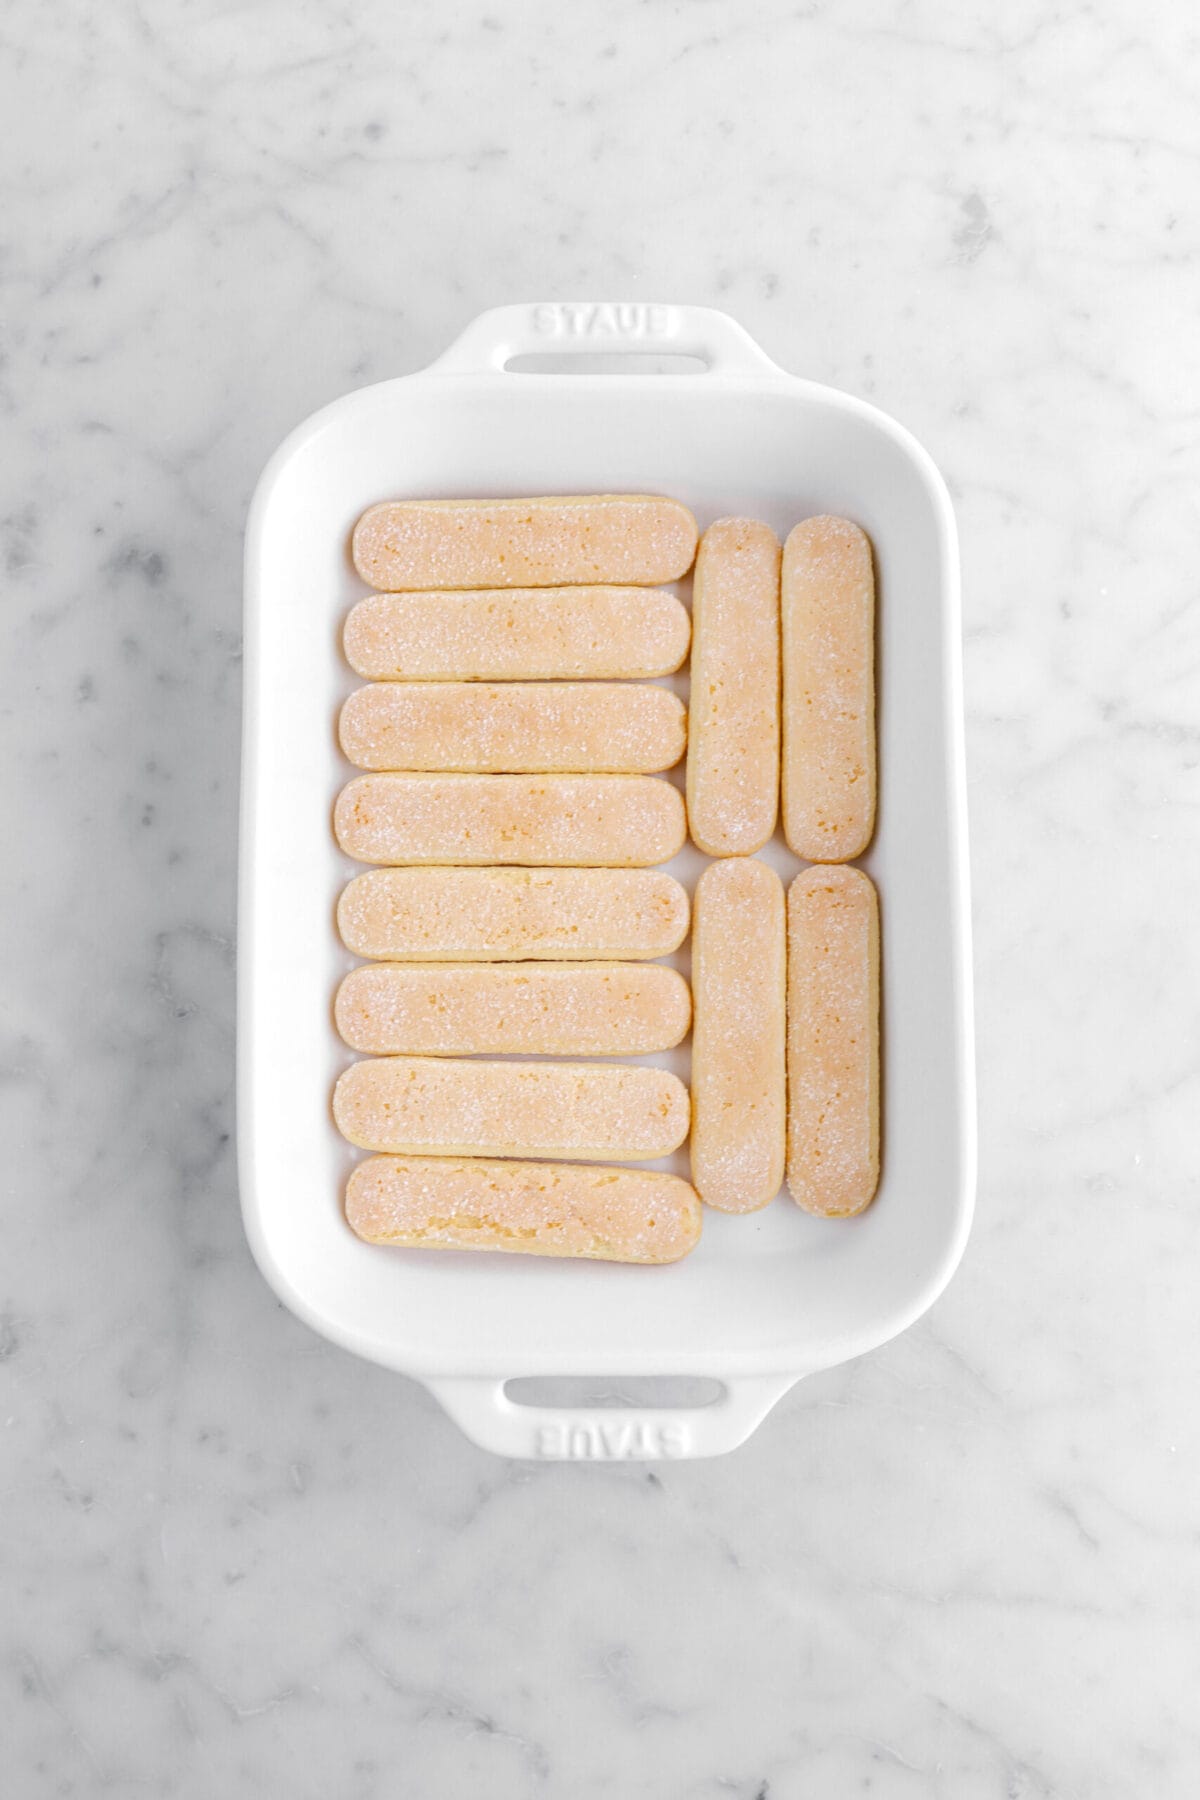
Place savoiardi in single layer in flat bottom pan. Pour over coffee mixture savoiardi. Set aside.

Step 4: Assemble cheesecake
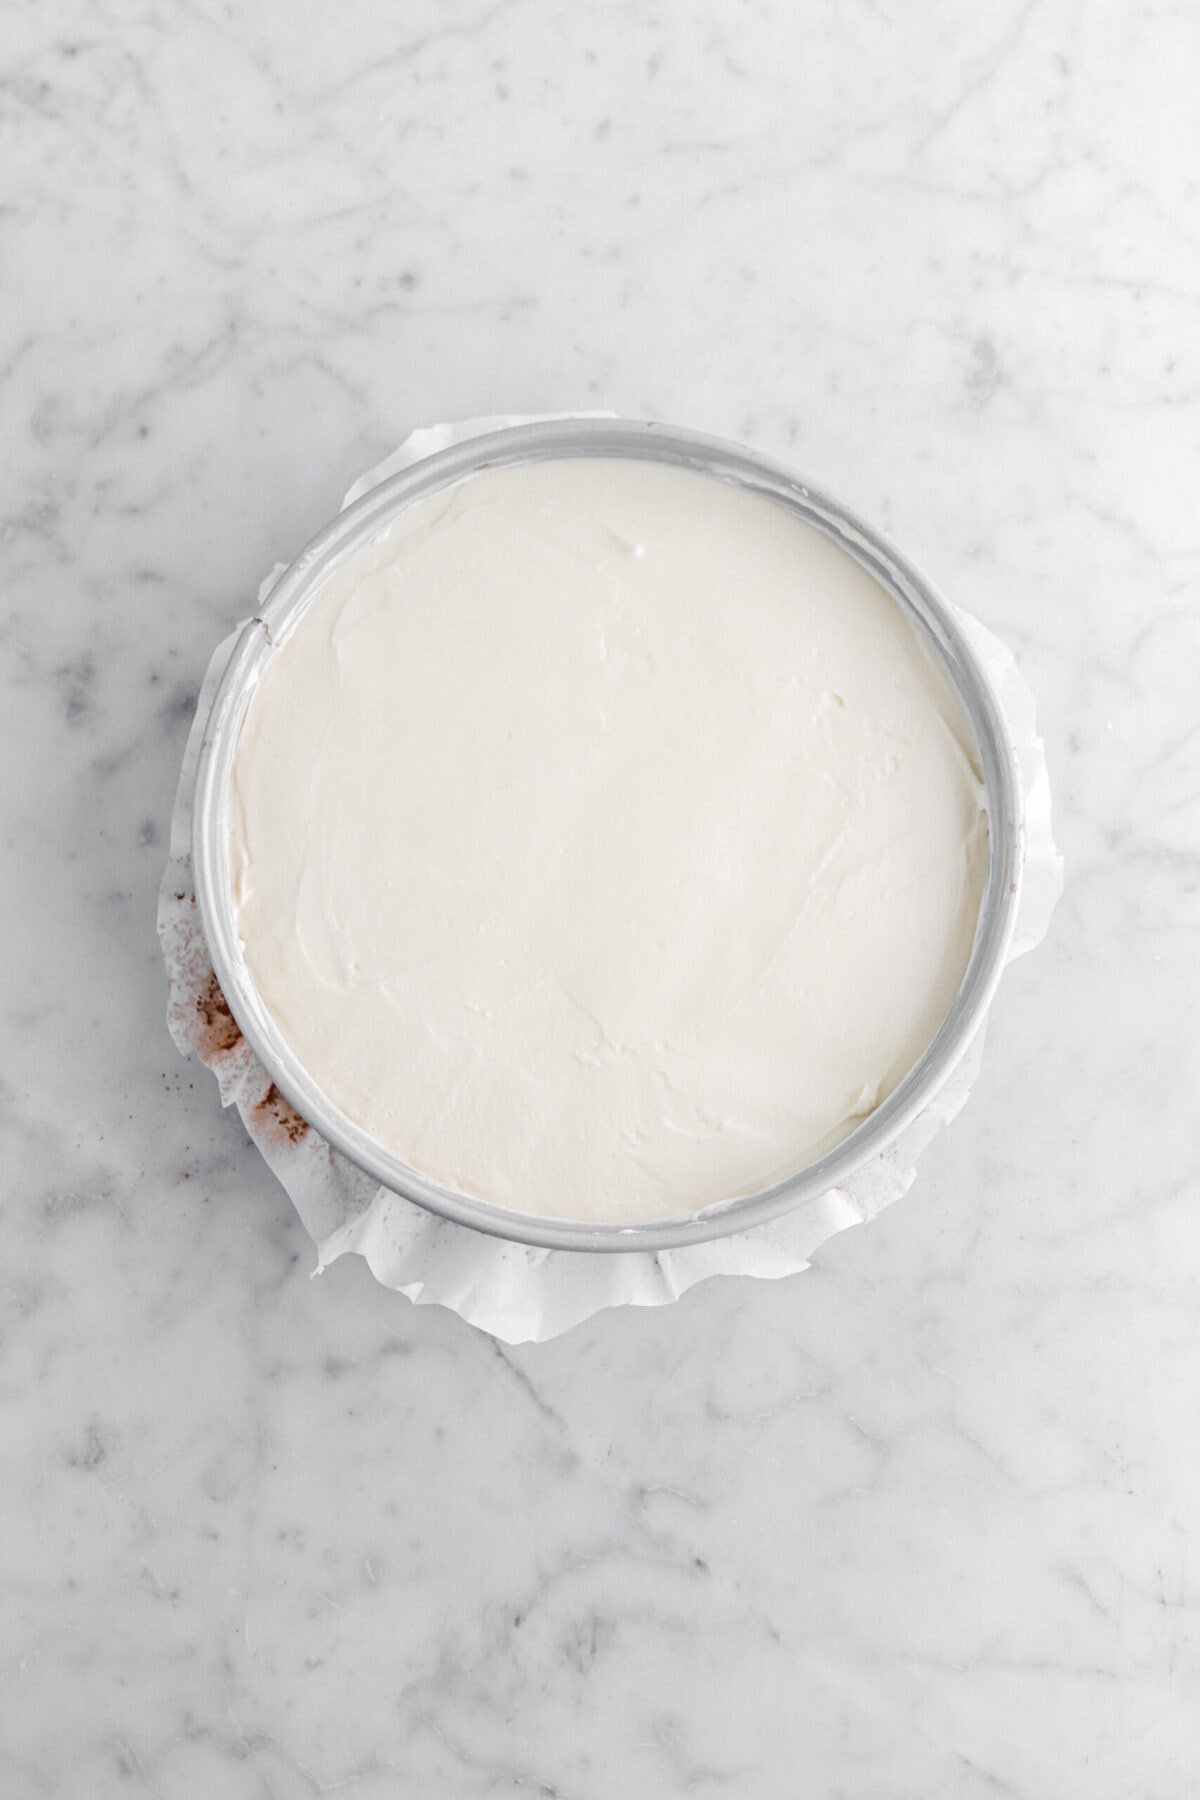
Spread half of cheesecake mixture over prepared crust.


Sift ½ the cocoa powder over the top of the cheesecake. Top with savoiardi.


Spread remaining cheesecake on top. Refrigerate until set, at least 6 hours or overnight.

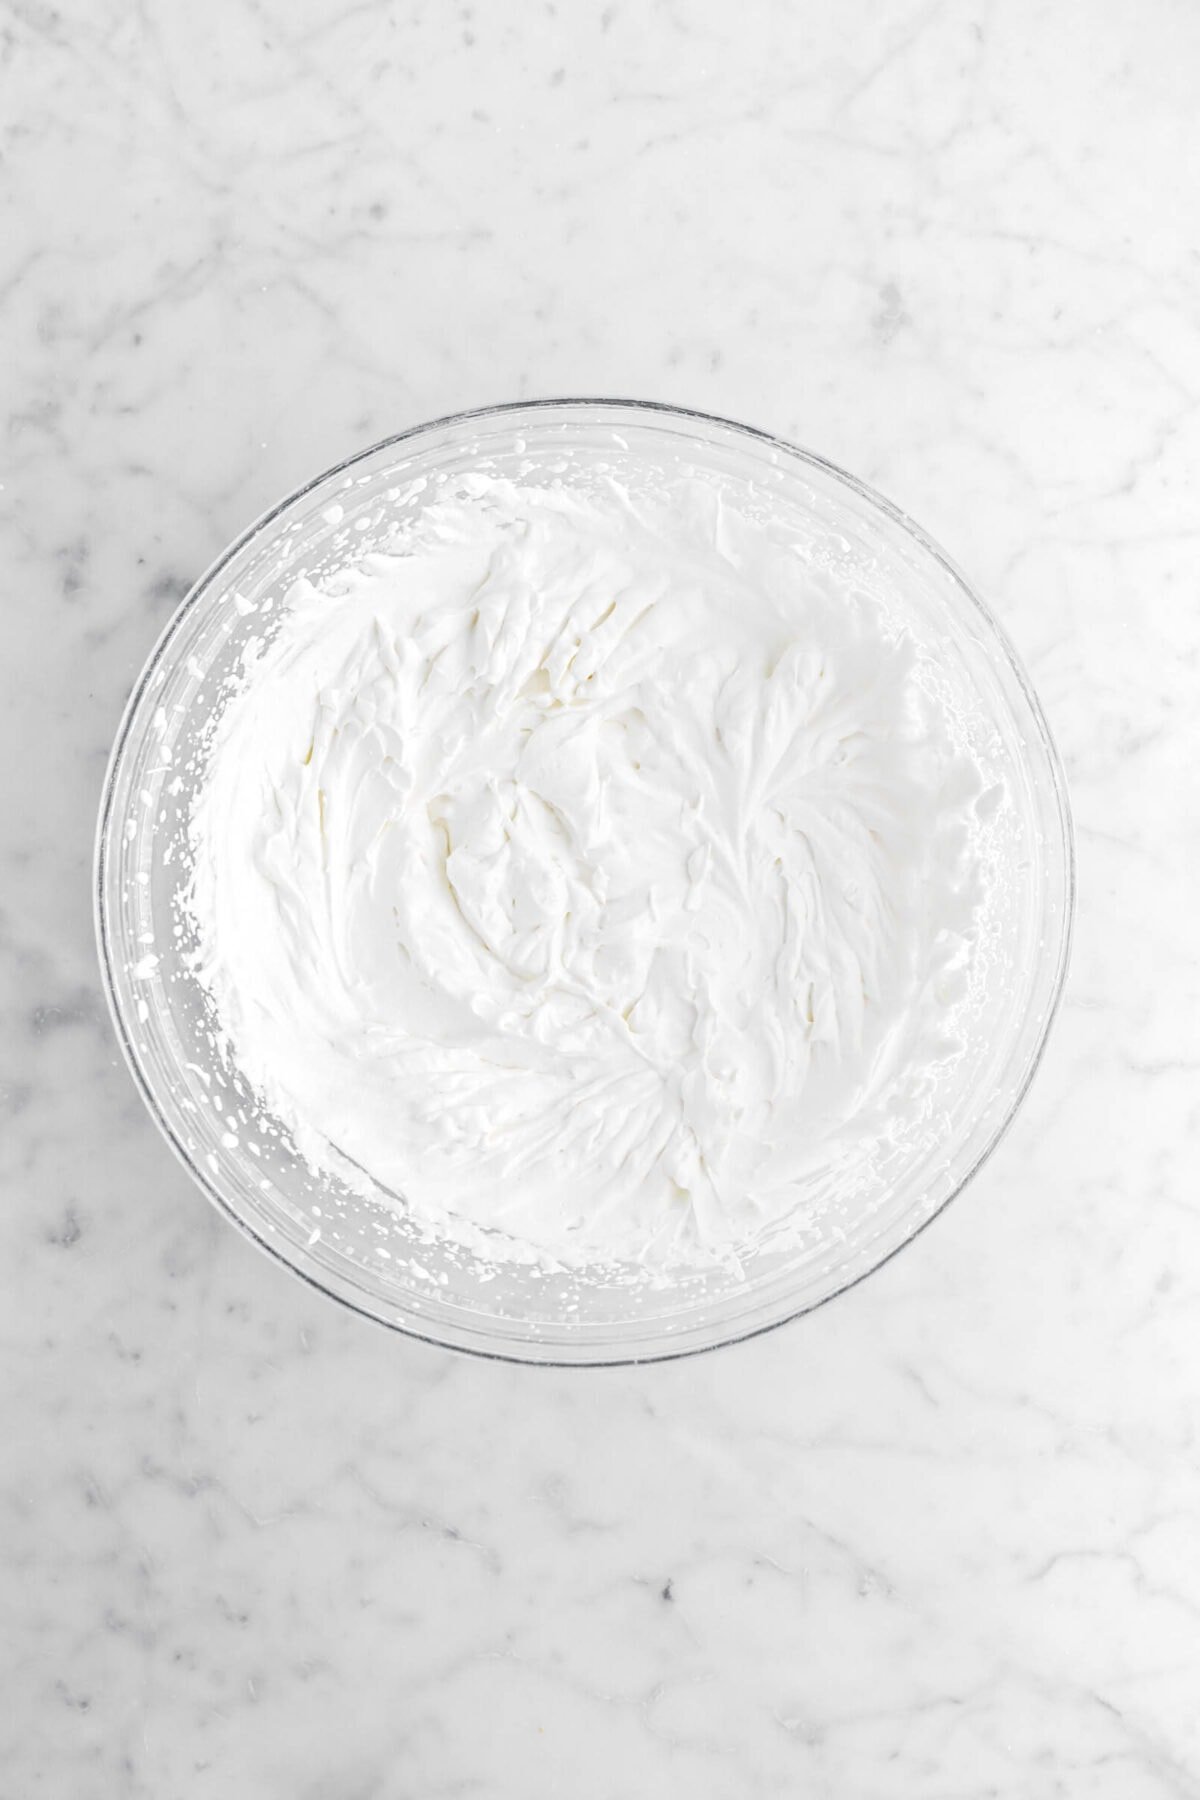
Step 5: Make Chantilly cream
When ready to serve the cheesecake, combine all ingredients in a medium bowl. Beat with an electric mixer until medium stiff peaks form.

Pipe or spread onto cheesecake. Sift remaining cocoa powder over top.
FAQ’s and Troubleshooting
Why is my crust greasy?
Too much butter being added to the crust causes it to be greasy. Though, there is a remedy. After pressing the cookie crust into the pan, you can place a paper towel over the top and gently press down to absorb any excess grease. Repeat as many times as needed.
Can this cheesecake be frozen?
Definitely! This cheesecake freezes really well. Once the cheesecake is set, you can either; A) keep it whole and freeze it in a freezer safe zip-top bag, or B) freeze this cheesecake in individual slices.
How far in advance can I make this recipe?
It’s best to make this recipe a day or two in advance. Just be sure to keep it in the fridge!
What’s the best way to get this cheesecake out of the pan?
We found that the easiest way to remove this cheesecake is to line the bottom of the springform with parchment paper or 9 inch cake board. Then, once refrigerated and set, slowly release the lock on the springform. Do not do it too quickly otherwise it might tear the cheesecake!
Why is my cheesecake lumpy?
If there are lumps in your cheesecake, this is most likely lumps of cream cheese due to improper mixing. When beating the cream cheese and mascarpone, be sure to scrape down the sides of the bowl often and beat until it is completely smooth.
How do I get clean slices?
The best way to achieve clean, even slices is to wipe your knife after each cut! This keeps excess cheese cake, crumbs, or toppings from being dragged through each slice.

Decorating Ideas
One of my favorite parts of making cheesecakes is getting to decorate it! While this cheesecake is simply stunning on its own, it’s always fun to add a few decorations to really make it pop.
- Pipe the Chantilly cream in a fun pattern.
- Top with coffee beans or chocolate covered coffee beans.
- Chocolate curls make for a delicious and fancy addition to each slice.
How To Store
Once the cheesecake has been refrigerated overnight and taken out of the pan, you can store the cheesecake in the refrigerator in a cake plate with a cover. You can also slice it and keep the slices in a zip-top bag! It will keep in the refrigerator for up to 7-10 days.
Looking for more recipes like this? Here are a few you may like:


When you make these No Bake Tiramisu Cheesecake, leave a comment down below! We love hearing from you and answering any questions you might have! Also, be sure to tag us on social media and hashtag it #BakersTable.

No Bake Tiramisu Cheesecake
Ingredients
Crust
- 25 chocolate sandwich cookies
- 6 Tablespoons salted butter, melted
Cheesecake
- 1 cup heavy cream, cold
- 2 cups cream cheese, cubed
- 1¼ cups mascarpone cheese, cold
- 1 cup granulated sugar
- 1½ teaspoon vanilla extract
- 12 savoiardi (ladyfinger cookies)
- ½ cup coffee liqueur, optional
- ½ cup espresso
- 1 Tablespoon cocoa powder, divided
Chantilly Cream
- 2 cups heavy cream, cold
- 2 Tablespoons powdered sugar
- 1 teaspoon vanilla extract
Instructions
Crust
- Line 9 inch springform pan with parchment paper. Set aside.
- In a food processor, process cookies to fine crumbs.
- Transfer into a medium-sized bowl.
- Add butter.
- Mix well.
- Press into bottom of prepared pan. Set aside.
Cheesecake
- In a medium bowl, whip cream to medium stiff peaks. Set aside.
- In a separate clean bowl, beat cream cheese and mascarpone until smooth.
- Mix in sugar.
- Stir in vanilla.
- Fold in whipped cream. Set aside.
- Combine espresso and coffee liqueur.
- Place savoiardi in single layer in flat bottom pan.
- Pour over coffee mixture savoiardi. Set aside.
- Spread half of cheesecake mixture over prepared crust.
- Sift ½ the cocoa powder over the top of the cheesecake.
- Top with savoiardi.
- Spread remaining cheesecake on top.
- Refrigerate until set, at least 6 hours or overnight.
Chantilly Cream
- When ready to serve, combine all ingredients in a medium bowl.
- Beat with an electric mixer until medium stiff peaks form.
- Remove cheesecake from springform.
- Pipe or spread onto cheesecake.
- Sift remaining cocoa powder over top.
Notes + Tips!
- For an easier time getting the cheesecake out of the pan, line the bottom of your springform with either a sheet of parchment paper or a 9 inch cake board. It’s not a necessity, but without it, the bottom crust may break when you try to remove it from the pan.
- Be sure to not leave not leave large chunks of cookie! It needs to be about the consistency of sand.
- When packing down the crust, it’s best to use a tart tamper or a metal measuring cup to ensure a tight and even pack!
- Be sure to beat the cream cheese and mascarpone VERY WELL. Scrape down the sides and beater blade often to ensure no lumps.
- Don’t beat/mix in the whipped cream! Gently fold it into the cream cheese mixture. This will help keep your cheesecake as light and airy as possible.
- If you don’t want to use coffee liqueur, double the amount of espresso.
- Once the ladyfingers are soaked, it can be difficult to move them without breaking. Use an offset spatula to scoop them up and place in the pan!
- Make sure to refrigerate this cheesecake for a full 6 hours, or preferably overnight! It needs to be COLD to fully set.
- Use a sharp knife to get even slices. You can also wipe the knife after each cut to keep the slices clean!
Tools You May Need (affiliate links)
– Still Hungry? –
Here are a few recipes may like!


