Jumbo Lemon Poppy Seed Scones
This post may contain affiliate links, please visit our privacy policy for details.
These jumbo Lemon Poppy Seed Scones with a tangy lemon glaze are perfect for summer baking! Tender, sweet, and packed with lemony goodness and poppy seeds, they pair perfectly with homemade raspberry jam for the ultimate breakfast. Best of all, they’re simple to make, bursting with flavor, and always tender.

Scones are a classic breakfast treat, similar to Buttermilk Biscuits, and surprisingly easy to make. This lemon poppy seed scone recipe, like our Lemon Poppy Seed Bread, is perfect for bakers of all skill levels. Using simple pantry ingredients, it creates a tender, flavorful, and flaky treat with the perfect balance of tart lemon and sweet glaze in every bite.
What Makes These Lemon Poppy Seed Scones Irresistible
- Tender and flaky texture
- Bright, tangy lemon flavor
- Perfect balance of tart and sweet
- Delightful crunch from the poppy seeds
- Easy to make
- Versatile treat for breakfast, brunch, or a snack
- Refreshing yet indulgent flavor that’s hard to resist

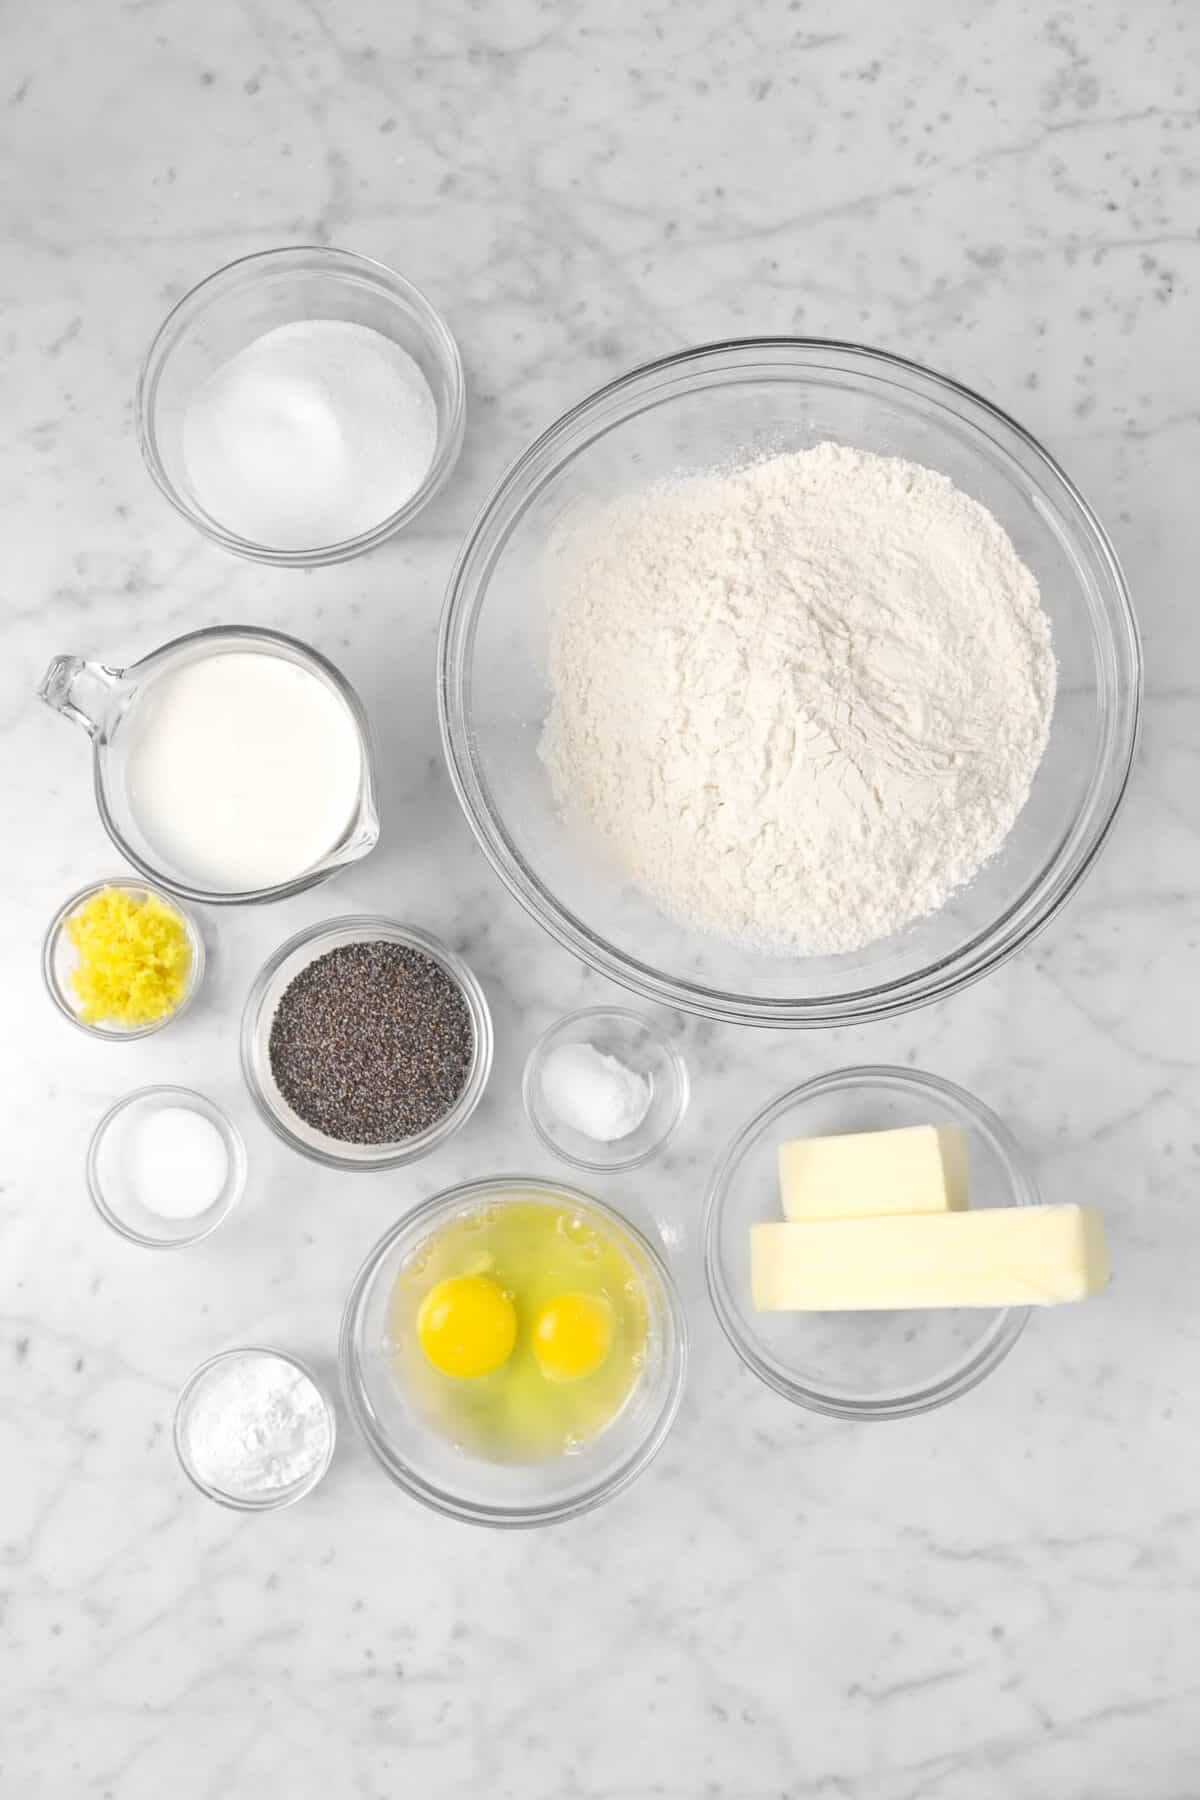
Grab These Pantry Staples
For the Scones:
- All-Purpose Flour
- Granulated Sugar
- Baking Powder and Baking Soda
- Salt
- Lemon Zest
- Poppy Seeds
- Unsalted Butter
- Eggs
- Heavy Cream
For The Glaze:
- Lemon Juice
- Powdered Sugar

Let’s Get Mixing!
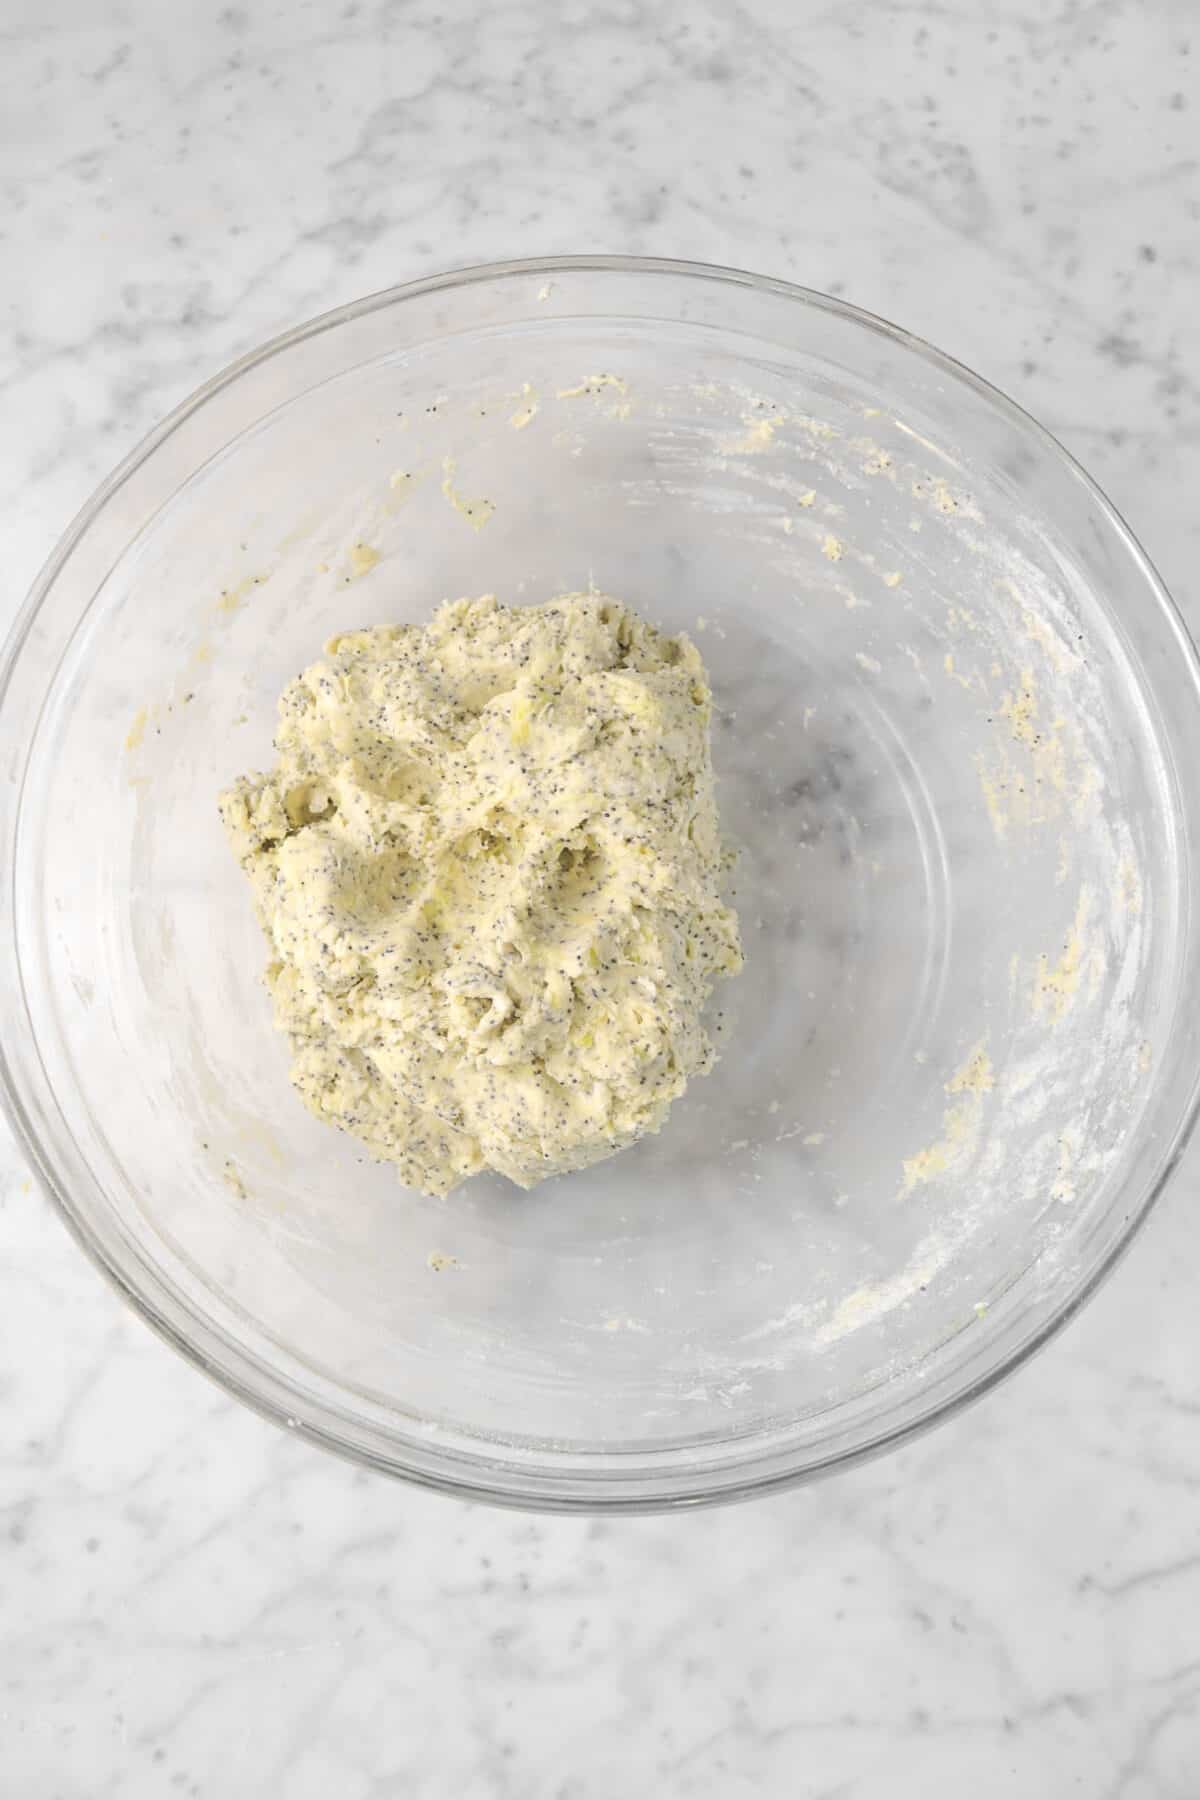
In a large glass mixing bowl, whisk the flour, sugar, salt, lemon rind, baking powder, baking soda, and poppy seeds together. Grate in the unsalted butter and lightly stir until the butter is mixed in and coated with flour. In a separate bowl, whisk the eggs and cream together. Pour the cream mixture over the dry ingredients. Gently fold in until thoroughly combined. Scrape the dough out onto a lightly floured piece of parchment. Roll out to about ½ inch thick. Cut the dough into eight even triangles.


Gently transfer the scones onto a baking sheet lined with parchment paper, leaving 2 inches between scones. Bake at 400℉/200℃ for 15 minutes, or until golden brown.

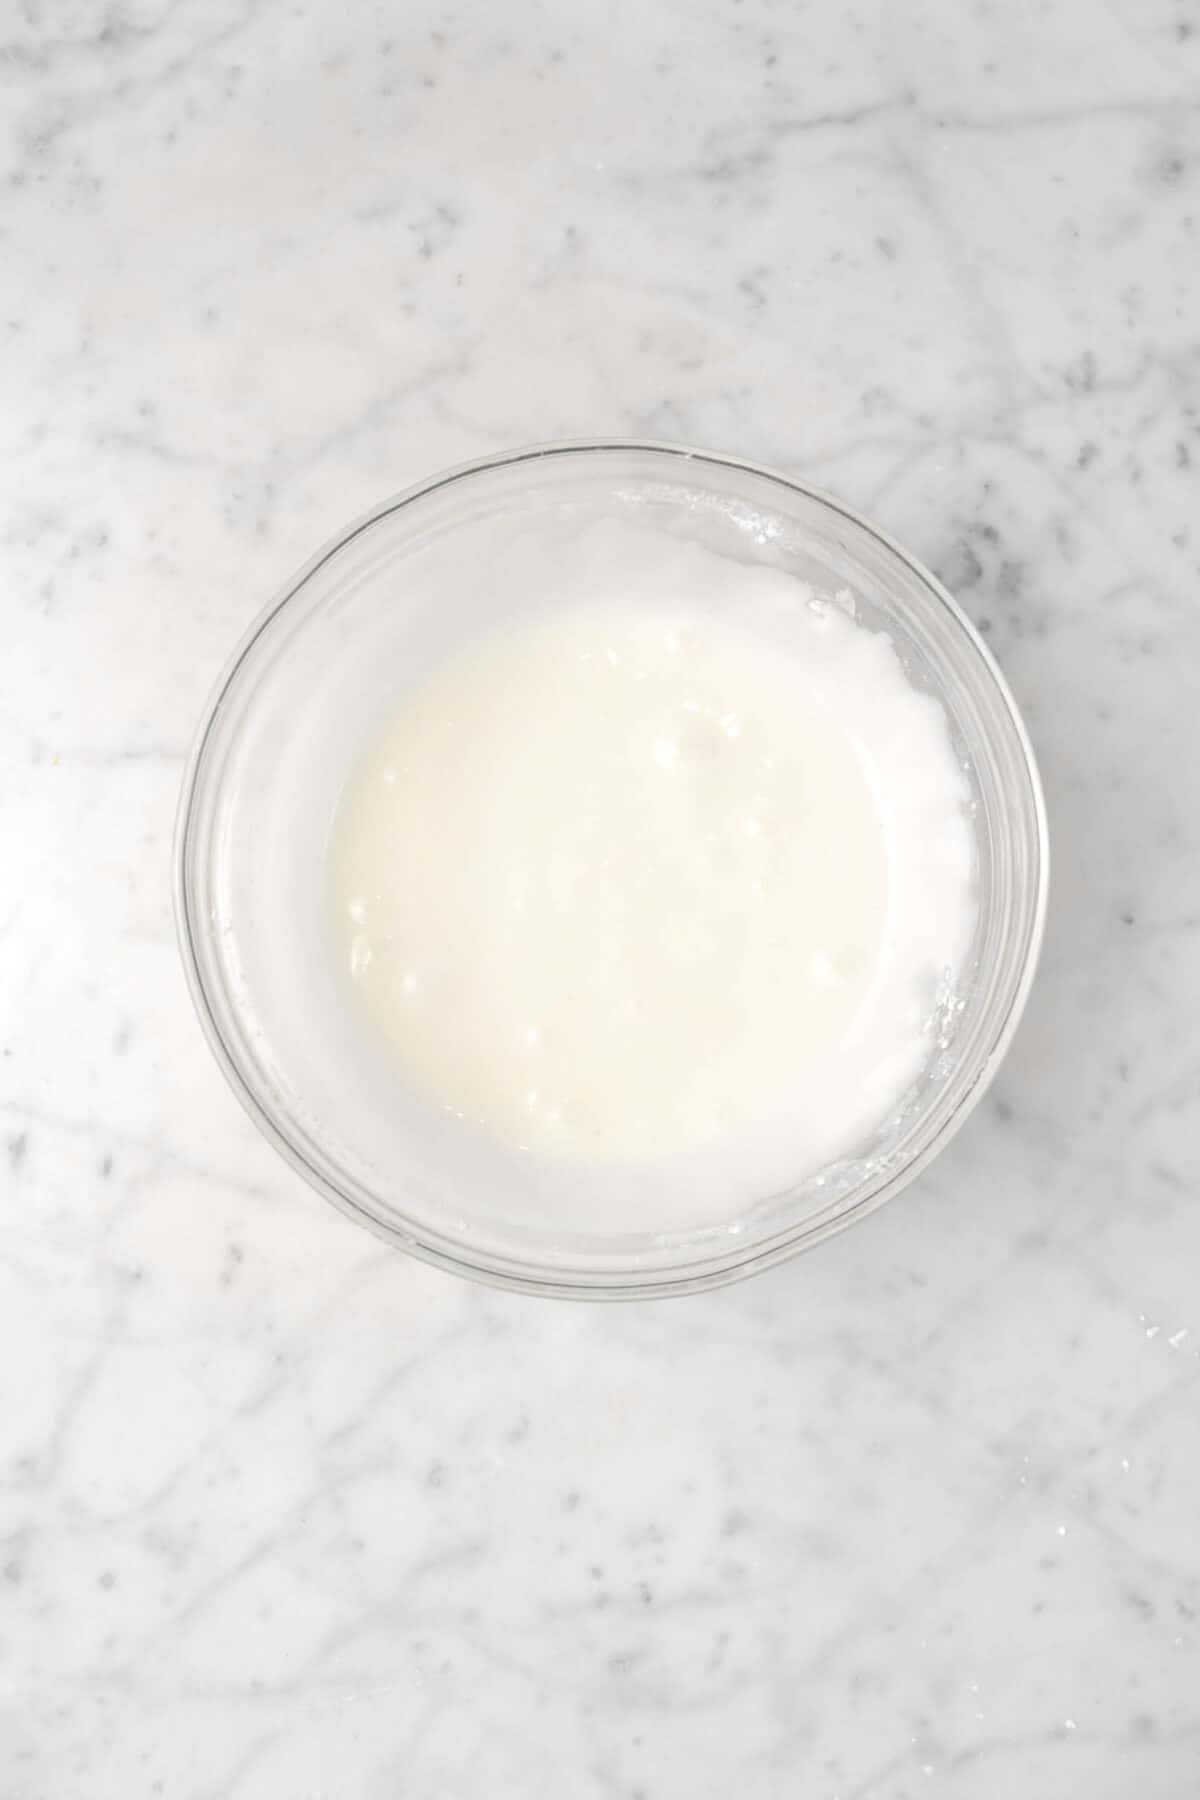
While the scones cool, let’s make the glaze! Combine the lemon juice and powdered sugar into a medium sized bowl. Using a hand mixer, mix until the glaze is completely smooth and there are no lumps.
Once the scones have cooled, it’s time to glaze! You can either dip the tops into the glaze or drizzle as much or as little as you would like onto the tops.

Serve immediately, either plain or with a spread of homemade strawberry jam for an extra burst of flavor!
Storing/Reheating
These scones freeze beautifully! I recommend storing them in a resealable freezer safe bag or container and keeping them in the freezer. They will last so much longer (about two months) and they reheat just as well as the day you baked them. To reheat them, just place one scone in the microwave for 30 seconds to 1 minute.
Remember, if you freeze them with the glaze, when you reheat, the glaze will melt. However, you can always make more to drizzle over the top.

Looking For More Scone Recipes?


When you make this Jumbo Lemon Poppy Seed Scones, leave a comment down below! We love hearing from you and answering any questions you might have! Also, be sure to tag us on social media and hashtag it #BakersTable.

Lemon Poppy Seed Scones
Ingredients
Scones
- 3 cups all purpose flour
- ½ cup granulated sugar
- 1½ Tablespoons baking powder
- ¾ teaspoon baking soda
- ¾ teaspoon salt
- 1½ Tablespoons lemon zest
- ¼ cup poppy seeds
- ¾ cup unsalted butter, cold
- 2 large eggs, cold
- 1 cup heavy cream, cold
Lemon Glaze
- ¼ cup fresh lemon juice
- 2 cups powdered sugar, sifted
Instructions
Scones
- Heat oven to 400℉/200℃.
- Line sheet pan with parchment paper. Set aside.
- Mix eggs and cream in a small bowl. Set aside.
- In a large bowl, whisk together flour, sugar, baking powder, baking soda, salt, lemon zest, and poppy seeds.
- Grate butter into flour mixture.
- Stir gently to combine.
- Add cream mixture and mix lightly, just until dry ingredients are incorporated.
- Scrape out onto a lightly floured surface.
- Roll (or pat) into a circle.
- Using a pizza cutter or a sharp knife, cut the dough into 8 wedges.
- Place on sheet pan, at least 2 inches apart.
- Bake until golden brown, about 15 minutes.
Glaze
- Combine lemon juice and powdered sugar in a small bowl.
- Beat until smooth.
- Drizzle over cooled scones.
Notes + Tips!
- To substitute salted butter for the unsalted, reduce salt to ½ teaspoon.
- To make this recipe dairy-free, you can use your favorite non-dairy butter and plant-based whipping cream.
- This recipe can also be made vegan by using non-dairy butter, your favorite plant-based whipping cream, and vegan eggs. We personally prefer using aquafaba!
- These scones can be made gluten free by using a measure for measure (also known as 1:1 or cup for cup) gluten free flour.
- Make sure to grate in the butter rather than cut it in. It is a much easier (and cleaner!) way to incorporate the butter.
- Make sure the butter is very cold!
- Do not over work the dough!
- Line the sheet pan with parchment.
- If making for a later date, wait until the day of to mix up the glaze.
- Easy clean up! To keep things cleaner, place the scones on a wire cooling rack and set back onto the original sheet pan. Drizzle, dip, or spread the glaze over the tops and the excess will drop into the bottom of the pan and onto the parchment.
- These scones freeze really well.
Tools You May Need (affiliate links)
– Still Hungry? –
Here are a few recipes may like!


