Homemade Oreo Cookies
This post may contain affiliate links, please visit our privacy policy for details.
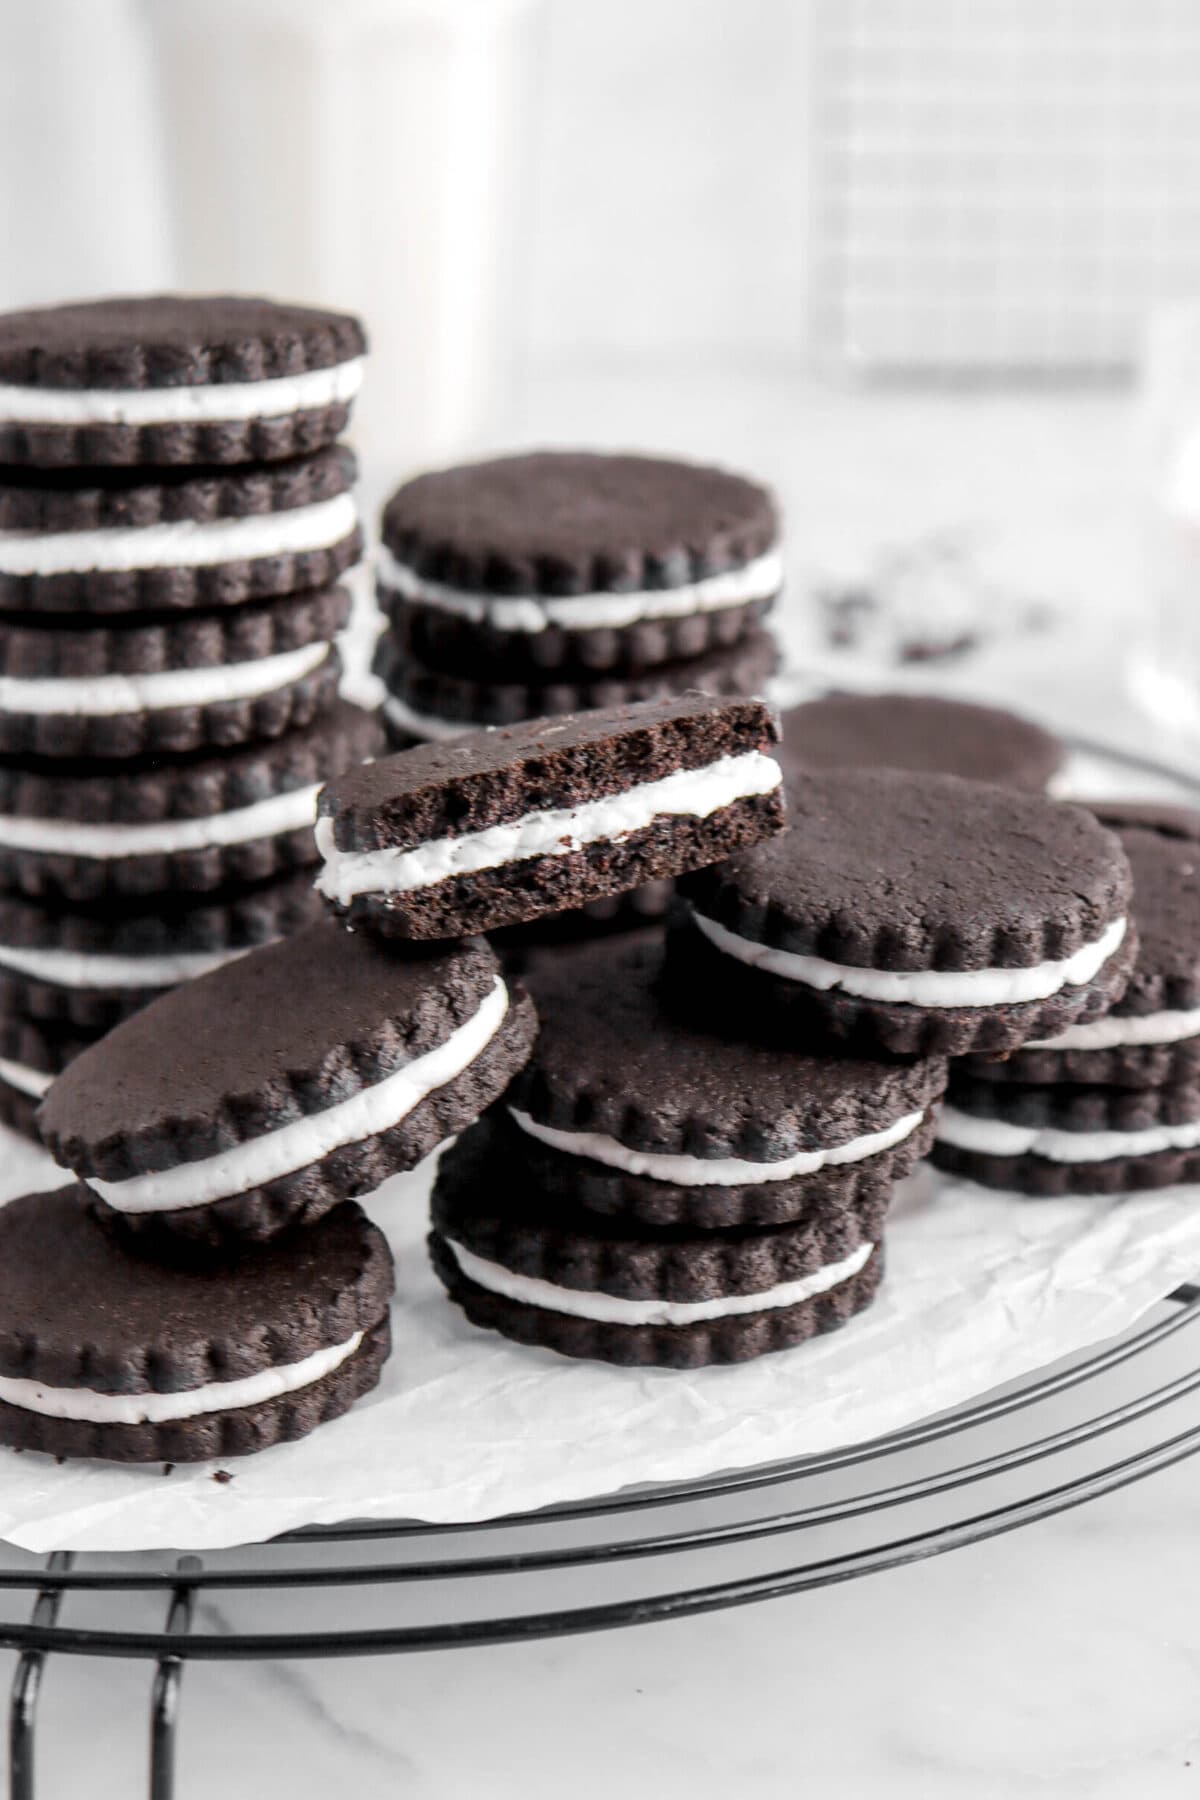
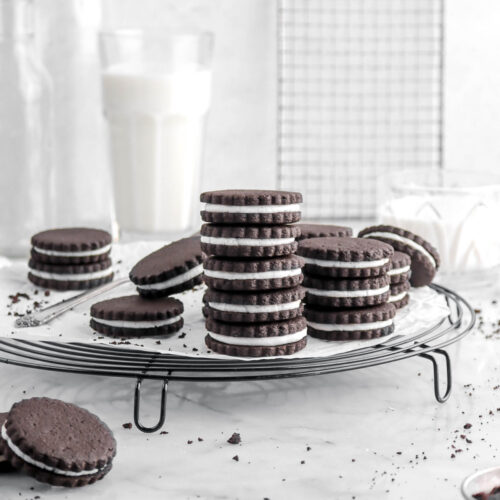
Skip the store-bought and make your own Oreos! These homemade treats are just like the classic, but even better! Single or double-stuffed, perfectly chocolatey, and extra delicious.😋

About The Recipe
Since you all have been loving our Homemade Twix Bars and Hostess Cupcakes lately, we are back with another childhood favorite treat!
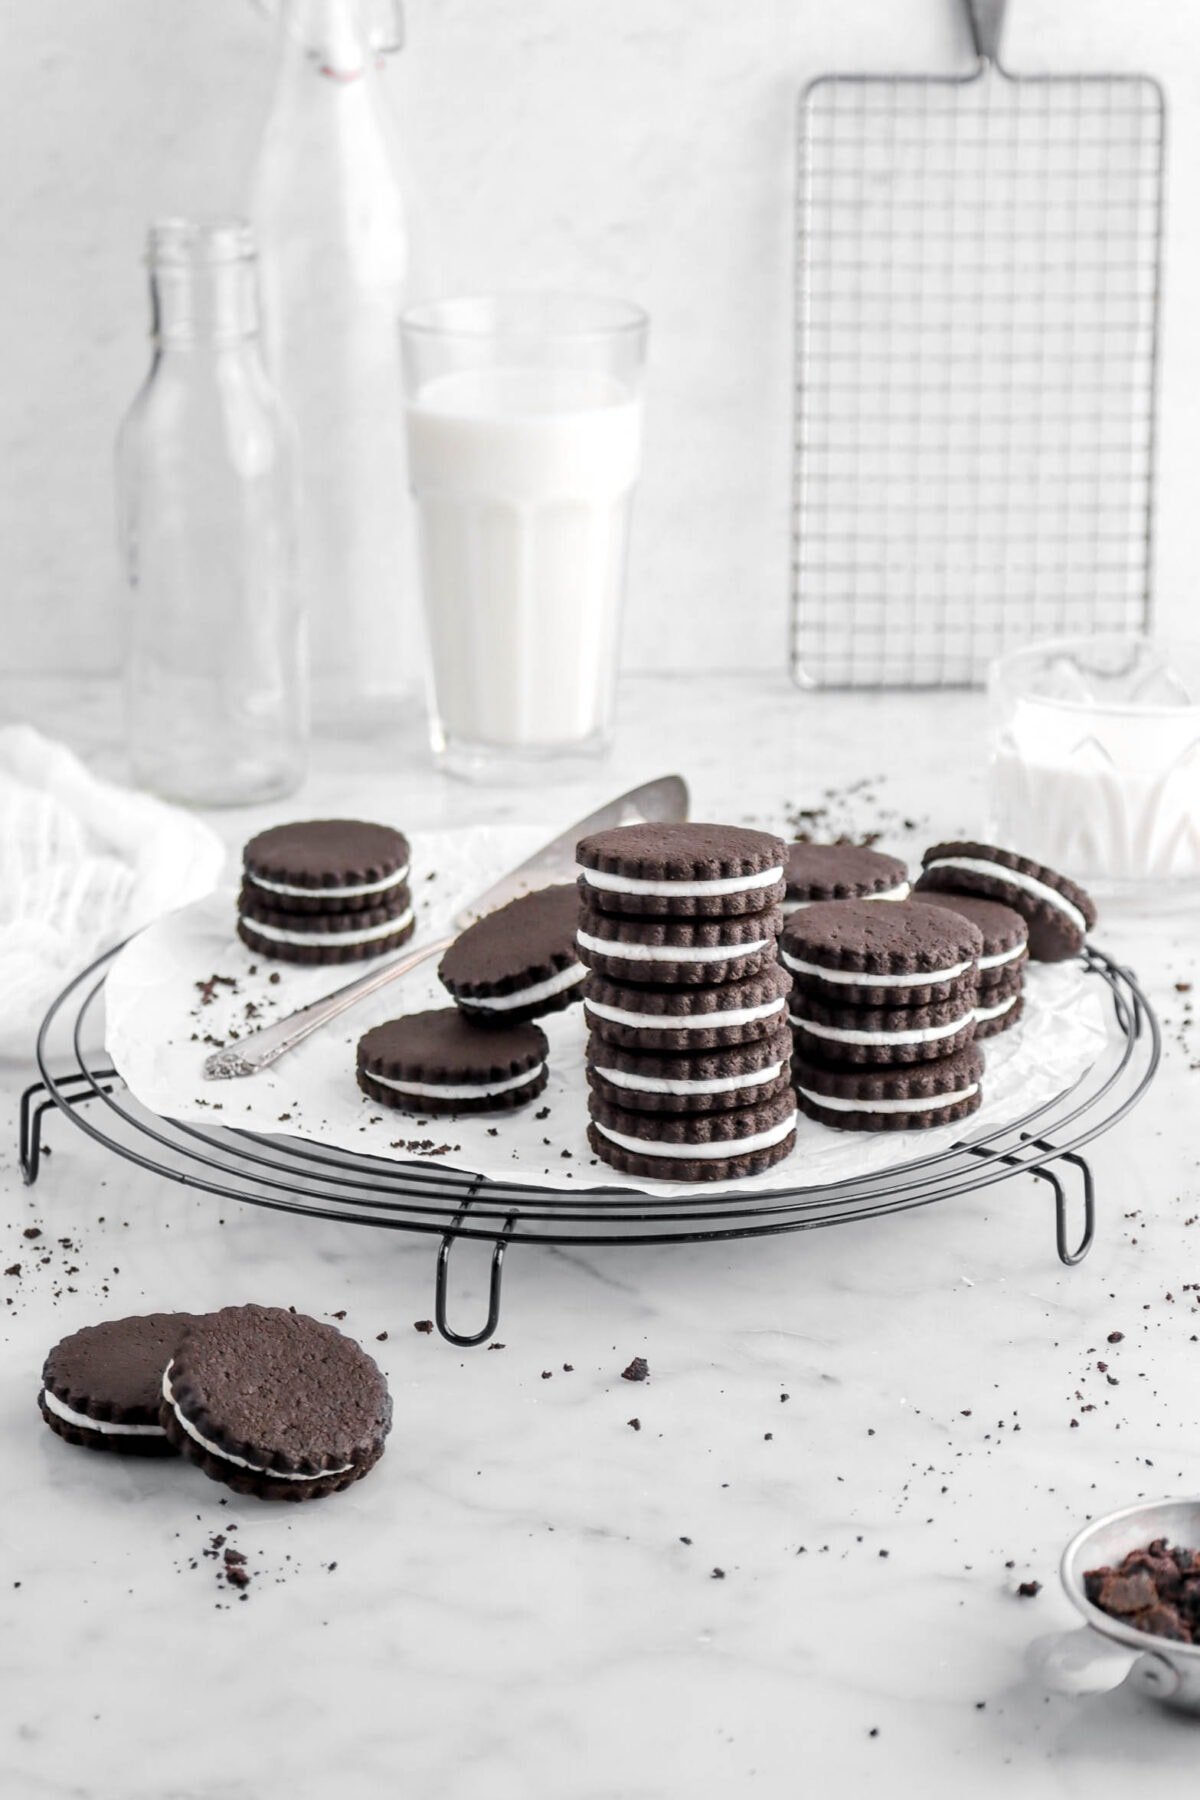
This time? Homemade Oreo’s…because who doesn’t love a good Oreo with a glass of milk (or even a spoonful of peanut butter!)
Okay, I have to admit. I have always been an Oreo lover (double stuffed is my go-to), but one of my strongest memories of this cookie is from The Parent Trap (1996) with Lindsey Lohan.
Because, as a kid, I was 100% disgusted by the combo of peanut butter and Oreos, but I also really wanted to try it at the same time.
Flash forward to present day and I still absolutely adore the classic cookie! It’s my comfort snack, for sure. (And I still haven’t tried it with peanut butter.😉)
So, making Oreos has been on mine and my mom’s baking bucket list for as long as I can remember…but this recipe was actually a total accident!

Yep. We made Oreos by complete and utter accident.
We were working on developing our Hot Chocolate Cookies when my mom accidentally grabbed the black cocoa powder instead of the Dutch process. We decided to bake them anyway; and (happy accident!😊) they tasted just like Oreos.
We baked the rest, filled them with a simple decorator’s frosting, and here they are!
The sweetest, most delicious recipe for homemade Oreos ever.
Why You Need To Make These Homemade Oreos ASAP
- They taste BETTER than the store-bought ones!
- The cookie and filling is actually super simple to make.
- You get to decide on how much filling you want in between each cookie.
- They’re a great bake for the whole family to get involved with!
- There is no food dye, artificial flavors, or preservatives in this recipe.
- These cookies make for a great gift or treat for any occasion!

Ingredients
(Full ingredient amounts and instructions can be found in the recipe card at the bottom of the post)
For The Cookies:
- All-Purpose Flour – No fancy flours are needed for this recipe! Regular unbleached all-purpose flour gives these cookies the perfect structure and texture.
- Black Cocoa Powder – This is essential for this recipe, as it adds the classic black color without the need for food dye!
- Dutch Process Cocoa Powder – Gives these cookies the perfect amount of chocolate flavor.
- Baking Powder – Provides just the right amount of rise to these cookies.
- Salt – A pinch of salt enhances the chocolate flavor, while also cutting the sweetness of the cookies.
- Vegetable Shortening – Using vegetable shortening in this cookie creates a crisp and perfect texture.
- Granulated Sugar – Helps keep these cookies crisp, while also adding just the right amount of sweetness.
- Egg White – For this recipe, you’ll need one large egg white! It helps gives a crisp texture, without providing any flavor.
- Whole Milk – A splash of milk is essential in this recipe to give it the perfect structure.
- Vanilla Extract – Adds just the right amount of depth and flavor to these cookies.

For The Filling:
- Vegetable Shortening – The classic Oreo filling is essentially a decorator’s frosting, which is why you will also need vegetable shortening for this filling!
- Powdered Sugar – Adds just the right amount of sweetness.
- Whole Milk – A splash of milk gives this filling the perfect consistency.
- Vanilla Extract – Gives the filling that classic marshmallow-y flavor!

How To Make Homemade Oreos
Step 1: Make cookie dough
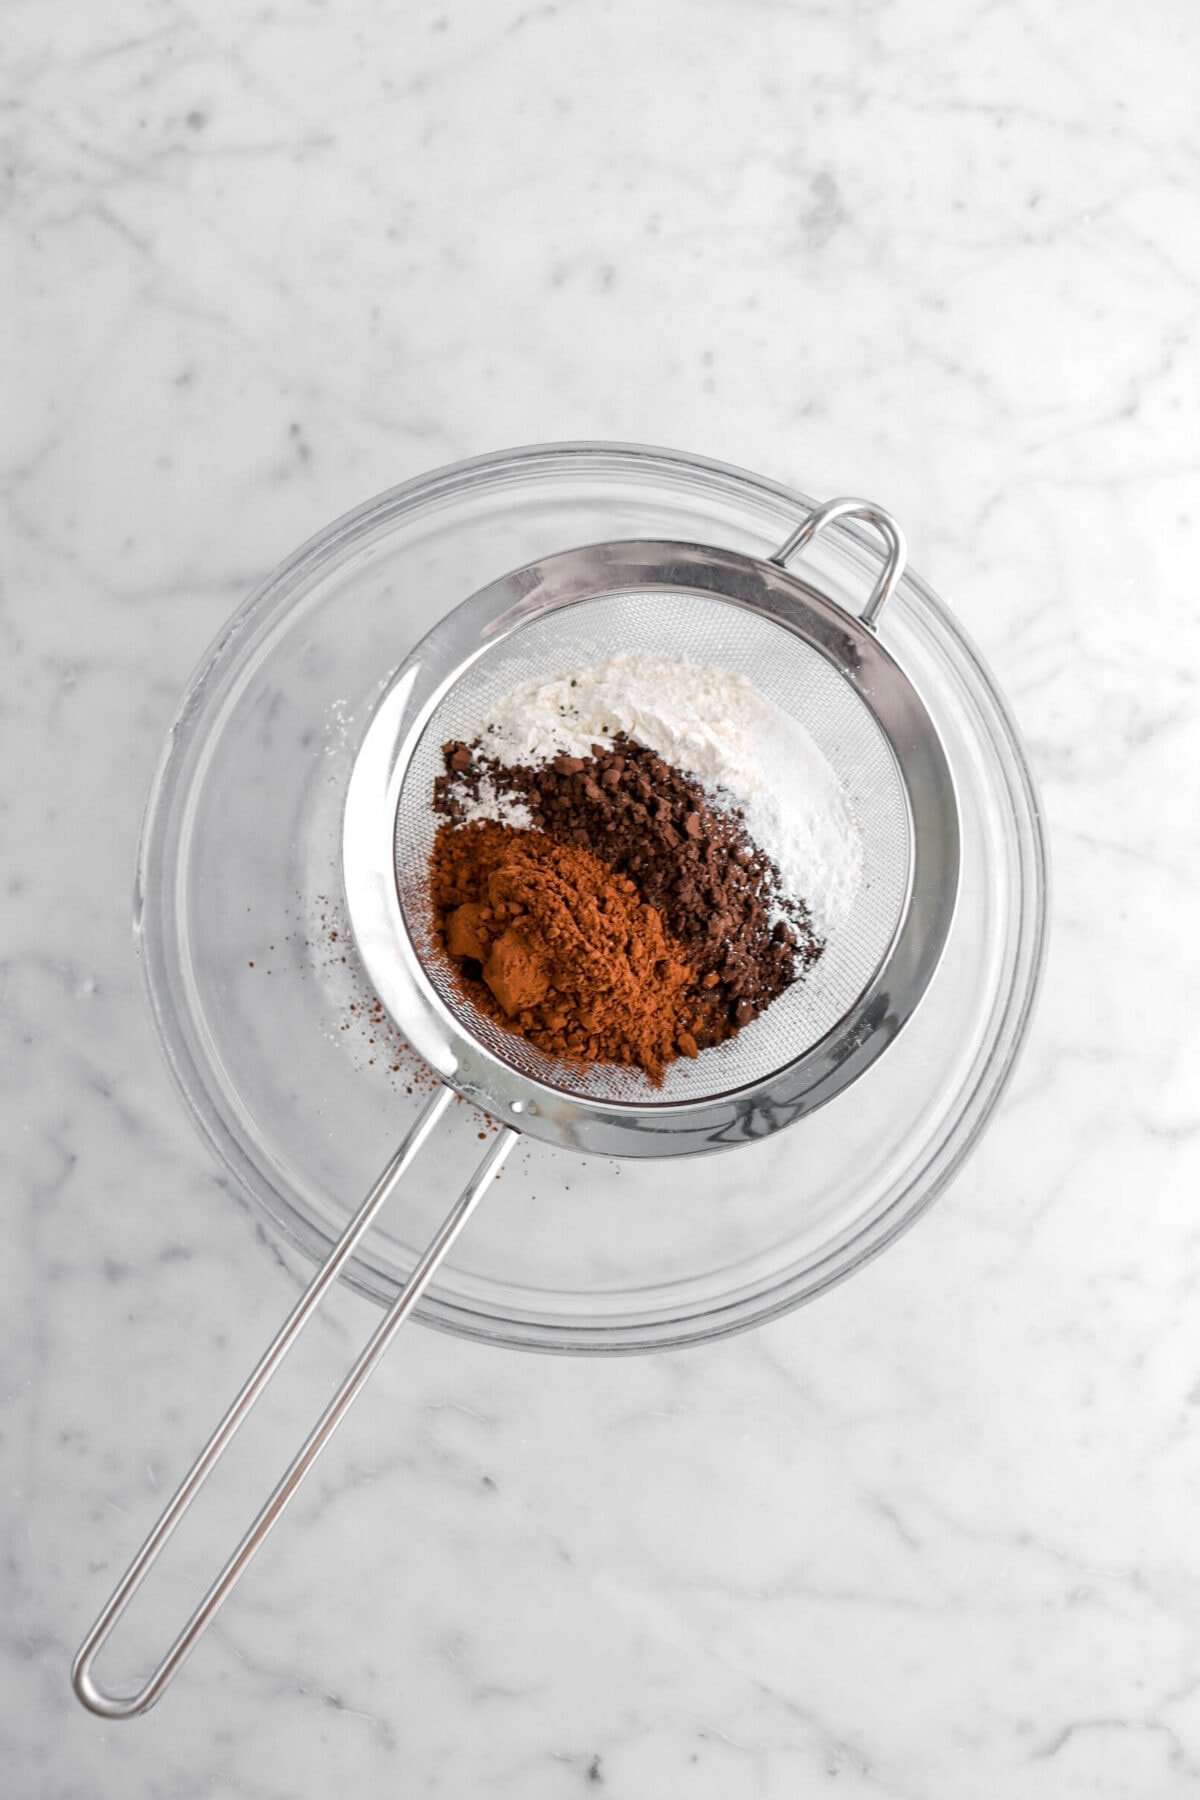
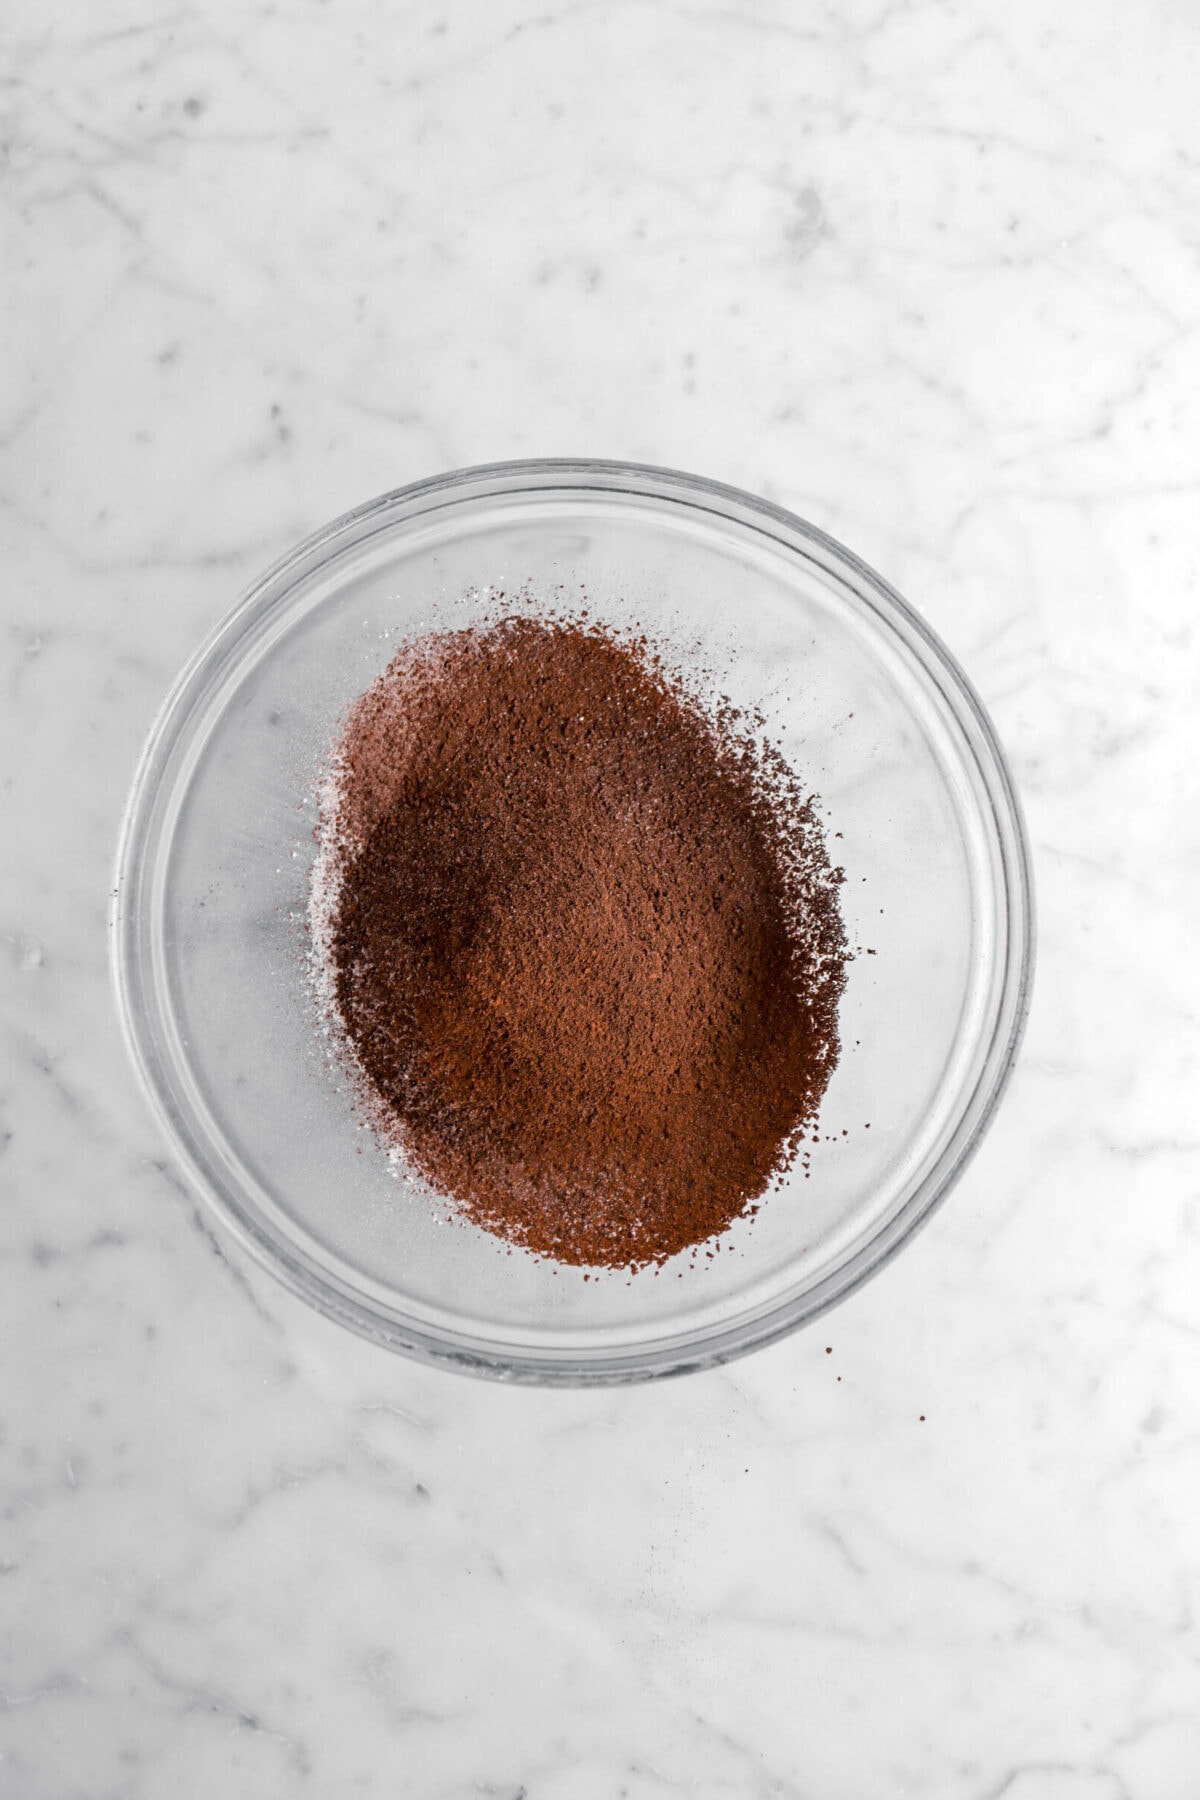
In a small bowl, sift together flour, cocoas, baking powder, and salt. Set aside.
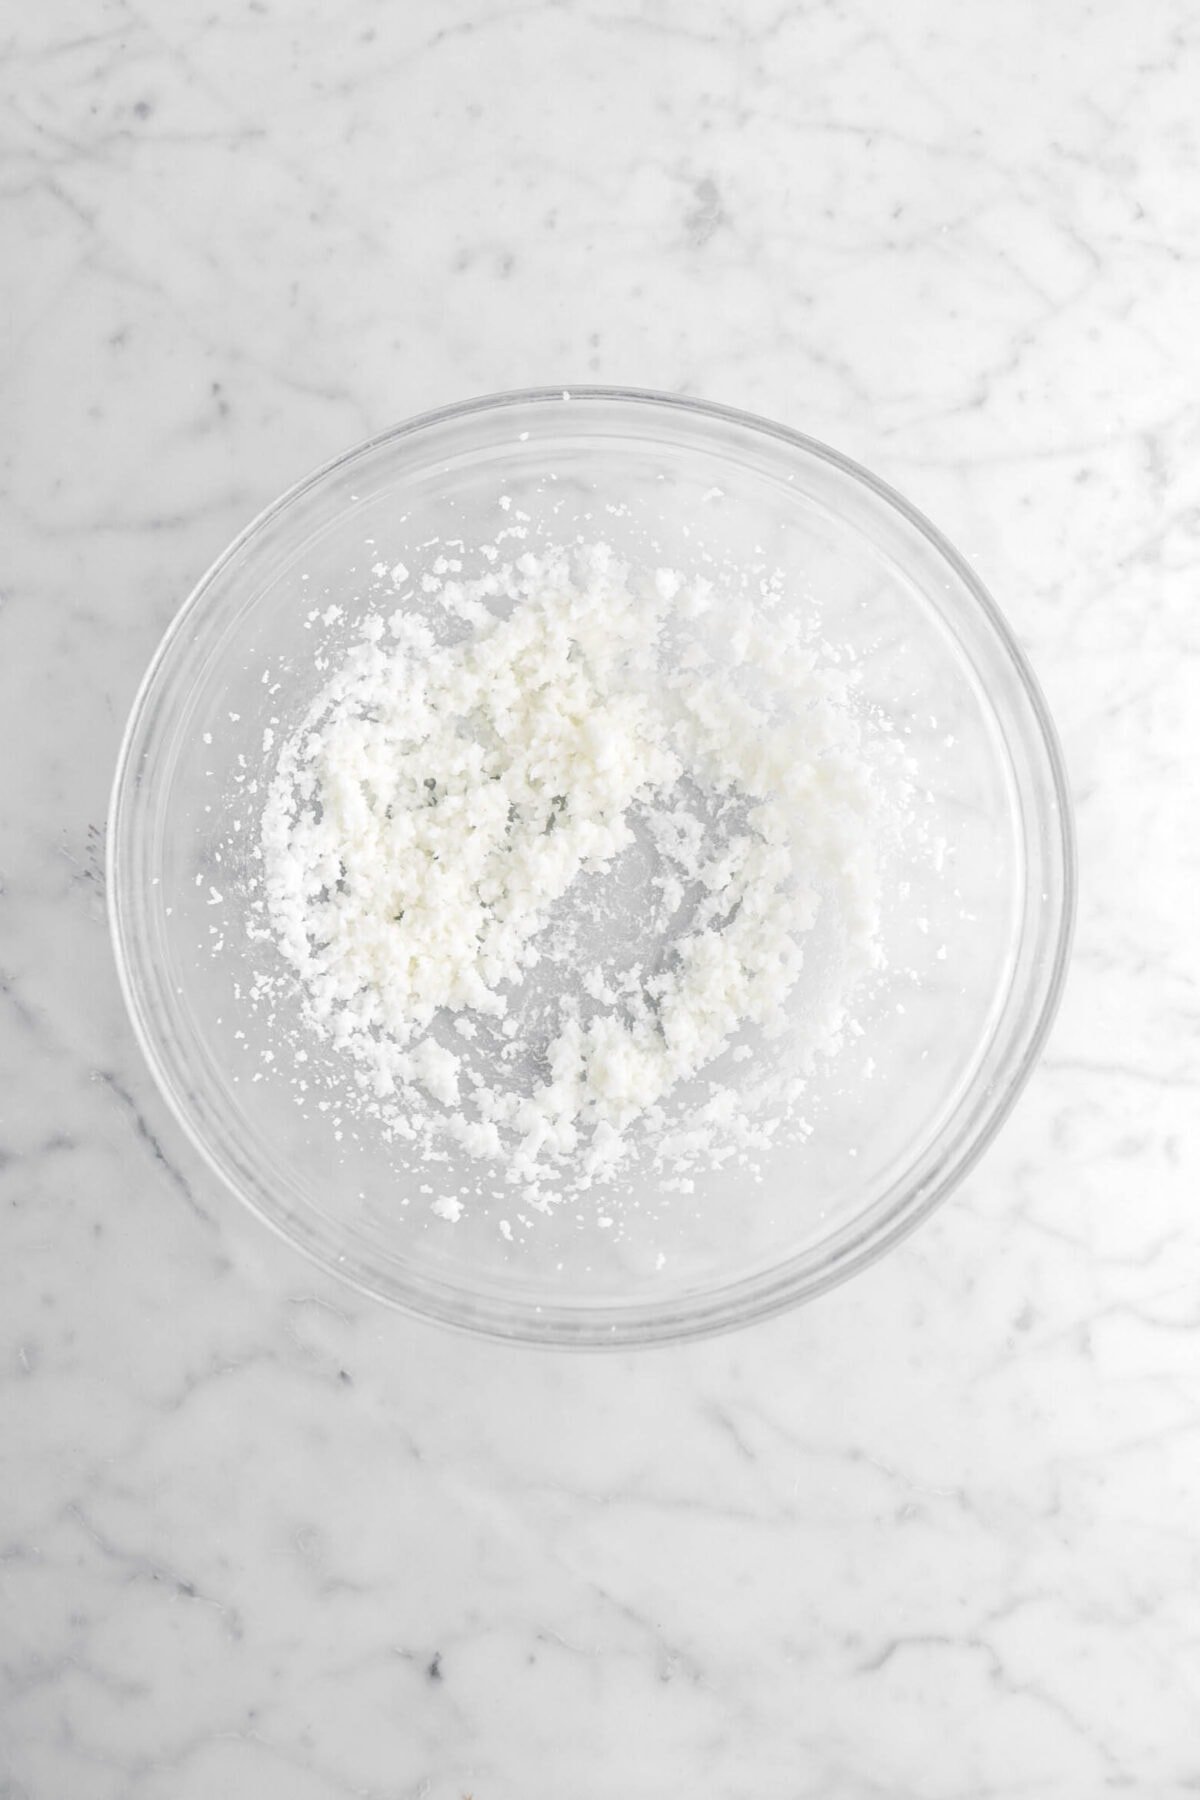
With an electric mixer, beat shortening and sugar until fluffy, about 1 minute.
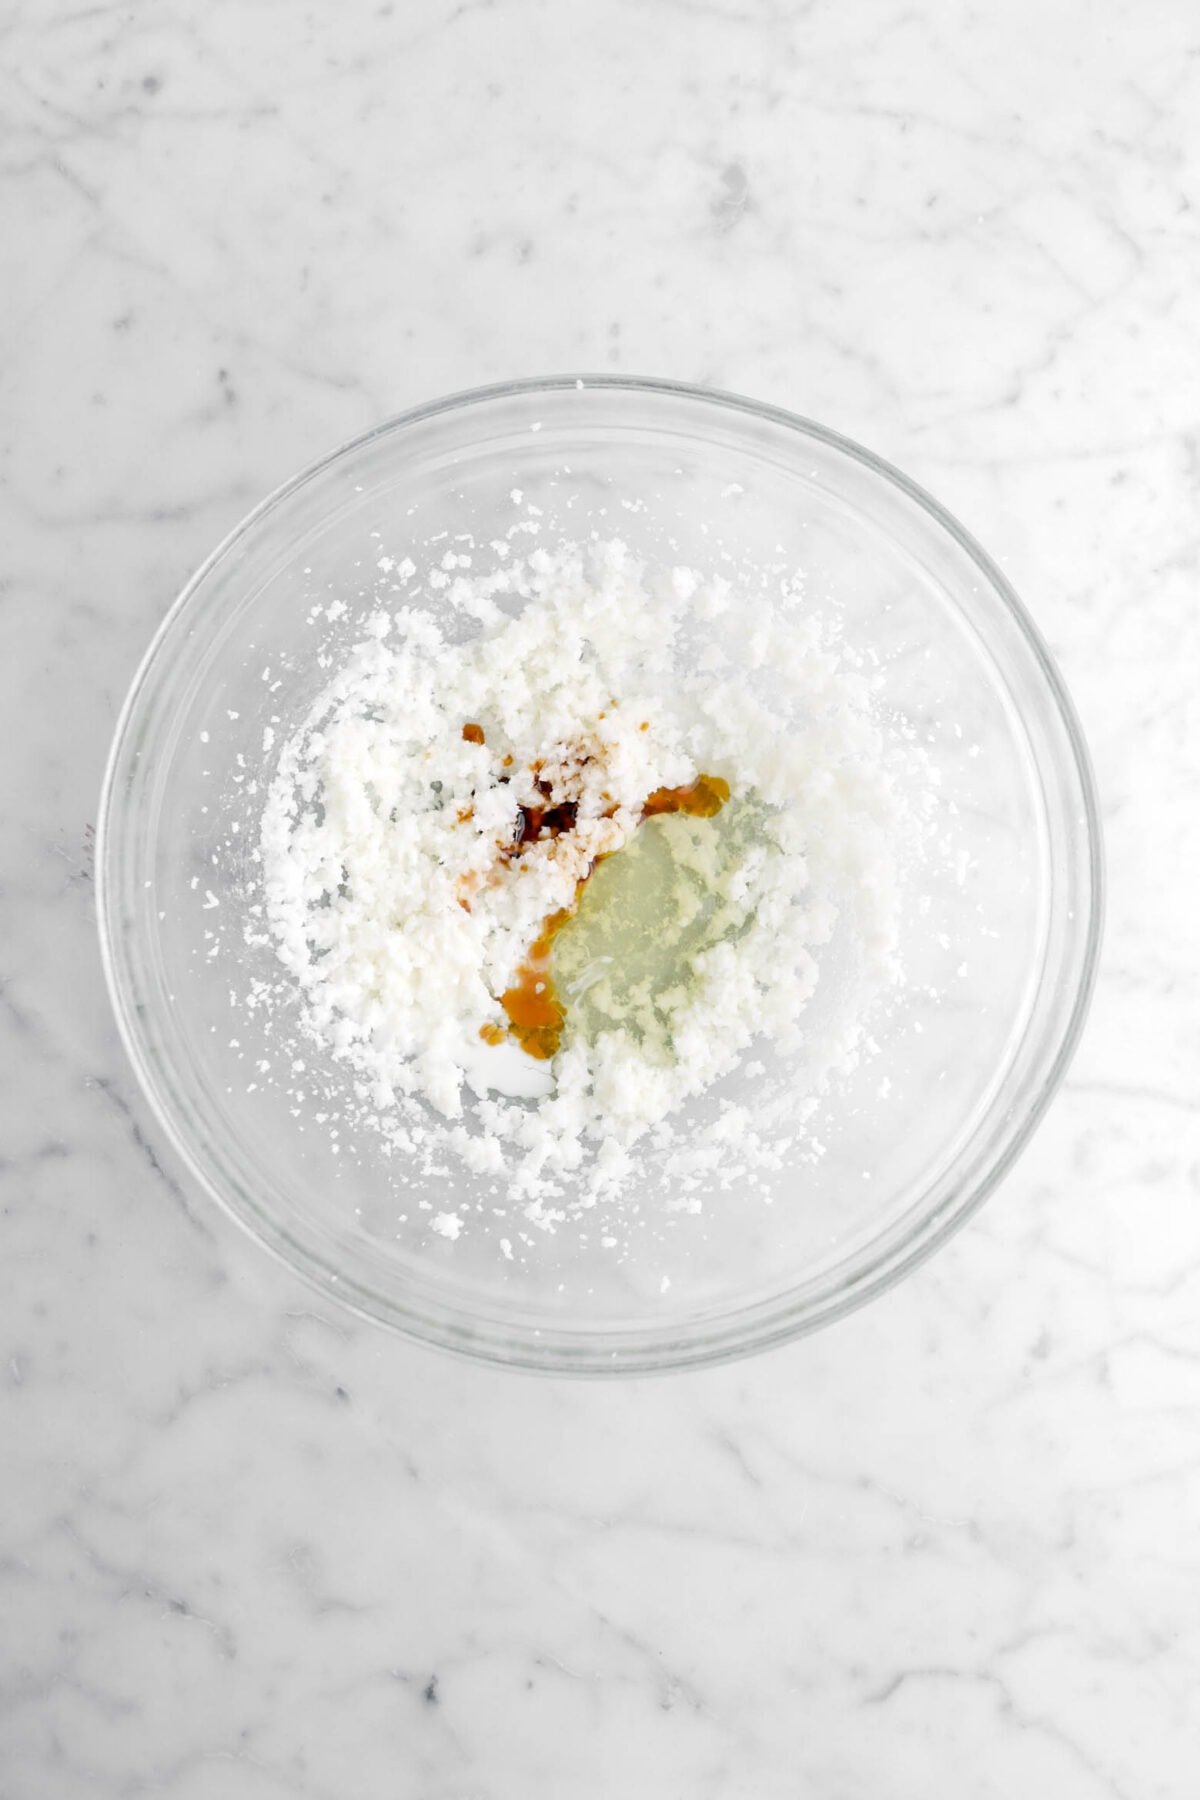
Add egg, milk, and vanilla. Beat until blended.
Stir in flour mixture.


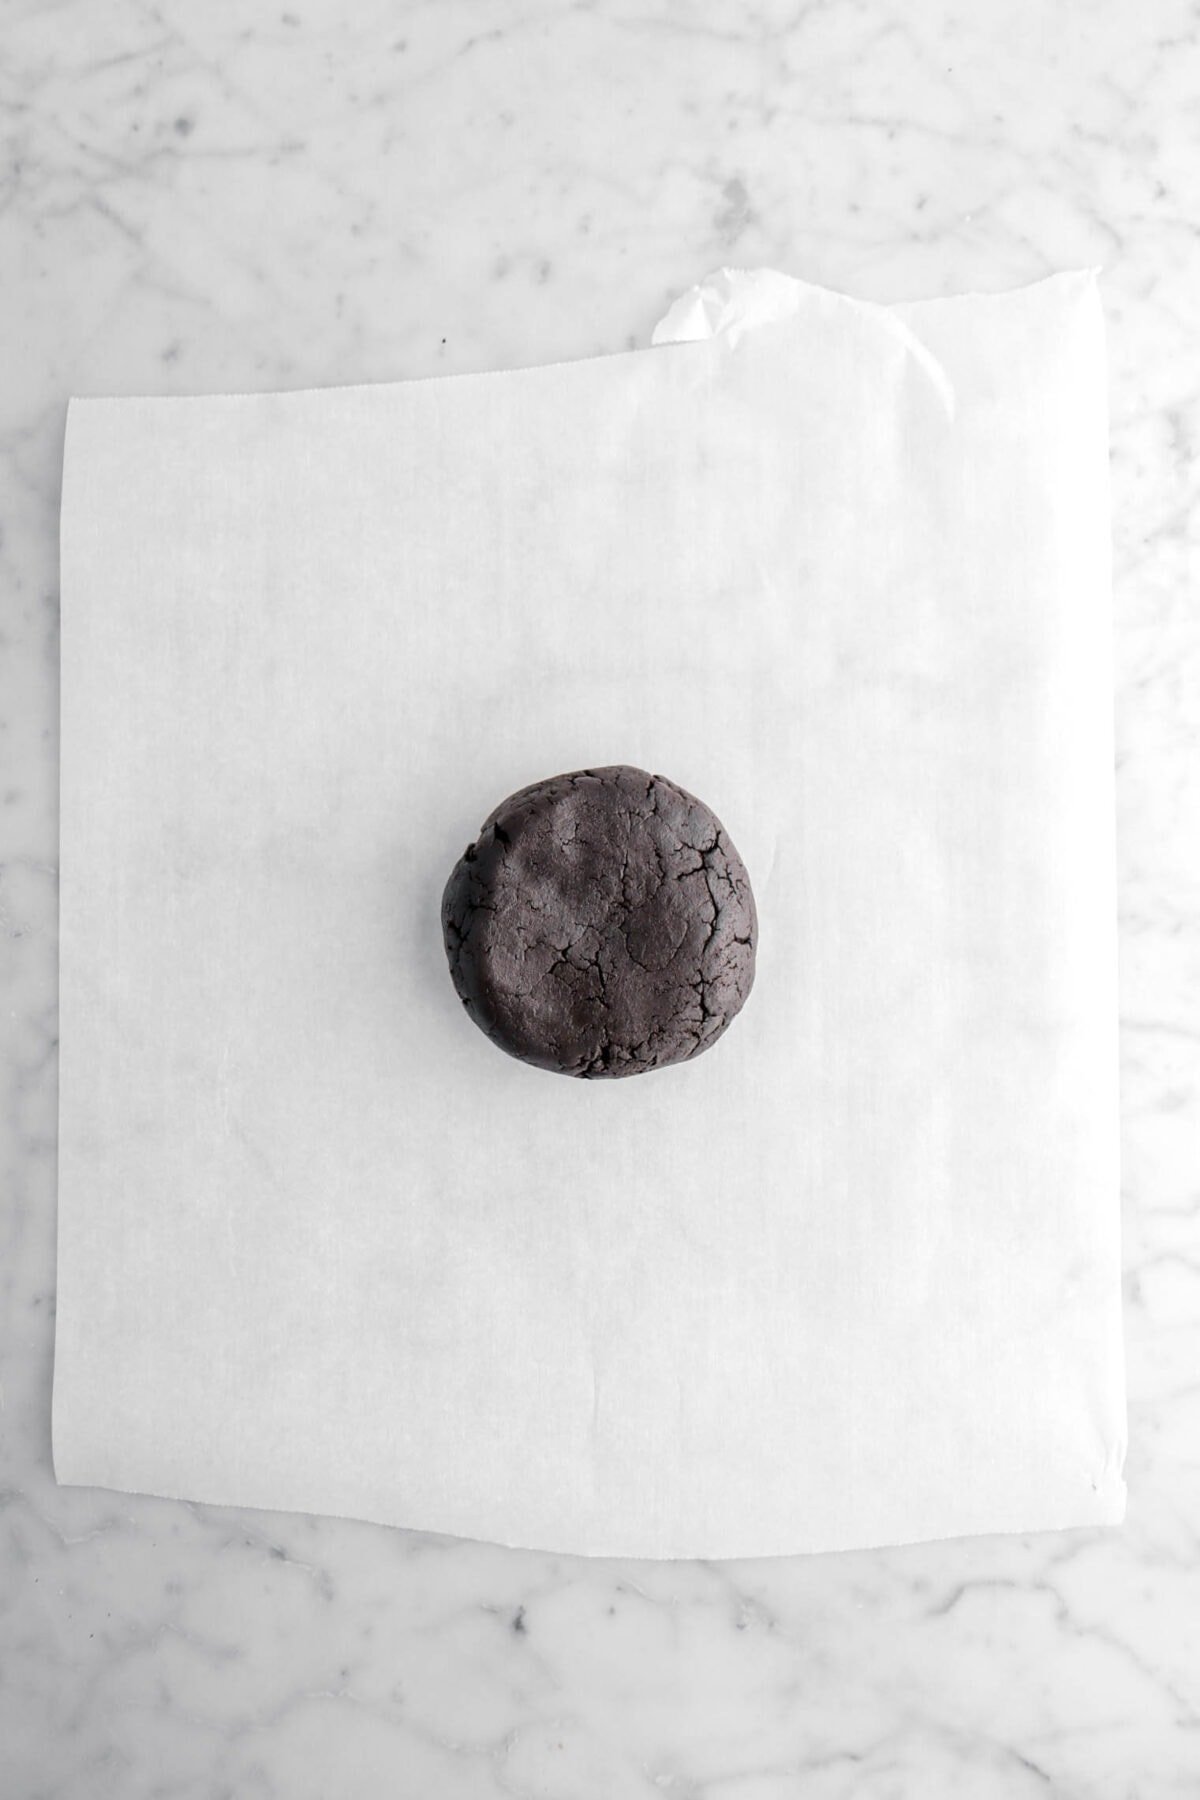
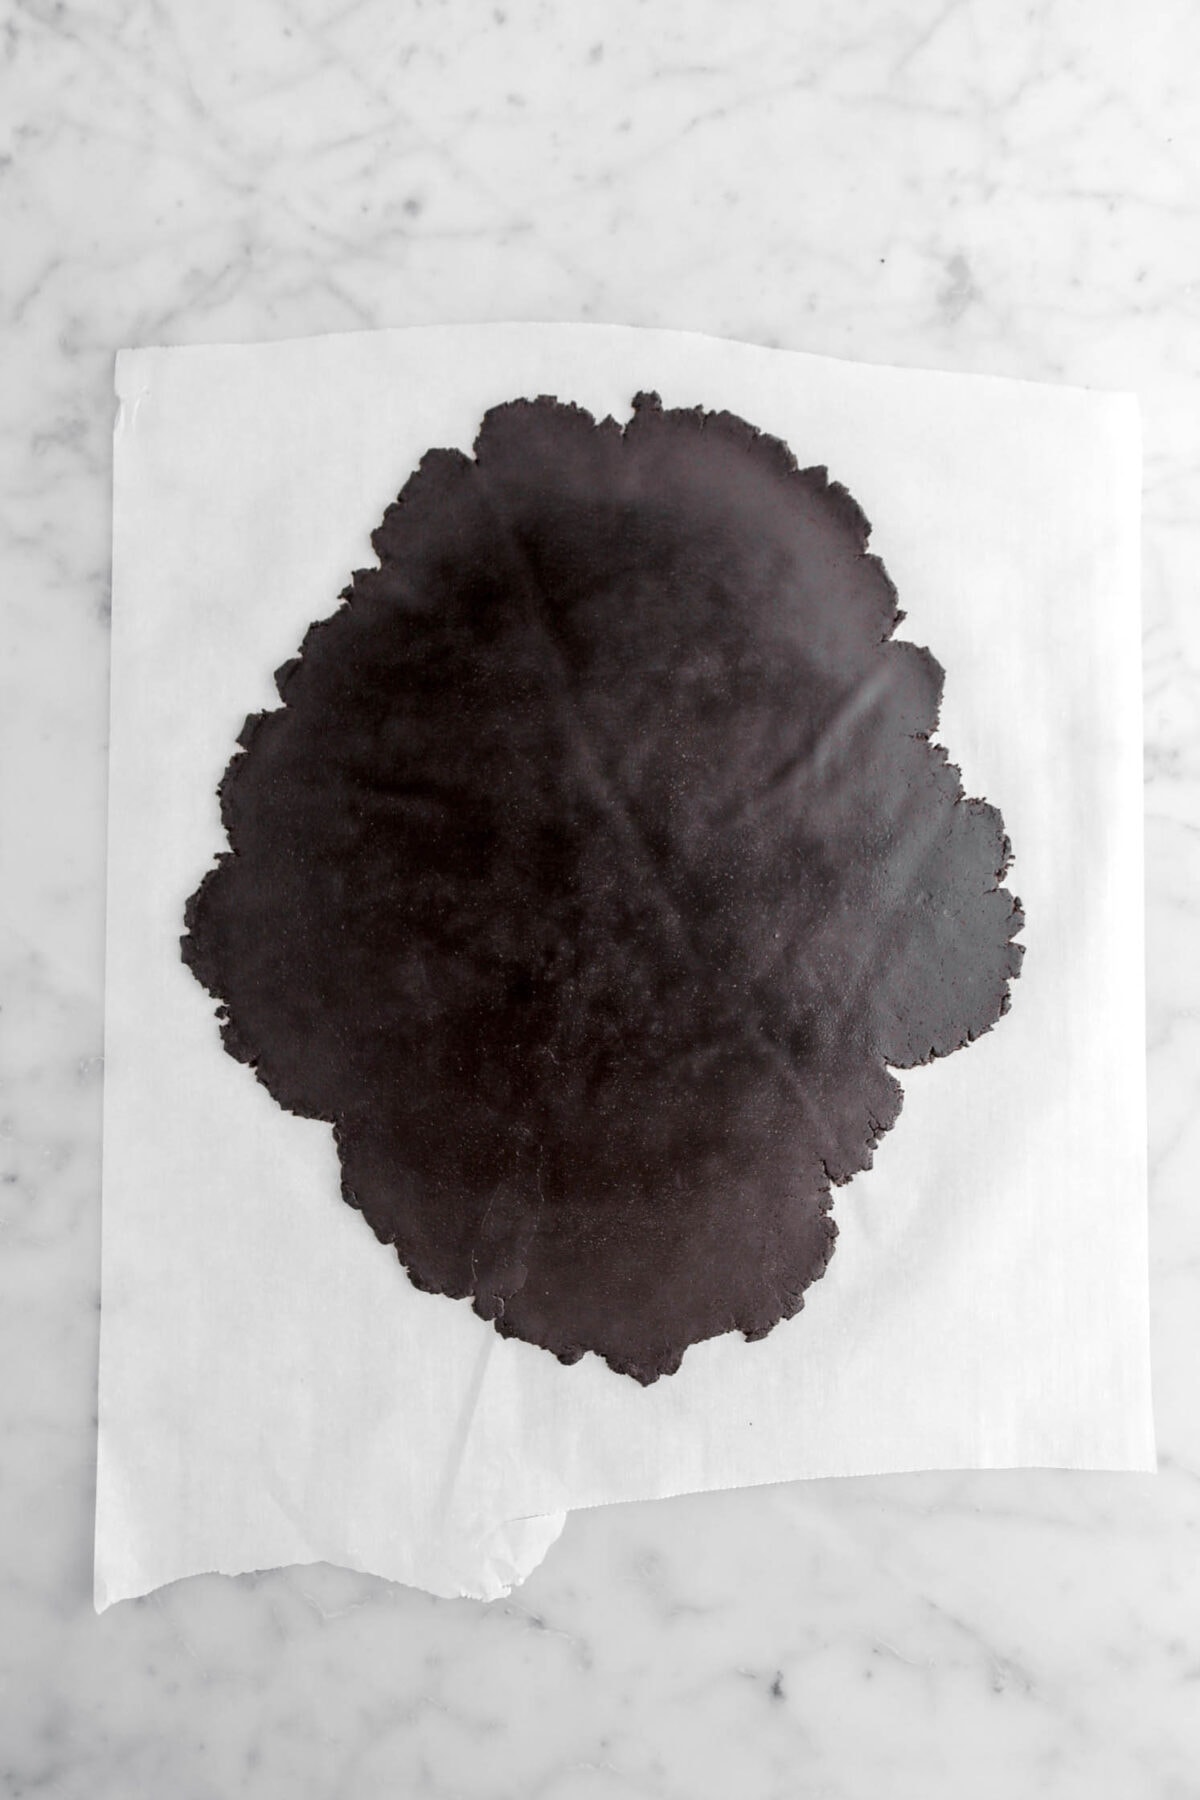
Step 2: Roll and cut
Form dough into a smooth ball. Place dough between 2 sheets of parchment paper. Roll to 3/16 inch thick.
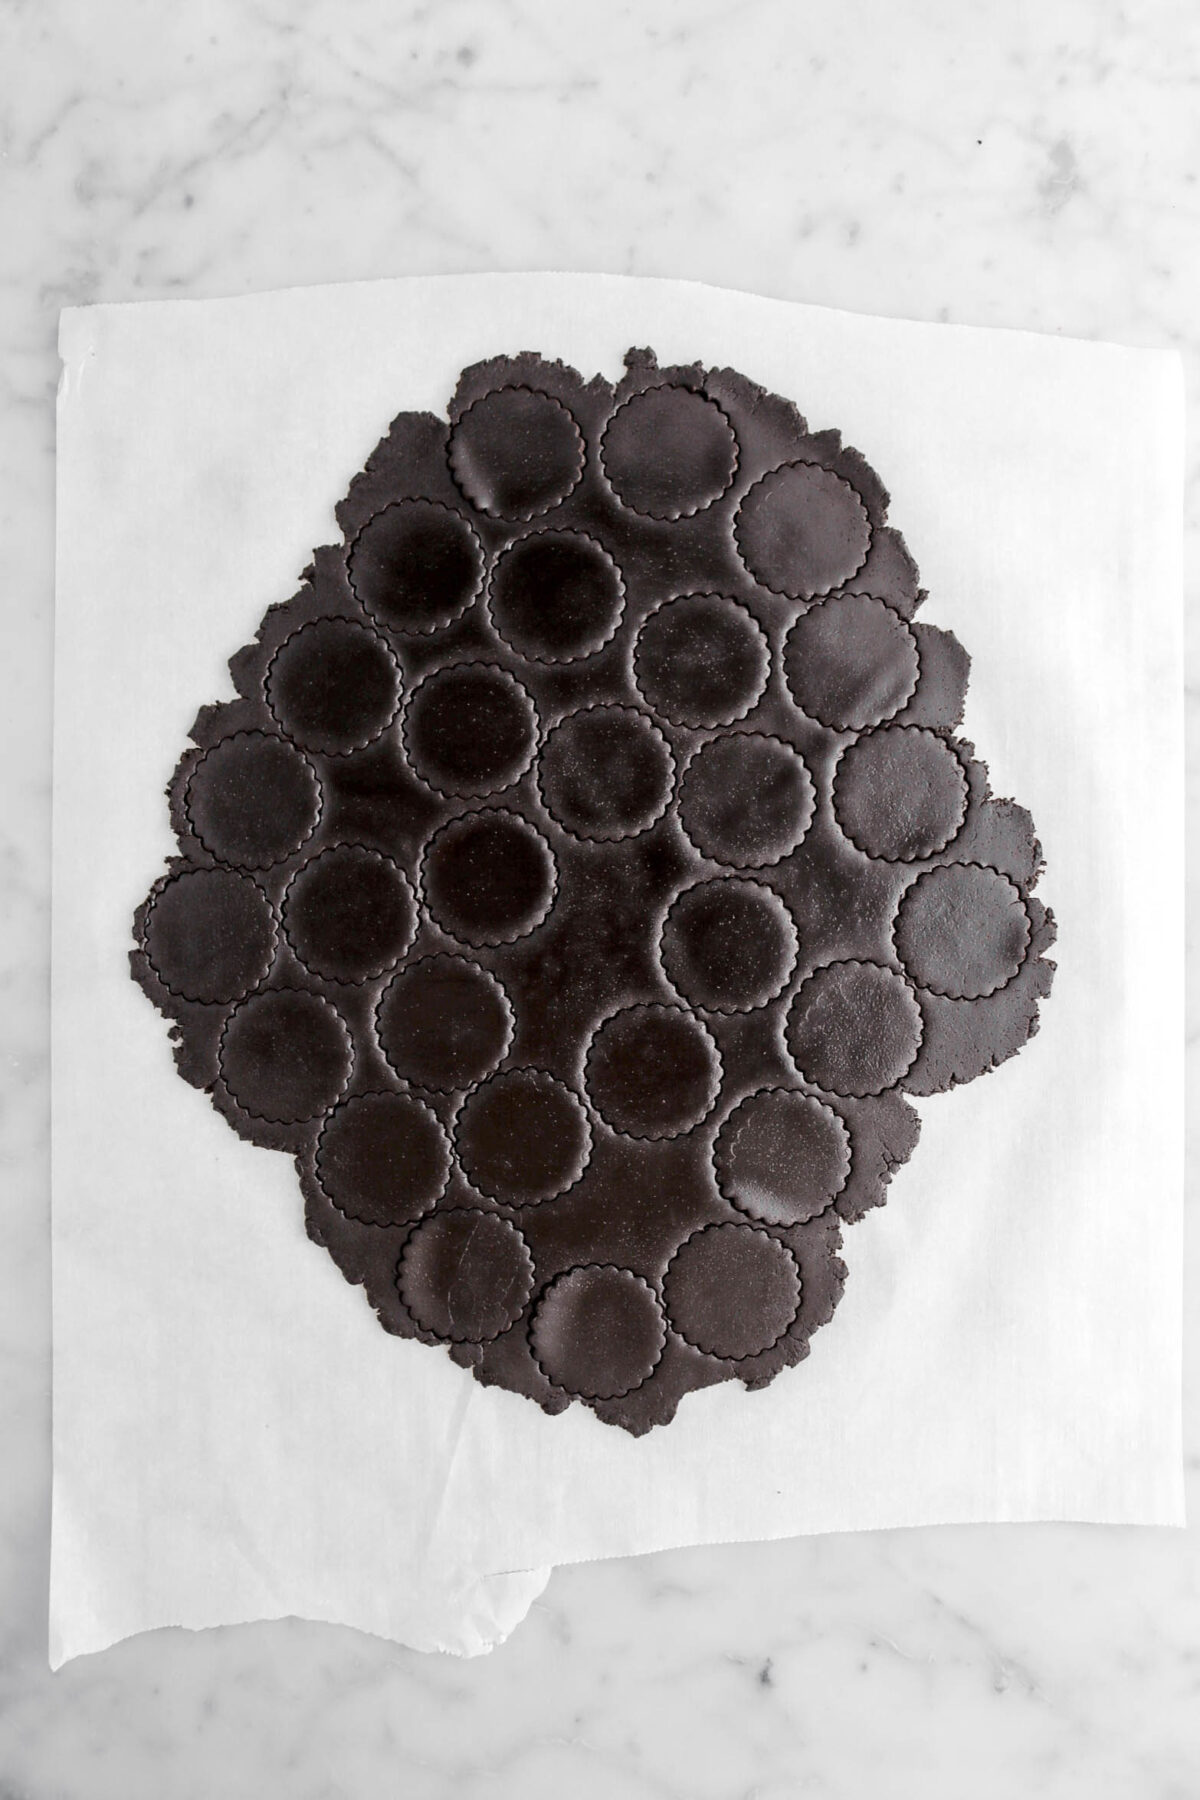
Use a fluted cutter to cut out cookies. Gather and re-roll scraps until all dough is used.
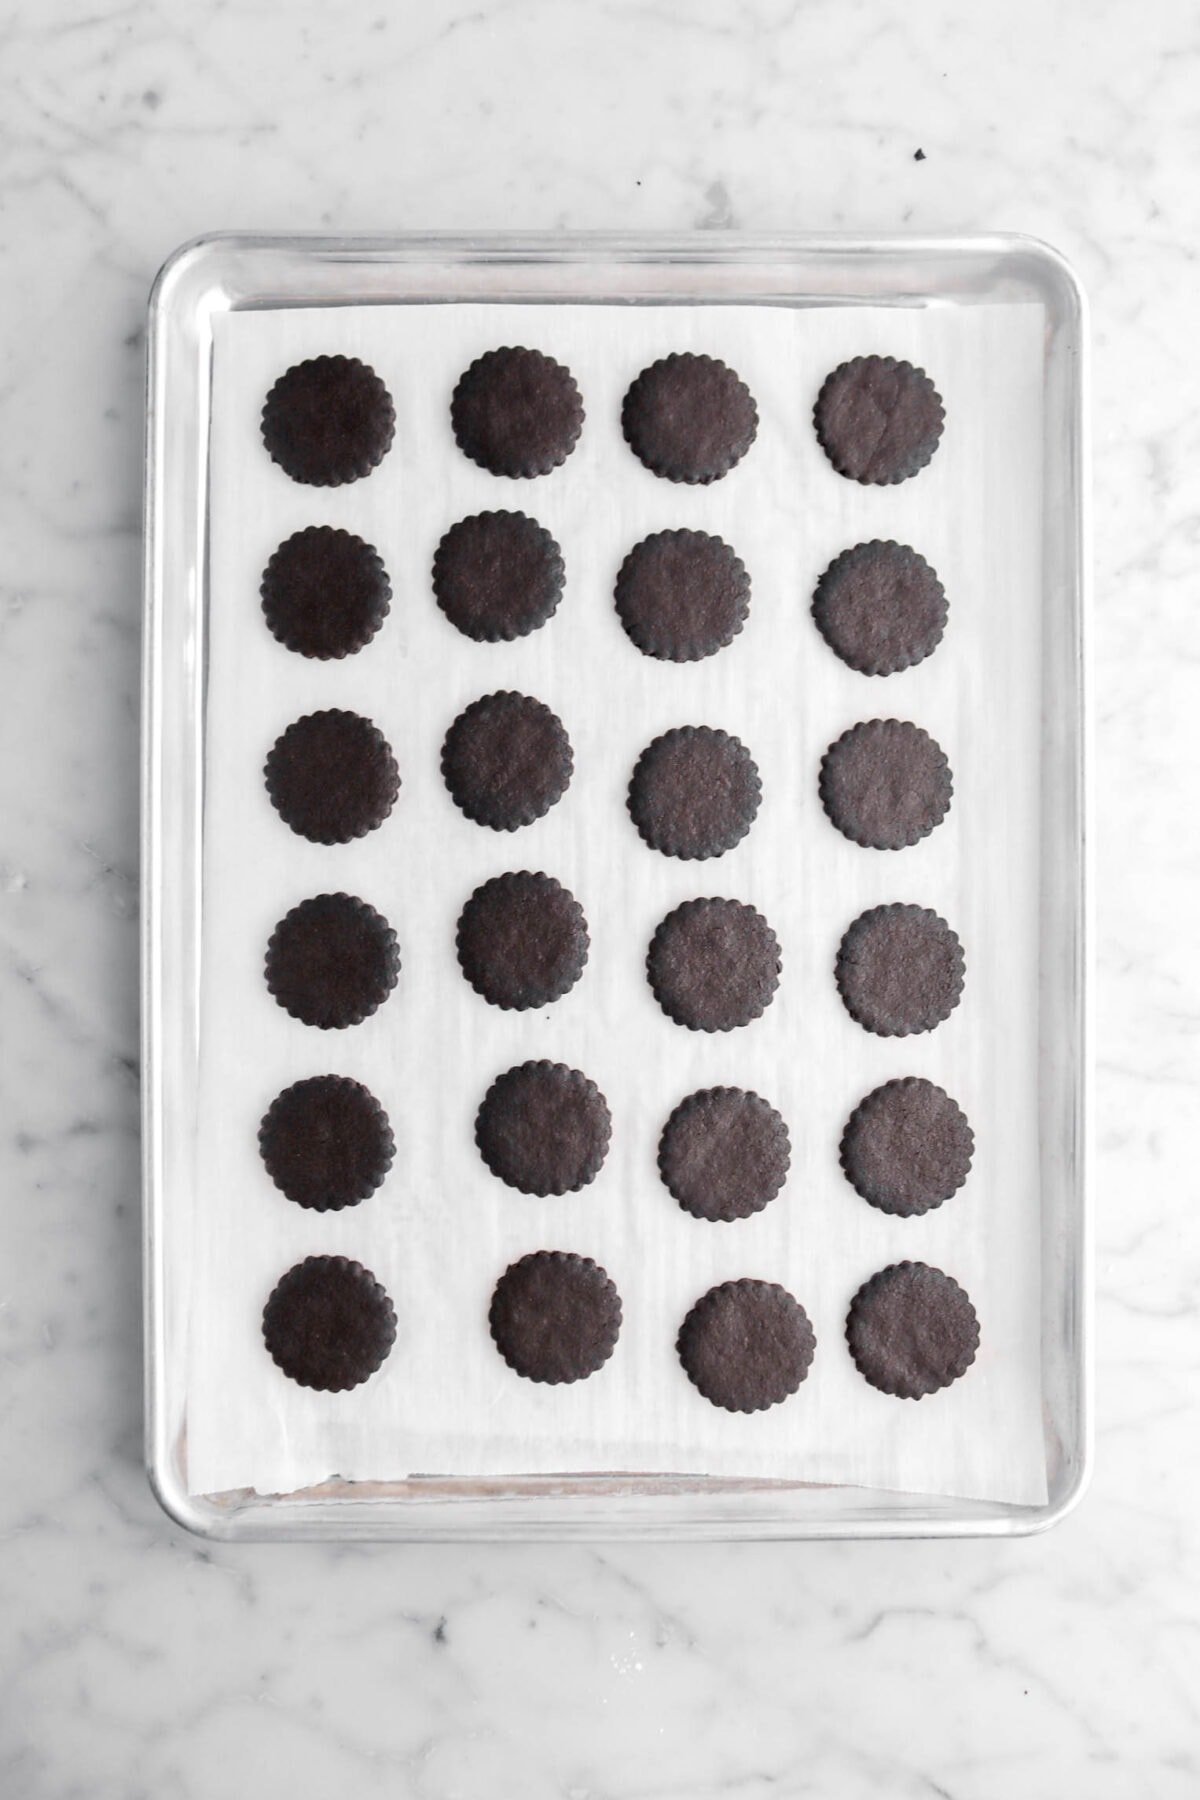
Step 3: Bake
Place on prepared pans. Bake for 17 minutes. Allow to cool on pans.

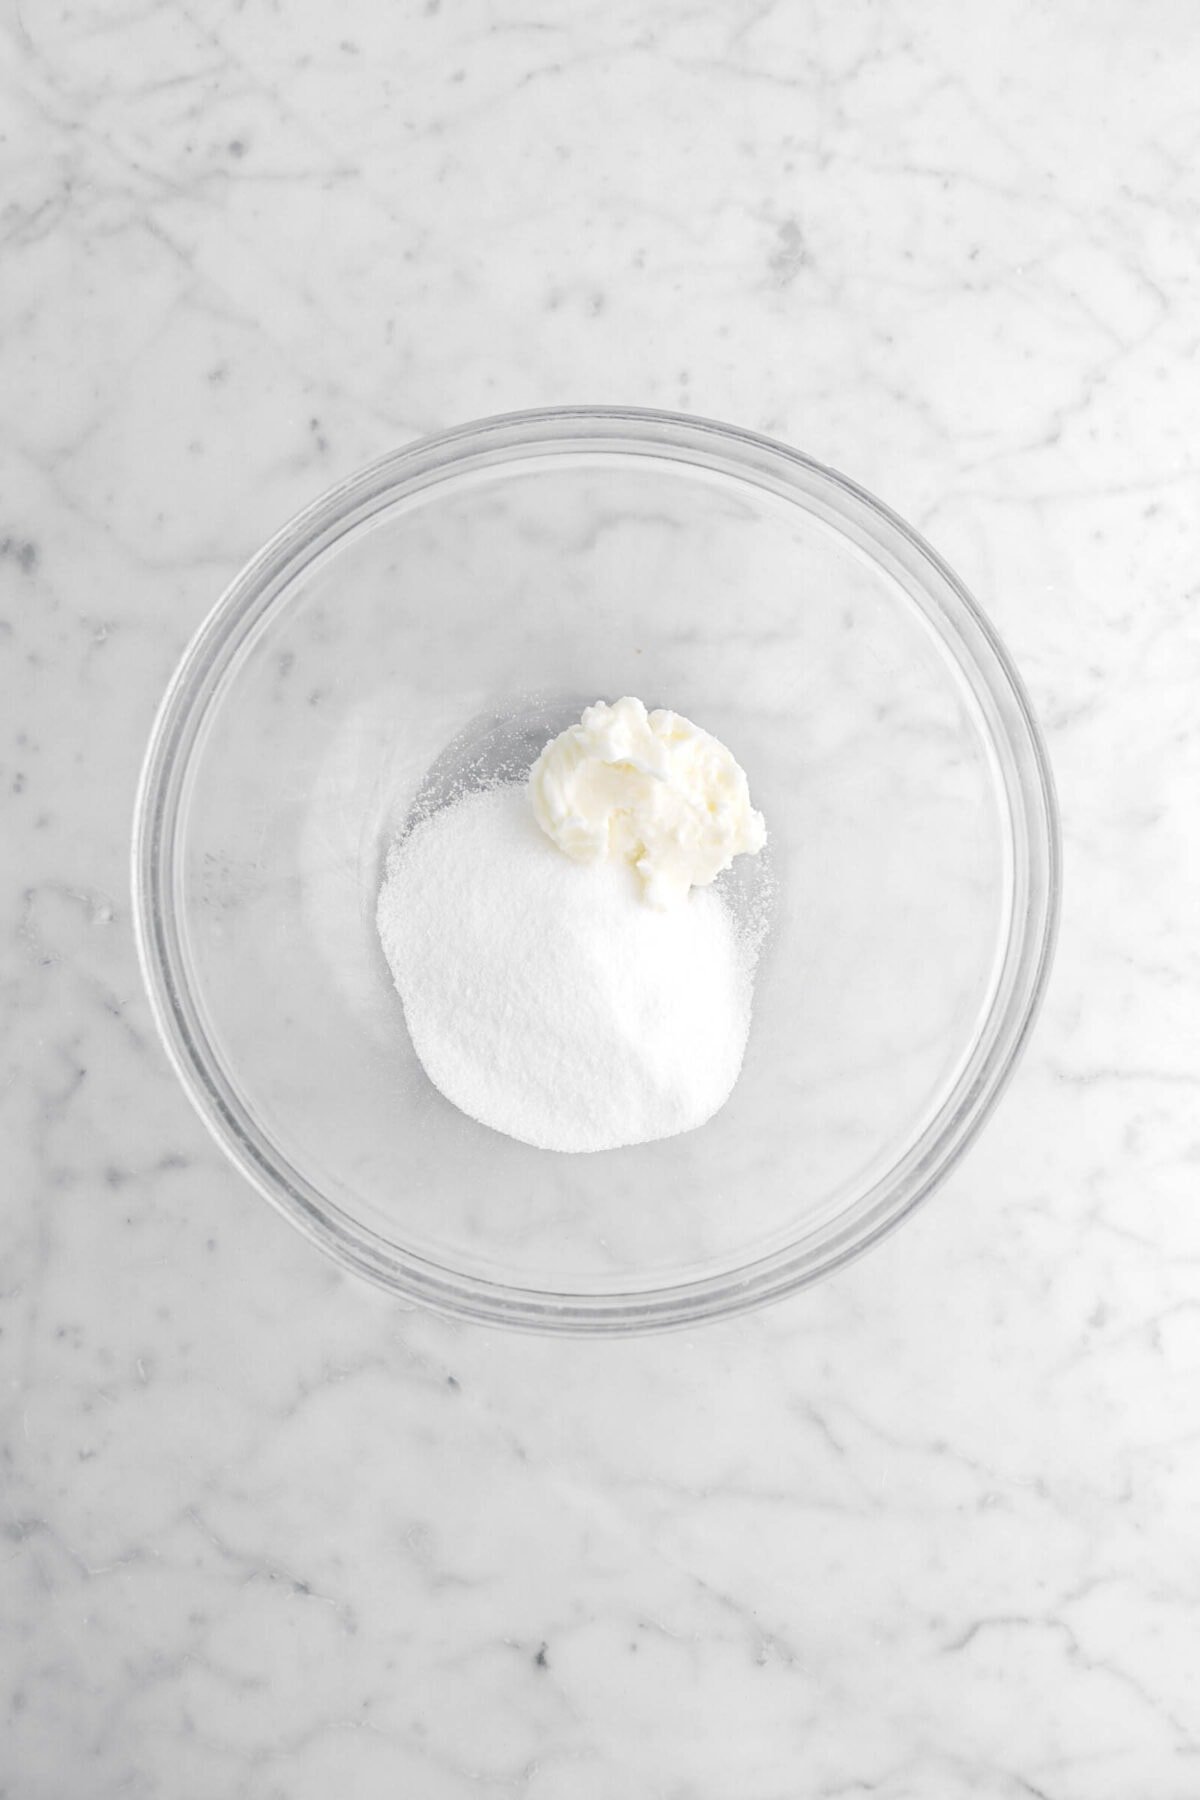
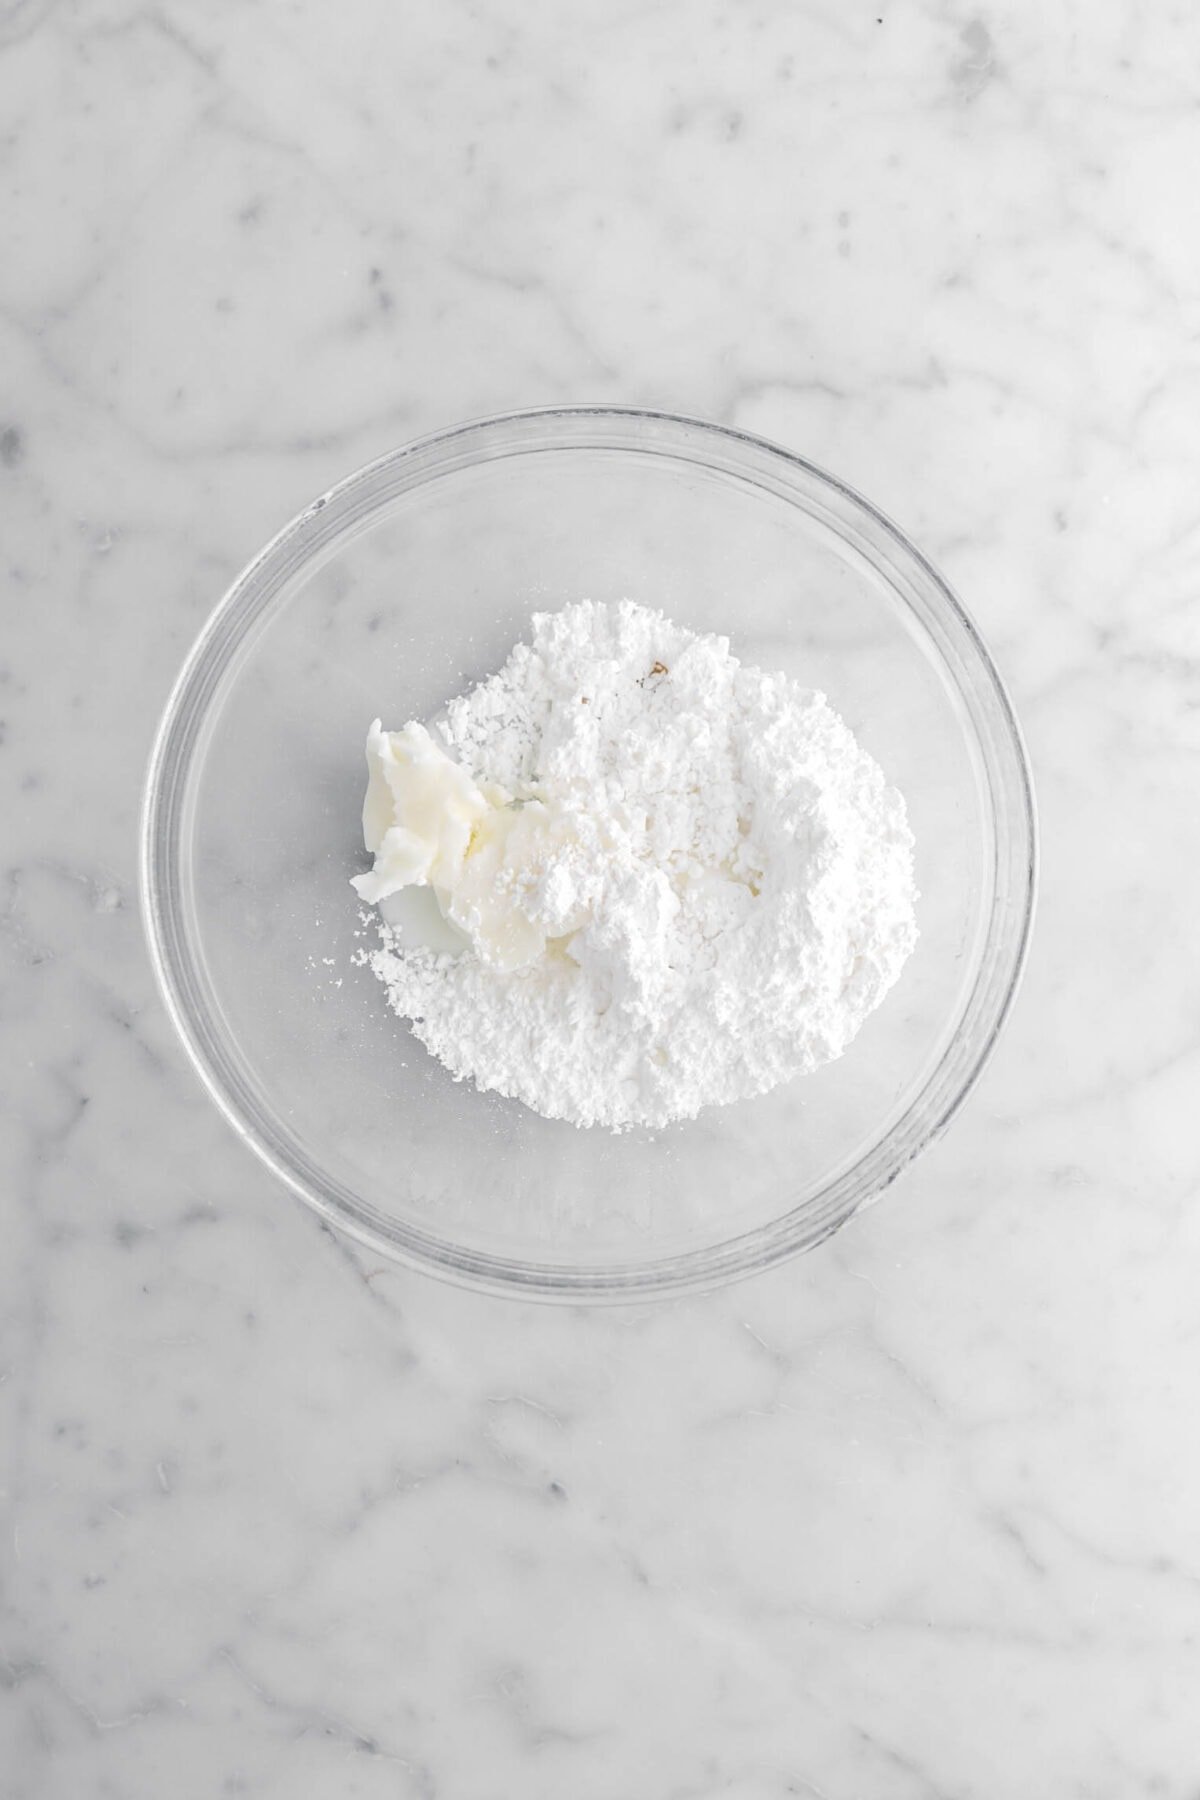
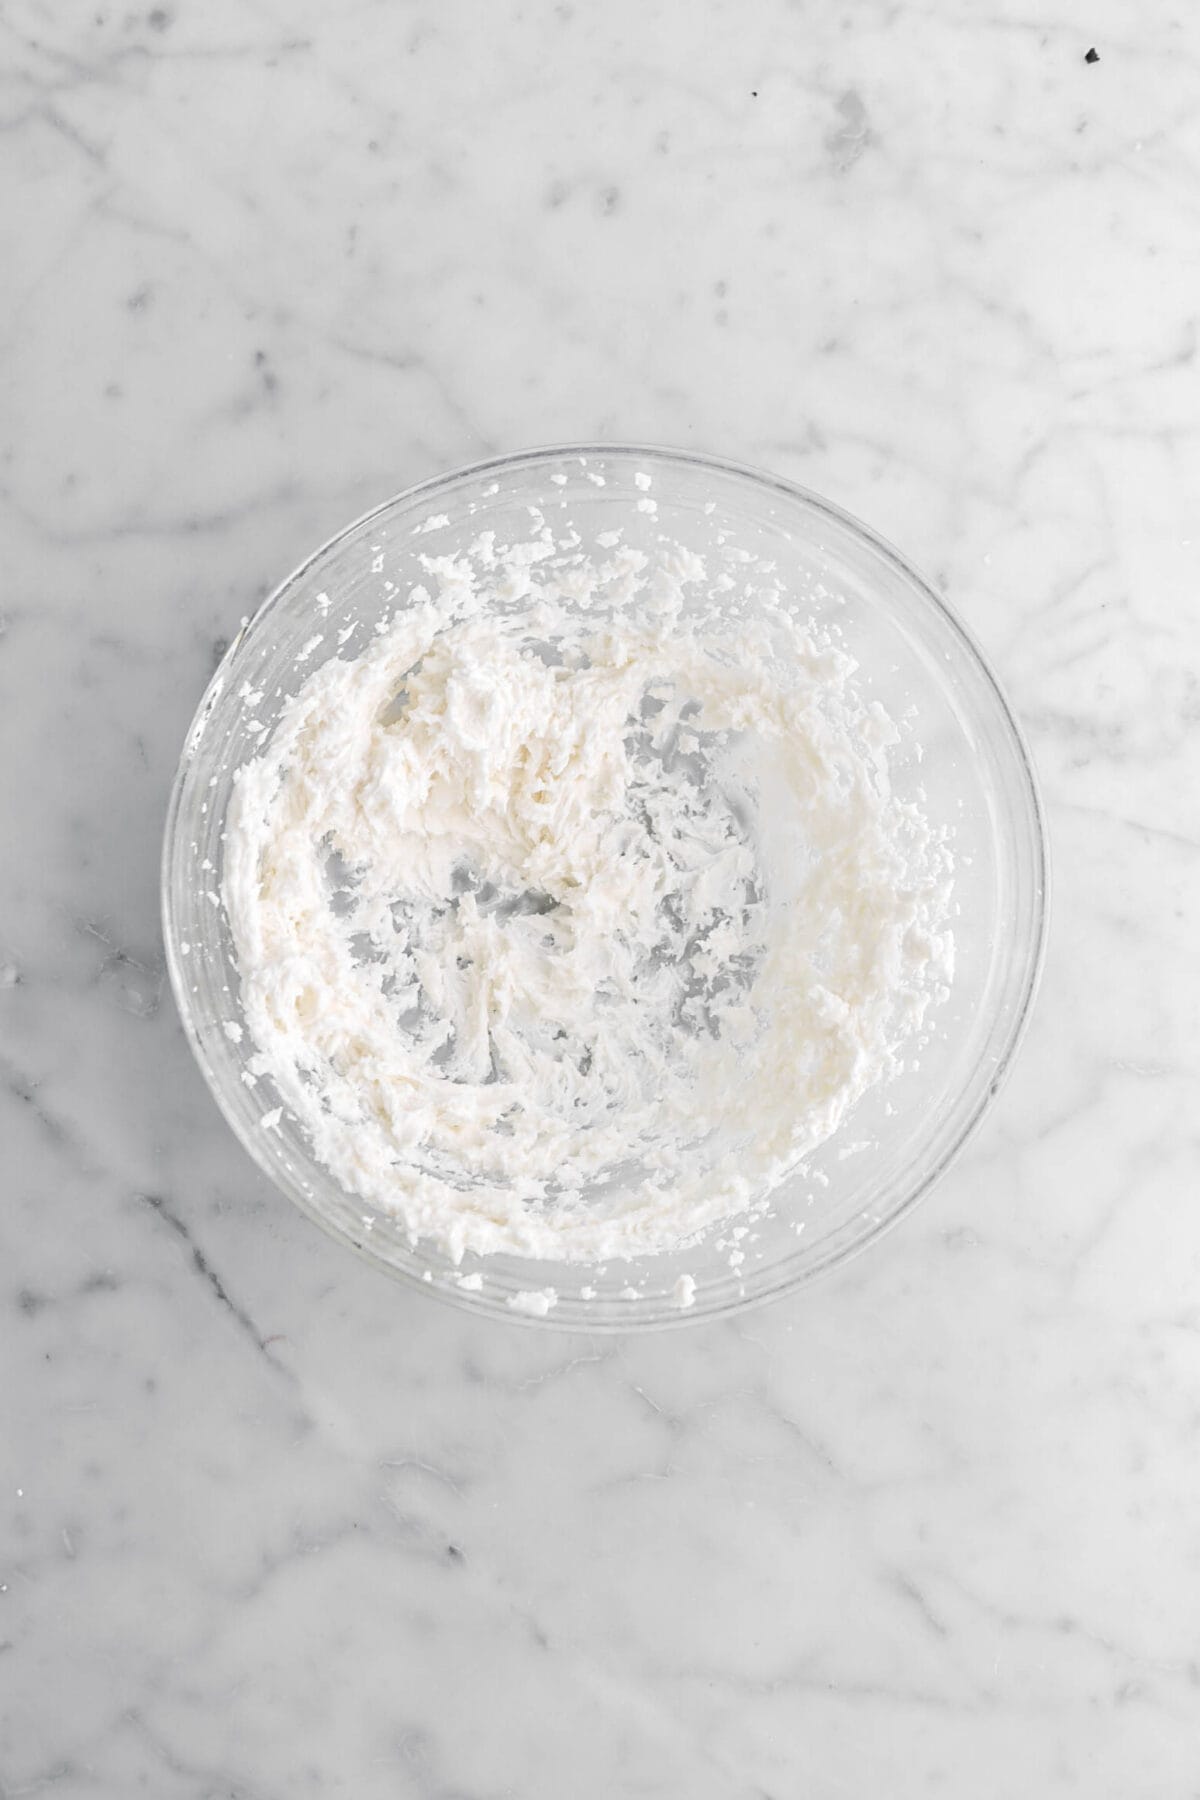
Step 4: Make filling
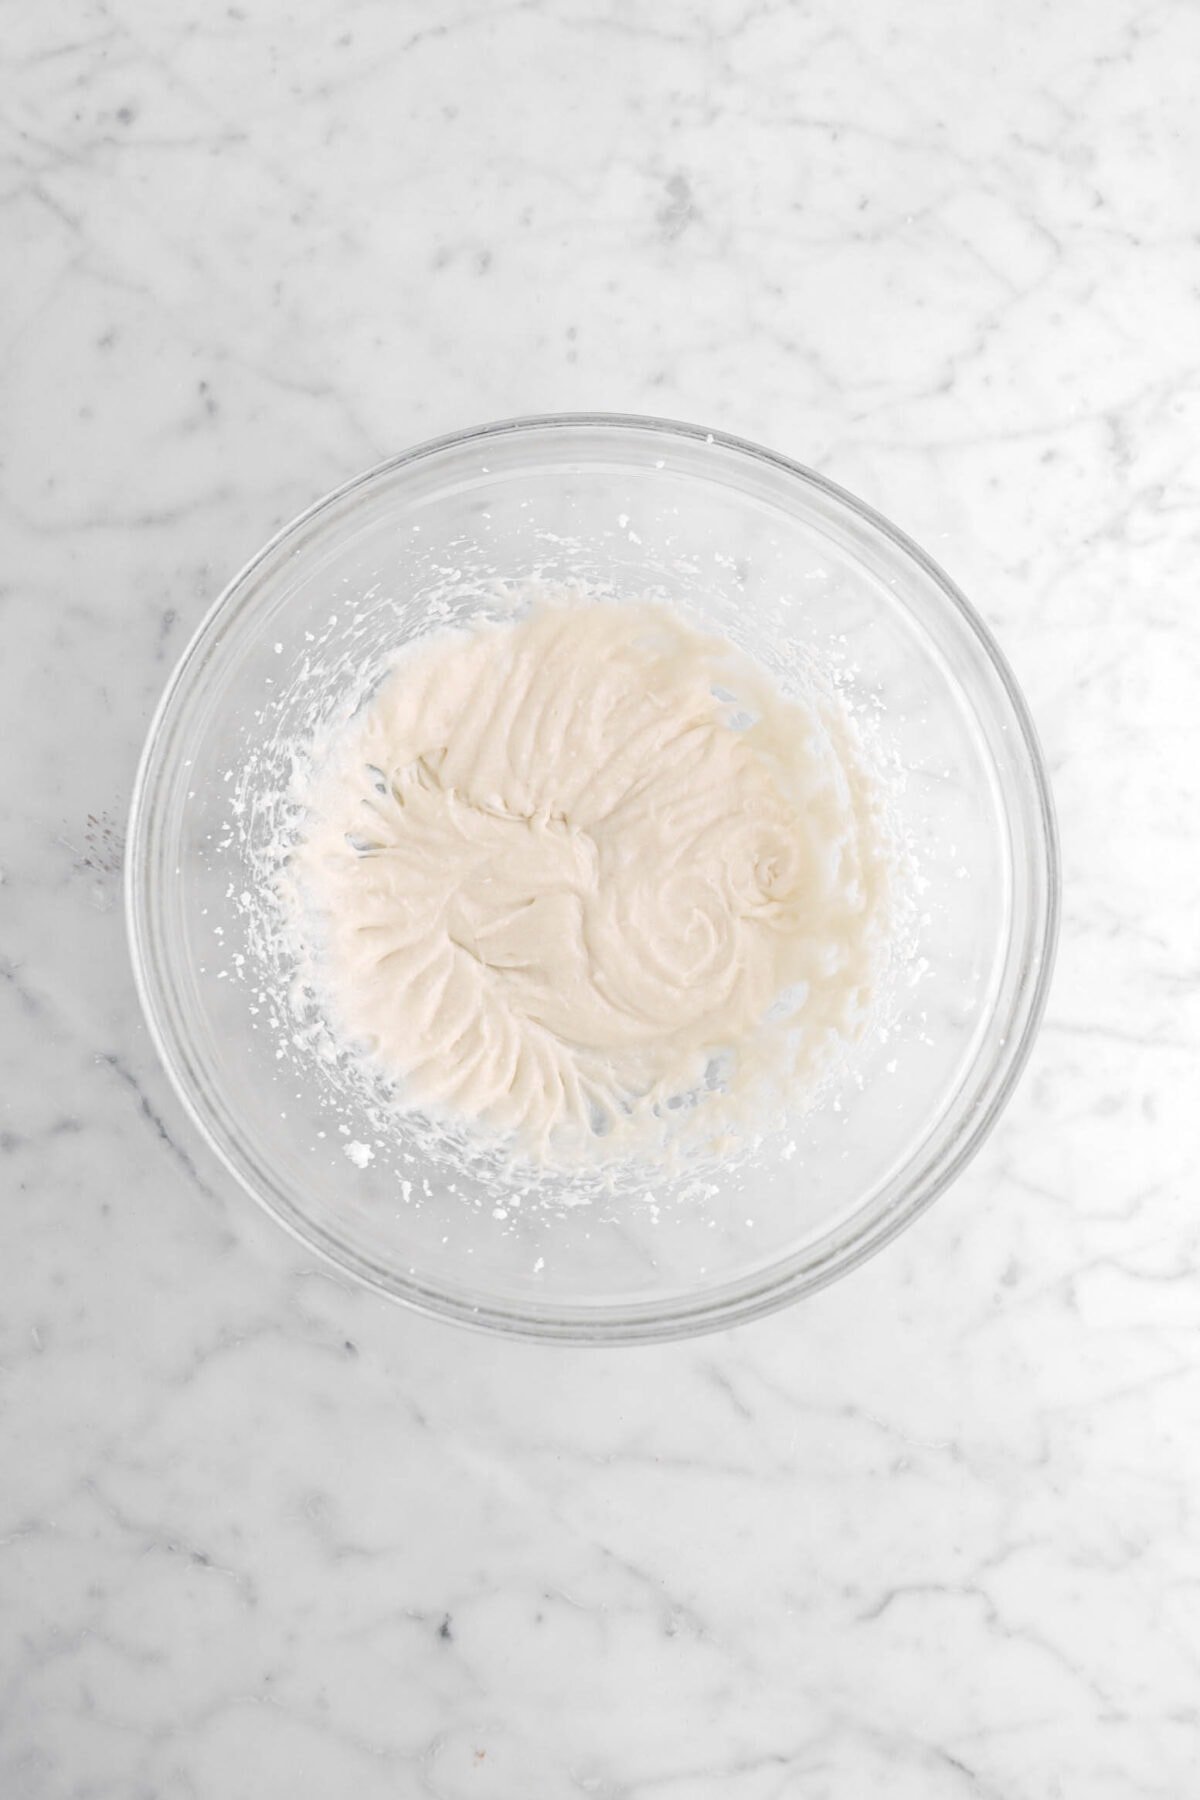
Combine all ingredients in a large bowl. Beat with an electric mixer until smooth.
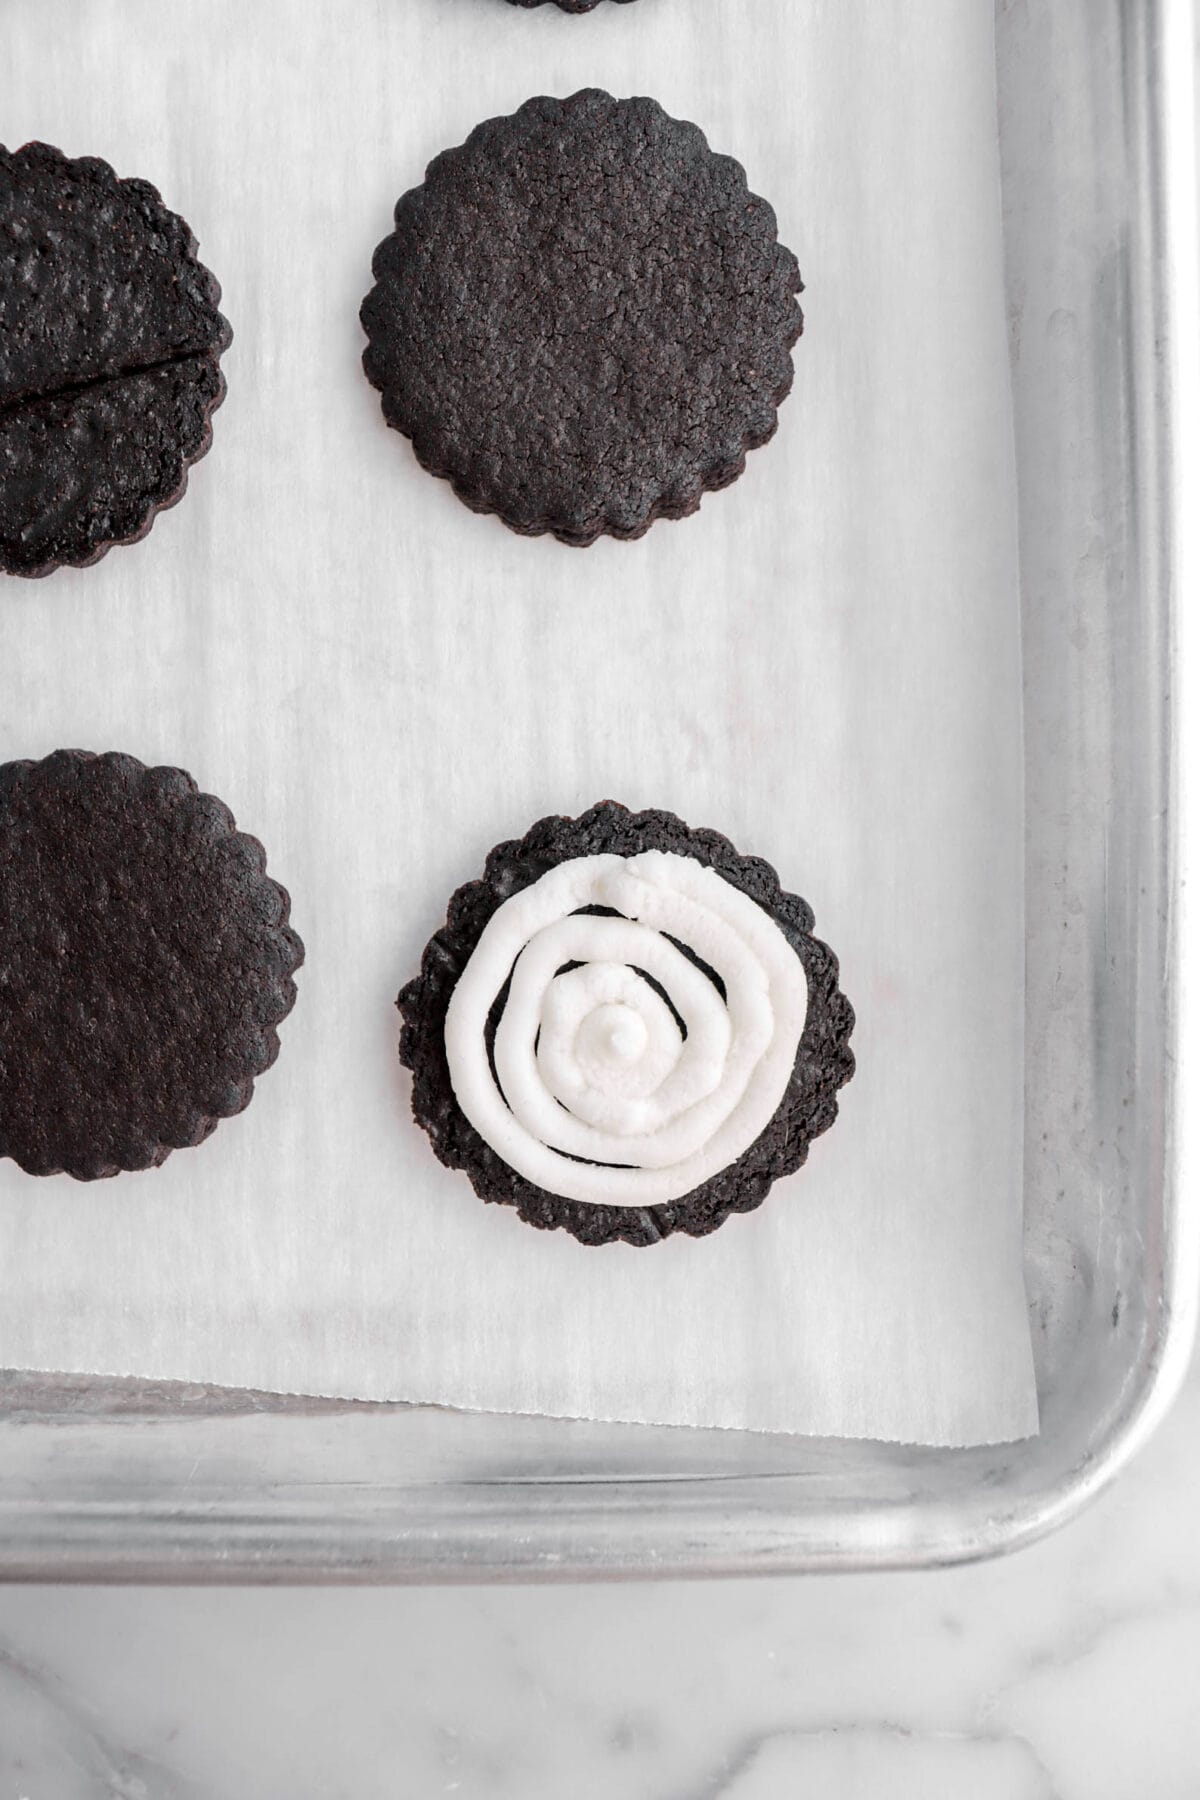
Spoon filling in decorating bag fitted with a #7 tip.

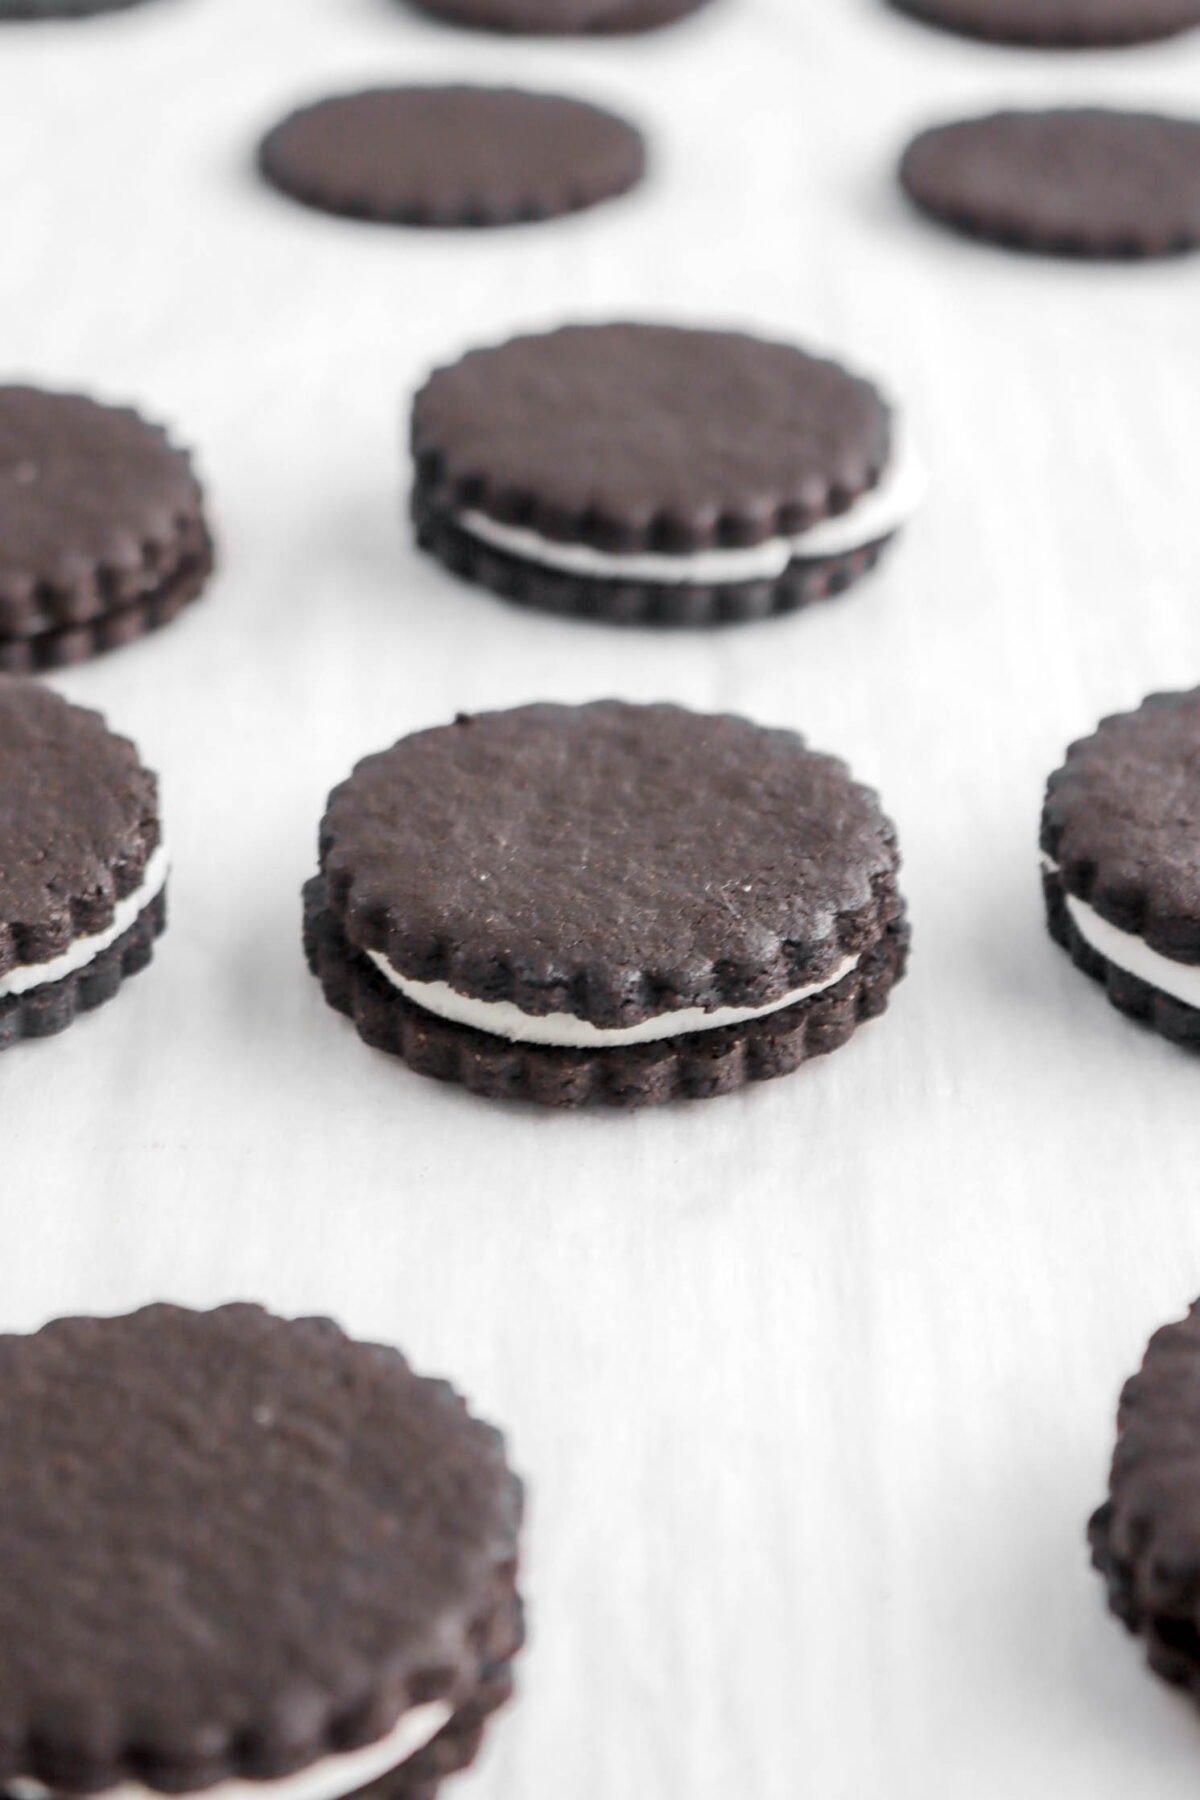
Step 5: Fill cookies
Turn half of the cookies over. Pipe filling on upside down cookies. Top with other half of cookies.
What To Make With Oreos
The great thing about these Oreos is that you can use them just like the ones you buy in the grocery store! Though, if you need some inspo, here are some of our favorite things to make with these cookies.
- Turtle Ice Cream Pie
- No-Bake Peanut Butter Pie
- Cookies and Cream Ice Cream
- Stirring them into a batch of Oreo Chocolate Chip Cookies!
- Making a milkshake with Vanilla Ice Cream.
- Use them to decorate cakes and cupcakes!
How To Store
Once these sandwich cookies are made, they can be stored in an airtight container and kept at room temperature for 3-5 days. They can also be kept in the fridge for up to 2 weeks!
You can also freeze these sandwich cookies for 3-4 months by placing them in a freezer safe zip-top bag or airtight container.

When you make these Homemade Oreo Cookies, leave a comment down below! We love hearing from you and answering any questions you might have! Also, be sure to tag us on social media and hashtag it #BakersTable.
Homemade Oreo Cookies
Ingredients
Cookies
- ¾ cup all purpose flour
- 3 Tablespoons black cocoa powder, sifted
- 2½ Tablespoons Dutch process cocoa powder, sifted
- ⅔ teaspoon baking powder
- 3/16 teaspoon salt
- ⅜ cup vegetable shortening
- ½ cup granulated sugar
- 1 large egg white
- 1⅛ teaspoons whole milk
- 1½ teaspoons vanilla extract
Filling
- ½ cup vegetable shortening
- 1½ cups powdered sugar, sifted
- 2½ teaspoons whole milk
- ½ teaspoon vanilla extract
Instructions
Cookies
- Heat oven to 325℉ (165℃).
- Line 2 sheet pans with parchment paper. Set aside.
- In a small bowl, sift together flour, cocoas, baking powder, and salt. Set aside.
- With an electric mixer, beat shortening and sugar until fluffy, about 1 minute.
- Add egg, milk, and vanilla.
- Beat until blended.
- Stir in flour mixture.
- Form dough into a smooth ball.
- Place dough between 2 sheets of parchment paper.
- Roll to 3/16 inch thick.
- Use a fluted cutter to cut out cookies.
- Gather and re-roll scraps until all dough is used.
- Place on prepared pans.
- Bake for 17 minutes.
- Allow to cool on pans.
Filling
- Combine all ingredients in a large bowl.
- Beat with an electric mixer until smooth.
Assembly
- Spoon filling in decorating bag fitted with a #7 tip.
- Turn half of the cookies over.
- Pipe filling on upside down cookies.
- Top with other half of cookies.
Notes + Tips!
- This recipe can be made vegan if your favorite non-dairy milk is used and aquafaba is used instead of an egg white!
- To make this recipe dairy-free, you can use your favorite unsweetened plant-based milk.
- You can make these cookies gluten free by using a measure for measure (also known as 1:1 or cup for cup) gluten free flour.
- When sifting the dry ingredients, make sure there are no lumps of cocoa powder.
- Be careful not to over-mix the cookie dough!
- Make sure the cookie dough is completely level when rolling out.
- The bake time may vary depending on how your oven bakes/how many pans you bake at a time. We recommend baking one pan at a time for best results.
- Make sure your cookies are completely cooled before filling.
- You can fill these cookies as much as you like! But depending on how much filling you use, you may need to make more filling.
Tools You May Need (affiliate links)
– Still Hungry? –
Here are a few recipes may like!


Dough kept sticking to parchment when rolling, I put in fridge for 30 mins to stiffen up. Still sticking & pulling up when separating parchment to use cookie cutter. Recipe called for 2/3 tea & 3/16 tea- I’ve never seen these measurements in any recipe, had to Google. Got 10 cookies from this recipe. Smell good & raw dough taste like oreos. But dough way too sticky.
Oh my gosh! These are absolutely wonderful! I’ve made them twice now and sent some back to college with our oldest son. He saw my original post from
the first batch on IG and inquired how many I had made—code for “are there any left for me?!” 😂
I was curious if you have ever tried using unsalted butter instead of shortening, and what impact, if any, it has on texture .
I made the dough it was so soft I could not roll it. I put it in refrigerator but with no success. I have been over and over this recipe to see if I missed something. What went wrong ?
Hi Deborah! Sorry the dough gave you trouble. The most common causes are an incorrect measurement or an ingredient swap. The temperature of your kitchen can also affect the dough. You can try adding a little flour and a little cocoa powder. You can also dust your parchment paper with cocoa powder. Let me know if you have any other questions.