Sourdough Bagels
This post may contain affiliate links, please visit our privacy policy for details.
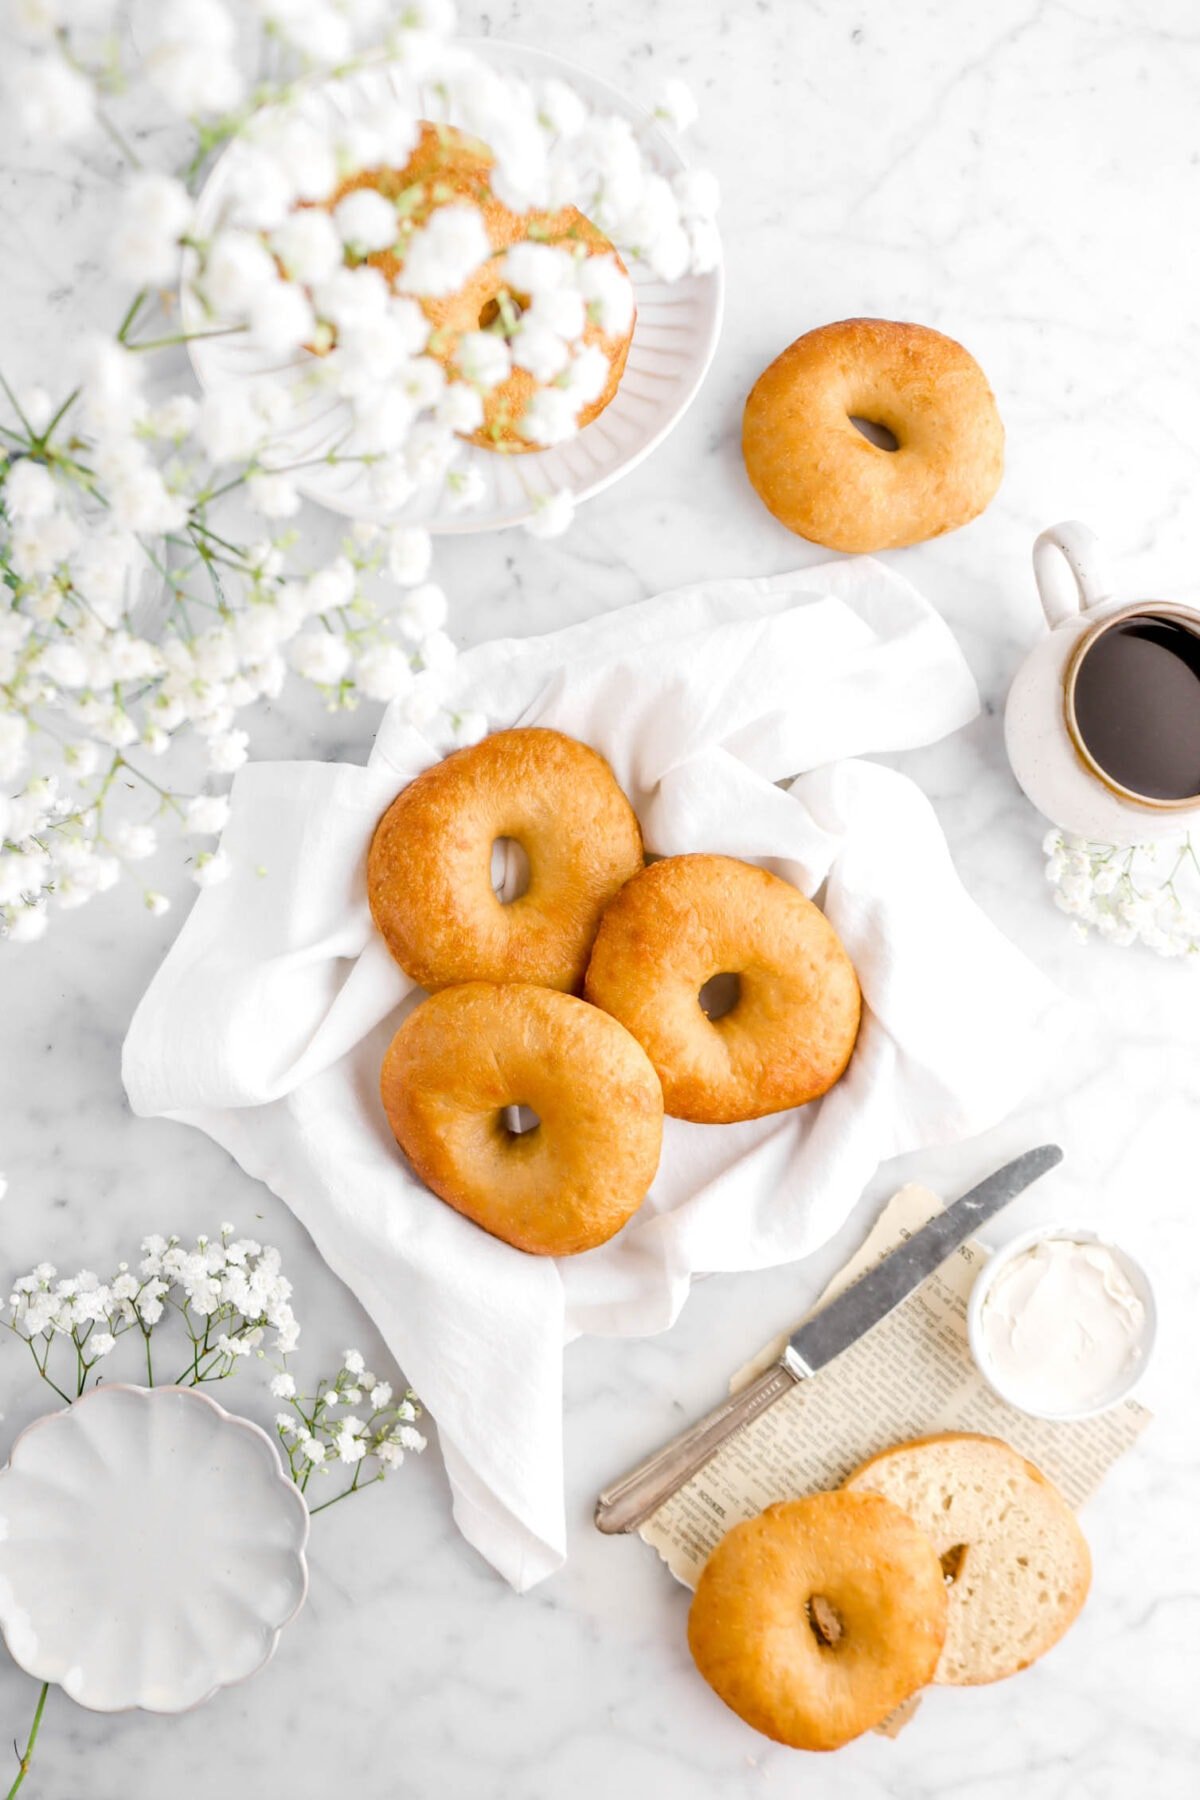
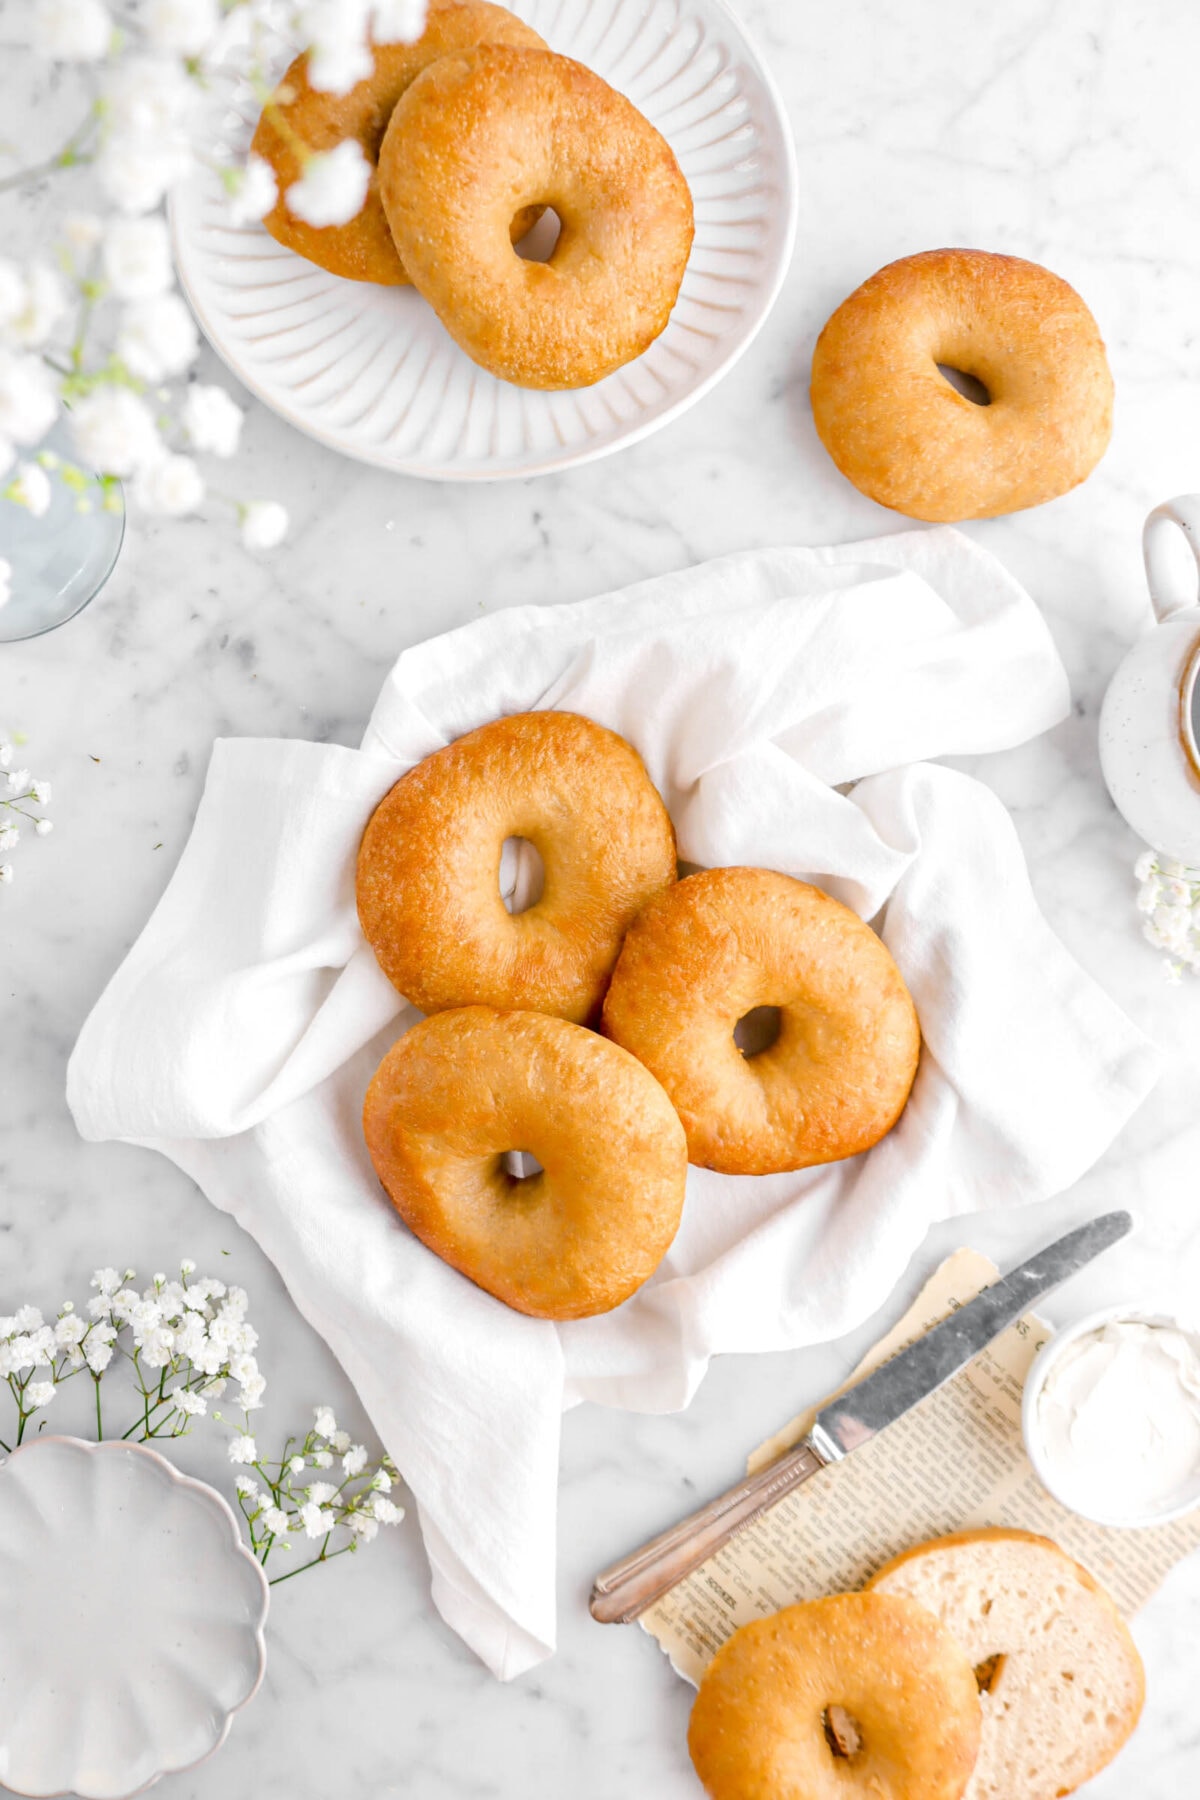
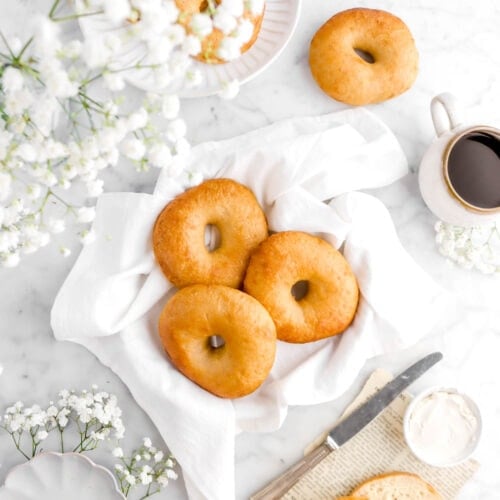
These delicious and easy homemade Sourdough Bagels are so much better than anything yo can buy at the grocery store! Think your favorite plain bagel, but with the addition of sourdough to REALLY give it some wonderful flavor. These bagels are extra soft and chewy, just like a good bagel should be. Serve with cream cheese, peanut butter, use for sandwiches, or keep it simple with a generous smear of salted butter. Honestly, with a bagel THIS good, the options are limitless! So. GOOD.
About The Recipe
When it comes to getting a good start in the mornings, the most important thing is a delicious (and nutritious) breakfast. Though, sometimes getting up and actually making a good breakfast feels like a bit of a daunting task…but with these Sourdough Bagels, that feeling is GONE!
Bonus? These bagels are actually fairly simple to make and taste amazing.


Honestly, these bagels are the perfect make-ahead breakfast for anytime of year. Mix them up, let it proof, shape, boil, and bake. That simple. Then, once they’re done (and cooled), you can pre-slice them and put them in the freezer!
From there, if you have a busy morning, you can make just about ANYTHING. Sandwiches, avocado toast, or even toss a salad inside and start your day! The options are limitless. Especially with these.
I mean, everything goes with sourdough. Sweet, savory, somewhere in-between. So, they’re also the perfect breakfast/lunch/snack for the whole family!
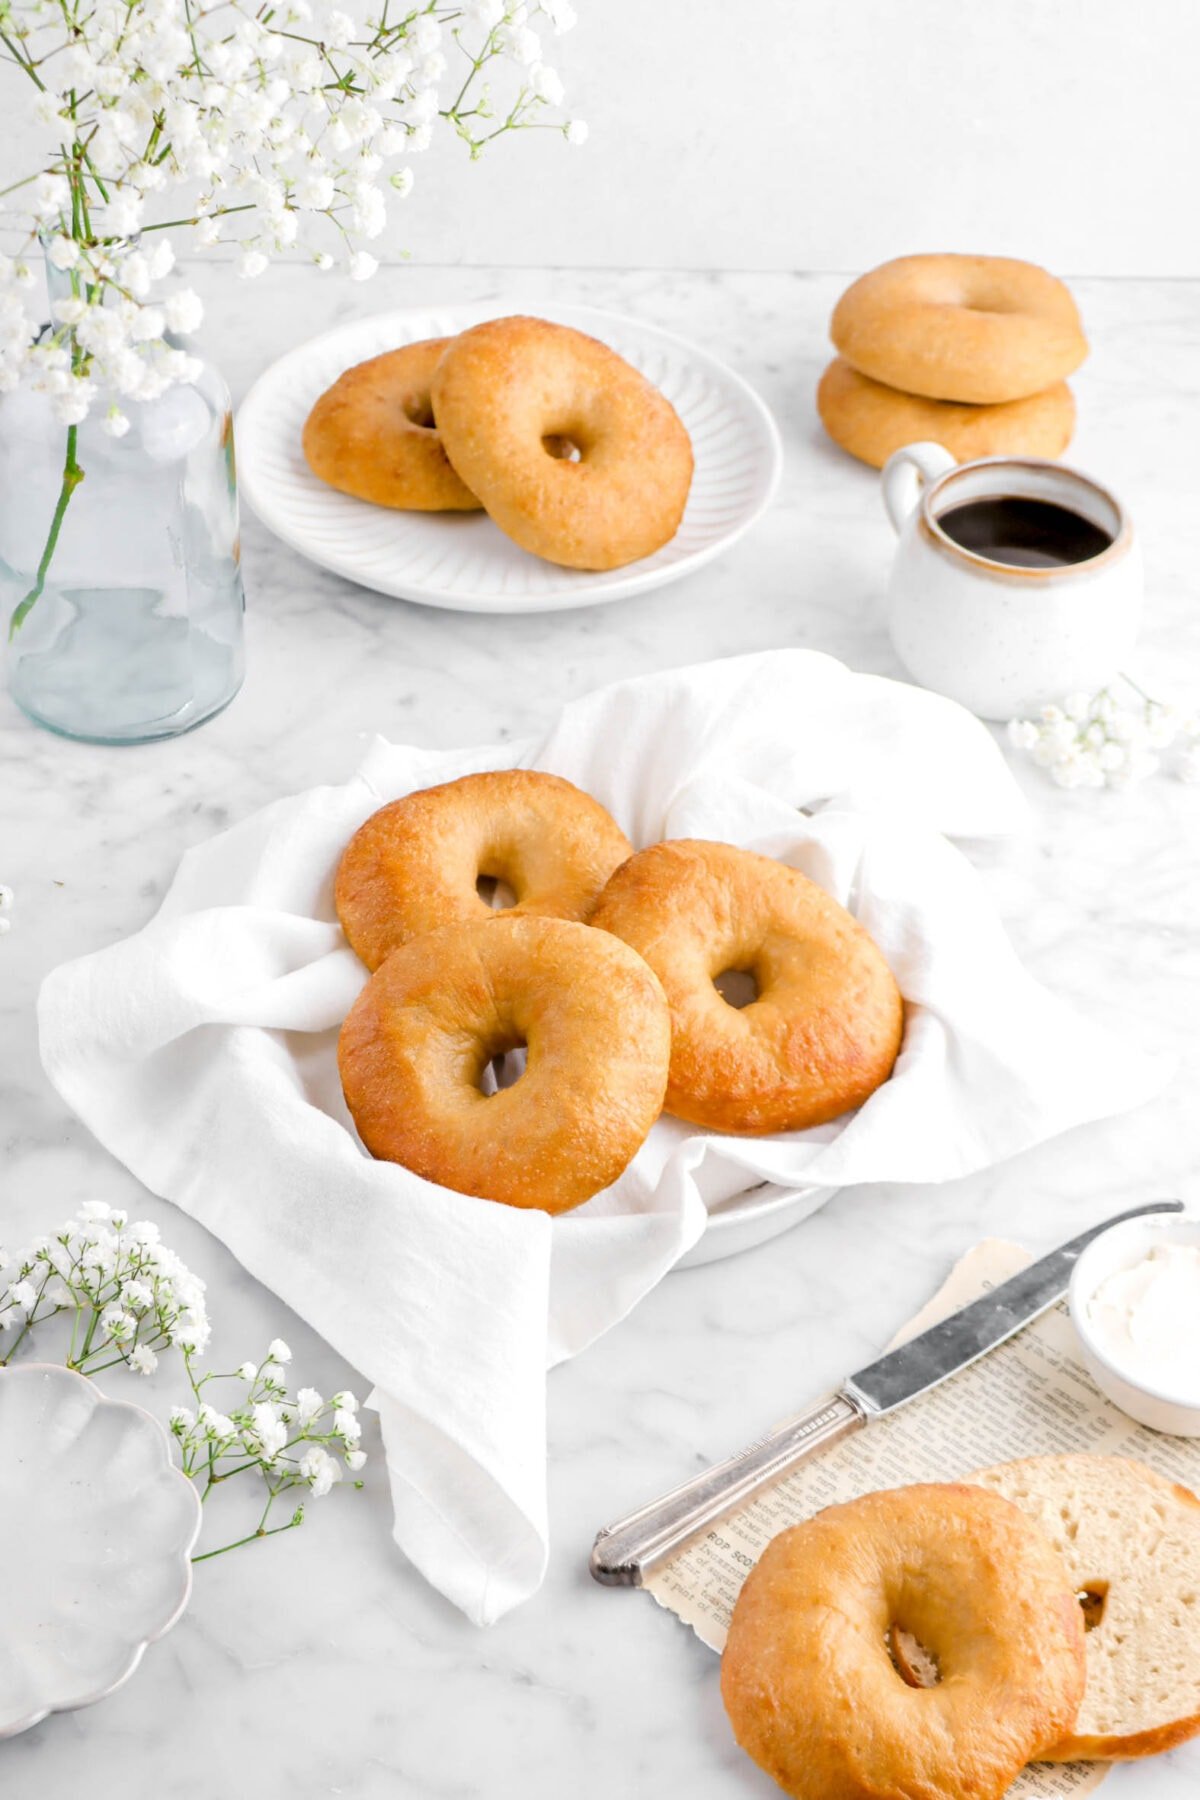
We eat them differently pretty much every day, which works really well because then we don’t have to think about it. Though, I will admit, these bagels are just SO. GOOD. They really don’t need anything. There’s really nothing better than a warm, toasted bagel with a smear of salted butter to really bring out those amazing sourdough flavors.
The best part? These bagels are great for busy people to make on the weekends or for people who just want to take things slow and enjoy!
Reasons You Will Love These Sourdough Bagels
- Only FIVE ingredients!
- No commercial yeast is needed.
- Super simple to make.
- No overnight proofs. Ready in 5 hours or LESS!
- Can be made with savory OR sweet toppings.
- Perfectly chewy crust!
- Naturally vegan.
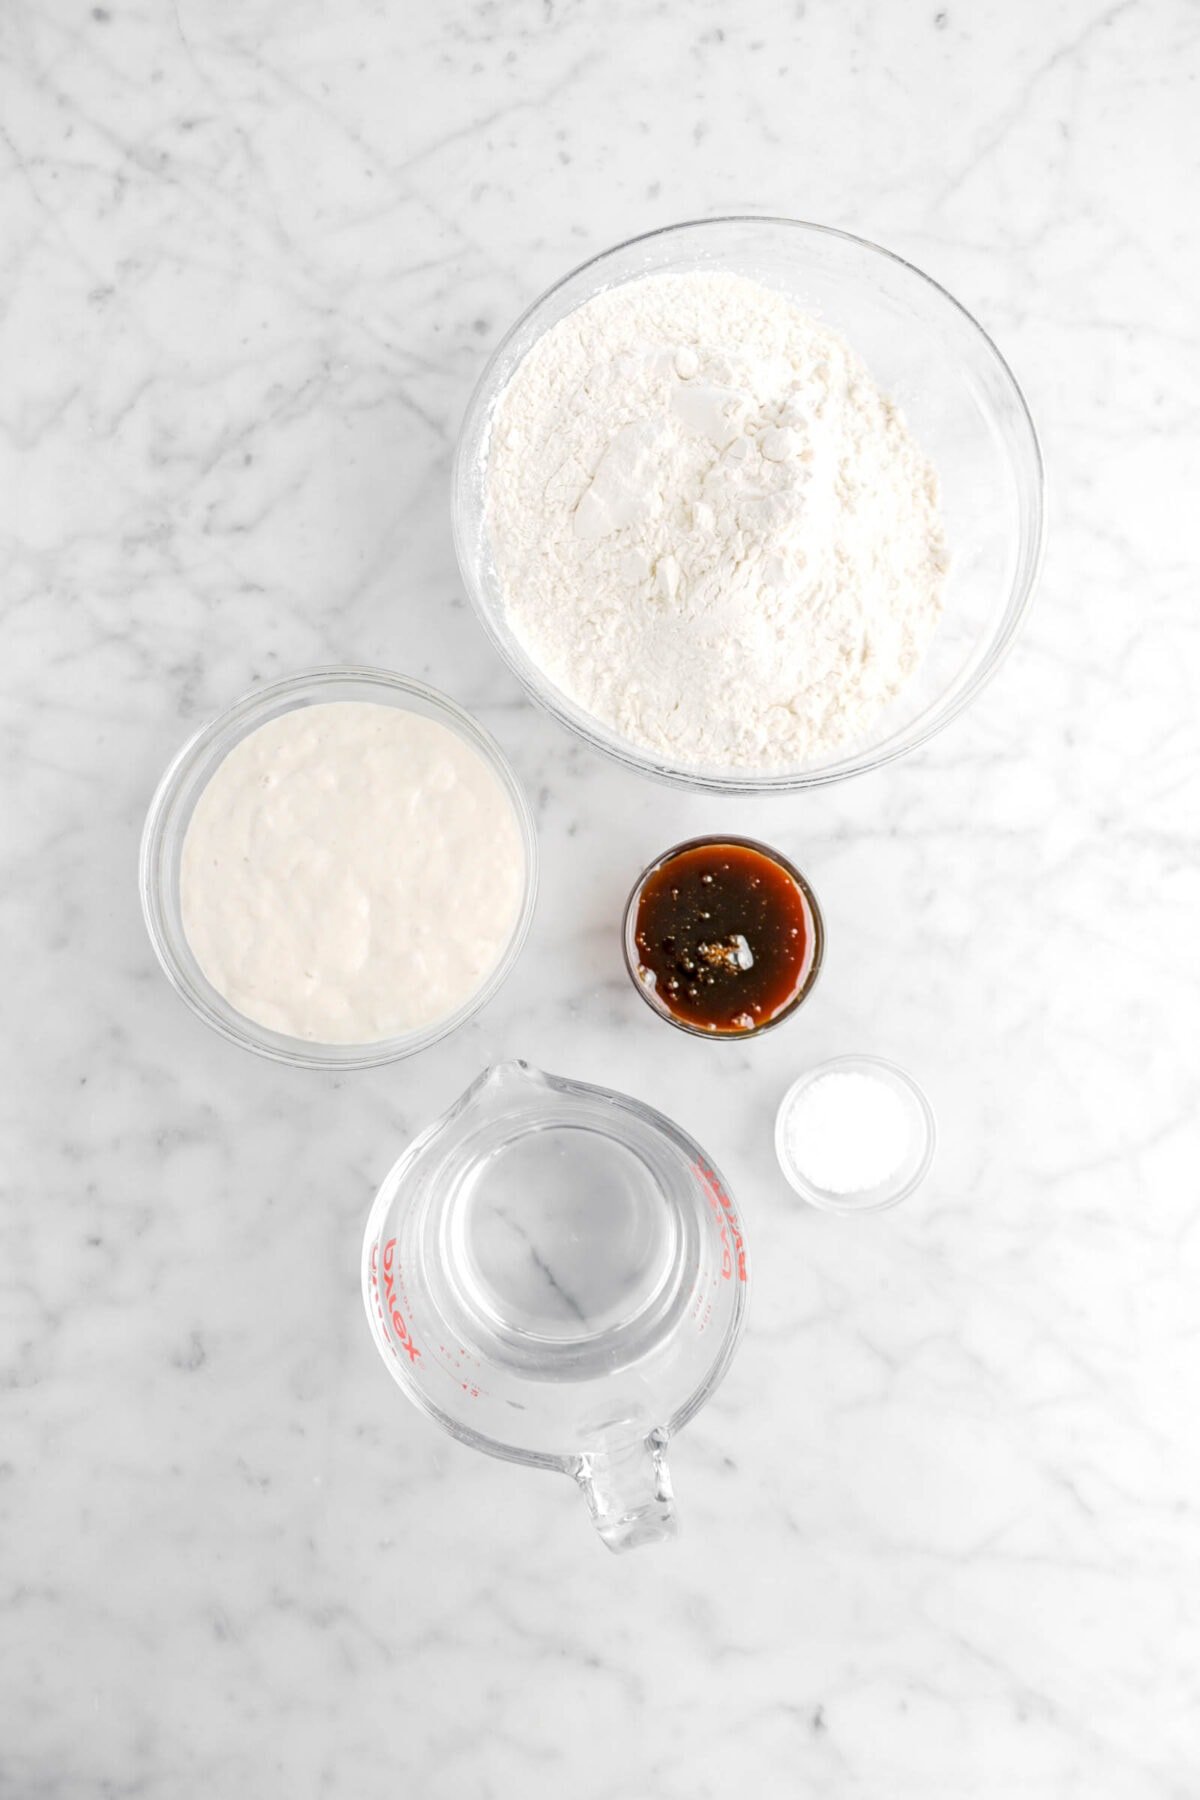
Ingredients
(Full ingredient amounts and instructions can be found in the recipe card at the bottom of the post)
- Sourdough Starter
- Water
- Barley Malt Syrup
- Bread Flour
- Kosher Salt
How To Make Sourdough Bagels
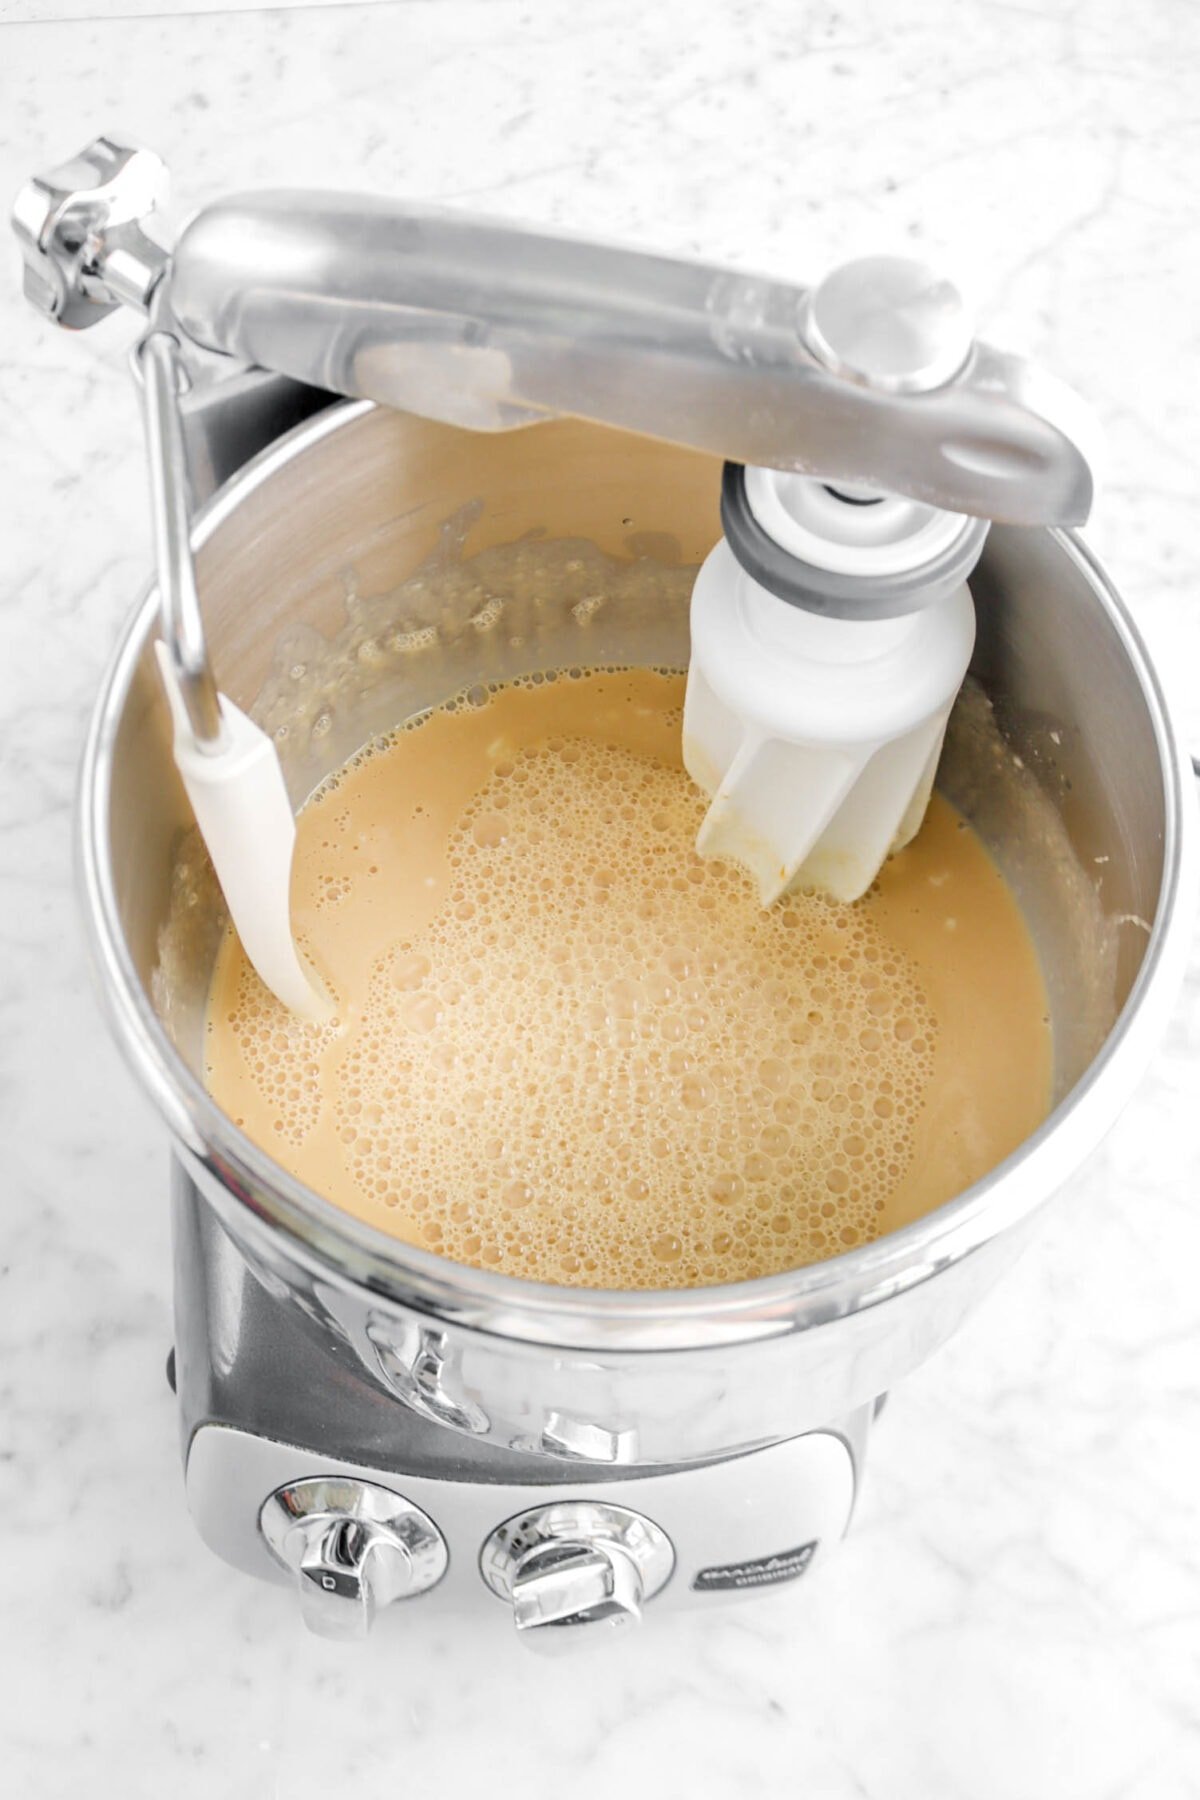
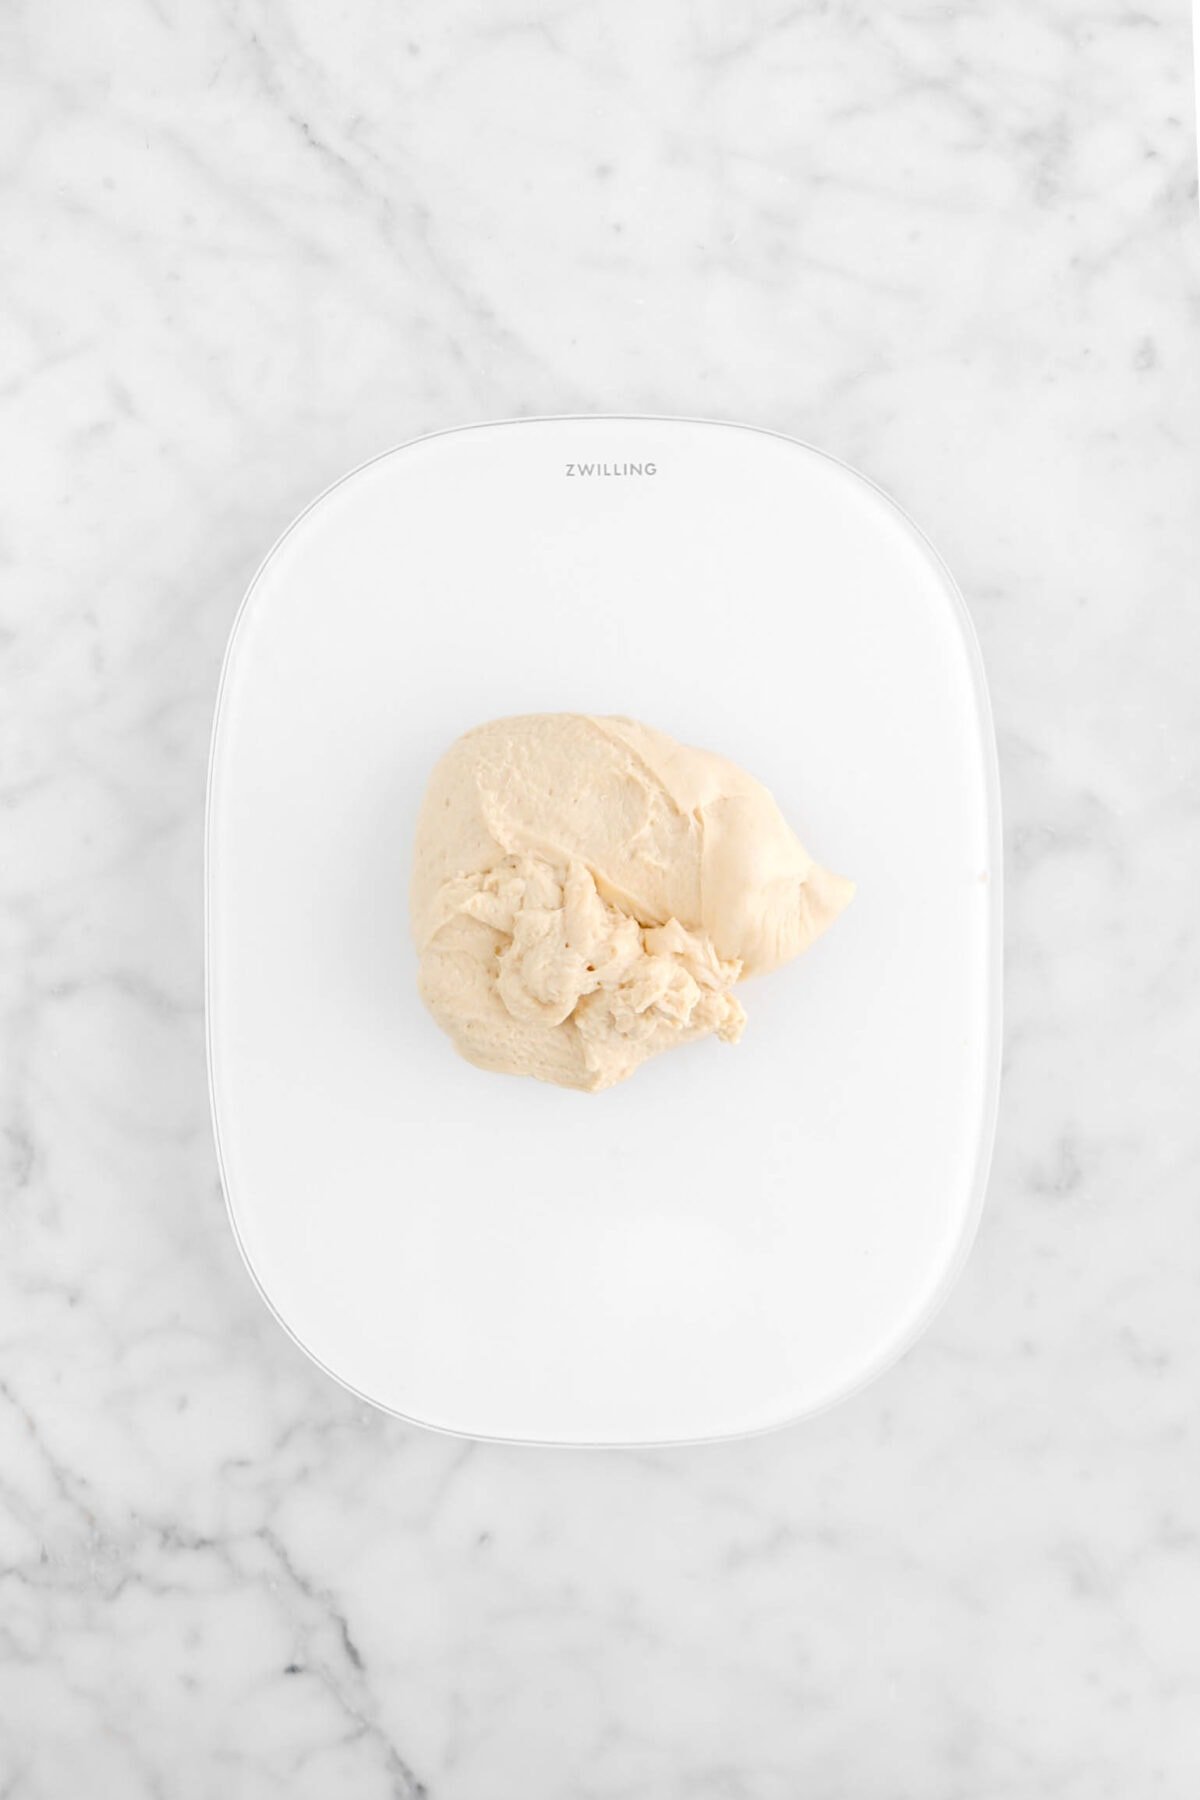
Step 1: Make the dough
In the bowl of a stand mixer, combine starter and water. Mix until smooth.


Add the barley malt and mix until combined.

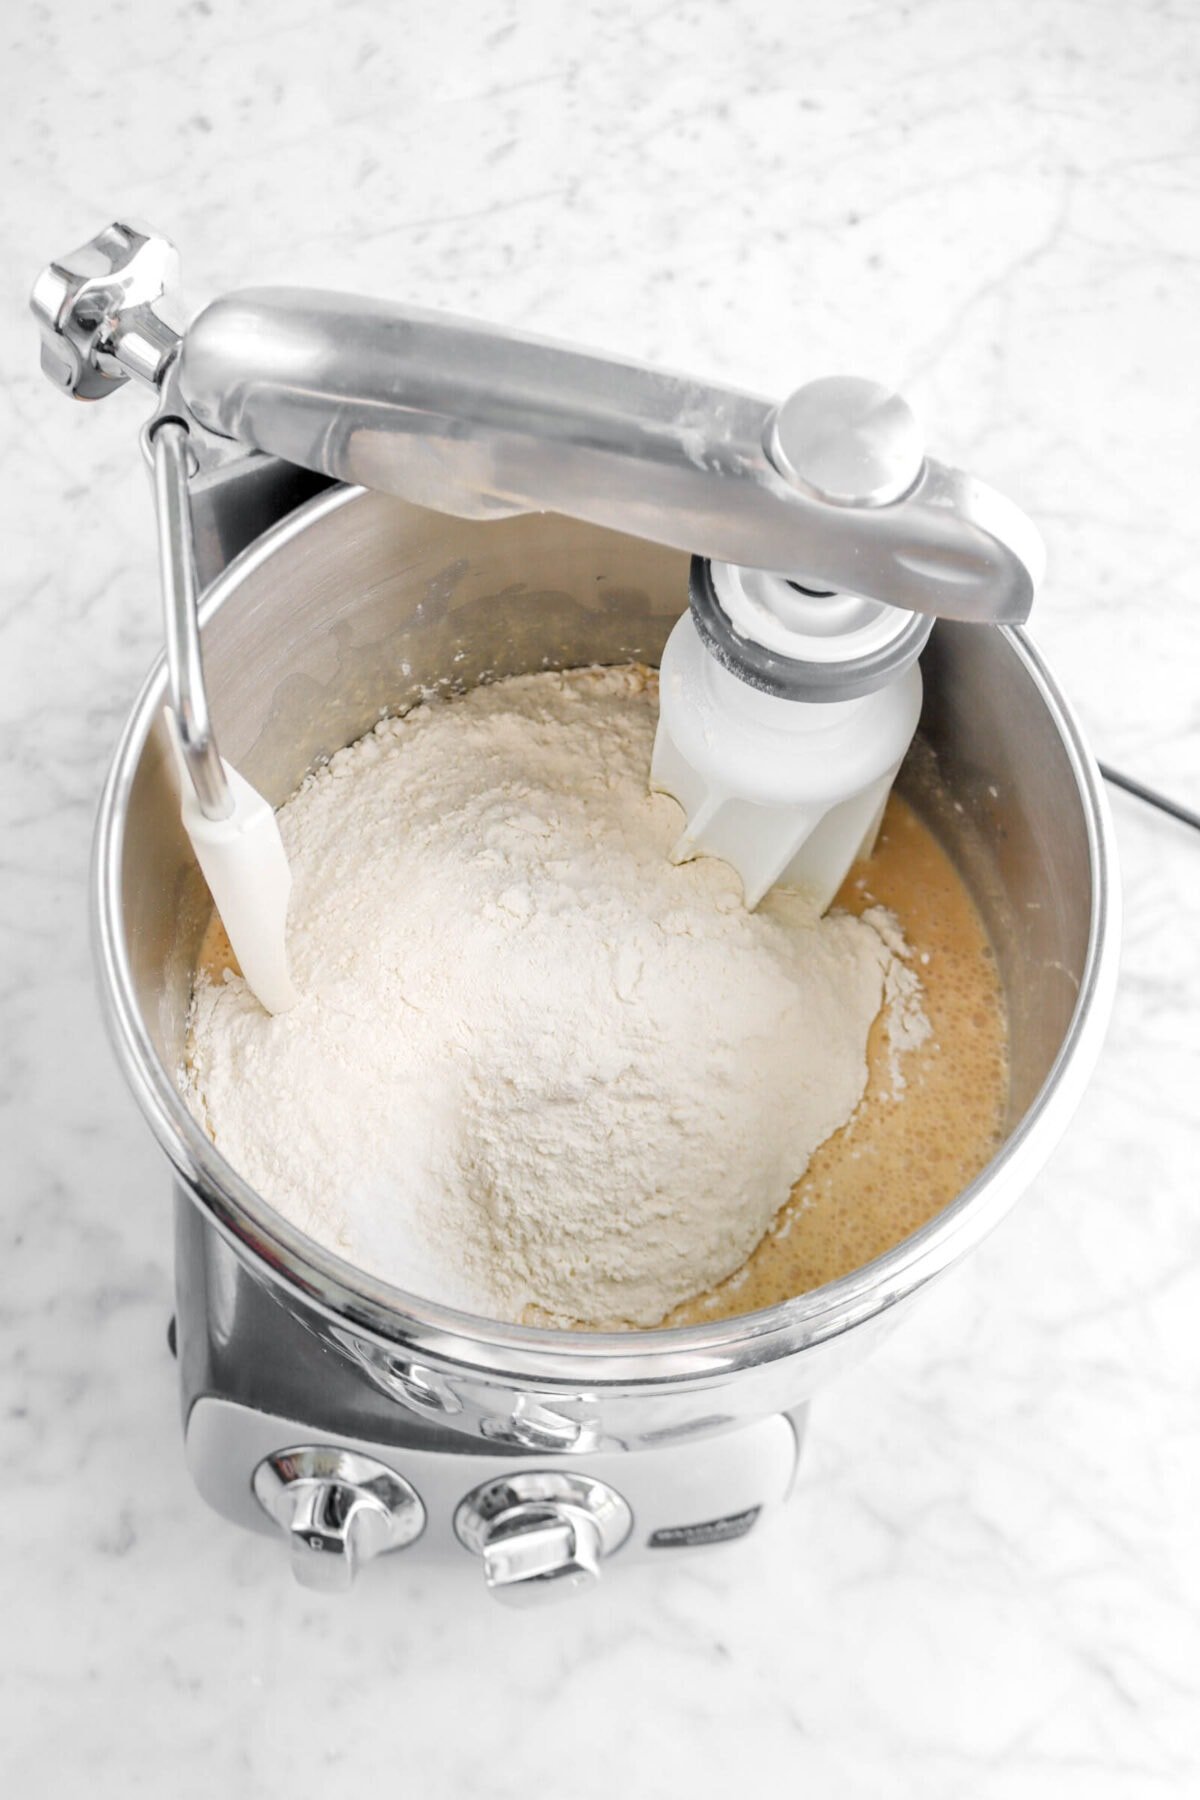
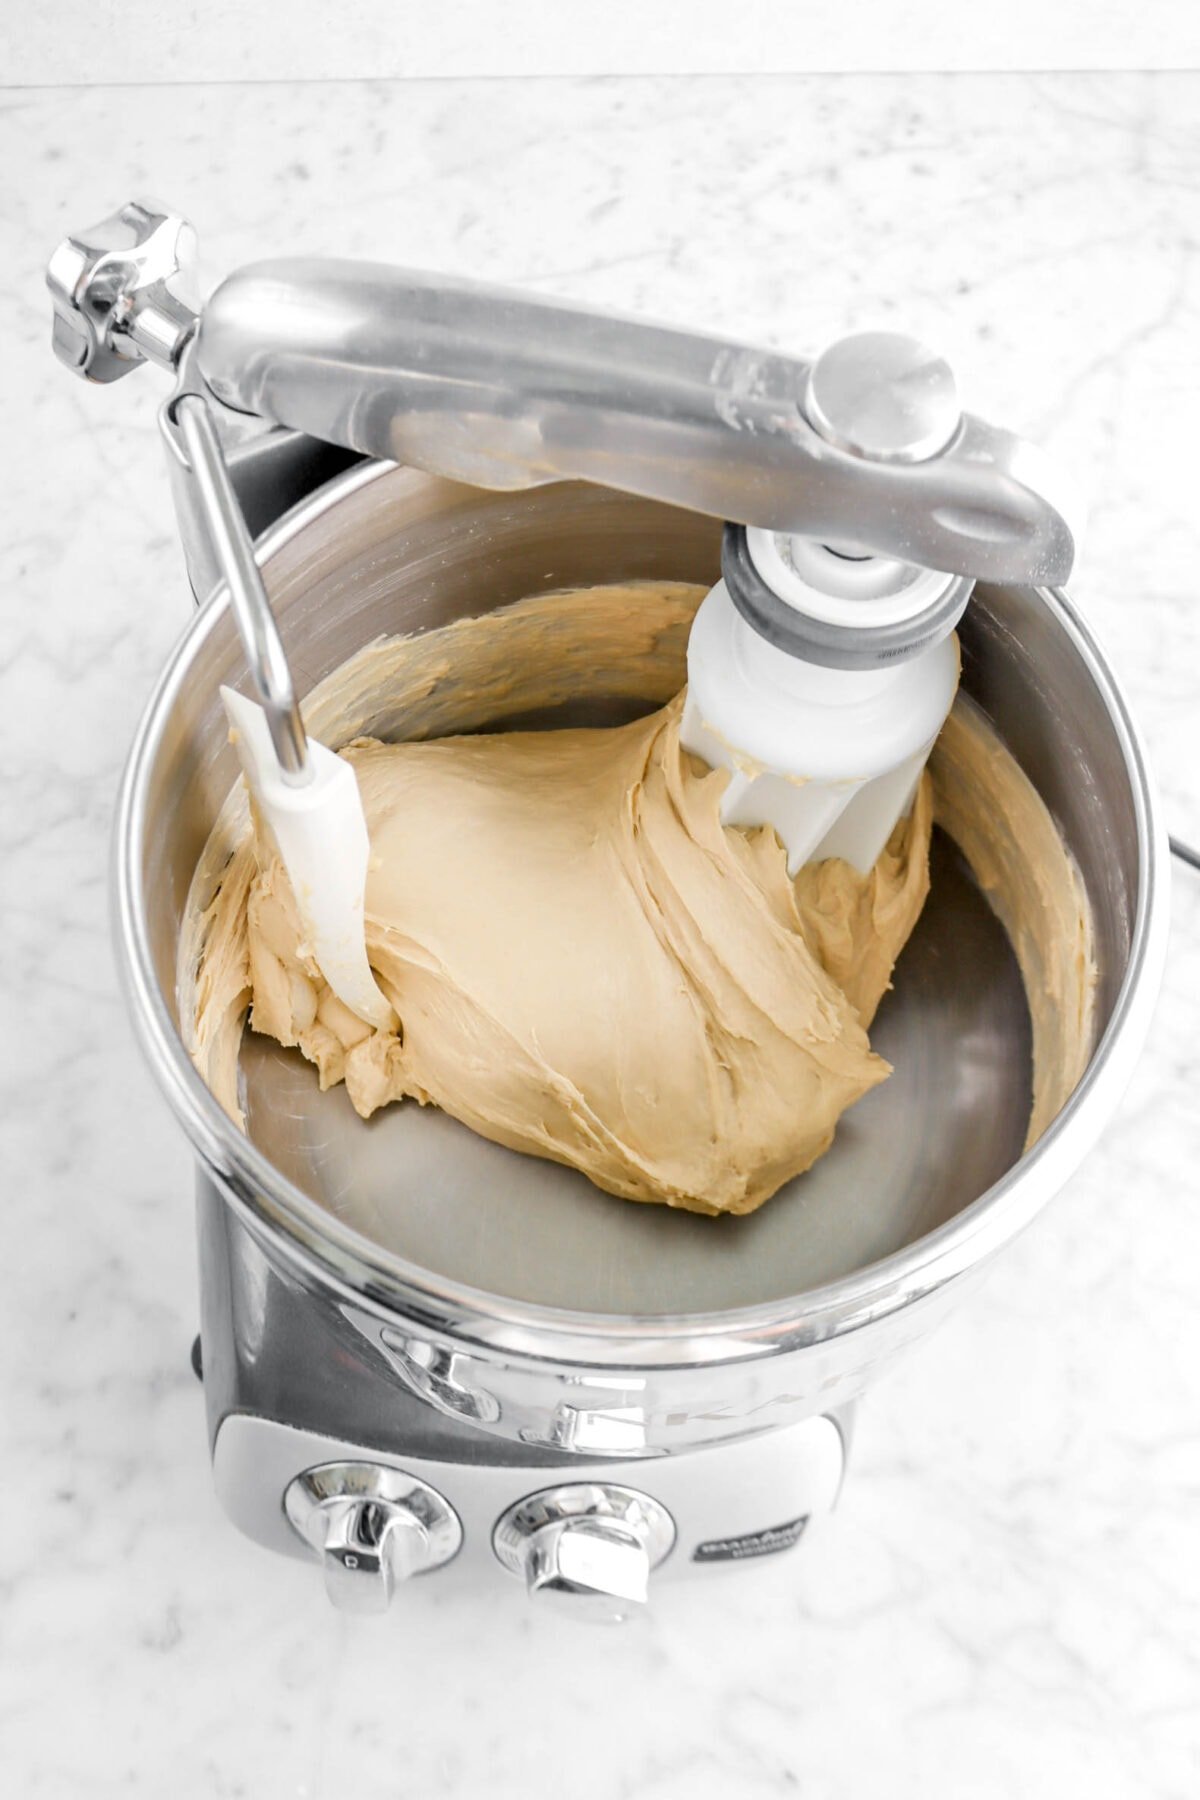
Add the flour and salt. Mix on low speed until ingredients are combined, about 1 minute. Increase the speed to medium and knead until dough is smooth, about 8 minutes.
Step 2: Let proof
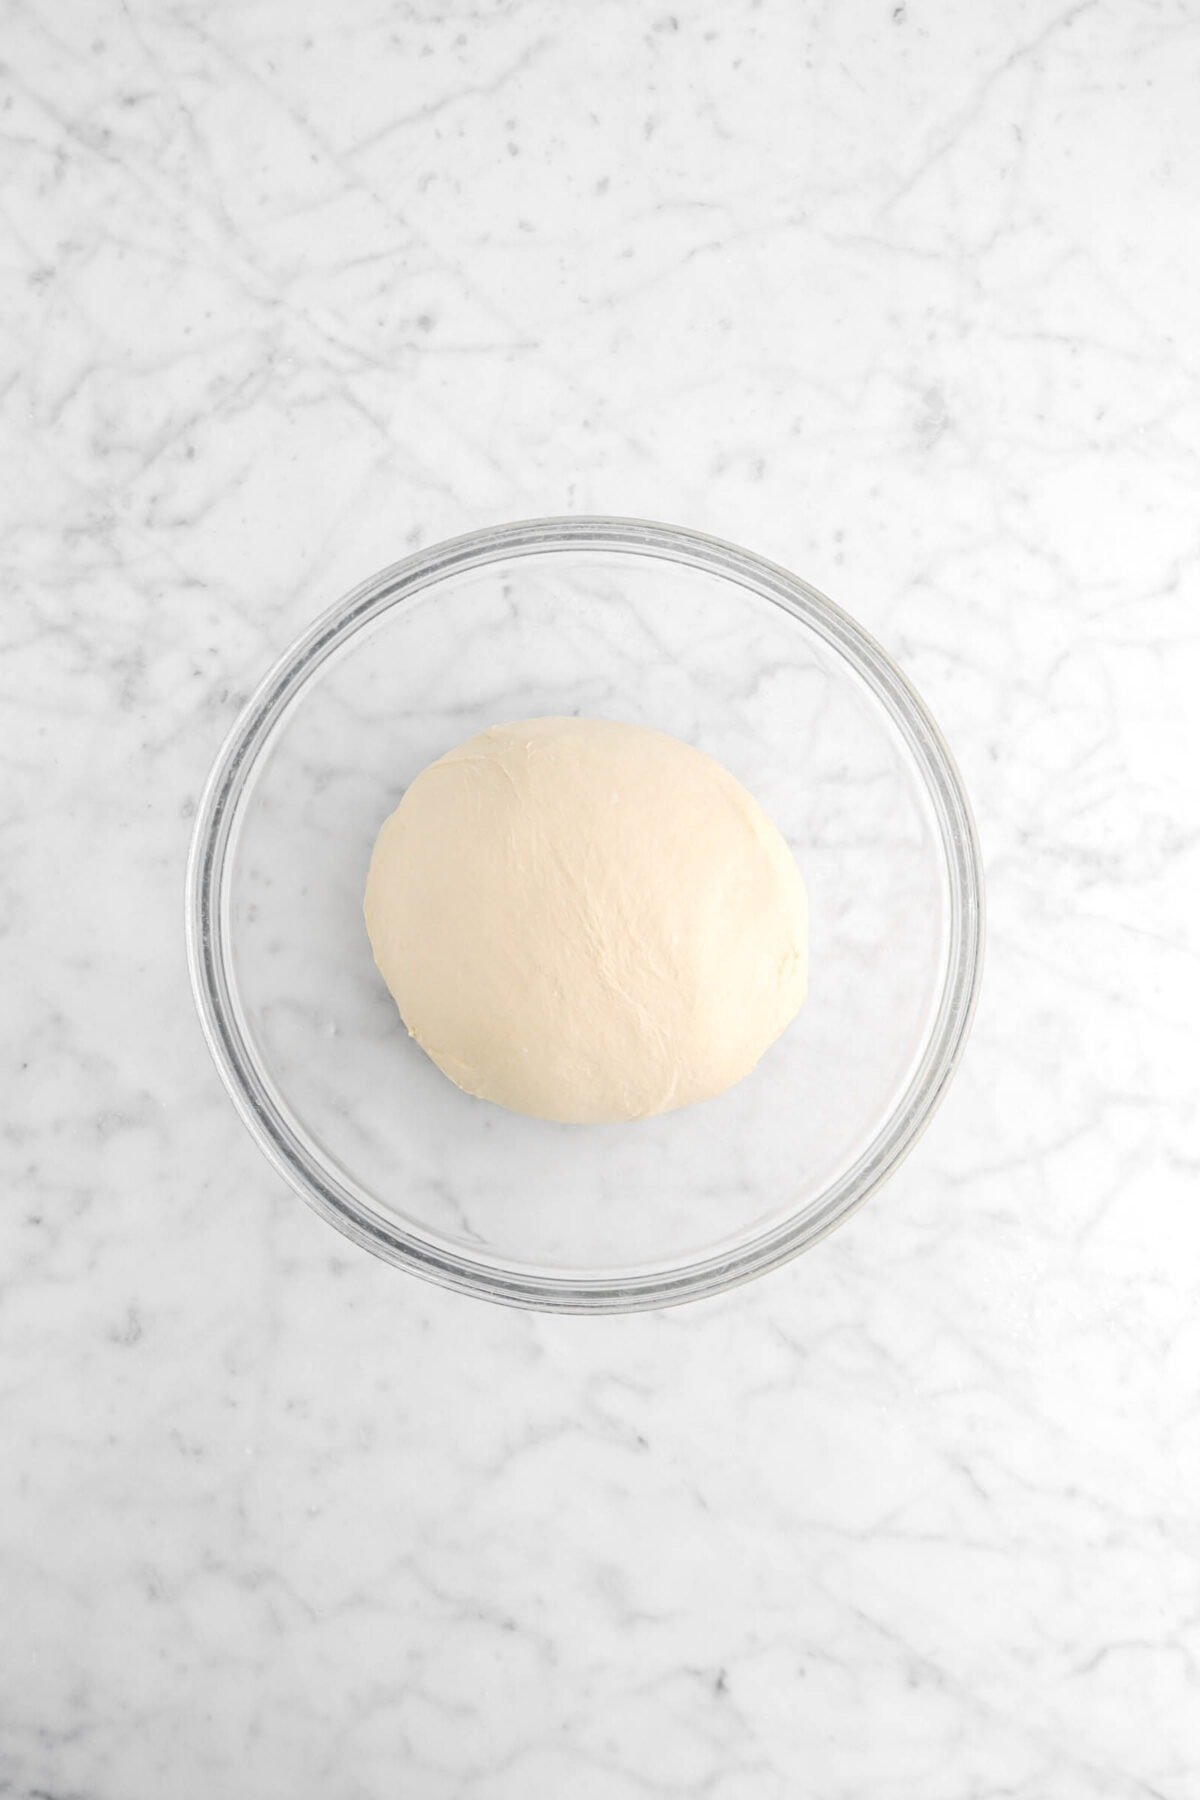
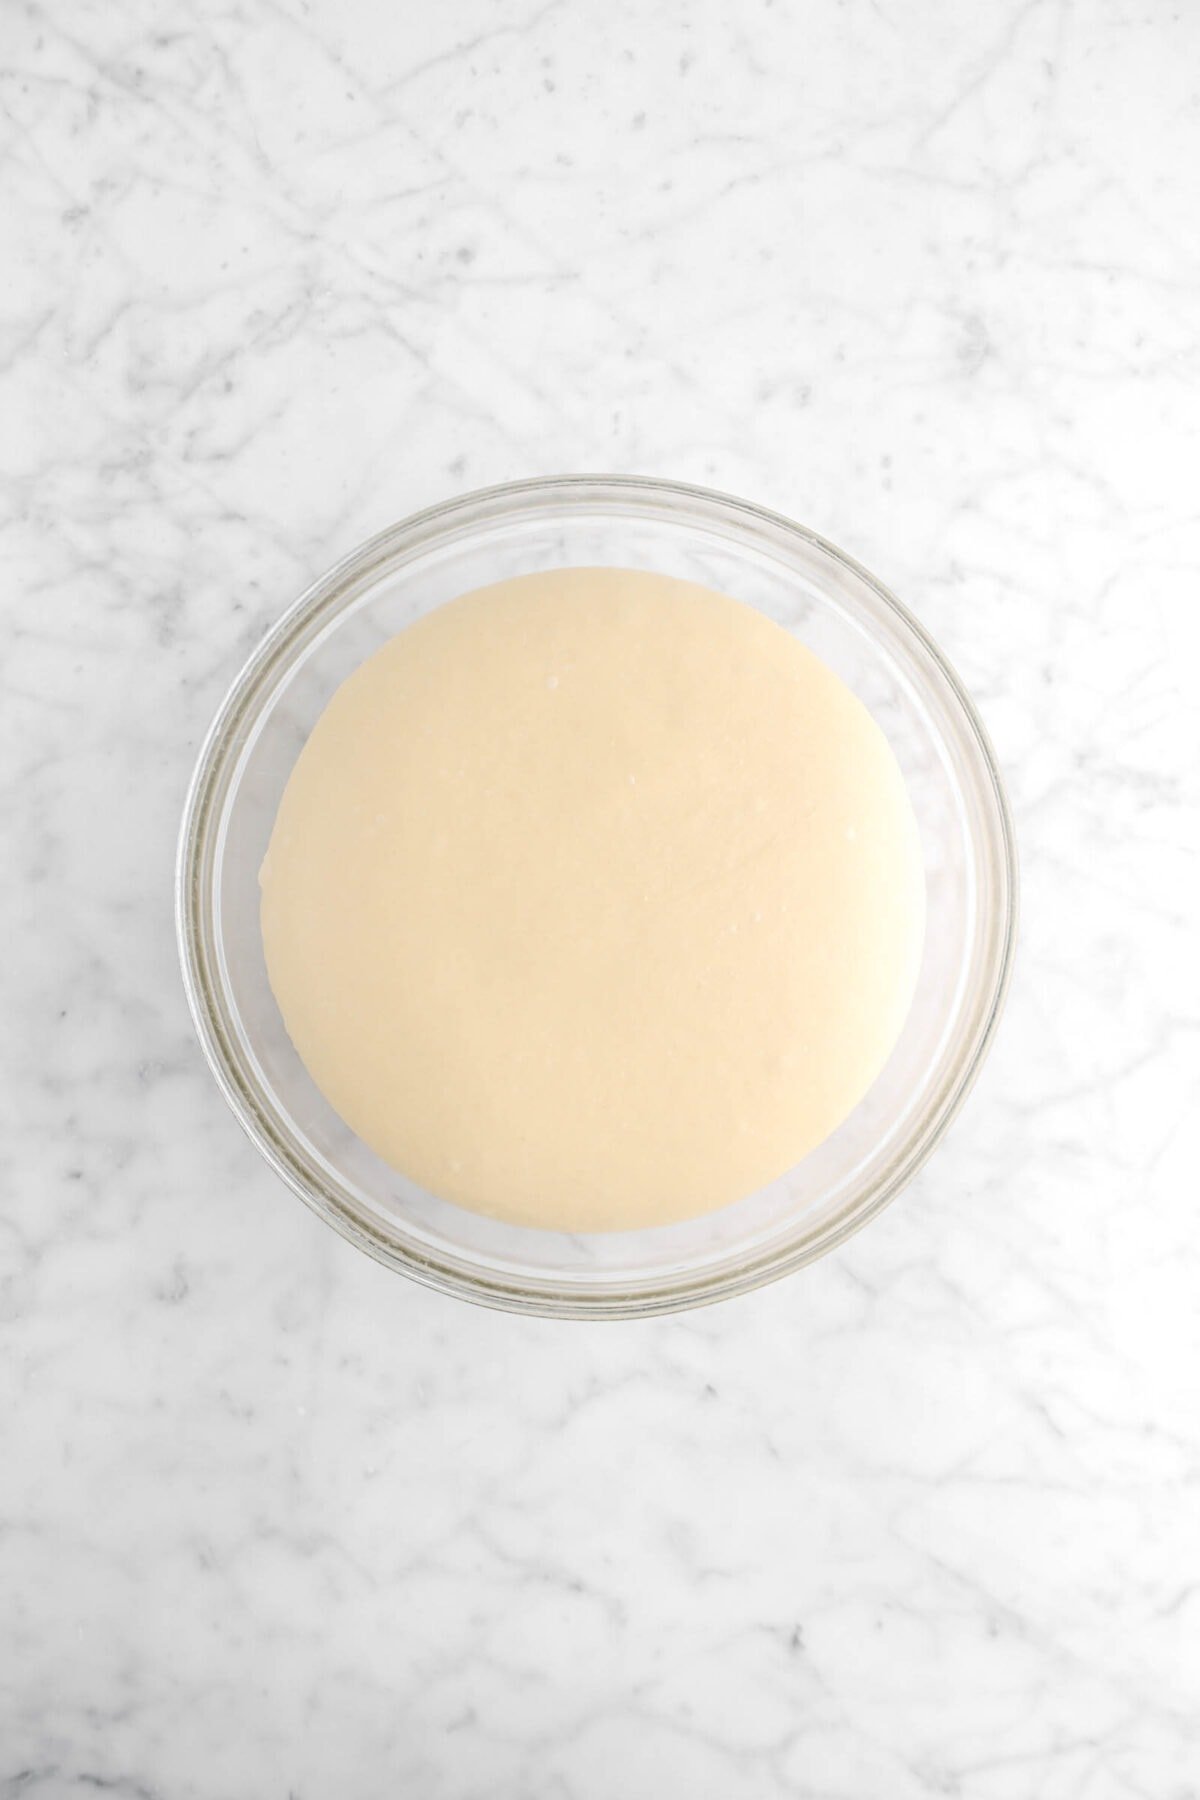
Turn dough into a clean bowl. Proof at warm room temperature until increased by 25%, about 2 hours.
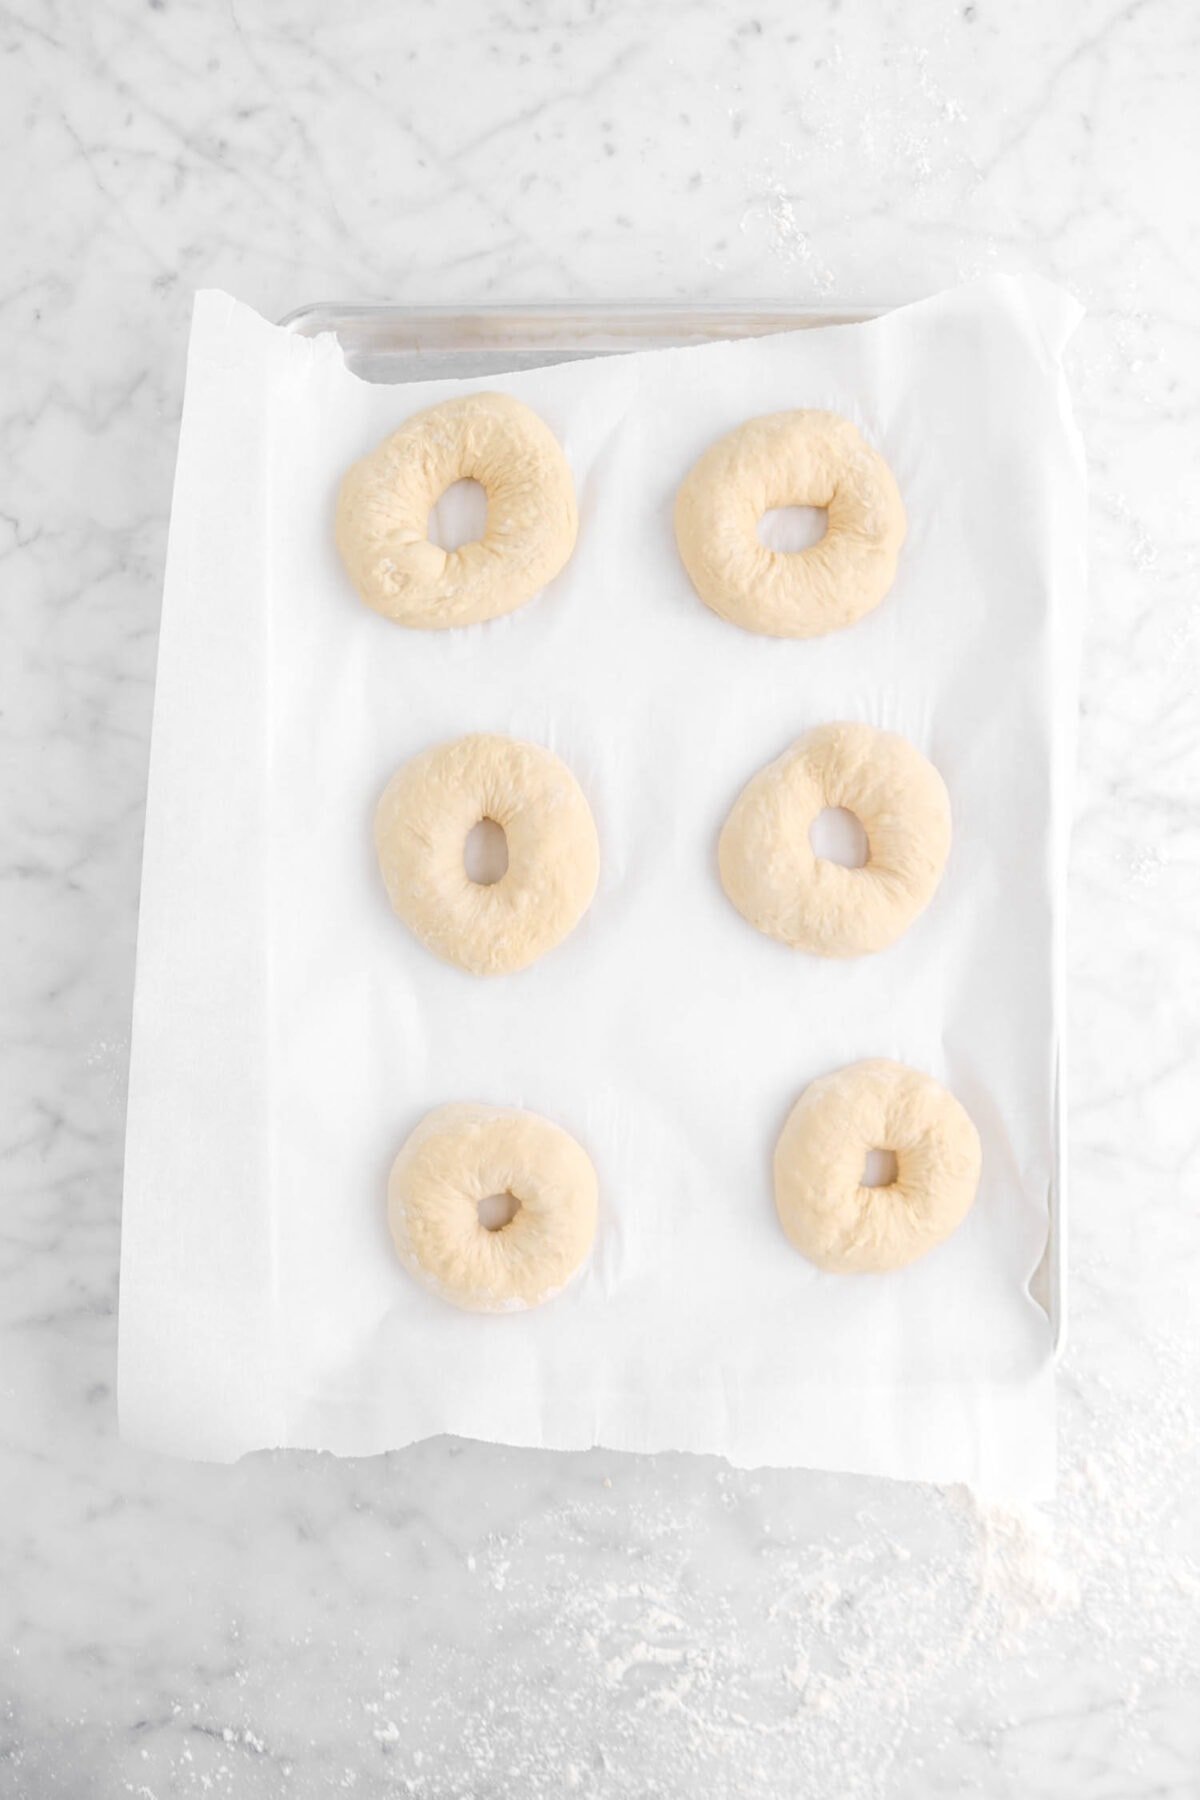
Step 3: Divide and shape
Turn dough out onto un-floured surface and divide into 4 ounce pieces. Roll each piece of dough into a ball. Cover and let rest 5 minutes.

Beginning with the first piece of dough you formed into a ball, use a floured thumb to push through the center of the dough ball. Insert other thumb and work around. As the center circle increases, use your index fingers to twirl it around until you have a large (3 inch) center hole. Place on prepared sheet pan – 6 on one, 5 on the other.
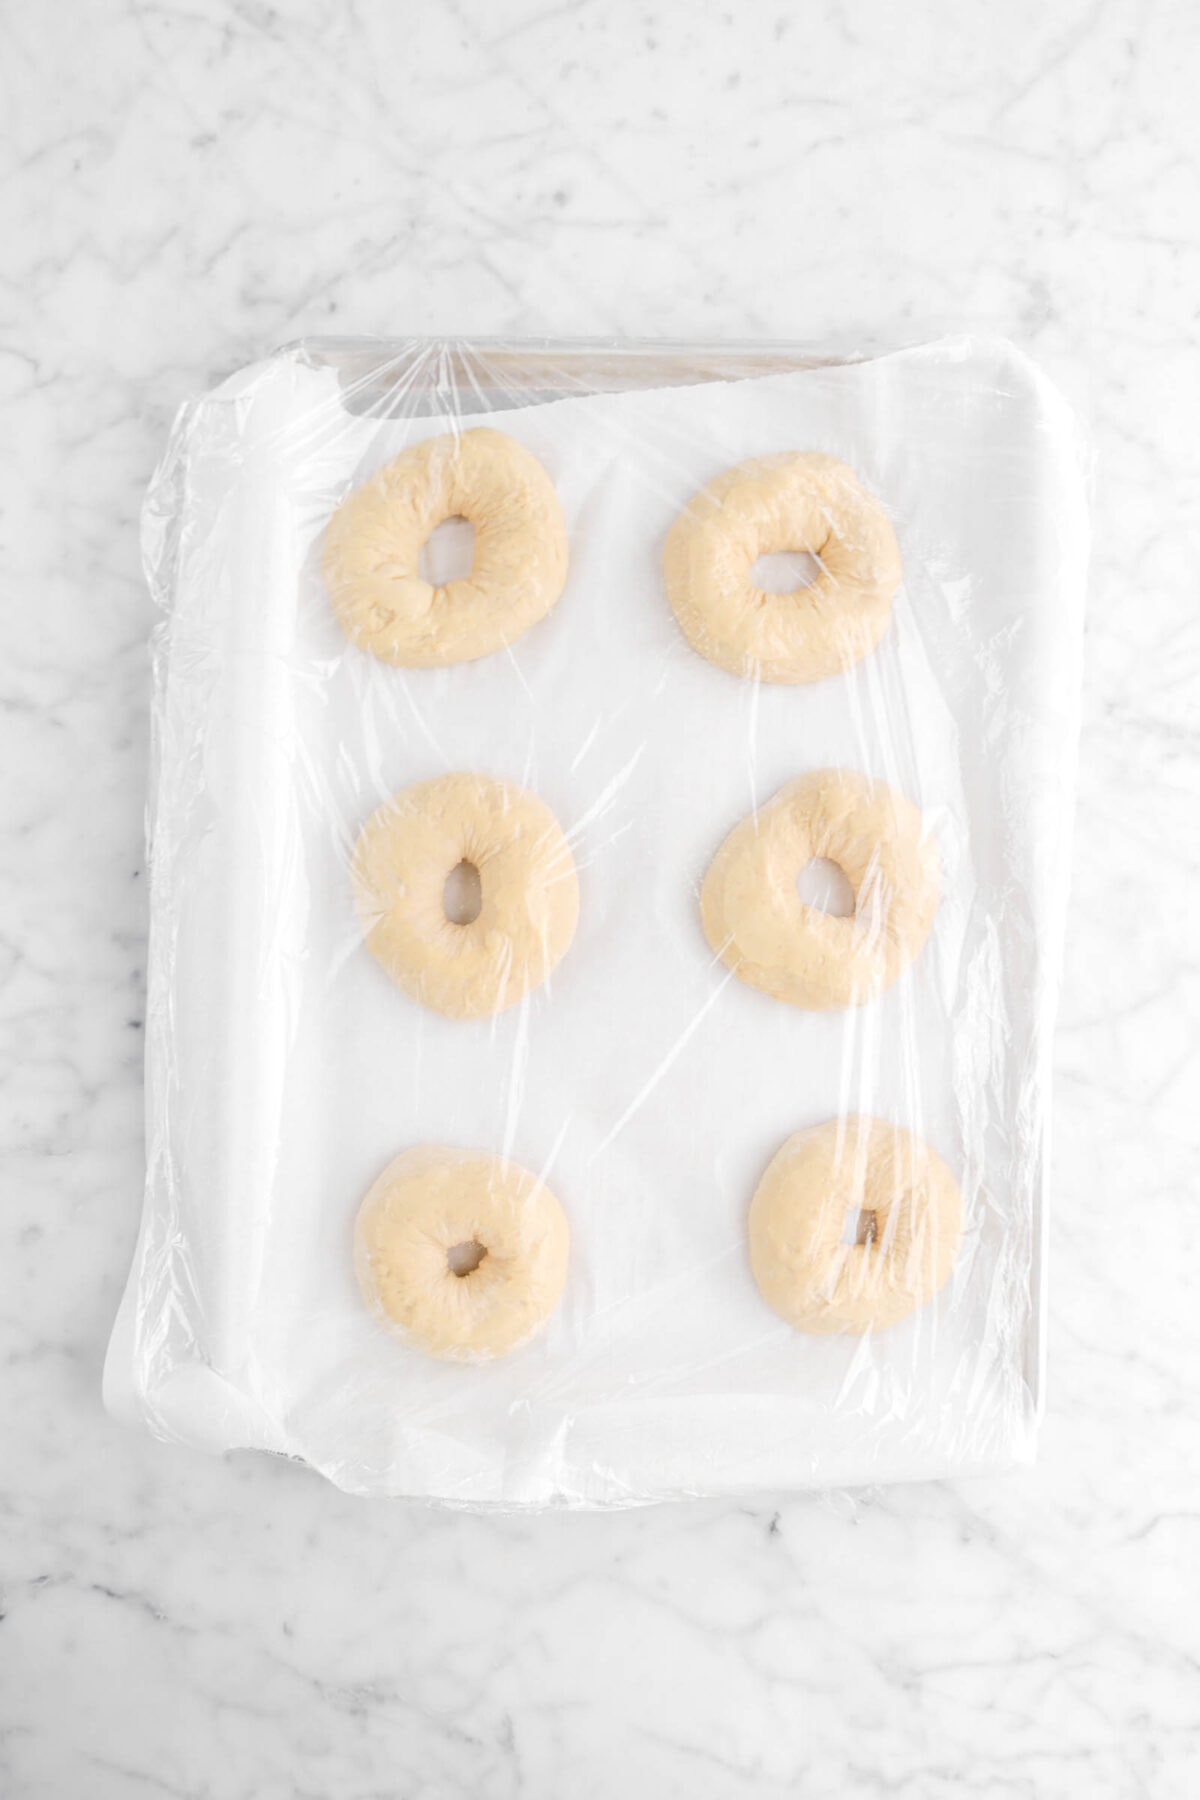
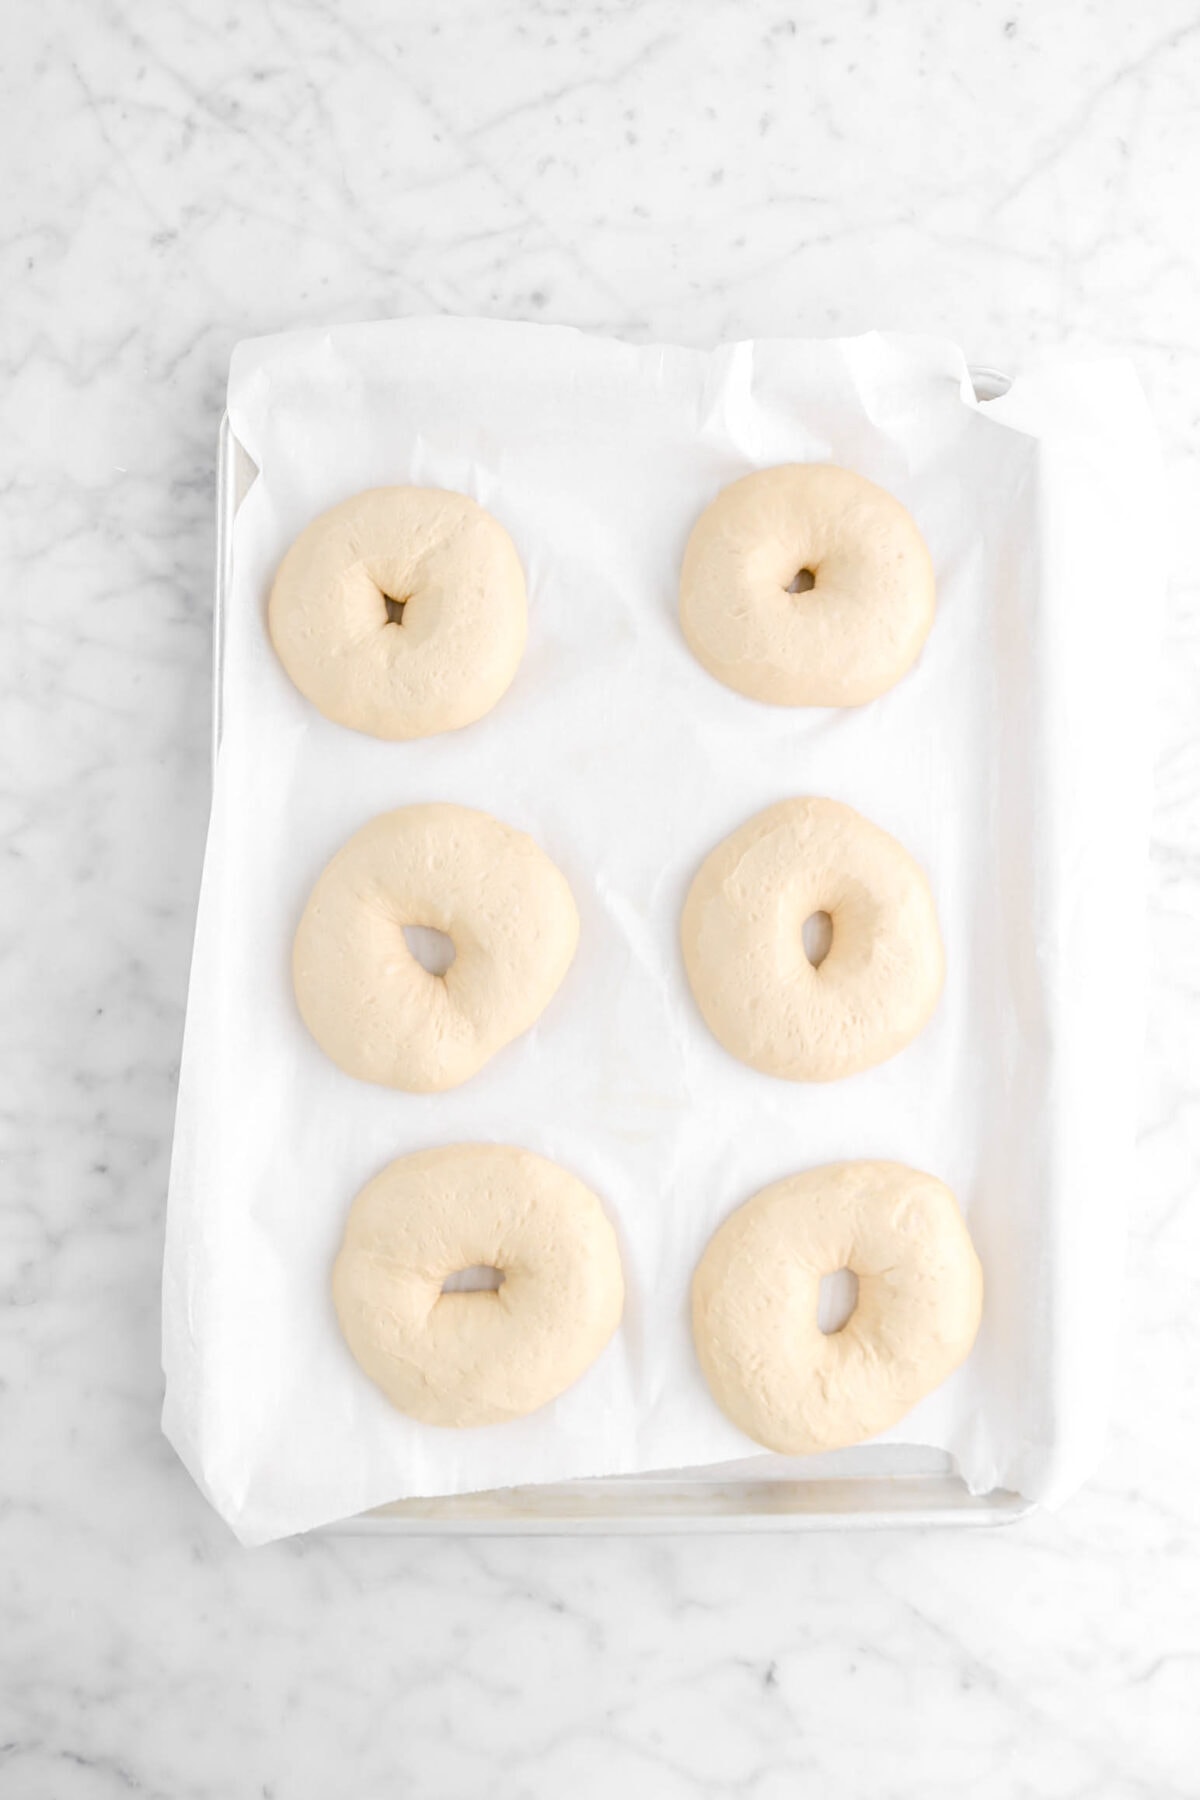
Cover pans with plastic wrap that has been sprayed with cooking spray. Allow to proof until increased by 25%, about 1 hour.
Step 4: Boil and bake
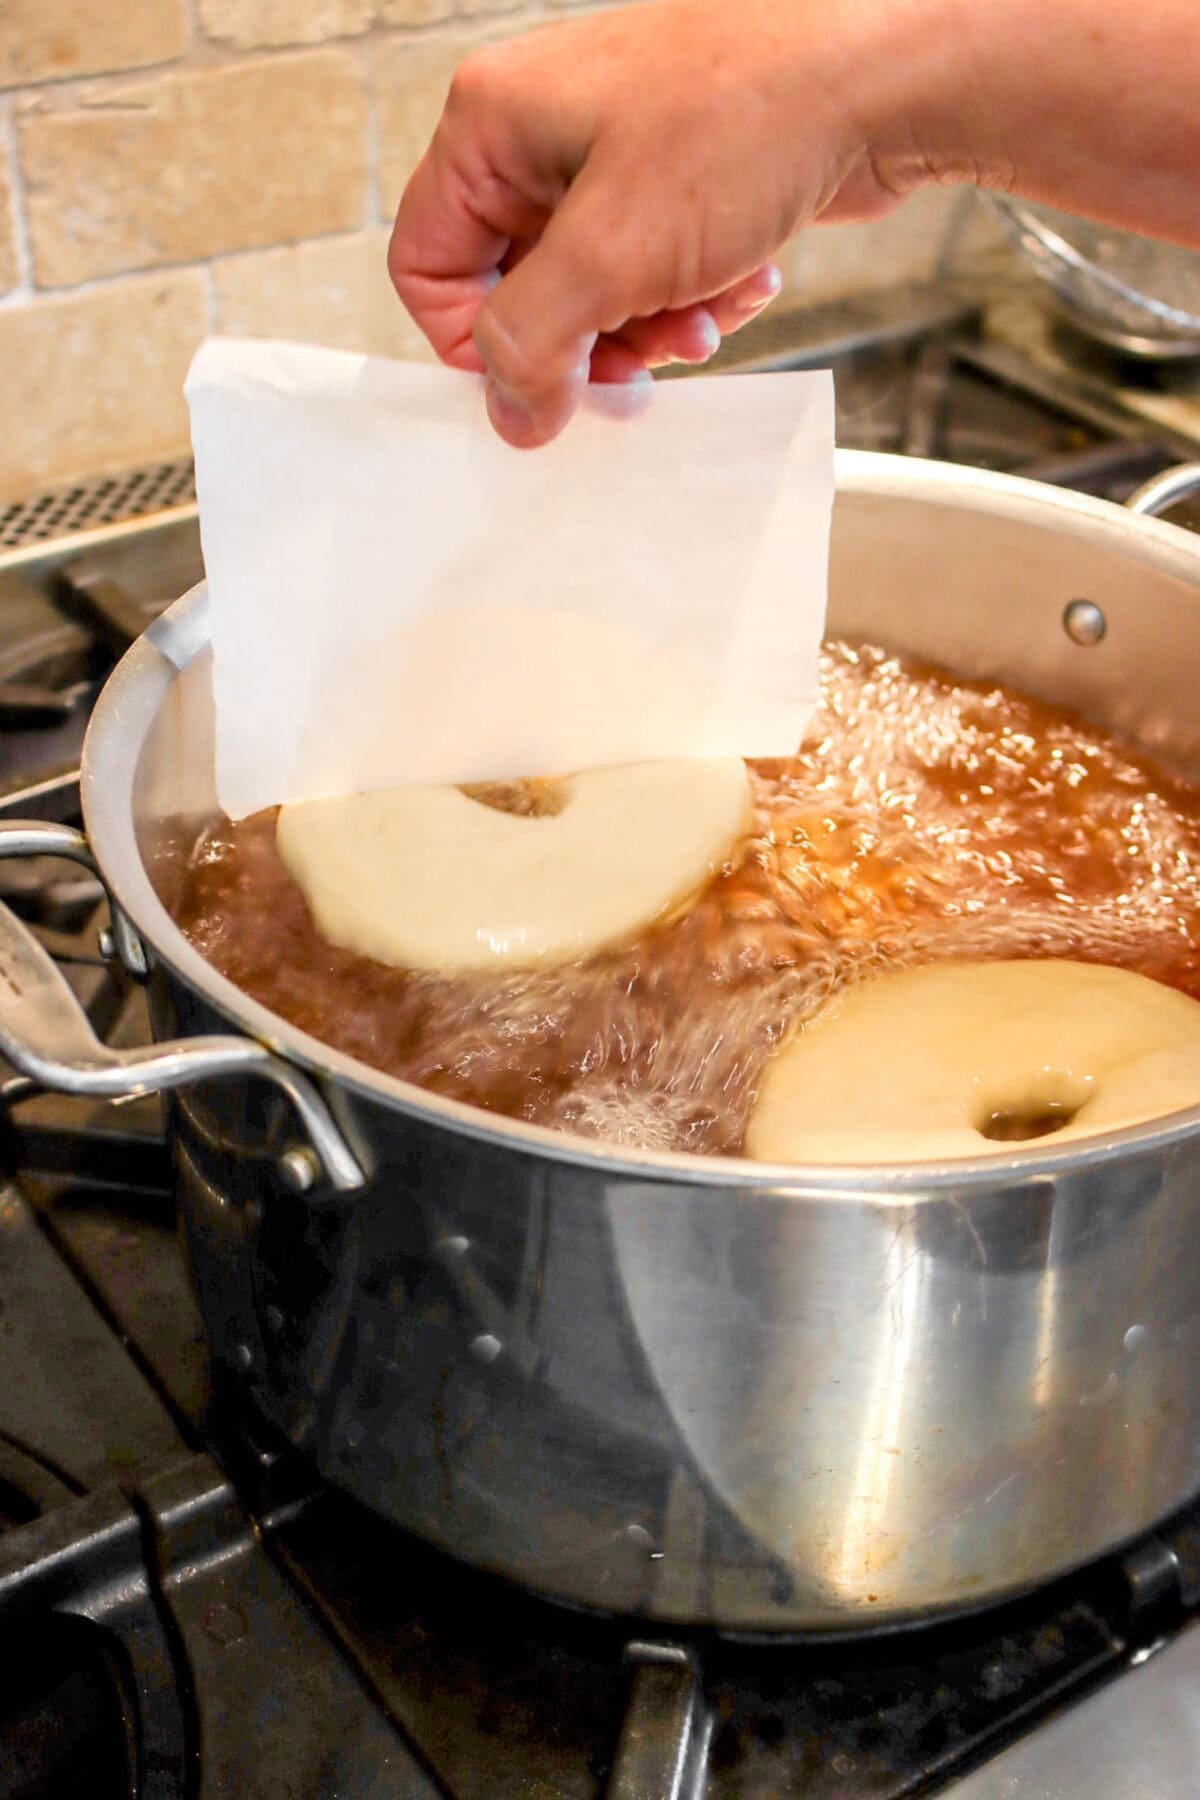
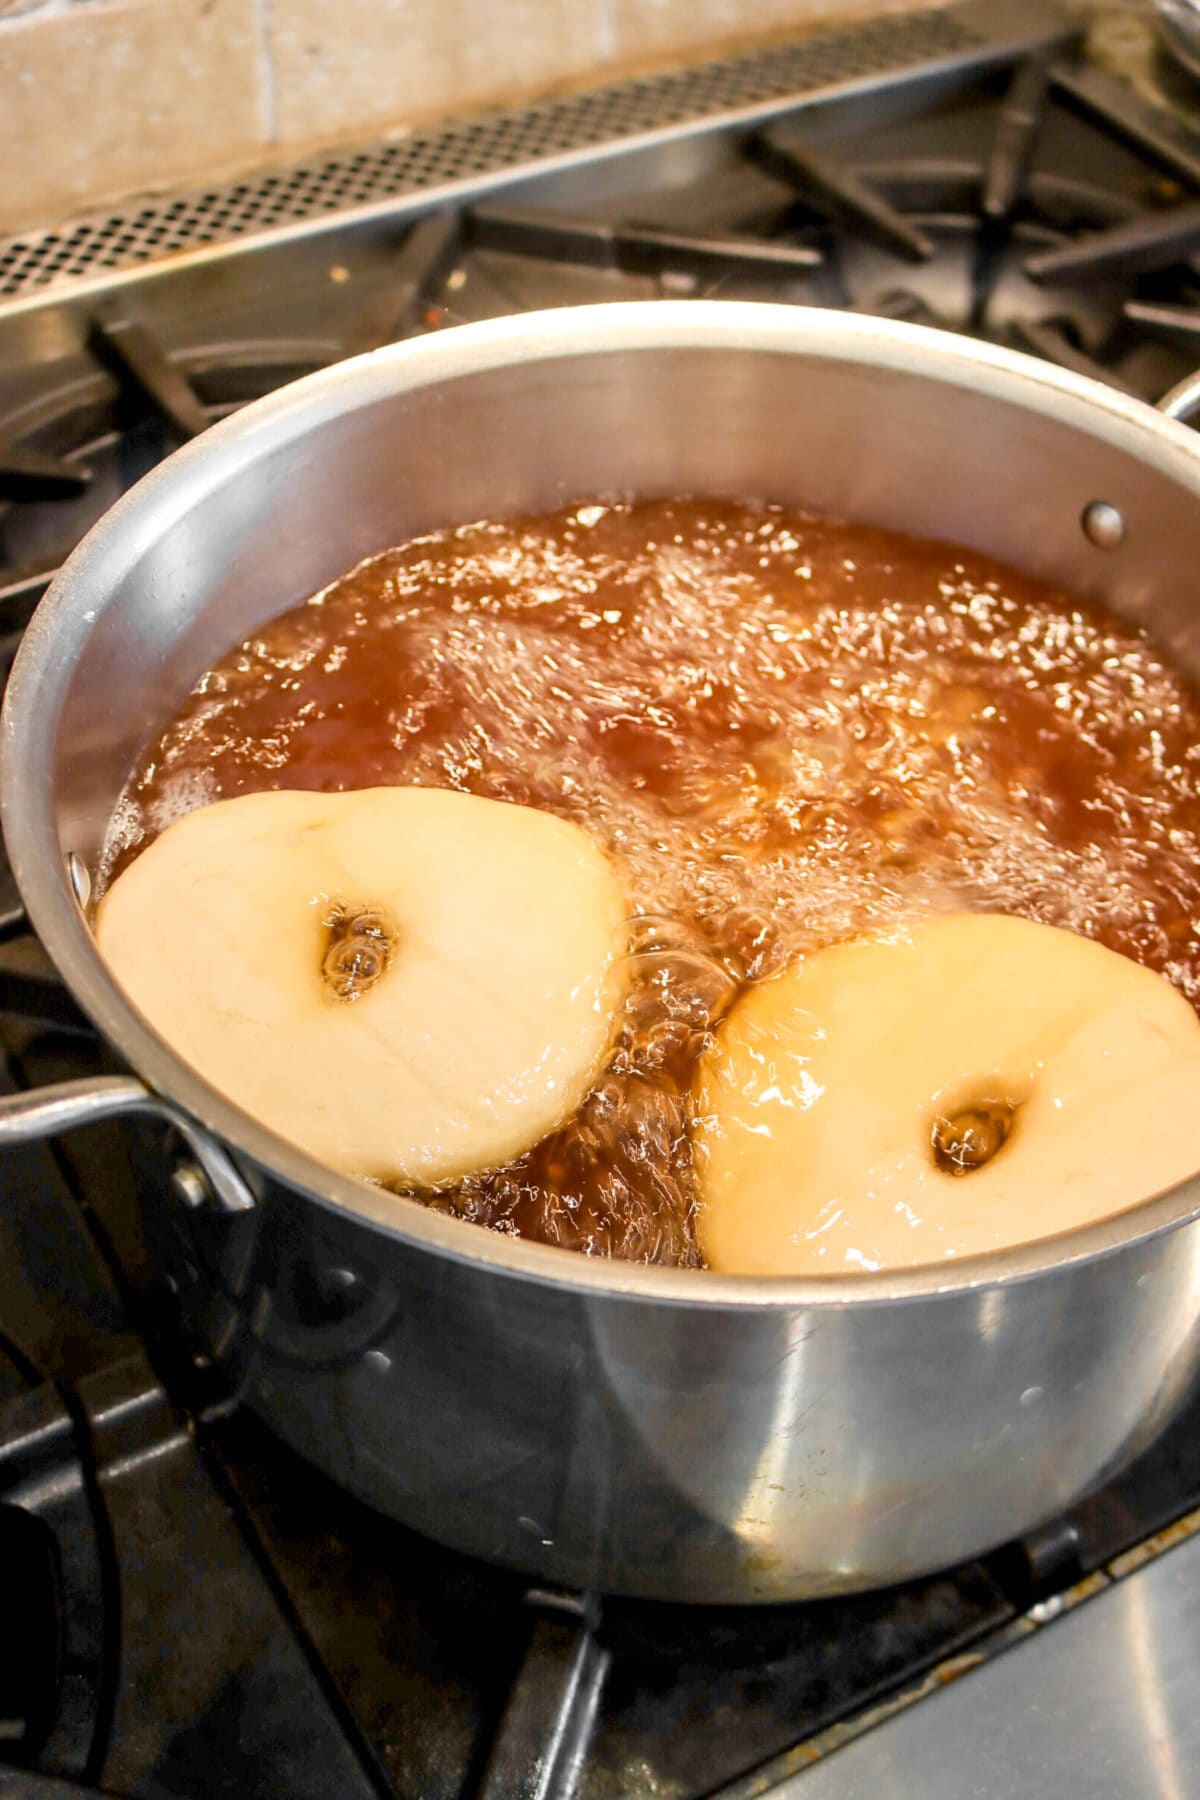
Combine water and malt syrup in a 9 quart dutch oven. Bring to a rolling boil. Place bagels, 2 at a time, into boiling water. Cook one minute on each side.

Use a slotted spoon or spider to drain bagels and place on rack. Let drain slightly. Place boiled bagels on sheet pans. Bake for 10-12 minutes, until light golden brown.


FAQ’s & Troubleshooting
I don’t have sourdough starter, but I want to make these bagels! If you don’t have a starter, that’s okay! We have a really simple and easy to take care of sourdough starter recipe on our blog. The best part? The starter only takes 5 days to make!
Can I make these bagels with new sourdough starter? While an older sourdough starter is preferred (as it has a more pronounced flavor), you can make these bagels with a new starter. Just remember that with each bake, your starter is only going to get better and better!
I don’t have a stand mixer. Can I make this by hand? While you can absolutely make this by hand, it’s always best to use a stand mixer! It’s MUCH easier and less time consuming!
Why is my dough not rising in the times stated in the recipe card? The recipe card/post states the times it took our dough to rise. We live in Central Texas. So, it tends to be a bit warmer here and doughs generally take less time to rise. I promise there’s nothing wrong with the dough! Just let it do its thing.
Why are bagels boiled before baking? The double cook may be a little confusing, but it’s necessary! Boiling the bagels sets the crust and ensures the bagels hold their shape. Boiling for 1 minute on each side of the bagel yields in the perfect crust!
Why is there malt syrup in the water? The syrup is, essentially, sugar. This helps promote even browning on the bagels!
The bagels have a lot of dark spots after baking. Don’t worry! This is actually pretty normal. The darker spots, if you followed the directions exactly, are just air pockets. Because the dough is thinner where there are air pockets, it browned more quickly than the rest of the bagel.
My bagels are super brown/burnt on the bottom! Did you line your sheet pans with parchment? If you did, it may be because the bagels were baked on the bottom rack. We’ve found that baking one sheet pan at a time, in the middle rack, prevents over-browning on the bottoms.

Topping Ideas
If you would like to jazz up these bagels a little bit, feel free! You will need to add the toppings after boiling, but before baking. Here’s a quick list of a few of our favorite toppings!
- Sesame Seeds
- Everything Bagel Seasoning
- Shredded Cheese (parmesan, cheddar, etc.)
- Poppy Seeds
What To Make With Bagels
Since these bagels are sourdough, they truly are SO versatile. Sweet? Delicious. Savory? Even better! The skies the limit on what you can top these bagels with/make with them. Though, here are a few of our favorite things!
- Avocado and a fried egg
- Salted Butter
- Cream cheese
- Peanut Butter and Bananas (also just PB and honey!)
- PB&J’s (especially using our homemade Strawberry Jam)
- Bacon (or sausage), fried egg, and cheese
- Ham and cheese
- Club Sandwich (chicken, lettuce, tomato, bacon, and cheese)
- Hummus
- Pizza Bagels (tomato sauce, cheese, and pepperoni!)
How To Store
Once these bagels are cooked and cooled, we recommend pre-slicing them with a bread knife. From there, the best way to store them is in a freezer safe bag. They can keep for 3-4 months!

When you make these Sourdough Bagels, leave a comment down below! We love hearing from you and answering any questions you might have! Also, be sure to tag us on social media and hashtag it #BakersTable.
Sourdough Bagels
Ingredients
Bagels
- 1¼ cups sourdough starter, room temperature
- 1¼ cups water, lukewarm
- 3½ Tablespoons barley malt syrup
- 4 cups bread flour
- 2 teaspoons kosher salt
Boiling
- 4 quarts water
- ½ cup barley malt syrup
Instructions
Bagels
- In the bowl of a stand mixer, combine starter and water.
- Mix until smooth.
- Add malt.
- Mix until combined.
- Switch to dough hook.
- Add flour and salt.
- Mix on low speed until ingredients are combined, about 1 minute.
- Increase speed to medium.
- Knead until dough is smooth, about 8 minutes.
- Turn dough into a clean bowl.
- Proof at warm room temperature (78℉/26℃) until increased by 25%, about 2 hours. (If not using a proofing box with a humidity tray, cover your bowl with plastic wrap.)
- Turn dough out onto unfloured surface.
- Divide into 4-ounce pieces.
- Roll each piece of dough into a ball.
- Cover and let rest 5 minutes.
- While dough is resting, line 2 sheet pans with parchment and spray lightly with cooking spray. Set aside.
- Beginning with the first piece of dough you formed into a ball, use a floured thumb to push through the center of the dough ball.
- Insert other thumb and work around.
- As the center circle increases, use your index fingers to twirl it around until you have a large (3 inch) center hole.
- Place on prepared sheet pan – 6 on one, 5 on the other.
- Cover pans with plastic wrap that has been sprayed with cooking spray.
- Allow to proof until increased by 25%, about 1 hour.
Boiling
- Heat oven to 475℉/245℃.
- Place a cooling rack over the top of a sheet pan. Set near stove.
- Combine water and malt syrup in a 9 quart dutch oven.
- Bring to a rolling boil.
- Place bagels, 2 at a time, into boiling water.
- Cook one minute on each side.
- Use a slotted spoon or spider to drain bagels and place on rack.
- Line 2 sheet pans with parchment paper.
- Place boiled bagels on sheet pans.
- Bake for 10-12 minutes, until light golden brown.
Notes + Tips!
- If you would like a more pronounced sourdough flavor, immediately after forming the bagels and covering them, place them in refrigerator overnight! Allow the dough an extra 30-45 minutes to proof after removing it from the refrigerator.
- Refrigerating (also known as retarding) the dough overnight will give the bagels a bubbly appearance when baked.
- Unsure if your bagels are properly proofed? No worries! Use the water test to check if bagels are ready. Place one bagel in a bowl of water. If it floats, they are ready to cook. If it sinks, they need to proof longer.
- To easily remove bagels from parchment paper, use scissors to cut the parchment paper between bagels. Lift the square, tip the bagel into the boiling water, and peel the parchment off. Super simple!
- Be sure to use a slotted spoon or spider strainer when boiling the bagels.
Tools You May Need (affiliate links)
– Still Hungry? –
Here are a few recipes may like!