
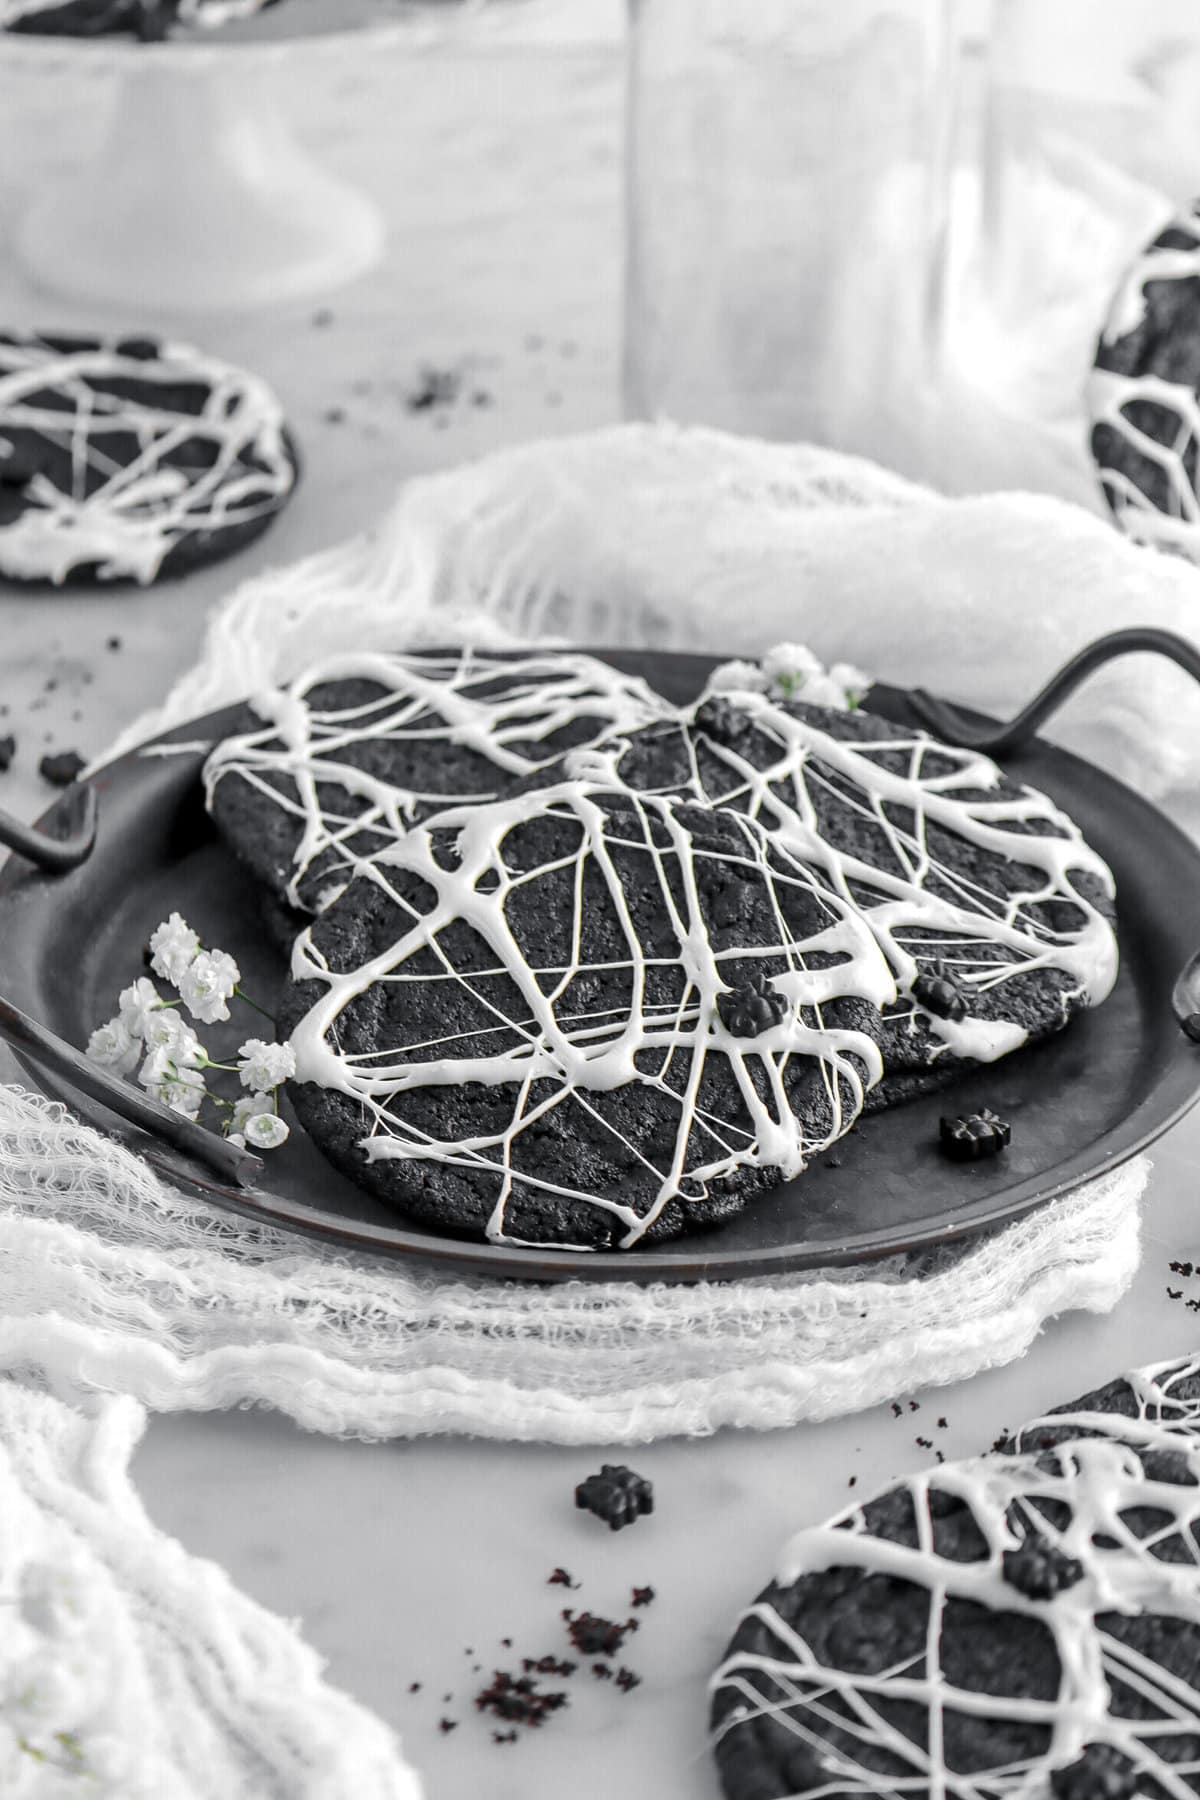
Spider-Web Cookies
Prep time: 35 min | Cook time: 15 min | Total time: 50 min
No tricks, only treats! These Creepy Crawly Spider-Web Cookies are the gravely delicious treat you need to bake this Halloween! Made from a soft and chewy sugar cookie base, these cookies are naturally flavored and dyed with black cocoa powder, then topped off with melted marshmallow. Every bite is extra chocolatey, oh-so soft and chewy, yet shockingly easy to make, and so much fun for spooky season.
Spider-Web Cookies
Prep time:
35 min
Cook time:
15 min
Total time:
50 min
No tricks, only treats! These Creepy Crawly Spider-Web Cookies are the gravely delicious treat you need to bake this Halloween! Made from a soft and chewy brown sugar cookie base, these cookies are naturally flavored and dyed with black cocoa powder, then topped off with melted marshmallow. Every bite is extra chocolatey, oh-so soft and chewy, yet shockingly easy to make, and so much fun for spooky season.
– know before you bake –
Traci & Caylie’s
Recipe Highlights
This post may contain affiliate links, please visit our privacy policy for details.
Is it really spooky season if you haven’t baked a batch of hauntingly good cookies? Around here, my mom and I say absolutely not! I mean, what’s Halloween without a few extra sweet treats?
We actually came up with these cookies last year but felt we were just a little too late in the season to share them. So, we wrote the idea down and promised ourselves we’d post them early this year so everyone could enjoy them!

Originally, we planned to share these cookies on Friday (because, hello… Friday the 13th!), but since there’s a special post coming that day, we decided to share them a little early instead.
And honestly? I’m so glad we did. These cookies are perfectly spooky, seriously delicious, and unbelievably easy to make!
All you need are a few bowls, a whisk, and a sheet pan. That’s it! No food dye, no fuss—just chocolate, marshmallow, and a whole lot fun.

Traci & Caylie Crossland
We’re the mother-daughter duo behind Bakers Table, sharing from-scratch recipes made with love, experience, and a serious passion for baking. Traci brings decades of baking expertise, while Caylie brings a fresh perspective and a love for all things creative. Together, we test every recipe to make sure it’s easy to follow and absolutely delicious. Read more about us and our blog →
“Our kitchen is where memories are made — and we’re so glad you’re here baking with us.”
Grab These Ingredients
- All-Purpose Flour – This creates the perfect structure for this cookie.
- Black Cocoa Powder + Cocoa Powder – Adds a rich, chocolate flavor while a little black cocoa powder naturally dyes the cookies black!
- Baking Soda – The leavening helps the cookies puff up and spread just enough in the oven.
- Unsalted Butter – Butter adds flavor and structure. Make sure you have softened/room-temperature butter before beginning!
- Granulated Sugar – Adds some much needed sweetness to the dough (otherwise, it would be super bitter!). It also keeps the cookie moisture, contributes to the chewiness, and SO MUCH MORE!
- Large Eggs – Binds everything together! The cookies would fall apart without it.
- Milk – Just a splash helps keeps the dough from being too dry.
- Vanilla Extract & Salt – Use both salt and vanilla extract to enhance the flavor.
- Mini Marshmallows – Melted marshmallows create that distinctive “spider-web” look to the cookies.

Putting It All Together
Start by creaming together the butter and sugar until it’s light and fluffy (between you and me, this is the base of any good cookie!). The trick here is room temperature butter. Too cold and it won’t mix properly; too soft and you’ll end up with greasy dough. You’re looking for that sweet spot where it’s slightly cool to the touch but still gives when pressed.

Once the butter and sugar are good and beaten, it’s time to add in the eggs. The mixture will start to look almost paler in color, but super light and fluffy. Then, mix in the dry ingredients — flour, cocoa powders, baking soda, and salt — until everything’s fully combined. The dough should be quite thick, dark, and sticky. This is when we’re going to add our milk and vanilla. This will loosen the dough, while also giving it flavor!


From here, it’s all about shaping. Use a cookie scoop to portion the dough onto a parchment-lined baking sheet. They’ll spread a little as they bake, so give them space to breathe. And that’s it — you’re ready for the oven!


Time To Make The Webs!
Melt a small handful of marshmallows until they’re soft and stretchy (a few quick bursts does it). Give them a stir, then let the bowl sit for a few seconds so the heat evens out — you want stretchy, not soupy.
With clean, dry fingers, pinch up a little marshmallow — it should cling to you. Gently open and close your fingers to pull thin strands, then sweep those strands back and forth over the cookies, criss-crossing so it looks a little random and webby. Watch the video below for a quick tutorial!
Grab a small pinch of marshmallow as needed and rotate the cookie to place finer threads. If strands look thick, pause and pull a little slower; if they stop stretching, give the bowl another short burst and keep going. It’s sticky, it’s messy, and it sets fast — work in small batches and have fun with it!
Quick Tip: dry hands = better strands, line your surface for easy cleanup, and rewarm in very short bursts whenever the stretch starts to break/becomes too cool to work with.
When you’re done, your cookies should look like this:

Your Questions, Answered!
Why are there lumps of cocoa powder/flour in my batter and/or cookies?
This is either because the cookie dough was improperly mixed or the dry ingredients were lumpy. Cocoa powder is nearly always lumpy, so it’s best to sift it.
How can I tell when the cookies are baked?
Once the cookies are baked, they should be thin and look a little crinkly. This usually takes about 10 minutes.
Why did my cookies not spread?
If the cookies didn’t spread while baking, this is due to too much flour being added to the cookie dough. Be sure to measure carefully!
Why are my cookies dry?
Either the cookies were over-baked or the flour was over-measured. Both of these can cause your cookies can cause your cookies to be dry.
Can I make the cookie dough ahead of time?
Of course! Once the cookie dough is mixed, you can portion the dough and place it on a lined sheet pan, then freeze until hardened. Once the cookie dough balls are frozen solid, you can place in a freezer safe zip-top bag and freeze for up to 3 months.

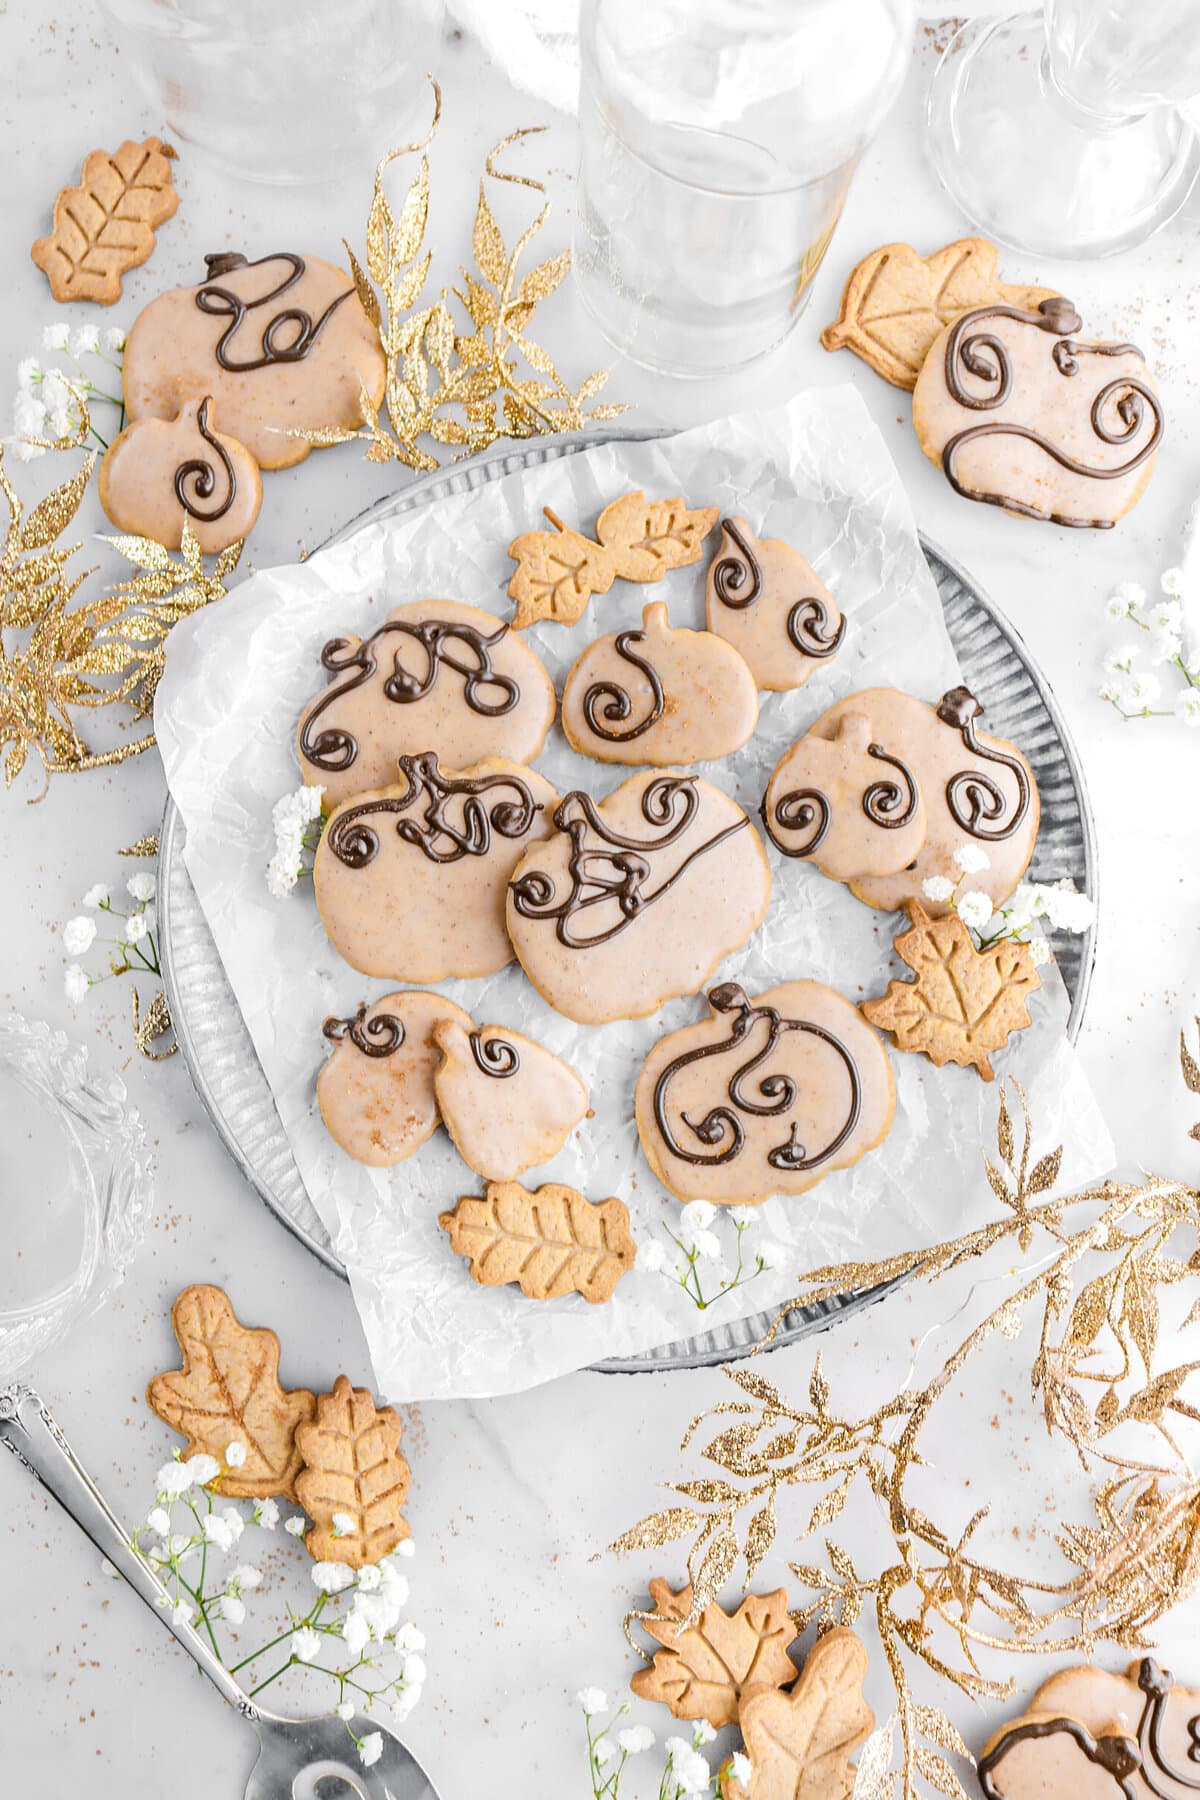
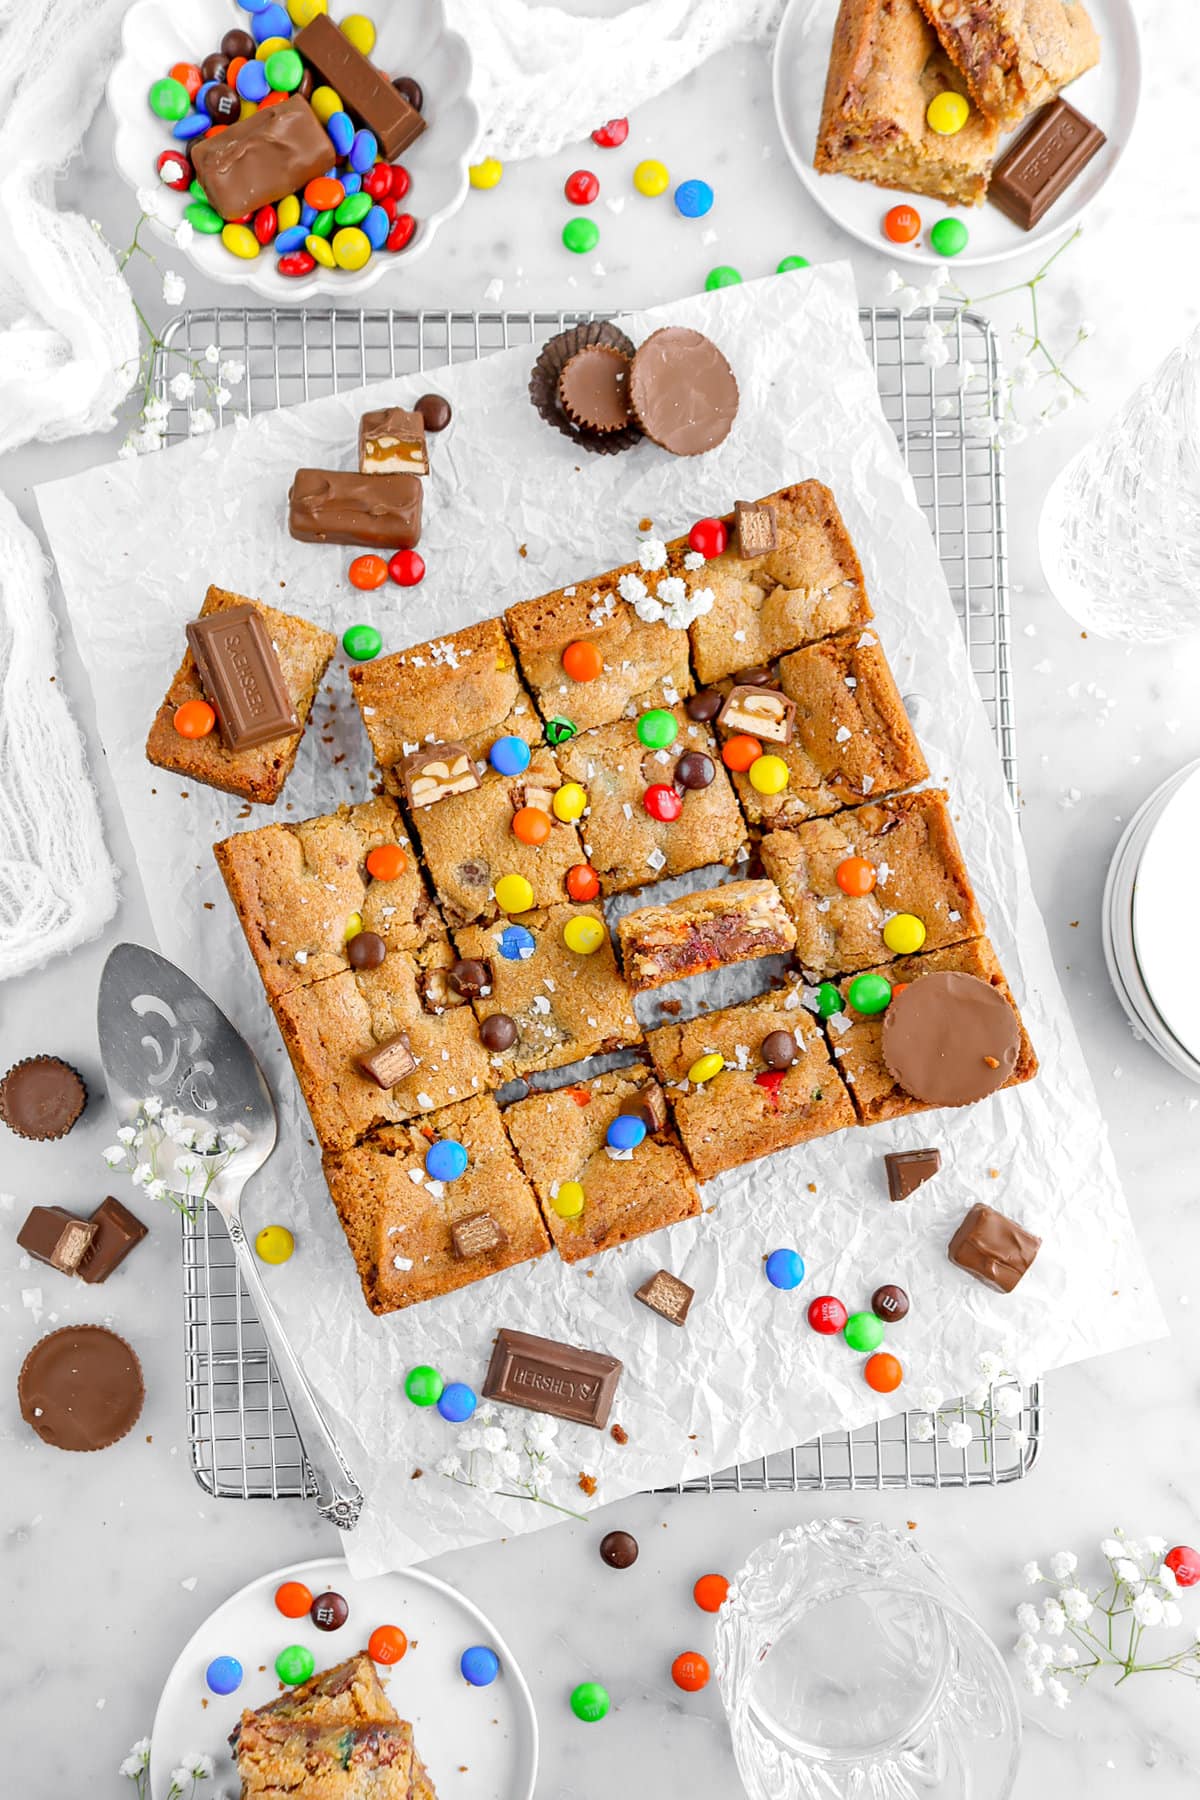
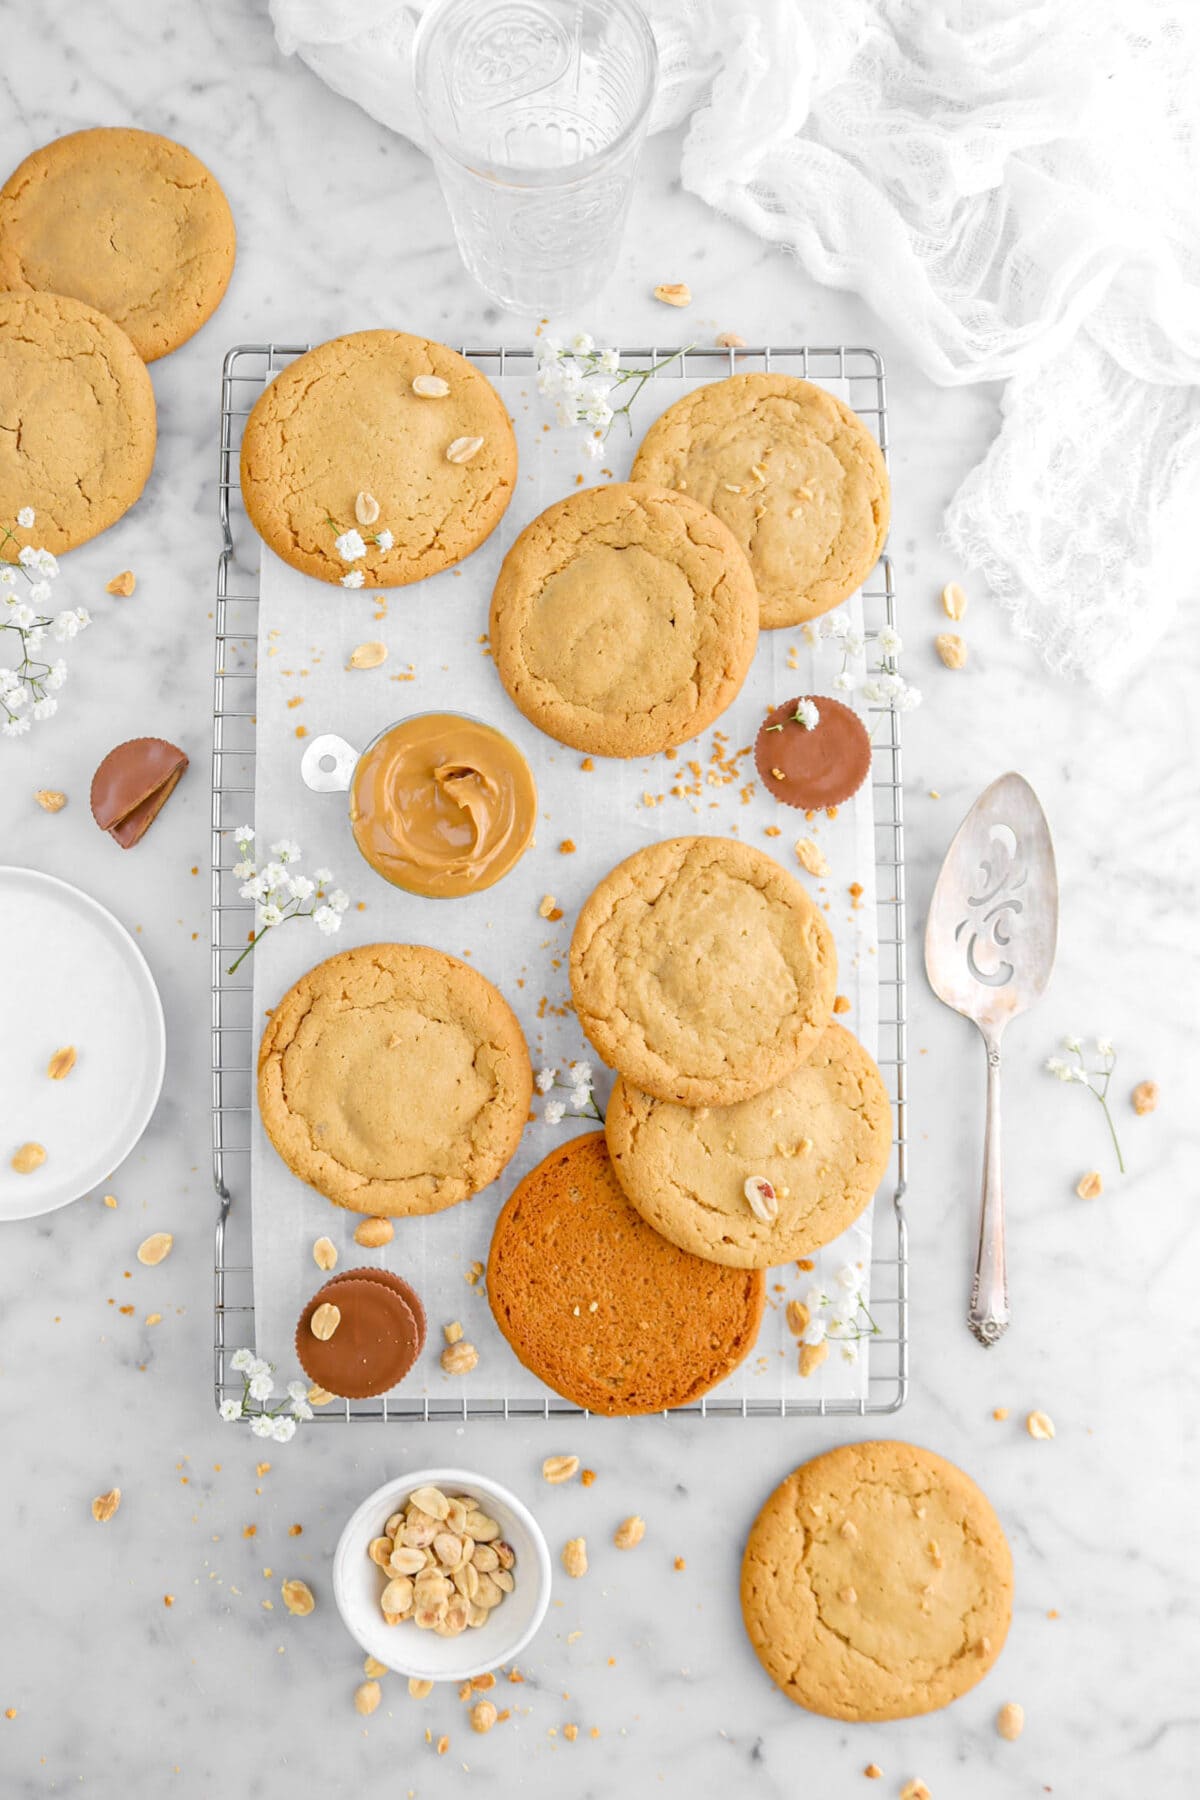
Try These
delicious
bakes next!


When you make these Creepy Crawly Spider-Web Cookies, leave a comment down below and/or give this recipe a rating! We love hearing from you and answering any questions you might have! Also, be sure to tag us on social media and hashtag it #BakersTable.
Happy baking!
x, Caylie

Creepy Crawly Spider-Web Cookies
Ingredients
- 1 cup unsalted butter, room temperature
- 1½ cups granulated sugar
- 1 large egg, room temperature
- 1 large egg yolk, room temperature
- 1½ cups all purpose flour
- ½ cup black cocoa powder, sifted
- ⅓ cup Dutch-process cocoa powder, sifted
- ½ teaspoon baking soda
- ½ teaspoon salt
- 1 Tablespoon whole milk
- 4 teaspoons vanilla extract
- 2 cups mini marshmallows, melted
Instructions
Cookies
- Heat oven to 350℉/177℃.
- Line 2 sheet pans with parchment paper. Set aside.
- With an electric mixer, beat butter and sugar until light and fluffy, about 2-3 minutes.
- Add egg and egg yolk.
- Beat until incorporated.
- Add flour, cocoa powders, baking soda, and salt.
- Mix until incorporated.
- Stir in milk and vanilla.
- Use a 1½ Tablespoon scoop to portion dough onto prepared pans.
- Bake for 15 minutes, or until done.
Topping
- Place marshmallows in microwave safe bowl.
- Heat in 15 second increments, stirring after each, until melted and smooth.
- Scoop out desired amount of marshmallow.
- Pull it into a web-like pattern.
- Place on cookie.
Notes + Tips!
- Remember to sift your cocoa powder.
- Be careful not to over-mix the cookie dough! Just stir the flour in until there are no more pockets of flour.
- It’s best to use light colored sheet pans for these cookies.
- Don’t forget to line your baking sheet.
- It’s best to use a cookie scoop to ensure all cookies are the same size.
- The cookie dough can be frozen and baked at a later date.
- Do not over bake these cookies! When in-doubt, take them out. These cookies are best when they are just barely baked. This provides the perfect soft and chewy texture.
- Place the marshmallow onto the cookies after they’ve completely cooled.
- If the melted marshmallow gets too difficult to work with/starts to get too cold, place it back in the microwave for 15-30 seconds or until warmed through.
Tools You May Need (affiliate links)
– Still Hungry? –
Here are a few recipes may like!


Did you try this recipe?
Let us know in the comments!
Let Me Introduce You!
Hi and welcome! We’re Traci and Caylie, a mother-daughter duo with 30+ years of combined experience in baking, recipe development, and food photography. Our expertly developed and delicious recipes have led us to be featured in publications such-as: Costco, Crate & Barrel, & more!
More about us →
Disclaimer
We use affiliate links on our Equipment Needed and Recommended Products section of each recipe. If you click through these links and make a purchase, we may receive a commission at no additional cost to you. As an Amazon Associate I earn from qualifying purchases.
We use Baby’s Breath for photographic purposes only. Do not consume any parts of the plant.
This recipe has something seriously wrong with it. These cookies spread super thin and leaked butter everywhere – not just into the parchment paper, I could see puddles of butter leaking out the sides. I literally was able to roll these cookies like a tuille cookie. I tried chilling my second batch before baking and giving an extra 2 minutes of bake time- no difference. I tried increasing the temperature of the bake for the third batch – spread even worse. All of my batches were too delicate to decorate with the marshmallow webbing without breaking them.
My suspicion is that the cookies photographed were made using regular cocoa and black food dye, not black cocoa powder. You can’t just substitute black cocoa for regular cocoa – black cocoa needs something in the batter to neutralize it’s alkalinity, like cream of tartar, otherwise it won’t bind with fats. It’s also possible that the butter ratio is just way too high. Maybe they meant 1 stick of butter instead of 1 cup?
I’m sorry these cookies didn’t work for you. I would like to address your concerns.
The cookies are meant to be thin. There is nowhere in the post or recipe card that says these are thick cookies. If you look at the photos, the cookies are thin. We did, as stated in the post, use a large round cookie cutter to bump the cookies into a perfectly round shape. Ours have never “leaked butter”. The photos you see in the post are the actual photos. Nothing has been, or is ever, restaged. You might want to use a thermometer to check your oven temperatures.
The cookies were made using black cocoa powder. I used Des Alpes Dutch Process Black Cocoa Powder. It is clearly visible in both the ingredient shot and the process shots. If it had been a natural process cocoa powder, the baking soda would have acted as a neutralizing agent. Since I used a Dutch process cocoa powder, the baking soda is used to make the cookies spread.
One cup of butter is the correct amount. Black cocoa powder requires more fat that regular cocoa powders (whether natural or dutch process). Without it, the cookies are dry and crumbly.
The Creepy Crawly Spiderweb cookies looked like a great addition to a Halloween bake sale I was contributing to. The cookies are tasty but very flat and thin. No worries because the web is so cool. The web turned out disastrous for me. I couldn’t get the web to stick to the cookies. Just to my hands. I nearly went through an entire bag of marshmallows trying different tactics. Very frustrating and a huge waste of time. Better directions might have helped.
Hi Al! I’m sorry to hear you struggled with the webbing. We had no issues getting it to stick to the cookie. All that we did is grab some melted marshmallow and pulled it apart with our fingers before putting it on top of each cookie. It is possible that maybe your marshmallow got overheated. Was the marshmallows easy to pull apart? Was it clumpy? I would love to help you troubleshoot this! x, Caylie