Chewy Peanut Butter Cup Spider Cookies
This post may contain affiliate links, please visit our privacy policy for details.
Enjoy a spooky twist on the classic peanut butter blossoms with these chewy Spider Cookies! Bonus? You don’t need to be a professional baker to make these deliciously easy homemade Halloween treats.

Your NEW Favorite Cookie For Halloween!
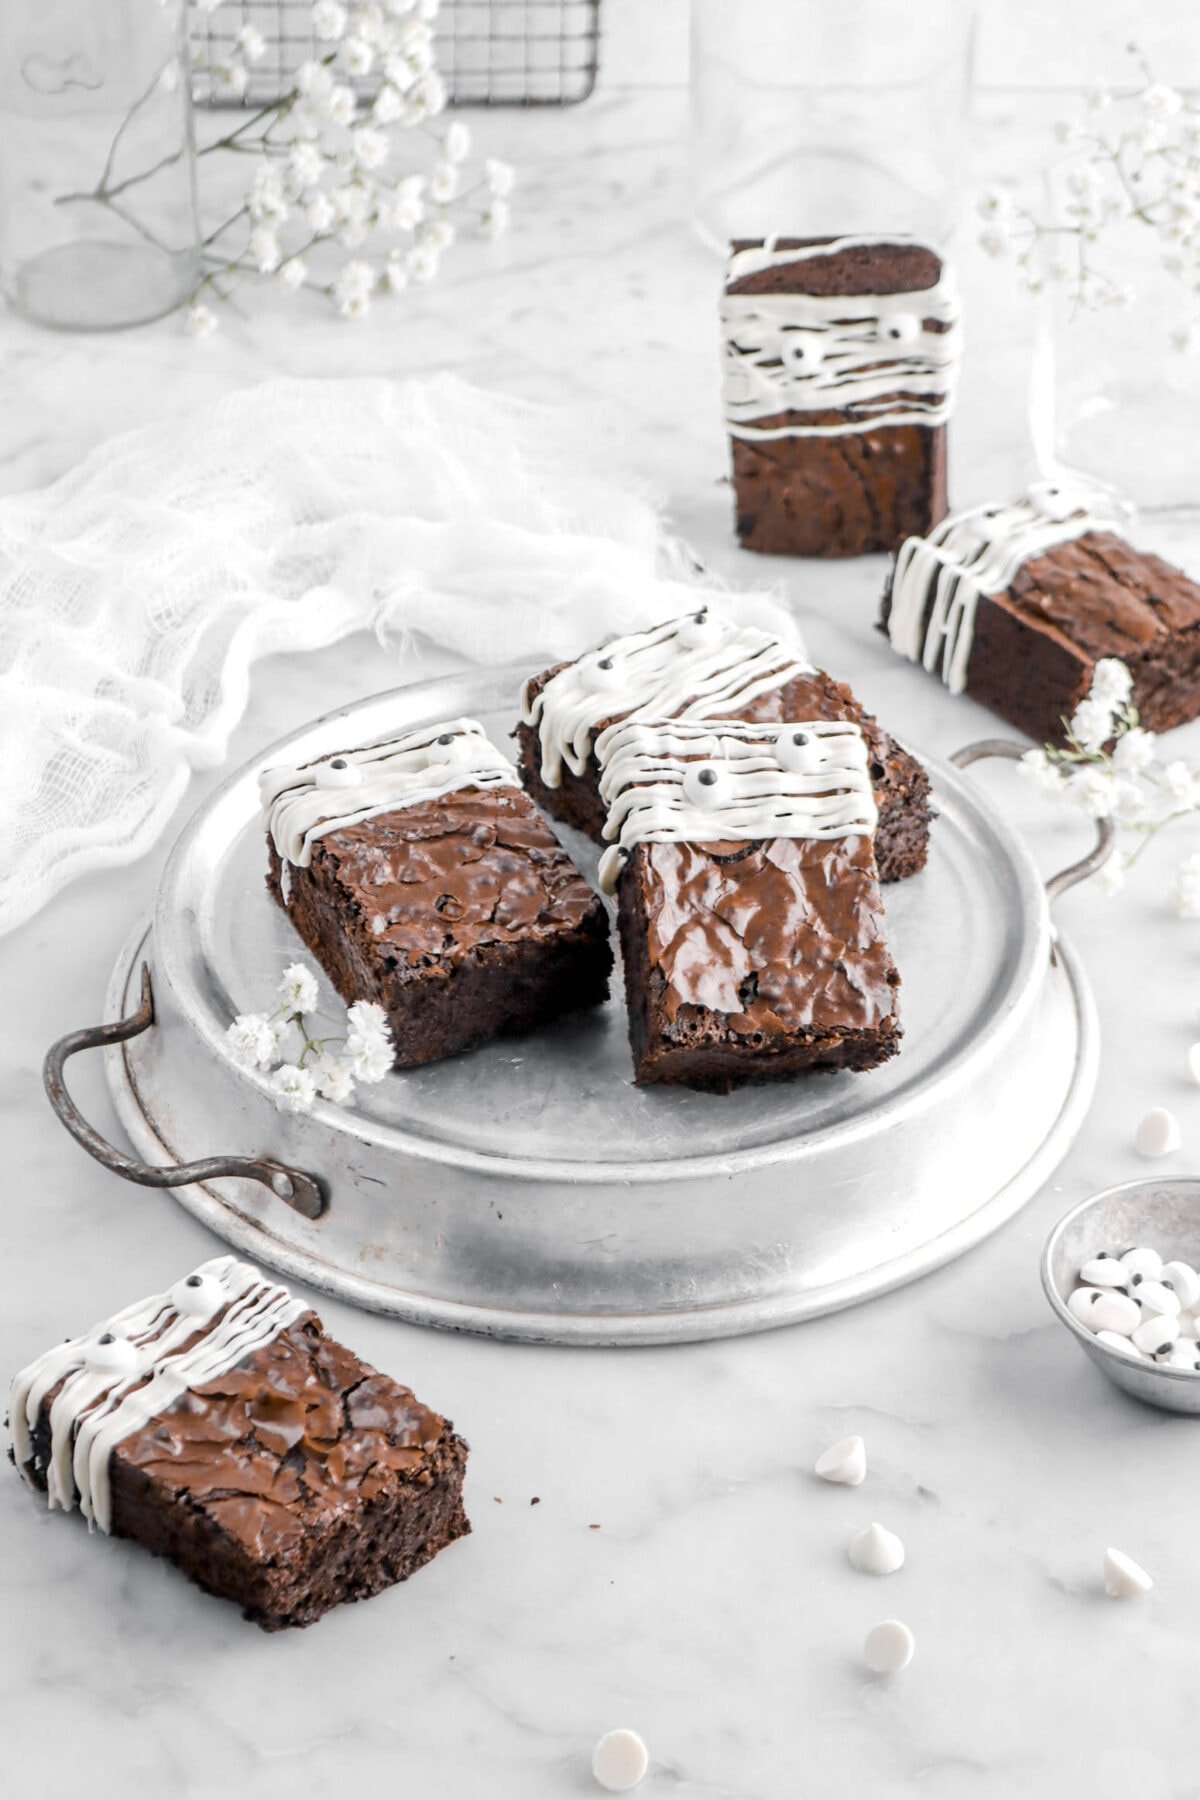
Today’s post gives a spooky twist to a Christmas classic to show you a fun way to decorate cookies for Halloween. The recipe below is for our peanut butter blossoms. You can, of course, use our soft peanut butter cookie recipe instead, or if you’re wanting extra chocolate, try our brownie cookies!
Between you and me, I personally love these peanut butter cookies because not only are they SO flavorful and chewy, but super easy to make. Perfect for bake sales, Halloween parties, or baking with kids!
A quick note! Unlike our peanut butter chocolate chip cookies (which just stirs together thanks to the use of melted butter!), this recipe uses an electric mixer to cream the butter and sugars. By using this method, we are creating a lighter, fluffier cookie that has more structural integrity, which means the better job it oes of holding onto something like a peanut butter cup!
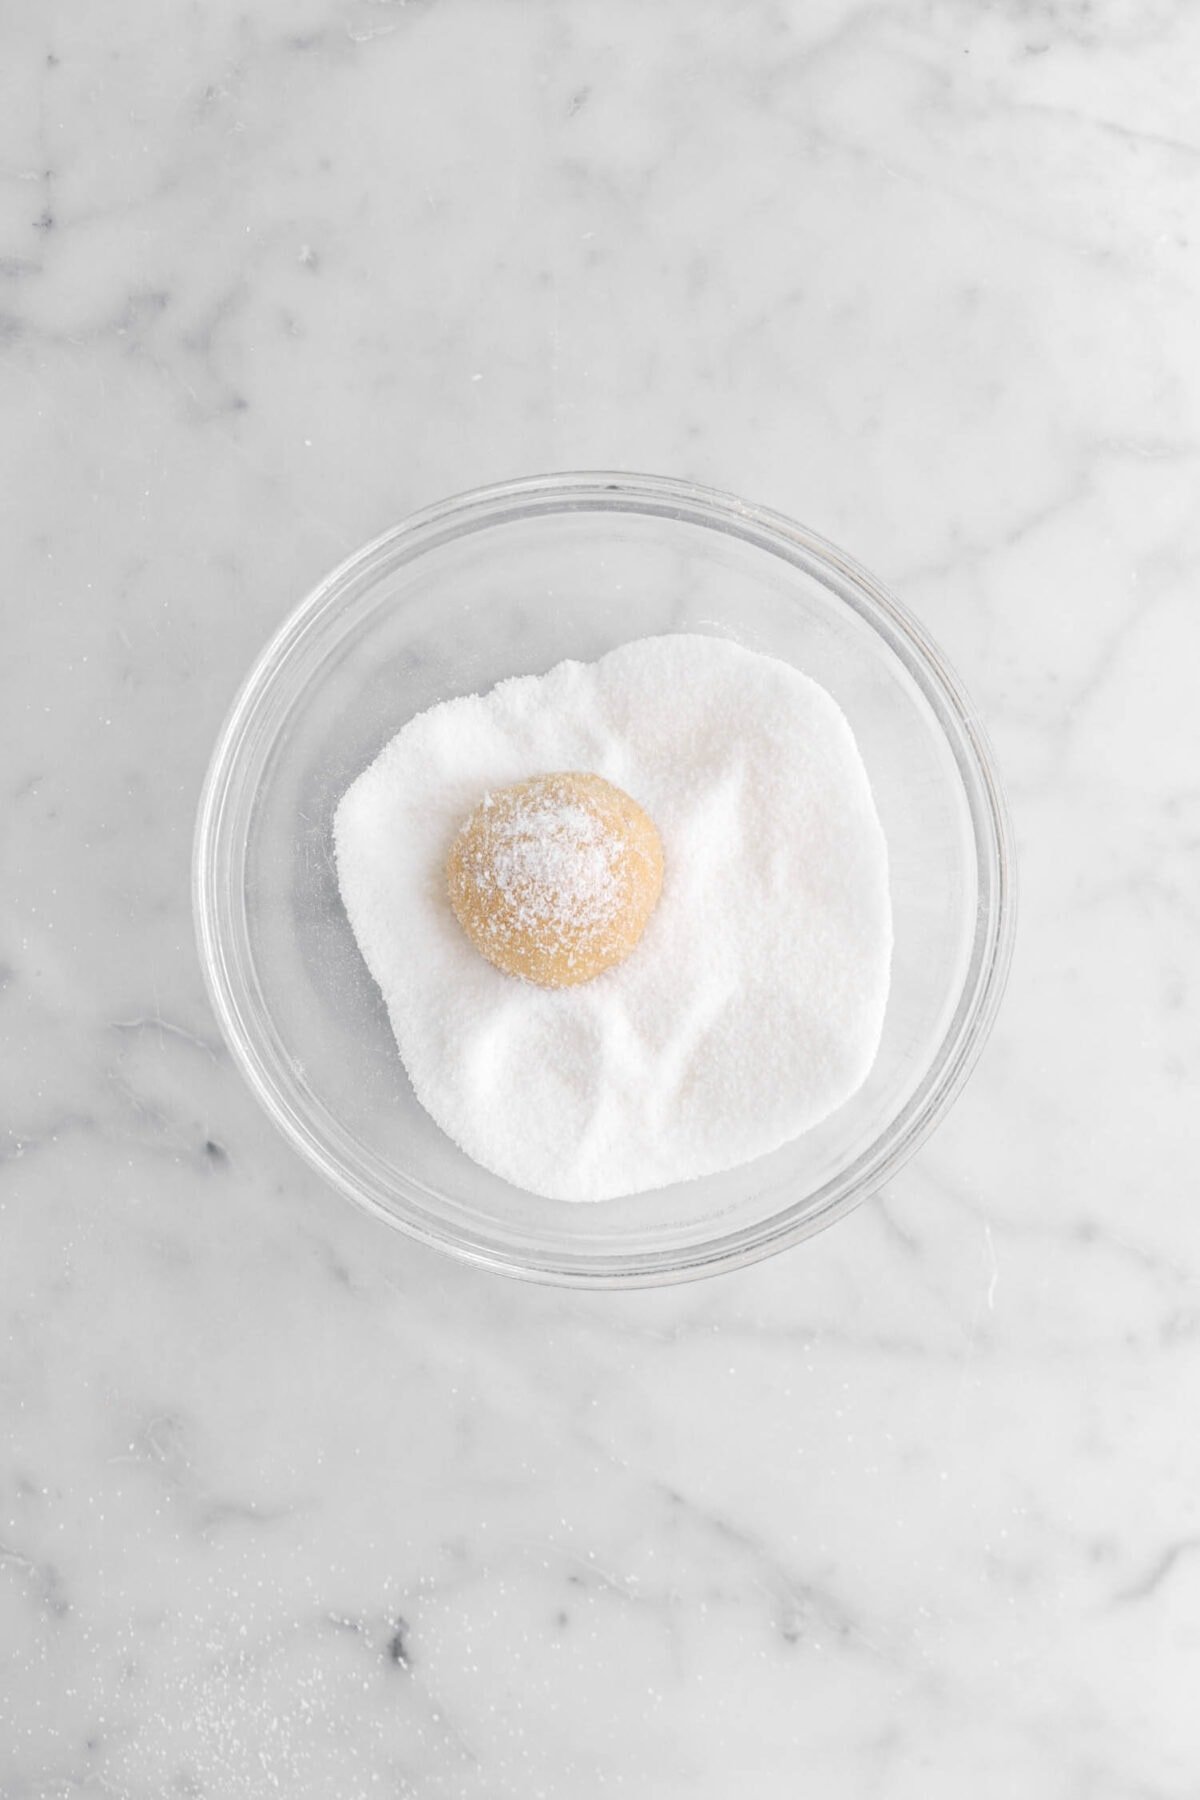
- Another Tip: This dough is pretty sticky. It’s best to use a medium cookie scoop to divide the dough before rolling it in sugar! This keeps you (and your hands) relatively mess-free.
Here are a few pictures to show you the process:


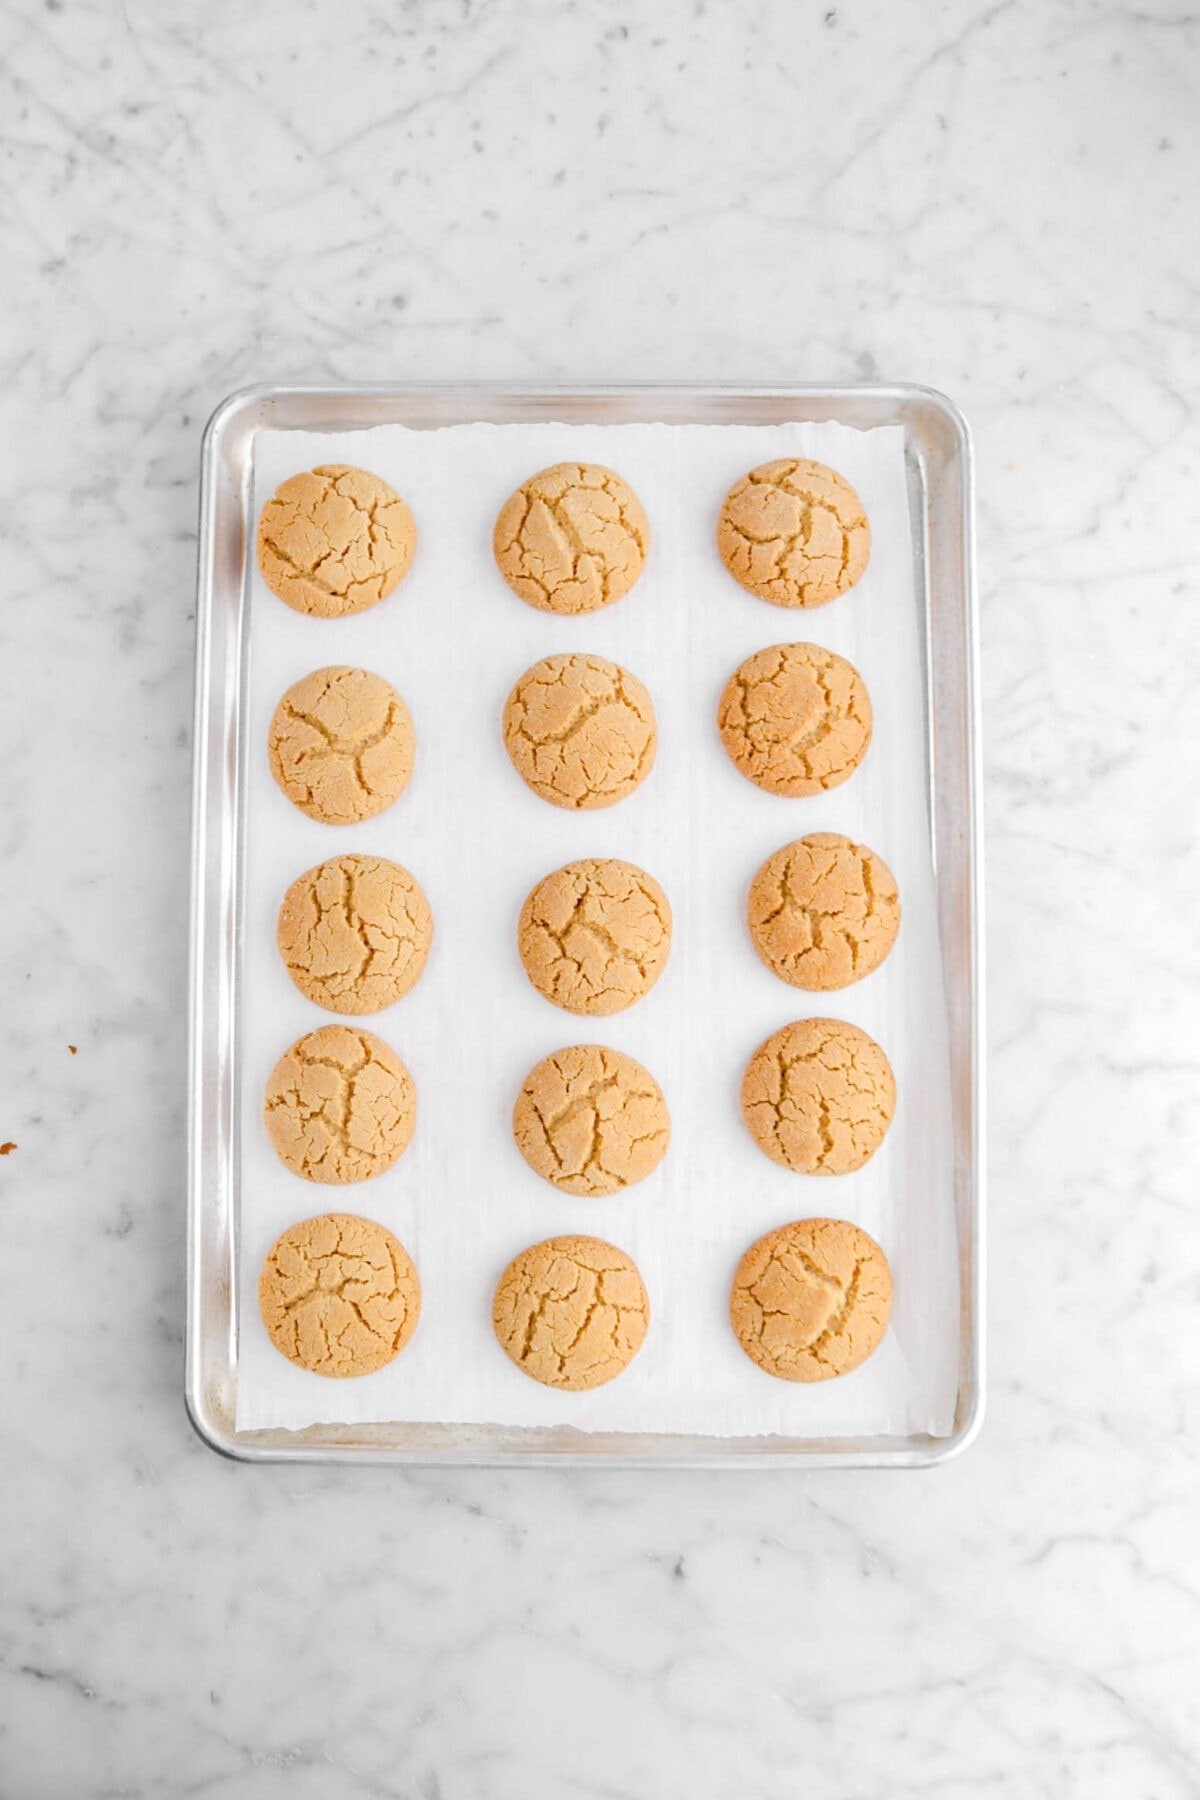
Now, I’m sure you’ve noticed that we haven’t added the peanut butter cups. We wait until AFTER the cookies are baked to add them on top. If they’re added before baking, they will just melt and you’ll have a puddle in the center of each cookie. So, if you’re baking with kids, this is a part the adult is going to need to do, as we gotta get those peanut butter cups on ASAP!
While the cookies are in the oven, go ahead and unwrap the candies. That way, when the cookies come out of the oven, you can just pop them into the center of each cookie.
The best part? You only need 16 candies, which means you get to snack on the rest of the bag while you wait. 😉


Creating Your Spooky Spiders: 2 Ways!
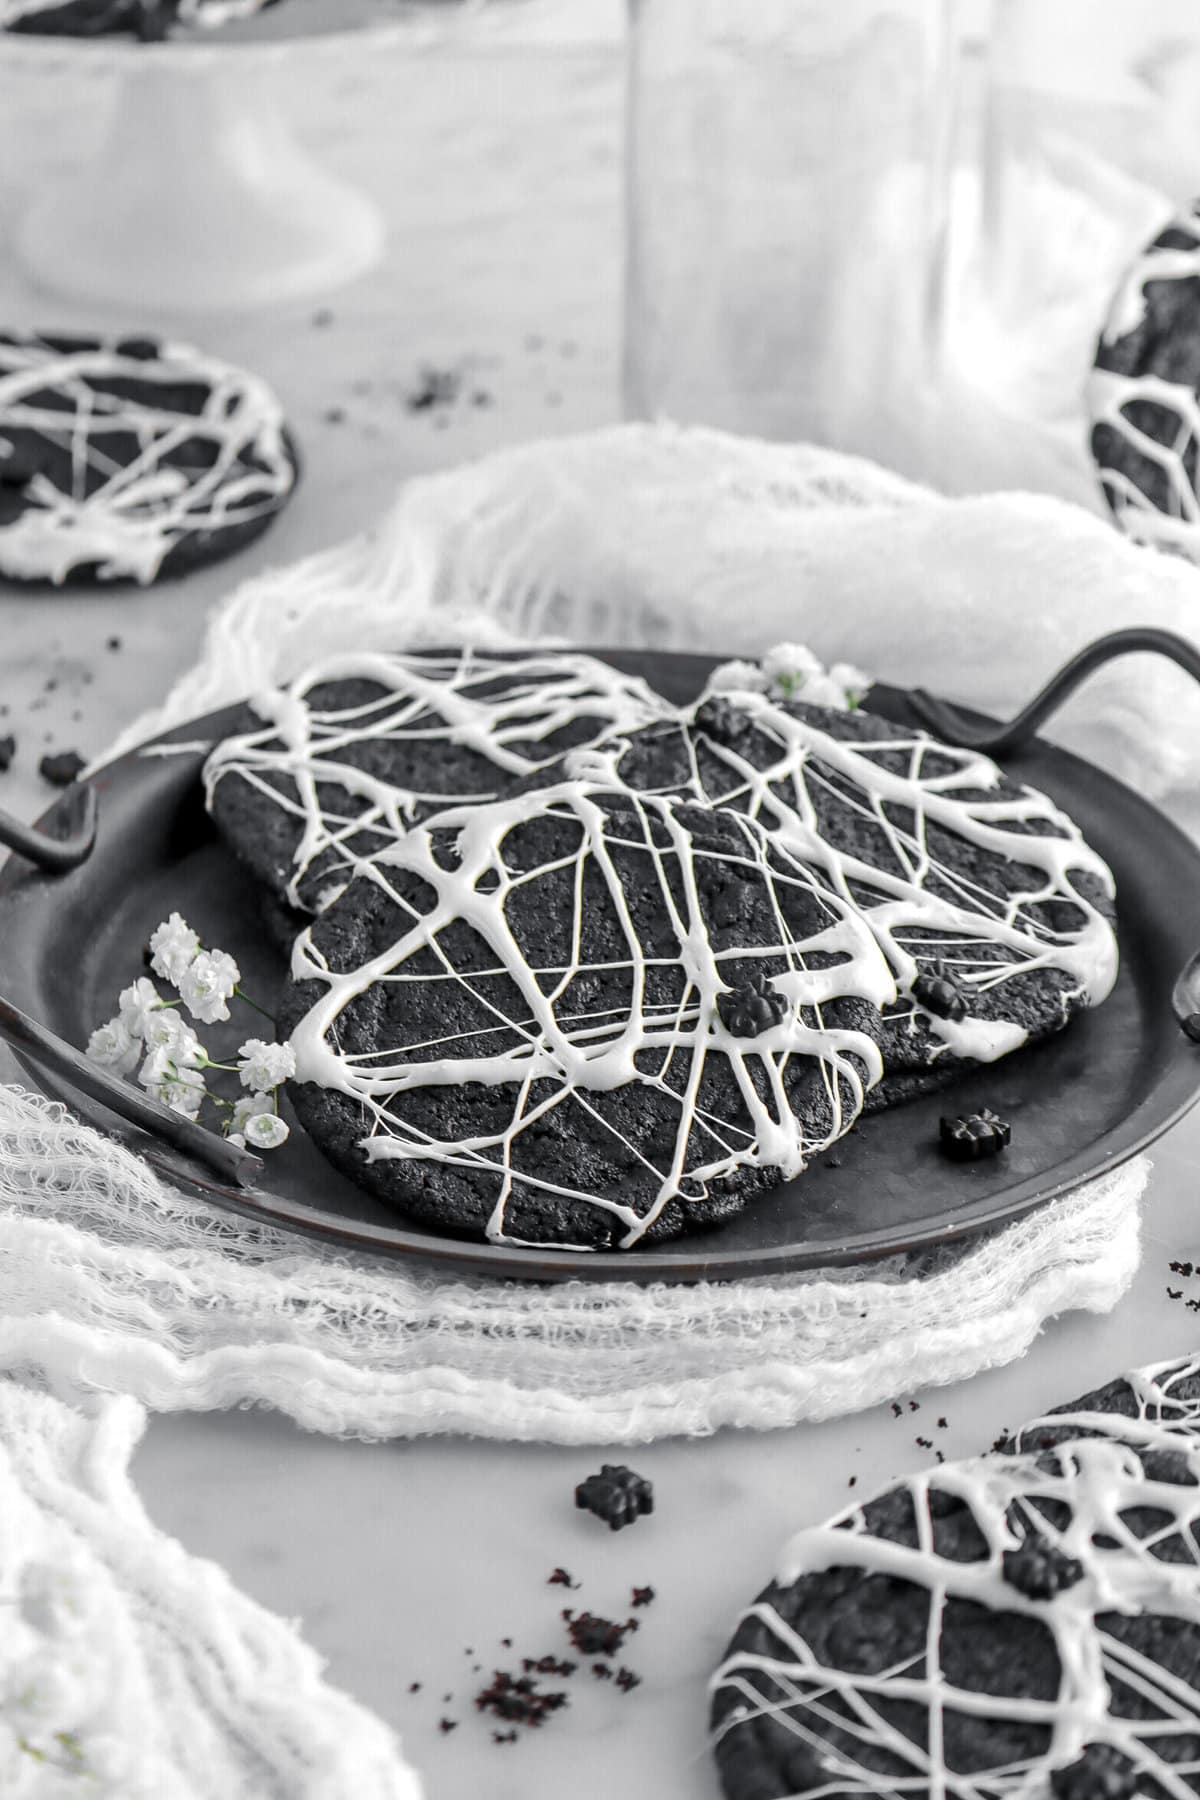
I tested two different methods for decorating these cookies. My favorite method uses melted chocolate to create the legs (which you see in the photos), as they reminded me of the marshmallow spiders from Halloweentown, but I still wanted to add both methods to the post to give you some options!
- Method 1: While the cookies are still a little warm, add desired amount of candy eyes to the base of the peanut butter cup. I added 3 eyes per cookie, but it’s totally up to you! Now, we need to wait for the cookies to cool completely. I put mine in the fridge to speed up the process, but it’s not necessary. Once cool, melt some milk chocolate and pour into a piping bag. Pipe 6 legs, three on each side. That’s it! Super easy and super cute.
- Method 2: With this method, you’re still going to need a little bit of melted chocolate and the candy eyes, but instead of piping legs, we are going to use black liquorice twizzlers (the same we used to create whiskers for our black cat cupcakes!). While the cookies cool, cut the licorice in half longways. Then, cut each half into 3 equal length pieces (you should get six “legs” from each licorice candy). Once everything is prepped and the cookies are cooled, dot some melted chocolate onto the back of each candy eye and place onto peanut butter cup. Dip both ends of the licorice into the chocolate and place in a half loop onto the cookie to create a “leg”. You may need to hold the licorice in place for a minute to allow the chocolate to set.
Both ways create a cute decorated spider cookie! Below, you’ll see the process of the first method.


Be sure to let us know how you decorated your spiders in the comments below!
PS: Make a cookie decorating day of it and snack on some Halloween Candy Bark while you’re hard at work! 😉

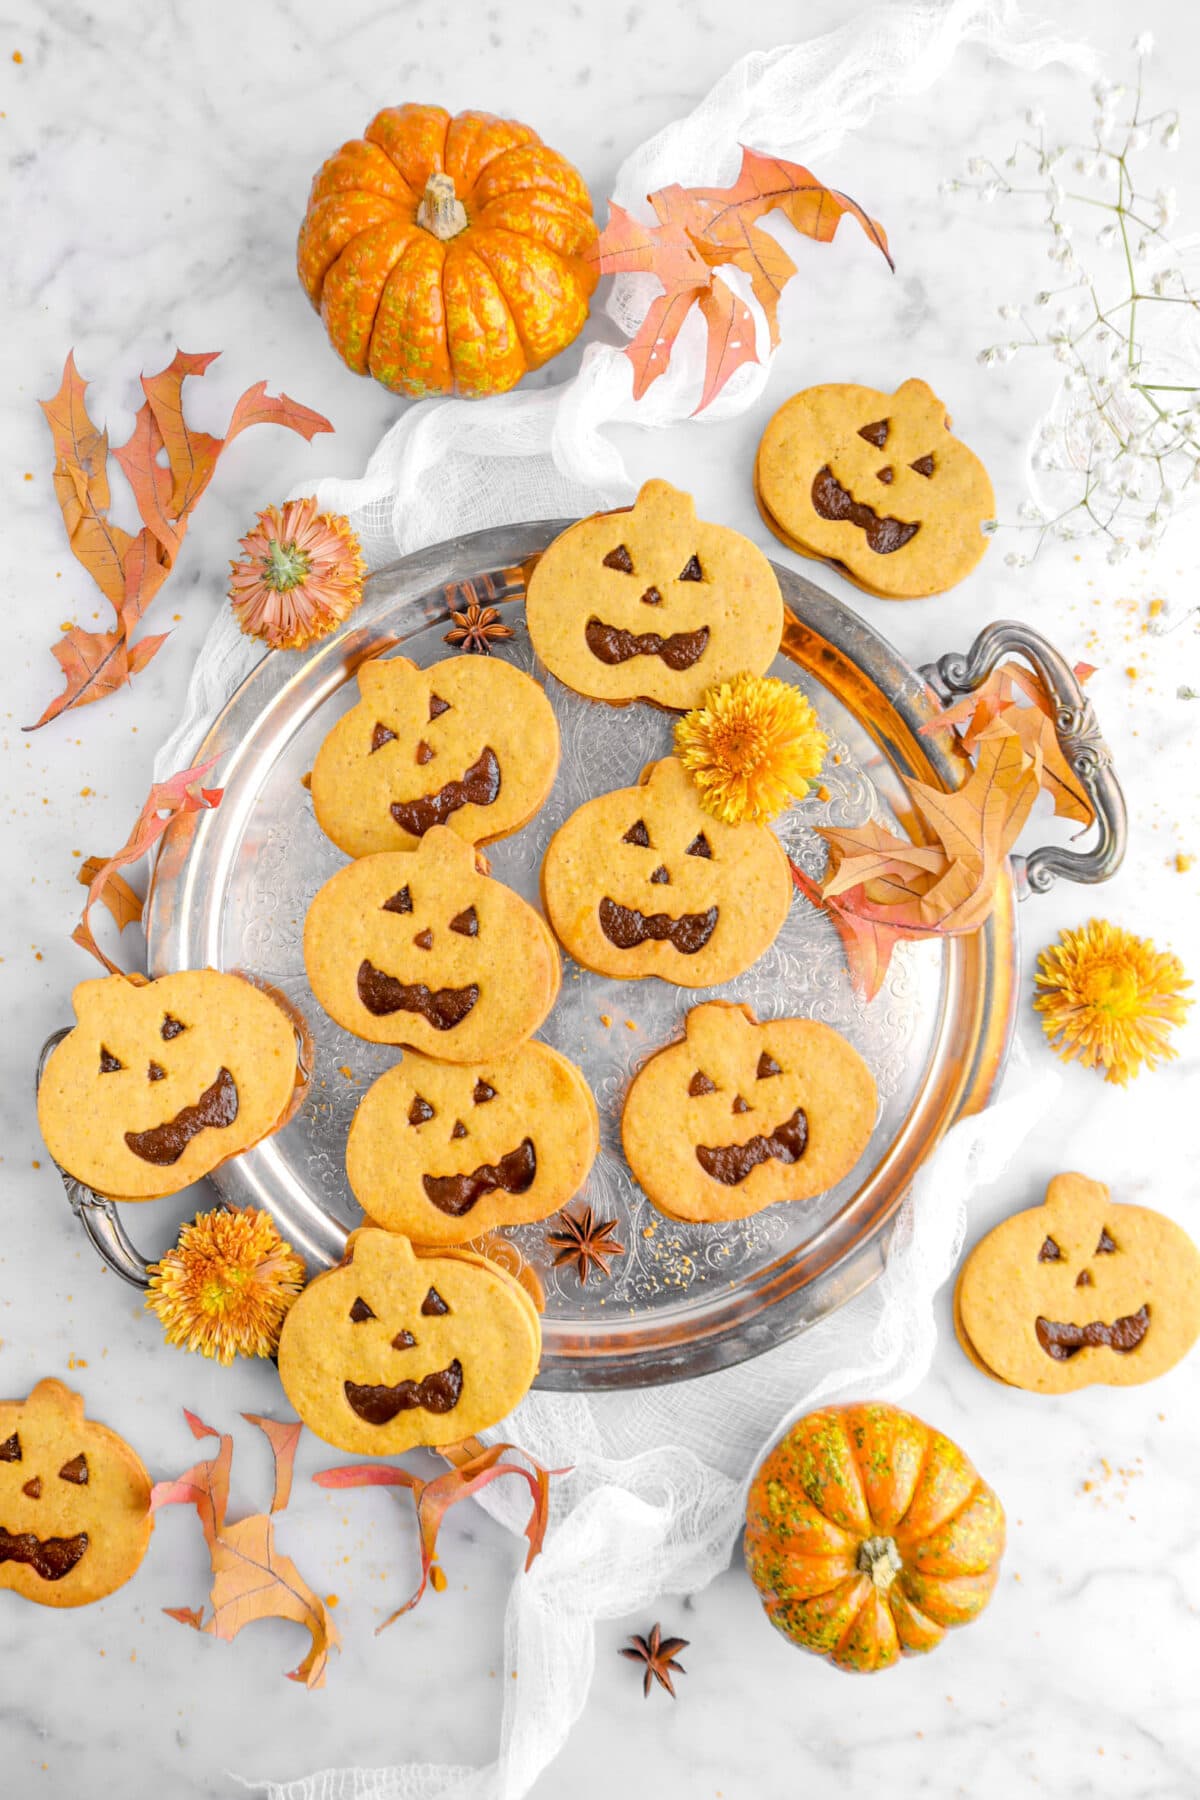
More Halloween Recipes:


When you make these Chewy Peanut Butter Cup Spider Cookies, leave a comment down below! We love hearing from you and answering any questions you might have! Also, be sure to tag us on social media and hashtag it #BakersTable.
Happy baking!
x, Caylie

Chewy Peanut Butter Cup Spider Cookies
Ingredients
- 6 Tablespoons unsalted butter
- ⅓ cup granulated sugar
- ⅓ cup brown sugar
- 6 Tablespoons smooth peanut butter
- 1 large egg
- ¼ teaspoon vanilla extract
- 1 cup all purpose flour
- ¾ teaspoon baking powder
- ¼ teaspoon baking soda
- ¼ teaspoon salt
- 16 mini peanut butter cups
- 48 mini candy eyes
- ½ cup milk chocolate, melted
Instructions
- Heat oven to 350℉/177℃.
- Line sheet pan with parchment paper. Set aside.
- With an electric mixer, beat butter and sugars until light and fluffy, about 2-3 minutes.
- Beat in peanut butter.
- Add egg and vanilla.
- Beat until fully incorporated.
- Add flour, baking powder, baking soda, and salt.
- Mix just until combined.
- Use a 1½ Tablespoon cookie scoop to portion dough.
- Roll in granulated sugar.
- Bake for 12-15 minutes, or until the cookie is lightly browned.
Assembly
- While the cookies are still warm, press 1 peanut butter cup upside down in the center of each cookie. (Don't push it all the way through.)
- Place 3 candy eyes of one side of each cookie. Allow to cool.
- Once the cookies have cooled, melt chocolate in a microwave safe bowl in 15 second increments, stirring after each, until melted and smooth.
- Spoon chocolate in piping bag fitted with a #2 tip.
- Pipe 6 legs, 3 on each side of the cookie.
- Allow to set before serving.
Tools You May Need (affiliate links)
– Still Hungry? –
Here are a few recipes may like!