Graham Cracker Crust Recipe
Prep time: 10 min | Opt. Cook time: 5 min | Total time: 15 min
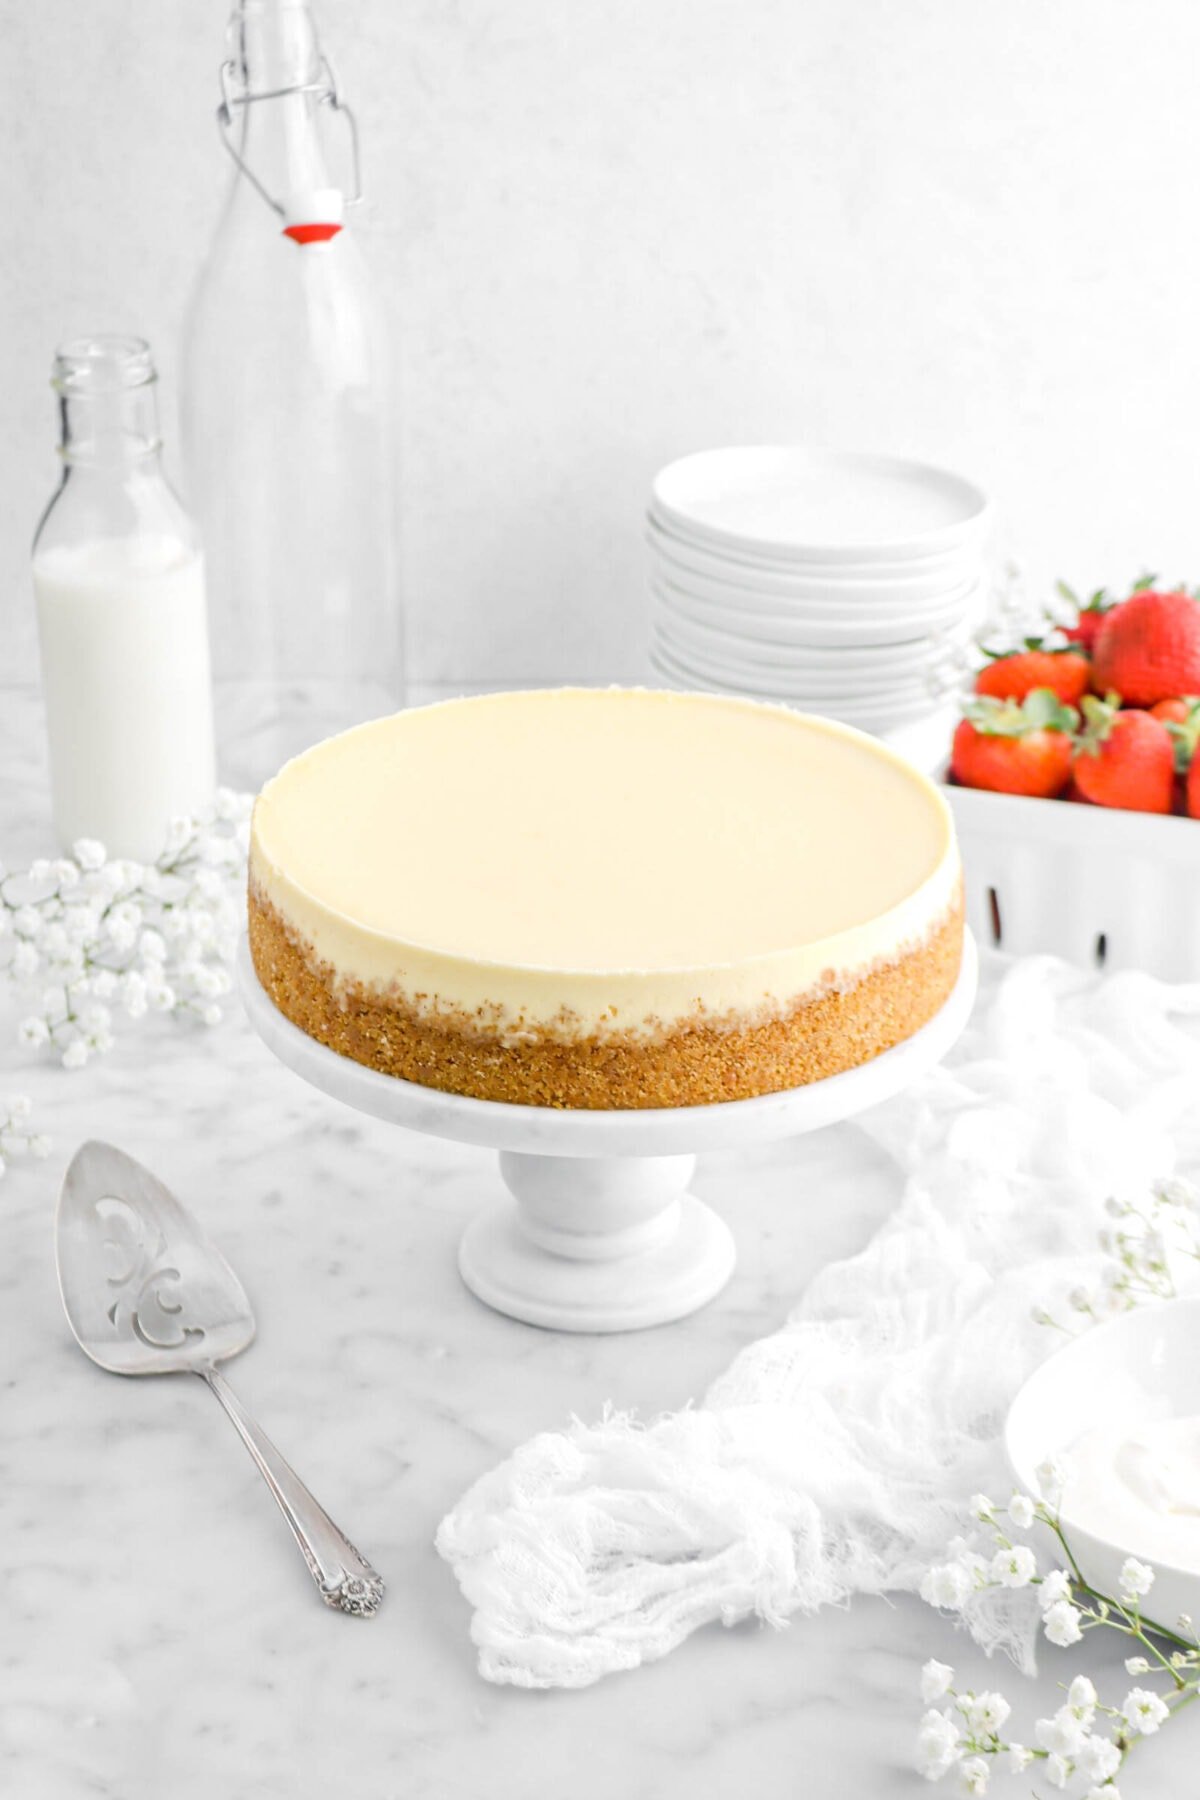
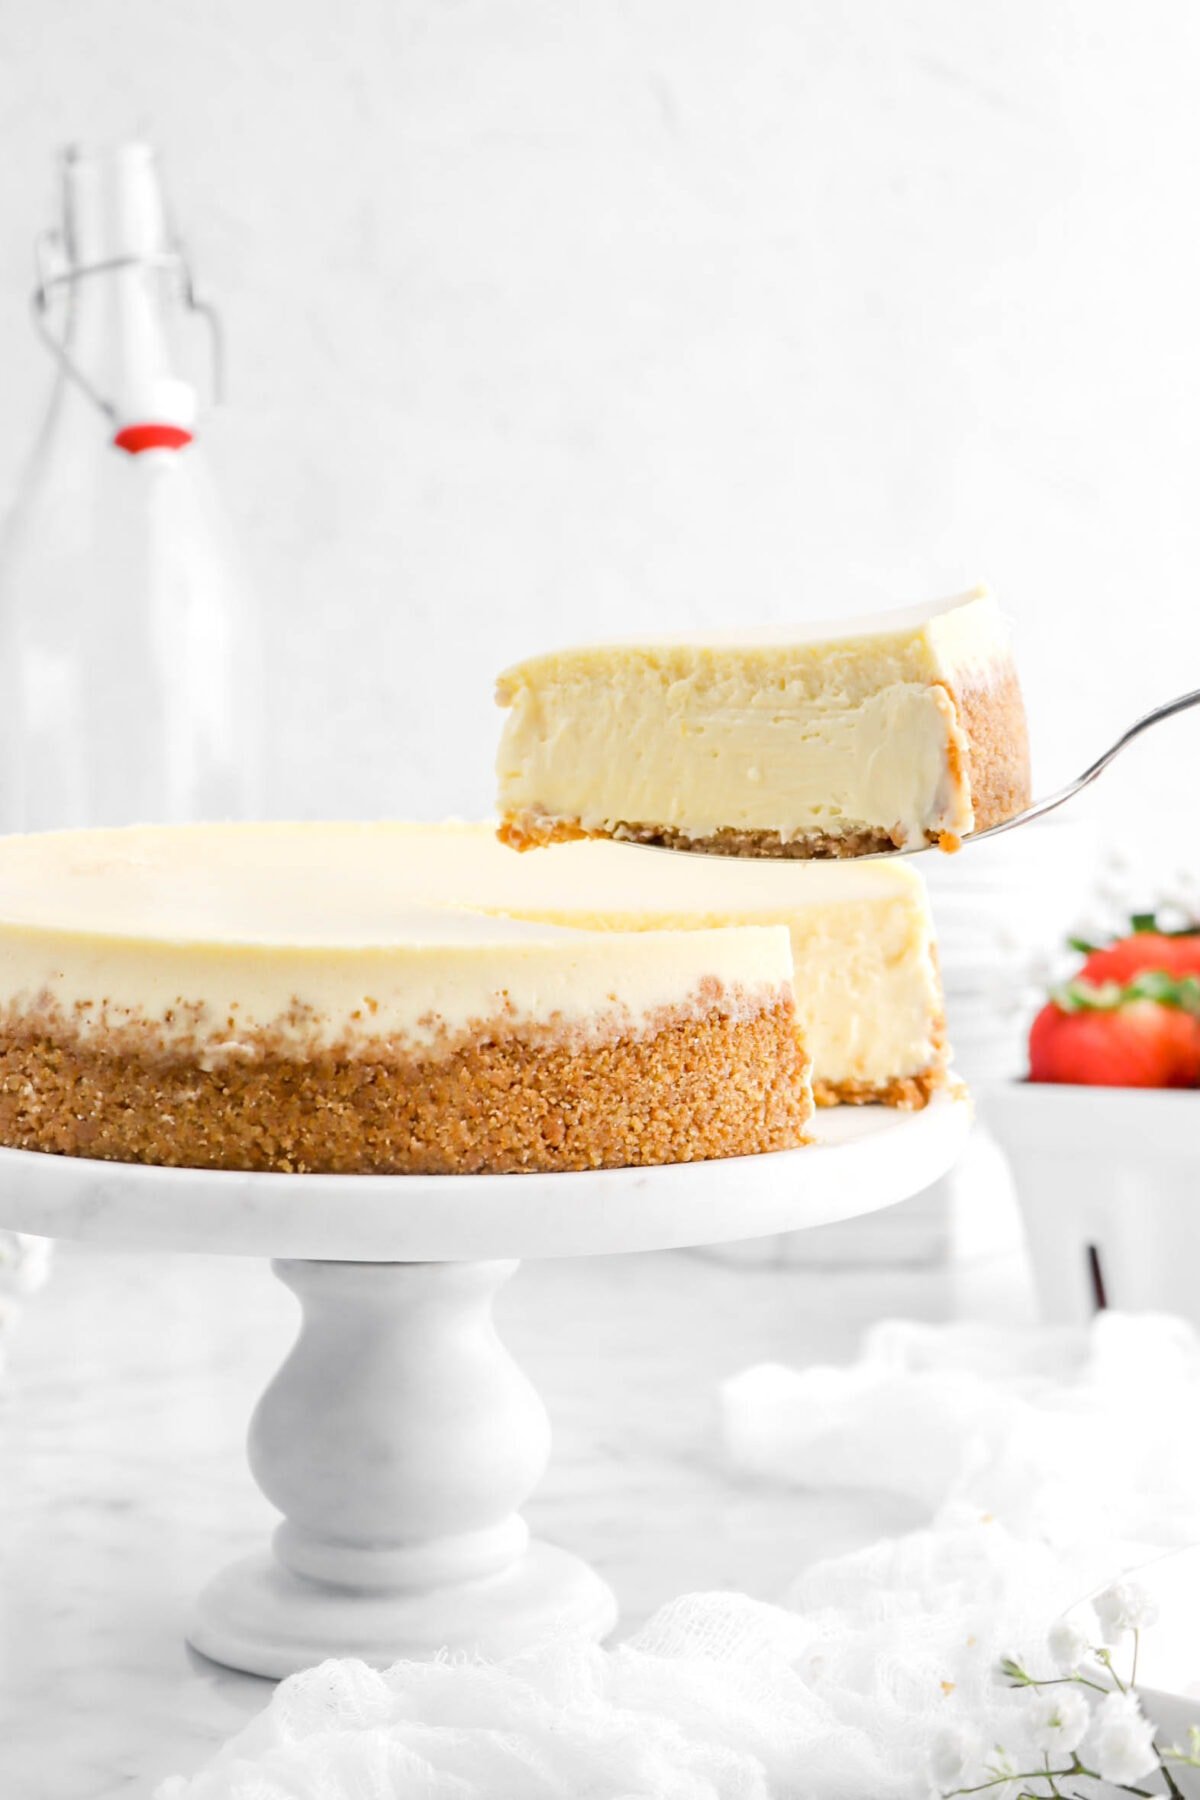
This classic graham cracker crust recipe is one of those essentials every baker should have. It comes together in minutes with just graham crackers, sugar, and butter – and it works beautifully for cheesecakes, pies, and so many other desserts. Once you try making it homemade, you’ll never go back to store-bought!
Graham Cracker Crust Recipe
Prep time:
10 min
opt. Cook time:
5 min
Total time:
15 min
This classic graham cracker crust recipe is one of those essentials every baker should have. It comes together in minutes with just graham crackers, sugar, and butter – and it works beautifully for cheesecakes, pies, and so many other desserts. Once you try making it homemade, you’ll never go back to store-bought!
– know before you bake –
Traci & Caylie’s
Recipe Highlights
This post may contain affiliate links, please visit our privacy policy for details.
Over time, we’ve tested graham cracker crusts with just about every kind of dessert imaginable! What we’ve learned is that the method matters just as much as the ingredients.
Crushing the crackers to the right texture, getting the butter-to-crumb ratio spot on, and pressing the mixture evenly into the pan are the little details that make the difference between a crust that crumbles apart and one that slices cleanly every single time.
This recipe is straightforward, but it’s also reliable. Once you know the technique, you can adapt it for different desserts and even play around with variations — chocolate grahams for a richer crust, gluten-free crackers for dietary needs, or a pinch of cinnamon for a warm spice note.
It’s one of the recipes we come back to again and again because it simply works!


Traci & Caylie Crossland
We’re the mother-daughter duo behind Bakers Table, sharing from-scratch recipes made with love, experience, and a serious passion for baking. Traci brings decades of baking expertise, while Caylie brings a fresh perspective and a love for all things creative. Together, we test every recipe to make sure it’s easy to follow and absolutely delicious. Read more about us and our blog →
“Our kitchen is where memories are made — and we’re so glad you’re here baking with us.”
Why We No Longer Buy The Premade Crusts
Store-bought crusts are quick in a pinch, but they rarely live up to expectations. They’re often too sweet, a little stale, and not nearly as sturdy once sliced.
Making your own takes just minutes and gives you complete control. You can adjust the thickness, press it as firmly as you like, and even switch up the crackers — classic honey, chocolate, cinnamon, or gluten-free. The result is fresher, crisper, and always a perfect fit for whatever dessert you’re making.
Here’s what you’ll need:
Grab These 3 Ingredients
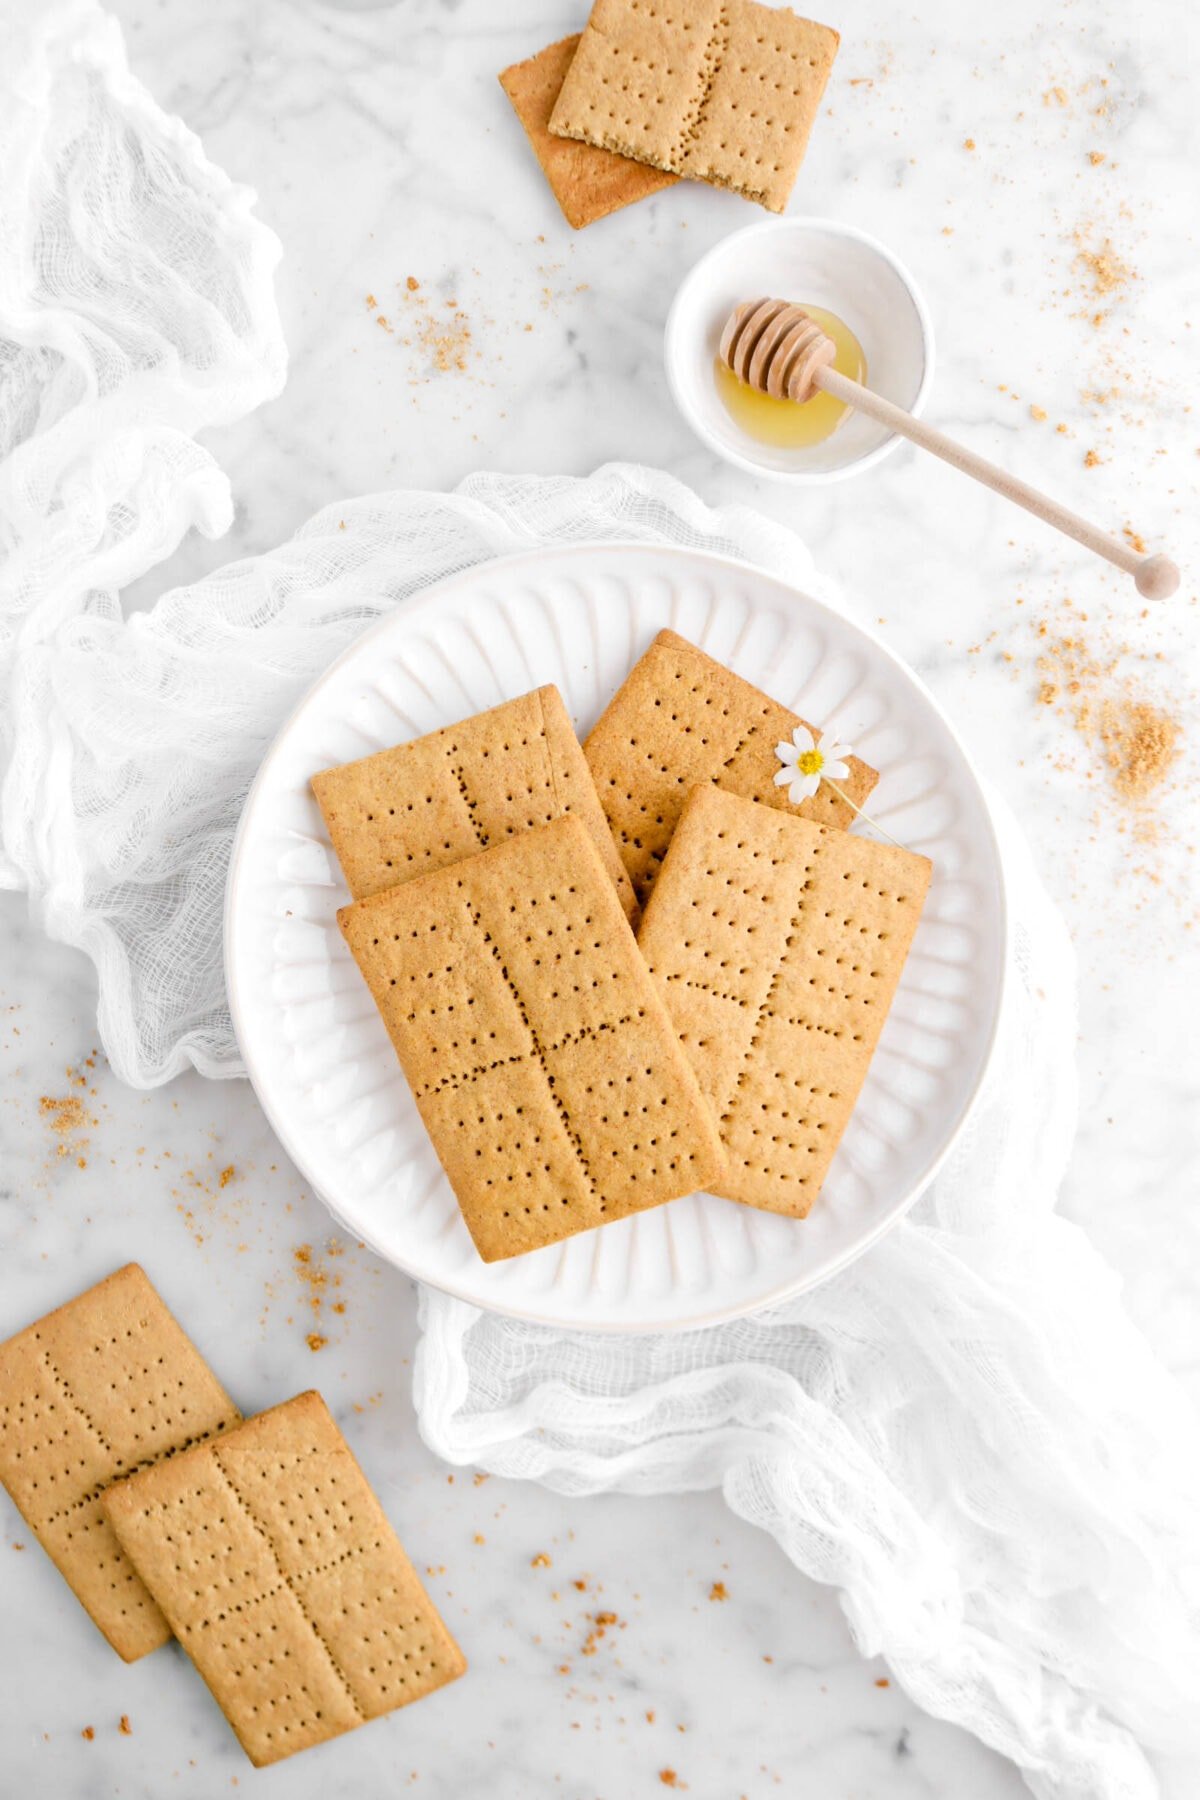
- Graham Crackers: About 16 full sheets (2 cups/204g crumbs). Crush them yourself or buy pre-crushed crumbs for convenience.
- Butter: Melted butter binds the crumbs together and adds richness. We found that 7 Tablespoons (98 g / 3 ½ oz) is just the right amount.
- Sugar: Just ¼ cup (50g) granulated sugar helps the crust set and balances the flavor.

We’ve Tested Graham Cracker Brands So You Didn’t Have To!
After testing different brands, we’ve noticed that not all graham crackers are made the same. Our favorite by far is Nabisco Honey Maid (not sponsored, we just genuinely love these graham crackers!). We’ve found that they are sturdier, have more flavor, and perfectly crispy. Store brands we tried tasted almost stale, seemed softer, and turned a bit mushy when mixed with melted butter, which makes the crust less firm once pressed into the pan.
That said, you can absolutely use whatever brand you have on hand! You can even use homemade. The crust will still work, but if you want the most consistent texture, Honey Maid tends to deliver the best results.
Graham Crackers By Weight
Since graham crackers can vary a little in size depending on the brand, it’s always safest to go by weight instead of just counting sheets. Here’s the breakdown we use in our kitchen:
- 1 cup graham cracker crumbs = 3.61 oz (about 102 g)
- 8 full sheets = 1 cup crumbs (about 102 g)
- 12 full sheets = 1 ½ cups crumbs (about 5.4 oz / 153 g)
- 1 full sheet = about 12–13 g (just under ½ oz)
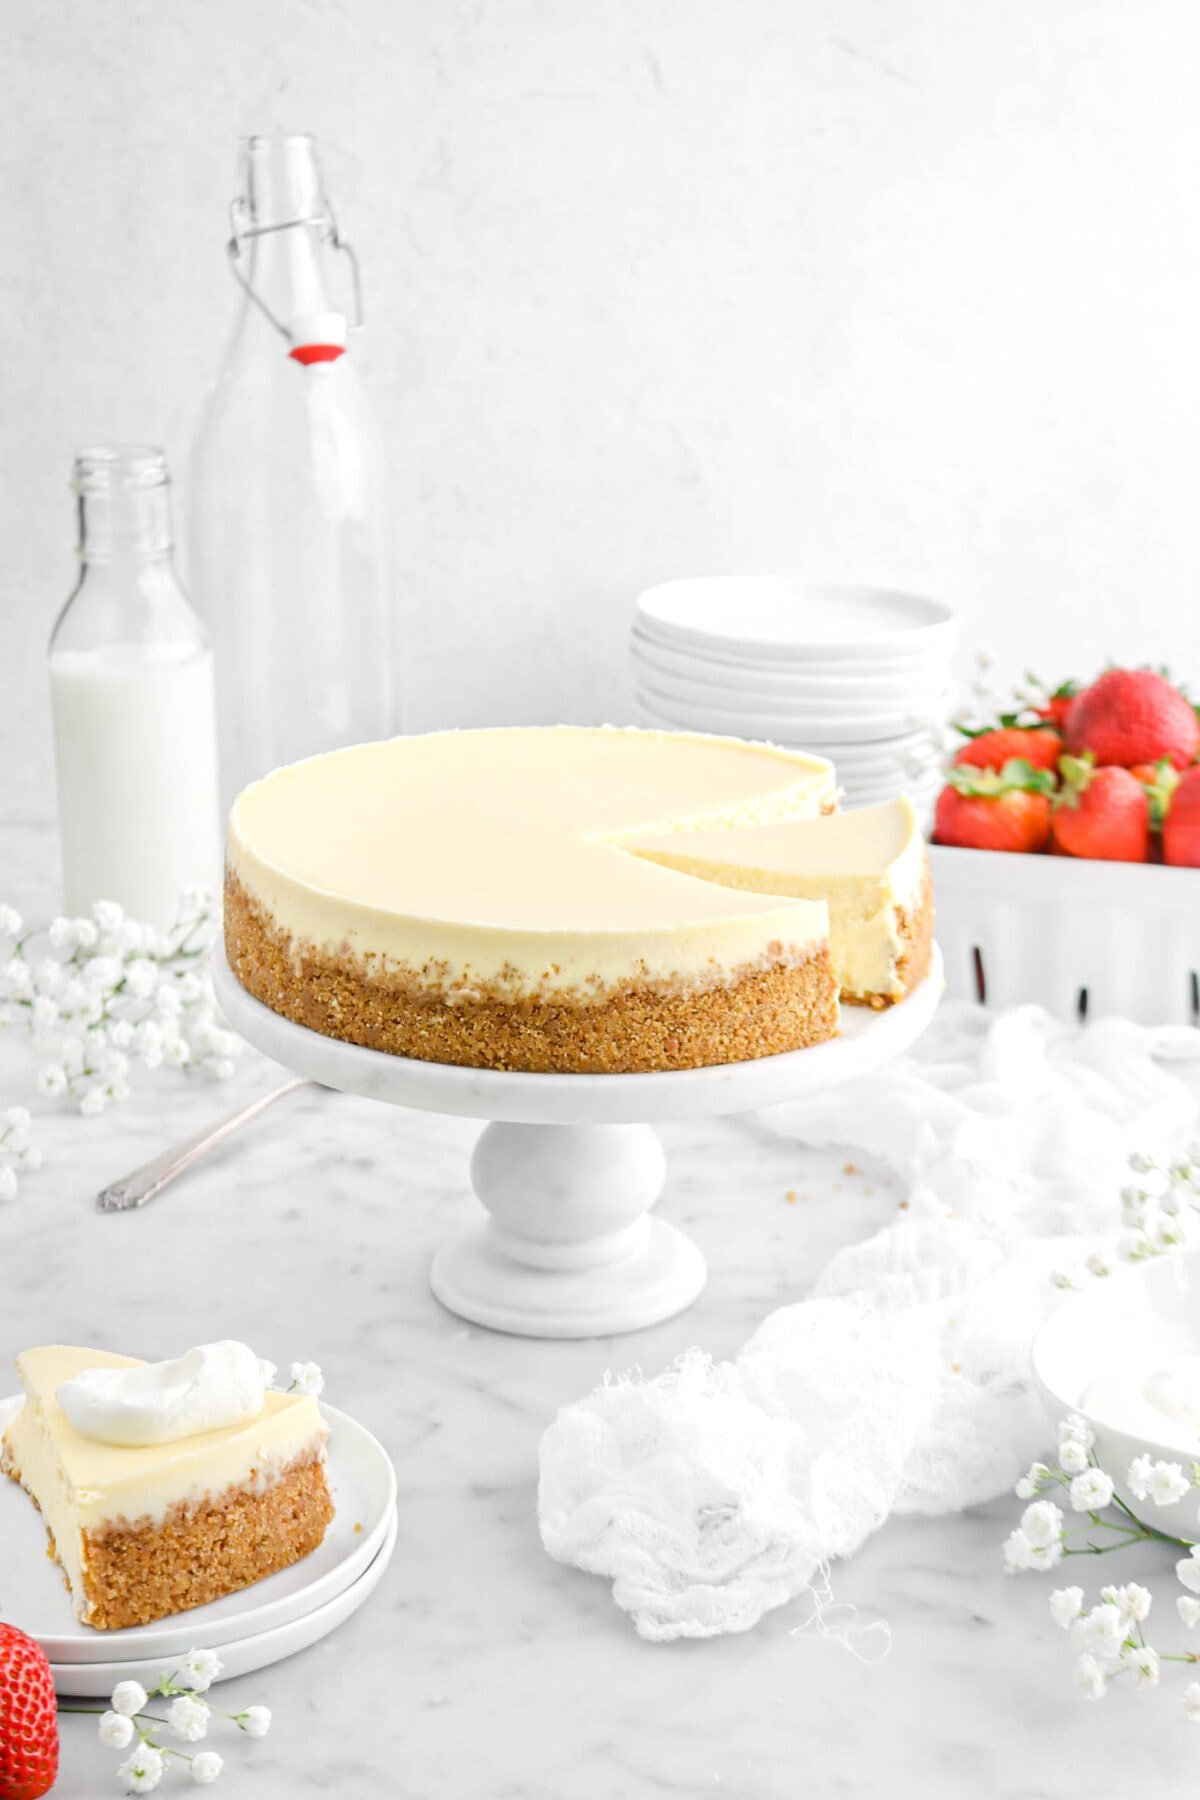
So for this recipe, you’ll need about 16 full sheets to get 2 cups of crumbs (roughly 204 g / 7.22 oz) – which is just the right amount for one 9-inch pie or 9-inch cheesecake crust.
How to Make a Graham Cracker Crust
Homemade graham cracker crust is so simple, and once you know the method you’ll never buy the premade shells again. Here’s how we make it every time:
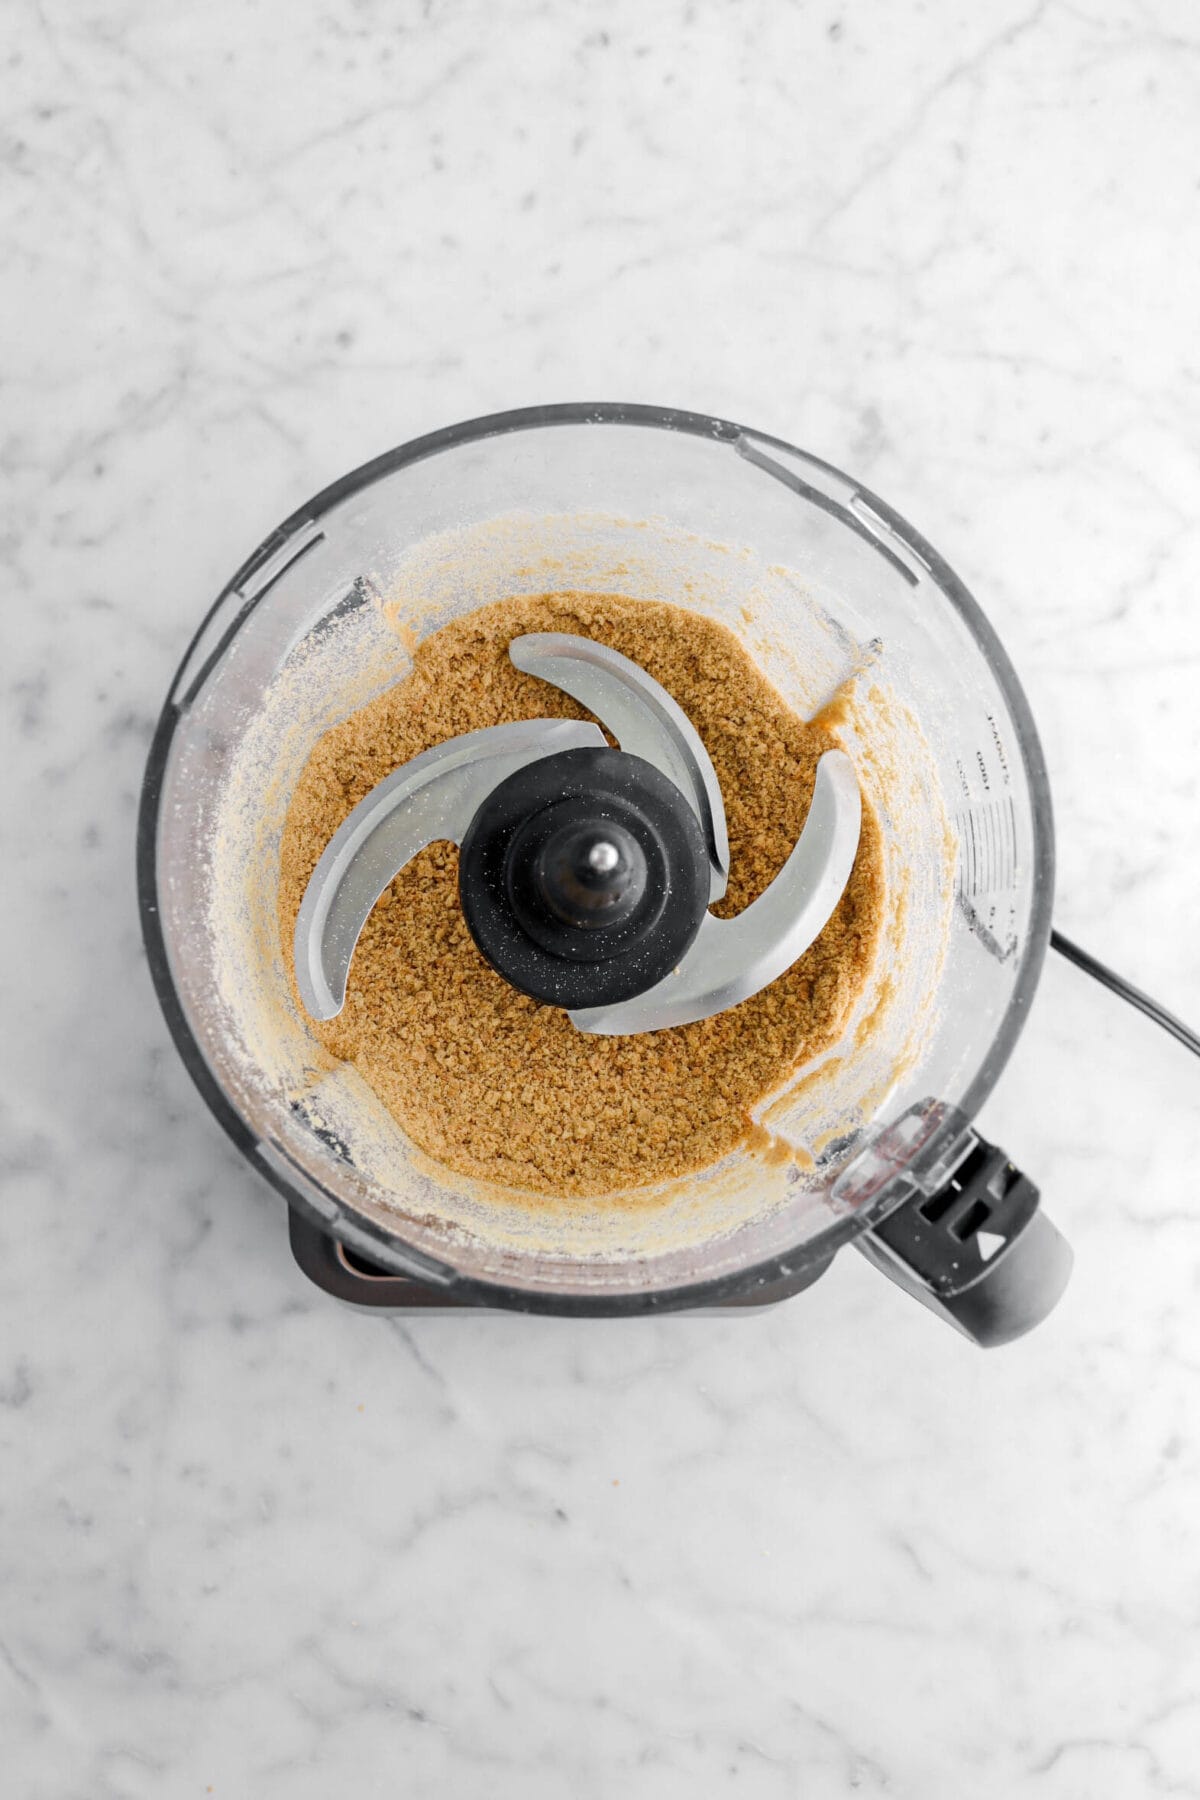
1. Crush the graham crackers.
You can use a food processor for fine, even crumbs, or place the crackers in a zip-top bag and crush them with a rolling pin. The finer the crumbs, the sturdier your crust will be. (You’ll need about 1 ½ cups of crumbs, which is 10–12 full graham crackers.)
2. Combine with butter and sugar.
Stir the crumbs together with melted butter and sugar until everything looks evenly coated. It should resemble wet sand — if it feels dry, add another teaspoon of melted butter.


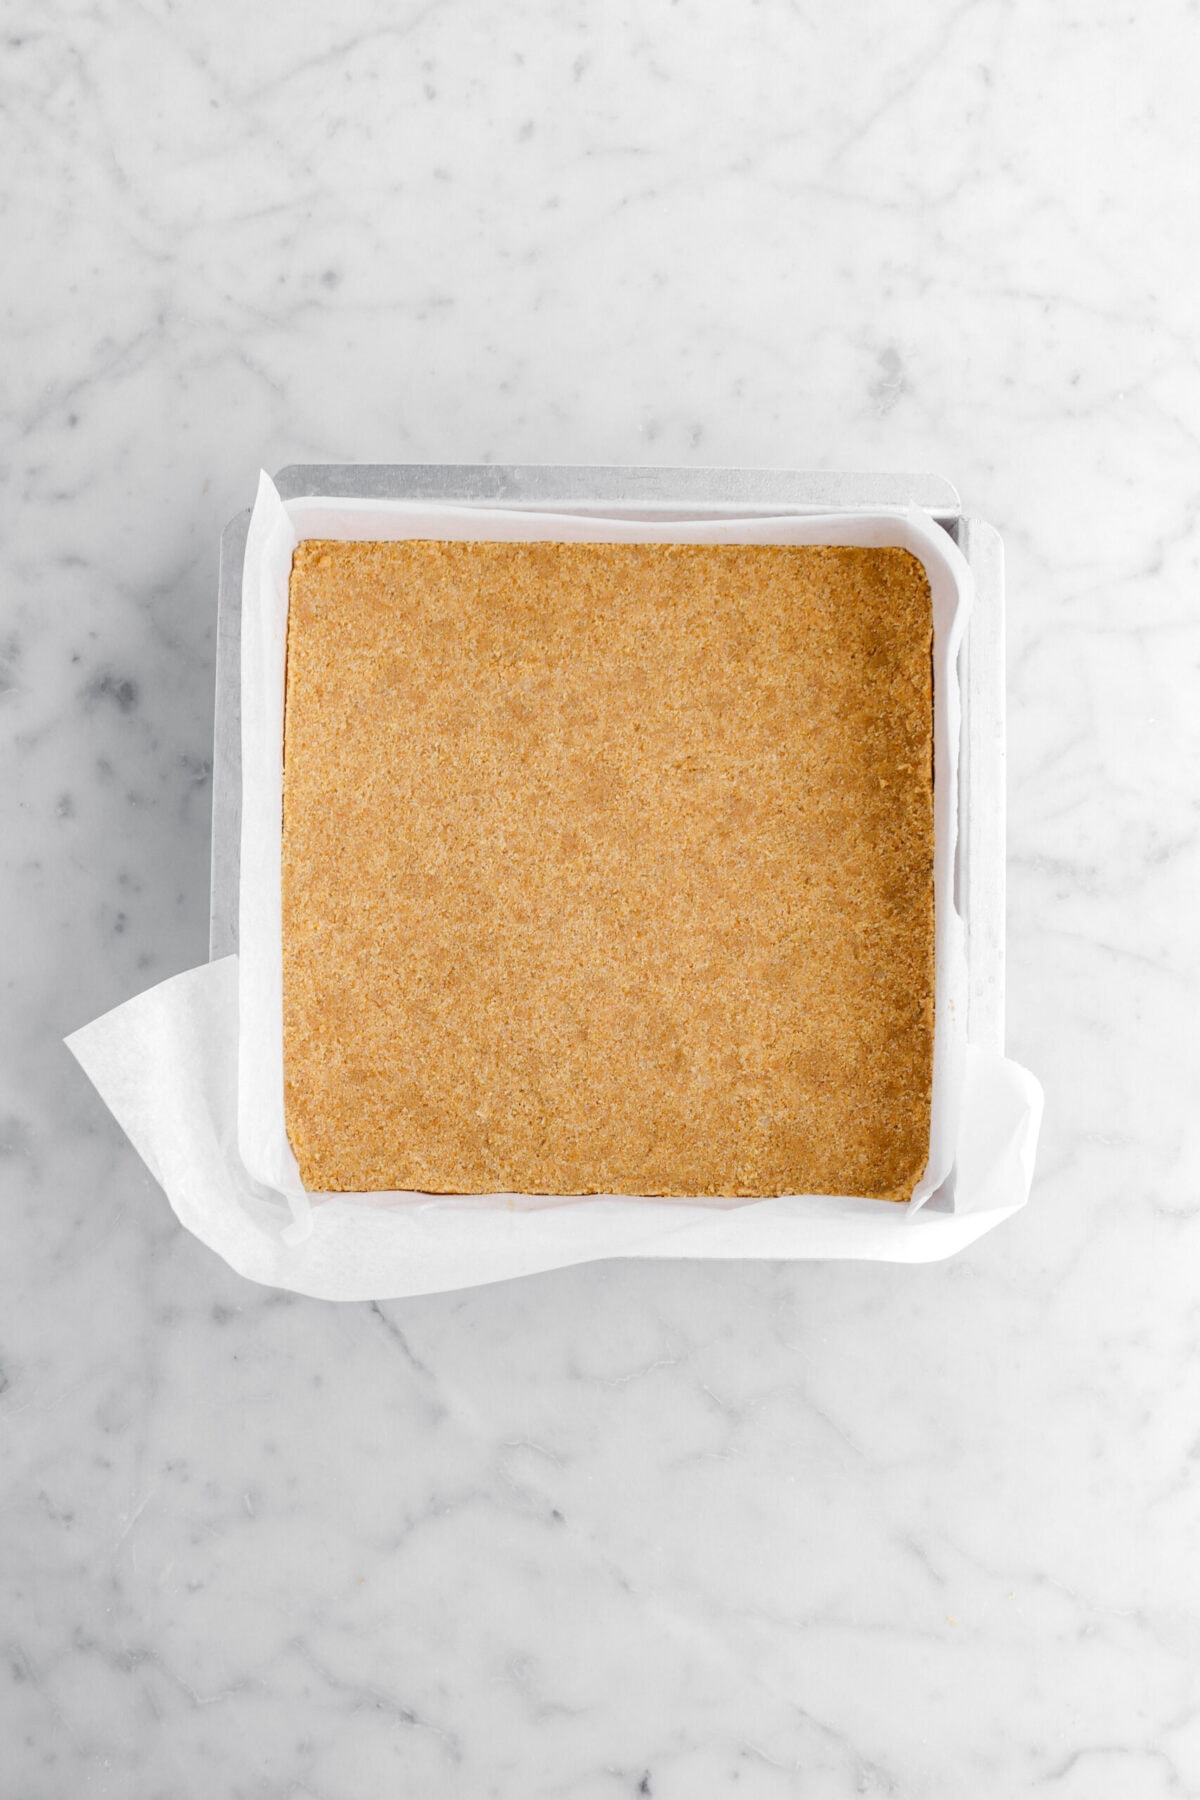
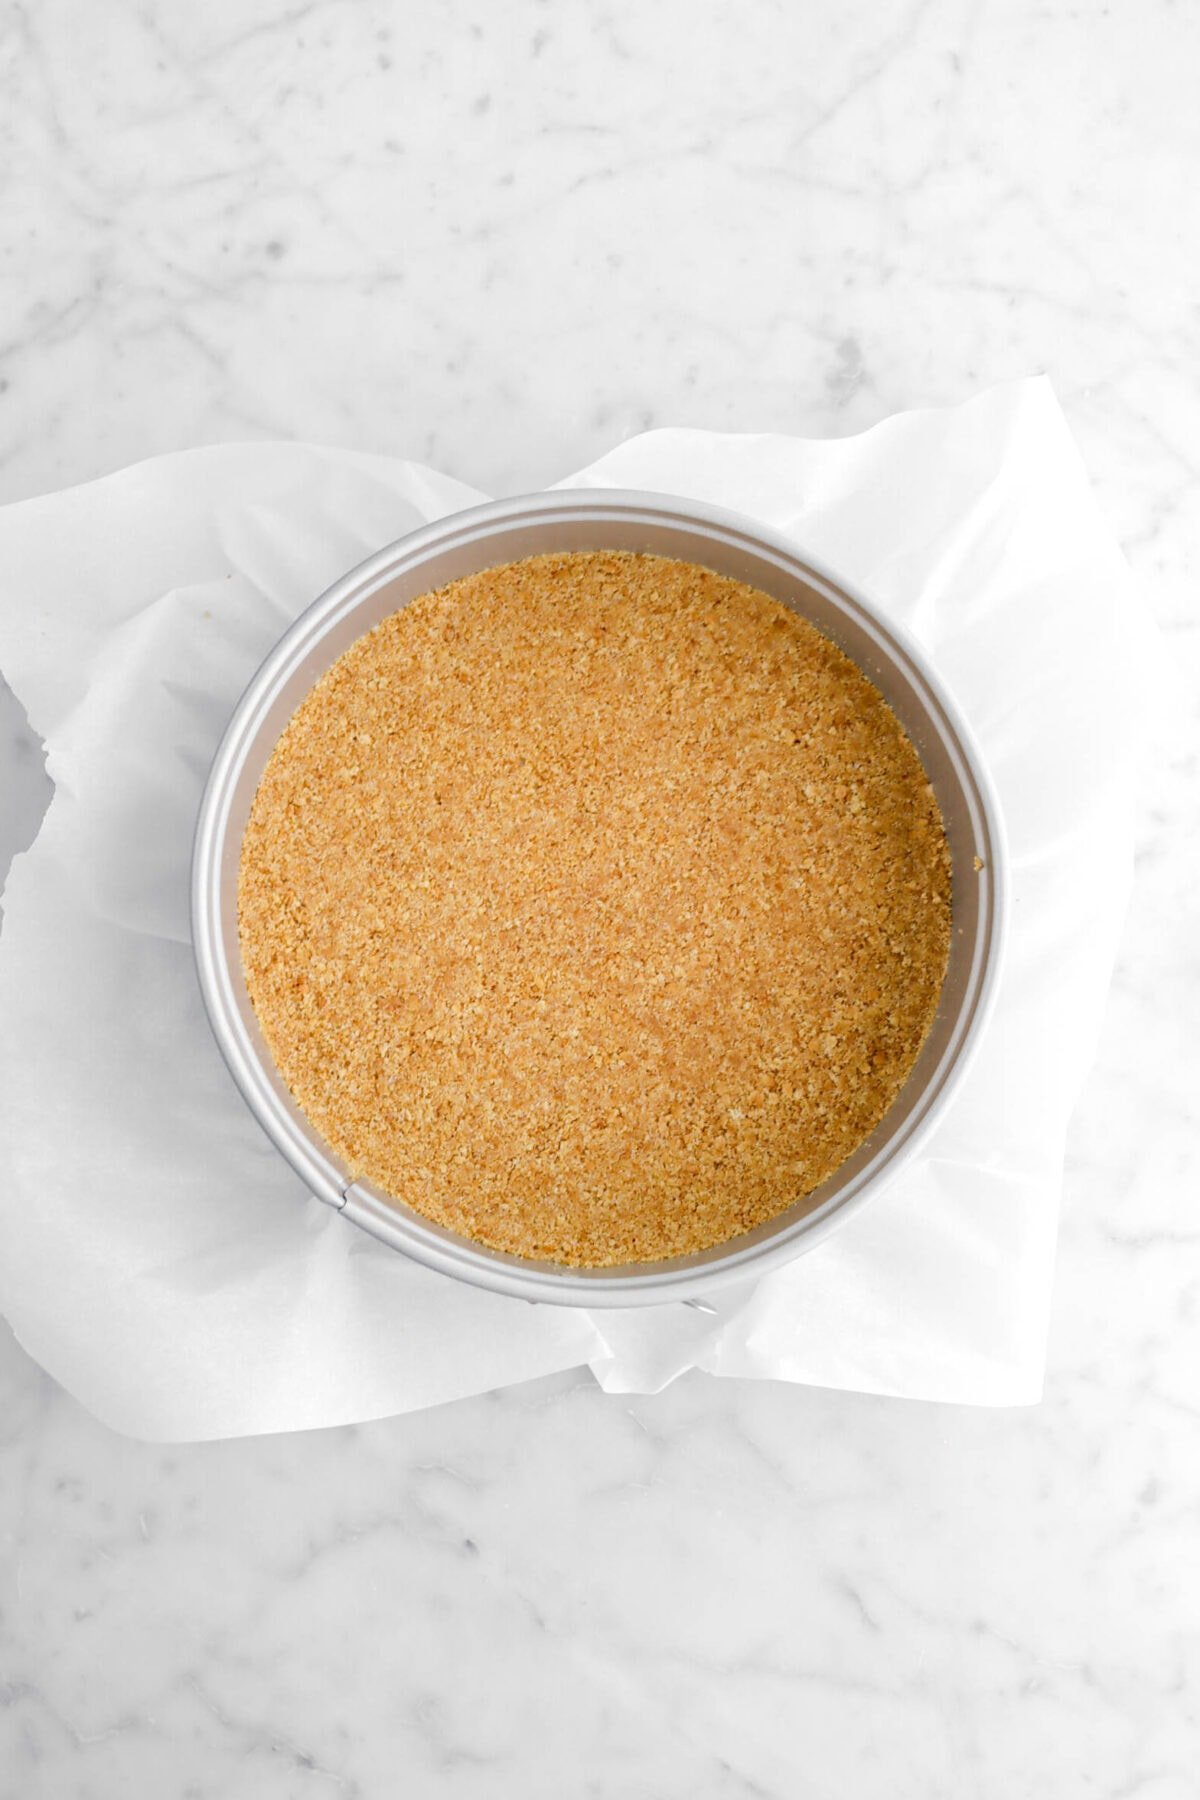
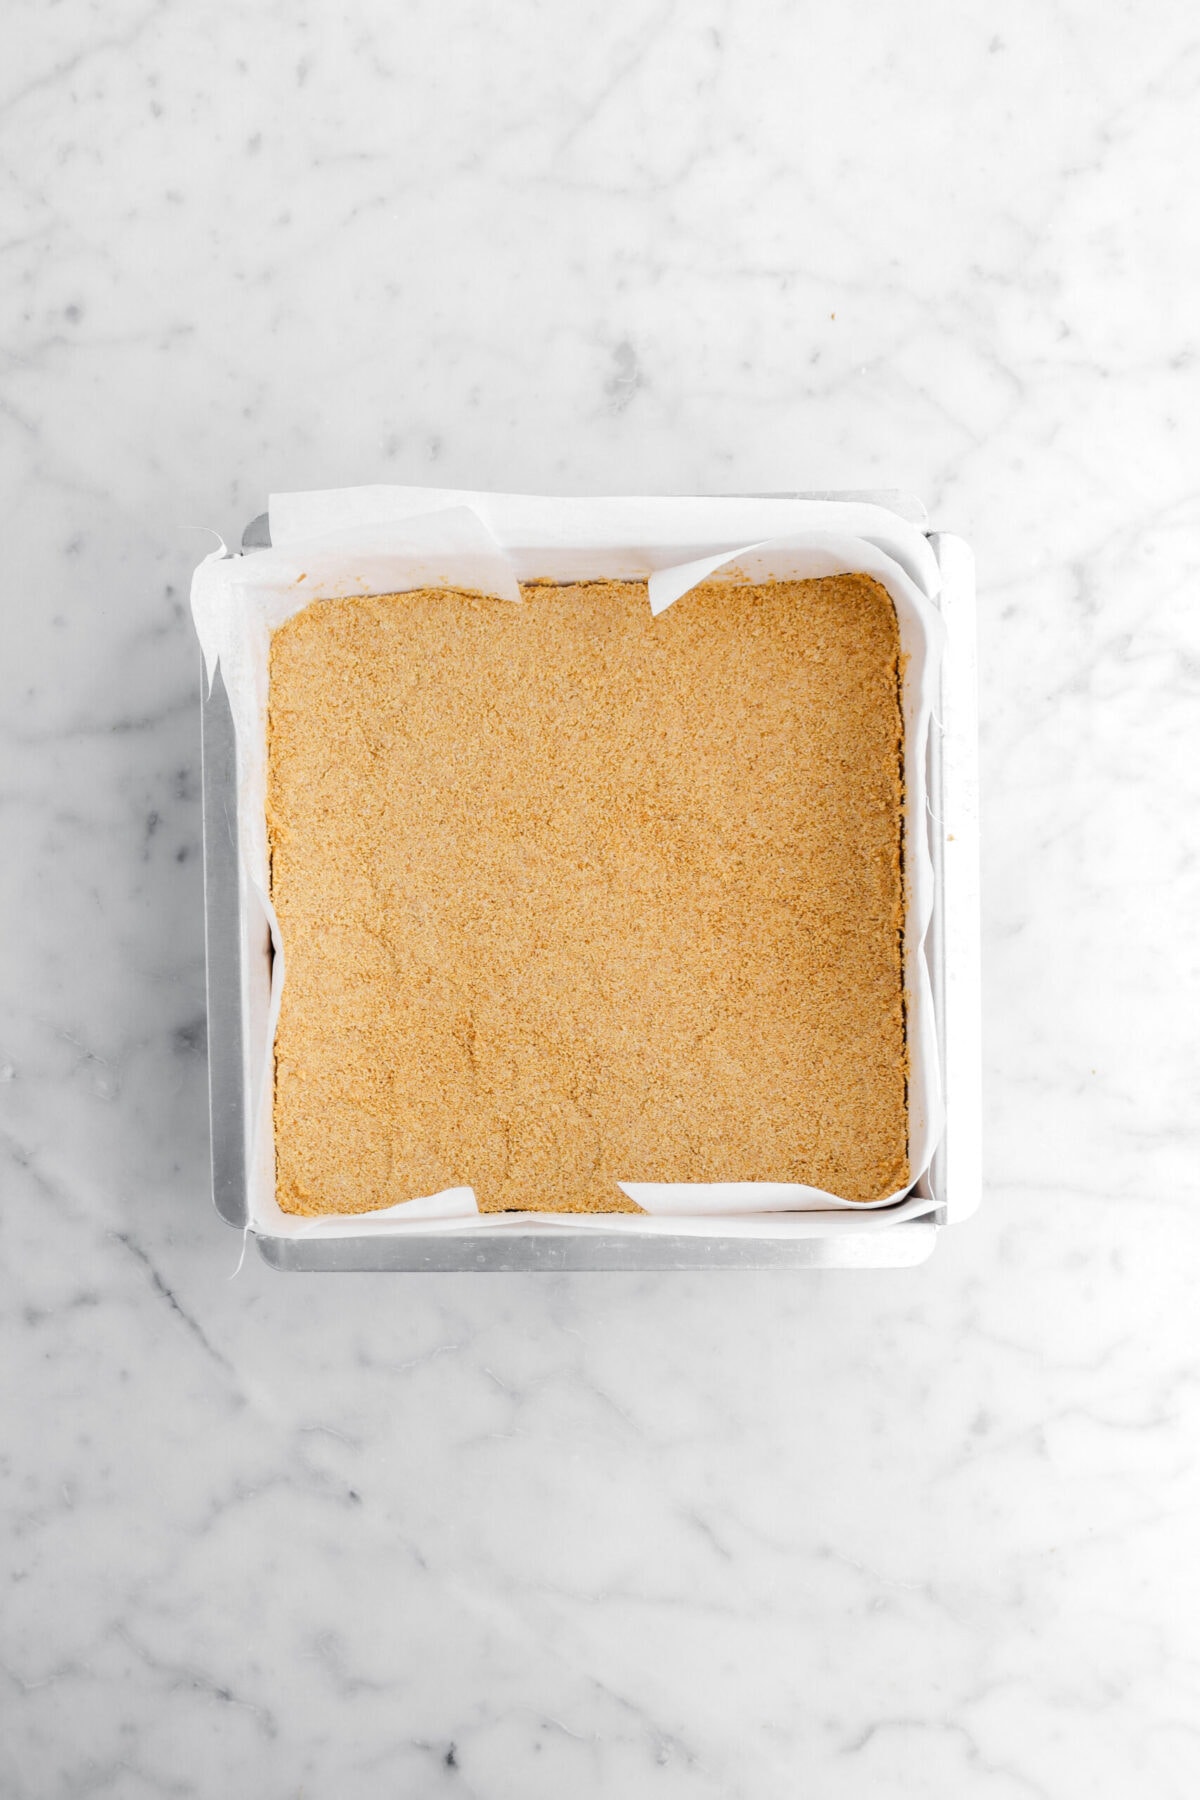
3. Press into the pan.
Pour the mixture into your pan and press it down firmly with the bottom of a measuring cup, glass, or (our favorite!) tart tamper. Make sure the crust is tight and even, especially around the edges – this is what keeps it from crumbling when you slice!

4. Bake or chill.
• For no-bake desserts, place the crust in the refrigerator for at least 1 hour before filling.
• For baked desserts, preheat the oven to 350ºF and bake for 5–10 minutes until lightly golden. Let it cool completely before adding your filling.

Unbaked Crust Baked Crust
How to Prevent a Graham Cracker Crust from Falling Apart
One of the most common frustrations with a graham cracker crust is when it crumbles or won’t hold together once you slice it. The good news? It’s easy to avoid if you keep a few simple things in mind:
- Crush the crackers finely. Larger crumbs won’t pack as tightly, which makes the crust more likely to break apart. Aim for a fine, sandy texture.
- Measure the butter accurately. Too little butter and the crumbs won’t bind; too much and the crust turns greasy and soft. Stick to the recipe amounts.
- Press firmly and evenly. Use the bottom of a measuring cup or glass to really compact the crumbs into the pan. Pay attention to the edges and corners.
- Bake (or chill) as directed. For baked desserts, a quick bake helps set the crust. For no-bake desserts, at least an hour in the refrigerator gives the butter time to firm up and hold everything together.
- Let it cool completely. If you add your filling before the crust is cooled (after baking), it can soften and crumble.
Follow these steps, and you’ll end up with a crust that’s sturdy enough to slice cleanly, but still buttery and tender when you bite into it.
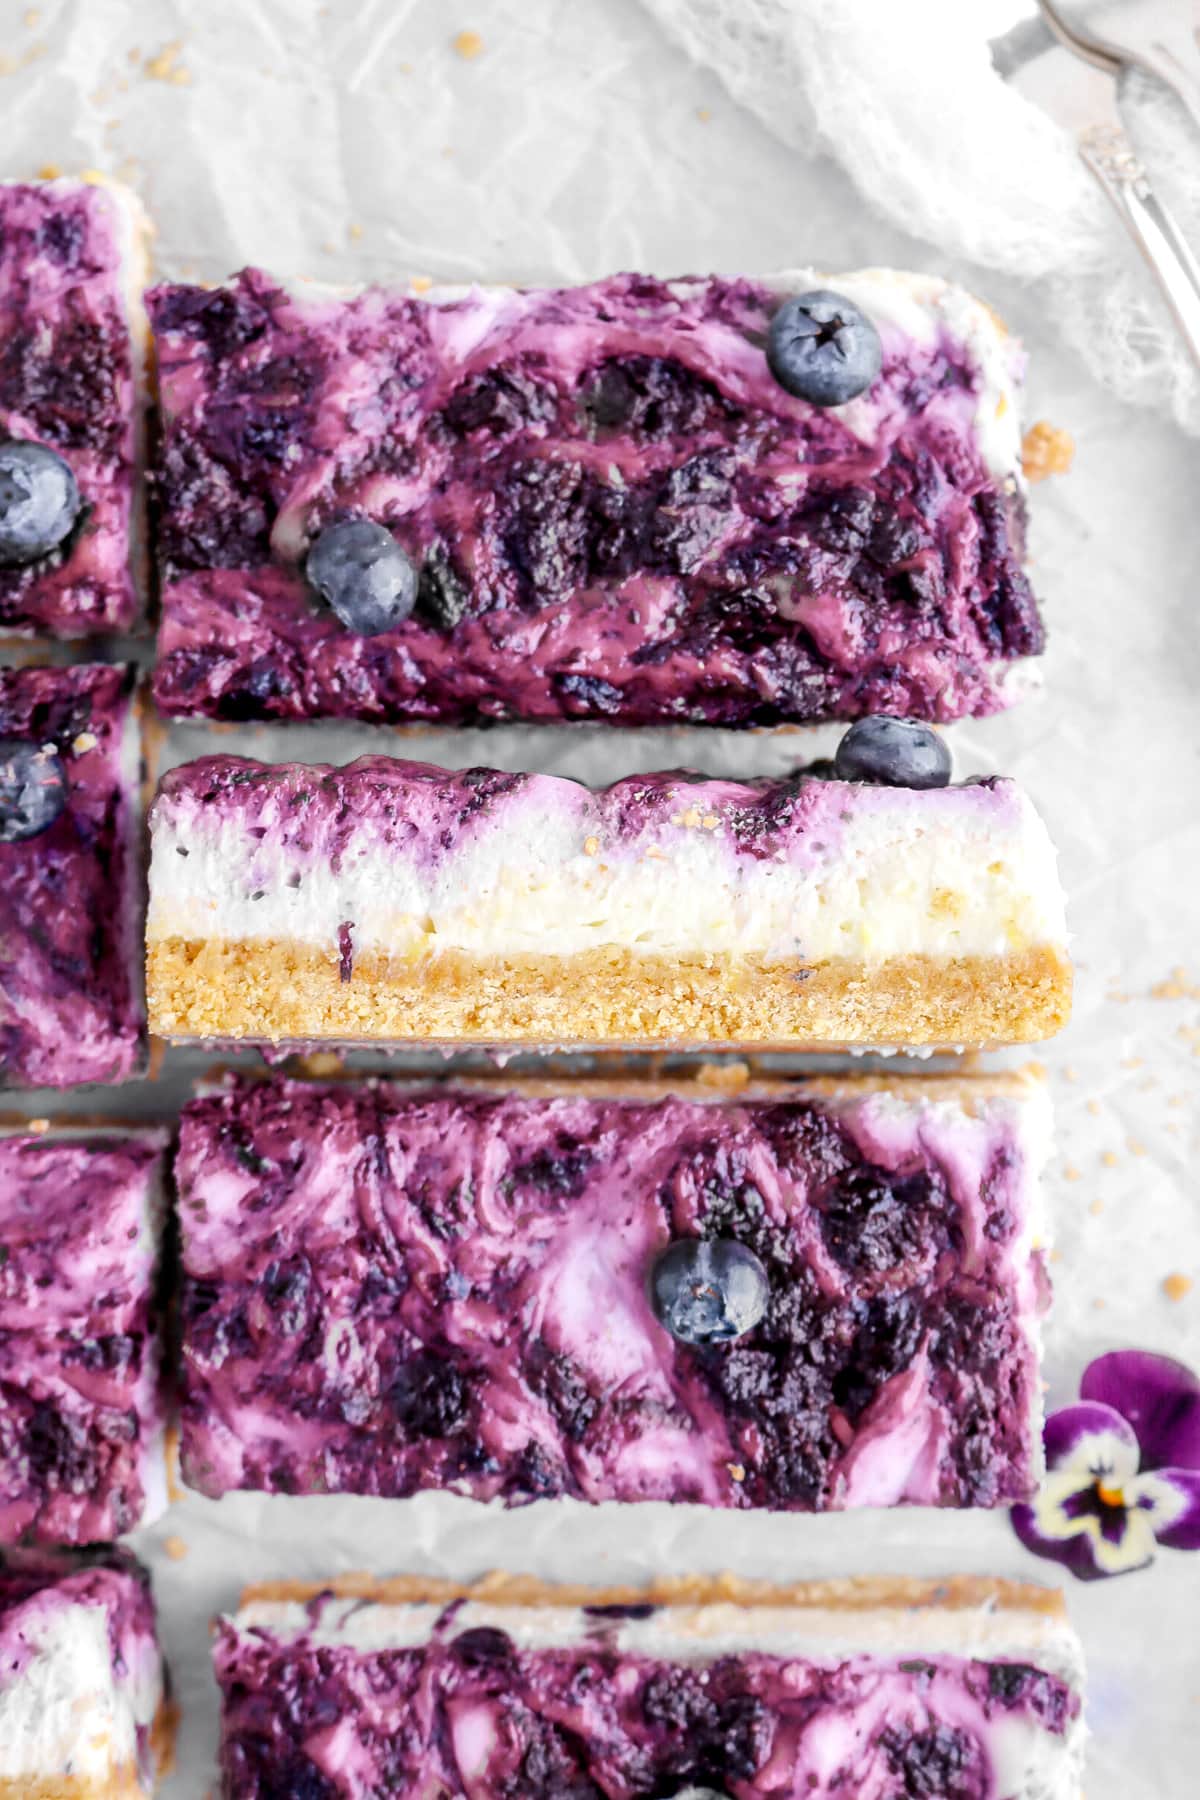
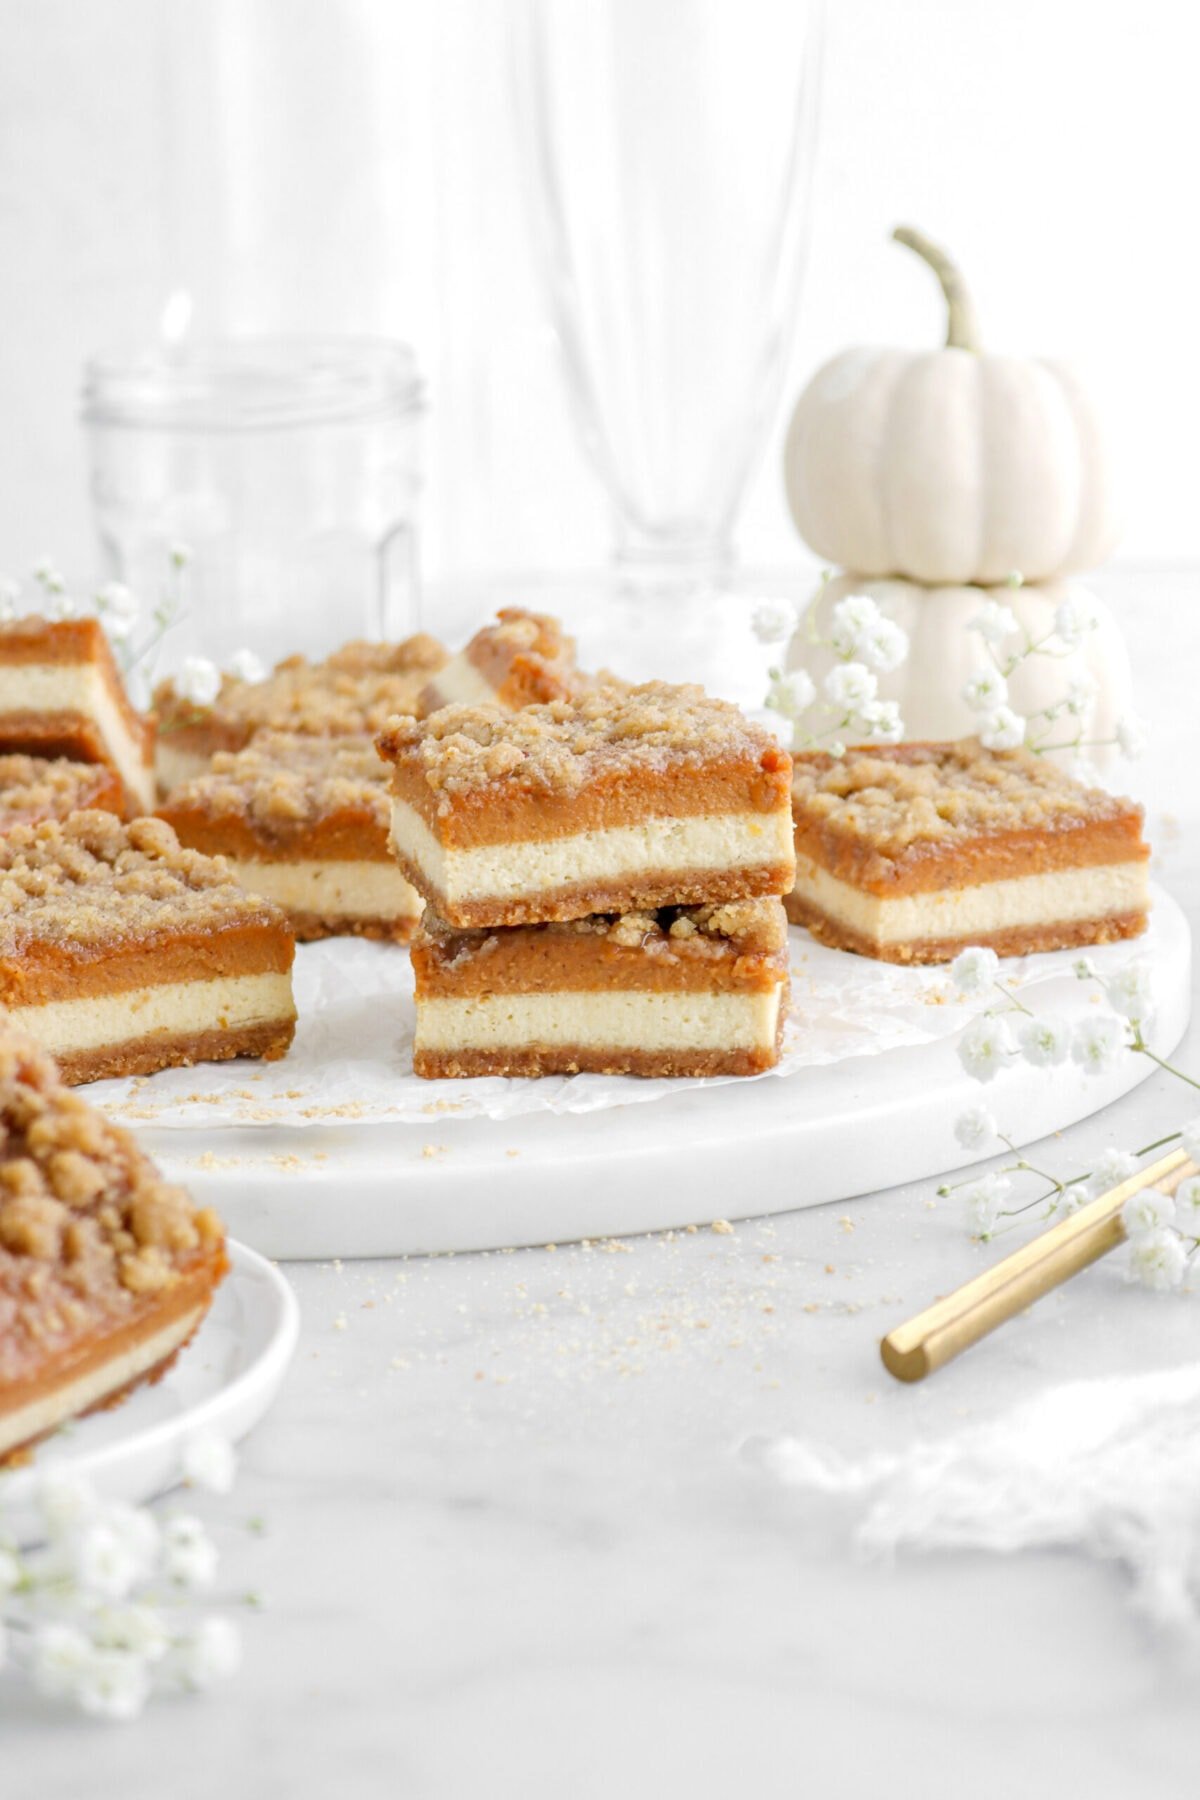
Other Crumb Crust Alternatives
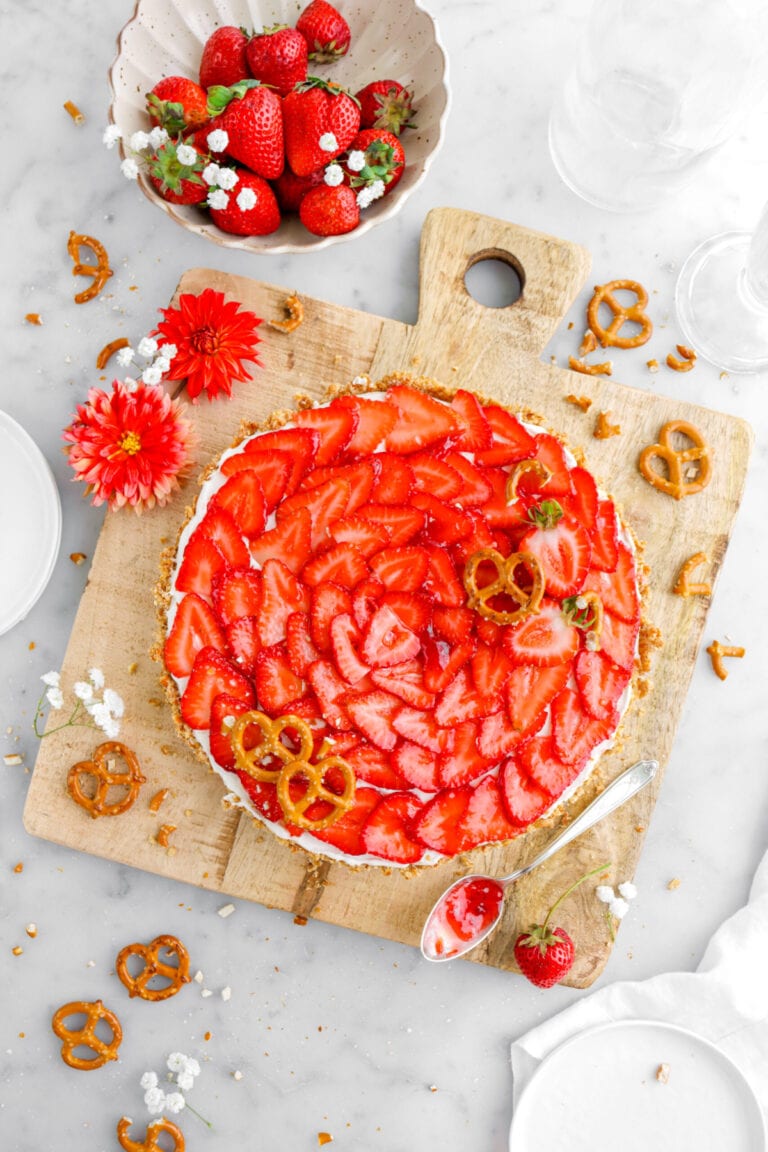
You could also make this crumb crust with oreos, biscoff cookies, or even pretzels like we did in this Strawberry Mascarpone Tart instead of graham crackers.
Try These
delicious
bakes next!

When you make this Graham Cracker Crust Recipe, leave a comment down below! We love hearing from you and answering any questions you might have! Also, be sure to tag us on social media and hashtag it #BakersTable.
Happy baking!
x, Caylie

Graham Cracker Crust Recipe (Easy + 3 Ingredients)
Ingredients
- 2 cups (16 sheets) graham cracker crumbs
- ¼ cup granulated sugar
- 7 Tablespoons salted butter, melted
Instructions
- Mix graham cracker crumbs, sugar, and butter in a bowl.
- Immediately scrape into a 9-inch pie plate/9-inch springform pan.
- Press evenly across the bottom and up the sides.
- Once distributed, pack well.
- If making for a baked dessert, pre-bake this crust for 5-10 minutes at 350°F (177°C). For a no-bake dessert, refrigerate until chilled completely before using.
Tools You May Need (affiliate links)
– Still Hungry? –
Here are a few recipes may like!

Did you try this recipe?
Let us know in the comments!
Let Me Introduce You!
Hi and welcome! We’re Traci and Caylie, a mother-daughter duo with 30+ years of combined experience in baking, recipe development, and food photography. Our expertly developed and delicious recipes have led us to be featured in publications such-as: Costco, Crate & Barrel, & more!
More about us →
Disclaimer
We use affiliate links on our Equipment Needed and Recommended Products section of each recipe. If you click through these links and make a purchase, we may receive a commission at no additional cost to you. As an Amazon Associate I earn from qualifying purchases.
We use Baby’s Breath for photographic purposes only. Do not consume any parts of the plant.