Homemade Strawberry Pop Tarts
This post may contain affiliate links, please visit our privacy policy for details.
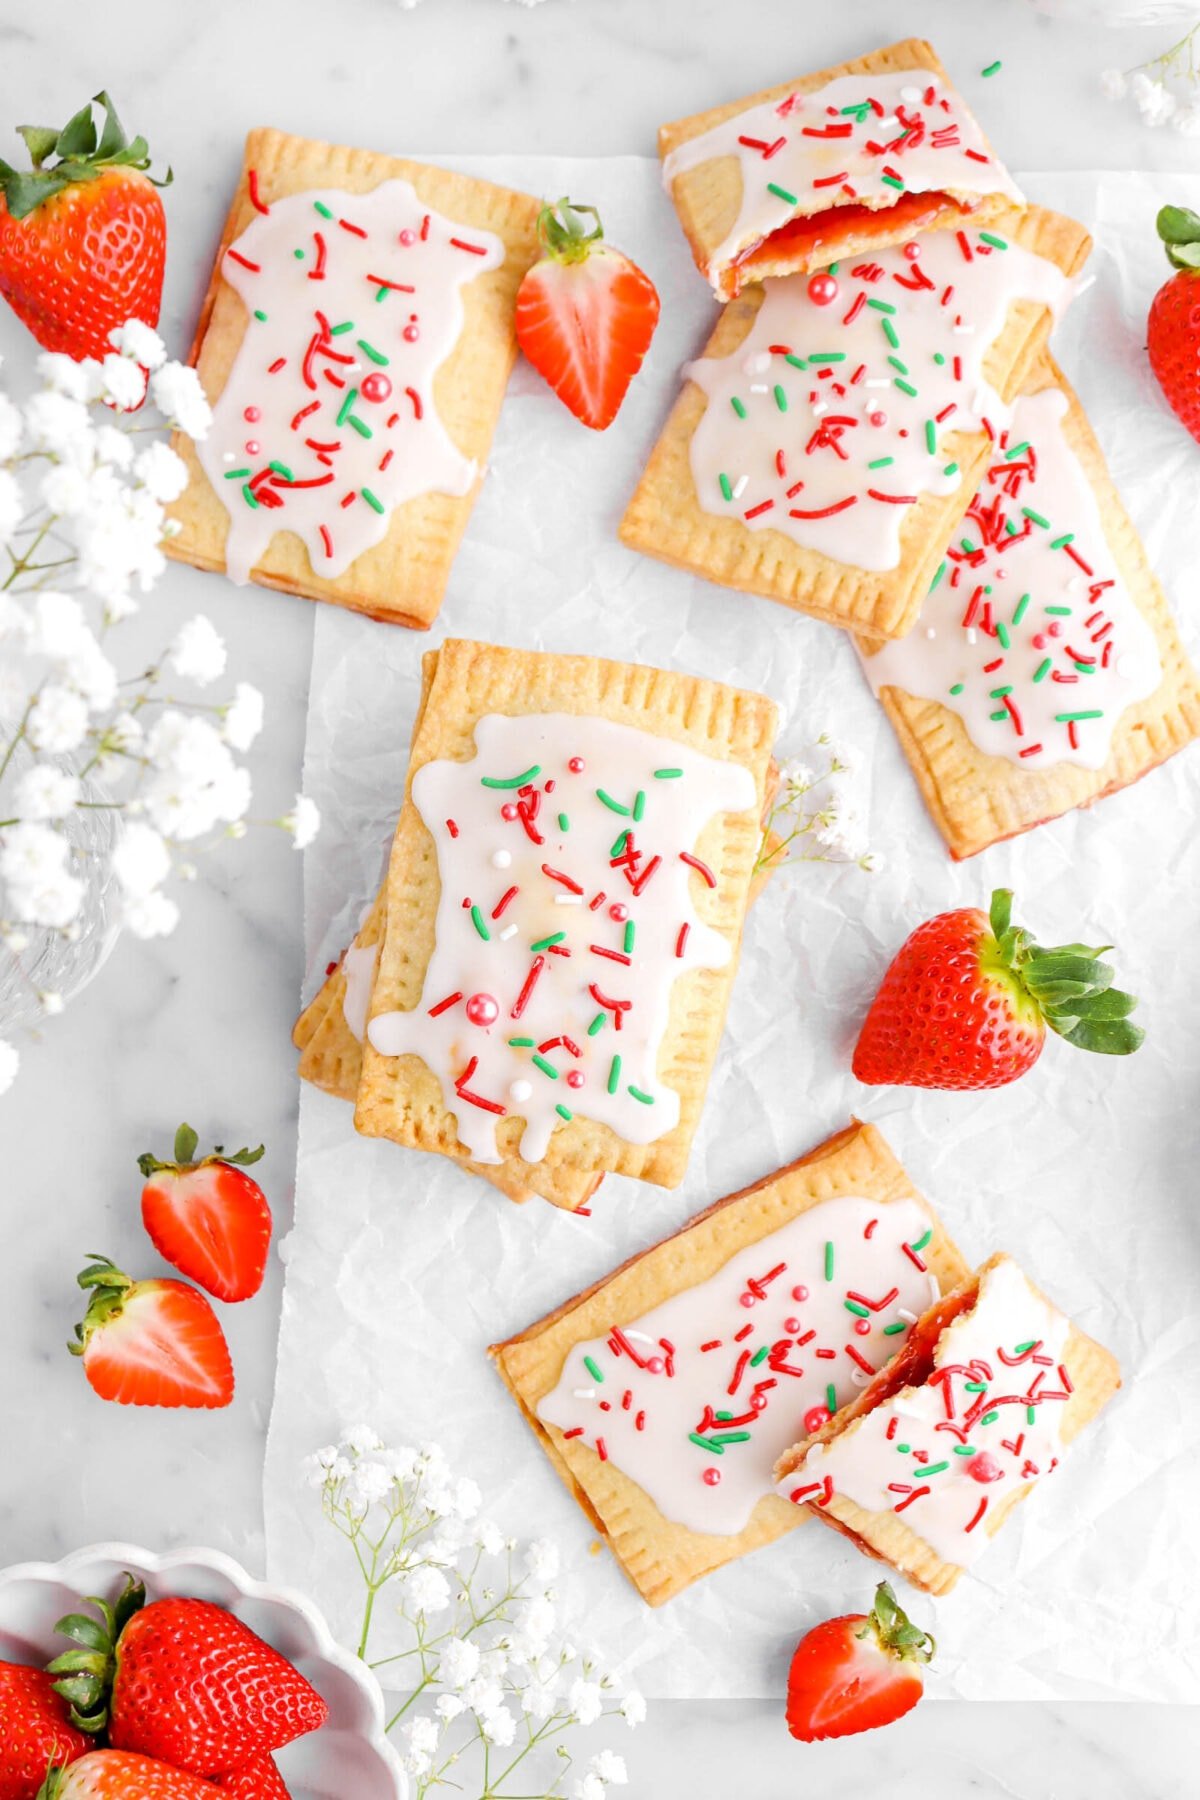
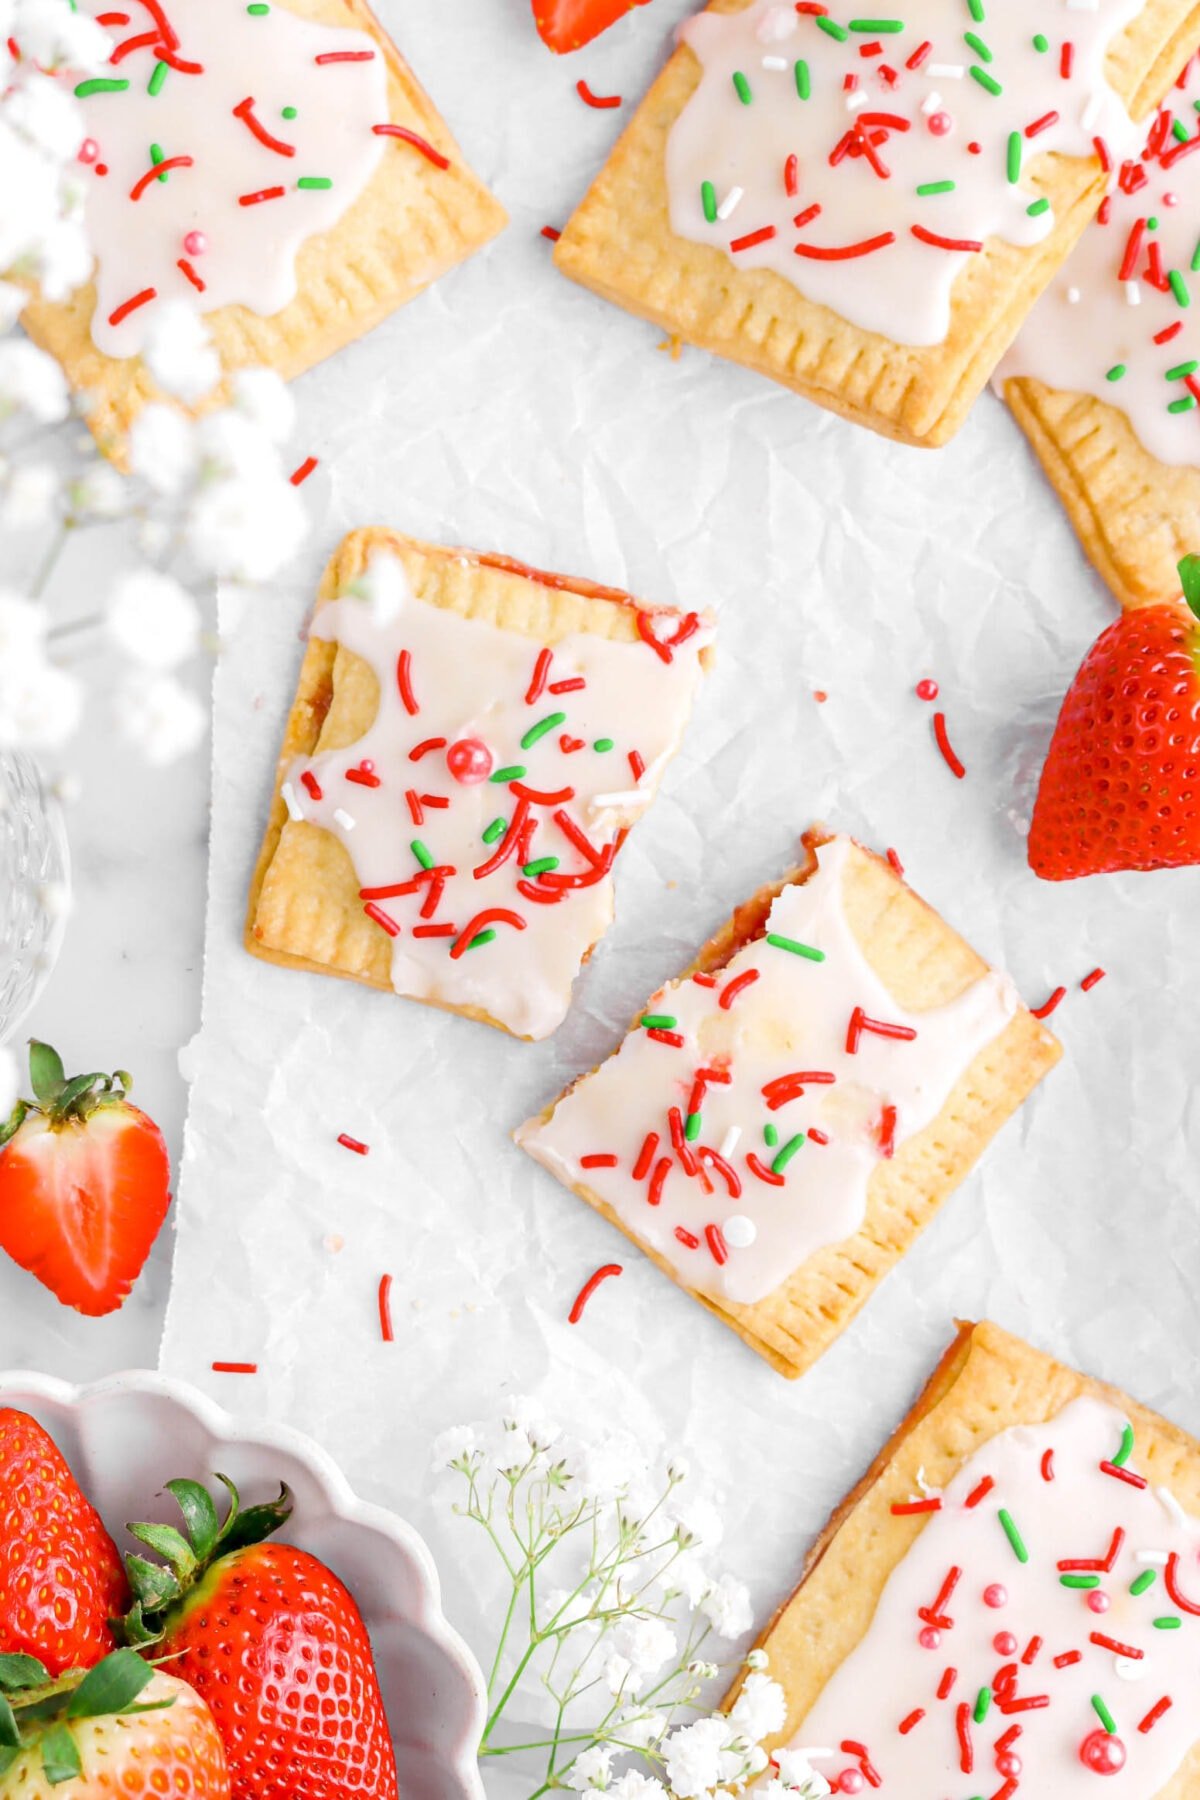
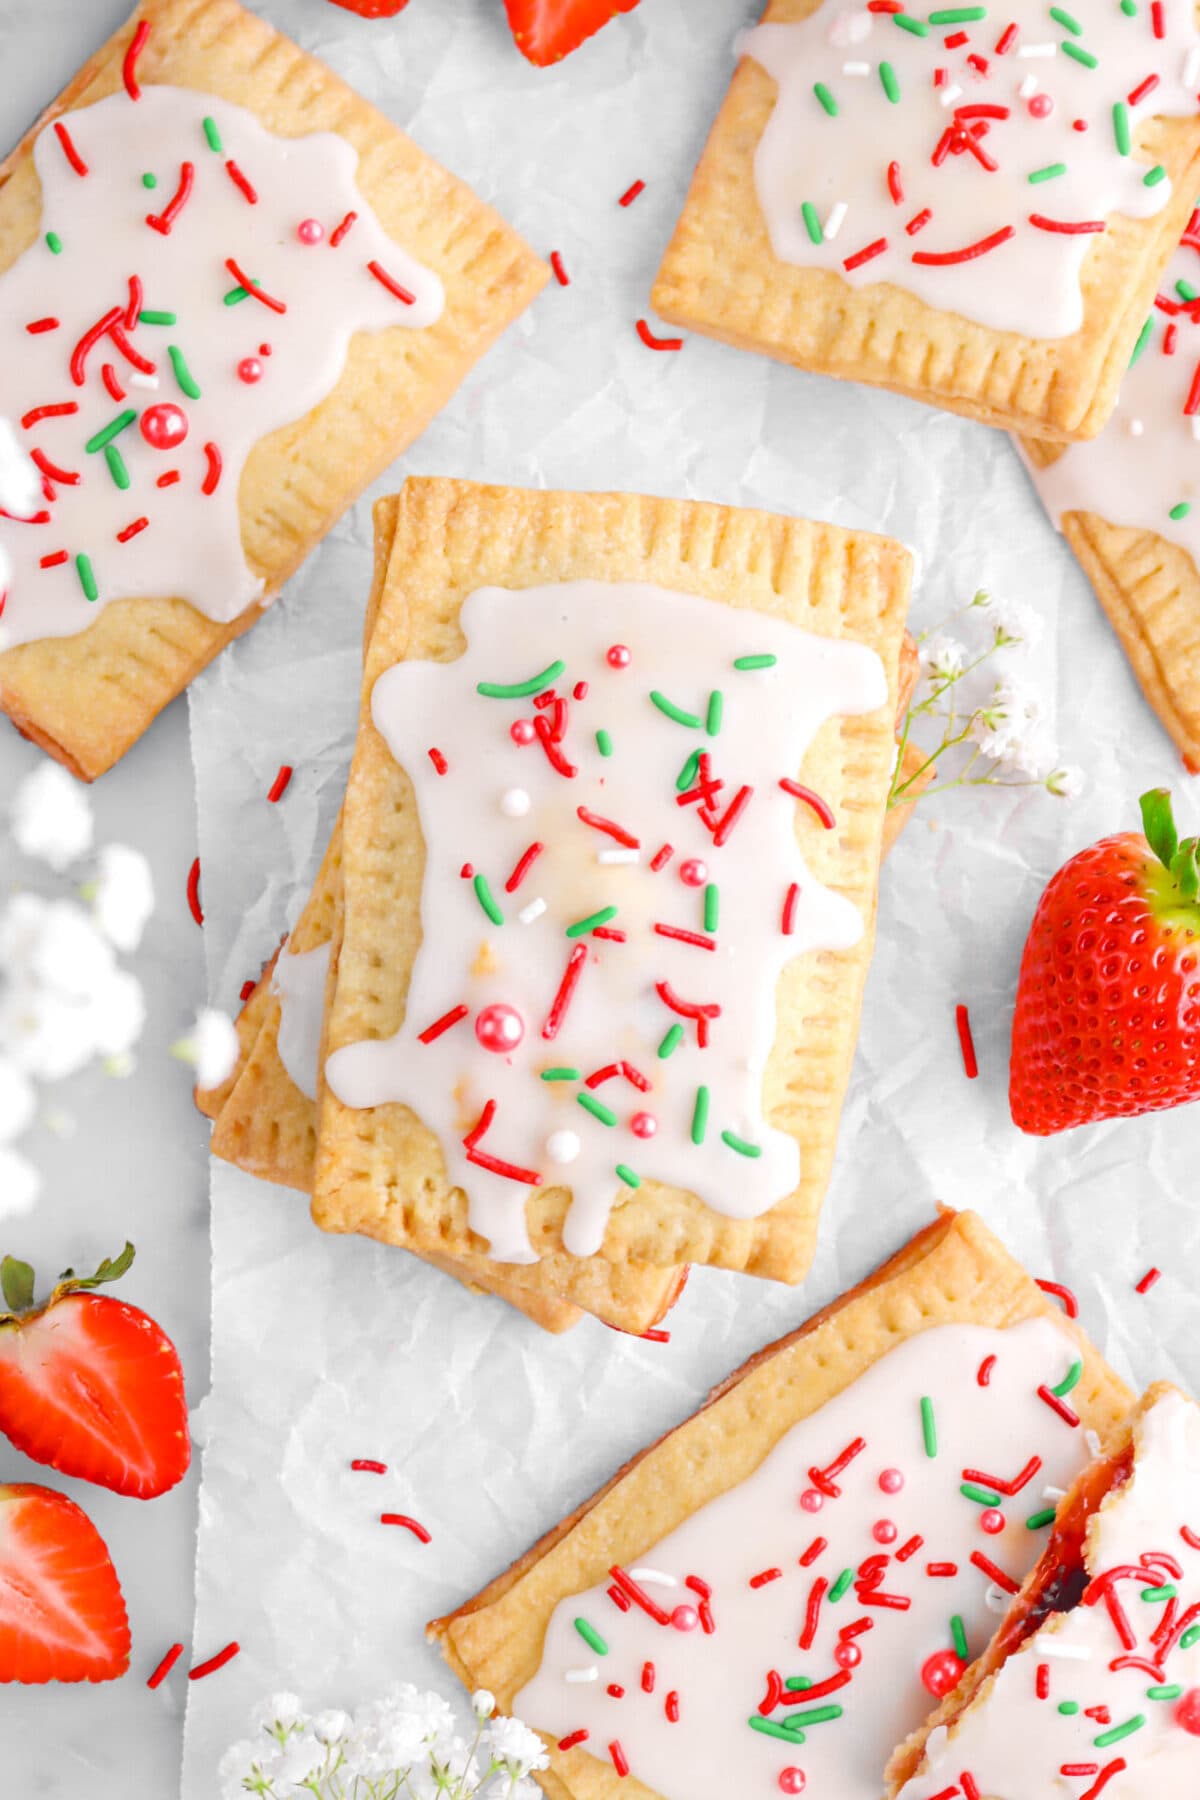
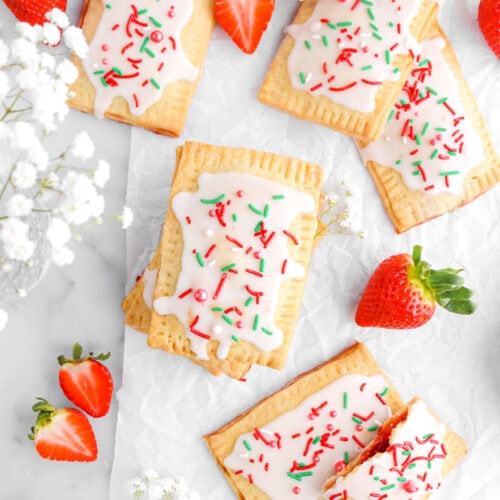
Whip up a batch of these homemade strawberry pop tarts for a taste of childhood. Flakey pastry crust bursting with sweet strawberry filling, iced to perfection and finished with sprinkles. These pop tarts are way better than store-bought – and so easy to make! Enjoy them warm for breakfast, a snack, or a fun dessert.
What Are Pop Tarts?
Pop Tarts are toaster pastries filled with a sweet filling and encased in a pastry dough. They were introduced by Kellogg’s in 1964, and have since become a staple in many American households.
Here’s What Makes Ours Different
While store-bought pop tarts often contain artificial ingredients and corn syrups, our homemade version focuses on fresh flavors and simple ingredients. You can enjoy the taste you know and love without sacrificing quality!
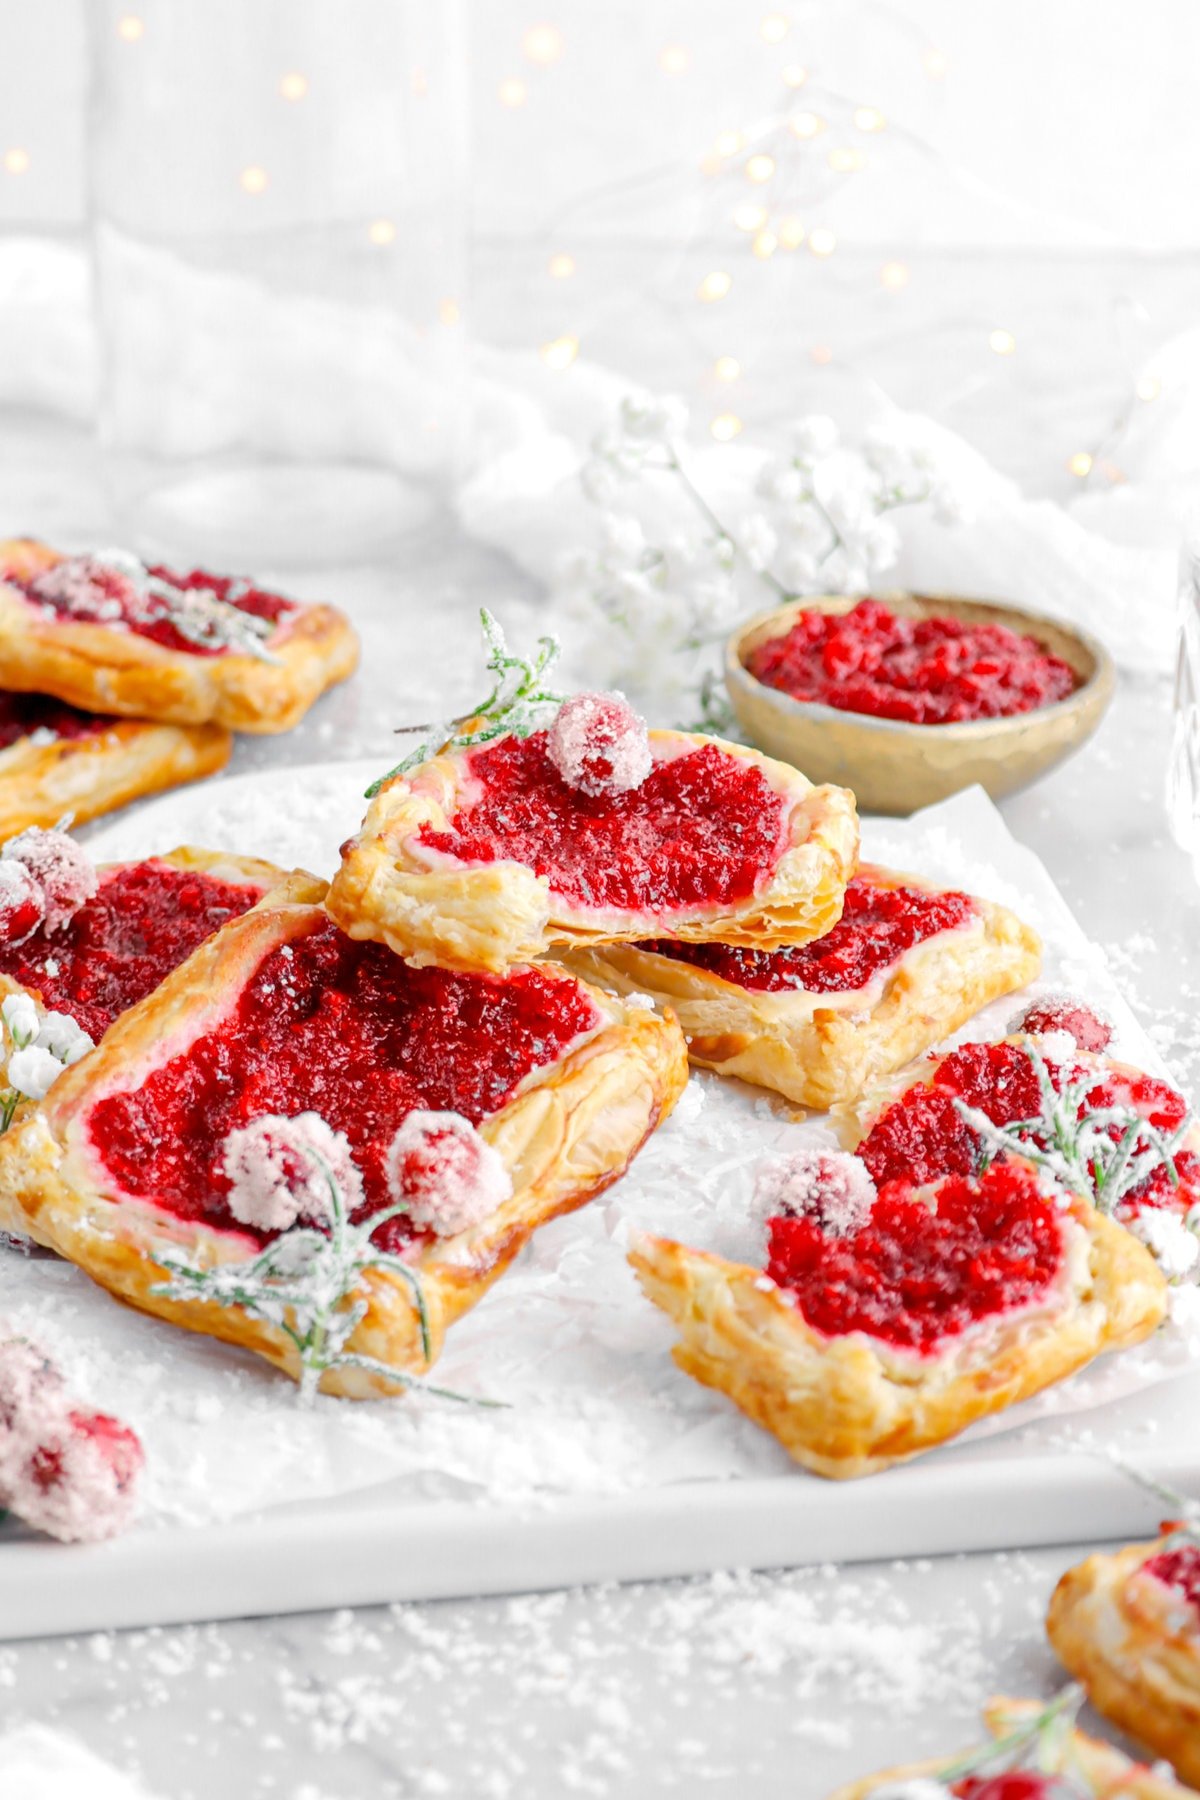
- Homemade Strawberry Jam: Bursting with fresh strawberry flavor, while not being too sweet.
- Easy Homemade Crust: Buttery and flaky, just like the pop tarts you remember!
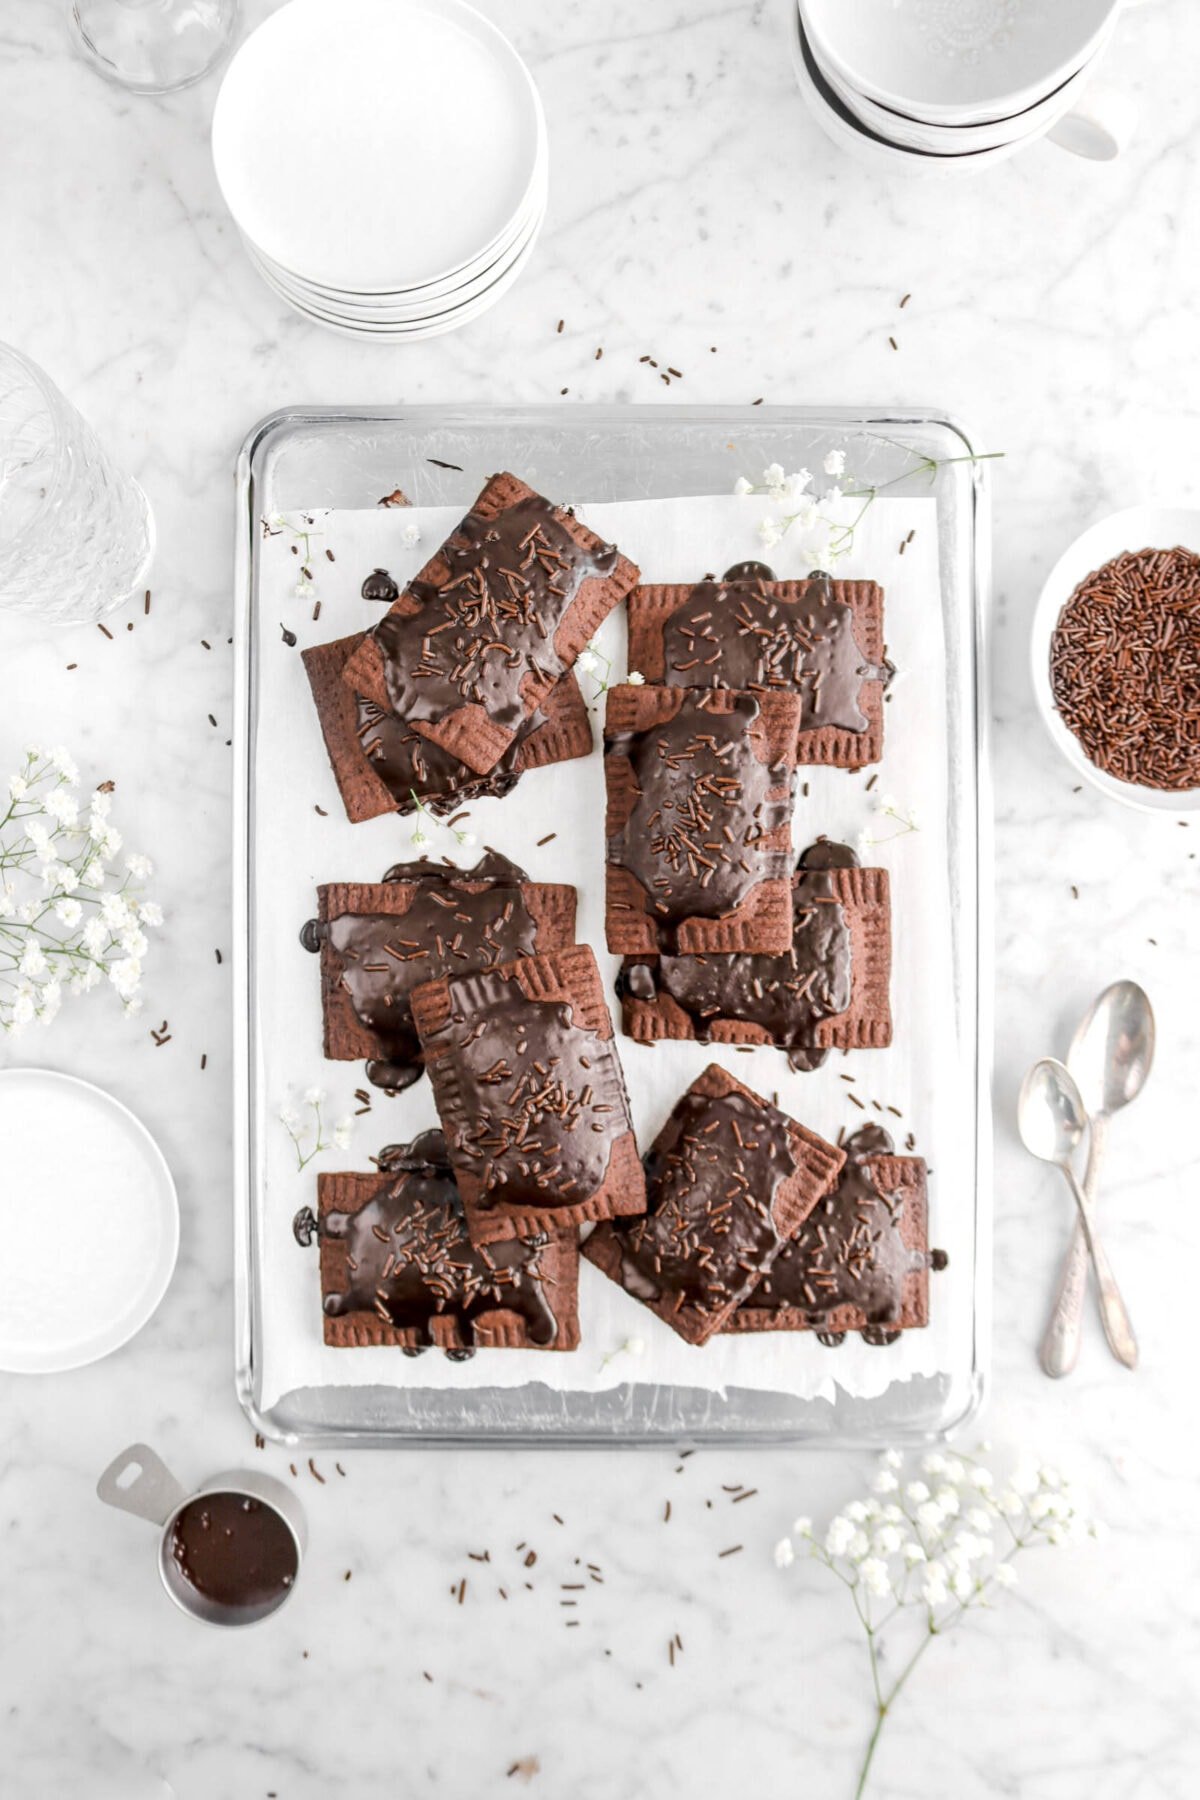
- Customizable: Fill them with your favorite jams, chocolate, or even marshmallow fluff.
- Free of Artificial Ingredients: Whether you’re baking for your kids or simply want a “healthier” nostalgic treat, you can trust this recipe and know it’ll always be delicious.
- Perfect for Breakfast, Snacks, or Dessert: A sweet and satisfying anytime treat!

3 Parts to Homemade Strawberry Pop Tarts
Similar to these strawberry hand pies, there are three components to this recipe. It may seem intimidating and like there’s a lot of ingredients, but rest assured that this is actually super simple to make and some ingredients even repeat themselves! All this recipe is:
- Strawberry Jam
- Flakey Pastry
- Vanilla Icing
Strawberry Filling
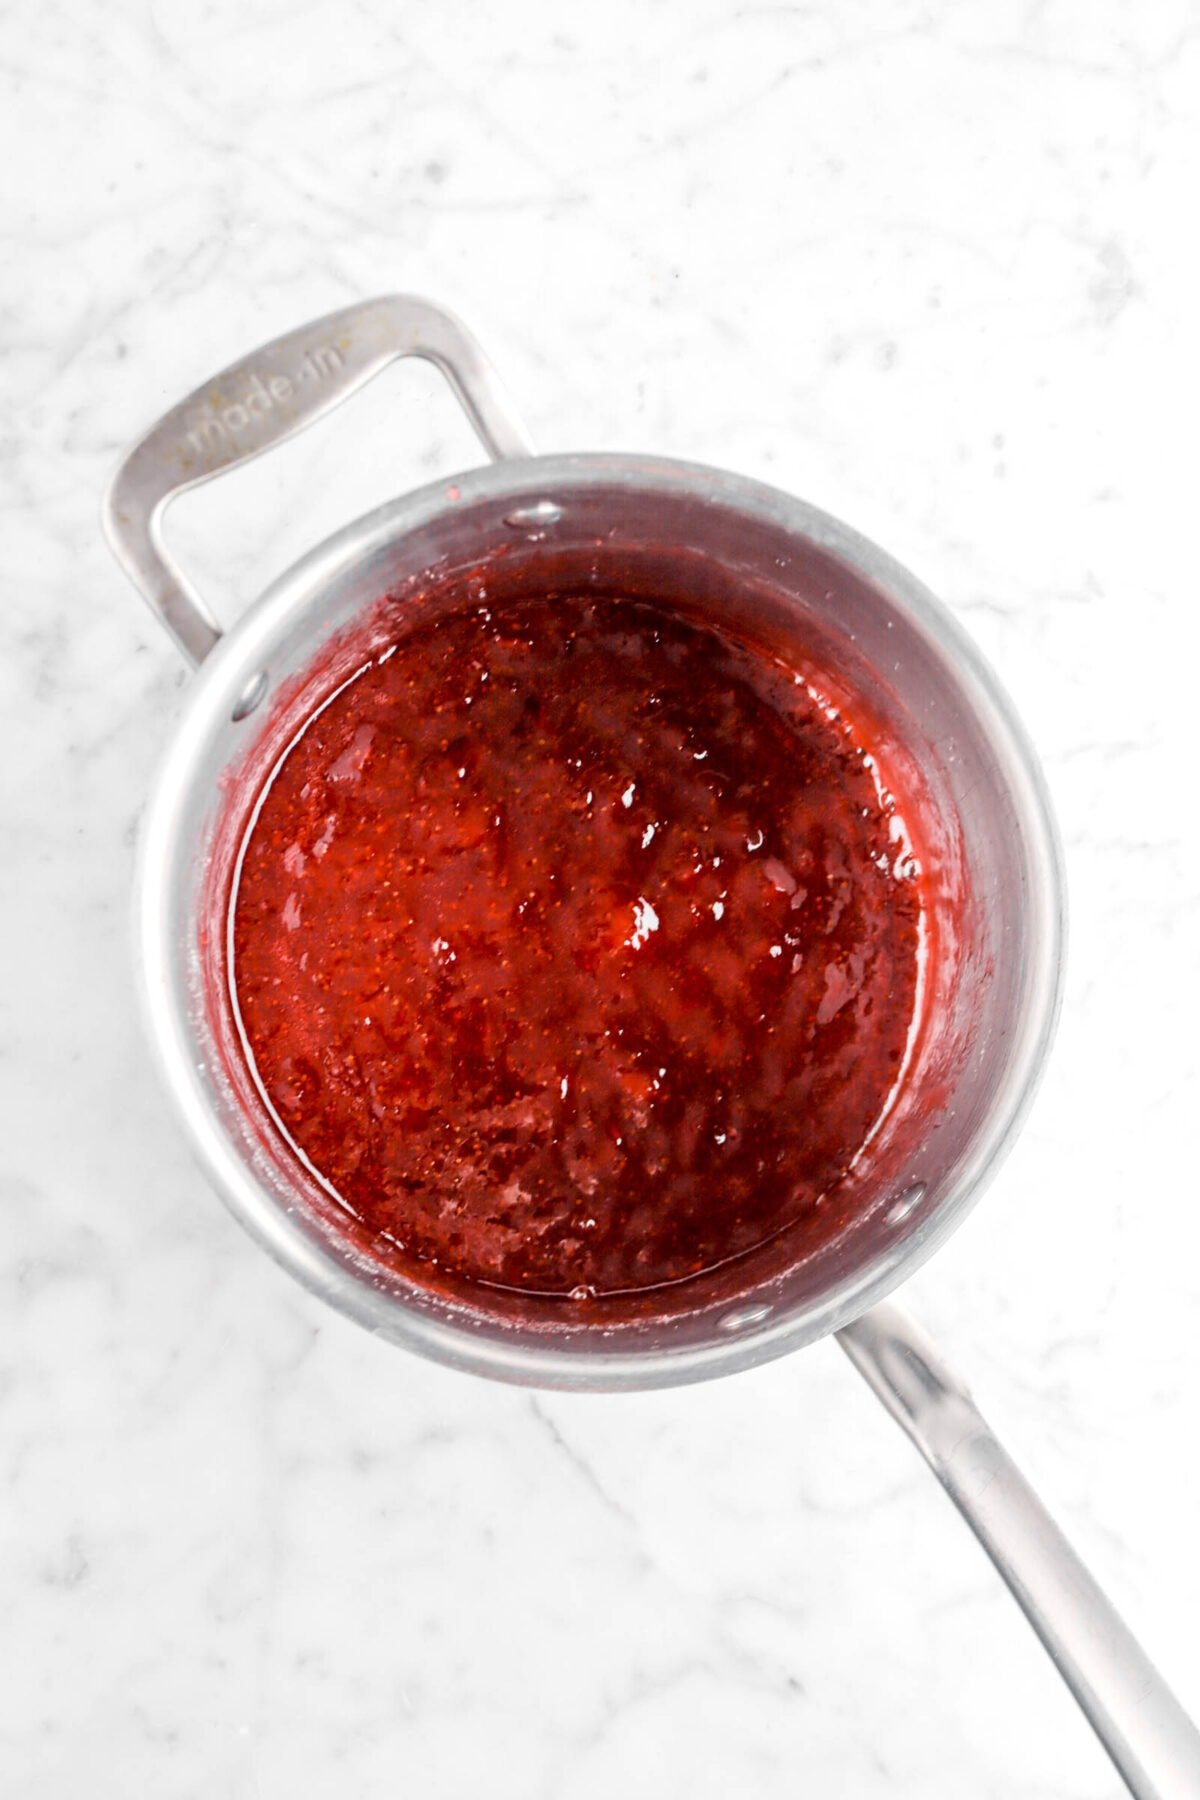
Unlike most pie recipes, we are making the filling first instead of the crust. The jam needs time to cool and thicken. So, we always suggest making it first! Luckily, it only requires 3 ingredients (strawberries, sugar, and lemon juice!) and just about 20 minutes.
All you need to do is combine the ingredients in a saucepan and cook until sugar has melted, strawberries have broken down, and mixture has thickened.
The Flakiest Pastry Dough (With Photos!)
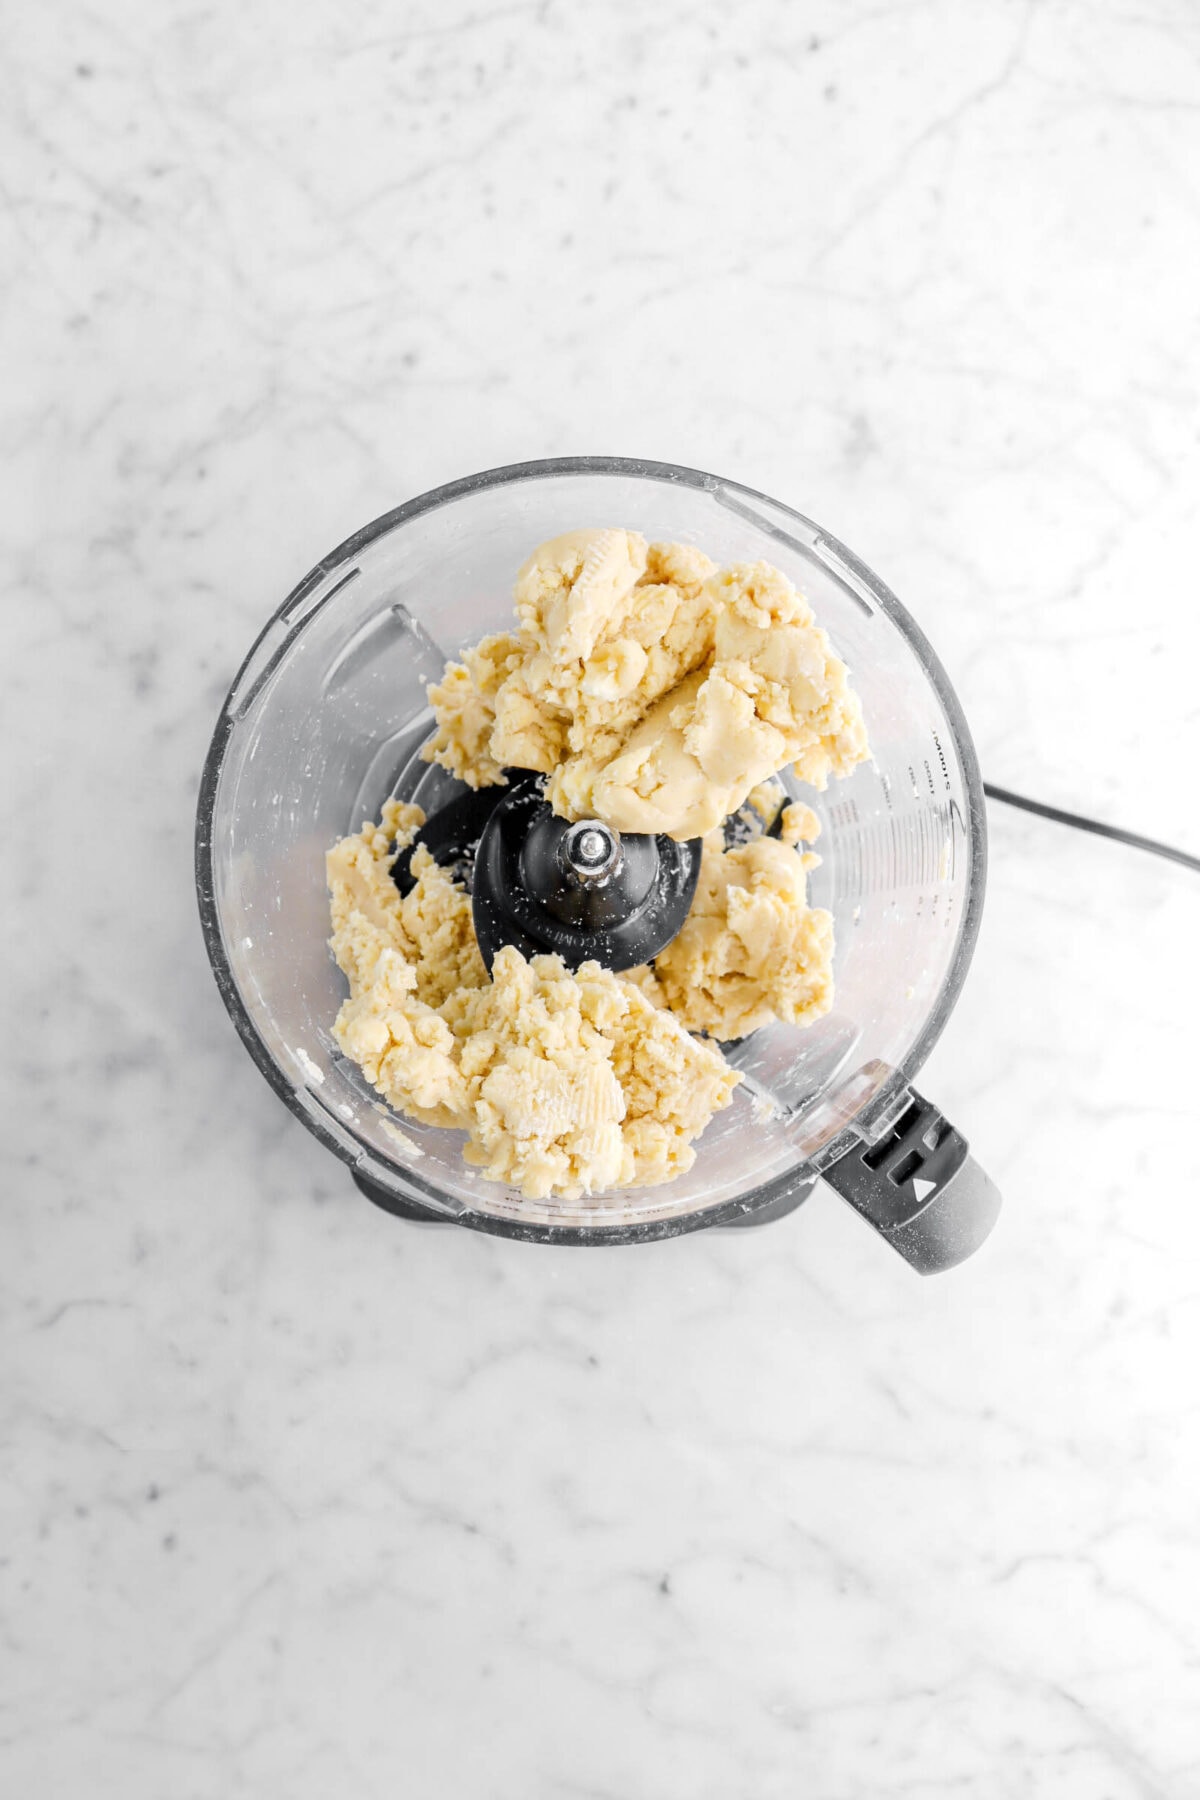
While the full recipe is below, we wanted to walk you through the process of creating the flakiest pastry for your pop tarts. Using a food processor or a pastry blender, pulse/cut the butter a few Tablespoons at a time into the flour, sugar, and salt.
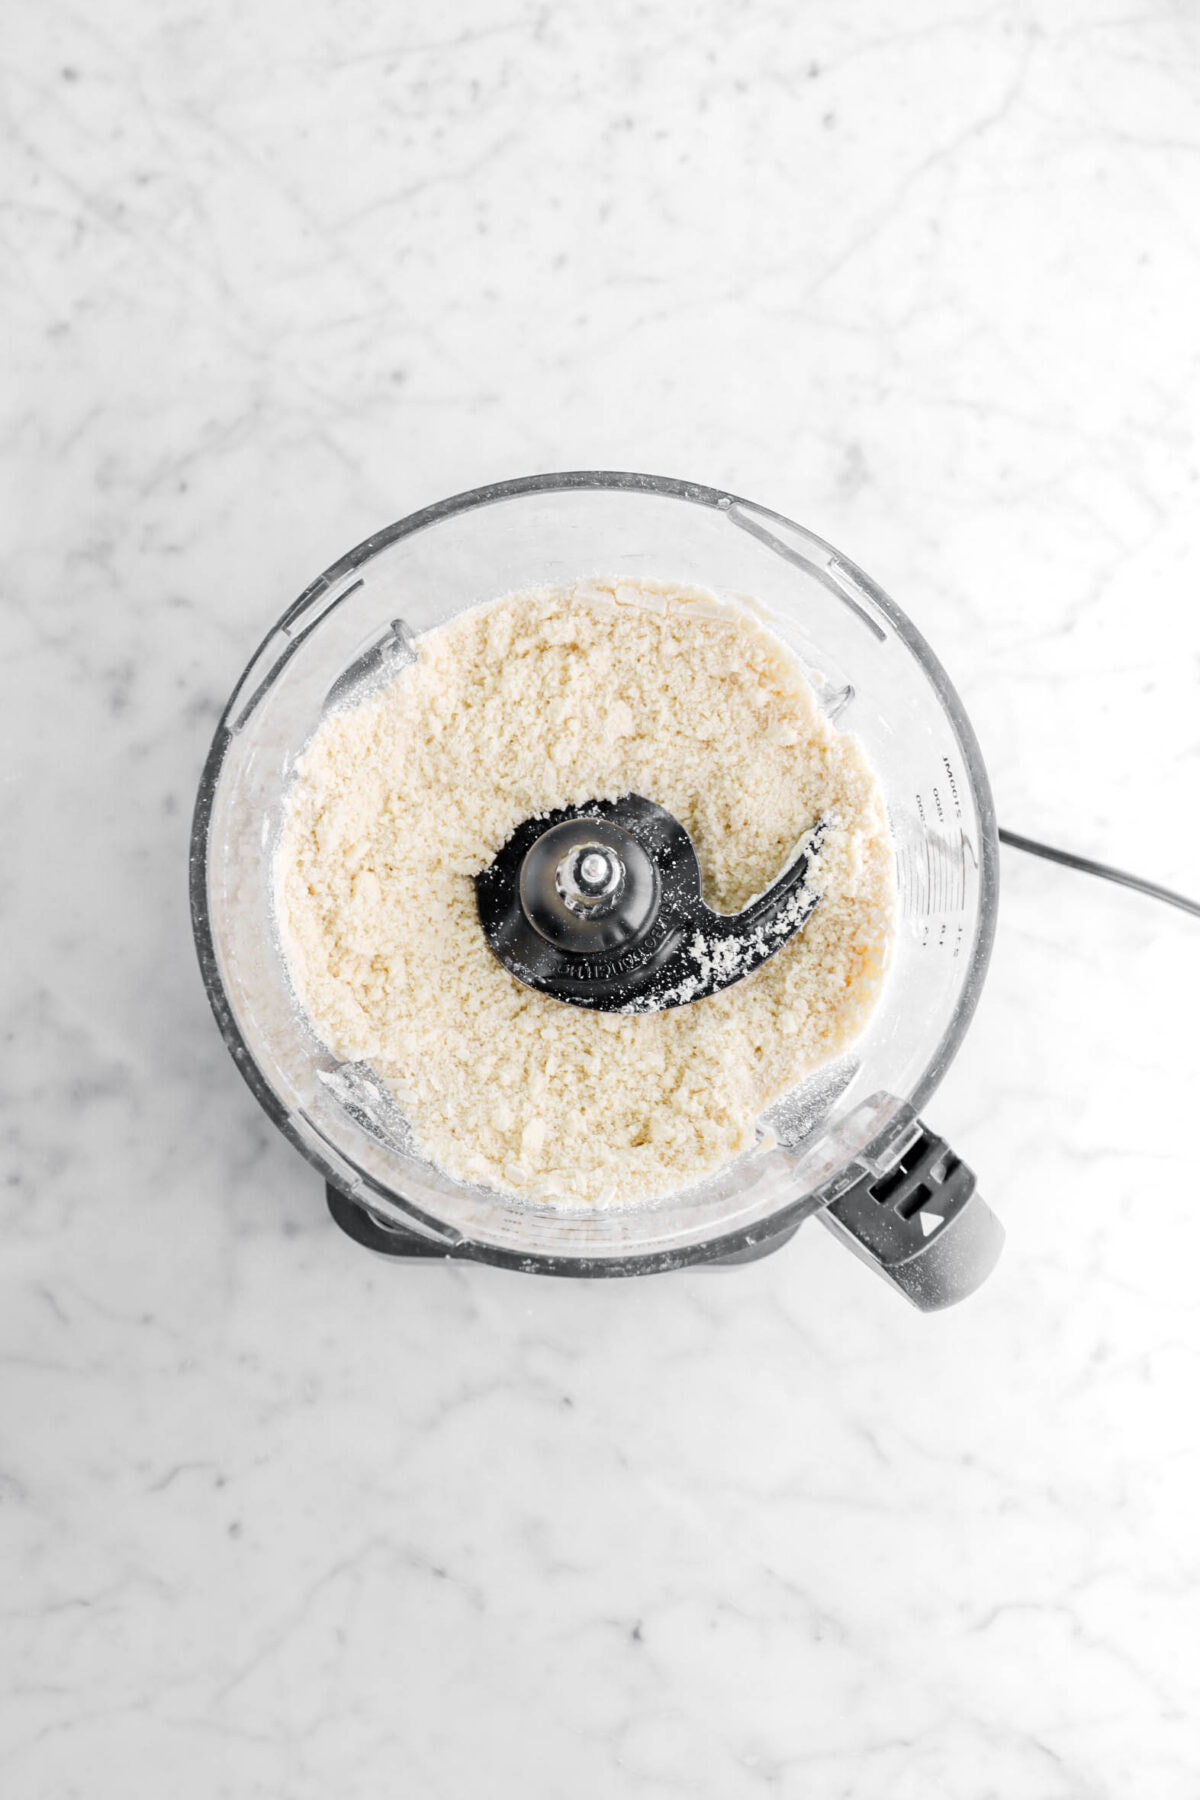
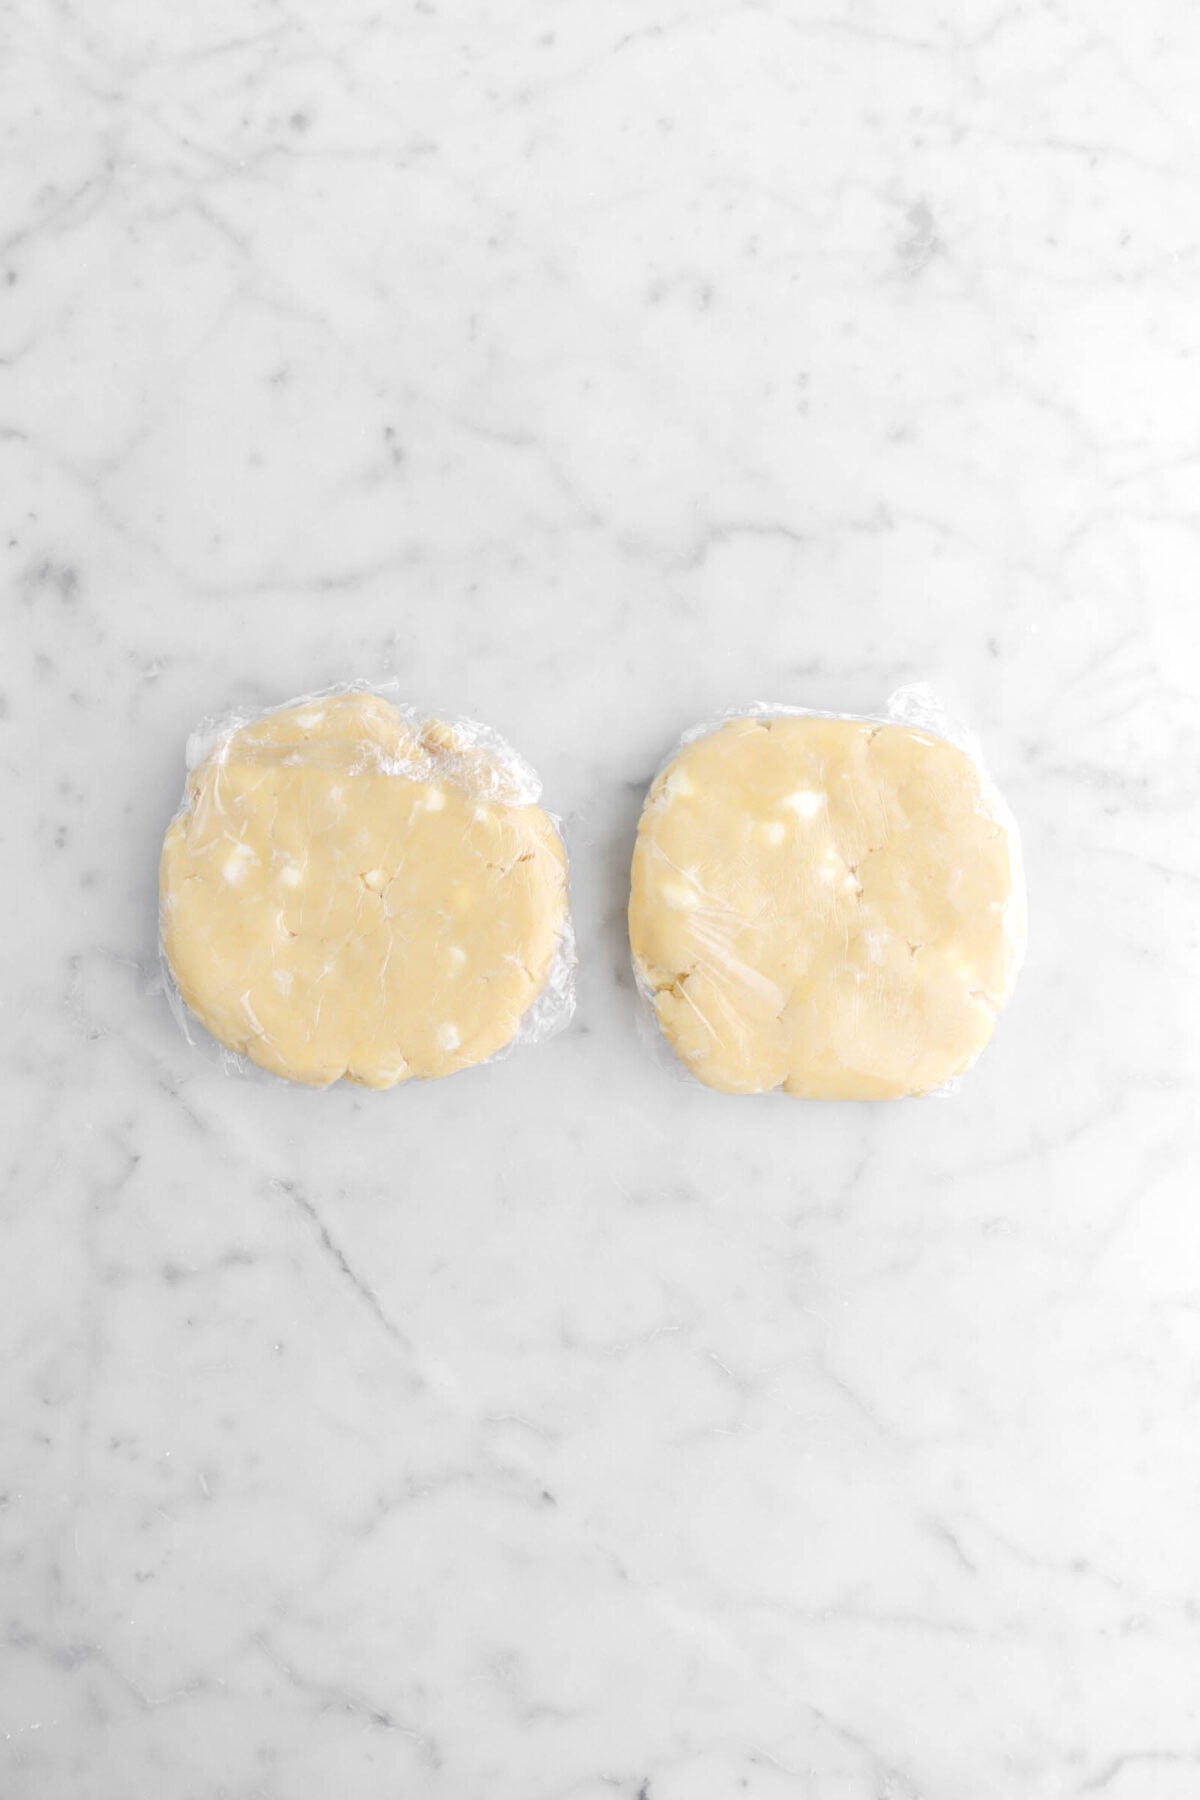
Add the egg and cream. Pulse/mix until mixture comes together. Divide the dough in half and flatten. Wrap each half in plastic wrap and refrigerate for at least 1 hour.
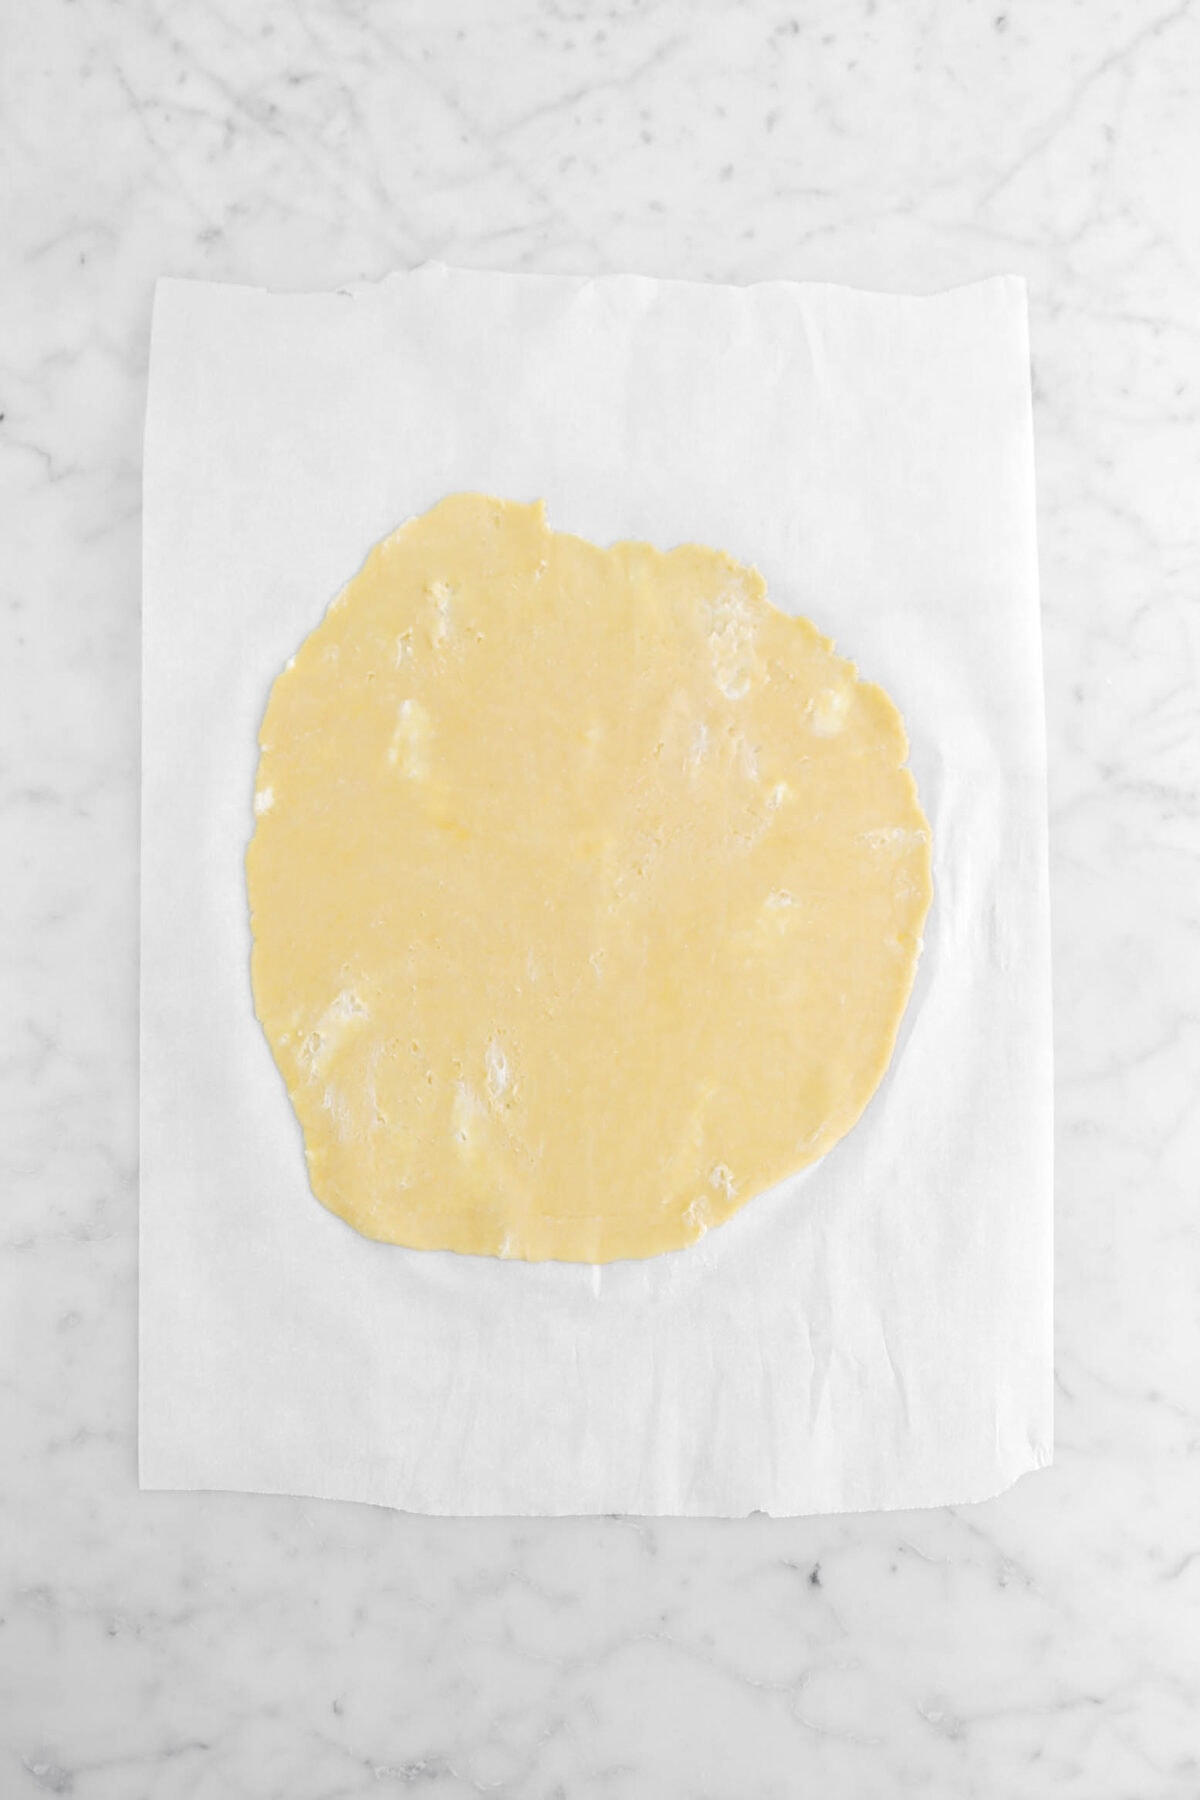
Roll each chilled disc into a rectangle that is ⅛ inch thick. Since this dough has a lot of butter, feel free refrigerate the dough as needed to keep the butter from melting while you roll it out.
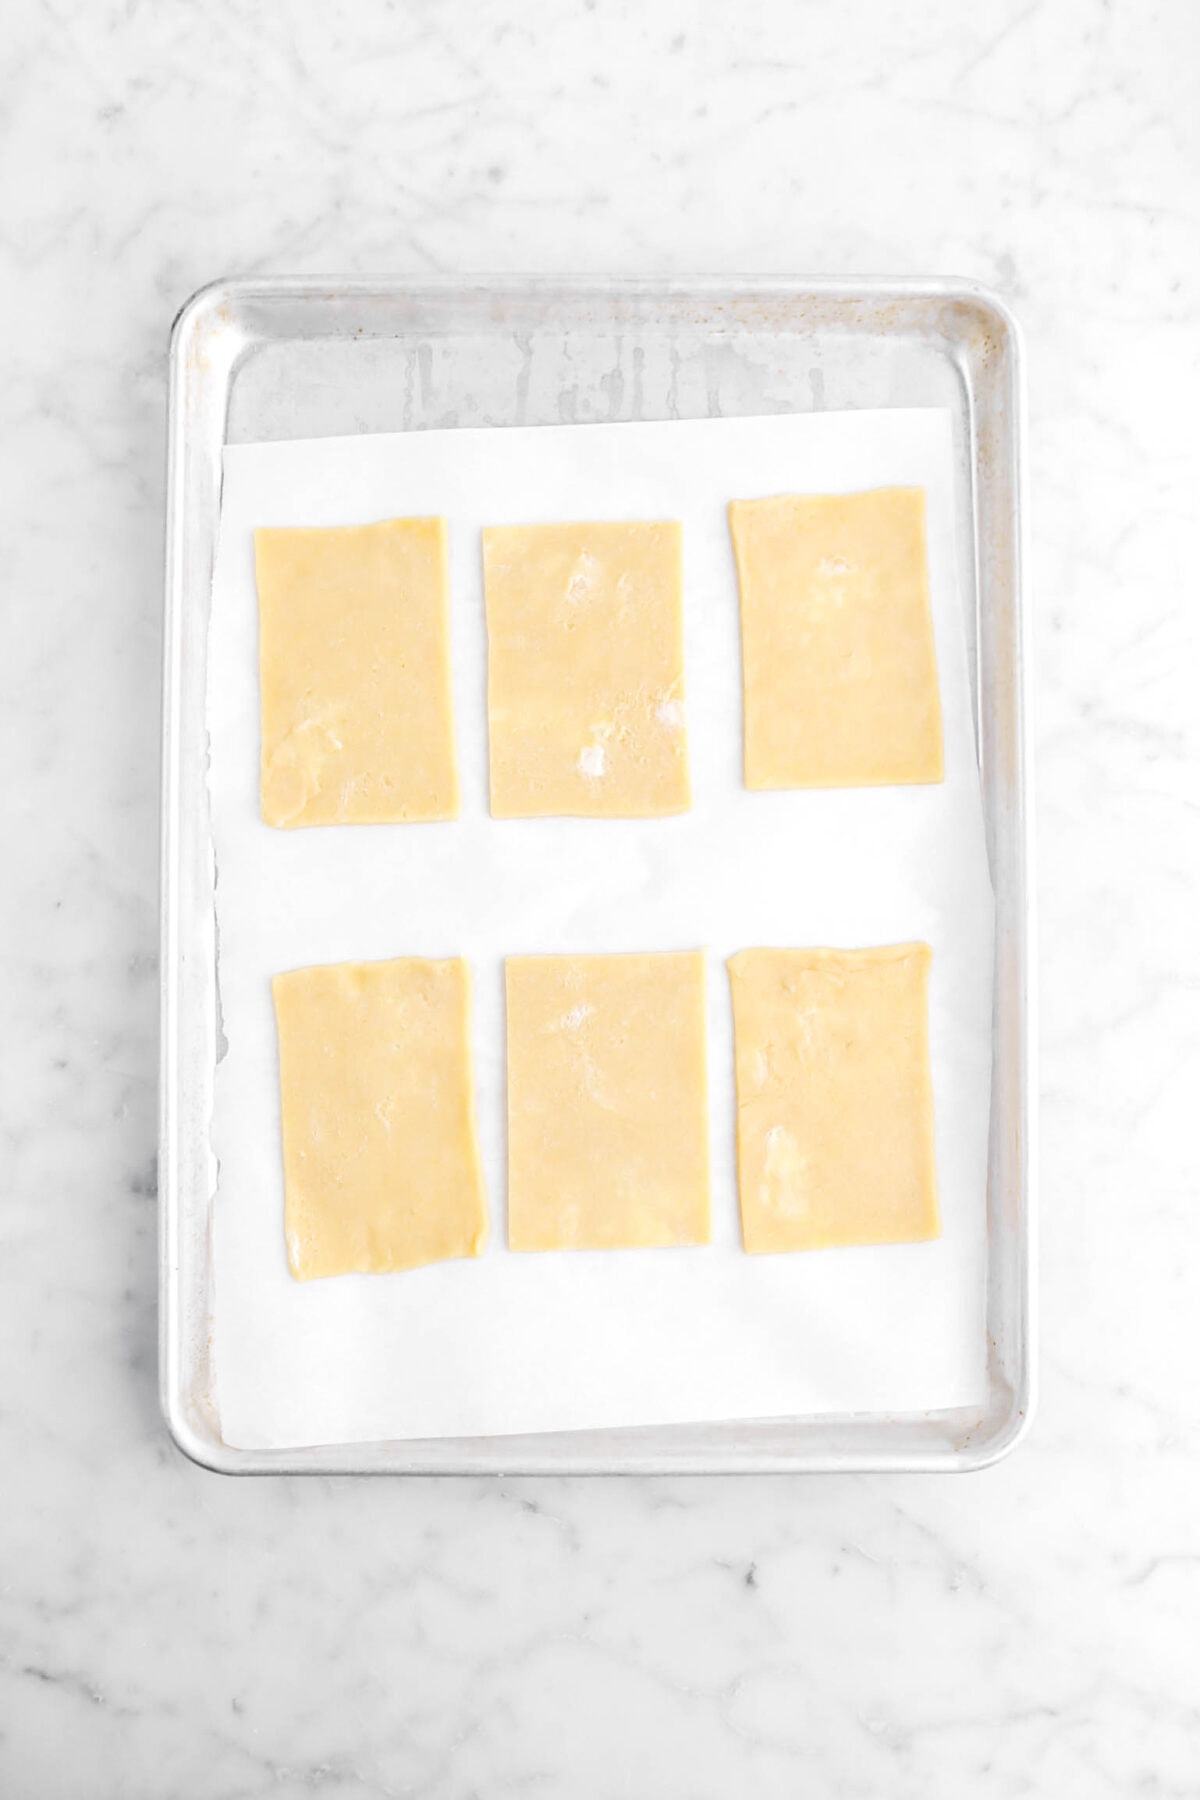
Cut out 8 rectangles from each piece of dough, re-rolling as necessary to get the full number.
Tips For Sealing Pop-Tarts
If you’ve ever made a batch of turn-overs, hand pies, or even a double crust pie, you know that ensuring the top is properly sealed is SUPER important. Over the years, we’ve definitely have had our own spillage-disasters. Luckily, we’ve learned the best tips and tricks to help you ensure your pastry filling stays exactly where it’s supposed to be.
- Place 1 Tablespoon of strawberry jam in the center (super important!) of each bottom pastry.
- Brush the edges with an egg wash. We recommend using a pastry brush for this!
- Top the filled pastry with 2nd piece of dough. Use your fingers to gently press out any air pockets before lightly pressing the edges to seal.
- With the back of a fork, lightly press down on the edges of the pop tart. Do NOT cut the pastry with the fork as this will not seal the two pieces of pastry together.

Vanilla Icing That Actually Sets!
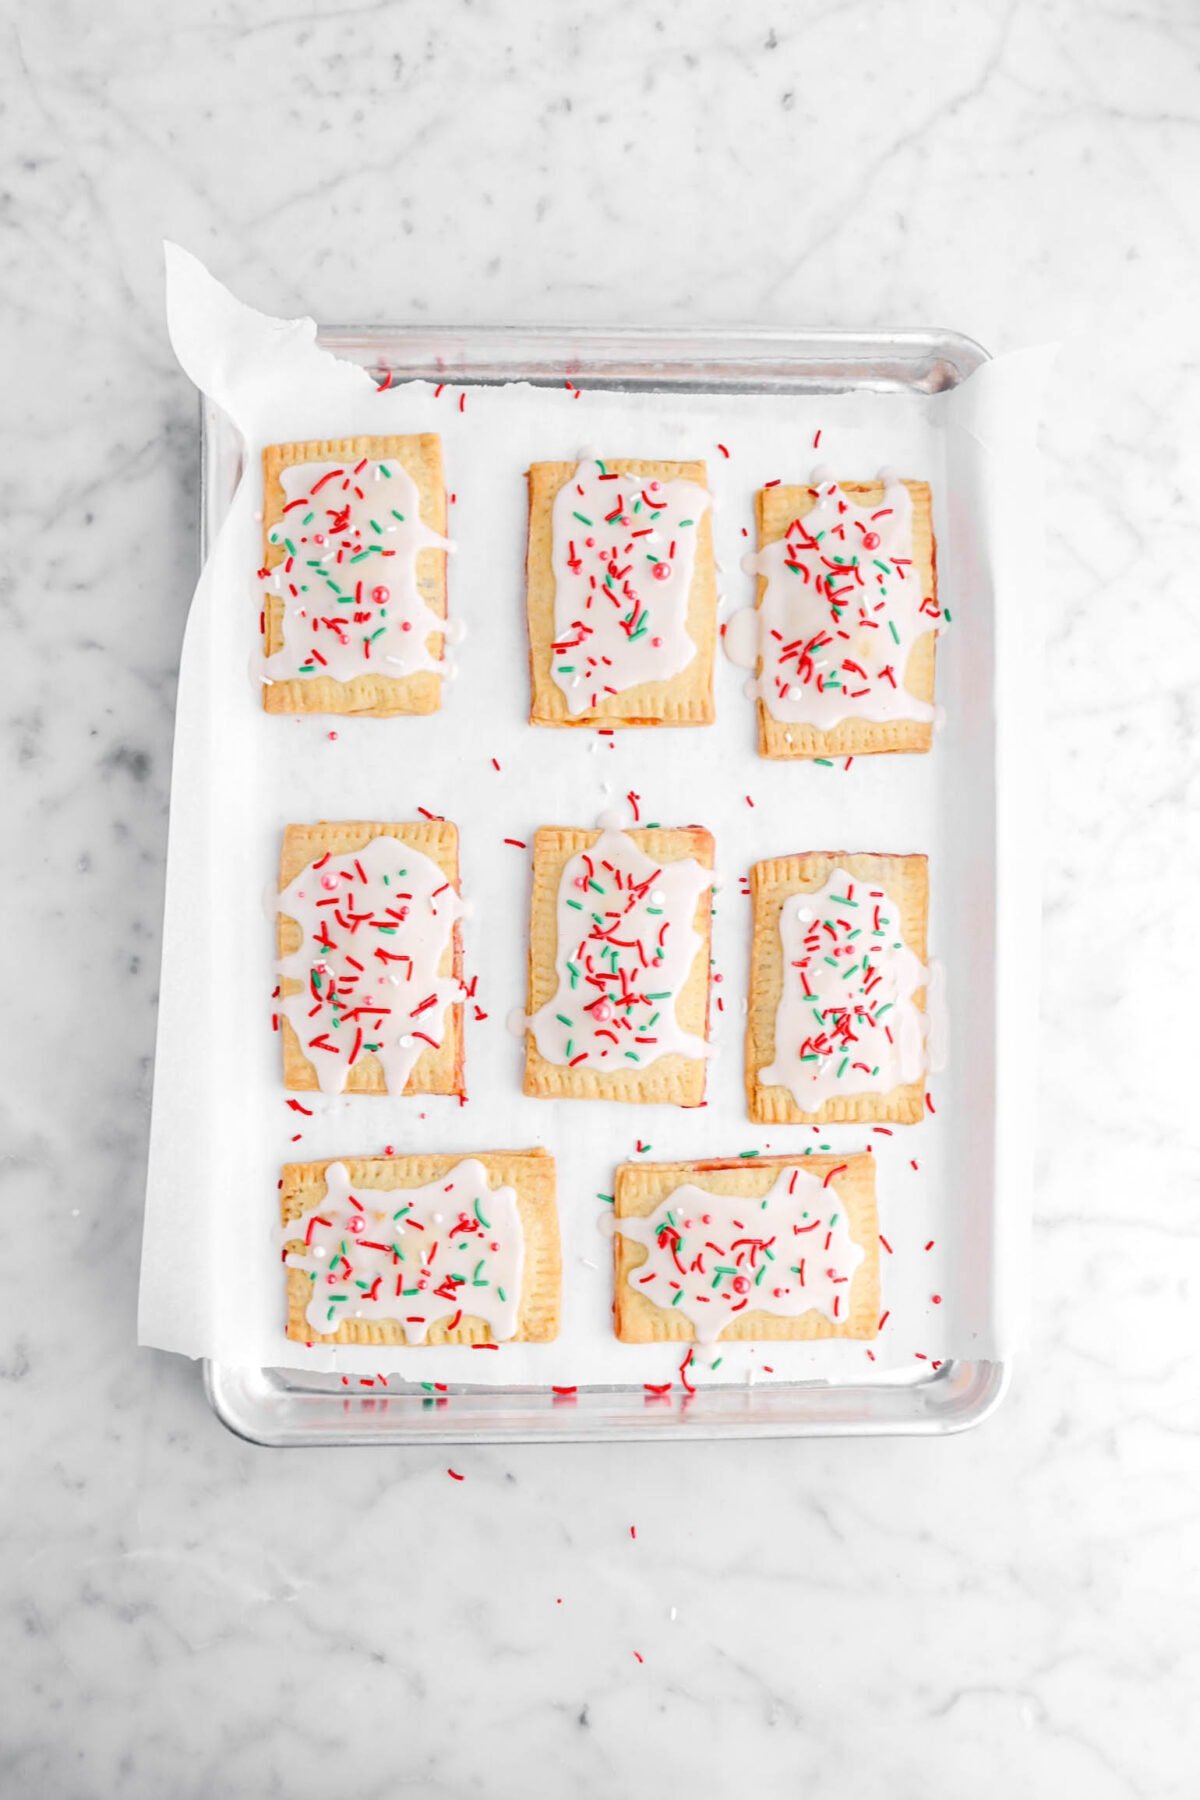
Once your pop tarts are out of the oven, it’s time to whip up the icing! This classic combination of powdered sugar, whole milk, and vanilla extract is a versatile topping that we use for so many of our recipes, from vanilla doughnuts to blueberry white chocolate scones. Once the pop tarts are cooled, spoon the icing over each one and add the sprinkles (if desired) for a touch of extra fun!
More Recipes You Will Love


When you make these Homemade Strawberry Pop Tarts, leave a comment down below! We love hearing from you and answering any questions you might have! Also, be sure to tag us on social media and hashtag it #BakersTable.
Happy baking!
x, Caylie
Homemade Strawberry Pop Tarts
Ingredients
Jam
- 8 ounces fresh strawberries, chopped
- ⅝ cup granulated sugar
- 2 Tablespoons lemon juice
Pastry
- 2 cups all purpose flour
- 1 Tablespoon granulated sugar
- ¾ teaspoon salt
- 3/16 tsp baking powder
- ¾ cup unsalted butter, sliced, cold
- 1 large egg, room temperature
- 3 Tablespoons heavy cream
Frosting
- 1 cup powdered sugar, sifted
- 2 Tablespoons whole milk
- ½ teaspoon vanilla extract
- sprinkles, if desired
Instructions
Jam
- Combine strawberries, sugar, and lemon juice in a heavy saucepan.
- Cook and stir over medium low heat until sugar has melted, strawberries have broken down, and mixture has thickened, about 20-30 minutes.
- Set aside to cool.
Pastry
- In the bowl of a food processor fitted with a dough blade, combine flour, sugar, salt, and baking powder.
- Pulse until combined.
- Add butter, a few Tablespoons at a time.
- Pulse until broken up and coated with flour mixture.
- Add egg and cream.
- Pulse until mixture comes together.
- Remove dough from food processor.
- Divide into 2 even portions.
- Shape each into a rectangle.
- Wrap each half in plastic wrap.
- Refrigerate for 1 hour.
- While dough is chilling, heat oven to 350℉/177℃.
- Line sheet pan with parchment paper. Set aside.
- Remove dough from refrigerator, one piece at a time.
- Place dough on a piece of parchment paper.
- Roll into a rectangle that is ⅛ inch thick.
- Cut out 8 rectangles using a 4½-inch x 3-inch cutter, re-rolling as necessary to get the full number.
- Place rectangles on prepared sheet pan.
- Top each with 1 Tablespoon strawberry jam. Set aside.
- Repeat rolling and cutting process with 2nd piece of dough.
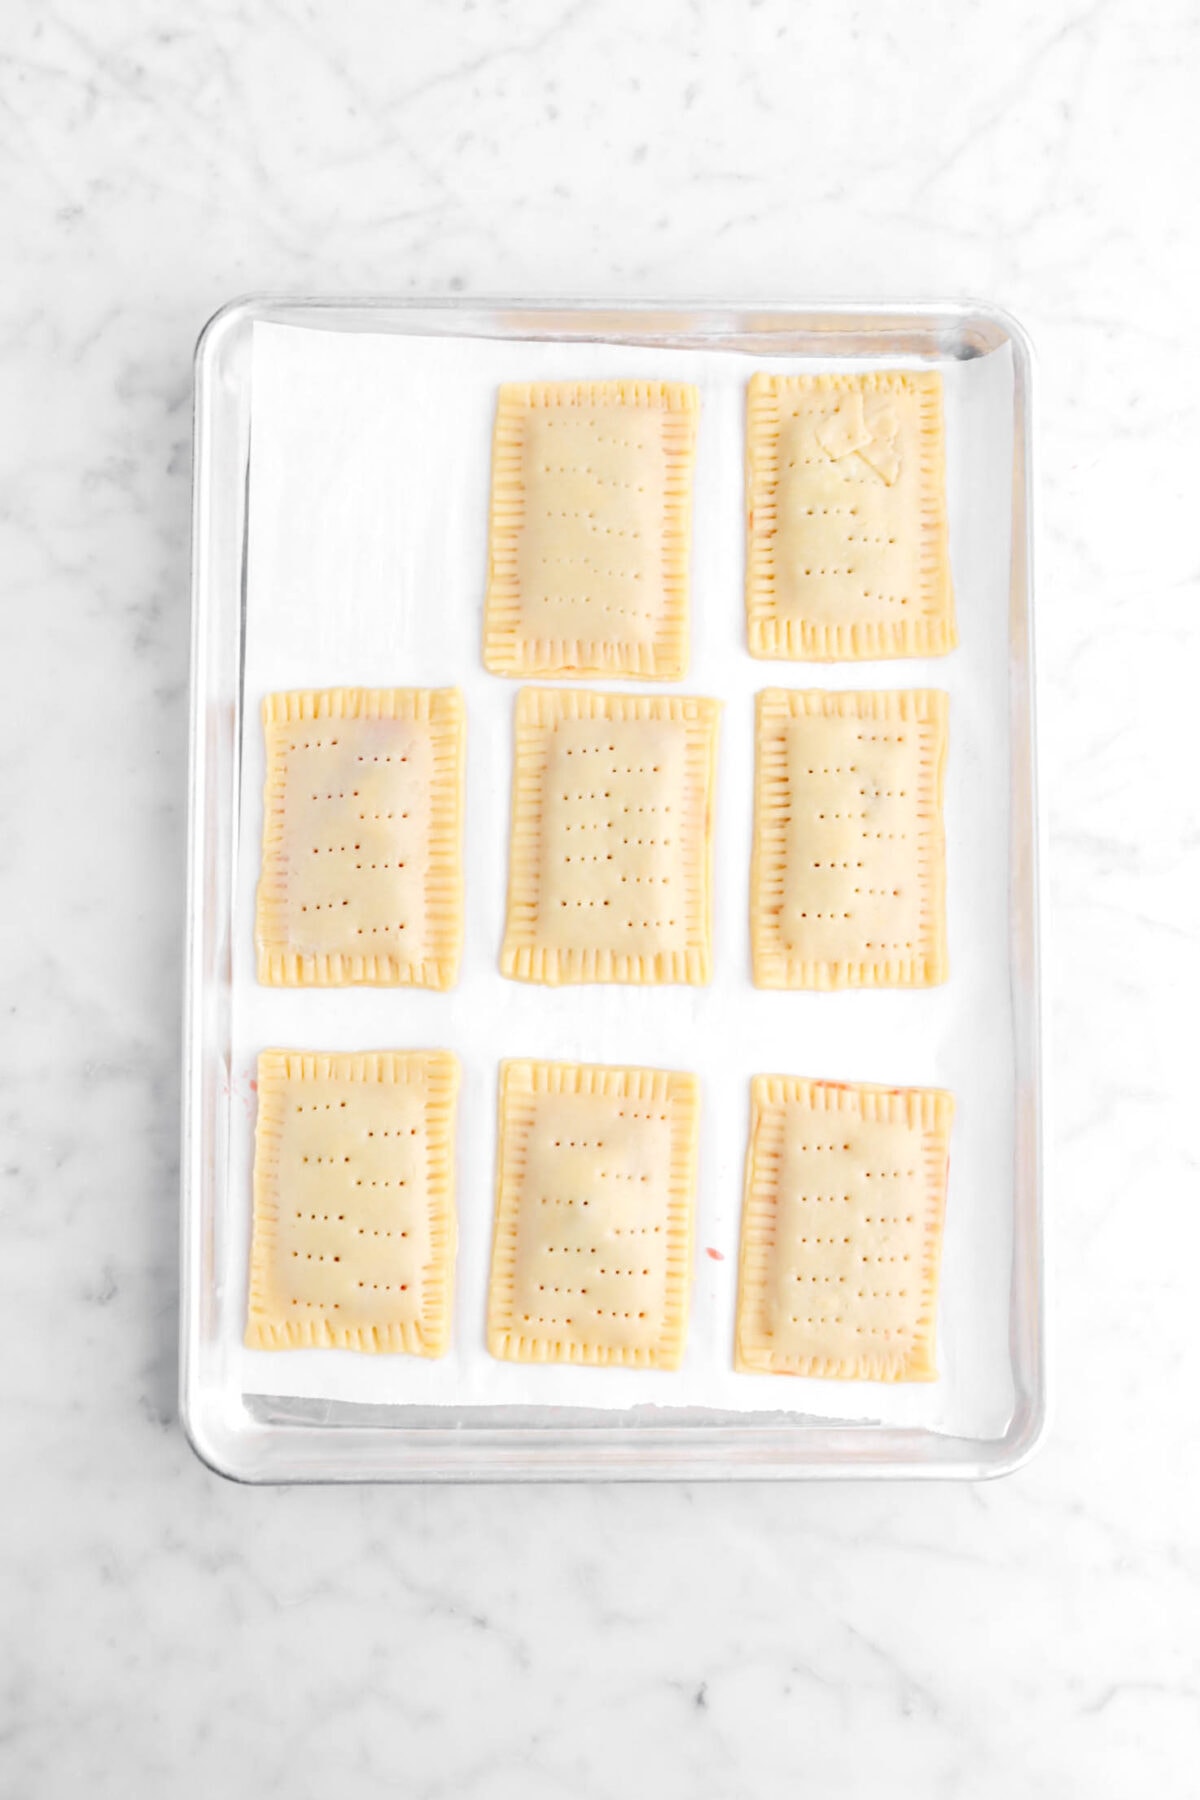
- Place a rectangle of dough over each of the filled pieces.
- Gently press to remove air.
- Press edges together gently with finger.
- Use a fork to press around the edges to ensure each pastry is sealed.
- Prick the tops of each pastry with tines of fork.
- Bake for 30 minutes, until lightly browned around edges.
Frosting
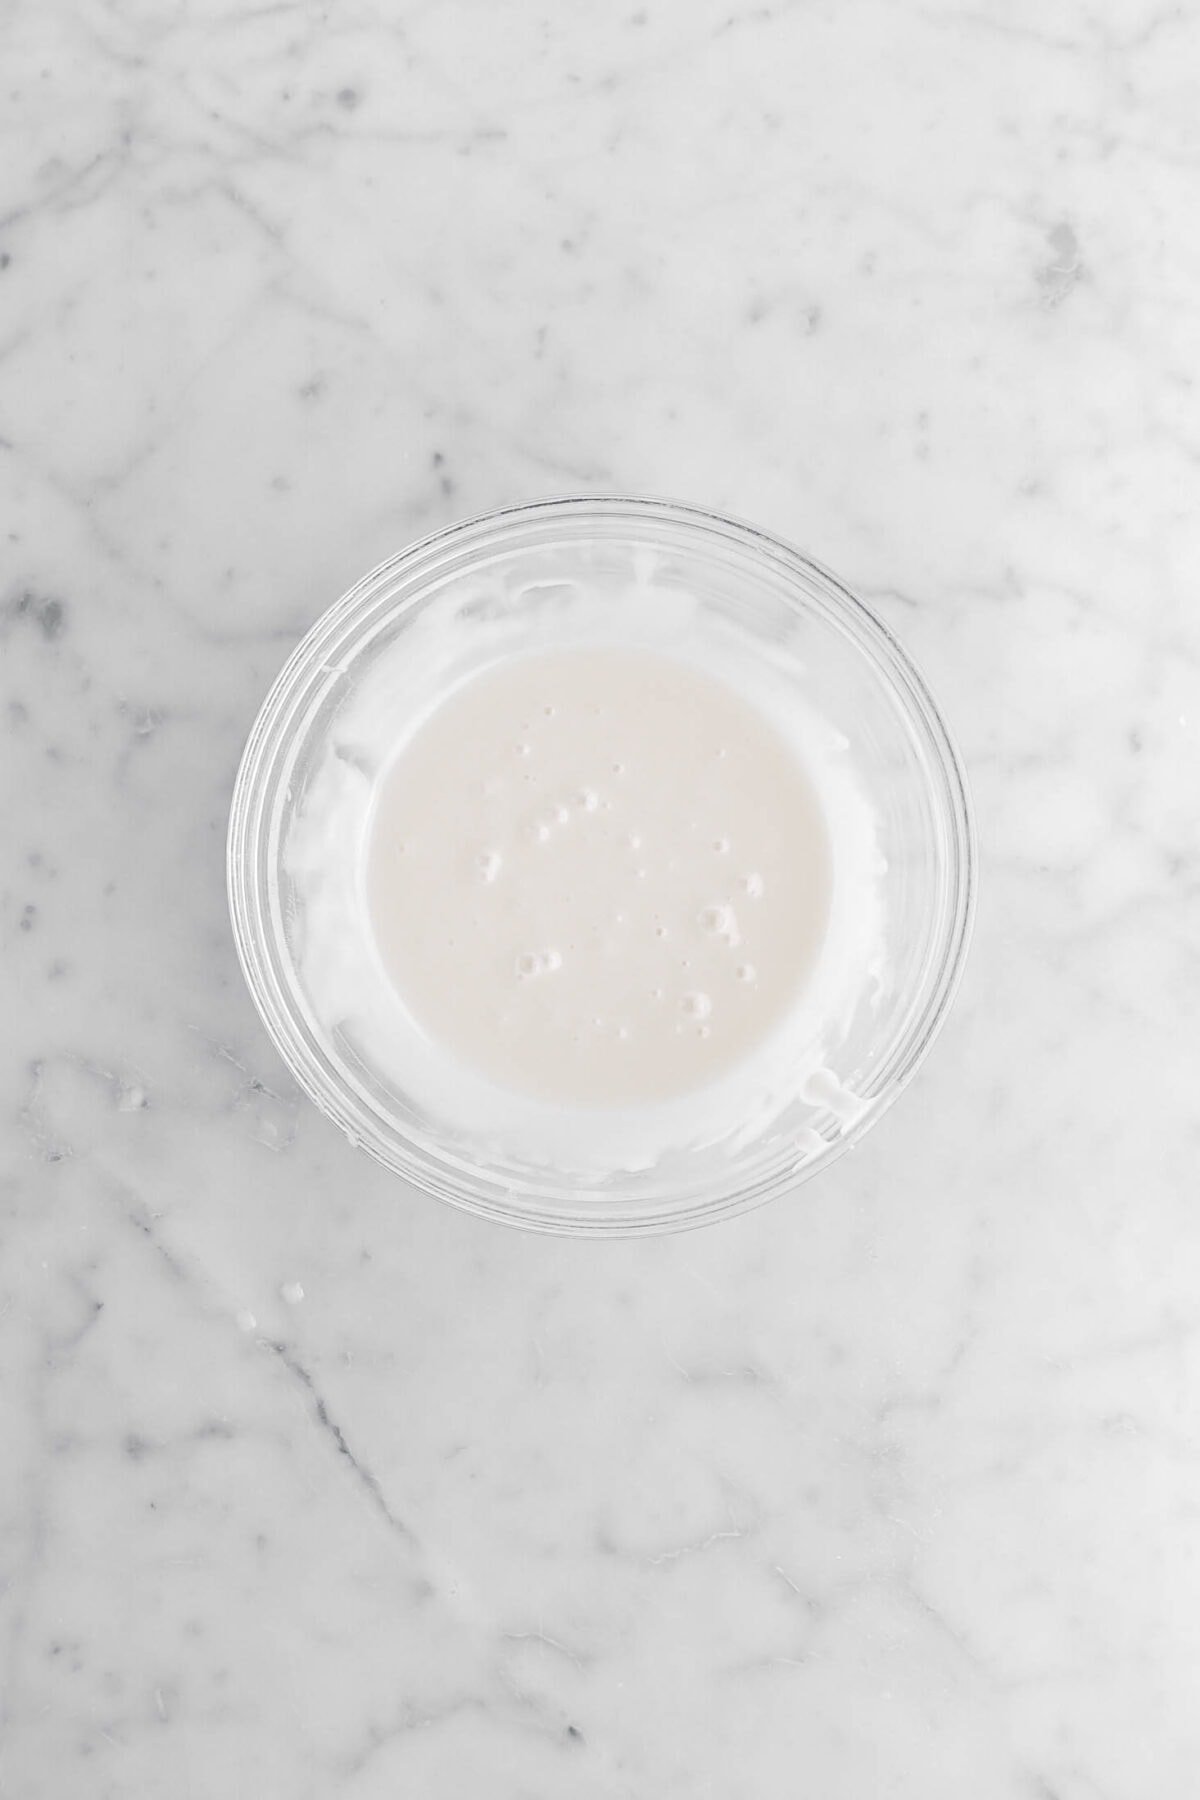
- Combine powdered sugar, milk, and vanilla in a small bowl.
- Whisk until smooth.
- Spread over top of cooled pop tarts.
- While frosting is wet, top with sprinkles, if desired.
Notes + Tips!
Once your delicious pop tarts are frosted and the icing has set, it’s time to store them! Since these are homemade treats, they won’t have the same preservatives as store-bought pop tarts. For best quality, plan to enjoy them within 4-5 days.
- Room Temperature Storage: Store leftover pop tarts in an airtight container or zip-top bag at room temperature. This is a great option for enjoying them throughout the week!
- Freezing: Pop tarts freeze beautifully! This is a handy way to make a big batch and enjoy them later. Allow the pop tarts to cool completely, then place them in a single layer on a baking sheet and freeze for a couple of hours. Once frozen solid, transfer them to a freezer bag or airtight container. Frozen pop tarts will keep for up to a month.
There are two ways to reheat your pop tarts:
-
- Microwave: For a quick reheat, place a pop tart (or two) on a microwave-safe plate and heat on low power for short bursts (5-10 seconds) at a time. Be careful not to overheat, as the crust can become soggy. Check them frequently until warmed through.
- Toaster Oven: If you prefer a crispier reheat, use a toaster oven! Preheat your toaster oven to low heat (around 200°F) and place the pop tart(s) on a baking sheet. Reheat for a few minutes until warmed through, keeping an eye on them to avoid burning.
- You can use store-bought jam, if desired.
- Not a fan of strawberry? You can fill the pop tart with any flavored jam that you like!
- If you wish to make this recipe vegan, use your favorite vegan butter, non-dairy milk, and your favorite egg replacer.
- If you would like to make this recipe dairy free, use you favorite plant-based butter and non-dairy milk.
- If you would like to make this recipe gluten-free, use a measure for measure (also known as 1:1 or cup for cup) gluten-free flour.
- Fresh or frozen strawberries may be used to make the jam.
- While cooking, mash the strawberries with your wooden spoon!
- Overcooked the jam? No problem! You can add a few Tablespoons of water to loosen it.
- Room temperature is about 70℉ (21℃).
- Be careful not to over-work the pastry!
- Don’t skip refrigerating the dough.
- If you’re not using parchment paper to roll out the dough, you will need to lightly flour your work surface.
- Try to re-roll the pastry as little as possible! The more you work it/roll it out, the tougher the crust will be.
- Be sure to place the jam in the middle of each pastry.
- If you want to make sure the pastries are well sealed, you can brush the edges with an egg wash before sealing.
- Use an oven thermometer to ensure accurate baking temperatures.
- The icing is optional, but highly recommended!
Tools You May Need (affiliate links)
– Still Hungry? –
Here are a few recipes may like!


Looks great! Can you do the same with cherries or bananas?
Hi Steve! You can swap pitted cherries for the strawberries, but the bananas will not work. Let me know if you have any other questions.