Homemade Banana Pudding Cups
This post may contain affiliate links, please visit our privacy policy for details.
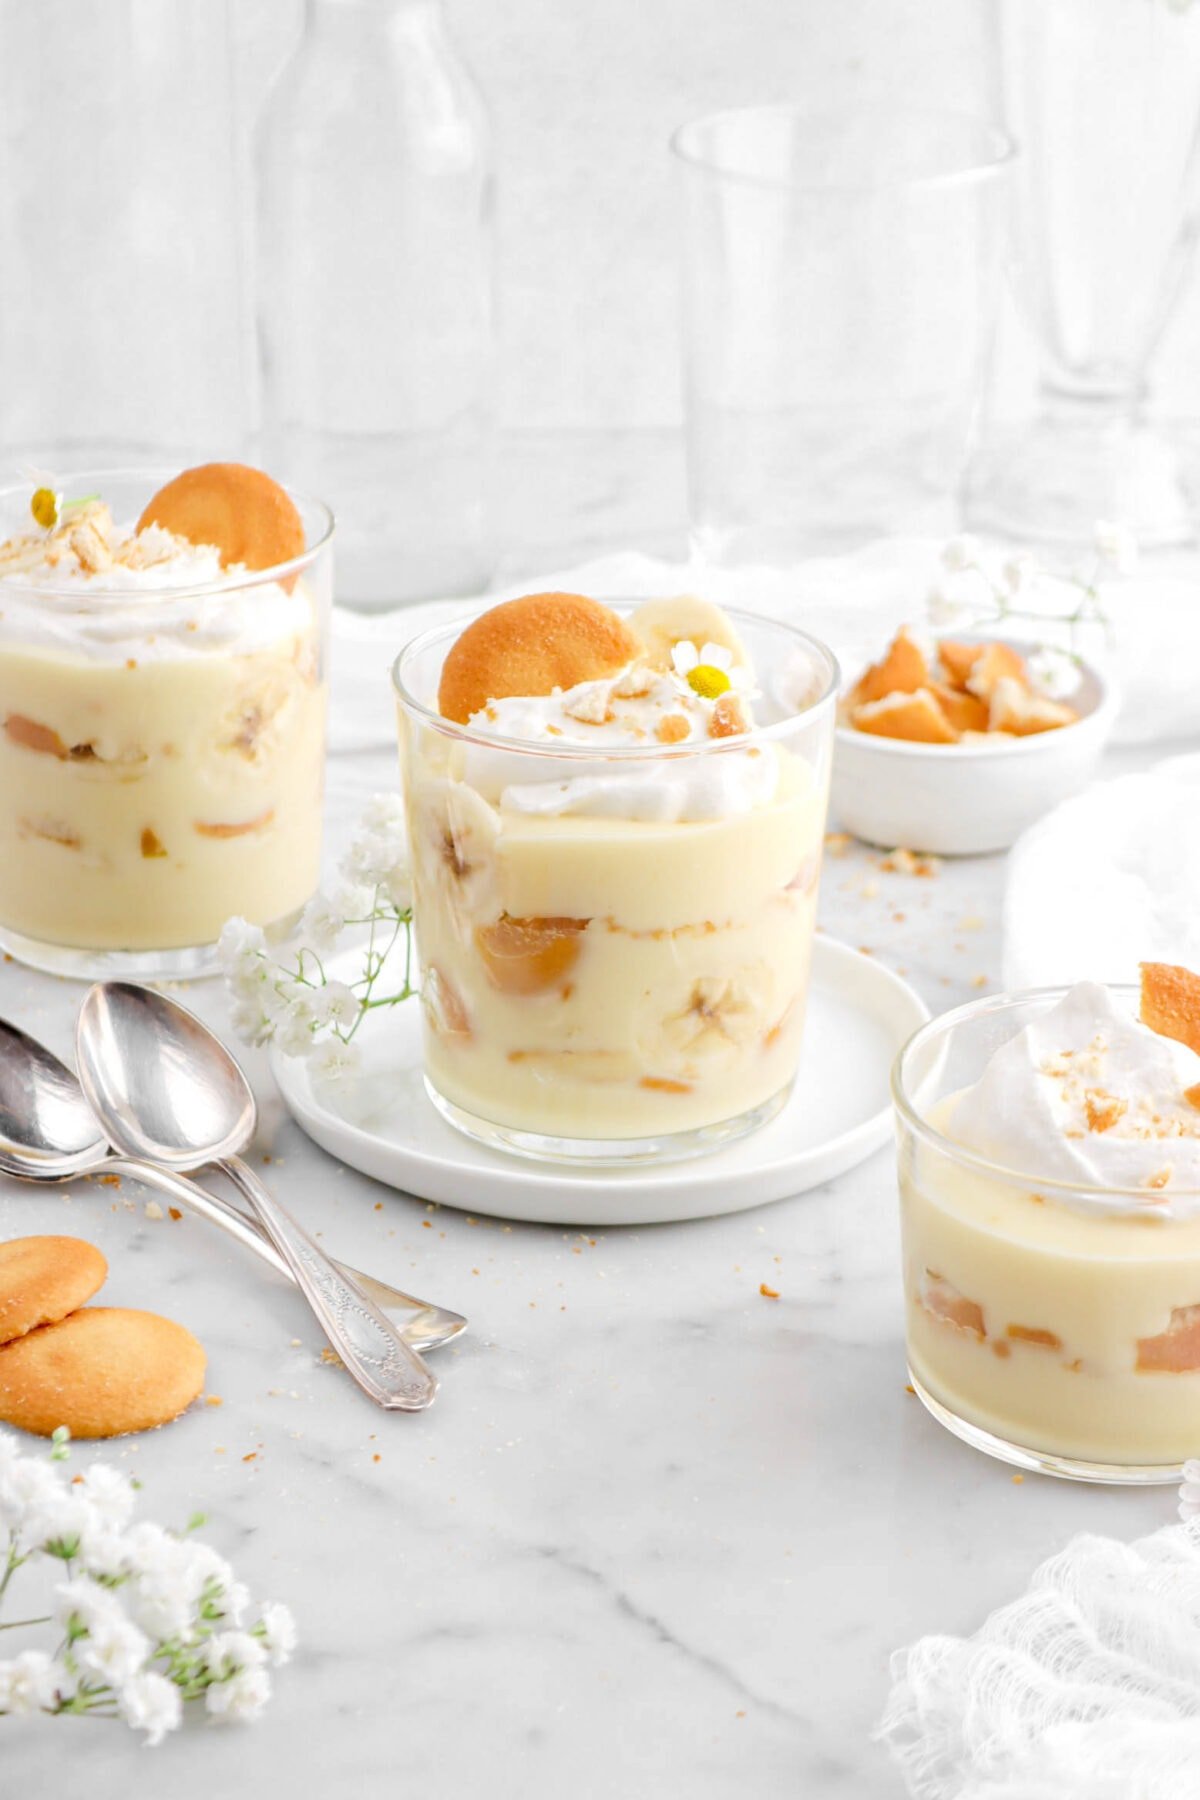
Craving a taste of childhood? Whip up these homemade Banana Pudding Cups! Layers of silky vanilla pudding, fresh bananas, and vanilla wafers come together for a delightful, nostalgic treat.
Being from the south, we have a lot of southern classics on the blog. We have recipes for peach cobbler, hummingbird cake, beignets, french silk pie, buttermilk biscuits…the list goes on! But once we realized we hadn’t shared our award-winning banana pudding recipe, we knew we had to change that ASAP.
If you’re a fan of the classic banana pudding, you HAVE to give these Banana Pudding Cups a try!
3 Parts To A Delicious Banana Pudding
Everyone knows that banana pudding is one of the most delicious desserts out there. The secret? It’s simplicity! A true, delicious banana pudding only requires a handful of components to create the decadent layered dessert we all know and love.
- Pudding: You won’t find any premixed or packaged pudding here. The biggest secret to a delicious banana pudding is making the pudding from scratch. A box mix can’t quite replicate the flavor of pure vanilla extract (or vanilla beans!).
- Fresh Bananas & Wafers: I mean, it IS called a banana pudding after all! Since the wafers and the pudding are a bit sweet, we like to use bananas that are not quite as ripe. This way, they still have the intense flavor but they are much less sweet.
- Chantilly Cream: We have a whole post dedicated to making the perfect Chantilly cream. This adds the final layer of deliciousness to the pudding!

Homemade Vanilla Pudding
This is our go-to pudding recipe. It’s perfectly creamy and sweet, silky smooth and buttery, and easy to make ahead of time.
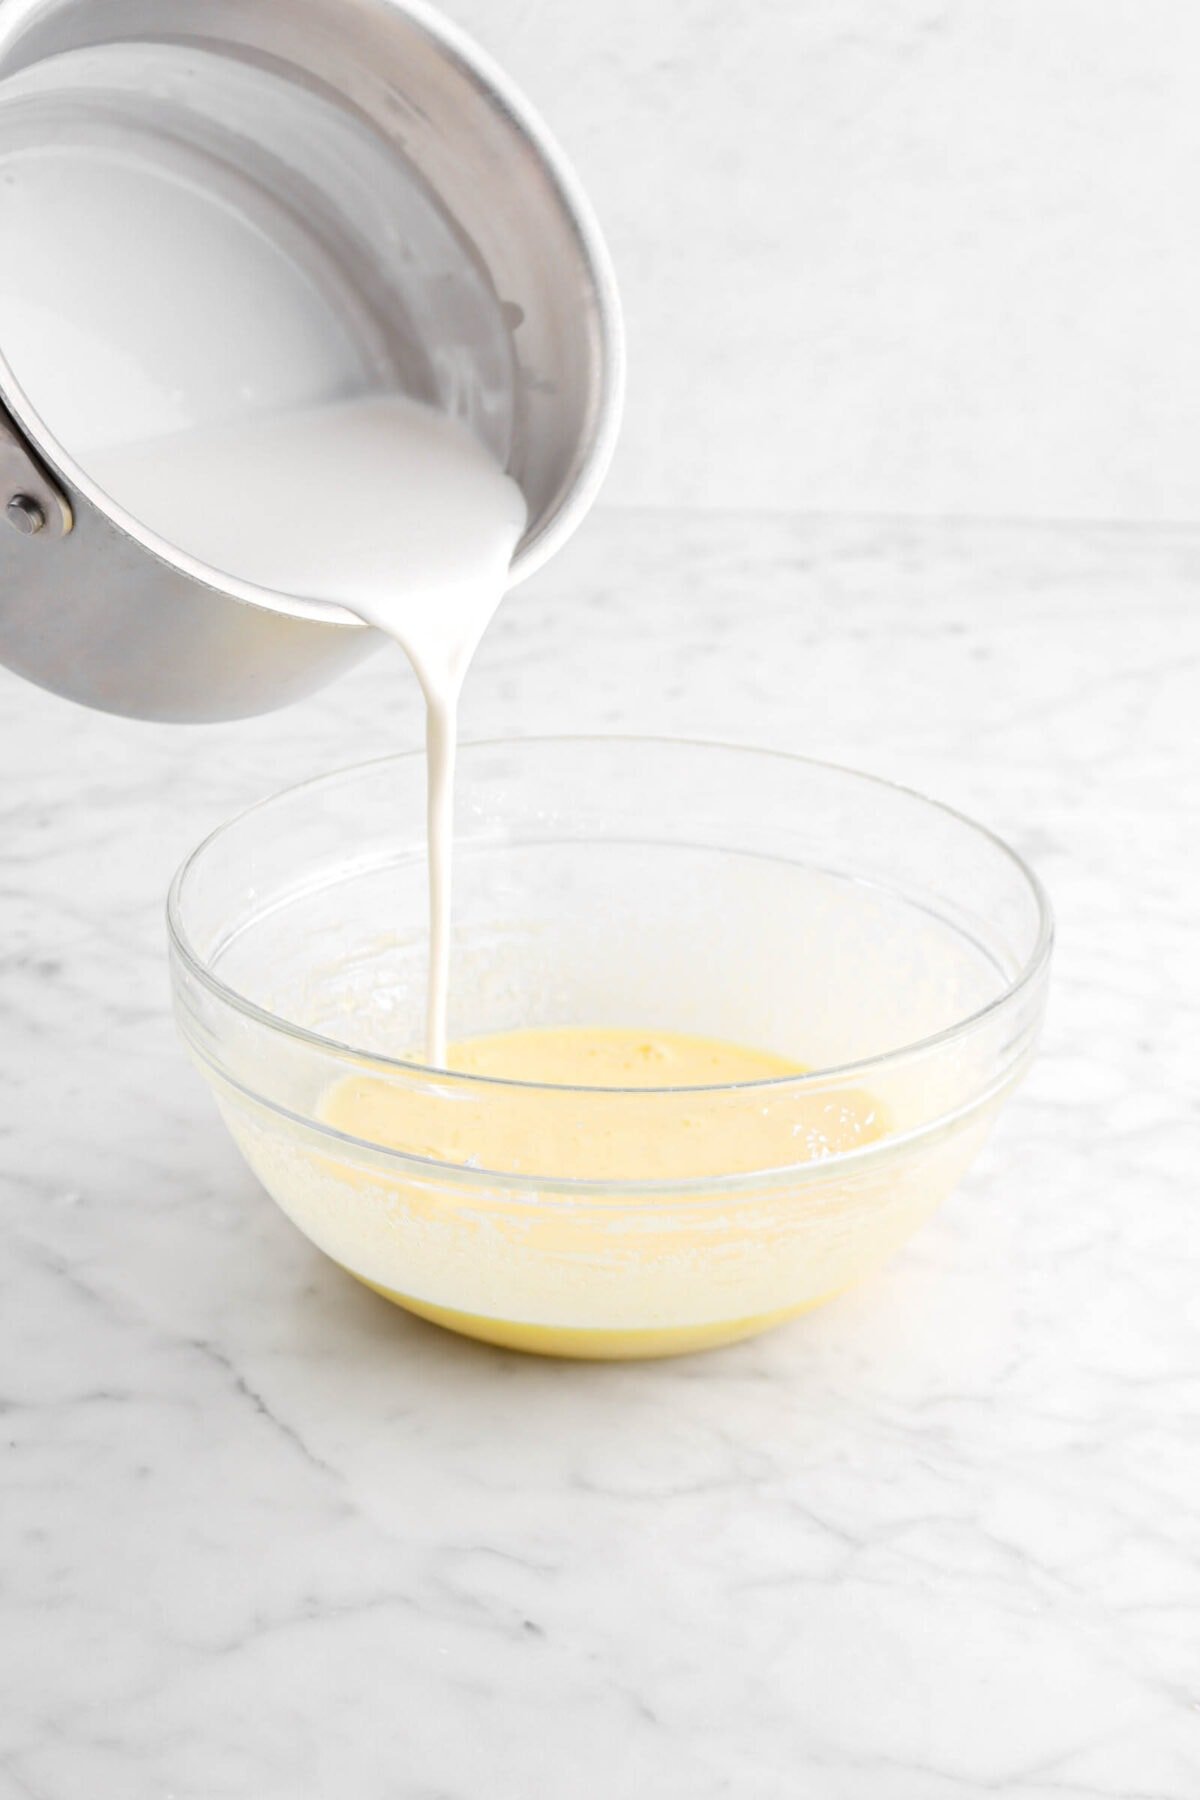
You need 6 ingredients: sugar, cornstarch, egg yolks, milk, butter, and vanilla extract. While we heat the milk over the stove, we are going to mix together the sugar, cornstarch, and egg yolks. Once the milk is warm, we’re going to temper the egg yolks. We do this by continually whisking the egg mixture and very slowly adding some of the hot milk.
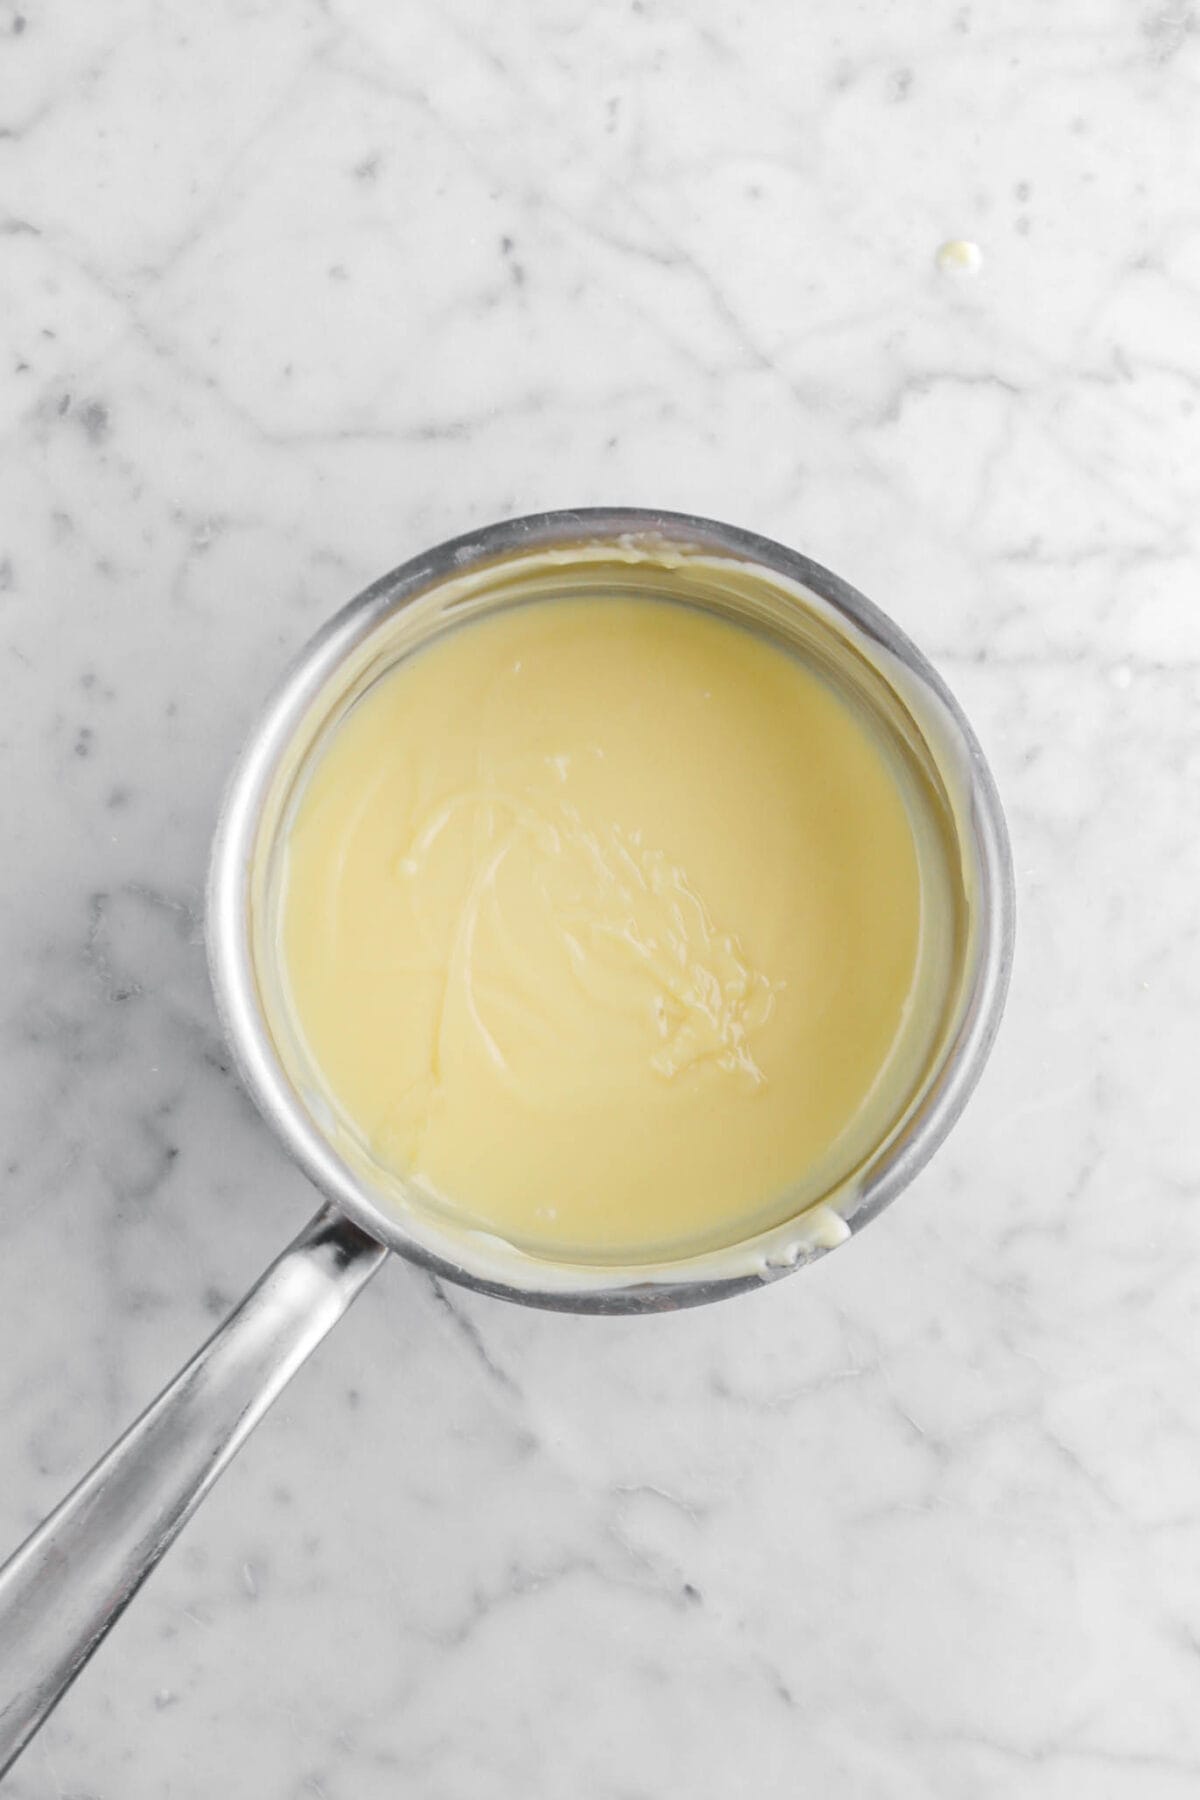
Once the eggs are tempered, move the mixture to the stove and cook until it begins to thicken (about 5-8 minutes). Whisk in the vanilla and butter. Voilà! Homemade pudding.
Not quite ready to make the pudding cups? Once you strain the pudding, you can place it in an airtight container and refrigerate it for 2-3 days before you’re ready to serve.
Assembling The Pudding Cups
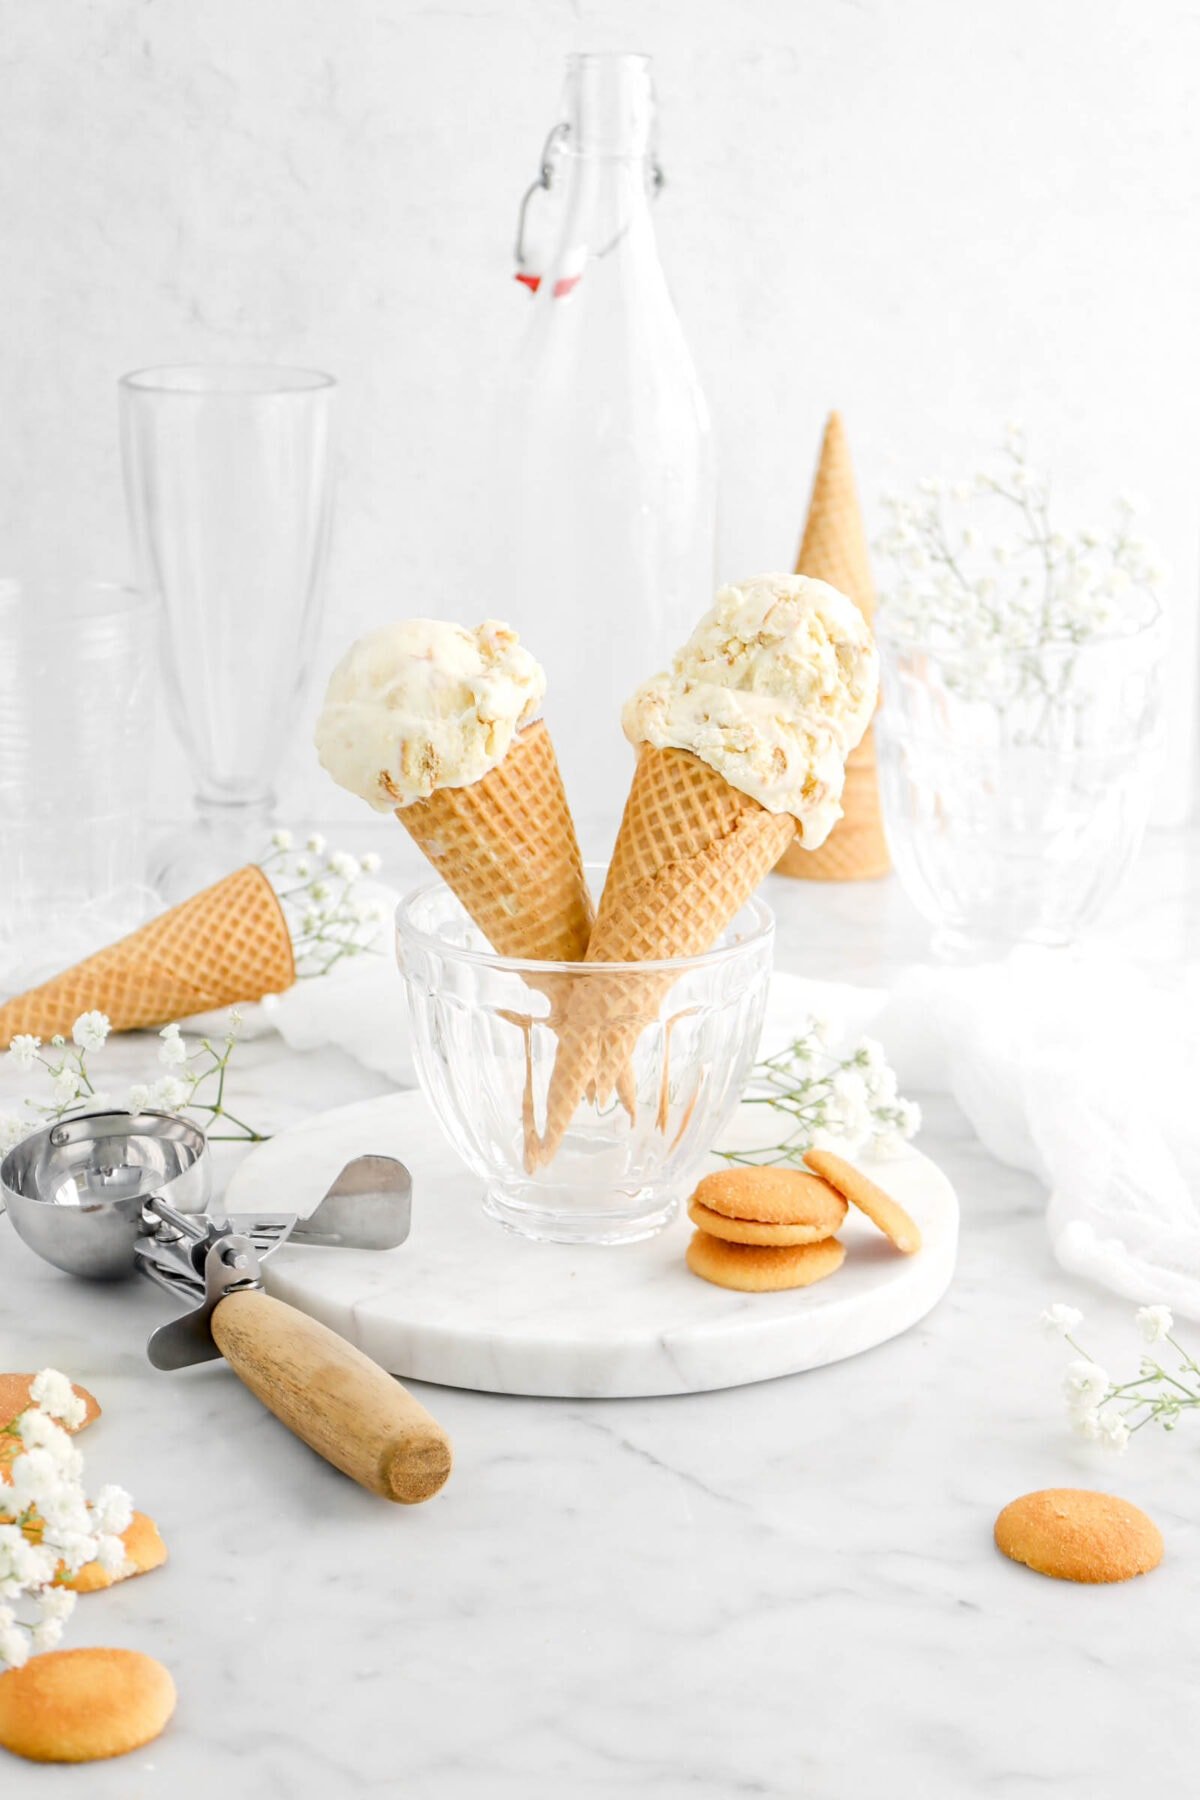
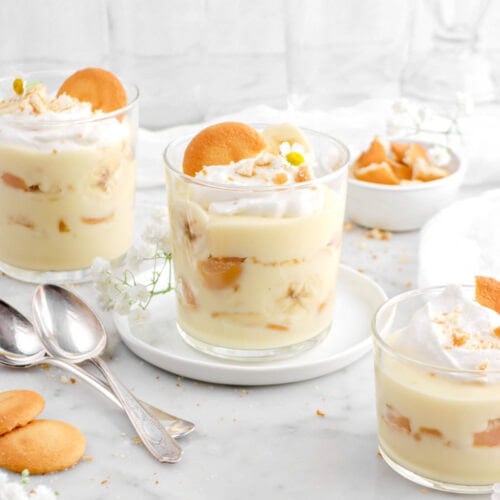
Now, onto the easiest part…assembling the layers! We used these bodega glasses for ours (but these mason jars would be super cute!). The size glass/cup/jar you serve the banana pudding in will determine the amount you get. We got about four servings. If you use smaller jars, you’ll get more servings!
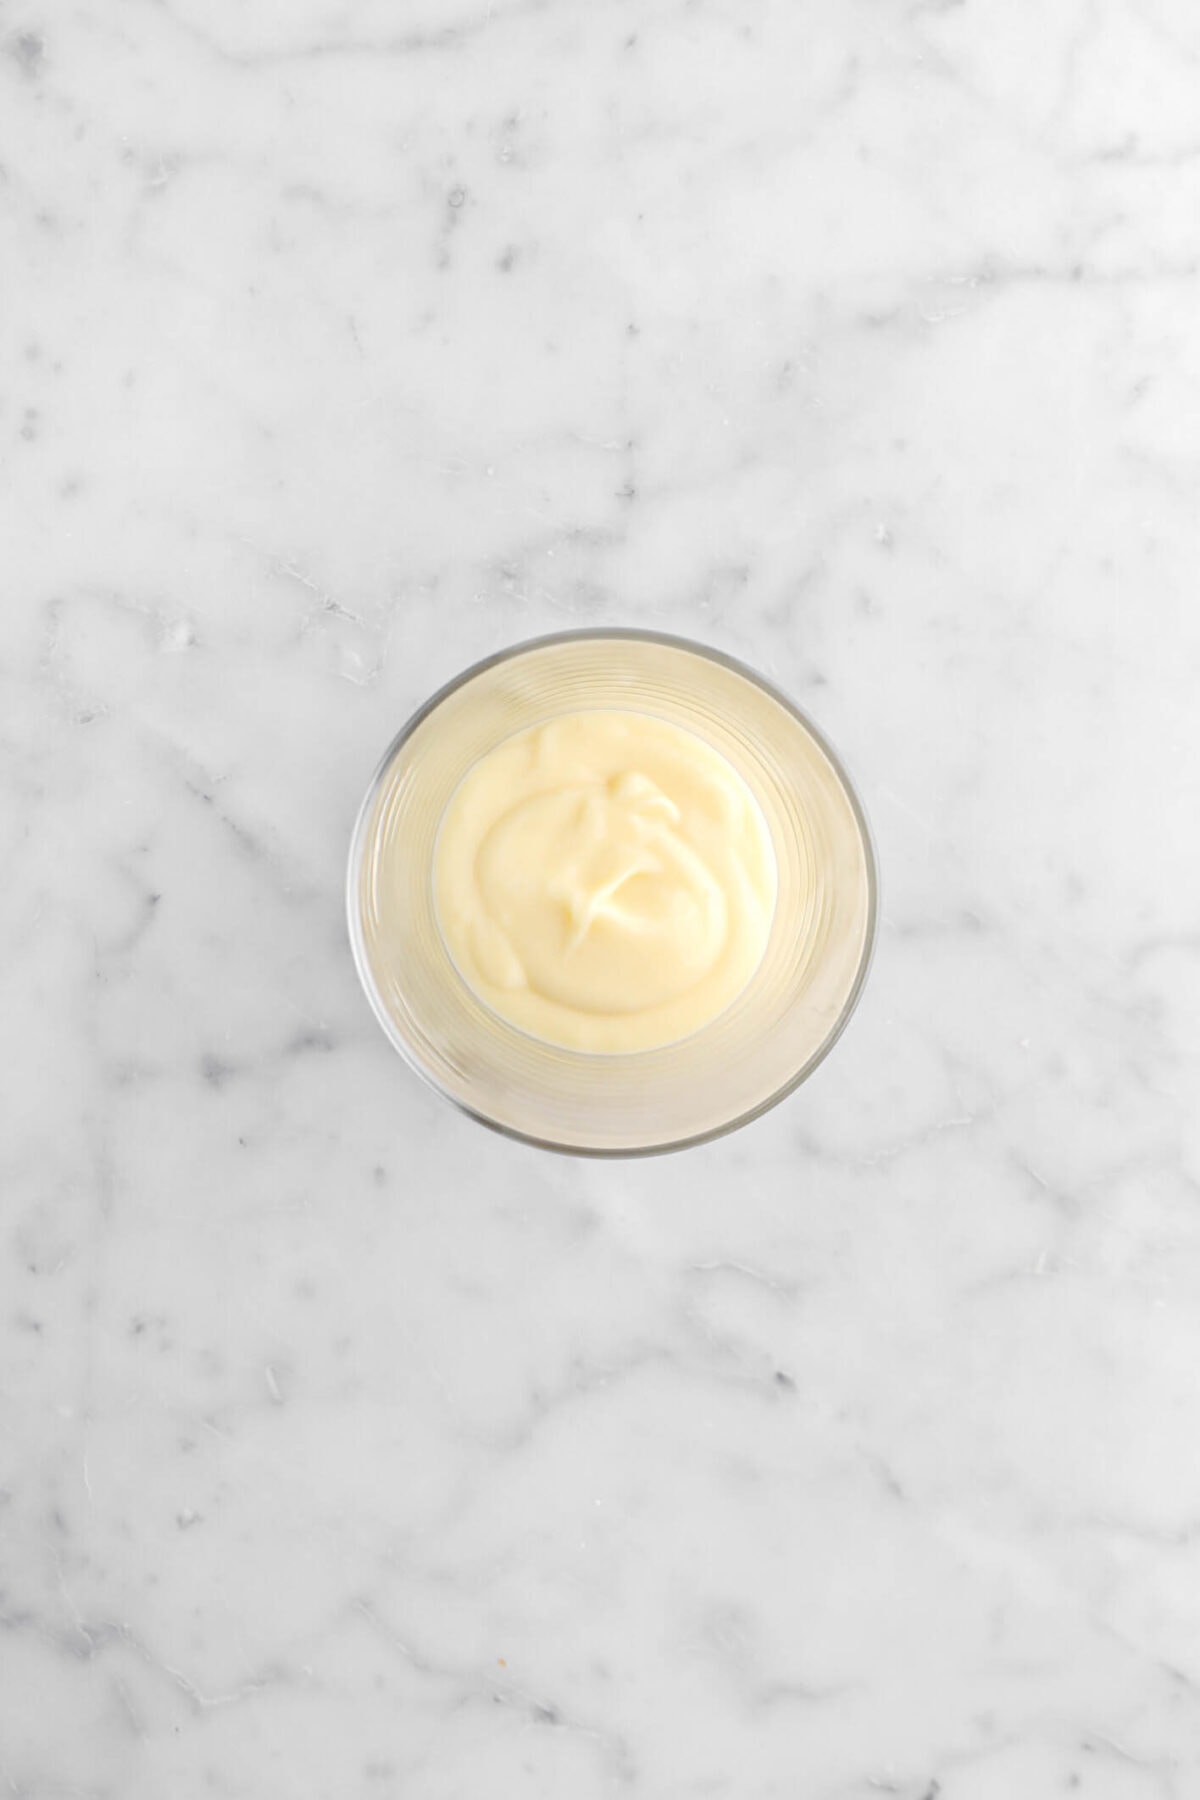
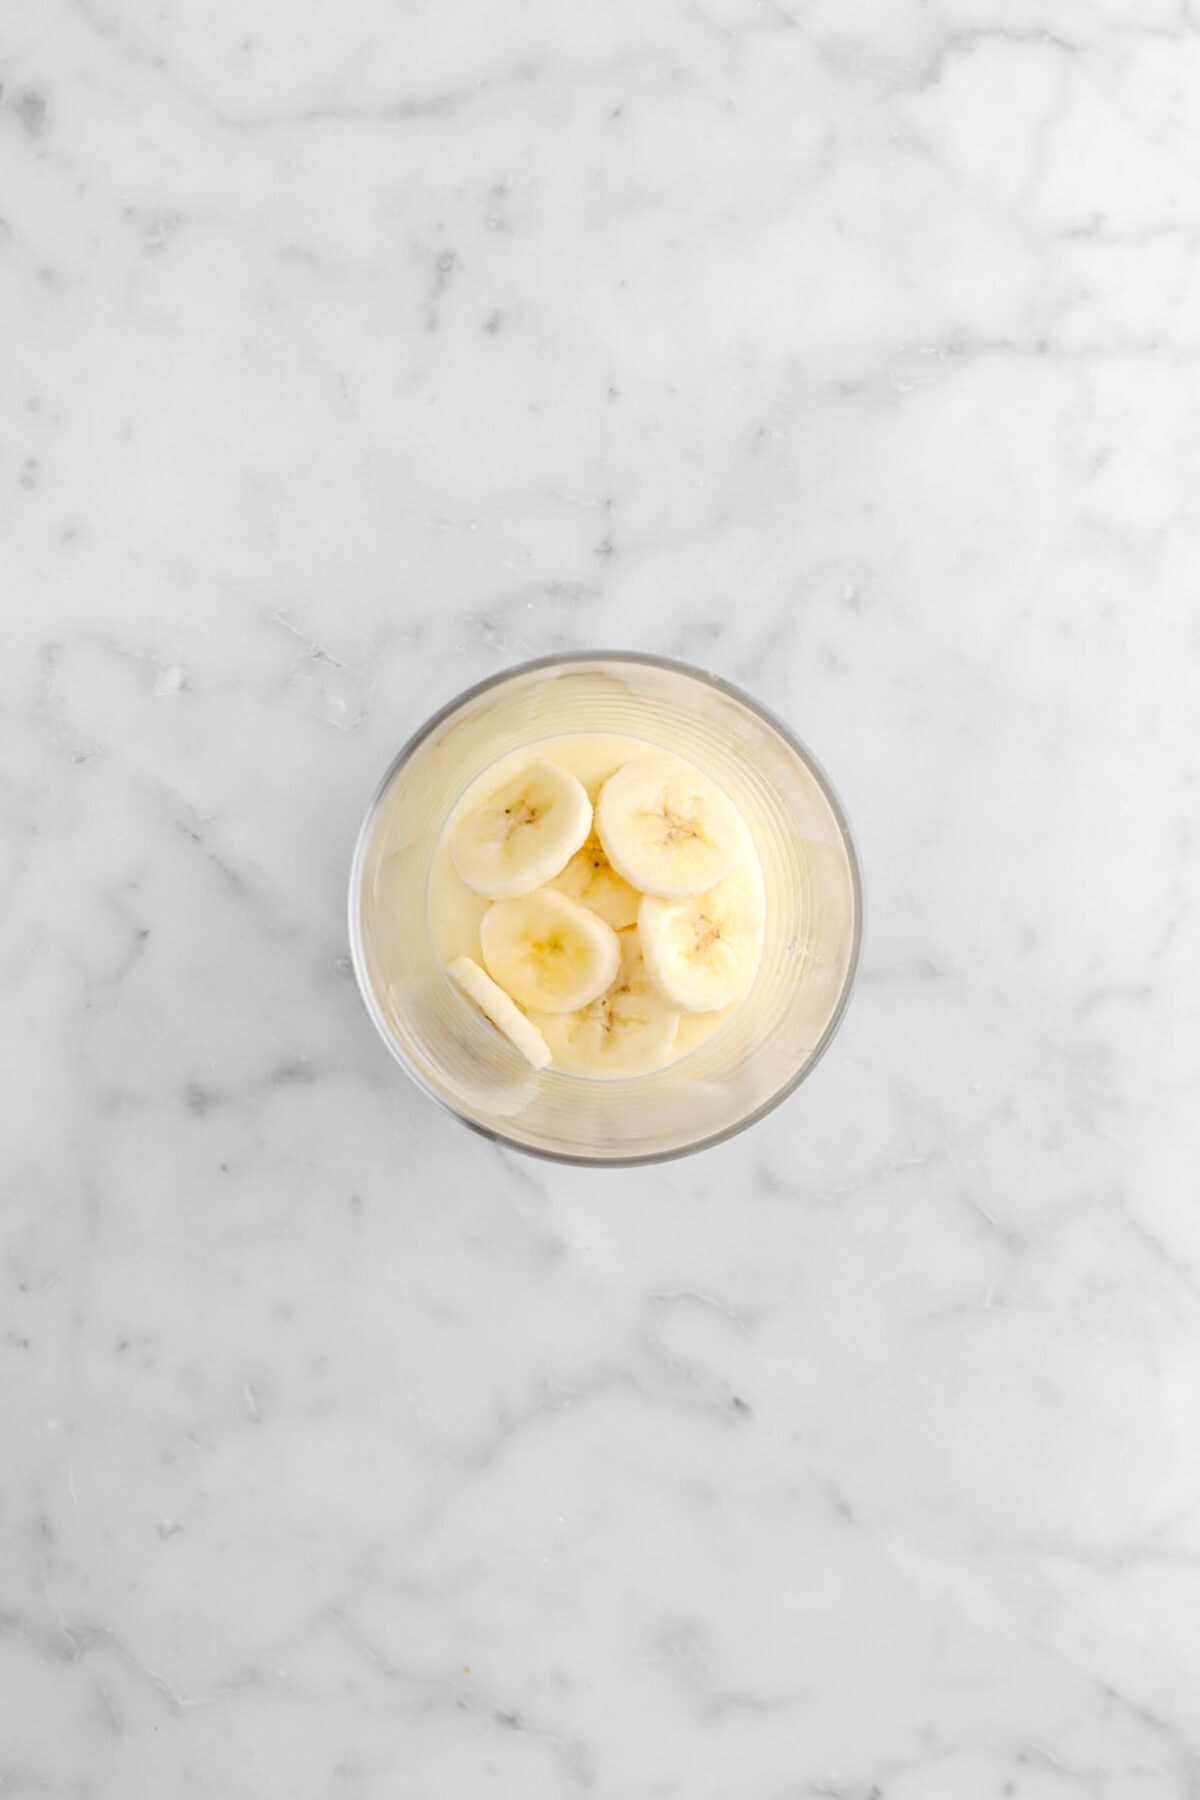
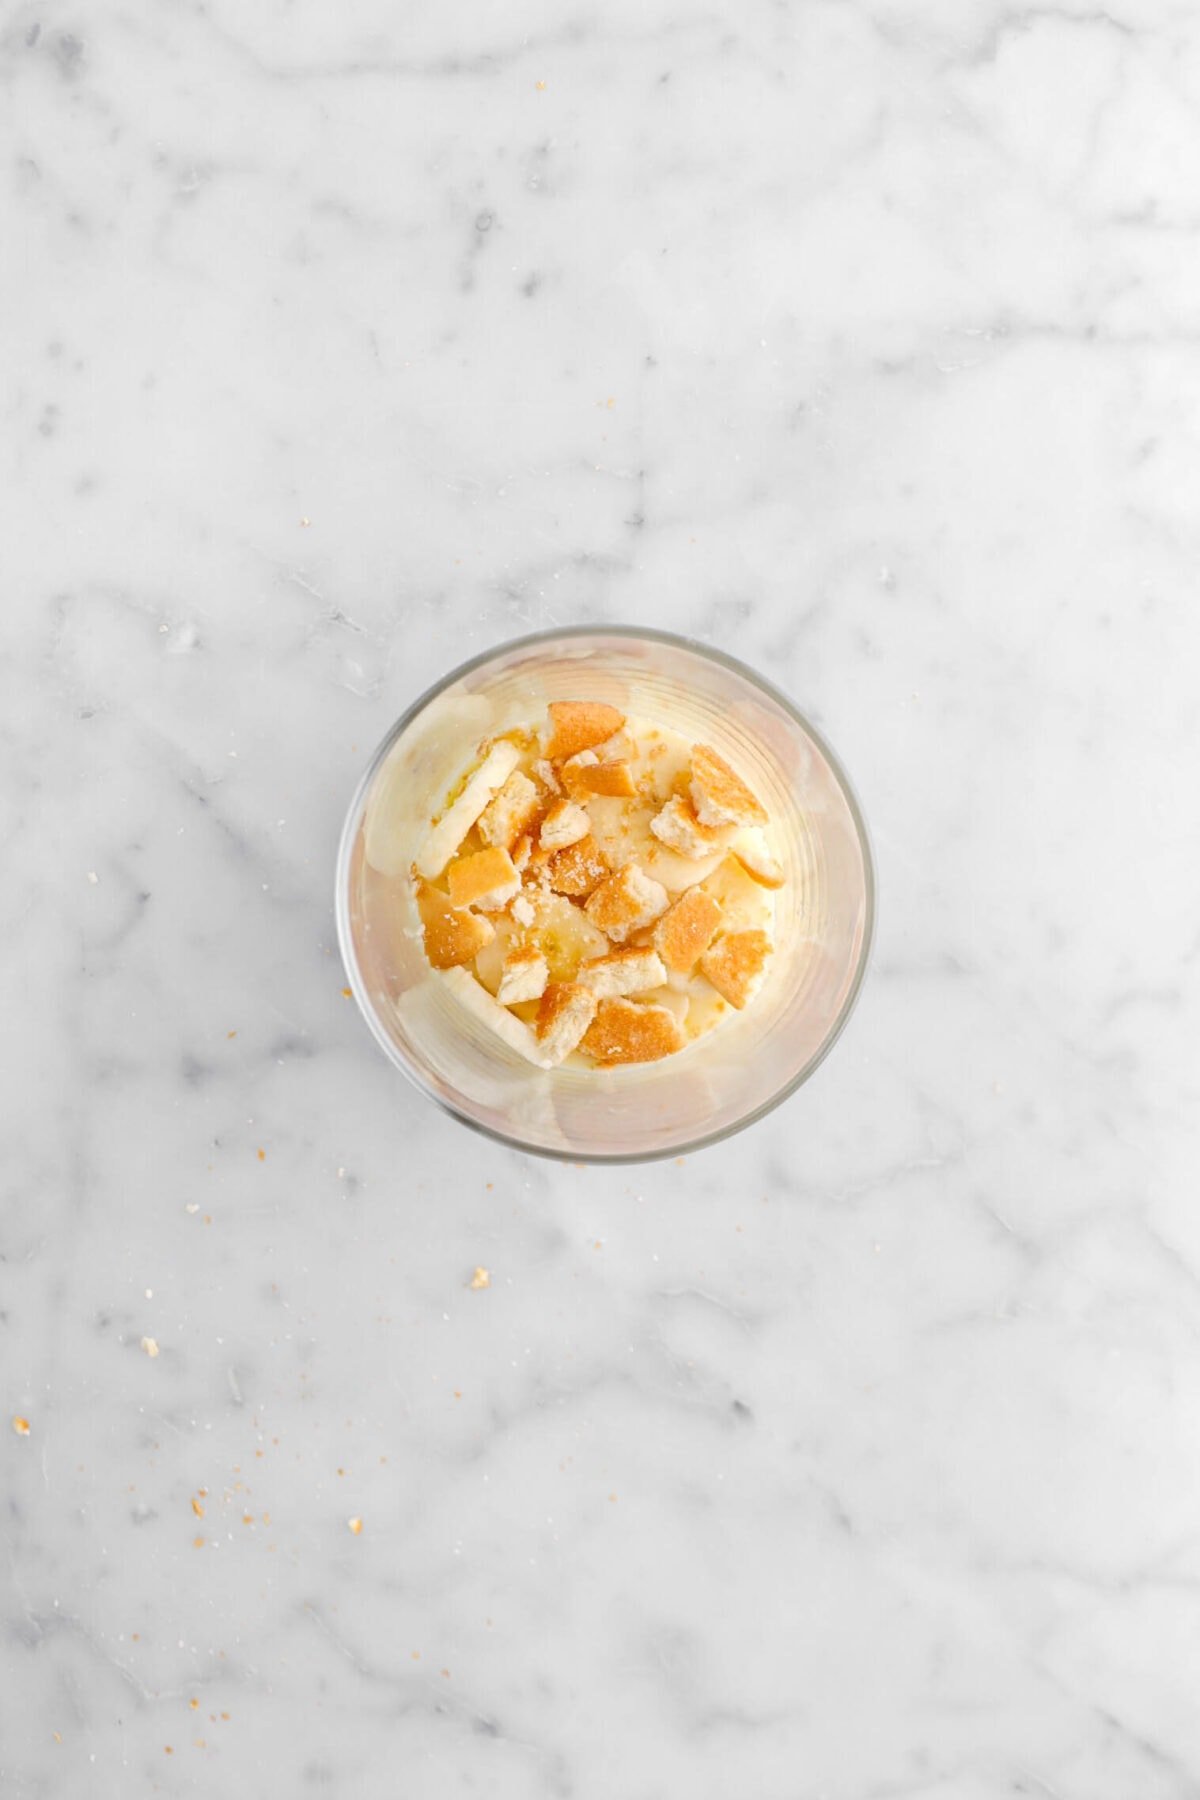
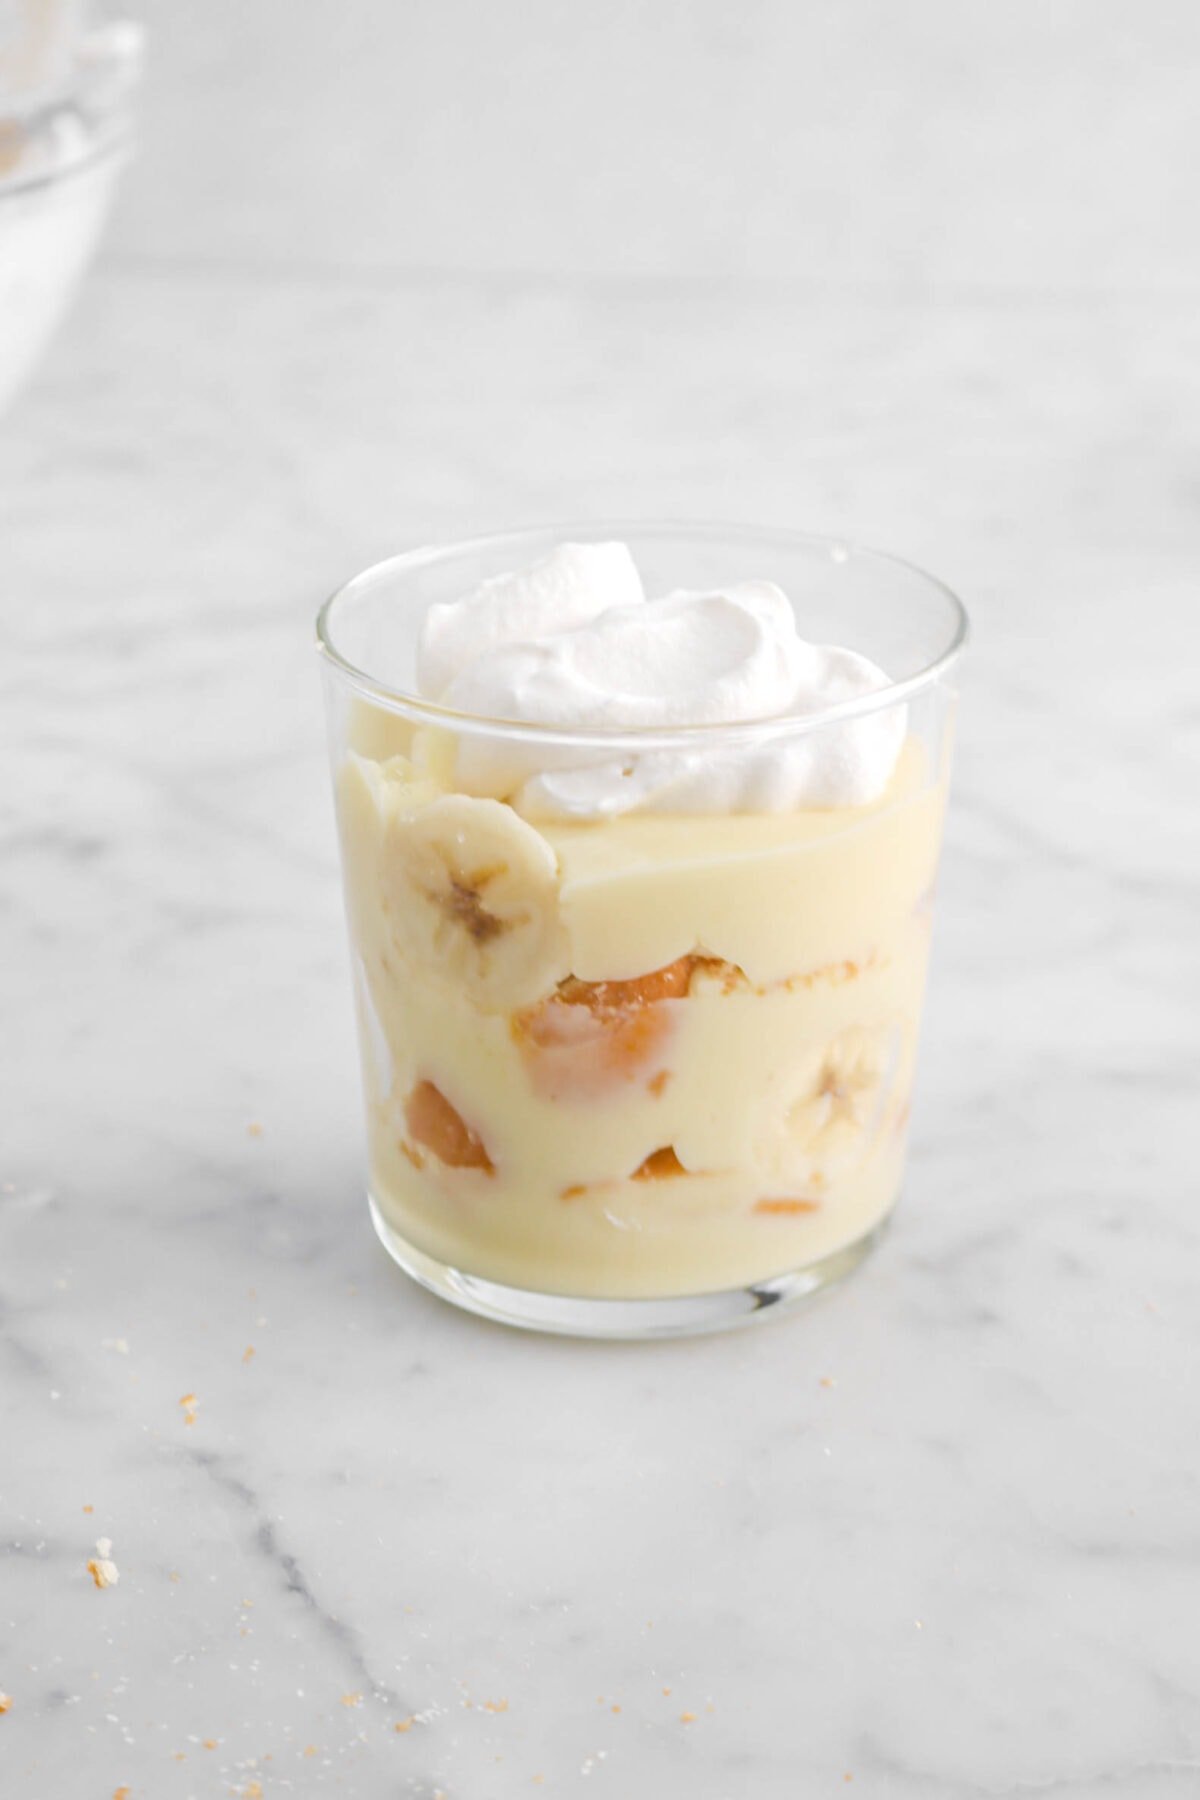
To assemble, spoon in about ½ inch of custard in the bottom of each of your glasses. Top with sliced bananas and vanilla wafers. Repeat the layers until you reach the top of your glass and finish with a dollop of chantilly cream!
Assembling takes literally 5 minutes. As long as you make the pudding a day or so in advance, you can simply assemble the cups just before the event, or if you have company coming over. 😊
⊹ Quick Tip! ⊹
Want to keep the bananas from browning? Before assembling, toss the banana slices in a little bit of lemon juice!
Frequently Asked Questions
More Banana Recipes:

When you make these Banana Pudding Cups, leave a comment down below! We love hearing from you and answering any questions you might have! Also, be sure to tag us on social media and hashtag it #BakersTable.
Happy baking!
x, Caylie
Homemade Banana Pudding Cups
Ingredients
Puddings
- ½ cup granulated sugar
- ¼ cup cornstarch
- 6 large egg yolks
- 2 cups whole milk
- 2 Tablespoons salted butter, sliced
- 1 teaspoon vanilla extract
Topping
- 2 bananas, sliced
- 1 cup vanilla wafers, broken
Chantilly Cream
- 1 cup heavy cream, cold
- 1 Tablespoon powdered sugar
- ½ teaspoon vanilla extract
Instructions
Pudding
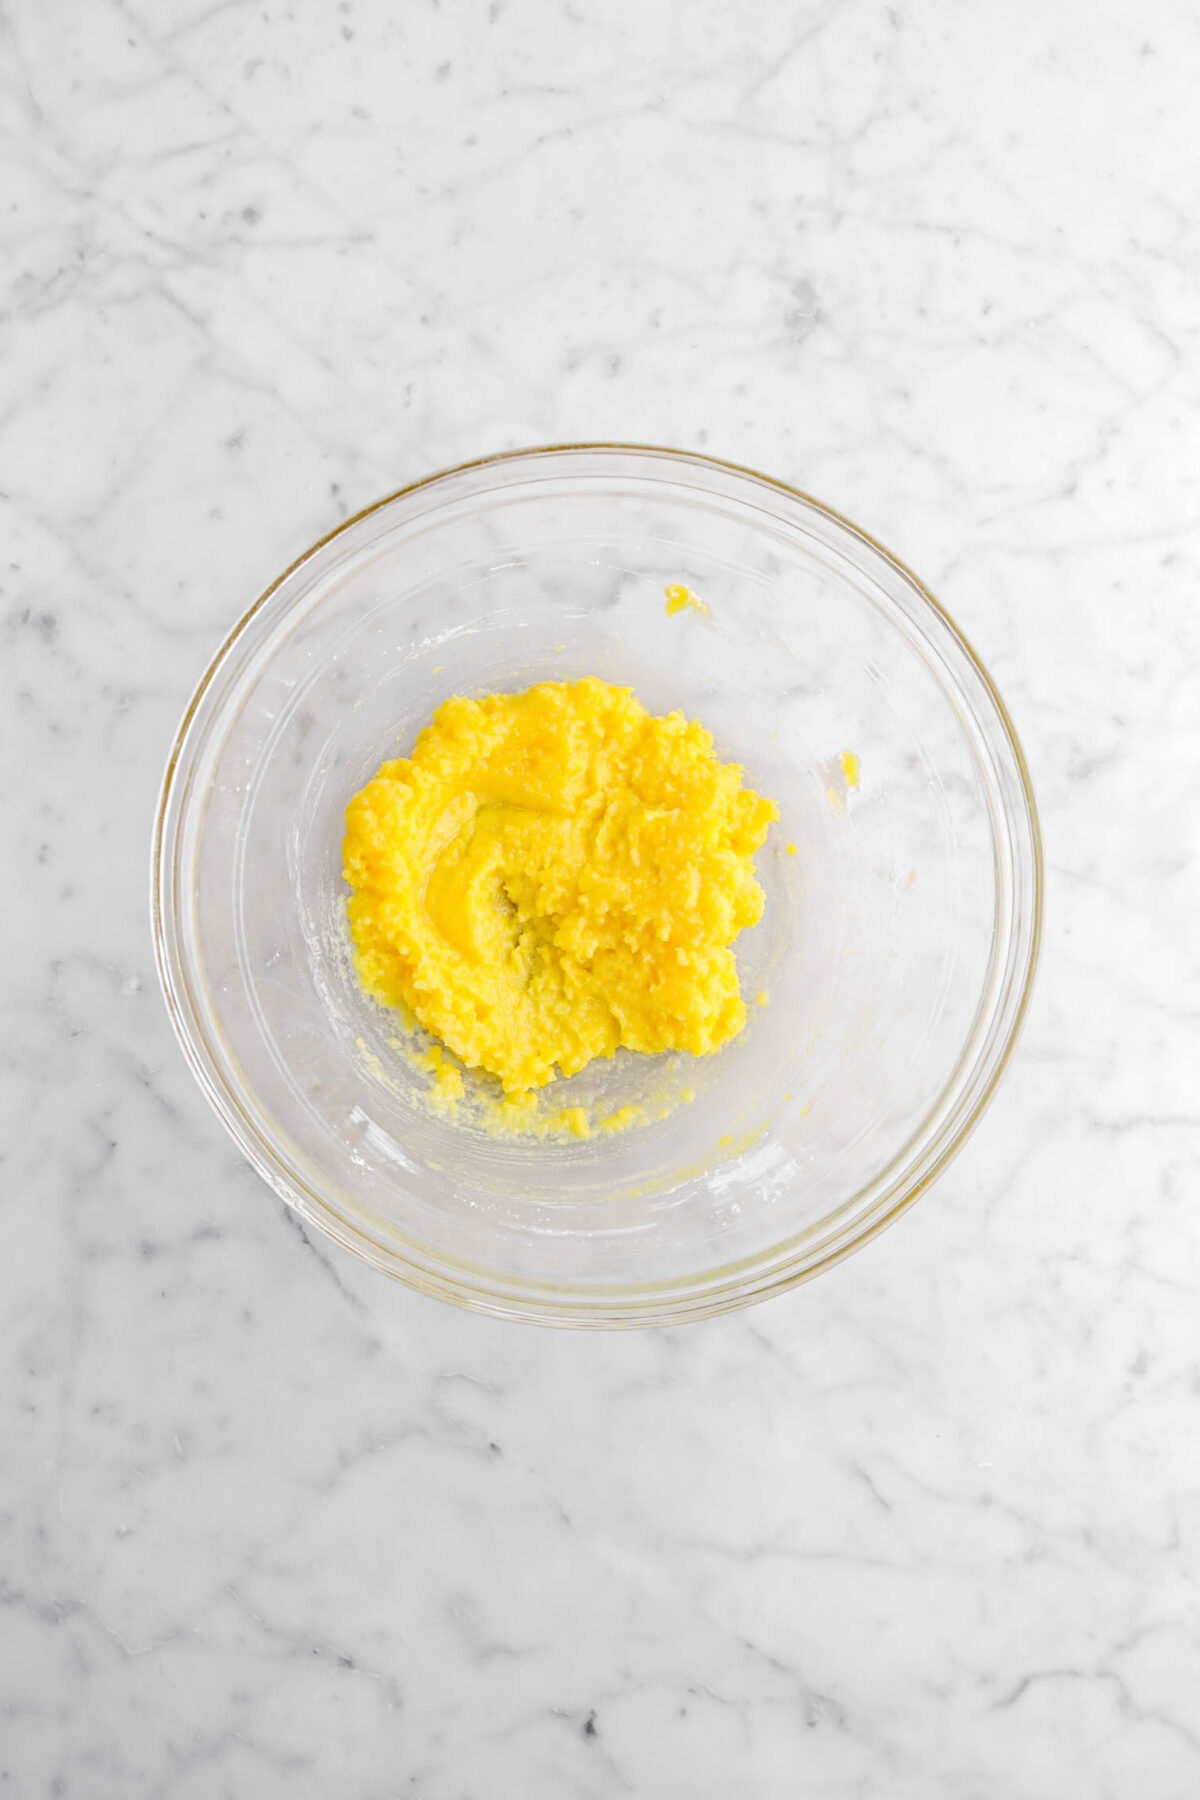
- In a medium bowl, whisk sugar and cornstarch together.
- Mix in egg yolks. Set aside.
- In a medium saucepan, heat milk until it starts to bubble around the edges.
- Slowly whisk hot milk into egg mixture.
- Return to saucepan.
- Cook over medium low heat, stirring continuously, until custard thickens, about 5-8 minutes.
- Stir in butter and vanilla.
- Strain through a fine mesh sieve into a clean bowl.
- Let cool.
Chantilly Cream
- In a small bowl, combine cream, sugar, and vanilla.
- Beat at high speed with an electric mixer until stiff peaks form.
Assembly
- Spoon ½ inch custard into the bottom of each glass.
- Cover custard with banana slices.
- Top with 1 Tablespoon vanilla wafers.
- Spoon another ½ inch custard on top of vanilla wafers.
- Repeat layers to top of glasses.
- Spoon Chantilly cream on top of puddings.
Notes + Tips!
- Assembled Cups: Once assembled, store leftover banana pudding cups covered with plastic wrap in the refrigerator for up to 2 days. The Nilla wafers will soften further over time, but the flavors will still be delicious.
- Unassembled Components: The pudding, bananas, and vanilla wafers can all be stored separately to extend their shelf life:
- Pudding: Homemade pudding can be stored in an airtight container in the refrigerator for up to 3 days.
- Bananas: Sliced bananas can be stored in an airtight container in the refrigerator for up to 1 day. Tossing them in a little lemon juice before storing can help prevent browning.
- Vanilla Wafers: These can be stored at room temperature in their original airtight container for up to a week.
-
- Chill Time is Key: Allow the pudding to cool completely before assembling the cups. This prevents the bananas from becoming mushy and ensures a layered, defined look.
- Tempering Matters: When tempering the egg yolks with hot milk, take your time and whisk continually. This prevents the eggs from scrambling and creates a smooth, silky pudding!
- Don’t Over Heat: Once the pudding thickens, remove it from the heat immediately. If you leave it on the heat too long, it can develop an unpleasant texture.
- Banana Prep: Tossing banana slices in a little lemon juice before layering them helps prevent browning!
- Container Choice: Use clear containers like mason jars or bodega glasses to showcase the beautiful layers of your pudding cups.
Tools You May Need (affiliate links)
– Still Hungry? –
Here are a few recipes may like!


