Old Fashioned Buttermilk Chocolate Sheet Cake with Chocolate Frosting
This post may contain affiliate links, please visit our privacy policy for details.
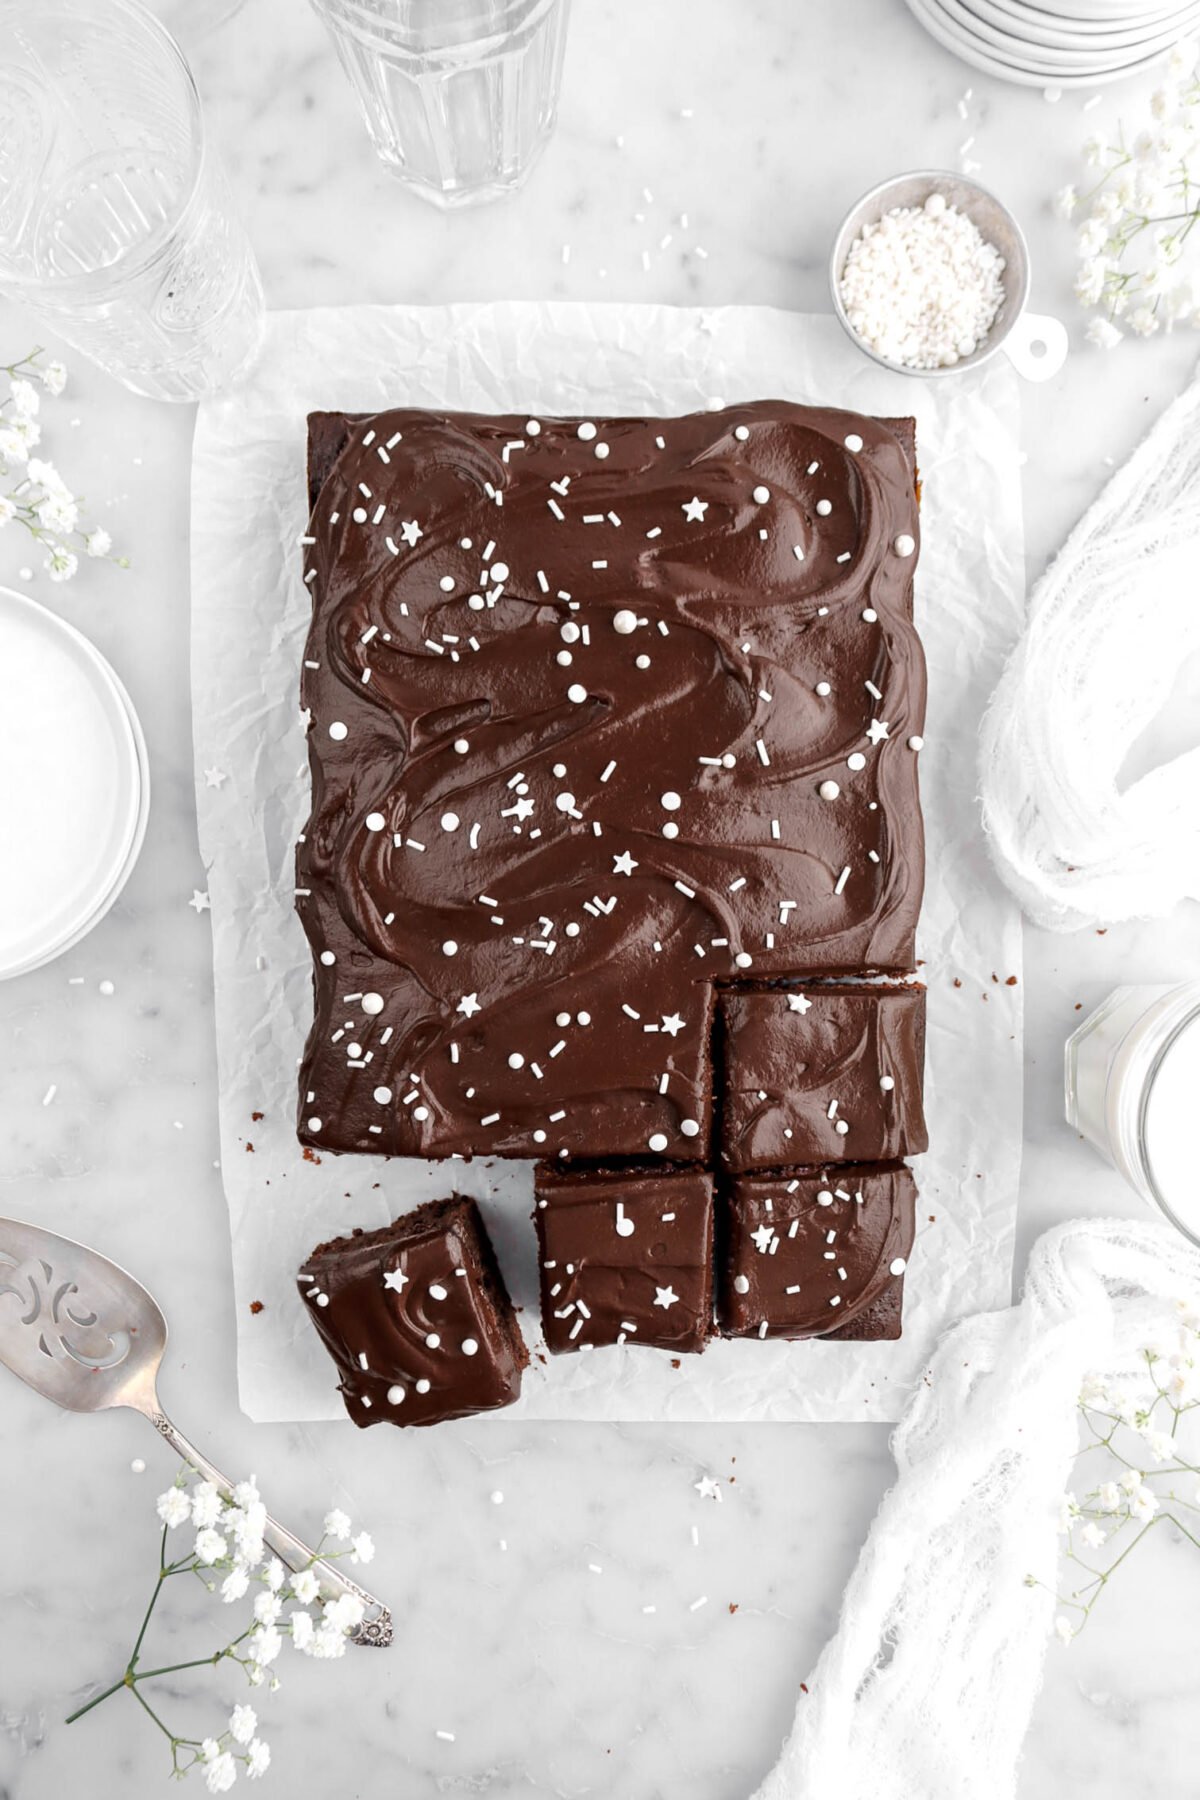
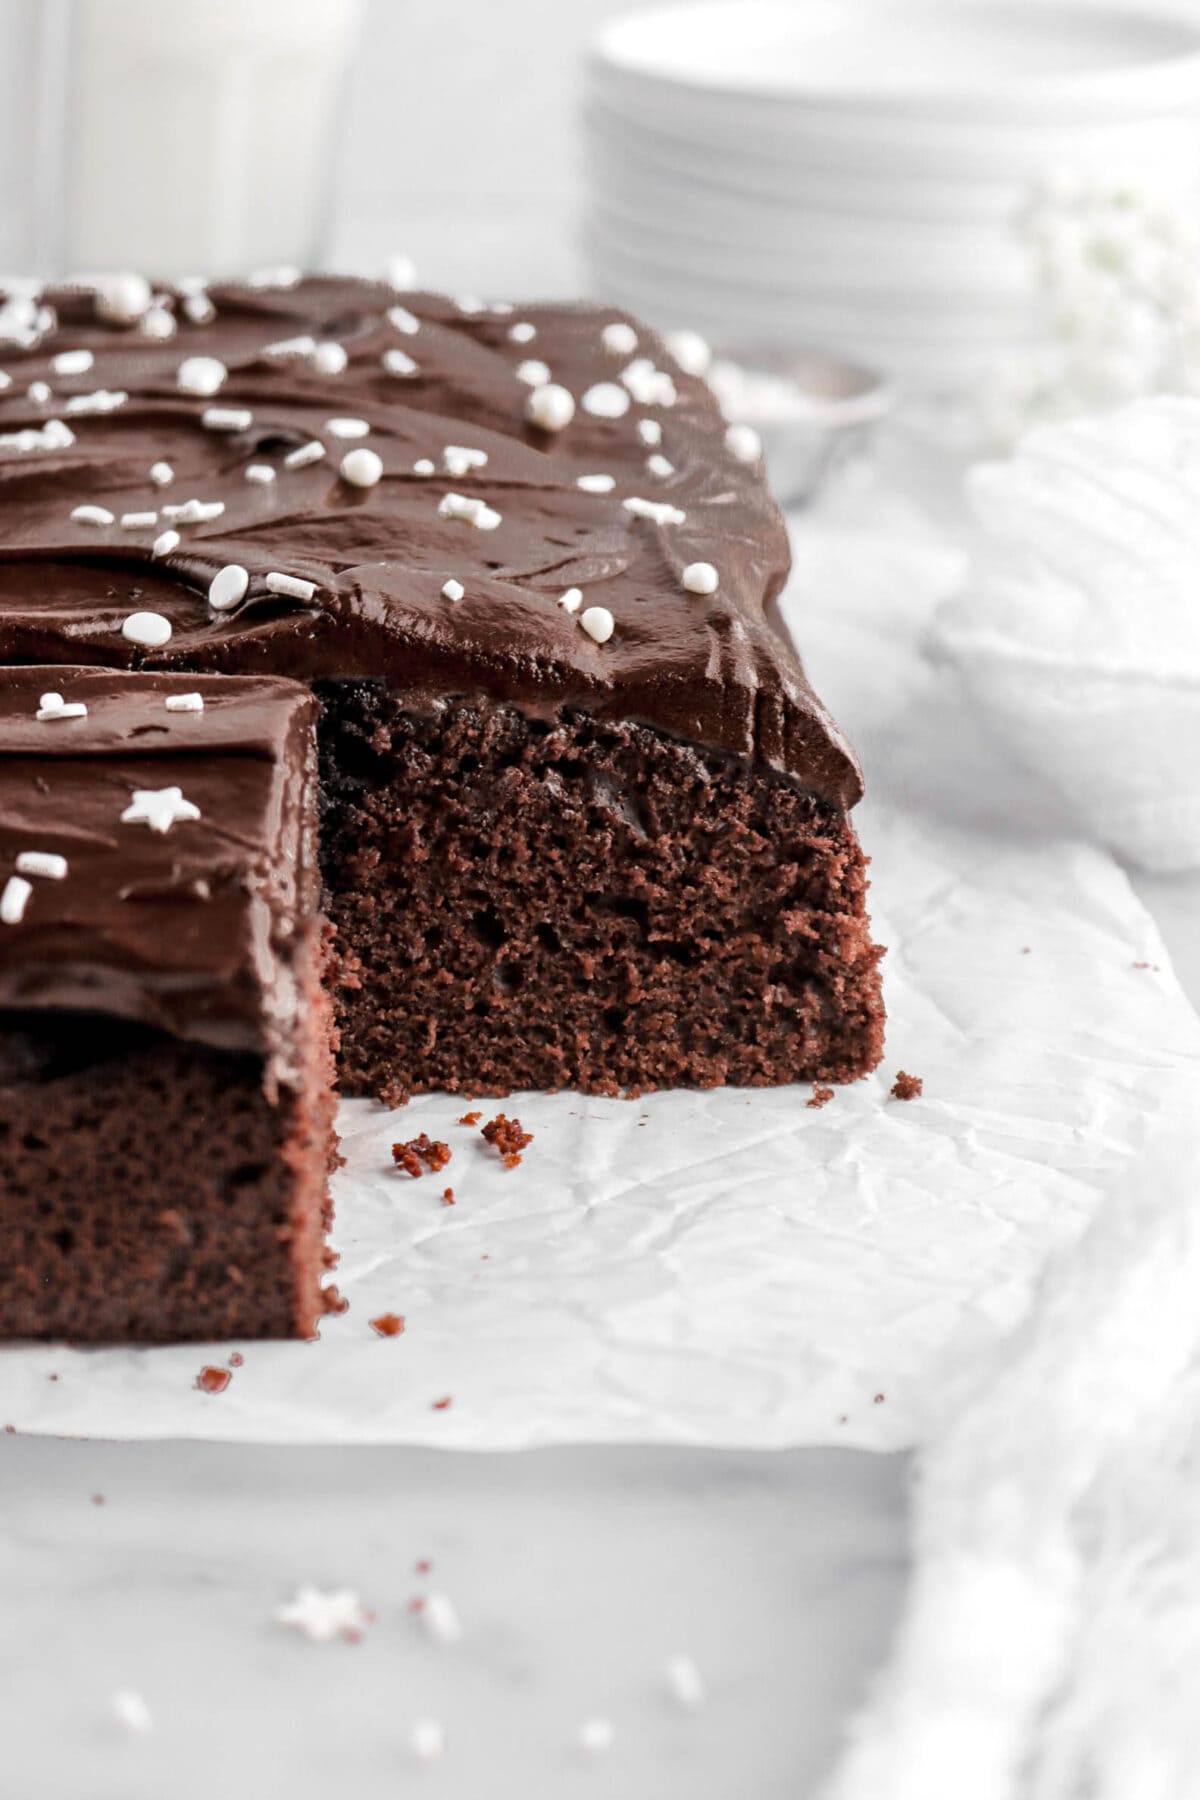
Old-Fashioned Buttermilk Chocolate Sheet Cake with rich, silky buttercream frosting! This one-bowl, fluffy, extra chocolate-y cake will take you back to childhood. Topped with decadent frosting, it’s the ultimate chocolate cake everyone will love. Perfect for birthdays, holidays, or a weekend treat.
Kicking off June with the best-ever chocolate sheet cake! Perfect for nostalgic summer vibes, this easy-to-make cake is a crowd-pleaser everyone will love.
If you’re avoiding the oven, we’ve got no-bake options like Lemon Blueberry Cheesecake Bars or S’mores Pie—and even no-cook ice creams like our popular vanilla, which pairs perfectly with a slice of this chocolate cake. No matter your preference, this cake is a summer must-try!
Reasons You Will Love This Chocolate Sheet Cake
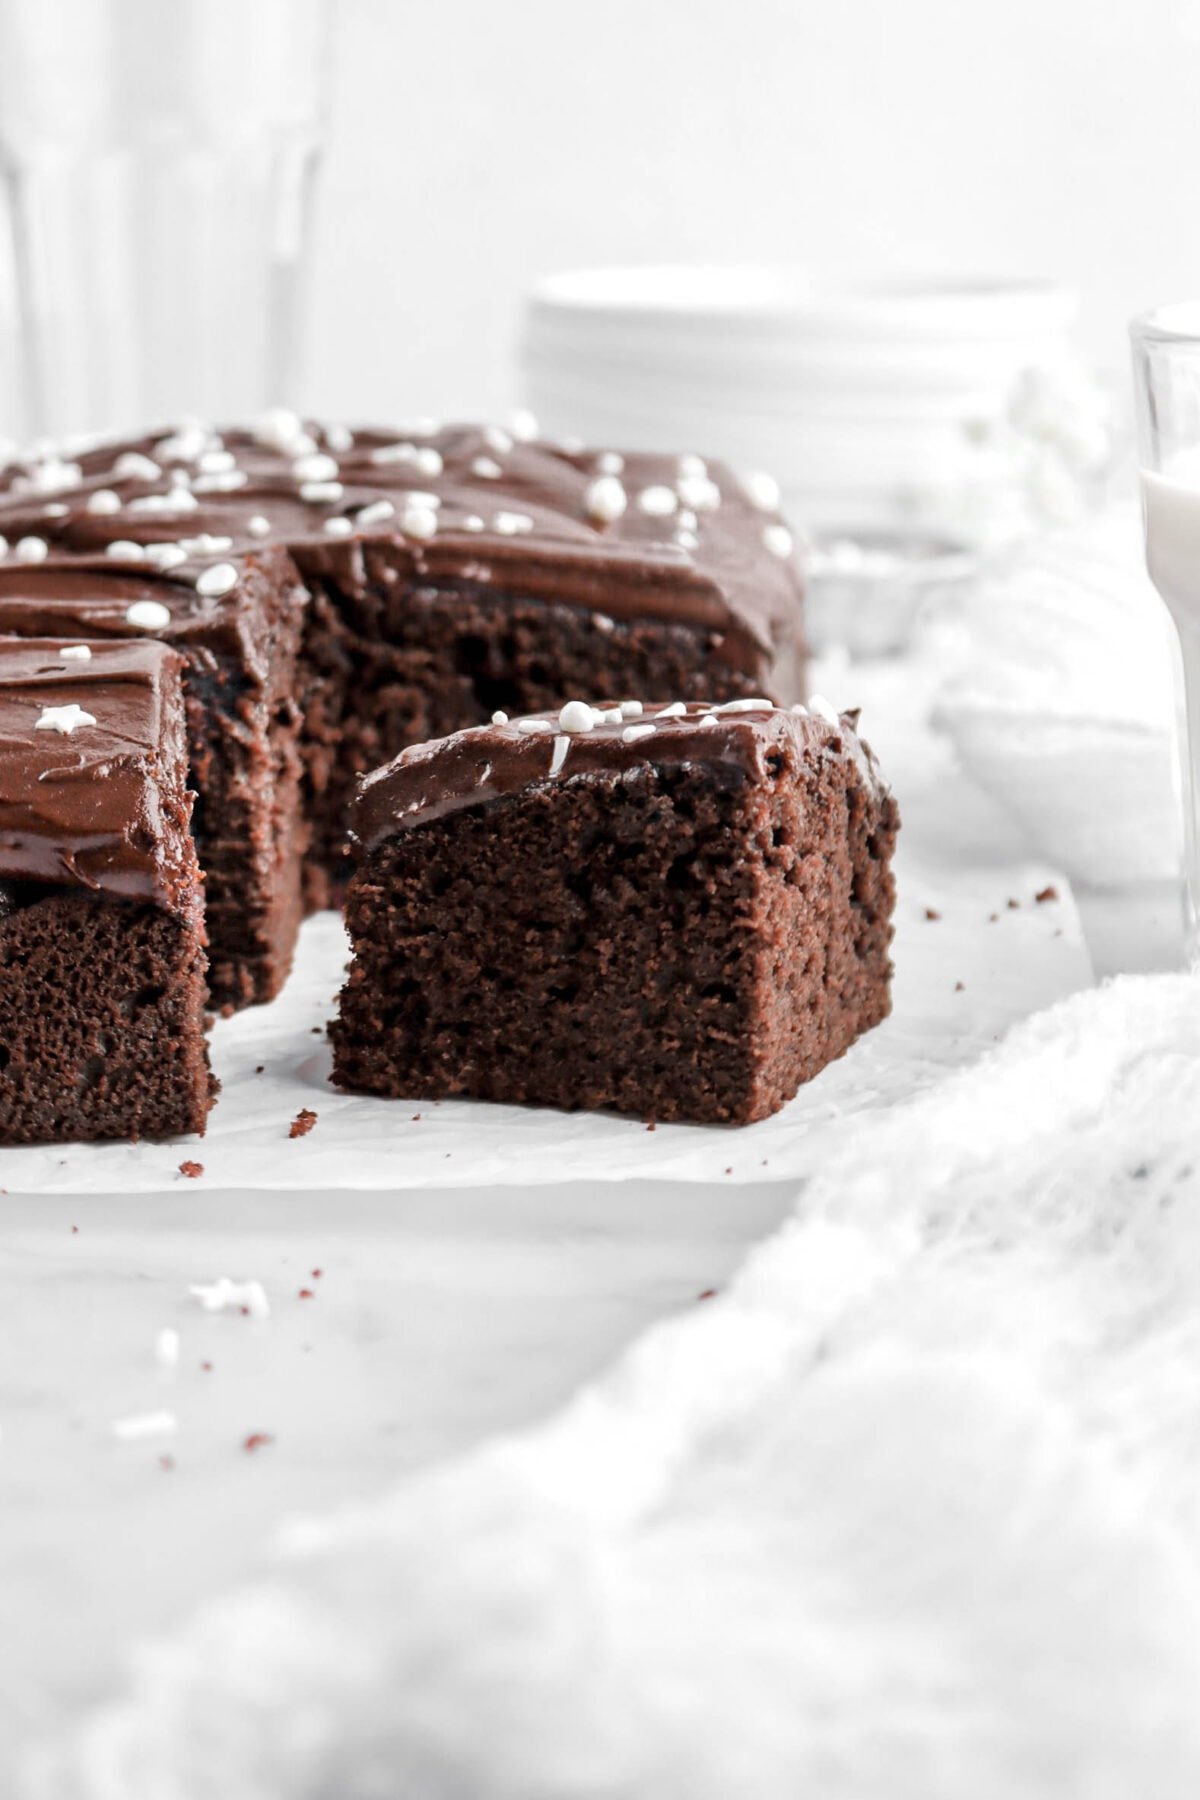
- It has a rich, moist texture and balanced sweetness.
- The buttermilk adds a subtle tang that enhances the chocolate flavor, making the cake deeply flavorful yet light.
- It’s easy to make in one bowl, perfect for serving a crowd, and topped with a silky chocolate frosting that adds a decadent finish.
- Its nostalgic appeal and simple, comforting flavors make it a go-to dessert for any occasion.

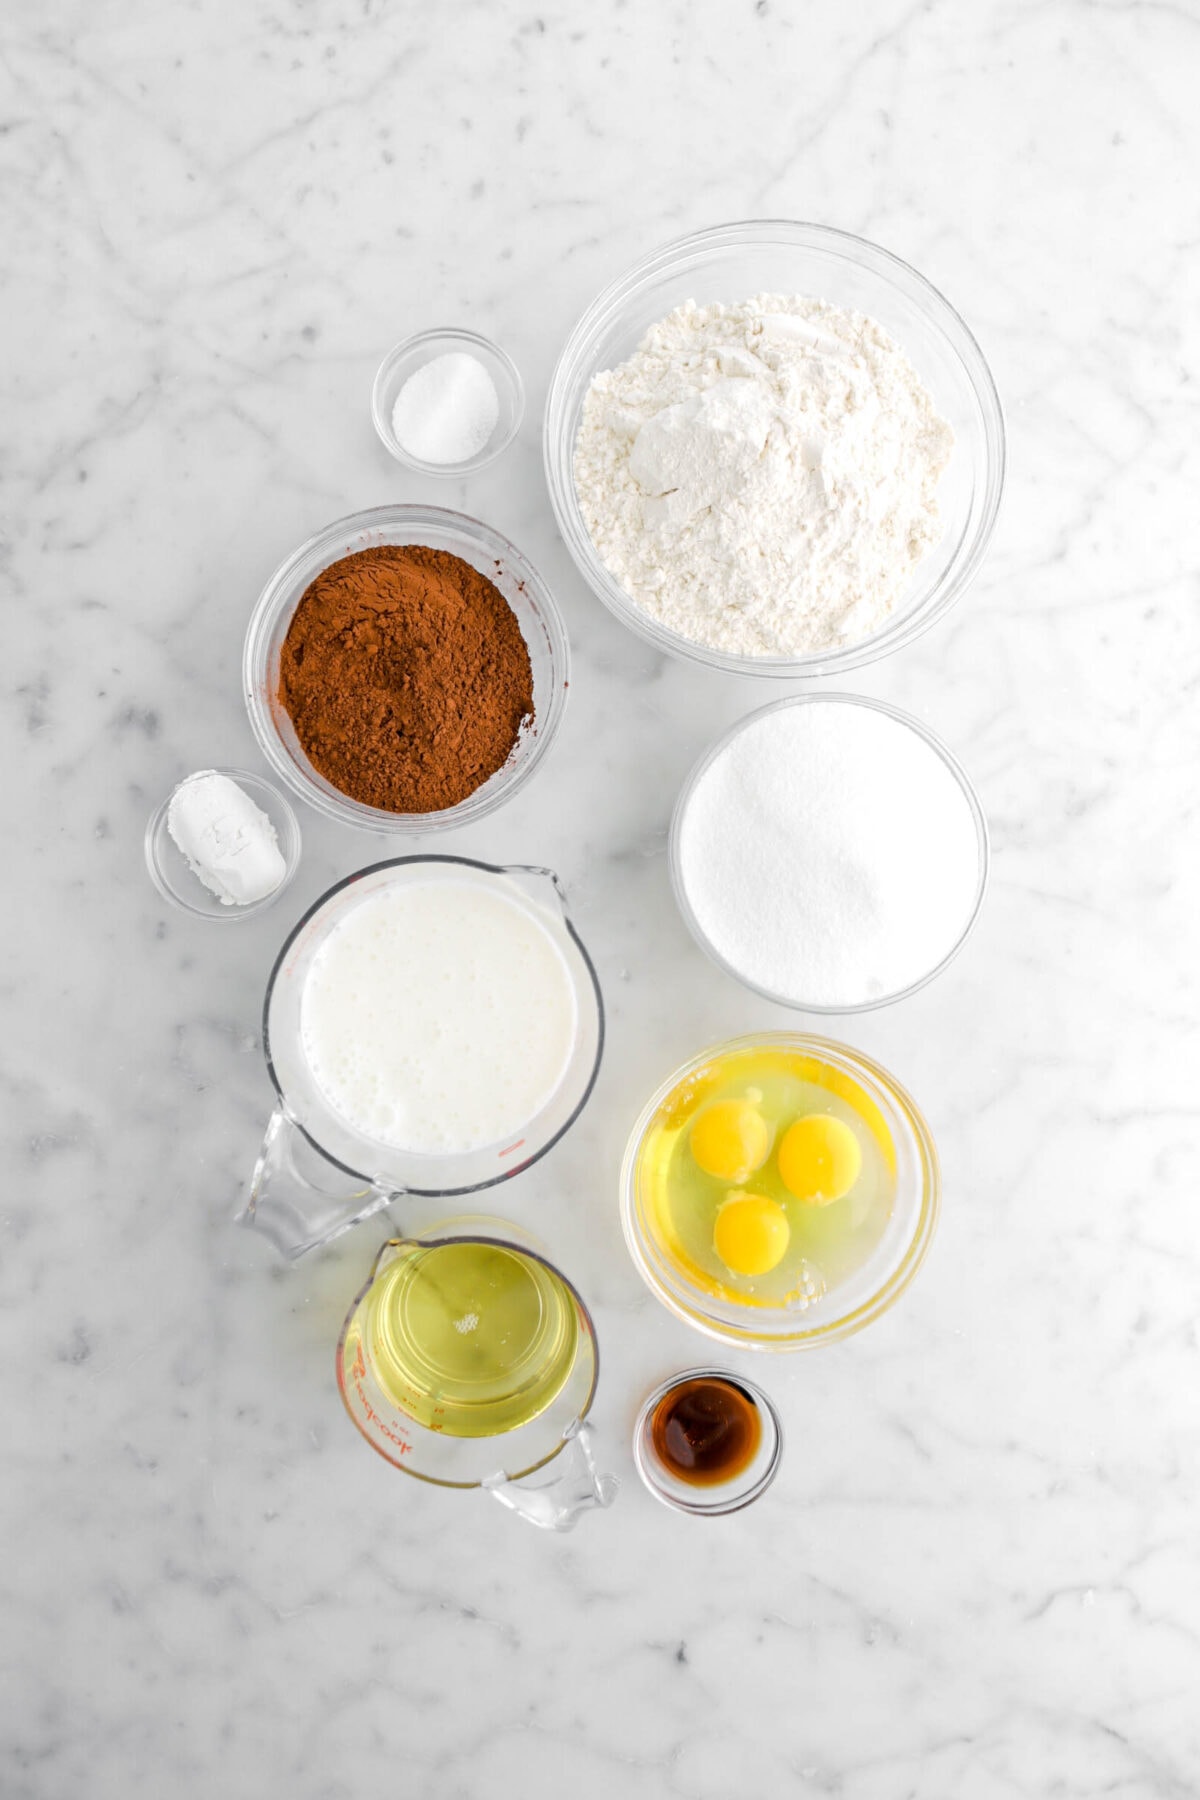
Ingredients
Full ingredient amounts and instructions can be found in the recipe card at the bottom of the post.
For The Cake
- All-Purpose Flour – The primary structure-building ingredient in the cake. When mixed with liquid and leavening agents, the proteins in flour form gluten, which gives the cake its shape and texture. All-purpose flour provides a balanced structure without being too heavy or too light.
- Dutch Process Cocoa Powder – Dutch process cocoa is treated with an alkalizing agent which which gives the cocoa a smoother, more intense flavor perfect for this cake.
- Granulated Sugar – In addition to sweetening, sugar keeps the cake soft and moist.
- Salt – Cuts some of the sweetness, while also enhancing the flavors in this cake.
- Baking Powder – A chemical leavening agent that causes the cake to rise by releasing carbon dioxide when it reacts with heat and moisture.
- Eggs – Add richness and moisture to this cake, as well as acting as a binder for the ingredients.
- Buttermilk – Adding buttermilk to this cake not only intensifies the chocolate flavor, but it also helps keep the cake moist and tender.
- Vegetable Oil – Keeps the cake moist and tender by coating the flour proteins and preventing them from forming too much gluten.
- Vanilla Extract – A splash of vanilla enhances the chocolate, while adding depth to the overall flavor of the batter.
For The Frosting
- Salted Butter – This frosting gets its richness and creaminess from the butter. The salt in the butter balances and enhances the flavor and helps the chocolate really stand out.
- Powdered Sugar – Not only does powdered sugar sweeten the buttercream, it also adds volume and a silky texture. It dissolves easily into the butter due to its fine texture, preventing grittiness. Powdered sugar contains a small amount of cornstarch, which helps thicken the buttercream and gives it a stable, fluffy consistency.
- Dutch Process Cocoa Powder – Adds rich chocolate flavor and a deep color to the buttercream. Its alkalized nature gives the buttercream a smoother and less acidic chocolate taste. It blends well into the buttercream without adding graininess, ensuring a creamy finish.
- Whole Milk – Adds moisture and helps achieve a creamy, spreadable consistency in the buttercream. The fat content in whole milk enhances the richness, while the liquid helps loosen the mixture just enough to be whipped smooth. It also helps dissolve the cocoa powder and sugar, ensuring everything is well incorporated.
- Vanilla Extract – Adds warmth and depth to the buttercream, complementing the chocolate flavor. Even though it’s a small addition, vanilla enhances the overall taste and rounds out the sweetness, giving the buttercream a well-balanced flavor profile.

How To Make This Chocolate Sheet Cake
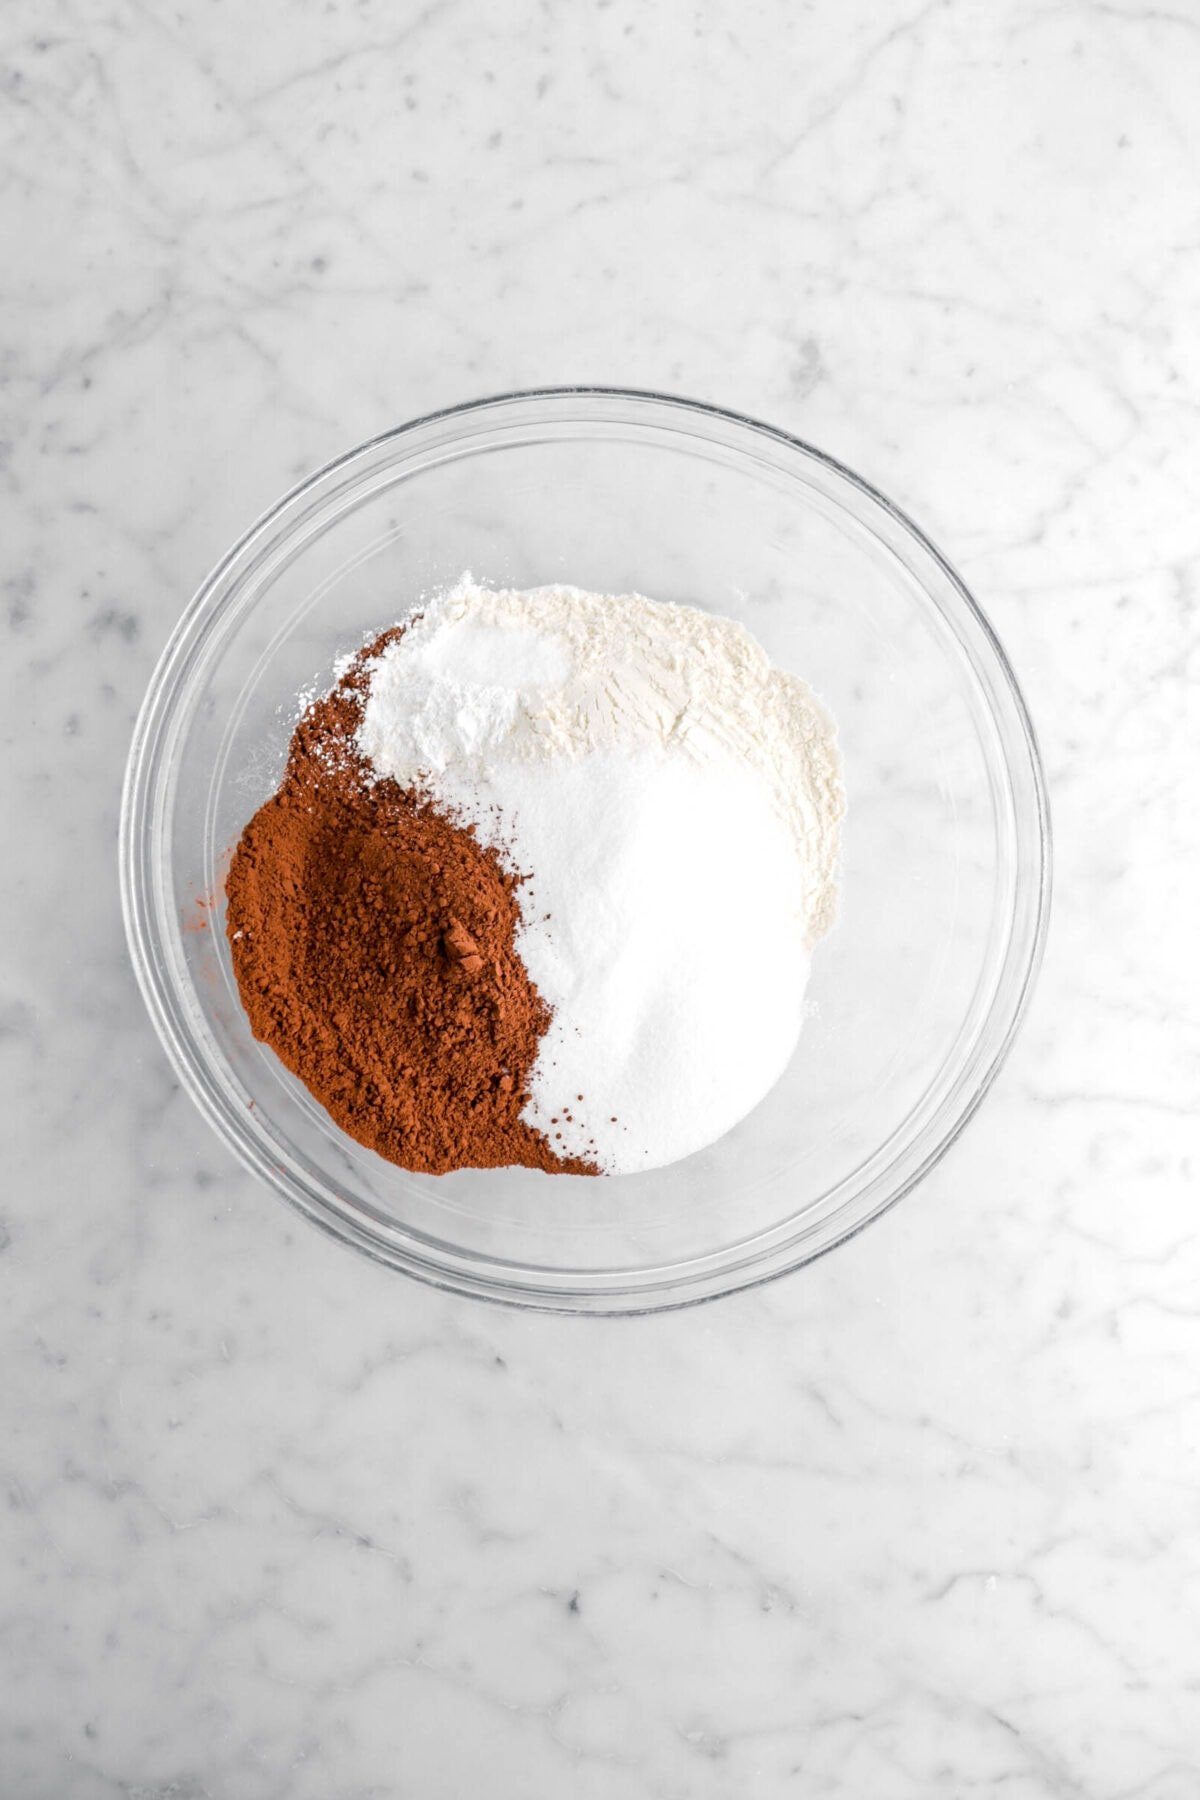
Step 1: Make cake batter
In a large bowl, whisk together flour, cocoa, sugar, salt, and baking powder.

Add eggs, buttermilk, oil, and vanilla. Whisk until smooth.


Step 2: Bake
Pour into prepared pan. Bake for 40 minutes, or until cake tests done.

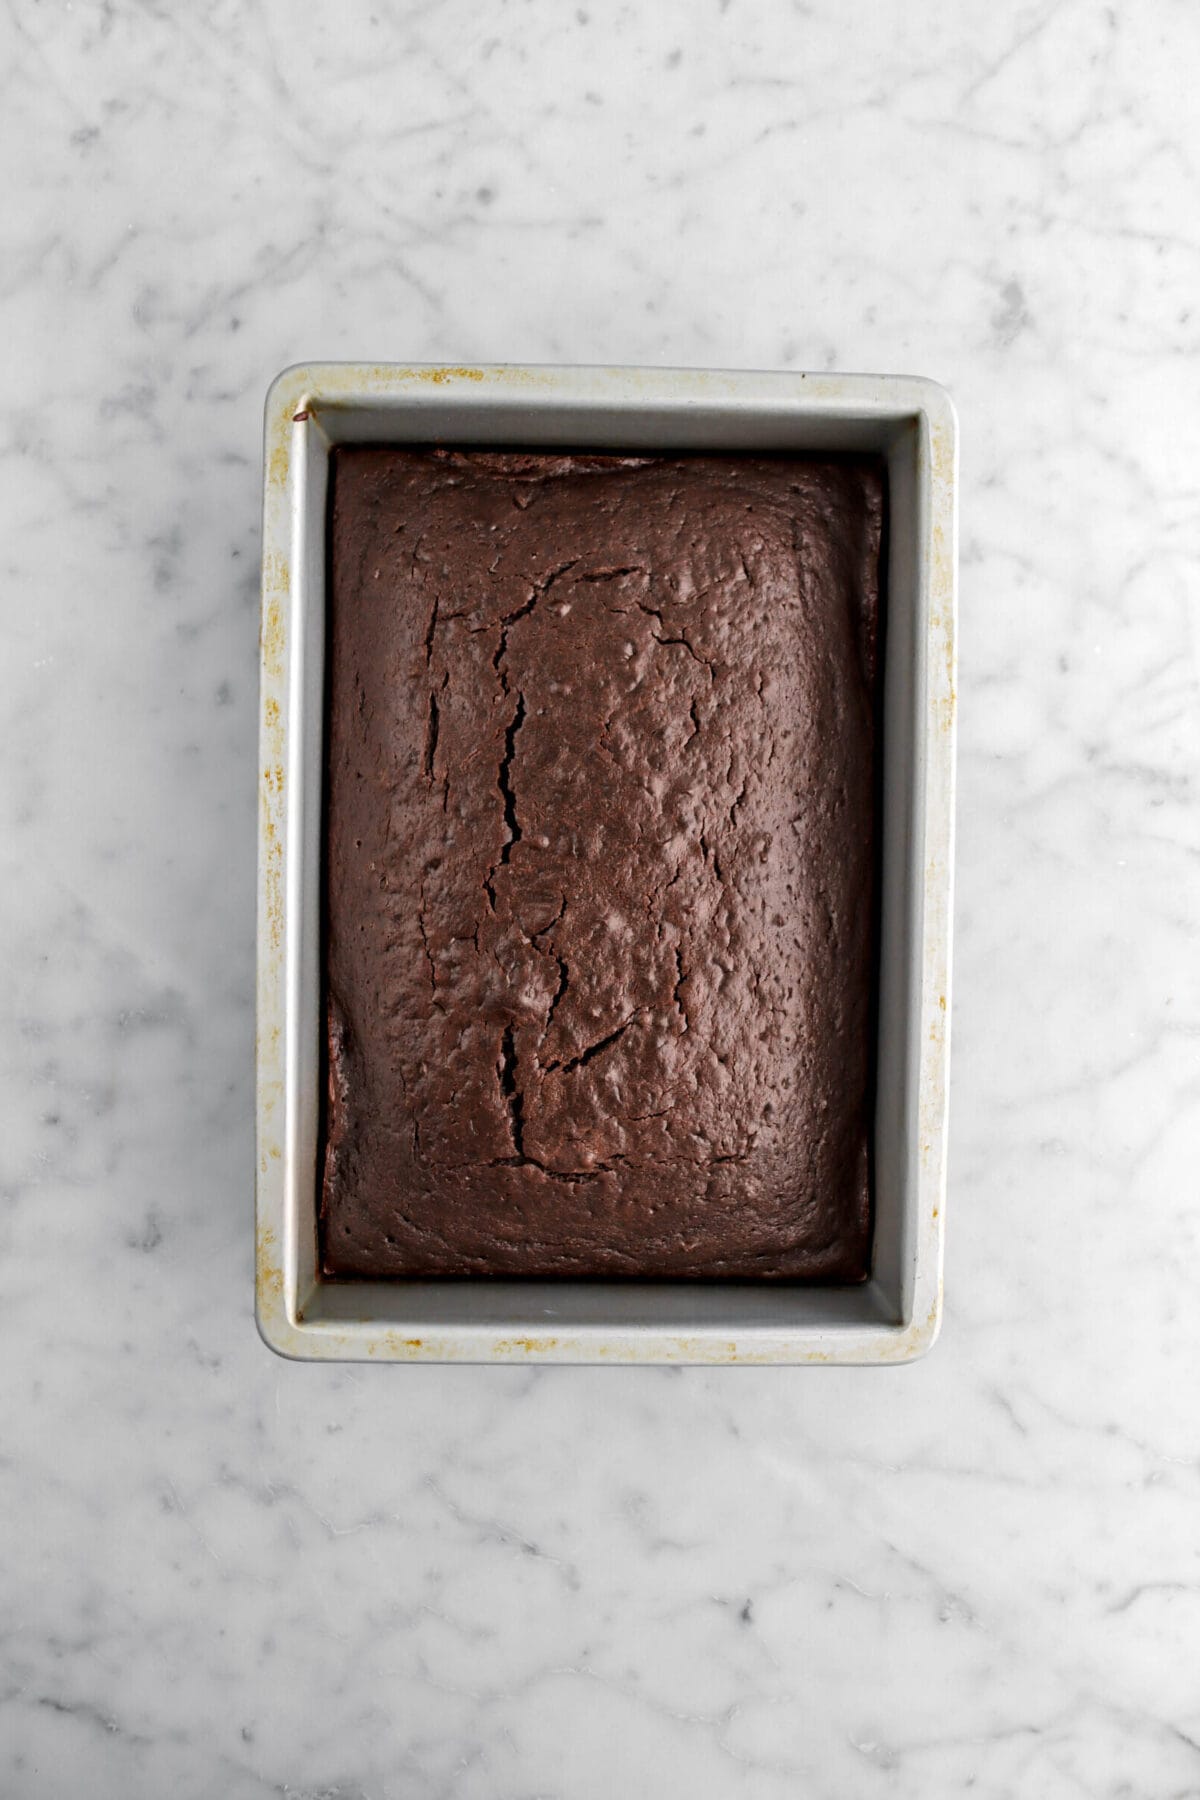
Allow to cool in pan. Turn out, if desired.

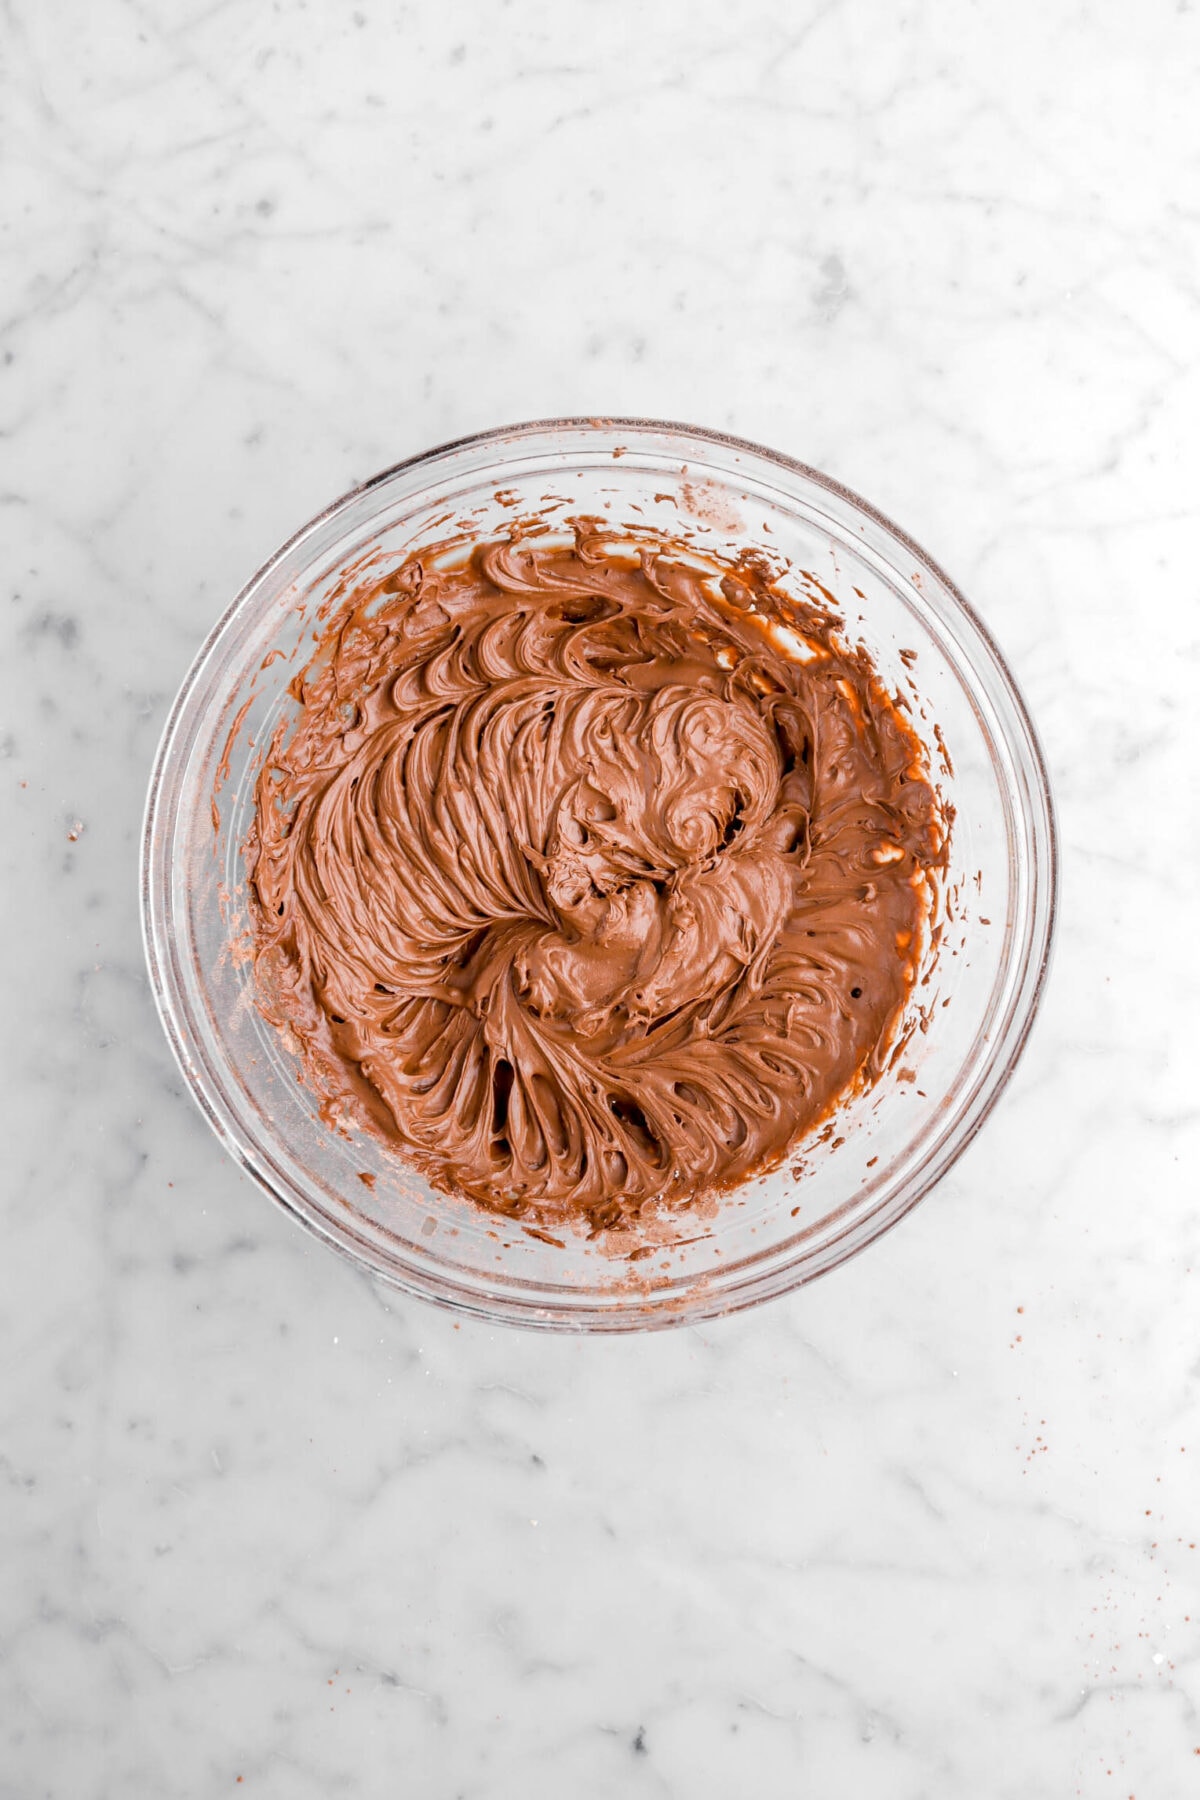
Step 3: Prepare frosting
Combine all ingredients in a large bowl. Beat with an electric mixer until smooth.

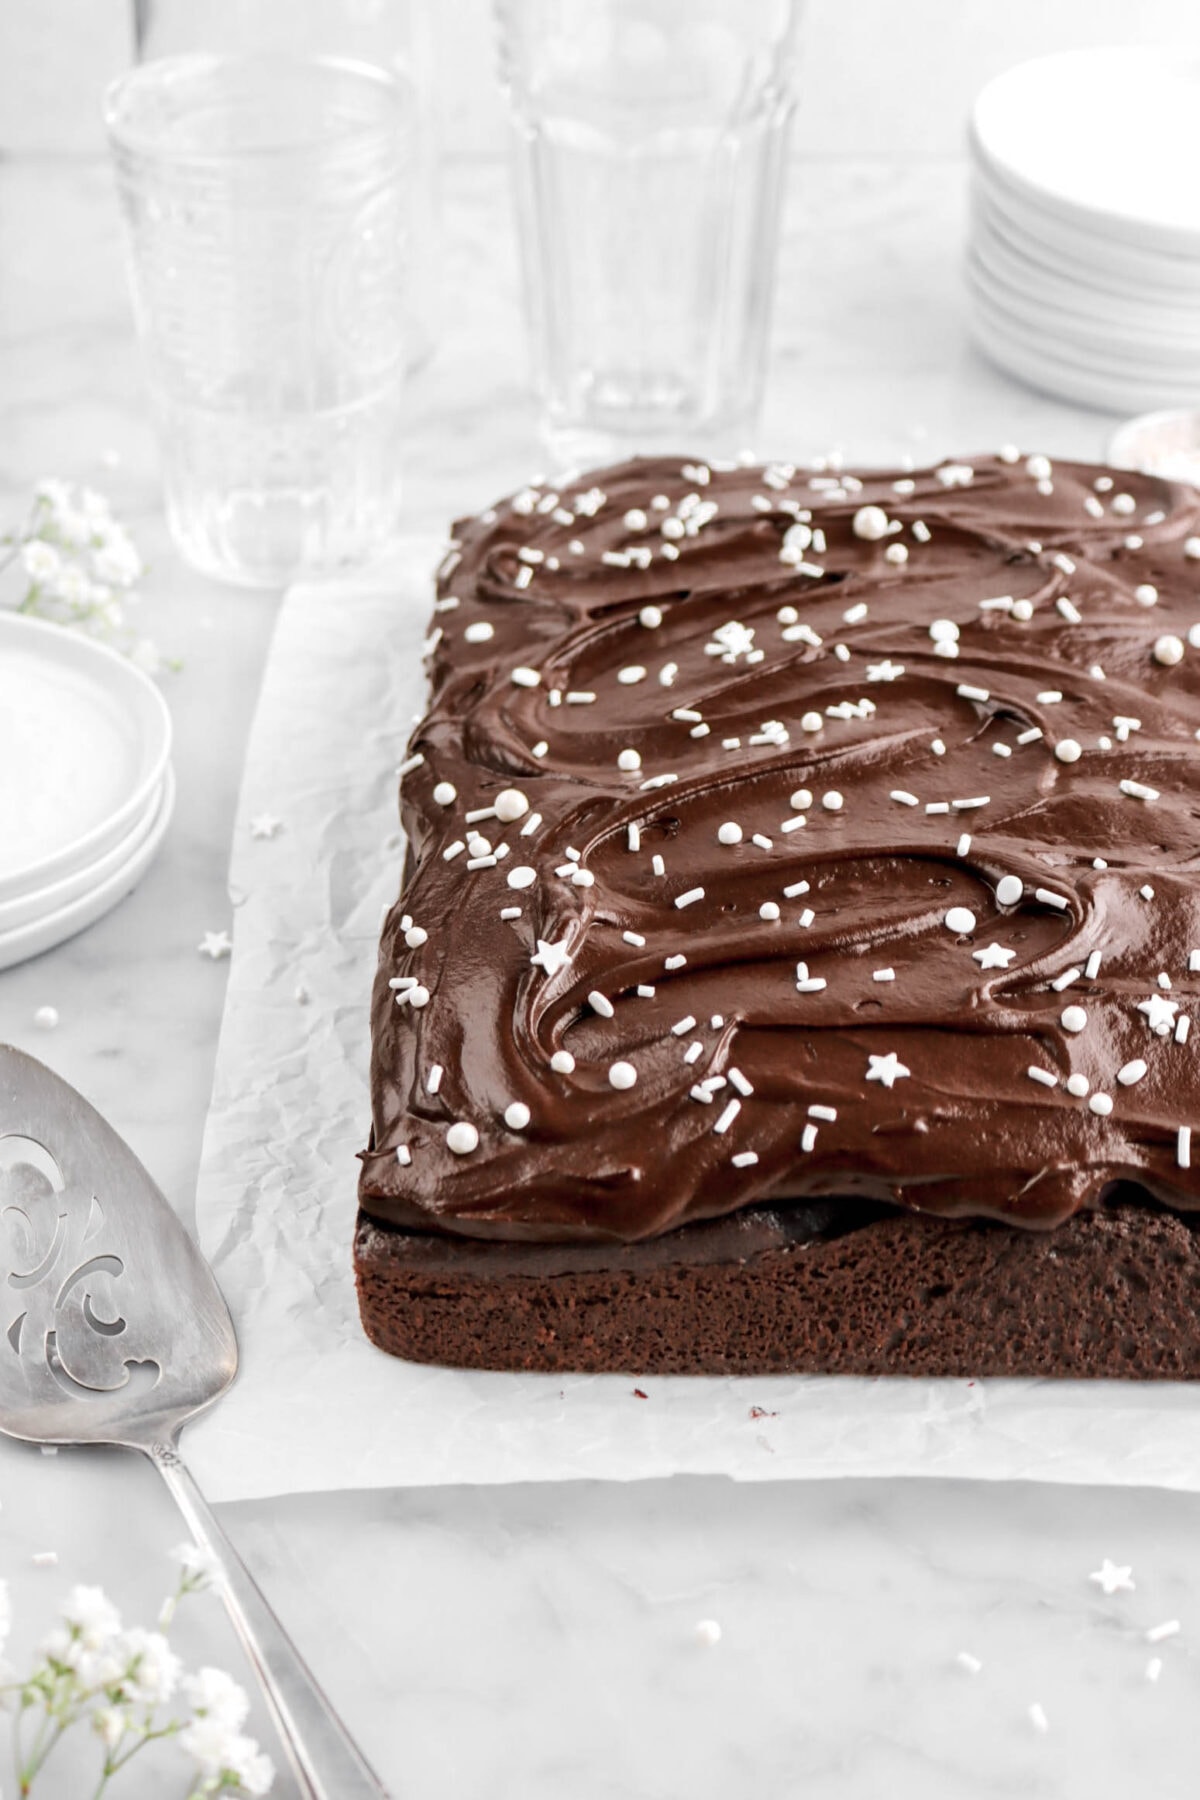
Step 4: Frost cake
Spread on cooled cake.


✳ A Few FAQ’s
How To Achieve The Perfect Buttercream
There are are a few things you can do to make sure you get the creamiest, silkiest buttercream every single time!
The first is making sure your butter is room temperature. This is super important! Another is sifting your powdered sugar and cocoa powder. Lumps of powdered sugar and cocoa powder = lumpy buttercream!
Lastly, if you feel your buttercream is too thick, you can add a splash (1/2 – 1 Tablespoon) of whole milk or heavy cream. This will help loosen it a little.
Decorating Ideas
I think one of my favorite things about a sheet cake is how much fun they are to decorate! They’re so simple and always effortlessly gorgeous. Here are a few ways you can decorate this sheet cake!
- Sprinkles, of any kind! Especially if you’re making this for a holiday party or birthday.
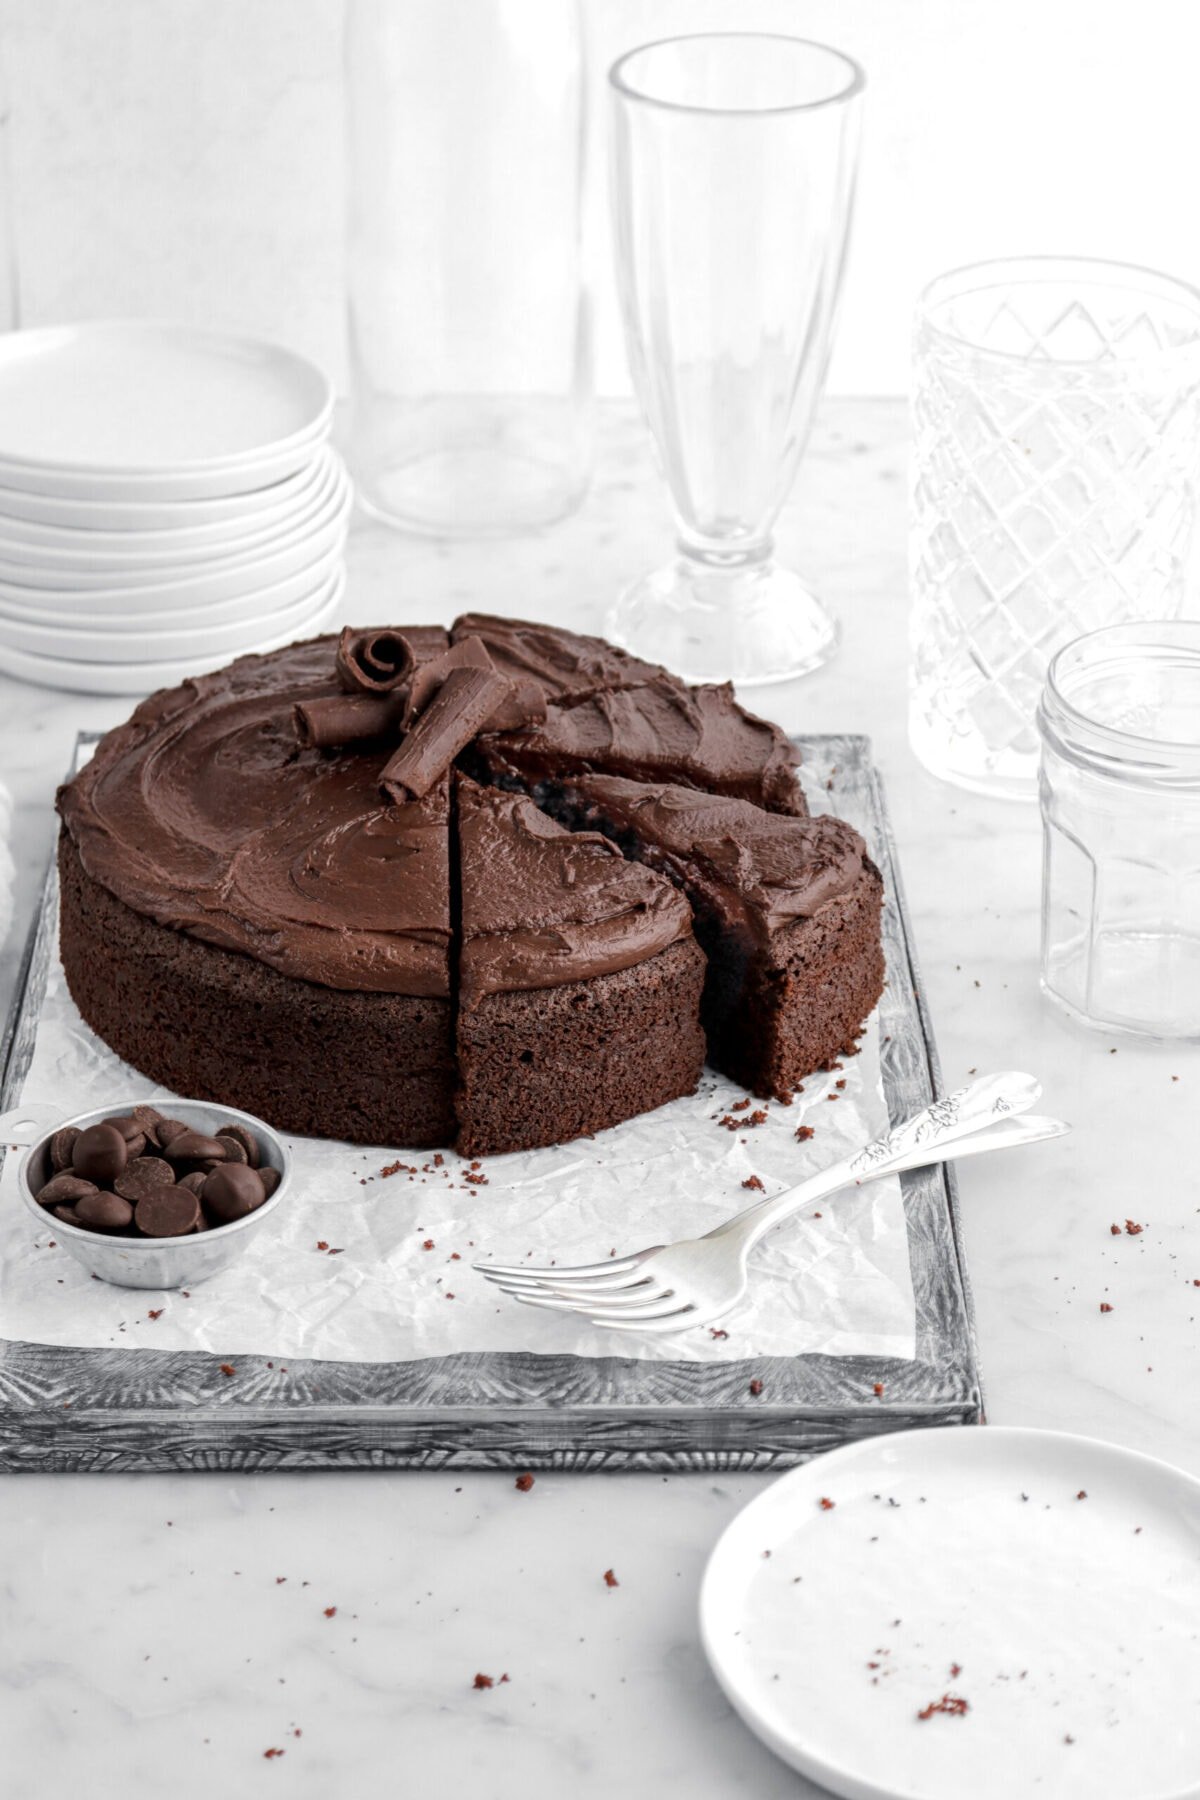
- Chocolate curls
- Edible flowers (such-as pansies, chamomile, or marigolds!)
- Pipe a message with vanilla buttercream. Feel free to color it!
- Use piping tips to create a design with the frosting or simply pipe a border around the edge of the cake.
- Top with chopped nuts.

How To Store
Once this cake is made, it can be kept in a covered container and stored at room temperature for 2-3 days. It can also be stored in the fridge for up to 1 week!
This cake can also be frozen, if desired. Place sliced cake in a freezer safe zip-top bag or container and freeze for up to 2 months.
Looking for more chocolate recipes?

When you make this Old Fashioned Buttermilk Chocolate Sheet Cake with Chocolate Frosting, leave a comment down below! We love hearing from you and answering any questions you might have! Also, be sure to tag us on social media and hashtag it #BakersTable.

Old Fashioned Buttermilk Chocolate Sheet Cake with Chocolate Frosting
Ingredients
Cake
- 2½ cups all purpose flour
- ⅔ cup Dutch process cocoa powder, sifted
- 1⅓ cups granulated sugar
- 1 teaspoon salt
- 1 Tablespoon baking powder
- 3 large eggs, room temperature
- 2 cups buttermilk
- ¾ cup vegetable oil
- 1½ teaspoons vanilla extract
Frosting
- 6¾ Tablespoons salted butter, room temperature
- 2¼ cups powdered sugar, sifted
- ⅔ cup Dutch process cocoa powder, sifted
- ⅜ cup whole milk
- 1⅙ teaspoons vanilla extract
Instructions
Cake
- Heat oven to 350℉/177℃.
- Spray an 8-inch x 12-inch pan with baking spray. Set aside.
- In a large bowl, whisk together flour, cocoa, sugar, salt, and baking powder.
- Add eggs, buttermilk, oil, and vanilla.
- Whisk until smooth, about 1-2 minutes.
- Pour into prepared pan.
- Bake for 40 minutes, or until cake tests done.
- Allow to cool in pan.
- Turn out, if desired.
Frosting
- Combine all ingredients in a large bowl.
- Beat with an electric mixer until smooth.
- Spread on cooled cake.
Notes + Tips!
- Don’t have buttermilk? No worries! You can make your own. Measure out 2 cups of whole milk and add 2 Tablespoons of lemon juice. Let it stand about 10 minutes.
- This recipe can be made vegan by using a plant-based homemade buttermilk (follow the directions above but with oat milk or soy milk), your favorite vegan egg replacement (we love aquafaba!). For the frosting, use your favorite vegan butter and plant-based milk.
- Be careful not to over-mix the cake batter! If it’s mixed too much, the cake may become tough and not rise properly.
- If you want a thinner cake, use a 9-inch x 13-inch pan. Remember to reduce cook time!
- If you’re unsure the cake is baked after the time listed below, you can use a cake tester or tooth pick. If it comes out clean, the cake is baked through!
- Let the cake cool COMPLETELY before frosting it.
- Make sure the butter and milk are room temperature before mixing the frosting.
- Room temperature is about 70℉/21℃.
- Remember to sift the cocoa powder and powdered sugar!
- If frosting is too thick, you can add a little more milk.
Tools You May Need (affiliate links)
– Still Hungry? –
Here are a few recipes may like!


